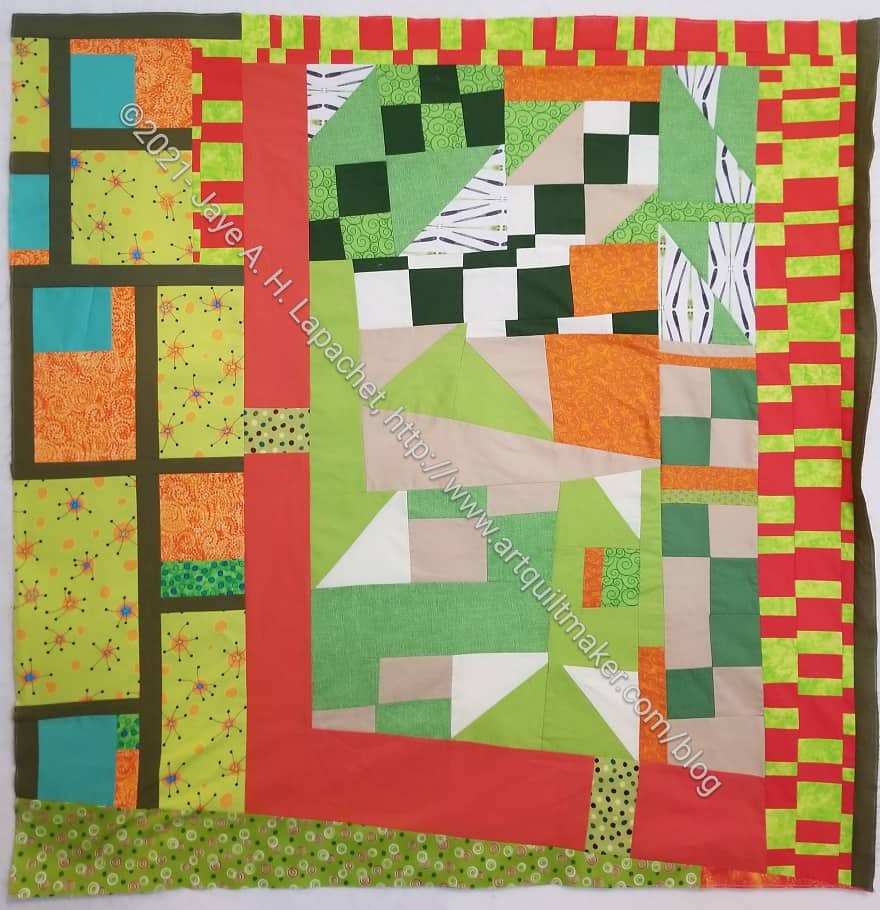
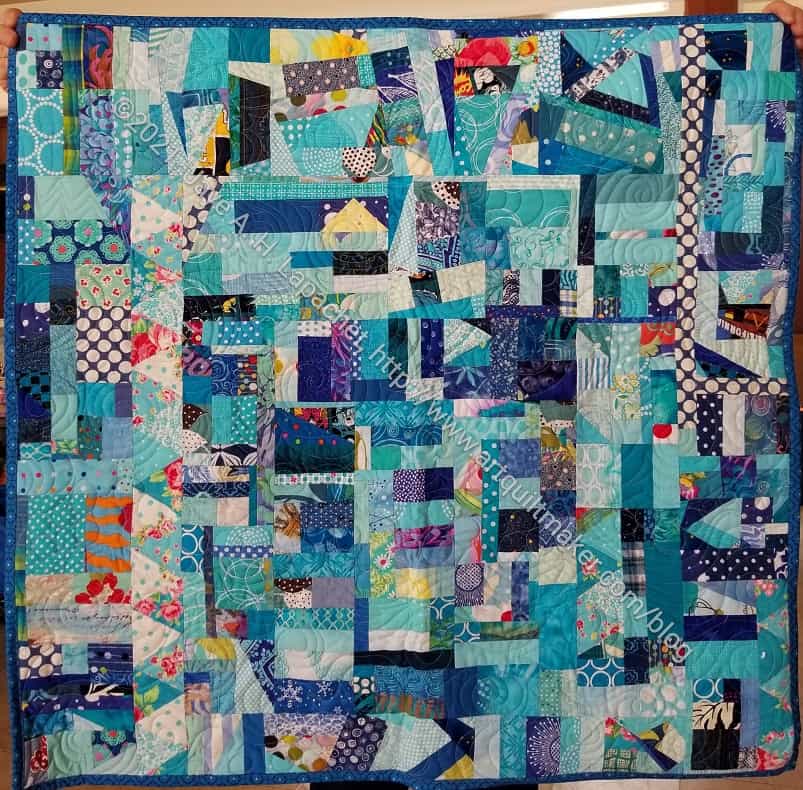
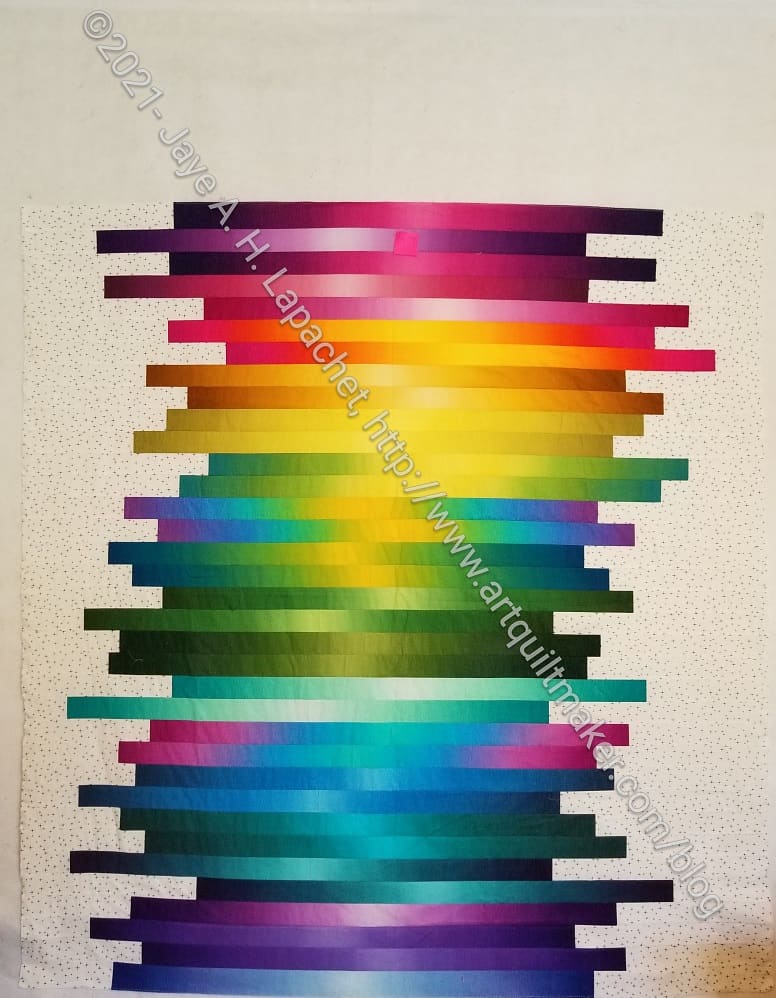
I don’t think this is my best work. there are a lot of disparate elements. Somehow it works. It kind of looks like buildings surrounding a park to me.
I struggled with this piece, because of the green and orange. I don’t sincerely dislike green, but I don’t make it a main color in any of my quilts except the Improv Color quilts. I also like orange, but somehow this was a struggle on which to work.
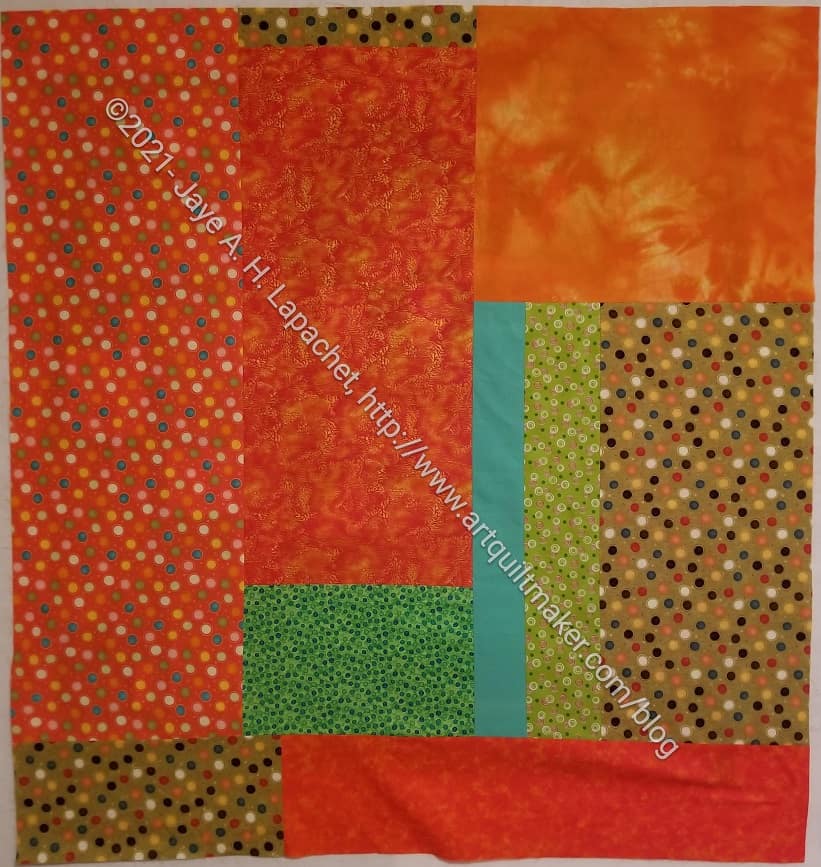
Tim’s Improv Donation Back
The back went relatively fast. I took both pieces to Sew Day and gave them to Peggy and the team for quilting.
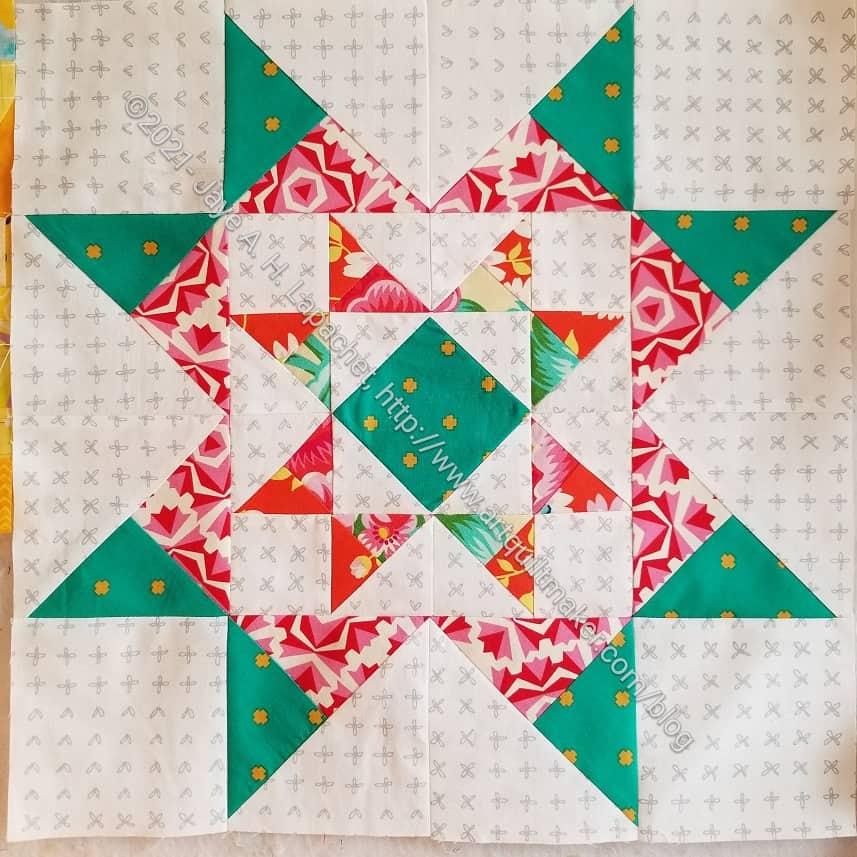
I talked about one of the Triple Play Missouri Star videos in a recent Various & Sundry post. In this video, Jenny, Natalie and Misty take the same block pattern and make different quilts. I really liked what Natalie did with her version and I decided to try it out myself.
I thought it would be a quick test. Then I thought that I know how those quick “tests” go and started surfing around the Internet for fabric, thinking I would make an entire quilt. Fortunately, I got myself under control and decided to make one block with the True Kisses fabric I have and go from there. Cotton Cure still has packs of yardage.
I stopped and started the video as I followed along with the Missouri Star directions. Unlike other shows, Jenny and the gang tell viewers what sizes to cut, show you how to sew and press so you can follow along and make the block or quilt just from watching a free video. I like this about them.
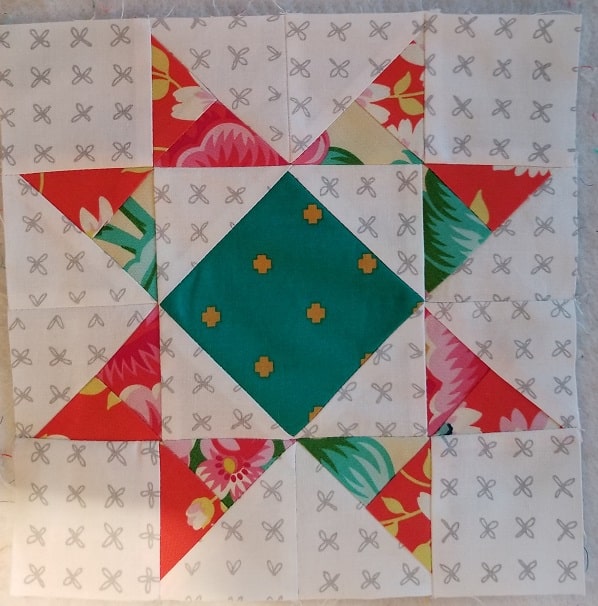
Double Missouri Star center
The Missouri Star is a block they use for their logo. In this video they redid it. Jenny shrank the block and made a quilt from smaller versions. This version provided the directions for the center of Natalie’s block (above).
I didn’t choose good fabrics from the True Kisses line. There wasn’t enough contrast in the legs. Unfortunately I succumbed to the lure of those fabrics and the desire to just make something.
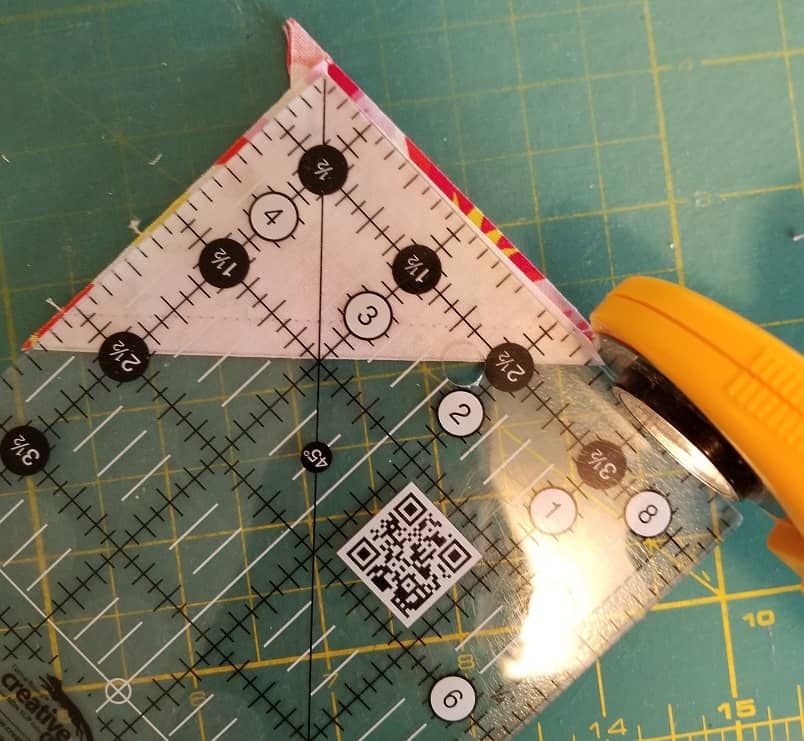
Trimming alternative
In the video, they show how to use the Clearly Perfect Trimmer**. I didn’t have that ruler so I tried their alternative method of using a regular ruler and it absolutely didn’t work. I should have saved myself the trouble and just squared up the various pieces the normal way.
My pieces were all the wrong size. Since I followed the Missouri Star method for making HSTs, all of my edges were on the bias. The small center block looked awful. I took the whole block apart, trimmed and put it back together again. I was reminded of how bias can work against me. I also think I didn’t completely understand the alternative method of trimming.
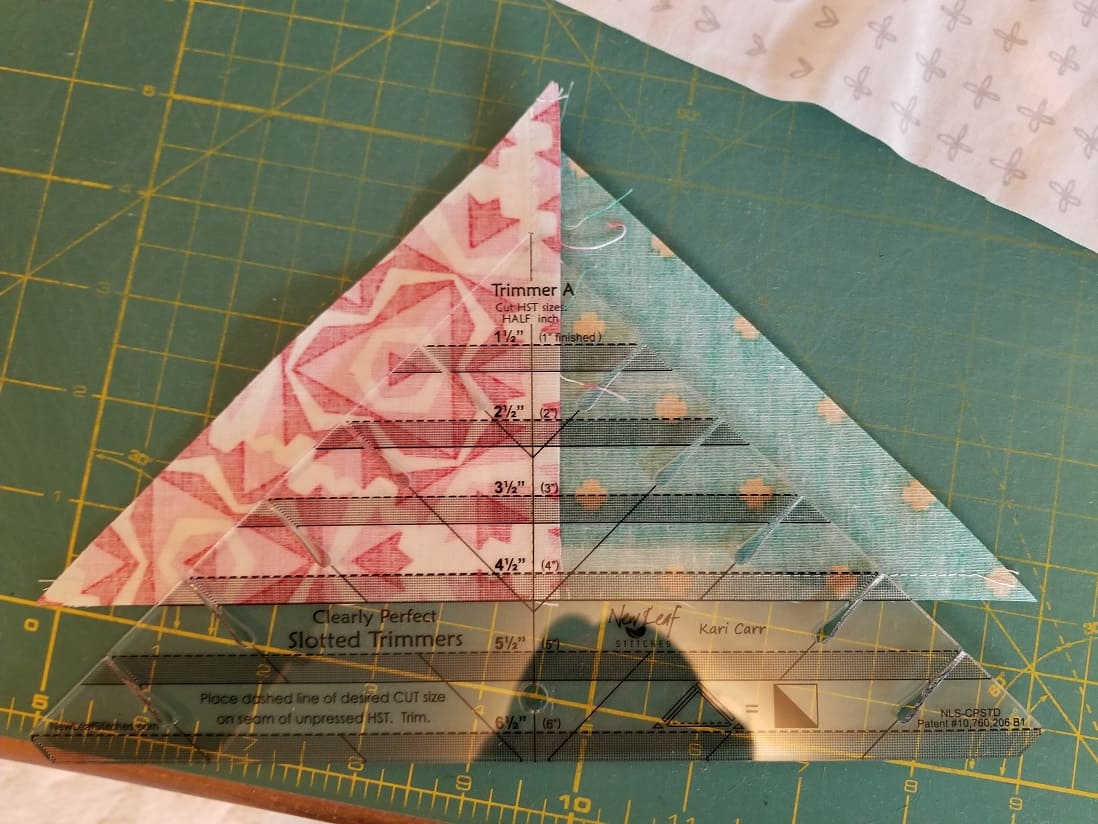
Using the Clearly Perfect Trimmer
I did end buying the Clearly Perfect Trimmer**. I had never heard of this ruler and I was curious to try it out. I can’t really tell if it was any better than trimming the regular way. The one difference was that you only make two cuts vs making two cuts, turning your piece and making two more cuts.
I haven’t read all of the directions for this set of rulers, but I am interested in learning how to use more of its capabilities.
Despite all of the ripping, I am pretty pleased with the way the block came out. I won’t be making a whole quilt, however.
**I use affiliate links and may be paid for your purchase of an item when you click on an item link in my post. There is no additional cost to you for clicking or purchasing items I recommend. I appreciate your clicks and purchases as it helps support this blog.
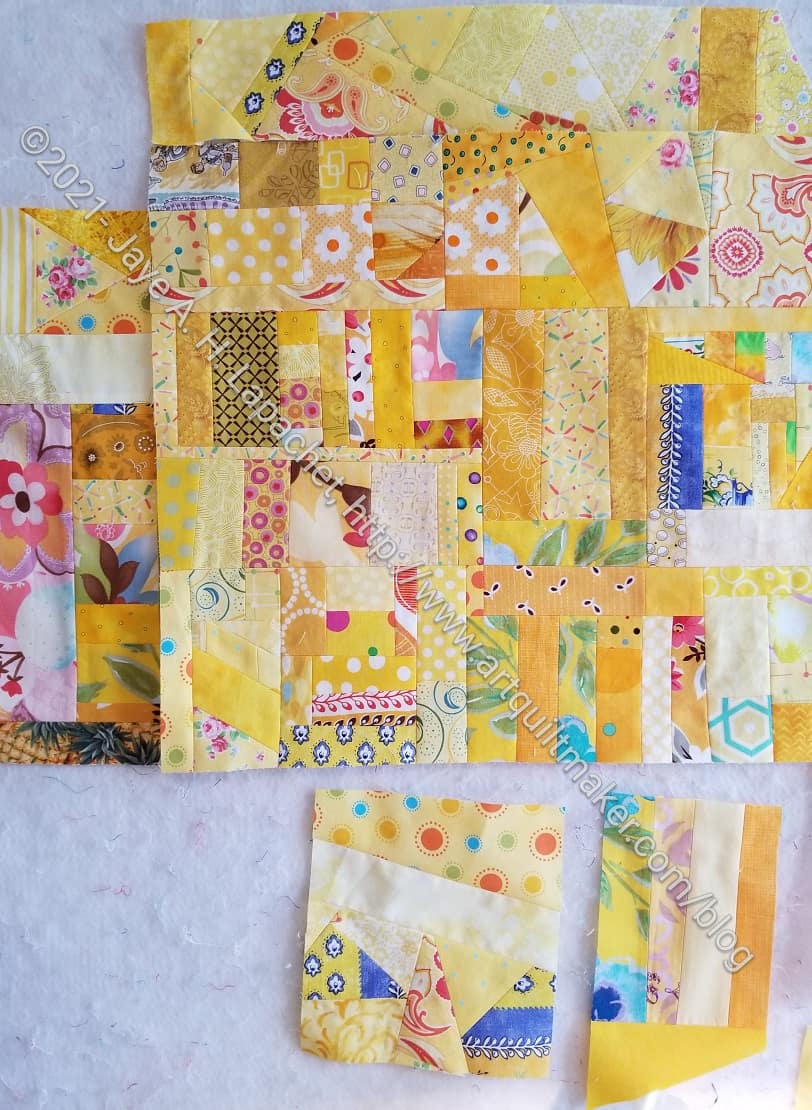
I am working hard on my Yellow Improv donation top. I am trying to use smaller pieces so I use up ALL of my yellow scraps. It isn’t working 100% of the time, but I’ll keep trying. Perhaps my default will be to make this top as big as the scraps I have?
As I have said, my workroom is also my office and yoga studio. When I am laying on the floor at the end of my yoga session, I sometimes see my fabric in a different way, which is what happened the other day.
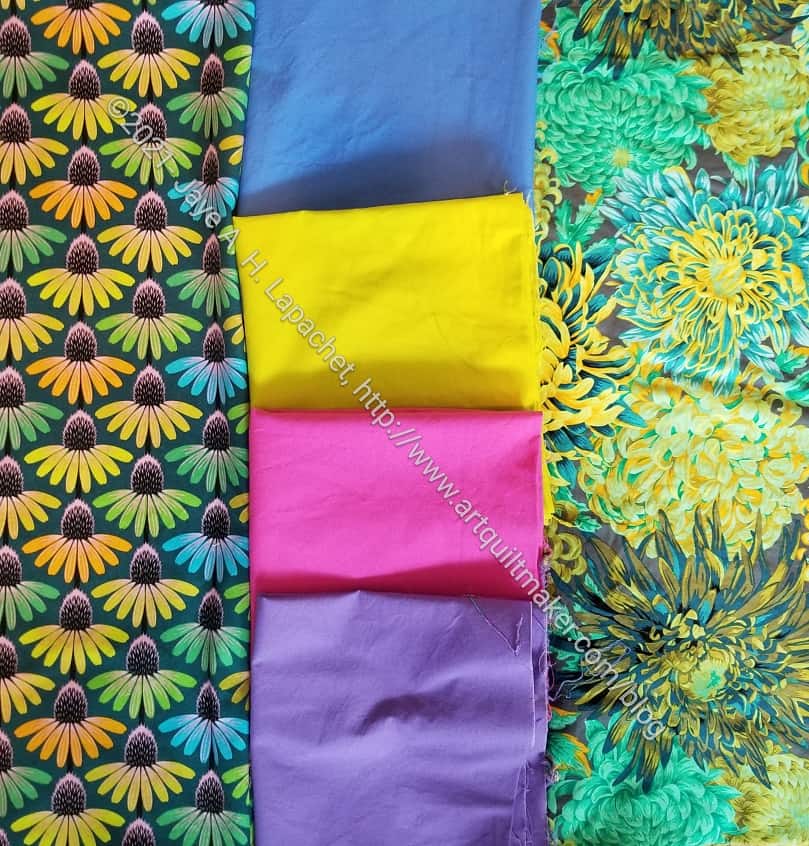
Fabric Combination
I had pressed some fabric in anticipation of cutting it up when I saw a combination I hadn’t considered before. The prints go really well together even if they clash when put right next to each other. I think the solids (some solids I bought at QuiltCon, I think.
This isn’t the final number of fabric. The group definitely needs some turquoise and I have a solid turquoise I can use as well as a lot of print turquoises. I like the combination of the two prints, especially the slight differences.
I also have no idea what I am going to make with the group.
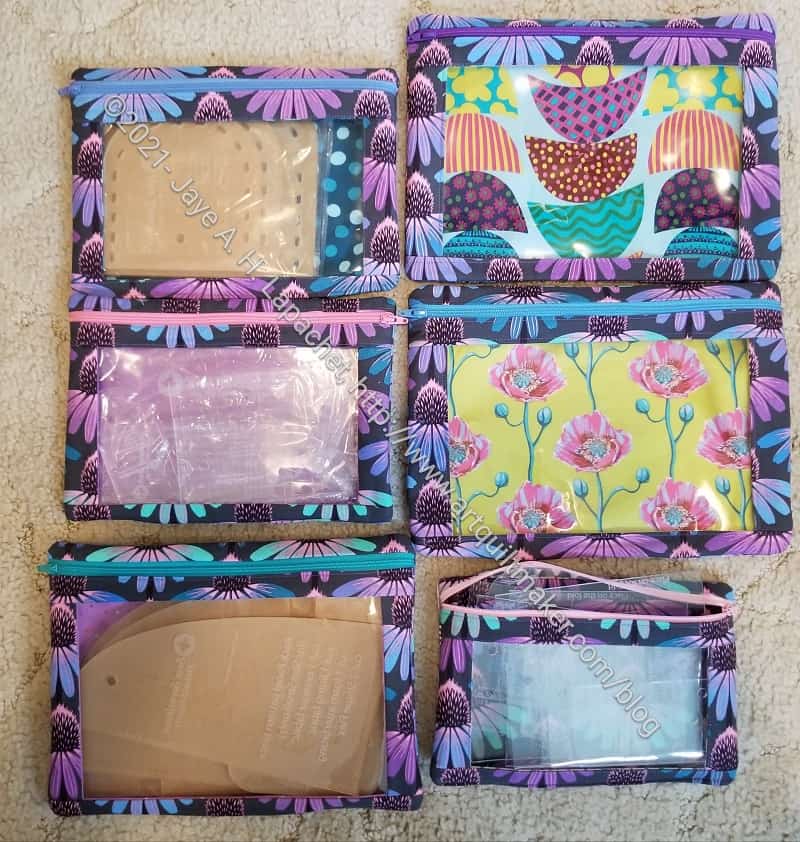
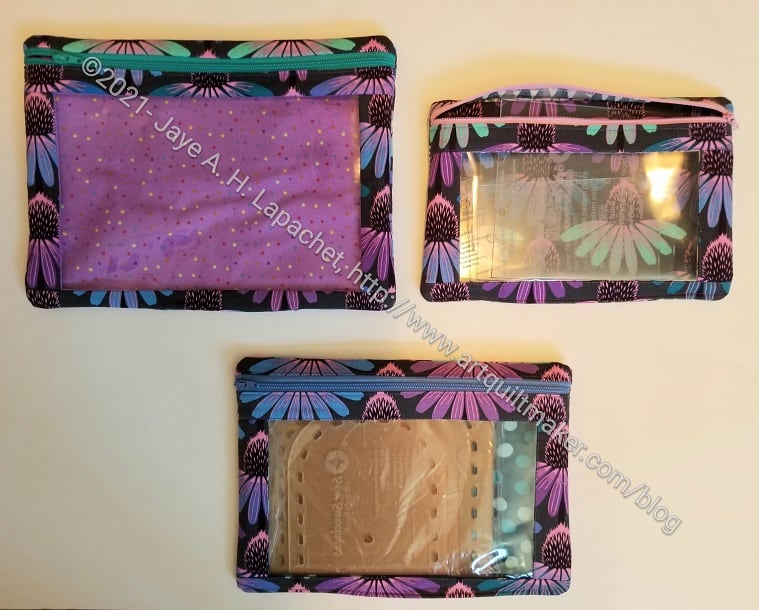
I used some of the Anna Maria Horner fabrics I received in the Quilty Box to finish some of the more recent I Spy Pouches. Once I finished the two large ones, I got all the pouches out and rearranged my templates.
I know it seems kind of ridiculous to make pouches for templates. On one hand, I like having them organized. I also like the fabric and enjoy using the coneflower print for something I am going to keep. Finally, the I Spy pouches are quick to make, so rather satisfying.
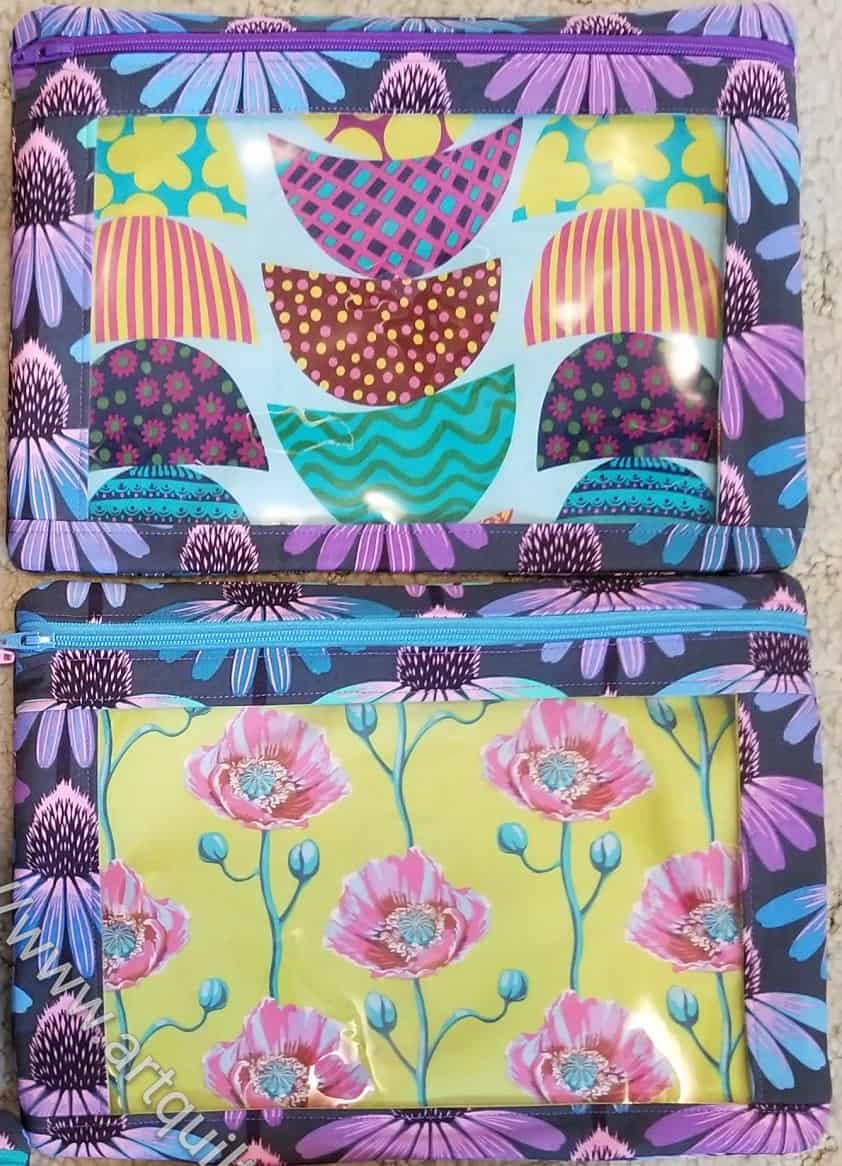
New Large I Spy Pouches
The two newest pouches are quite wild. I used a couple of the Bright Eyes prints. I didn’t really realize how exuberant the pouches would be using those fabrics. The fabrics clash a little with the coneflowers, unfortunately. Still, I like them and the coneflowers will show up when I put some templates inside.
I have a number of template sets that are too big for these pouches. I can use the same directions to make larger pouches. I just haven’t been up for that lately.
I subscribed for 3 months to Quilty Box. Anna Maria Horner’s Bright Eyes fabric line was included in this first box. I wanted to subscribe because of the AMH fabrics. I didn’t buy any Bright Eyes when I was in Oregon & Washington, so getting some in the mail was good.
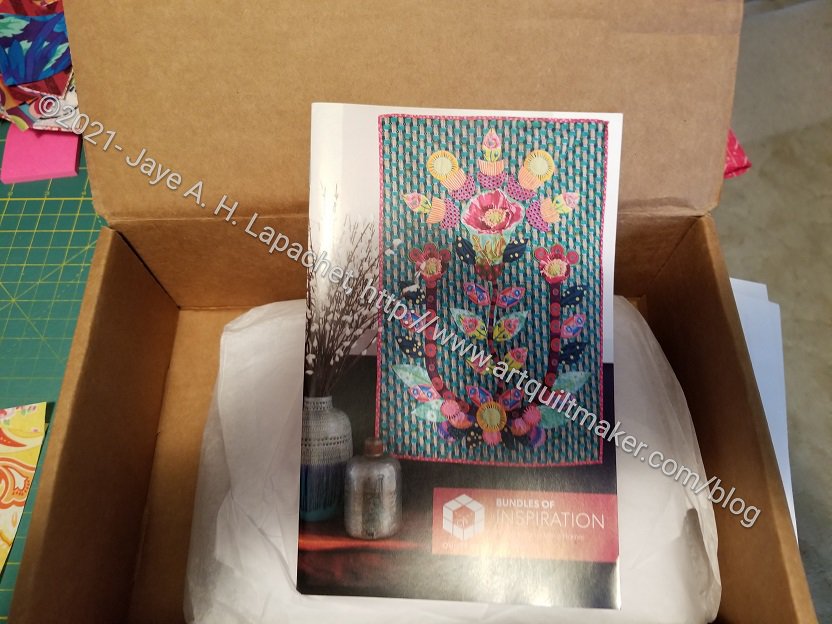
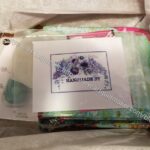
Quilty Box open
I was excited to receive the box. I didn’t know exactly what was in it. The picture (right) is exactly what I saw when I opened the box. They wrapped it pretty nicely, if simply.
The booklet has a couple of projects inside as well as a Q&A with Anna Maria Horner.
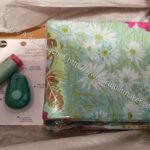
Quilty Box items
Quilty Box items
The fabric, of course, was the main attraction. There were, however, other items in the box as well. The items included a label, a spool of thread, and a needle threader.
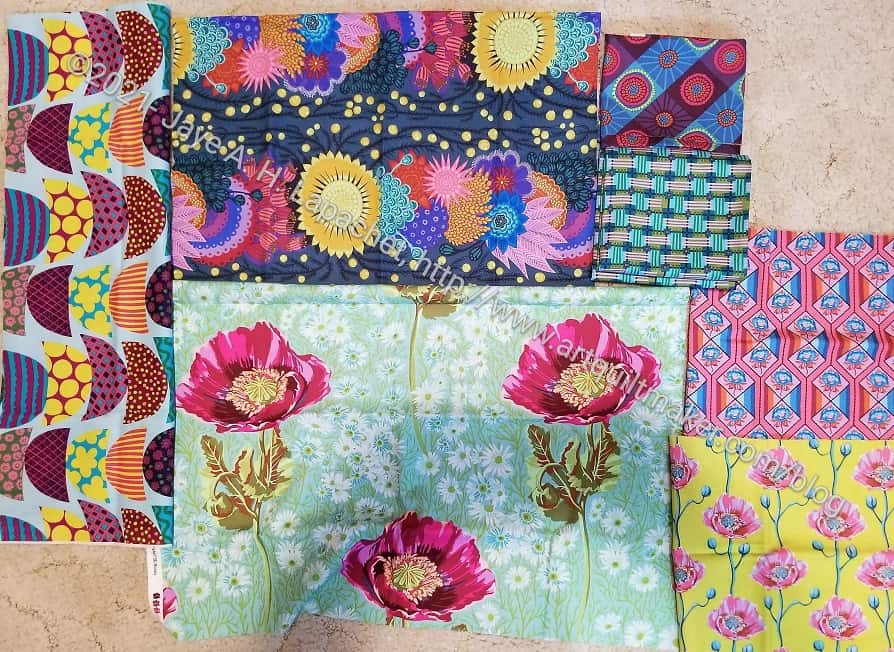
Quilty Box Fabrics
I liked the fabric, but I didn’t really like the amounts. They provide the amounts needed to make the quilt on the front of the booklet. I would have liked some more of the poppy fabric and less of the plaid. I have no plans to make the quilt top, so I started using the fabric already.
I know I seem like I am never happy with these boxes. I guess I just need to shop for myself!
My class is designing circle quilts. I decided that I had better try some of the rulers I have been suggesting my students try.
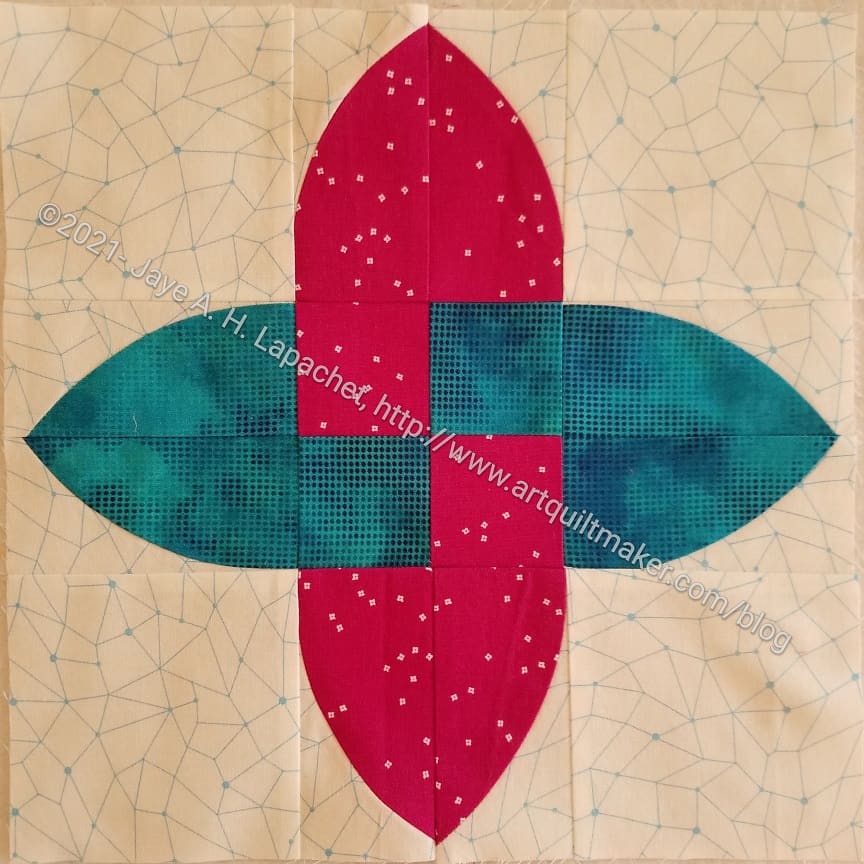
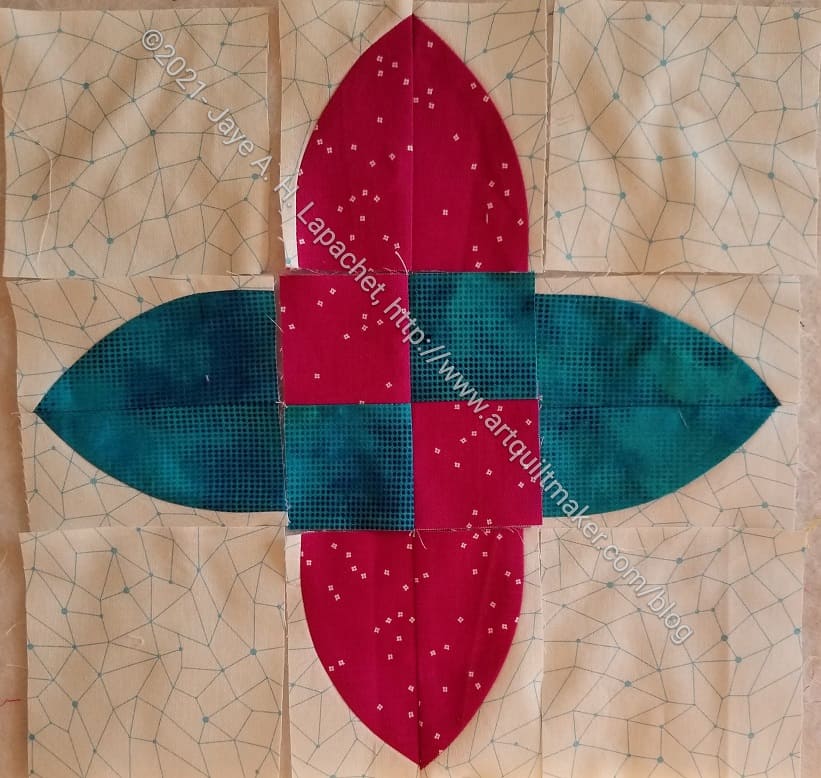
Rock Star Block Finished
I tried out one of the new blocks using the Wonder Curve ruler. This is one of the blocks from their recent sew along. Sadly, they do not have a photo of the finished quilt in their IG feed. I think it will probably be a pattern sometime in the future. I wasn’t super enamored of their sampler, but I did like this block. I did think it would be a good test of the ruler, so I made one over the weekend.
I am still liking the blue and red-violet combination that I used in Frolic!. This blue is more turquoise than the blue-violet I used in Frolic!, however the combination is interesting. Also, the fabrics were handy and I didn’t have to rummage.
This is the first Sew Kind of Wonderful project I have made since Metroscape and Mod Lights. As I mentioned when I made those projects, I really liked the Quick Curve ruler and the mini Quick Curve ruler. The Wonder Curve ruler does those nice petal shapes, but I didn’t feel the love quite as much with this ruler. It could be that it was new to me and I only had a block pattern for directions. I didn’t watch the Live demos.
I am interested in seeing what patterns the SKOW team produces. I wouldn’t make or put the Rock the Block sampler together like they did. I didn’t think the design worked, though the individual blocks were appealing. You see the sampler top finished in a video at minute 5:30.
Rock Star block in process
This block, after cutting the petals and putting the individual units together is a regular 9 patch. I thought about making a quilt with these blocks, but it doesn’t have enough appeal at the moment to make me do it. I do like the way the center layout makes the block look woven.
I am pretty impressed with SKOW, in general. Their rulers work well.
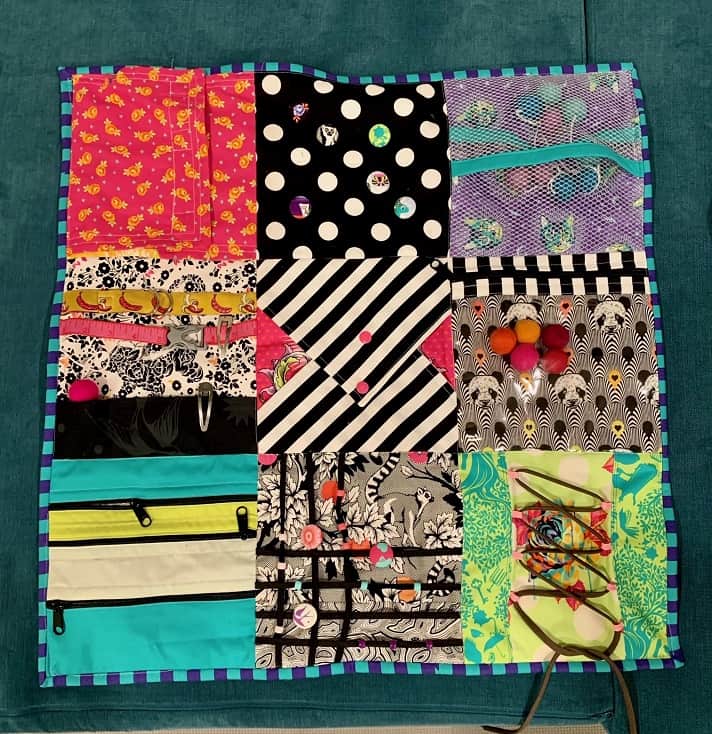
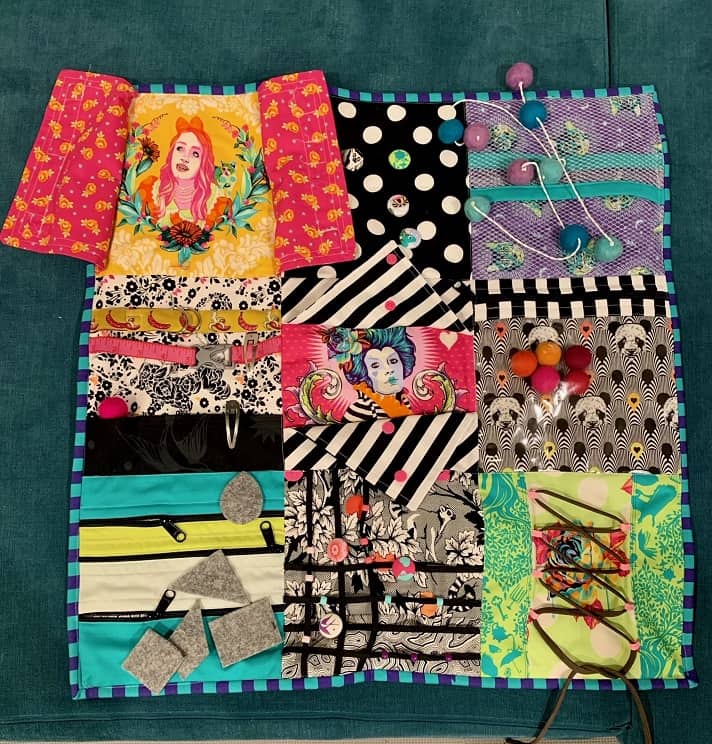
Lindsay sent me a picture of the ‘Busy Quilt’ she made for her toddler (my baby friend). What a great idea! It’s a really good idea for a baby gift if you want to make a gift for later – or you don’t get around to the gift until the baby is one.
It also reminded me of the Fidget Quilts that BAM made for people with Alzheimer’s. Lindsay’s, of course, is much more vibrant. The Tula Pink fabrics make the piece visually interesting.
There are also some differences. In the middle, there are clips to move around that section. This is something to watch out for when making it for a patient or a toddler. Nobody wants the recipient to choke. I am sure Lindsay knows Baby A well enough to put the clips on when she is old enough.
The bottom middle has woven yarn or string with beads and buttons to move over the yarn. There are also laces, which make me think of the Dressy Bessy-update pattern I bought. I never made it for my niece. Now, perhaps, I should make it for Baby A?
LFL’s Busy Quilt – front excite
Lindsay also used mesh to good effect. The bobbles are a great choice as are the Curiouser and Curiouser faces.
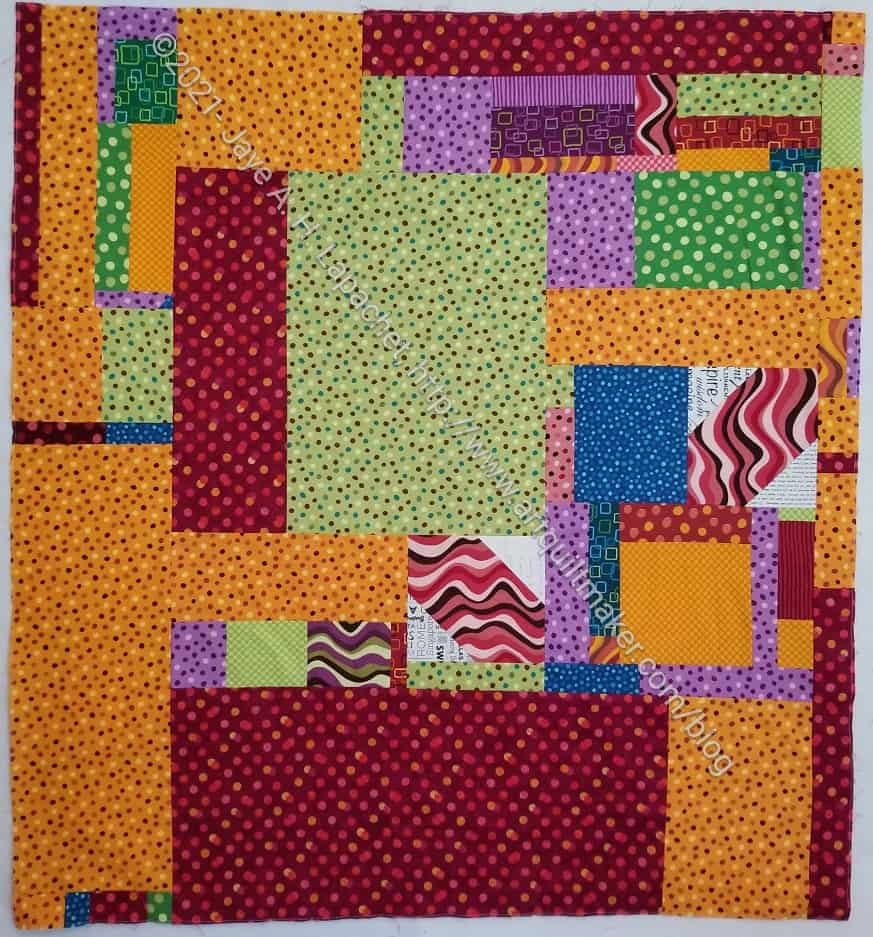
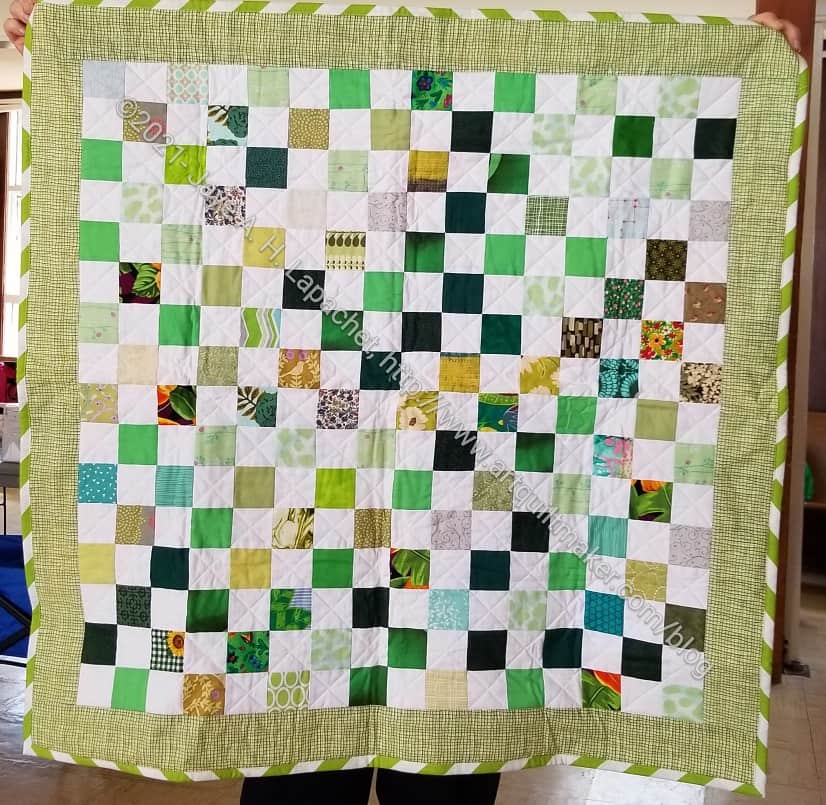
This top came about because I cleaned off every horizontal surface in my workroom holding fabric or projects. I found some random pieces sewn together as well as some Pop Parade yardage. I wanted it all gone except a blue (not shown). I started sewing pieces together randomly, using already pieced sections where I could. I had only two unused blocks from the X quilt, which was a shame, design-wise, but ok. I know that someone will like this quilt once it is finished and off to its new owner.
Pop Parade Improv Donation quilt back
My bonus is that I don’t have any random pieces of Pop Parade laying around. I did like the motifs, but didn’t like the colors chosen. I’d love it if they would reprint this fabric in clearer colors. I often think that.
We are now handing in donation quilts at Sew Days, so I will give this to Peggy the next time we meet.
Some time ago I made an inspiration board. At the time I liked it, but for the last several months it has been getting on my nerves. I need a cleaner look throughout my workroom.
The other day I got out some tools and the fabric I bought on the trip and went to work. I redid my inspiration board as one piece of the effort of redecorating my workroom.
Refreshed Inspiration Board
It has a much cleaner look and is much less exuberant. I’d like to get a frame, paint it white and hang the inspiration board in that. I’ll have to go look at thrift stores and that is one of my least favorite activities.
Inspiration Board with Buttons
My old inspiration board was blue with dots.
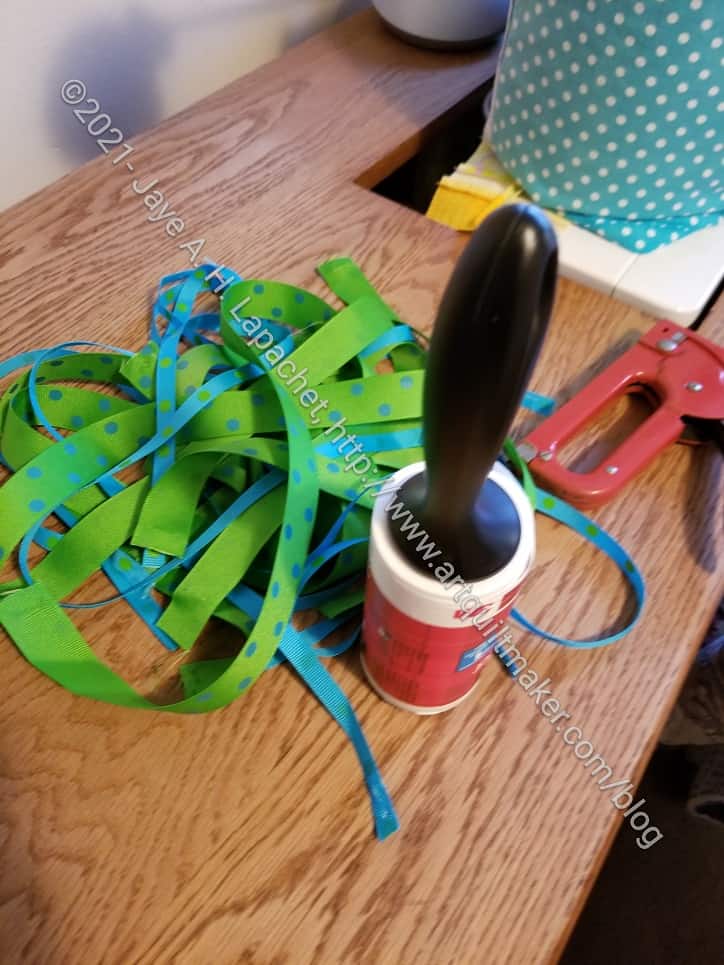
Inspiration Board tools
I reused some of the ribbon, because it was nice. I saved all the buttons as there was nothing wrong with them. Also, some of them are special.
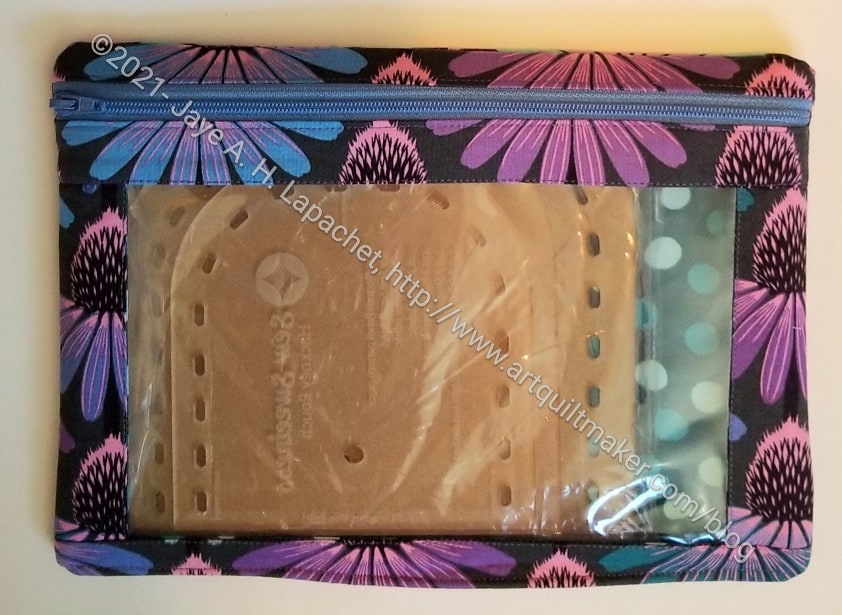
I made some I Spy pouches for my various templates. The I Spy pouches are from Sara Lawson/ Sew Sweetness’s Minikins Season 1. These are not difficult and there are a number of designers, including the Road Trip bag from Crafty Gemini, with similar patterns. I like this pattern, because mostly you don’t sew on the vinyl.
Small I Spy Pouch
My idea is to put my acrylic project templates in these pouches. Many people have told me that it is silly to make these for my templates, but for now I am making them anyway. I like the idea of seeing my fabric in use. It makes me happy. I may stop at some point, but for now I am making them.
I thought the small pouch would fit my Falabella pouch templates, from Minikins Season 3, but it is a little small. There are several pieces of the acrylic templates and they are a little too thick for the small pouch. I think the medium might fit the Falabella pouch templates better. I’ll make either the medium or the large for these templates. In the meantime, they won’t fall out.
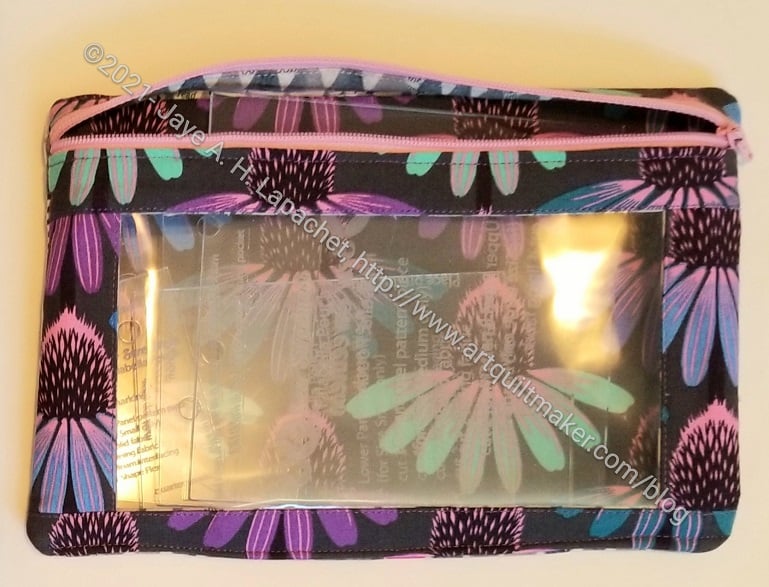
Large I Spy Pouch
I am also thinking about making some of these for my upcoming La Passacaglia project. I may need some larger ones for the EPP sections of the La Passacaglia project. I’ll have to see.
This large pouch is 10.5×8 inch and I think I might need an even larger size for EPP. I’ll have to see when the first installment of the La Pass instructions come out. It fits the Piebald Pouch acrylic templates very well.
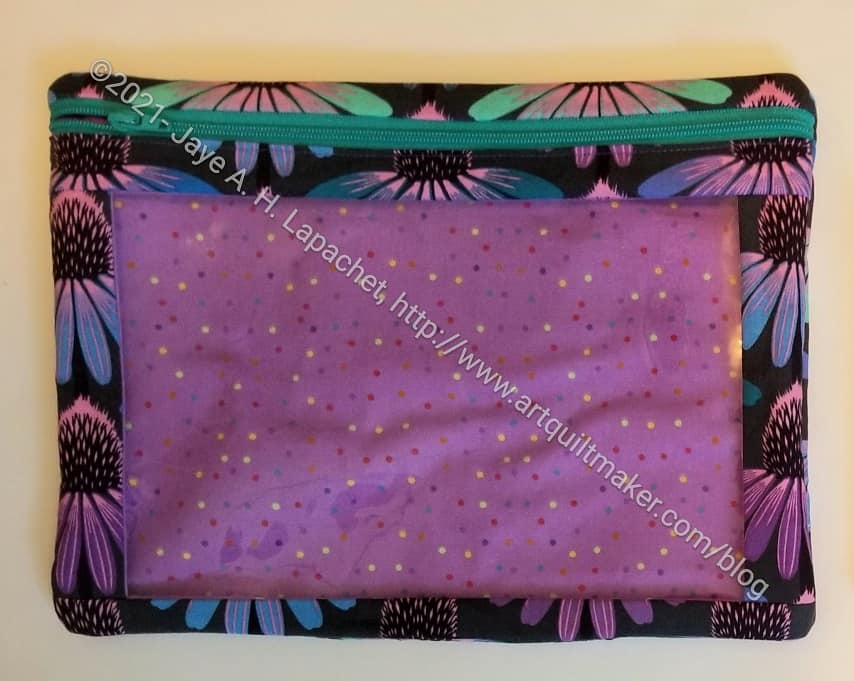
Medium I Spy Pouch
The medium pouch fits the Hackney pouch, also from Minikins Season 3, templates pretty well.
These are a pretty quick sew and very satisfying. If I had a bag in which to clip them, I could easily add a leash with a lobster clip to keep them in the bag. That is something to think about for another day.
As I mentioned, a dozen quilts were handed in at Sew Day which will go to the community organizations that the guild supports. Many were tops I had sewn in the past. I am glad they are making their way to Peggy and the Community Quilt team.
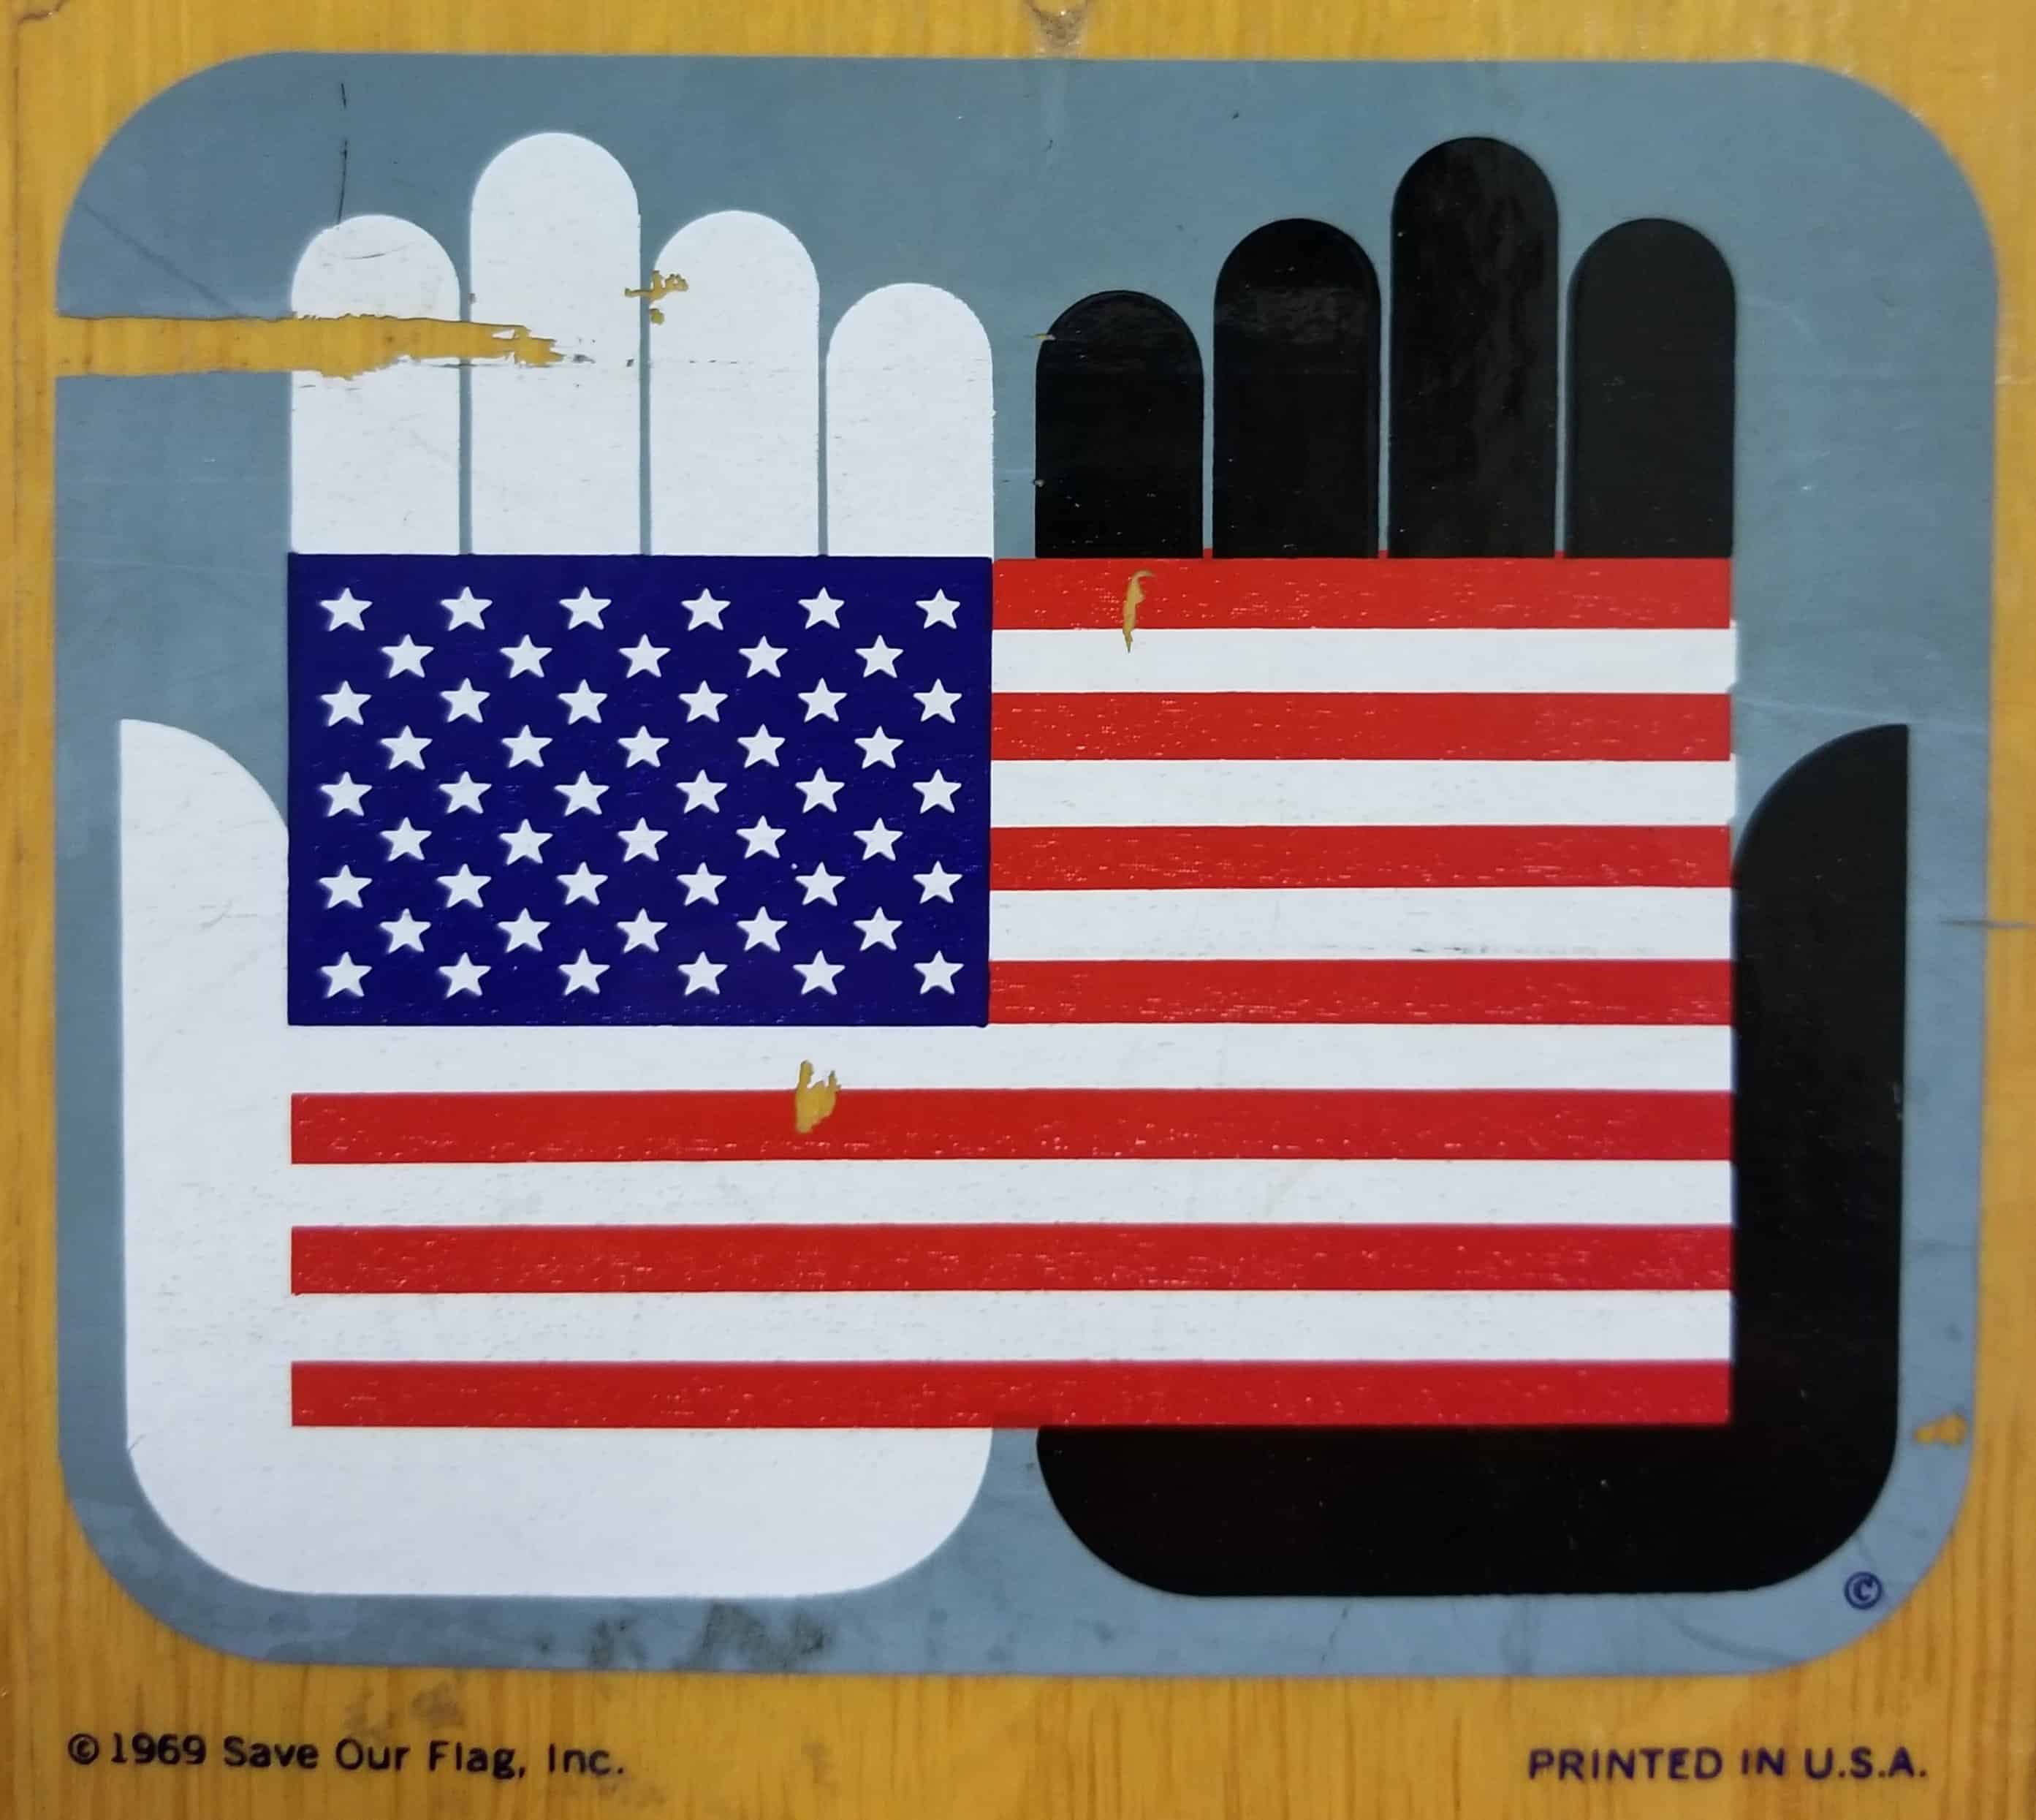
For those of you who celebrate, Happy Independence Day! For those of you who do not celebrate, have a great day.
Happy 4th!
My wish, again, for this 4th (although it is not a gift giving holiday) is that we return to kindness, civility and working together to make a better future for our children. I have wished this before for various reasons. Post pandemic, I hope it will be easier to incorporate some of these traits into our lives as a society.