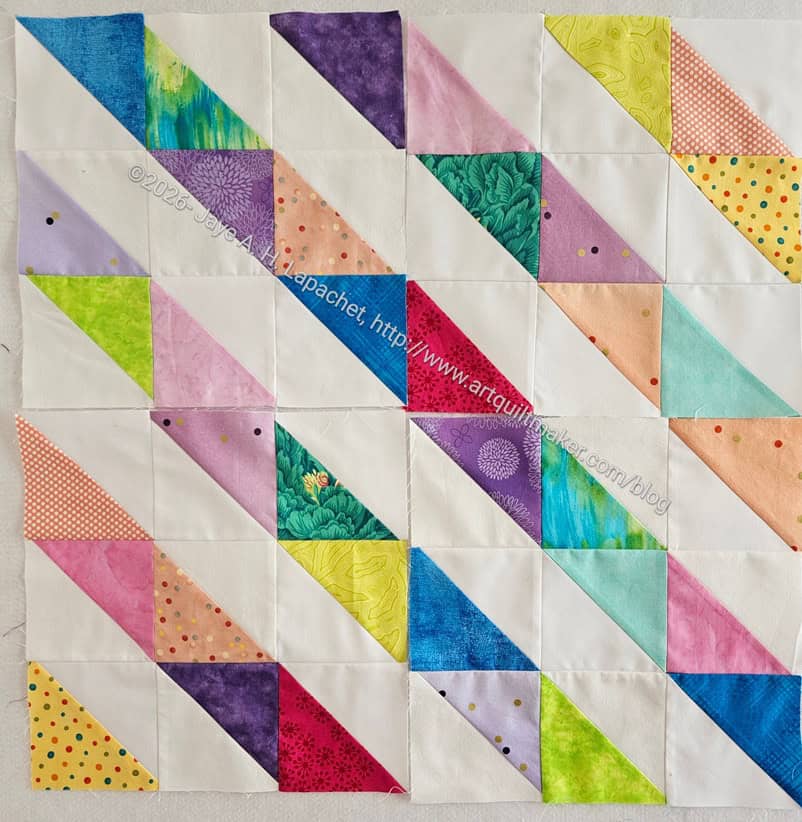
I finished the Pacifica Quilter’s Club Lucky Blocks last week. It took me longer than I thought, but I am pleased to be contributing to another good cause.
Commentary about works in progress, design & creativity
I finished the Pacifica Quilter’s Club Lucky Blocks last week. It took me longer than I thought, but I am pleased to be contributing to another good cause.
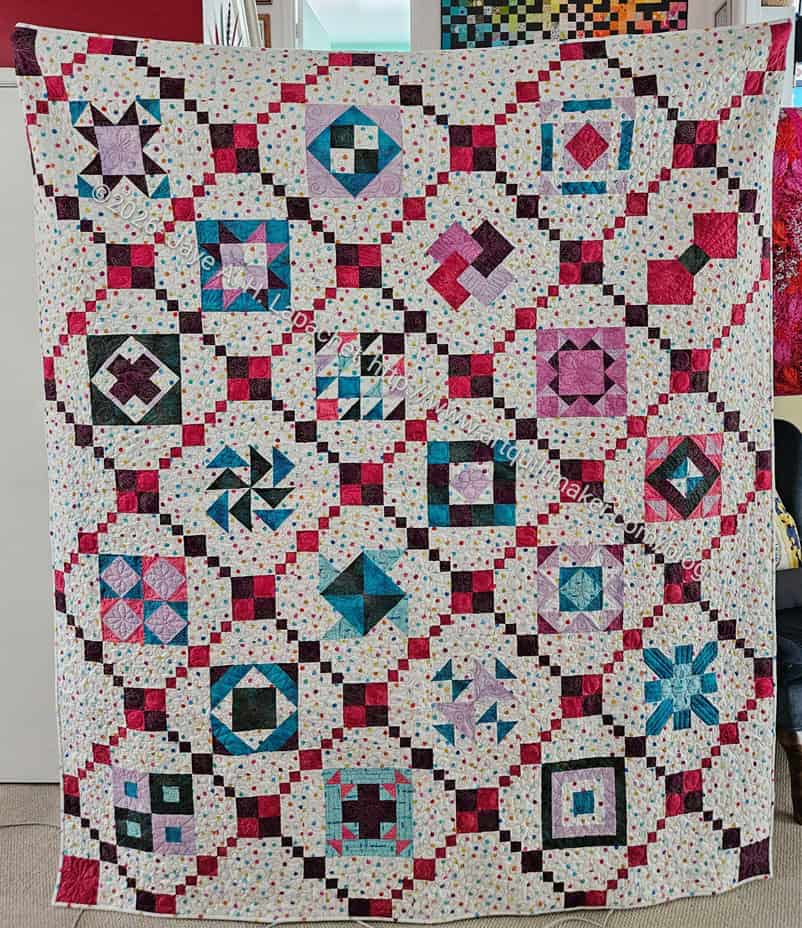
I finished the Patchwork Palooza top in January and now the whole quilt is complete: top, back, quilting, binding, sleeve. Done.
I am pleased with how I finished the edges. I think completing the diagonals looks nice.
There are blocks that I wish I had moved, but that will probably always be the case.
DH actually commented that he really liked this quilt. Maybe it will be a gift for him?
I will be entering this quilt into the Fair.
It must be some kind of record! I started this quilt on about September 6, 2025. Here it is, 6 months later finished. I am really happy and kind of stunned as well.
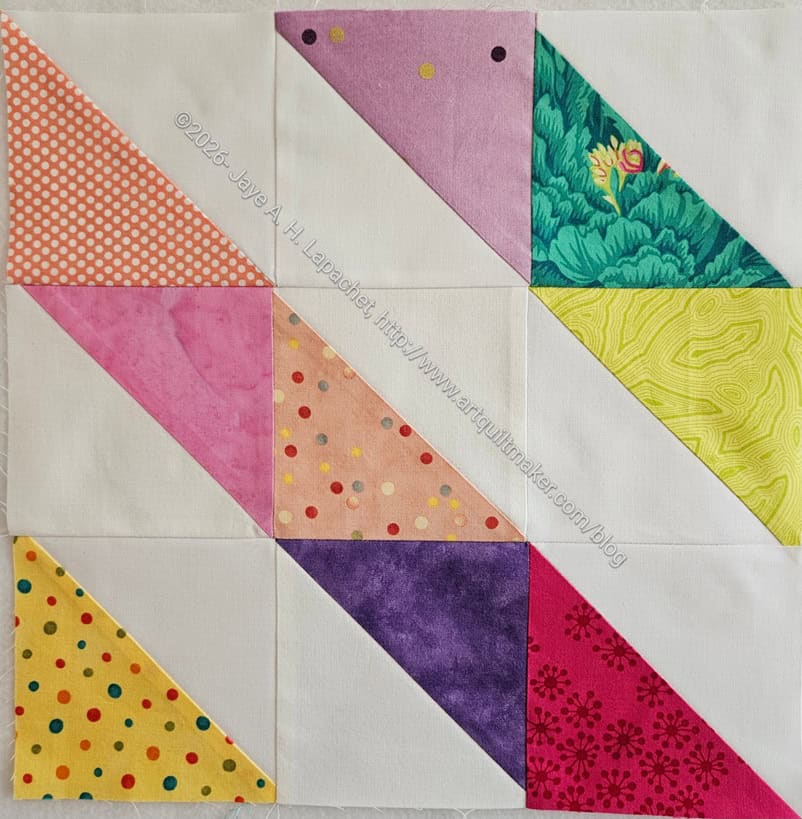
The Pacifica Quilter’s Club also has a donation block program called “Lucky blocks”. I missed the first round, but picked up the instructions at the last meeting. I have slowly been starting these blocks and over the weekend made some good progress.
I have to trim all the HSTs, so the work takes longer PLUS I am working on about 12 projects at a time.
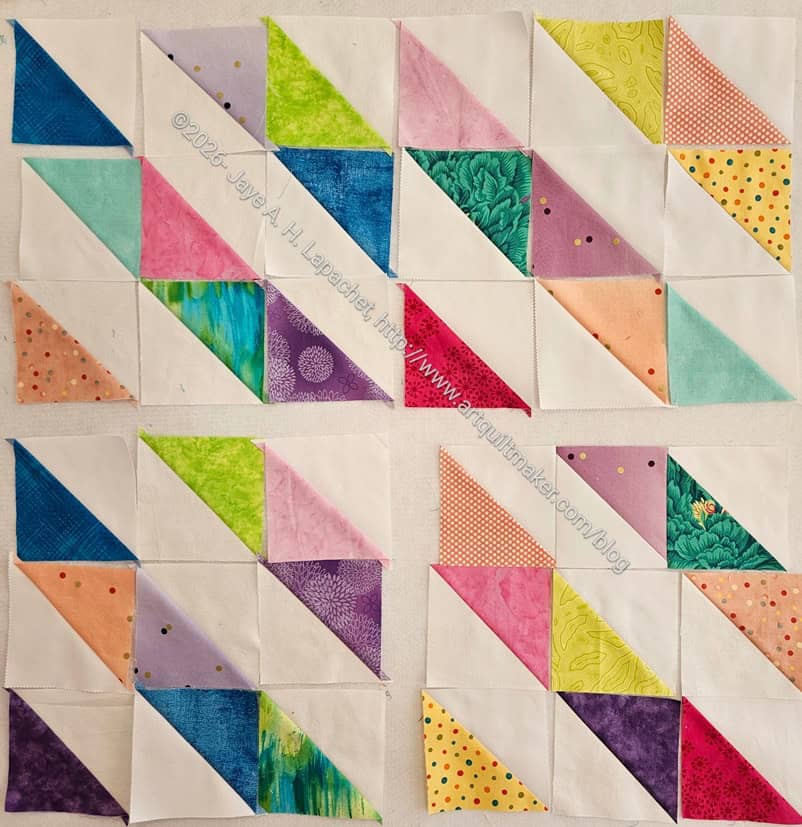
I accidentally cut 4 blocks. Either I didn’t read the instructions carefully or I skipped reading them. I made a bunch of HSTs and there were enough for 4 blocks. I’ll sew them together in time for the April meeting. If I can’t make it, I’ll drop them off with the coordinator.
I was able to use some 5″ squares I had cut from scraps for this project, which made me very happy. That scrap processing effort isn’t wasted!
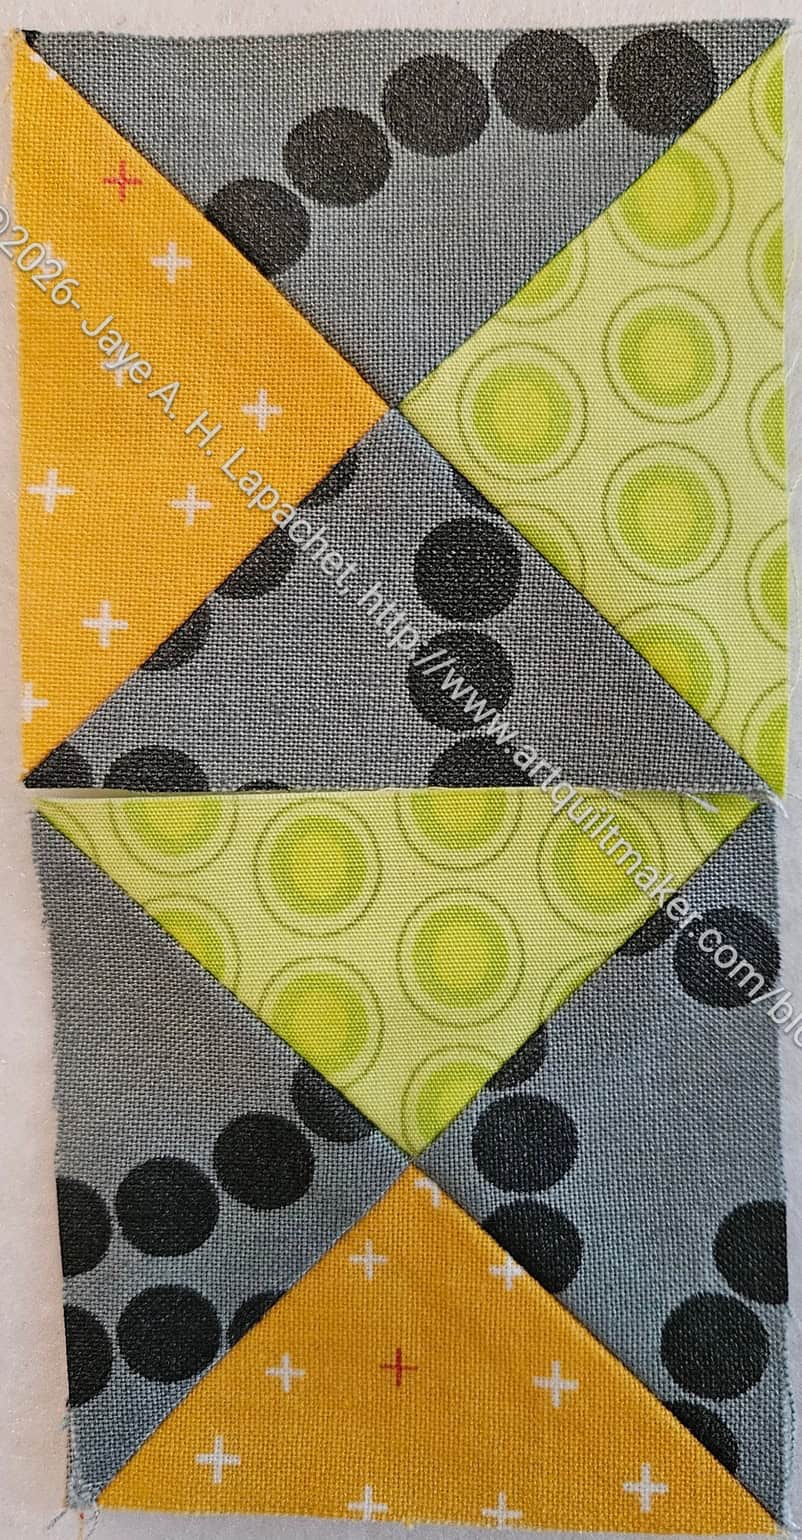
I found a tutorial for hourglass blocks. The Quilting Daily site also has a 3 color quarter square triangle (hourglass) block tutorial. I found these while reading the Love of Quilting magazine. They have a lot of basic tutorials. I decided to try it for my Bay Area Modern Block of the Month for March blocks.
The tutorial includes a 1.5 minute video with jaunty music.
I made two first just to see what I thought of the technique. I thought it was fine and something different, so I cut some squares and went to work. I went a little crazy and made quite a few QSTs!
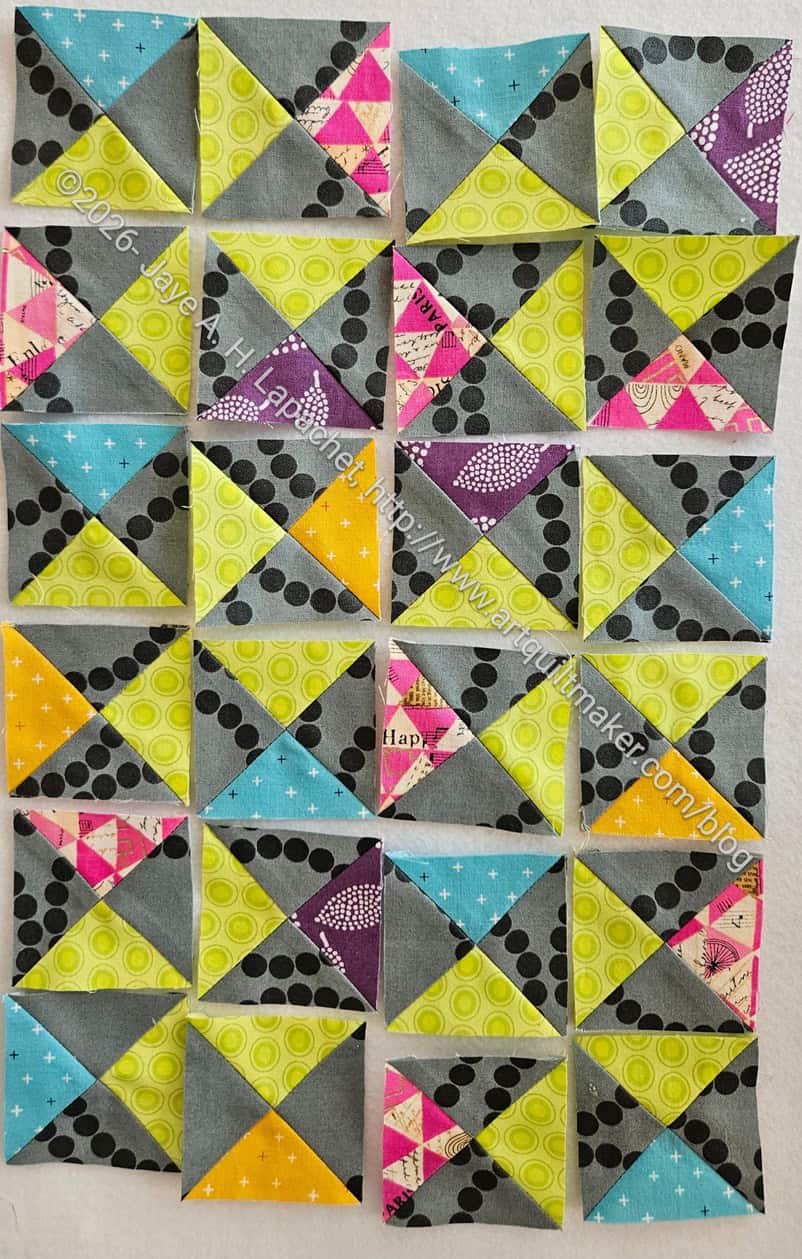
As I was laying them out I realized that I could make pinwheels since I used the lime green in all of the blocks. I don’t know that I’ll do that in the final layout of the quilt, but it was kind of fun to see what such a layout would look like.
I just got a Technique Sheet from Studio 180 Designs for the Split Recs Ruler**. I love that ruler and may make some Elongated Hourglass units. Stay tuned.
**Obviously, you should shop at local quilt shops and small businesses. However, if you are too busy or can’t find what you need there, I use Amazon affiliate links and may be paid for your purchase of an item when you click on an item’s link in my post. There is no additional cost to you for clicking or purchasing items I recommend. I appreciate your clicks and purchases as it helps support this website.
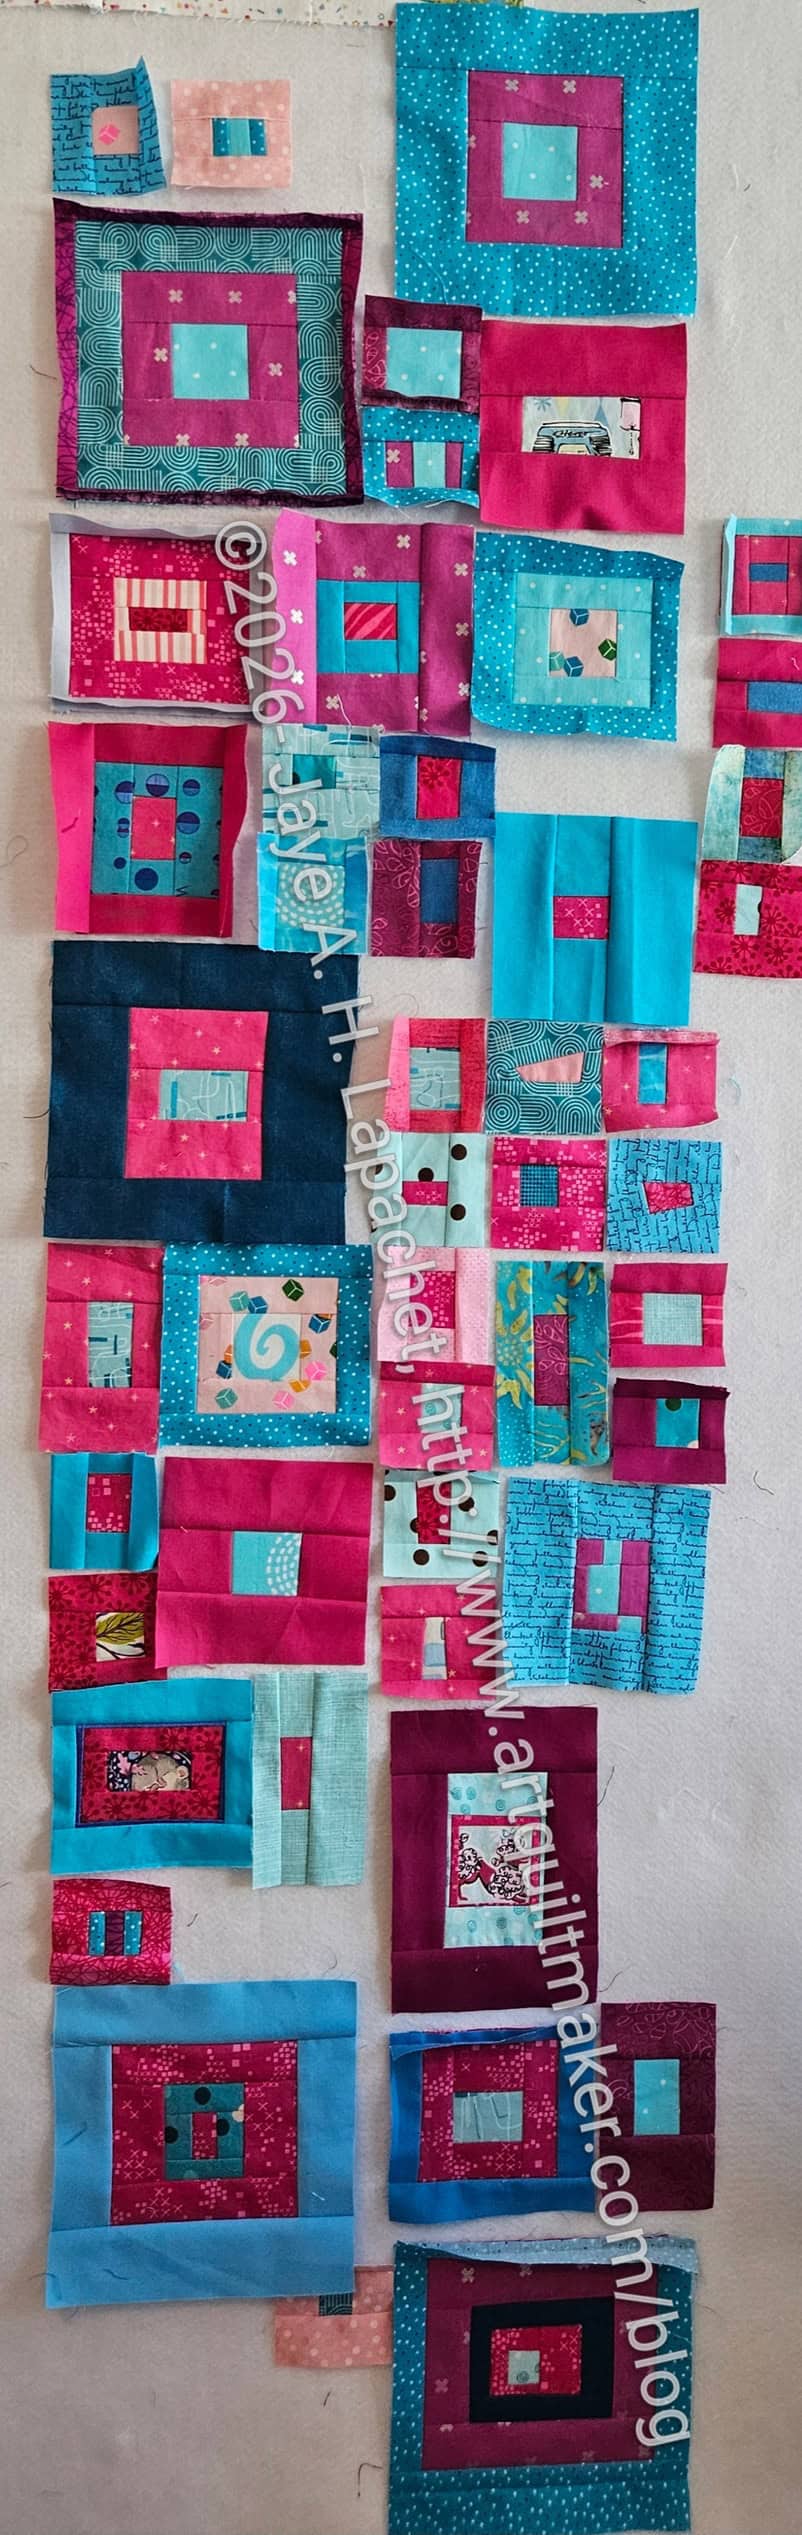
I have been working a bit at a time on more Mosaic blocks.
I think I need to sew some of them together, so I can figure out how many more I need and where.
I have added some more fabrics to vary the contrast and make each block stand out. A two color (ish) color palette can be tricky.
I have been working on making a ton of smaller (2.5 inch) blocks. Lorraine said we would need a lot of them. The size of the blocks I made after I got home from the workshop kept creeping up. I suddenly realized that I wouldn’t be able to put the thing together without more small blocks, so that is my current focus.
Friend Julie wrote a really good post about the workshop. She got some great photos that I neglected to take.
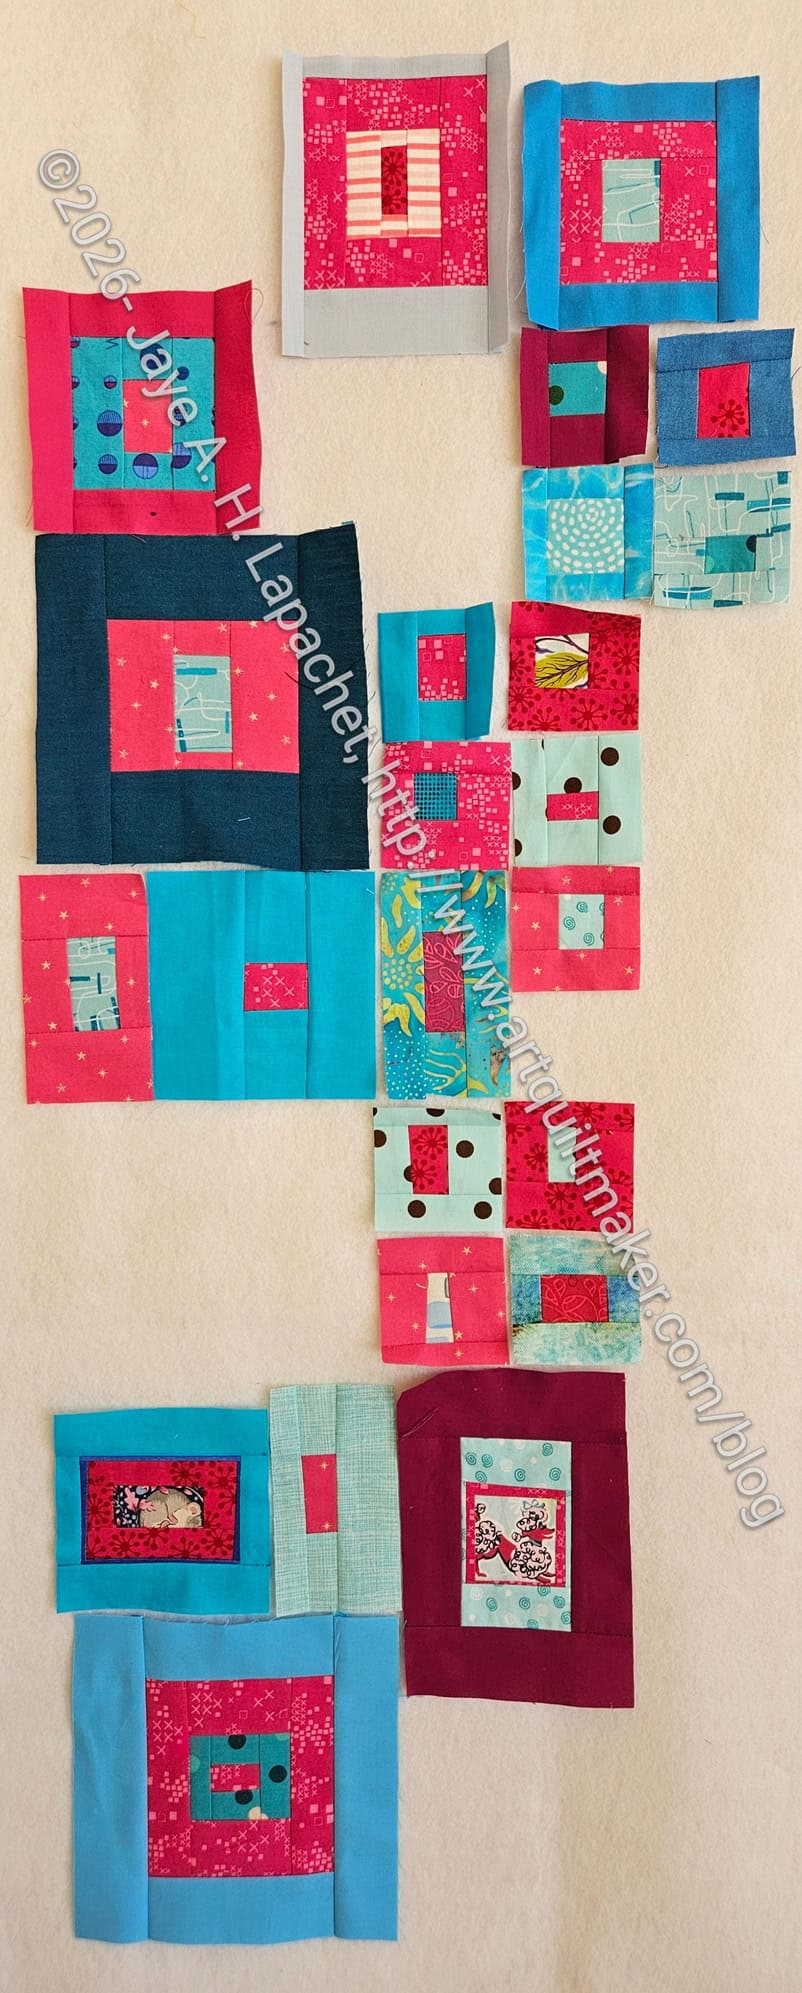
I spent Saturday with the guild and with Lorraine Woodruff-Long. The guild arranged for her to teach her 1-2-3 Mosaic workshop. I have to admit that I wasn’t excited, but I am pleased to report that I loved it. I created a lot of little jewels, which makes me very happy.
The photo, left, shows the blocks I made during the workshop.
After the workshop you end up with enough blocks (or almost) to make a 20 inch or 24 inch cushion cover. DDH has warned me off anymore throw pillows for our living room, but he has not said anything about table runners. As a result, I went into the workshop with the idea of making a spring/start of summer table runner for my buffet. Our buffet is probably our nicest piece of furniture and the top is still pristine. Anyway, I started out with the idea of making a tablerunner, which I will actually use.
As an aside, I am going to have to do a table runner inventory and see what I ‘need’. Thanksgiving and Christmas are well covered, but I could go for all the holidays and have an easy way to change the decor.
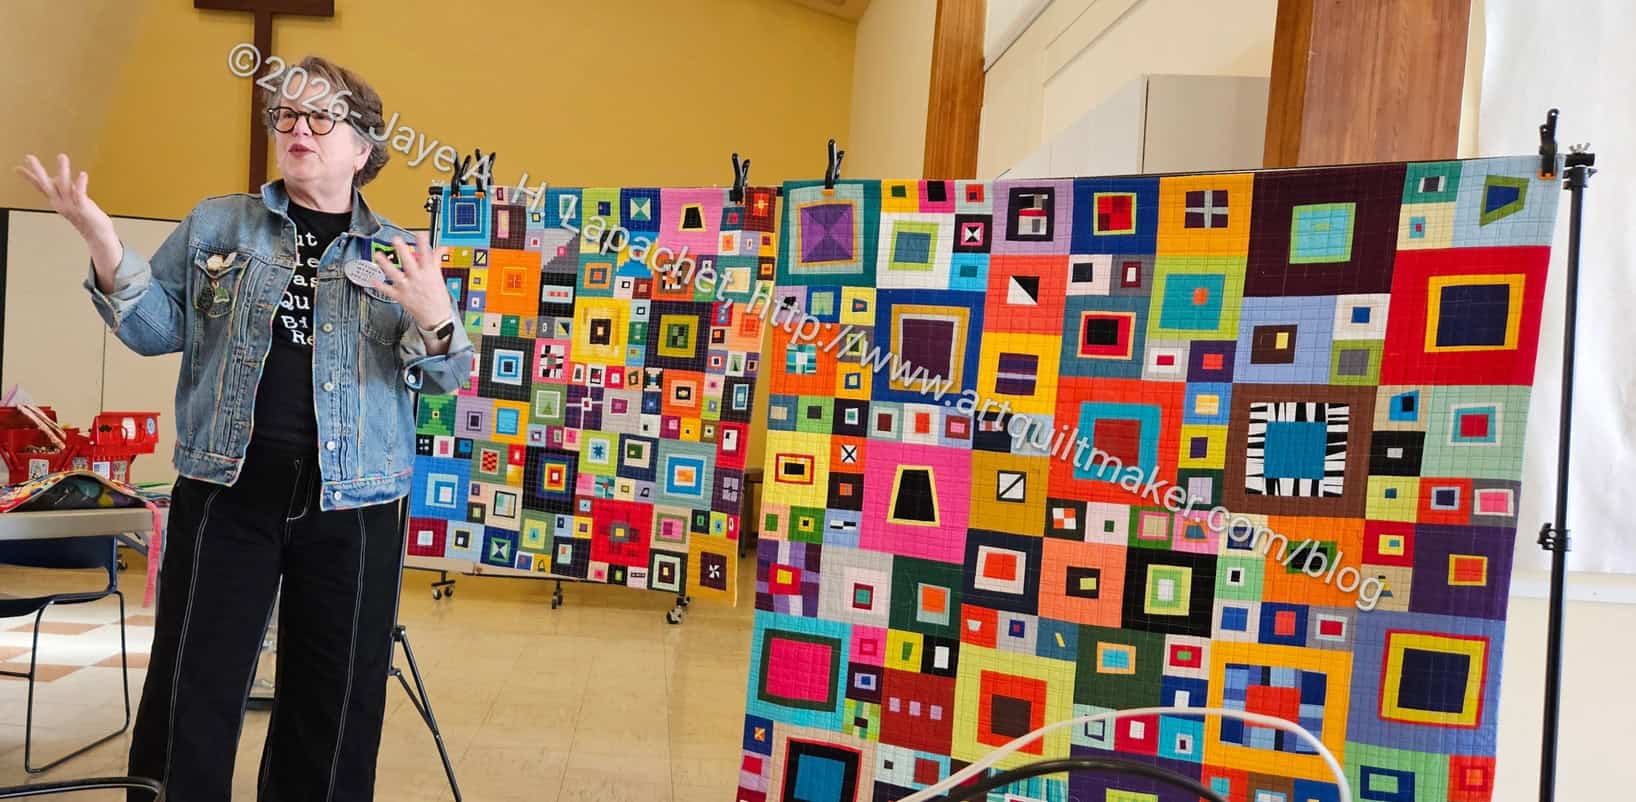
Lorraine did a nice job teaching.
She has clearly thought through the process and was clear about how to do it. I was super excited about the organization of the pieces to make the blocks. It is a game changer for chain piecing, no question. You really need to take this class!

Lorraine said there were no mistakes, because the blocks could always be enlarged. I found a way to have to use a seam ripper. LOL!
I actually just cut the fabric after I sewed the correct piece on the correct side. I didn’t use a seam ripper all day, though I could have.
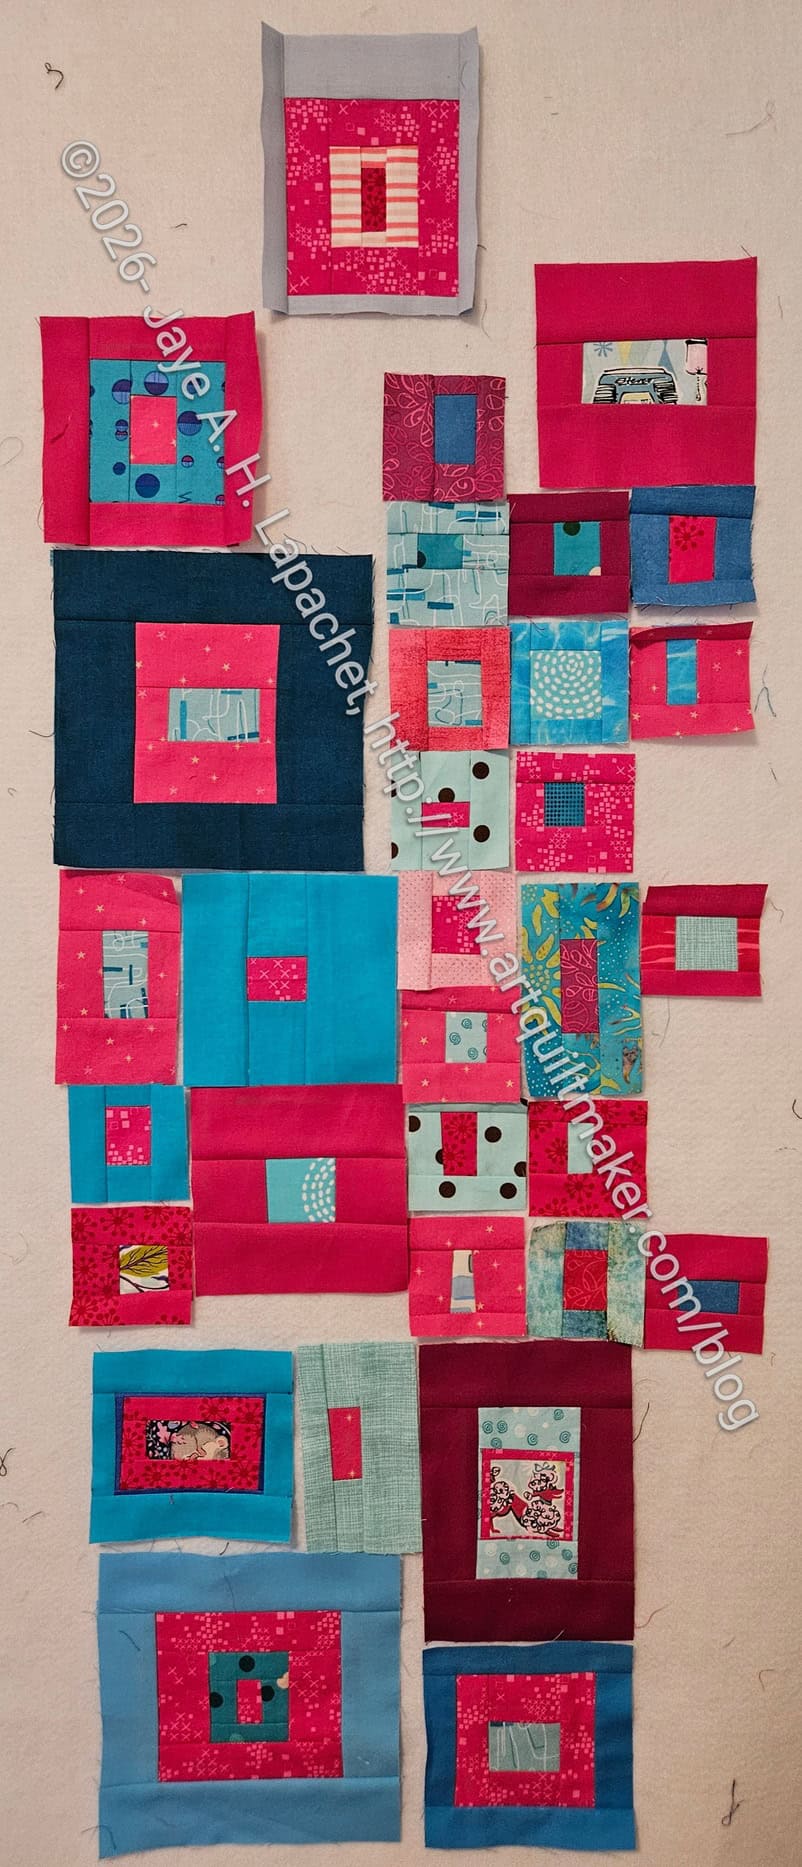
I sewed a third batch of blocks at the very end of the day, but didn’t press them until I got home.
This is about the width I will use for the table runner, but I have to make it about three times as long.
I might sew blocks I like together into chunks so I can move them around more easily. We’ll see.
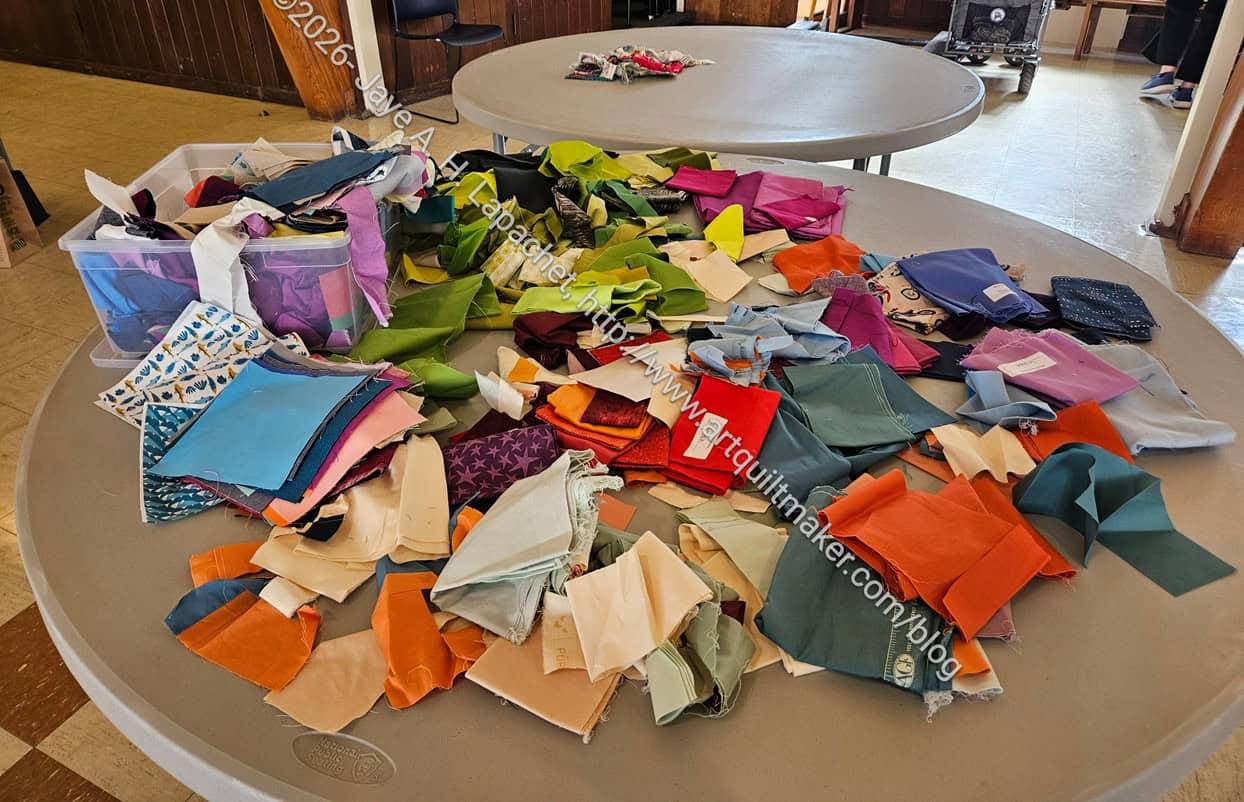
MaryC brought a huge pile of ‘scraps’ (some were half yards!!) to share. I pulled some blues and pinks from that pile, so right now the piece is made up mostly of solids and tone-on-tones. I have a couple of fussy cut motifs in the center of blocks, but I think I need to break up the solids and tone-on-tones with some prints on the outside of a few of the blocks.


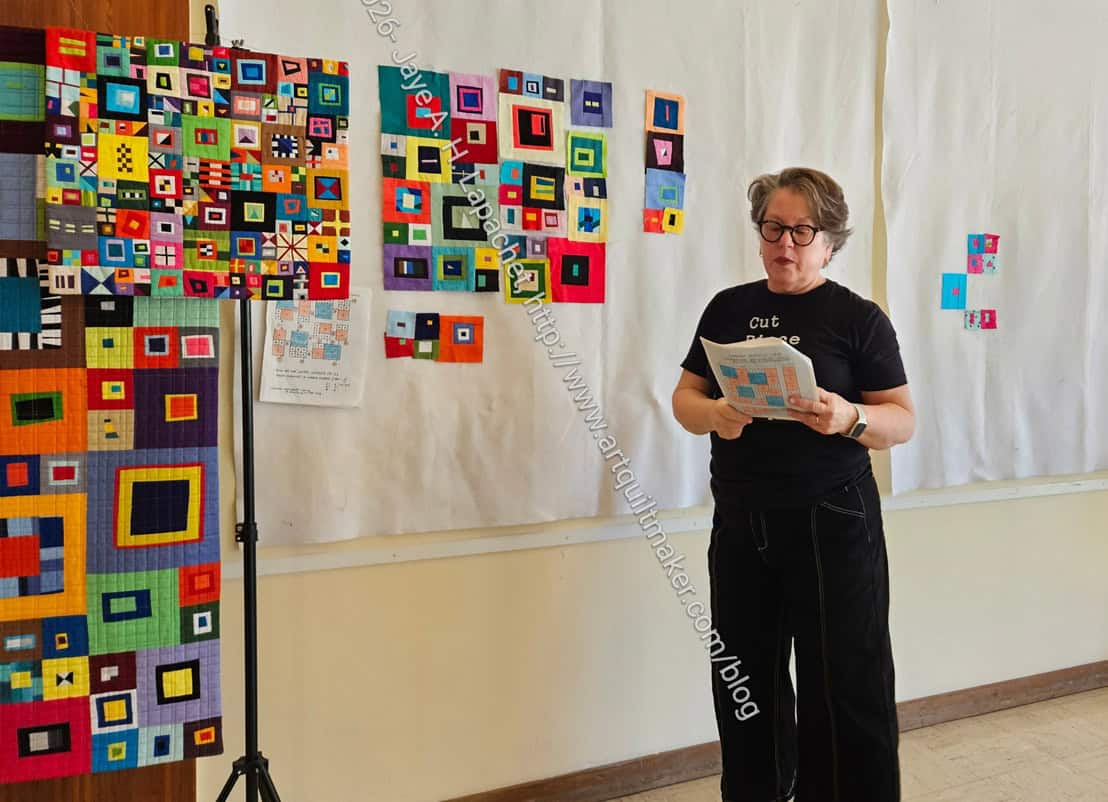
Above are a few of the blocks other people created as well as the first blocks that I made. Lorraine made an awesome video of all of us in her workshop. Check it and see how fun the guild is. You should join us. 😉
Copyright is only claimed on the photos. Permission is NOT granted to take any photos from this page and use them without permission. Designs of quilts and blocks are copyrighted by the creator.
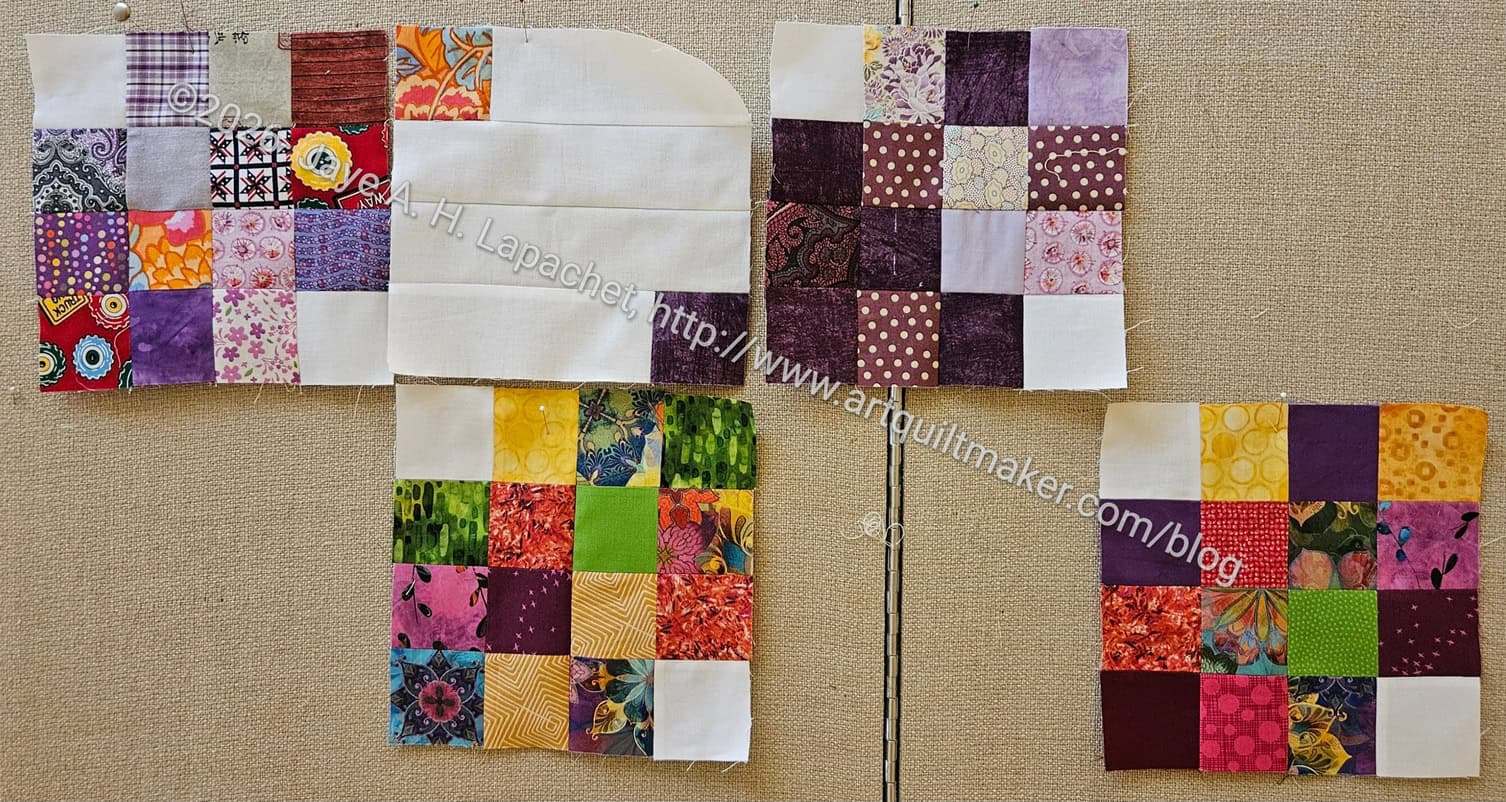
A week ago was the Community Sew Day at the Guild. After doing some pre-sewing, I also sewed another quilt using the same pattern at Sew Day. SueG sat next to me and followed my lead on sewing blocks my way.
Sue used her own materials, which was a lot better for precision. We sewed quite a few blocks, but Lee Ann took them all to sew together before I could take a picture.
I tried to keep the packs I chose in the same color family as Sue’s blocks, but I was really distracted and am not sure I succeeded. when I get a photo from Lee Ann, I’ll share it.
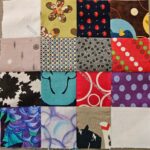
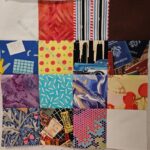
My preference at Community Sew Days is to bring a top (+back, etc) ready to be quilted and work on my own projects. Since I am now guild president, I decided I needed to be a good citizen and work on the project with everyone else. Still, I worked ahead to make some blocks.
I used 3 mini-charm packs and what’s left of my white fabric to make the blocks for the quilt top. I thought they would be incorporated with everyone else’s blocks, but I made the wrong pattern, so Sue and I put the rest of the blocks needed for a quilt together using this pattern.
I worked with the Community Quilts Team’s materials to start a second quilt and wasn’t as happy. I prefer my own cutting, so I know what problems I might encounter with cutting mistakes. I’ll go back to my original plan if there is another Community Sew Day.
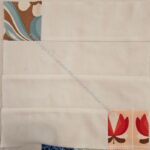
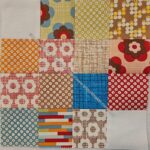
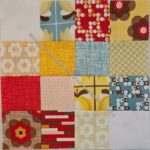



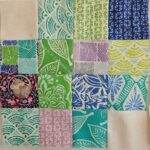


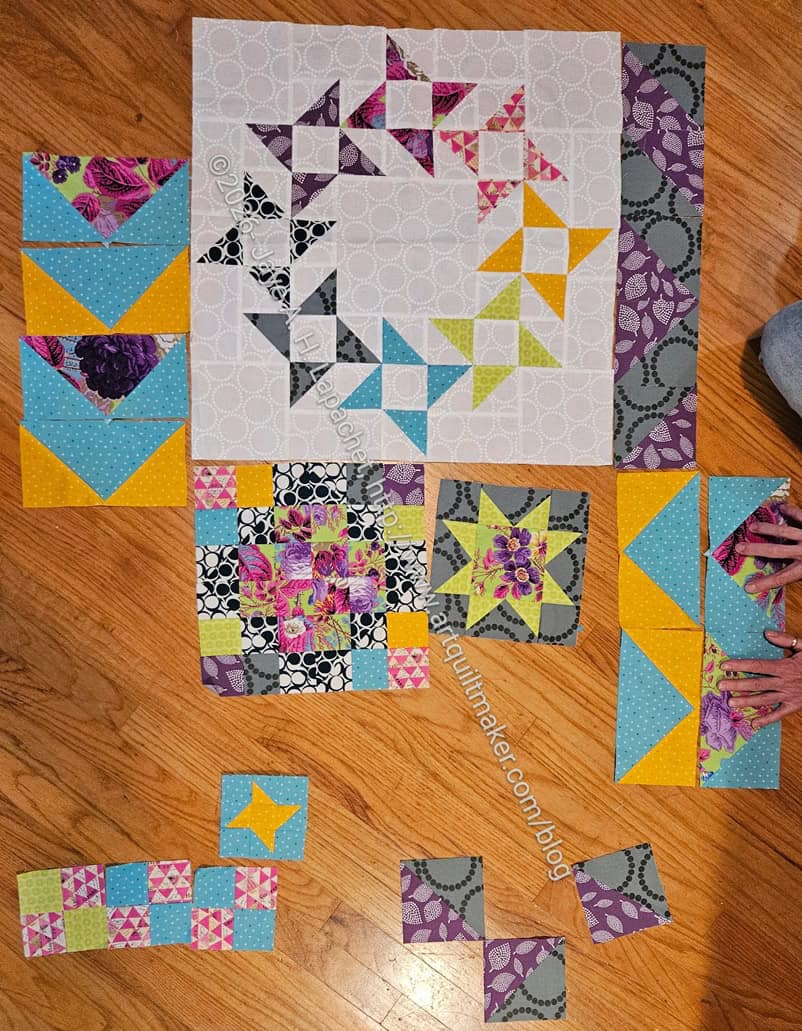
Lil Sissy was in town last week for 12 hours on her way to a sun, sand and scuba diving adventure. She called me a few days before and I cut her in on my day’s plans: museum, GF Chinese food lunch. Then we did some things she wanted, namely getting supplies for some jackets she plans to embellish.
Once we were back and my house she saw my BAM BOM blocks and I let her play with them. We used the ‘design floor’ (LOL) since the design wall was full to bursting.
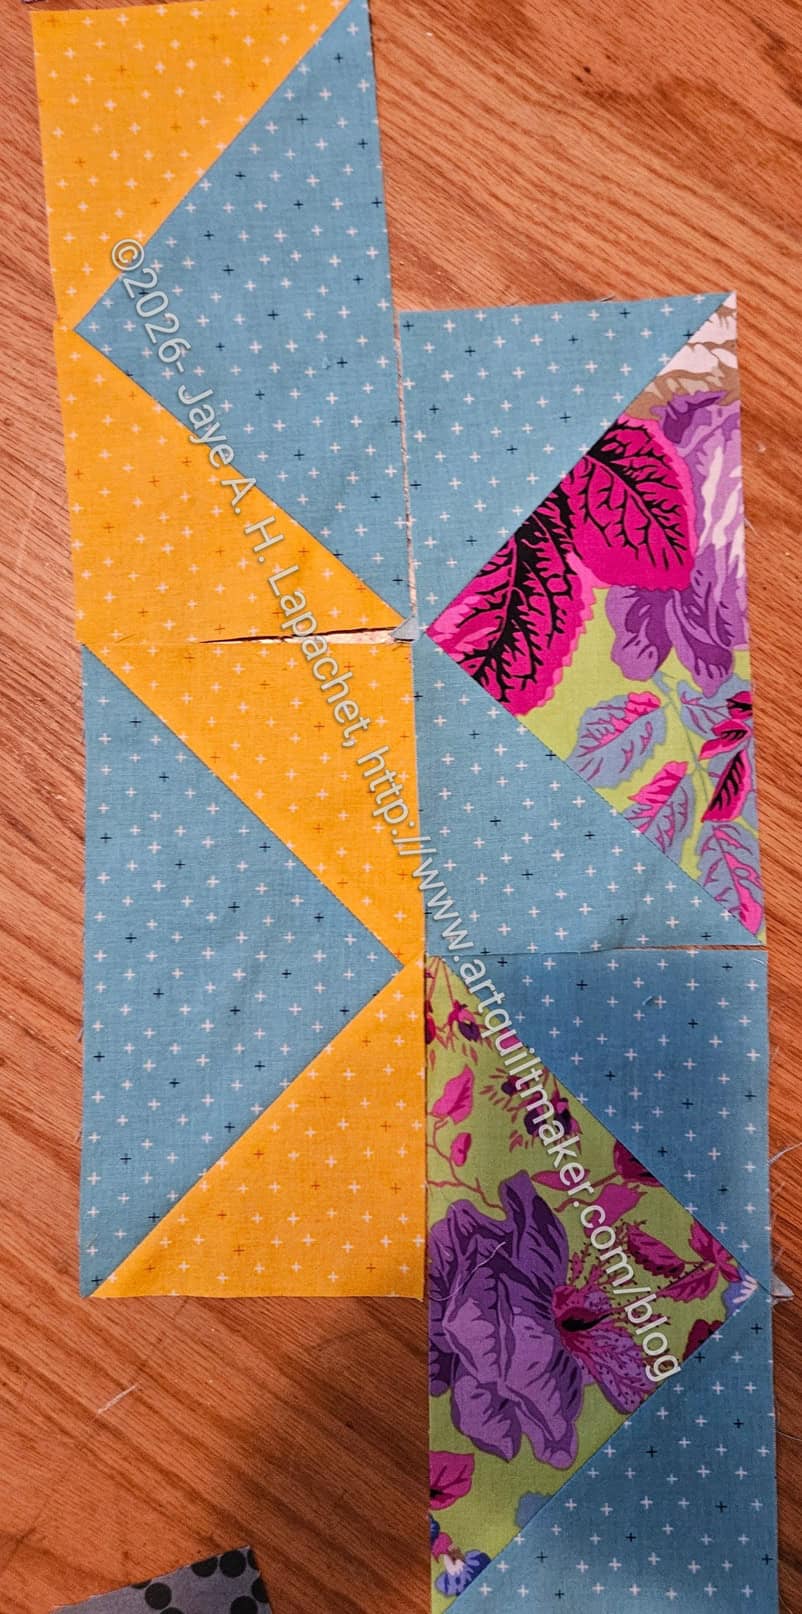
It is always interesting to have an artist who uses a different medium play around with quilt blocks. I laid them out in a more or less conventional way. She immediately saw diagonals in places I hadn’t noticed.
She wanted me to make a bunch more Flying Geese so I can really lean into the diagonals. I’ll think about that.
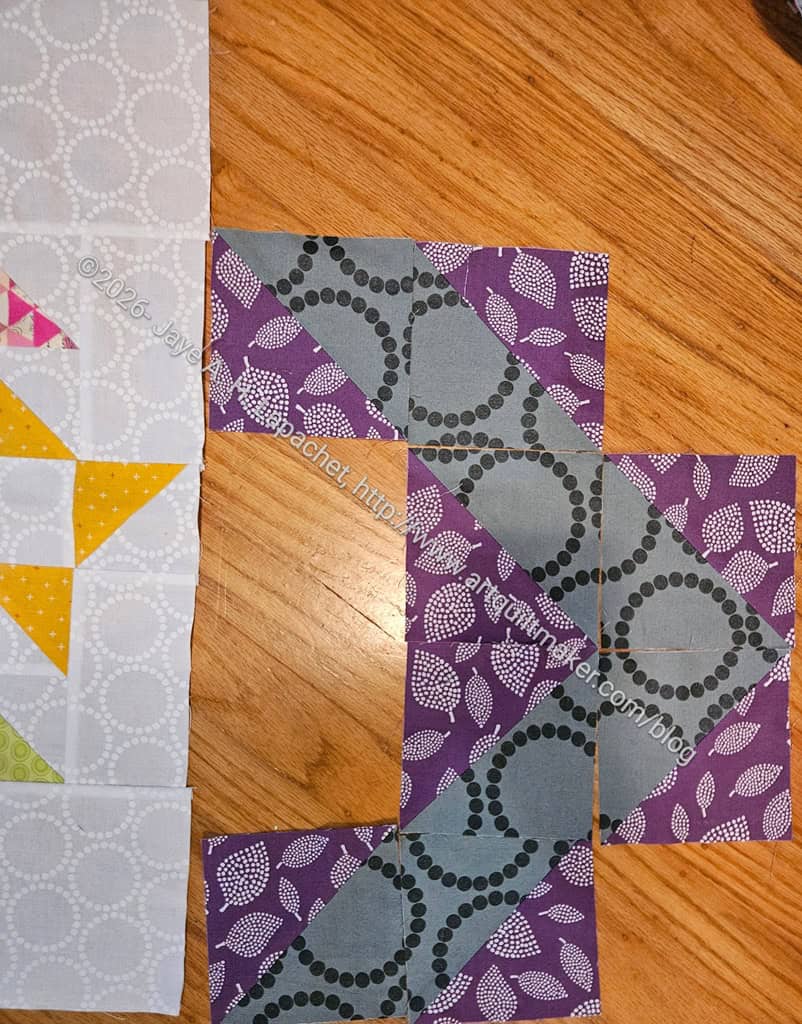
She also played with the Half Square Triangles (triangle squares) a bit. Again, she leaned into the diagonals. This arrangement has good possibilities even if I do have to make more HSTs. I think it would look cool to weave the diagonals behind the other blocks.
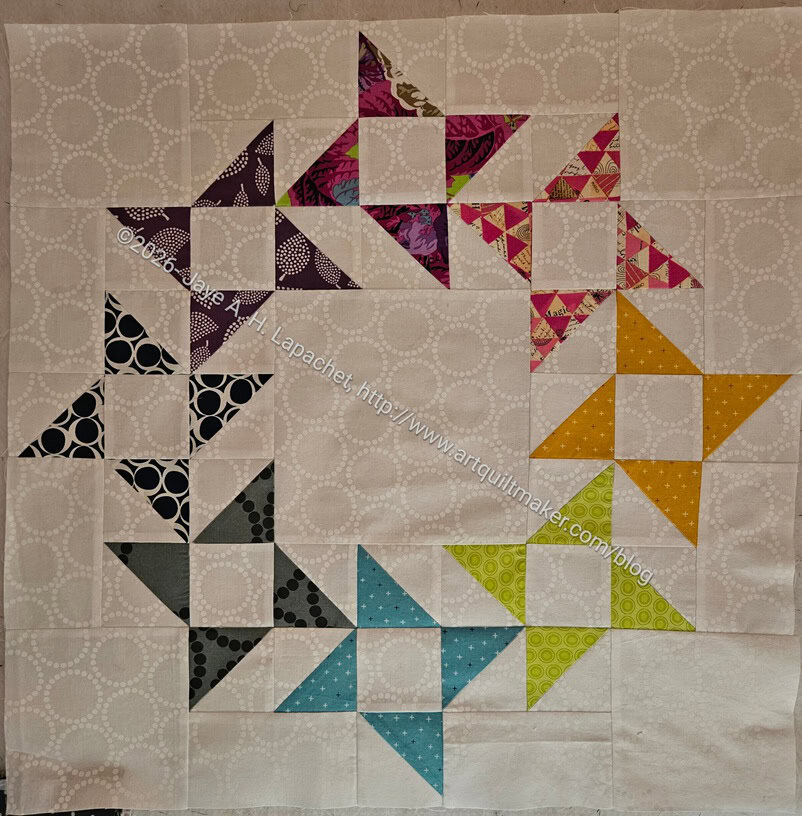
Finally, we talked about my big Friendship Star Wreath and whether I should re-make it with a dark background. She said no, but I might still do it. That white shrieks at me.
This block (for Month 3) took me a long time and I had some detours along the way. Finally, I finished it.
I am not 100% happy with it. I would have liked to use the grey Pearl Bracelets, but I didn’t have enough.
Using the white Pearl Bracelets as the background introduces another color of background into the piece and I had hoped to avoid using white for the blocks. Since I have not used white in any of the other blocks I have to figure out how to make it work.
First step: go see if I can find more grey Pearl Bracelets. Doubtful, but you never know.
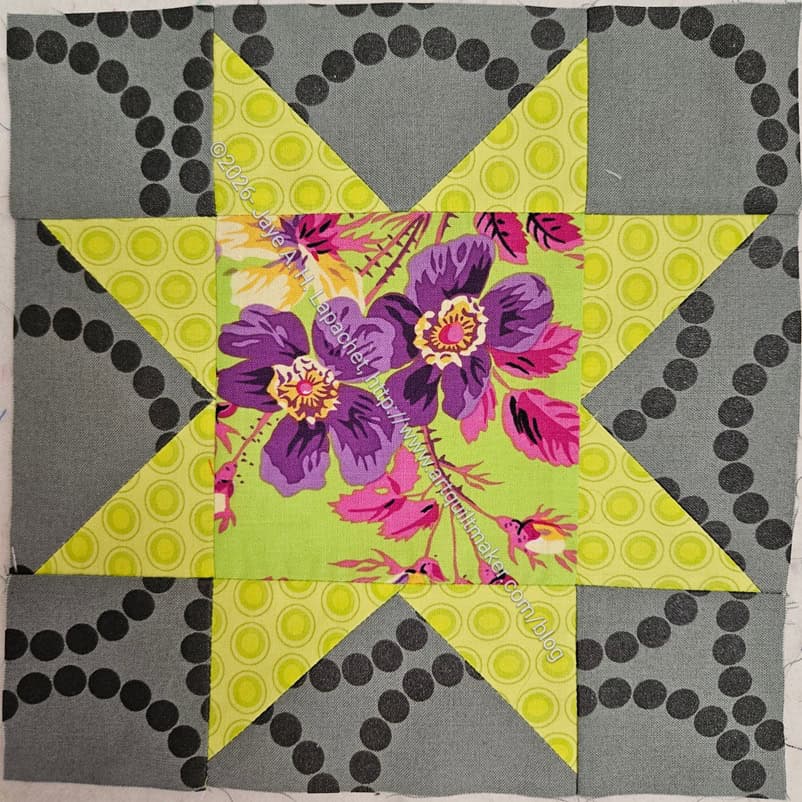
The next block in the series, which was announced yesterday is the Sawtooth Star. It is one of my favorite blocks, because it is incredibly versatile.
I am kind of just going with the flow when I make these blocks. I am using fabrics as the mood strikes. I’d love to use that grey Pearl Bracelets as my background, but I don’t have enough of it. I’ll have to do something about that as that is an old fabric and there is little chance I will find more. I’ll look in my fabric closet and see if I can find some. The yardage I have with my project materials came from Rhonda’s stash.
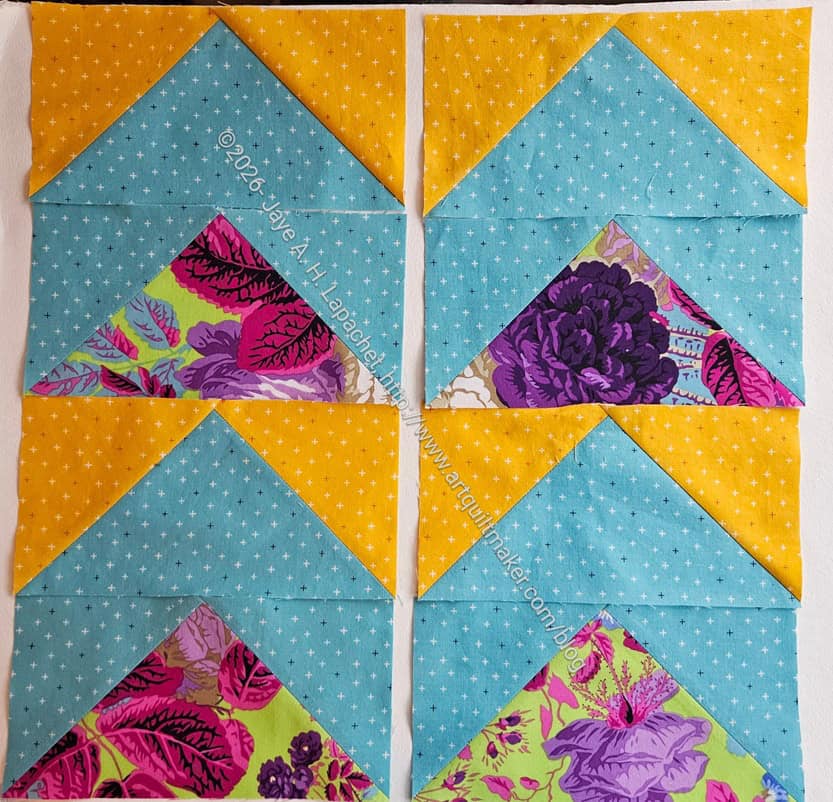
I made my Flying Geese the other day. I am not ahead of the crowd this time, but in time for the meeting next week.
I made 4 using the blue and yellow fabrics. I wanted the blue to be on the outside, so decided I needed to make a few more. Once I made the second set with my wonderful flowered fabric I realized I could make chevrons! Voila!
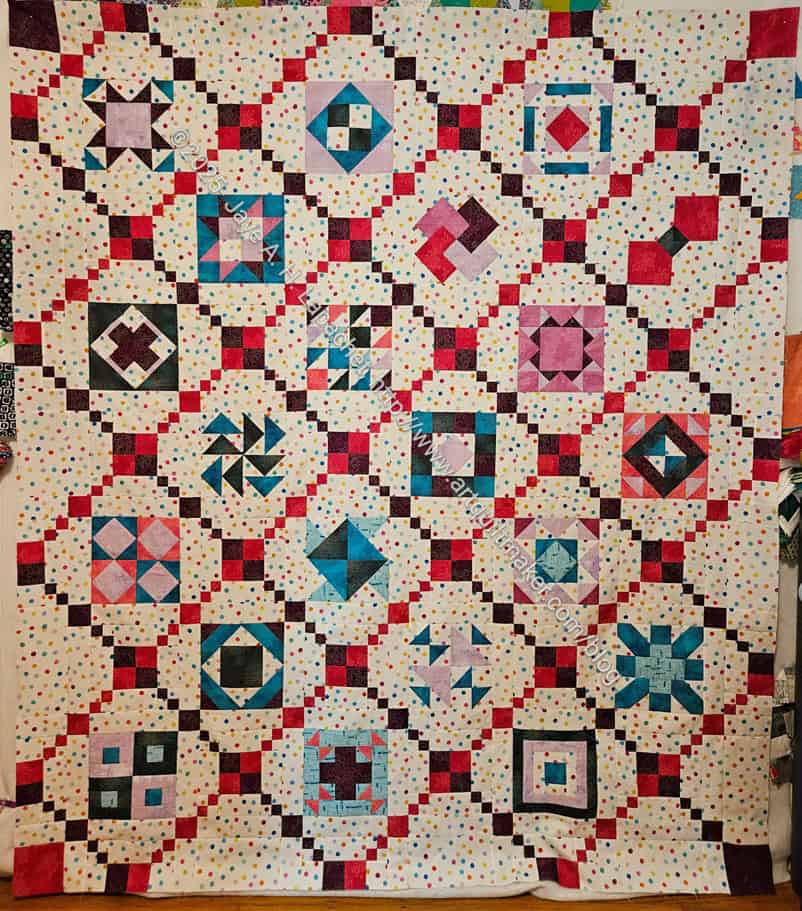
I finished the Patchwork Palooza top, back and binding last weekend and took it to Colleen yesterday. That is one project off of my overcrowded plate.
I started this project in September. I was late to the scene, but caught up. September-January isn’t too bad for piecing a quilt.
What I found annoying was that I had to receive a lot of marketing emails along with the patterns for the blocks. I don’t mind exchanging my eyes for a few marketing emails, but there were many, or what seemed like many, per week and it got old. I unsubscribed after not receiving the finishing instructions promptly and went my own way. I am pleased with the edge, which is comprised of ‘finishing’ off the Irish Chain bits of the design.
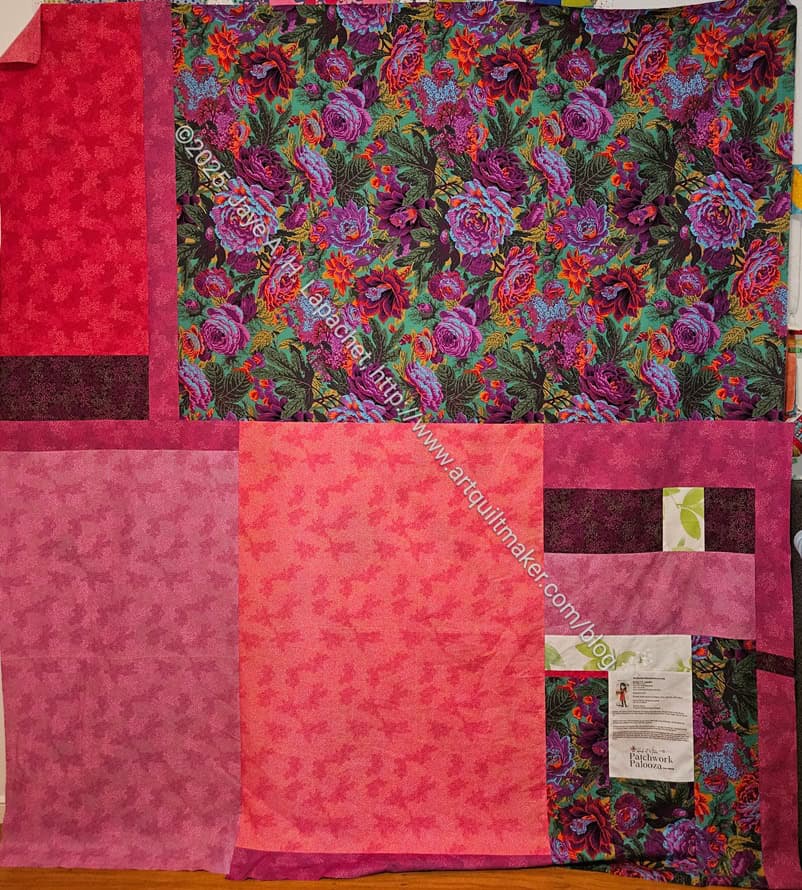
I made the binding right after I finished the top, which was a good move on my part. The back took me longer than I expected and I am sure I wouldn’t have had everything ready when Colleen contacted me if I hadn’t done that.
One thing I need to do is collect ideas for quilting as I go along or before I go to Colleen.
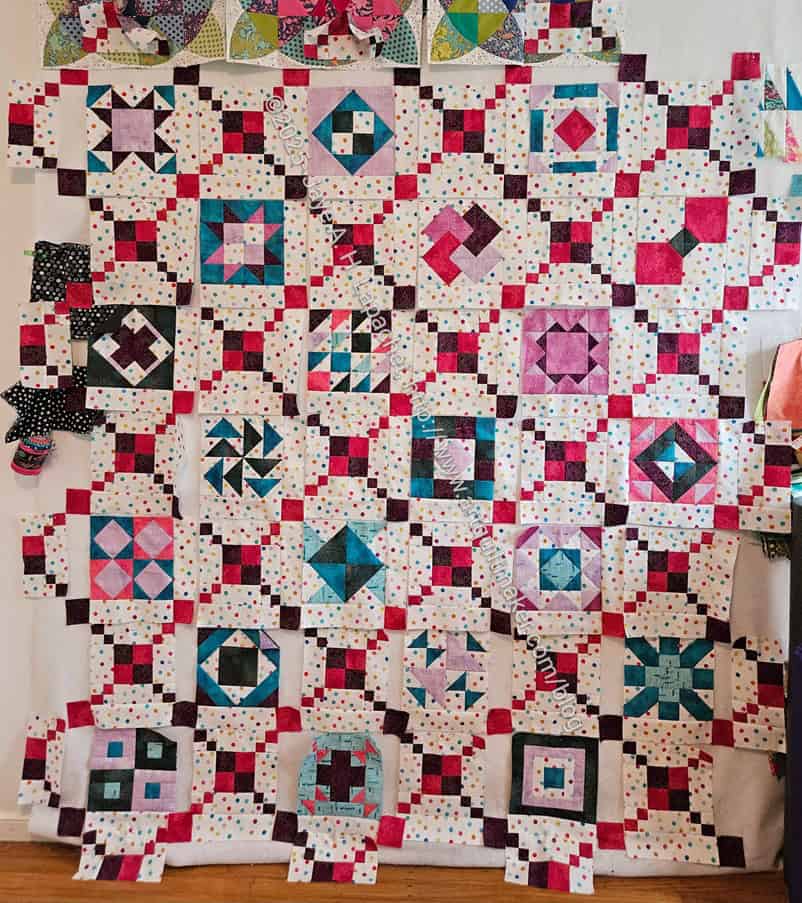
I have all of the Patchwork Palooza blocks as much as I can. I also have the half blocks made for the border. I am waiting for a little more of the Dovetail fabric to arrive, so I can finish it.
I am pretty pleased with how it looks. I may put some pink and plum squares in the corners when I put the border pieces on. I’ll check to see how that looks.
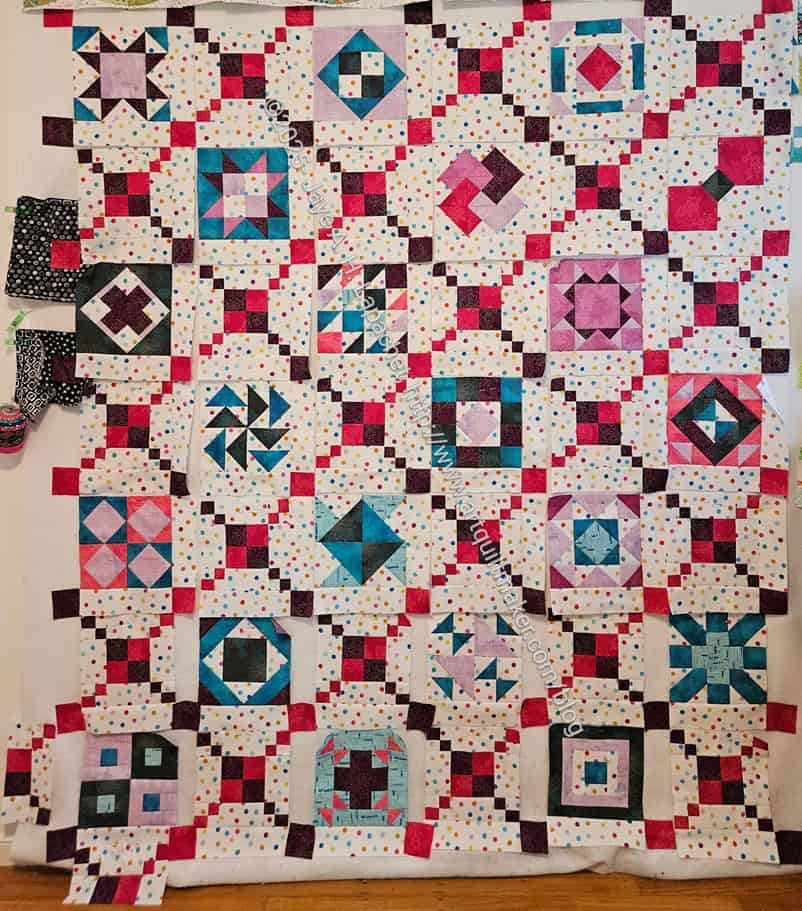
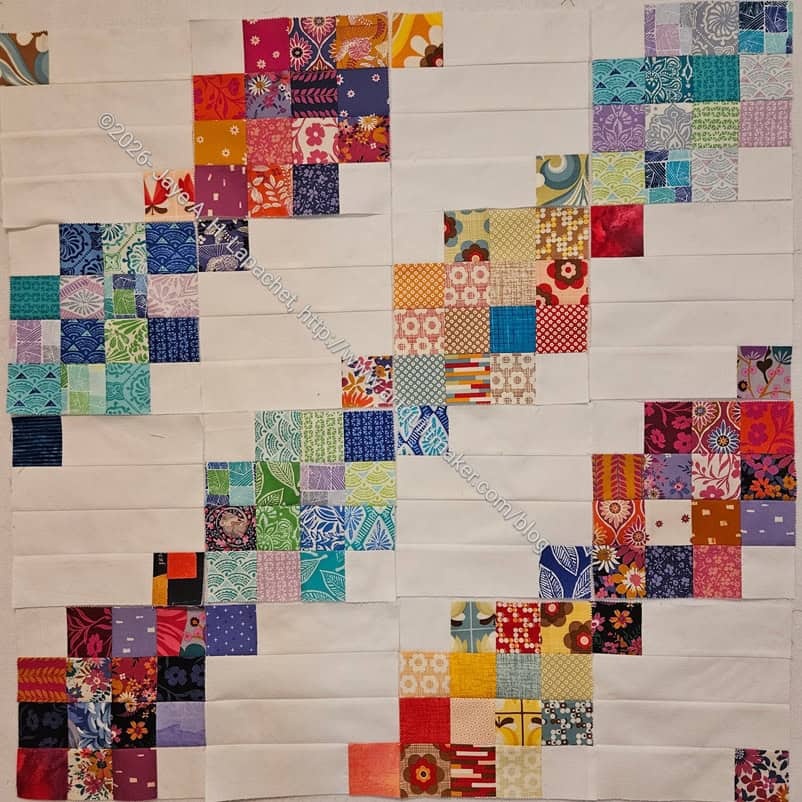
I spent some time assembling Patchwork Palooza the other day. I haven’t finished yet, but I am making progress and I enjoyed the process.
I wasn’t sure about the sashing, but think the blocks needed some space between them. Some blocks, where I used the background fabric as their background, are floating now, which I think looks nice.
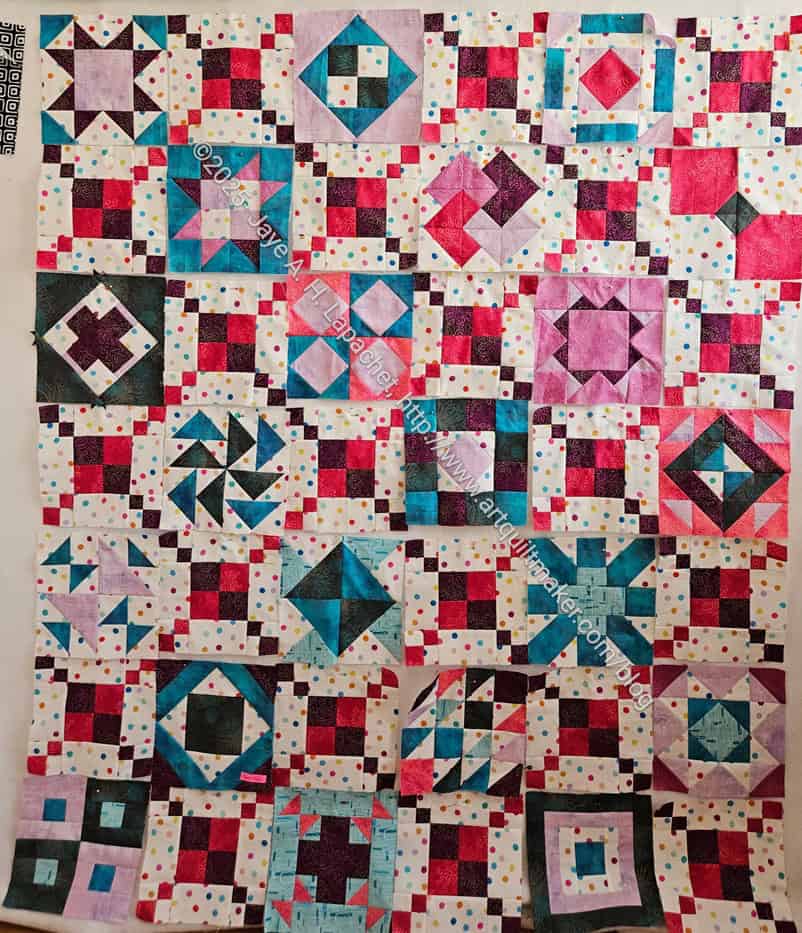
The blocks looked very crowed when I put them all up on the design wall right next to each other. Now
I put them up according to the layout of the project. I changed around a few of them and may change a few more, but we’ll see. With the limited palette I used, it is hard to keep similar colors away from each other.
I also decided to finish out the Irish Chain effect. You can see what I am thinking in the lower left hand corner of the photo at the top. I took apart some of the extra alternate blocks and made them into border blocks.
Of course, I am not following the finishing instructions, so I am not sure how big it will be in the end, but somewhere around 72×84. A good size.