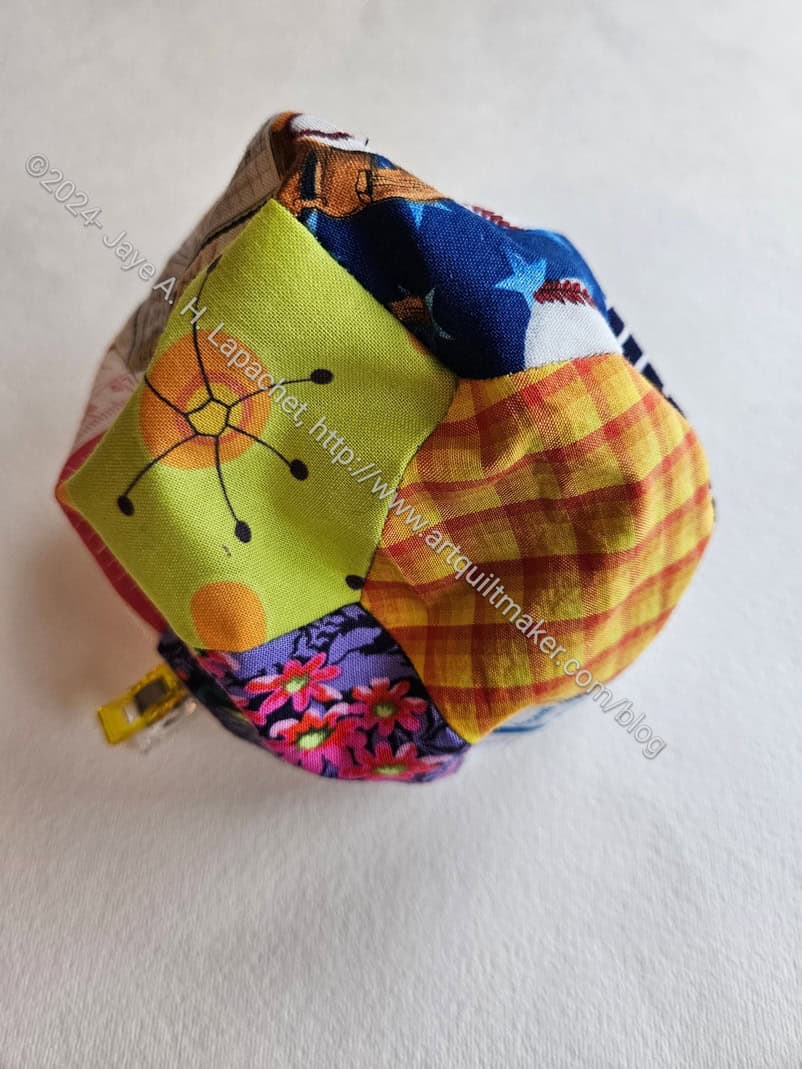
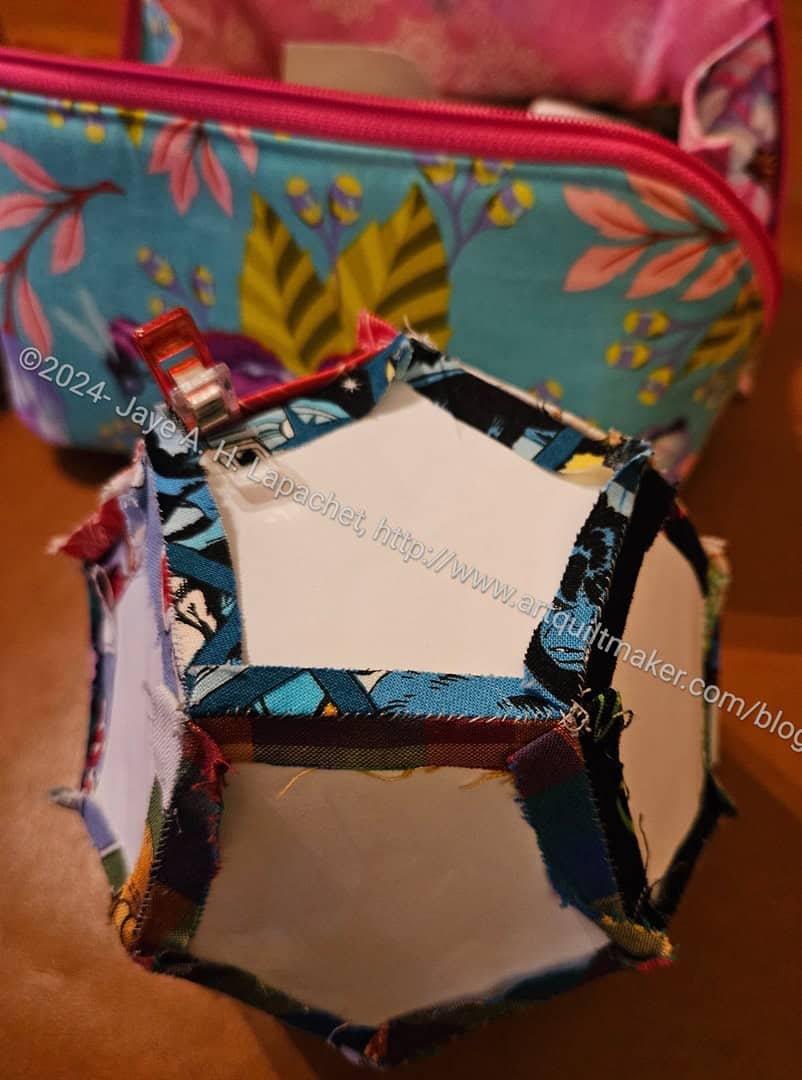
I have made major progress on the EPP Ball I started the other day. I had some bits of yarn from the scarf and a few threads that I already stuff inside, but I am going to stuff it more with some Fiberfill** I have.
The next step is to finish stuffing it and sew it closed. These do not take long to make and it is satisfying to see it come together so quickly. Progress!
**N. B. : Obviously, you should shop at local quilt shops and small businesses. However, if you are too busy or can’t find what you need there, please click on the link in my post above. I use Amazon affiliate links and may be paid for your purchase of an item when you click on an item’s link. There is no additional cost to you for clicking or purchasing items I recommend. I appreciate your clicks and purchases as it helps support this blog.
After finishing my knitted scarf, I decided to make another EPP ball. I have three babies in, or adjacent, to my life who will enjoy them.
I started sewing this one while chatting with my sister and my Mom. All of a sudden my sister looked at me and asked if I had done all that work while we were sitting there. I said yes and she was amazed.
It reminded me that sitting and sewing while talking is a great way to get things done. My grandmother was always working on something when I was a child.
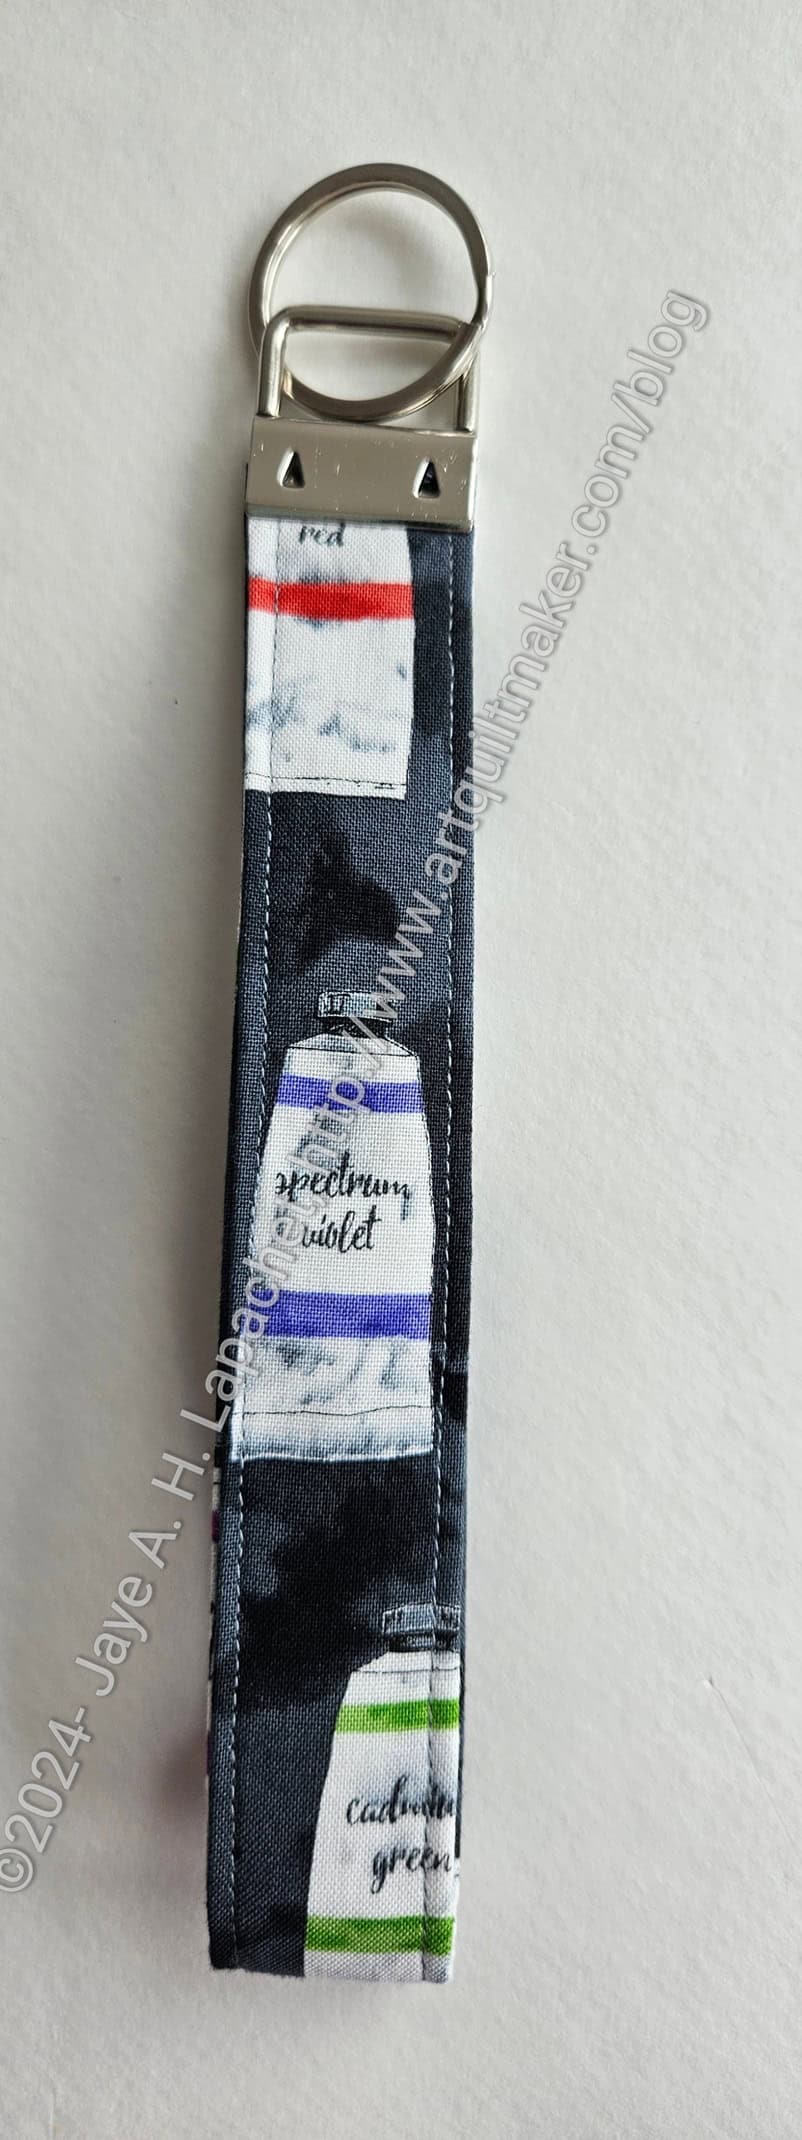
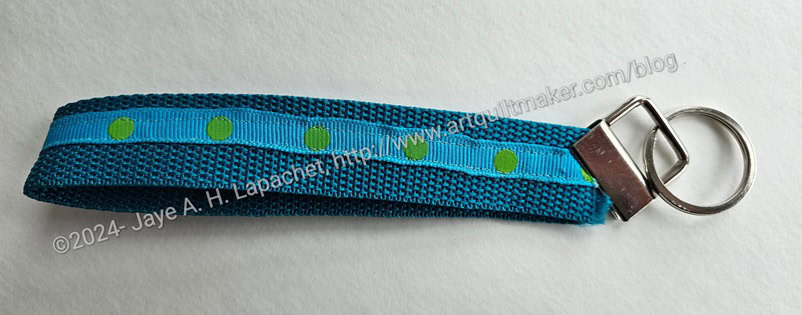
I fixed the Cane Chain. Well, really I remade the Cane Chain using new fabric, but the same hardware**. I am not confident that it won’t fail again, but we will see. Stay tuned for a review from Mom.
**N. B. : Obviously, you should shop at local quilt shops and small businesses. However, if you are too busy or can’t find what you need there, I use Amazon affiliate links and may be paid for your purchase of an item when you click on an item’s link in my post. There is no additional cost to you for clicking or purchasing items I recommend. I appreciate your clicks and purchases as it helps support this blog.
I gave the Cane Chain to Mom and got it back fairly quickly as it had failed. I was upset as that was not my intention and she fell once (before not as a result of this fail-whew) trying to retrieve her cane. Fortunately, this fail did not cause any accidents.
Along with the item came instructions. She didn’t like the feel of the webbing and she needed it an inch or so longer.
Now I plan to make another, but use the same hardware, if I can. I plan to make it out of fabric and make the spot where the hardware clamps on thicker so it doesn’t pull out. I may use some Decovil or the thick Pellon interfacing.
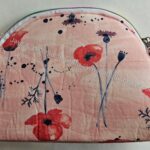
This was an easy pouch which would make a quick gift for a little girl as a small purse. I am not sure what else it could be used for.
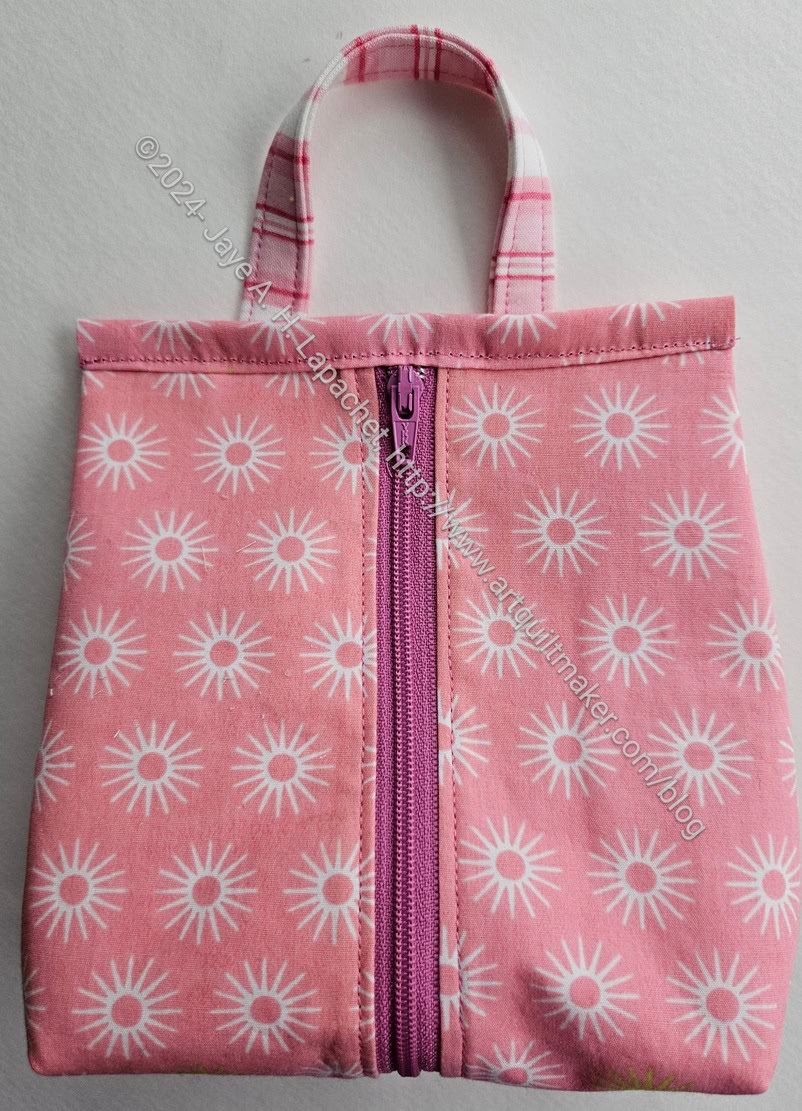
This is a pouch for the Pink Project. As I said before, this is a Sotak Handmade pattern. I thought it went together well.
Some of the binding was a bit fiddly, but not annoyingly so.
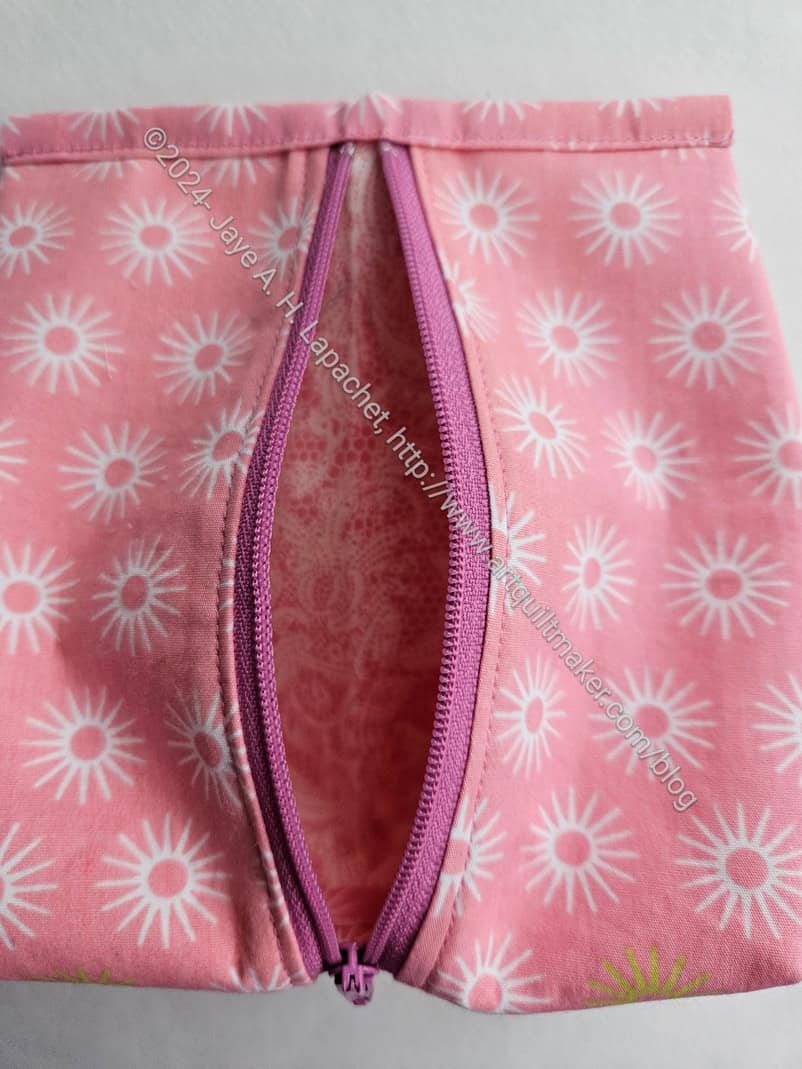
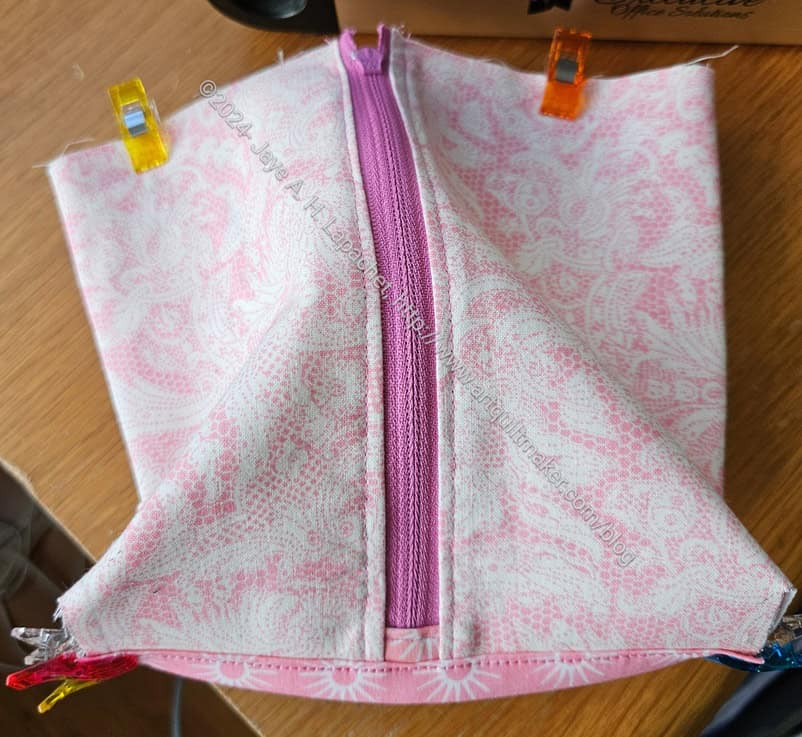
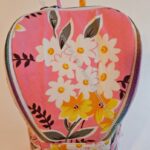
Petunia Pouch – zipper open
One of the good things about this pouch is the size zipper it needs. It needs either a 6 or 8 inch zipper, which I don’t use that often, though I have several waiting for projects. I am sad that the only zipper I had of the right size and closest to the color of the fabric was orchid. I suppose I could have cut down a longer zipper. Maybe I’ll do that next time.
I have to say that looking through all of my pinks and using them is really fun. I had forgotten about this Monaluna print (is that designer still around?). I like the sunbursts a lot and the pink is kind of a petal pink.
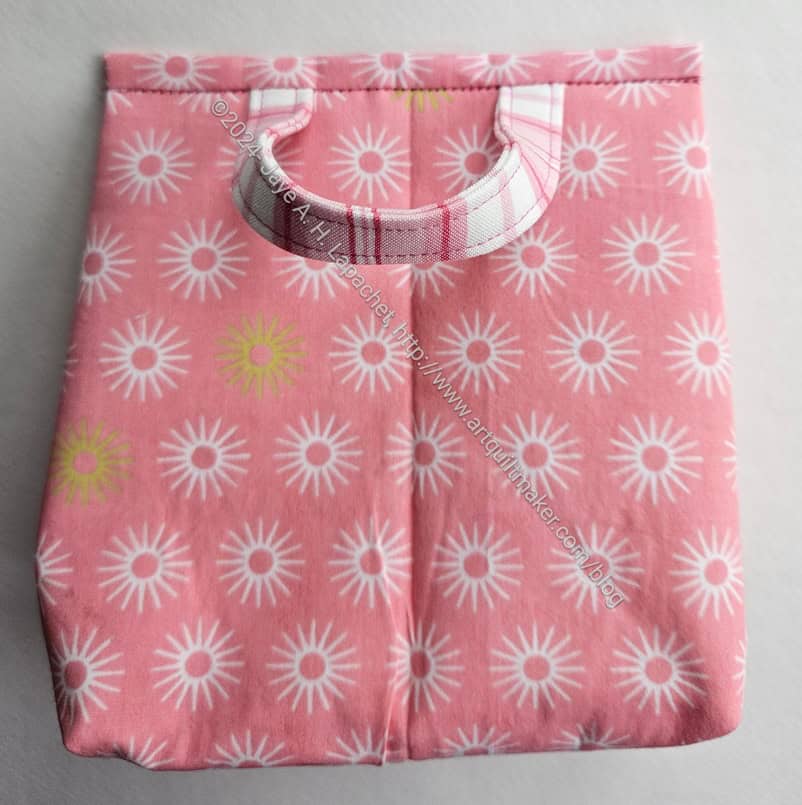
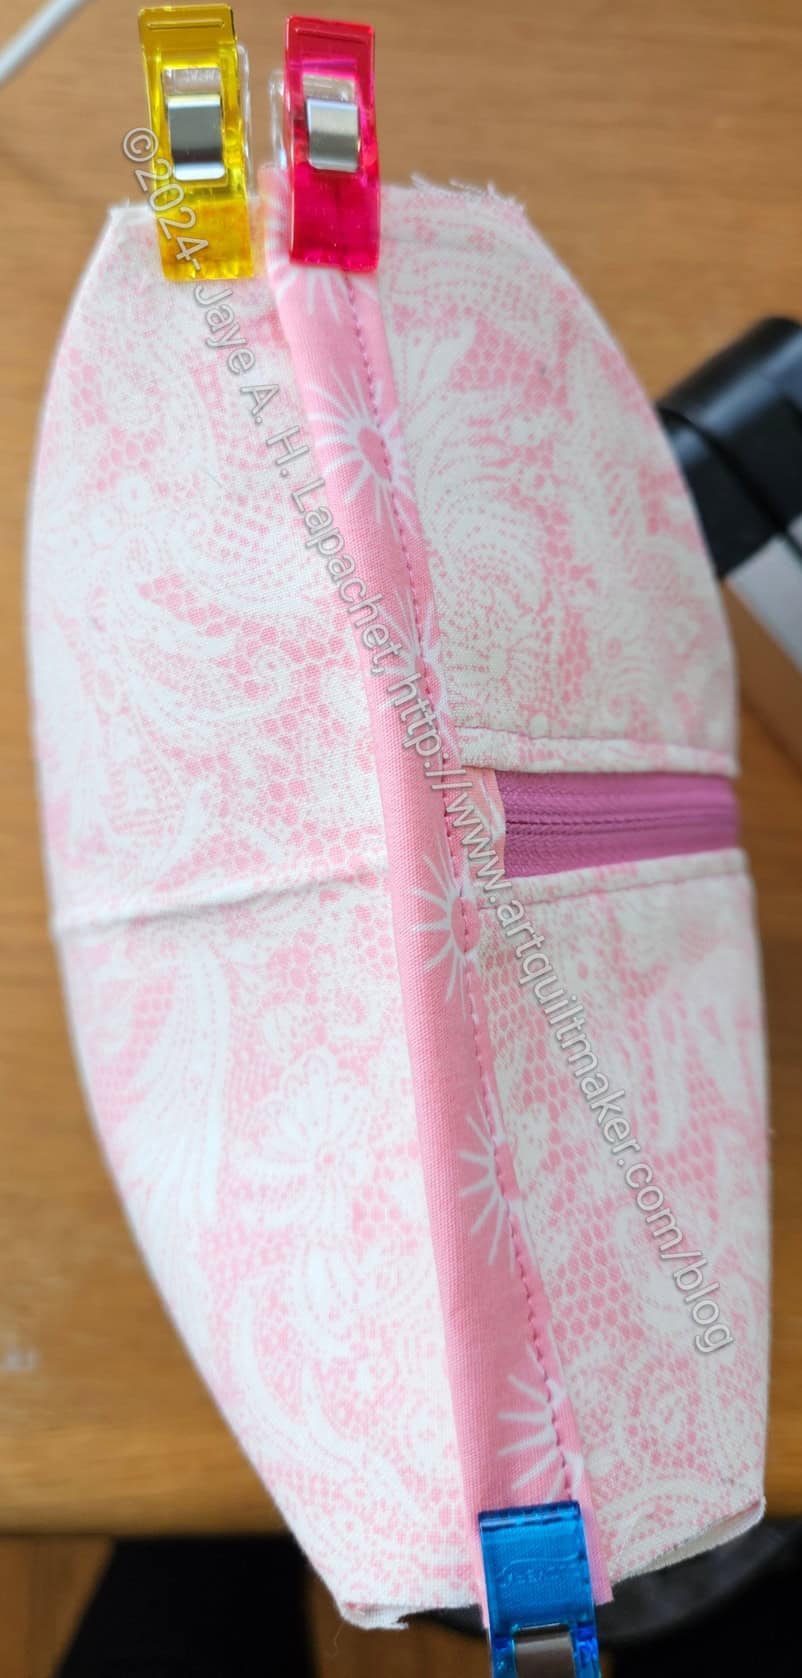
Petunia Pouch – back
I am not sure the handle would stand up to carrying around heavy things. I sewed over the handles a couple of times to try and reinforce them.
This was the last bag for this year’s Pink Project. I’ll see about making some more pouches for next year. I need to make a large tote as I don’t have one of the organization’s bags to put all the pouches in. I have many tote patterns and it will be fun to look through them and choose one.
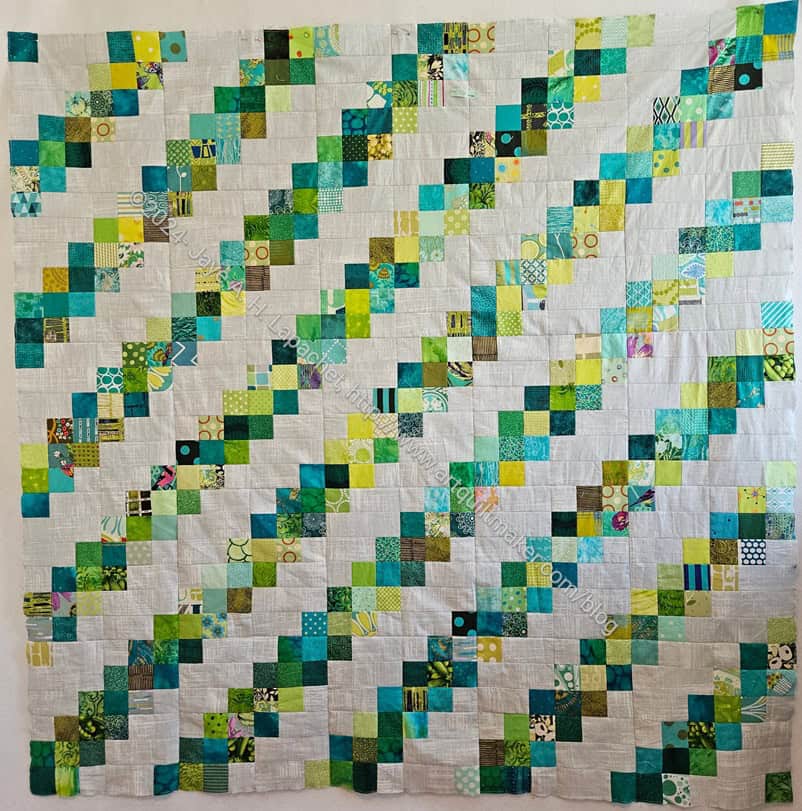
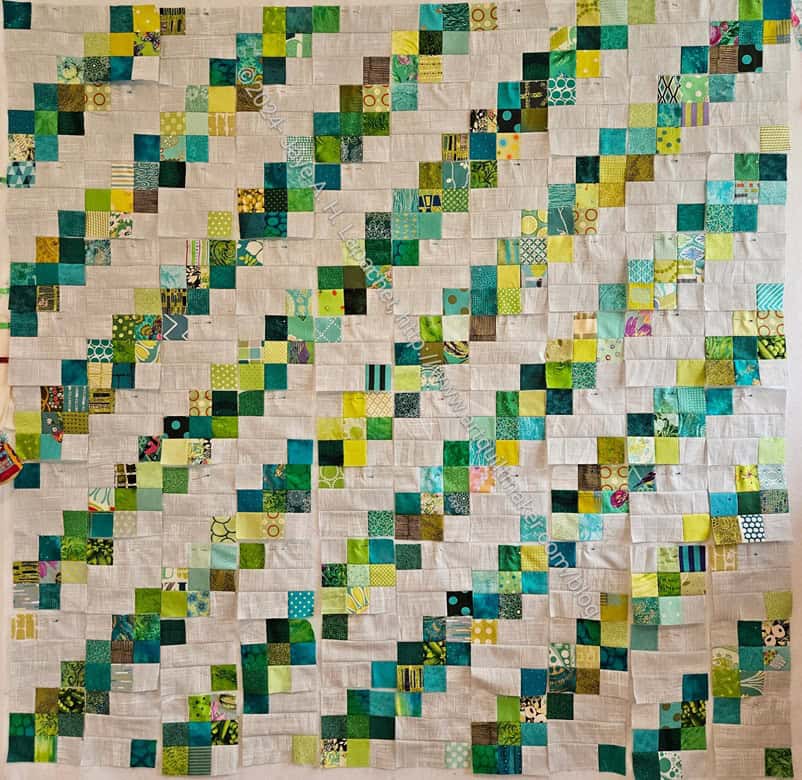
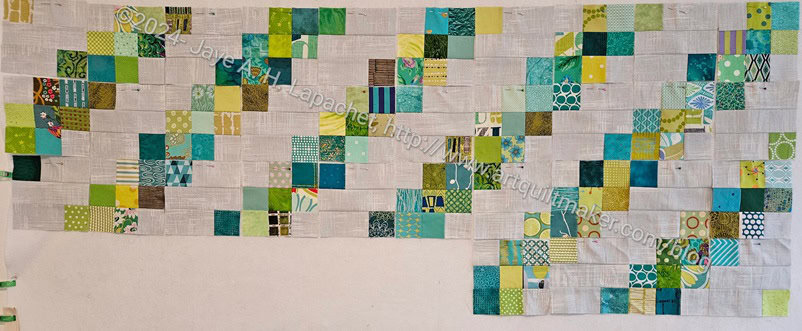
I finally finished all the blocks for the Green & Grey Diagonal 9 Patch.
I haven’t started piecing the blocks together, but at least I have all of the blocks. I have spent the past week fiddling with the placement of the blocks.
There is quite a lot of yellow-green, more than I expected. I think I kind of clumped it together. Where the yellow-greens are not in a block together, I am trying to spread them out.
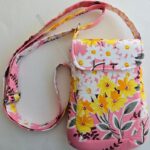
I finally started the Petunia Pouch and it is a fairly easy project so far.
I don’t have a lot of experience with Sotak Handmade patterns. I have made 2-3 projects from her patterns. I watch her reels on IG and am so impressed with how easy the projects look.
Petunia Pouch in process
I found this one to be easy, so far as well AND the zipper looks good.
One thing is putting binding on everything. It is a pain, but it makes all the edges look good.
The Pink Project is done, but I have decided that I am not done with this idea. I have packaged up the pouches and they are ready to send off to the president of our organization. I like having an opportunity to make pouches for a good cause and try out new patterns.
I had a tote from the organization I used to hold them all. Next time I’ll have to use one of my tote patterns and put all the smaller bags inside. Here are all the pouches for The Pink Project v.1:
Yes, I added the Friesan to the mix even though I originally made it for me. It has been sitting on my shelf unused since it came back from the Fair. I can always make another.
All the others were made for this project. I have a new pattern from the Sotak Handmade sale, the Petunia Pouch, that I plan to make for v.2 of the Pink Project.
As mentioned I started this quilt at the retreat, but I just made blocks. I didn’t really have space to put them up on a design wall and look at them. Now that I can, I am pretty pleased. I like the variety of greens. I also like the contrast with the background.
I still have about 60 blocks to make, which is a lot, but doable if I sit down and do it.
I could use this as a leaders and enders project with the Retreat Organizer, but I have been using the green donations quilt blocks as leaders and enders. I’ll start making blocks again soon.
I haven’t actually worked on it since I put it up yesterday, but the opportunity it there. This will be the newest of the Niece-phews quilts.
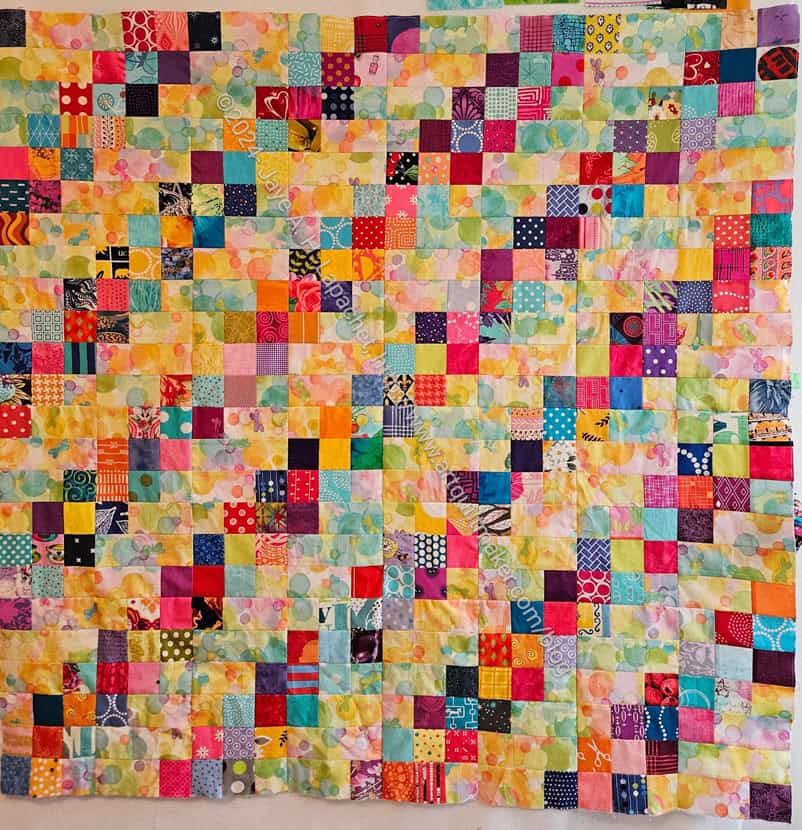
DH is taking a class on Friday Nights now, so I have some time to do what I want. The other night I had plans with my niece, but had about 1.5 hours to do what I wanted. What I wanted to do was finish the Diagonal 9 Patch I had been working on. I had worked on it at lunch and it was very close, so I spent some time finishing it.
It looks very watercolor-y and parts of the foreground blend with the background. I think it is ok, but I don’t think I would make this pattern with that kind of background in the future.
The family is having a boy and this has a lot of pink in it, but it doesn’t scream GIRL to me.
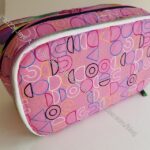
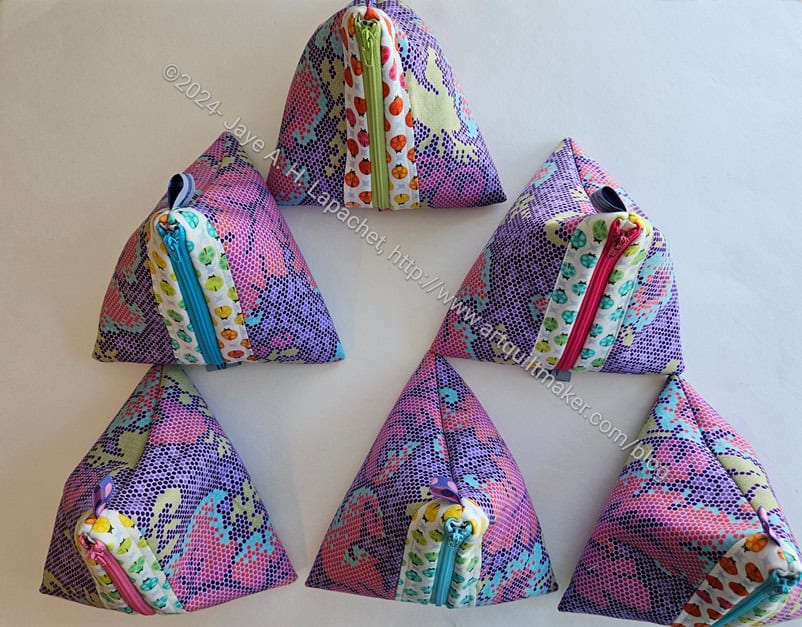
I finished the Little Pyramid Pouches in the middle of last week.
I am pretty pleased with how they came out. The zipper instructions are exceptional and I am REALLY pleased with the zippers. Mary C did give me a little info, which helped me shorten the zipper
They are a little on the large side. I think I might try the small version even though Mary C said that size was hard to turn.
Little Pyramid pouches
This project was a good opportunity to use some of my shorter zippers.I don’t use 6 or 8″ very often, but I have a fair number.
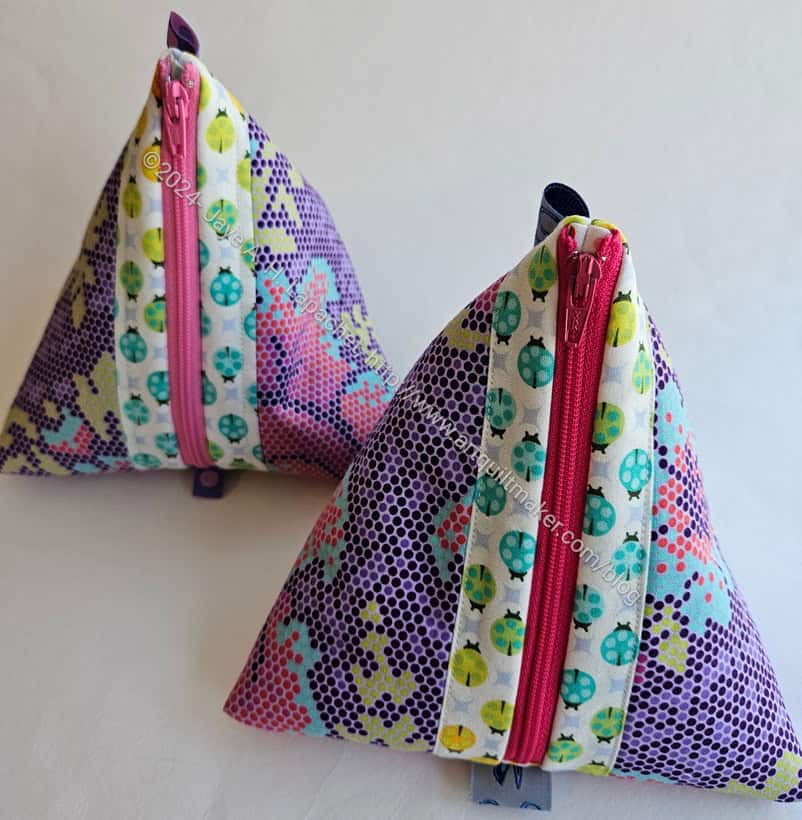
I think I would choose a solid or a tone-on-tone for the accent strip (currently ladybugs) in the future. I think it would highlight the main/exterior fabric.
Still, all the Tula fabric do coordinate so they don’t look awful or anything.
Little Pyramid pouch – interior
I pulled out some older fat quarters of dot fabrics for the interior of all of these pouches. I was glad to use some of them that have been hanging around for awhile.
The lining is a little baggy. There were no directions for using a larger seam allowance (though I could have missed them). I’ll have to check to see and then adjust for future versions.
Little Pyramid pouch – back
This pattern also uses ribbon or sewn tabs and those came out really well also.
You can see the bit of ribbon at the top. I used the leftovers from another project.
This was a fun project. I am going to try the Petunia Pouch next.
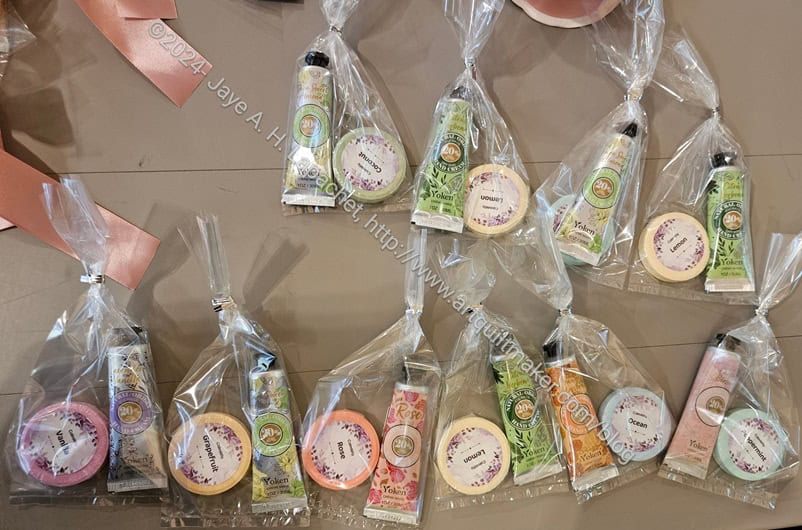
I went to Sew Day the other day with only one quiltmaking project on which to work. My main project was to put together party favors for my niece’s bridal shower, which I am hosting today,
I bought hand cream**, shower steamers**, ribbon** and bags** and realized I didn’t have time during the week to put them together. I remembered that I had Sew Day coming up and decided that would be my project.
M’s party favors
It was great to lay out all the bags and then match up a hand cream with a shower steamer. I was able to see everything I had and work through putting everything together without being interrupted by having to move everything or go to work.
The brands were different so it wasn’t just matching up the colors of the packaging. I thought about the different scents and tried to match them up where I could.
Amy’s Cactus blocks
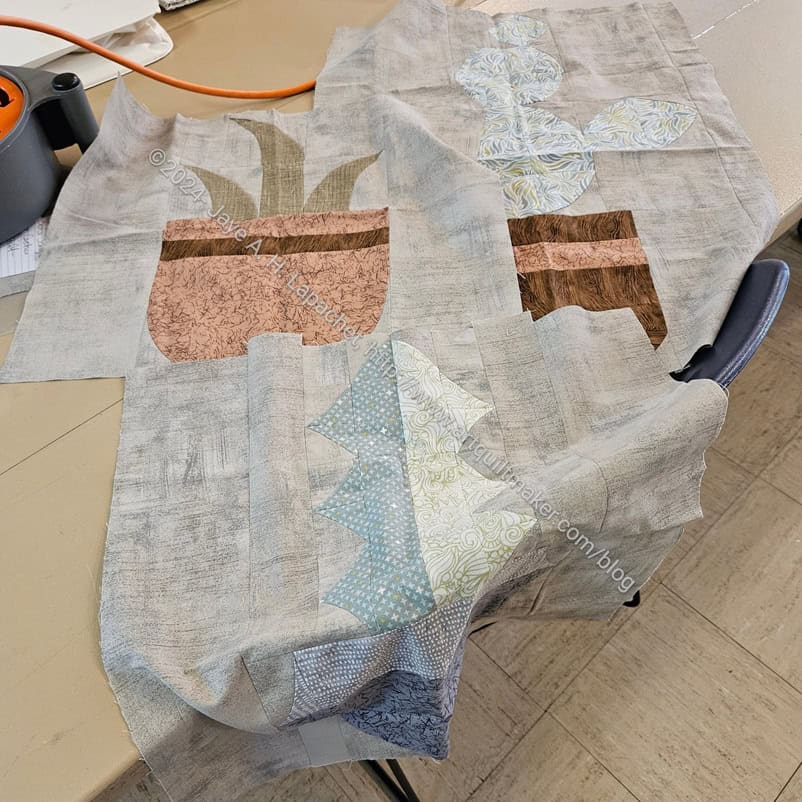
I did so some quiltmaking work. As I said the other day, I cut out some of the Sotak Handmade Little Pyramid Pouches. While doing that cutting, Amy was across from me working on her Cactus quilt**. This will be a gift for someone she works with.
It is a really complicated pattern with a lot of pieces. She was able to finish one of the blocks at the Retreat. I noticed today that she now has 3 blocks. You can see how large they are.
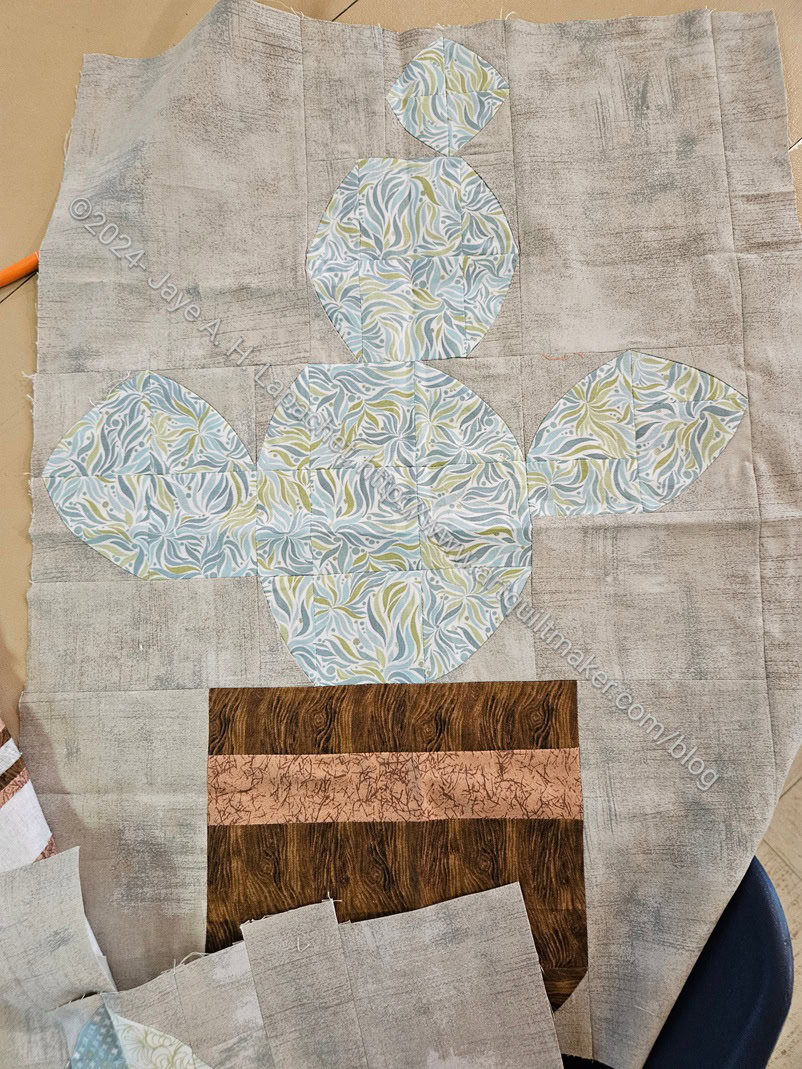
Amy’s Cactus block
Her colors are really subtle. I find it hard to tell the difference between the background and foreground on this block with the round leaves. I can definitely see the foreground on the background, but there isn’t a lot of contrast.
This is a Sew Kind of Wonderful pattern, which Amy enjoys. She is the one who led the class in making Metro Twist. Unlike Metro Twist, this pattern requires the Wonder Curve Ruler**. The Wonder Curve ruler creates different curves.
Amy’s Cactus block
Her final block so far looks like an Aloe plant to me. I can’t wait to see what the rest of the quilt looks like.
I spent a little time just talking with MaryC and Gerre after I was done with my cutting project and the party favors. That was OK. Pretty soon I am going to have to start sewing the various projects I have cut out. 😉
**N. B. : Obviously, you should shop at local quilt shops and small businesses. However, if you are too busy or can’t find what you need there, I use Amazon affiliate links and may be paid for your purchase of an item when you click on an item’s link in my post. There is no additional cost to you for clicking or purchasing items I recommend. I appreciate your clicks and purchases as it helps support this blog.
I am slowly chunking the Diagonal 9 Patch #3 together. I’d like to get on to the green Diagonal 9 Patch soon, or start one of the newest donation quilts from the green strip blocks. Unfortunately, the large piece I made for the Retreat Organizer is taking up most of the design wall. I really need to get back to that project, if for no other reason than to get it off the design wall. Life is in full swing, however, and May is busy, so I snatch time where I can.
I am sneakily, not maliciously, teaching people to chunk quilts together. I showed Anna how to chunk the other day at Sew Day.
I took advantage of the Sotak Handmade 30% off sale last weekend to buy two patterns I thought were interesting, the Petunia Pouch and the Little Pyramid Pouch. I want to make some small gifts for people at the Retreat, so I cut some fabric for the Little Pyramid Pouch out at Sew Day. I would have bought more, but she has a lot of tote bags and I already have a lot of tote bag patterns.
I have a few of her patterns already. One is the Purse Organizer. I made one for Mom and one for Gerre. It is more of a tablet carrier than a purse organizer. I like the pattern, however. Her free pattern (tutorial?) for scissor cozies is a perennial favorite. I also have the Multi-Pocket Organizer, but I haven’t made that one yet. It is very similar to the Mustang Purse Organizer
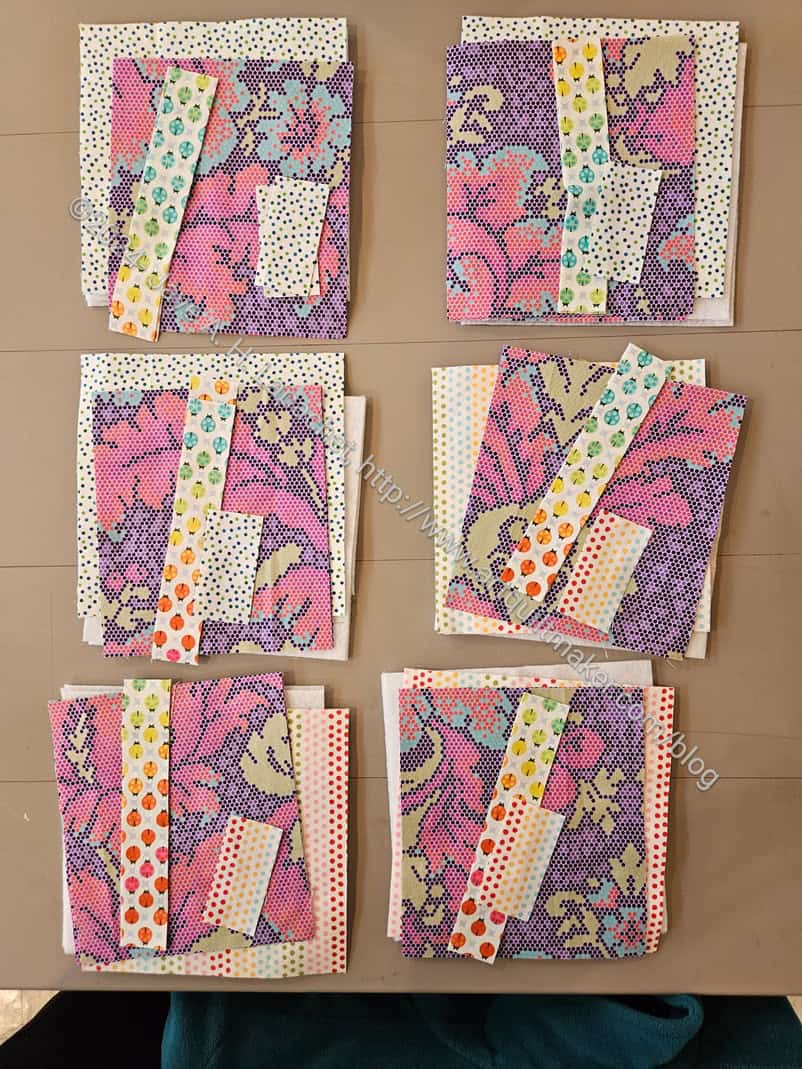
It doesn’t look like much in the image above, but I have all of the pieces cut out to make the pouch. I didn’t bring my sewing machine or I would have gotten started.