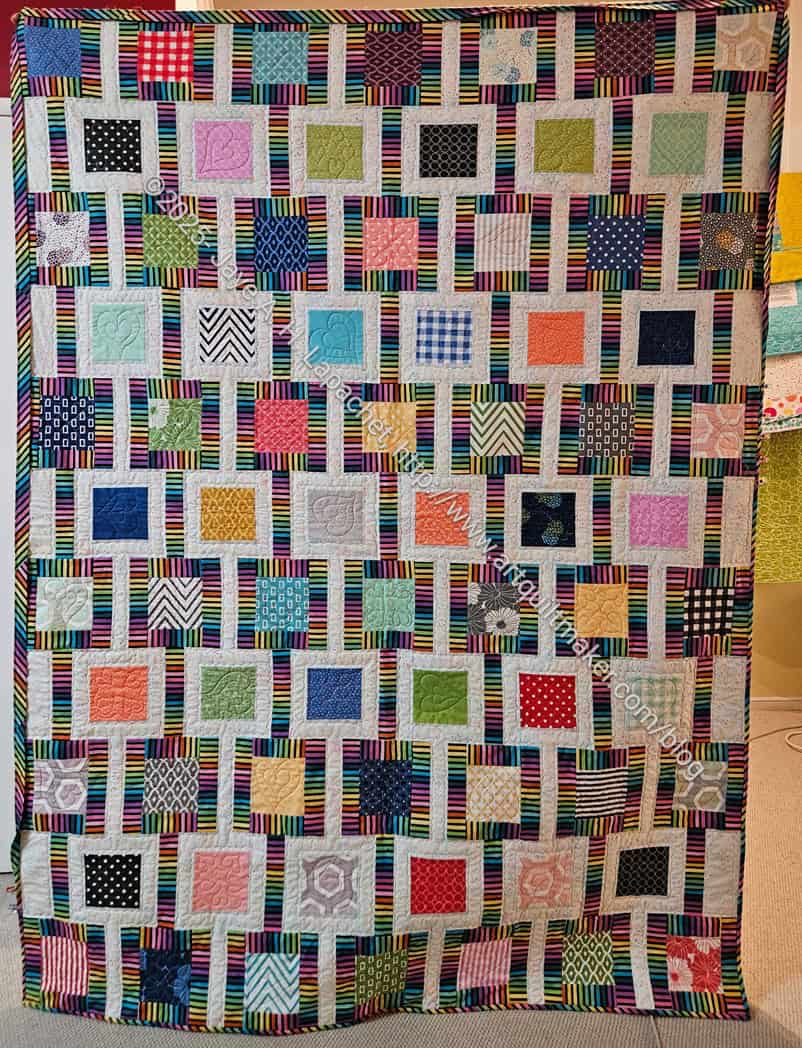
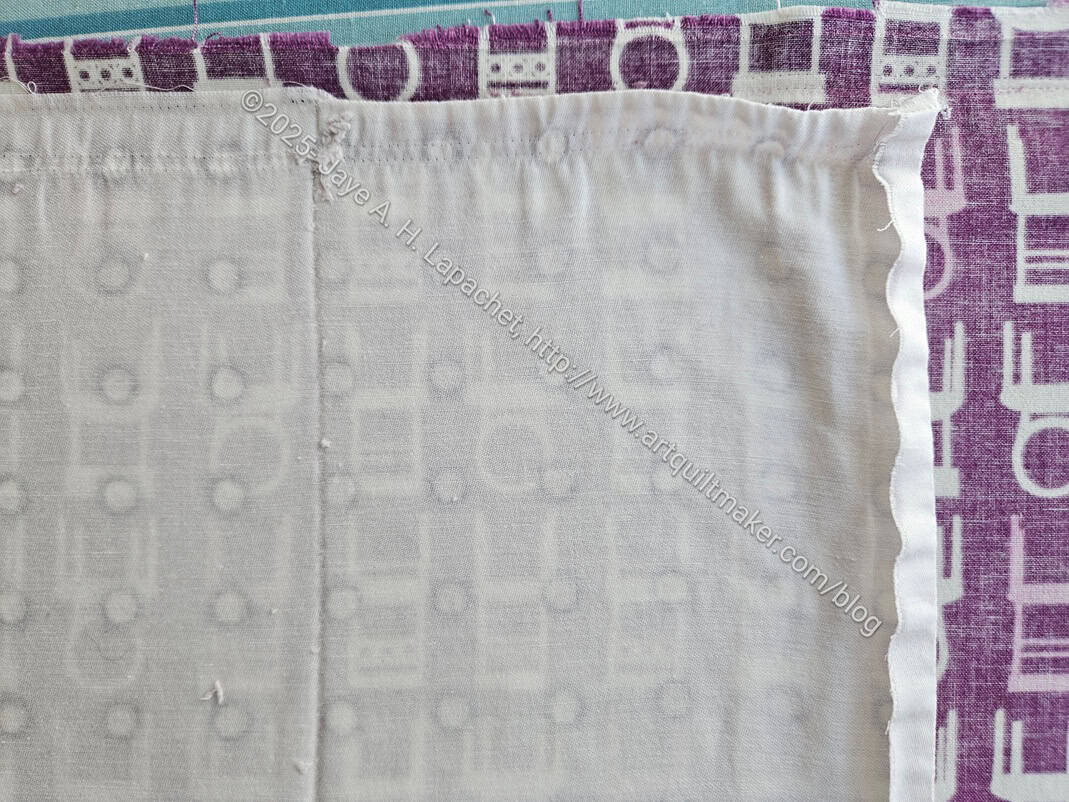
I went to visit Colleen the other day and picked up Chain Link. I need it as a Christmas gift, so time is of the essence. I probably have enough time to finish it before Christmas. I have been working on hand stitching down the binding each evening since I got it back, so I am making progress.
I will hand it over on Christmas Eve so the recipient can open it at home on Christmas. I don’t want it opened in front of the whole family since there are still family members who have not yet received quilts.
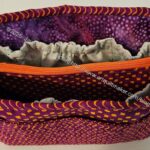
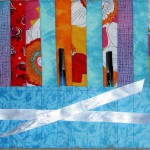
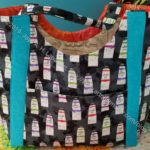
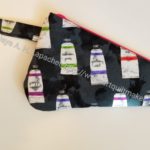
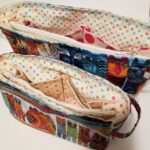
I finished the Cosquilla pretty quickly, considering I only started it a few days ago. In general, this pattern has only a few pieces, so is easy to cut out. The instructions are excellent and there was only one confusing part where I needed to watch the video to complete.
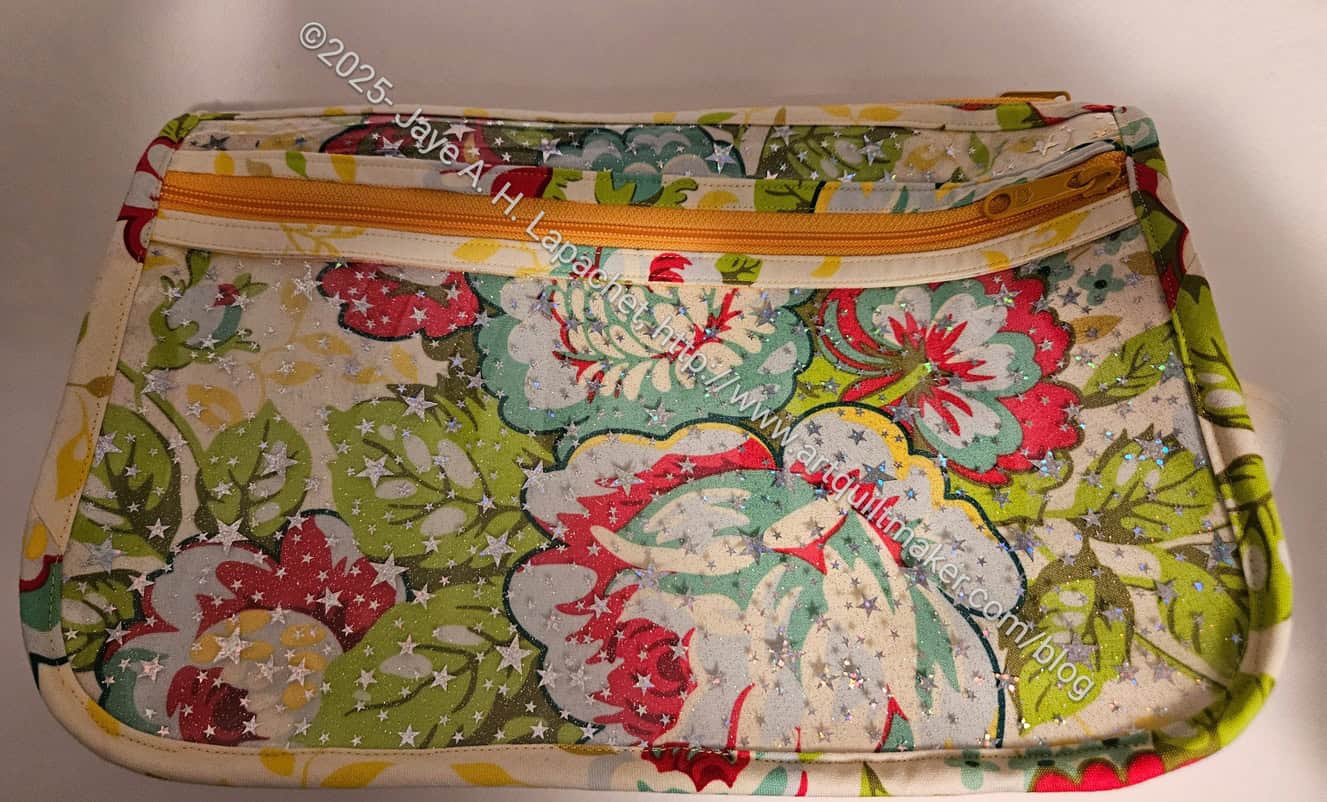
I was able to use one ByAnnie 30 inch double pull handbag zipper for both of the zippers needed in the project. The yellow of the zipper doesn’t go exactly with the fabric I chose, but I think it looks good. There are not as many zipper colors as fabric colors.
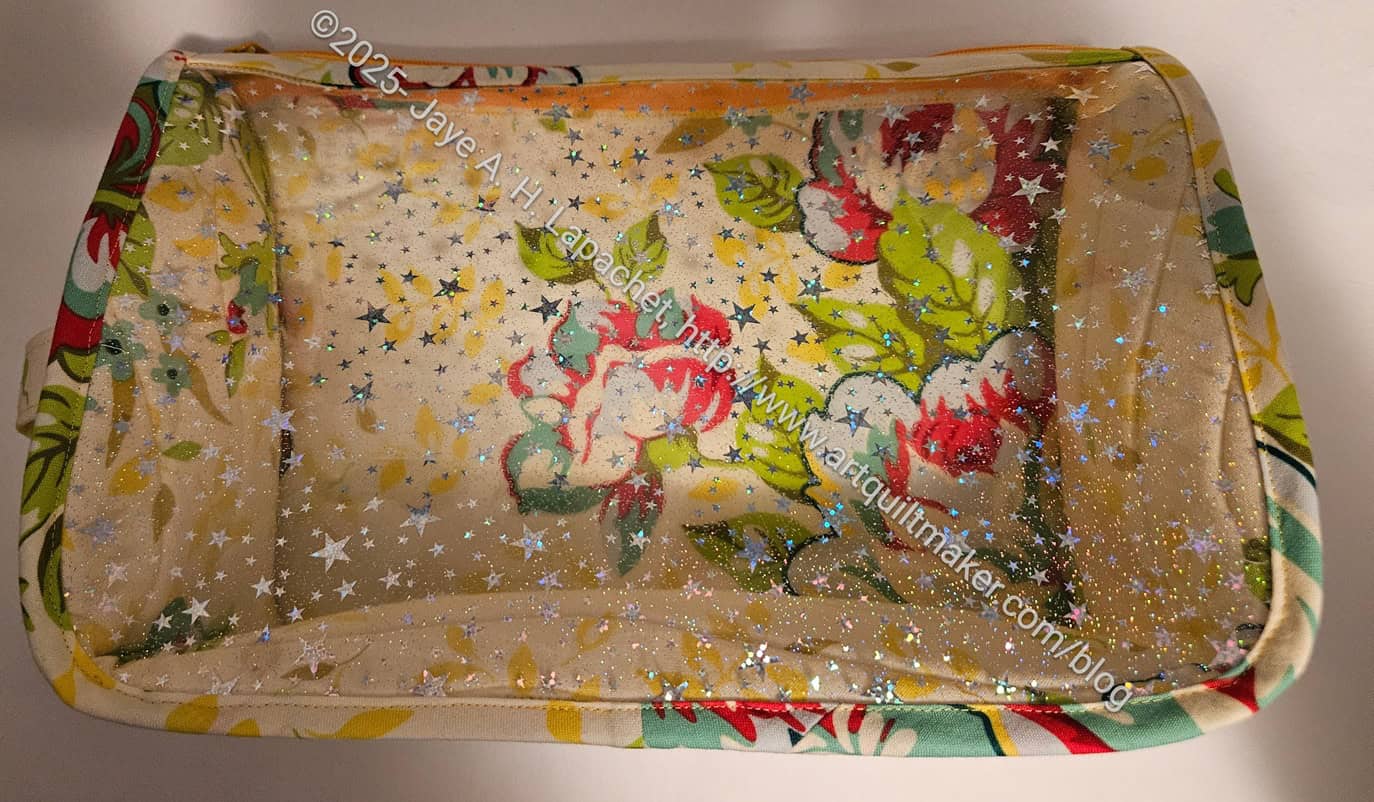
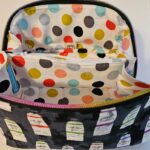
Beth’s Cosquilla: interior
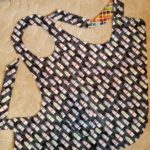
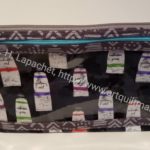
This is the first time I have used the same fabric for both the exterior and interior. I don’t know why I never thought of it before (DUH!), but I think it worked really well. There wasn’t a lot of exterior and there were some focus type motifs that I fussy cut in order to make the parts interesting. I still wanted the whole pouch to read as yellow, so I kept that in mind.
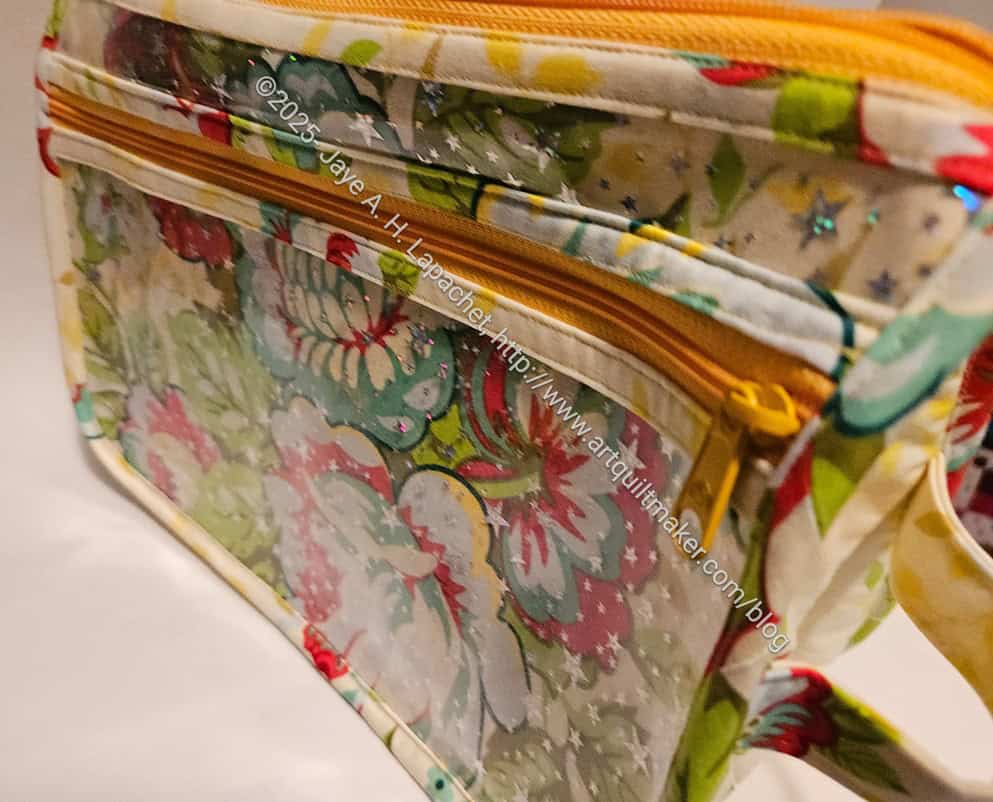
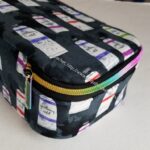
Beth’s Cosquilla: zipper side
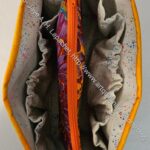
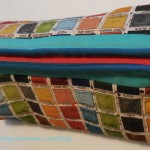
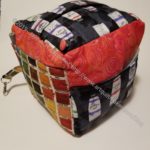
This pouch, as you can see, has a lot of vinyl. I recently replenished by supply of vinyl. Mostly I like the glitter vinyl, but this time I also bought some vinyl with stars printed on it. I like the glitter vinyl, because it doesn’t interfere with the pattern on the fabric. In this case, I used the star vinyl and I think it allows the fabric motifs to shine as well. The other thing I like about these two vinyl patterns is I can use every inch. I don’t have to worry about the motifs on the vinyl being in the wrong direction when the bag is finished.
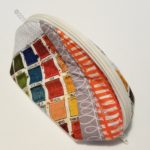
Beth’s Cosquilla: side
The pattern had a really interesting piece for the bottom and the sides. It was a long oval piece that had to be quilted before cutting it out. There are fewer seams when one piece makes up the sides and bottom.
I really don’t know how Sara thinks of these bag designs, but I am constantly impressed. Having the sides wrap around the bottom/sides piece was really clever. I like the way it went together.
Sewing it together was no picnic, but it wasn’t as difficult as the Pearce Sling I made for Mom. They share that curved shape, but this pouch is much bigger and that curve was easier, though not easy to navigate.
Anyway, I got SIL#4 a couple of gifts off her list, but also made her this as a bonus. I like to receive things I want, so I always make sure I buy someone something off their list even if I make them something.
I went over to my niece’s house to drop off the pillowcase I made for my nephew. While I was there I found that Michaela didn’t have her Christmas pillowcase (another to do on my list). We determined that it probably still lived at her parents’ house. In the process of figuring this out, she brought out the Tufted Tweets pillowcase. I made this pillowcase back in 2011! I found that the cuff was half ripped off.
WTH?
I suggested that next time she let me know before things got really bad and took the pillowcase home to repair, which means that I needed to completely remake it. If the fabric weren’t so great, I would have just made her a new one. I love the Tufted Tweets fabric and you can’t get it any more.
Tufted Tweets Pillowcase unsewn
This repair job is definitely a learning experience. This is one of the my older pillowcases, so I am hoping that the newer ones don’t wear in the same way.
All of the edges are unraveled. There was sort of a French seam – an early effort – so this was kind of surprising.
What was not surprising was the color fading. It happens when quilting fabric is used and this pillowcase is definitely a favorite, thus used.
As an aside, the stitch quality was really good on this pillowcase. I used my old Janome 9k machine. The stitch quality has been awful on my 6600 lately, so I really noticed the difference.
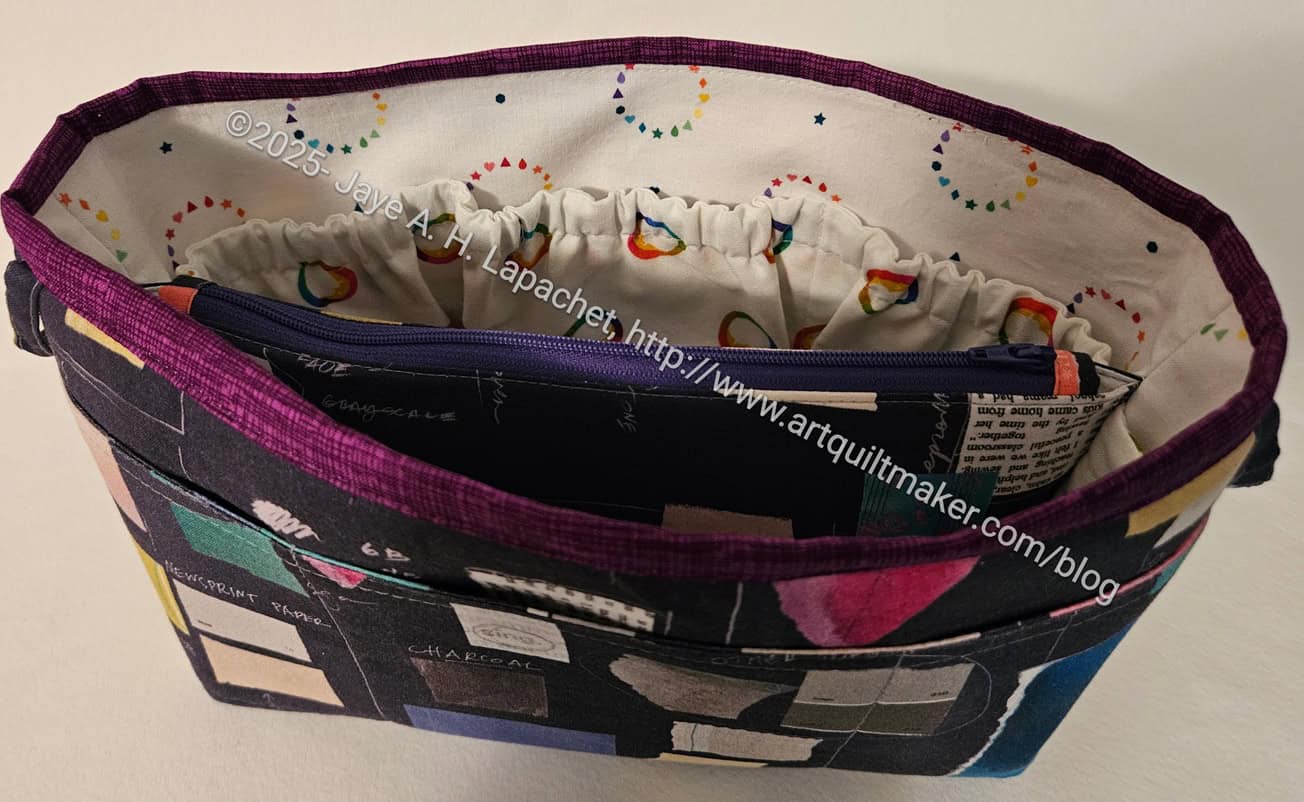
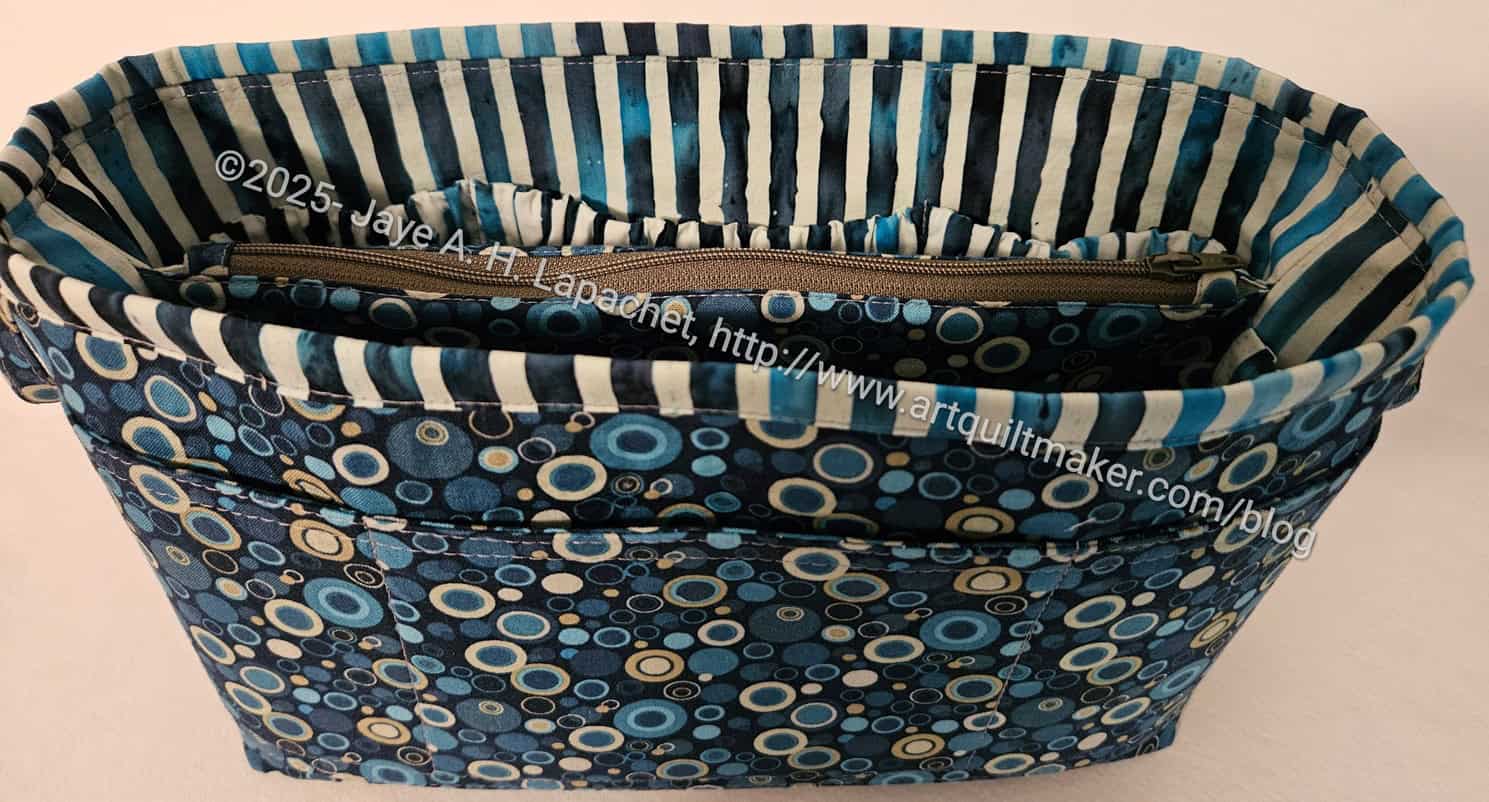
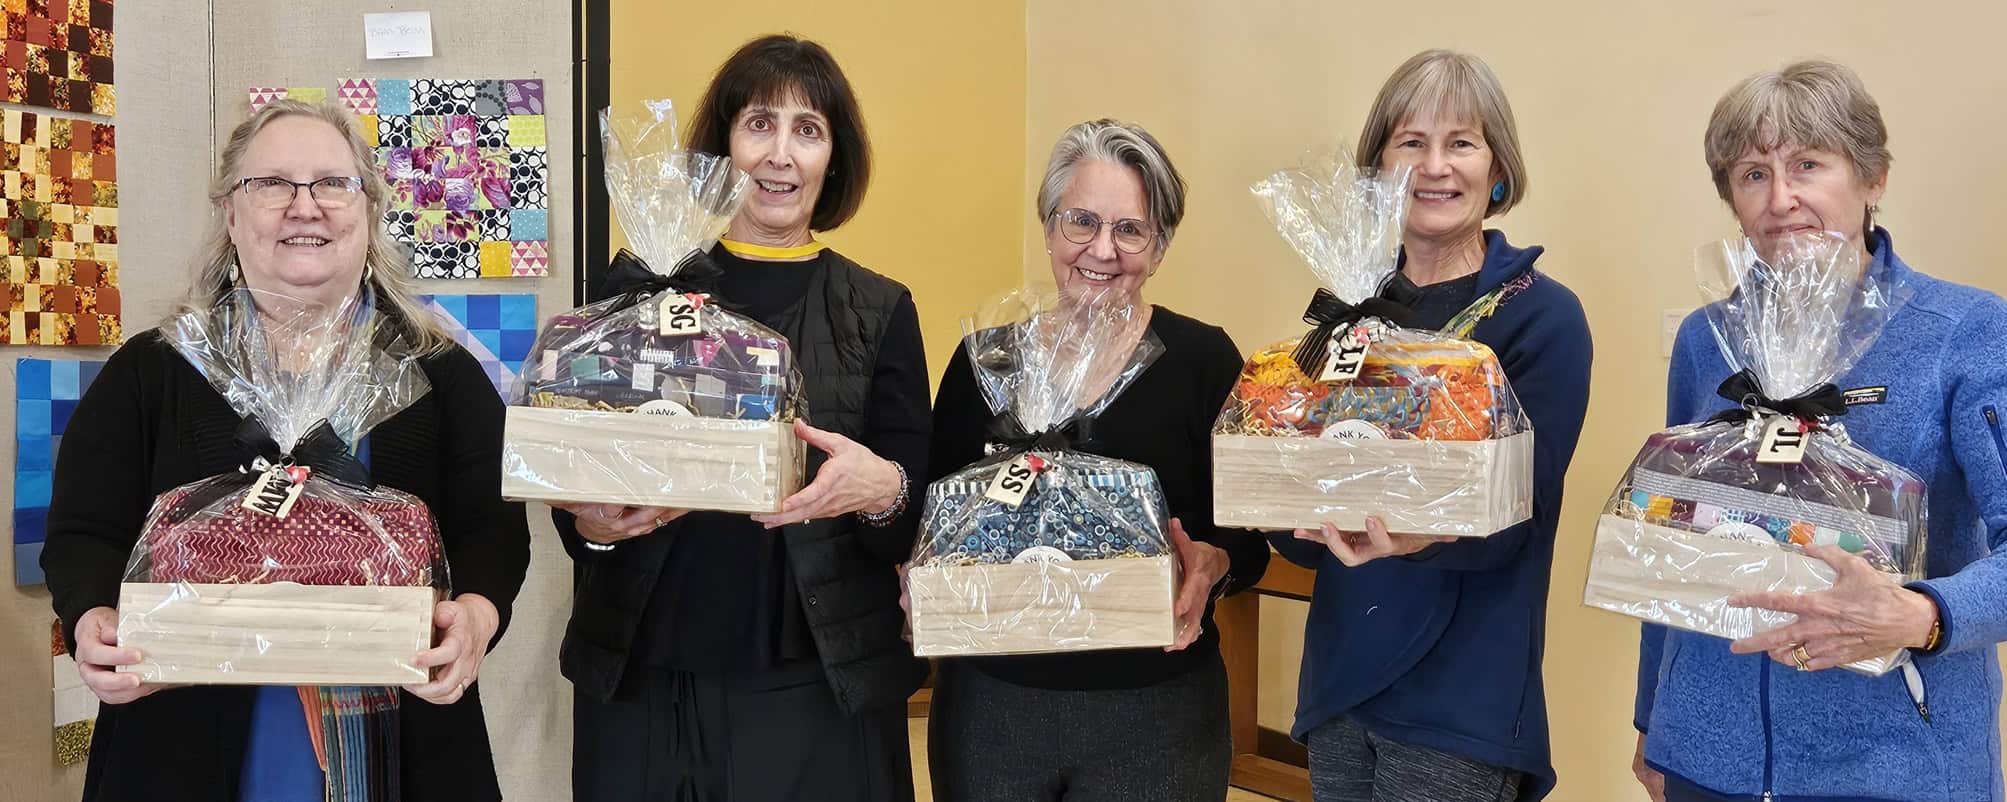
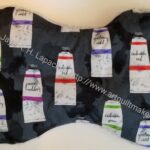
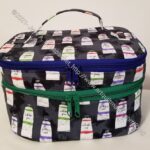
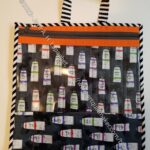
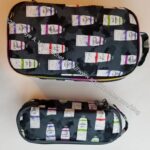
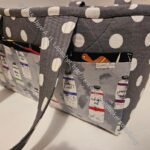
I spent the last few months planning and creating the officer gifts for the guild. I couldn’t have done it on my own. Many guild members contributed to the fund, Carrie wrapped everything and MaryC helped me sew the Multi-Pocket Organizers.
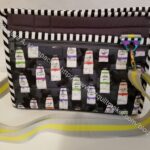
SueS’s Multi-Pocket Organizer
I am pleased with how they all came out. I think the fabrics I chose worked well together and coordinate or match with last year’s gifts.
I really like the binding and lining of SueS’ Multi-Pocket Organizer.
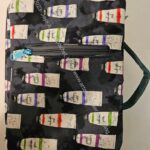
Melinda’s Multi-Pocket Organizer
Lee Ann’s Multi-Pocket Organizer
For Lee Ann’s I chose a similar fabric to the fabric I used last year. This one has a little more color in it – some purples, especially, which look really nice.
Melinda’s uses a couple of coordinating, but older fabrics from my fabric closet. I am told she likes purple, so this on the purple side. It’s maybe more of a red-violet, but something she will like.
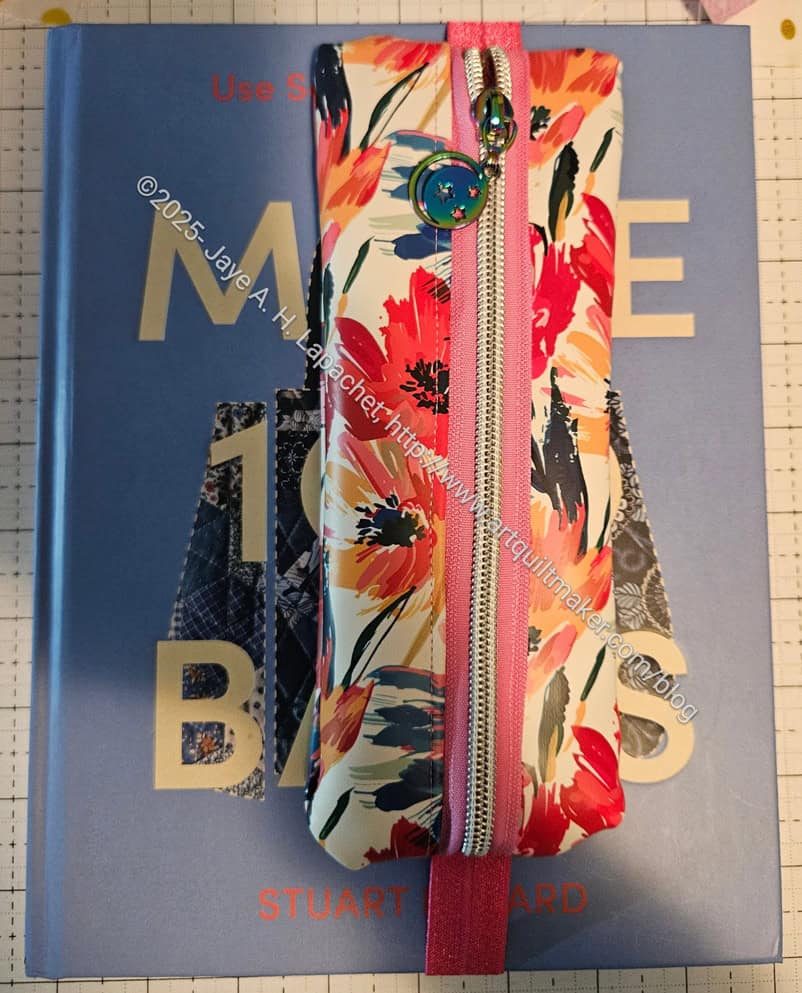
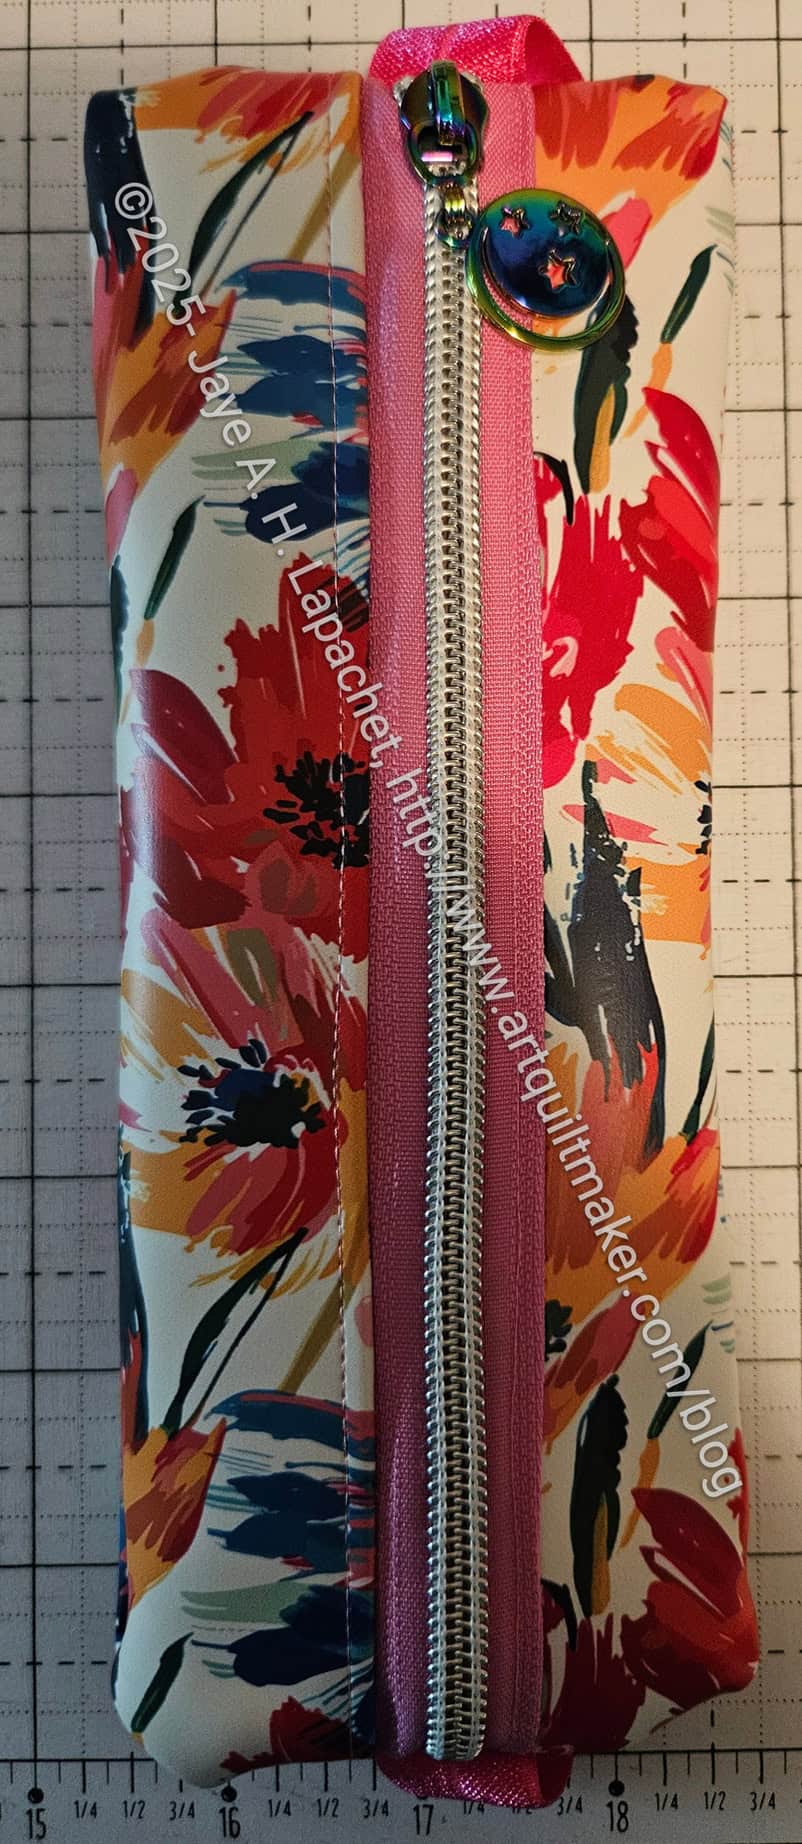
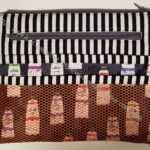
My niece, Michaela, asked me for a pencil pouch that she could use with her journal. It wasn’t quite that straightforward, but that is what the gist was. She had a use for a pouch that could go around her journal’s cover and hold a few pens. I love a challenge and went looking for a pattern. I didn’t find one in my Bag Patterns db and no mention in my Quilt Books catalog. That was disappointing, but it could be that such a thing wasn’t on my radar and I didn’t note it.
I had to go looking for a pattern and after a few false starts, which I talked about, I found one from Apple Green Cottage, which I liked. It’s free, but you can get a better looking PDF for $5. It is not a difficult project and I even modified it a little bit out of the gate. The project is billed as a 10 minute project. It took me about an hour and I think I might put my zipper foot on next time. I struggled a bit because the vinyl was a bit slippy with the zipper I chose.
Pencil Pouch with Elastic for Michaela
I also didn’t have the right sized tool to poke out the corners really well. I still need to work on that. I might talk to Modern American Vintage to see what they can make. First, though, I have to find the right size.
The picture at the top is an example of how it is to be used. I demonstrated for myself on the Make 100 Bags book** as it was a similar size to M’s journal. You can see the elastic at the bottom.
I told M that it was v.1 and to let me know if she needed a v.2. I am concerned with the Aurifil 50wt I used. I think I might need something stronger with the vinyl.
I want to make more of these. They do suggest pleather, vinyl or a similar substrate. I am going to try one out of glitter vinyl when I get my restock order and see if the insides are too sharp. I’d love to make more of them from this flower vinyl just to use it up. We’ll see.
Aside from loving a challenge, I love my niece and the fabulous person she has become. I also love making gifts that people can actually use and want. I used some flowered vinyl I received in an SHH gift box I bought for myself, which was great, because I wasn’t sure when I would use it.
It was a fun project and I like the speed in which I could make it.
**N. B. : Obviously, you should shop at local quilt shops and small businesses. However, if you are too busy or can’t find what you need there, I use Amazon affiliate links and may be paid for your purchase of an item when you click on an item’s link in my post. There is no additional cost to you for clicking or purchasing items I recommend. I appreciate your clicks and purchases as it helps support this website.
My Dad never reads this website, so I am posting about a Christmas gift!
Fishing Posters pillowcases
I bought some fishing fabric while I was at Mill End Store in Portland. It isn’t exactly an image I want to support, but I know my Dad will like it. He is an 80s male, after all.
The purchase was kind of an impulse buy. I quickly made the fabric up into pillowcases when I returned home from Portland.
The biggest problem I had was finding some fabric that would go with the fishing posters fabric that was big enough to make cuffs. I cut bits out of my yardage and that means I don’t have enough to make two cuffs! Oh well, I found some. It’s not perfect, but it works.
I also forgot how to do the French Seam, but salvaged the seams without a bunch of ripping. I think the pillowcases came out well.
The other day I showed you the rest of the Flower #1 metamorphosis for the Country Revival/Sad Quilt. Here I am going to show you the entire process, though go back to the first post, then the second to read the explanation of whole process.
Country Revival/Sad Quilt flower motif
Country Revival/Sad Quilt flower motif with leaves v.2
Country Revival/Sad Quilt flower motif with leaves v.3
Country Revival/Sad Quilt flower motif with leaves v.4
Country Revival/Sad Quilt flower motif with leaves v.4
Country Revival/Sad Quilt flower motif with leaves v.5
Country Revival/Sad Quilt flower motif with leaves v.6
Country Revival/Sad Quilt flower motif with leaves v.7
I am probably more fascinated by my own process than you are. As a result, I may publish another post later today. Stay tuned.
I received the stack of solids I ordered, so it was back to Flower #1 for more changes. you might remember how much I worked on making incremental, small changes the first time around. I have been looking at it as I sewed Flower #2 and still wasn’t 100% happy.
Country Revival/Sad Quilt flower motif with leaves v.3
I decided to pick out some solids and see if I could make Flower #1 look better. I started off with a vast improvement over the original. Adding some more greens made the block much more interesting. I decided that there was too much solid pink, so I replaced some of the solid pink with some Emerald. The Emerald is about halfway down the stack in the photo above.
Country Revival/Sad Quilt flower motif with leaves v.4
I put the Emerald in the corners on the bottom right and top left. I want to make incremental changes to so I can see what it happening. It is amazing how the replacement of two little pieces makes a huge difference.
Country Revival/Sad Quilt flower motif with leaves v.5
The edges were looking better, so I decided to work on the center. I replaced some of the pink with Dragonfruit, a darker pink.
I liked the change, but it wasn’t quite enough. Each change I make highlights another area that needs attention!
Country Revival/Sad Quilt flower motif with leaves v.6
Once I made the change by adding the Dragonfruit, I thought it needed more. I cut another couple of pieces to end up with more dark pink in the middle.
After looking at v.6 for awhile, I decided that this was the final version. Maybe it isn’t perfect. Maybe it could be better, but I like it. I think there isn’t anywhere that is too boring or too repetitive. Even the bottom left and top right corners light pink works.
Country Revival/Sad Quilt flower motif with leaves v.7
Finally, I decided that the Emerald needed to be toned down a little. I like that fabric and the color, but for this block, I needed something a little more subtle. I decided to change the Emerald for Dark Citron.
Flower #1: upper left hand corner
I started sewing the block together and it is looking good.
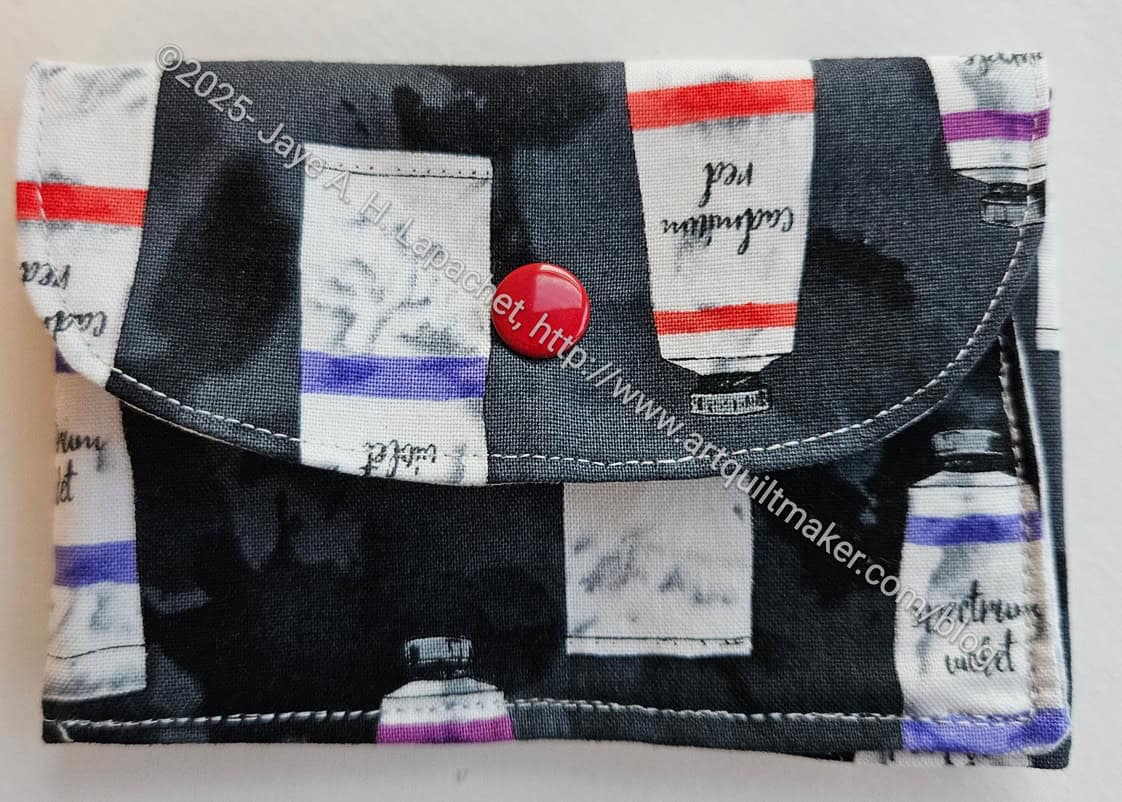
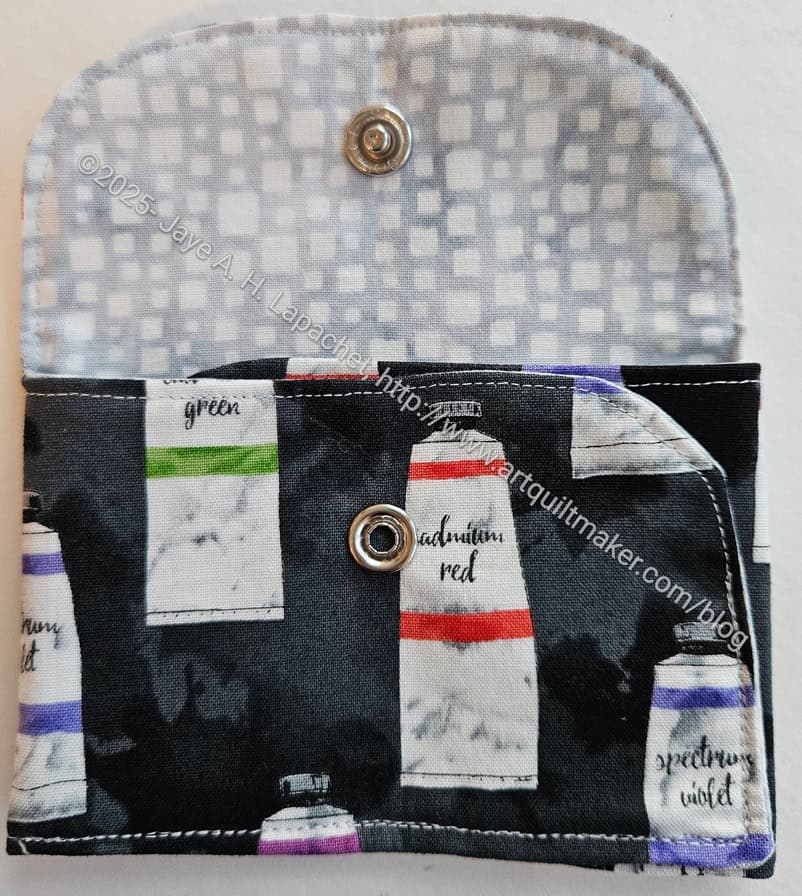
I finished the wallet very quickly. That was my goal and the pattern leant itself to the goal.
The pattern was free and didn’t discuss using directional fabric. If I made this again, I might put any directional fabric upside down, so it shows right side up on the flap. That means,the motifs would be upside down on the rest of the piece, such as the back. No good solution except making the flap separately, I guess.
Fold & Stitch Wallet – open
I used a light grey batik I have used before for the interior.
Mom really liked it and I barely needed to explain my thinking to her. She loved the idea and immediately put it into use.
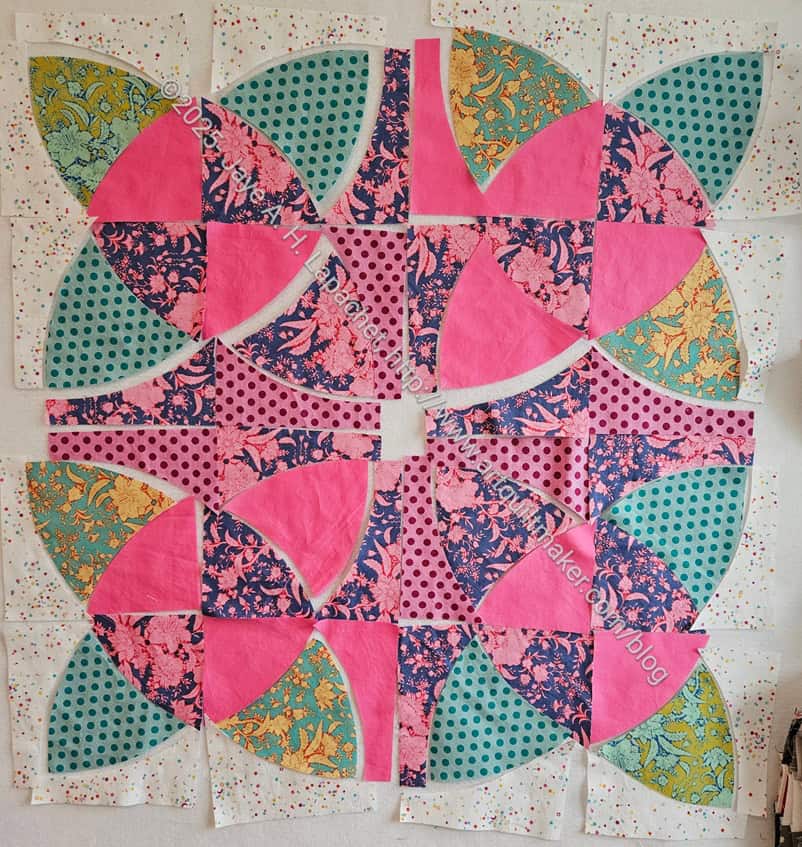
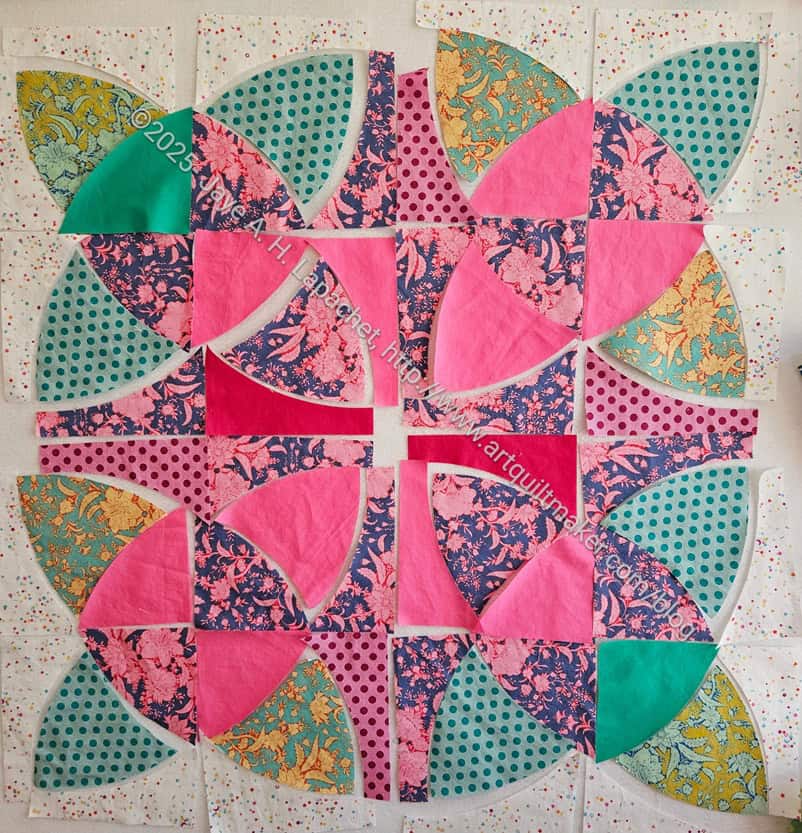
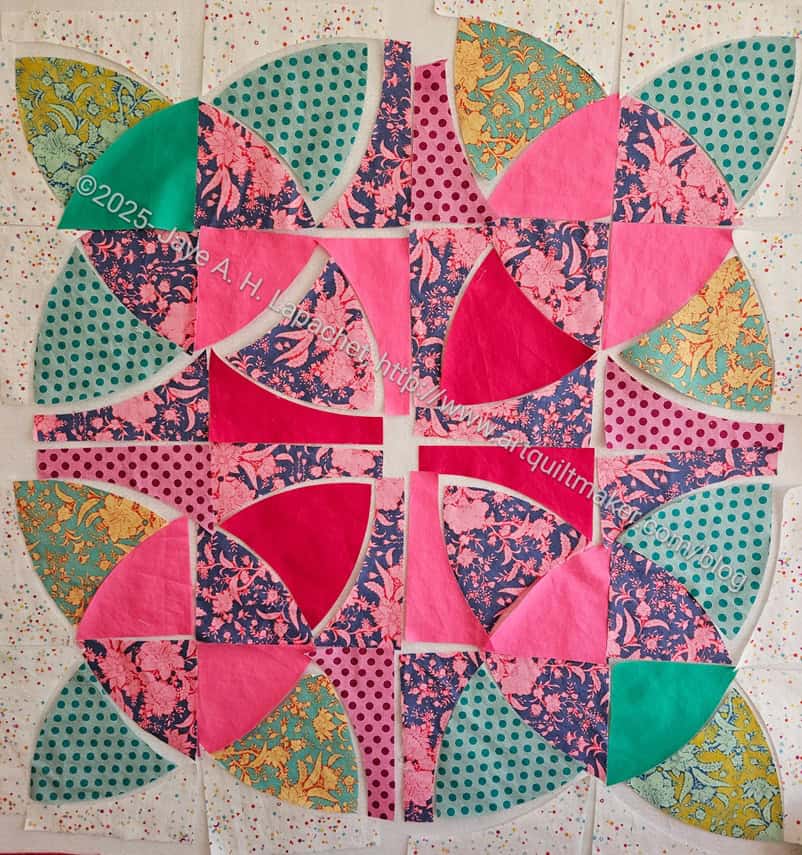
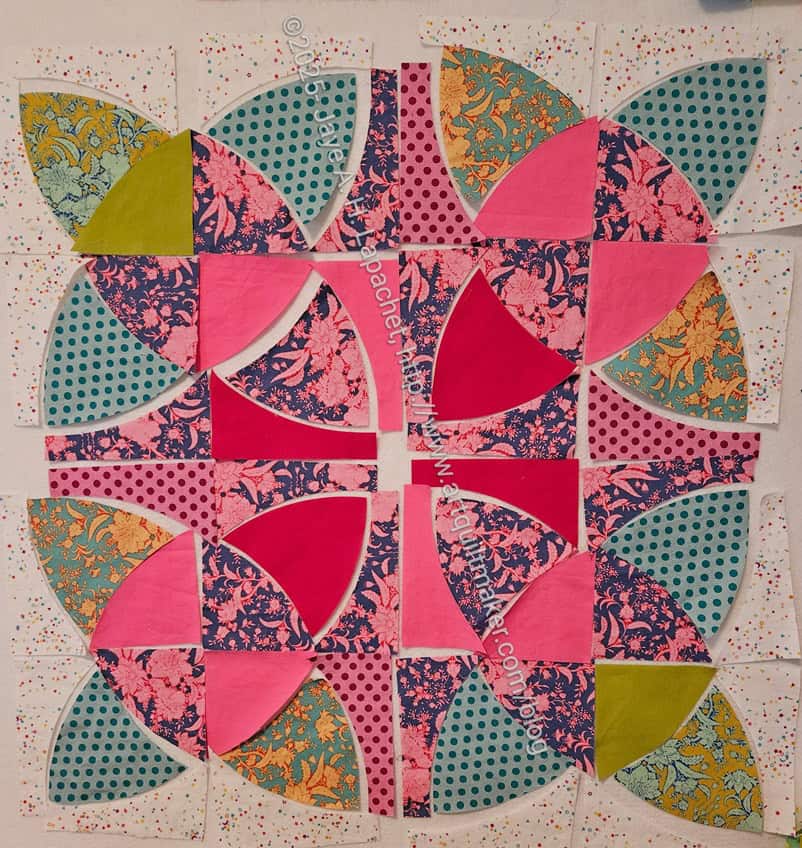
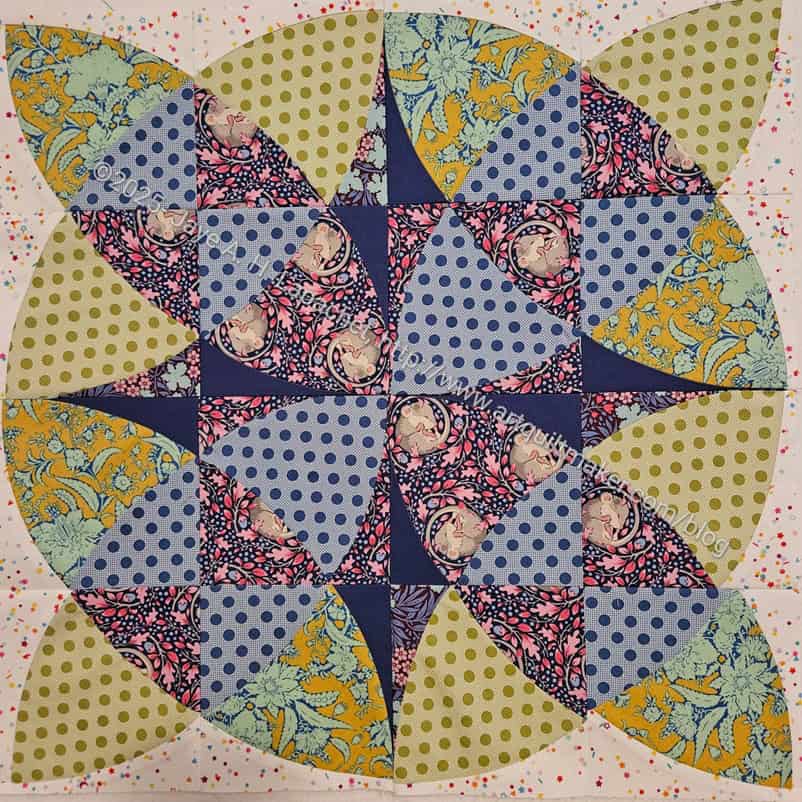
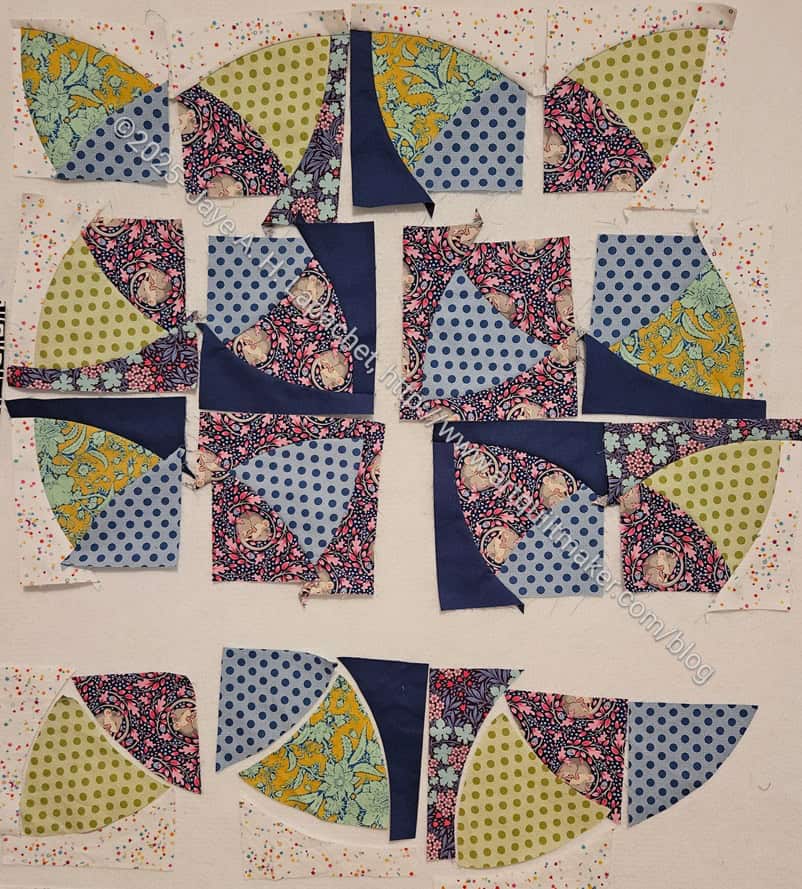
The piecing on this quilt takes a lot of time. I think it is because of the curves. That doesn’t mean it is difficult, just time consuming.
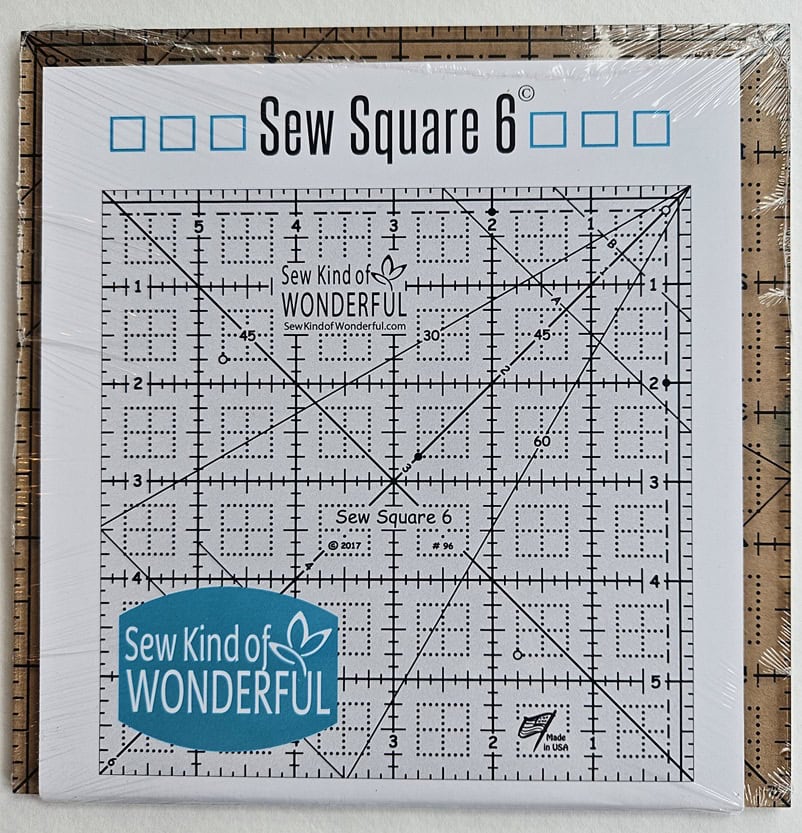
In the photo, the top left unit is pieced and trimmed. I wasn’t happy with the trimming. I ended up buying the SKOW recommended ruler, Sew Square 6**, though, despite my love for specialty rulers, I am fundamentally opposed to specialty square rulers. I would much rather the ruler I already have, the Quick Curve Ruler**, be marked well enough so I could trim with it. It isn’t impossible, but I found it to be very difficult. I haven’t decided if I need to make that upper left unit again. I don’t know if I trimmed too close to the green curved shape.
Sew Square 6
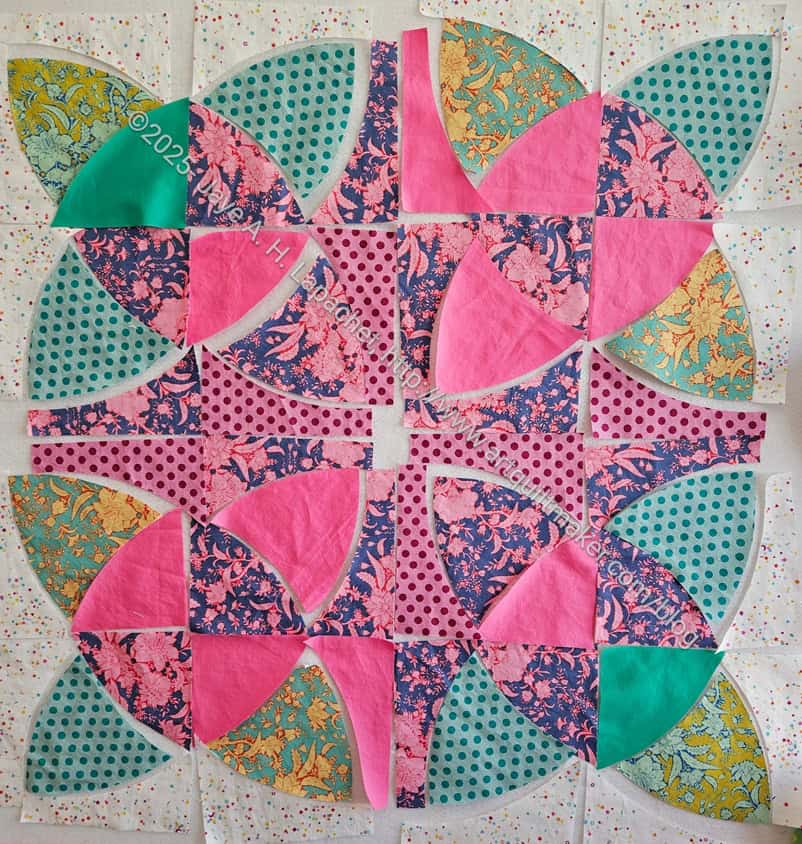
Except for the bottom row, the rest of the units have been sewn, but not trimmed. You can see how weird looking they are before they are trimmed. I bought the Sew Square 6** which I plan to use to trim the other units.
I didn’t buy the whole set; I just bought this one to see if I thought it was better than just using the Quick Curve Ruler.
Country Revival/Sad Quilt flower motif with leaves v.4
Flower 1 is still unsewn. I am not 100% happy with the color selection. I bought a few solids, which I am hoping will help fix whatever the problem is.
**N. B. : Obviously, you should shop at local quilt shops and small businesses. However, if you are too busy or can’t find what you need there, I use Amazon affiliate links and may be paid for your purchase of an item when you click on an item’s link in my post. There is no additional cost to you for clicking or purchasing items I recommend. I appreciate your clicks and purchases as it helps support this website.
Here are the various gifts I have made for my mom over the years. She doesn’t want more bags, but I can’t seem to help myself. I have made her 34 gifts over the past few years.
Sweet Dreams Pillowcase
Bright Cafe’ Apron
Mom’s Pencil Roll Open
Mom’s Jane Market Tote in Paintbox fabric
Mom’s Watercolor Box Sew Together Bag
Mom’s Apron Front
Poolside Tote for Mom
Mom’s Paint Tube Flapper Apron
Mom’s Mega Pinnie side 2
Mom’s Persimmon Pouch
Mom’s Scissor Keeper
Inside Outside Pouch finished
Paint Tube Purse Organizer
Art Themed Ultimate Carry All Bag
Mom’s gift Eye Mask
Take a Stand Bag for Mom
Mustang Purse Organizers
Percheron Pouch Finished
Mom’s Project Bag
Goldenrod book cover
Enigma Bag for Mom
Mom’s Hackney Bag:
three quarters view
Two Hackneys for Mom
Mom’s 2-in-1-Case
Cane Chain for Mom
New Cane Chain
Grab & Go Sleeve for Mom
Paint tube bathrobe for Mom
Paint tube pillowcases
Mom’s Walker Bag- finished
Paint tube Day Trip
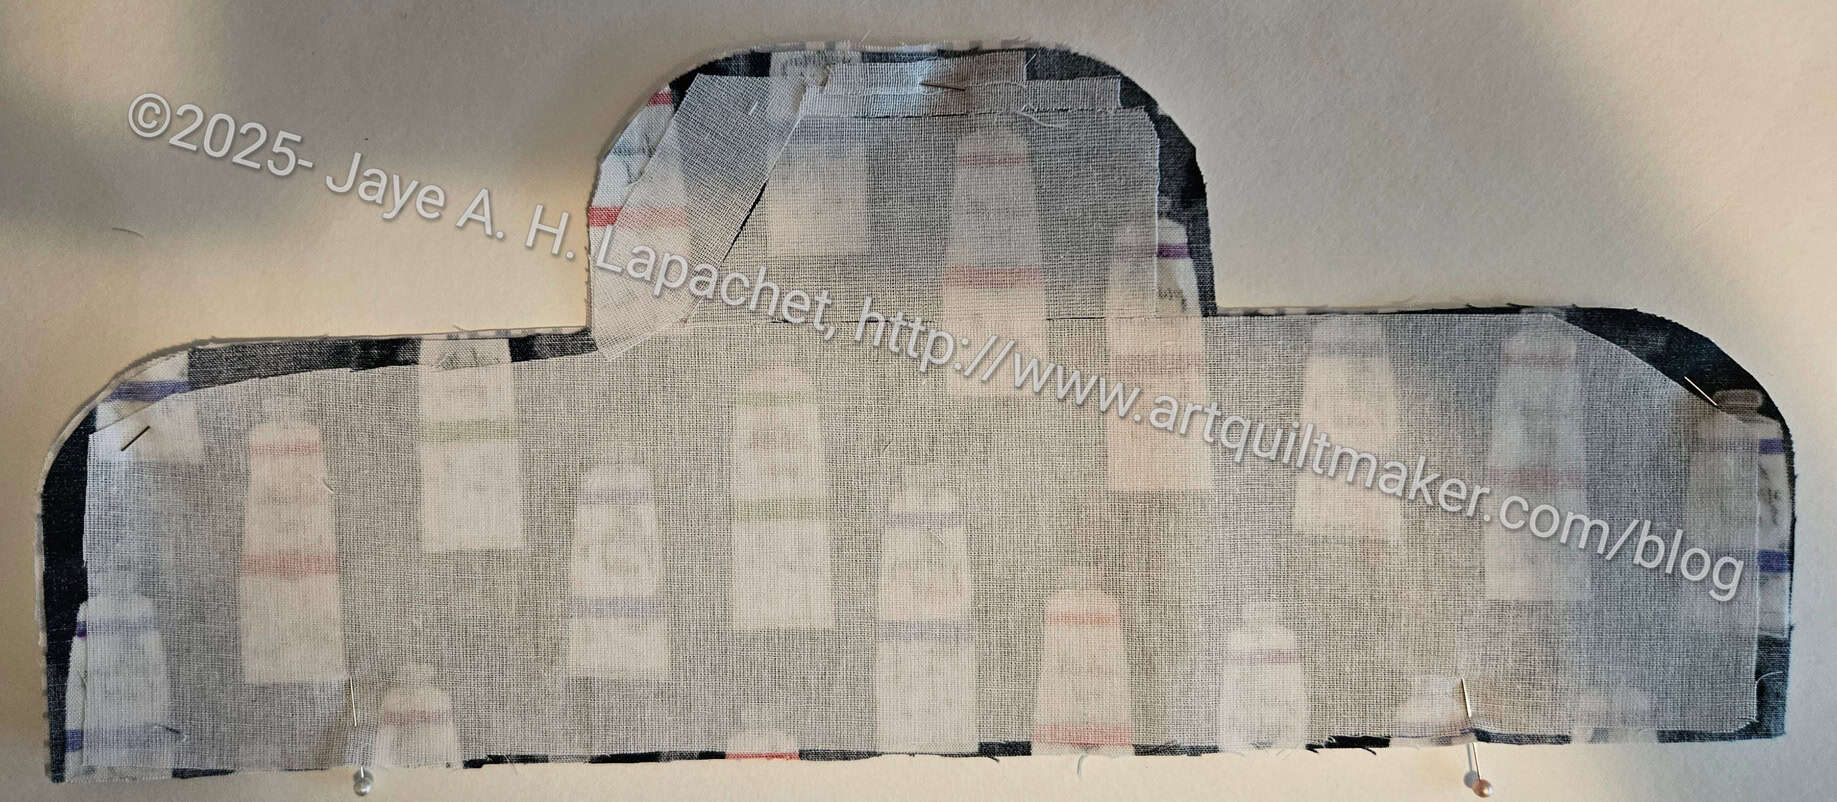
Pearce Sling Backpack
Sewing Date Traveler front
Fold & Stitch Wallet – front
Recently, when I took her home after the second surgery, I saw the Bright Cafe Apron in a box. I only saw a bit of it folded, but the fabric jarred something in my mind. I had forgotten I gave it to Mom. She said she is going to use it now to carry things around rather than carrying them in her hands. Yay for safety!
When I went to visit her on Wednesday, she was using the apron as she said she would. I was so happy! It make me super excited that the apron was useful.
The only failures were the Cane Chains. I couldn’t get the clamps tight enough to do their job. Not sure if a rivet press would solve that problem.
I went with Mom to the bank where she fumbled around inside the Pearce looking for her bank card. The vertical credit card pockets I added at the last moment are ok, but not positioned well. I thought a small wallet where she could stash her bank cards would be helpful.
Fold & Stitch Wallet start
I quickly found and started a little wallet. I couldn’t find my Little Wallet pattern. I didn’t want to buy a new one so I found a freebie, the Fold & Stitch Wallet by Caroline Fairbanks.