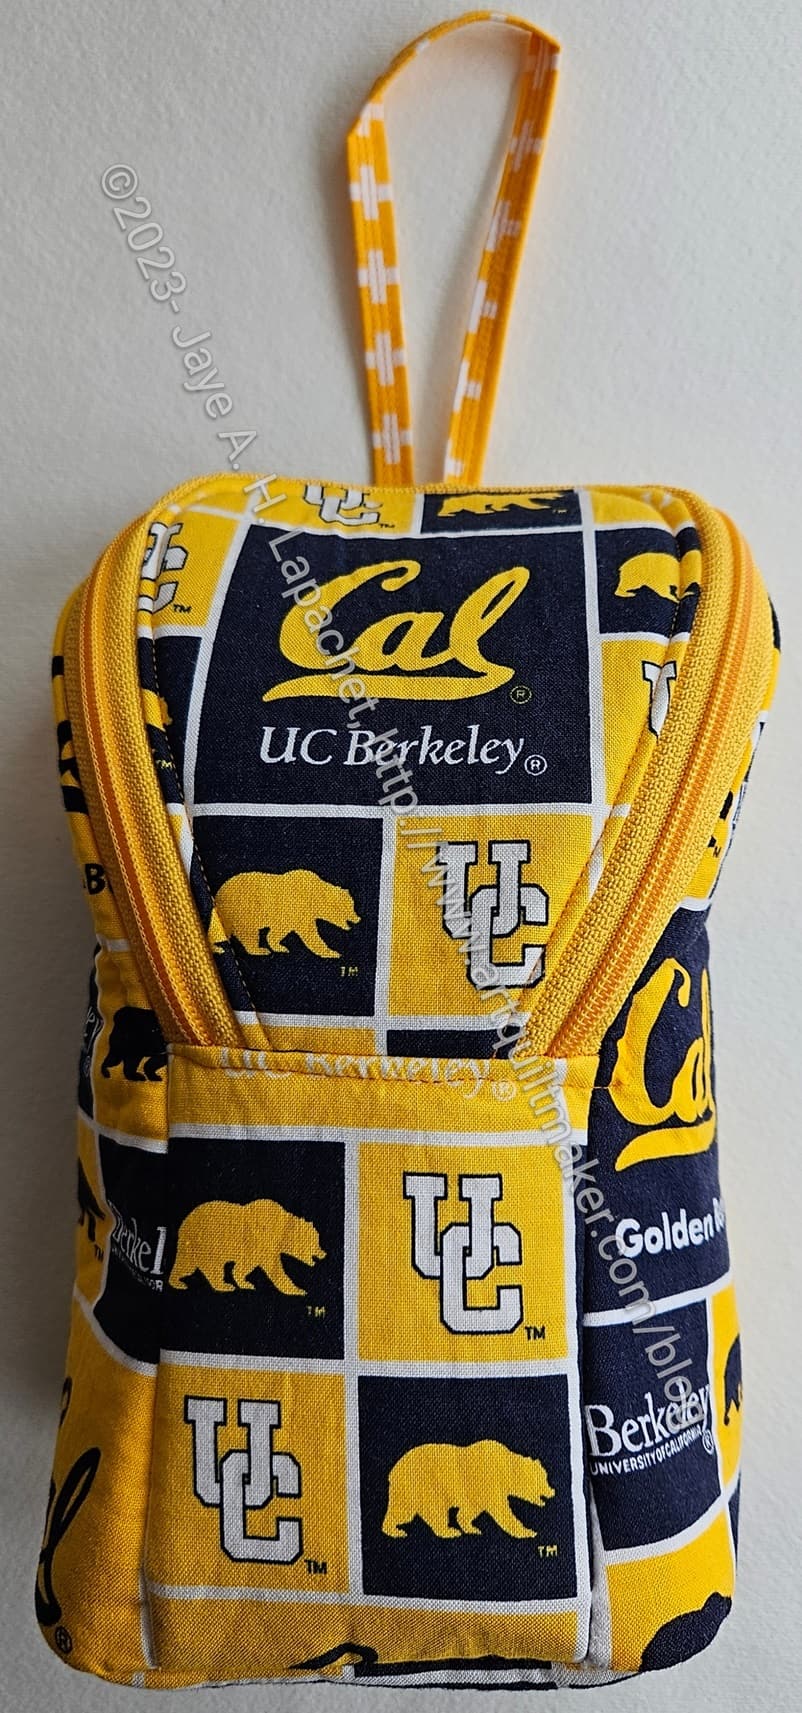
Yes, the Cal Piebald is finished. I think it came out really well. The fussy cutting, as mentioned, looks great!
In this image you can see the long loop I talked about when I started it. I used my own hand to figure out the length and I think it is ok. We’ll see what SIL #4 says.

I also fussy cut the bottom even though it won’t be seen very often.
One of these days, I’ll have to try adding Odicoat to a finished bag to see what happens. I am thinking a lot about what happens when people actually use the bags I give them. I want them to use the bags, so I should prepare them better to be used.
This pattern has an interesting stitching pattern for the loop/handle. The directions say to stitch the the part of the loop not attached to the bag with 4 lines before attaching it to the bag. This meant that I had to calculate exactly where the loop hit the bag, thus there was a bit of pfaffing around with my hand in the loop and trying to mark where I thought the loop would end.
Note: if you make the loop the size indicated in the pattern, there is no pfaffing around.
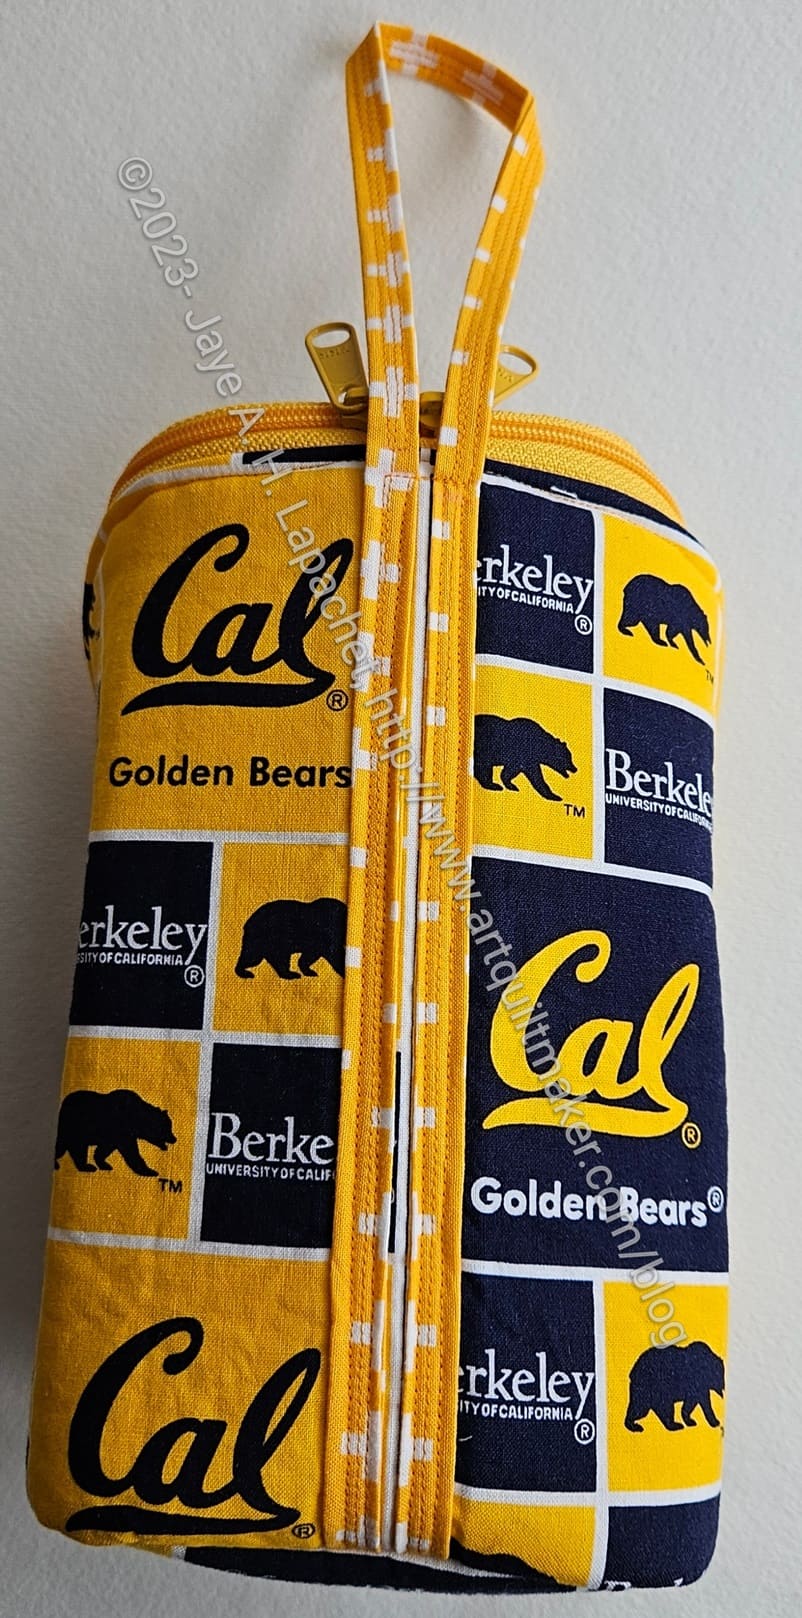
The rest of the loop is stitched to the bag using the four lines again. I think it is pretty secure.
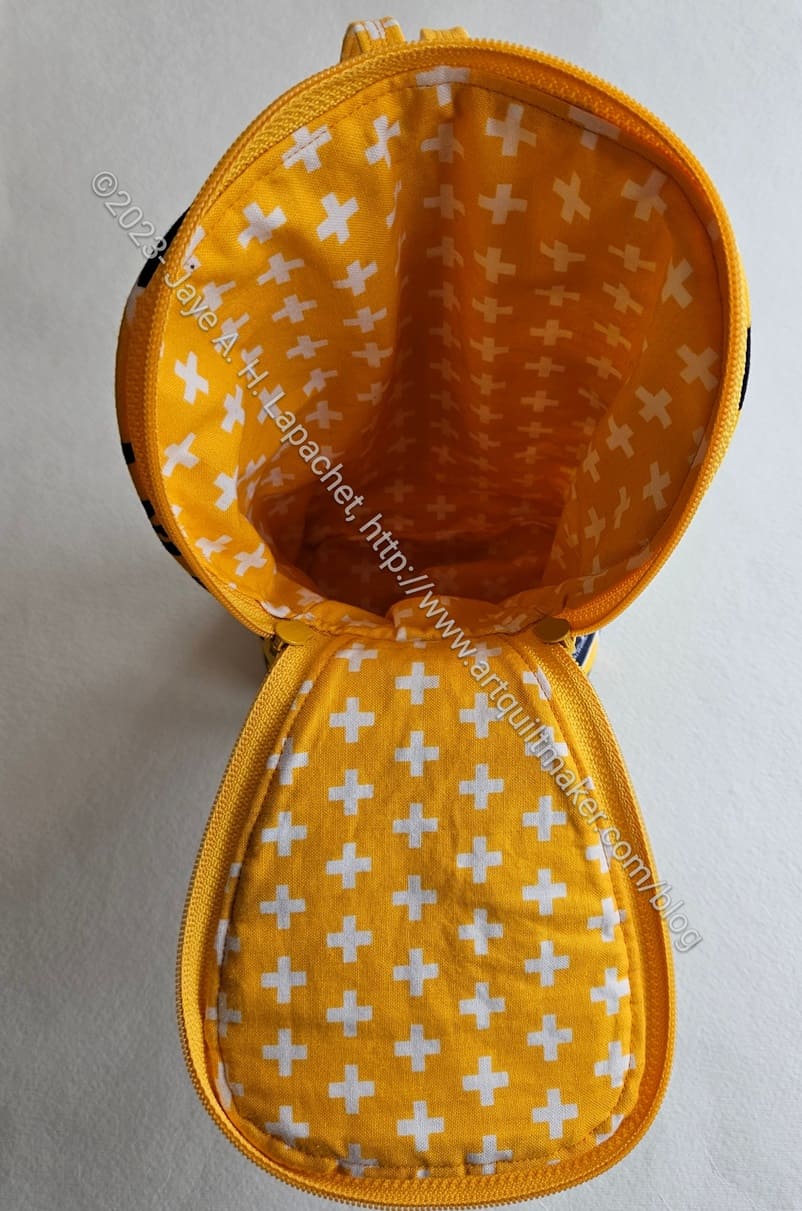
I think the lining matches really well. It is a little bit baggy, which is weird, but it isn’t terrible, so I am not going to stress about it. I sewed the lining with a fatter seam allowance, so it shouldn’t be baggy. Who knows? Another mystery to try and solve while I make other bags.
So, this is done. I am pleased. I am not sure when I will give it to SIL #4. I’ll see about giving it to her when I see her on the weekend.
Yay! Go Bears! I thinks she’s going to really love it.
I gave it to her already and she did love it. I am pleased.