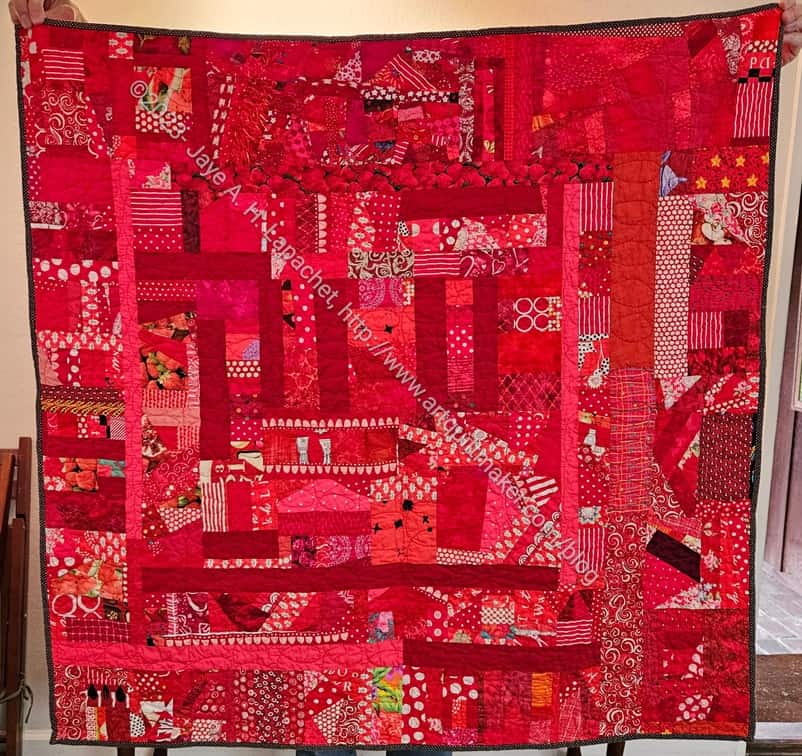
Along with the Orange Improv version from the other day, seeing this quilt finished reminds me of how great this process is. It makes me want to make more
The other color versions that I have made over time are really awesome as well and add to the idea of making more.
Right now my black, grey and brown drawer is overflowing. I have made a few black strip blocks, the first step in my process, but not enough to clear out my drawer. I talked about it with guild members the other day about cheerful quilts. Black is not always a cheerful quilt color like pink or orange. Someone suggested doing a two color version. I don’t think I am ready to branch out from the monochromatic parameters of the project so far.
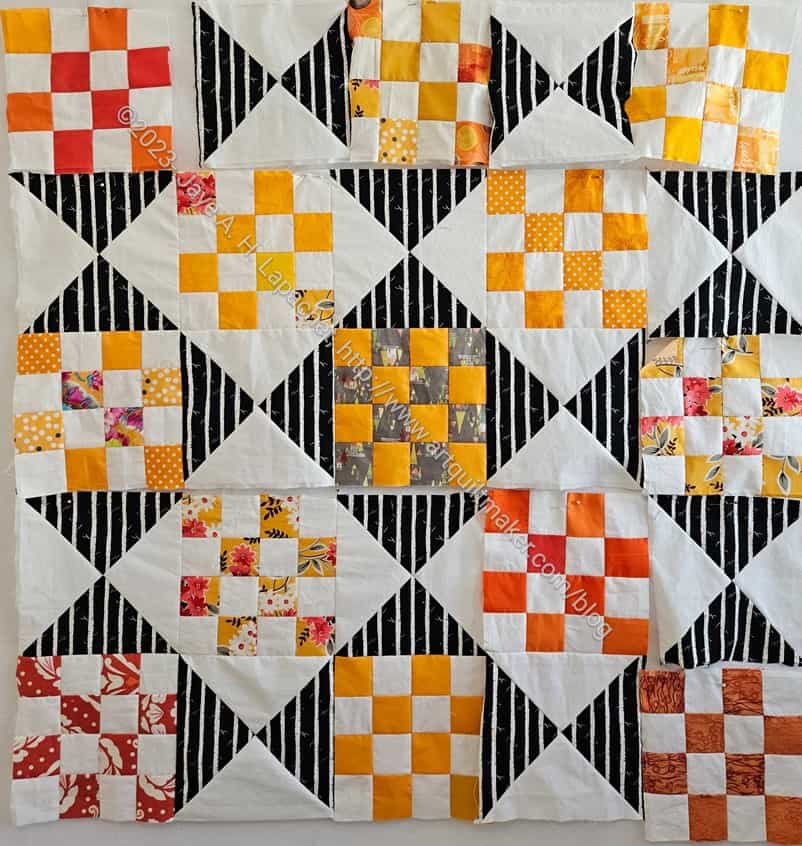
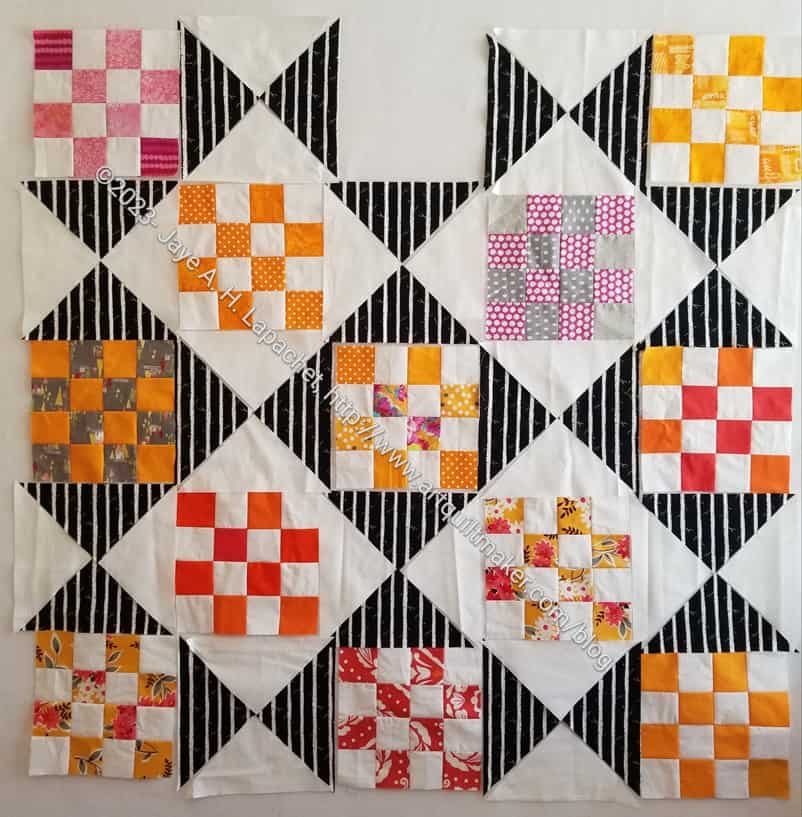
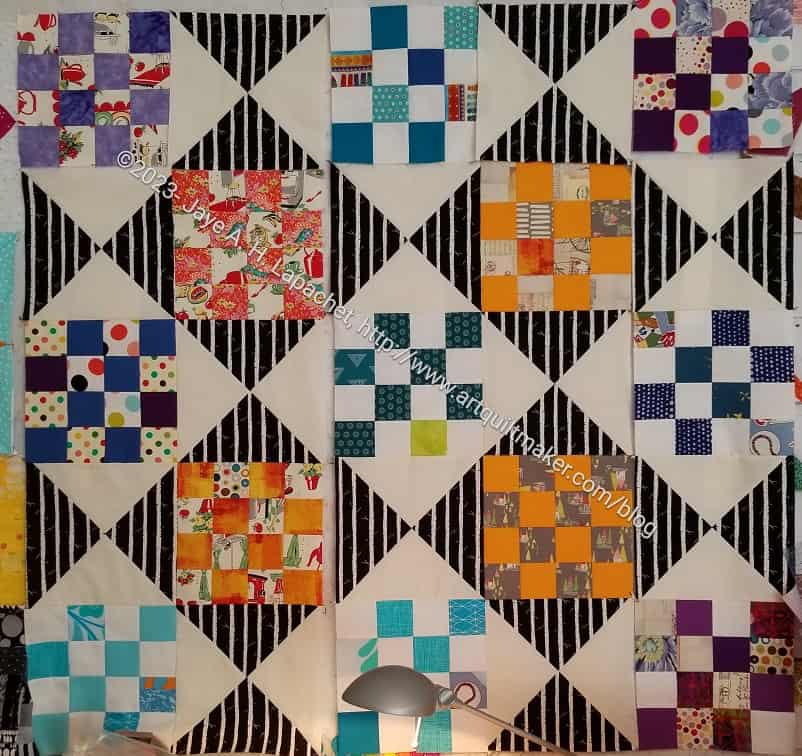
I did a lot of ripping last week and the result is that I can resew the QST 16 patch #2.
I had to rip more than I originally thought. Here is the layout I will use. The stripes are all going in the correct direction and the secondary pattern is in order.
I sewed this top together quickly the other night. I thought I was being super careful to keep everything in the right place.
WRONG!
Not only did I mess up the dark and light triangles, but I also put blocks with the stripes going in the wrong direction in the wrong place. I can live with the stripes, but I have to fix the secondary pattern.
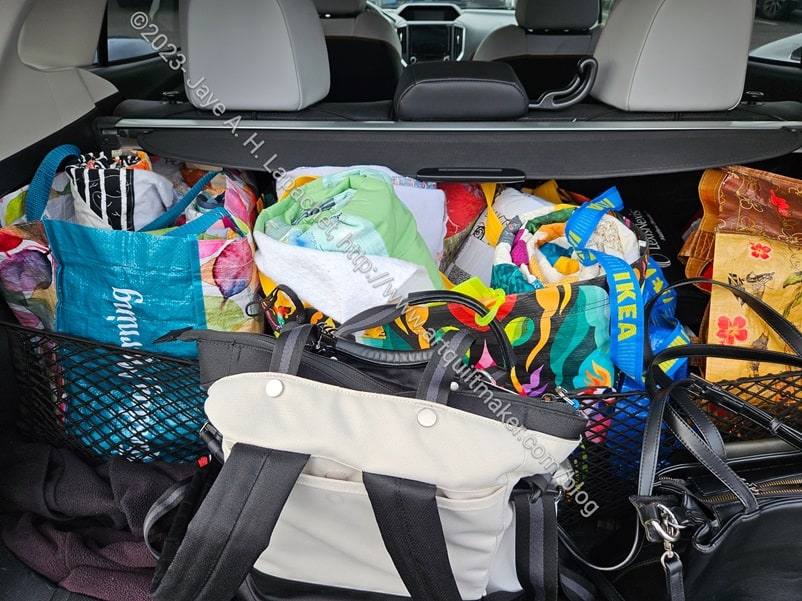
I don’t normally transport quilts for the guild, but I am this week. Claire is out of town and I agreed to collect the quilts. There are about 30 quilts and the bag on the right is super heavy. I needed the wagon to bring them to the meeting.
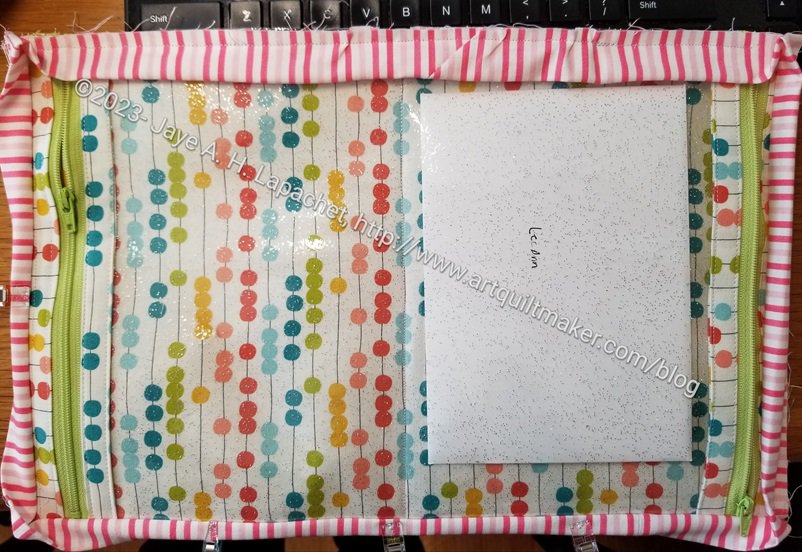
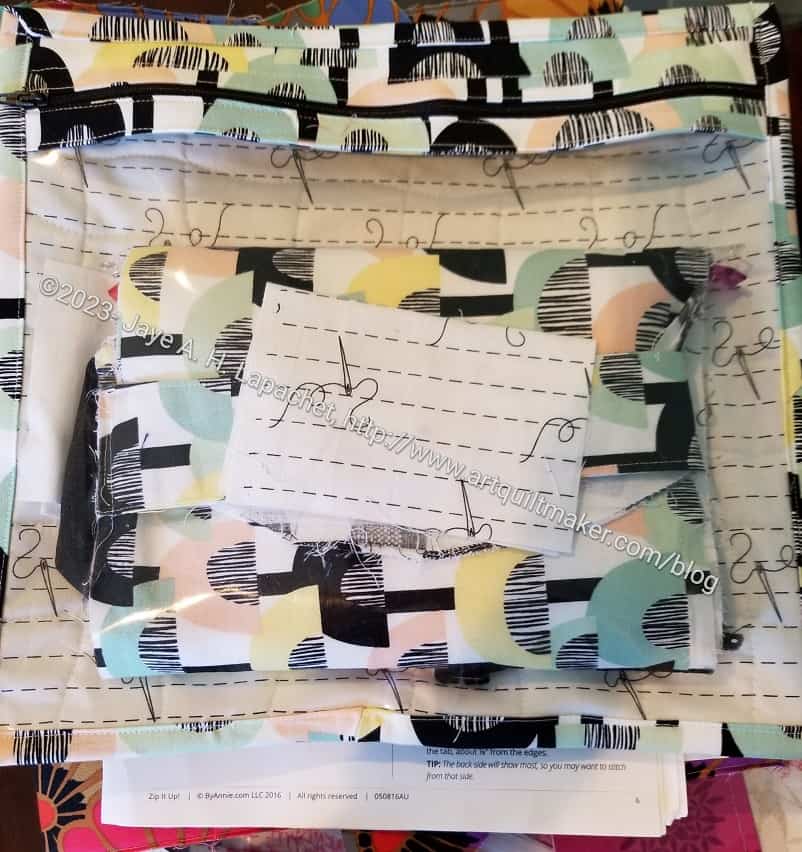
I decided that 2-in-1 Cases would be great to use for the gifts going to the guild officers. I am, once again, in charge of organizing that effort. I think it is important to thank the officers, but I seem to be one of the few who wants to organize the effort. Sue and Carrie are helping, which is great. they are sensible friends who offer excellent advice.
2-in-1 Case #4 size test
In the past I have made large bags and then had people make small gifts to fill the bags. I didn’t have time for that this year, so I am gathering cash and gift cards. I needed something to hold cards and gifts and the 2-in-1 cases are the thing. They are useful for sewing supplies, but also the right size for cards and gift cards. I am gathering quite a hoard, so I hope they are large enough.
This strategy also means I do not have to cajole people into making large bags or small gift items. I was prepared to make all of these 2-in-1 cases, but a few people volunteered. I was very grateful for the others efforts. I am making one, as you see.
I had to take a break for some seam ripping on the Kit Supply Tote and do some handwork on the other bags I worked on over the weekend. That meant I was able to start sewing this bag. I cut it out at Sew Day earlier this month. It is going together much more quickly than the first ones.
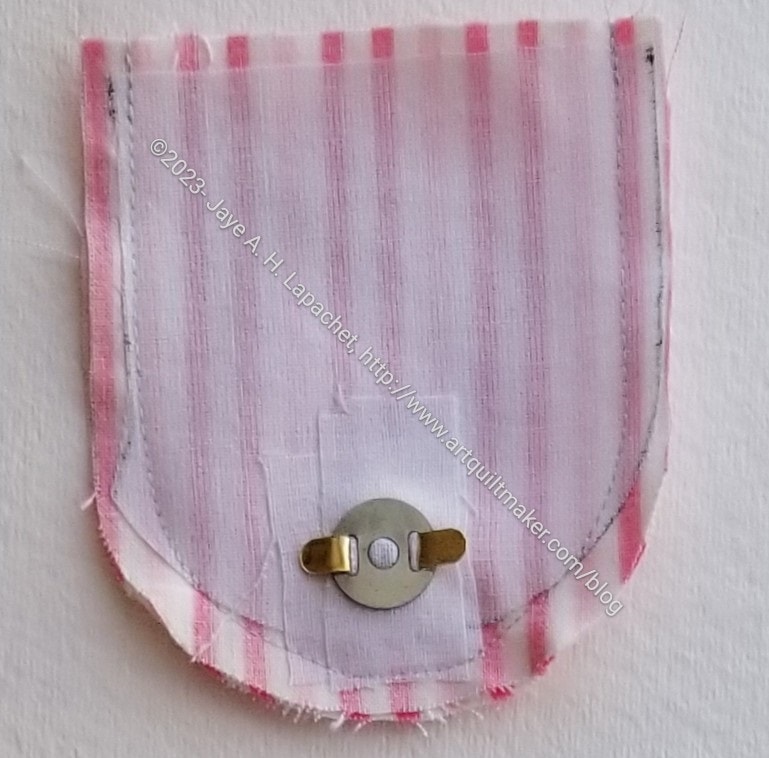
2-in-1 Case #4 magnetic snap
One of the things I did was try a magnetic snap, which is recommended in the pattern. These are different than the other snaps, installed with a Snap Setter, that I used before.
Except for being quite large, I think the magnetic snap came out pretty well. The instructions in the book for installing it were a little vague, but I used some pliers to bend the arms of the snap down. That worked for me.
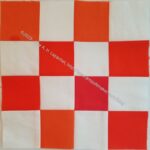
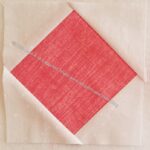
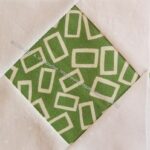
Here is the second of my new series, apparently. More orange, though i didn’t have quite enough and had to use some pink blocks. We’ll see if they stay.
I hope to have this done for the meeting on Saturday.
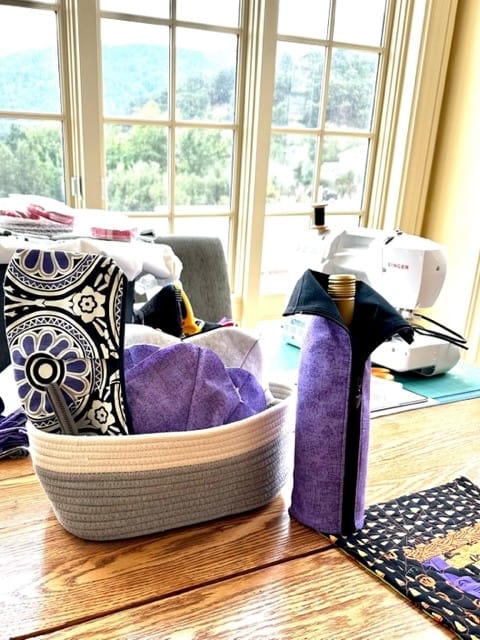
Carrie is having fun making door prize collections.
BAM Picnic themed Door Prize
This one has a picnic theme, which I think is very clever. She is using some contributions from other team members, such as an interesting pouch that Tim made. The basket is from Amazon**, but there free patterns* for rope baskets, too. They are a good project for using up fabric scraps.
*N.B. I haven’t tried this pattern so your mileage may vary.
**N. B. : Obviously, you should shop at local quilt shops and small businesses. However, if you are too busy or can’t find what you need there, I use Amazon affiliate links and may be paid for your purchase of an item when you click on an item’s link in my post. There is no additional cost to you for clicking or purchasing items I recommend. I appreciate your clicks and purchases as it helps support this blog.
The big question is whether I will make another QST 16 patch donation quilt with these blocks? Of course, I can’t make much with so few blocks, but hope springs eternal.
Stay tuned for the answer!
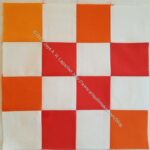
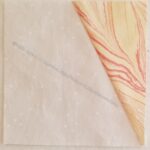
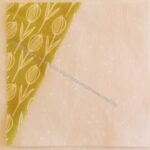
Different oranges donation block
Orange #2 donation block
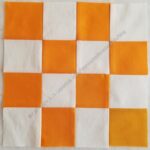
Light orange donation block
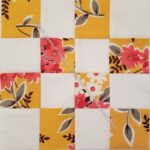
Orange flower donation block
Perhaps I subconsciously made Halloween themed blocks this month?
Mary and I talk about bags all the time, which is super fun. I was pleased and surprised to see that she was working on various projects for the guild Door Prize team.
She wanted to change some of the fabrics after she already started the Fold-up Sewing Folio, so that project is in a bag like the I Spy pouch waiting for another day. I am not sure of the designer or the name for the I Spy-like pouch. This will be a set.
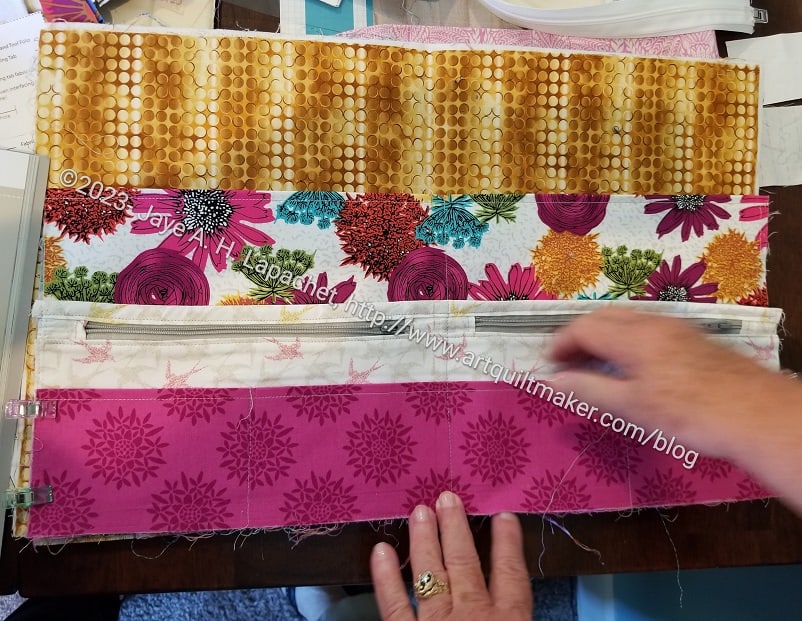
Book and Tool Folio in process
She is also working on the Book and Tool Folio. I love the fabric she chose for this pouch. I think Mary’s choice of the flower fabric paired with some tone-on-tones. It is a great combination of fabric.
I feel like I should try the Book and Tool Folio now. Mary is fearless when it comes to making bags. She just tries and works through the challenges. I am impressed and inspired.
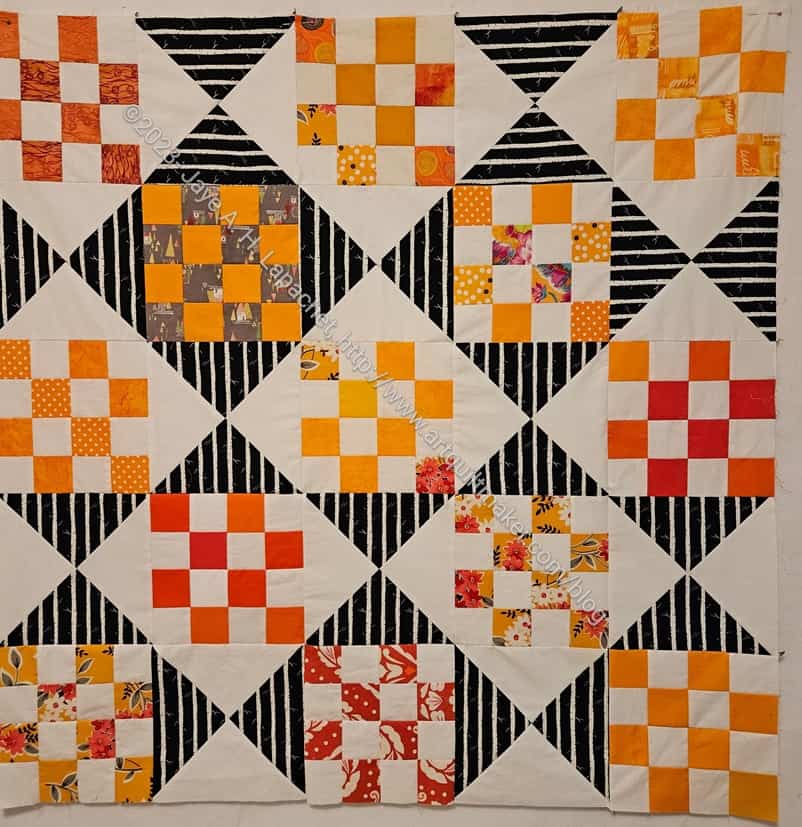
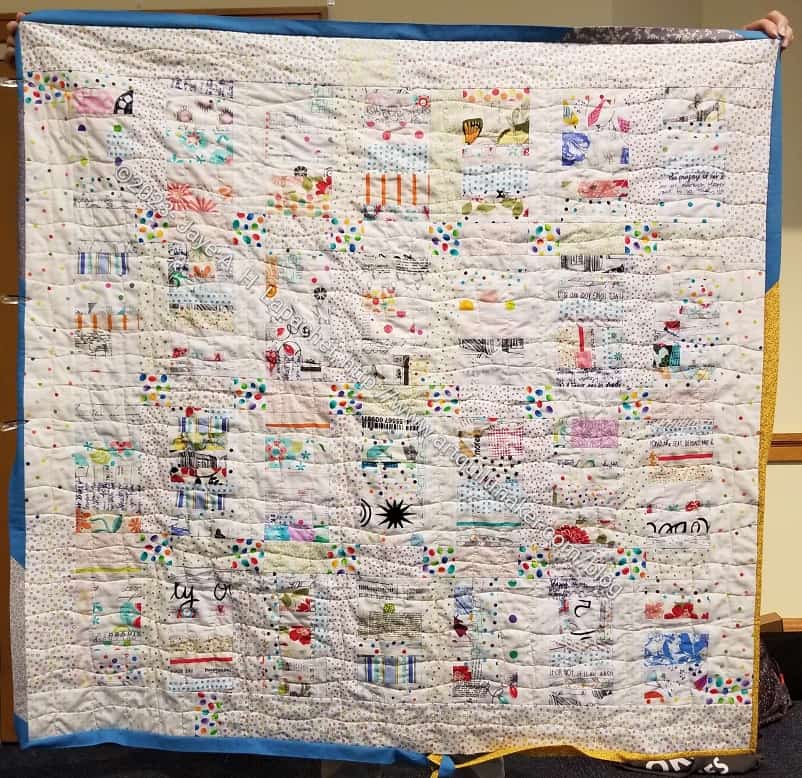
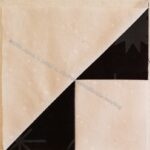
The QST 16 Patch donation quilt is coming along pretty well.
I used some random blocks I had been making for the guild, as I mentioned, but I also added a few more to make the quilt just a little larger.
I used some of that striped black fabric I bought a lot of twice( !!!) by accident. I think I have enough of that stripe to make another one of these quilts. Of course, I should finish this one first. 😉
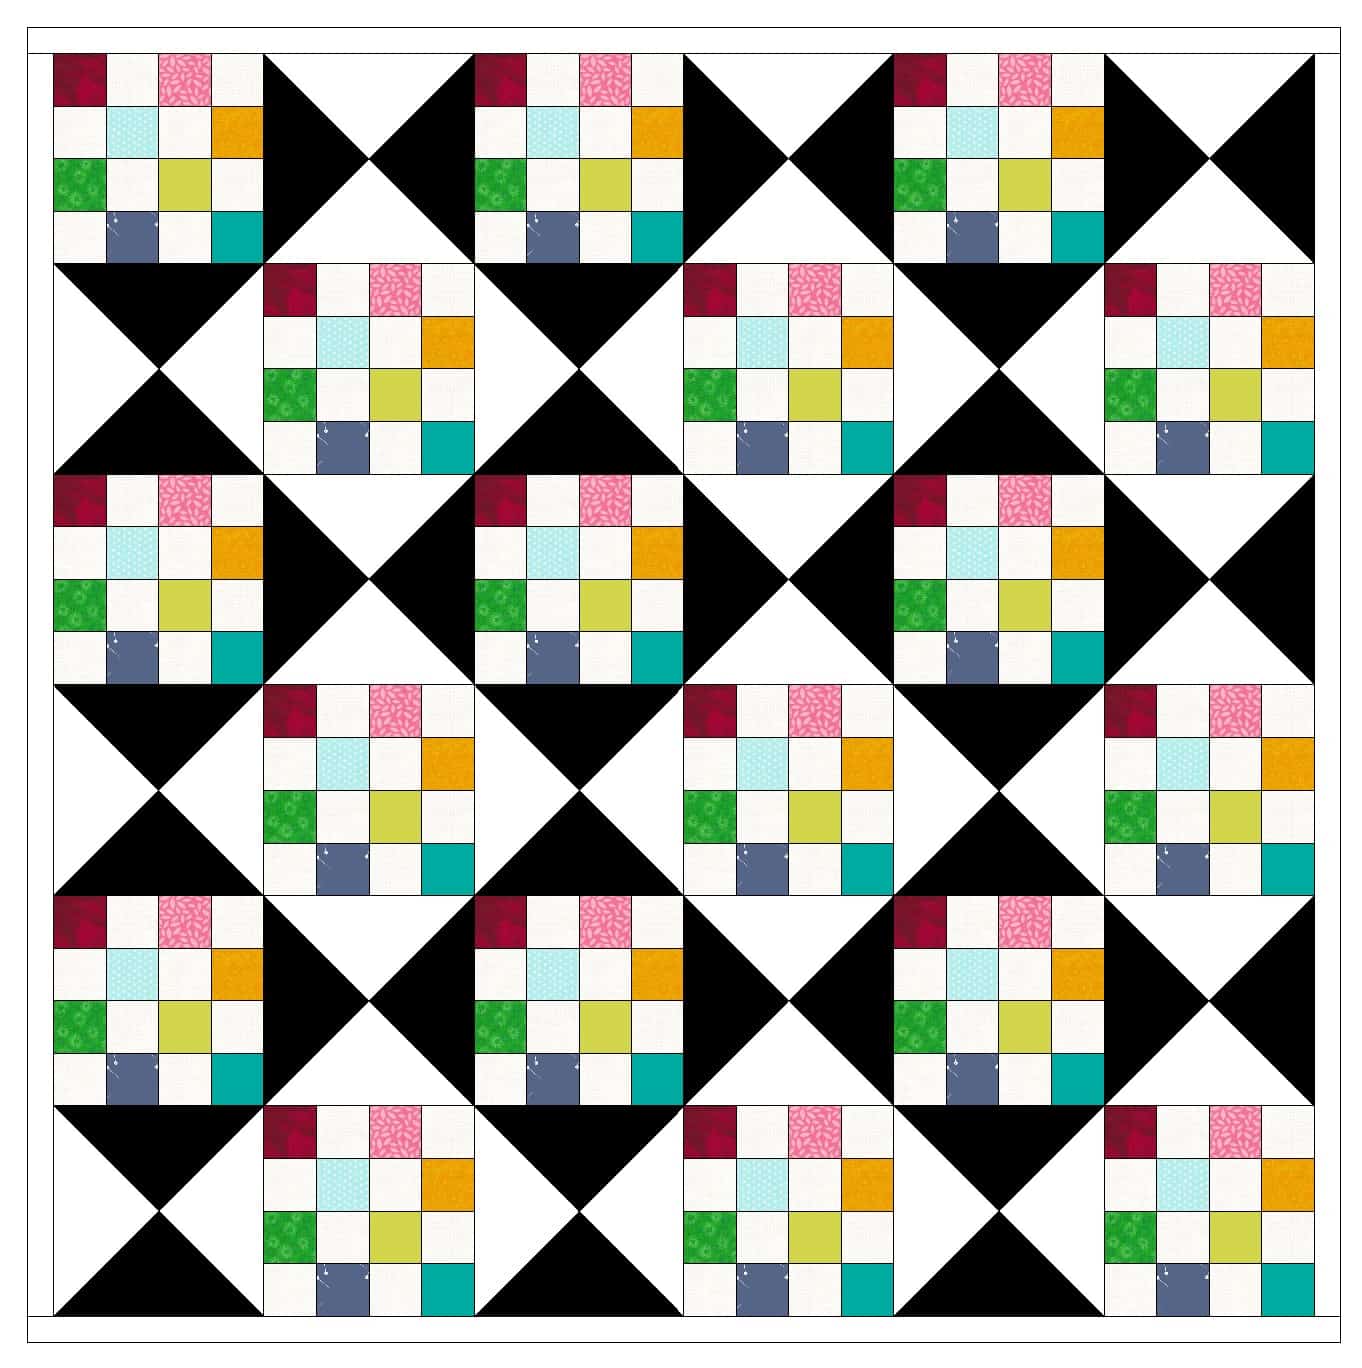
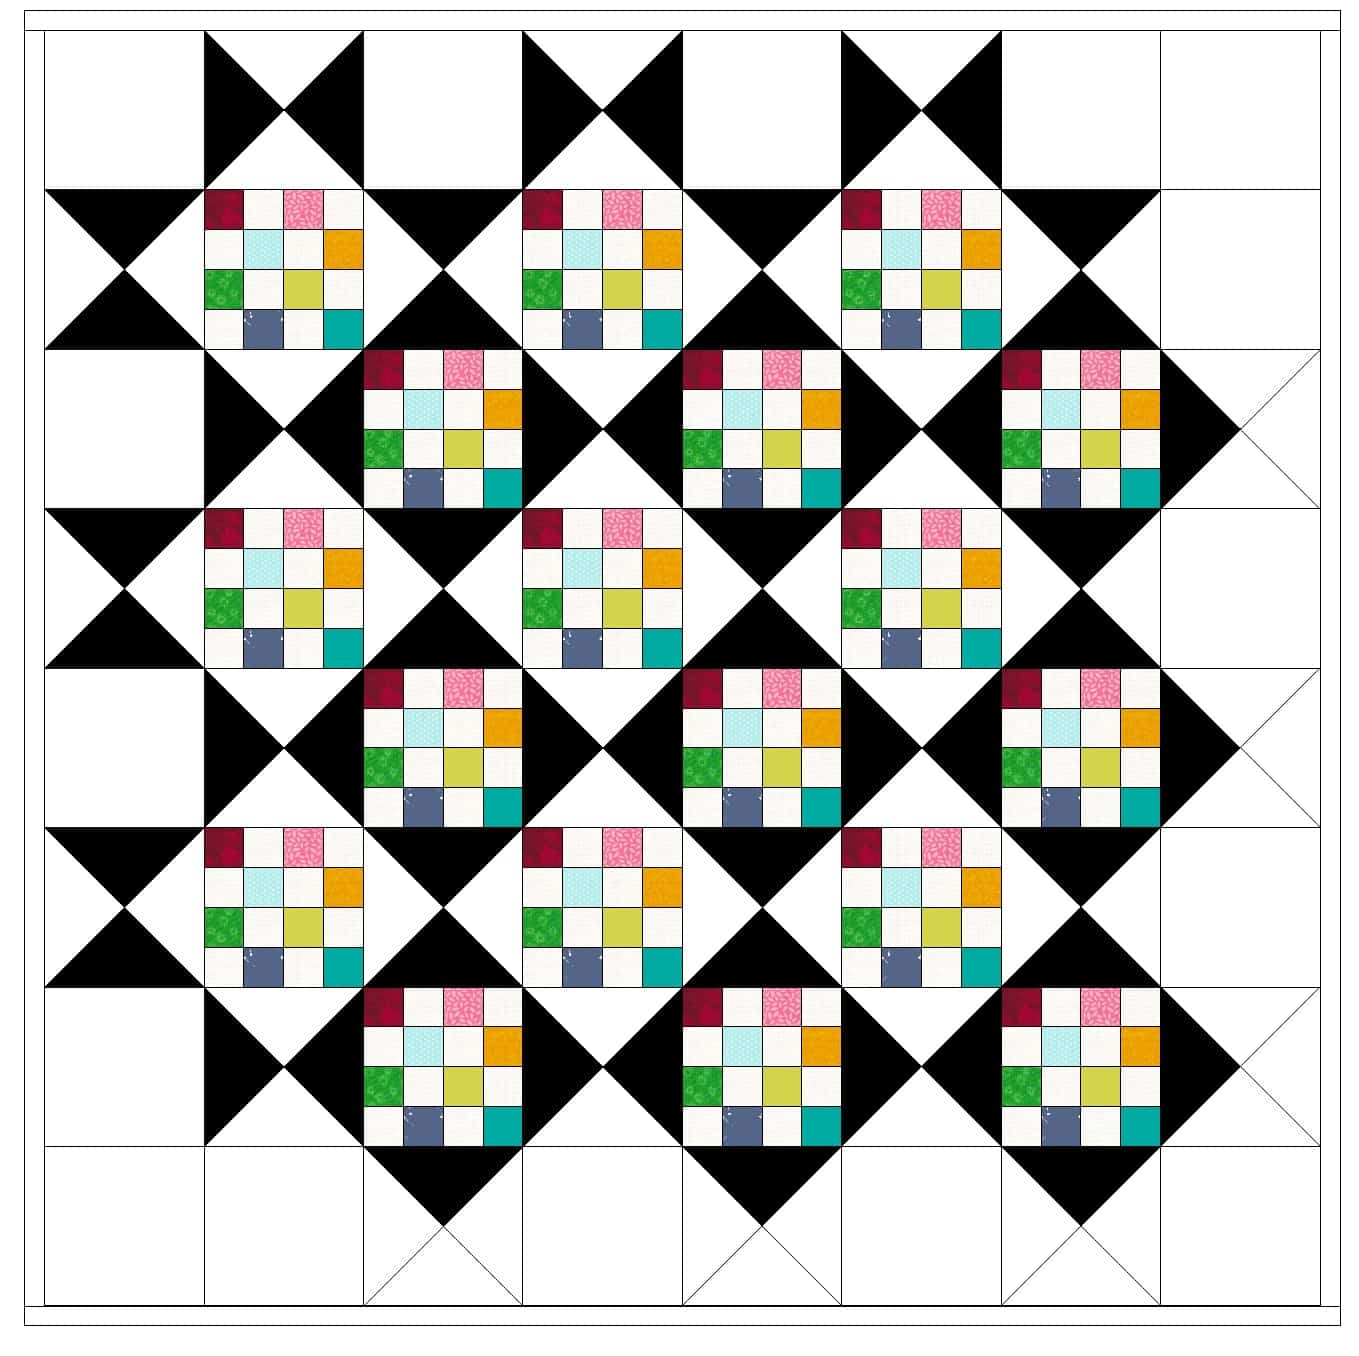
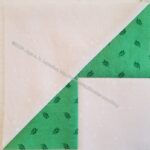
I saw some quarter square triangles (QST) somewhere and started to think about them in conjunction with the guild’s 16 patches. I looked up the dimensions for making QSTs in my trusty Around the Block** book. That simple block was not included. I was trying to avoid firing up EQ8, but had to as I couldn’t get the design out of my head.
QST 16 Patch – cut off
The first design I made is ok. You can see the design and the secondary design. However, some of the motifs are incomplete. You know how I like my designs to be finished, so I decided to try and finish off the edges.
I wanted you to be able, at least, to see the full Ohio Star motif (block) even if I couldn’t finish off all of the secondary designs.
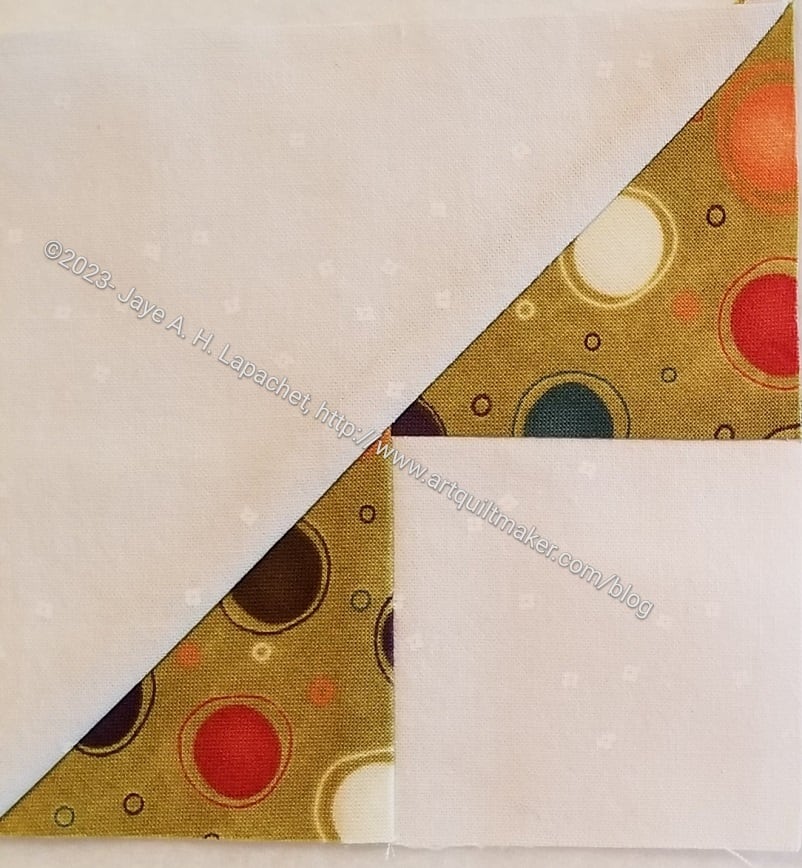
QST 16 patch, design 2
Honestly, I didn’t think through the whole process and wasn’t really prepared for a full-on EQ8 design sessions.
I took a stab. I immediately ran into problems. You can see that doing what I wanted wasn’t straightforward. I think I could have resolved the problem by adding another row of 16 patch blocks, but I didn’t want to make the quilt larger than it was. It will be a baby (ish) quilt for the BAM Community Quilts Project.
For the moment, I decided to leave it and go back to sewing. The second design is fairly asymmetrical, which means true Modern Quilters would probably like it. I don’t dislike it; it just doesn’t achieve my goal. I’ll work on it again another day
**N. B. : Obviously, you should shop at local quilt shops and small businesses. However, if you are too busy or can’t find what you need there, I use Amazon affiliate links and may be paid for your purchase of an item when you click on an item’s link in my post. There is no additional cost to you for clicking or purchasing items I recommend. I appreciate your clicks and purchases as it helps support this blog.
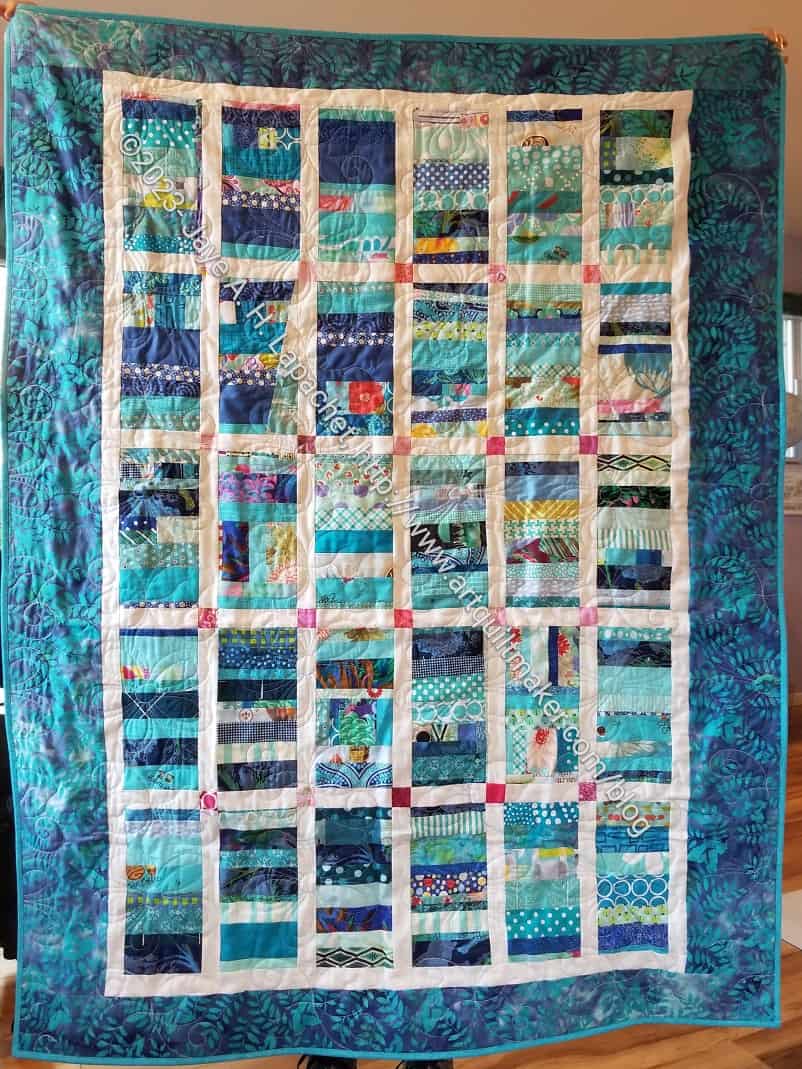
At my sew day with Cyndi, she worked on binding quilts. One of them was my Blue Strip #3. I am so thrilled because I just finished this one in July! I am thrilled that it is already finished.
We discussed colors to use as binding and eventually settled on a turquoise. I thought a purply blue would look better with the batik border, but she didn’t have such a fabric and I didn’t think it mattered that much. The turquoise turned out to be a great choice.
Cyndi did a machine binding that looks really nice. I have to try and learn that skill.
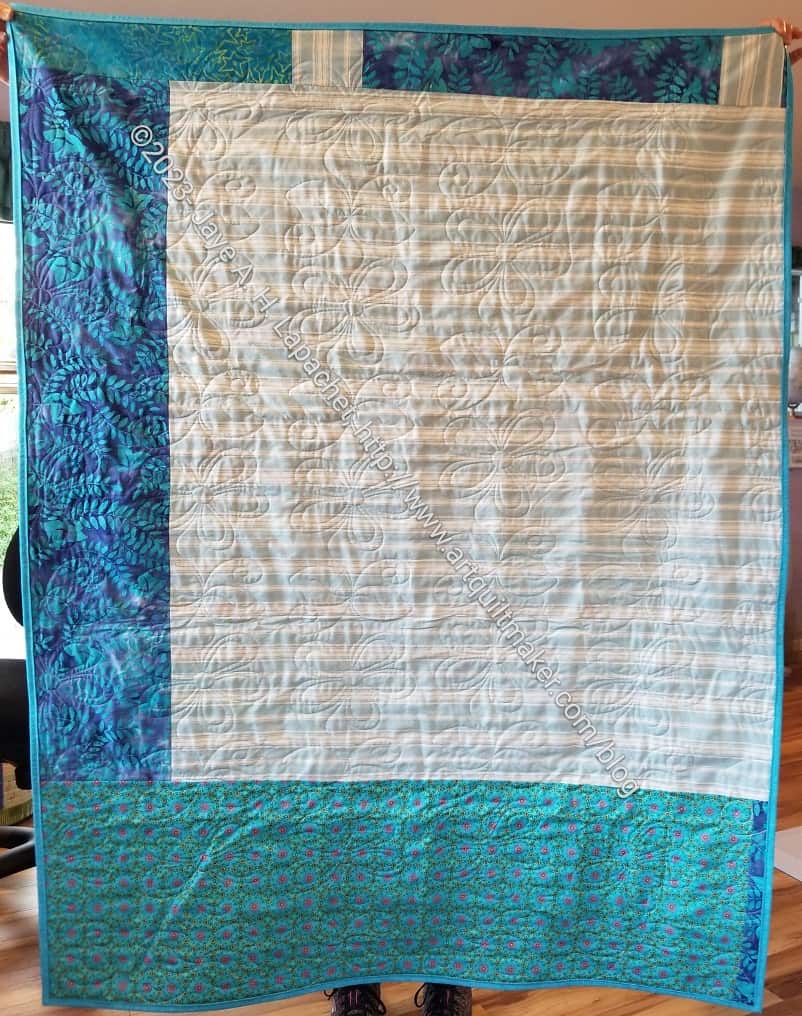
Blue Strip #3 donation quilt back
Laura, a longarmer who has been doing quilting for the guild, did the quilting. It is flowers and you can see it really well from the back.
Sew Day was Saturday and it was great! There is a lot to tell you, but I’ll probably have to spread it over a few posts.
First up, community quilts.
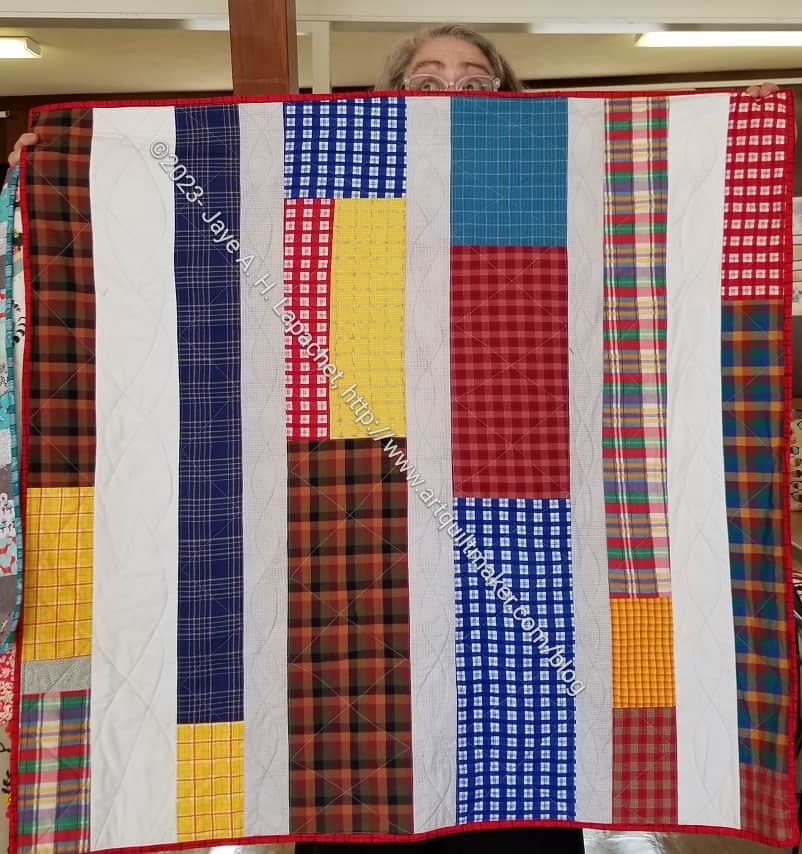
Ends n.17 (Plaid) finished
Friend Julie finished the Ends n.17 (Plaid). She even did the binding! What a star!
I am so thrilled that this will soon go to a good home. I really hope that it will provide comfort and nice snuggles for someone who needs a hug.
Julie’s community quilt
Julie worked on a second quilt, which I did not make. My first comment, upon seeing it was that it was a weird shape. I quickly realized that it will be a great crib quilt. It is just the right size and shape for a crib, or a toddler bed for a slightly older child.
Leann brought the White Strip Donation Quilt to the meeting last weekend. It has been a long while in coming, but she quilted it and was finishing the binding. I am so pleased to see it done.
I finished the top in 2019, so it has been languishing for awhile. Fortunately, fabric doesn’t go bad. There is something about this one that I really like. Soon, I will have enough scraps to make another.
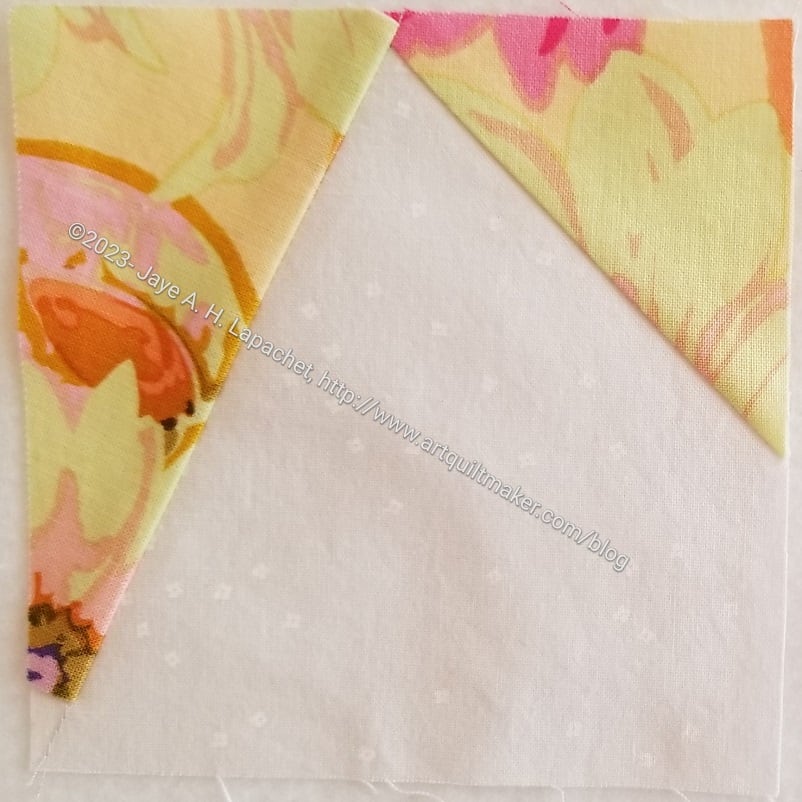
I took a break from making bags, Metro Twist and Scrappy Celebration to make some progress. Thus, I made some good progress over the weekend on making Pantone blocks.
Pantone Mutt & Jeff Left
I had already chosen quite a few fabrics, which made the task easier. Foundation piecing, not my strength, gave me pains on the first block.
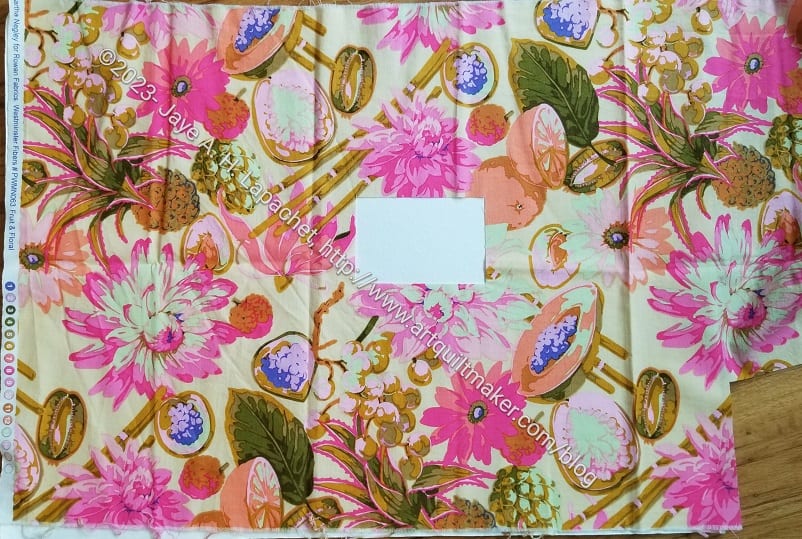
The background of this fabric, a Martha Negley fruit and floral print from a few years ago, was the right hue for Pantone 4545 (not all the colors have names. Some only have numbers, which is a little annoying). I only had a half yard of this fabric and these fruit and florals don’t always have a lot of background. In this case, I only had a few bits to work with.
Martha Negley Fruit & Floral for Pantone 4545
Of course, I cut a piece that was the wrong shape (remember: foundation piecing needs backwards and upside down pieces), so I had to Swiss cheese cut the last bit of background. Sigh. Fortunately, I don’t have enough of this to use for a back or a bag, so it really shouldn’t matter. Still it is painful to see one of these prints with a hunk out of the middle. Fortunately, this project (and Friend Julie) are worth it.
As an aside, you know how Tula Pink is doing Deja Vu prints? I wish Free Spirit would do them for Martha Negley as well. Maybe I should start fan club for Martha? I love those fruit and veg prints.
Half Night & Noon
One Peaky Left
One Peaky Right
Center Diamond
Center Diamond
Storm Corner
Storm Corner
Storm Corner
I went to town making blocks. I got into a rhythm that was only interrupted by not having selected anymore fabric. I thought I made a wider variety, but, looking at them like this, apparently not.
Storm Corner in Pantone 3985
I was planning to make Flying Geese for Pantone 3985, a kind of olive green, but ran out of fabric. When I selected the fabric, I didn’t realize I only had about half of a fat quarter, so mid-block, I pivoted and made another Storm Center, which would work with the size triangles I had already cut.
I needed a template, so I cut the Pirate Black Storm Corner so I could use the triangles as a template, thus I ended up with four of these. In the grand scheme of the whole quilt it will be ok. It just looks a little odd now.
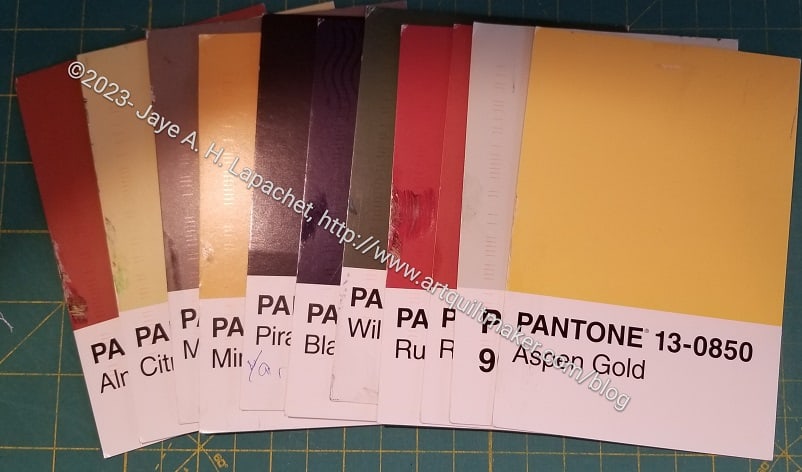
Pantone colors left to make
I suppose I shouldn’t have called this “August Progress” as it assumes I won’t make any additional progress, though I hope I do. I still have a number of colors to match and turn into blocks. Note they are all kind of dull, though looking at them like this reminds me they are not all beige.
I am also happy I made some good progress as I was feeling quite guilty at my tardiness. The hardest part of this project is selecting the fabrics. Aside from hauling the fabric bins down from the top of the fabric closet, the inks on the postcards seem to be different from the dyes used in fabric. I know that is true, however the actual hues and shades seem to be really different.