Quilt Improv: Incredible Quilts from Everyday Inspirations by Lucie Summers
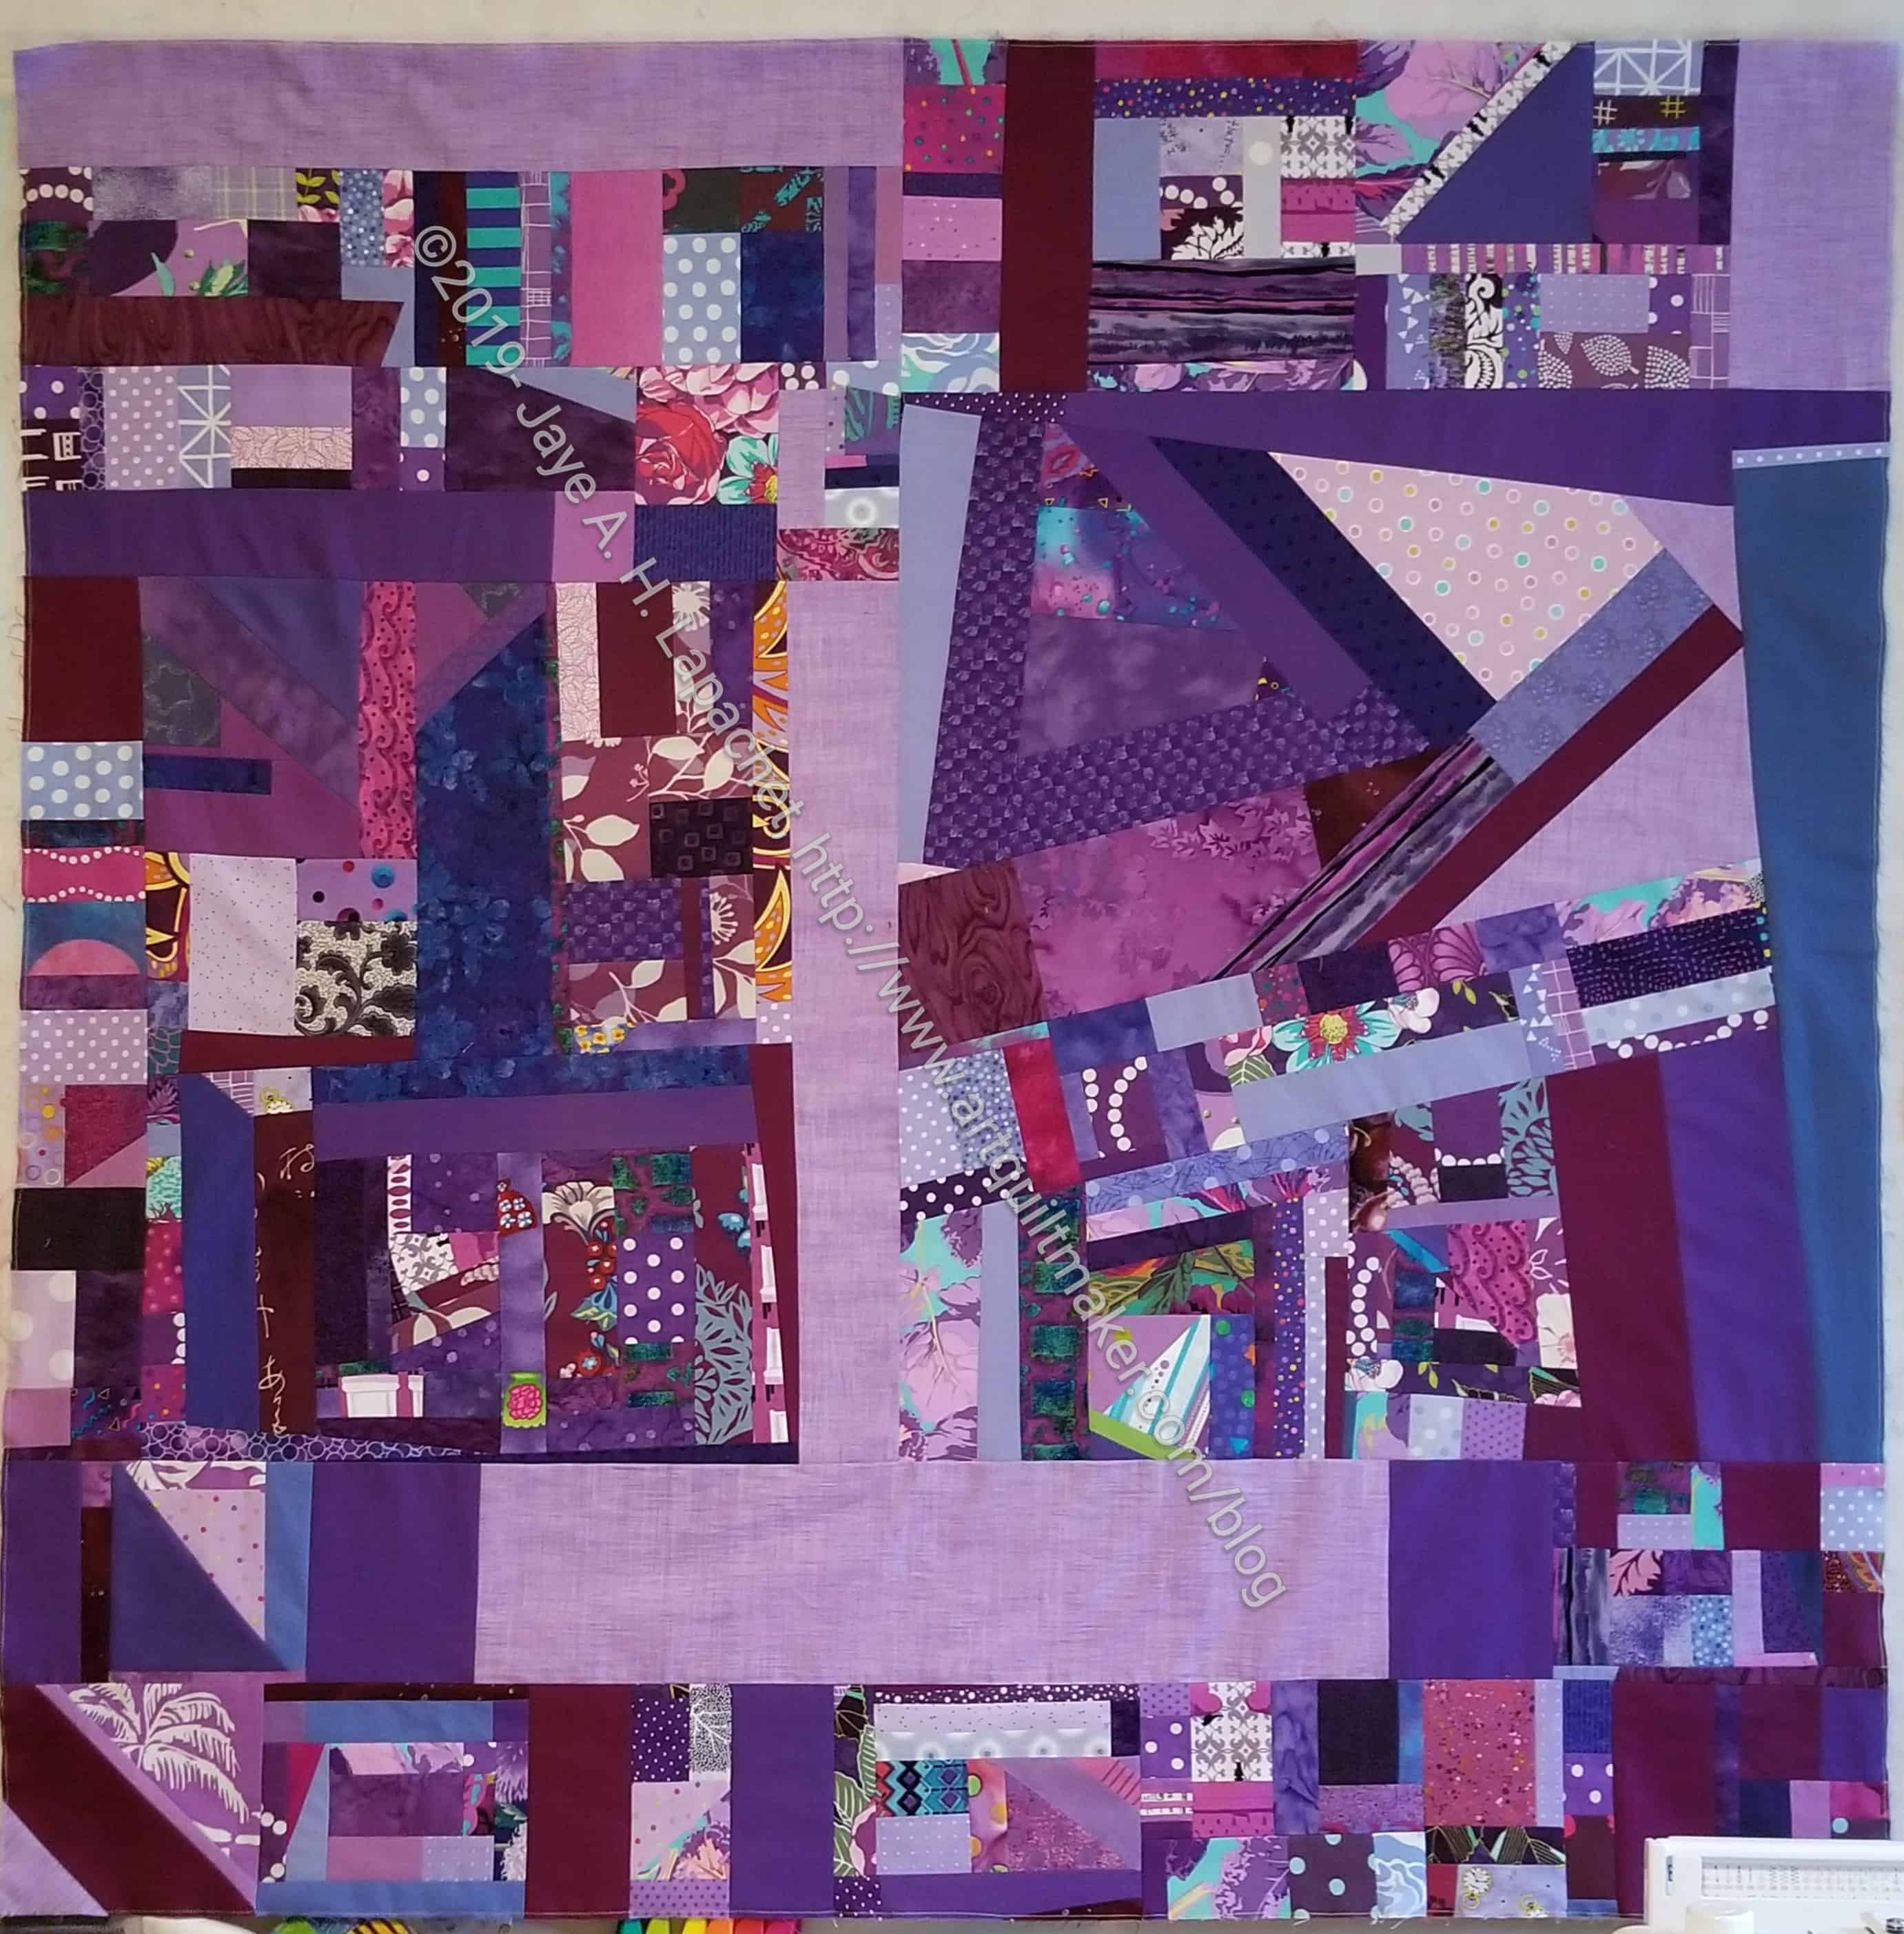
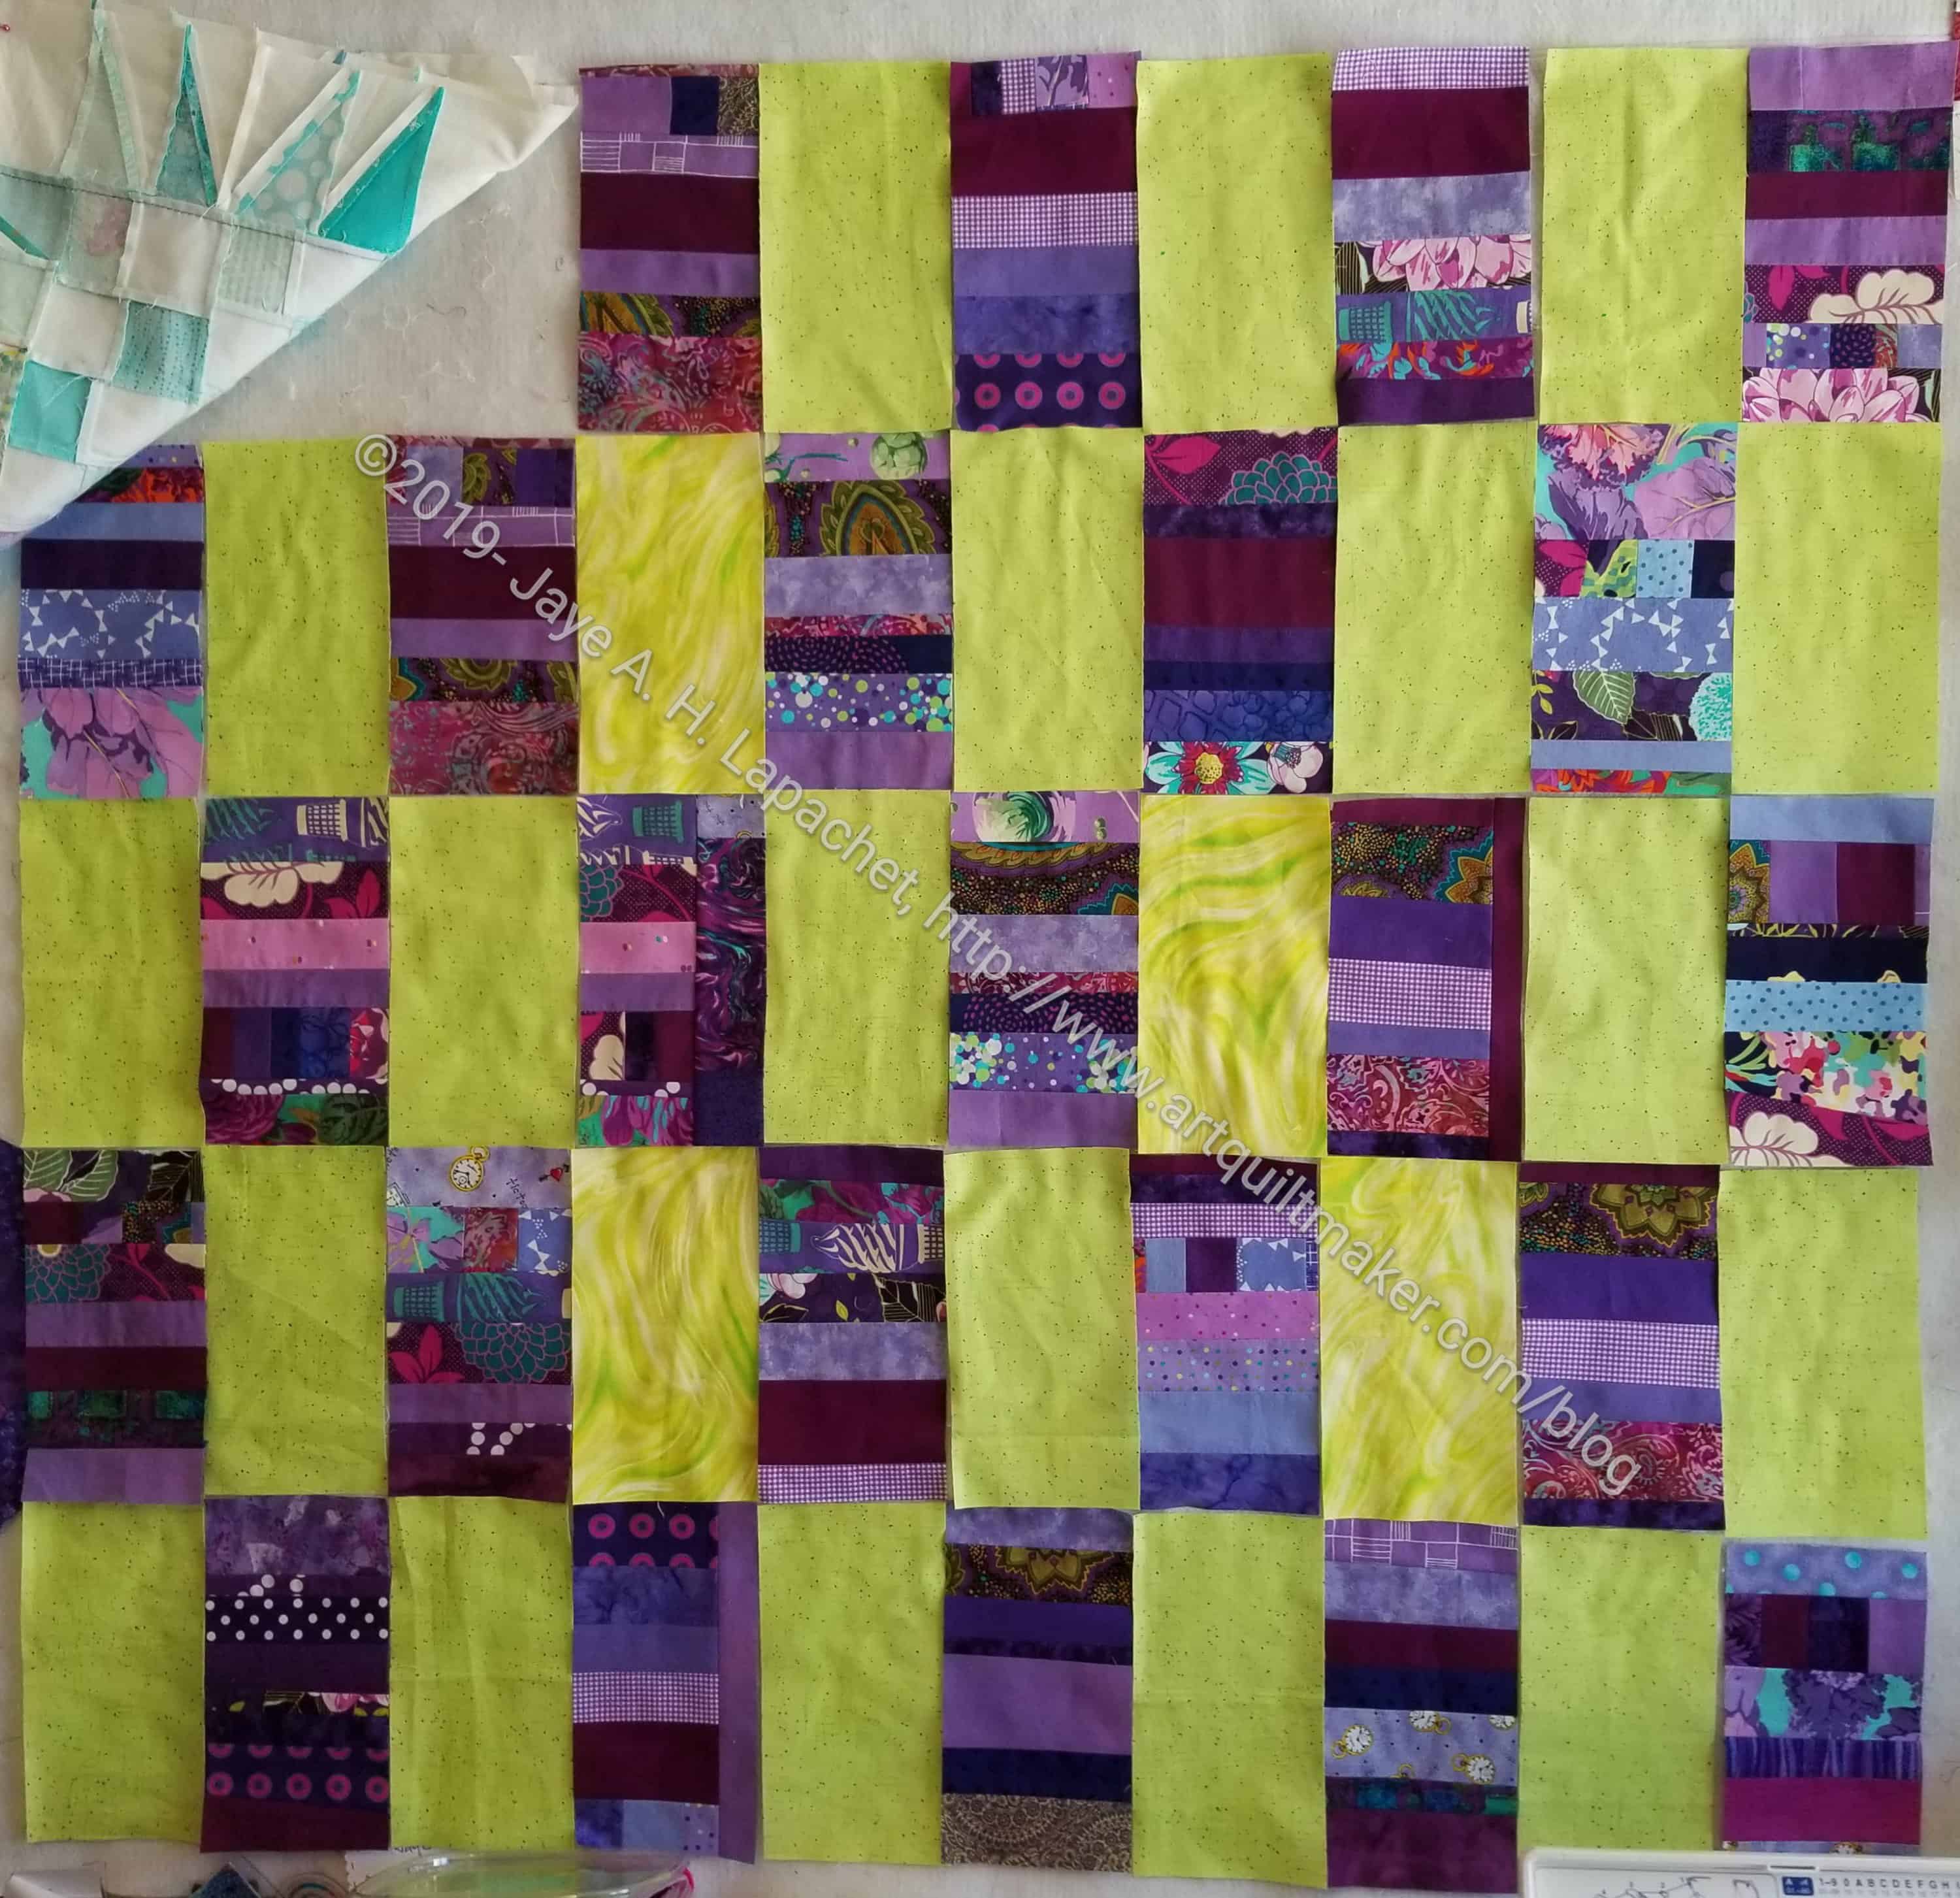
I am not enamoured of improv. I feel like the design potential of improv is overshadowed by sloppy choices and bad workmanship. I think improv is a valid way of expressing creativity. You have seen me make quilts in the improv style. It is not a way to avoid knowing how to make a technically sound quilt. Of course, I can’t say this very often because people take it the wrong way.
Lucie Summers agrees with me. She says in her introduction to this book “One of the my biggest bugbears about improv is when others assume ‘just because it’s improv’ workmanship doesn’t matter. Of course, it matters! Badly made quilts, whether traditional or not, are just badly made quilts. By badly made, I’m not talking about whether your seams or patchwork points match, I’m talking about fabrics sloppily stitched together so there are holes” (pg.4). I was really pleased to read this, because I think, and have always thought, workmanship matters. You will often see in my posts about project some lines about identifying a mistake and deciding whether I could live with it. Workmanship matters. I like Lucie Summers.
I am just as surprised as you that I picked up this book. I am wary of books on improv, because it is improv. Why do you need a book? You certainly don’t need patterns. Cheryl had it at Sew Day and something about it drew me in. I leafed through the images and was interested in the colors and shapes. I checked it out of the library so I could peruse it a little more.
I like the way Lucie has written the prose. The style is friendly and approachable and, even for me, she has a reasonable way of explaining improv in a true fashion. Also, she isn’t condescending.
The book starts out with an introduction. In this introduction is my favorite quote (above) and a little bit about how she works, what working with scissors means, piles of scraps and the use of measuring in improv (pg.4). The introduction is followed by a section called “How I Work” (pg.6) which details piecing maps, inspiration and another fabulous quote “…as you embark on making a quilt from the gallery to make it yours. Give it your personality. Don’t search high and low for the exact blue dotty fabric I’ve used in the top right-hand corner of quilt number 6 – use a grey floral, or an orange solid, whatever… Make it yours, relax and have a huge amount of fun. At the end of the day we’re not saving lives here, we’re cutting into fabric and stitching it back together” (pg.6). This is so critical to me. I have made a few exact replicas of quilts in magazines and books. There are definitely benefits. I get to sew. I feel the meditative qualities of putting fabric through the machine, but these quilts do not have souls. They don’t come from my heart. Branch out when you work from this book. Use the fabrics you have with confidence. There is always more fabric!
The next few sections have to do with fabrics (pg.6), thread (pg.8) and equipment (pg.9). Lucie brings her calm style to these sections. They don’t feel rote or the same as other books I have reviewed.
“How to Use this Book” (pg.10-11) is really important. It is a guide to how this book is written, how she uses measurements in more detail than in the introduction. A great idea is the section on “Building Blocks” (pg.12-39). It starts with a visual list of the block designs Ms. Summers considers basics. This is your basic guide and it is followed by instructions on how to make each block. The section includes 13 different blocks. The reader could spend years making quilts from these blocks alone. The possibilities are endless.
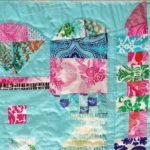
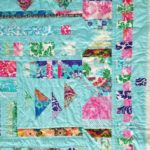
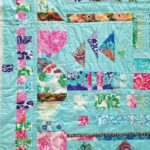
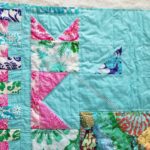
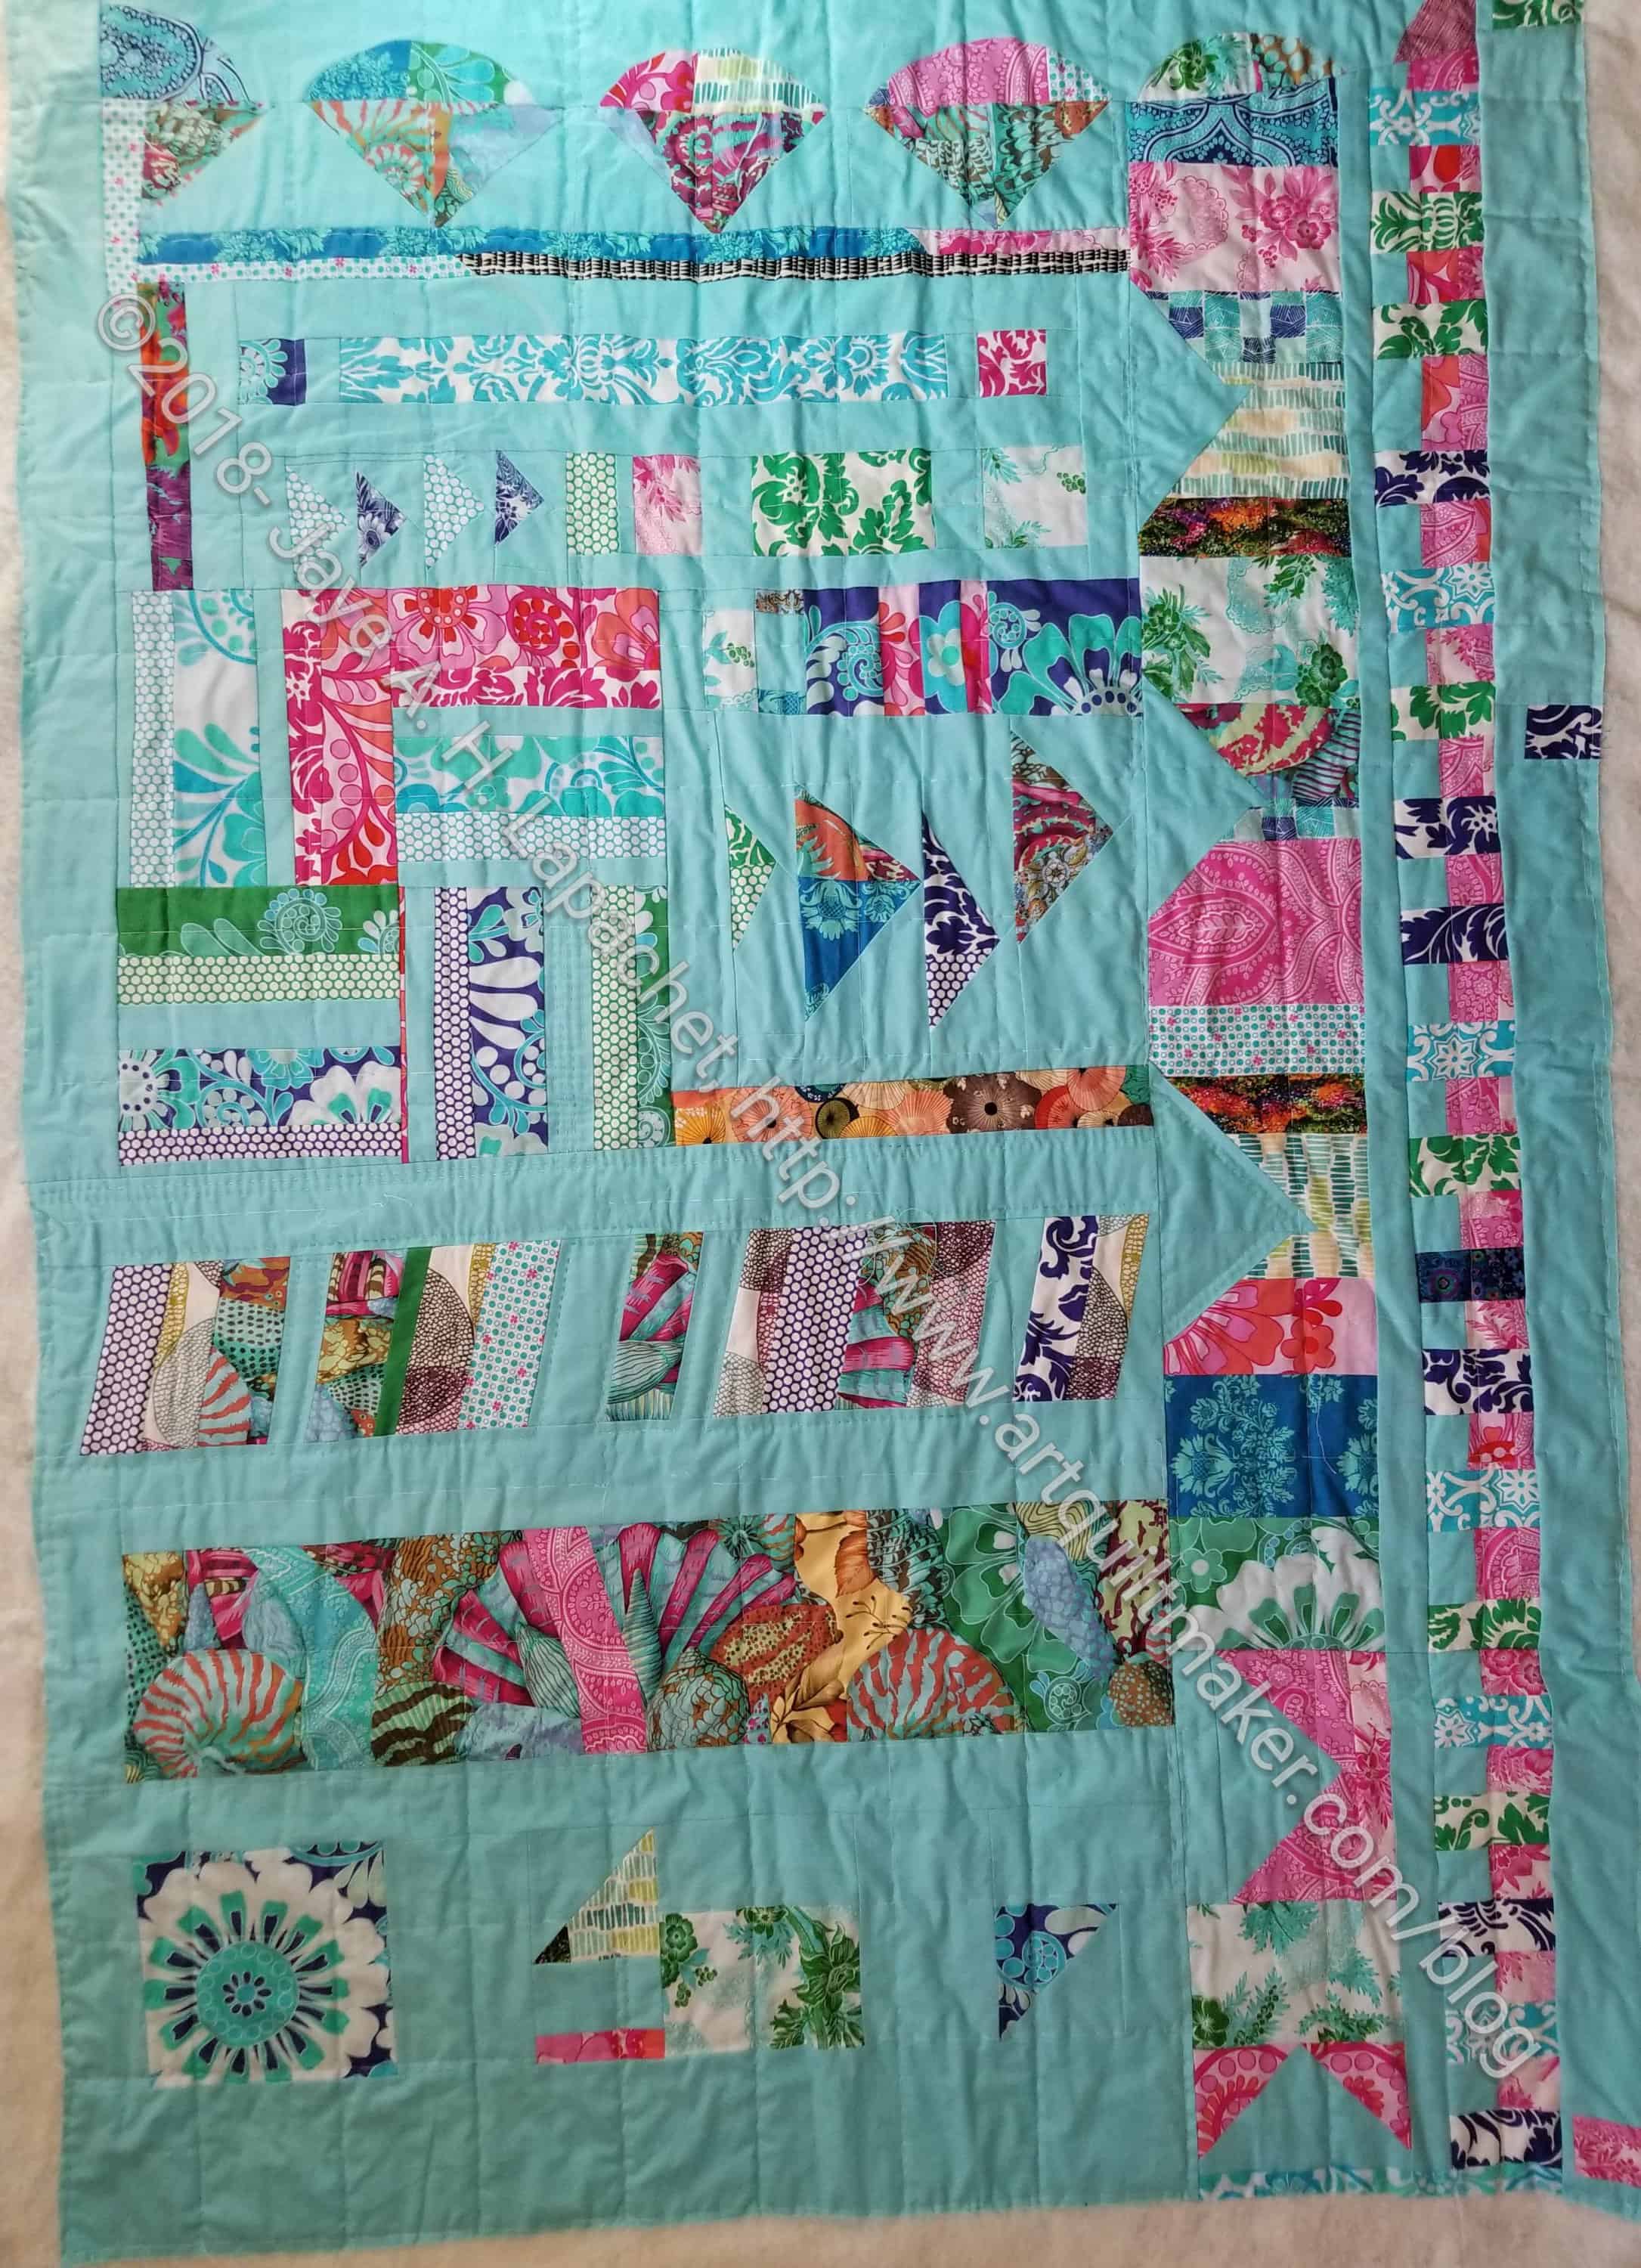
Because publishers seem to require patterns these days, the blocks section is followed by “The Quilts” (pg.40-113). Lucie’s quilts are really stunning, vibrant and have a lot of movement. They are designed and do not look messy. You can see this on the double page spread introducing the section (pg.40-41).
One of the things I like about this book is that Lucie Summers discusses her inspiration for each quilt. I can always use more of that. She doesn’t take pages to do it, but it is important to the process and valuable to the book. Each quilt ‘pattern’ in this section includes a brief rundown of the inspiration, a summary of techniques, design idea, design plan, “Make Me Key”, finished plan, and the piecing map. The design idea breaks down the design while the design plan is more involved. Lucie uses this section to dig into the design, talk about resting spots for your eyes, how she balances different areas and the differences in her design and the finished piece. The ‘Make Me Key’ is a sidebar that combines some text with visual cues to the elements of the quilt. The piecing map shows how the various sections are put together generally. YMMV. The sections for each quilt are robust.
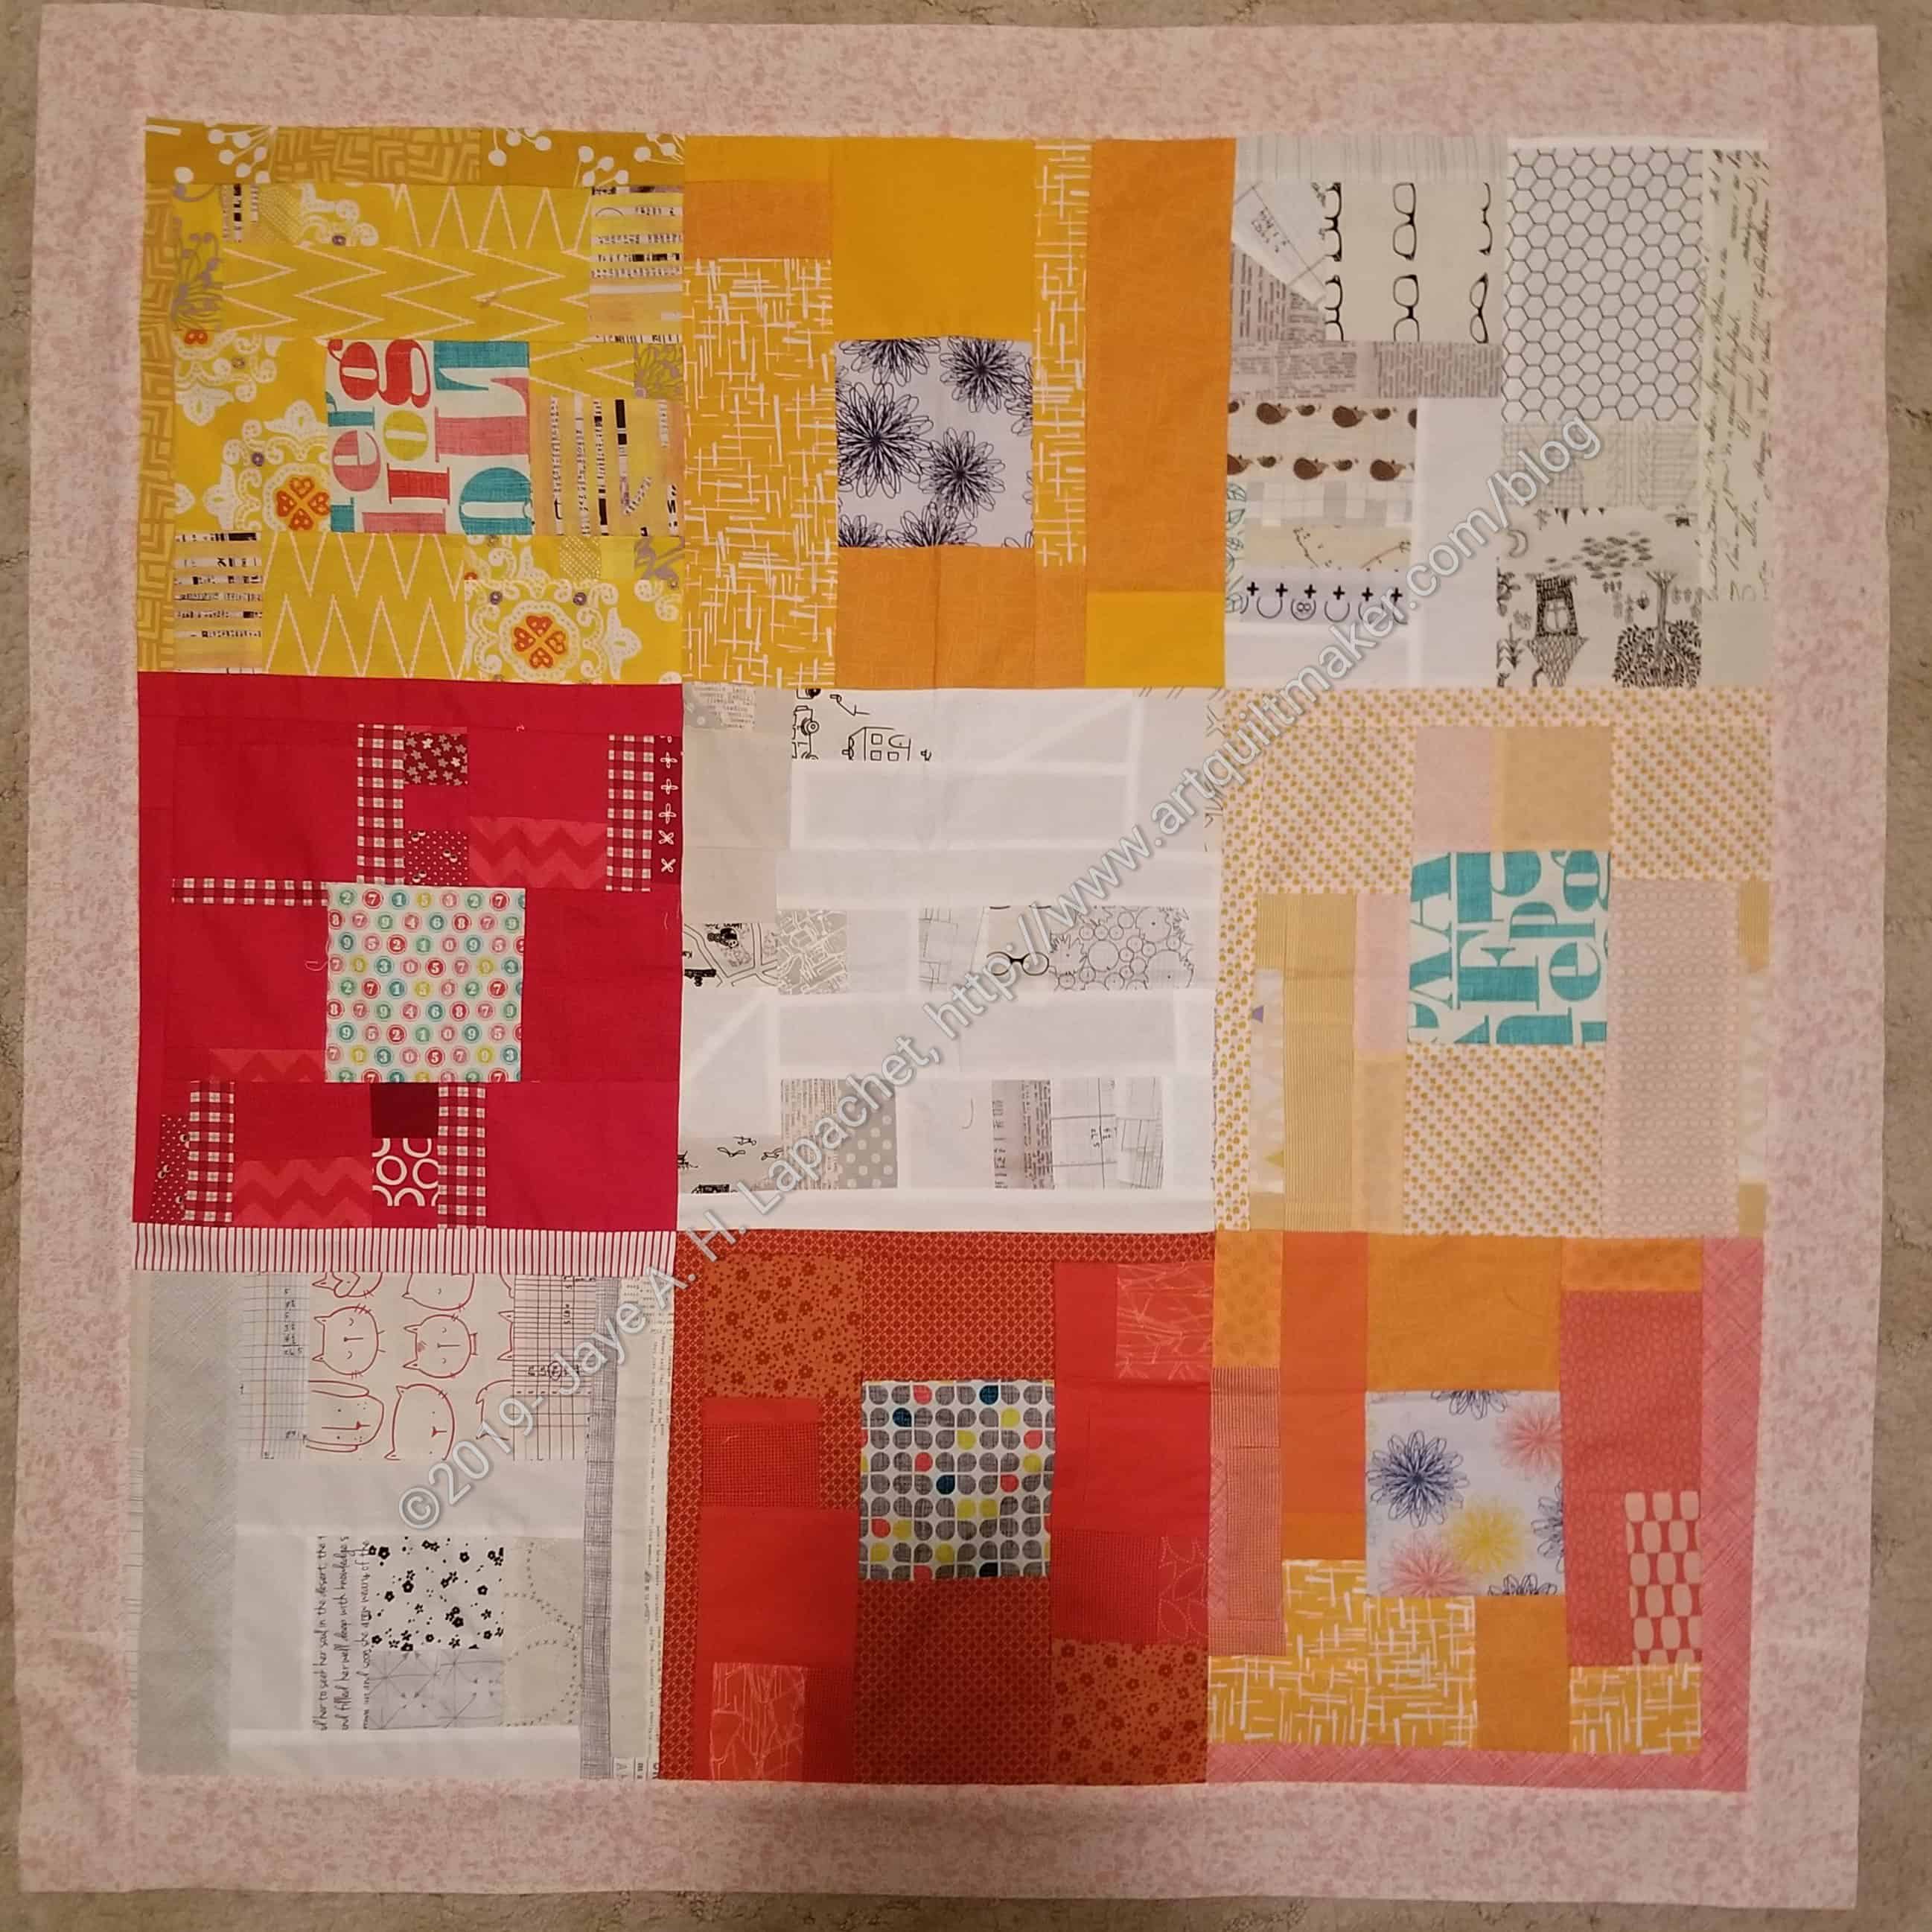
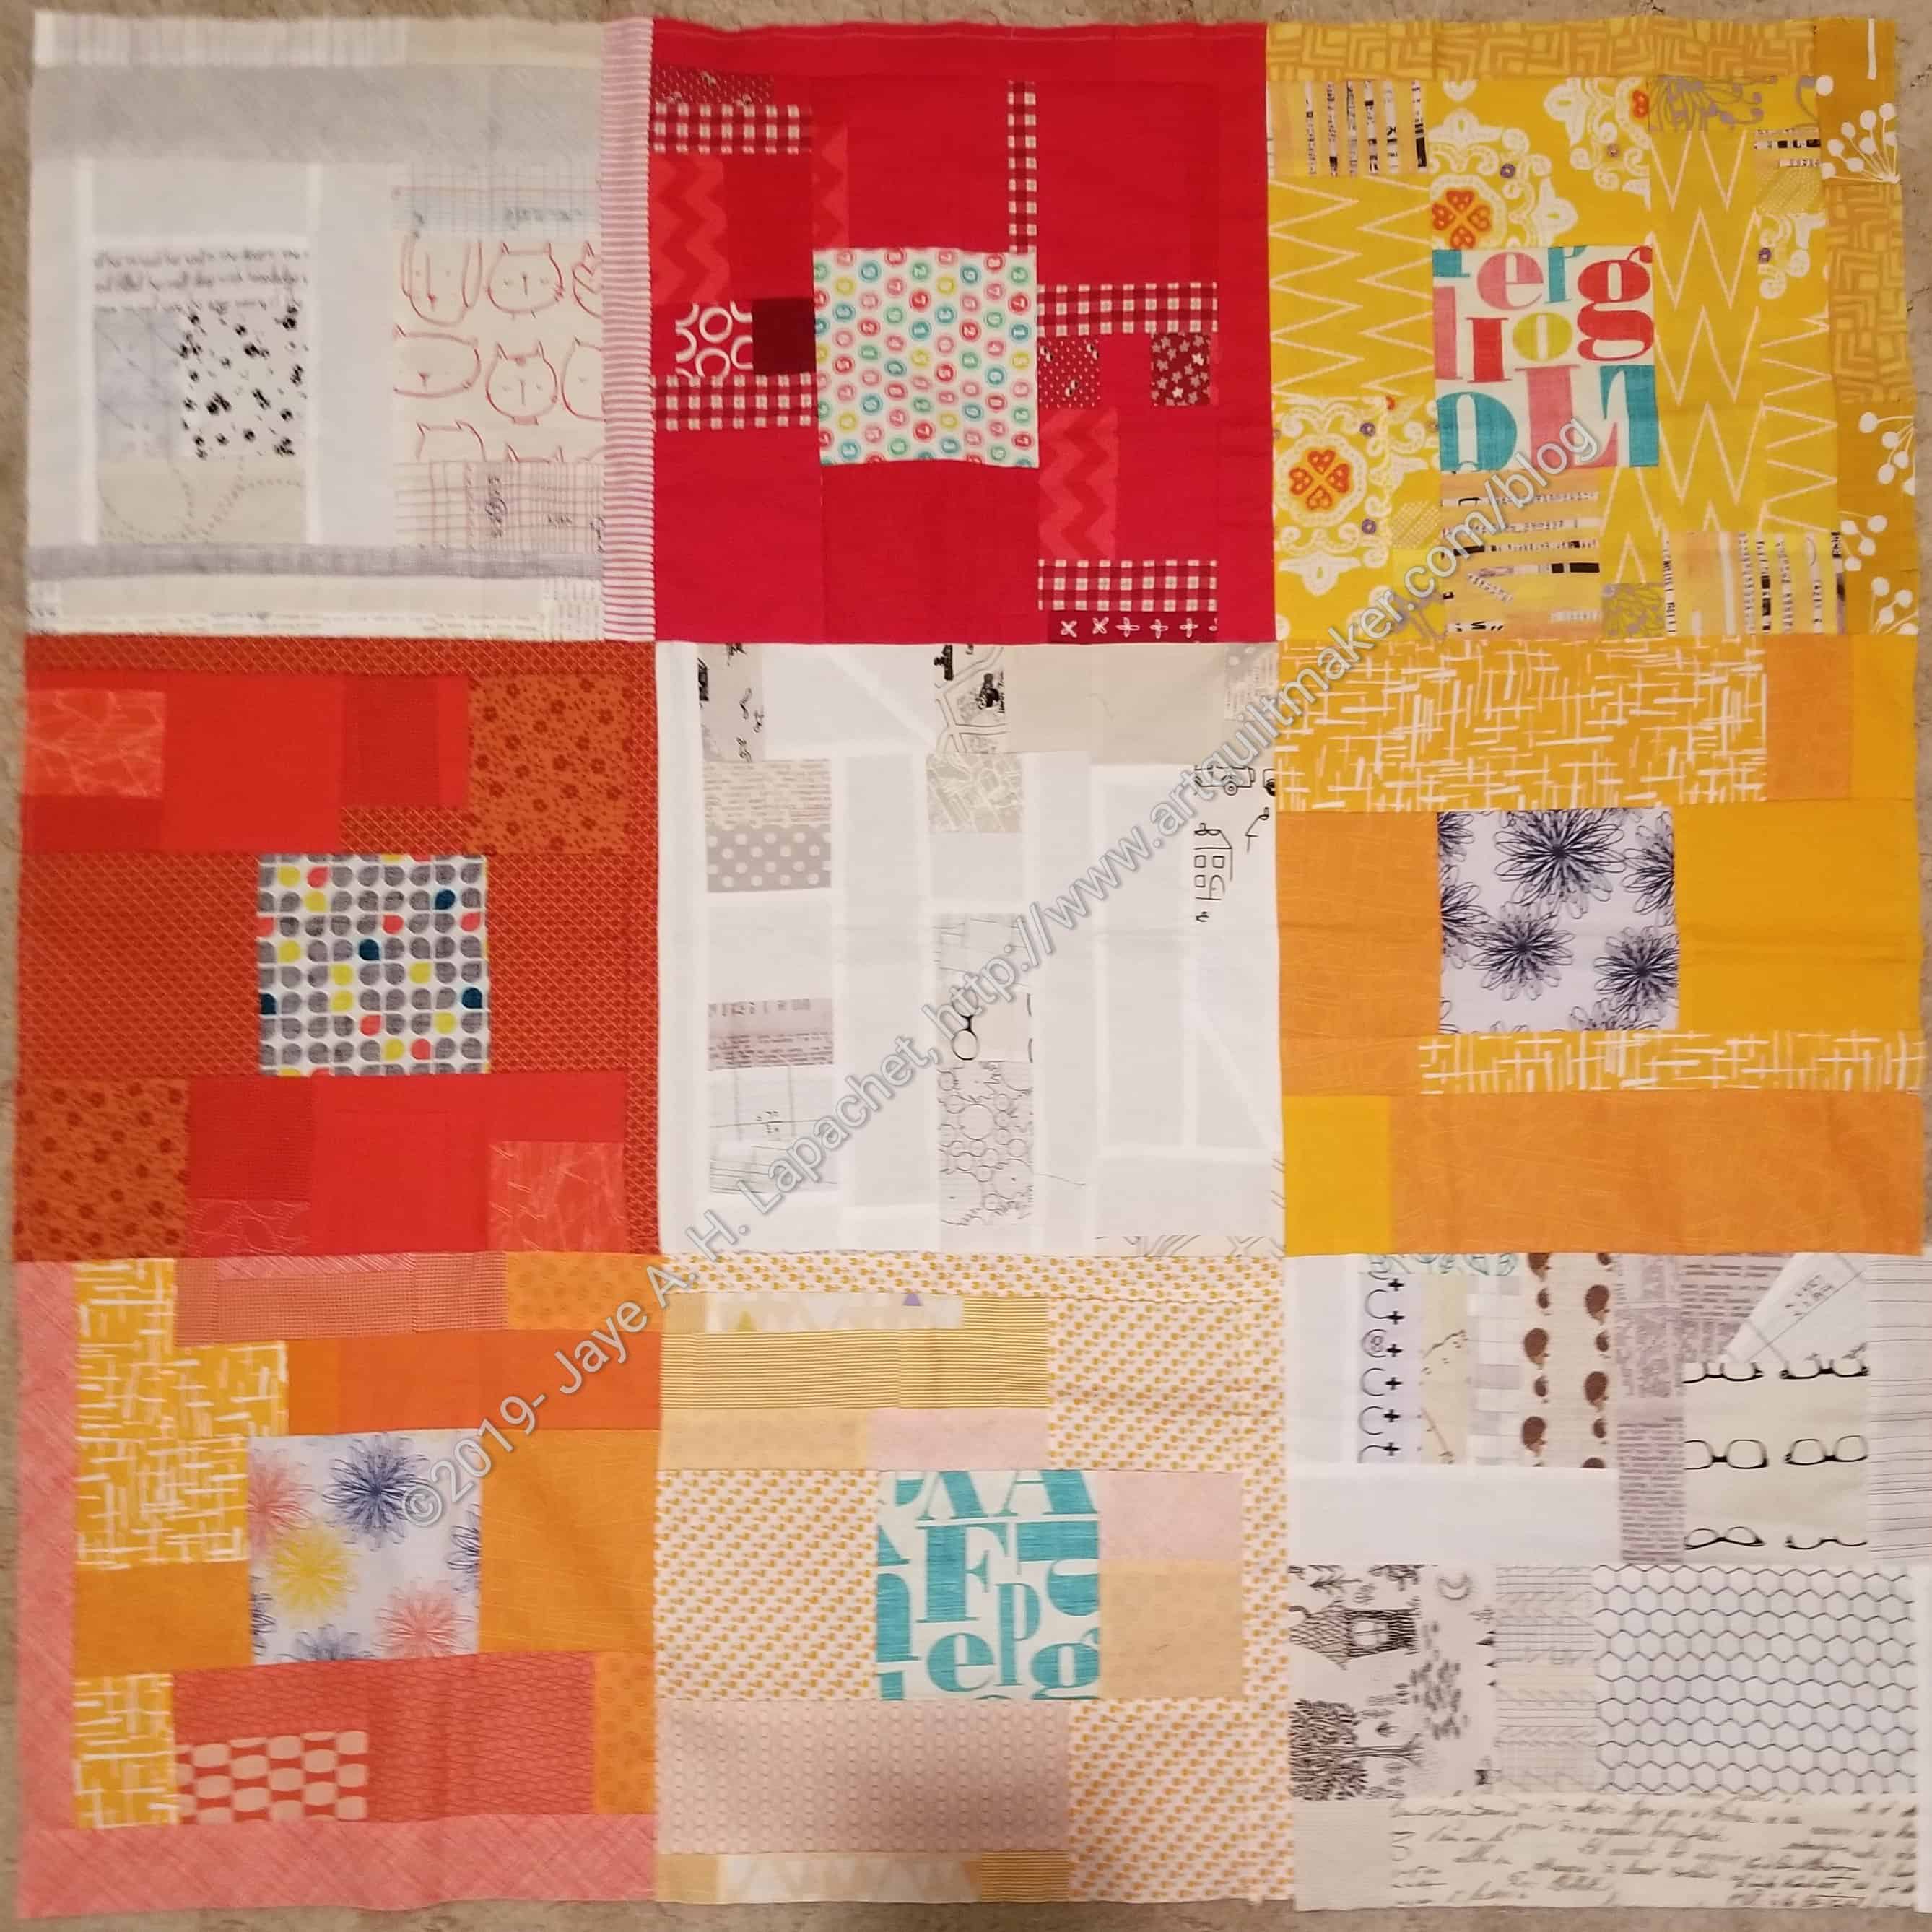
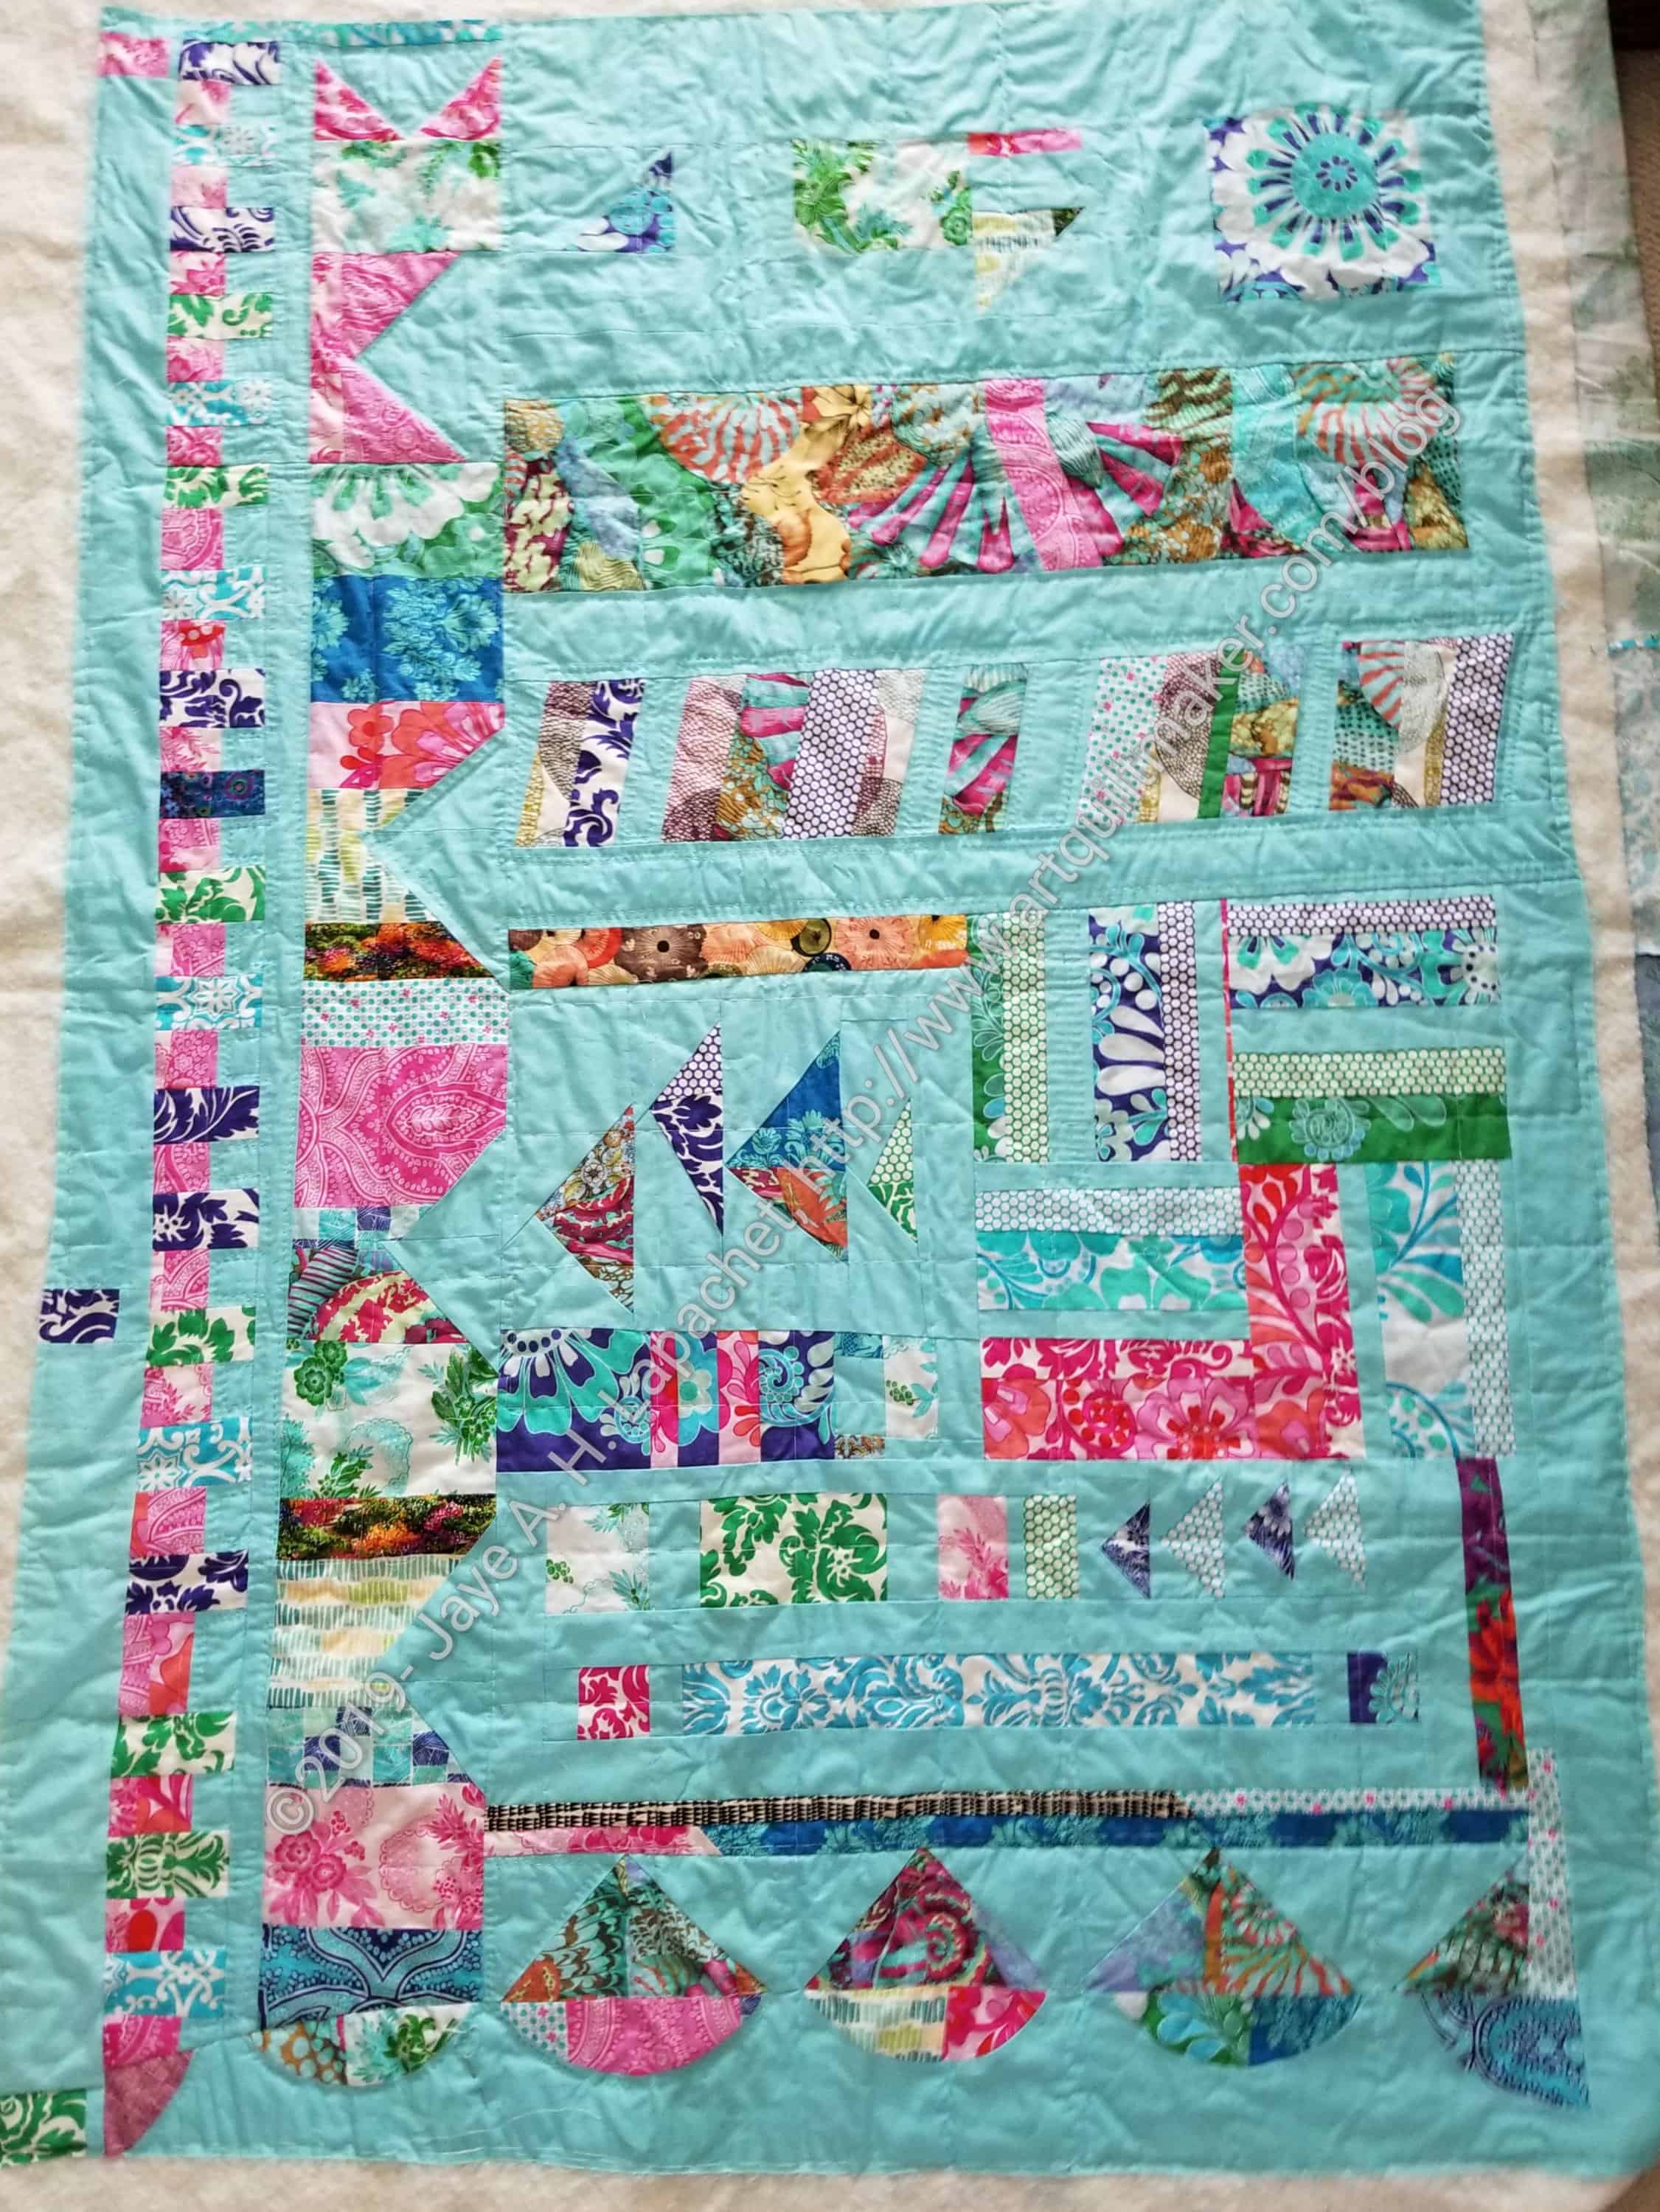
It’s hard for me to decide which quilts I like best. I definitely like the the Shoe Boxes Quilt (pg.42-47). There is a section of the Seed Tray Quilt (pg.54-59) that is very appealing. The fabric cohesiveness and simple design of the Feathers Quilt (pg.60-65) is exciting, too. Many of the quilts have circles and I like those, such as the Bricks and Fences Quilt (pg.66-71), too. I think the Plates Quilt (pg.90-95) is appealing because it reminds me of the Eye of God quilt I made some years ago, has dots and a fabulous inspiration photo. There are no bad quilts in this book, but my favorite might be the Building Blocks Quilt (pg.108-113). Many of her quilts remind me of views of cities with domes and this one is no exception. I also like the quilting. With the large variety of quilts, readers will find something that appeals.
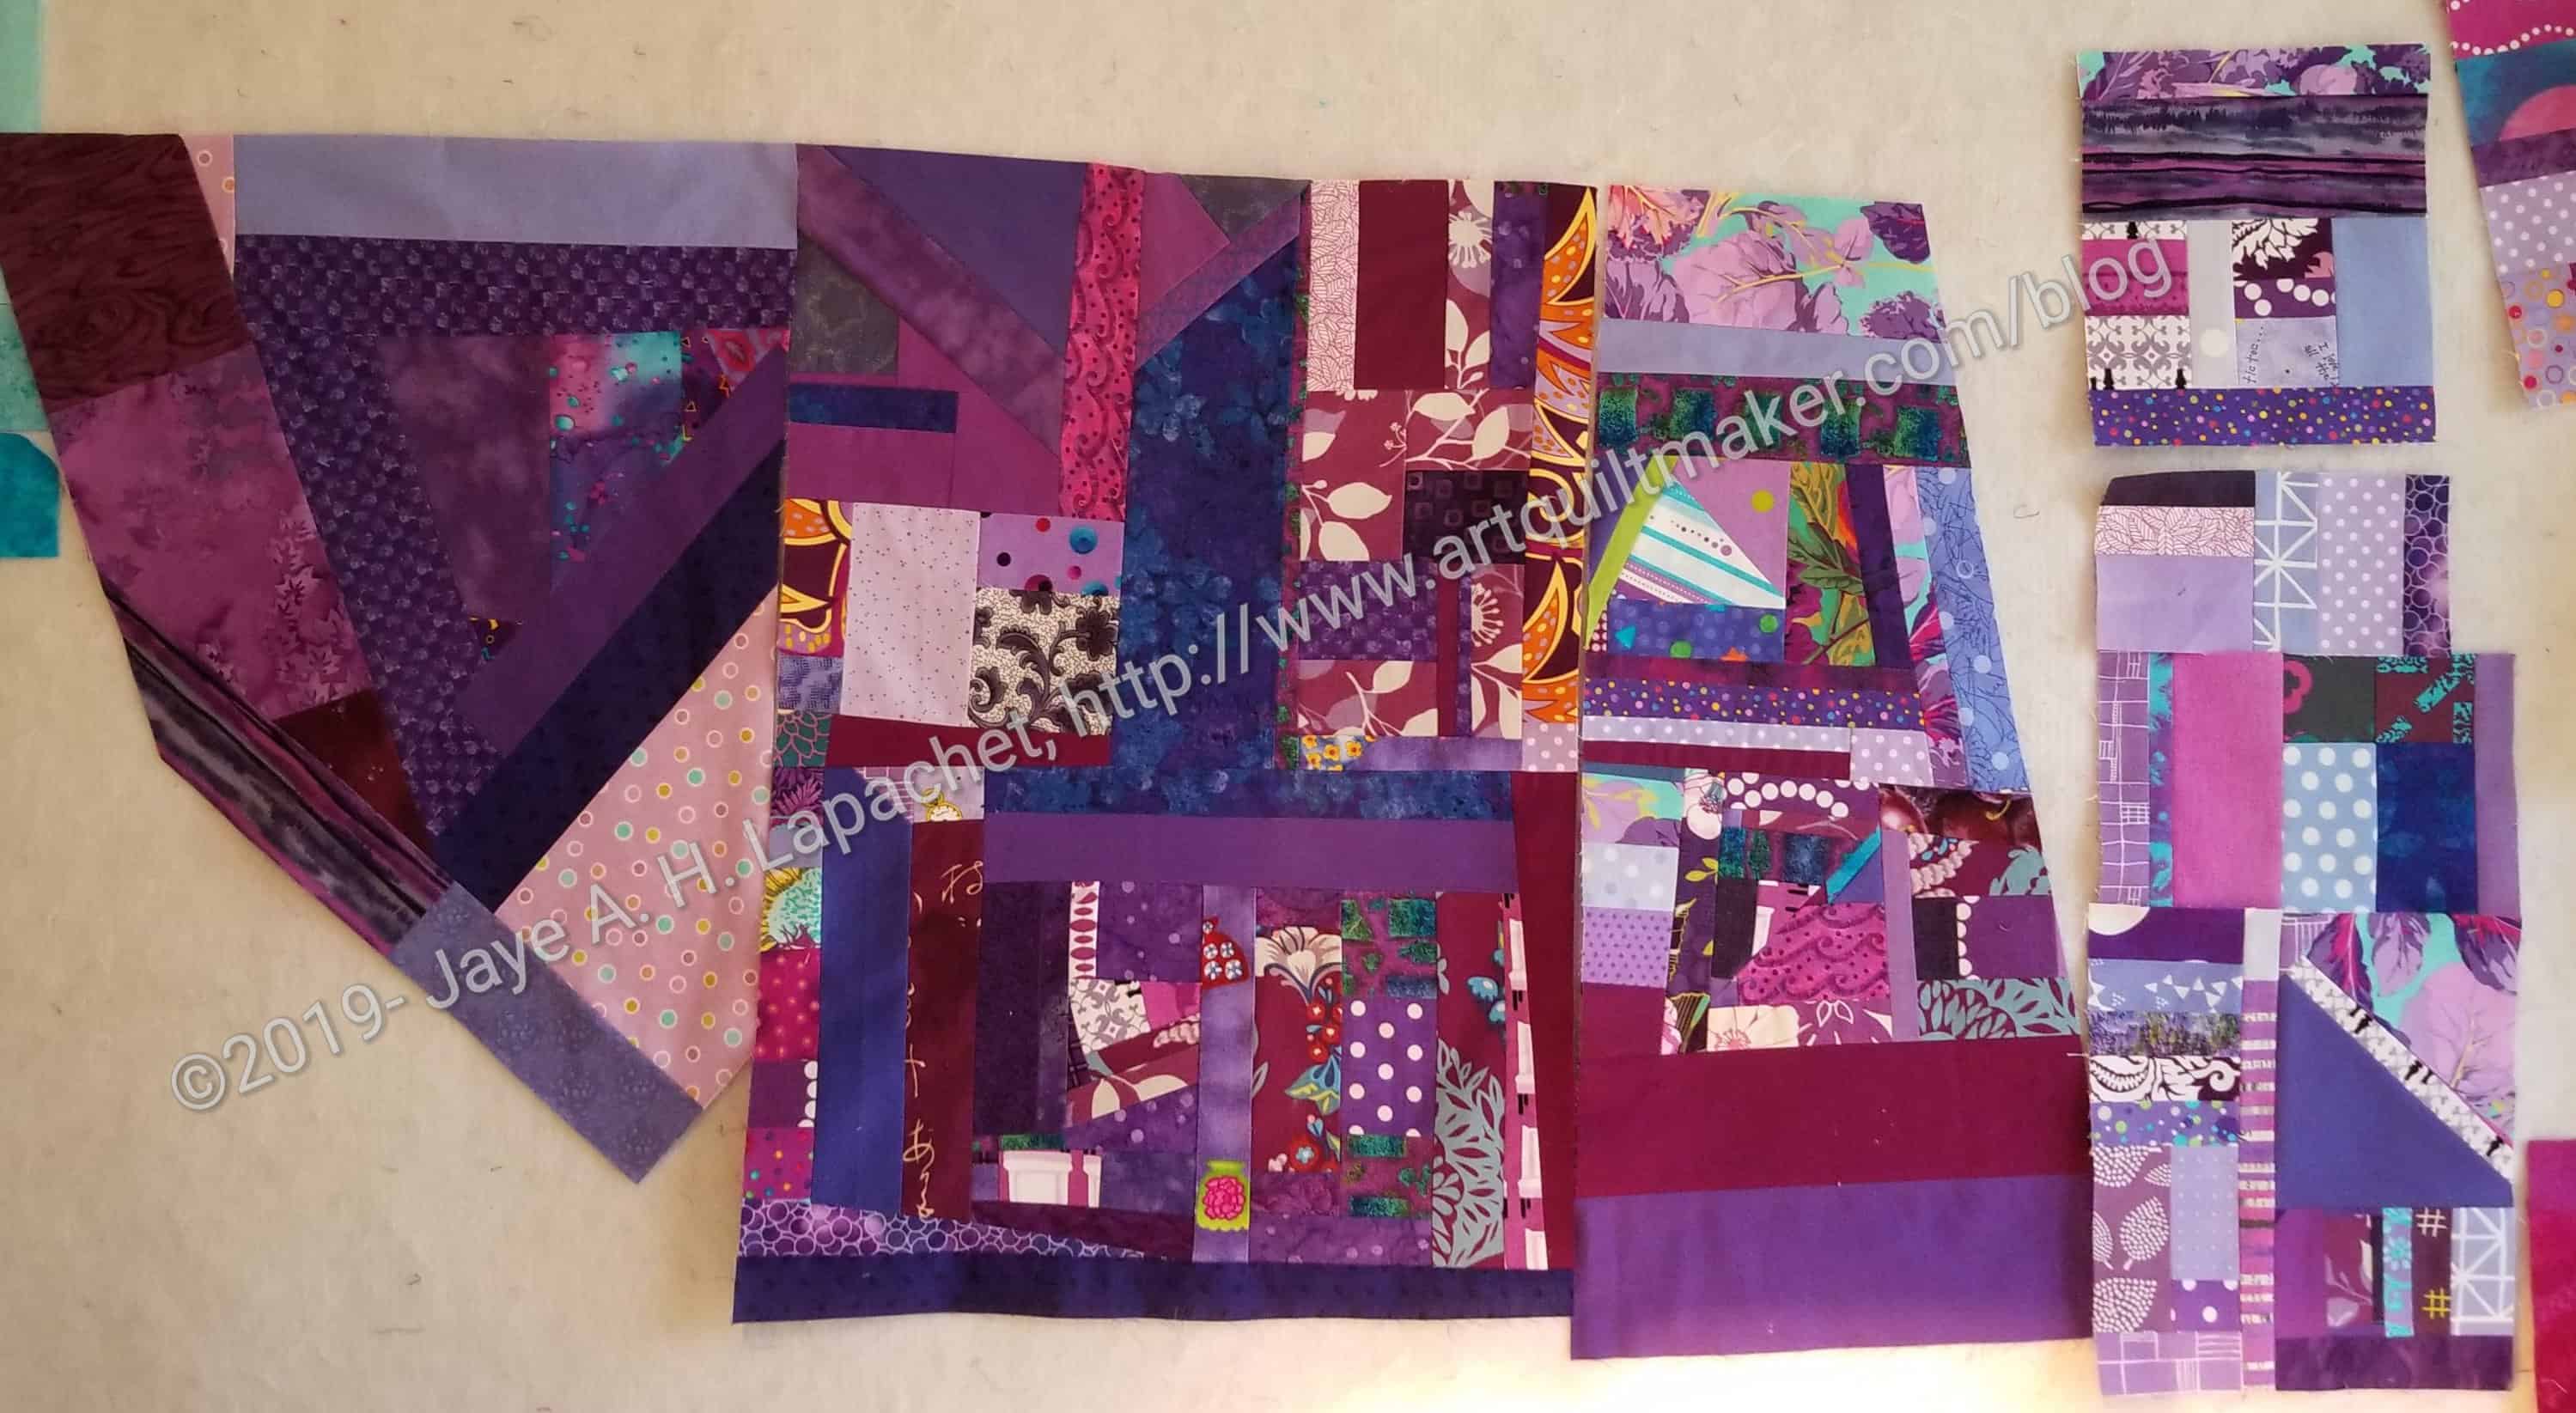
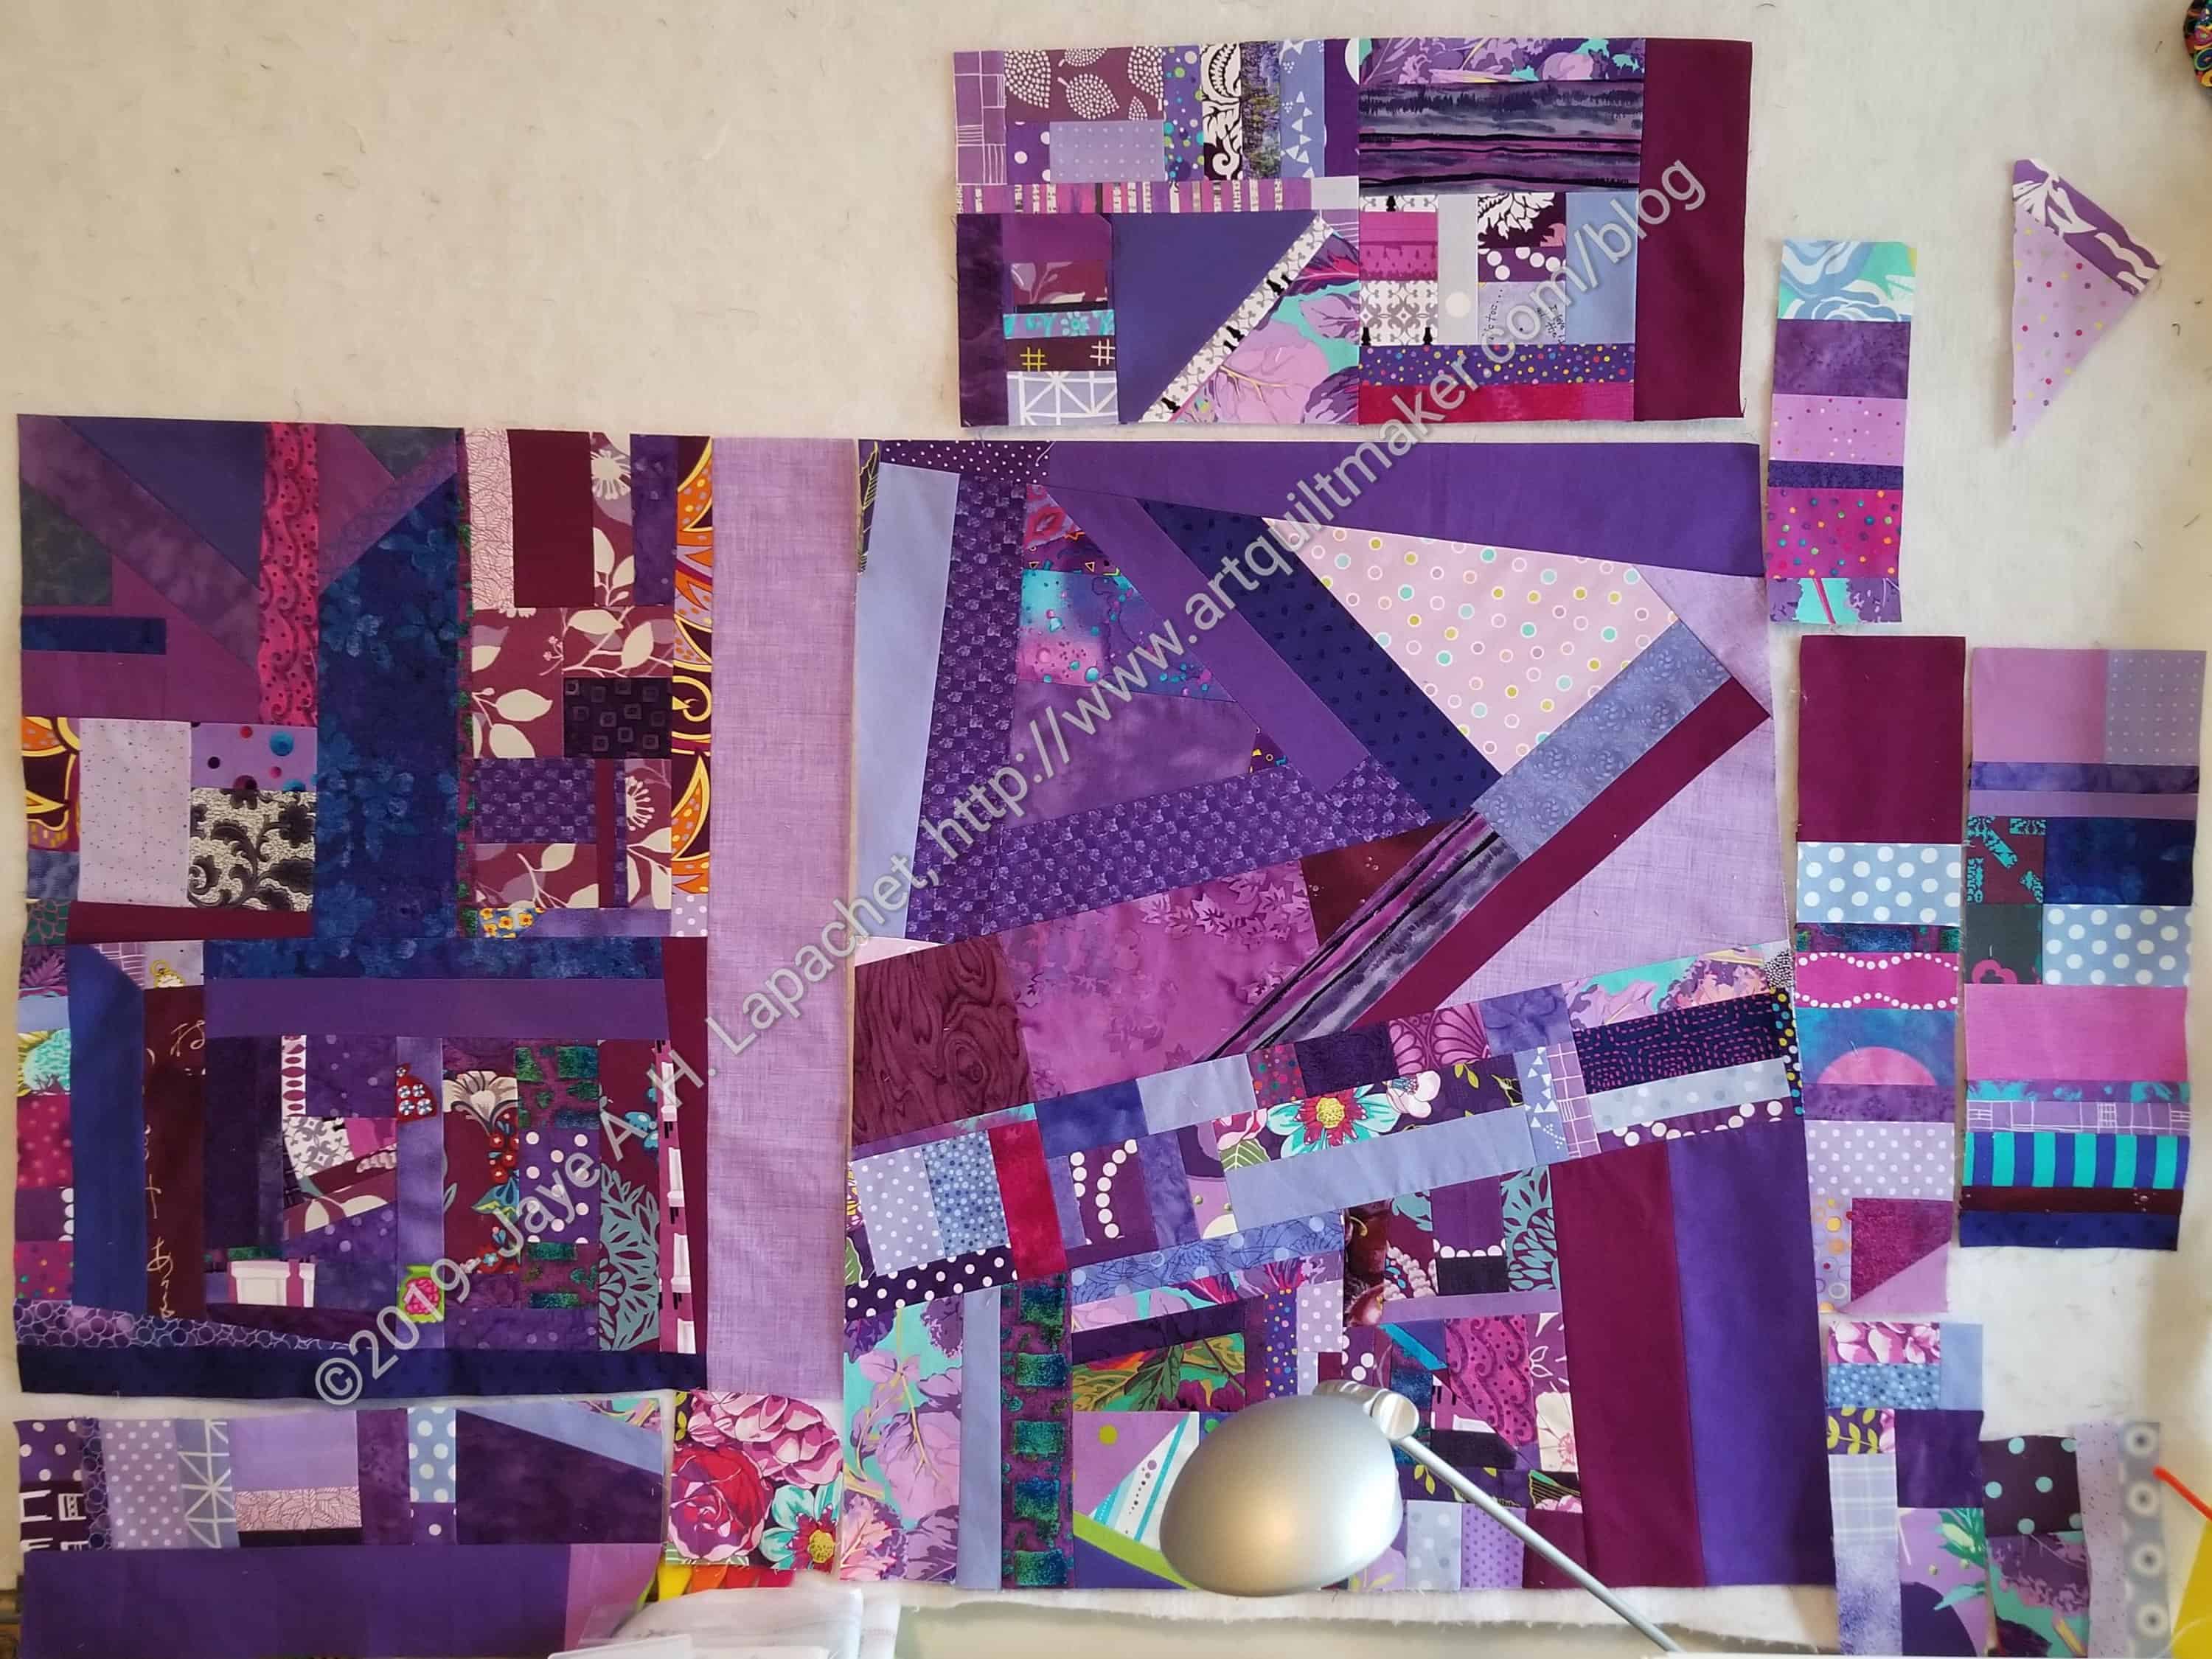
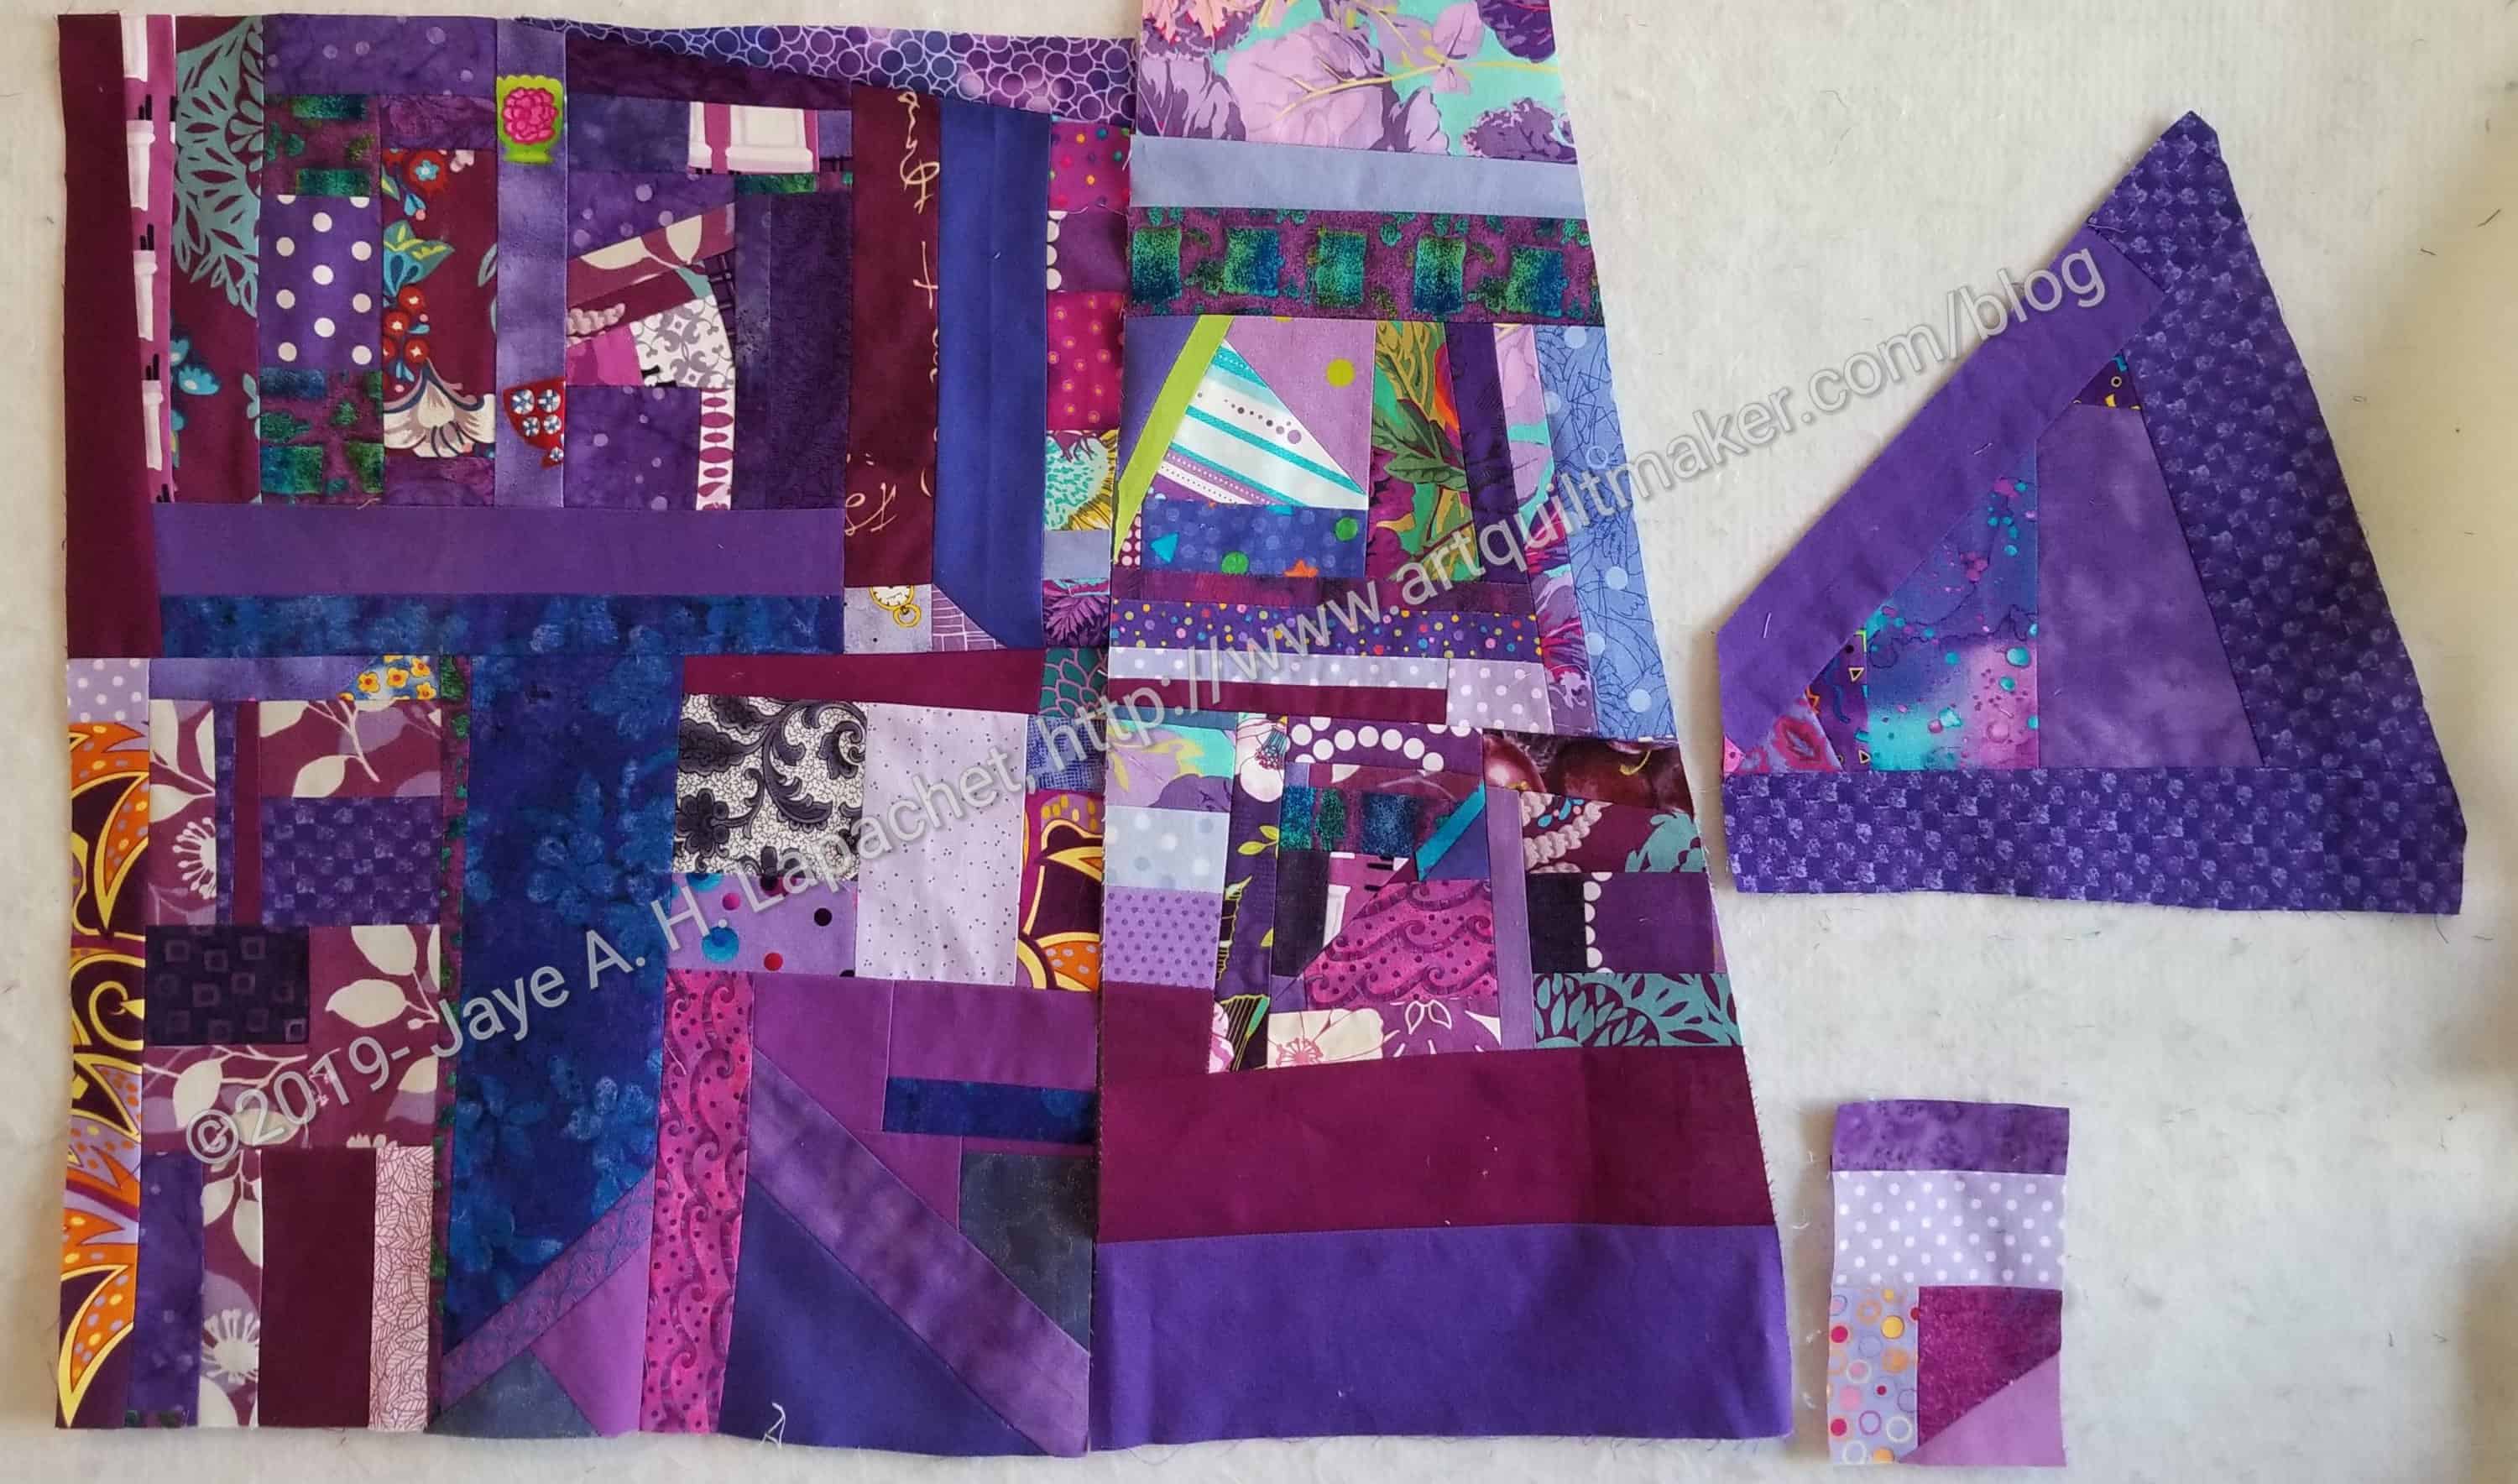
These quilts are designed not thrown together. The fabrics are chosen carefully and quilts are designed to make the overall piece look cohesive.
The last section is called General Techniques (pg. 115-124). The first subsection is called ‘Piecing’ (pg.115) and has a good discussion of why use a quarter inch seam in improv piecing as well as how chain piecing works. She discusses pressing (pg.116) including which way to press and why to press to the dark. Lucie also has a little bit of ergonomics thrown in. ‘Assembling Quilts’ (pg.116) includes what to do to get your quilt to hang straight. The section on Finishing Off Quilts includes the envelope method or ‘bagging out’ (pg.119) as Lucie calls it. There is a short section on quilting (pg.120) with some interesting quilt designs and a bit about marking quilt designs. The Binding section (pg.122-123) includes both facing* (called invisible binding here) and a mitered binding. The book wraps up with how to make a hanging sleeve and labeling your quilts (pg.124).
I might buy Quilt Improv. I like the fact that the author isn’t lazy and discusses the attributes of design within the improv context. The photographs are wonderful. The fabric choices are VERY appealing. Well worth taking a look at.
*Remember my tutorial on facings.