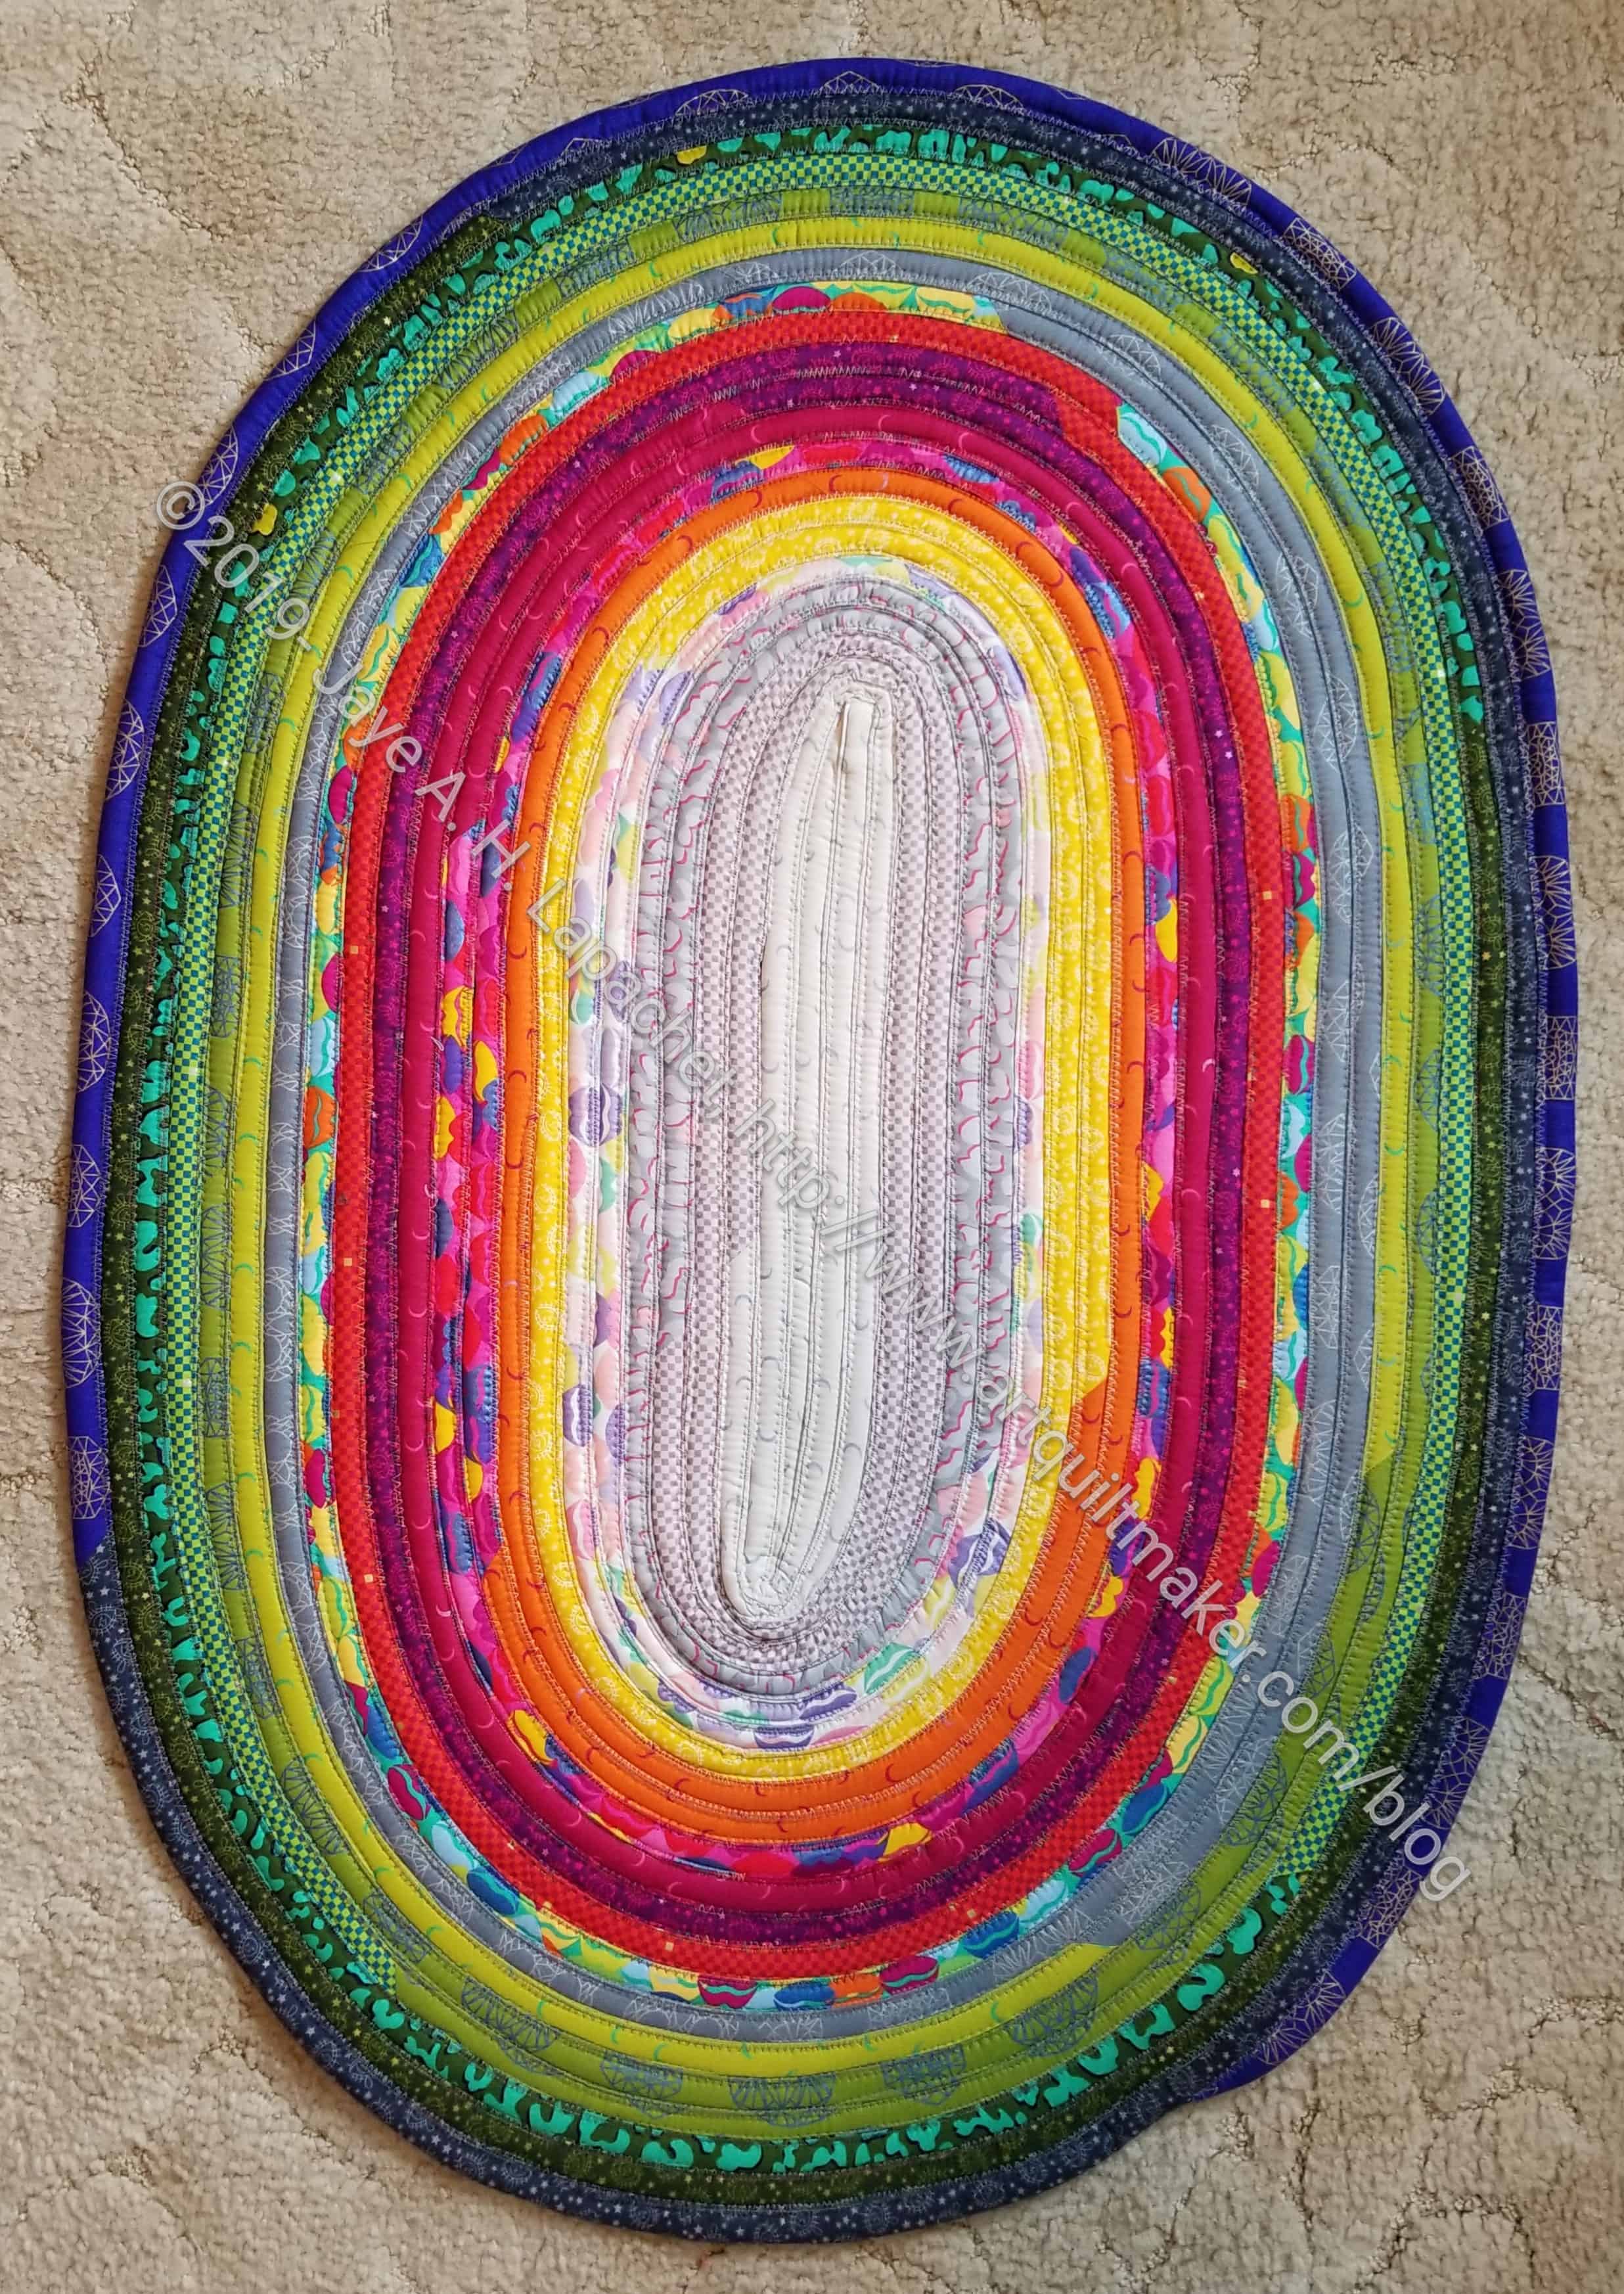
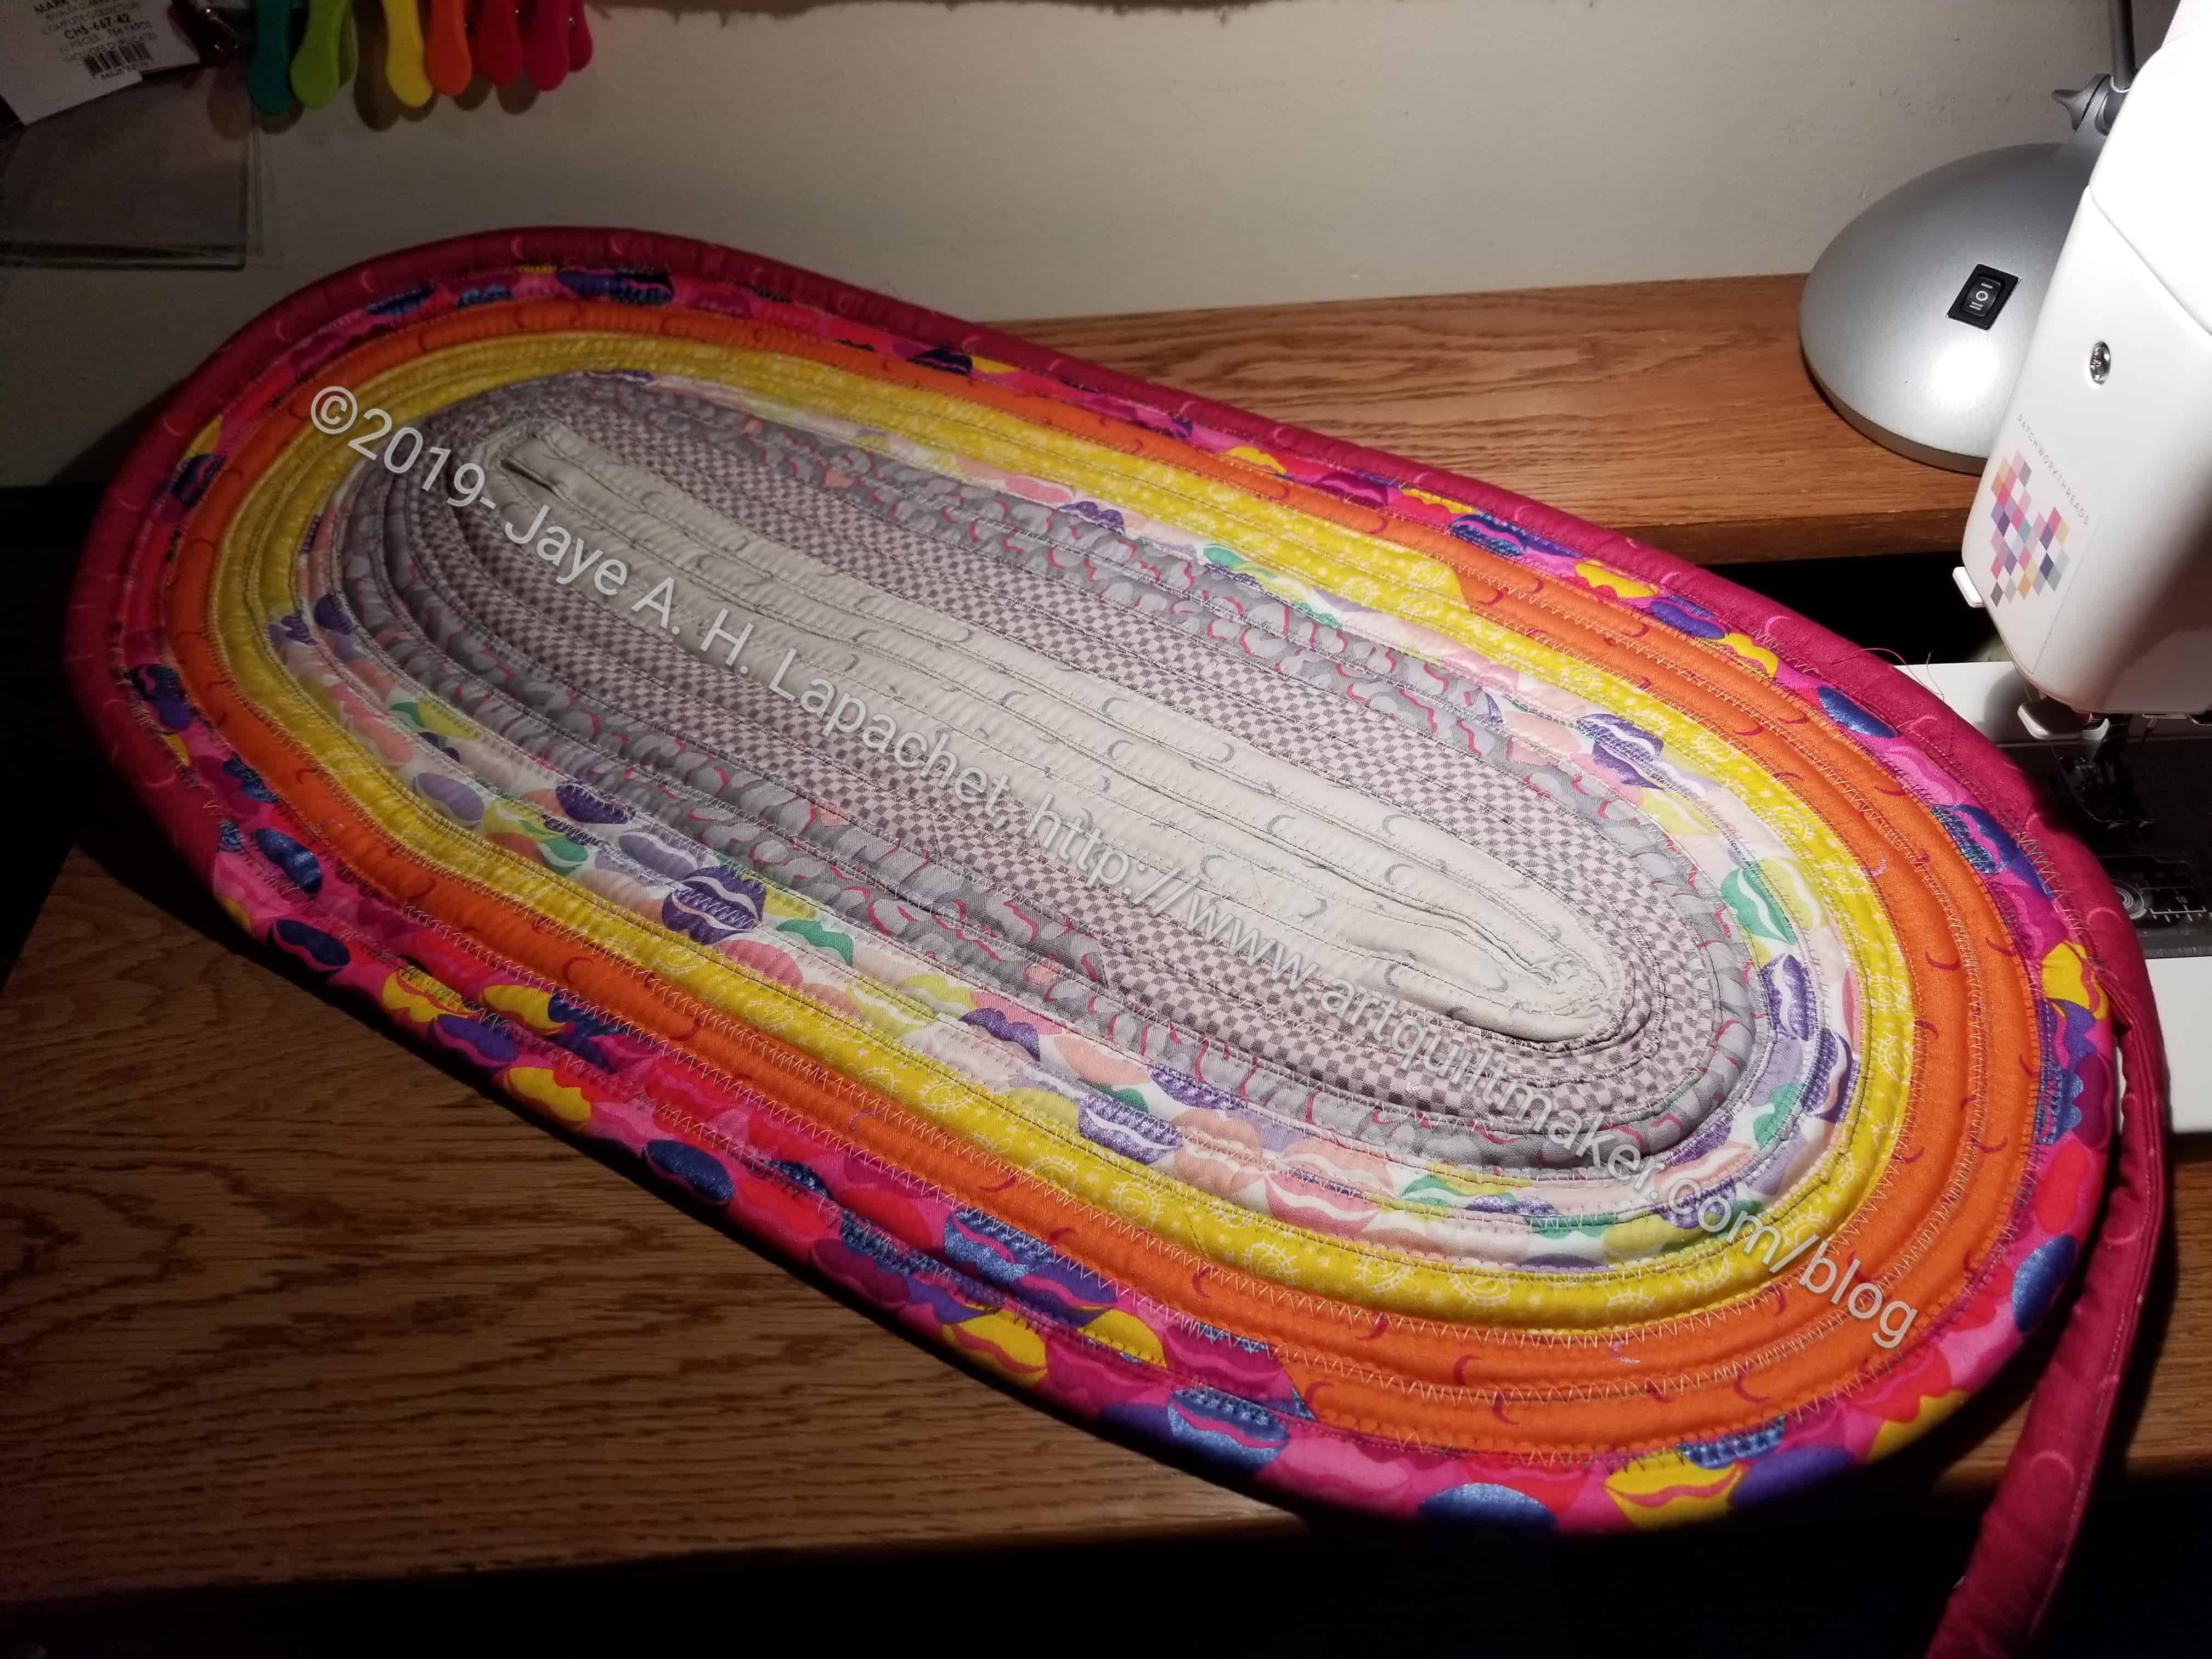
The Jelly Roll Rug is finally finished. I finished the sewing a few weeks ago, but Gretchen said I needed to steam it.
I finally did the last step on the Jelly Roll Rug over the weekend, which was to steam the living daylights out of it.
It is now pretty flat so all I have to do is send it off. I was going to have my YM take it to Portland to its new home, but he has a super cheap flight that doesn’t allow baggage.
This was a good experience. I think I will make another one, but square or rectangular.
I decided on Saturday I would finish the sewing of the Jelly Roll Rug over the weekend, no matter what. I didn’t think I would be able to do it after starting, because the thread kept breaking every foot or so. It was maddening. I tried to go with the flow, but when I got to some dark grey, I switched to Aurifil #2610. Amazingly, I had no more thread breaks! The thread I started out using (once I got to the colored area) was a variegated thread. I am not a fan of variegated threads, so I was hoping to use it up. I wonder if some areas of the thread, such as where the colors join, are weaker and couldn’t handle the stress of what I was doing?
Rug Roll
This is definitely a stressful project. I mentioned that my machine was skipping stitches. It turns out that I needed to use a Jeans needle 16. I was using a Jeans needle, but not a 16. The 16 part is the length and Angie thinks the needle wasn’t quite long enough, where I tried to sew in thicker areas, to catch the bobbin thread. She traded me some shorter Jeans needles for the 16s and I had very few problems sewing after that.
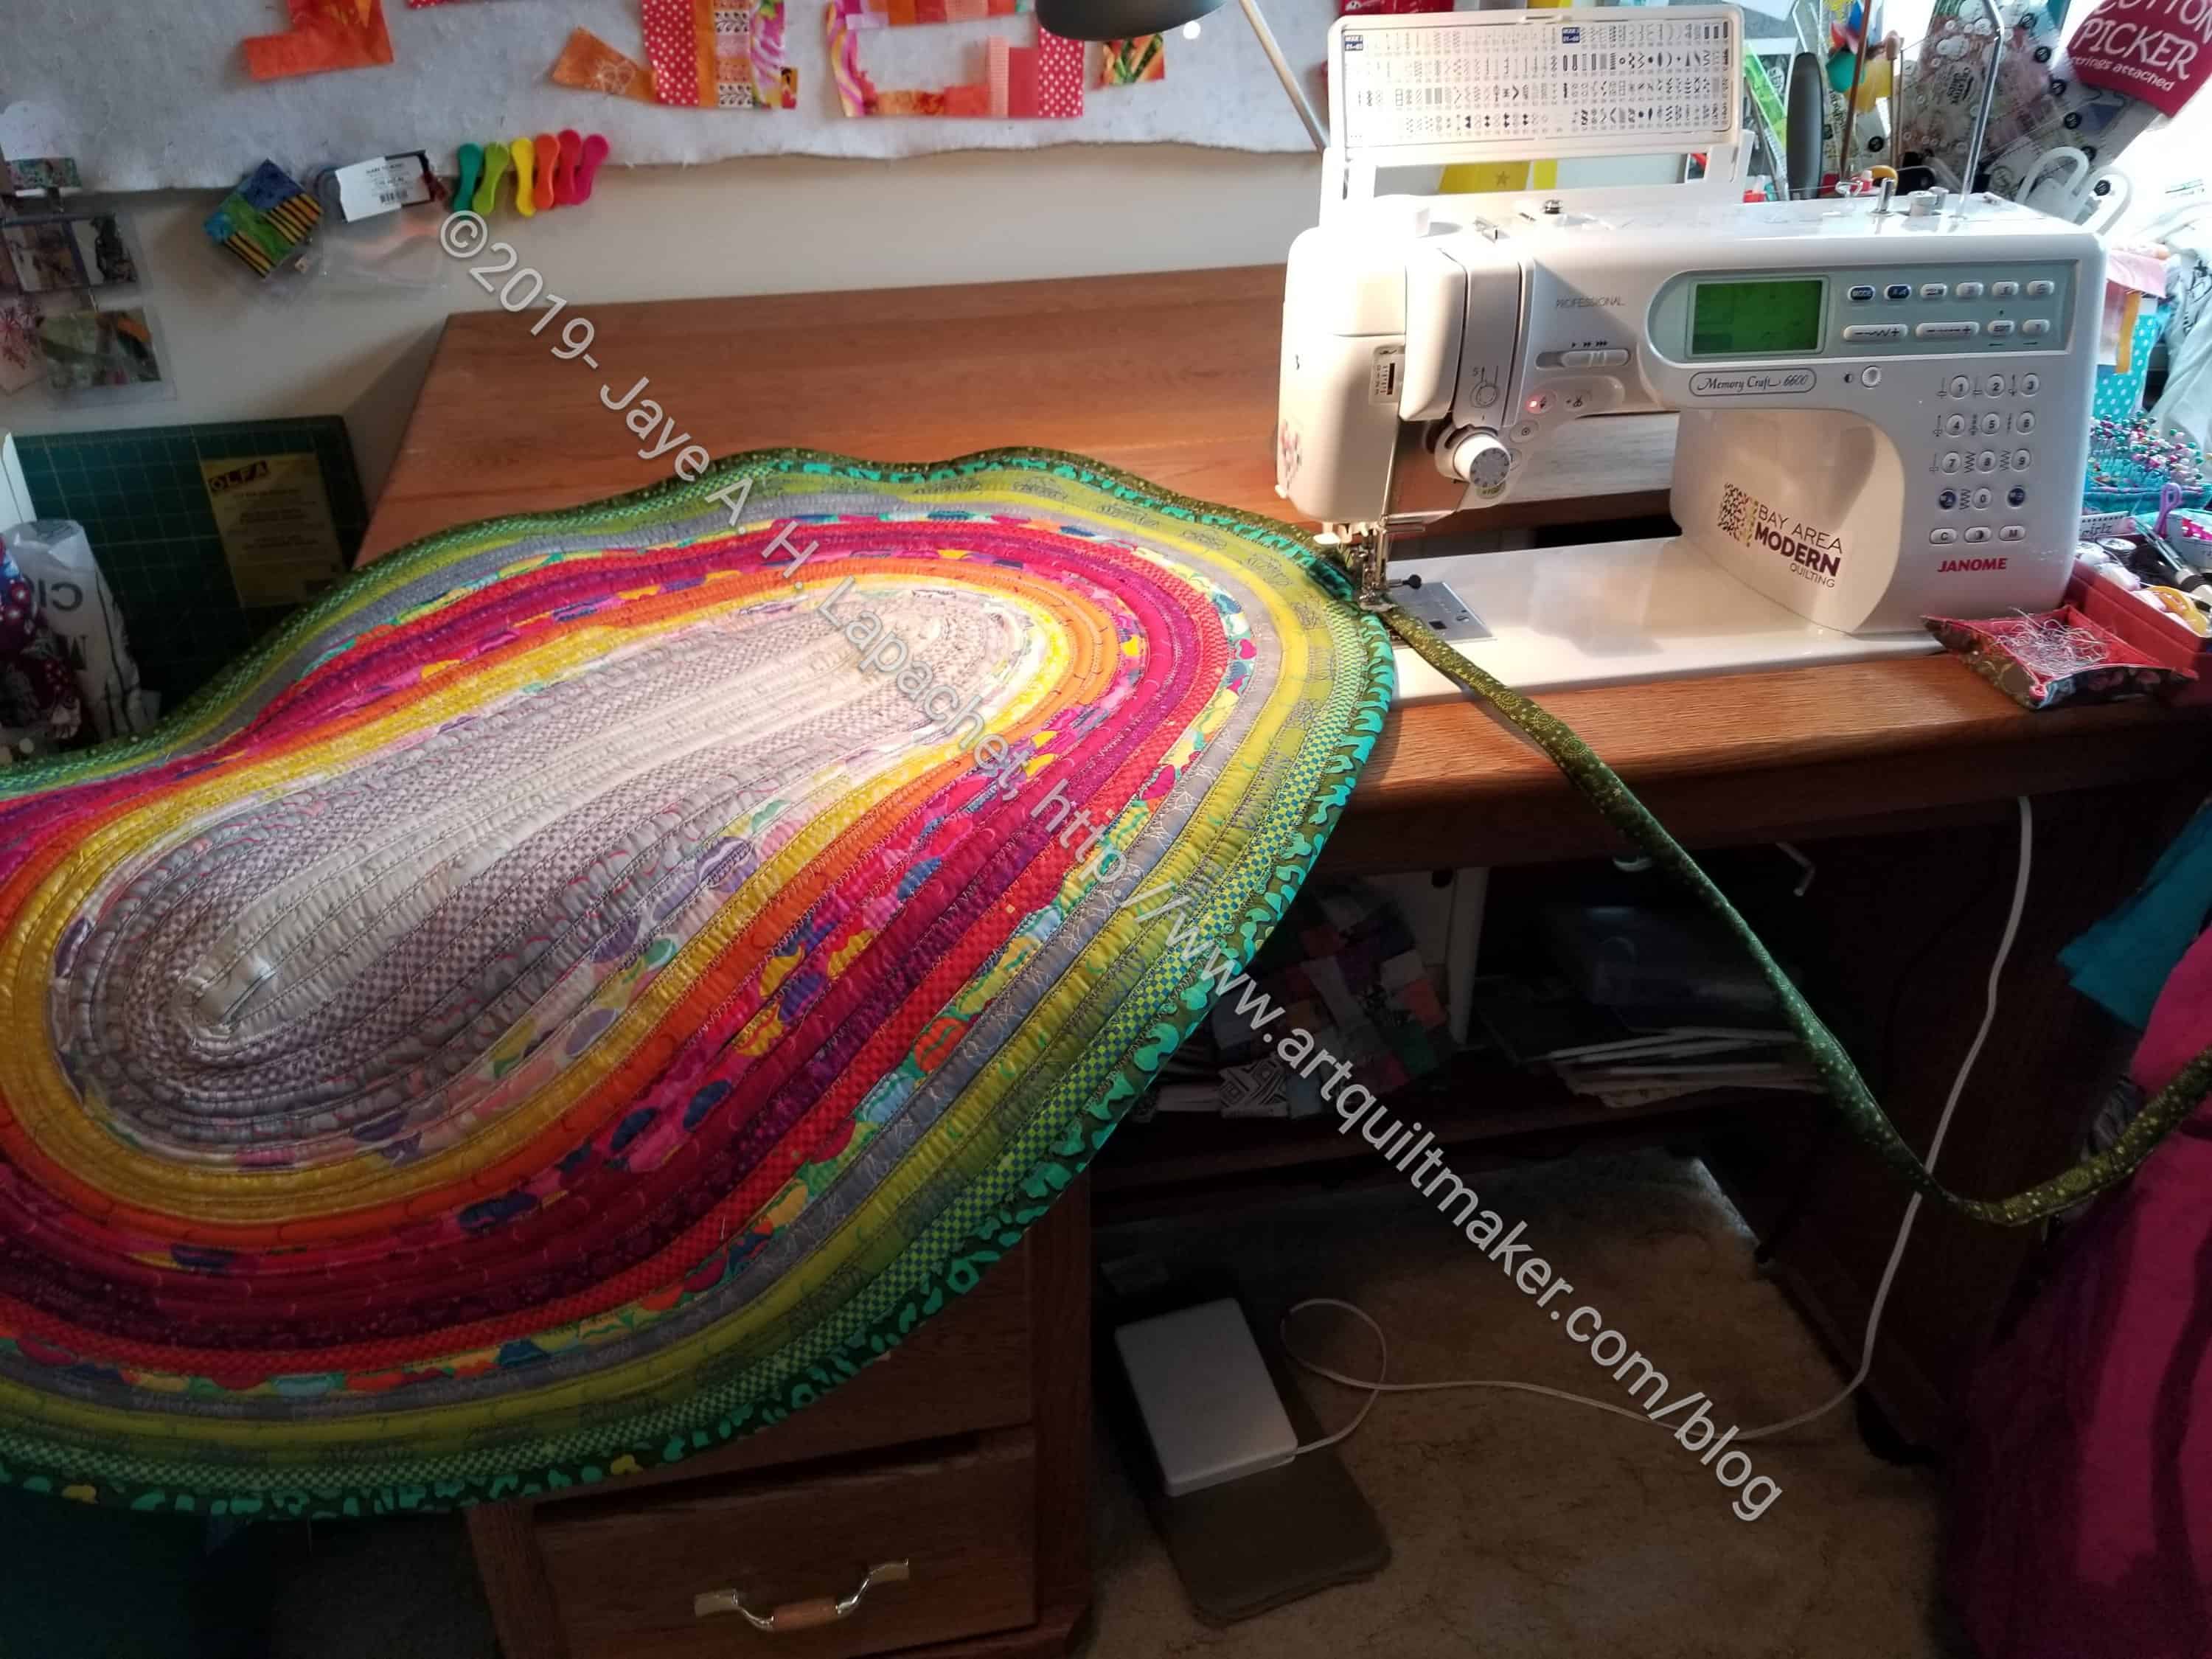
Jelly Roll Rug in process – June 2019
My sewing machine table has a flip out back, as you might remember, and after my rug got to a certain size, I flipped up the back (now I need to dust and vacuum!!!). It was helpful, but I could have also used a flip up front to the left of my machine. I compensated by rolling the rug up a bit when it came forward.
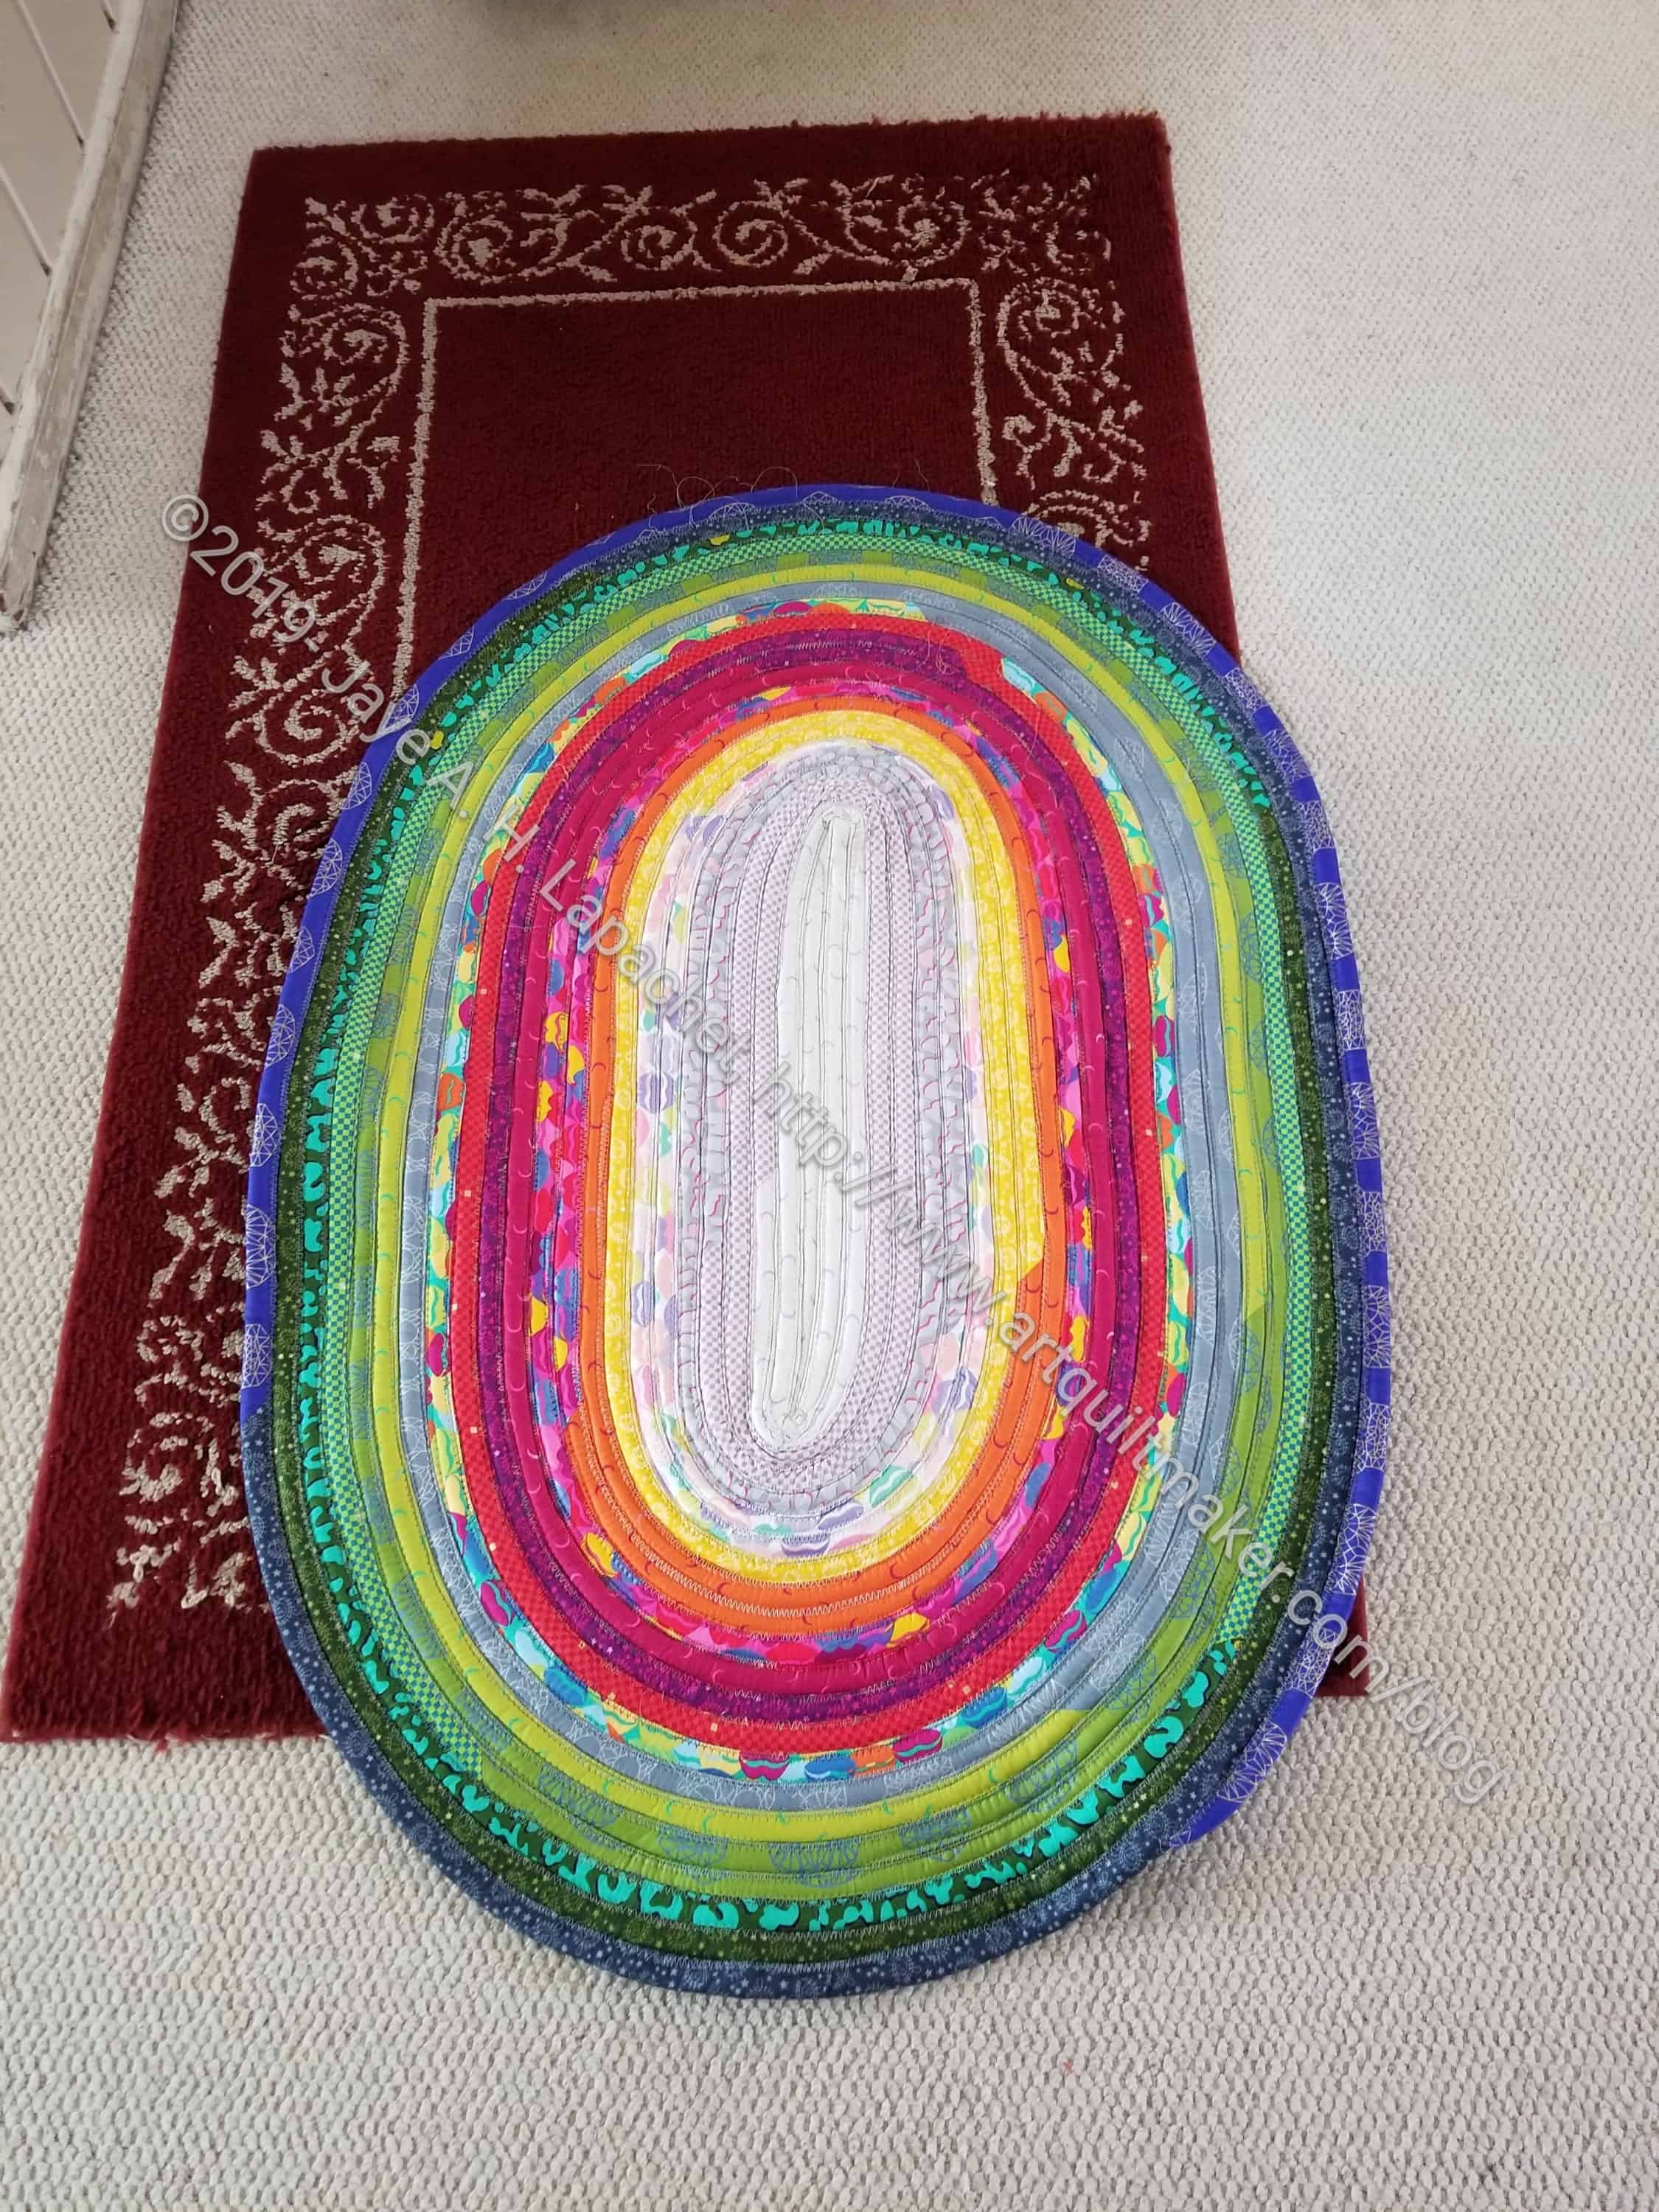
Jelly Roll Rug – Testing the size
I need a rug for my foyer and thought this might do the trick. It doesn’t quite do the trick, though the colors work with my living room/dining room color scheme. The rug needs to be longer and not much wider. I think I will try the square version with strips I cut on the Accuquilt rather than with a Jelly Roll strip set. DH had an idea about arranging the strips using colors that go with the paint in our living room/dining room. That burgundy rug isn’t ratty enough for me to put the next Jelly Roll Rug version on the top of the to do list, but it will be on my soonish list.
I am not quite finished as I have to steam the living daylights out of the rug. Stay tuned for a ‘completed’ post.
I was determined to make some major progress on Wednesday while DH was out. I added a couple of rounds, but ran into more problems. My machine started skipping stitches. I changed the needle, re-threaded, changed the needle again, switched stitches, changed thread. Nothing helped. I even took off the sole plate and cleaned out what little fuzz and such that there was. I thought I might be able to see something stuck in the bobbin case. No luck.
I was using a zigzag stitch so I switched to a project that just required a straight stitch. Same problem.
Fortunately, I got the rows in before the trouble started.
I just had the machine serviced and it has been doing fine. I meant to call the shop yesterday, but was busy and didn’t do it. So frustrating.
I didn’t have a lot of time yesterday, but the time I did have I spent working on the Jelly Roll Rug. I am having trouble going around the ends, but I am trying to get better. It does get easier as the rug gets bigger.
I decided to use grey thread until I get to the darker part of the fabric so the bad stitching doesn’t stand out. I’ll switch back to the variegated as soon as I get to the darker fabrics.
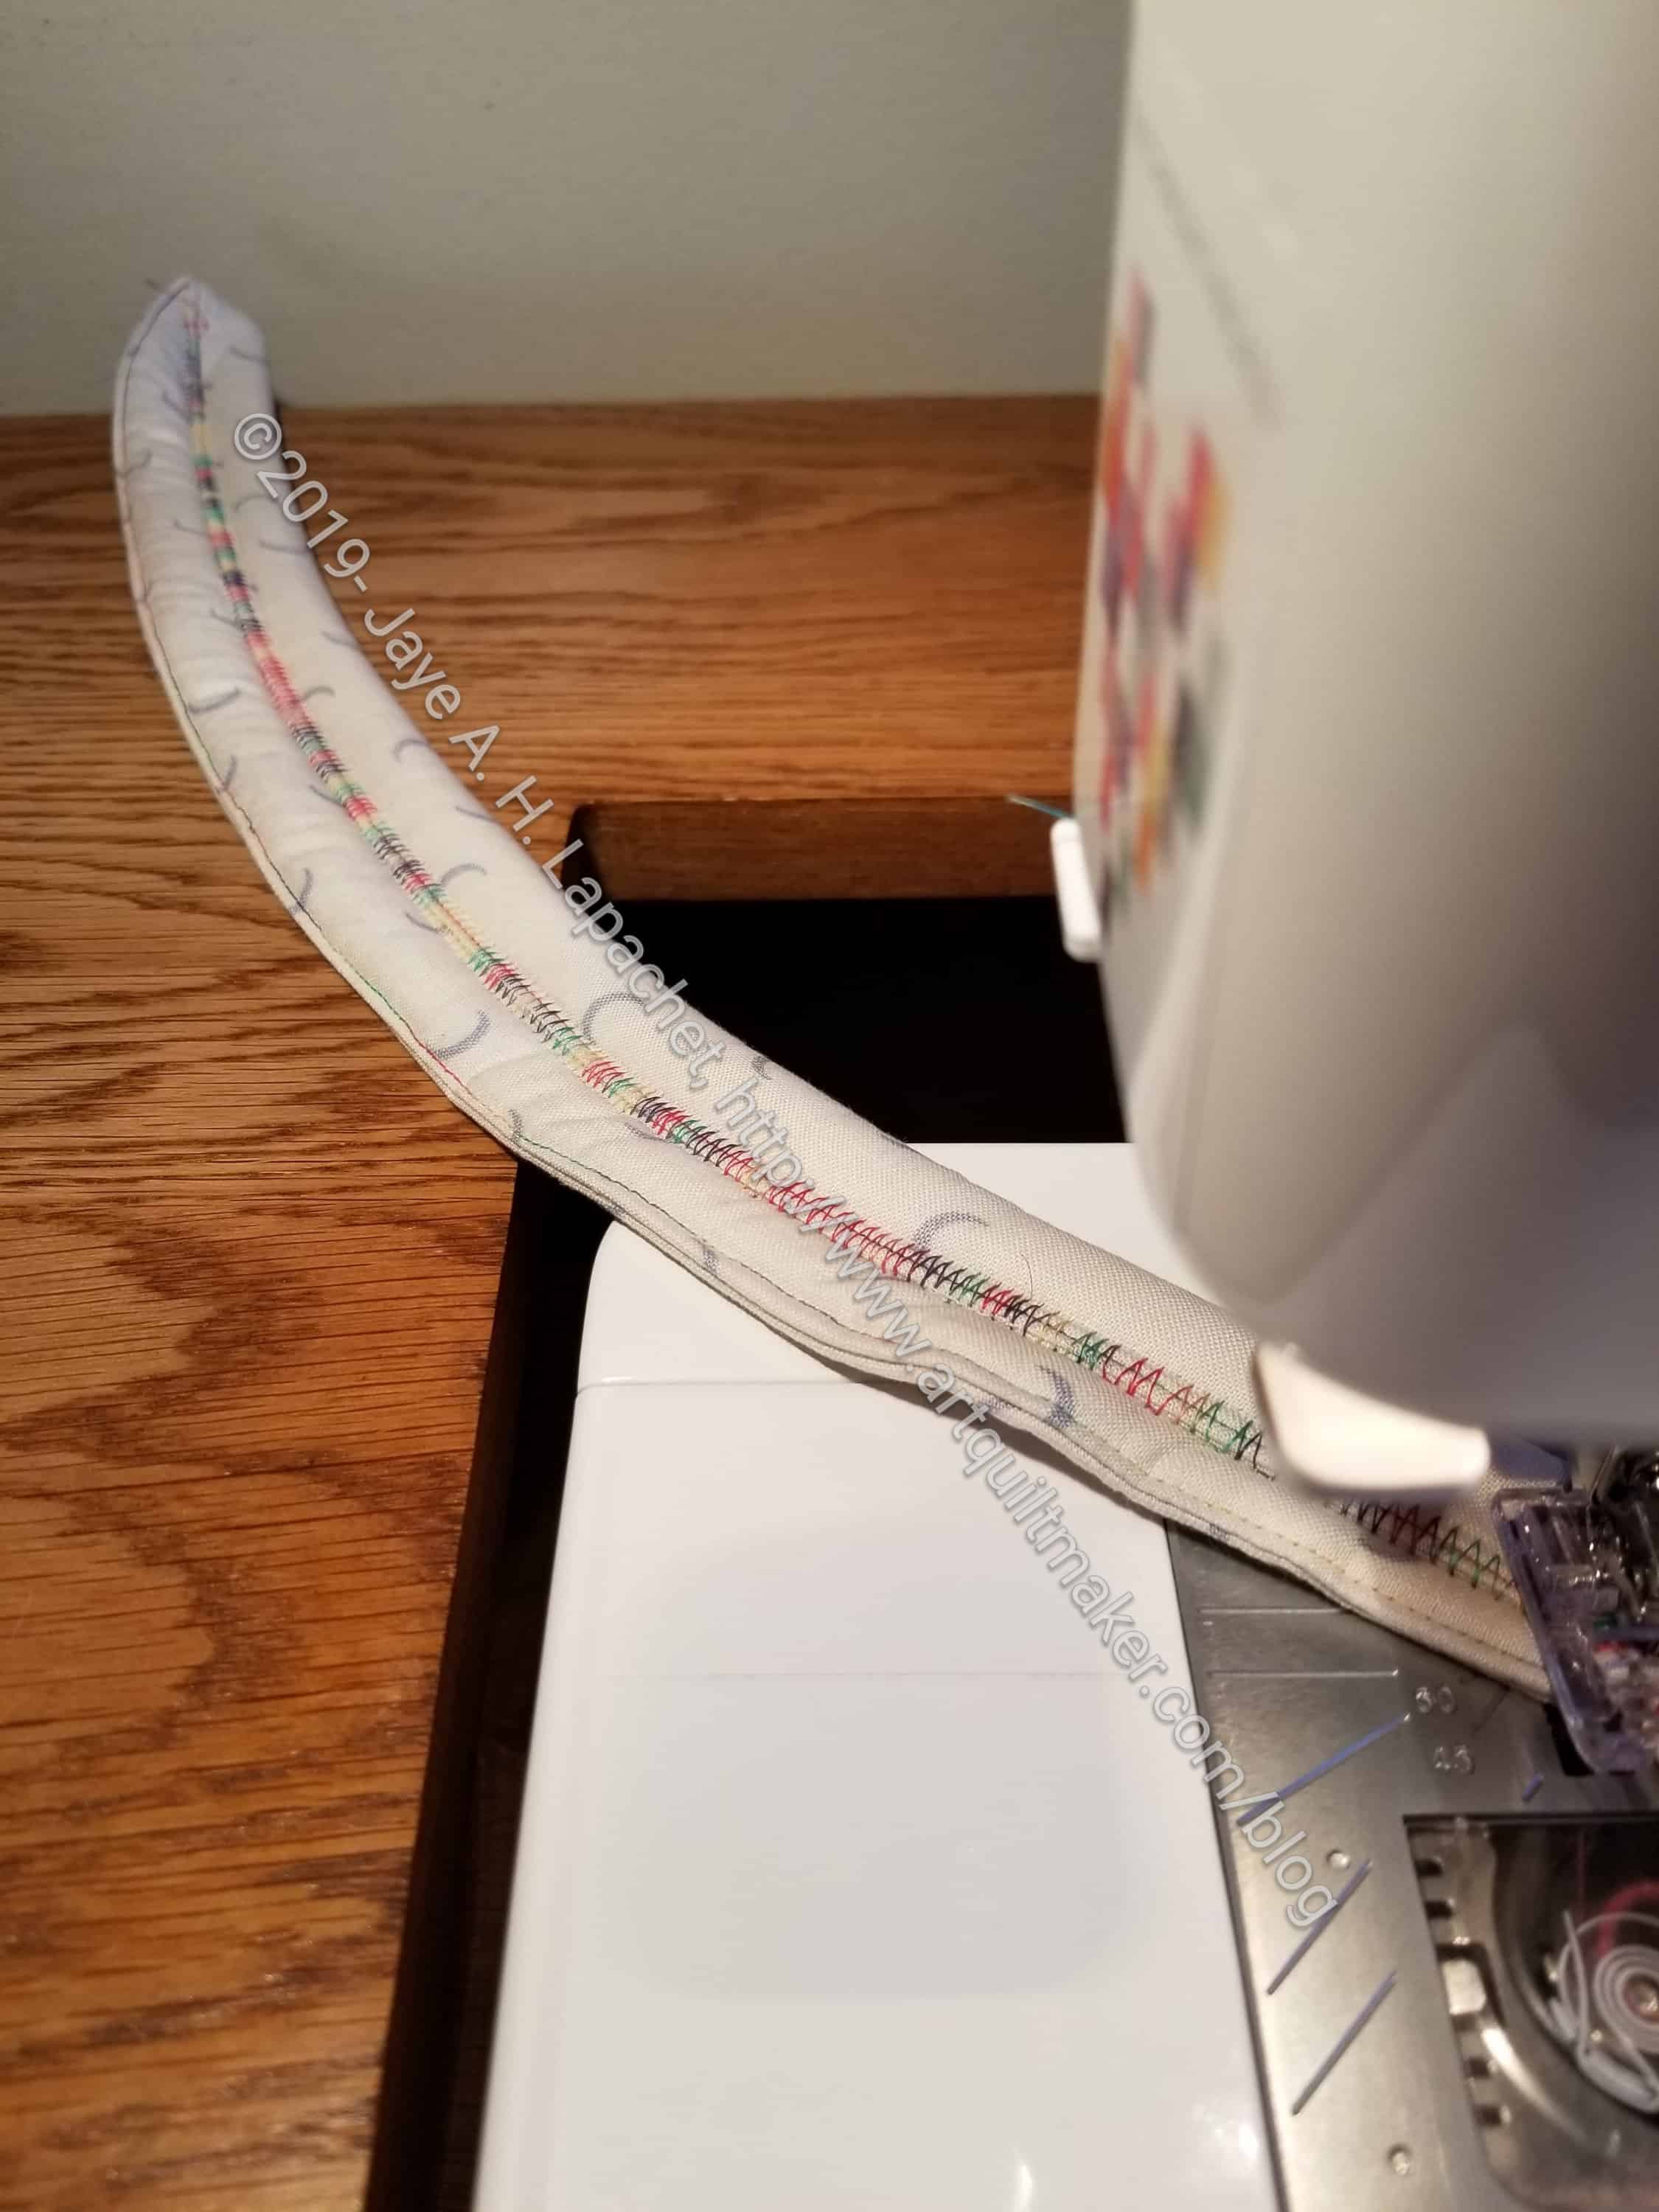
I talked about sewing the really long seam the other day. I have, as you might have expected, continued to work on the Jelly Roll Rug.
Jelly Roll Rug -Fabric Quesadilla
In one of the videos I watched the presenter showed how to butt the batting together as you clip, then sew the edge of the jelly roll sandwich – really it’s more of a quesadilla- closed. Check out time stamp 10:46-11:25, approximately, for that gem. I started out using the strips I had sewn some weeks ago* so they wouldn’t be laying around waiting for some other project that would never happen. When I sewed the quesadilla closed. I got to the point with the batting strips where I didn’t even have to open the Bosal roll of 2.5 inch strips.
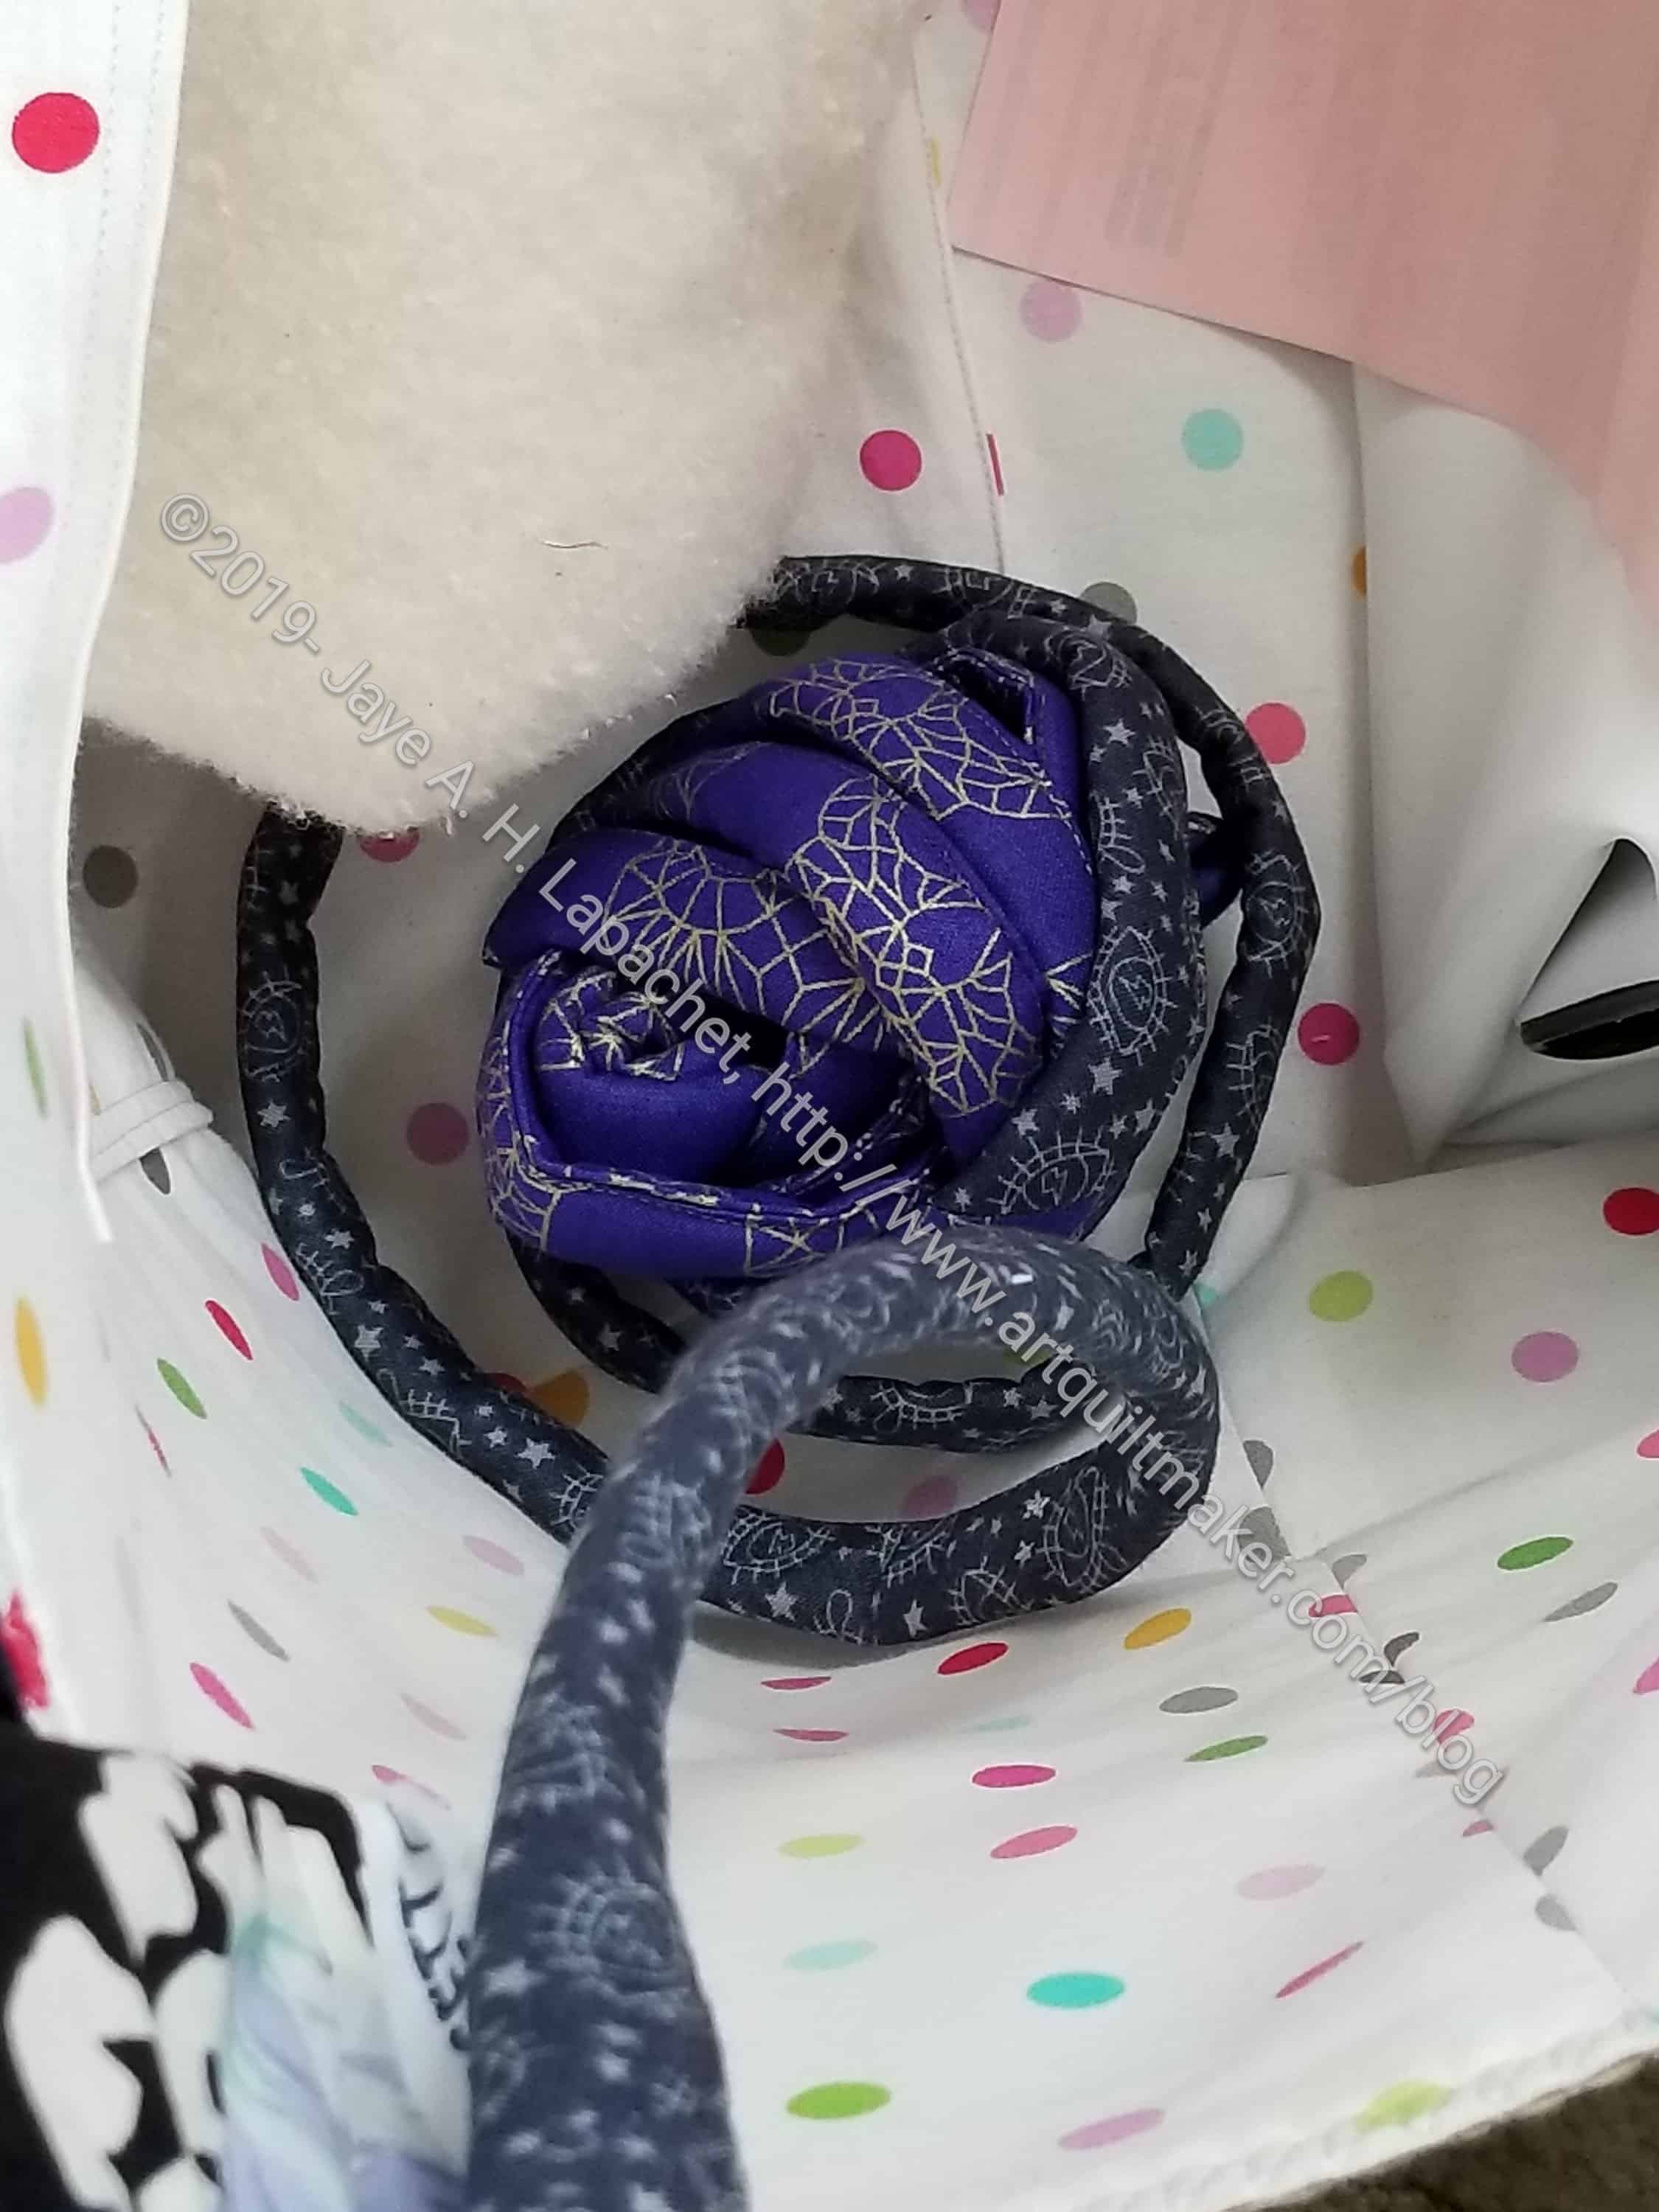
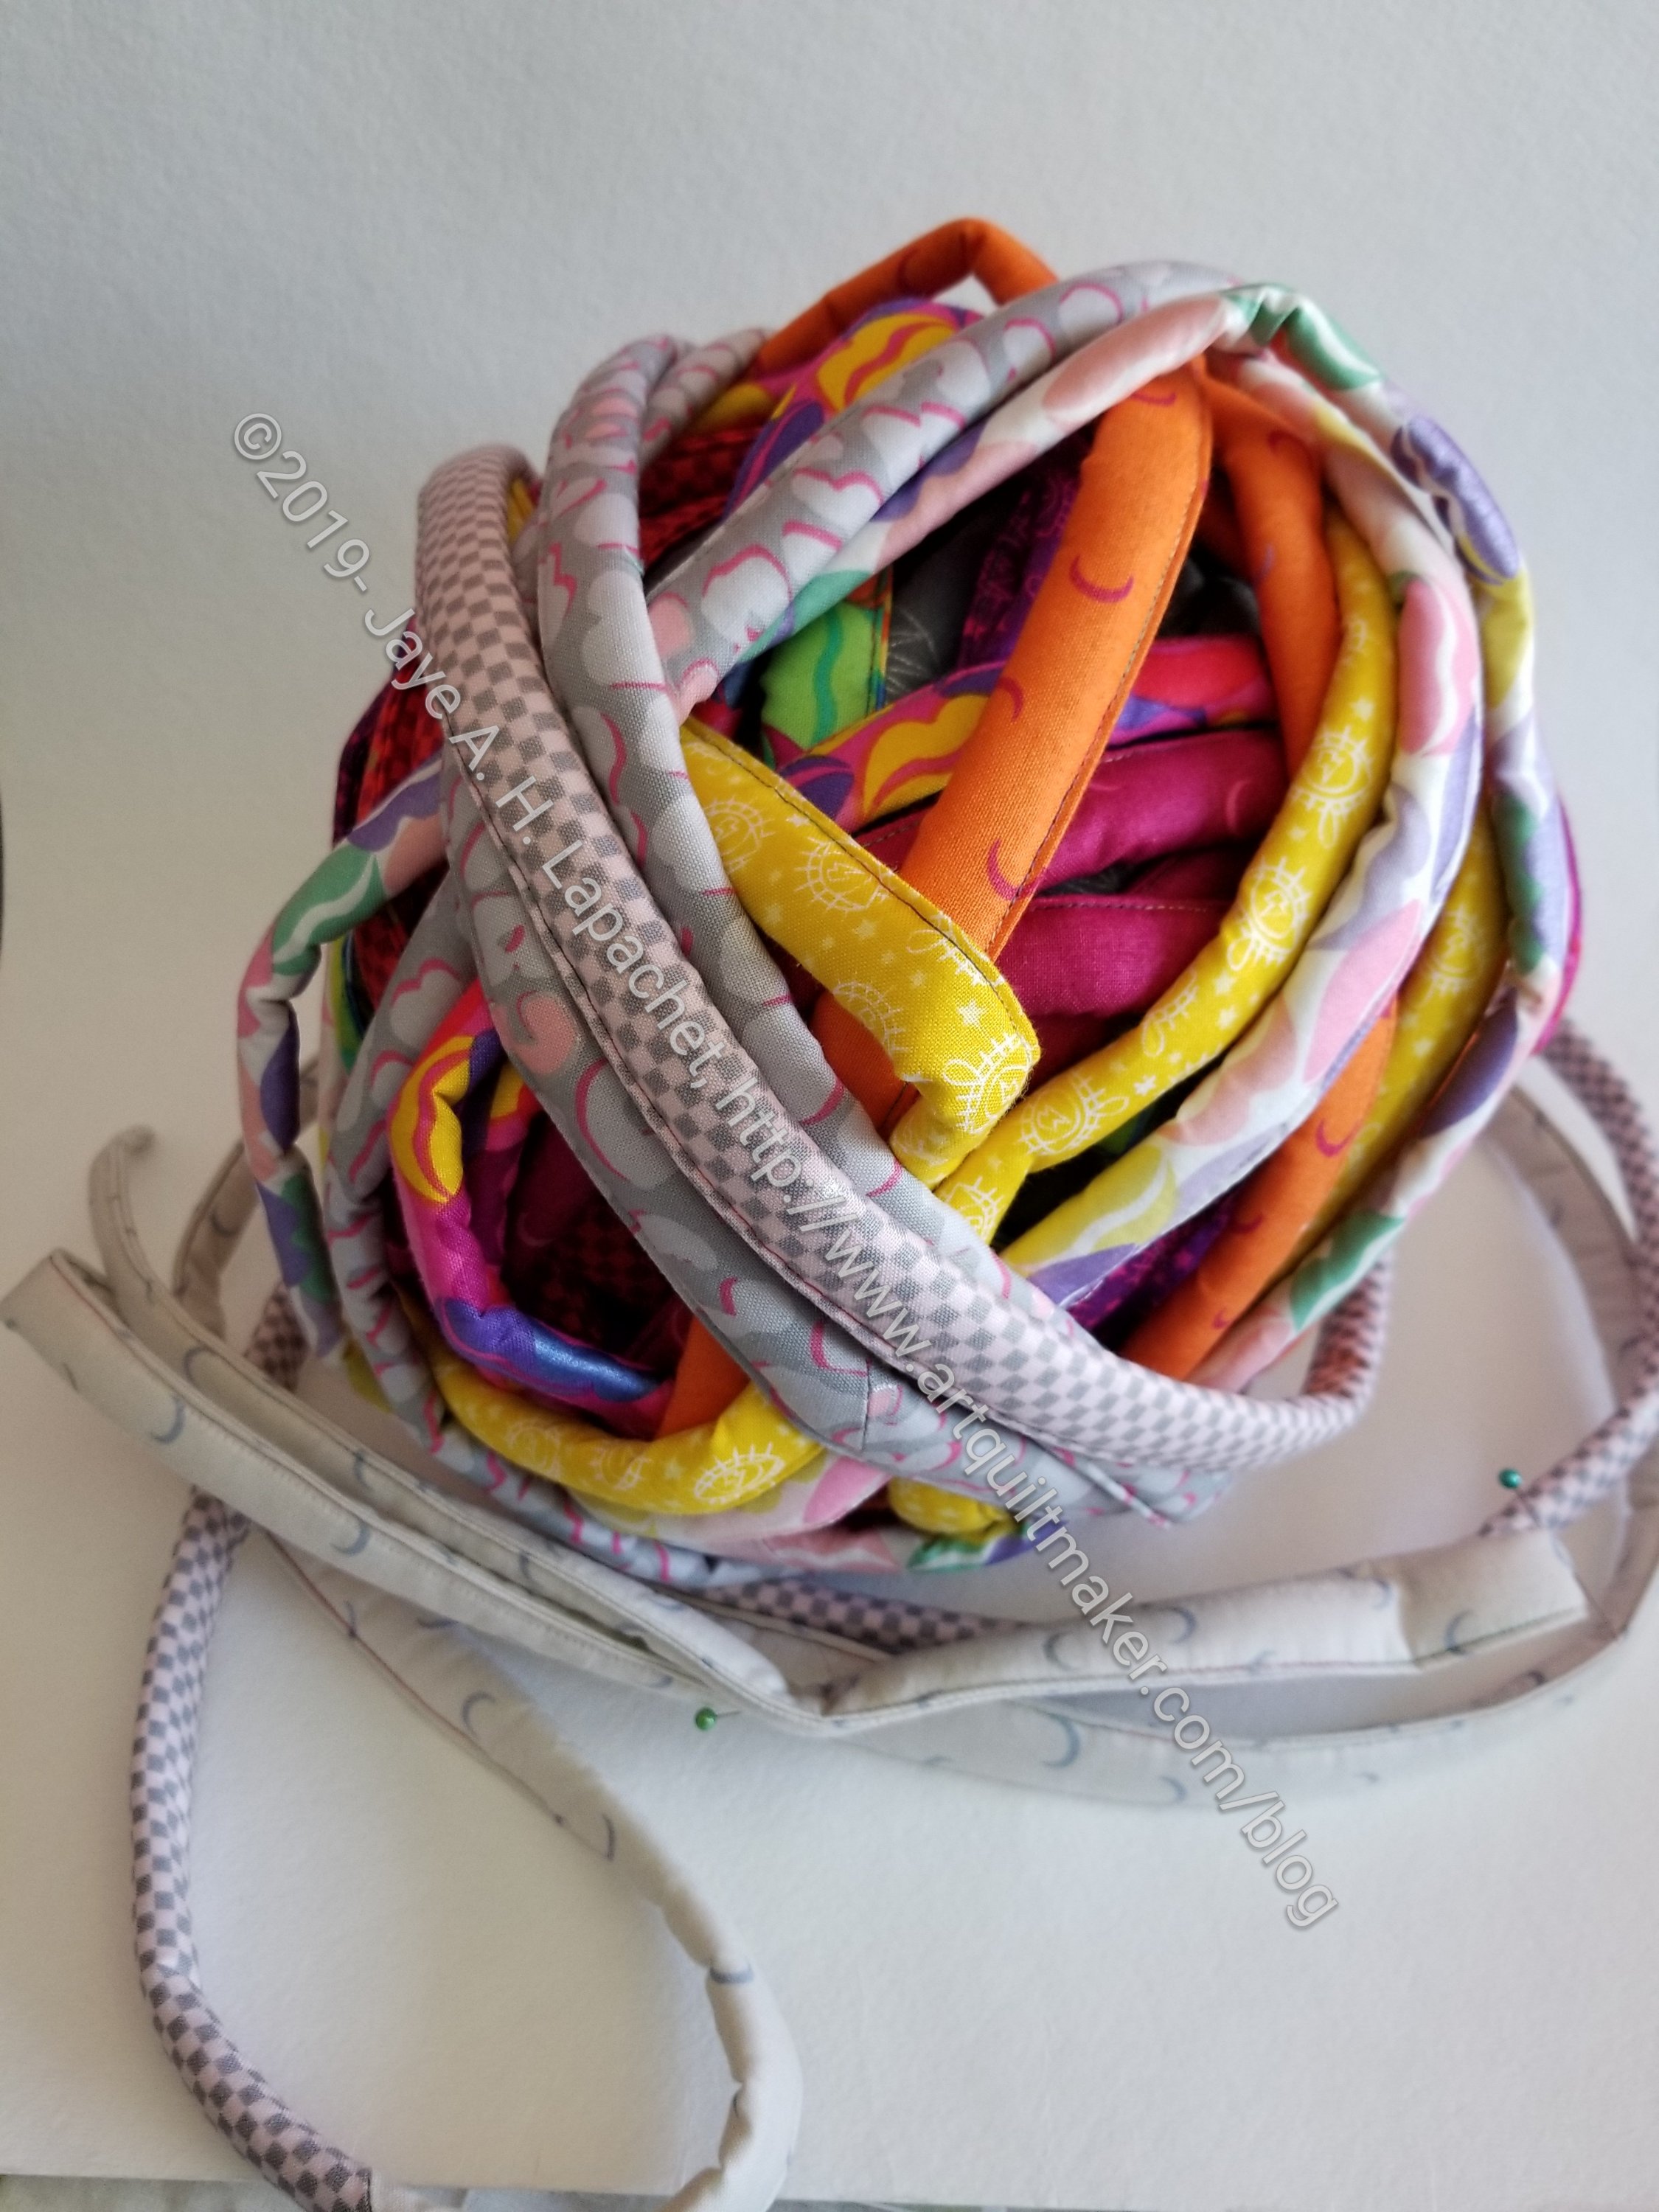
Jelly Roll Rug Ball
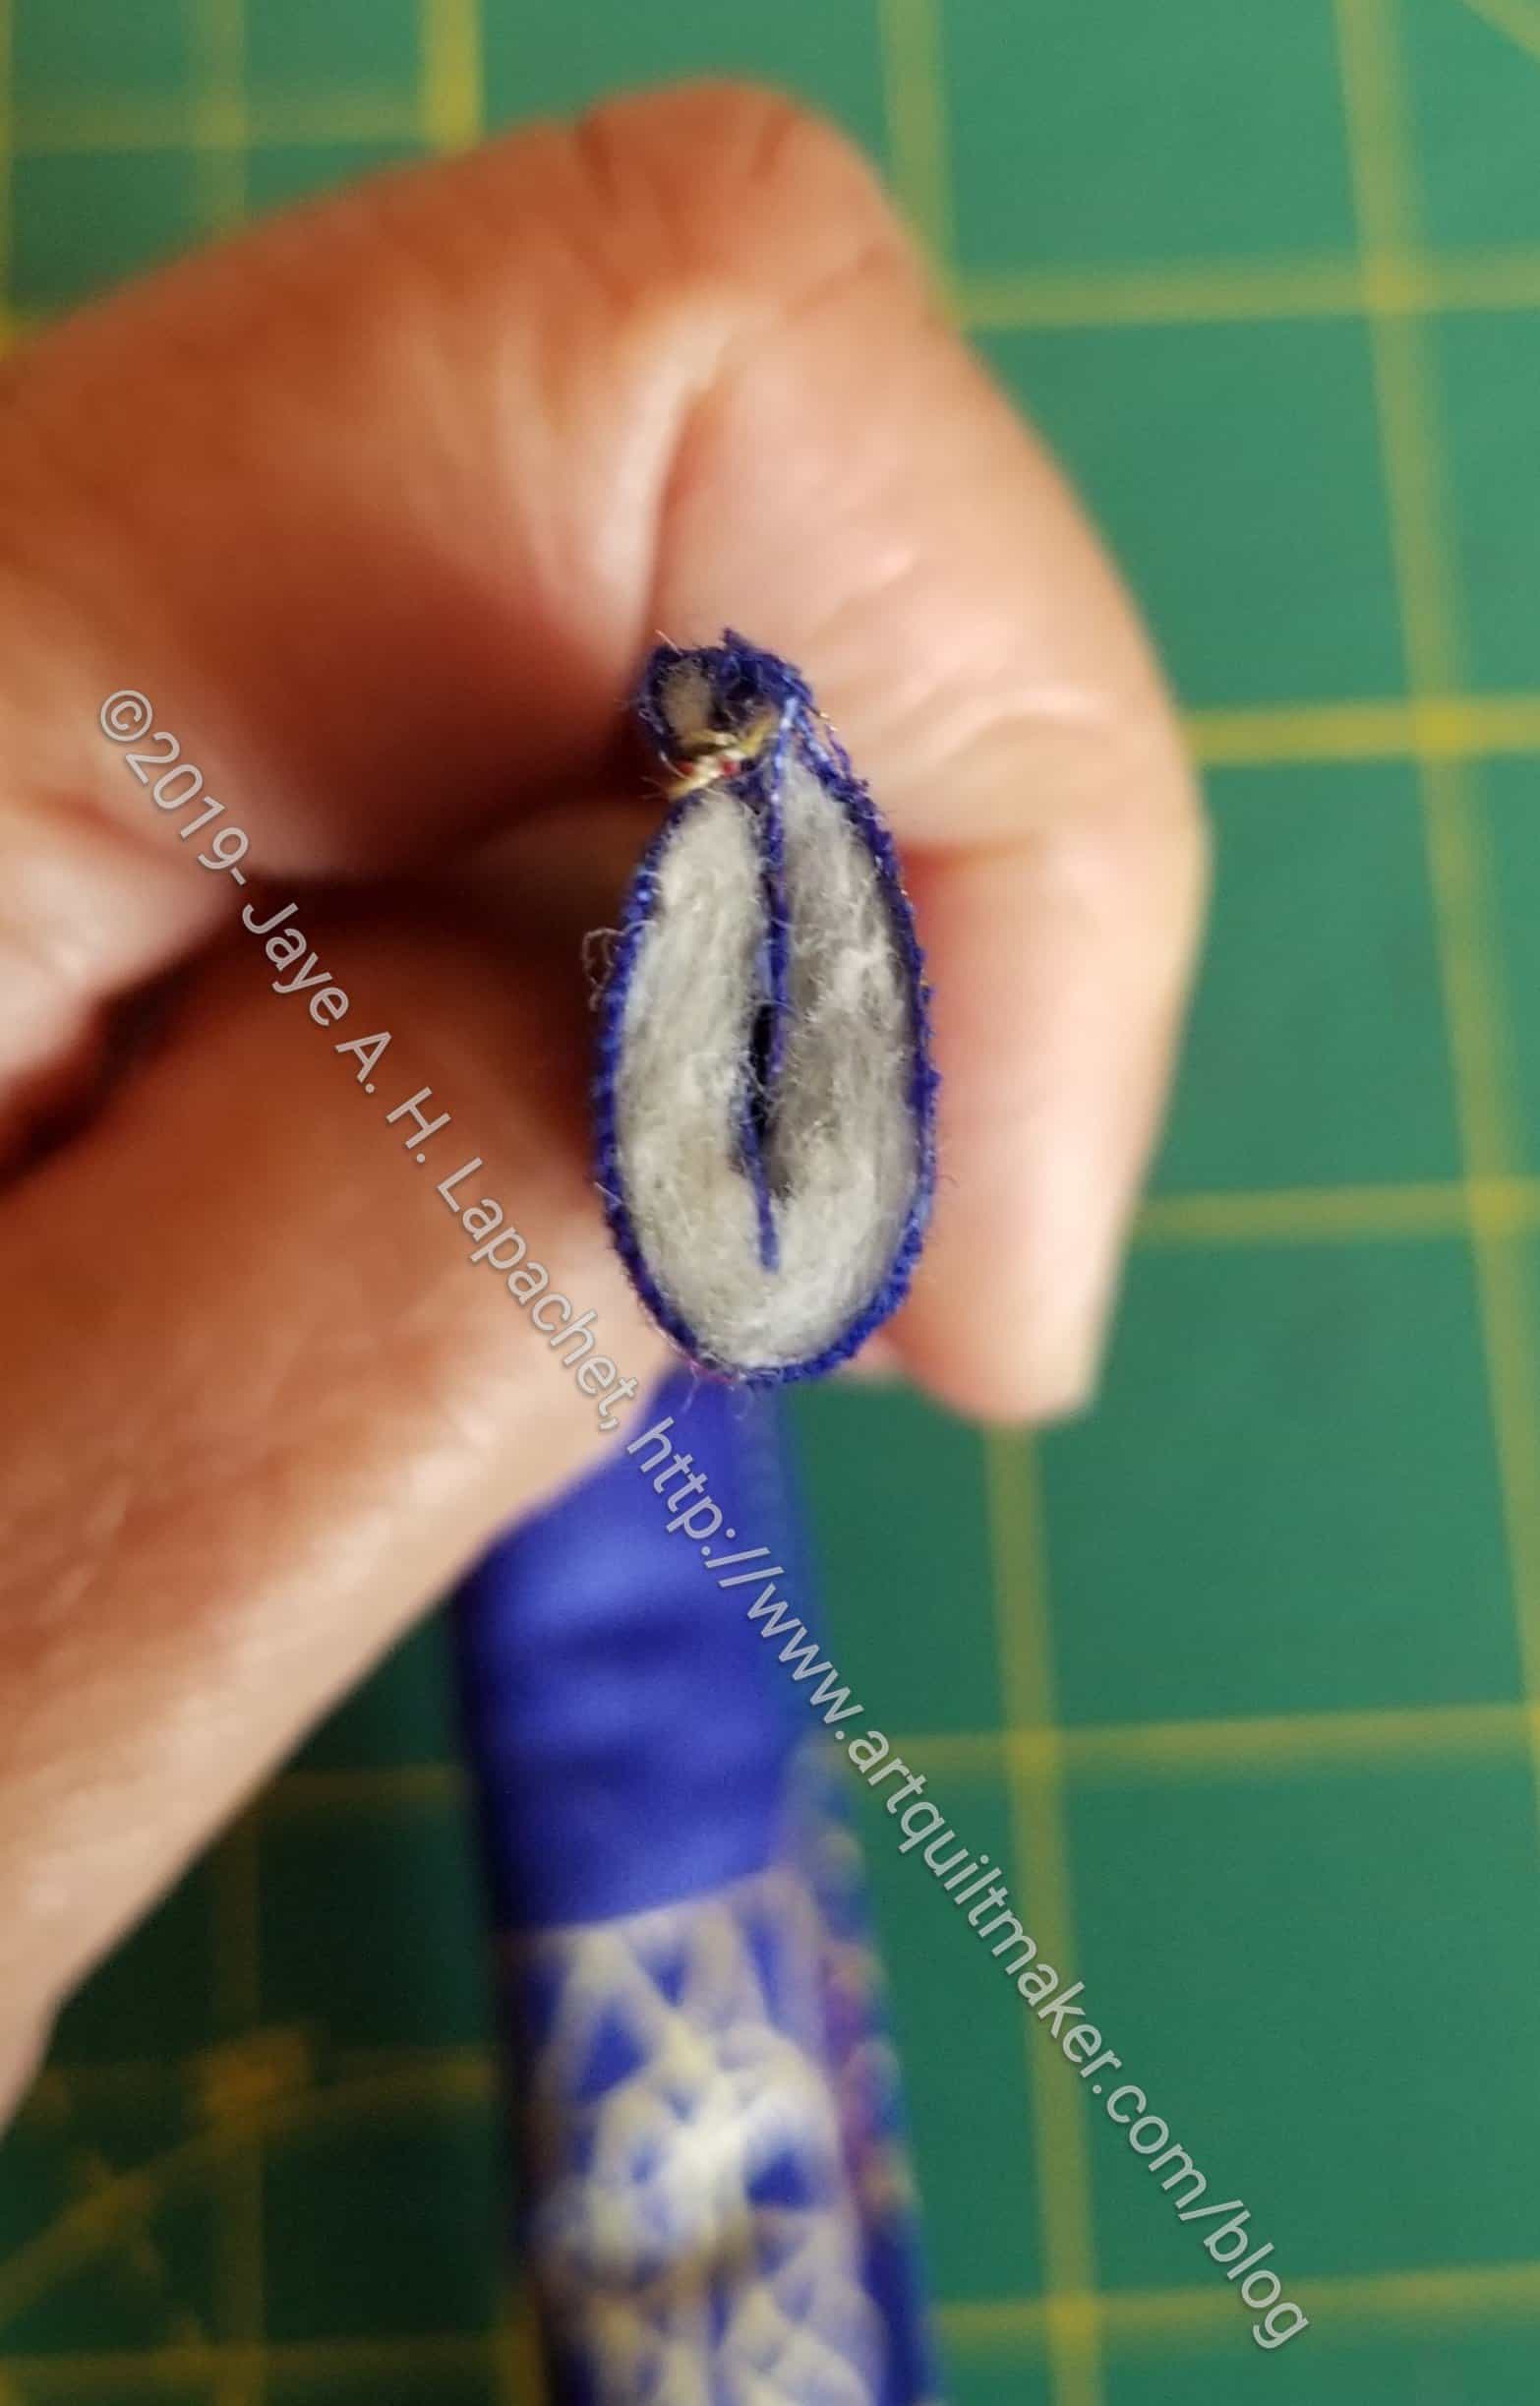
One challenge I had was with the tapered end. Fortunately, the second video, from Quilt Addicts Anonymous, I watched showed what to do (timestamp 8:55-10:31-ish). You have to buy the pattern to read about the tapering process, but once you have tapered the end the video shows what to do with it. The pattern is a little vague, or I couldn’t decipher what it meant. Basically, you have to create the jelly roll quesadilla with that tapered end as well. I started sewing the end of the long seam rather than the beginning (the piece that would be in the middle), so I could create a ball and would have the beginning on the outside of the ball. That means that the tapered end was at the end of the long seam. I had to unpick 8-10 inches of the long seam in order to do the tapering. Also, I had to re-cut the taper, because I had messed around enough with the fabric comprising the taper to make the end fray beyond repair. So the rug will be an inch shorter. I don’t think anyone will die.
First attempt at sewing the rug together
My first pass at beginning to zigzag the rug together ended up with a kidney shaped piece. That is to be avoided, so I ripped out the zigzagging and will start again. Stay tuned.
*I decided to only buy one of the 2.5 inch Bosal batting roll strips and augment the one roll with batting strips of my own. My idea was to use up what I had rather than buying something new. I cut an approximate number that I thought I would need.
Sew Day was Saturday and I went with the Jelly Roll long strip batting and 4 wound bobbins in my bag.
Amy and I pretty much got to it as soon as we got set up. She is making the rectangular rug and I am making the oval version.
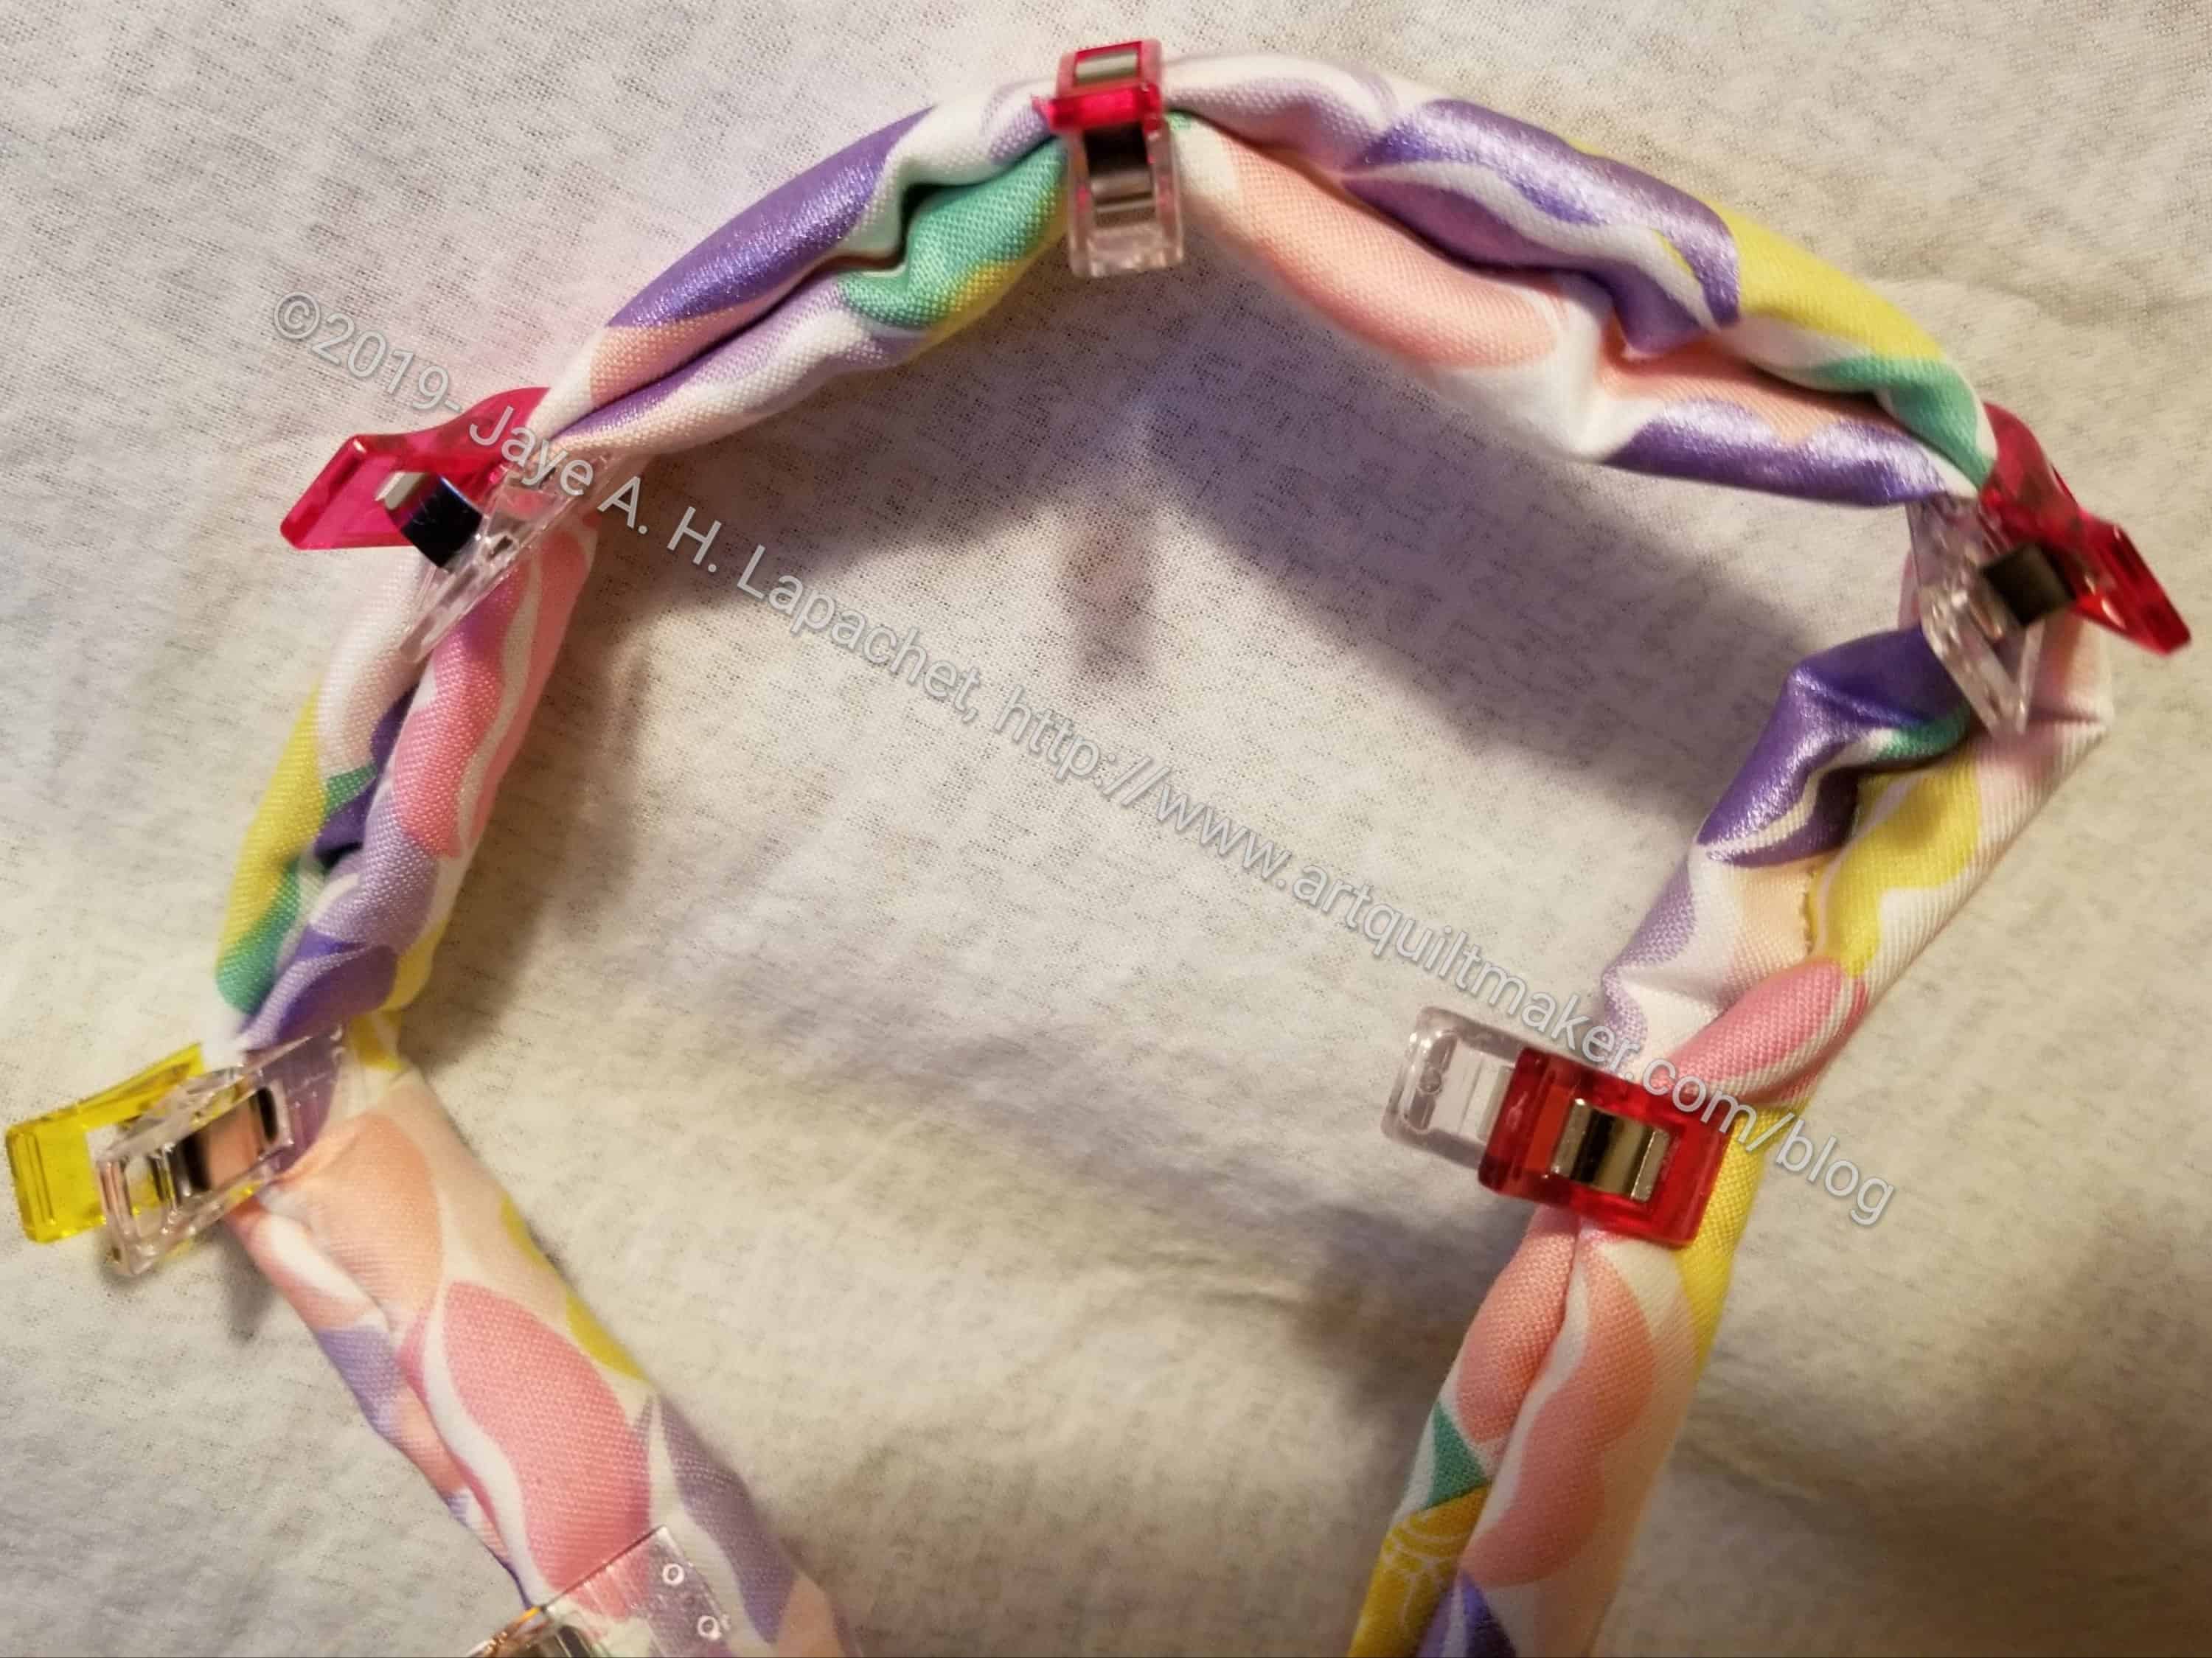
Jelly Roll Rug strip-ready to sew
Since I already had my strips sewn together, I started closing up the jelly roll’s seam. It took me several hours to make headway and I didn’t even finish that one step. I had grand illusions of getting the whole rug finished because I had sewn my strips together. HA!
This is not a difficult project. It is slightly tedious, but great for Sew Day because I could easily talk and sew and not make mistakes.
I used up one whole bobbin already. One seam one bobbin. It’s crazy since I am not even finished with that seam.
I started my Jelly Roll Rug, finally. I started on Wednesday by watching the official Jelly Roll Rug video. As I watched, I made a list of to do items and also of supplies I needed. The first item on the to do list was to find the pattern.
I also had a brief exchange with Gretchen. She has made a few Jelly Roll Rugs and is a good support for me. She has a post that includes a different video from the “Official video” linked above. Having different videos gives the maker different perspectives.
There are differences in the two videos. One suggests using batting tape to join the strips of batting. The other says just to butt them up together. I threw some batting tape into my bag just in case, but intend to butt the pieces up against each other.
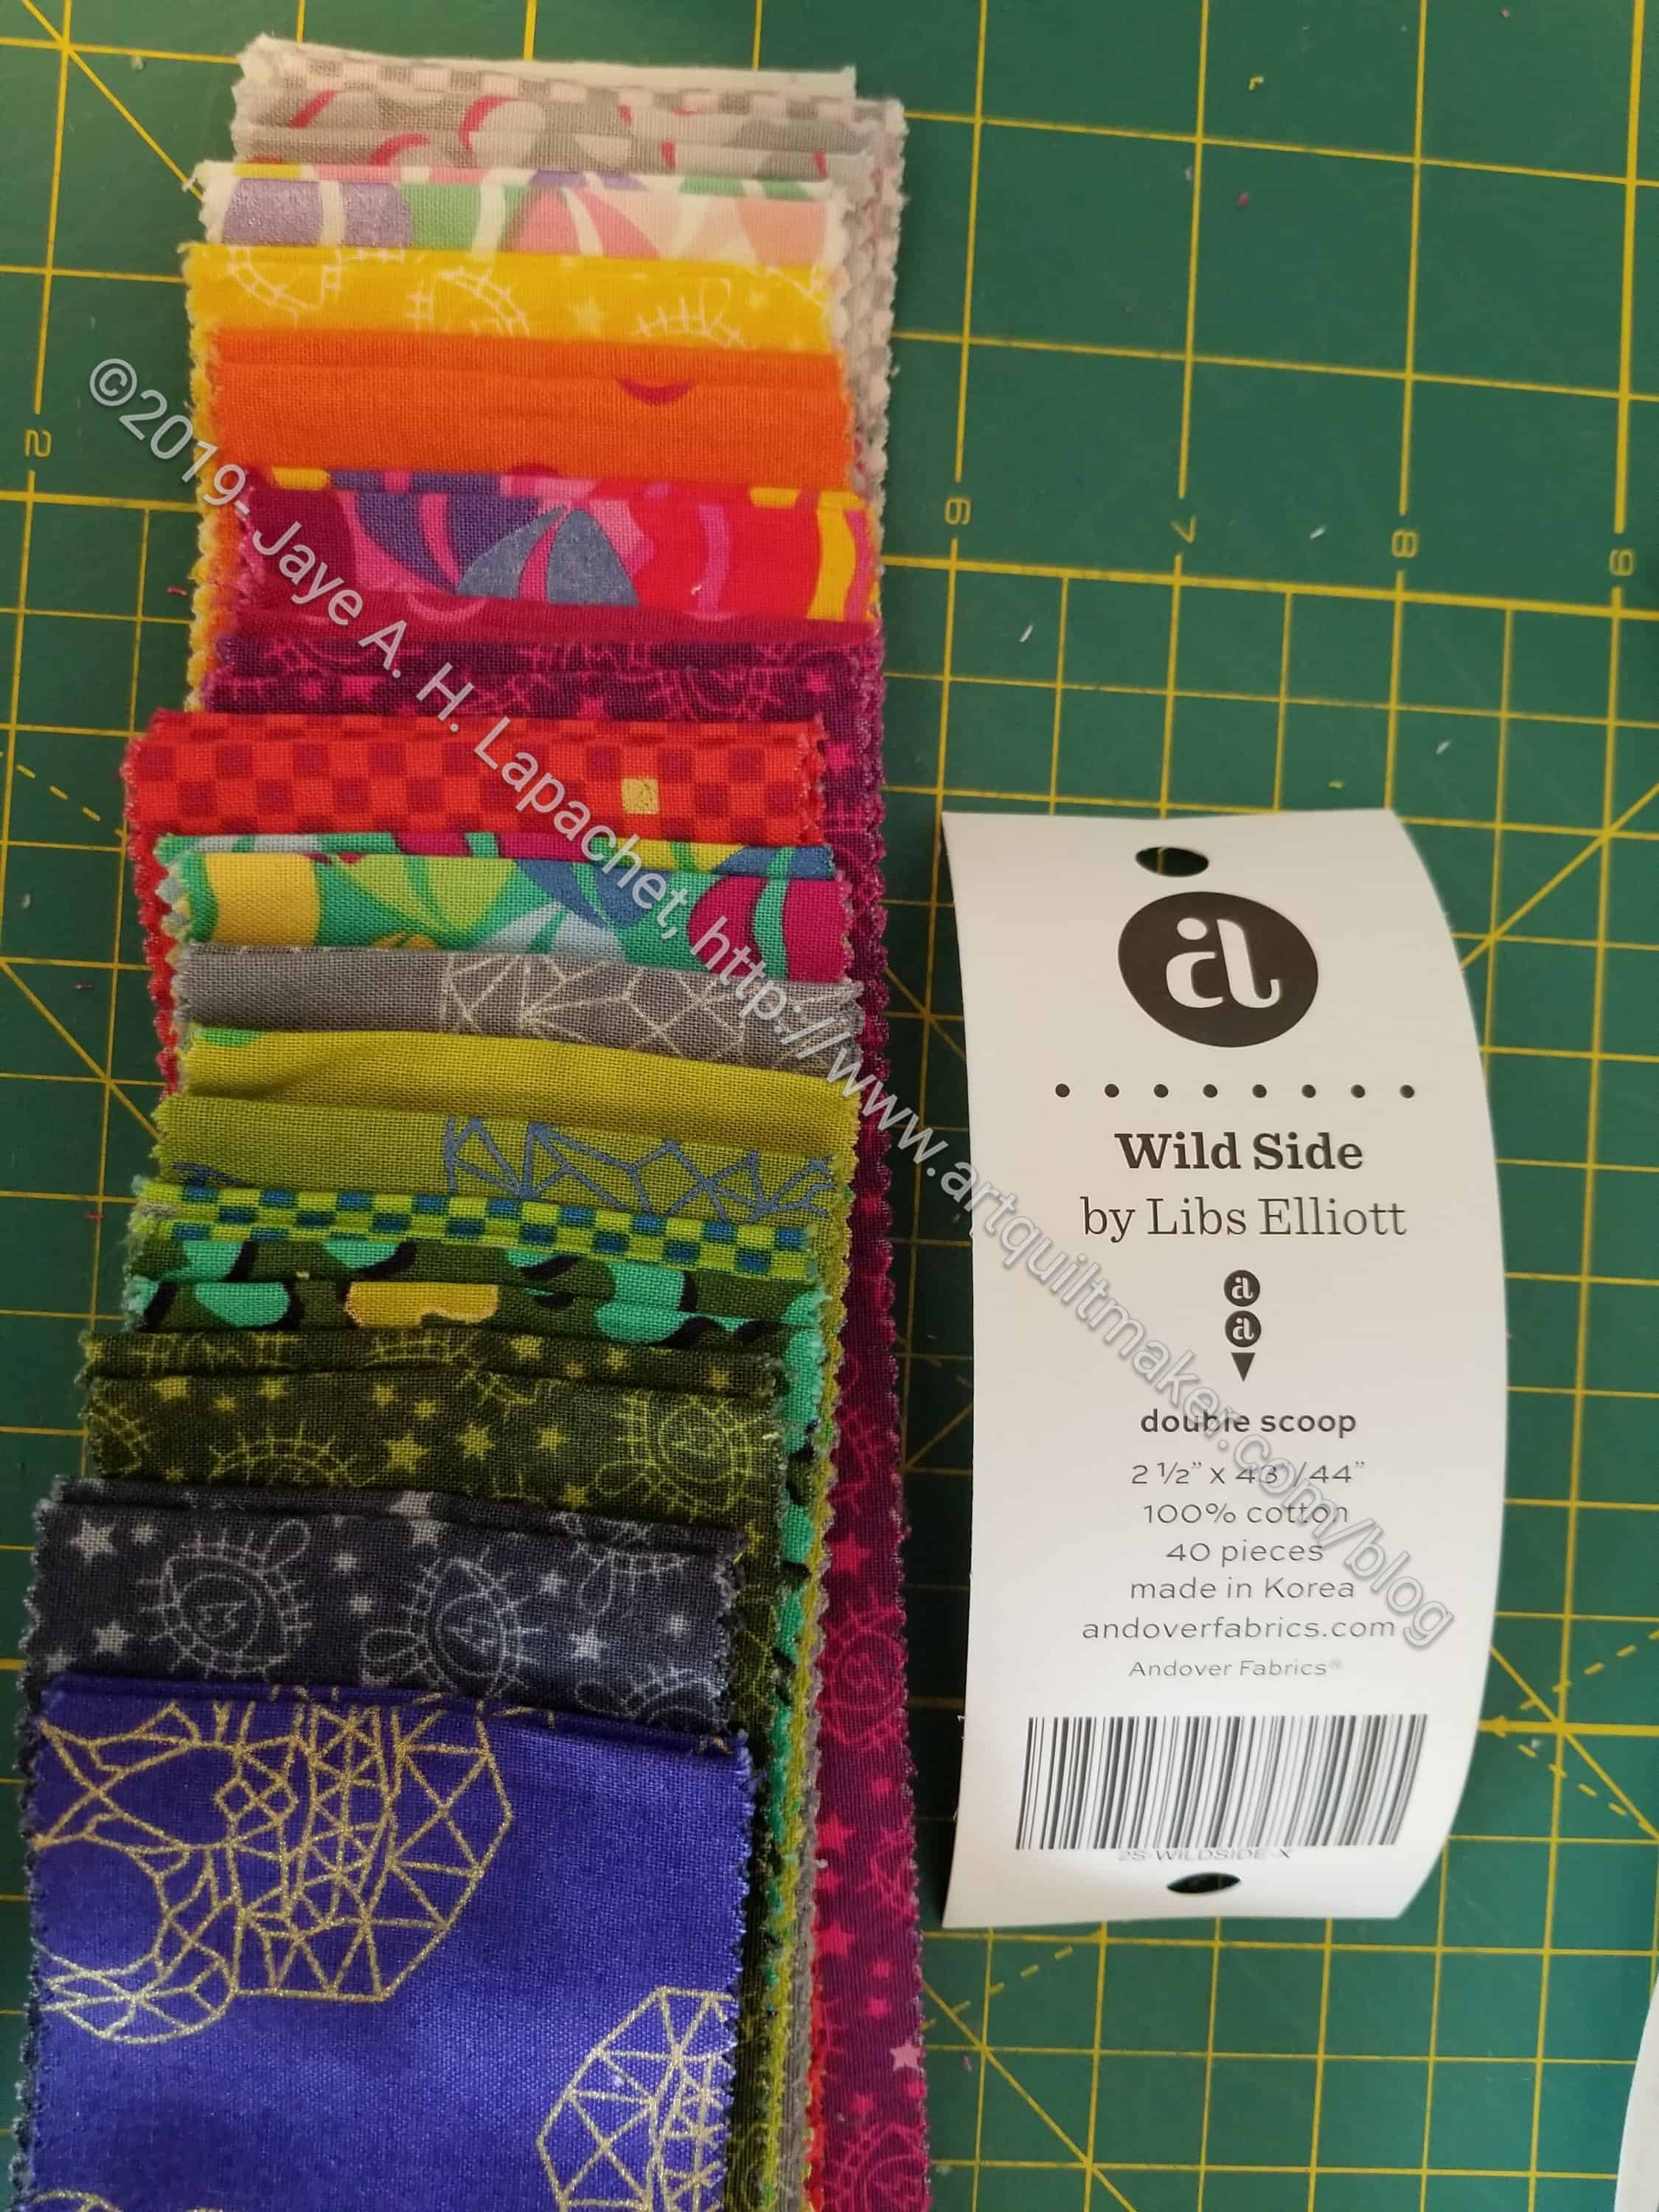
I used a video I won in the Libs Elliot class I took at QuiltCon in 2018.
Jelly Roll Rug strips – sewn
After watching the first part of the video, I decided to sew the strips together and get a bit of a head start. For some reason I didn’t want to do the sewing at Sew Day. I think I wanted to maximize the time I have there. I won’t be able to sew on Sunday, so time this weekend is important. I have to admit, also, that I am much more confident sewing in my workroom where I have everything I need and can concentrate.
It took me awhile, but I sewed the strips together and then cut off the triangles. I sewed the strips diagonally positioning the strips perpendicular to each other (in an L shape so my strips) so i could sew them together with a diagonal join, like I do binding.
I normally wash even jelly rolls, but decided to take a chance since there was very little ironing. I didn’t have a reaction when I pressed the seams open, which was a good thing.
I don’t think this project will take me very long once I really get going. Stay tuned.
_____
Resources
Video: Ultimate Jelly Roll Rug Tutorial by Quilt Addicts