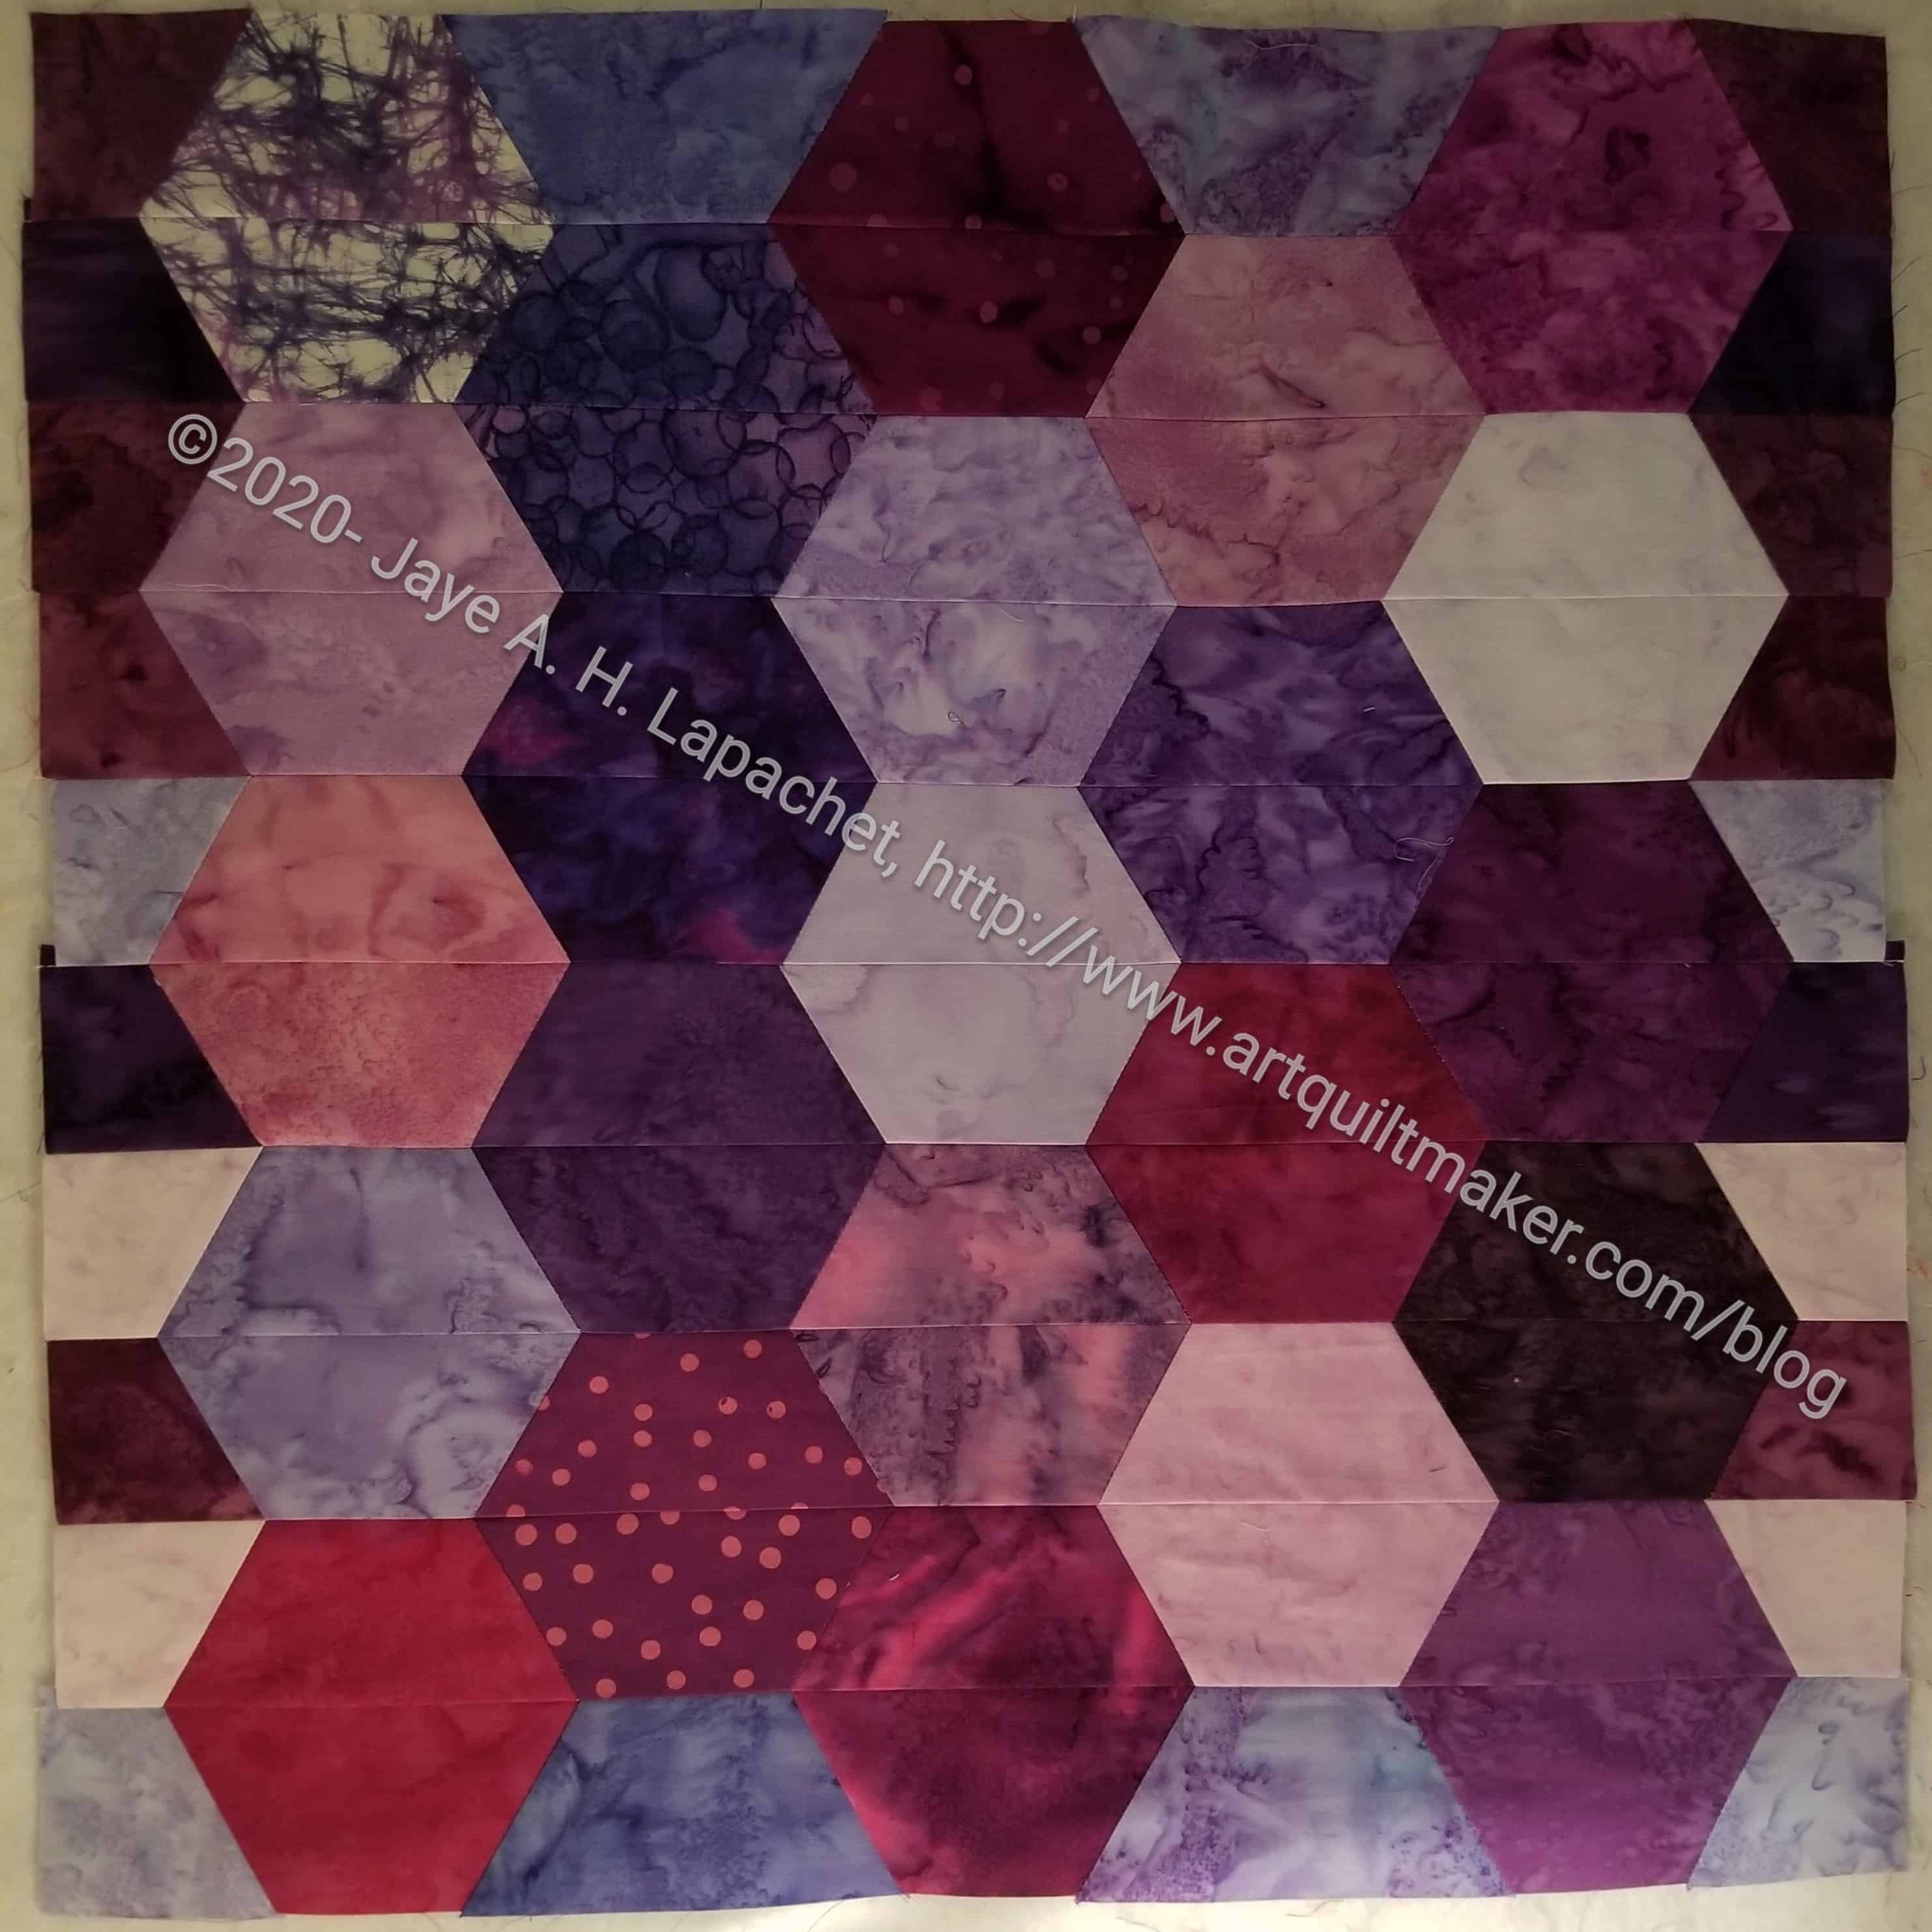
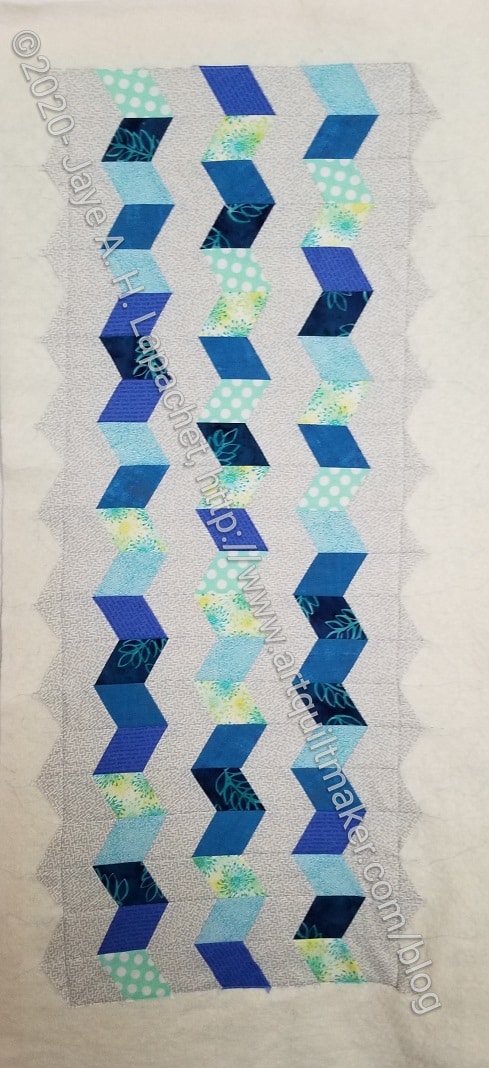
I finished piecing the front of the Lucky Charm Pillow cover a few days ago and am getting ready to baste (bleah!) and quilt.
Sewing the half hexies together was not that difficult, but I didn’t enjoy it. I don’t enjoy sewing rows together. That is how this project goes together, so I had to do it that way. When I sat down and focused, it really only took me less than an hour. I was slightly hampered by trying not to hit the edge of my sewing table with my boot, otherwise the process was smooth.
Lucky Charm pillow top completed
This isn’t a project I would make again, but the whole ‘getting to know the Jaybird rulers’ is a good experience.
Even though I am losing interest in this project, I am soldiering on. I decided to do it and I cut the half hexies for this pillow, so I am doing it.
Lucky Charm Sewing
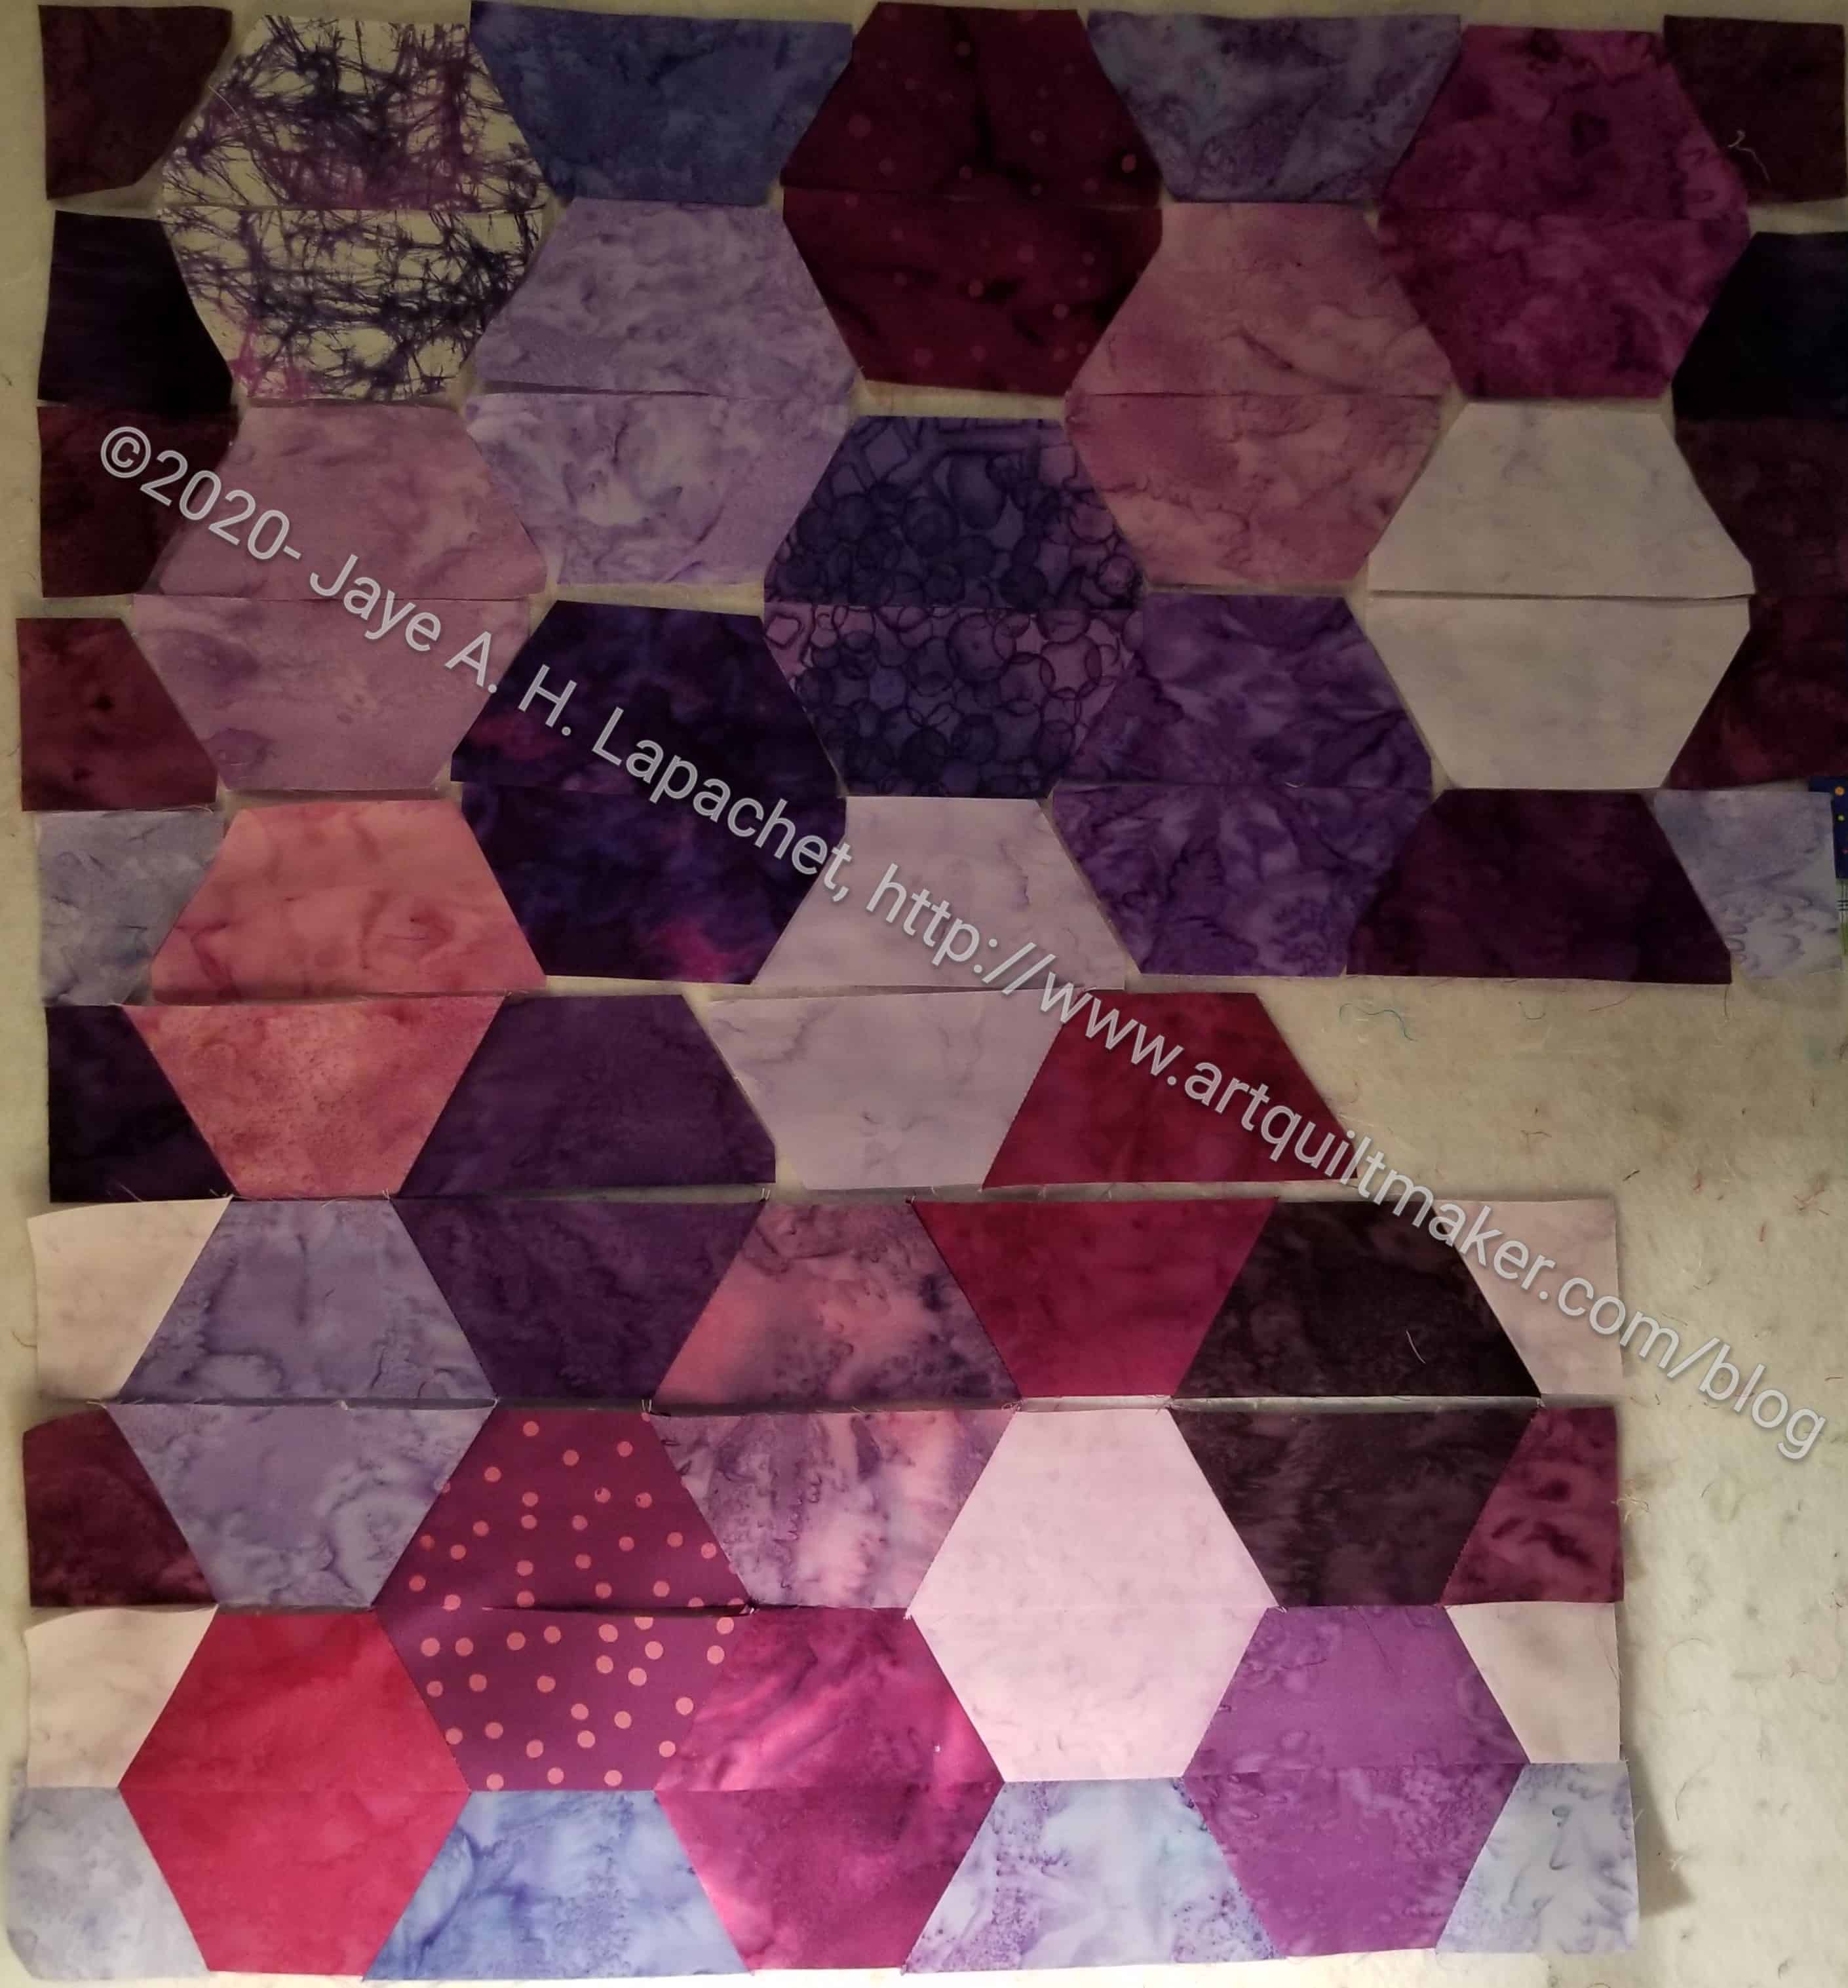
I started sewing the half hexies together despite everything. They are looking pretty good despite my problems with cutting them. With my foot it was a hassle to get up and down to go to the ironing board, but at least I didn’t have to go to the large design wall as well.
I think it is starting to look ok. I have to make it into a pillow soon. I plan to use the Spoonflower instructions for adding a zipper instead of doing the overlapping closure. I think it will look tidier.
The Lucky Charm Pillow Top project for Journey 2 Nebula started last Tuesday. I wasn’t very excited about it. After working with hexagons a lot, I am over them. I was determined to do the project. I had to decide, first, what fabrics.
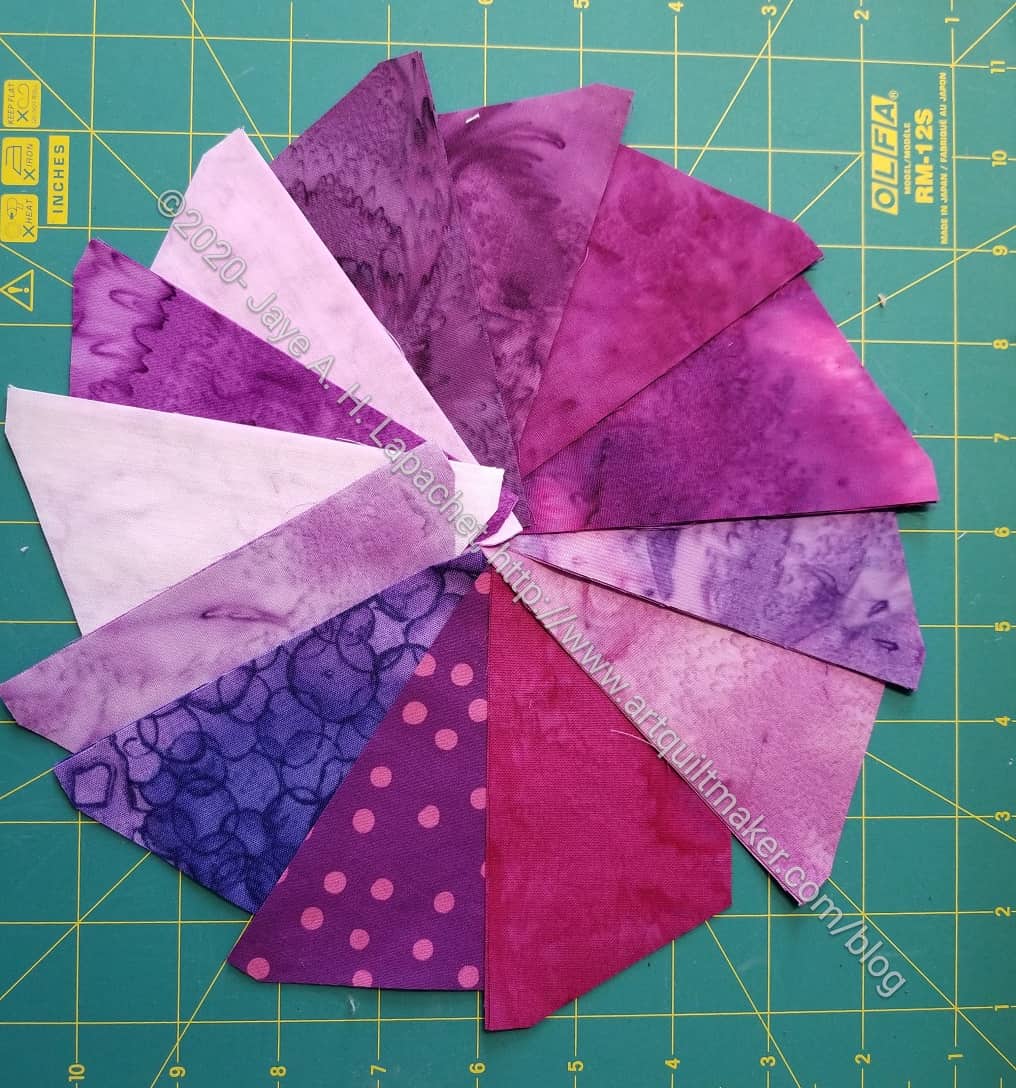
I watch the video and decided to use fabrics from the 5″ squares I have been cutting. These are not a charm pack. Since I don’t have a project in mind, I thought it would be a good time to use these patches. Sadly, I didn’t have a lot of purple, so I had to think again.
Lucky Charm Half Hexies cut
I did look through my charm packs to see if there was anything I could use. I found a pack of Hoffman batiks in a range from pink to purple, so I pulled out most of the purples and cut them up.
Now I either have to wait for the next video or read the pattern and figure out myself what to do next.
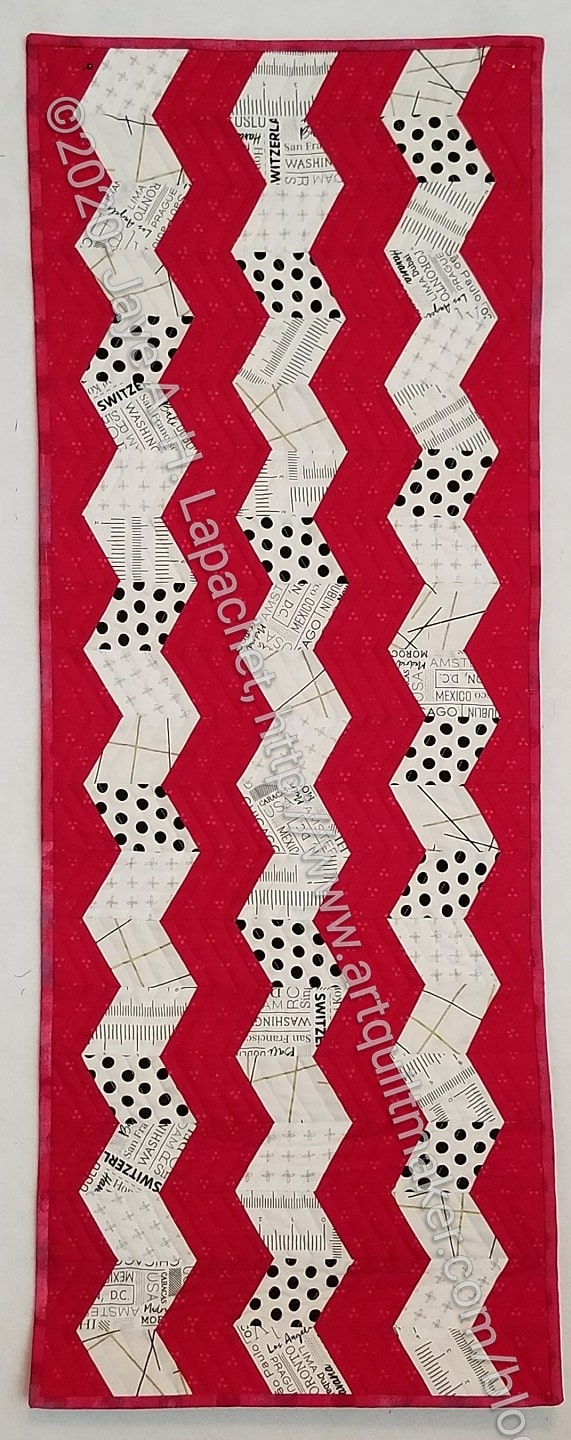
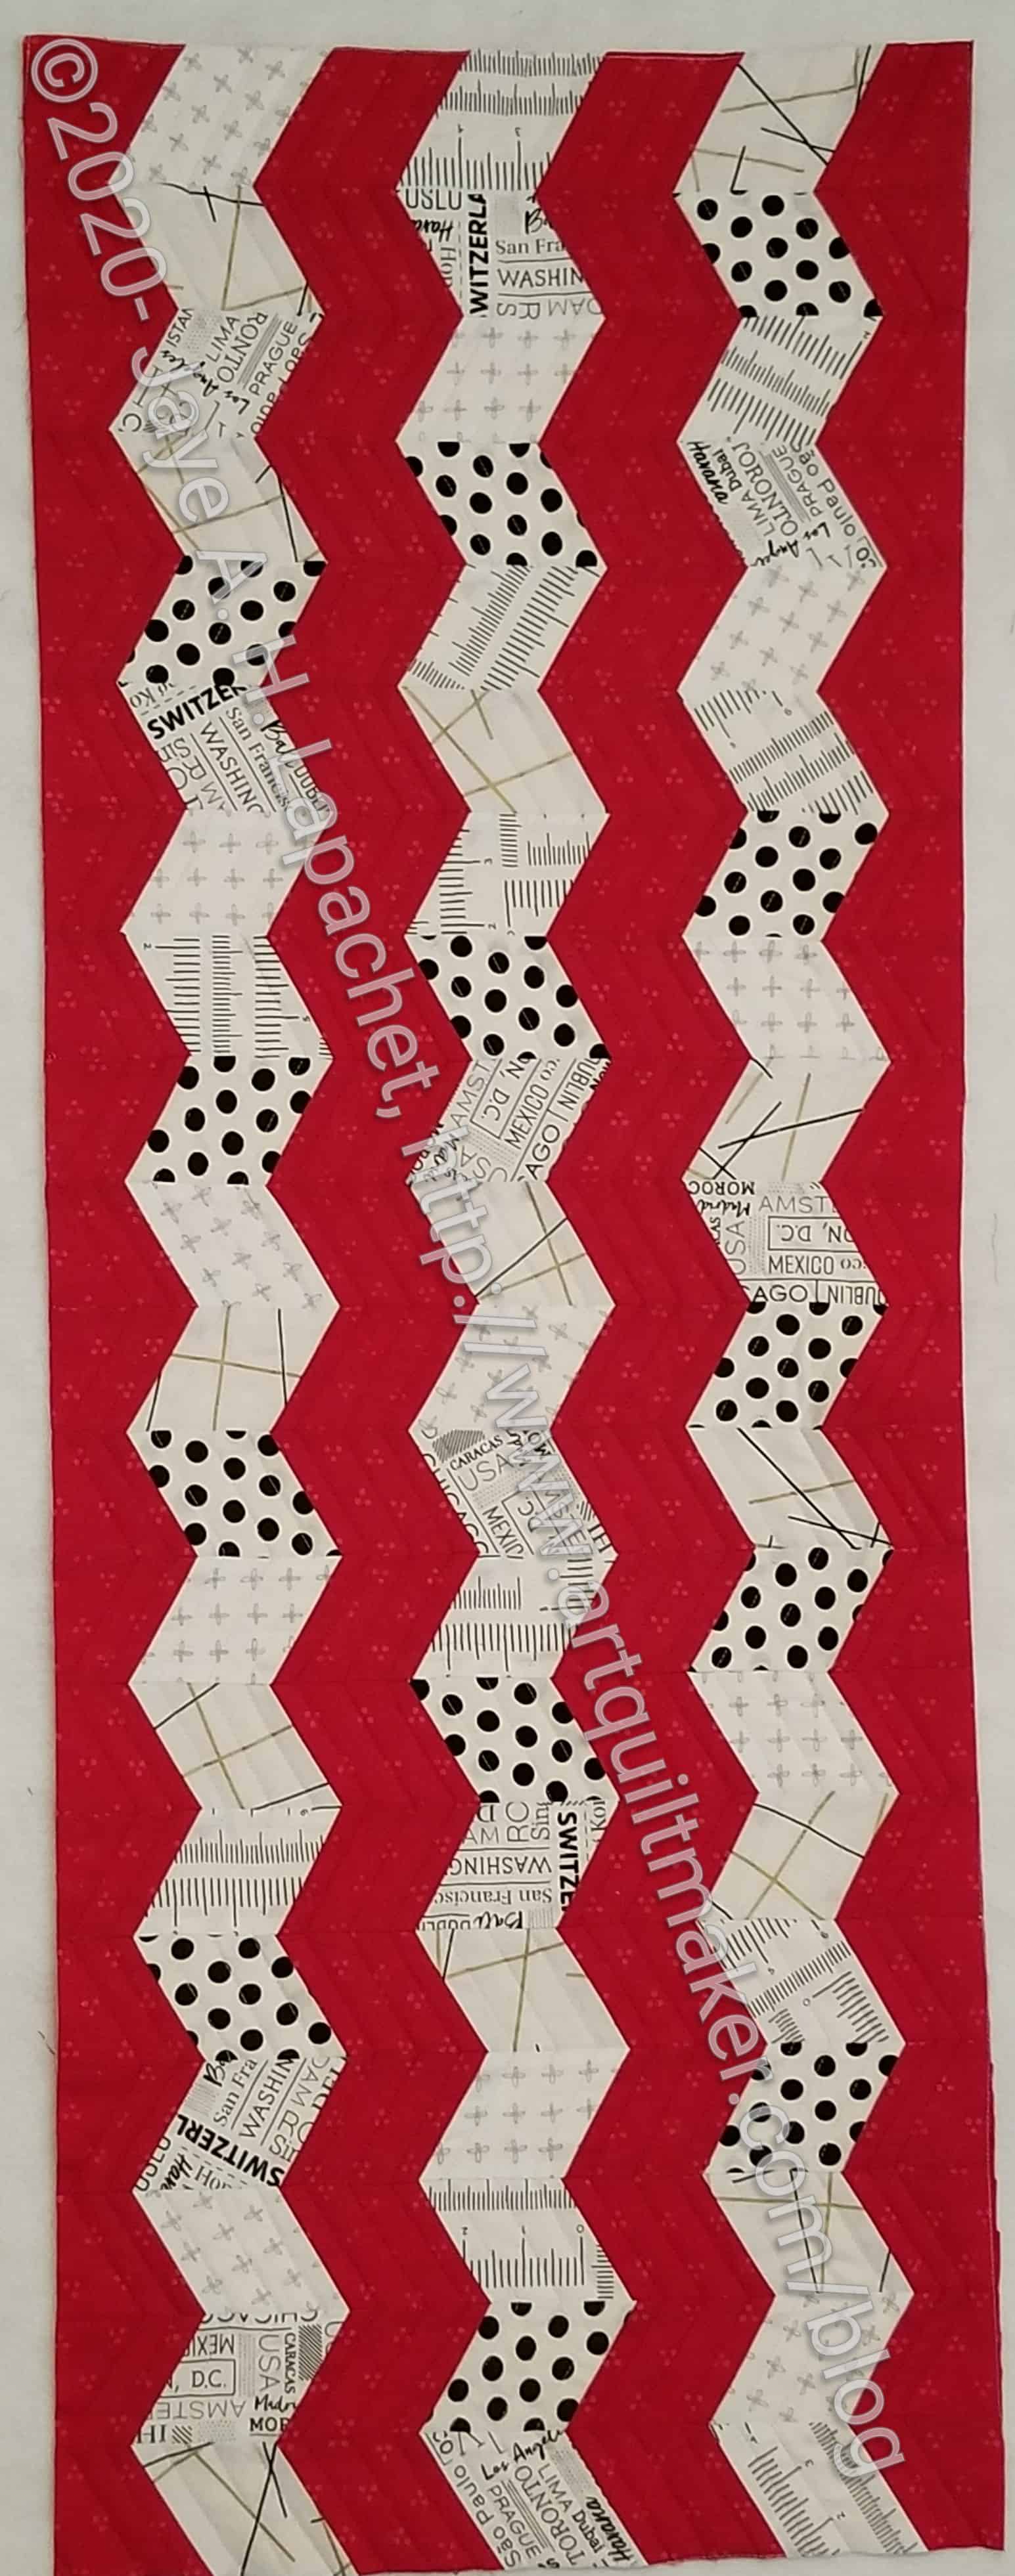
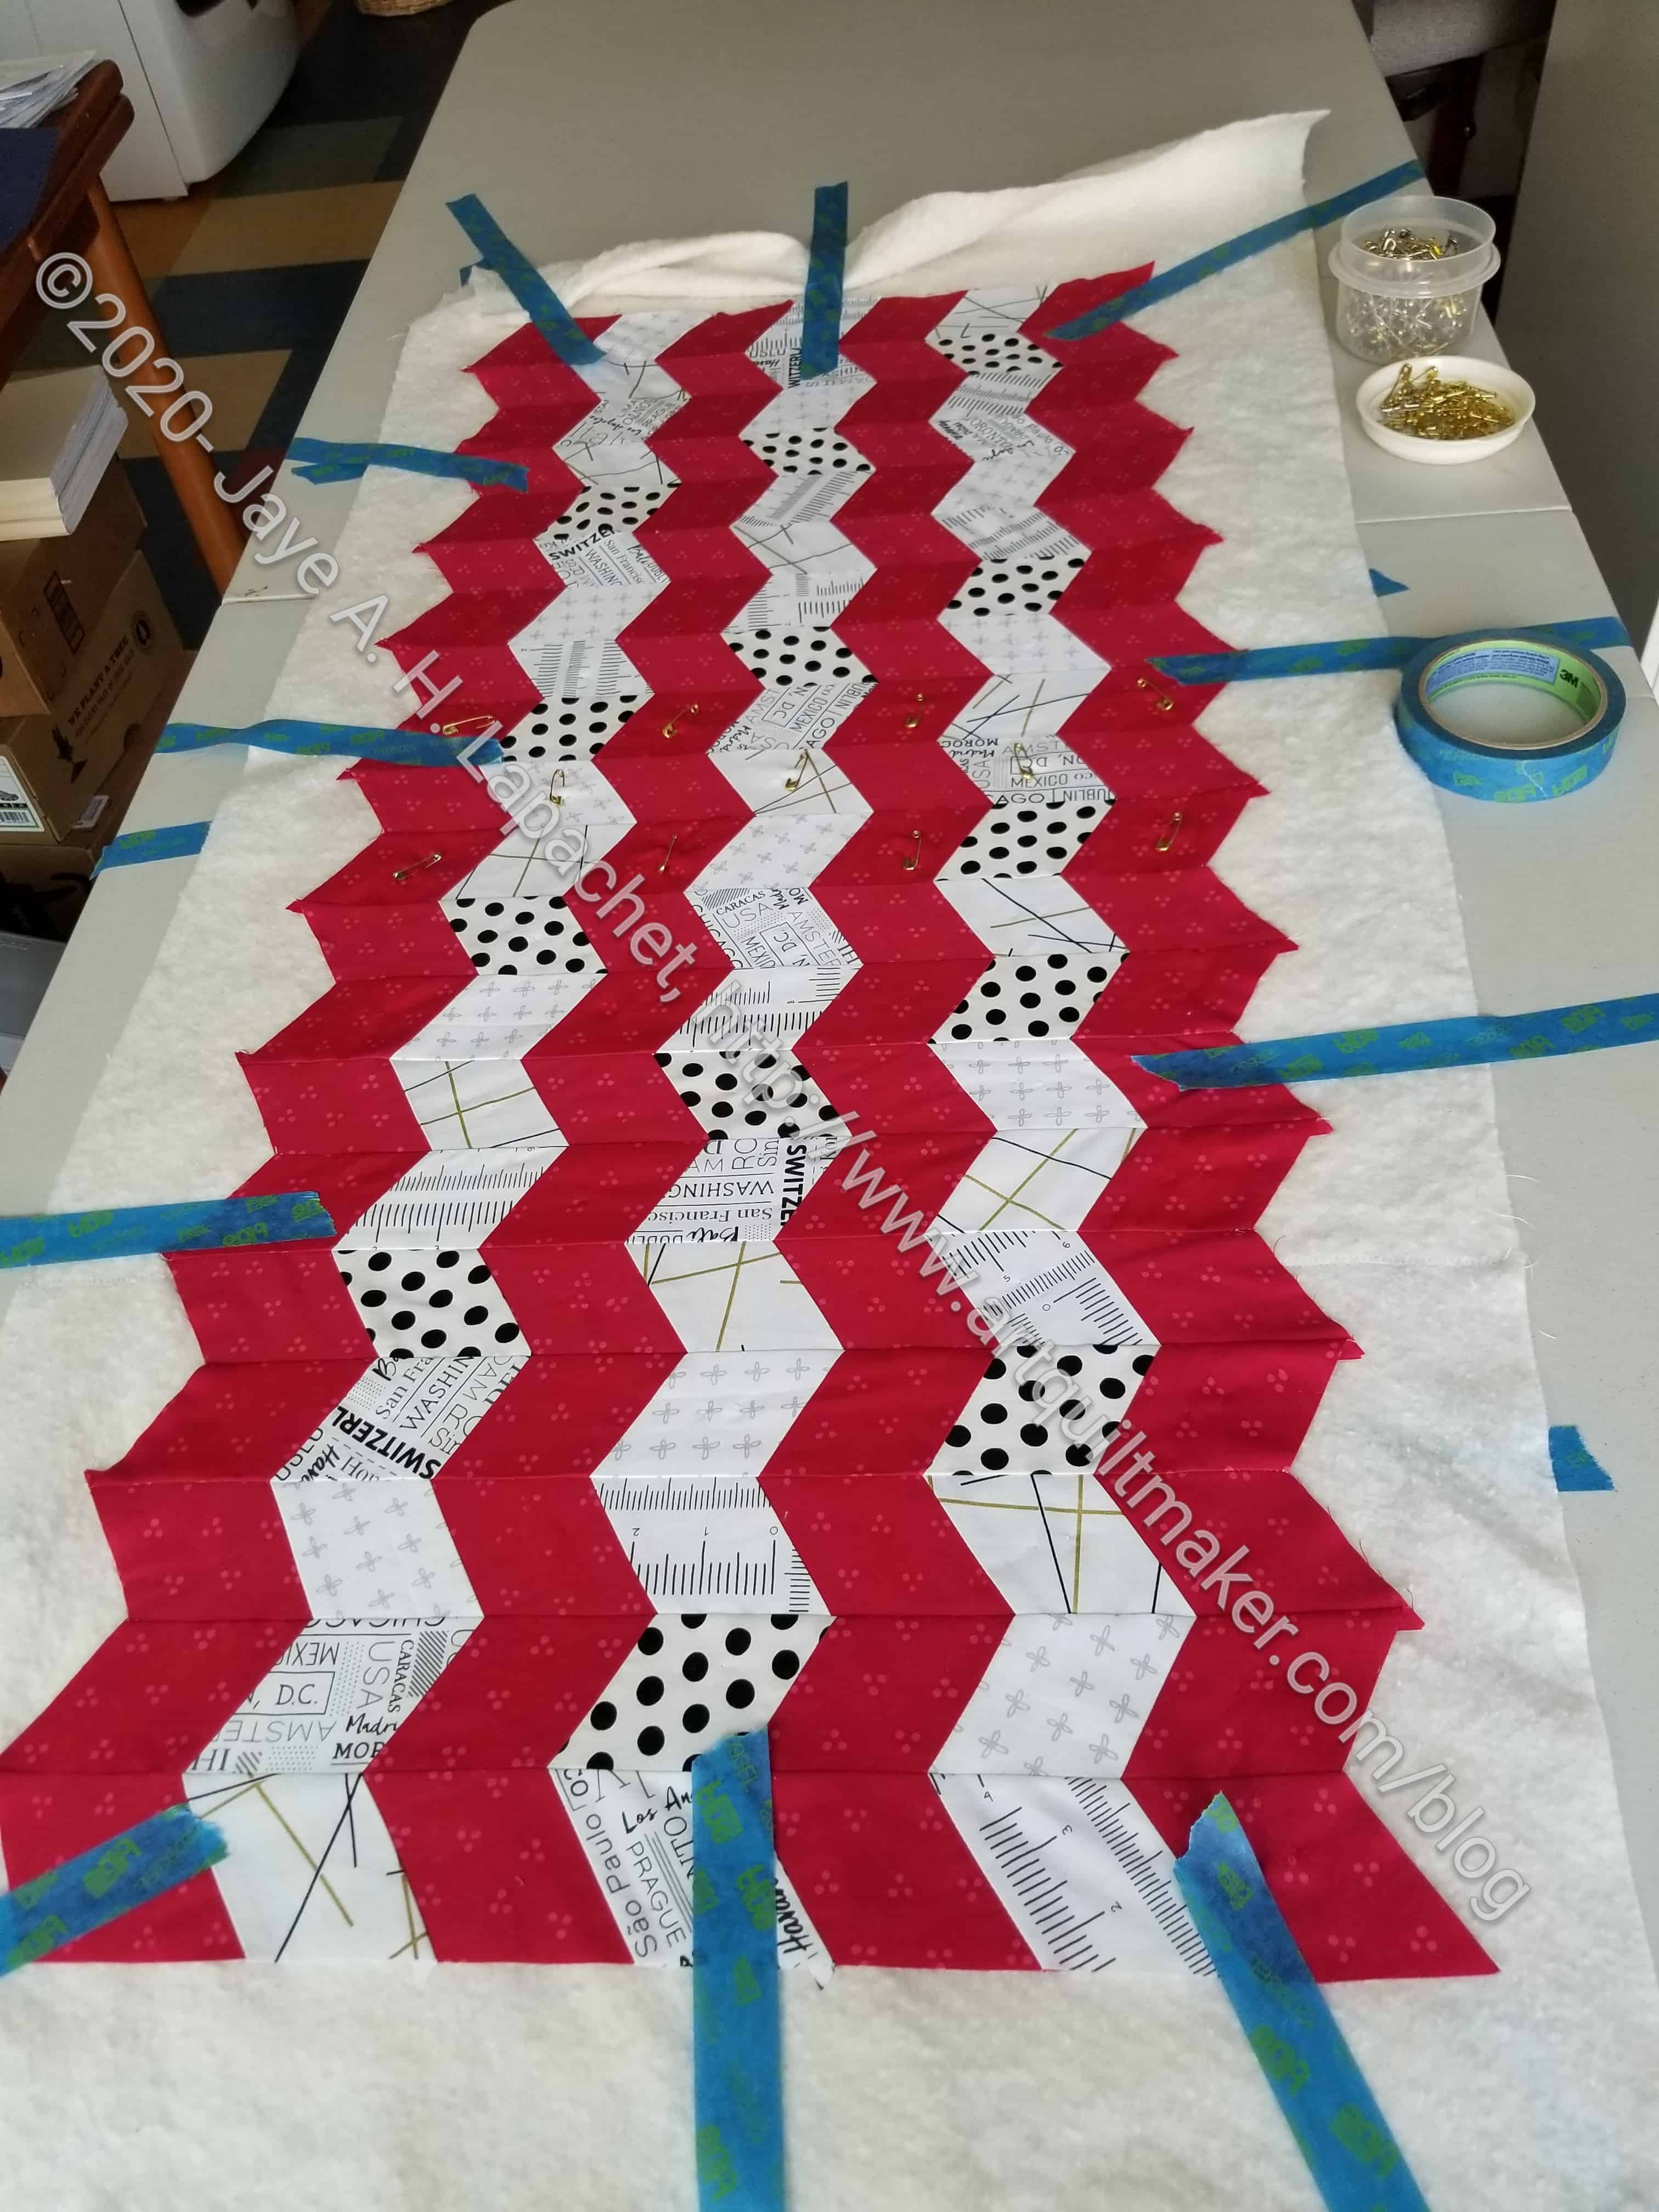
The Red Text table runner is finished. I finished sewing on the binding on Monday during Craft Night. I had already machine sewed and the hand stitching went surprisingly fast.
As I mentioned, I machine quilted it over last weekend. I am pleased, even after several days of looking at it, about how it came out. I am also really pleased that it is done since the new project came out on Tuesday, the Lucky Charm pillow.
Red Text Table Runner quilting detail
I am more than a little thrilled that I finished the two table runners in time for the new project.
I really don’t want these Journey2Nebula projects hanging around clogging up my UFO list. Since the next project started yesterday, I sat down on Sunday an did some simple quilting on the Red Text table runner. It will be for my buffet (if I didn’t mention that before) and I would like to get it done so I can use it for a little while before I need to set up the decor for Thanksgiving.
Red Text Table Runner – quilted
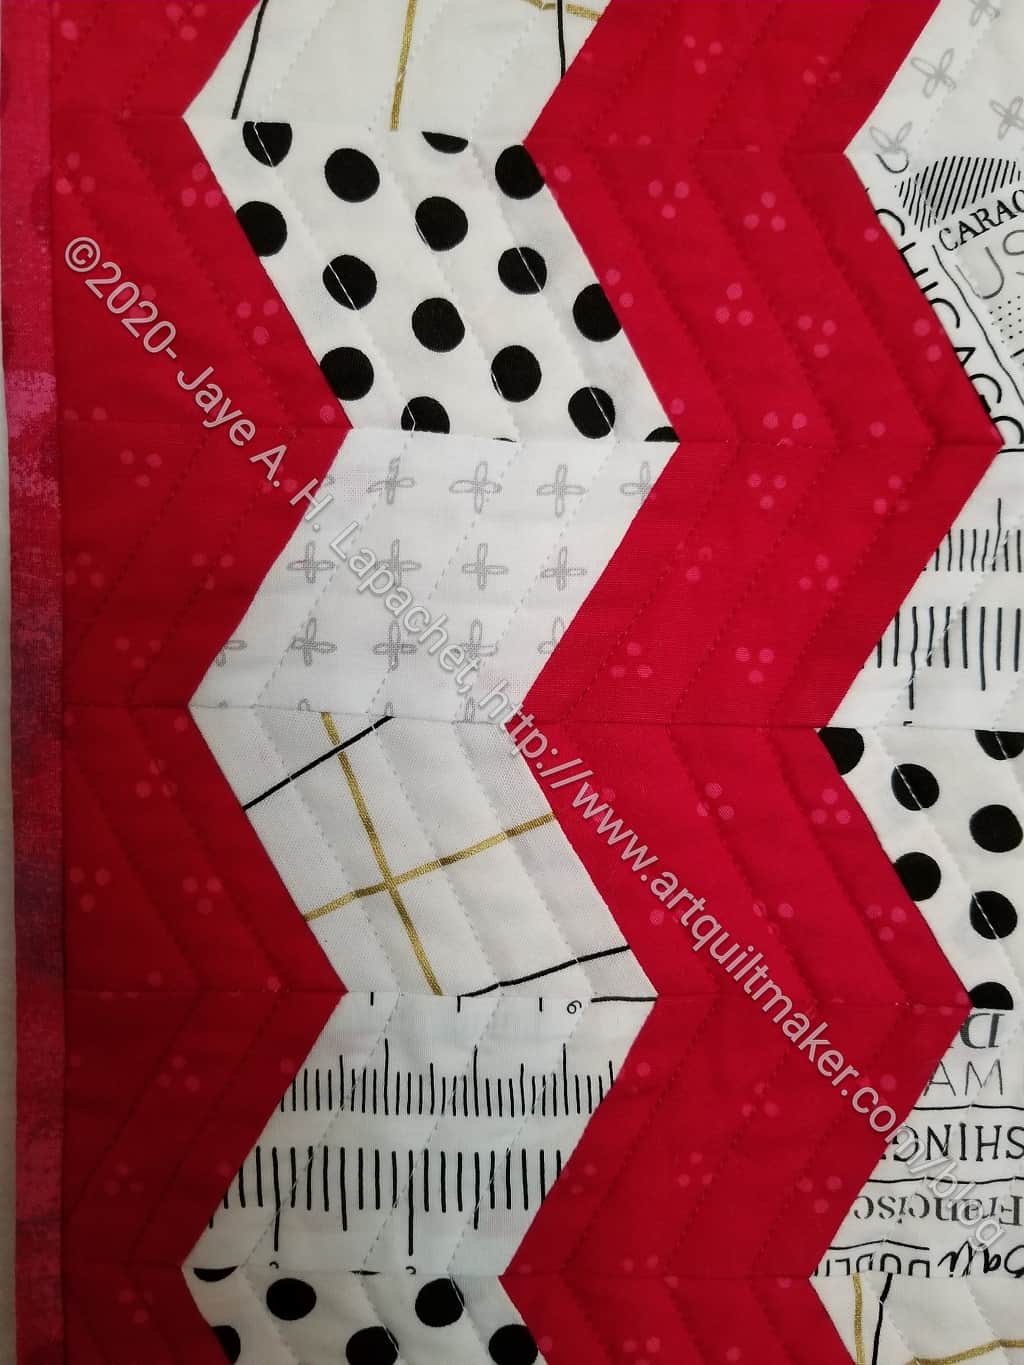
I quilted most of it while talking on the phone to the YM. I used the Rotary Even foot rather than my usual clear applique foot. I wasn’t happy with it for other uses, but thought it worked pretty well for quilting straight lines. I definitely didn’t have to worry about the layers shifting. I also liked it because it was quiet. Unlike the walking foot, this foot didn’t clang and make a ton of noise while I was sewing.
I don’t like quilting that much, but it was a good task to do to stay off my foot.
I also made the binding, but it was a little too big, so I need to adjust it then hand stitch the binding to the back of the table runner. I am excited to have it finished!
I finished the binding of the first Seaside Table Runner on Friday. I am pleased with the way it came out and pleased that it is finished.
I have wrapped it with a piece of fabric and a note, so it is ready whenever I feel like going out again.
This is the first project in the Journey2Nebula and I am on pace. I haven’t finished the second table runner yet, but stay tuned for that. I don’t want any of these small project languishing.
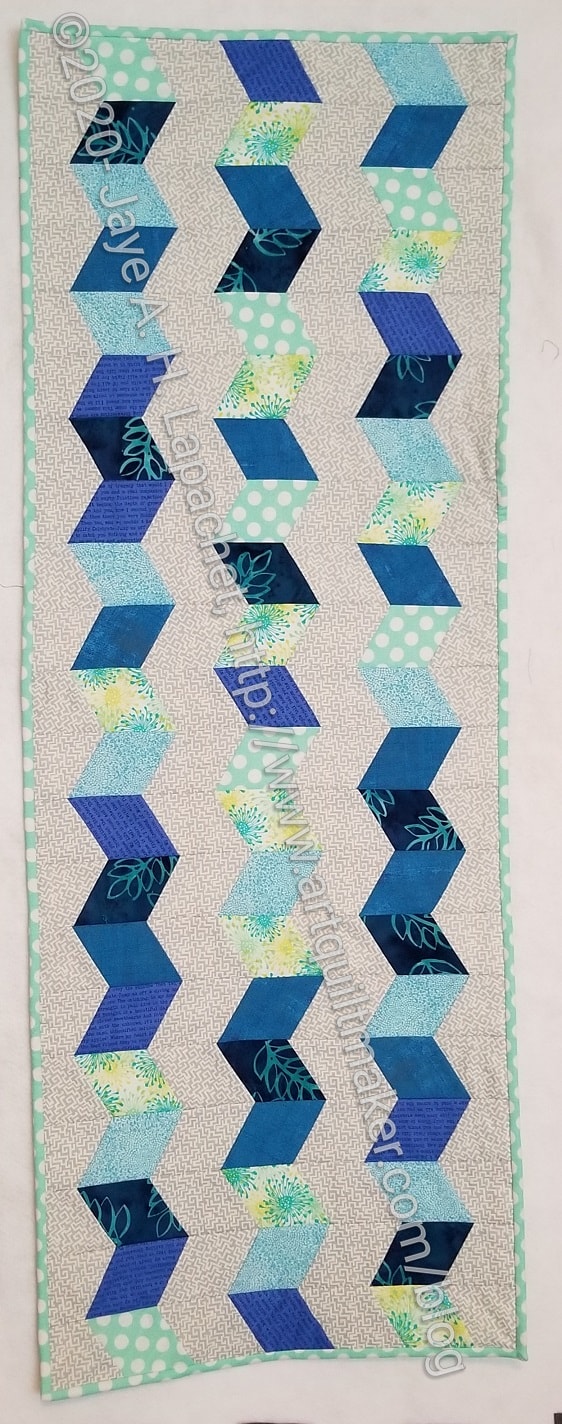
As I mentioned, I cut out two sets of diamonds to make two Seaside table runners. Last week I sewed together my table runner and basted it. On Saturday, I worked on the second one, which will be for Amy as a thank you for loaning me the rulers.
One of the things I did was use the Rotary Even Foot for some of the quilting. Although, it didn’t work very well for the binding, I think it worked pretty well for the quilting I did, so I plan to try it on my version of this pattern.
Amy’s Seaside Table Runner quilted
Once the rows were finished, I decided I would quilt the piece as I sewed the rows together. It took me a good portion of the day Monday to put the thing together, but once all the rows were together, it was quilted as well. Bonus!
After I took this picture, I trimmed it, made the binding and started binding it. I used a 2″ binding, which is pretty slim, but is working.
I basted my Seaside table runner over the weekend TWICE!
Yes, I did wall basting the first time hoping I wouldn’t have to crawl around on the floor. Then I went to show my fabulous basting job and found that the back was not flat. I wanted to believe it would be okay, but I knew it wouldn’t. I decided to do it over again.
Seaside table runner – basted
We are setting up for a new puzzle and needed to bring our folding table into the living room. Before I dragged it upstairs, I set it up downstairs and basted.
Now I just have to quilt it. I plan to do some simple quilting, but you never know with me. I might lose my mind.
Journey 2 Nebula iconSeaside Table Runners in process
I made good progress last week on both Seaside table runners. I am moving forward.
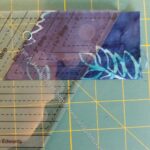
I have to say, though, that I am out of practice with diamonds and my brain rebelled at the directions for this project. You can see from the photo that the rows point in different directions (look at the ends of the rows). This means the different units were not interchangeable and I had to piece them in different directions. My brain did not like it. Finally, I had to put the rows up on the design wall and look at them as I pieced. It took, what felt like, forever.
I also decided that 6 strips for each Seaside table runner was a better number so that the fabrics could be alternated. I was too late to add them to my red text table runner, but will add another fabric to Amy’s blue version.
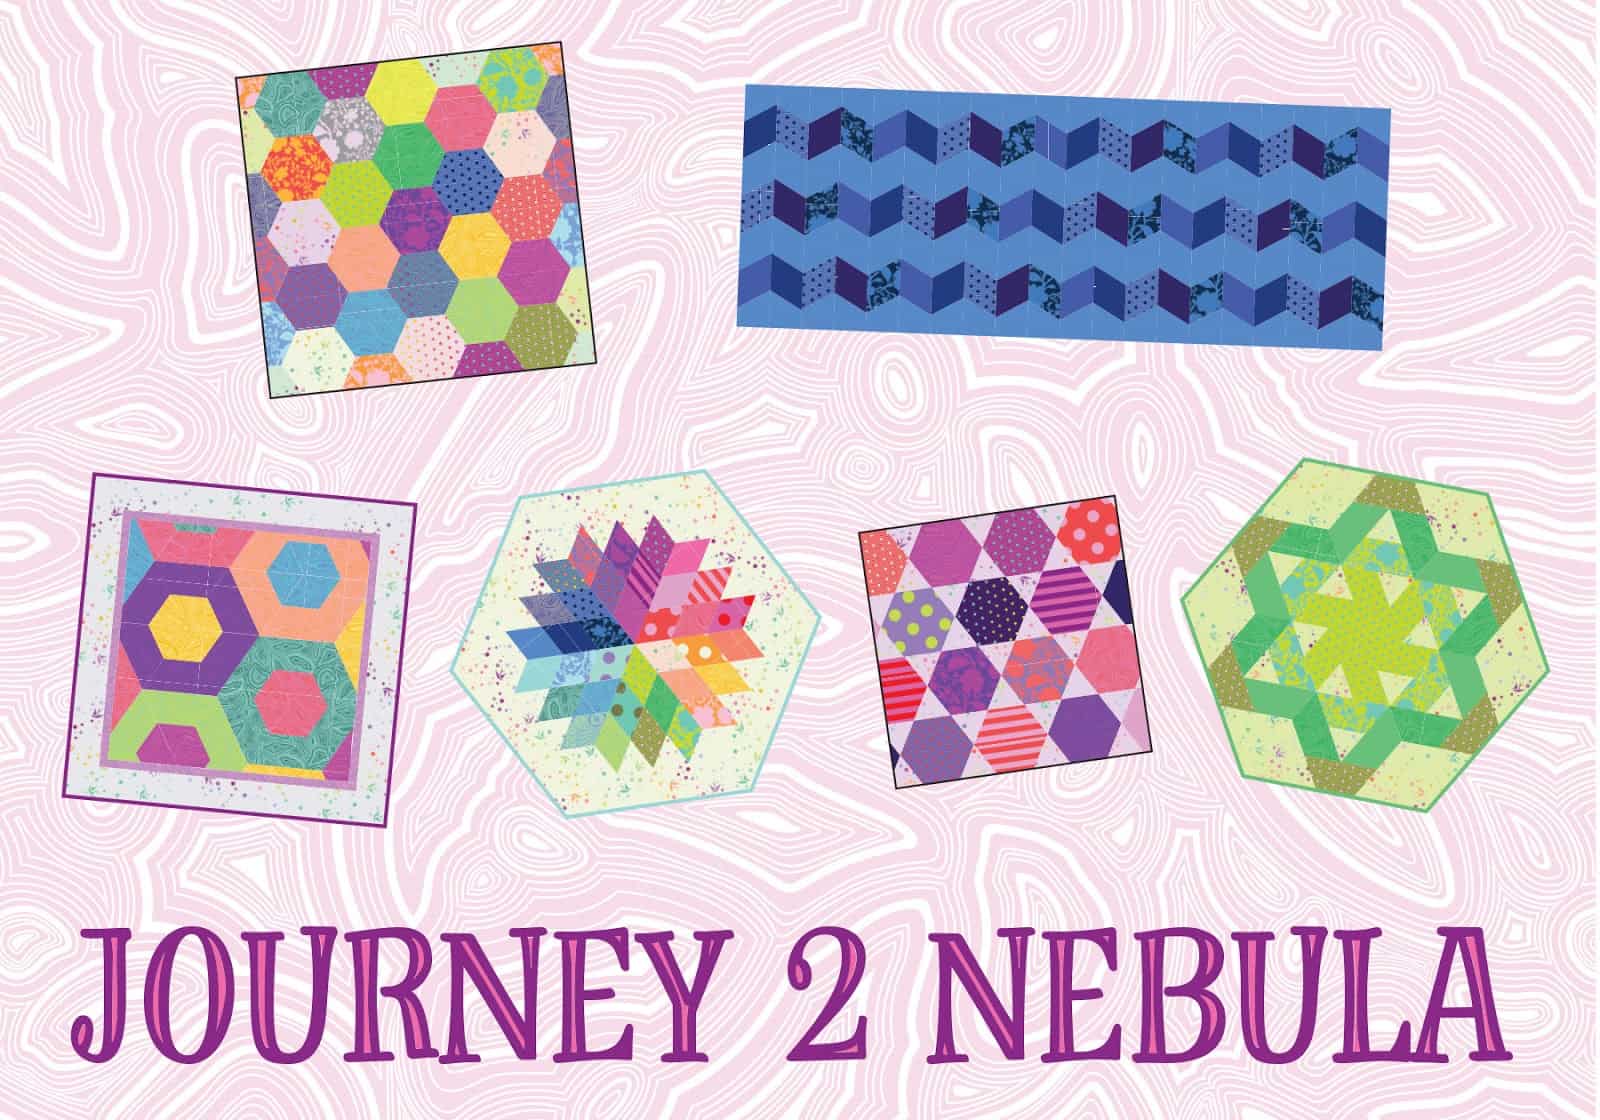
I did decide to join the Journey 2 Nebula project / Sew-a-Long (?) / Quilt-a-Long(?). As mentioned previously, this is a skill-builder for learning to use the Jaybird Quilts rulers, Hex N More** & Super Sidekick** (or Sidekick**) to prepare for the Nebula Quilt-a-Long. I am not planning on making the Nebula quilt, but I thought the skill-builder was interesting. I also thought it was a good idea to have a series of small projects so people could get used to using specialty rulers
When I gathered the supplies, I also got our non-Jaybird rulers that I thought would work. I borrowed the rulers from a guild mate because I didn’t want to buy them without trying them. Usually I jump at the chance to buy specialty rulers, but I am saving money and I have several rulers that do the same thing as the various Jaybird rulers. I am not adverse to buying one or more of them in the future, but we will see.
I did have to buy all of the patterns, but Pink Door had a bundle with a slight discount, so it wasn’t horrible, though I probably don’t really need the patterns for the projects. I certainly won’t need them long term. I count it as supporting a woman-owned small business.
This skill-builder was, I think, more popular than expected. There is a lot of grumbling about not getting patterns in a timely manner, not getting rulers and having the various fabrics (people seem to want the same exact colors as the samples) sold out. My patterns arrived on Monday, the day before the start. And, of course, there is no shortage of fabric at my house, so I was ready to go.
The first day was Tuesday and despite my plans to get the top of the Black Windmill finished, I started this skill-builder project. The first skill is diamonds – Super Sidekick** or Sidekick**ruler – and the project is the Seaside table runner. I am no stranger to diamonds after making the Fabric of the Year 2010 quilt. I had my strips prepared, read the directions and started cutting using thee Super Sidekick**. Julie of Jaybird Quilts (not Friend Julie) made a video as well.
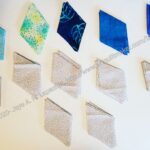
Seaside diamonds for Amy
Seaside diamonds for my table runner
It wasn’t difficult to use the ruler. There are pictures in the pattern and I was able to quickly cut two sets of diamonds for the table runners I want to make. Amy didn’t have the Sidekick, so, as I said, I used the Super Sidekick**. It is a big ruler, approximately 15×8.5 inches. I think the Sidekick** ruler would have fit my hand better, but beggars can’t be choosers.
I wondered the whole time I was cutting diamonds how the Super Sidekick** compared to the Split Recs Ruler **? I think they can both cut HRTs, but I didn’t’ try that. I’ll have to do some more research later.
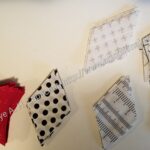
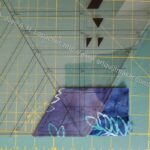
Cutting diamonds with Creative Grids ruler
Cutting diamonds with Super Sidekick ruler
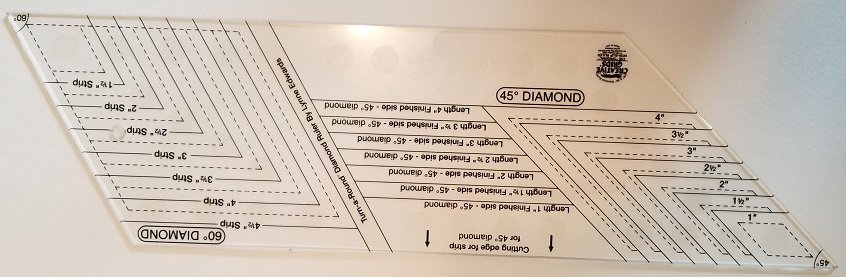
Once I was comfortable with the Super Sidekick**, I got out my Creative Grids Turn-a-Round Diamond ruler. This ruler, which no longer seems to be available, cuts both 45 and 60 degree diamonds. I had to line it up differently, but was able to cut the same diamonds with it. I didn’t know I was cutting 60 degree diamonds until I started cutting with the CG ruler. The Jaybird Pattern doesn’t say anything about that.
CG Diamond Turn-a-Round ruler
My 2.5″ strips vs. the Super Sidekick** vs. Creative Grids Turn-a-Round Diamond ruler all measured 2.5″ differently. I am not worried about putting the table runner together, but I thought it was interesting.
I did start to sew, but I didn’t get very far. Stay tuned for more info.
**I use affiliate links and may be paid for your purchase of an item when you click on an item link in my post. There is no additional cost to you for clicking or purchasing items I recommend. I appreciate your clicks and purchases as it helps support this blog.