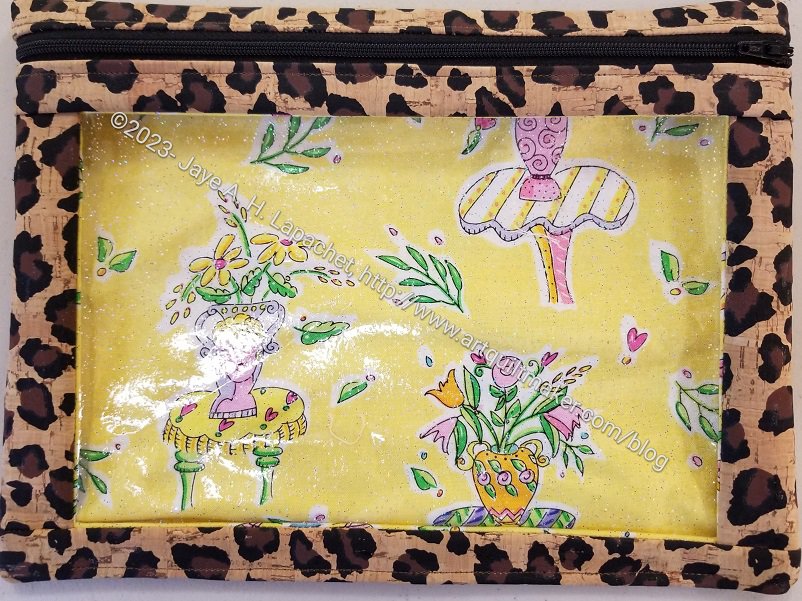
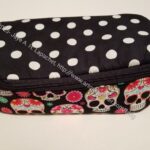
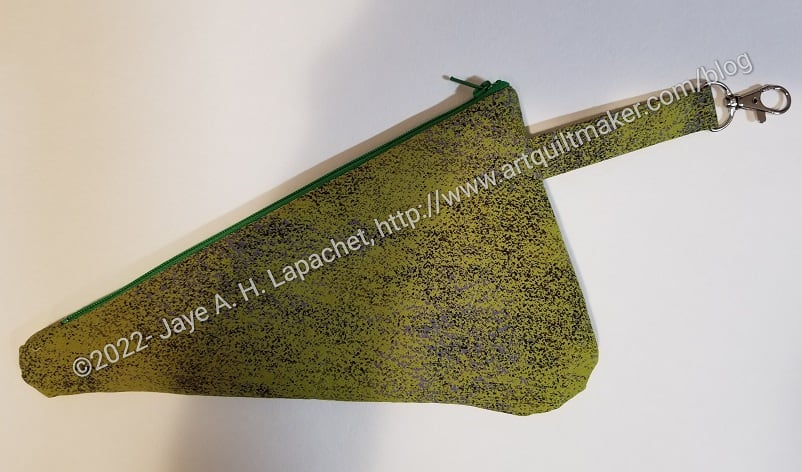
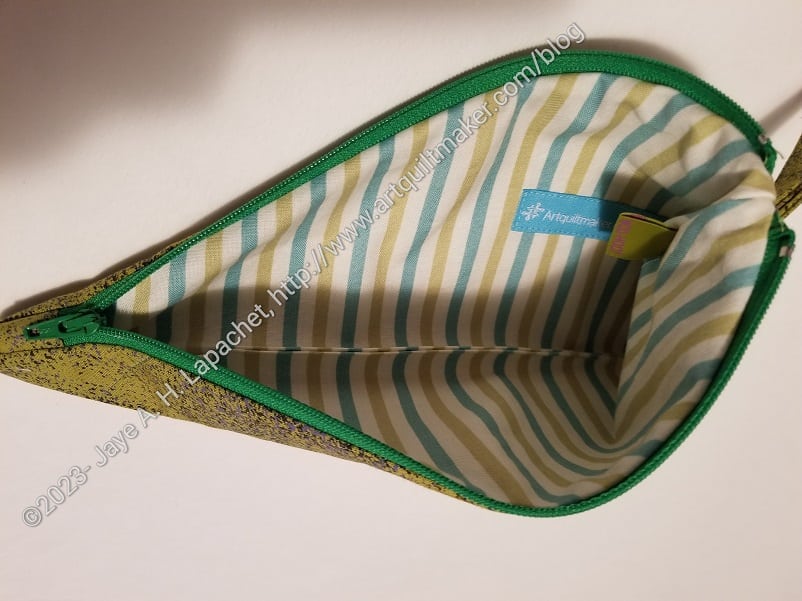
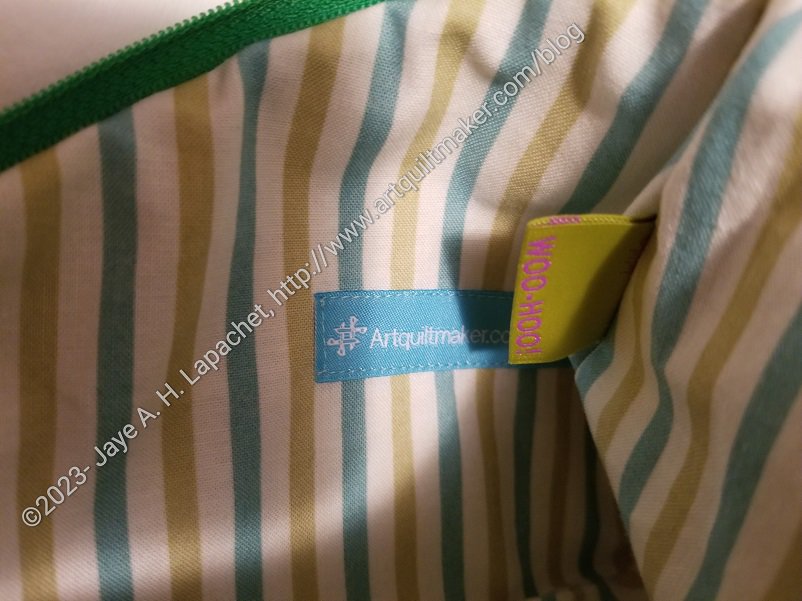
Here is the last Cork I Spy pouch I made at Retreat. The lining fabric is one of my favorites and I just had a bit of it left. I had just enough for the large lining piece.
In general for the three pouches, I found the cork to be easy to sew, but not easy to turn. If (when?) I use cork again on an I Spy pouch, I will definitely round the corners. I think it will make the project much easier to turn.
All that being said, I thought the corners looked fine when I finally did get the pouch turned. I gave these to some work colleagues and they loved them.
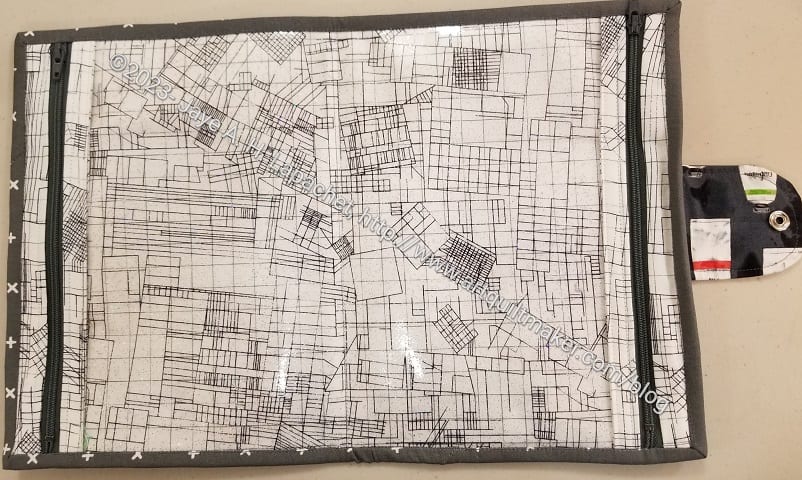
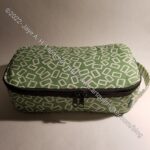
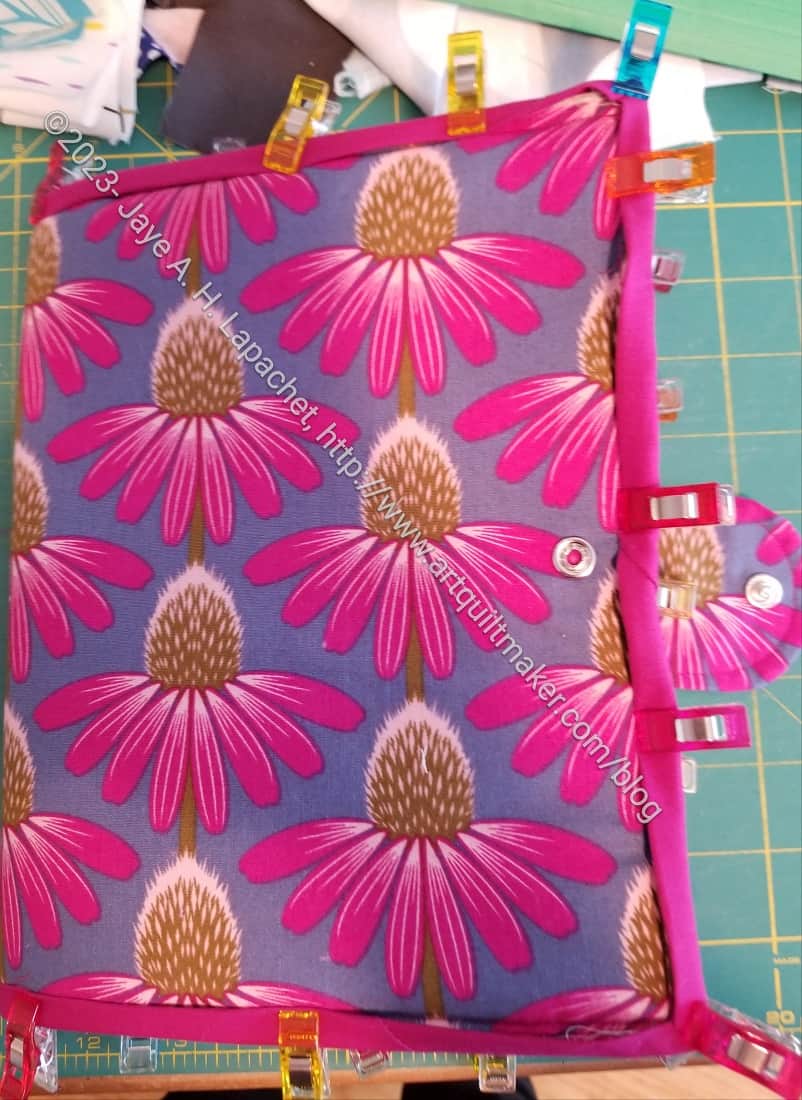
This 2-in-1 Case is for my Mom for Mother’s Day. I cut this out at Sew Day, I think, and made it at the Retreat.
I forgot to put the foam inside. I did adhere fusible batting, so it has some structure, but it floopier than the others I have made.
I really had trouble with the snaps. I used the Snapsetter and found out that it has to be on a hard surface. The folding table that made my Retreat workstation was not stable enough so I had to redo the top cap twice. I think the bottom part may come off if she isn’t careful, so I’ll have to warn her.
Mom’s 2-in-1-Case – inside
I think she could probably use this for non-sewing stuff in a tote bag or in her purse. I am sure she will think of some way to use it.
I got her a bigger and better gift also, which makes me not so worried about the snap.
In all of these cork I Spy projects, I used 12 inch zippers even though the pattern calls for shorter zippers. It is much easier to cut down a longer zipper after the zipper is installed.
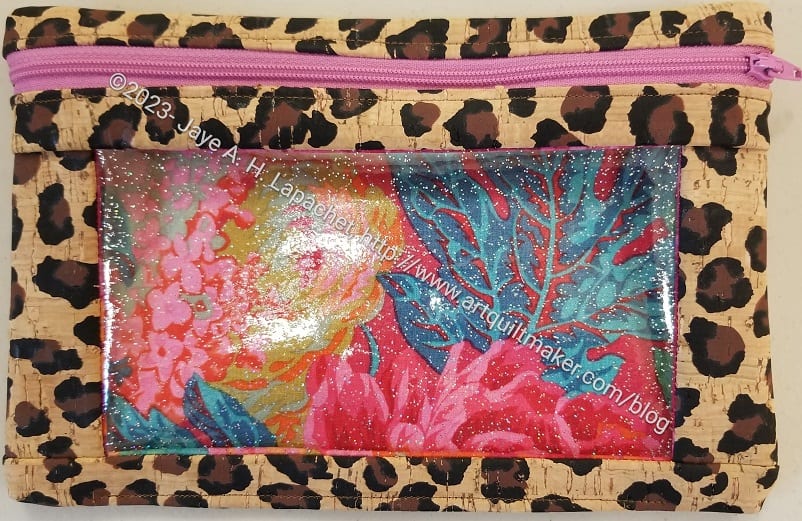
I really like highlighting some good fabrics in the window of the pouch.
I bought some cork from Sew Hungry Hippie to make the YM a pouch. A lot of cork arrived, though I didn’t think I bought that much.
Cork I Spy – large #1
I had to make some gifts so I decided to use the cork. I cut the lining before I left on Retreat, but did everything else at the Retreat. I could have made more complicated pouches, but I needed to get these done. This one has a super cheerful lining.
I tend to make Carrie and Sue the same pouches with slight differences. They are good friends and I think that they were great students.
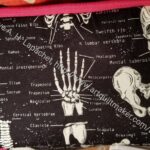
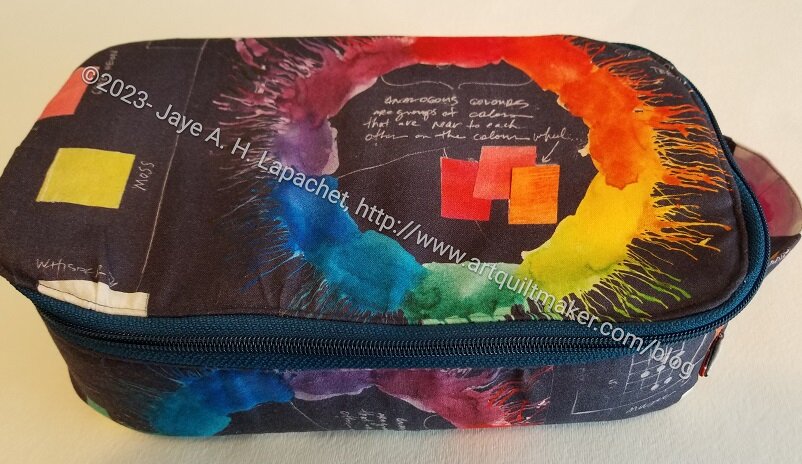
Color Wheel Hackney – Sue – interior
So, as I made a Hackney for Carrie, so I made a Hackney for Sue. In this case, the exterior fabric is the same, but cut a little different and the interior fabric, zippers and other detail parts are different. I made the interiors different, but still relating to being creative. I am excited about the interior. I also fussy cut it and am pleased with the fussy cutting. It is super fun.
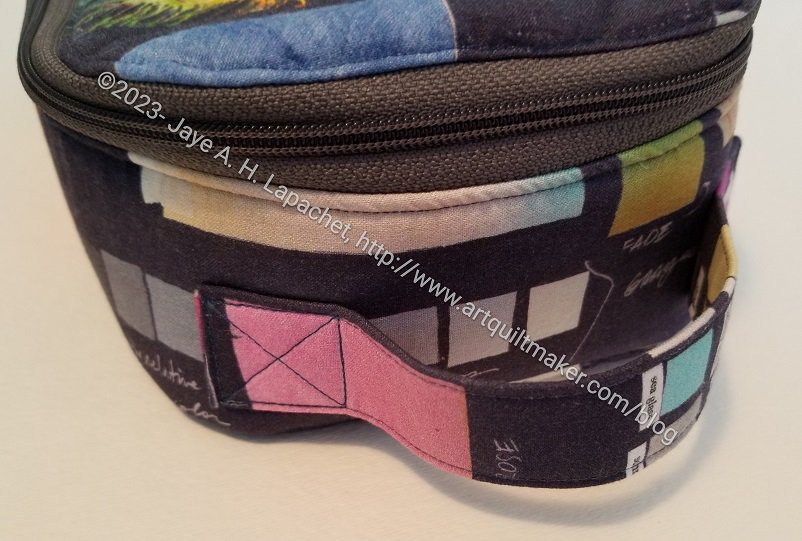
Color Wheel Hackney – end (Sue)
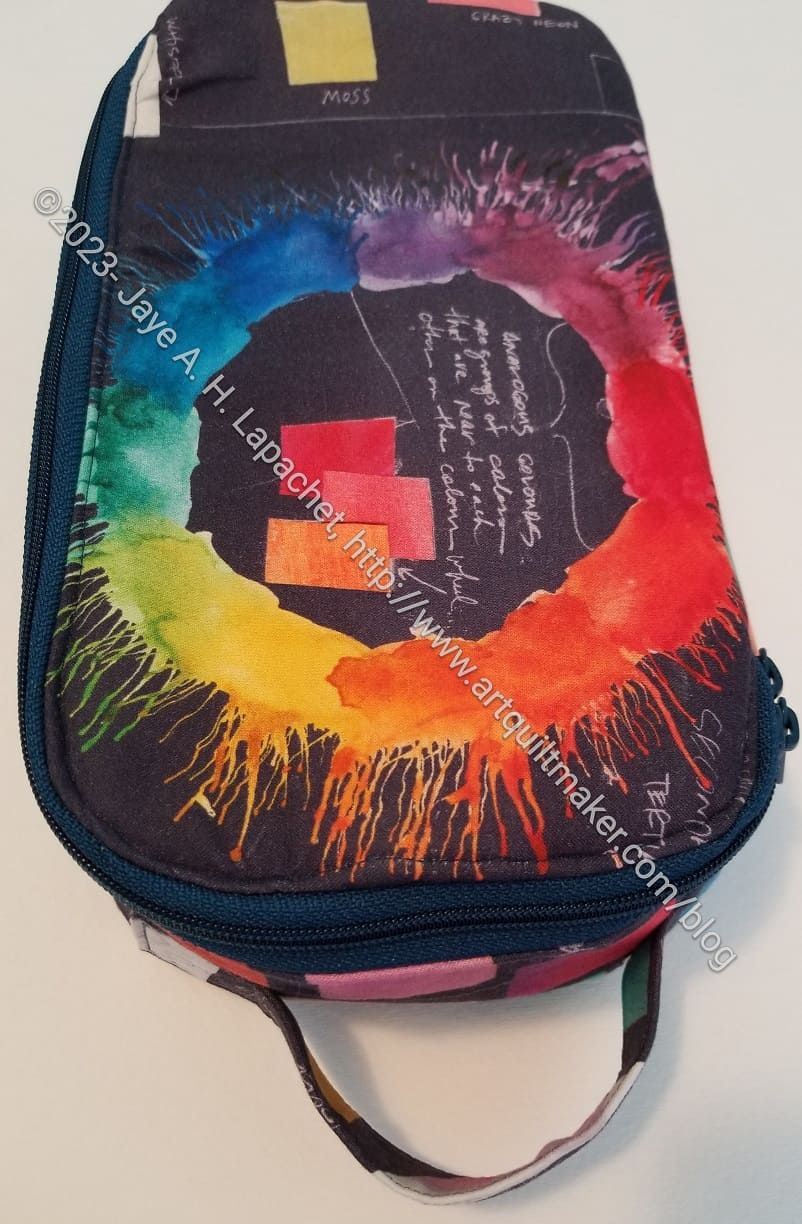
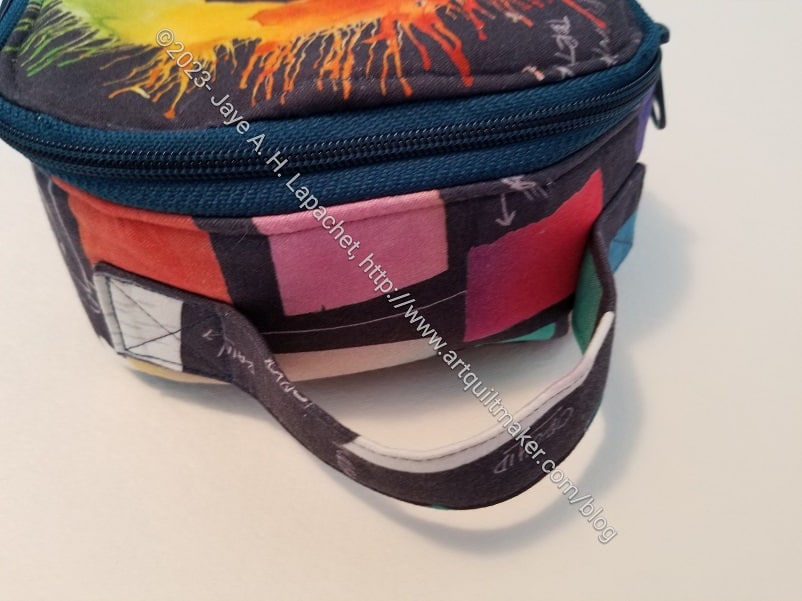
This one also has a handle. As I said before, they are useful.
I wasn’t sure if I liked the way the handle and front panel interacted – the way the fabric motifs overlapped and interfered with each other, but I think fussy cutting the top draws the viewer’s attention to that space and you don’t see the mashup of motifs where the handle is attached.
The front of the front panel (which is a gusset) looks really good, I think. That little piece of color wheel is appealing.
Color Wheel Hackney – Sue
As I said with Carrie’s Hackney, Sue’s also goes with her Boxy Clear Pouch. You know I love to make sets of bags.
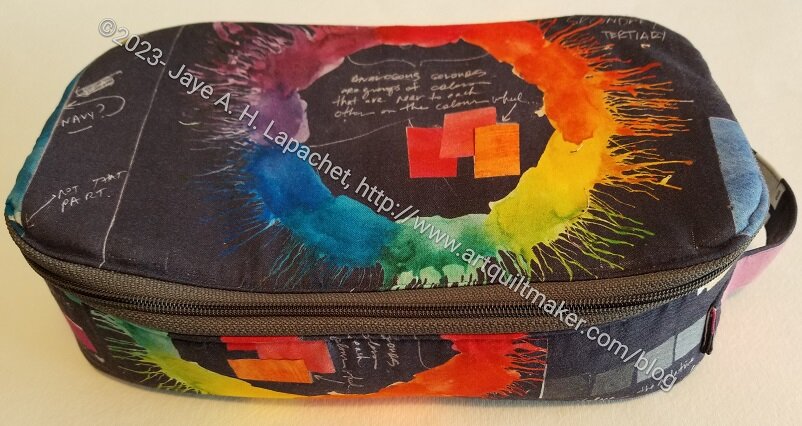
I finished my most recent class with my fabulous students, Sue and Carrie. I had planned to make them each a Hackney for Christmas with this great Carrie Bloomston fabric, but moved the gifts up to be ready for our end of class lunch last Sunday.
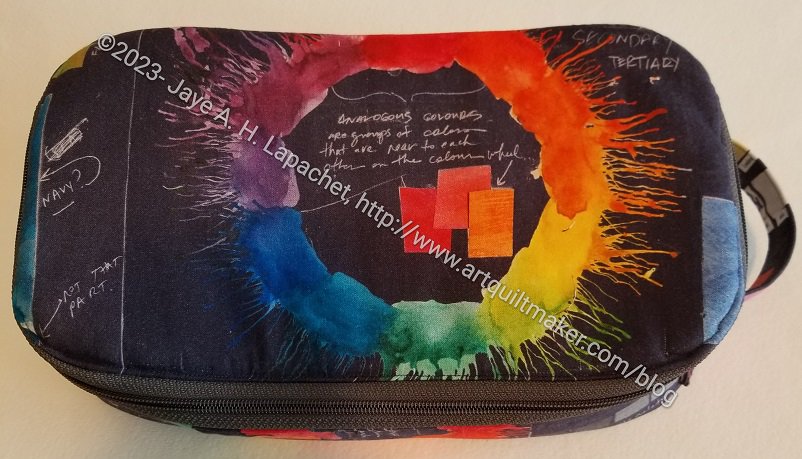
Color Wheel Hackney – Carrie
One of the reasons I chose this fabric is that it matches another pouch, the Boxy Clear Pouch, I made for them. the fabric is fun and cheerful despite the dark background. Because I can’t stop teaching, I also wanted a reminder to them to use their color wheel. 😉 Finally, this is great fabric. Doesn’t it look like an explosion of color?
Color Wheel Hackney – end (Carrie)
This Hackney is like all the others. I have added a handle to this one and think that is a standard addition I will make to all the others I make. Having a handle is useful. I am not sure why Sara didn’t include one in the original directions. Perhaps the pattern is intended to go into a suitcase or something? Regardless, I think a handle is useful.
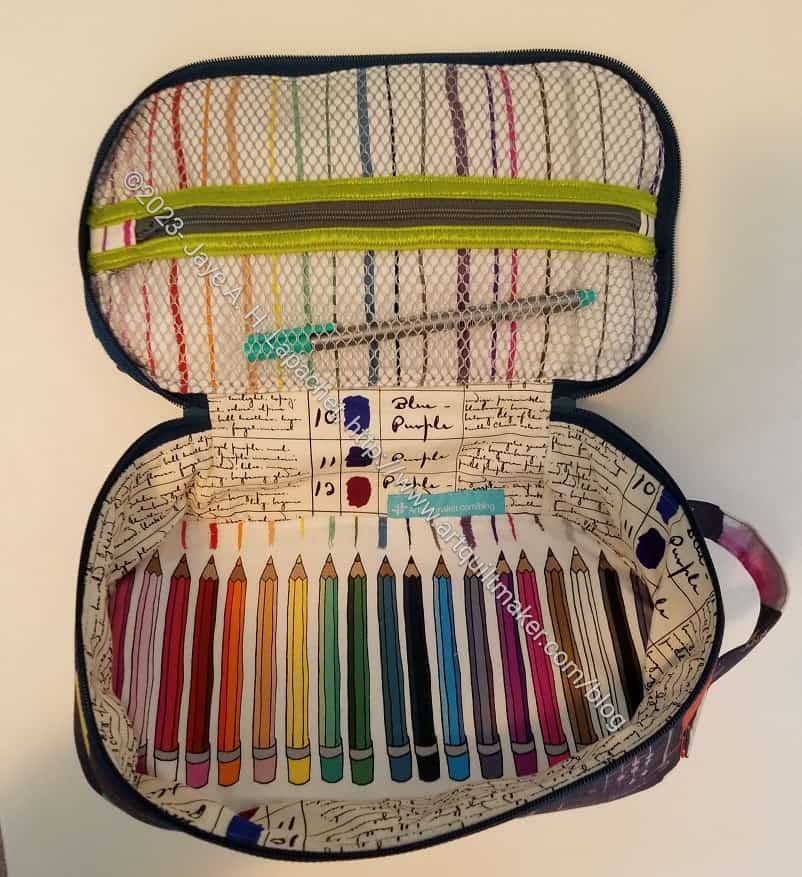
Color Wheel Hackney – interior (Carrie)
I am particularly pleased with the fussy cutting I did on the inside bottom. Don’t those pencils look great? I measured very carefully to get the whole pencil on the bottom and am thrilled with how successful I was.
I am still not 100% happy with the mesh pocket. I think it is useful, that is not in dispute, but the construction doesn’t appeal. The zipper tabs end up being too thick. I made a vinyl pocket on the Sugar Skull Hackney. I think it came out ok, but I wasn’t concerned about the final topstitching. My next test will be making pencil loops on the top. I’ll see how those come out.
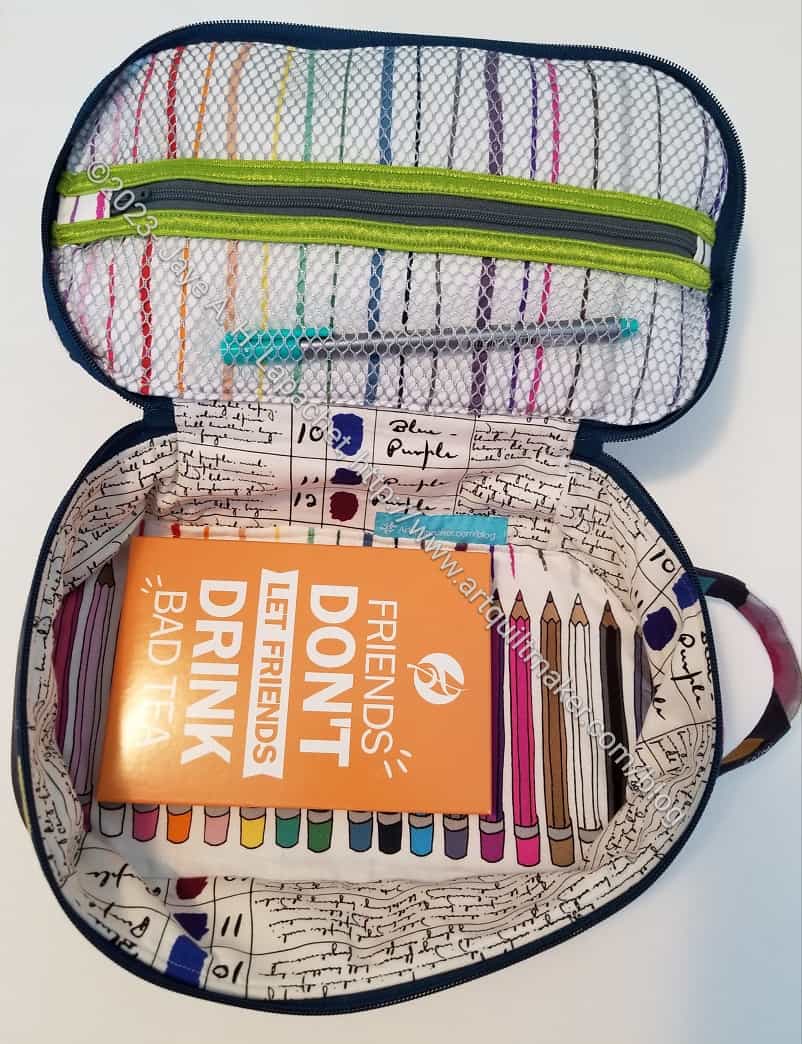
Color Wheel Hackney – filled interior (Carrie)
I have put a few things in the bag including some Adagio tea.
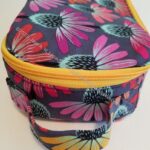
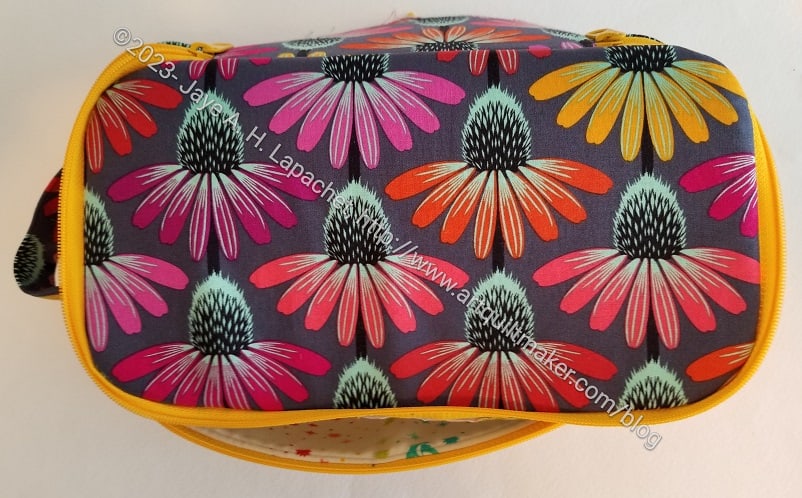
As soon as I finished the two Color Wheel Hackneys, I started another. I have decided to make a number of these as gifts. I have to say that this one went a lot quicker than the others. It is a clear indication that practice does make perfect.
I am pretty pleased with how the coneflowers look. I picked the zipper color to go with the yellow coneflower, but also because I wasn’t sure when I would use a yellow handbag zipper otherwise. I think it looks good so far.
Coneflower Hackney interior- in process
I talked about the Hackney lining hack a bit ago. It is for this one. The lining is a little saggy so far, which I have to figure out. Otherwise, I think the piece is looking good.
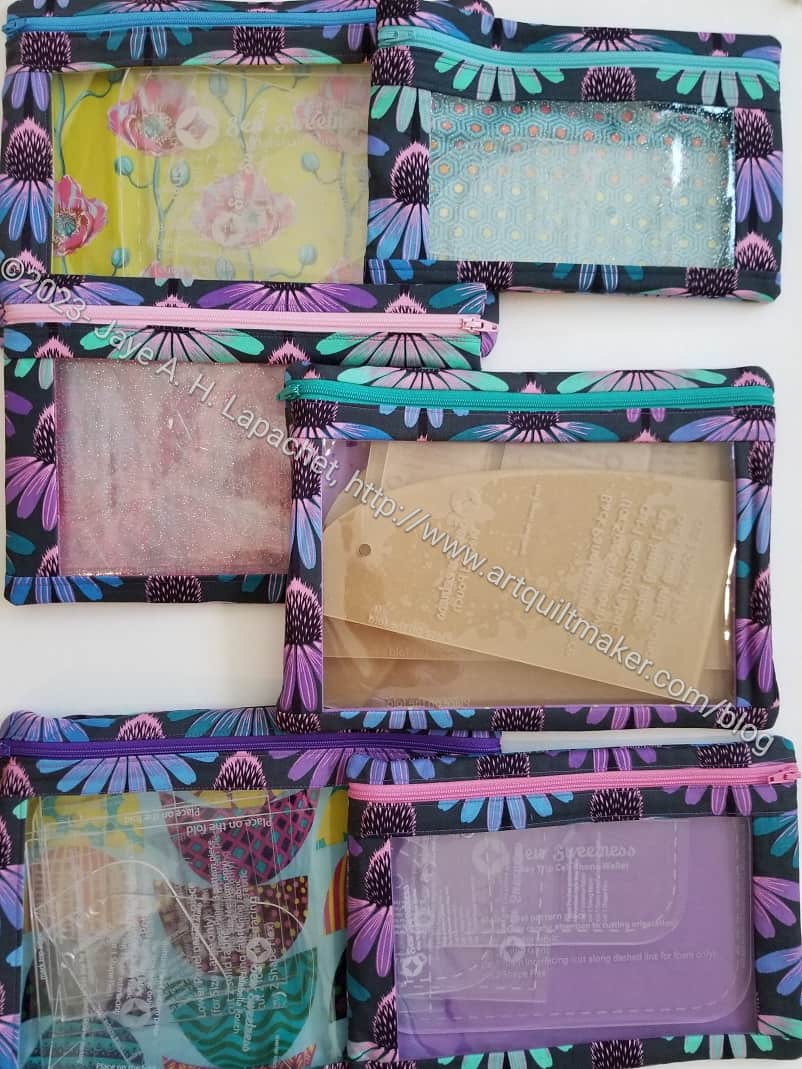
After writing the last I Spy post, I decided to take a look at the I Spy pouches I had made. I didn’t pull all of them as some are in project boxes with the supplies for projects I want to make.
I was surprised to find that most of them were made with the same coneflower colorway. I have other colorways. I thought I had used multiple colorways to make these, but I have stuck mostly to the one. Interesting.
Yes, I am making another Hackney pouch. I like the shape of this pouch/bag. It is fun and a bit unusual. The process of assembly is also providing me with a challenge even after making several of them.
Yes, it is another gift. I might make one for myself. We’ll see.
This time I am working on perfecting a version that is most useful and that I like. As I might have mentioned, I don’t like the mesh pocket, because I don’t like the way it comes out. Mostly, I don’t like the zipper tabs and how thick they are. They are hard to sew and thus the seams look wobbly.
I tried a vinyl pocket, which was ok. I haven’t heard how useful it is, but will ask next time I see the recipient.
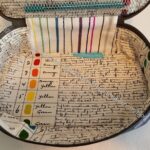
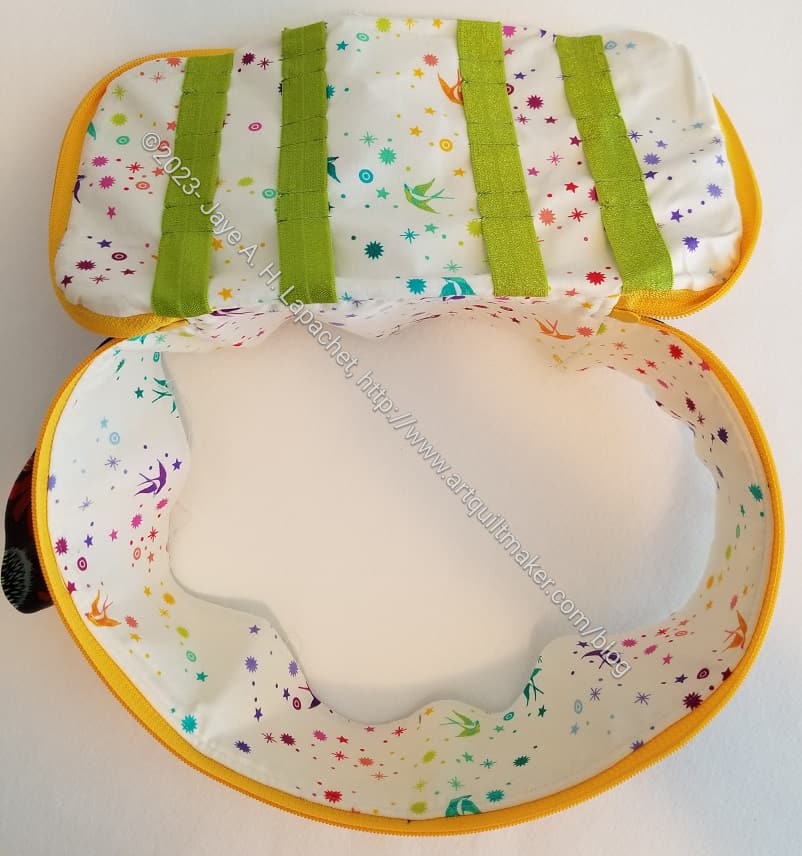
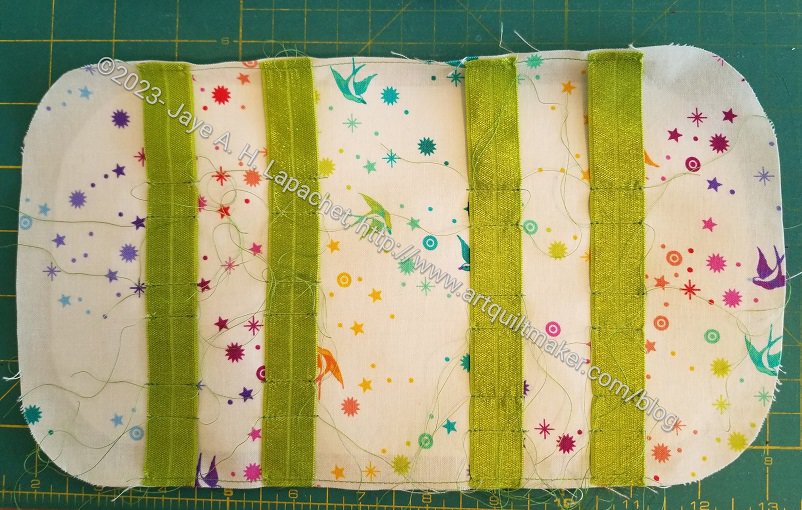
Hackney lining tool holder
This time I used doublefold elastic to make a tool holder.
I cut the doublefold elastic the same width as the lining, then basted it to the top lining piece.
I marked the places where I wanted the recipient to be able to slide tools in. I used a half inch size for each pencil or pen or whatever. I put an inch between each set of marks. These had to be mirrored on the second strip of elastic. I also made the marks on the second set of elastic off from the first set so the tools (or pens or whatever) wouldn’t interfere with each other.
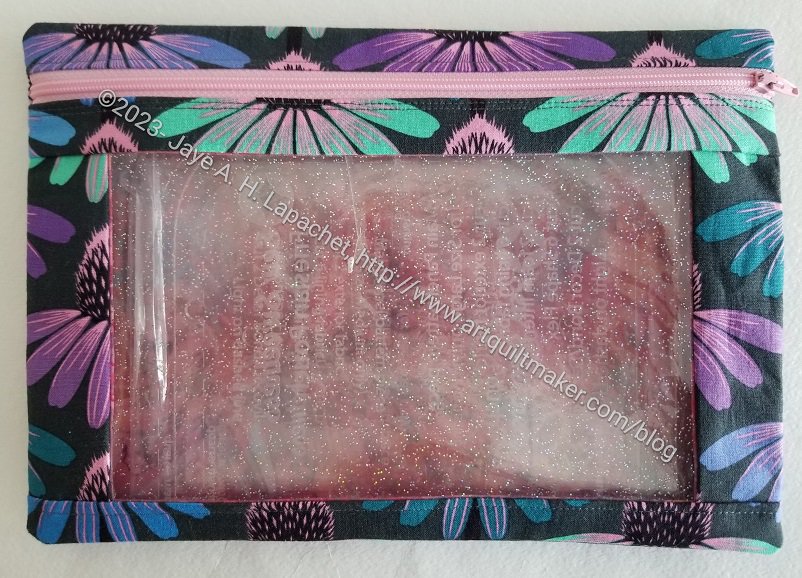
I quickly cut more pieces for another I Spy and finished it over the weekend. I think I have a sewing routine for this pattern down pat now.
One of the reasons I made this one is that I liked a piece of fabric I pulled for the Pink Strip donation quilt back. I decided to use it for the lining, which shows up nicely through the window. It is a good way to be able to see a fabric I enjoy.
I Spy with Pink Batik
This one will replace the one I gave as a gift. It will hold the Friesan Pouch acrylic templates. I’ll save the Grey Cross I Spy for something else. I kind of like having all of my acrylic templates in pouches that match.
I was pleased to see that I lined up the top strips around the zipper very well.
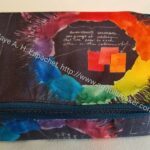
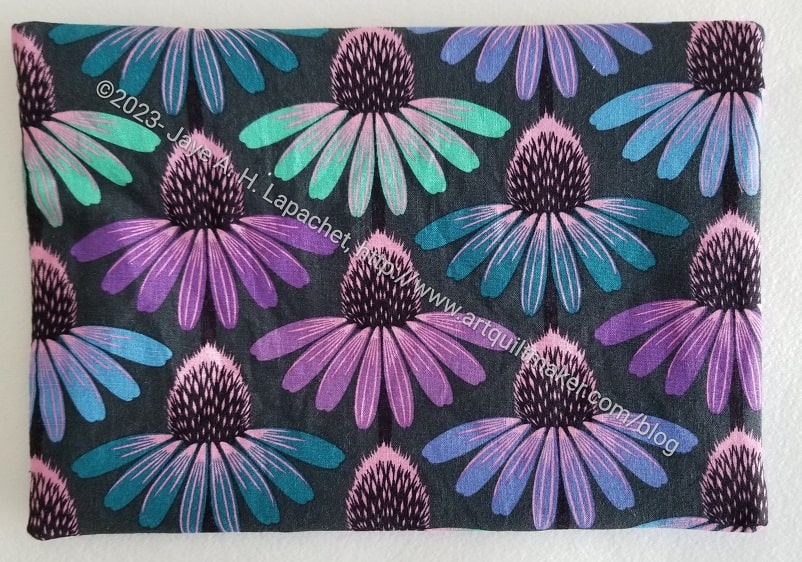
I Spy with Pink Batik back
I just love making these pouches, as I have said a million times.
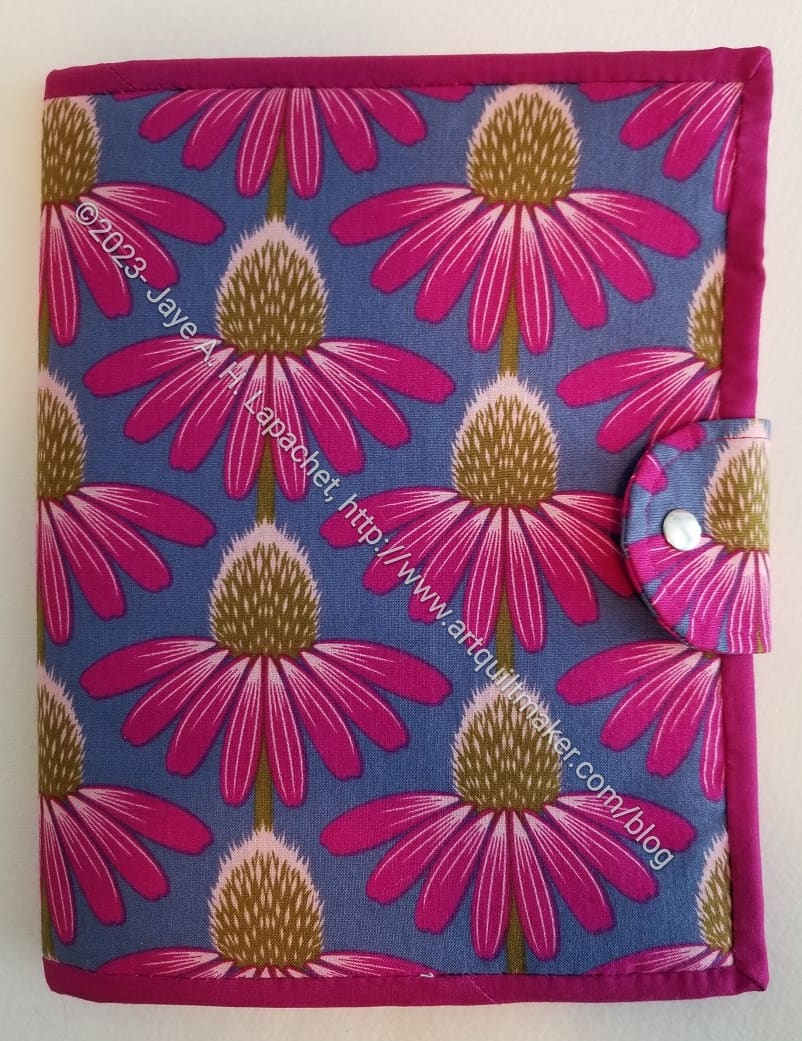
I finished the second 2-in-1 Case pretty quickly and this one looks good enough to give as a door prize. The first one was a good learning experience.
Yes, I am using a lot of that coneflower fabric lately. I like it despite the brown in the print. I am not sure what is so appealing about it to me.
This time, you can see that I was much more careful and attentive to the closure. I thought about using one with a pointy tip, but decided against it in the end. There is a pattern for a project with the pointy tip closure in the book**, but I thought I would try it a different time. I was on a bit of a deadline and didn’t want to mix up the process until I had gotten it right.
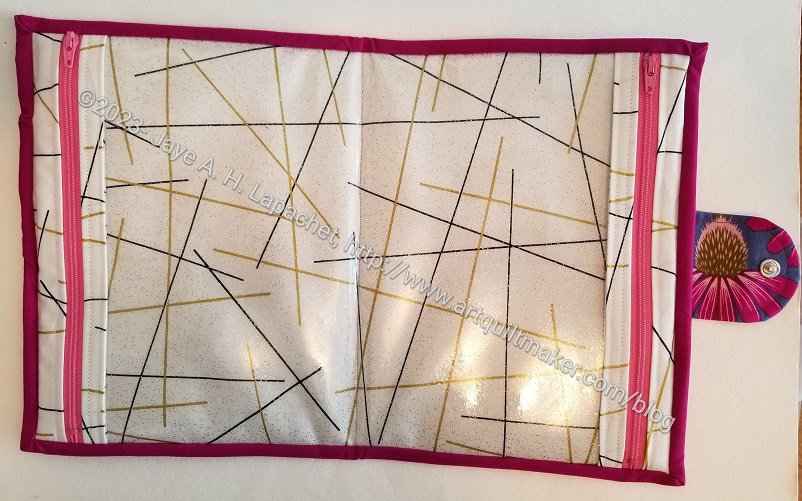
2-in-1 Case #2 interior
I used the same interior fabric, as mentioned. I thought it looked nice and it was on my cutting table, so why not?
I used longer zippers this time, as I said I would. I know I said I might use even longer zipper next time. I don’t think the project needs the zipper stop. also, I like to being able to get the zipper head as close as possible to the binding. I think it looks better.
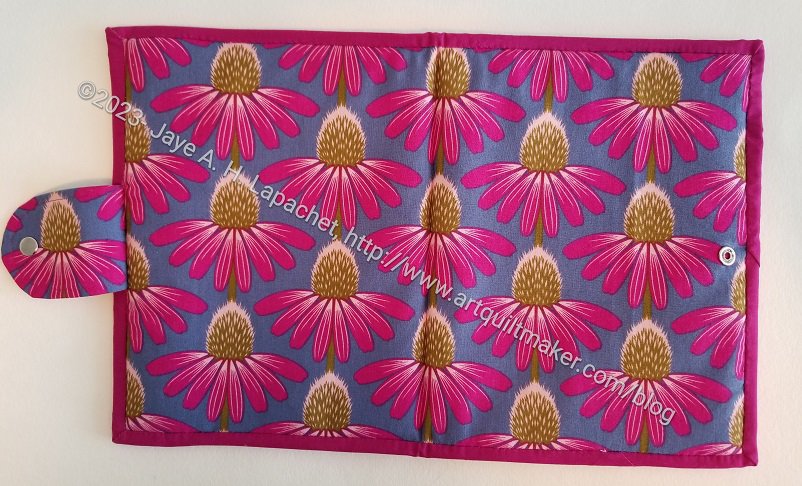
As before, I used some foam to give it a little more heft. I wonder if that makes the pouch less useful? I wonder if the recipient can put in fewer items, because the pouch has more structure?
2-in-1 Case #2 exterior
I am pleased with the binding. I think less contrast looks better.
So, another project finished and this one has been sent off to Carrie for the door prize assembly for the guild.
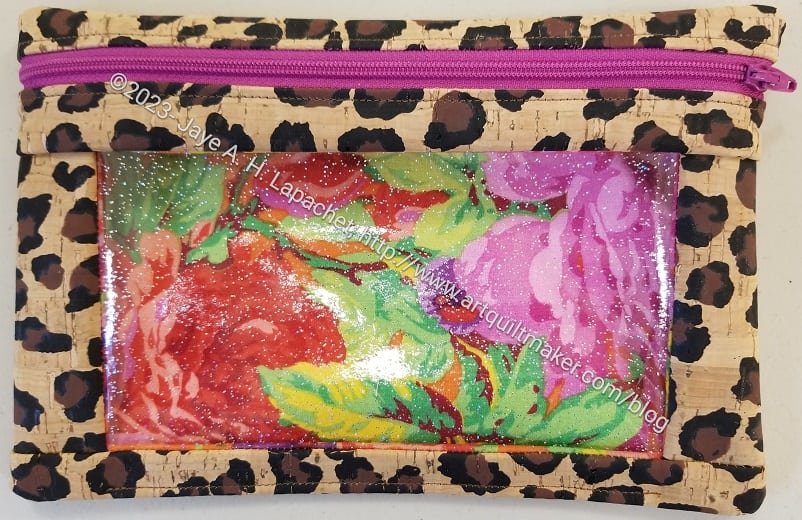
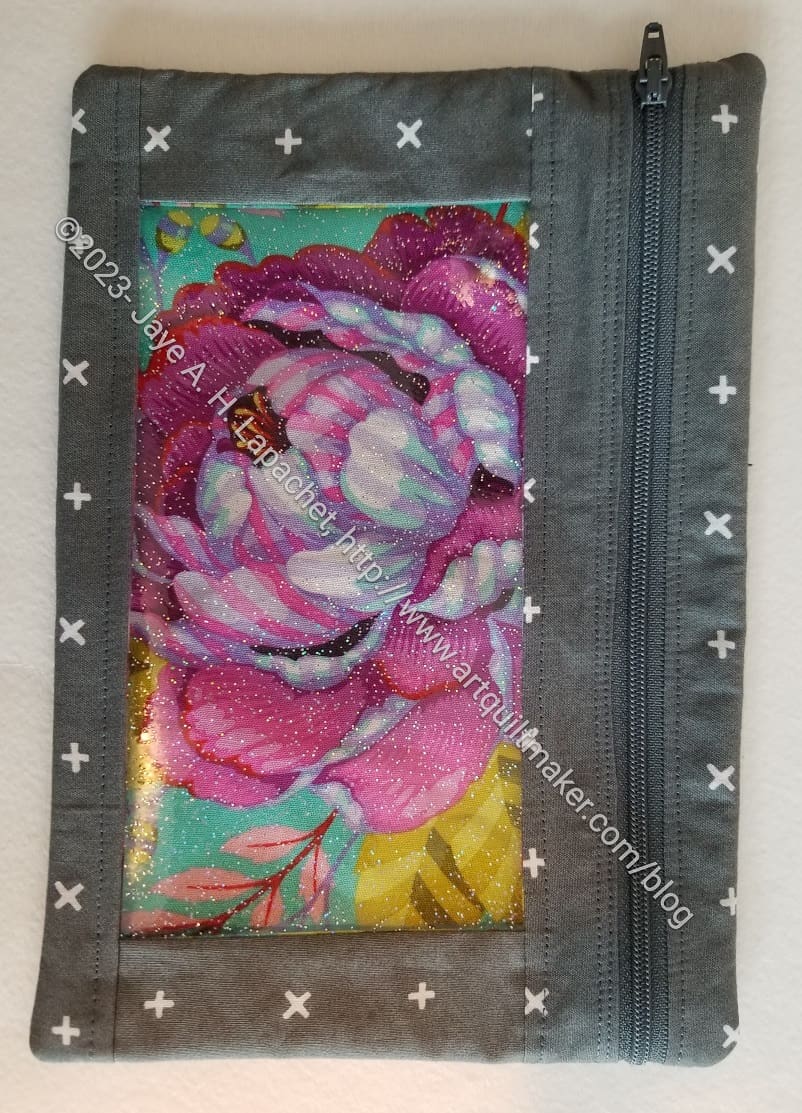
Yes, I made another I Spy pouch. I don’t like this one as much. It doesn’t feel as substantial as the last one and I am not sure why. It has to be the fabric. It is an Art Gallery fabric, which I really like, but I don’t think it is right for this project. Since I am storing acrylic templates in them, then need a little heft.
This doesn’t mean it is terrible or anything and I do like highlighting the lining fabric through the window. It is like a fun prize. I’ll probably use this as a gift.
This is the small size. I also use the glitter vinyl. I like that glitter vinyl. Not only is it easier to cut, but it is fun. It does make the peony look a little blurry in the photo. It doesn’t look like that in person.
SueS asked me to make scissor cozies, as mentioned. I forgot to post about Maria’s. I made one for her before. I didn’t have the same fabric, so I picked out some coordinating fabric, so the two would go together.
Maria’s Scissor Cozy #2 – interior
I am really pleased with the interior of this one. It came together very well and the stripes look nice.
I closed the bottom with a machine stitch. The handstitching looks better, but I didn’t want to spend the time
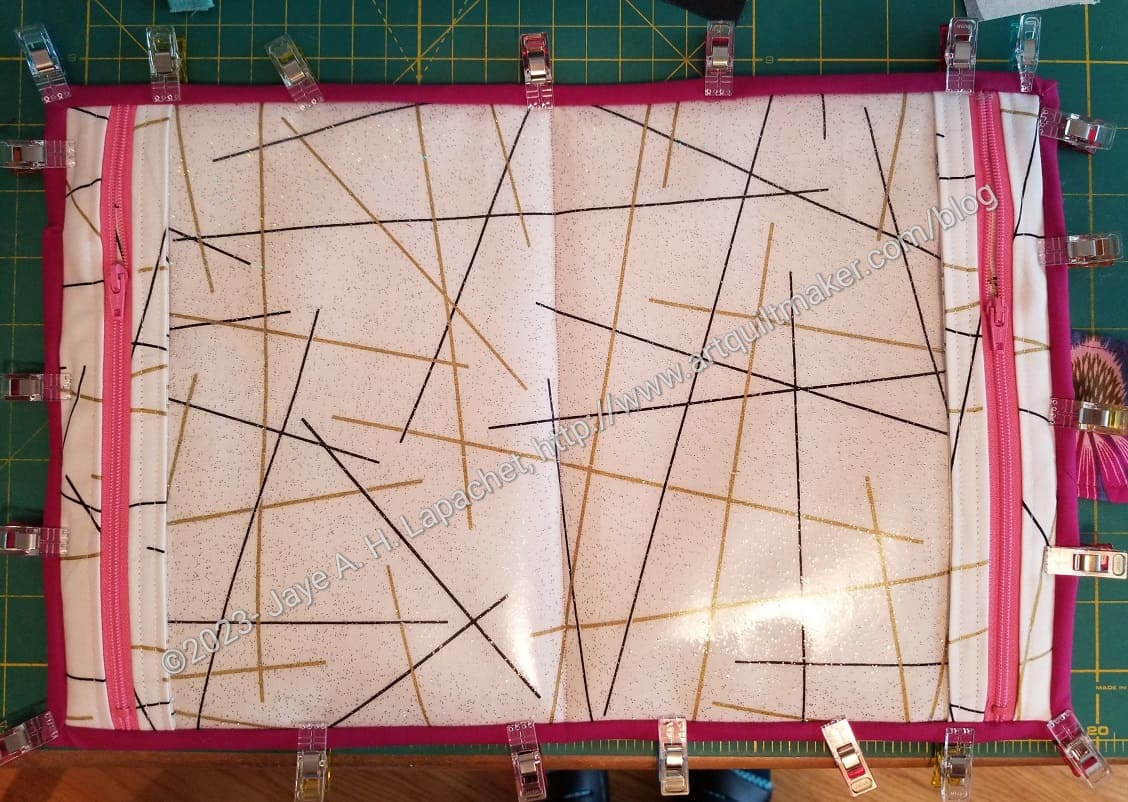
I started another 2-in-1 Case almost immediately after finishing the first one. As mentioned, this is an easy bag and I wanted to get it right. This one looks a lot better and is more functional.
I was pleased with the fuchsia binding. I thought it was a less distracting choice than the black and white, though I do like a good black and white stripe.
I made certain to the get the closure in the right place. I used a slight different process to sew it on. I put the female half of the snap in then, before sewing the tab to the back, I snapped it together. This helped me align the tab with the female part of the snap on the front. Then I pinned the tab to the back and sewed it down. Somehow the measurements in the pattern didn’t work for me.
2-in-1 Case #2- open – in process
I used the same fabric for the inside as I did in #1. It’s a nice bright white. I am pretty sure I bought it with Amanda when we were out shopping in Portland one time.
I used longer zippers as well- 9 inch instead of 8inch, as the pattern suggests. I had to be careful not to hit the metal parts, but the zipper was fully enclosed in the tabs and the binding, which looks better. I will probably use a longer zipper next time and cut off the excess. It seems like a waste, but then I won’t have to worry about that metal zipper end. Hitting with a needle is no picnic.
Almost done then I send it off to be wrapped for the guild door prize.