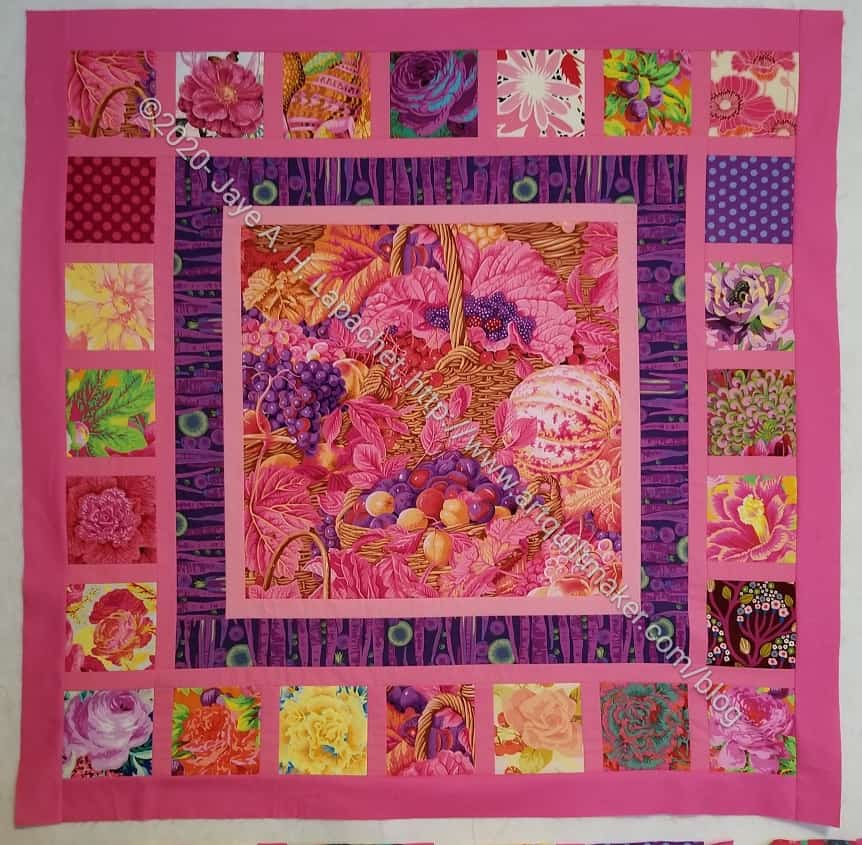
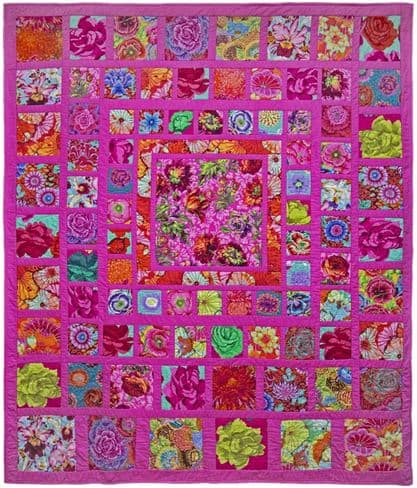
I am really enjoying this quilt. When I talked about it after I started cutting, I was happy. This quilt is just a joy to work on. I don’t know why for sure. The only thing I can think of is that I love all the fabric.
Pink is not a great color for my decor or for an adult woman, but I love pink anyway. I am thinking of this quilt as a complete indulgence in my love for pink and Philip Jacobs flowers. I am not worrying about how it doesn’t fit in with my home decor. I am really loving selecting and fussy cutting the flowers, getting reacquainted with some of my Philip Jacobs fabric and using fabulous solids.
I know I talked about my plans a month or so ago, but hadn’t started it yet. After thinking about this quilt for awhile, I finally started it and it is making me super happy.
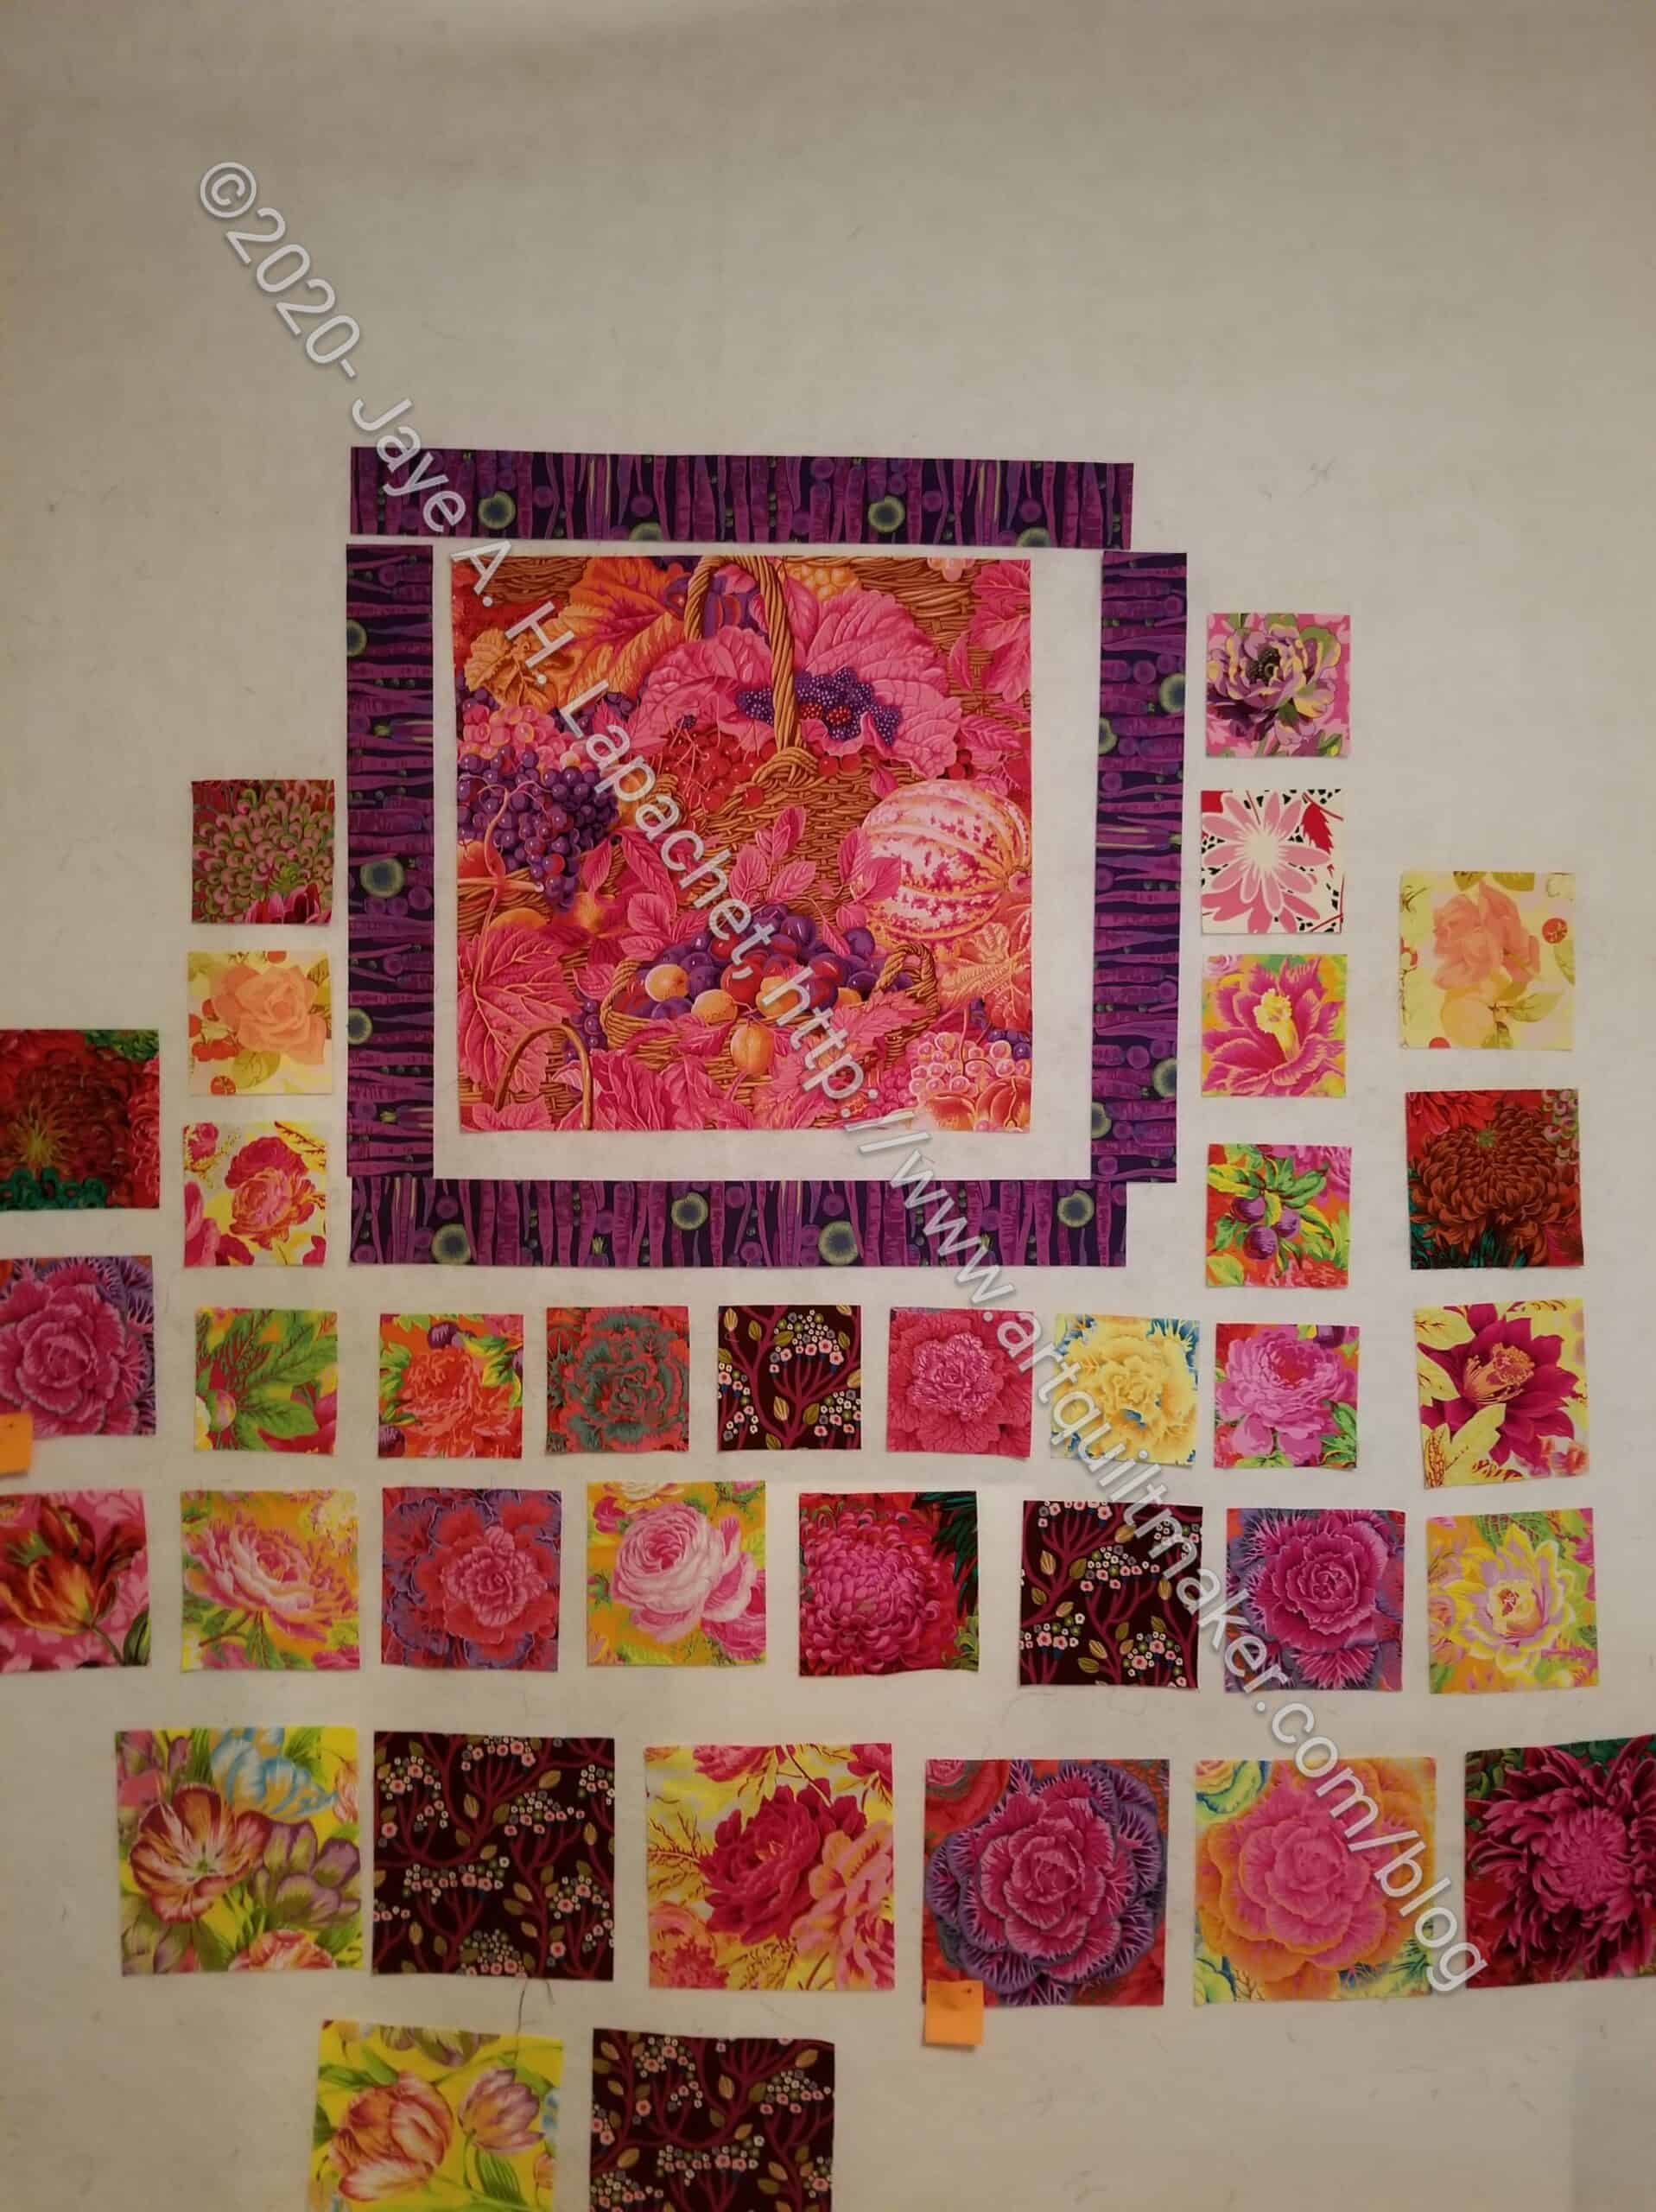
I am following the directions in Kaffe’s book, Quilts in the Cotswolds**. However, I am not using many of the fabrics he suggests. I am pulling out the Philip Jacobs fabrics I have stashed for awhile and have not yet used for backs. I am fussy cutting flowers from them and arranging them in a pleasing way. I have also used, so far, one Anna Maria Horner print and one Martha Negley print. I’ll probably had more different prints. The flowers are by no means in their final location. I want to spread them out so the pinks are not all together. For now I am placing them in the order I cut them so I can easily count them.
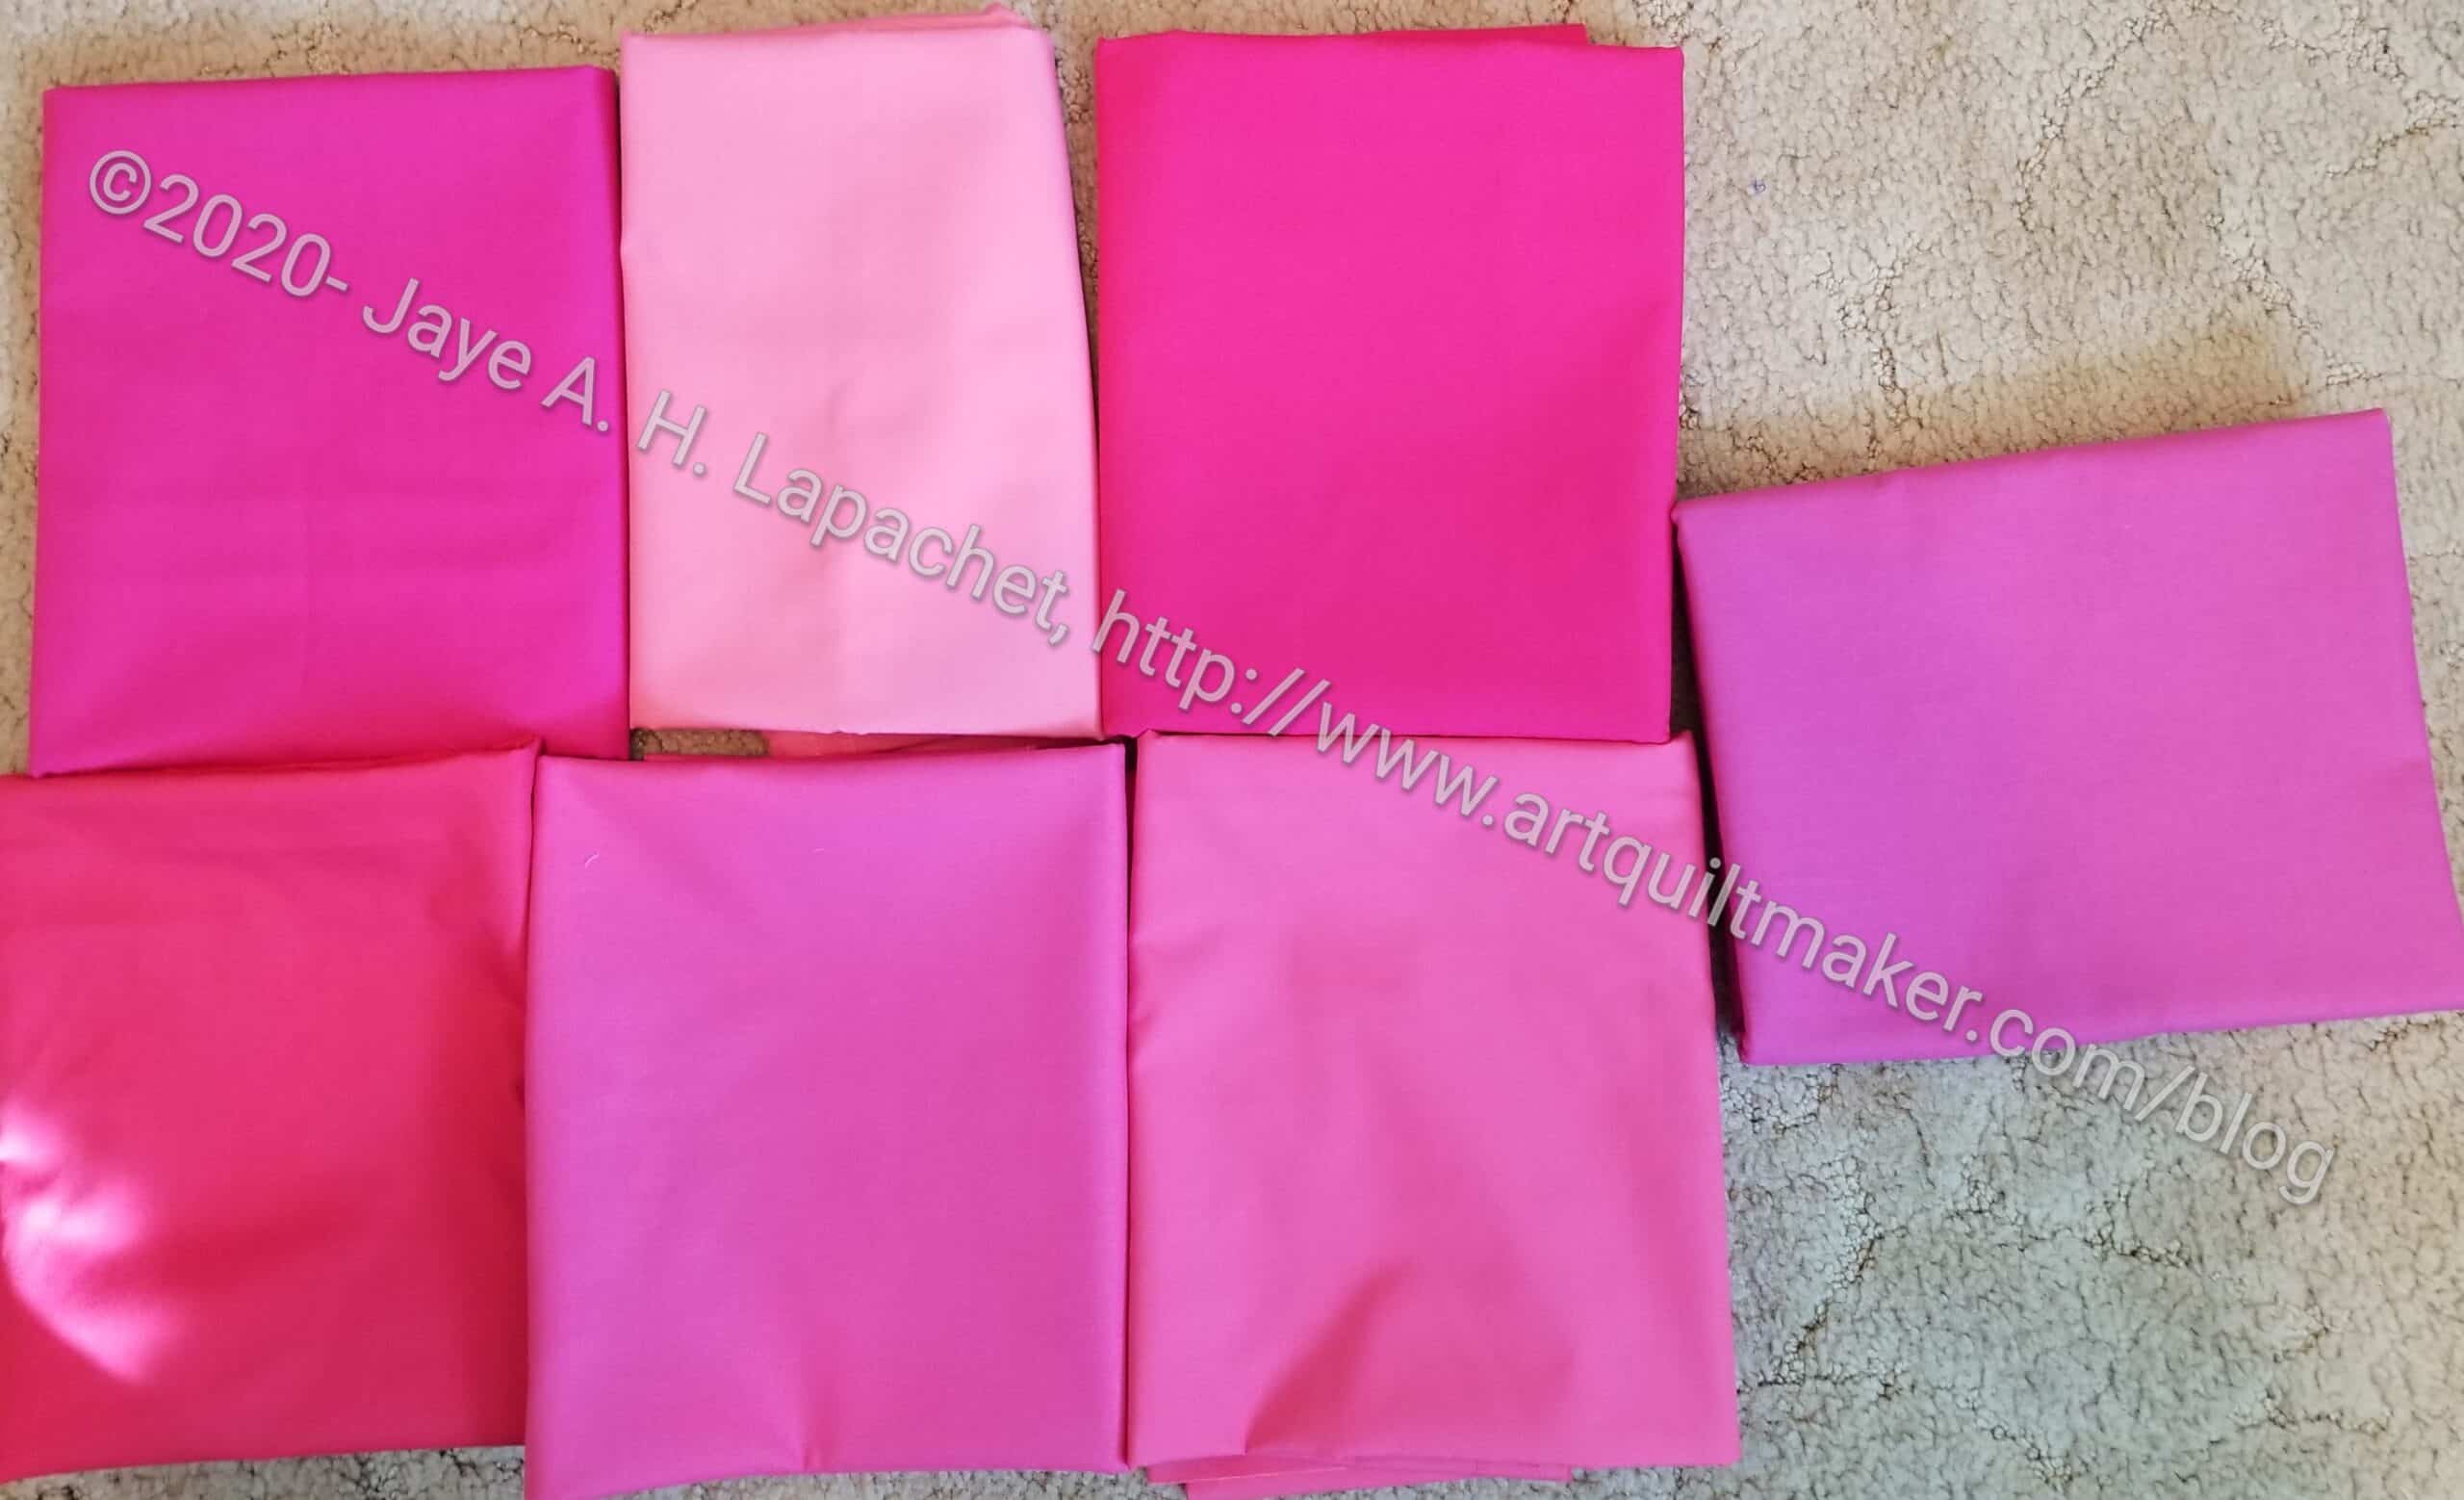
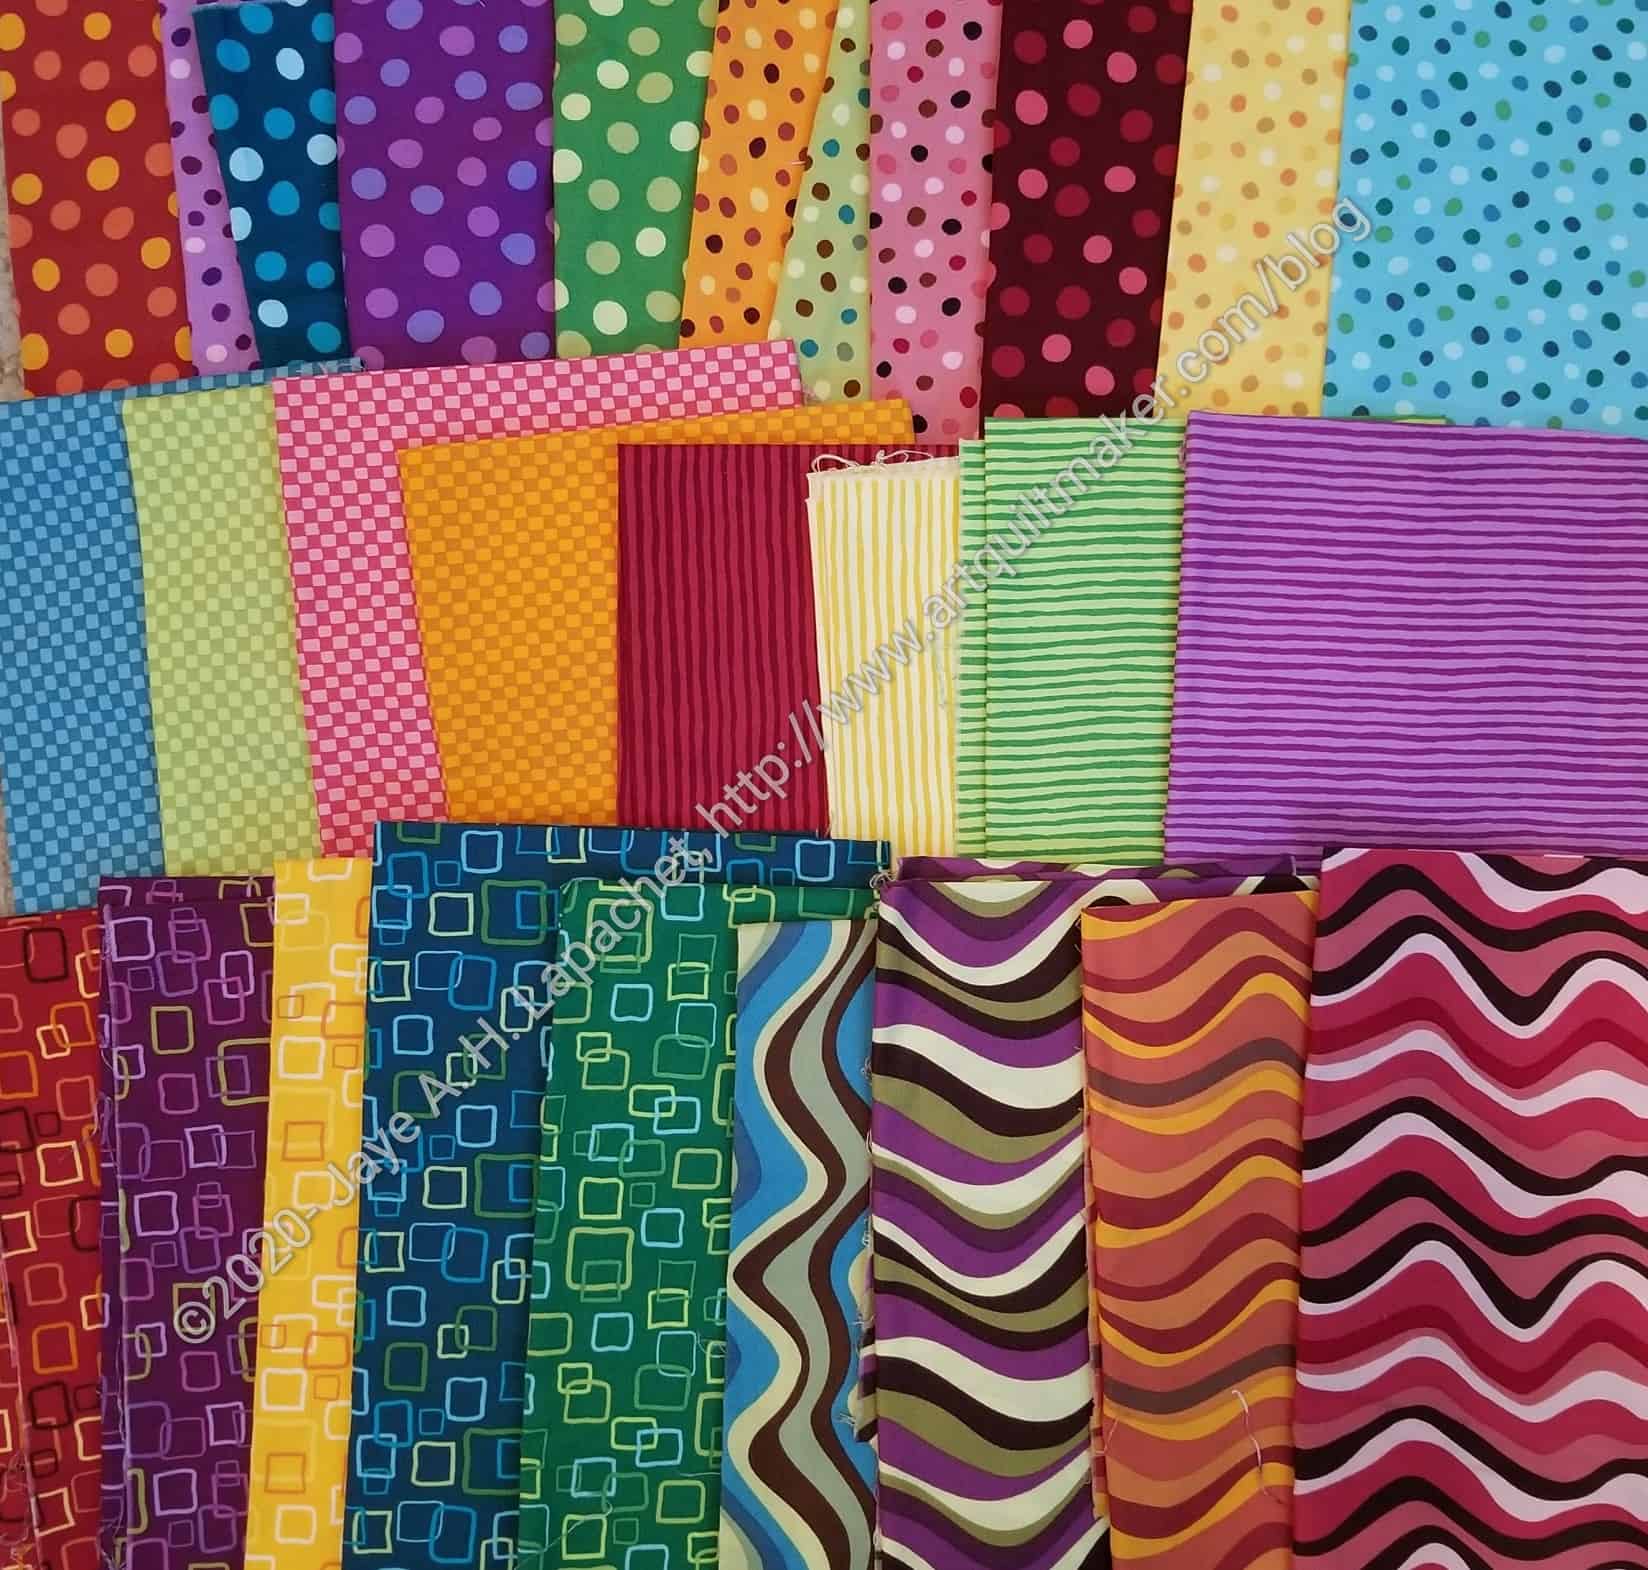
Stash Fabrics Art Gallery solids
For the sashing, I am using solids I recently purchased from Stash Fabrics. I plan to arrange them in gradation order and use a different solid for each section, gradating out from light to dark.
Every day I have been spending a little time cutting. I may need to sew some pieces and parts together to gain space on my design wall, but that is a decision for another day. In the meantime I am enjoying showcasing the beautiful flowers.
**I use affiliate links and may be paid for your purchase of an item when you click on an item link in my post. There is no additional cost to you for clicking or purchasing items I recommend. I appreciate your clicks and purchases as it helps support this blog.
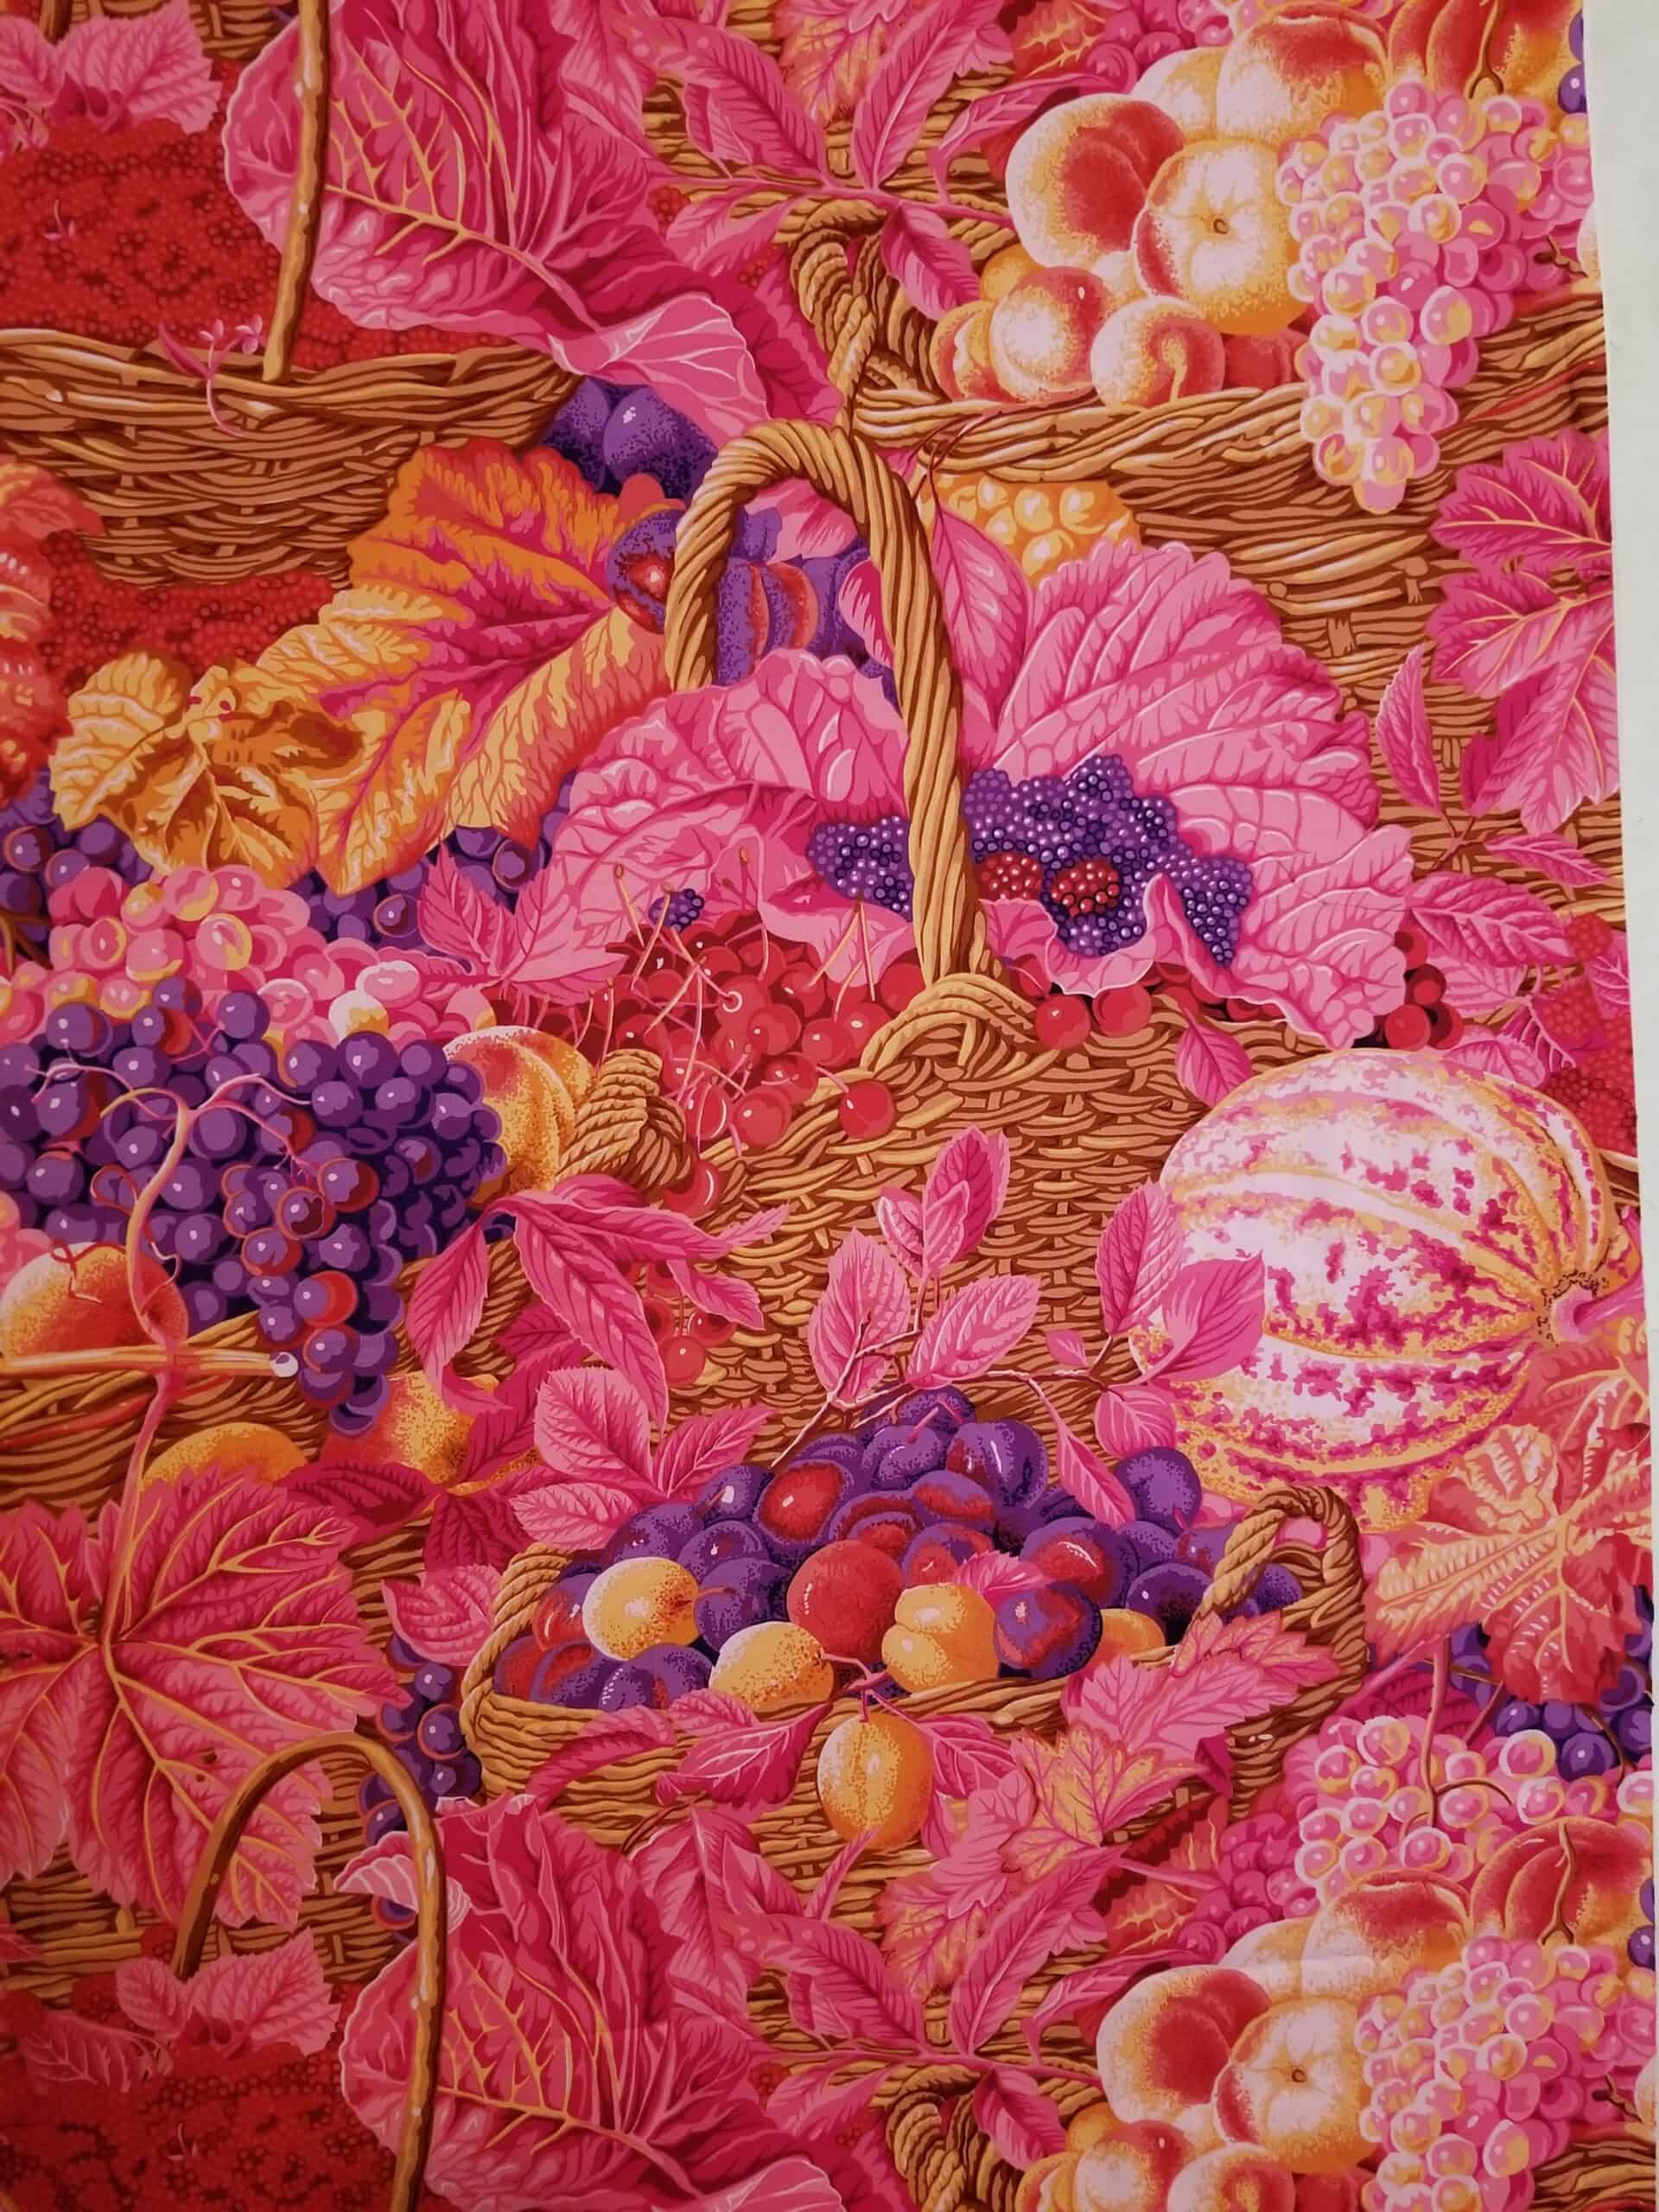
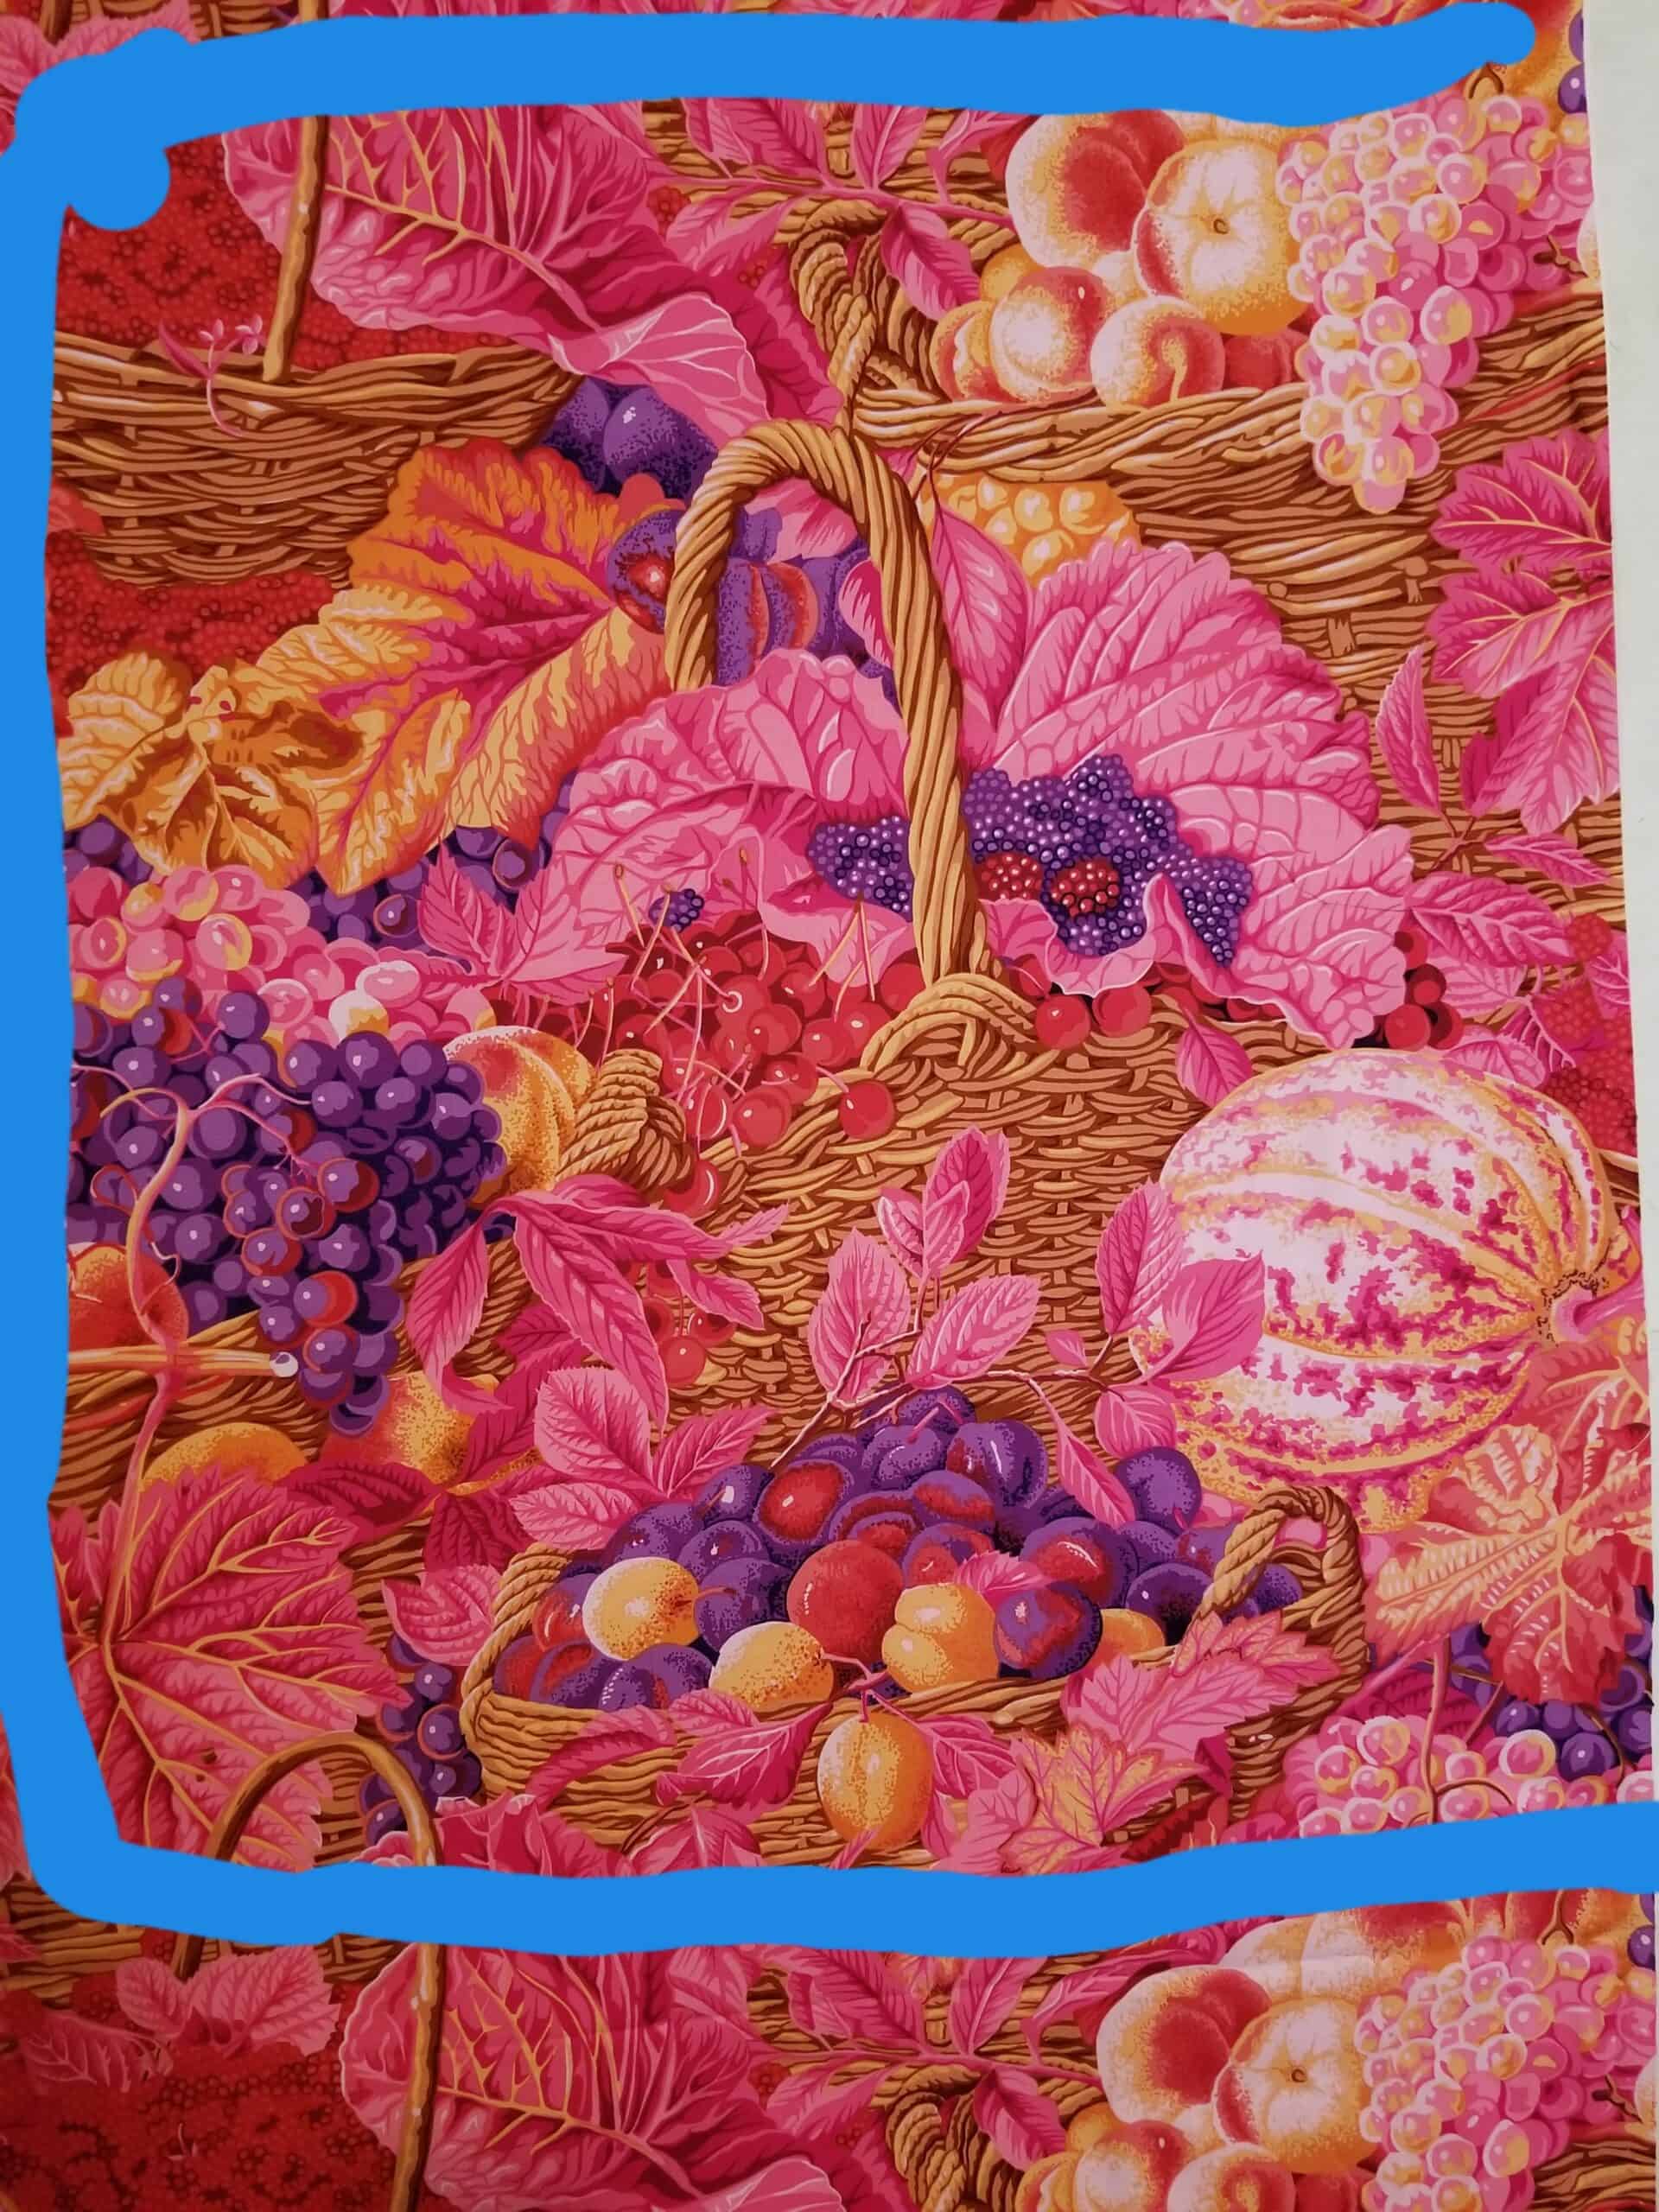
Sometime ago I bought a fruit basket and flower piece of fabric. The designation on the selvedge is “PWPJ 067 Market Basket”. I think of it as a panel, but it really isn’t. I really like this print, so I bought another piece.
The Pink Squares quilt is not exactly rocket science. I don’t have all the exact fabrics, but I plan to use various Philip Jacobs prints I have including the Market (fruit) basket fabric. I plan to fussy cut various prints and make this my own.
I bought some Martha Negley prints recently from Cool Cottons and I want to incorporate the purple carrots into this piece. The example has various colors- not just pink – which is my model. I plan to add more purple to the piece than shows here. I also want to include some of my favorite Philip Jacobs prints. Yes, this is a pattern and very simple, so the challenge will be choosing the fabrics after I figure out the redesign of the center.
Market Basket selection for quilt
I know I will have to adjust the center of the quilt pattern to fit my center. I want to use a certain part of the print.
I went to look at Friend Julie’s version of this quilt. Kaffe tends to use the same patterns over and over, chosing different fabrics. She made one in Blue after seeing his red version in Heritage Quilts**. I like the way she cut a bunch of squares and then chose fabric for the center. Friend Julie chose an Amy Butler print for the sashing. I think I will stick with a pink solid, depending how much I have. Perhaps I will switch out the pinks as I move out from the center.
**I use affiliate links and may be paid for your purchase of an item when you click on an item link in my post. There is no additional cost to you for clicking or purchasing items I recommend. I appreciate your clicks and purchases as it helps support this blog.
I have been looking at the Pop Parade fabric by Metro for P&B for years, but specifically recently as I rummage through my dots yardage. This week, I saw a quilt on Instagram and it called to me.
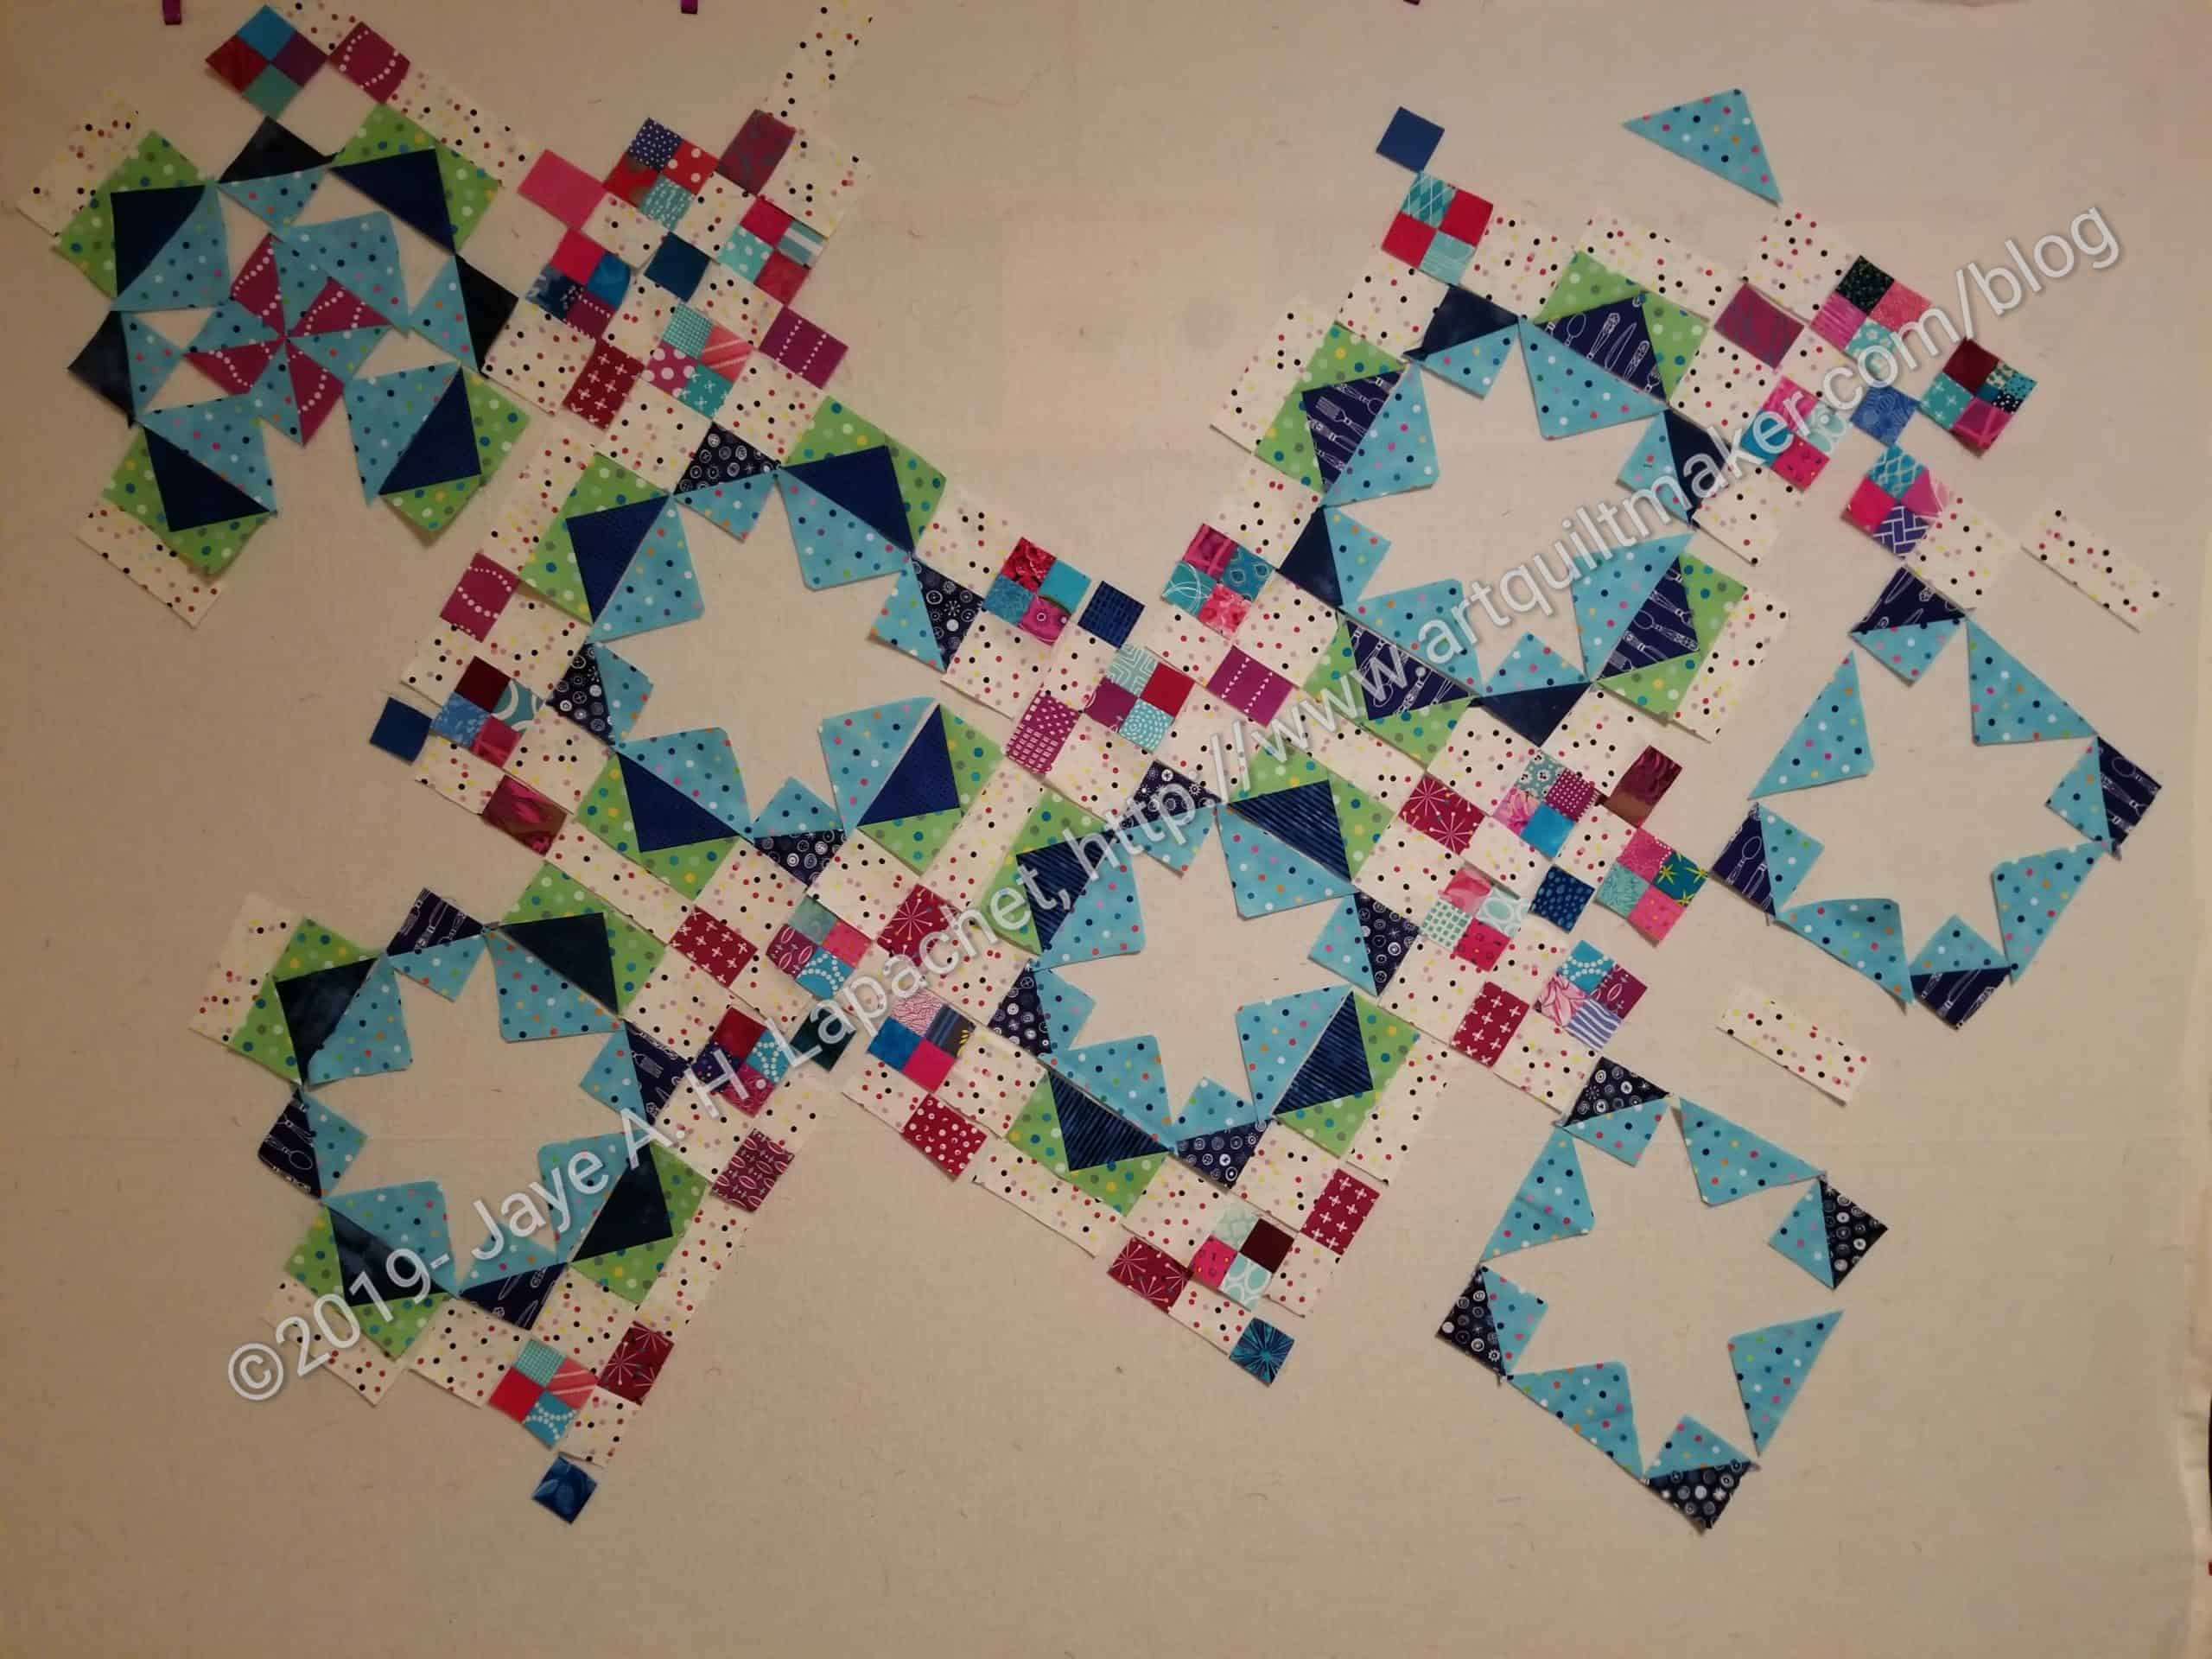
I have had this fabric since 2008, so it is past time to use it. At the time, I wanted to just use this fabric, but I think, now, I will add some tone-on-tones or solids to the mix plus a background. These are all fat quarters so I won’t be able to make some of the blocks in the size I want, because I don’t have enough fabric.
The problem with this fabric hanging around for years is that I don’t like it as much as I once did. I don’t dislike it, but it doesn’t use the clear colors I am now excited about. This is an advertisement for using fabric you are excited about when you get it.
X Design
The design of which I am now enamored is an X design. I made a pillow some time ago for Maria that I think has a similar design: lozenges. The thing I like about this design is the variety of sizes. I also think this design will go really fast.
What I have to think about is whether I want to start on it now or finish FOTY 2019 first. I could do both at the same time using leaders & enders.
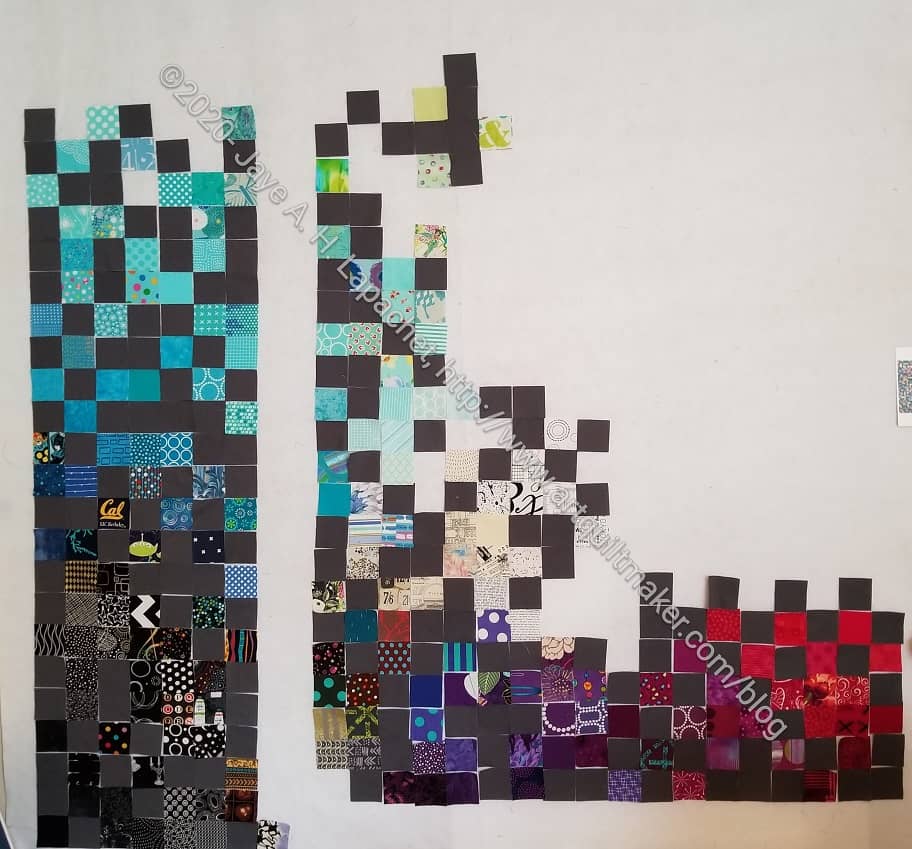
The first thing I did was start to move the whole piece down and over so I could reach the top better. I also needed to make the top slightly wider to accommodate the various pieces. I am not quite sure how many rows and columns I need since I didn’t do any math around this piece yet.
FOTY 2019 – early October #2
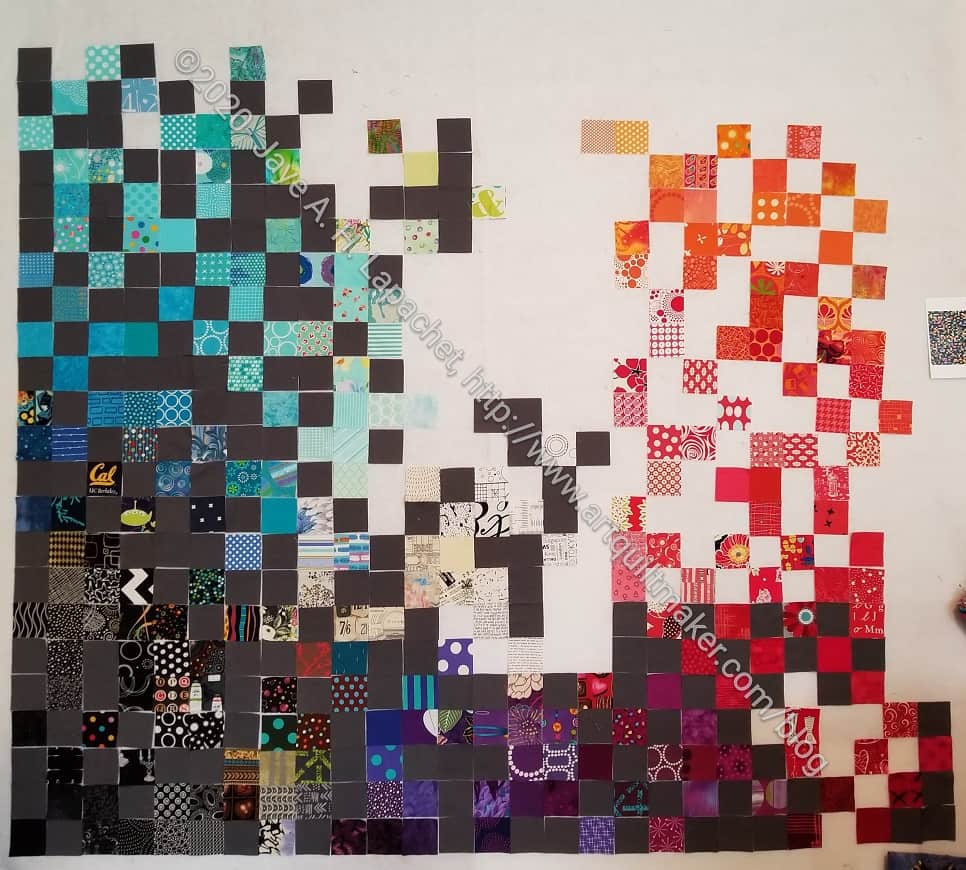
After move what I had down, I started to add more of the colored squares to the design wall. I am sure I will have to cut more greys, but I haven’t done that yet.
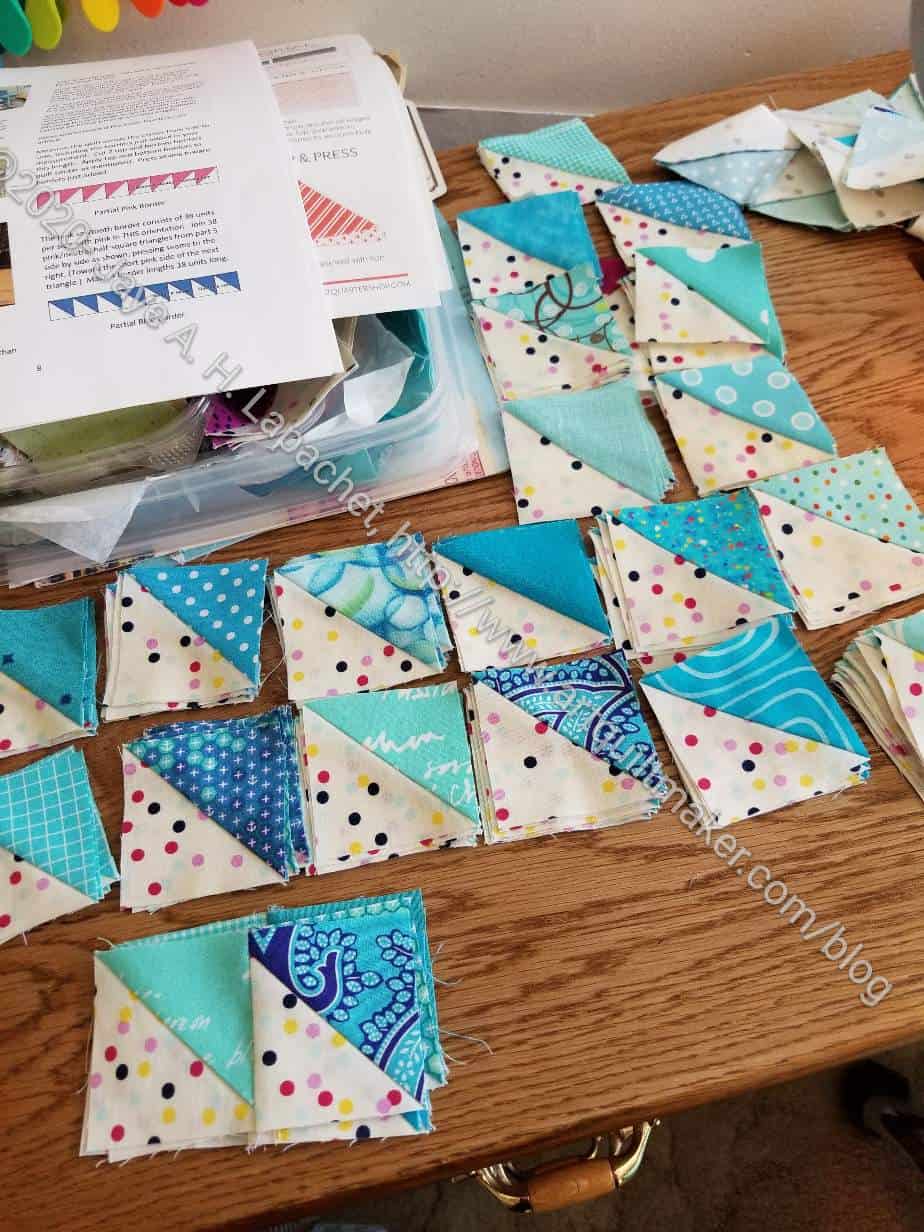
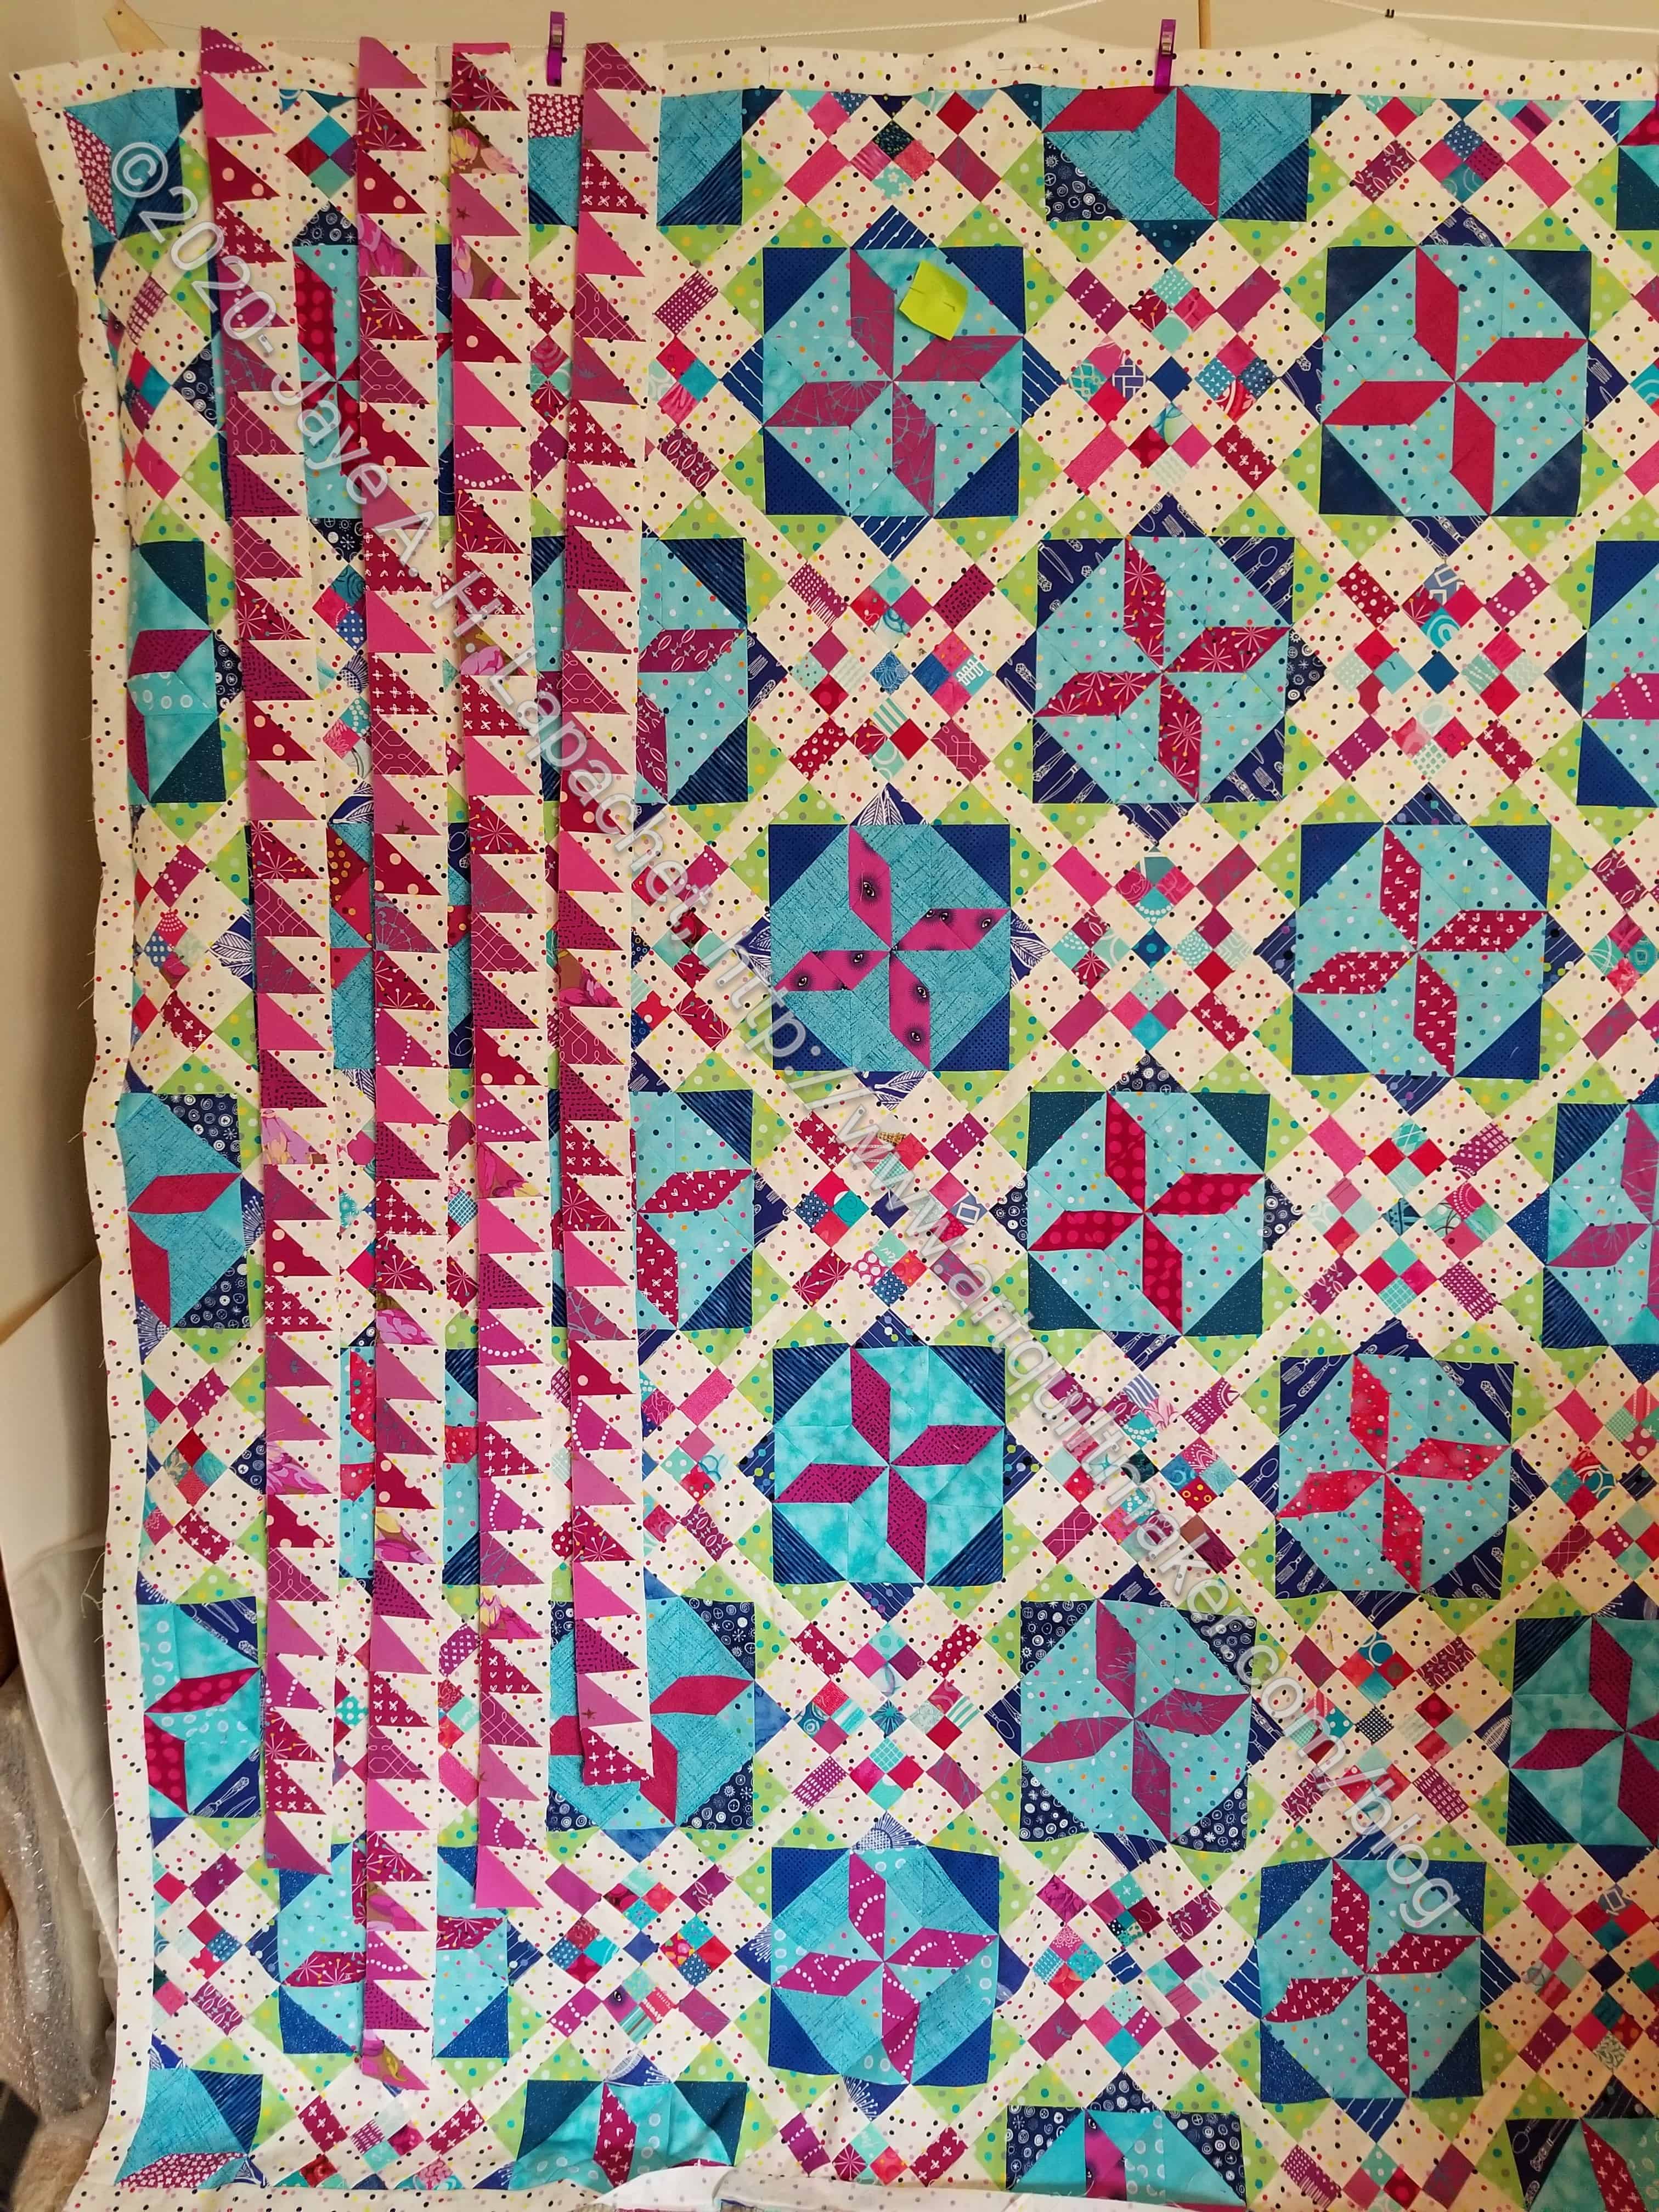
The first set of borders is finished. The HSTs are sewed together, but the strips are not sewn to the quilt.
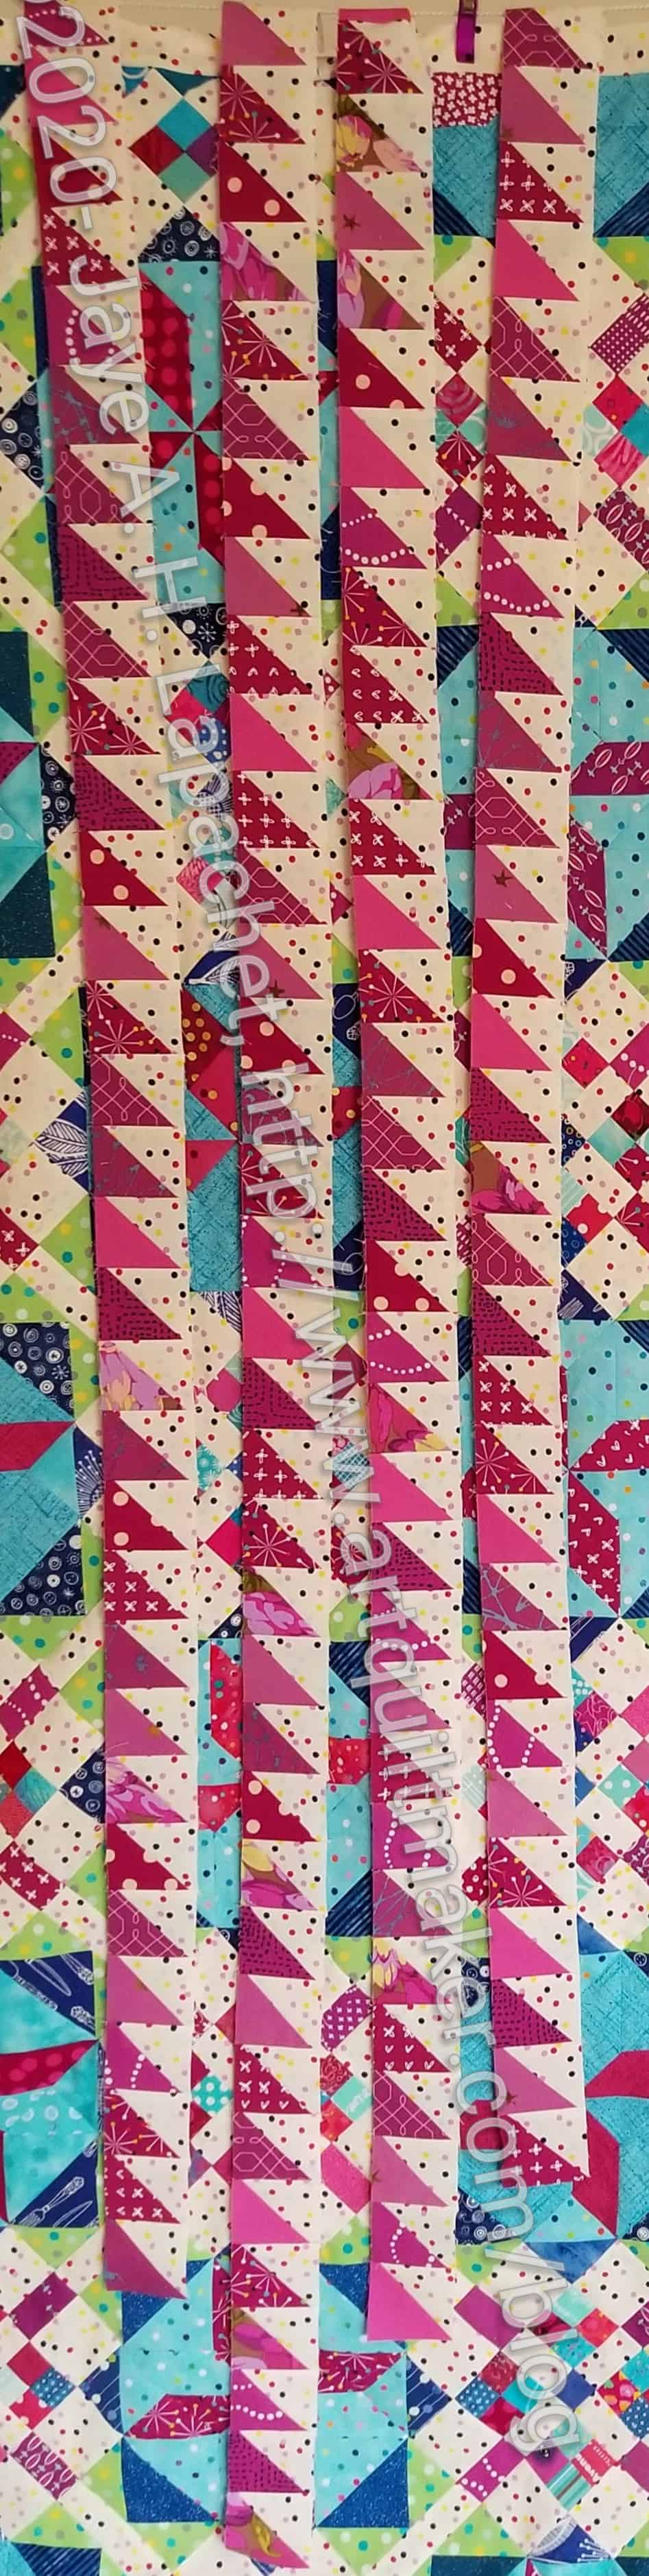
The photo shows the border strips hanging over the top of my design wall. I worked hard at not putting the same print next to each other. They are controlled scrappy and I am pleased with the way they came out.
I didn’t have as many red-violets as I have other colors, but I do like that color. Not quite pink, not quite purple.
I know it is hard to see the borders, but, trust me, they are fabulous. 🙂 Click on the photos to see them larger.
Frolic! center with first border (detail)
I will start working on the blue HSTs soon.
I don’t know if I will keep this quilt or give it away.
Yes, you have to experience every little detail of the process.
Can you tell I trimmed it?
The edges of the quilt were not squared during piecing, so the top center had to be trimmed. I did in two stages, mostly because I had to go back to work.
I am really pleased with this quilt. Piecing it all together made a huge difference!
Today would be Tax Day, but it isn’t and I am pretty sure I don’t need to go into why.
This is the last seam. I had to take a photo, because I feel like this top has been such an effort.
Frolic! Center Together
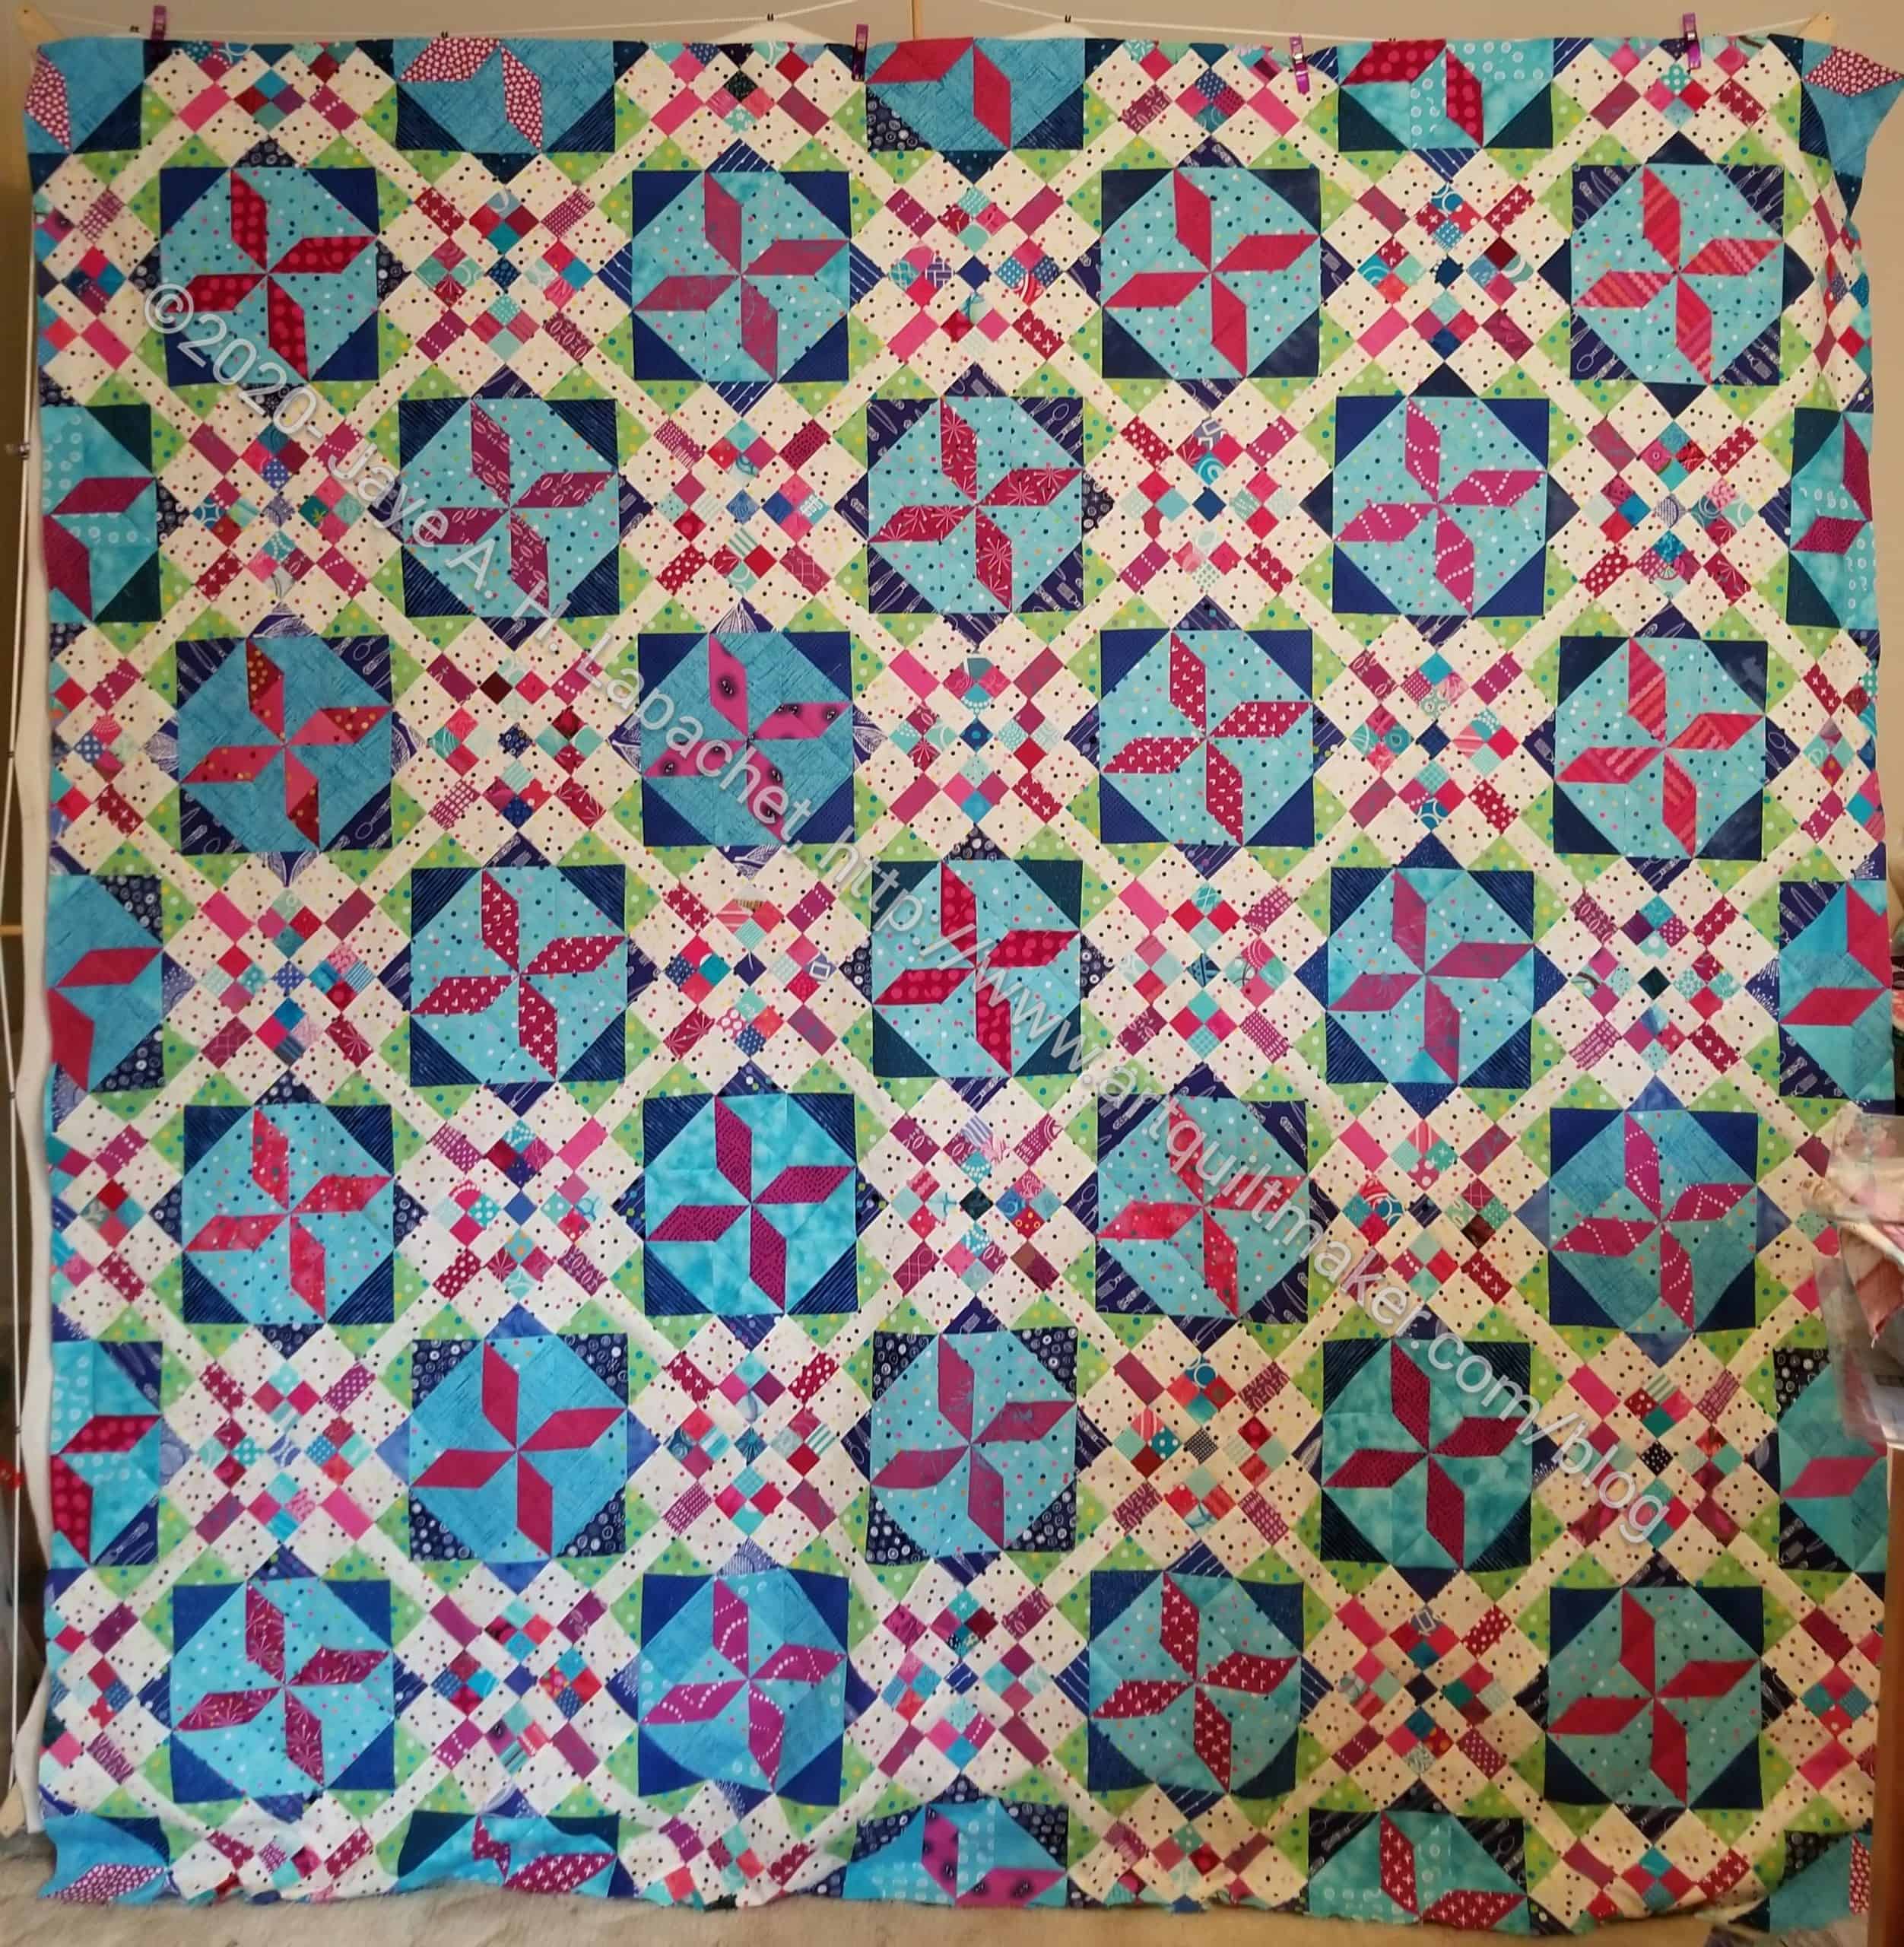
Yes, the top is together.
Finally! Seriously, I feel like this center took for-freaking-ever!
As I said last week, I have a long way to go before I can get it to Colleen, but this is major progress. I feel like I have accomplished something.
My friend Cyndi retired (even though she is about 35!) just before the shelter-in-place order and she is going to town on her UFOs. She is the rockstar who finished her UCAB already.
Frolic! Secondary Block
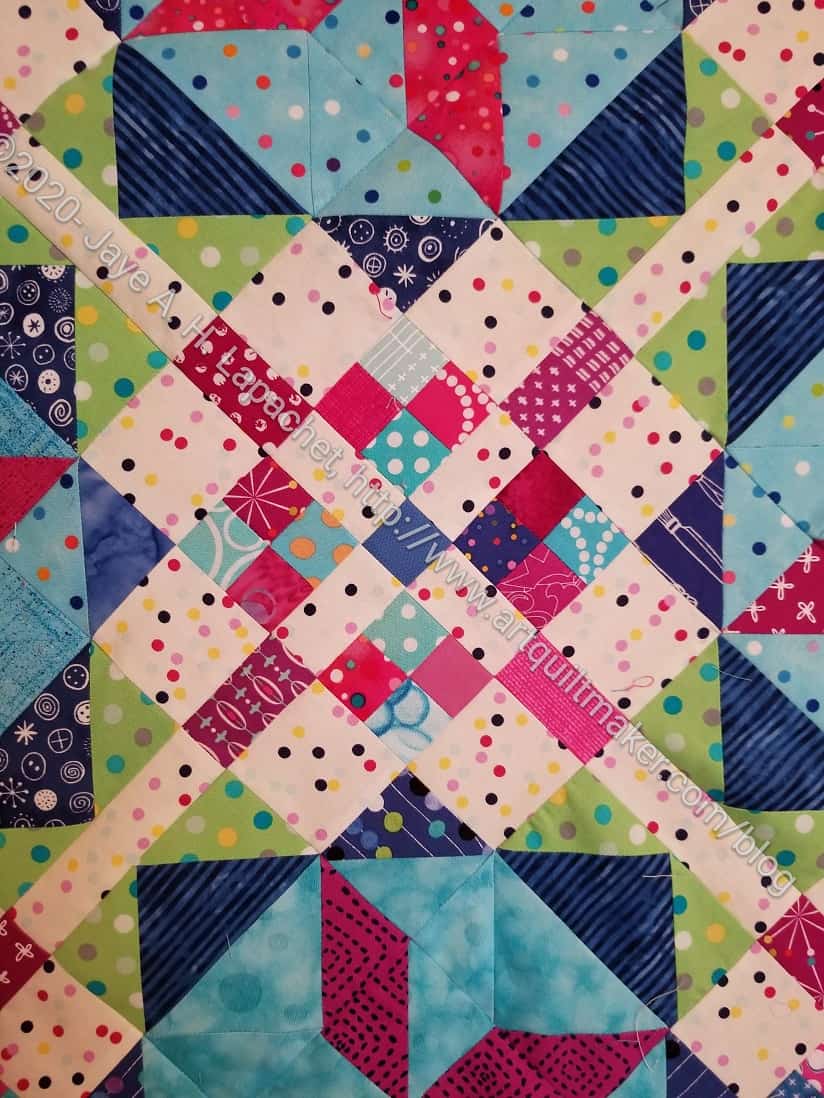
I think I might need to do something with the secondary blocks/setting blocks. They really look good sewn together. The bad part is that the block is made up of the edges of the main blocks. I could include the pieces on the edges of another block. I just have to figure out how to do it.
I liked this top before I started sewing it together, but I like it so much more now. Despite my whining, I think it looks great. I am constantly amazed how sewing the blocks together can change the look.
Someone asked me why I just don’t put it away and work on something else. Yes, I have been *almost* miserable working on this at times, but I want to keep my habit of not putting a quilt away. I don’t want to build up my UFO pile again after working so hard to get it down to a manageable size. It would be easy to put it away, but I don’t think it would feel good and I am sooooo looking forward to add the yardage to my “Fabric Used” spreadsheet!
I am finally sewing the Frolic! quilt top center together! Yay! I say and I am sure you say, because we have both, probably, had enough.
It isn’t really pretty, though, as I sewed sashing to the blocks in an attempt to chunk the blocks and that worked against me in the final stages. I have had to do some partial seams. Some blocks ended up with sashing on them and others didn’t.
You probably think Frolic! is taking forever. I think it is so you wouldn’t be wrong!
Frolic! Mid March 2020
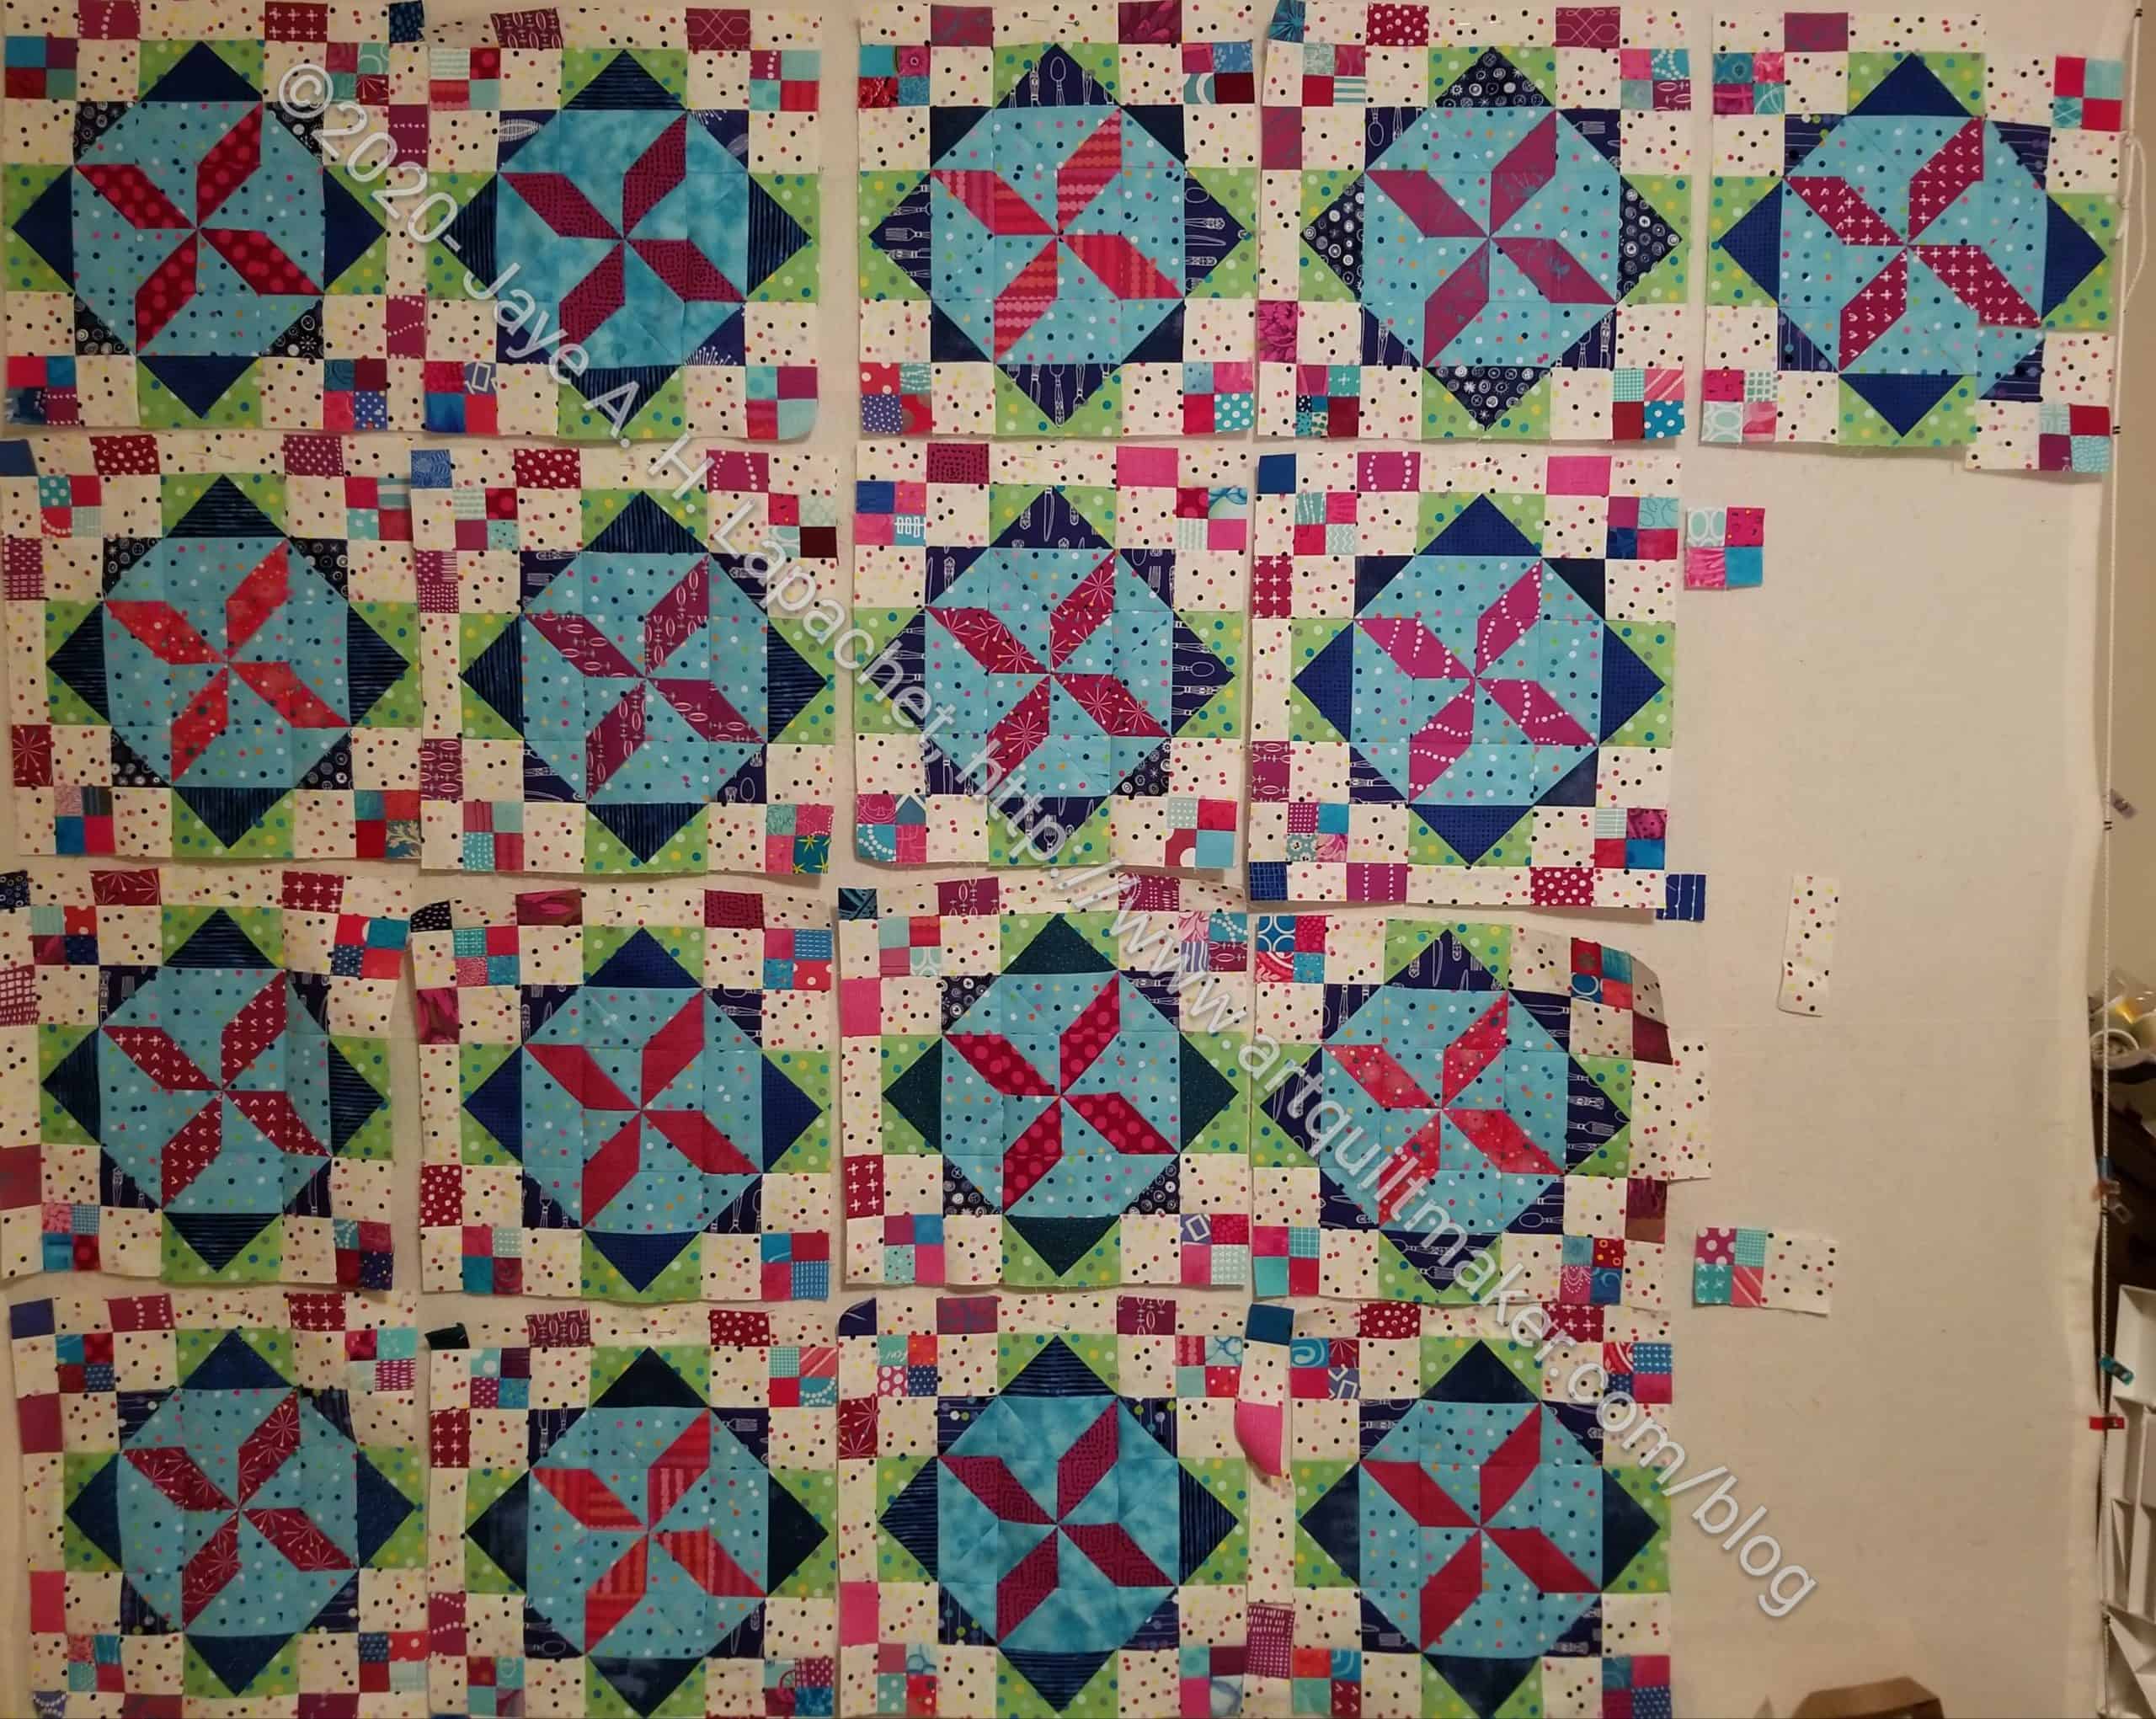
I pieced a lot this weekend, what with COVID-19 keeping me at home 24/7 (no, I am not sick, but everything is cancelled), I really had nothing else I wanted to do. I finally finished sewing together all of the whole blocks.
After not getting a response to my plea for the Amy Bradley fabric, I am cutting the last bits very carefully and scrounging every last bit. I won’t have enough to use for the half and quarter blocks, but I found another fabric that will work as well. It has a similar blue to the background of the Amy Bradley fabric, so will blend in.
A lot of the Frolic! Mystery quilts have been posted. I am determined not to let this one become another UFO, but I have to admit that a couple of the steps are not making my life easy.
They aren’t difficult just require a bunch of weird cutting and few speed techniques.
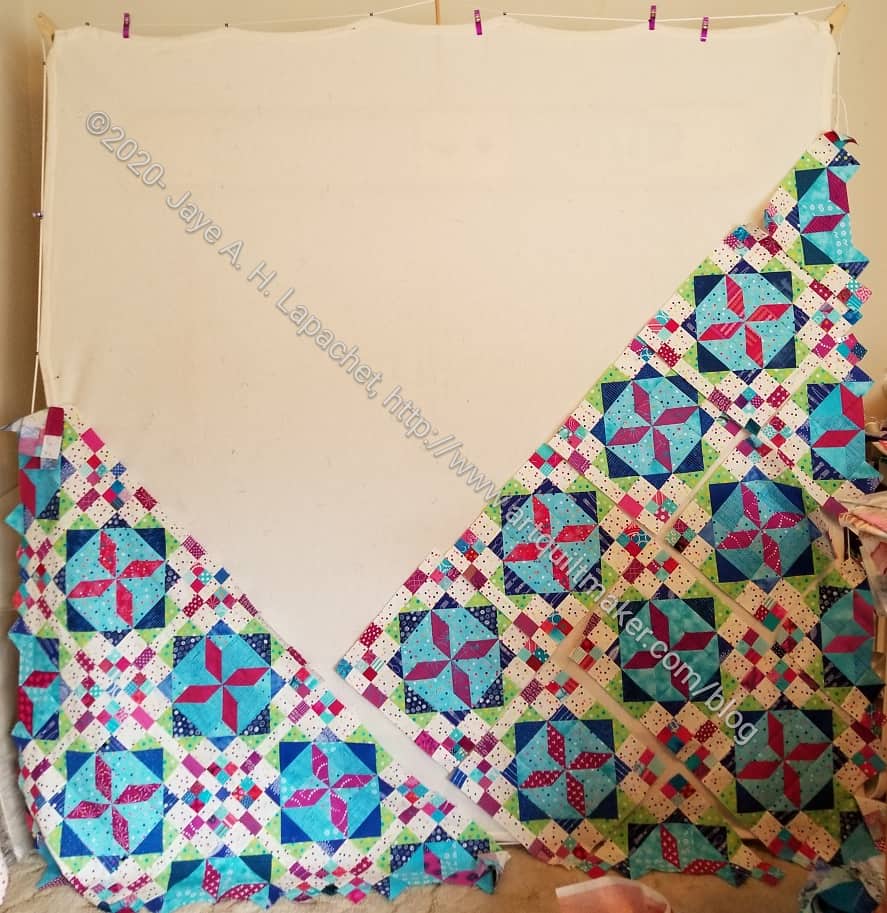
As you can see from the photo, I have done a couple of things. First, I rearranged the pieces so that the piece is oriented the way it will be oriented when it is all sewn together. I did not have it on point before. I didn’t exactly achieve the on point look at this time, but as soon as I get some of the more difficult pieces cut, I’ll be able to do it.
I also cut some of the triangles that will be Flying Geese in the near future.
I’d really like to start sewing the piece together, but I don’t have enough pieces yet. I need more of the pinwheels and the weird Flying Geese.
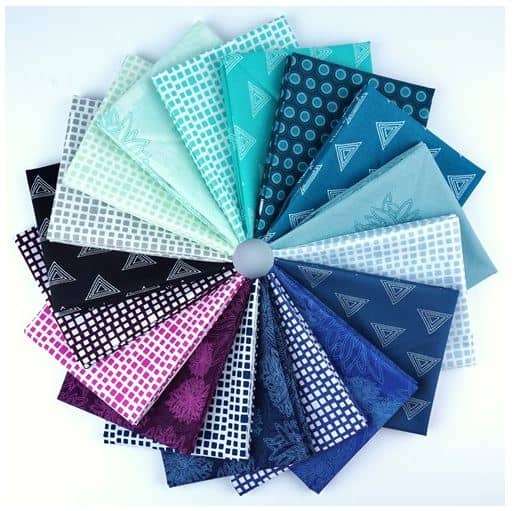
Recently I talked about some fabric I bought and some ideas for a new project. I have pretty much ruled out the idea of the complicated design I drew up. Not forever. Just for this fabric bundle.
While I have been thinking about it, I have thrown in a couple of other bits of fabric.
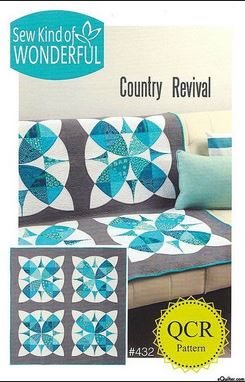
Country Revival by Sew Kind of Wonderful
Recently I bought a pattern called Country Revival by Sew Kind of Wonderful. You know what that means, right? Yep, Quick Curve Ruler.. Ever since I made MetroScape, I have wanted to use that ruler again. This might be the time.
The example quilt has a limited color palette, which I like, though I think it might be interesting to use the fabrics above, carefully, in the different circular designs.
Gosh this must seem painful to you! I said the other day that I was nearing the end. I am still nearing the end, but even closer! The corner pieces are all cut and I just need to sew them together.
30 seams, maybe?
Then I have to sew the giant chunks together. There is quite a bit of partial seaming, but that is not difficult. I have been doing it all along. Check the tutorial if you need to know how to do partial seaming.
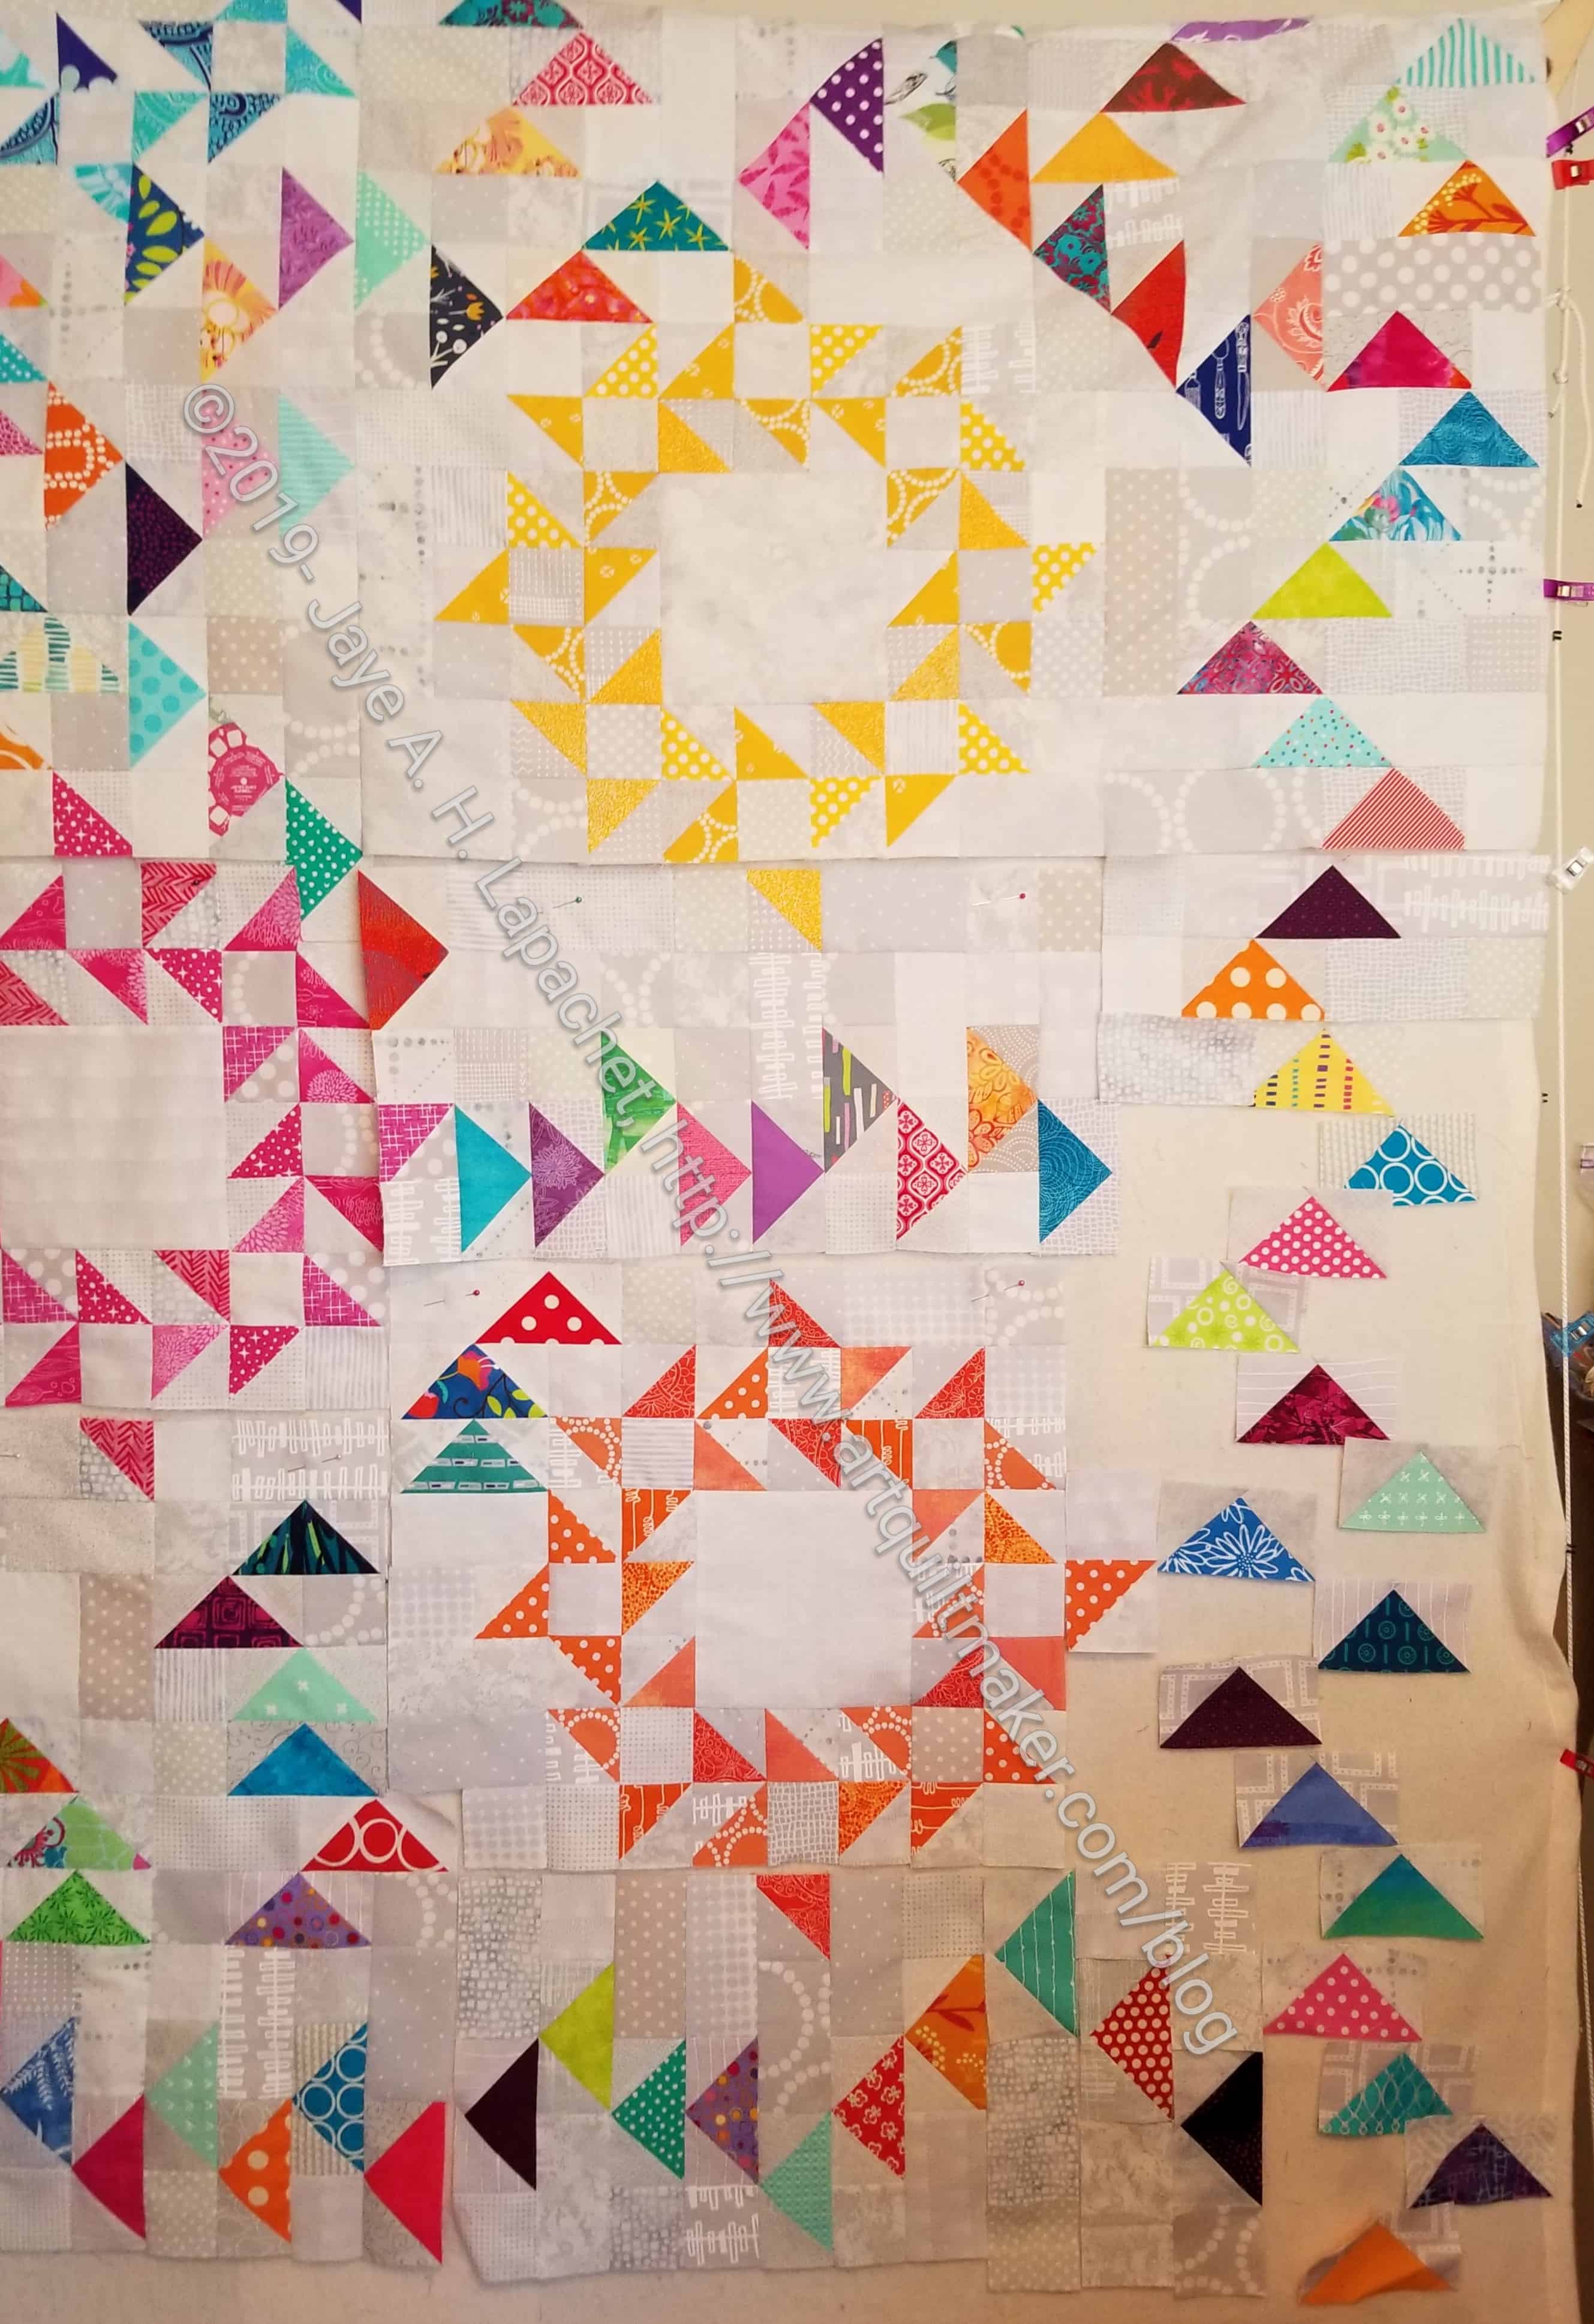
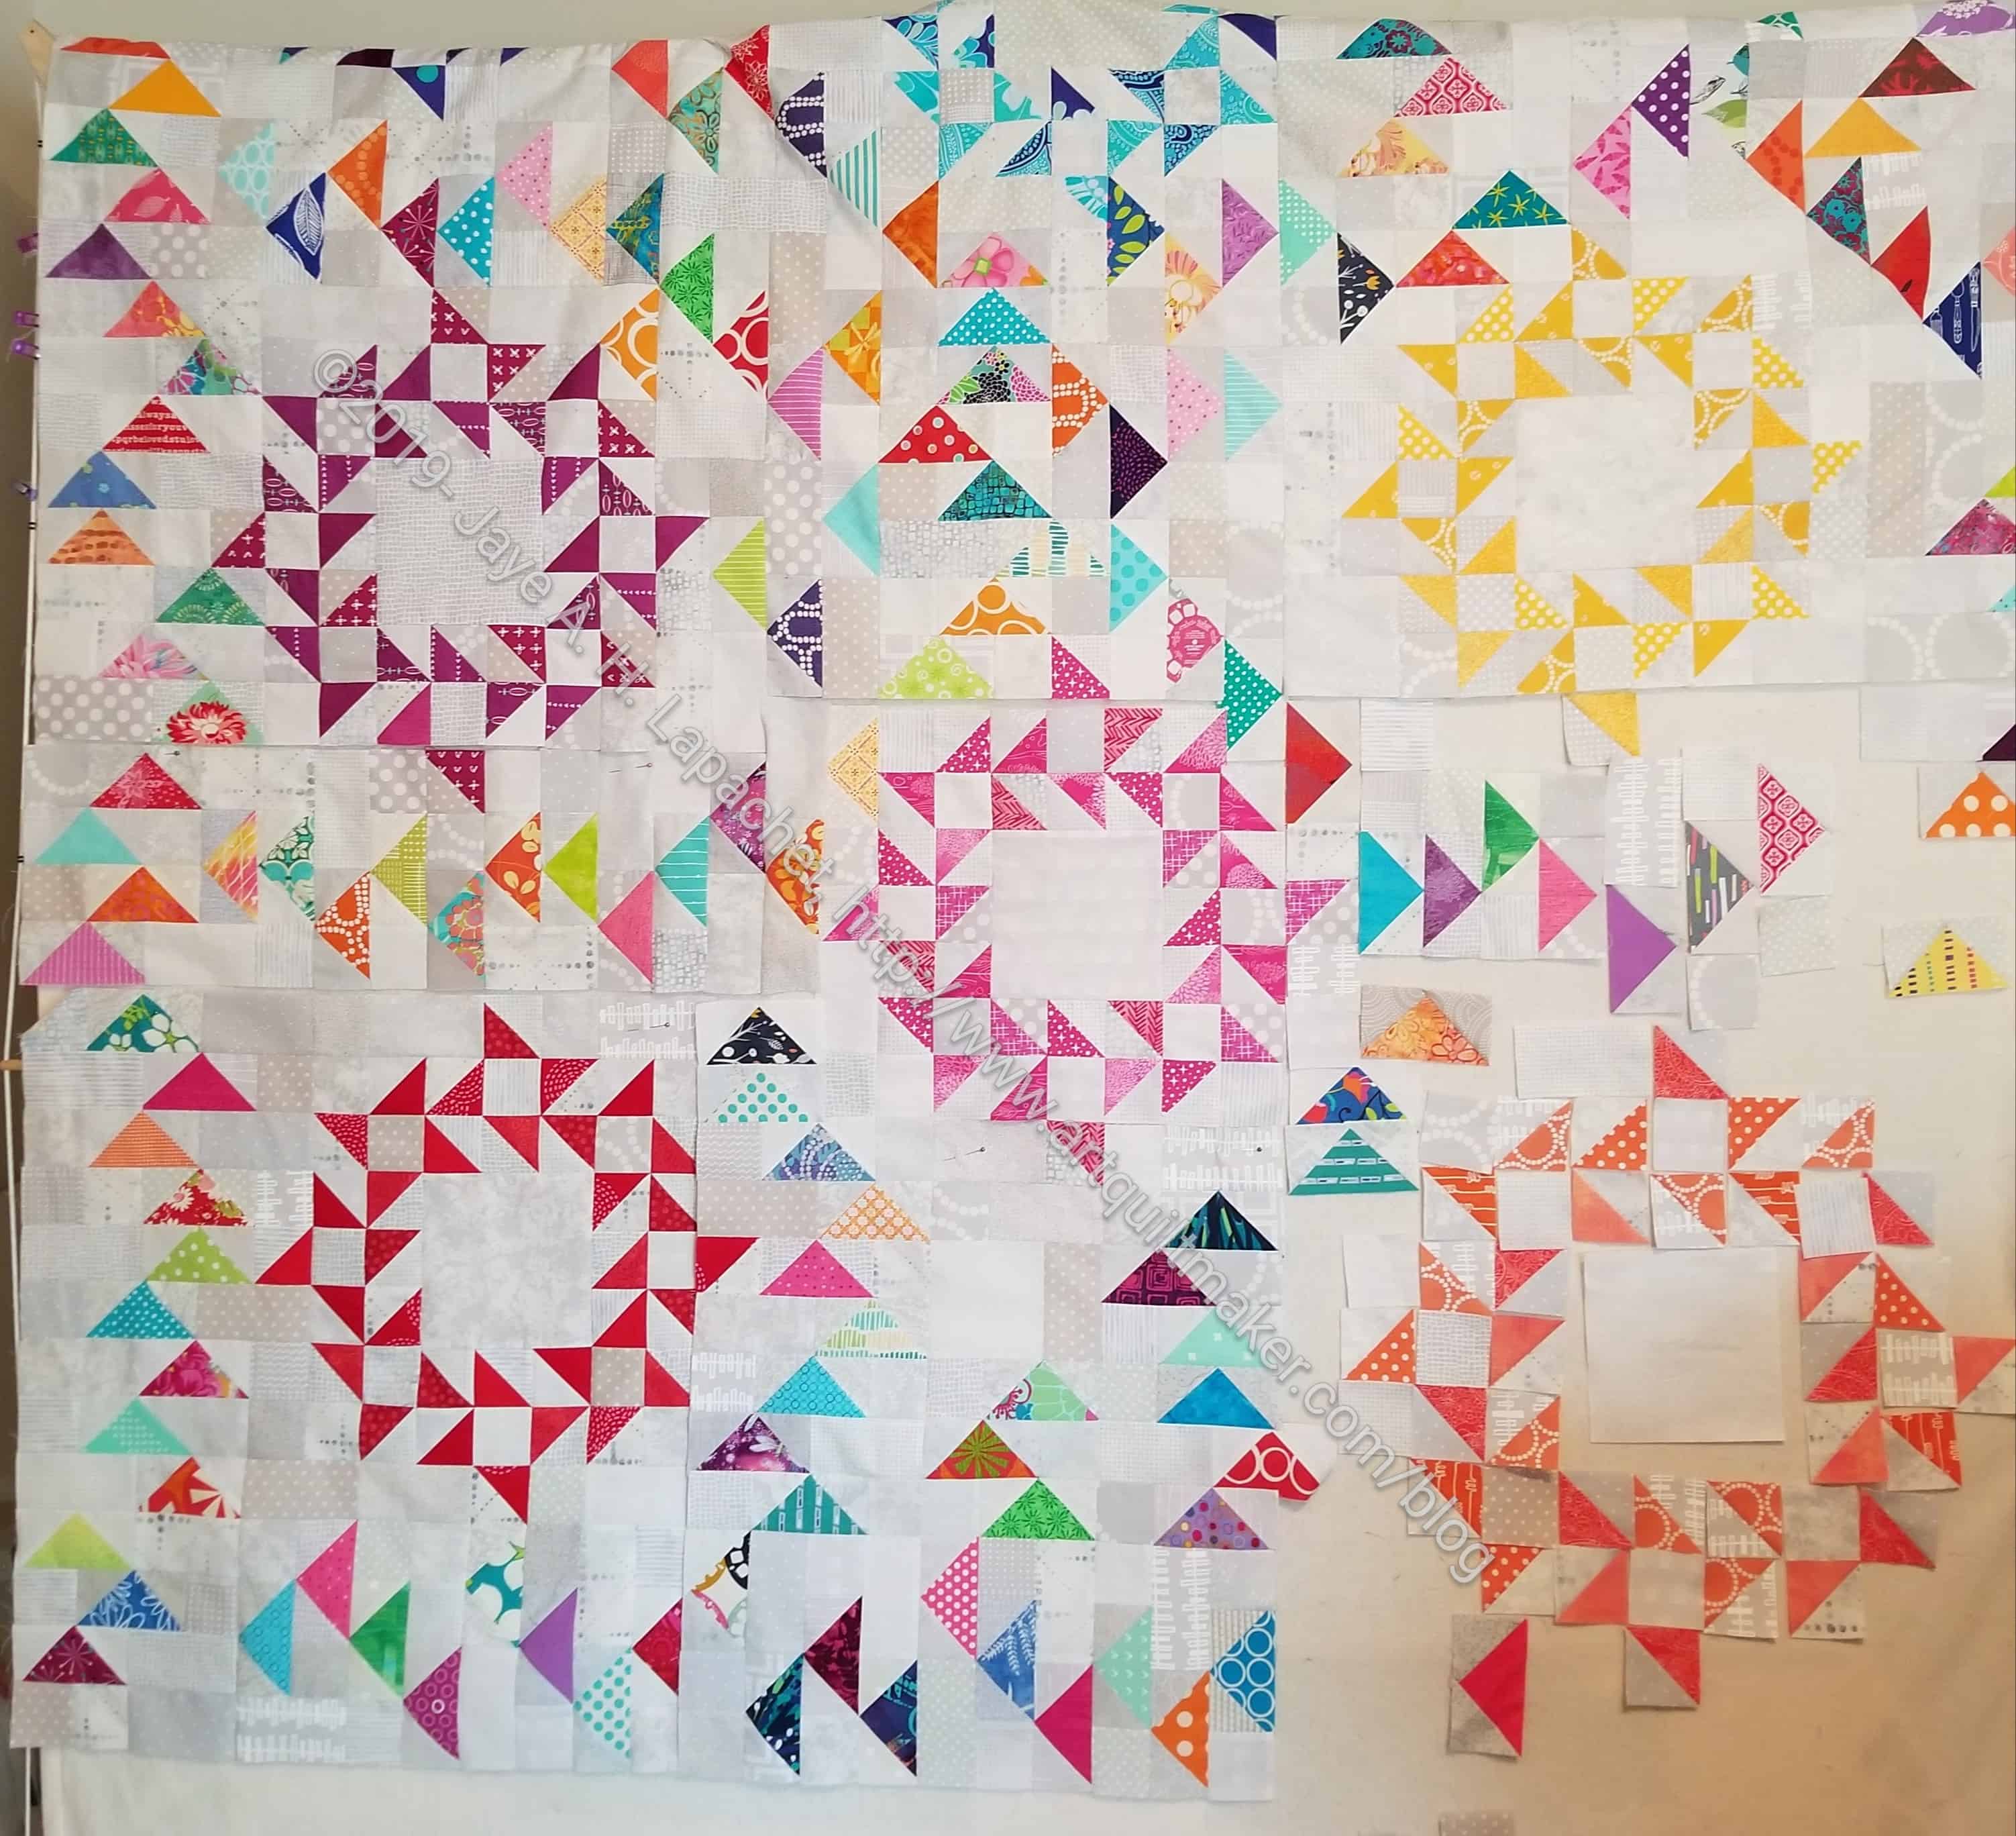
I really worked hard on Flying Around this past Labor Day Weekend. I really wanted to finish the top, but made sure that I focused on it looking good rather than finishing.
I am not 100% sure I am happy with that center section. It looks like I added a string of Flying Geese that go nowhere. I think I might have put a couple of the geese in out of order. Yep, those will have to be ripped.
Still, the whole thing is progressing and is really shaping up well. I think the Flying Geese look like little fluttering flags. I really want this to be a GREAT quilt. I thought that the Carpenter’s Wheel would be GREAT, but it turned into a disappointment once all was said and done. I am not sure why.