Frolic! was received by my friend and she sent me a wonderful text, despite her loss, when she received it.
Frolic! is a Bonnie Hunter pattern. It was one of her Winter Mystery quilts that I actually sewed with everyone else. I was also really happy with my color choices.
This is a cheerful quilt. While it wasn’t designed specifically for my friend, I thought she would like it while I work on a quilt specifically for her.
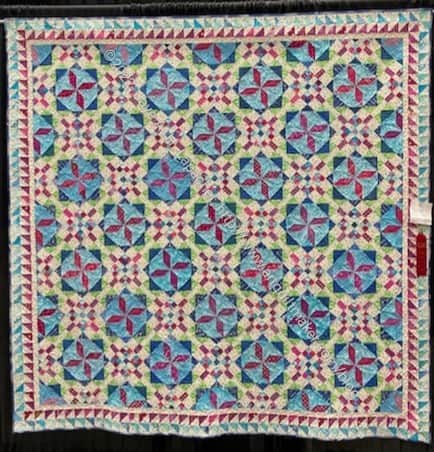
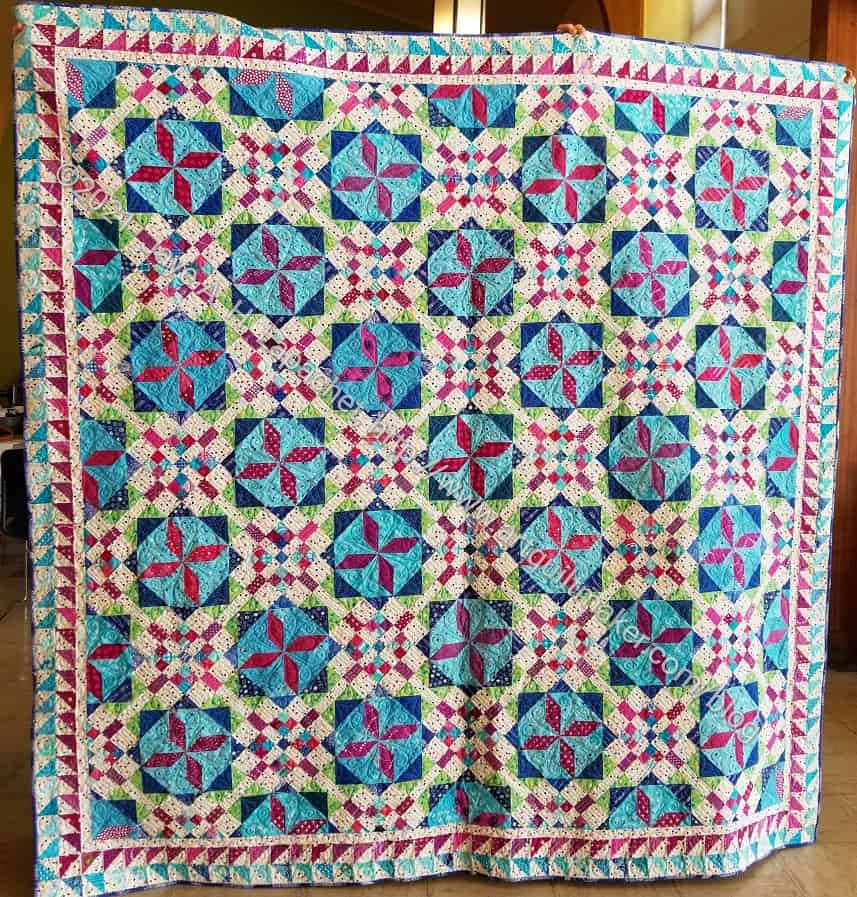
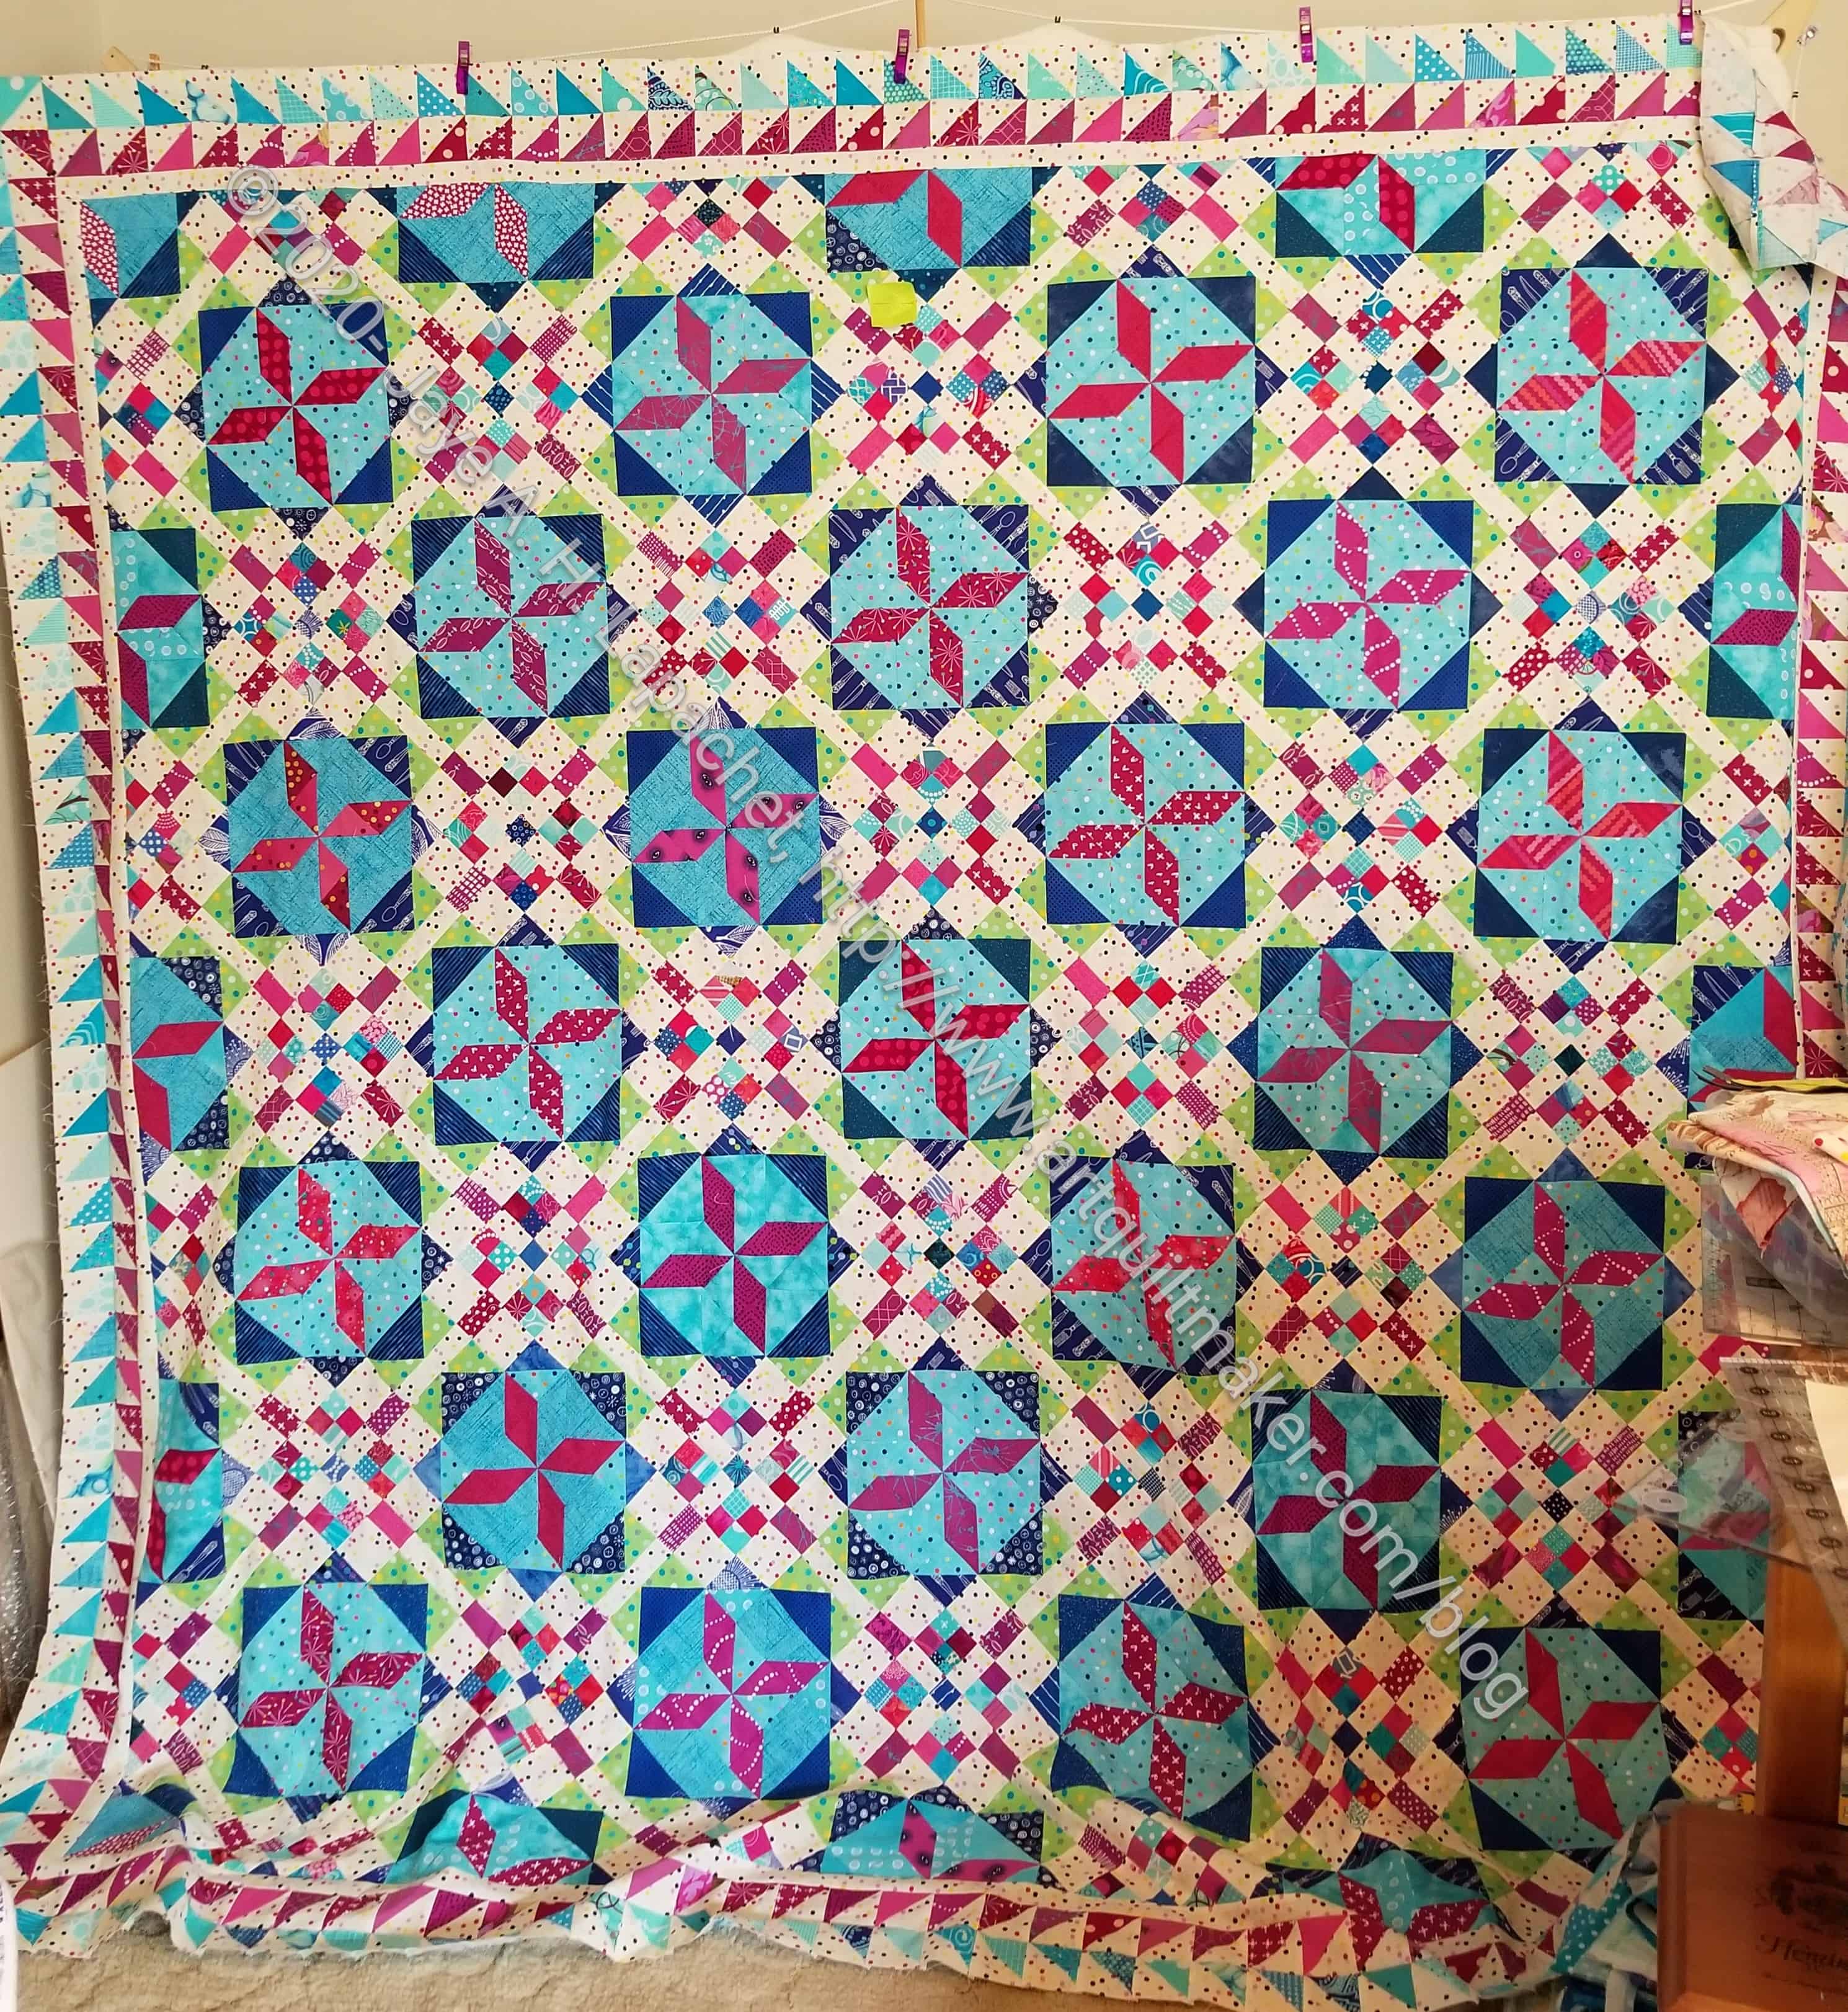
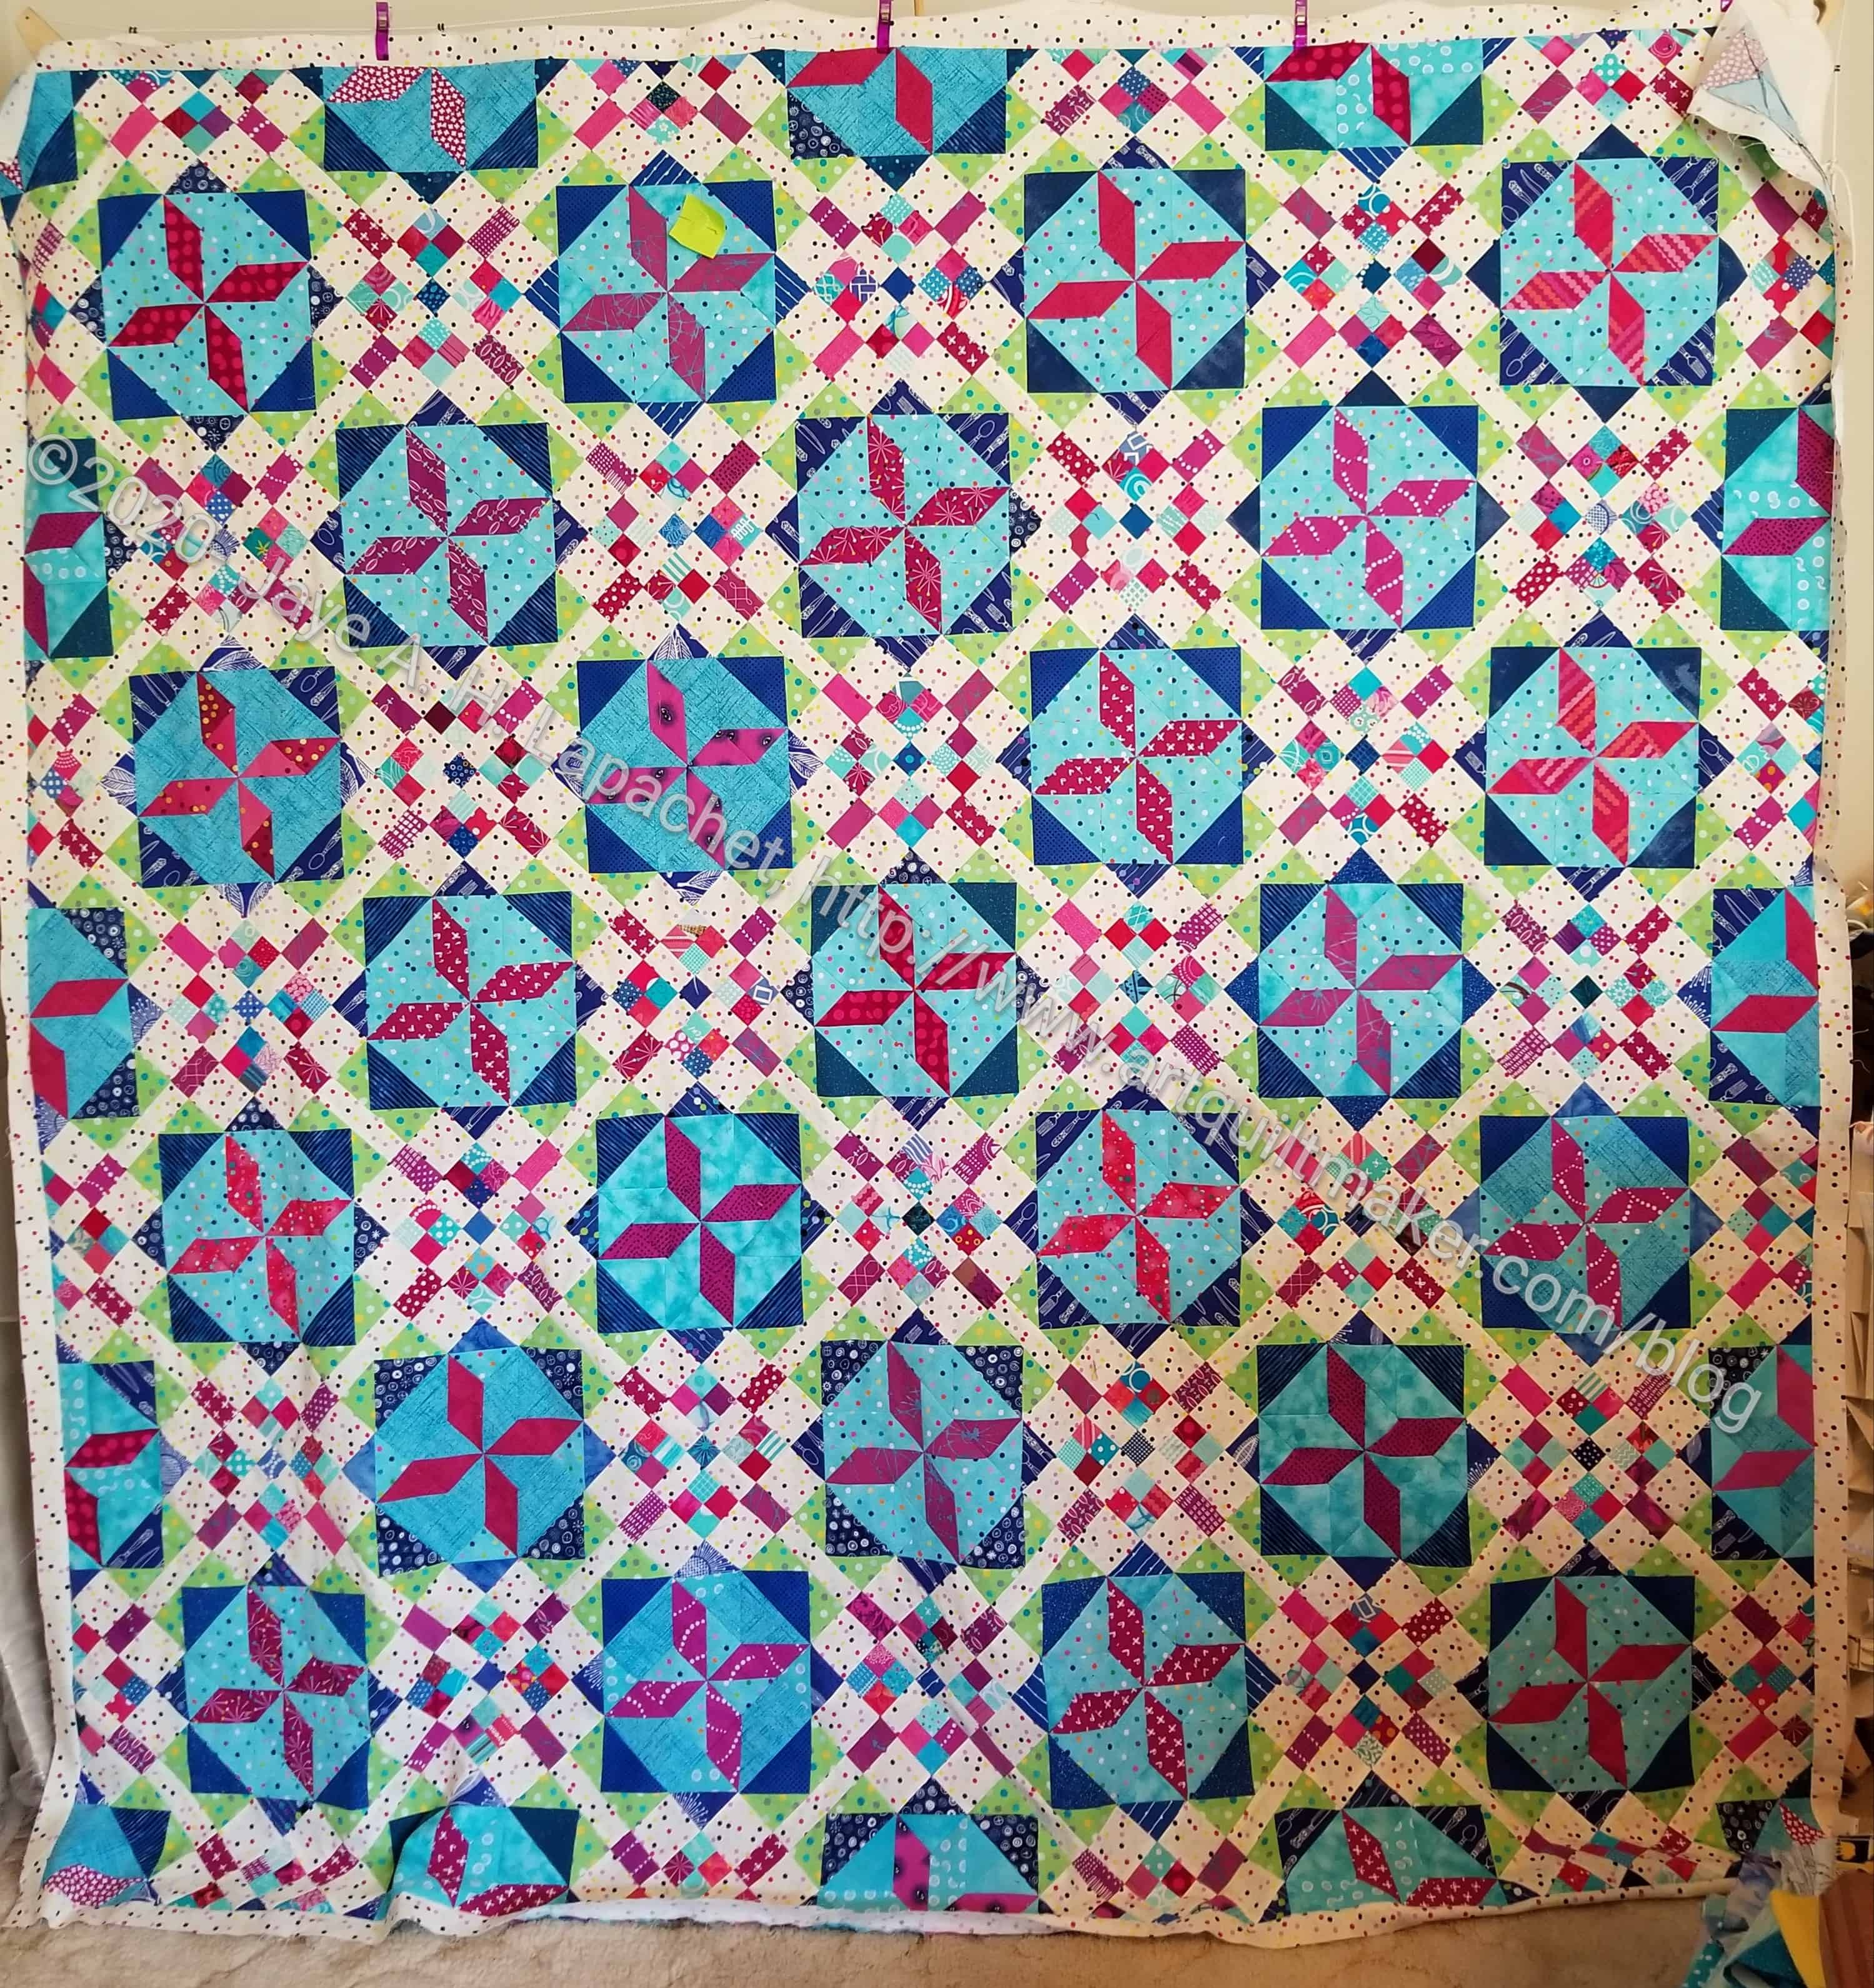
I finally got a picture of the finished Frolic! Some guild friends helped me hold up all the large quilts. Thanks to Tim, Mary, Amy, Marty and everyone who helped.
Colleen did a great job quilting it, as usual. She didn’t quilt it for a long time to help me manage my cash flow, which is part of the reason it took so long to finish. I think the part I like best is the border. It went together so easily and I still marvel at that. The quilt is great and I do like the colors, but those half blocks bug me.
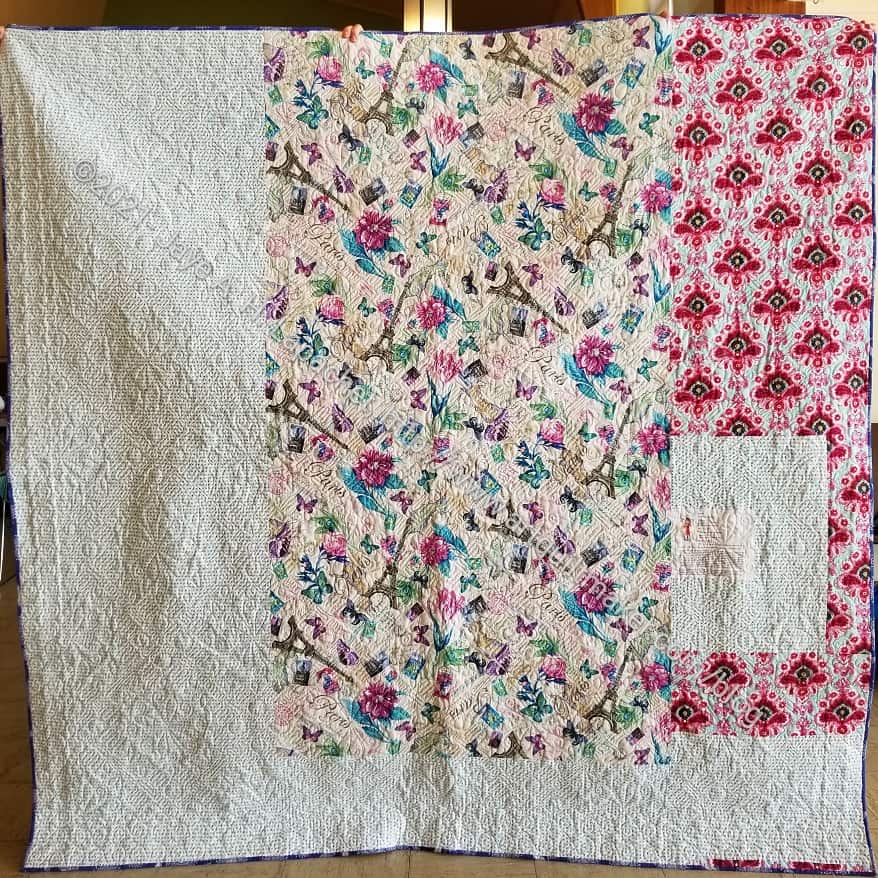
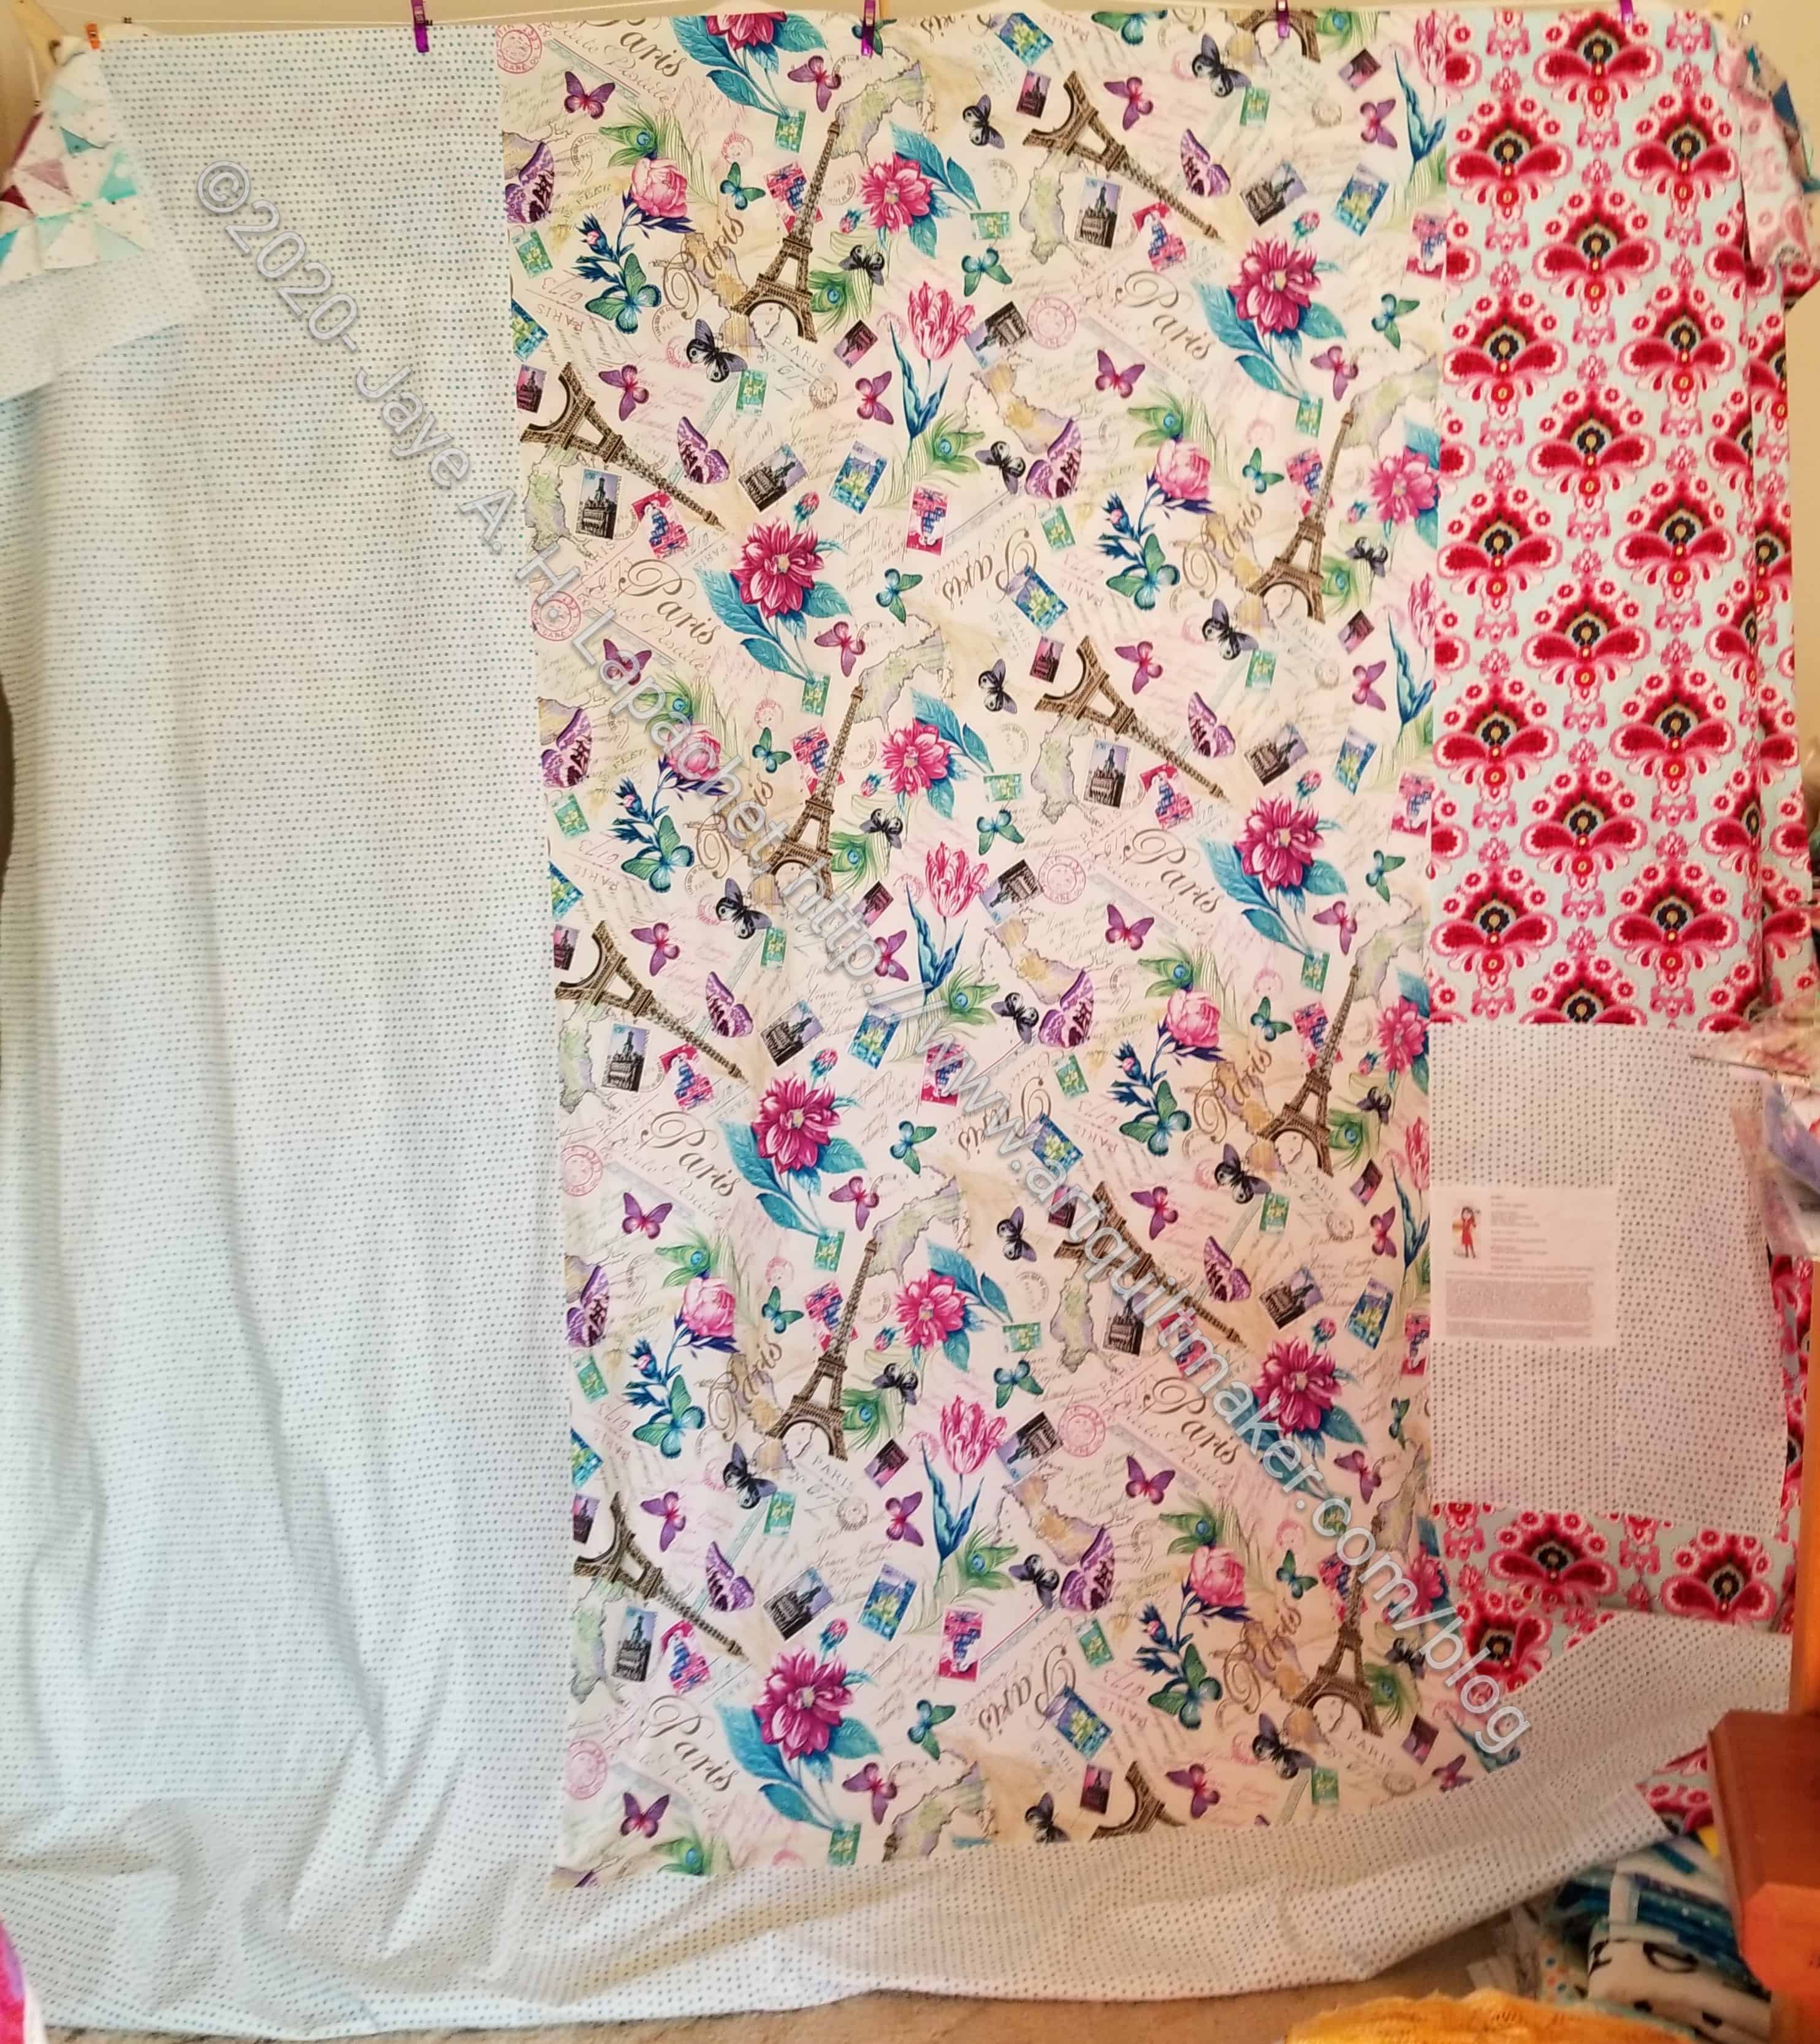
Frolic! Finished back
I used some big background prints on the back, as usual. I added a white background print to fill out the rest of the back. I had it laying around and it worked. No Philip Jacobs on this back.
I finally got Frolic! back from Colleen as well. I checked and it has been about a year since I finished the top. Colleen said she was horrified to realize that she had had the top since September. I don’t really remember, though I know, because of the pandemic, that I probably didn’t take it to her until then. Last year is such a blur that I can’t really remember. I don’t have a photo of the back or any note about making it. Frolic! was a much bigger project than I anticipated, so I was probably glad to get it off to be quilted.
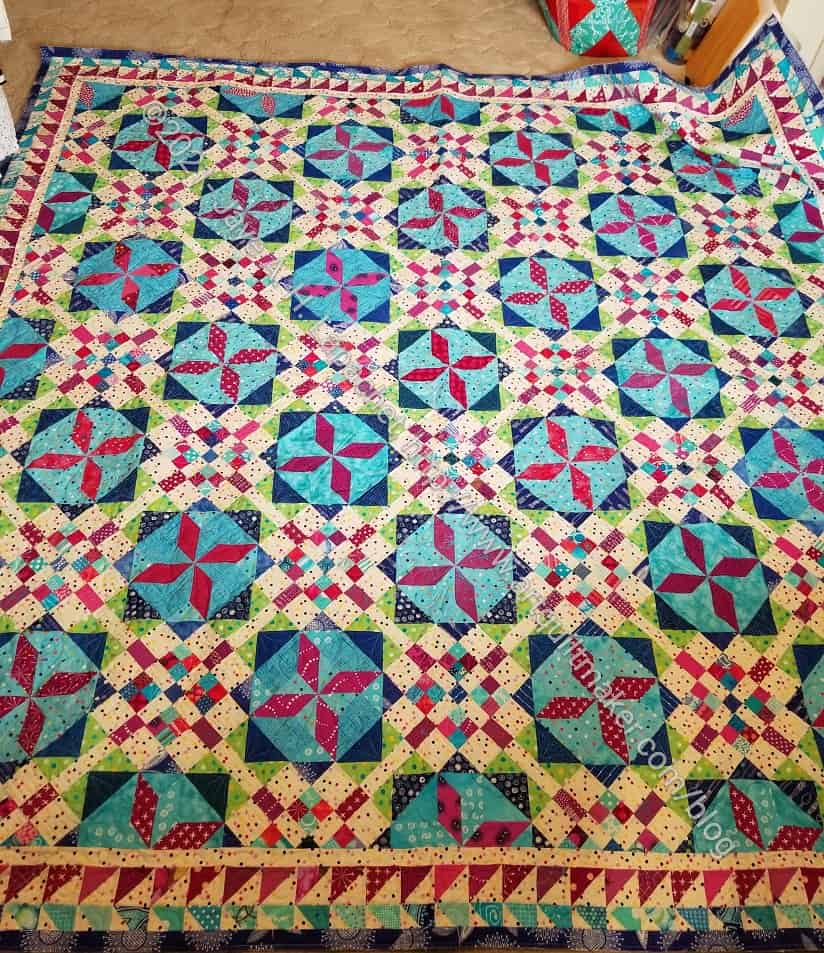
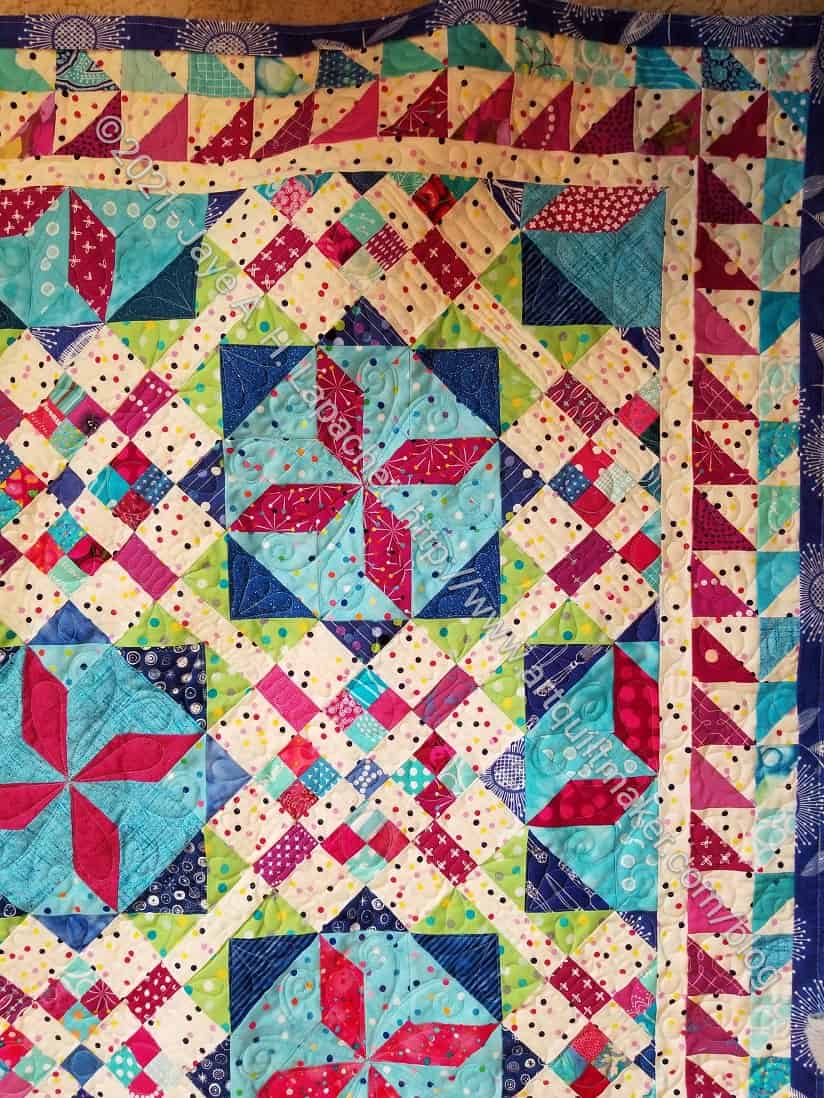
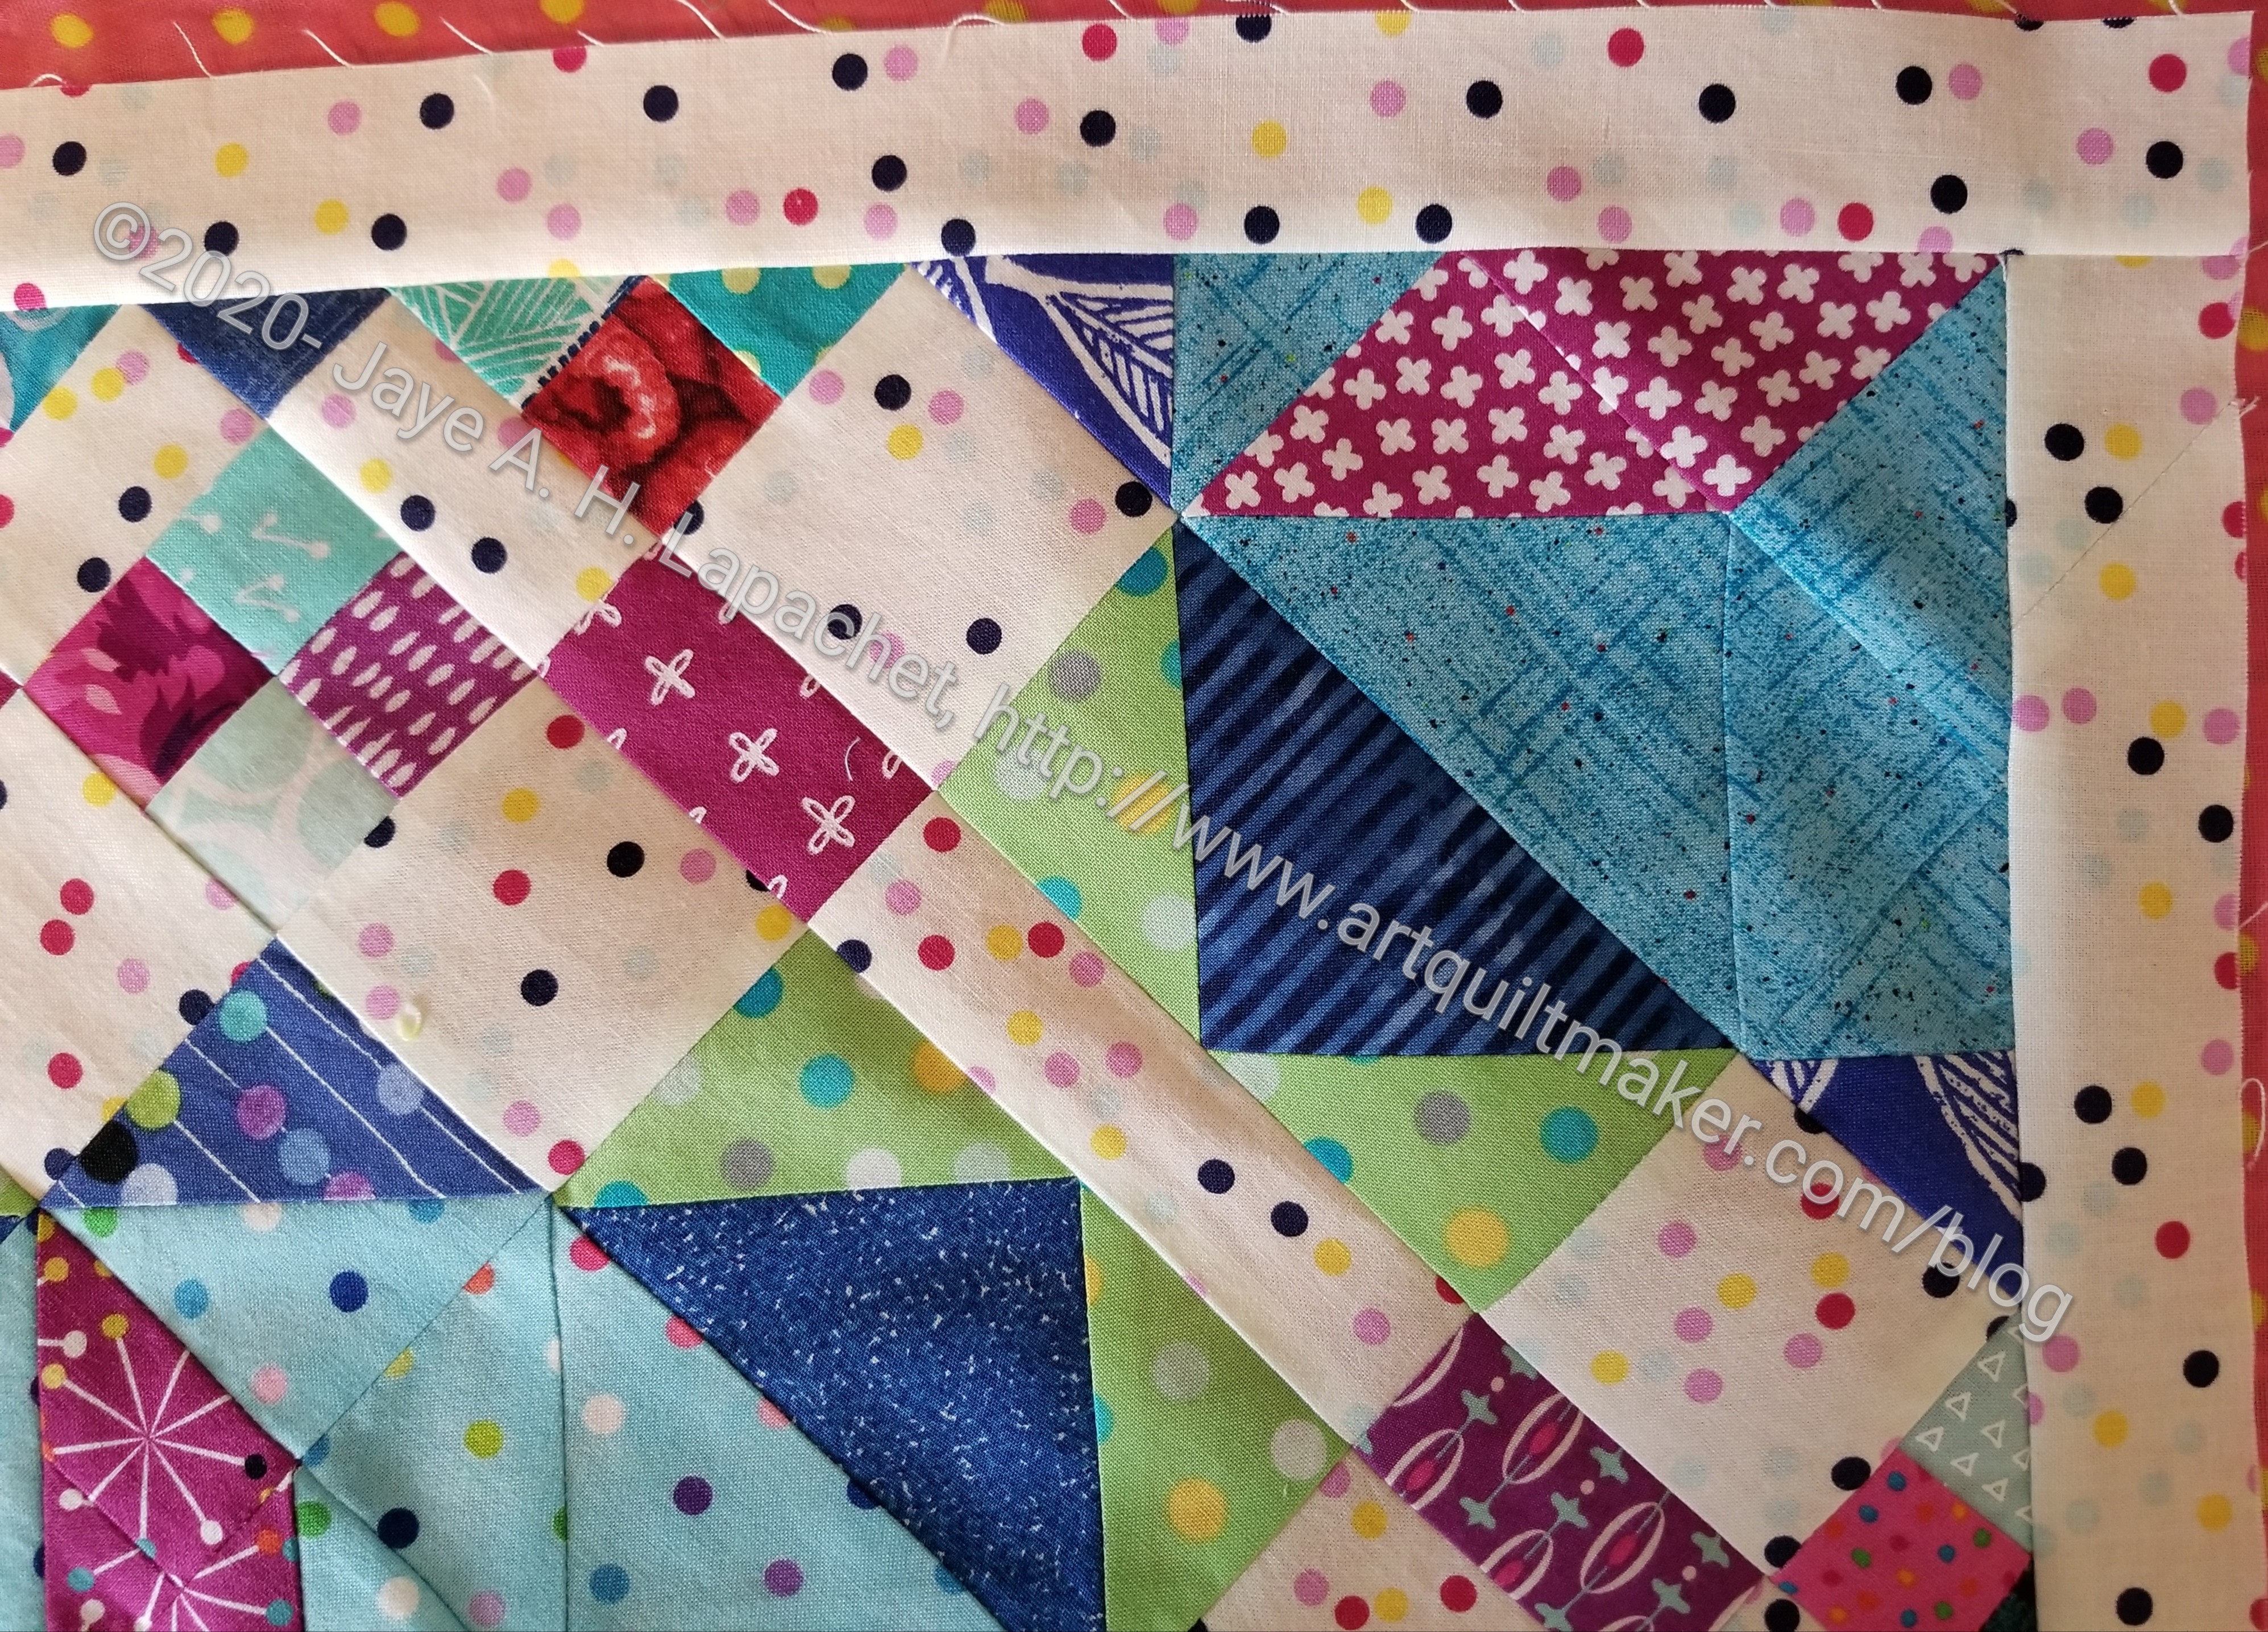
Frolic! Corner detail, quilted not bound
Again, I flung the quilt on the floor of my workroom and took a photo. It is really large and I know even my tall DH couldn’t hold it up enough for me to get a good straight on photo.
I am still really excited about the border and how perfectly it came out. I remember how excited I was making the borders and how much more excited I was when they came out really well.
I am still not much of a fan of the corners, but that is a small part of the quilt.
Quilting detail
Quilting detail
The quilting is pretty intricate, so I know it took her a long time even once she got it on the machine. I really like the way this quilt came out. I don’t know what I will do with it. Soon, I am going to need another house to hang and store all these quilts!
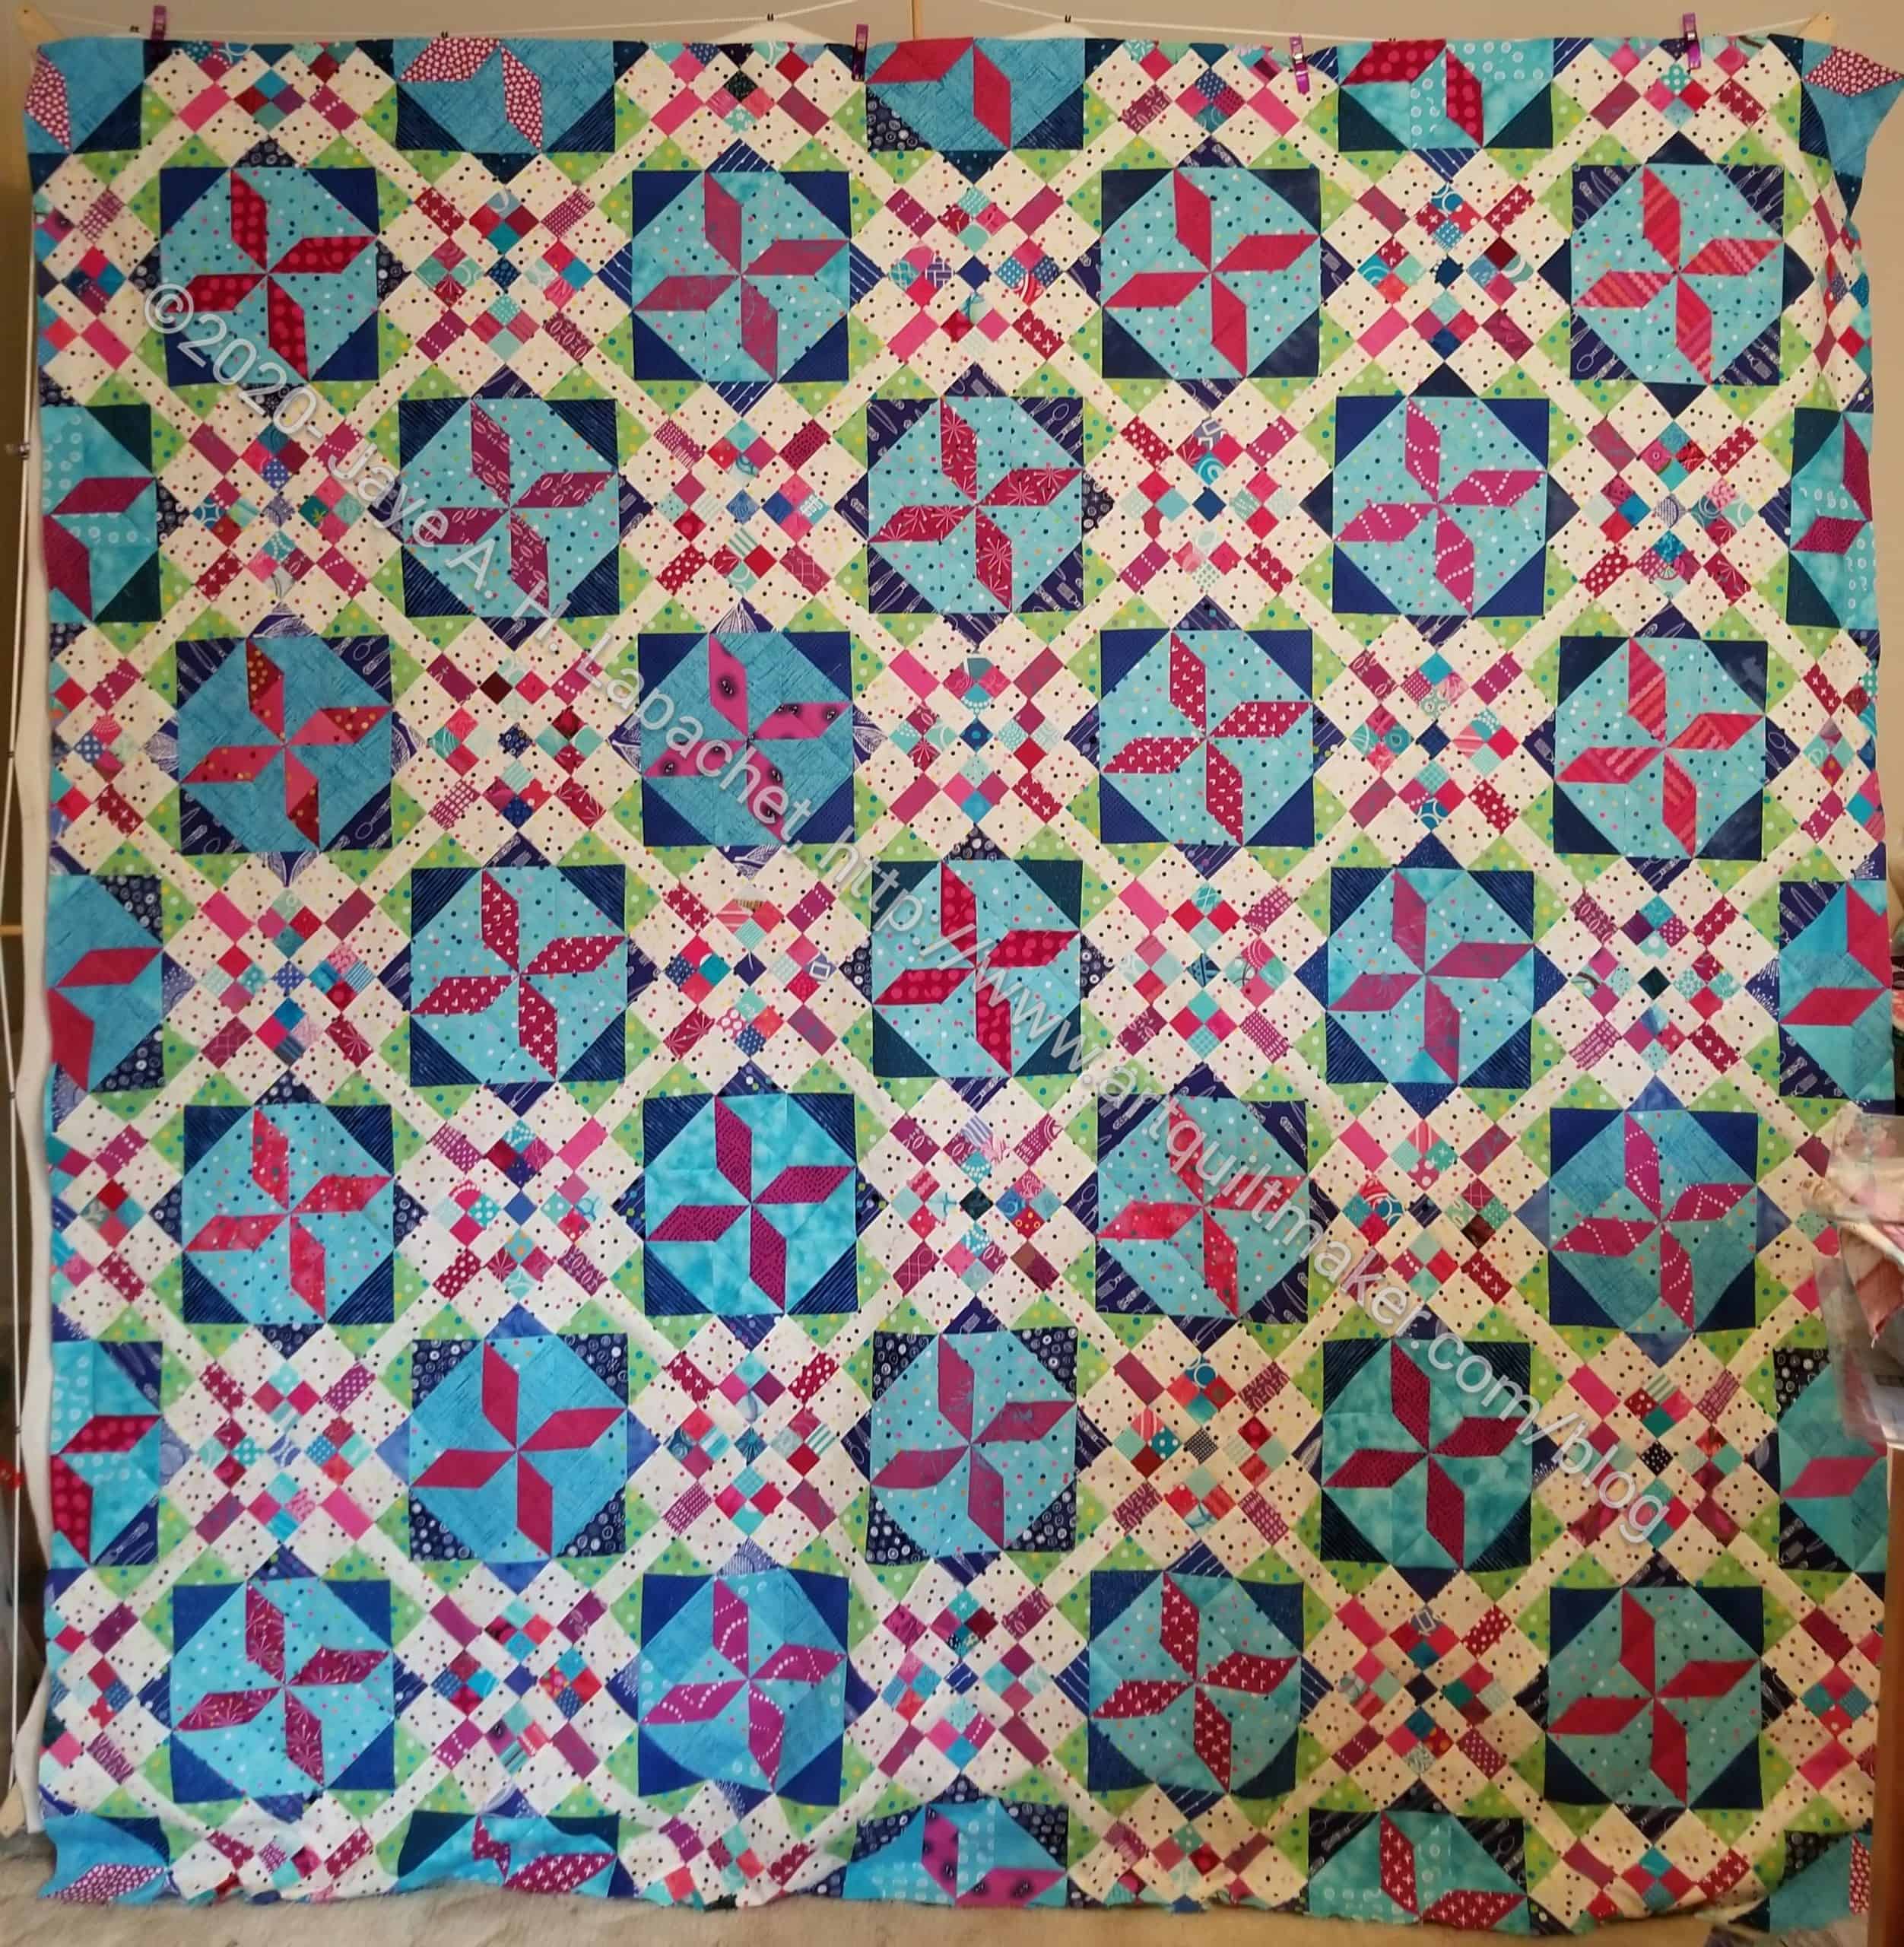
Yes! I finished the Frolic! top. The borders were not painful. I was sure the top and bottom borders would cause me problems. I had to ease a bit more on the top and bottom than I did on the sides. Other than that they went on smoothly. I am really pleased.
I thought about adding another plain border, but decided I couldn’t face it.
Frolic! Back
I also made the back and the binding so the whole piece is ready to be quilted. For the moment, I am not planning on doing a drive-by at the moment, but we will see.
This quilt used about 11 yards of fabric, which put my total up. I am thrilled about that and thrilled that the piece is really for quilting. Really thrilled!
Frolic! Top finished- corner detail
I can’t decide whether I like working on quilts for so long. I did other projects after I started this, but no quilts except donation tops. It is the second project I have worked on recently that took me ~5 months to piece. I am trying to decide if I like those types of projects. I definitely don’t mind the piecing. I think the problem is not having things to show at meetings, feeling like I am making progress and the process being slow. I have to find a balance between impressive, complex projects and speed.
I spent part of my lunch hour working on the Frolic! borders yesterday. I also worked on it for awhile after work and after dinner.
I can’t tell you how fabulous it was! I got the side borders on the quilt, which meant taking the HST borders and sewing them together. They fit really well. I didn’t have to ease barely at all. I am thrilled. On to the top and bottom borders. The end is near!!!
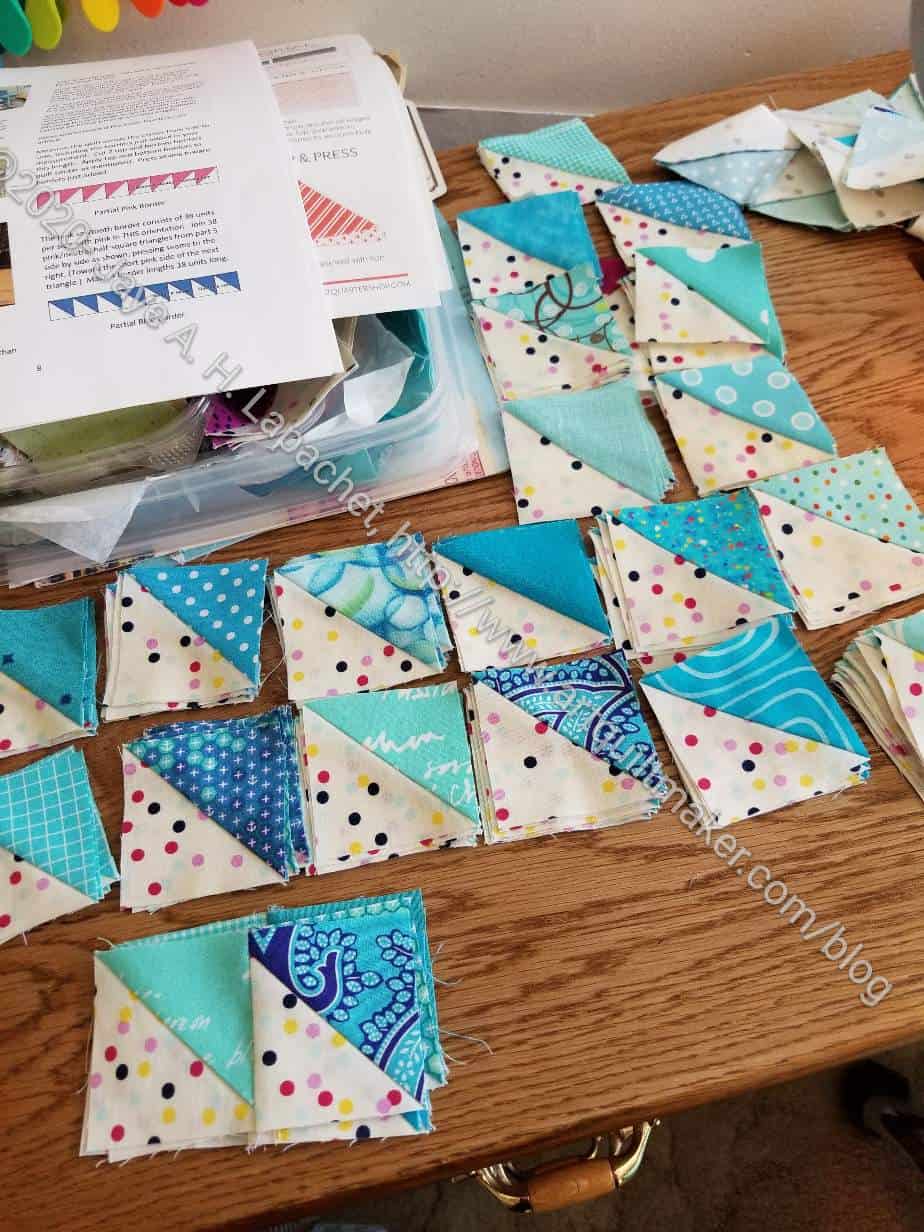
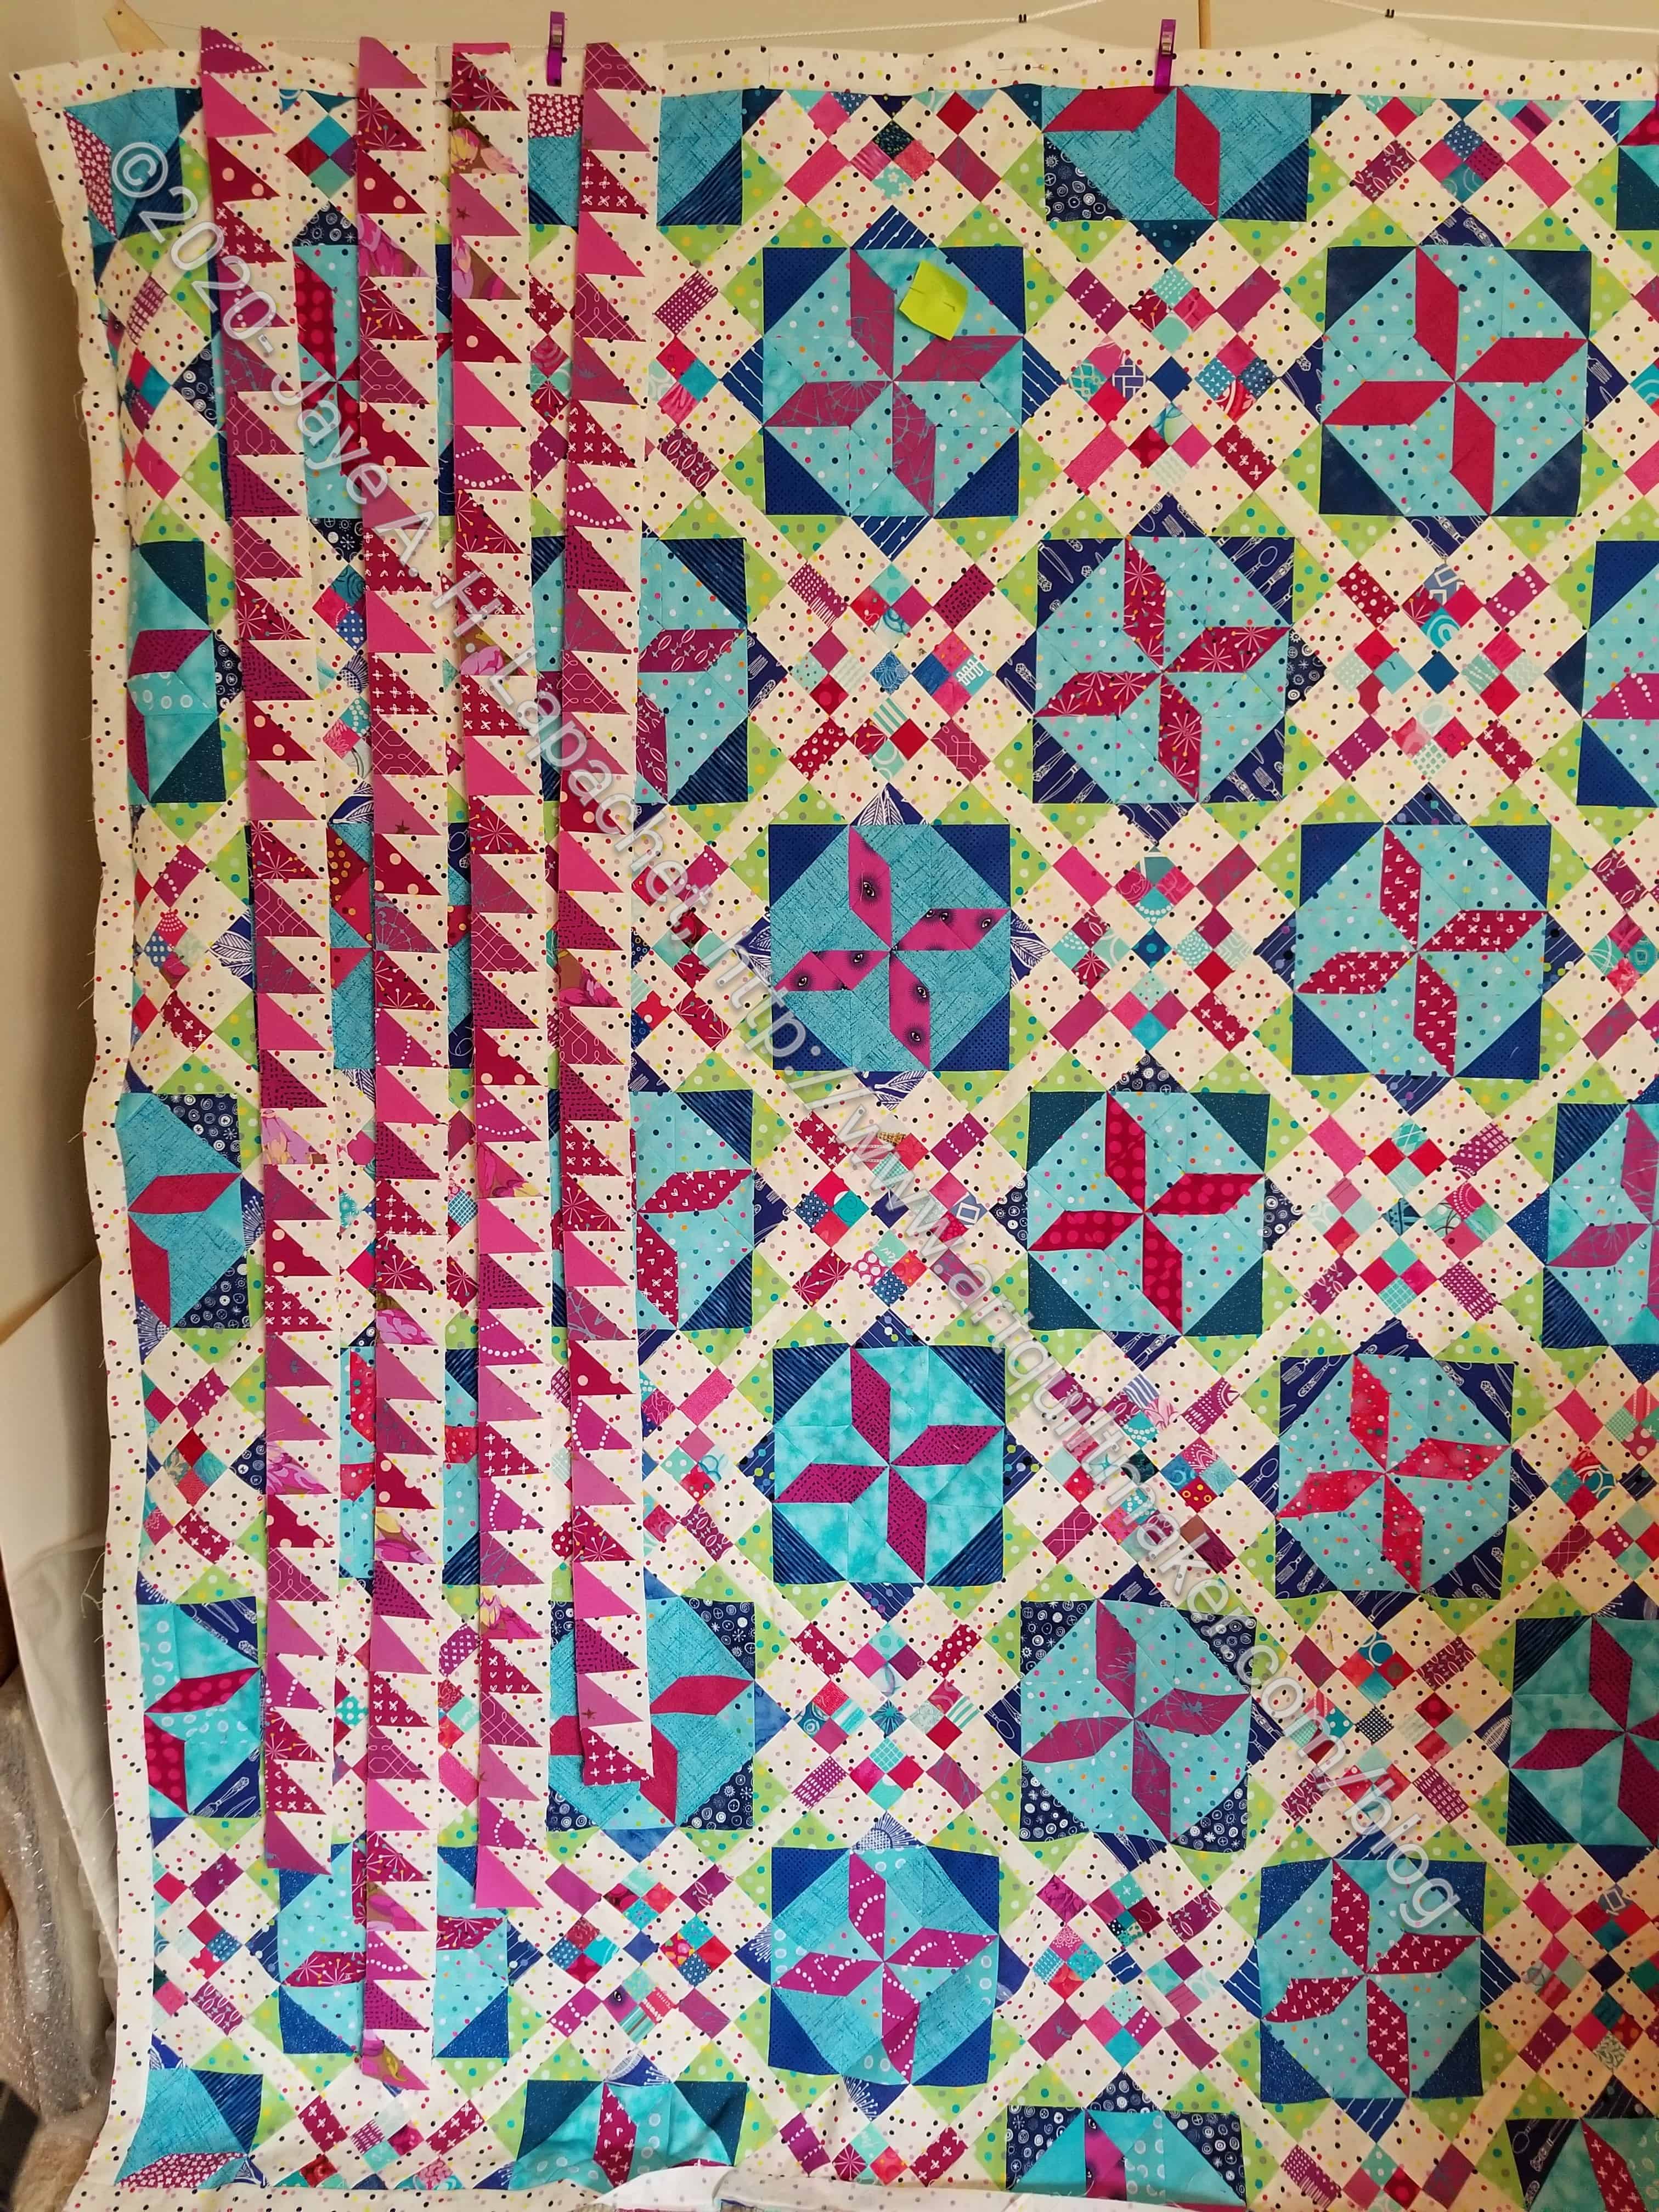
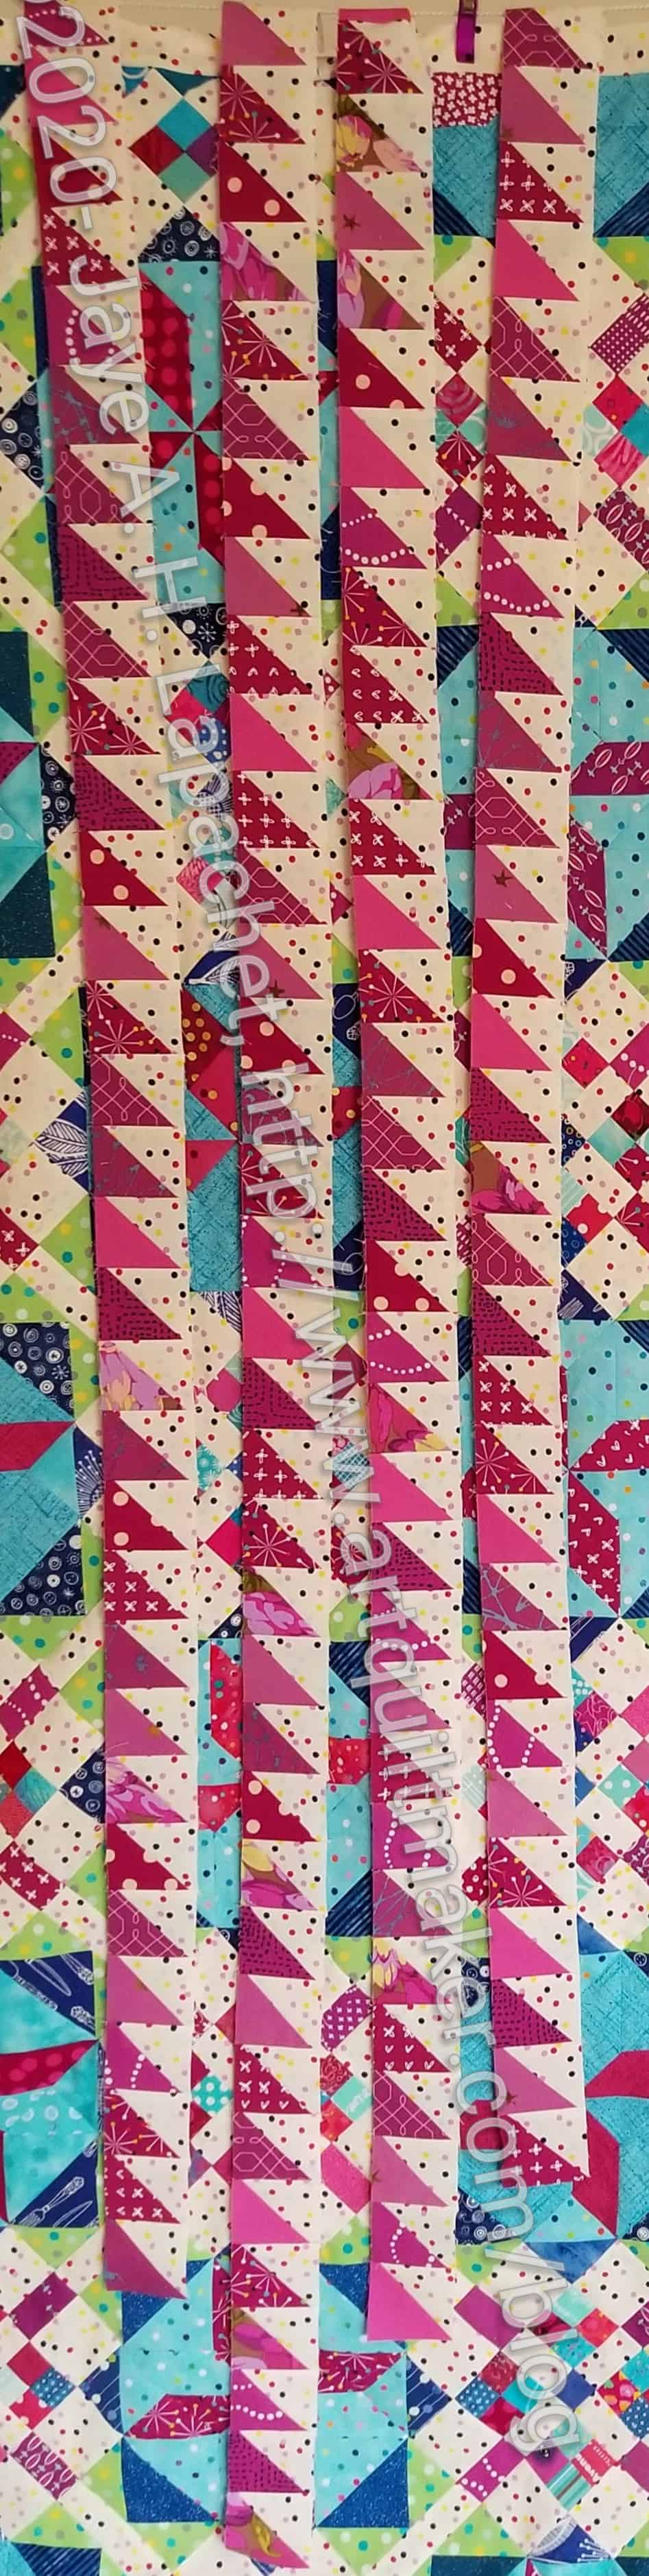
The first set of borders is finished. The HSTs are sewed together, but the strips are not sewn to the quilt.
The photo shows the border strips hanging over the top of my design wall. I worked hard at not putting the same print next to each other. They are controlled scrappy and I am pleased with the way they came out.
I didn’t have as many red-violets as I have other colors, but I do like that color. Not quite pink, not quite purple.
I know it is hard to see the borders, but, trust me, they are fabulous. 🙂 Click on the photos to see them larger.
Frolic! center with first border (detail)
I will start working on the blue HSTs soon.
I don’t know if I will keep this quilt or give it away.
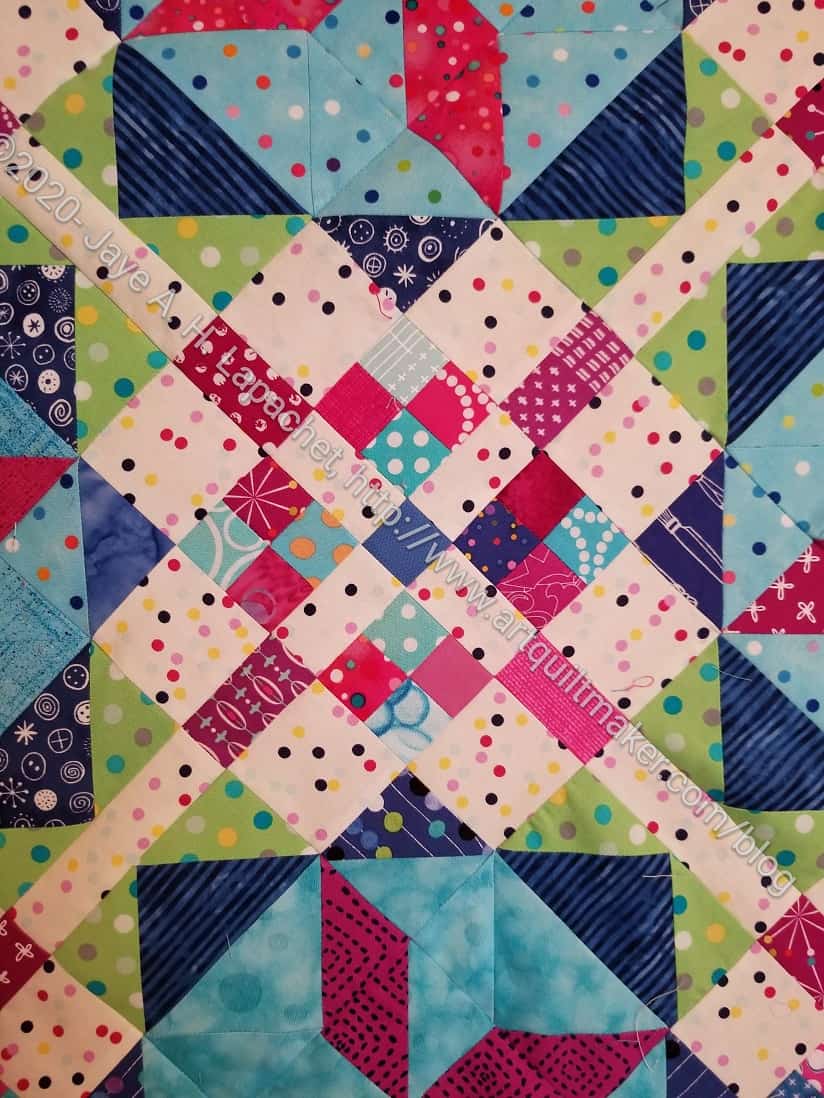
I talked about trimming Frolic! the other day. I spent the weekend working on the pouch, but was able to sew the first border on to Frolic! as well. This corner detail shows the border up close and personal.
It was a BIG hassle, because the entire edge of Frolic! is on the bias. If I have any advice for you it is: DON’T MAKE YOUR EDGES ON THE BIAS. It is doable, as you can see, but a lot of easing went into adding the border. You can’t just sew and extra 10 inches on to the edge and trim it off. Bias stretches. By adding a longer border and trimming it, you will get waves and I didn’t want a wavy border.
N.B. I wouldn’t dare question Bonnie Hunter’s reasons for telling me to make the quilt this way. She had good reason (math craziness) for make the quilt this way. I just suggest that YOU not design a quilt this way.
Also, if I had been thinking, I would have sewed a mitered corner. I wasn’t thinking and I don’t think it will matter in the long run.
Frolic! center with first border
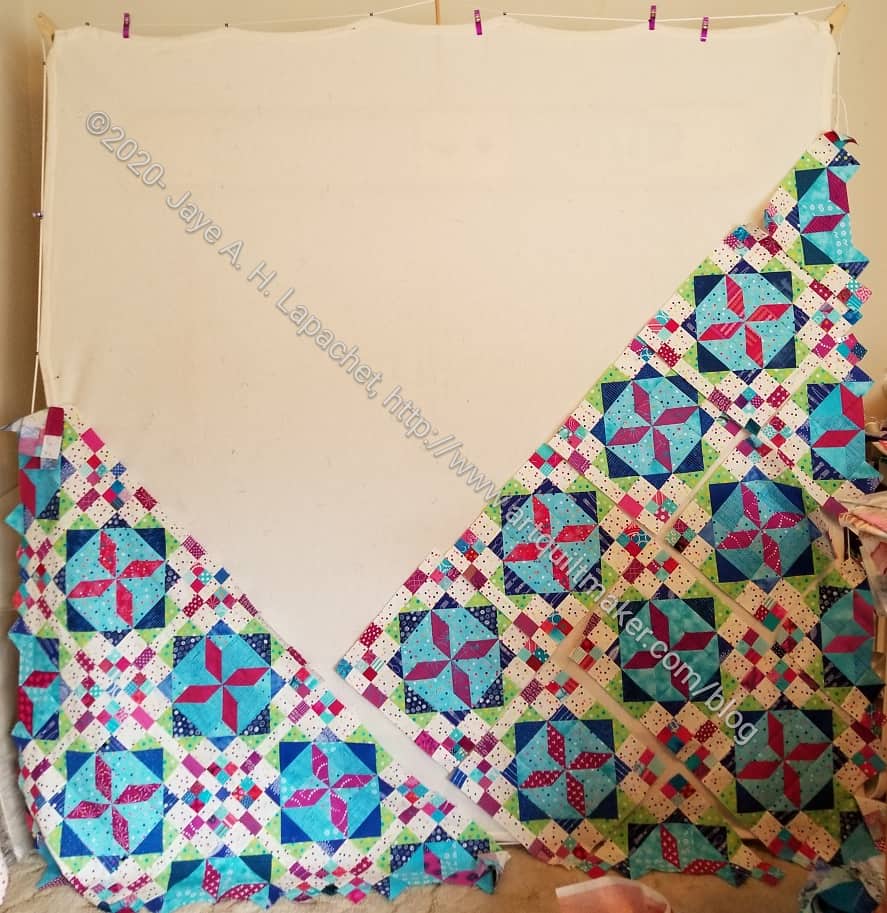
As usual, though I didn’t design this quilt, as you know, this quilt is larger than my design wall. Thus, it is hanging off the design wall a bit and might be hard for you to see in the second photo (right).
I have the HSTs for the next two borders, so I need to get sewing.
Yes, you have to experience every little detail of the process.
Can you tell I trimmed it?
The edges of the quilt were not squared during piecing, so the top center had to be trimmed. I did in two stages, mostly because I had to go back to work.
I am really pleased with this quilt. Piecing it all together made a huge difference!
Today would be Tax Day, but it isn’t and I am pretty sure I don’t need to go into why.
This is the last seam. I had to take a photo, because I feel like this top has been such an effort.
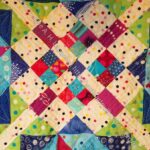
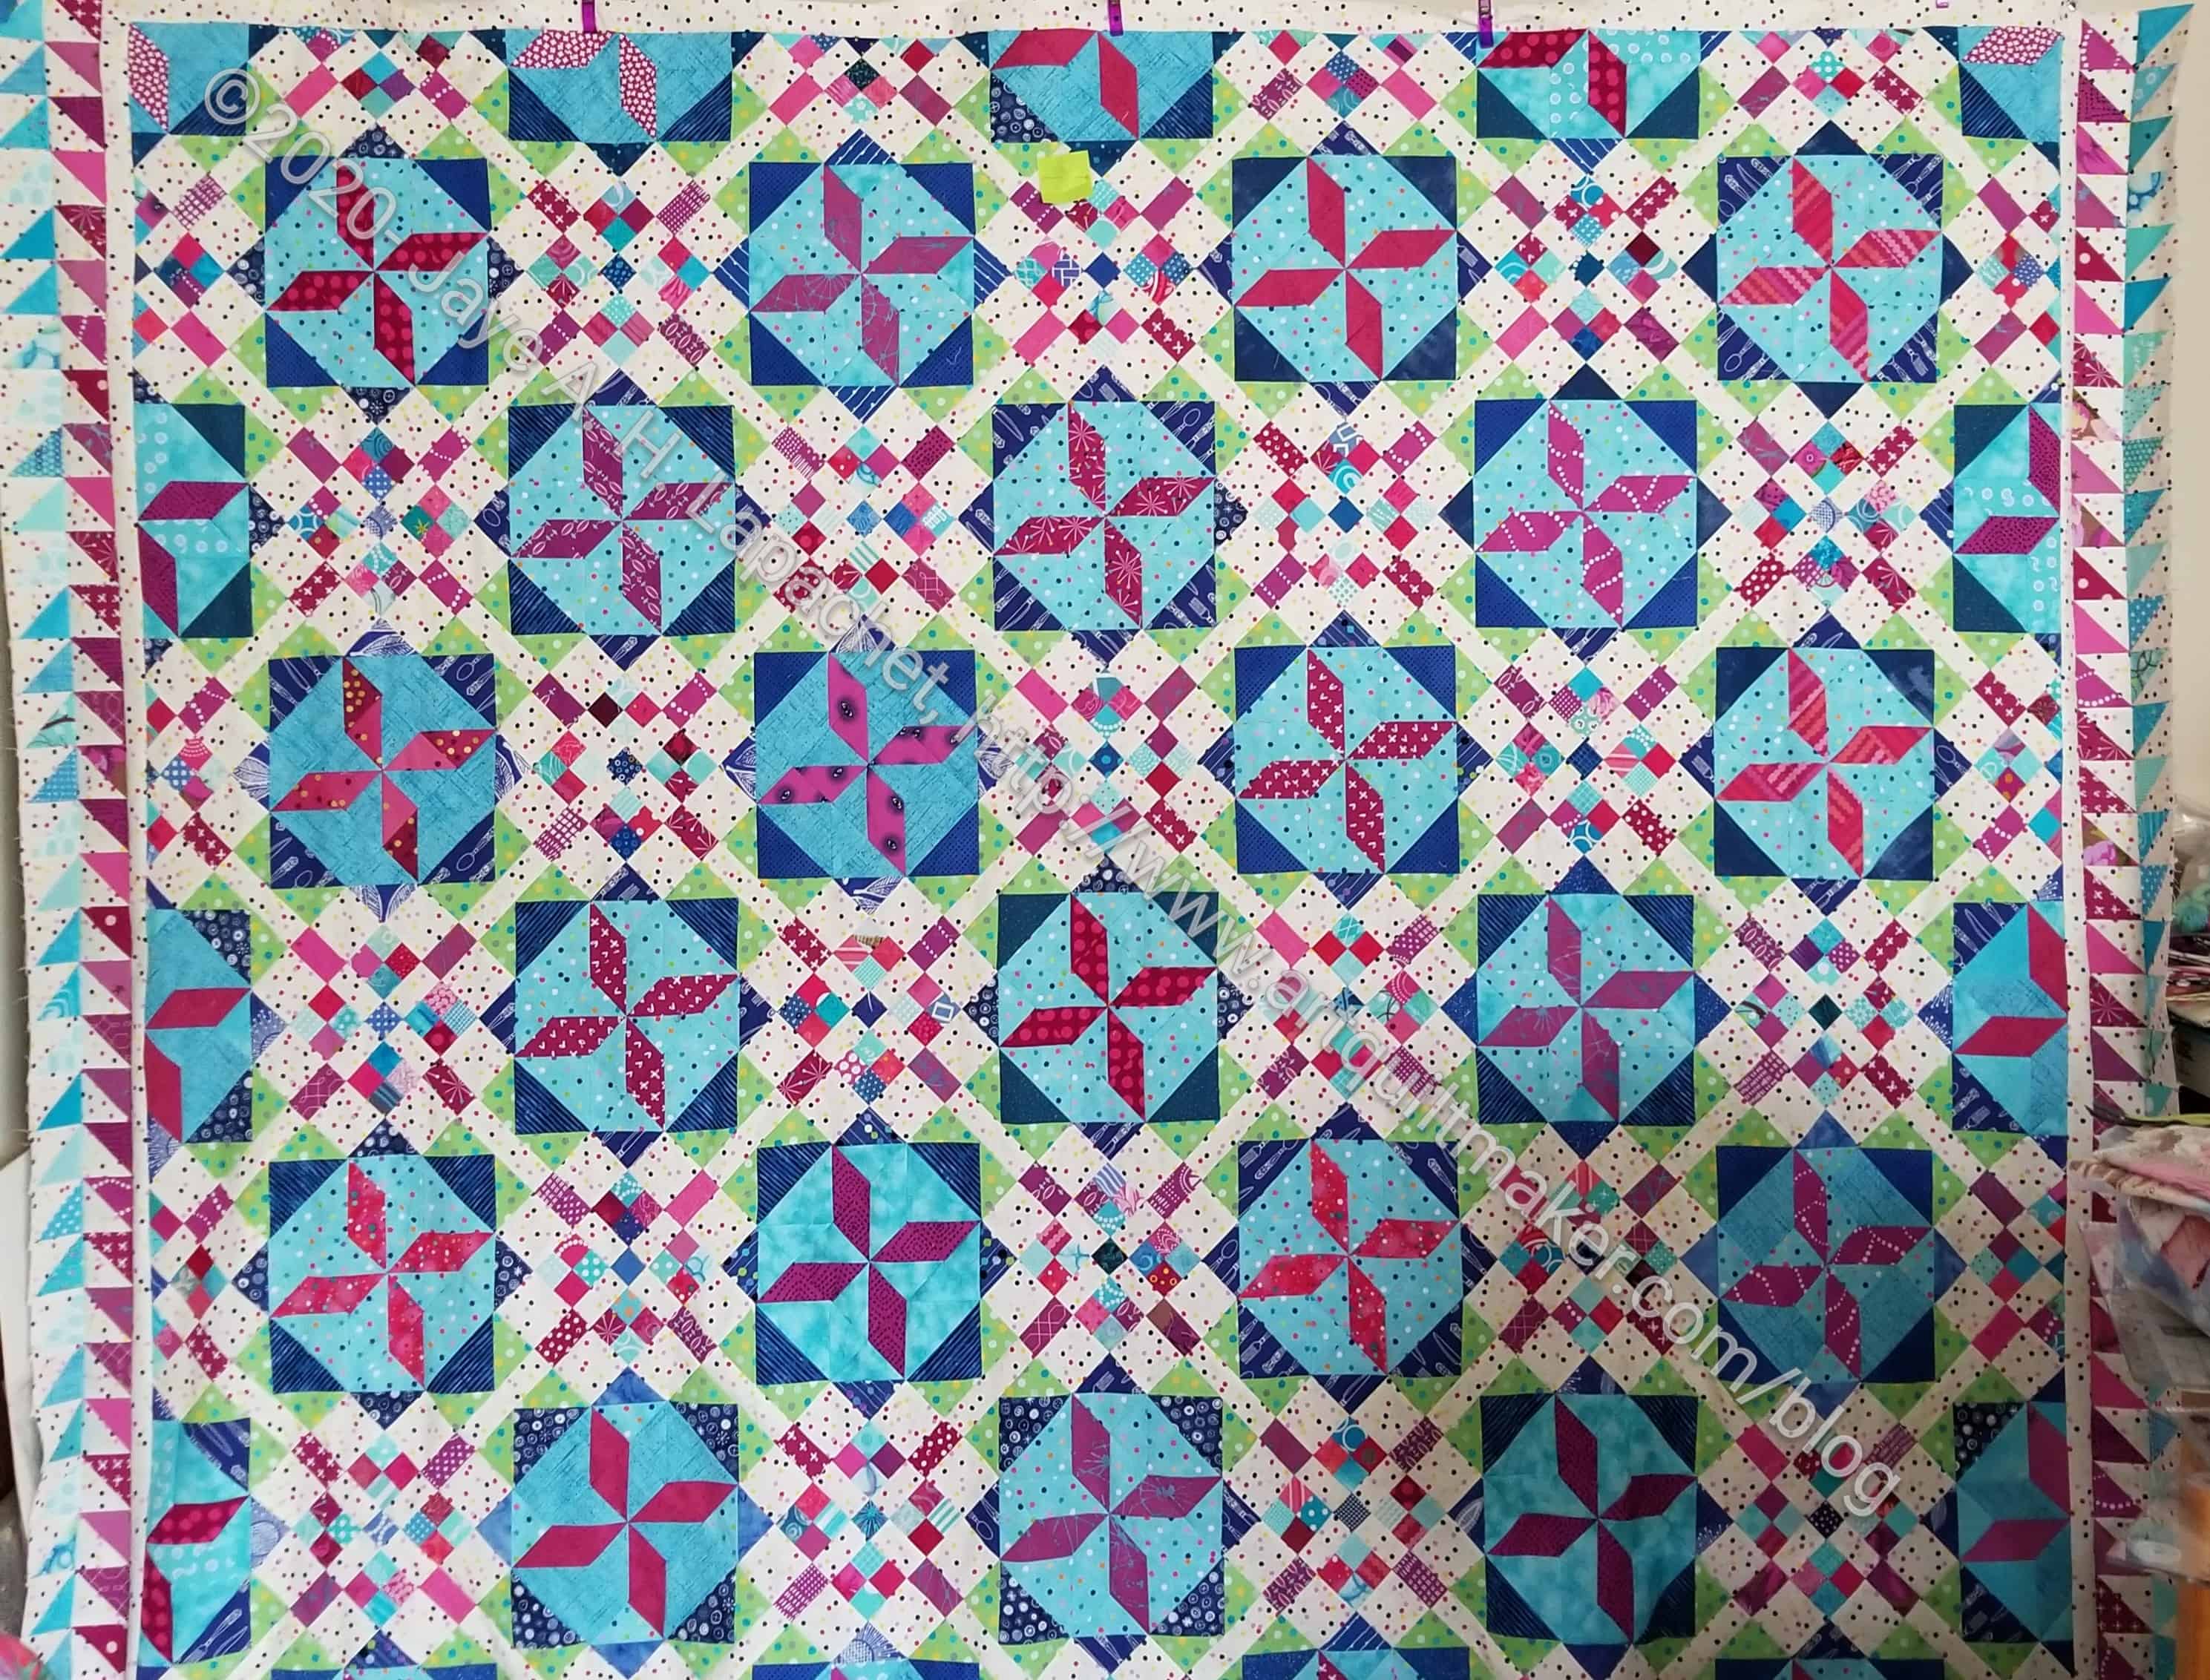
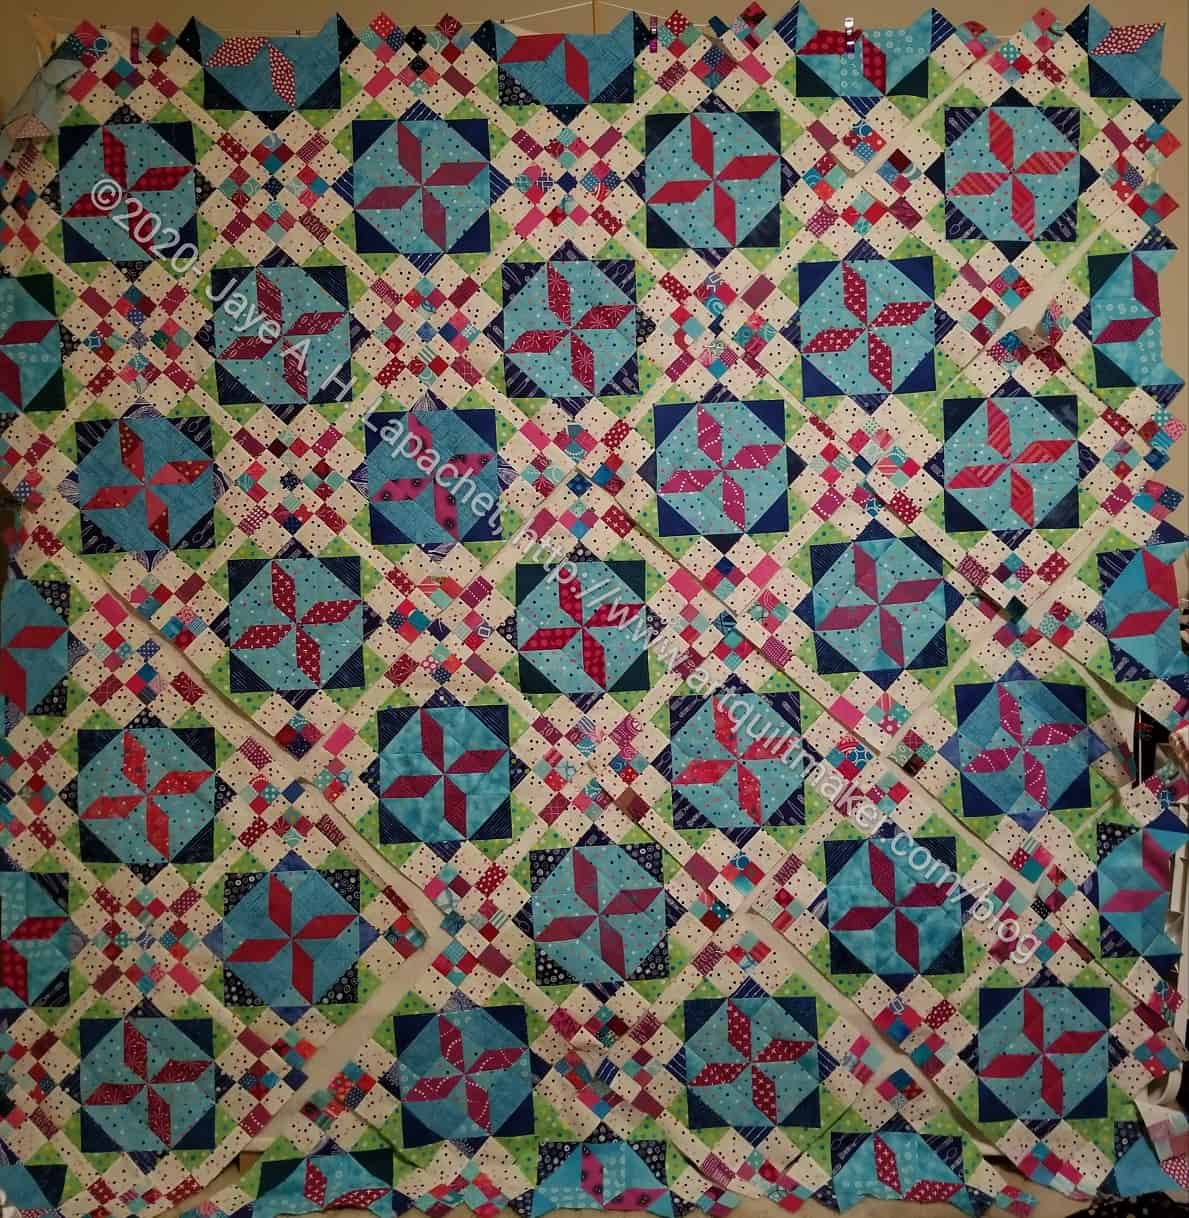
Frolic! Center Together
Yes, the top is together.
Finally! Seriously, I feel like this center took for-freaking-ever!
As I said last week, I have a long way to go before I can get it to Colleen, but this is major progress. I feel like I have accomplished something.
My friend Cyndi retired (even though she is about 35!) just before the shelter-in-place order and she is going to town on her UFOs. She is the rockstar who finished her UCAB already.
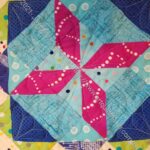
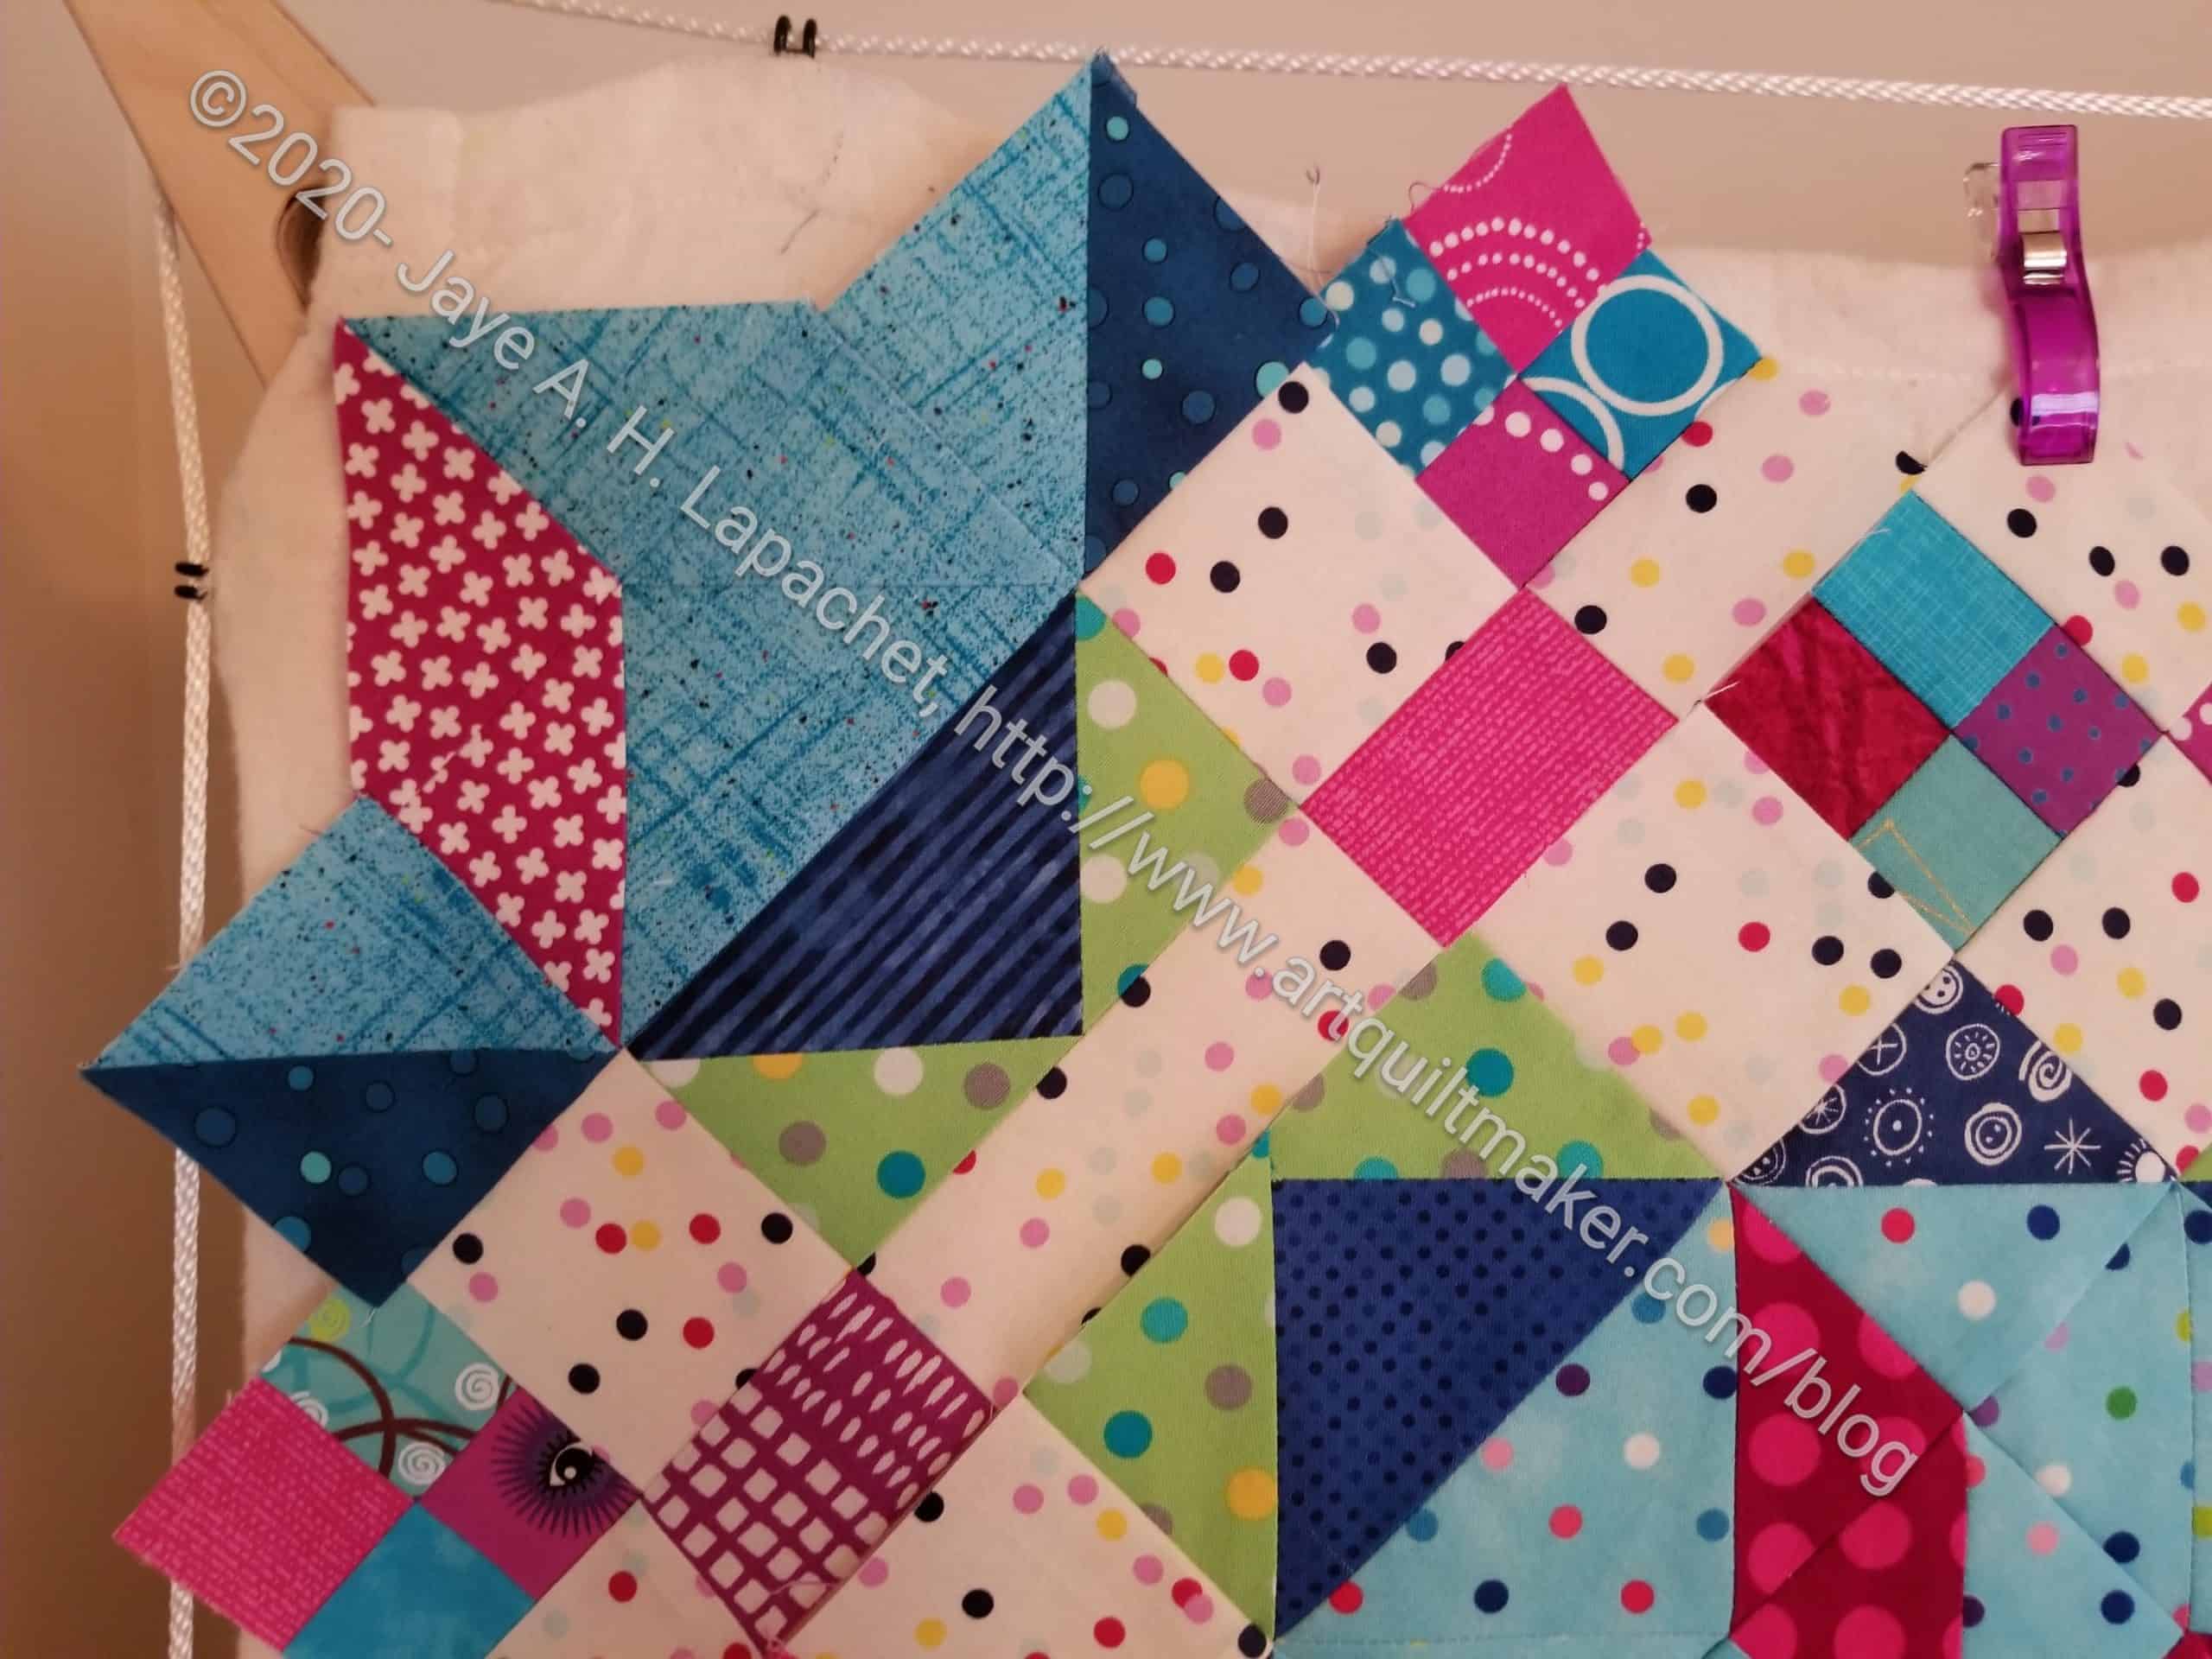
Frolic! Secondary Block
I think I might need to do something with the secondary blocks/setting blocks. They really look good sewn together. The bad part is that the block is made up of the edges of the main blocks. I could include the pieces on the edges of another block. I just have to figure out how to do it.
I liked this top before I started sewing it together, but I like it so much more now. Despite my whining, I think it looks great. I am constantly amazed how sewing the blocks together can change the look.
Someone asked me why I just don’t put it away and work on something else. Yes, I have been *almost* miserable working on this at times, but I want to keep my habit of not putting a quilt away. I don’t want to build up my UFO pile again after working so hard to get it down to a manageable size. It would be easy to put it away, but I don’t think it would feel good and I am sooooo looking forward to add the yardage to my “Fabric Used” spreadsheet!
I am finally sewing the Frolic! quilt top center together! Yay! I say and I am sure you say, because we have both, probably, had enough.
It isn’t really pretty, though, as I sewed sashing to the blocks in an attempt to chunk the blocks and that worked against me in the final stages. I have had to do some partial seams. Some blocks ended up with sashing on them and others didn’t.
< this is one of the good things about shelter-in-place: sewing at lunch time >
Since then I finished all the blocks, half blocks, quarter blocks: ALL. Hooray. Now I just have to sew the thing together.
This doesn’t mean the piece will be finished. There are still at least two borders, the back and the binding. Perhaps by the time shelter-in-place is over, I will have it done.
The weekend was tough. The sense of unreality I am home all.the.time was very strong. I couldn’t really wrap my head around it even though we have been living it. I took the car out for a spin and felt like I had forgotten the finer points of driving. It is hard to explain. The only thing I can do is not to think about the unreality and list off the good things I have.
Frolic! -early April 2020
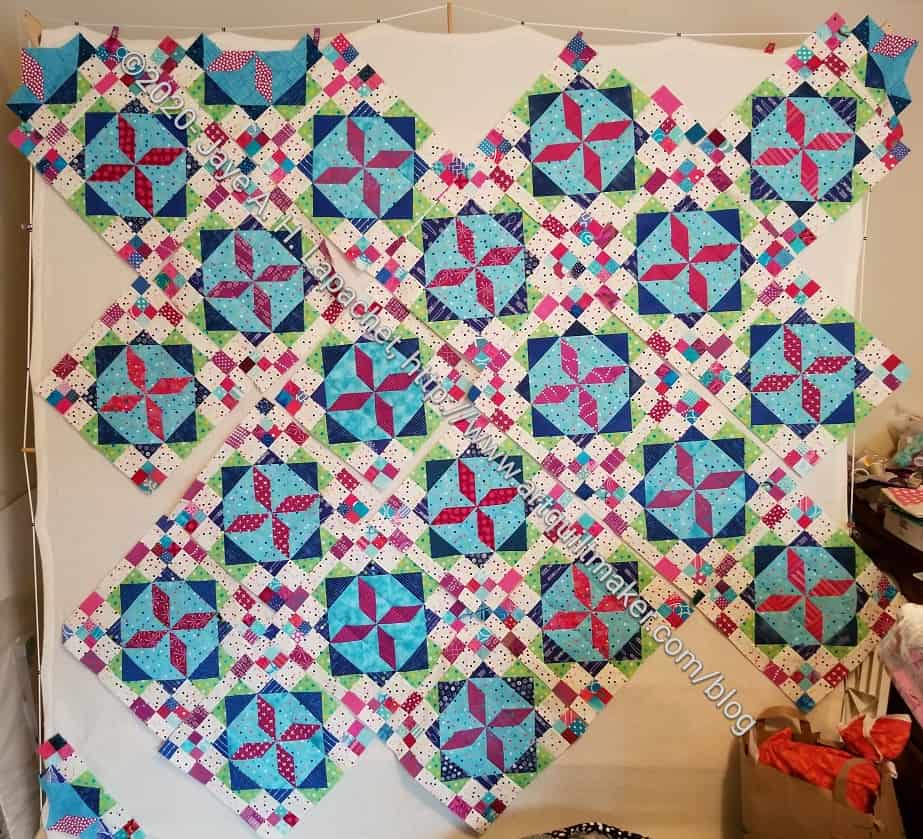
Be that as it may, sewing must go on. I am focused on Frolic! I want that quilt off my design wall. I want to work on other projects. For once, I don’t feel like my weekend sewing was futile. I feel like I made real progress.
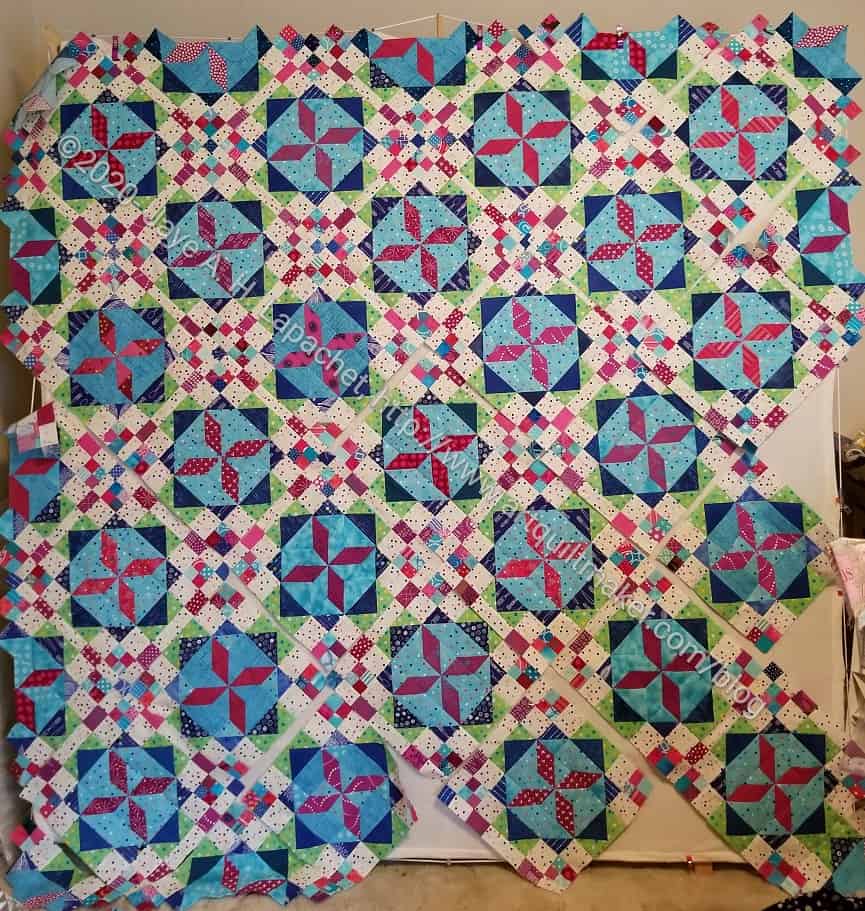
One thing I did to get to this place was sew a big chunk together (upper left hand side). Once that was done, I repositioned all the other blocks so that they would be in the approximate place they would end up when the quilt was finished. This small act allowed me to see what else I needed to sew. As you can see, All I need to sew is 4 more half blocks. Halleluijah! I can really see that the end is near.
You might wonder why I don’t just toss it on the UFO pile and move on to something else. That is devil talk! I don’t want my UFO pile to grown any higher than it is already. This thing will be ready to go to Colleen when shelter-in-place is over. With any luck, it will go with three friends.
The other day I crowed about finally finishing all the whole blocks for Frolic! I was really thrilled. I made progress!!!
🙁
Frolic! Back on Point
I didn’t actually finish all the blocks. I just counted wrong. I thought I had made 5 rows of 5, but in the photo, you can clearly see 4 rows of 5.
I didn’t figure it out until I was working on the corner and put the blocks on point. In trying to place them correctly, I realized I was short.
WTH?
I counted, recounted, looked for missing blocks and finally at the photos. I realized what I had done and that I was just so anxious to finish that I had counted wrong.
This was supposed to be fun, not a long and difficult process. I don’t mind difficult quilts with a lot of pieces, but I am still not quite recovered from Flying Away.
Now I have to decide whether to work with the blocks I have or make another 5 blocks. Those whole blocks have 65 pieces each. While I have some already made, I don’t have all made. 5 more blocks is not that many, but still.
I turned a corner on Frolic! the other day. Literally. I finally figured out how to piece the corner. It was all about wrapping my head around what pieces I still needed to cut since I hadn’t following the directions. That should teach me, but it probably won’t.
I actually pieced one, too. I may have also figured out how to piece the half blocks, but I haven’t tried yet.