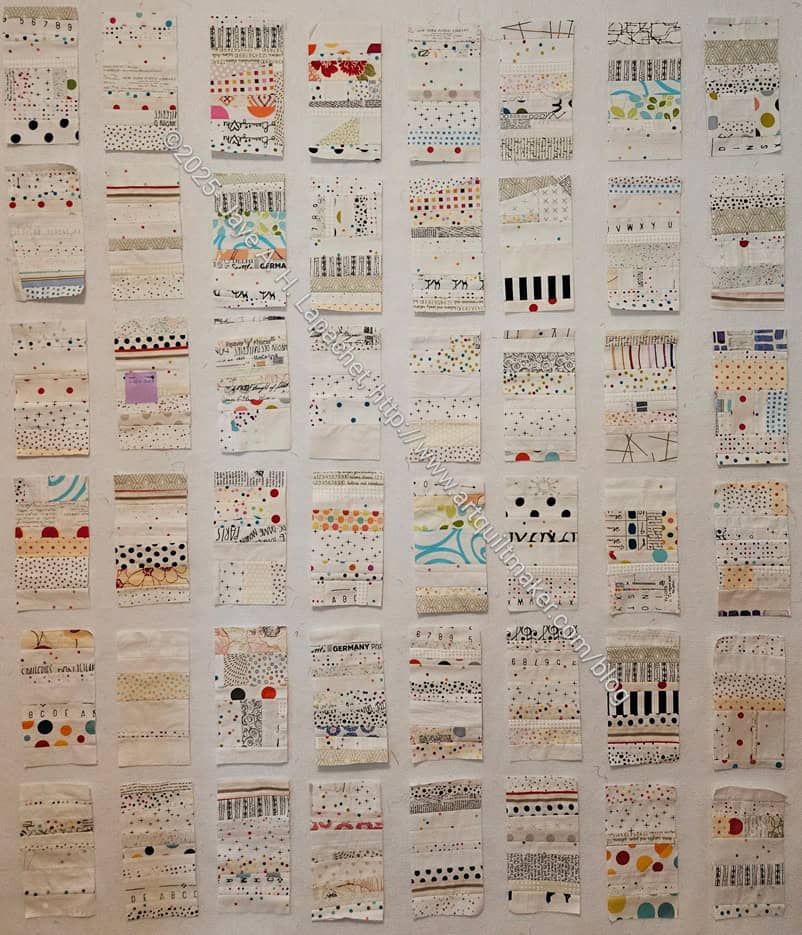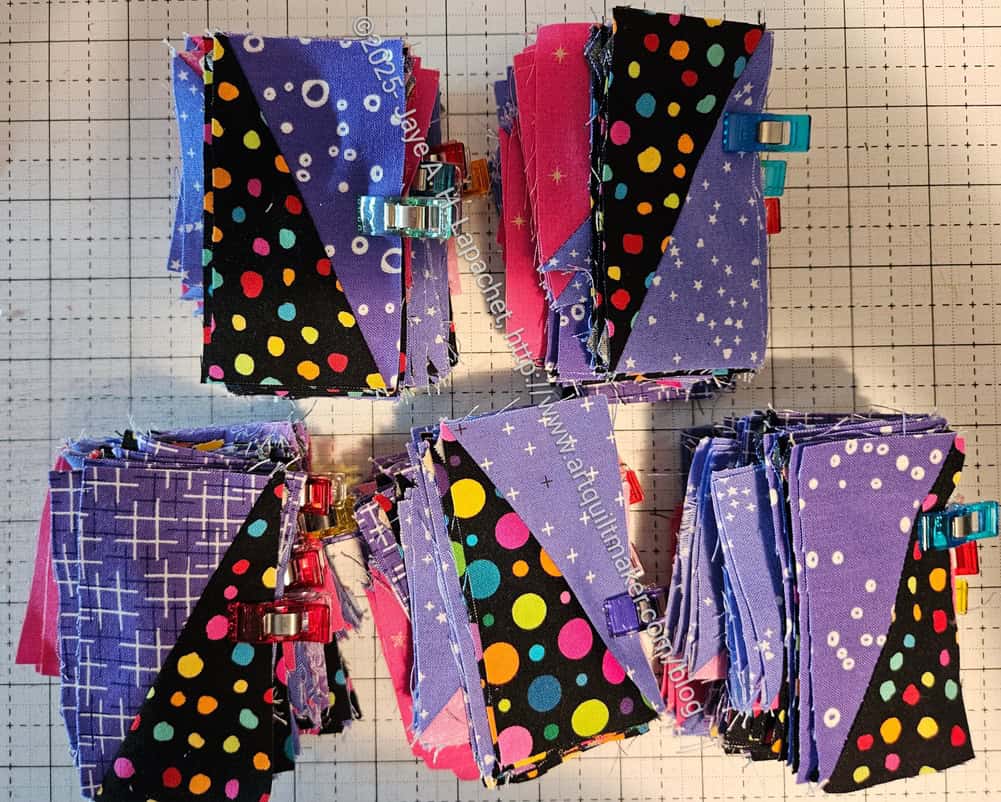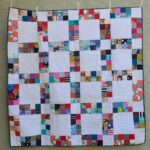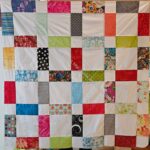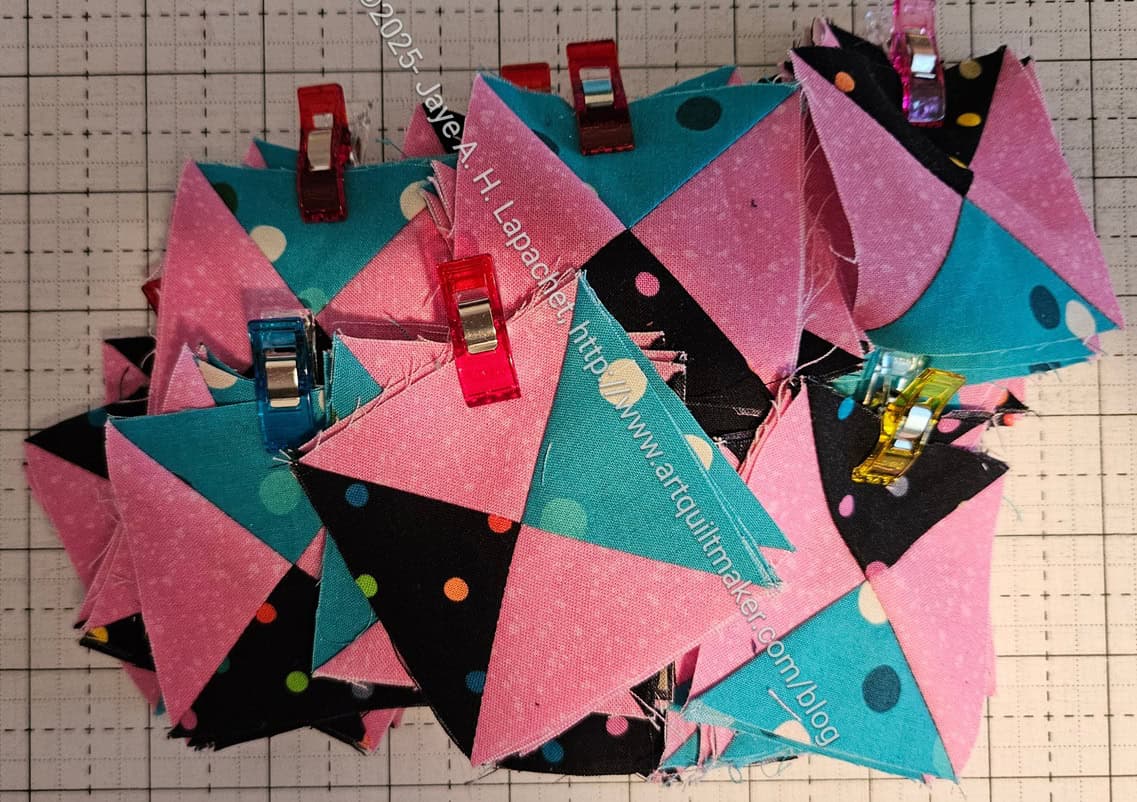
I have a few bits and bobs still to cut, but I decided I had enough pieces to put a few blocks together.
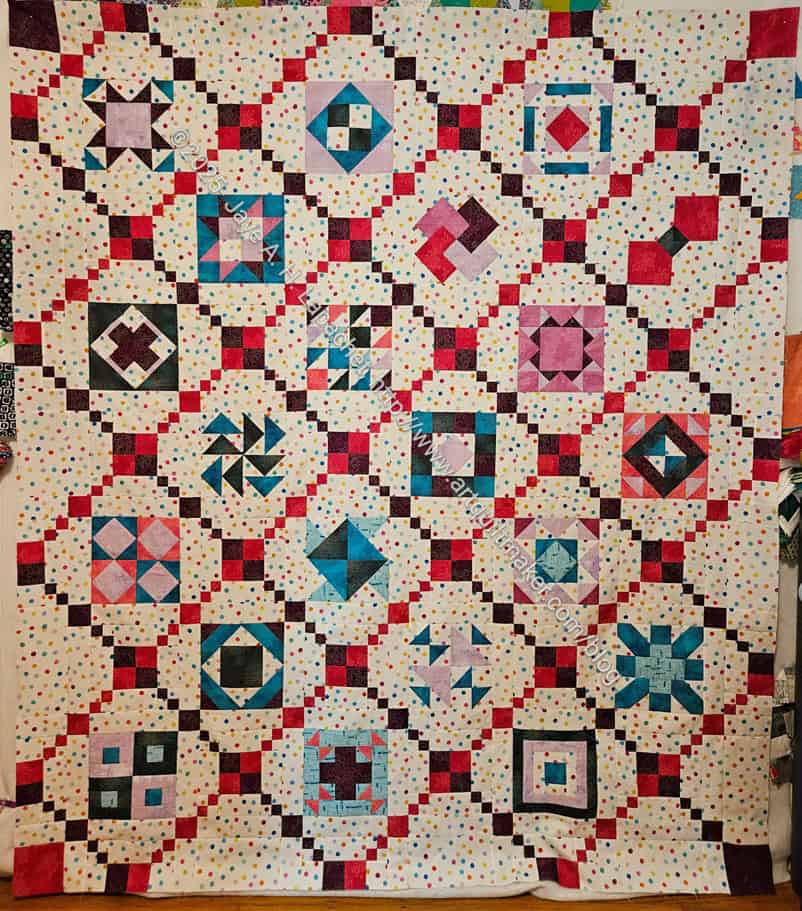
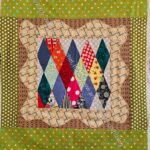
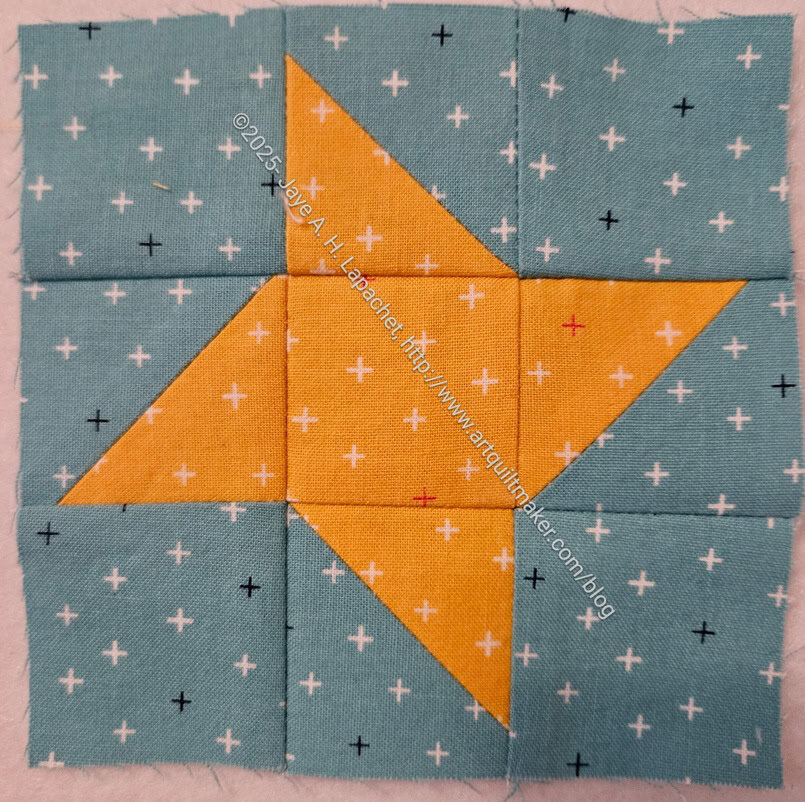
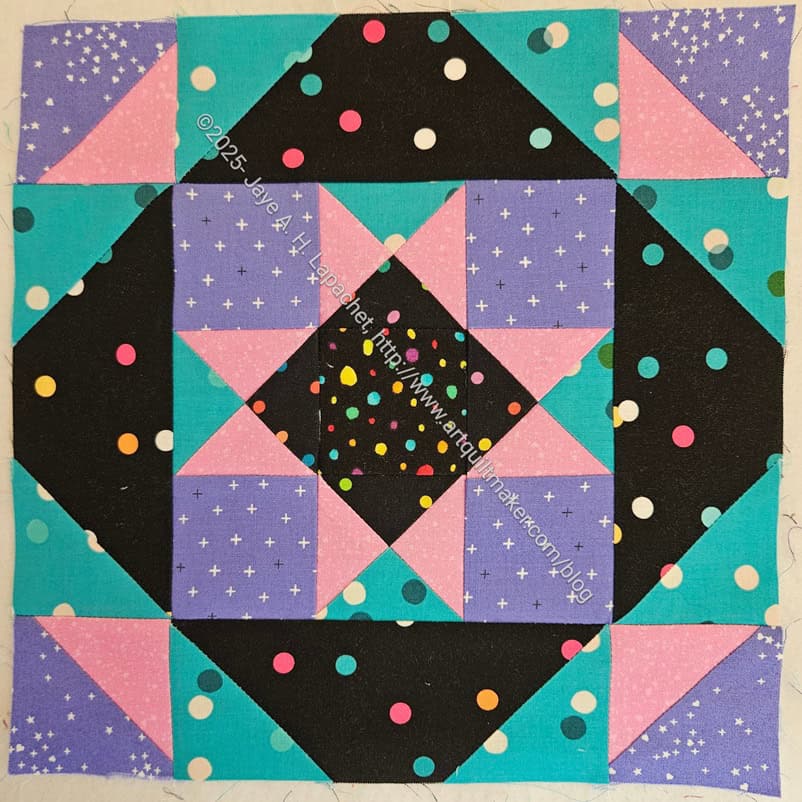
“Lupine Alternate block” is kind of a sad name for this great block. The pieces from Clue 7 are so cleverly incorporated into this block. While the pieces were a little fiddly to make, they make the corners so much easier than other methods of construction. Also, using the Simply Folded Corners ruler** makes the cutting and sewing easy peasy.
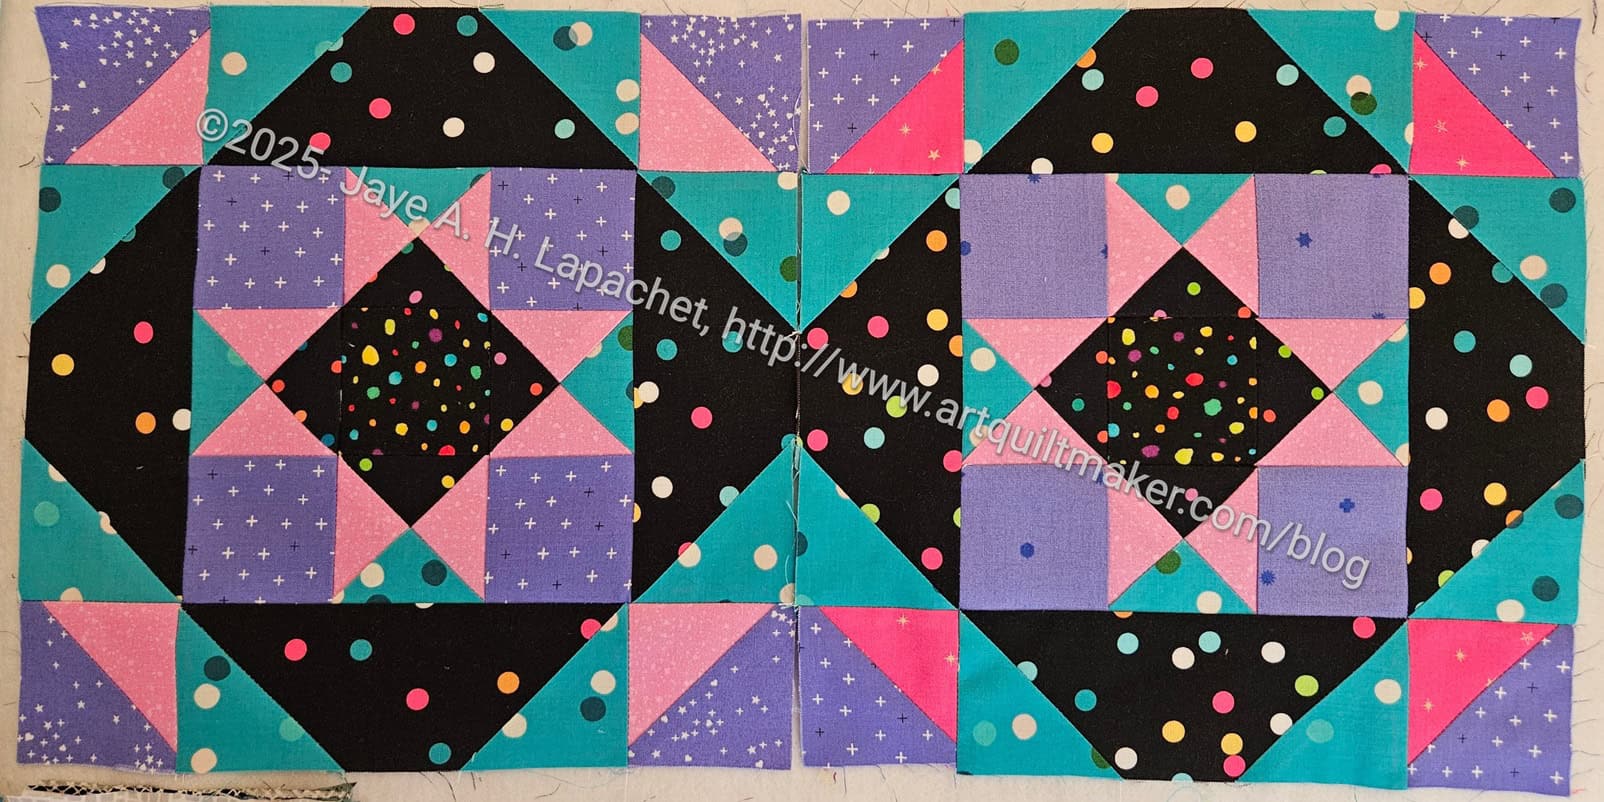
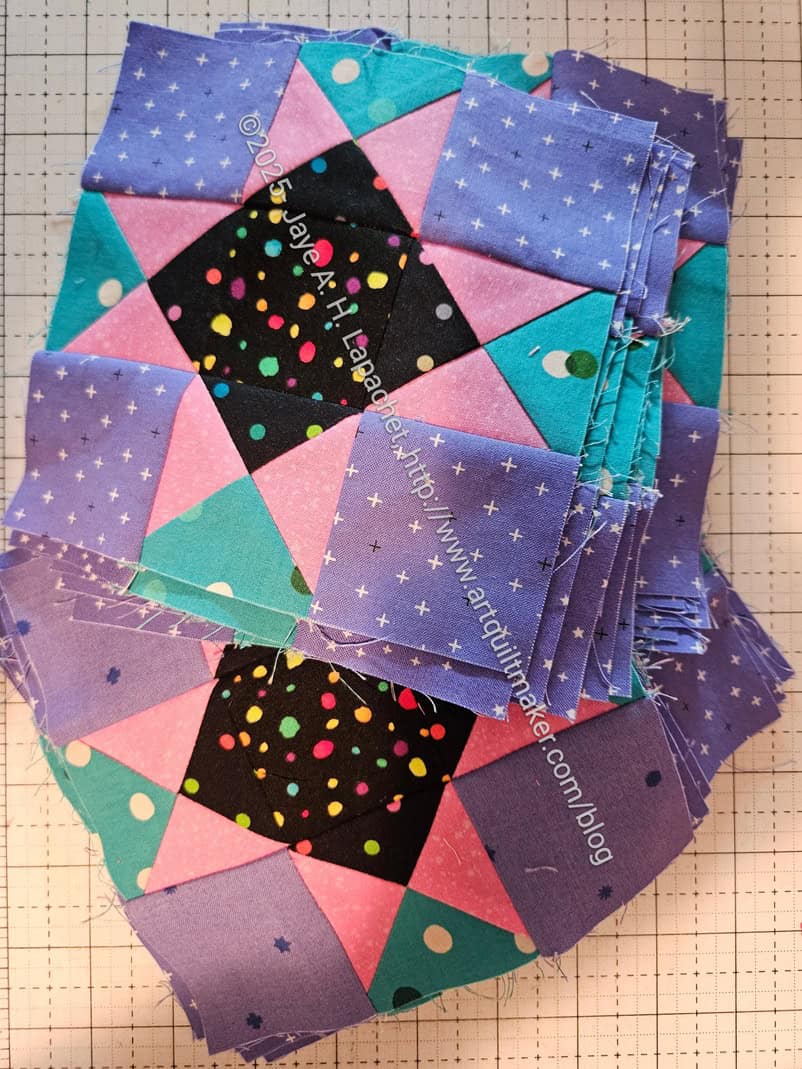
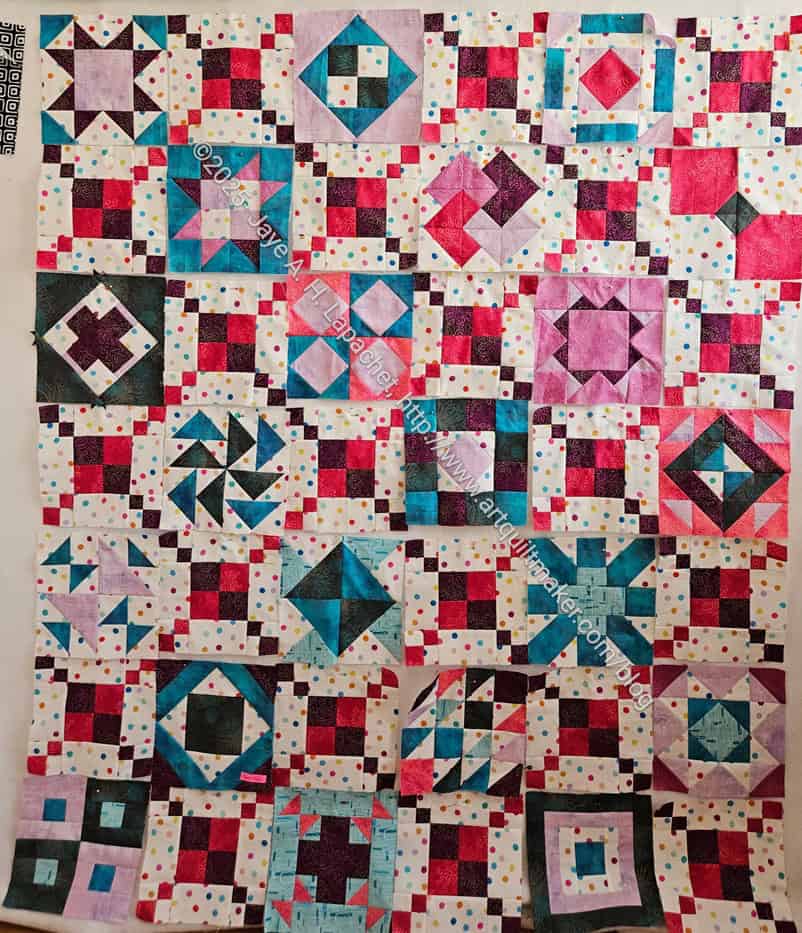
I thought I would just make one to see where I was doing, but like the Potato Chip blocks, I couldn’t make just one.
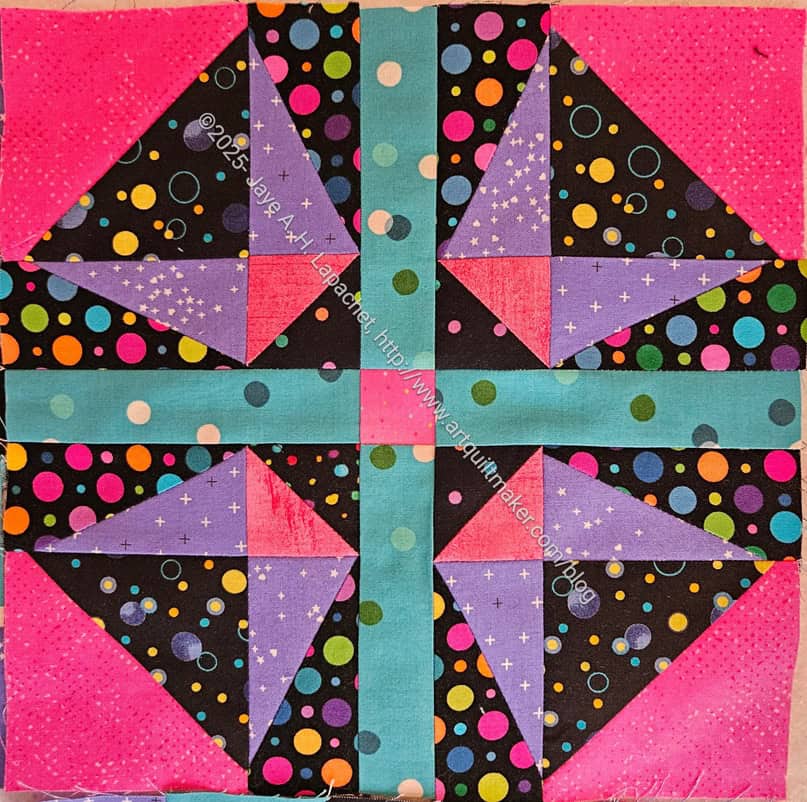
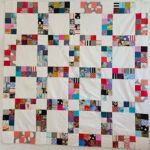
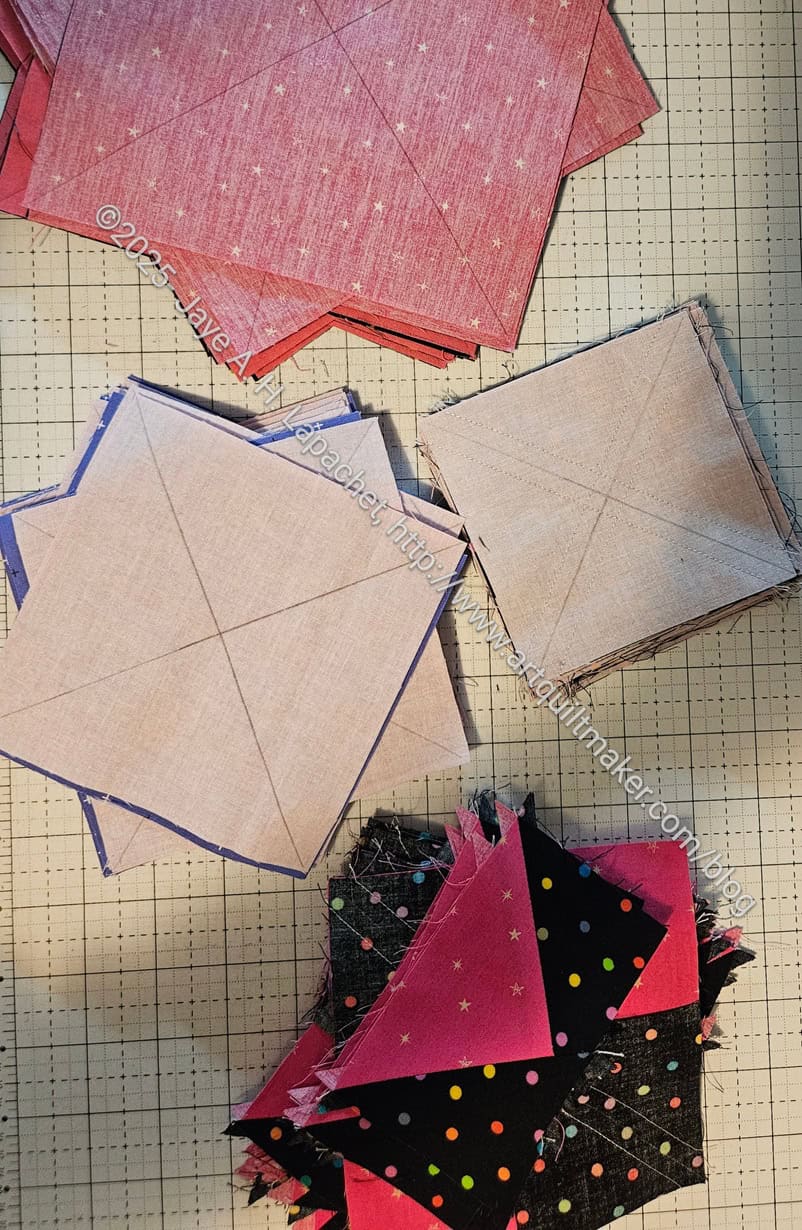
Once I saw two of the alternate blocks together, I had to make some of the Lupine Star blocks. I had cut the center strips with the last of the Melody Miller Carousel blue, so I made a couple of blocks from what I had.
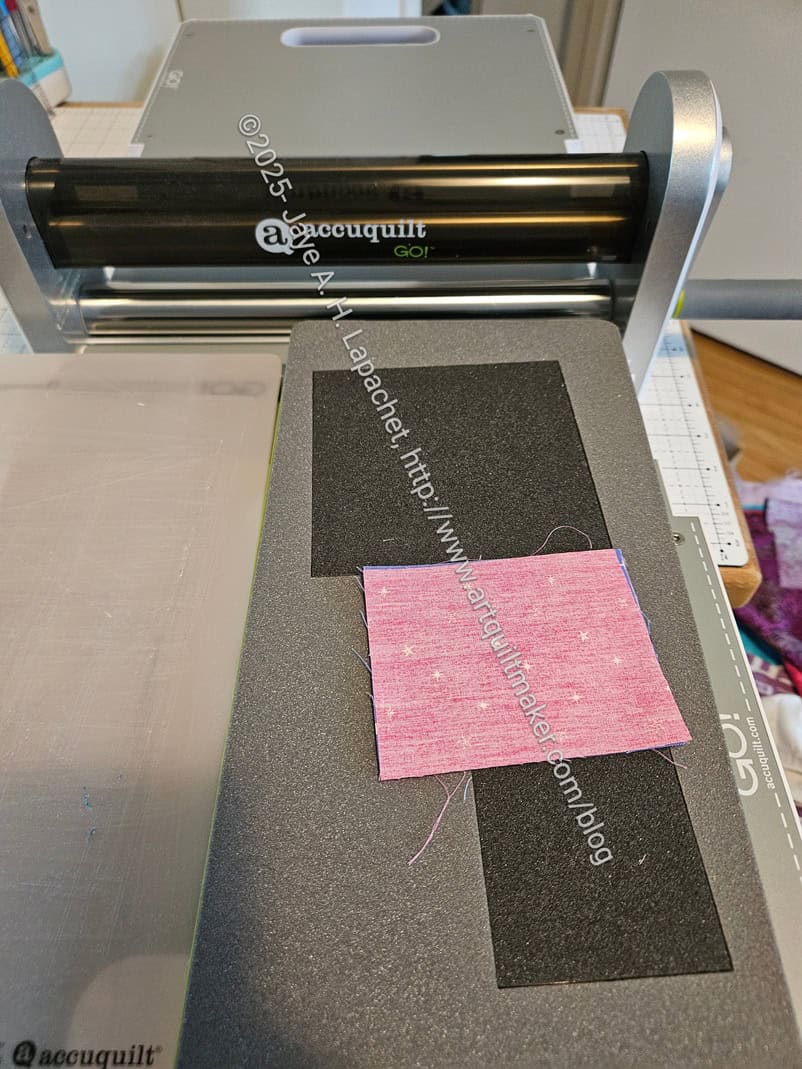
I had decided that I wanted to use more of that fabric, so I went looking for some and found a couple of yards at the Bloomerie. The fabric was in the washer as I was making some of the alternate blocks.
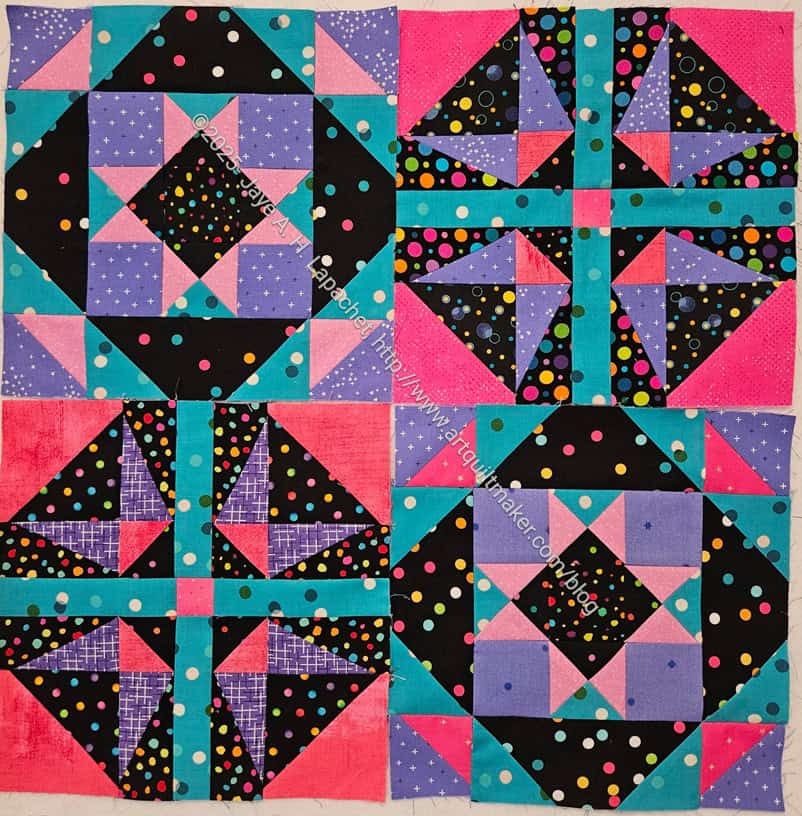
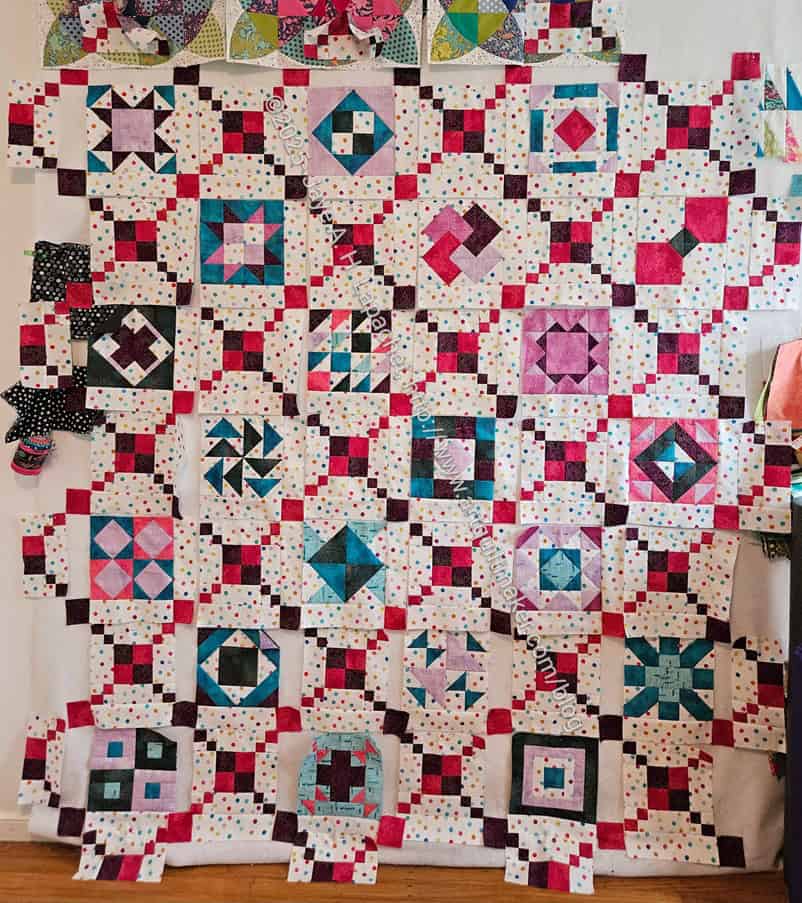
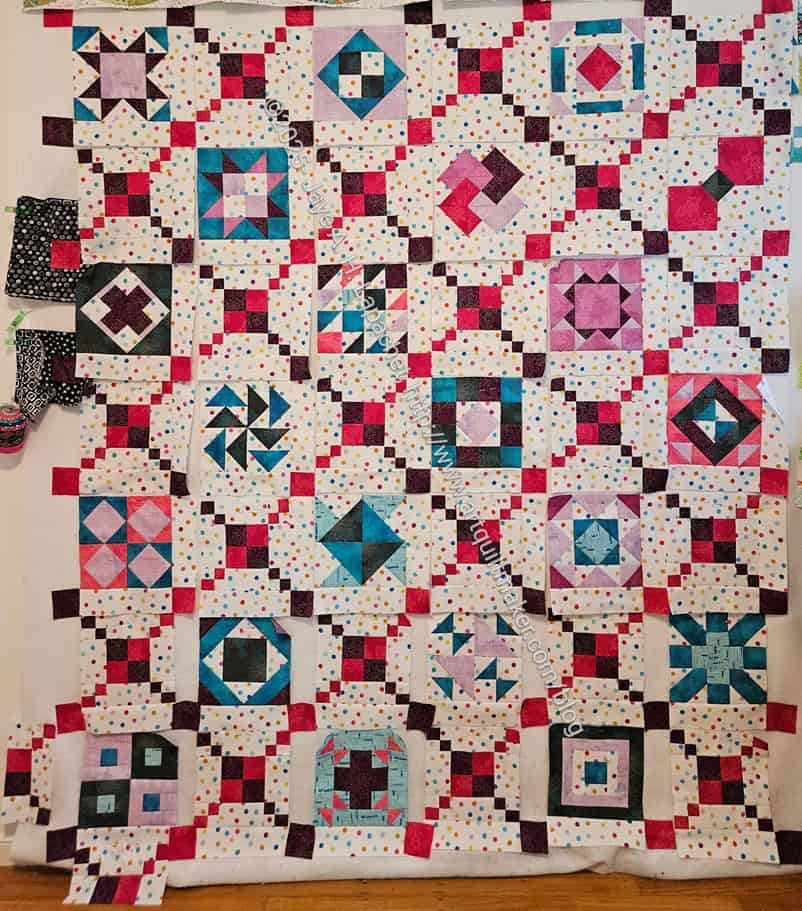
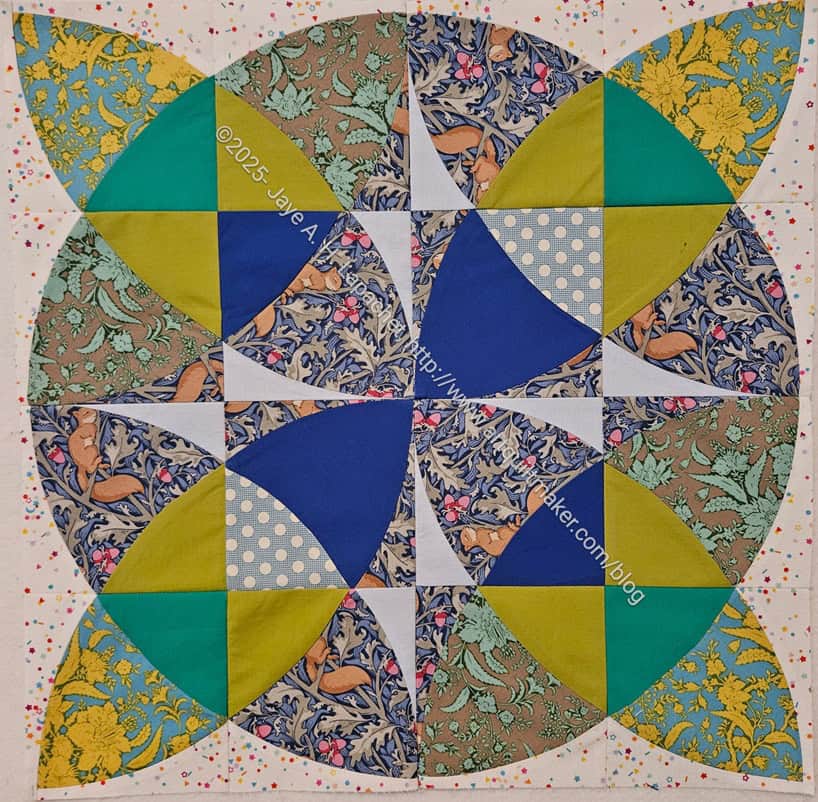
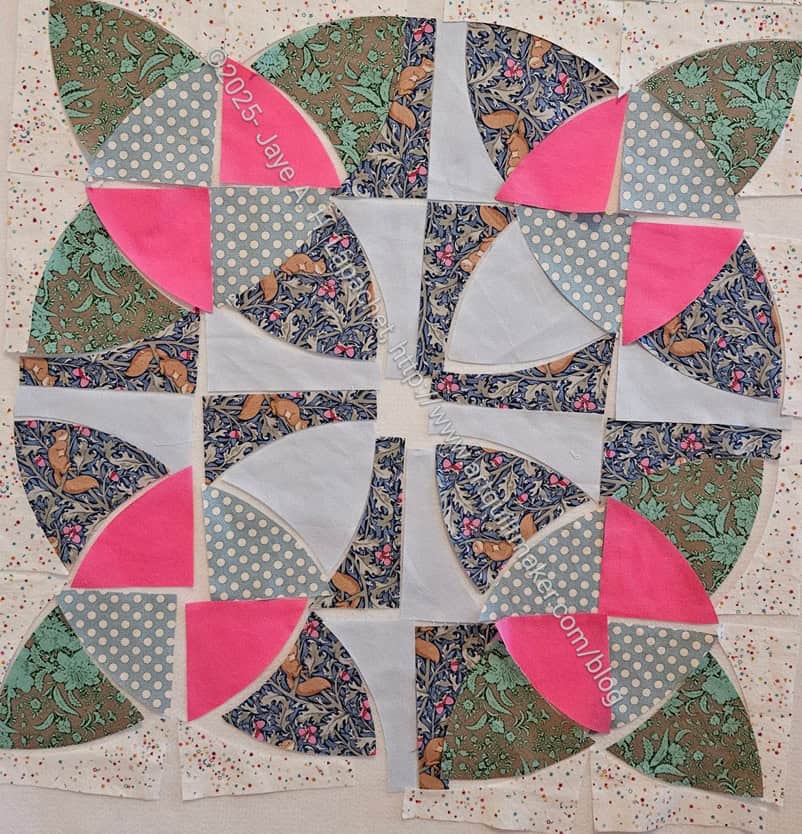
The pink I used in this one is darker than the pink I used in the alternate block above. I was a little concerned about that, but once I had a few of both blocks sewed together, I thought the variation was fine.
I used only a few fabrics and am trying to vary which are sewed to which others. It won’t be 100% possible since this isn’t as scrappy as Old Town, for example. However, I think the block combination is looking good so far.
N.B. Bonnie will remove the posts to which I have linked from her blog sometime in February 2026. Download or save the clues now if you want to make this quilt.
**Obviously, you should shop at local quilt shops and small businesses. However, if you are too busy or can’t find what you need there, I use Amazon affiliate links and may be paid for your purchase of an item when you click on an item’s link in my post. There is no additional cost to you for clicking or purchasing items I recommend. I appreciate your clicks and purchases as it helps support this website.