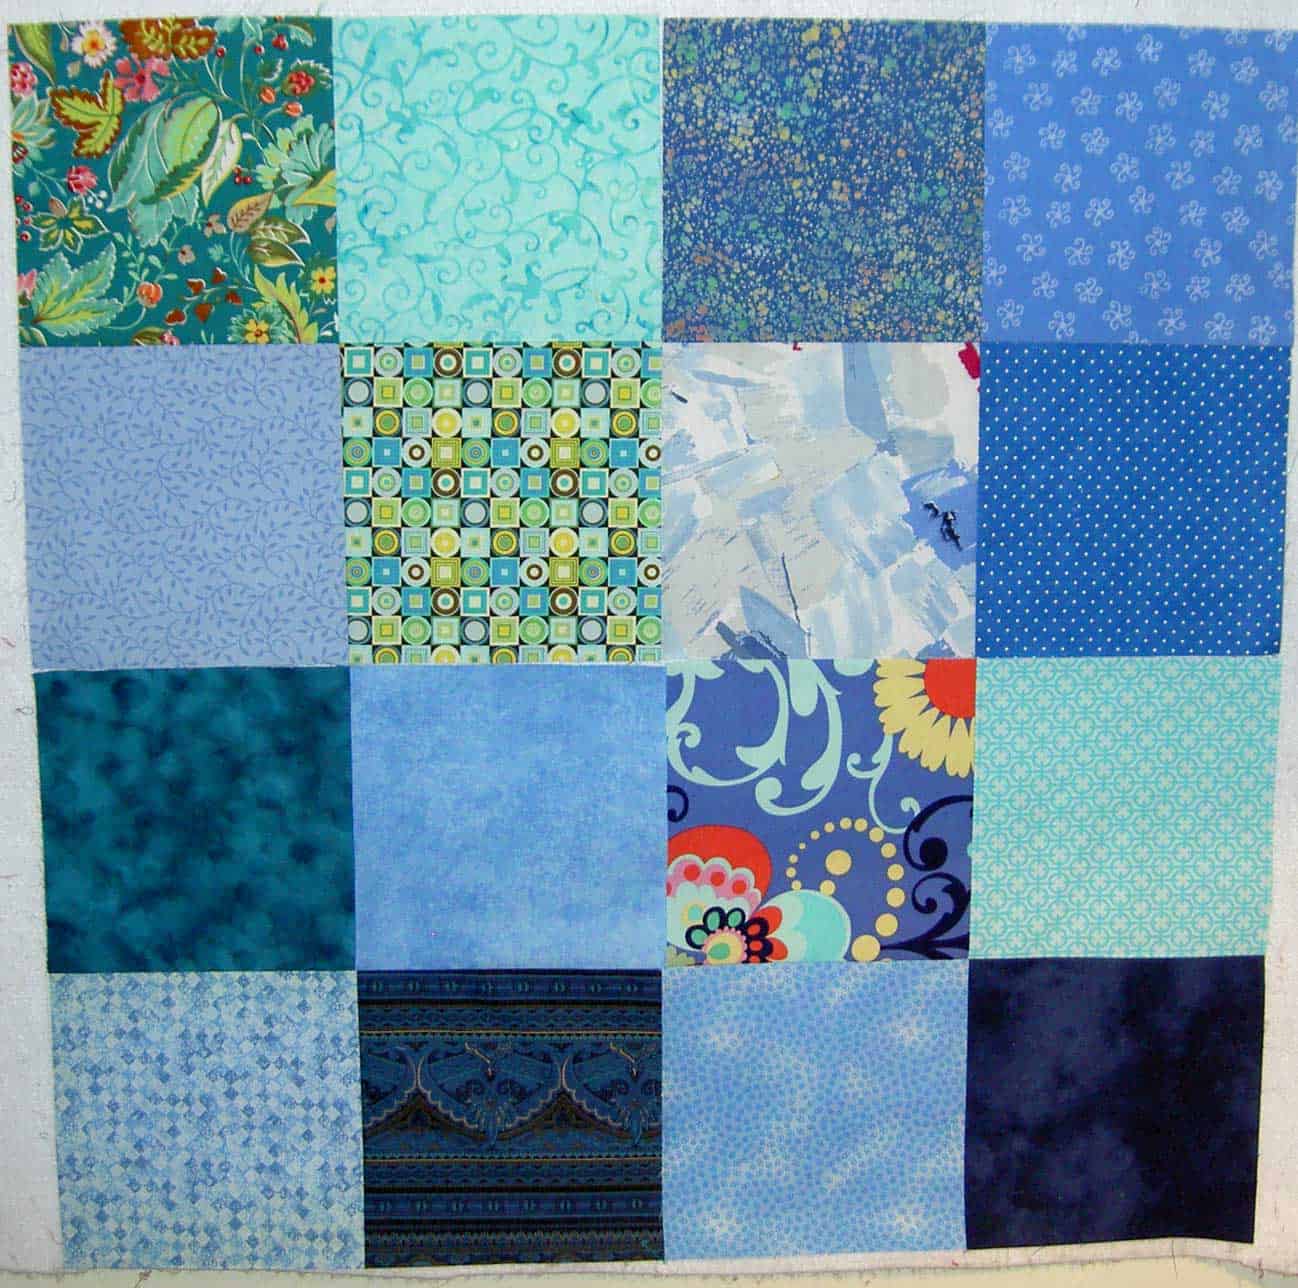
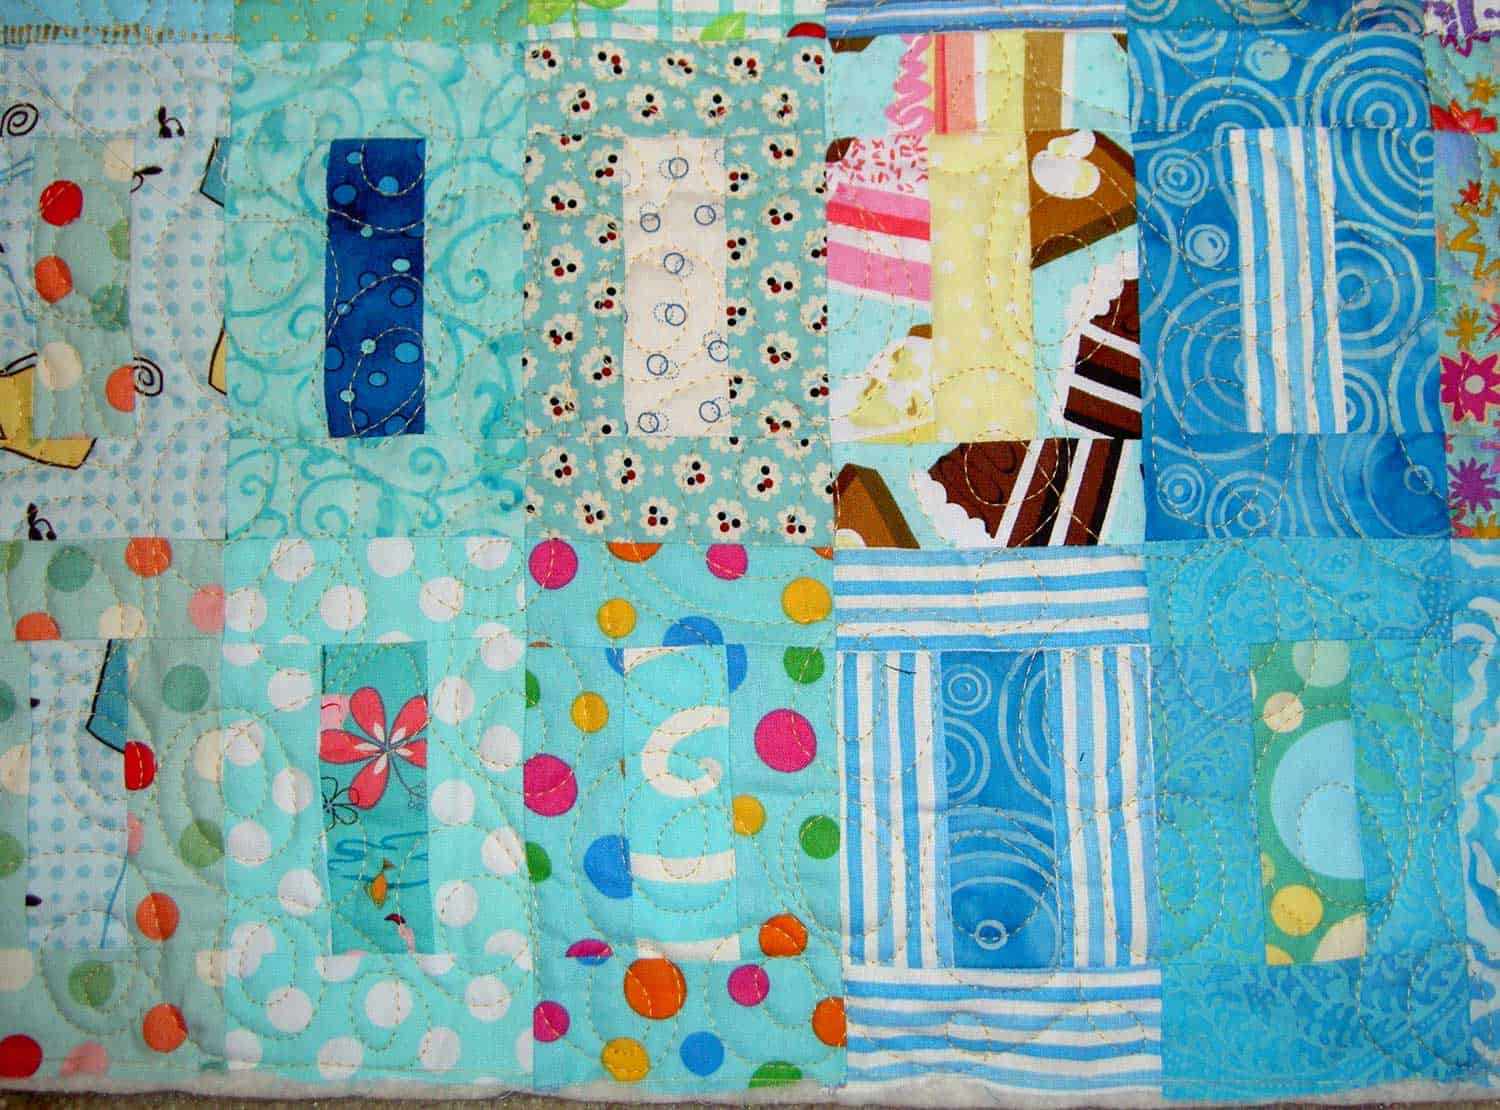
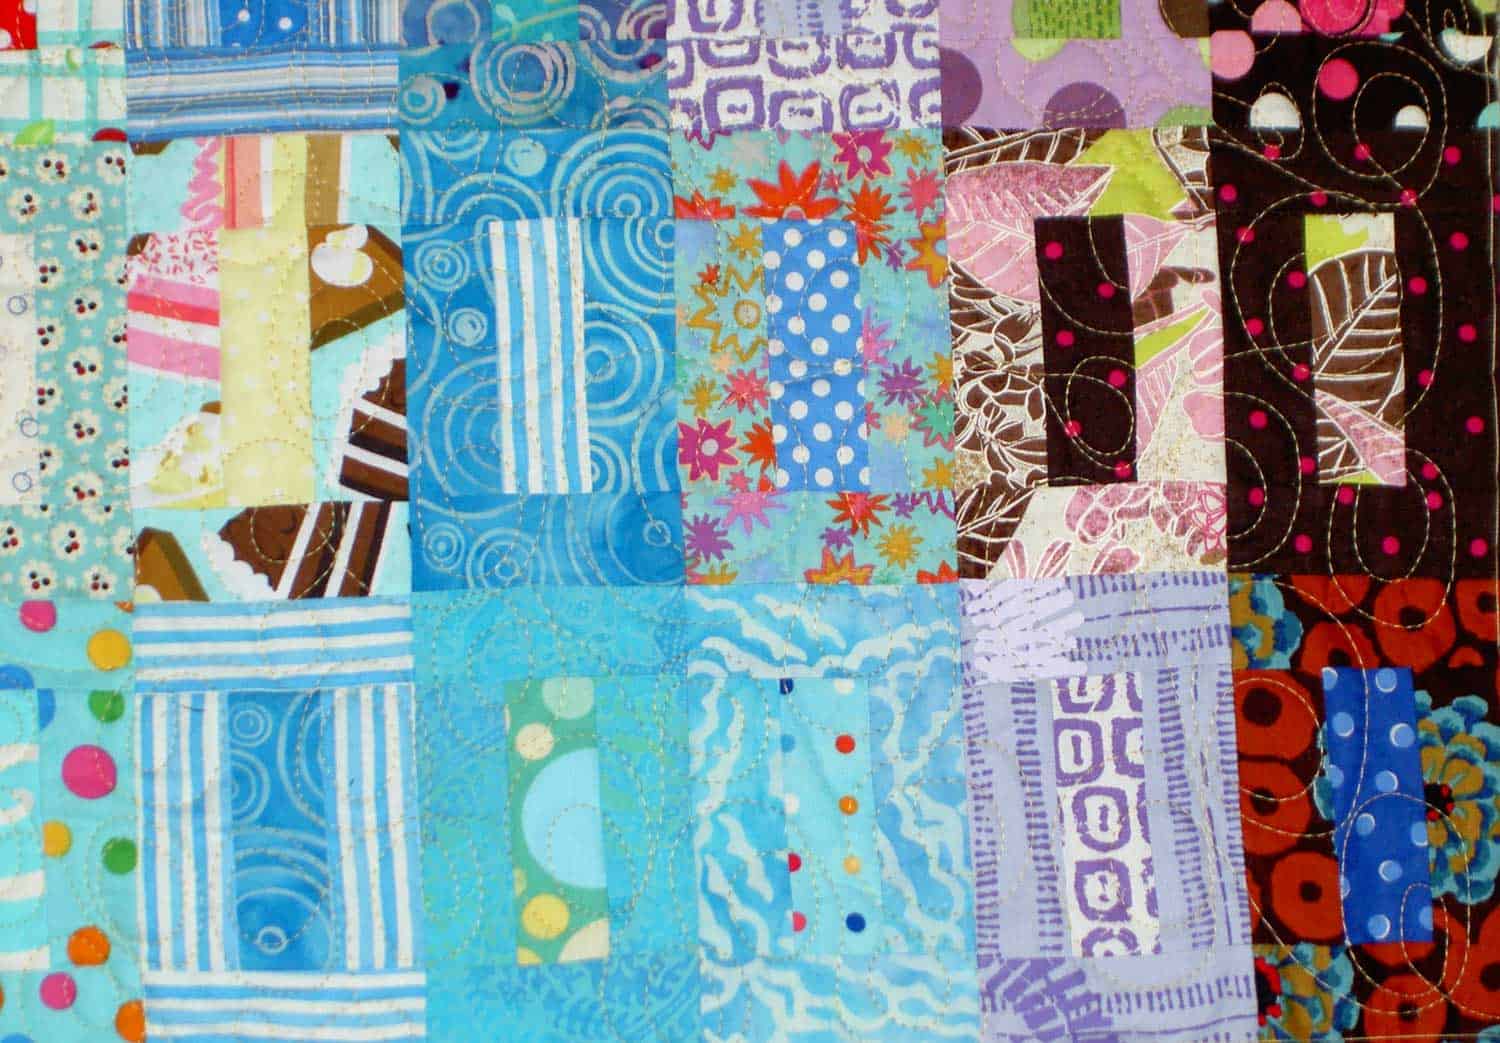
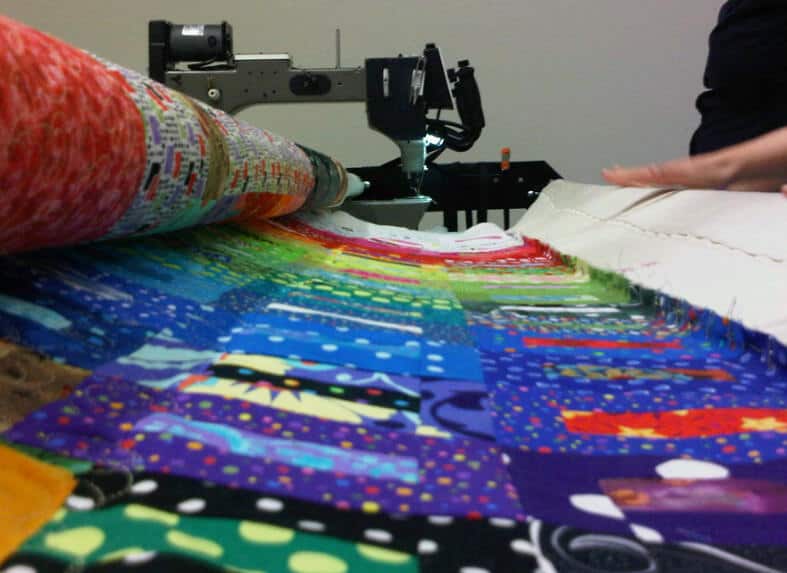
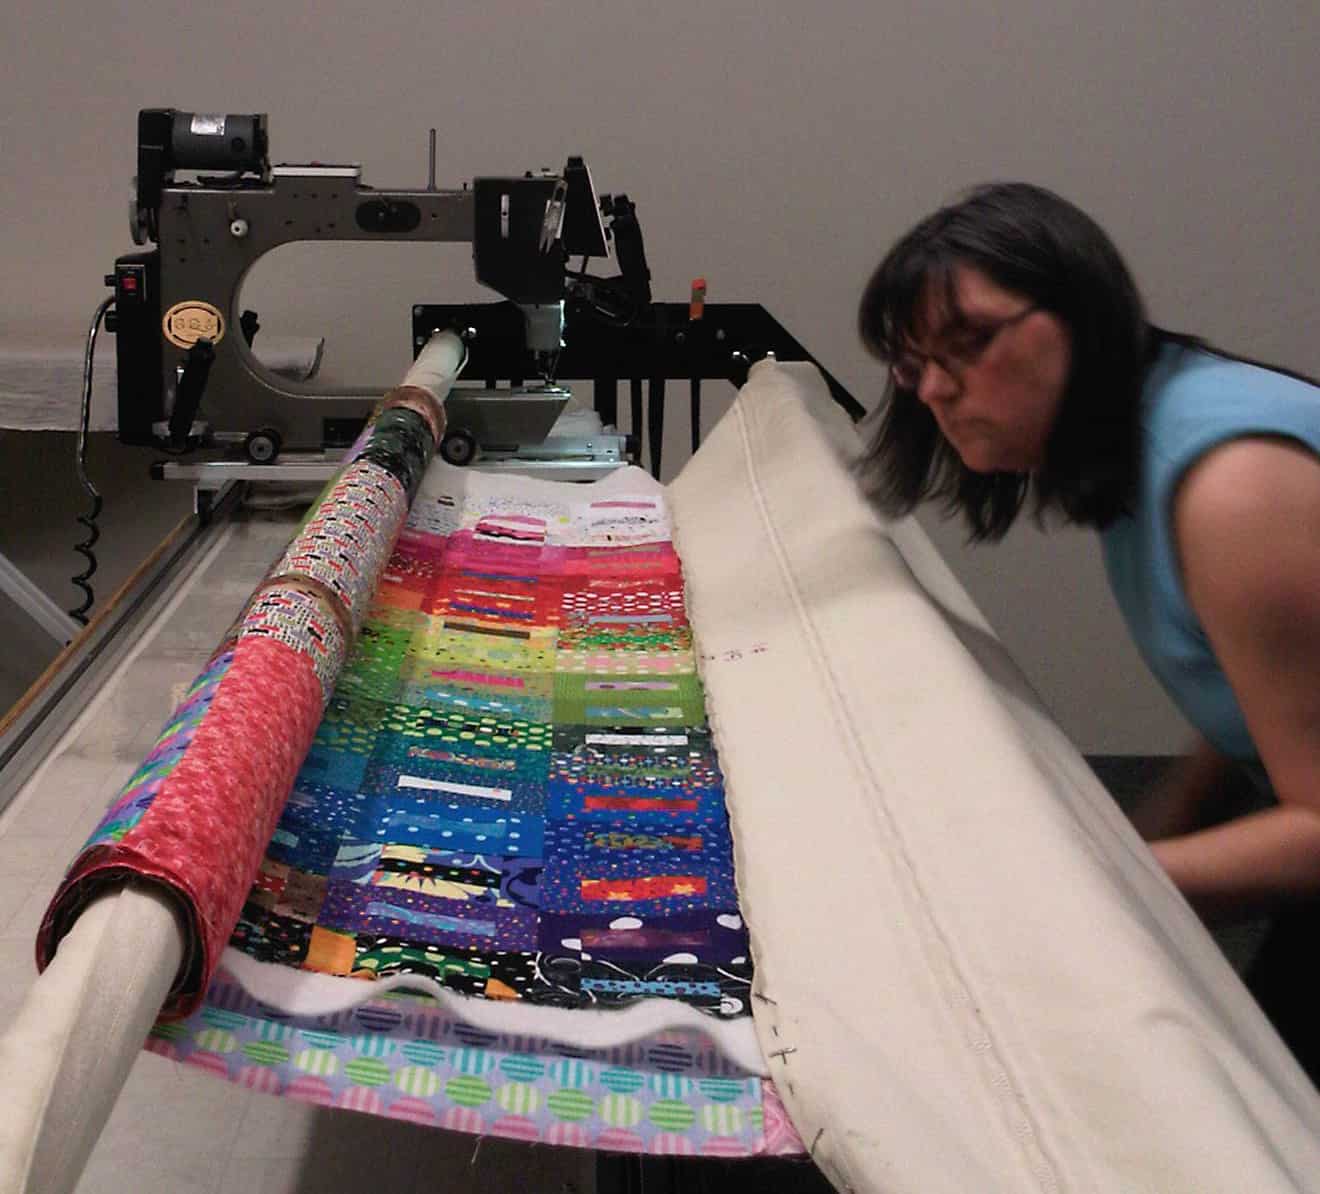
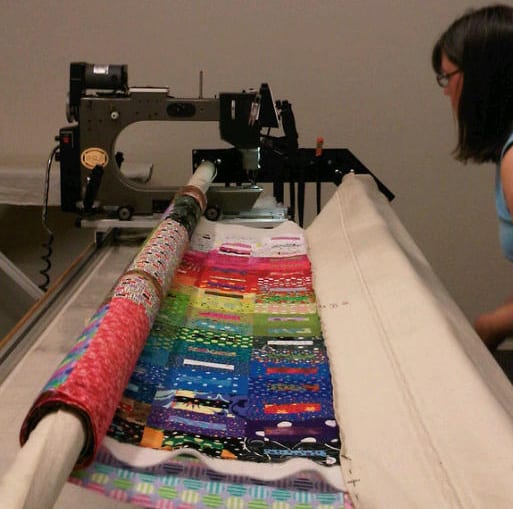
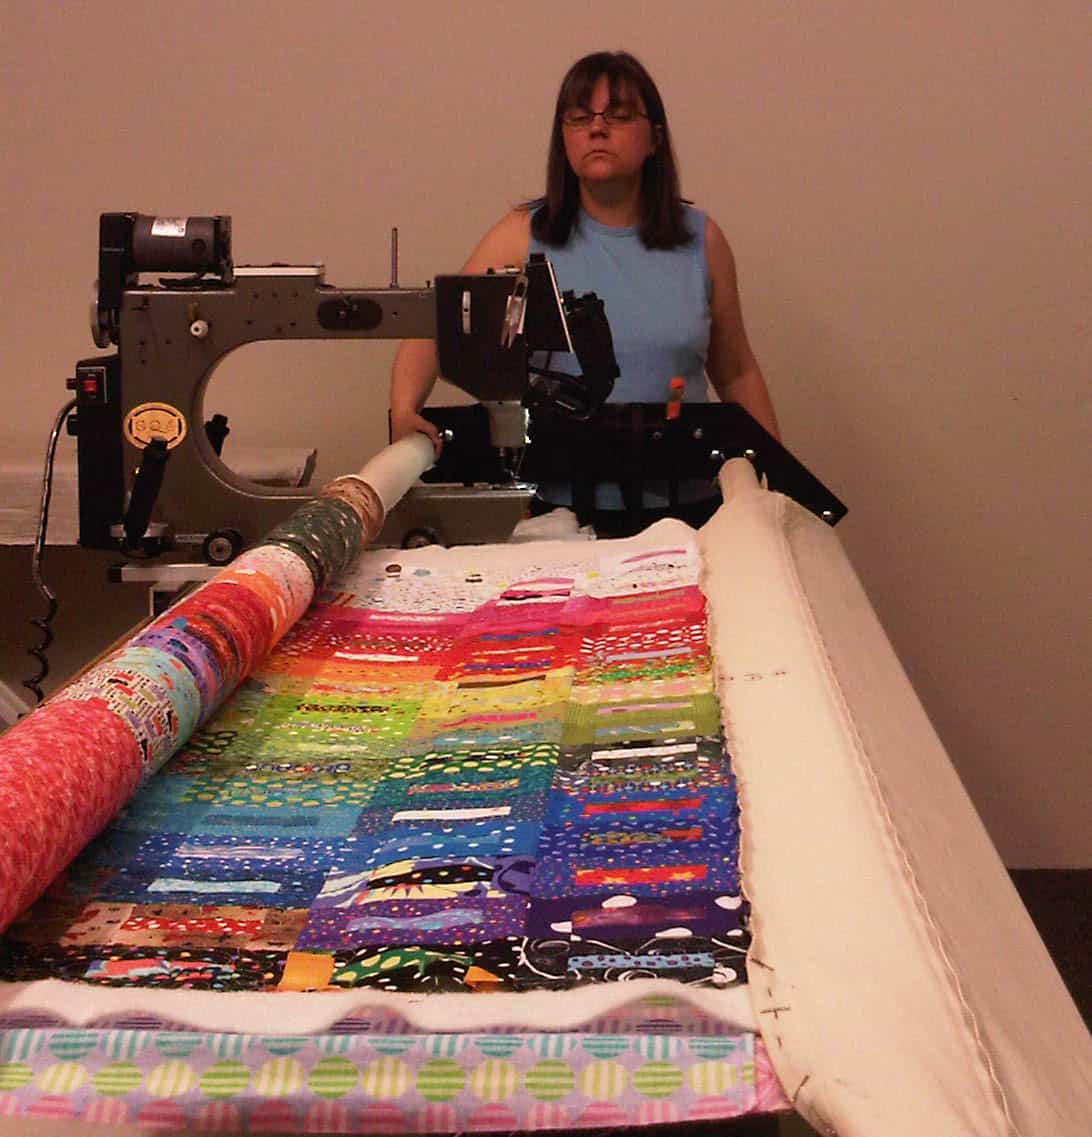
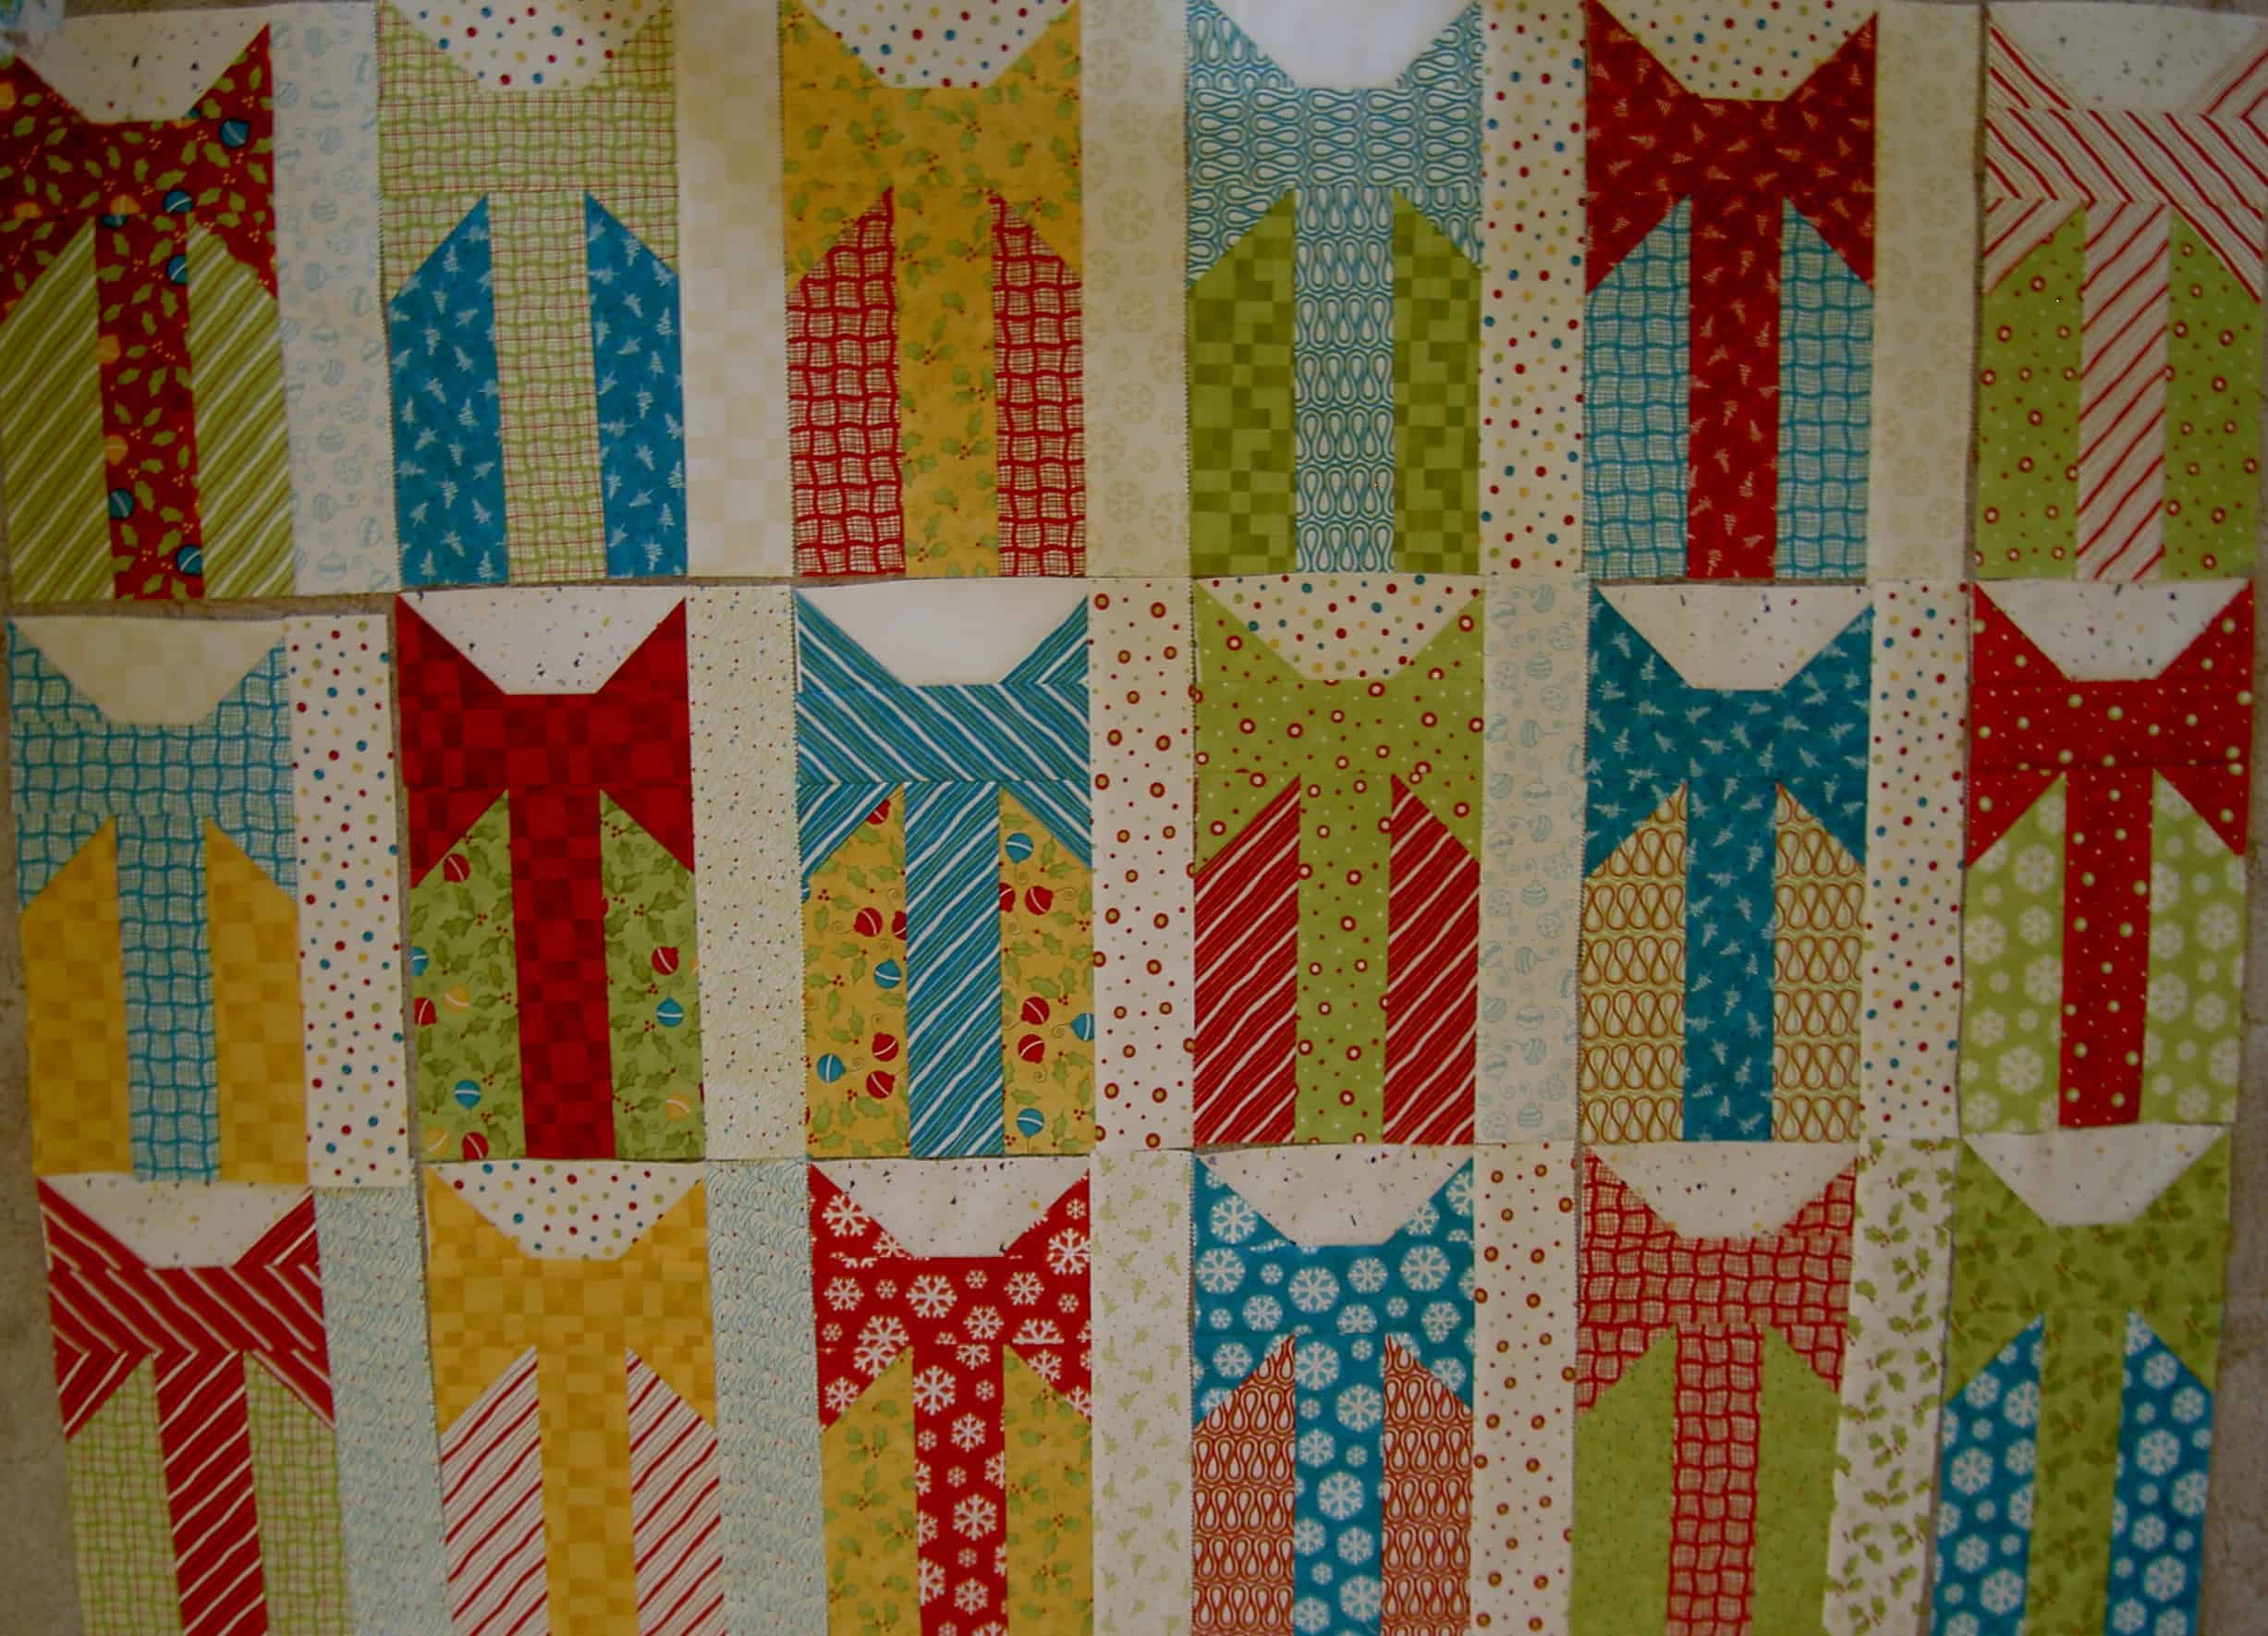
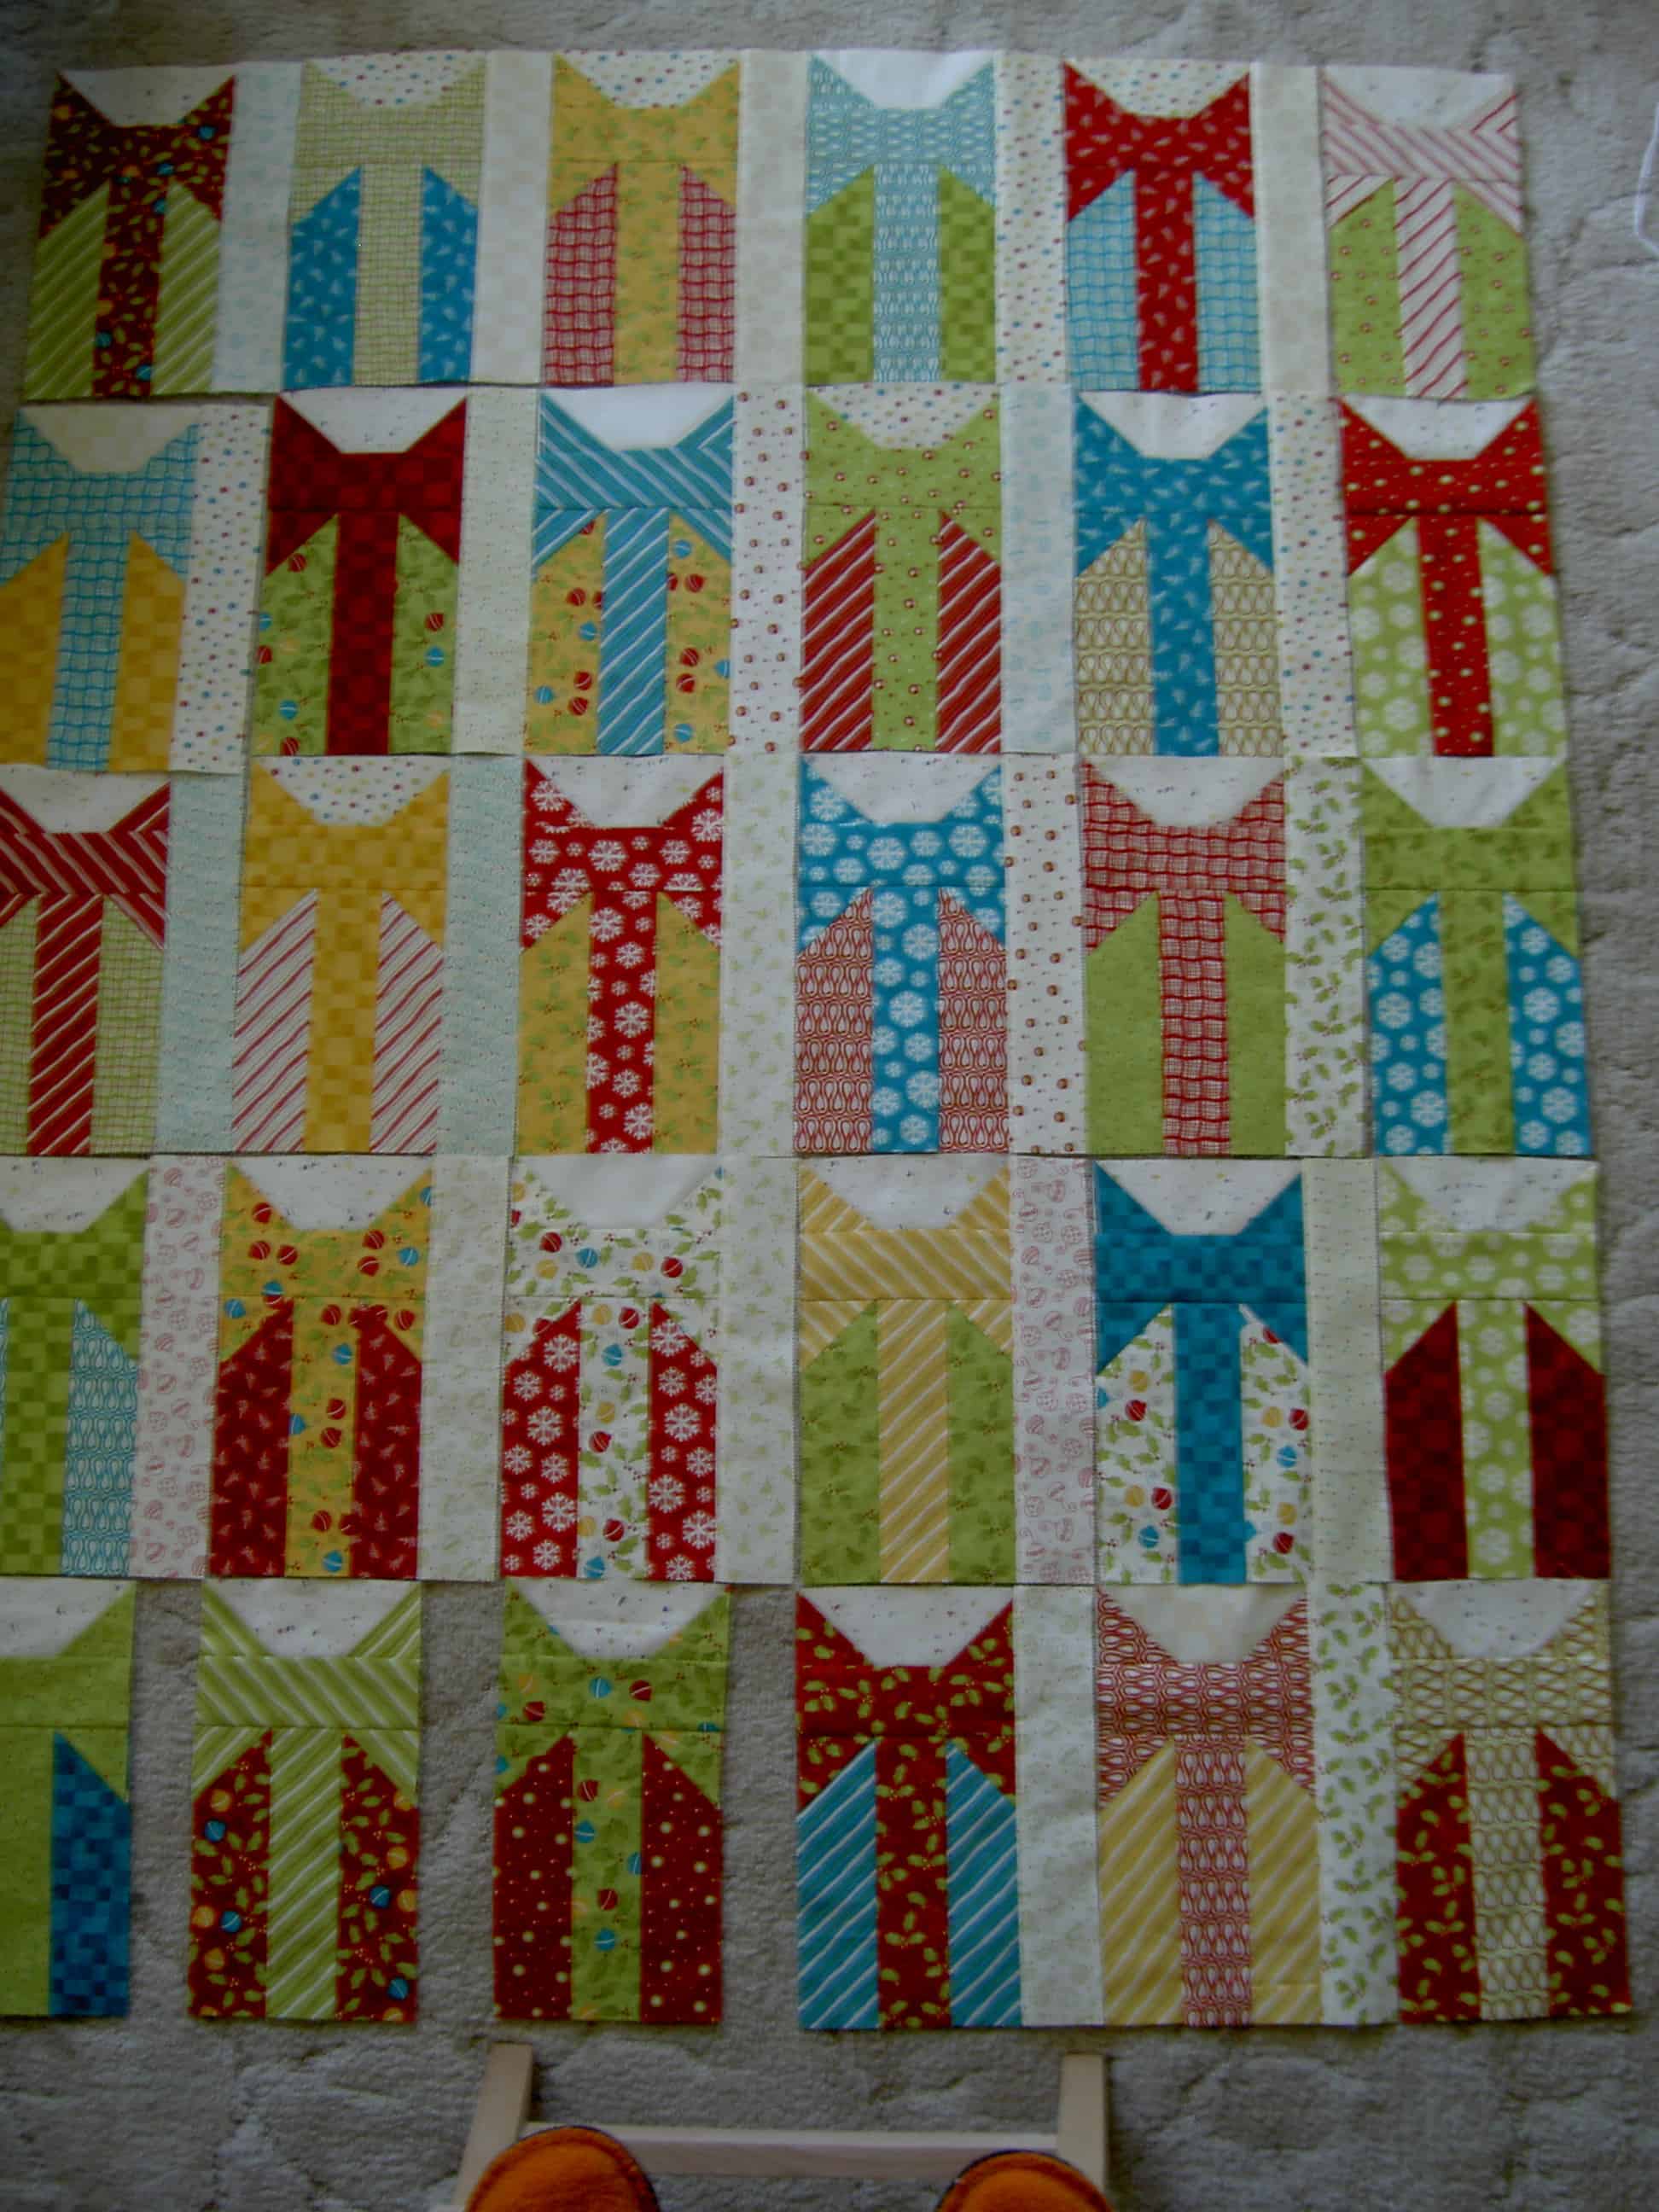
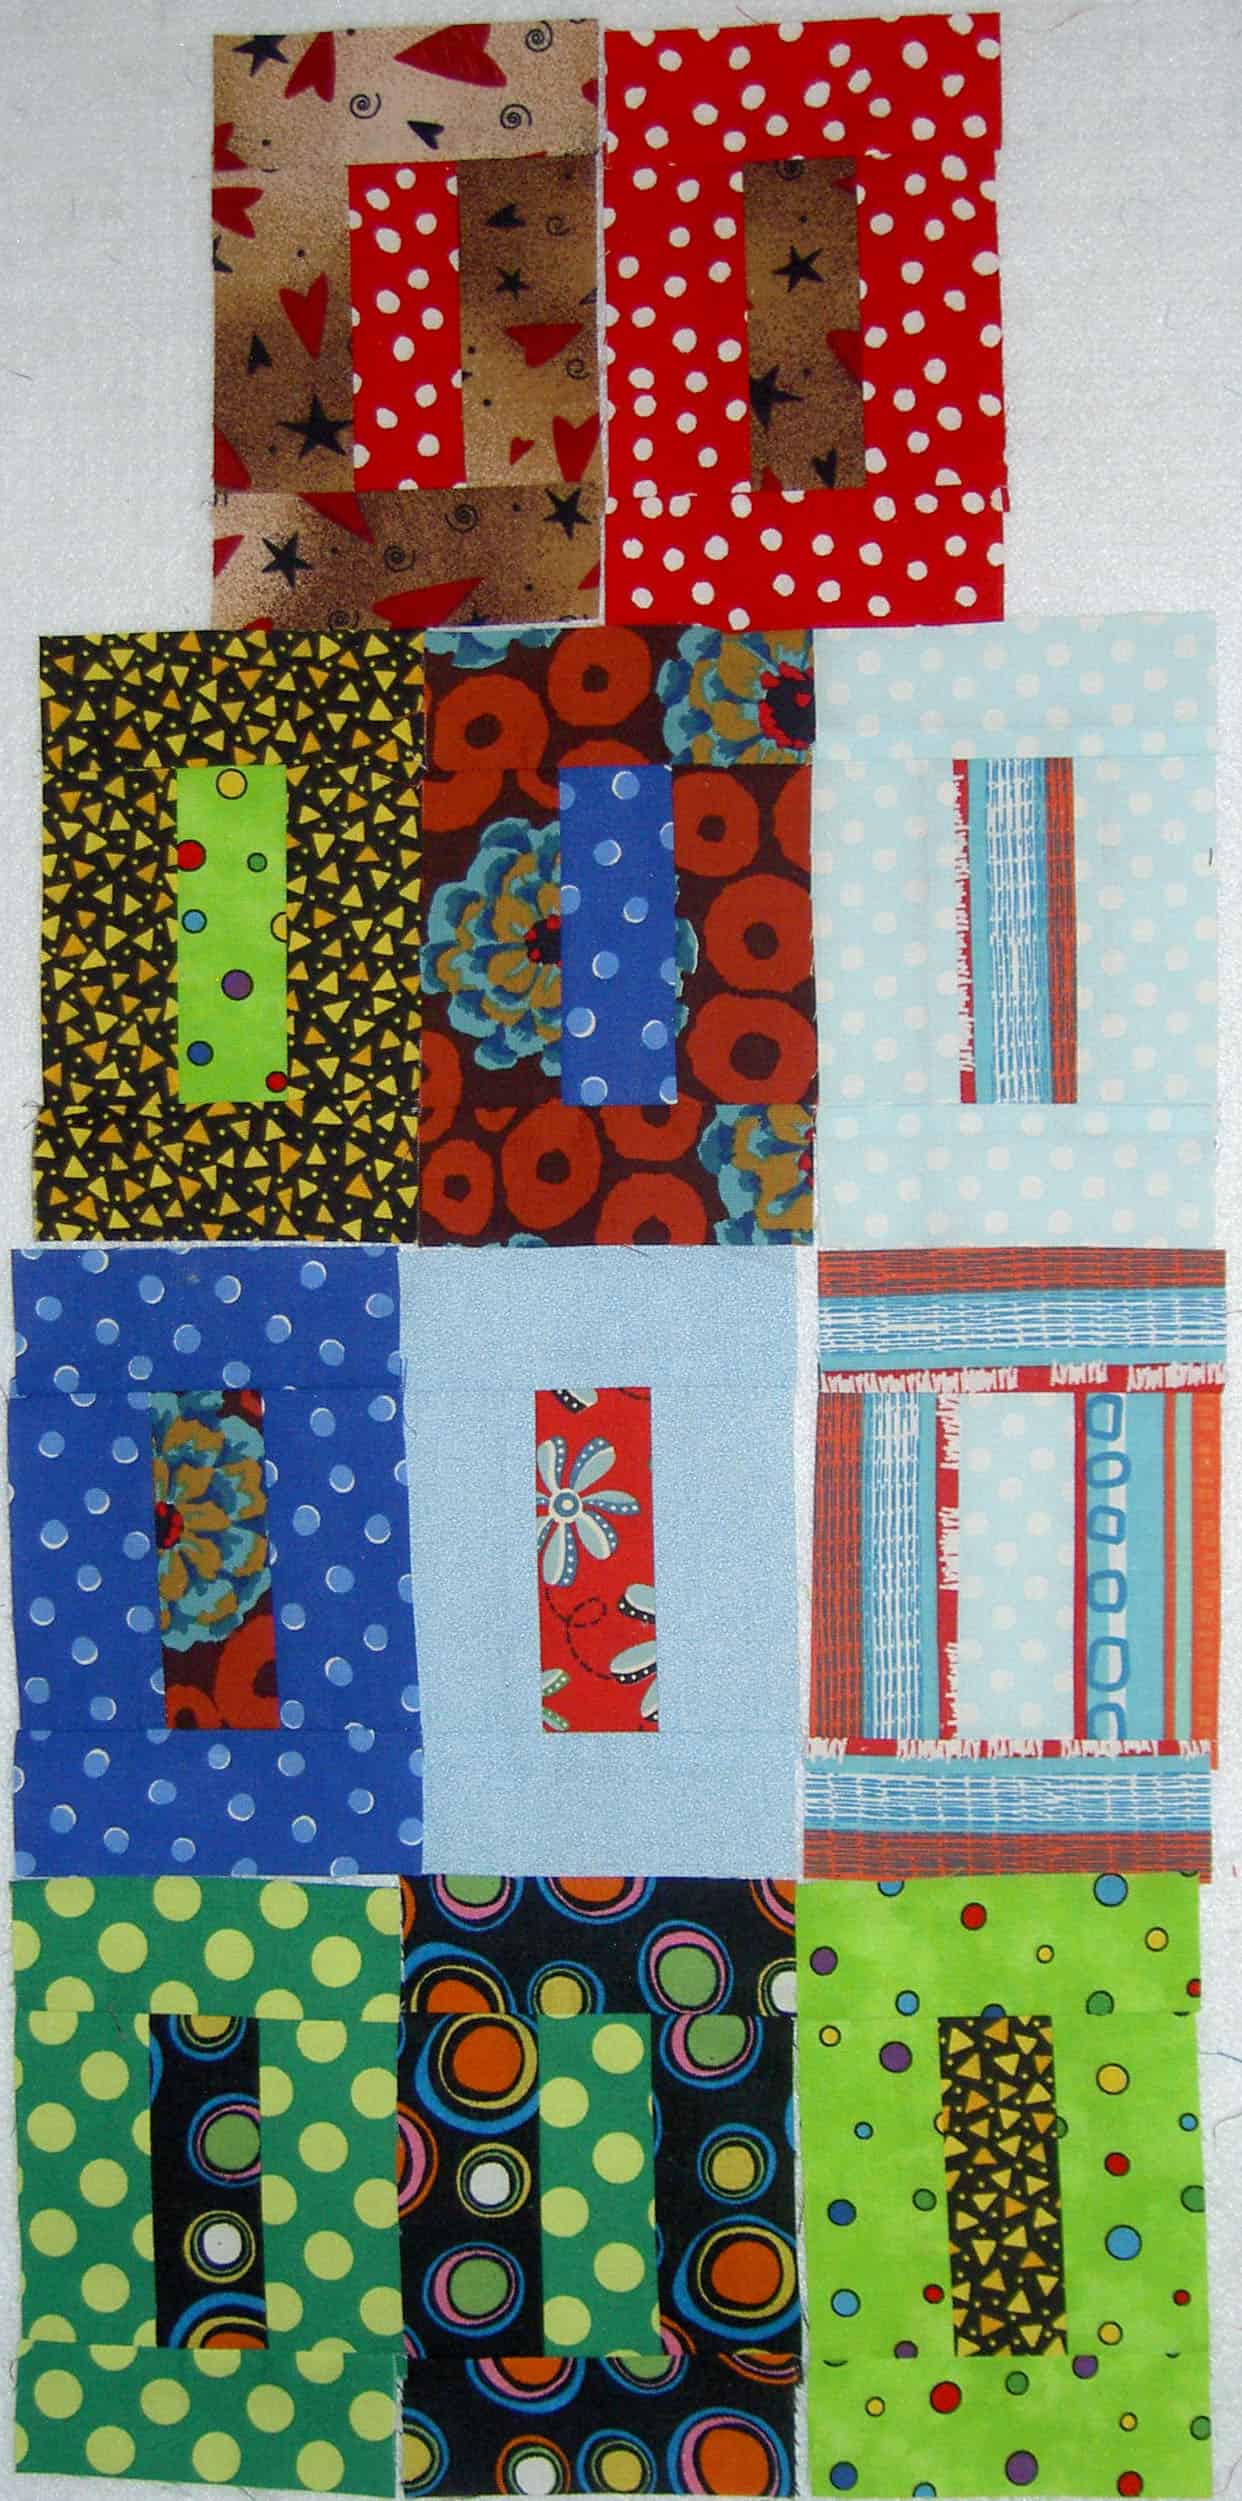
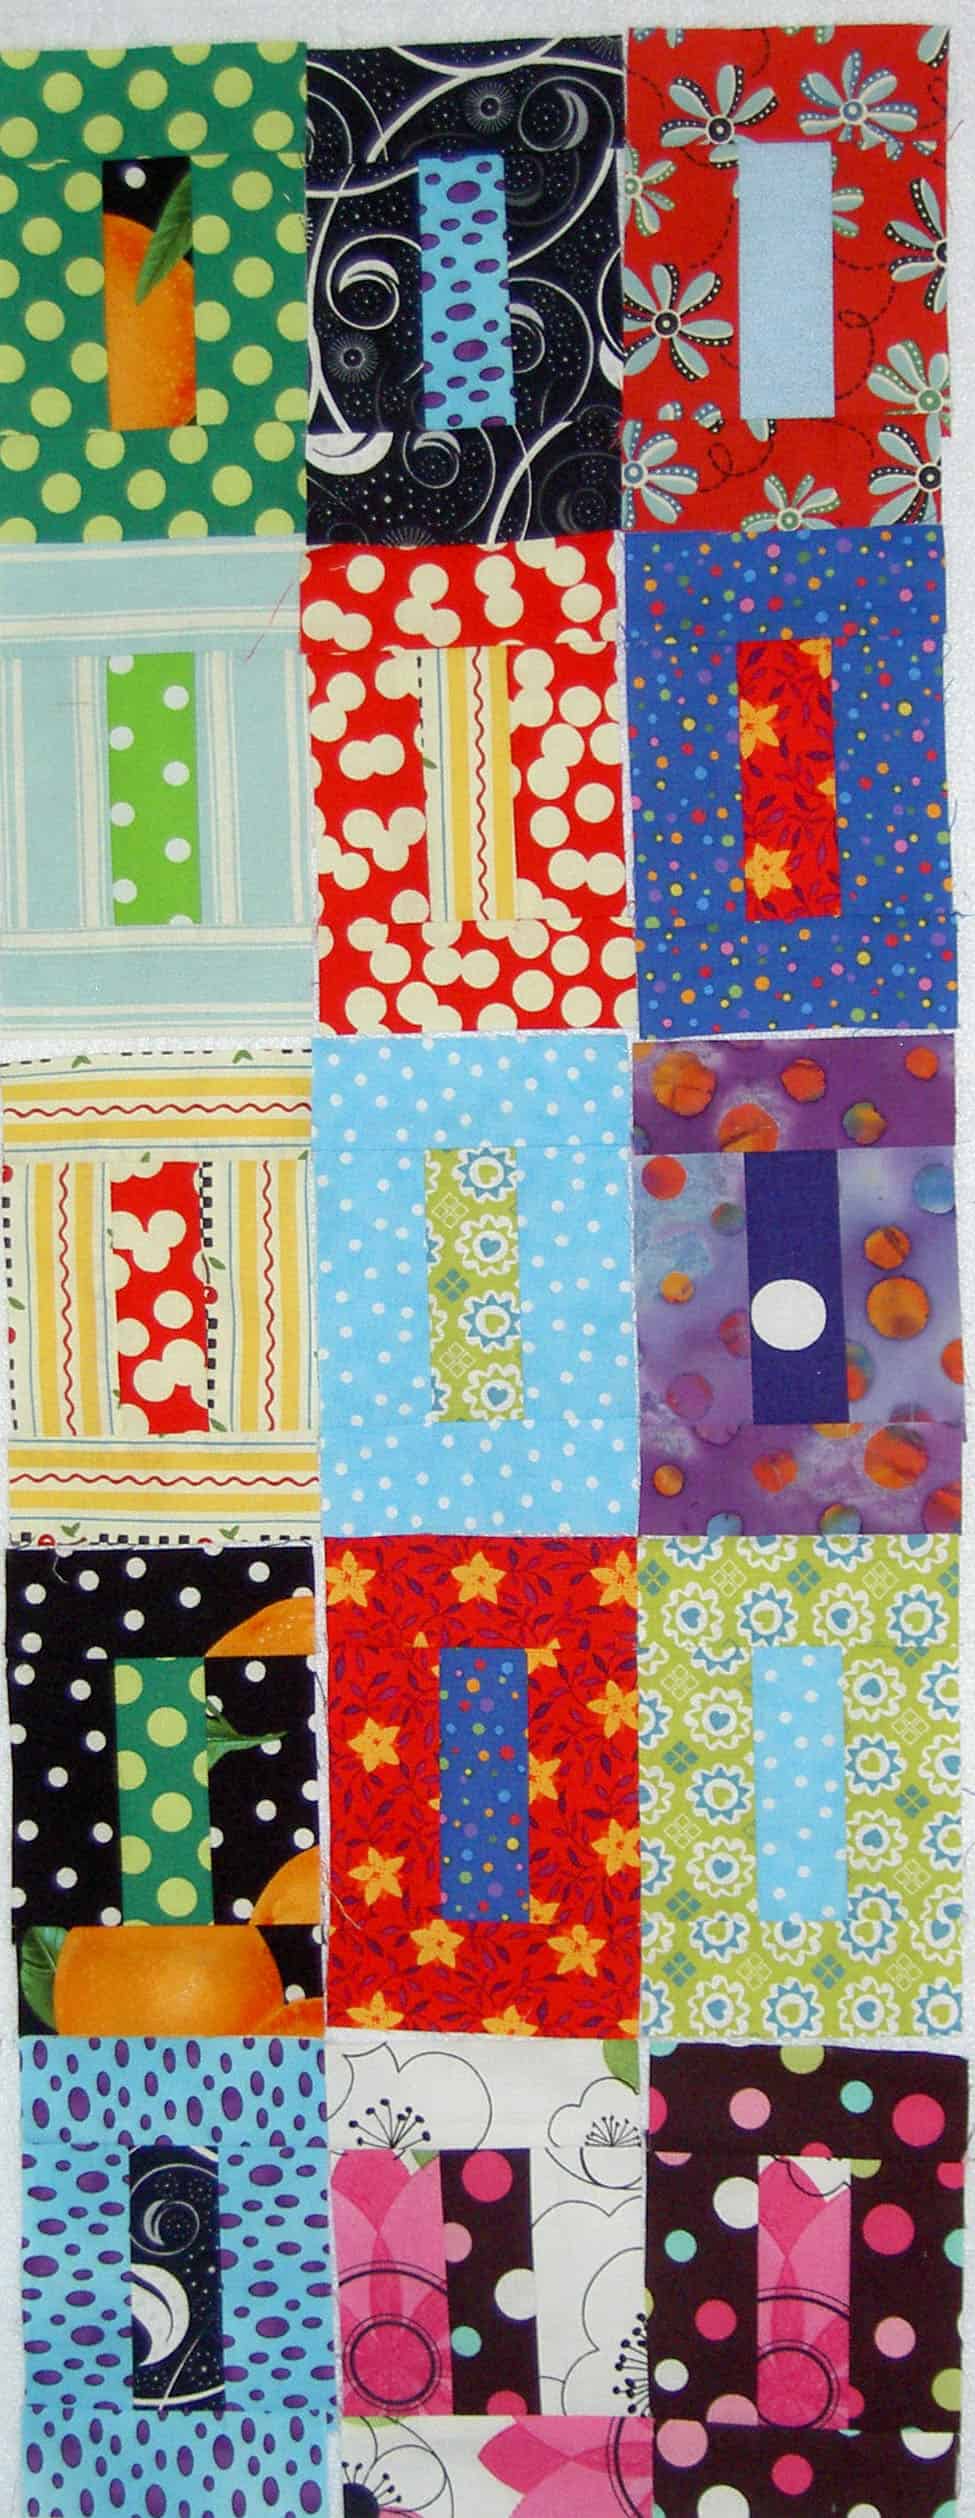
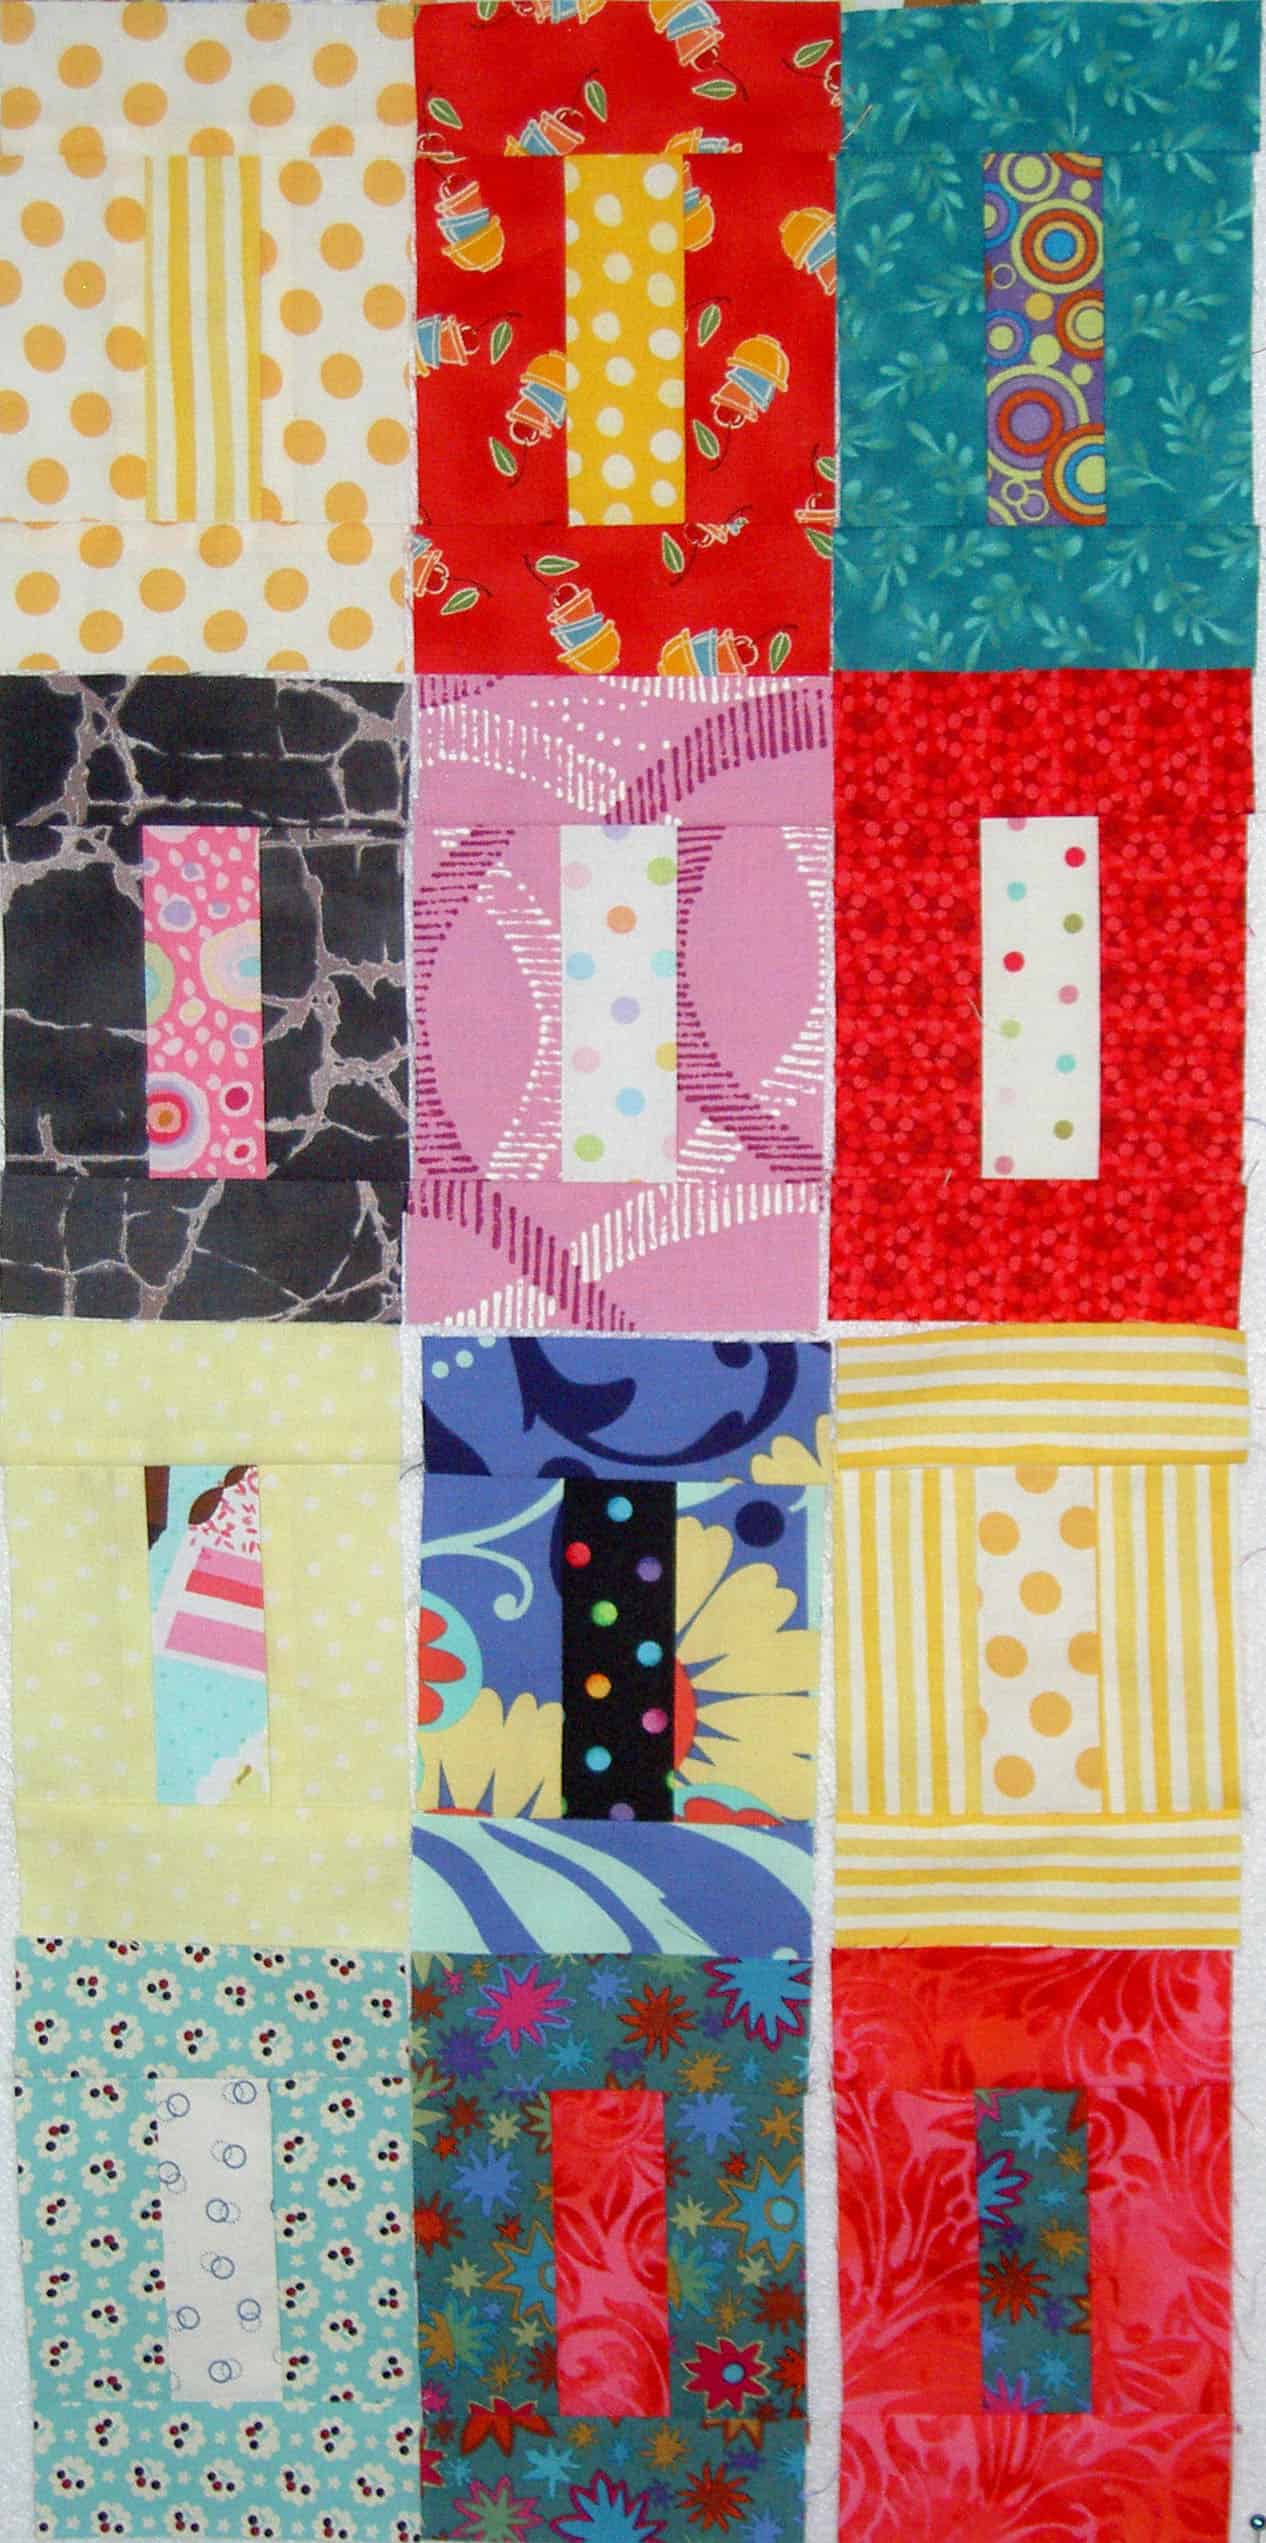
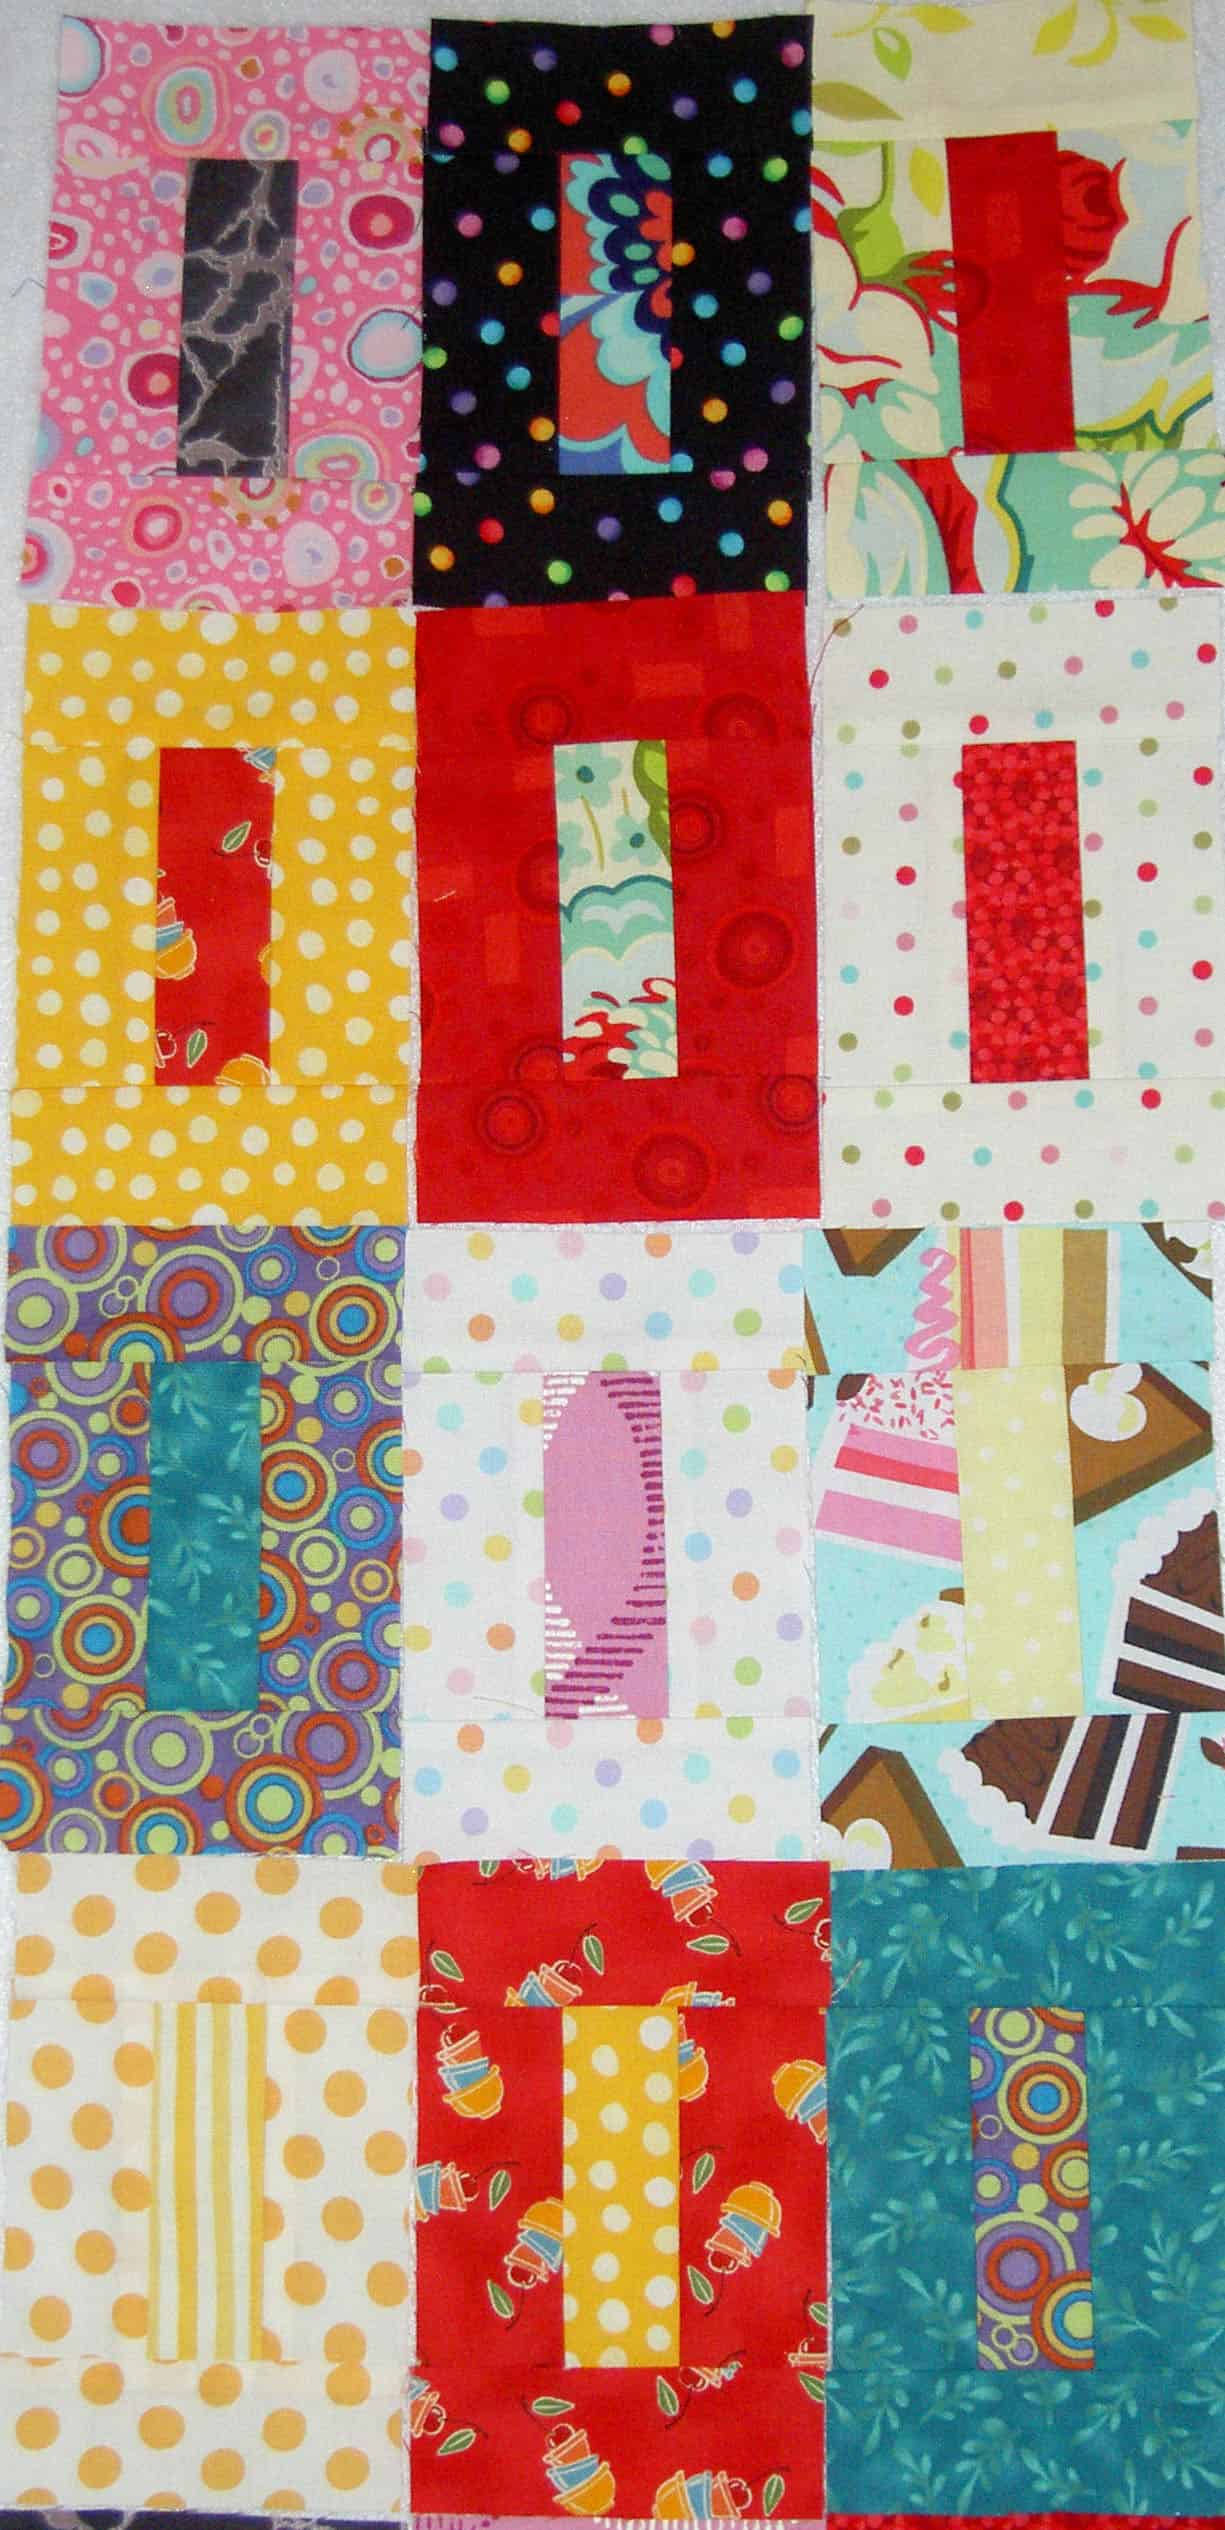
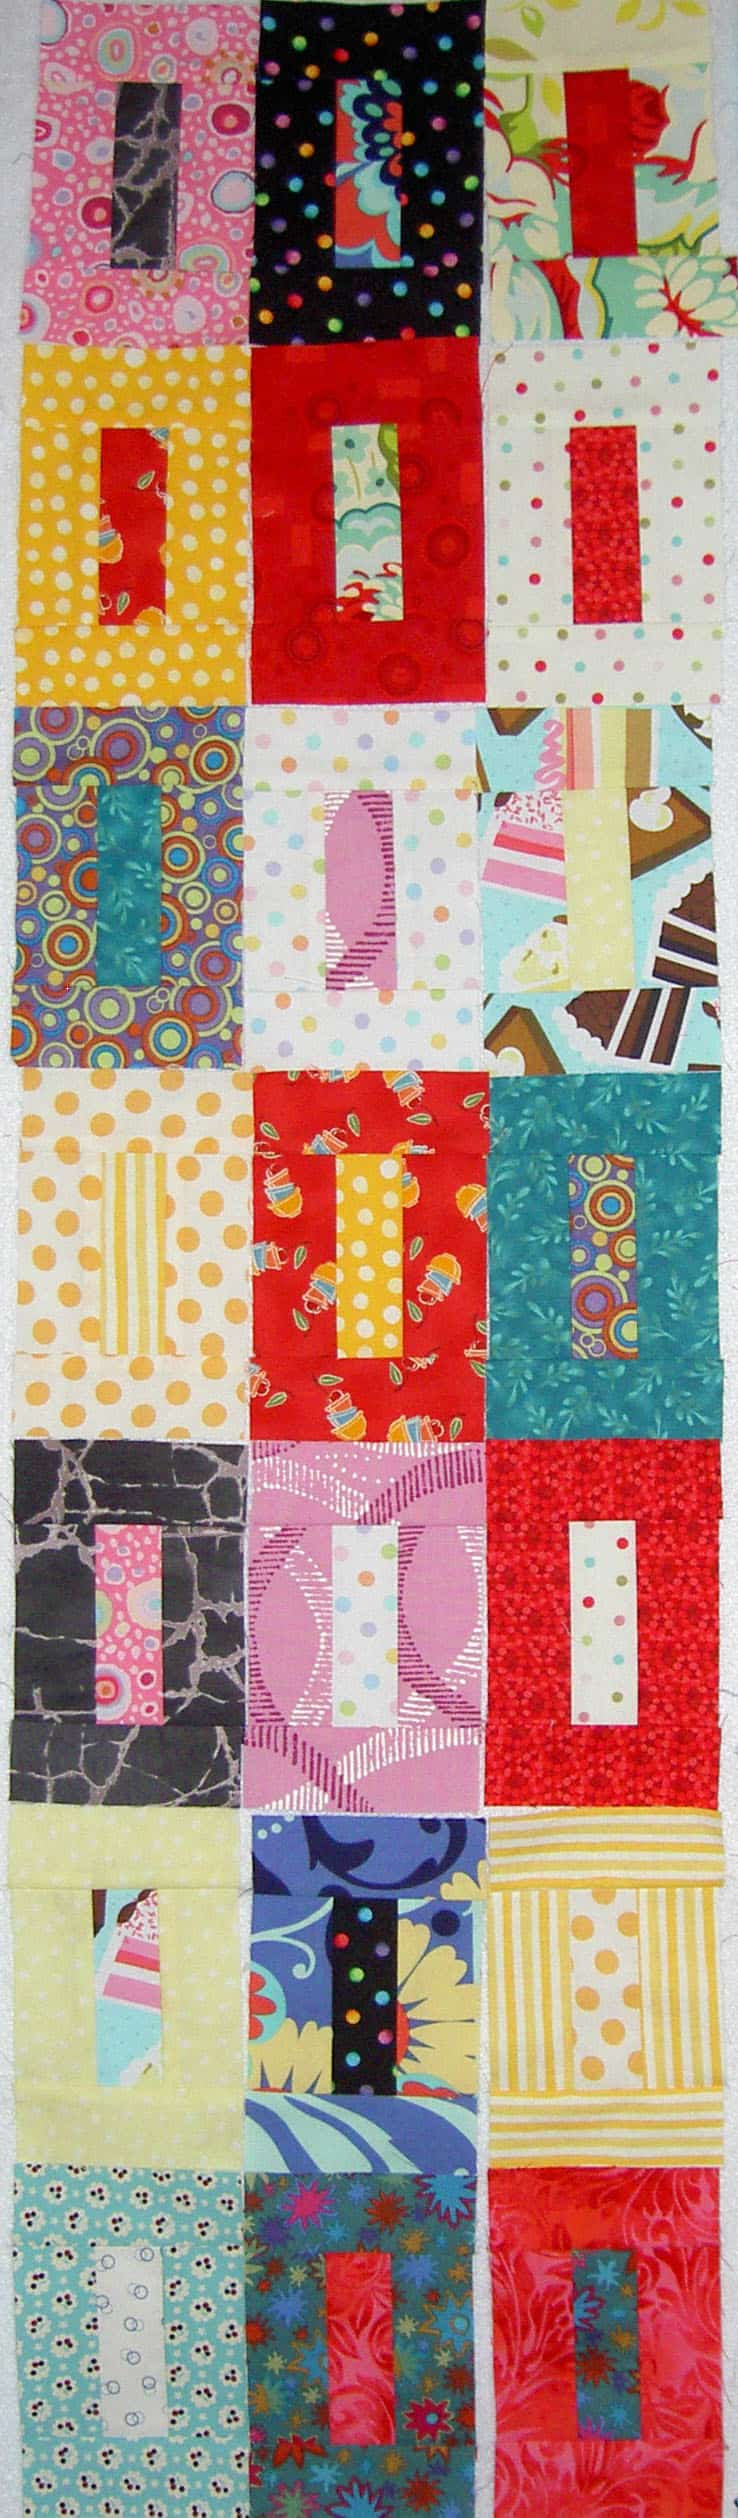
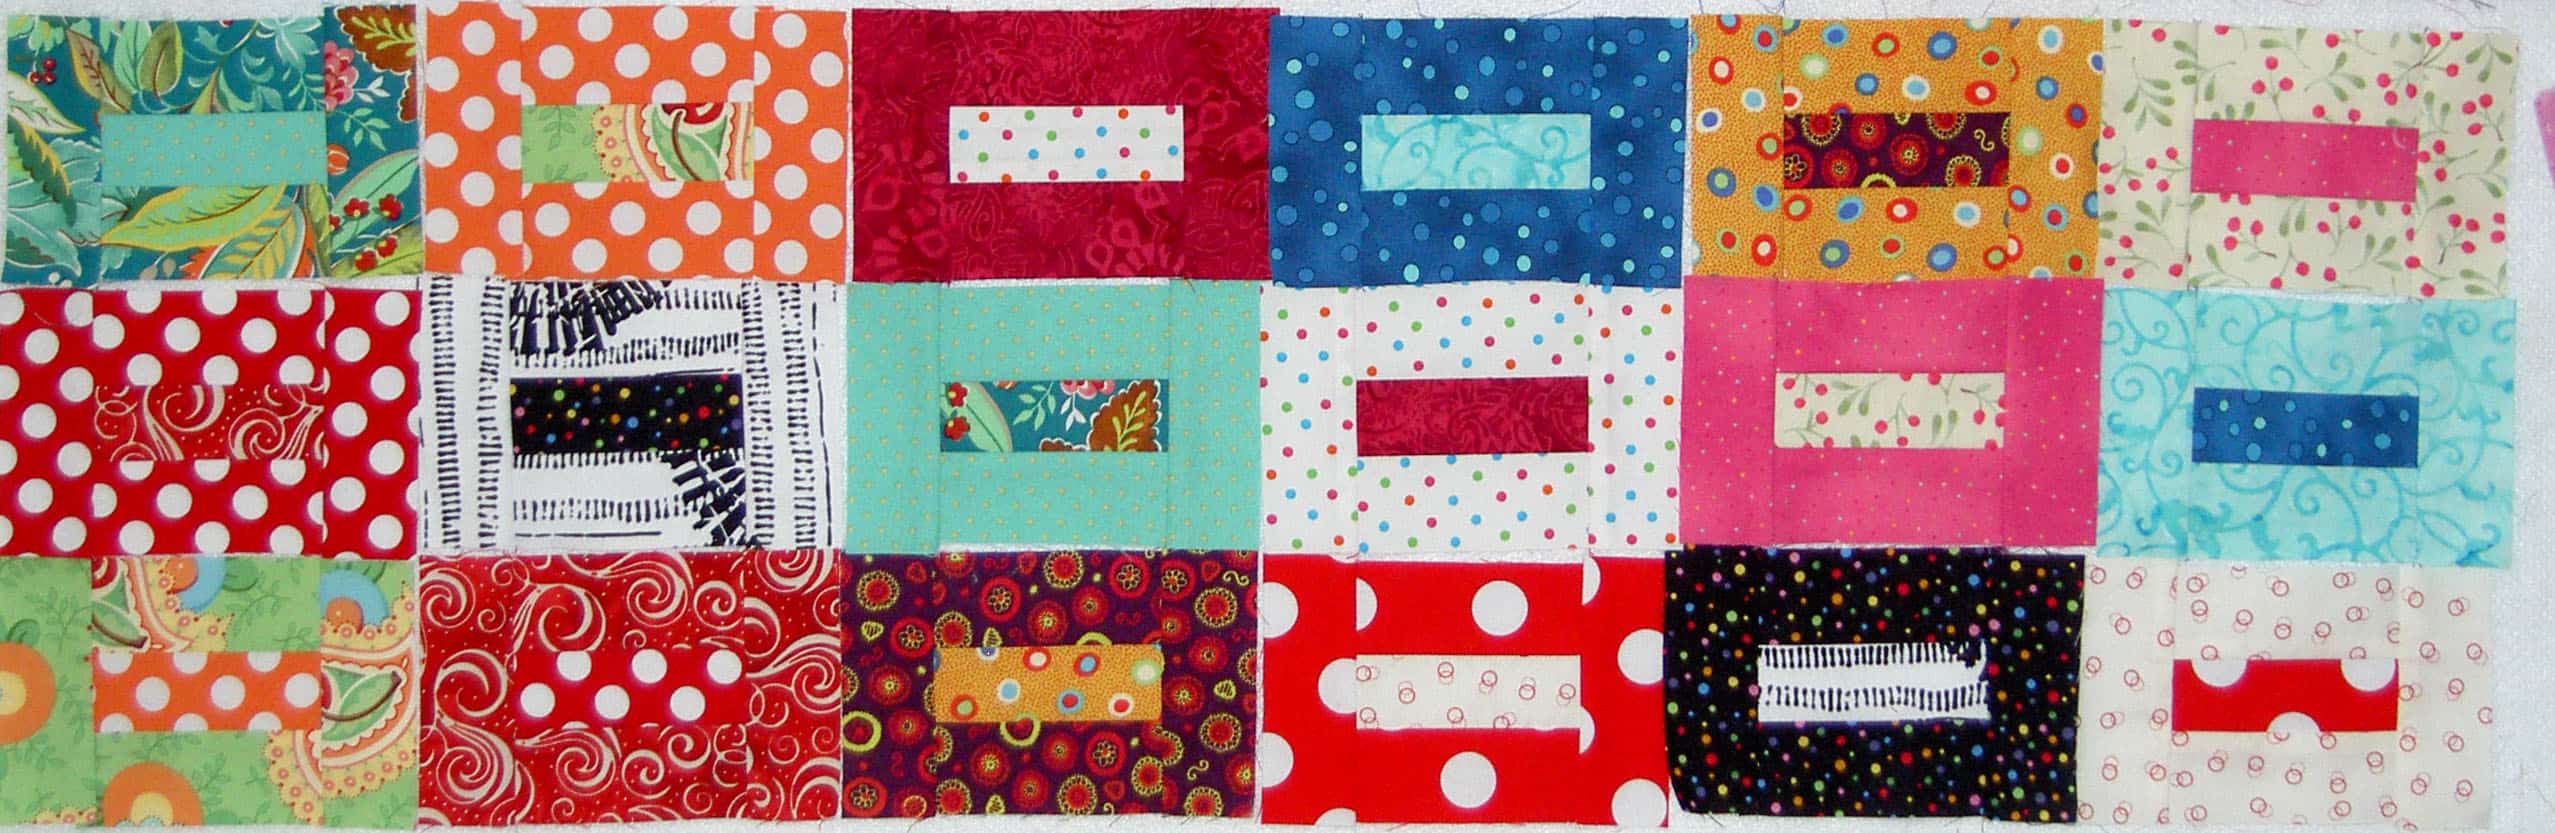
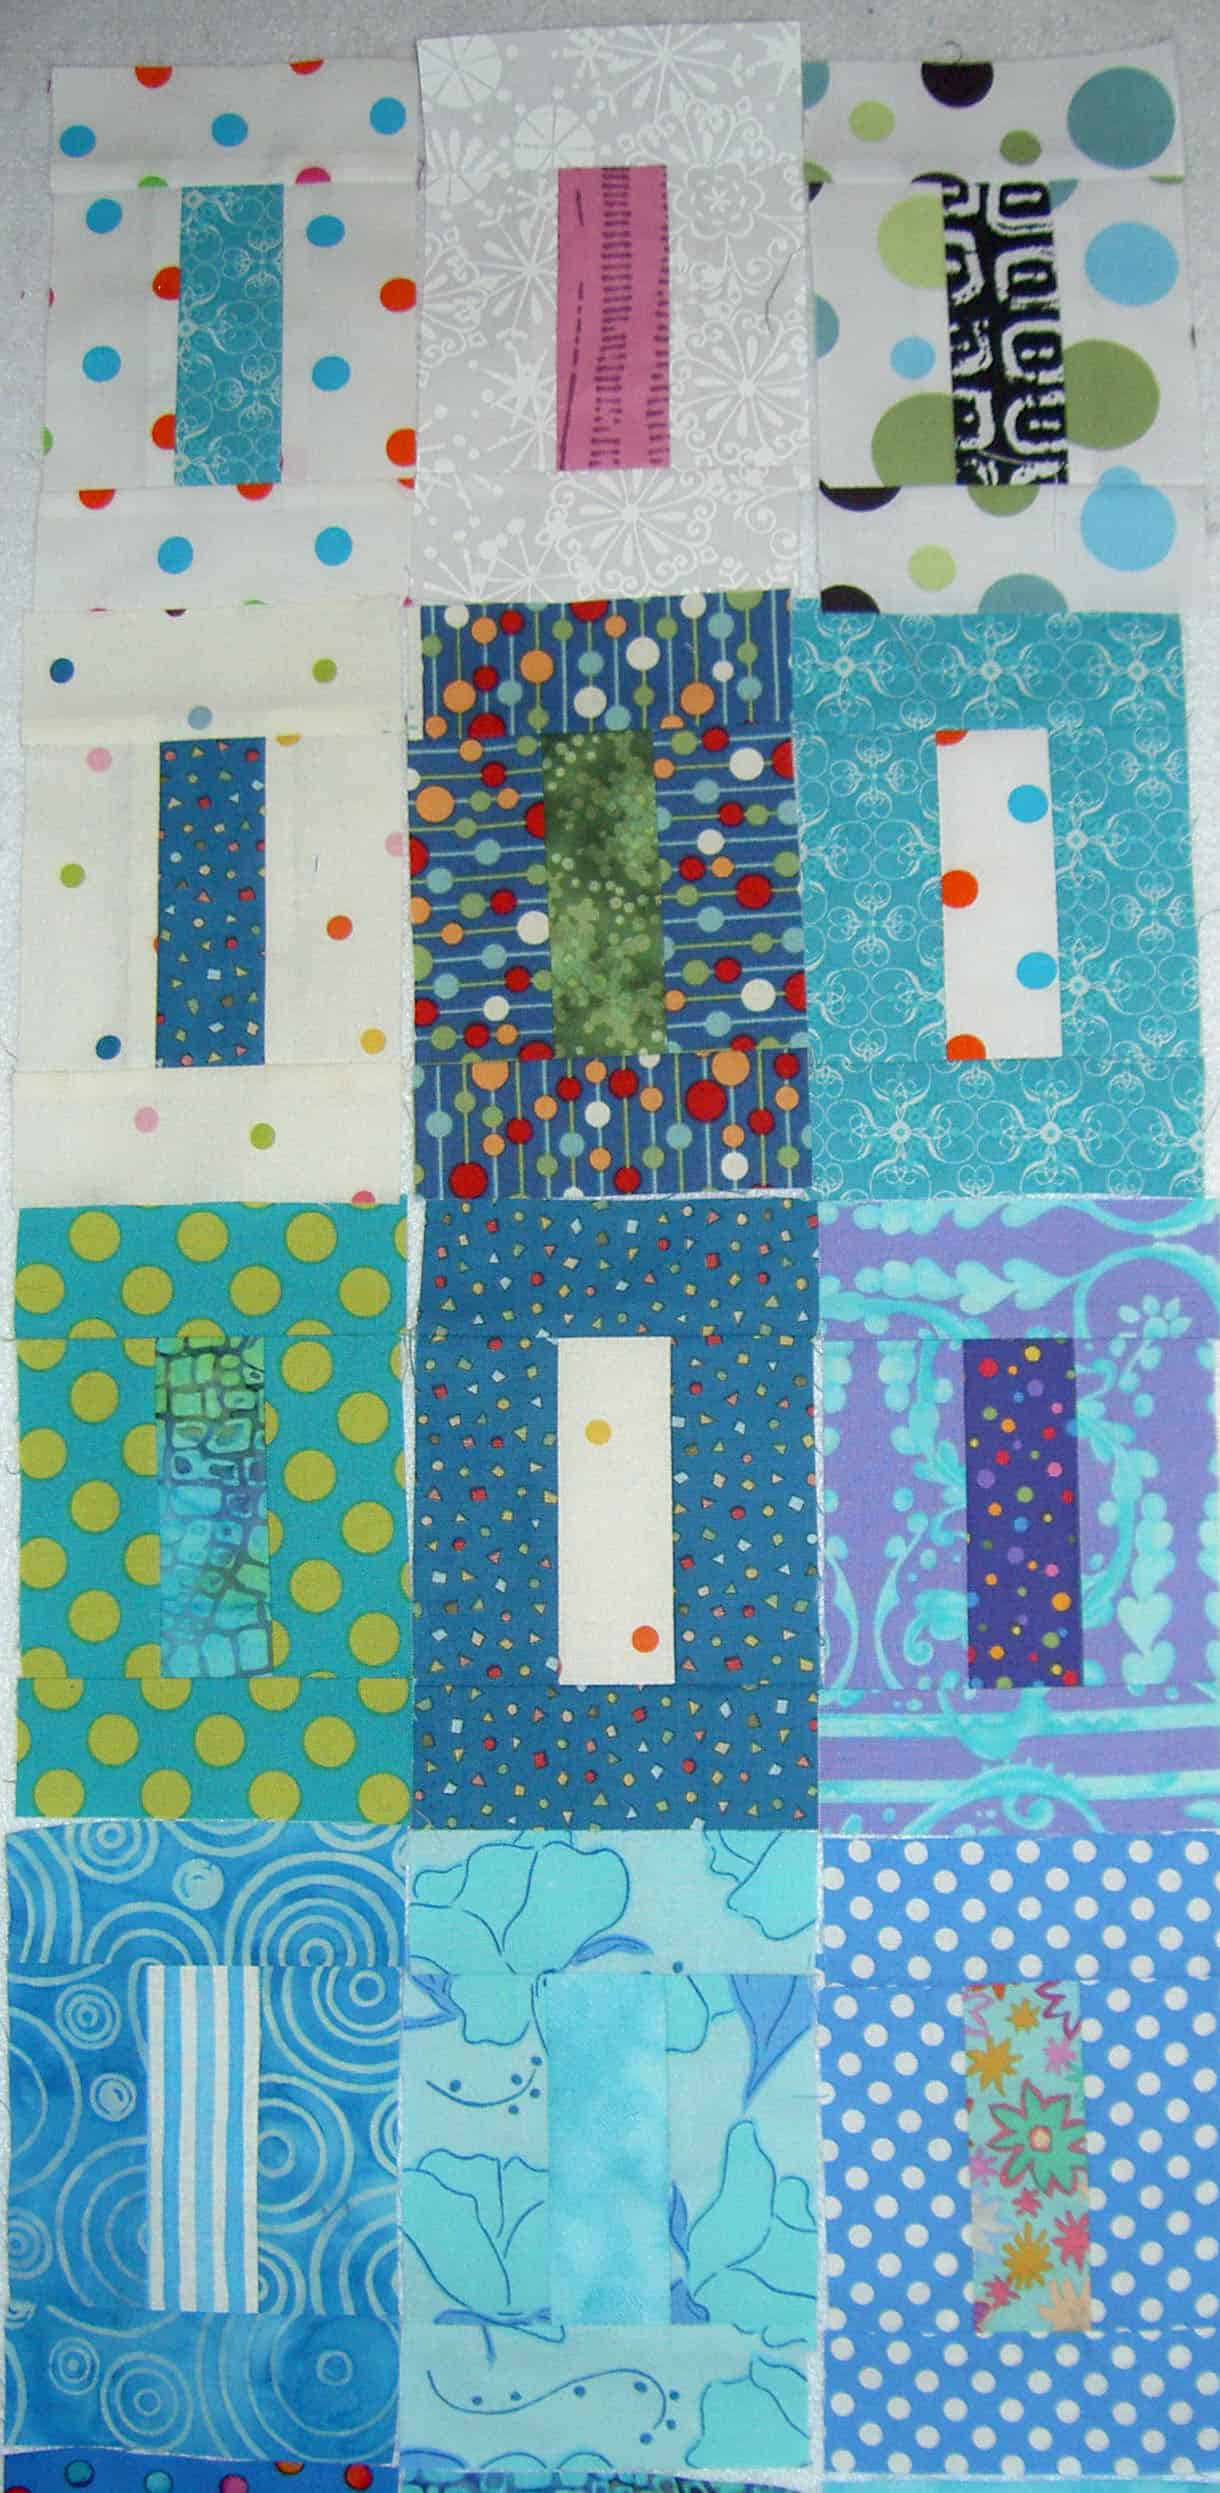
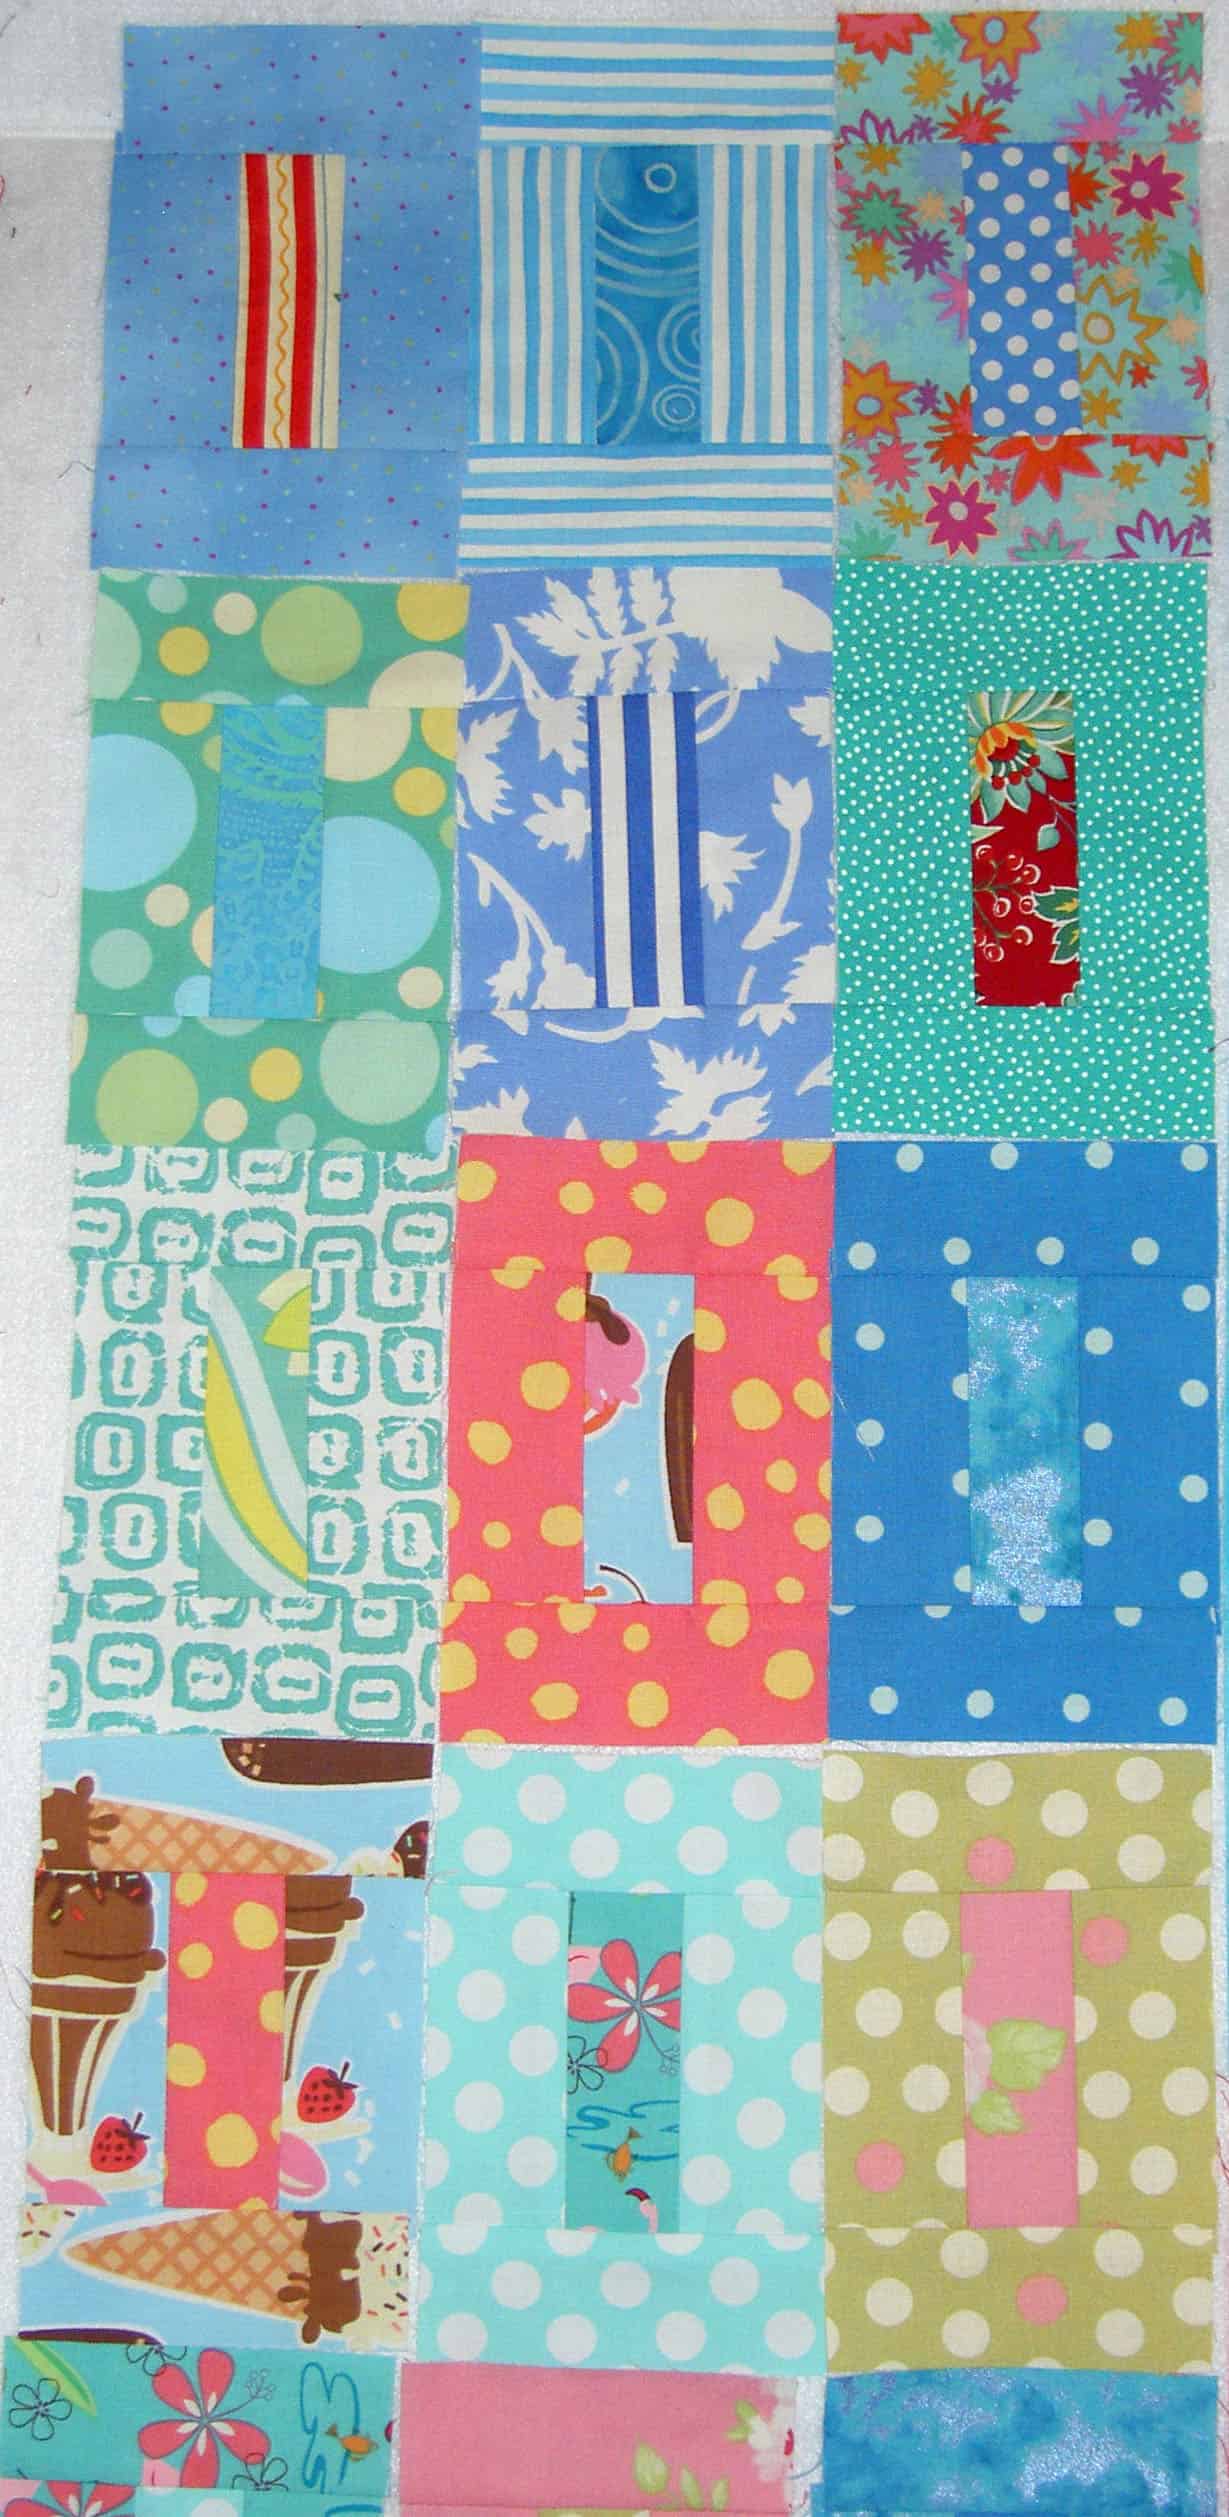
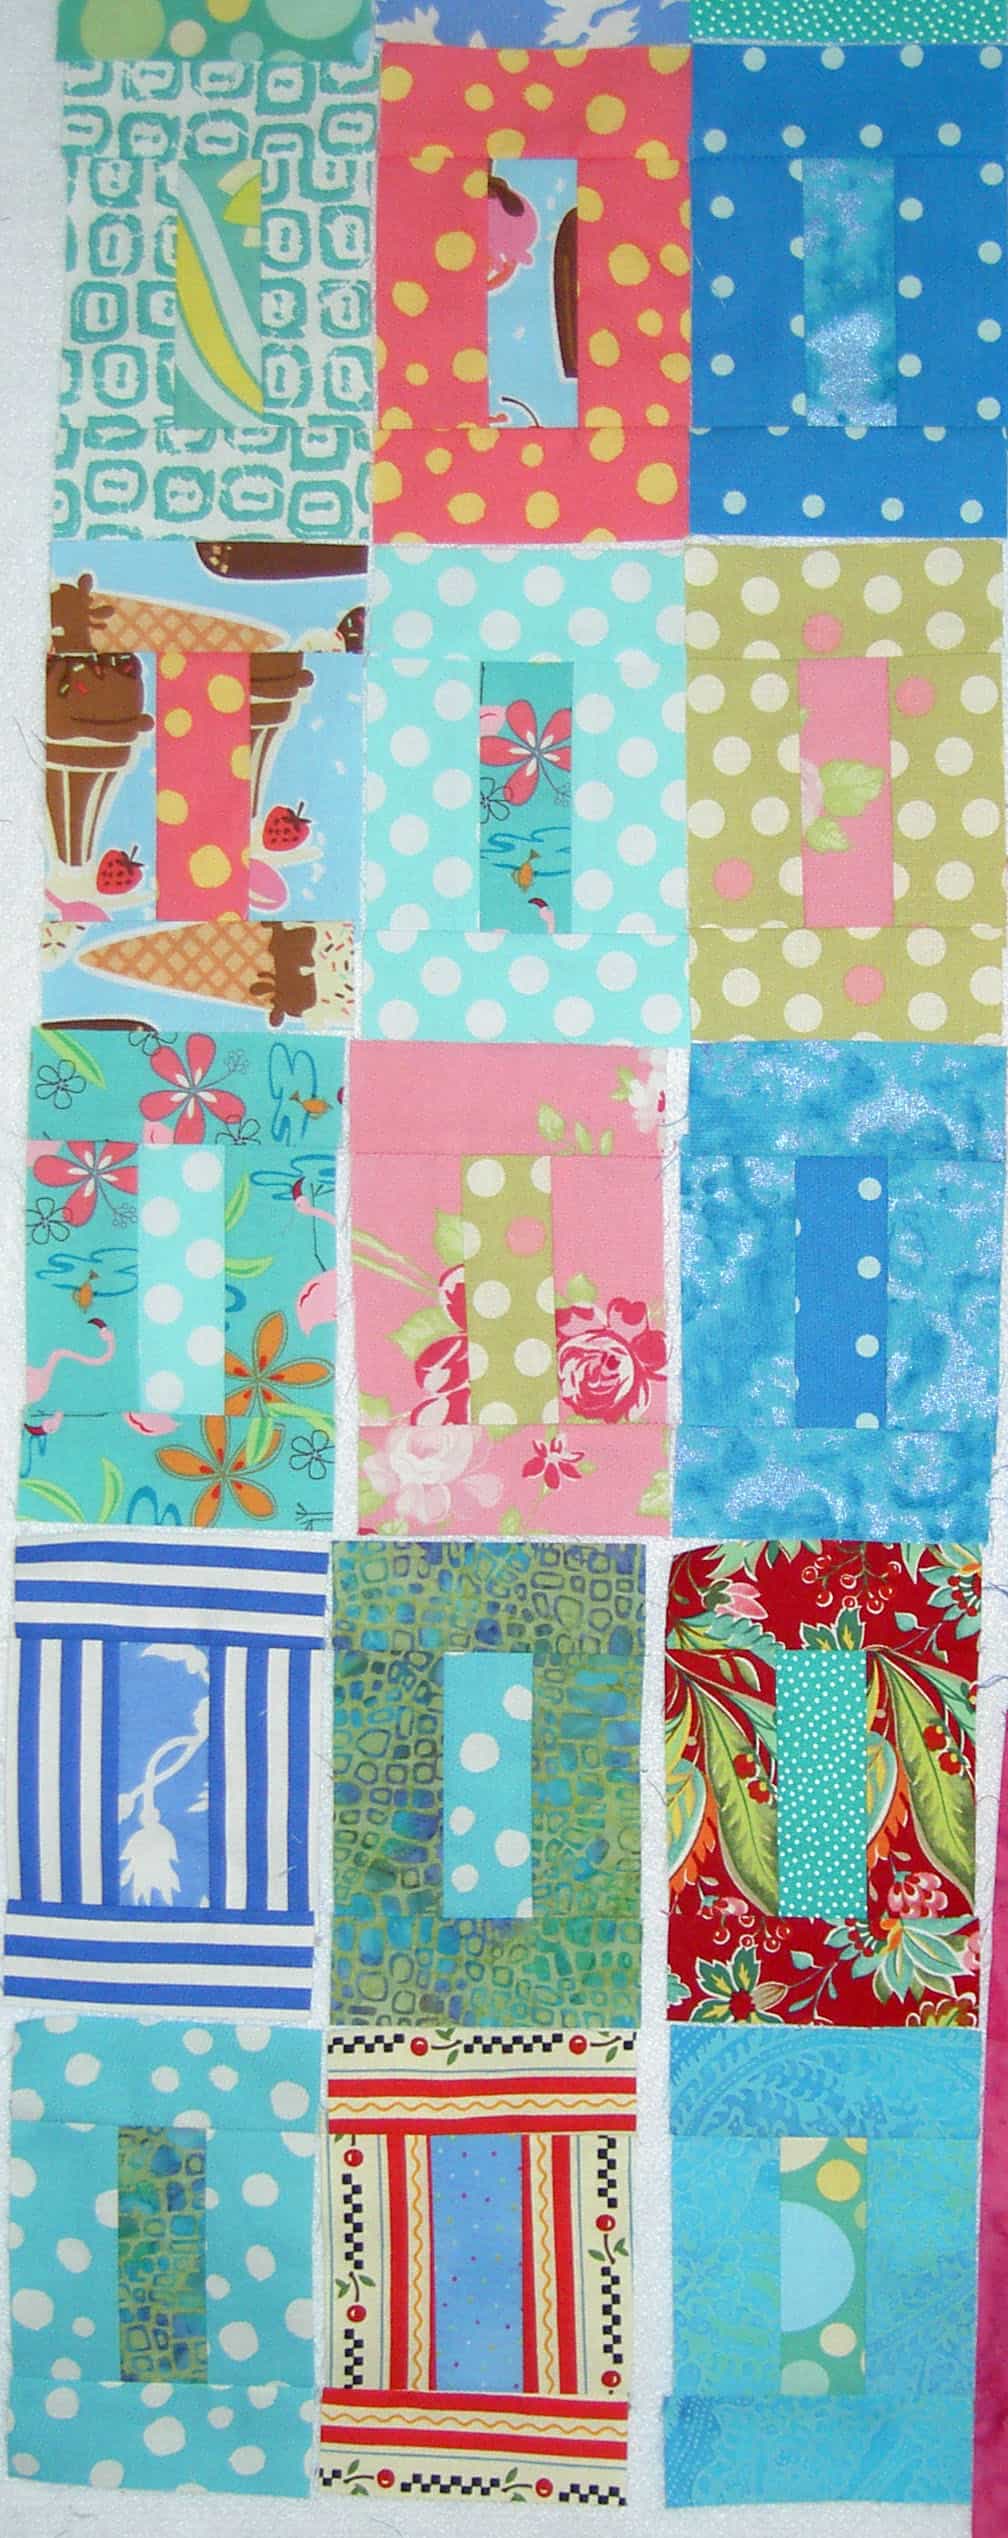
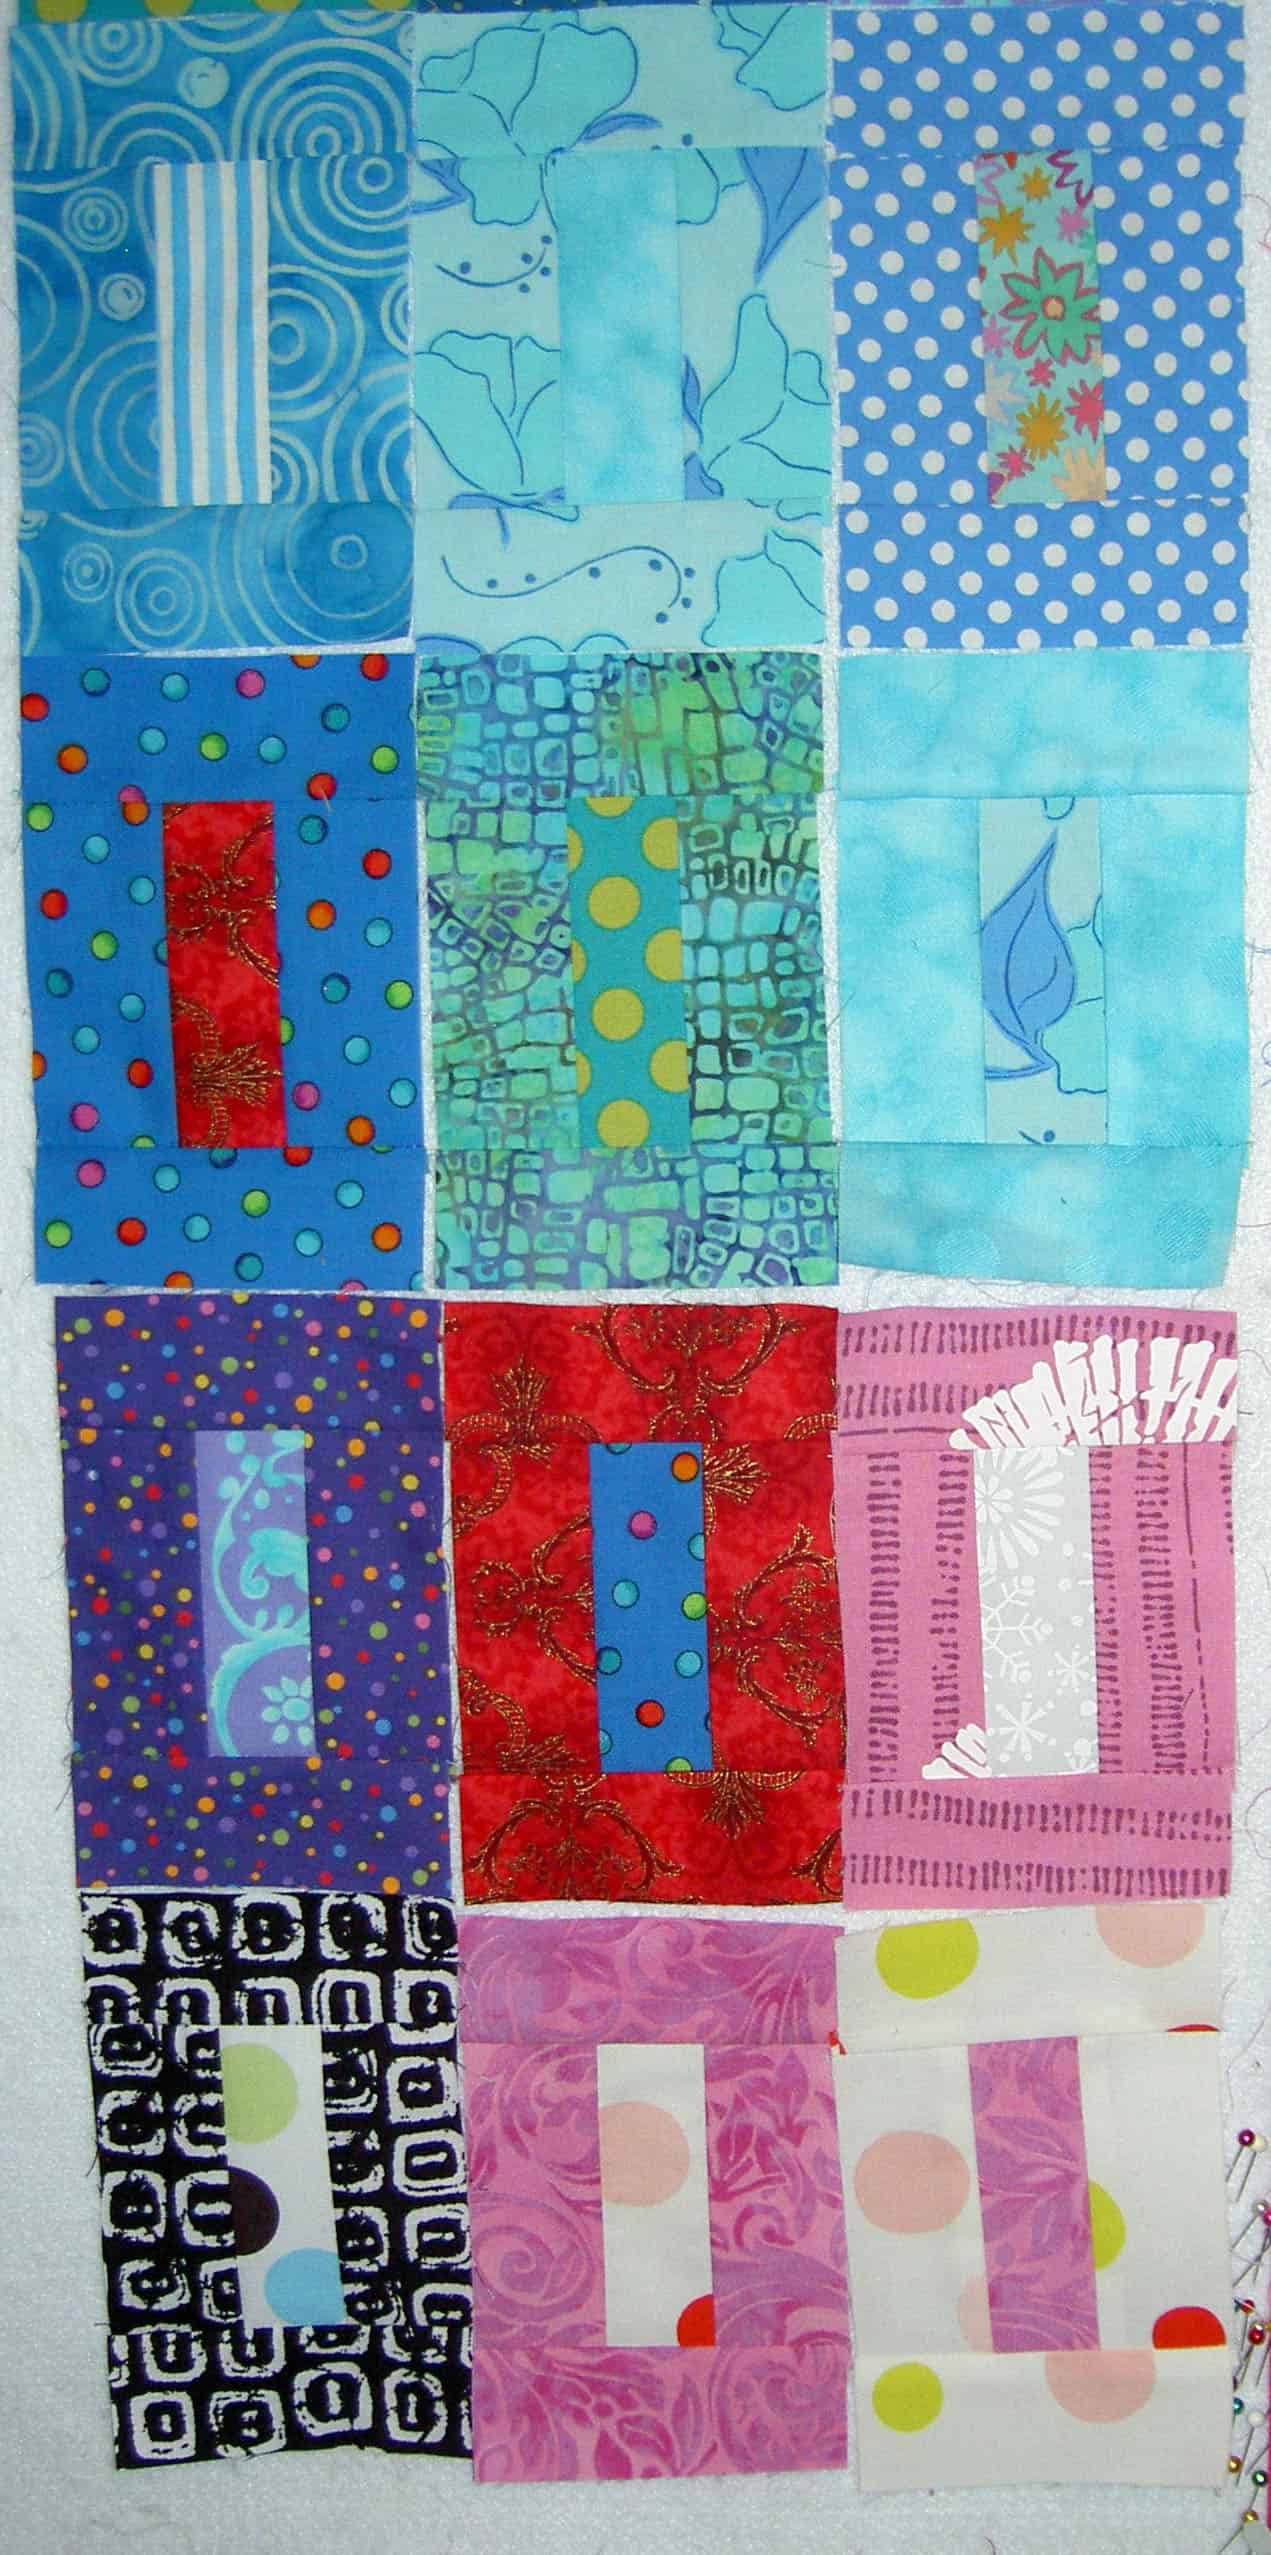
This is the first part of a quilt I am making as a gift. I will tell you for whom it is intended once it is delivered.
I have been cutting blue 6.5″ squares, in a delusatory way, for the past year. I was sure I would get it done. Suddenly, it was April and I didn’t have nearly enough squares. I really wanted the quilt done by the beginning of June and was, thus, in a pickle. My deadline isn’t going to happen.
TFQ helped with my dilemna by cutting about 100 squares for me. That really, REALLY helped. I cut the rest and began sewing. I hope to have this top and back done in time to quilt it at my longarm appointment on July 30.
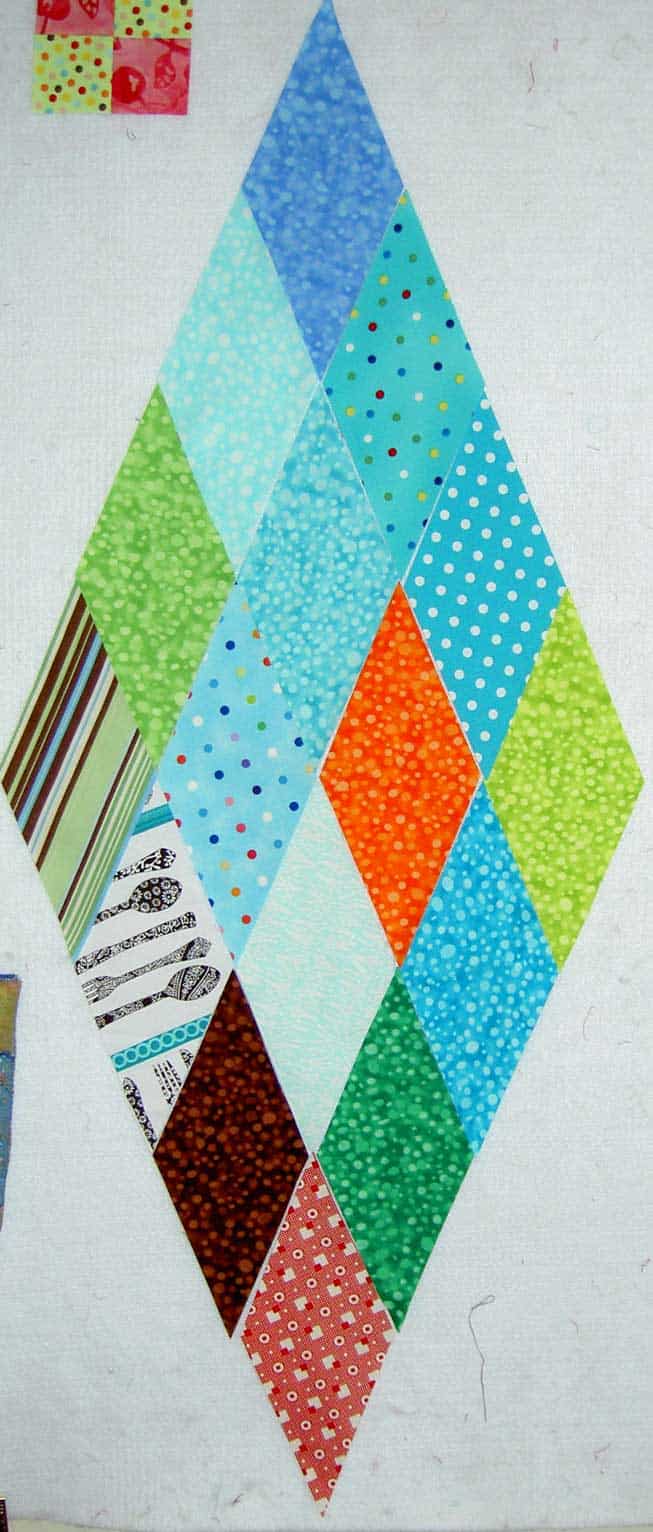
I have been cutting and pressing fabrics like a demon lately and here is another group. I have found that this number of diamonds is the right number to photograph, so I have a few more on the wall that will be in the next photo.
One of the things about this group is that there are a lot of the Fizz by P&B fabrics and I am really loving those fabrics. I would love it if they would come out with another dozen colors in between the colors they already have. There are a lot of colors in the group already so that would mean that their colorists would really have to work over time. I would love it if these became a staple background fabric. Fabrics go so quickly out of fashion that I doubt that will happen. I plan to use these fabrics in another Interlocking Triangle quilt.
An idea that occurred to me with these Fizz fabrics is that I could arrange them in a color wheel and then radiate the other diamonds out from them. I think that would make the piecing a challenge, but all ideas are worth considering. It might be a problem with the colors which I don’t buy very often.
I haven’t decided if I am cutting diamonds from the food fabrics for my mom. I am intermittently, so some show up as diamonds and some don’t.
The other thing I am doing is cutting pieces from a few fabrics I have pulled out of the stash. An example is the red at the tip of the diamond. These fabrics have never had a piece cut from them. My project, my rules.
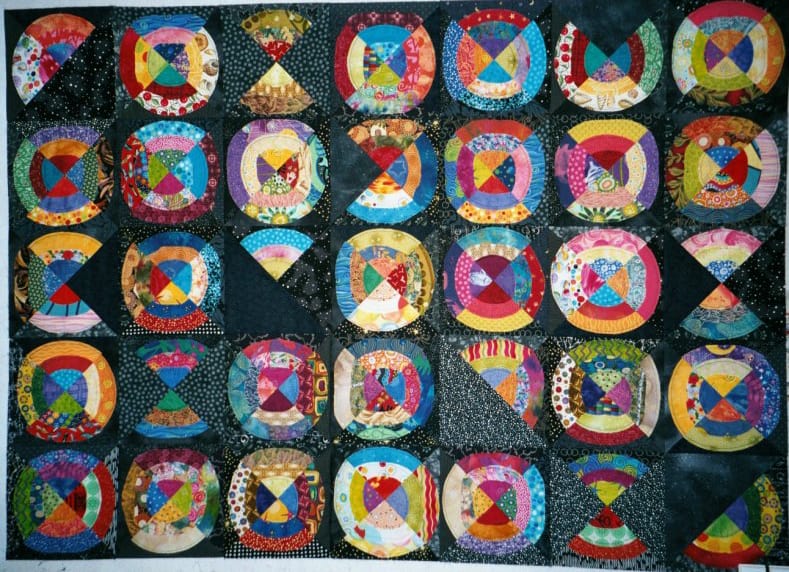
I don’t always start a quilt and finish it right away. Often, I start a quilt in order to work through an idea and then I get stuck on one part. Putting it away is a good way to let the project and idea percolate. Such is the case with the Original Bullseye.
Original Bullseye
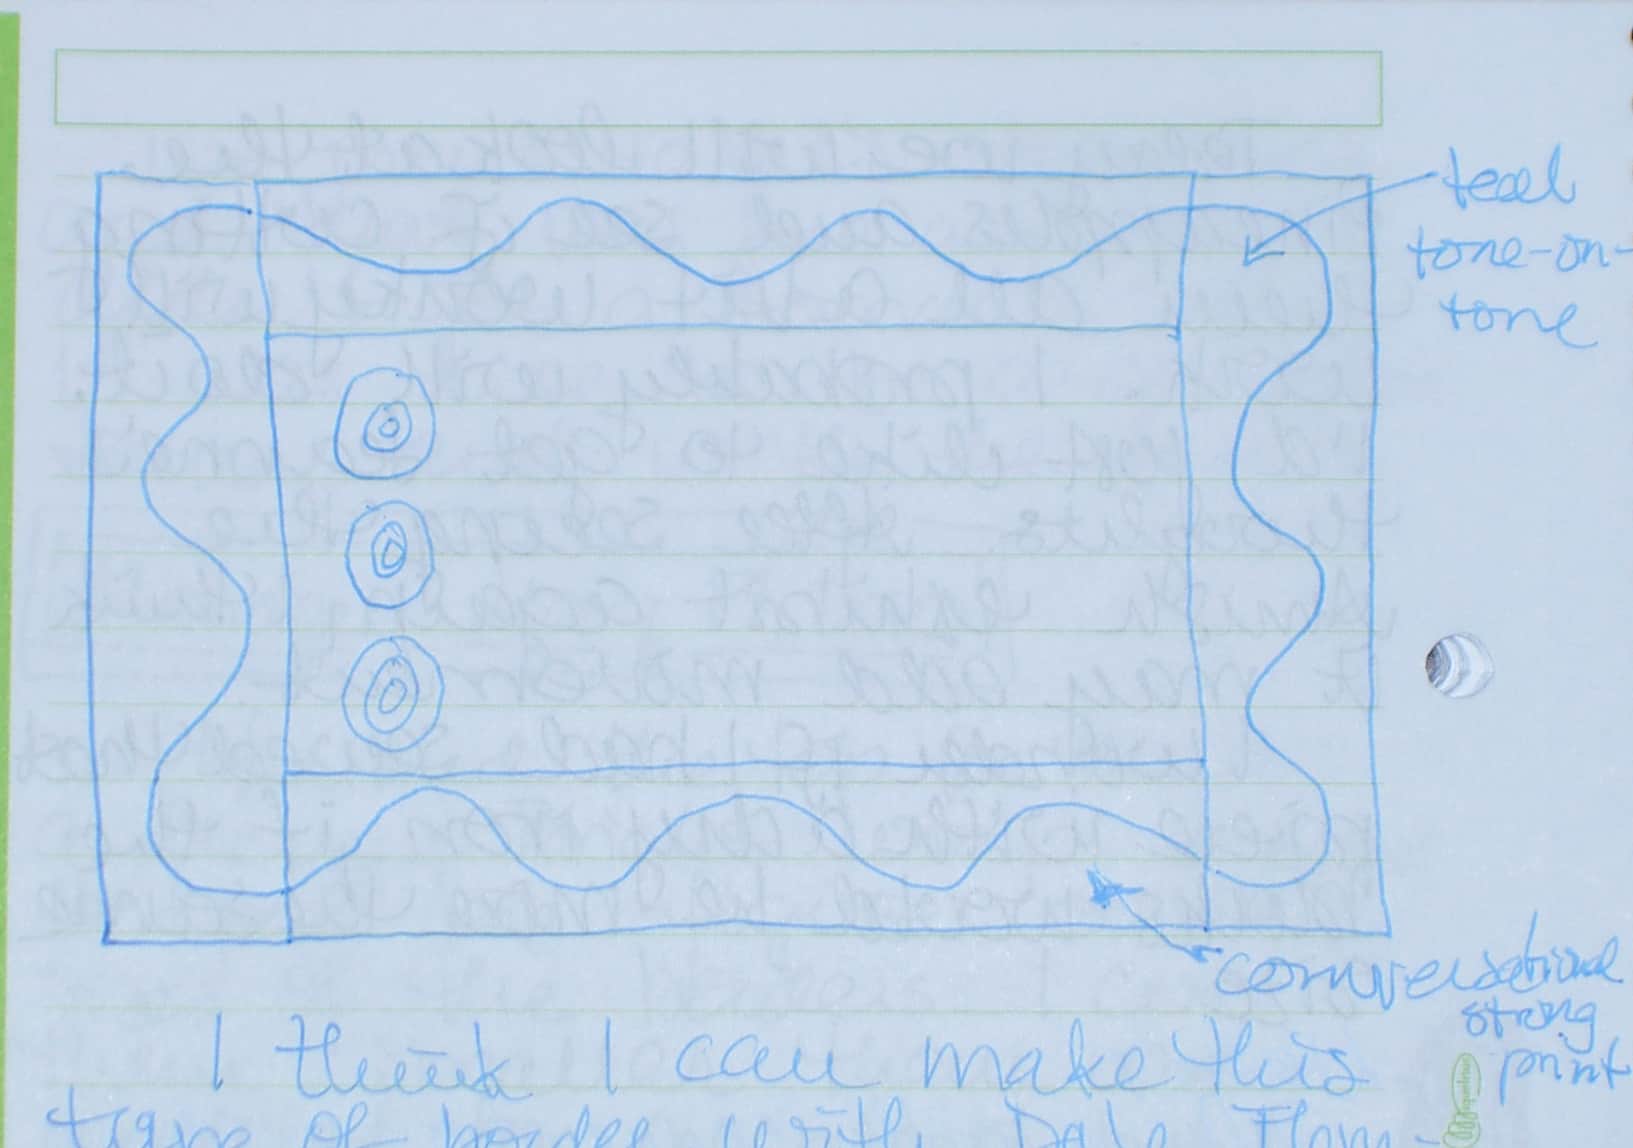
The Original Bullseye is back in my crosshairs, mostly because of the Dale Fleming class. If found some directions for the border I want to make in QNM (I think), but the directions were a little arduous, so I didn’t start right in. However, since taking the Dale Fleming class her wave directions have been rattling round in my mind. I think I am going to use them to make the border for this quilt.
Original Bullseye Border Idea
I haven’t done it yet, because I still mulling over colors and whether to put more circles in the border.
One silly thing that is keeping me from doing this is whether I have enough freezer paper. That is not the main hinderance. I have some other quilts higher on the top of the list. I do feel like I am getting close to moving forward on this project.
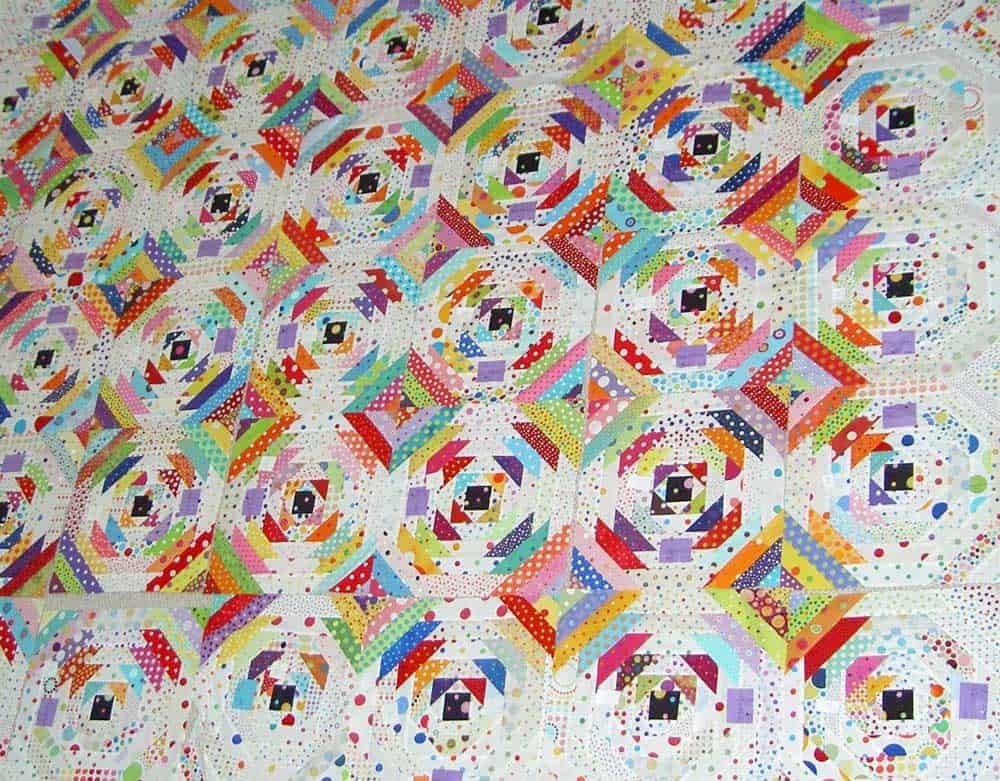
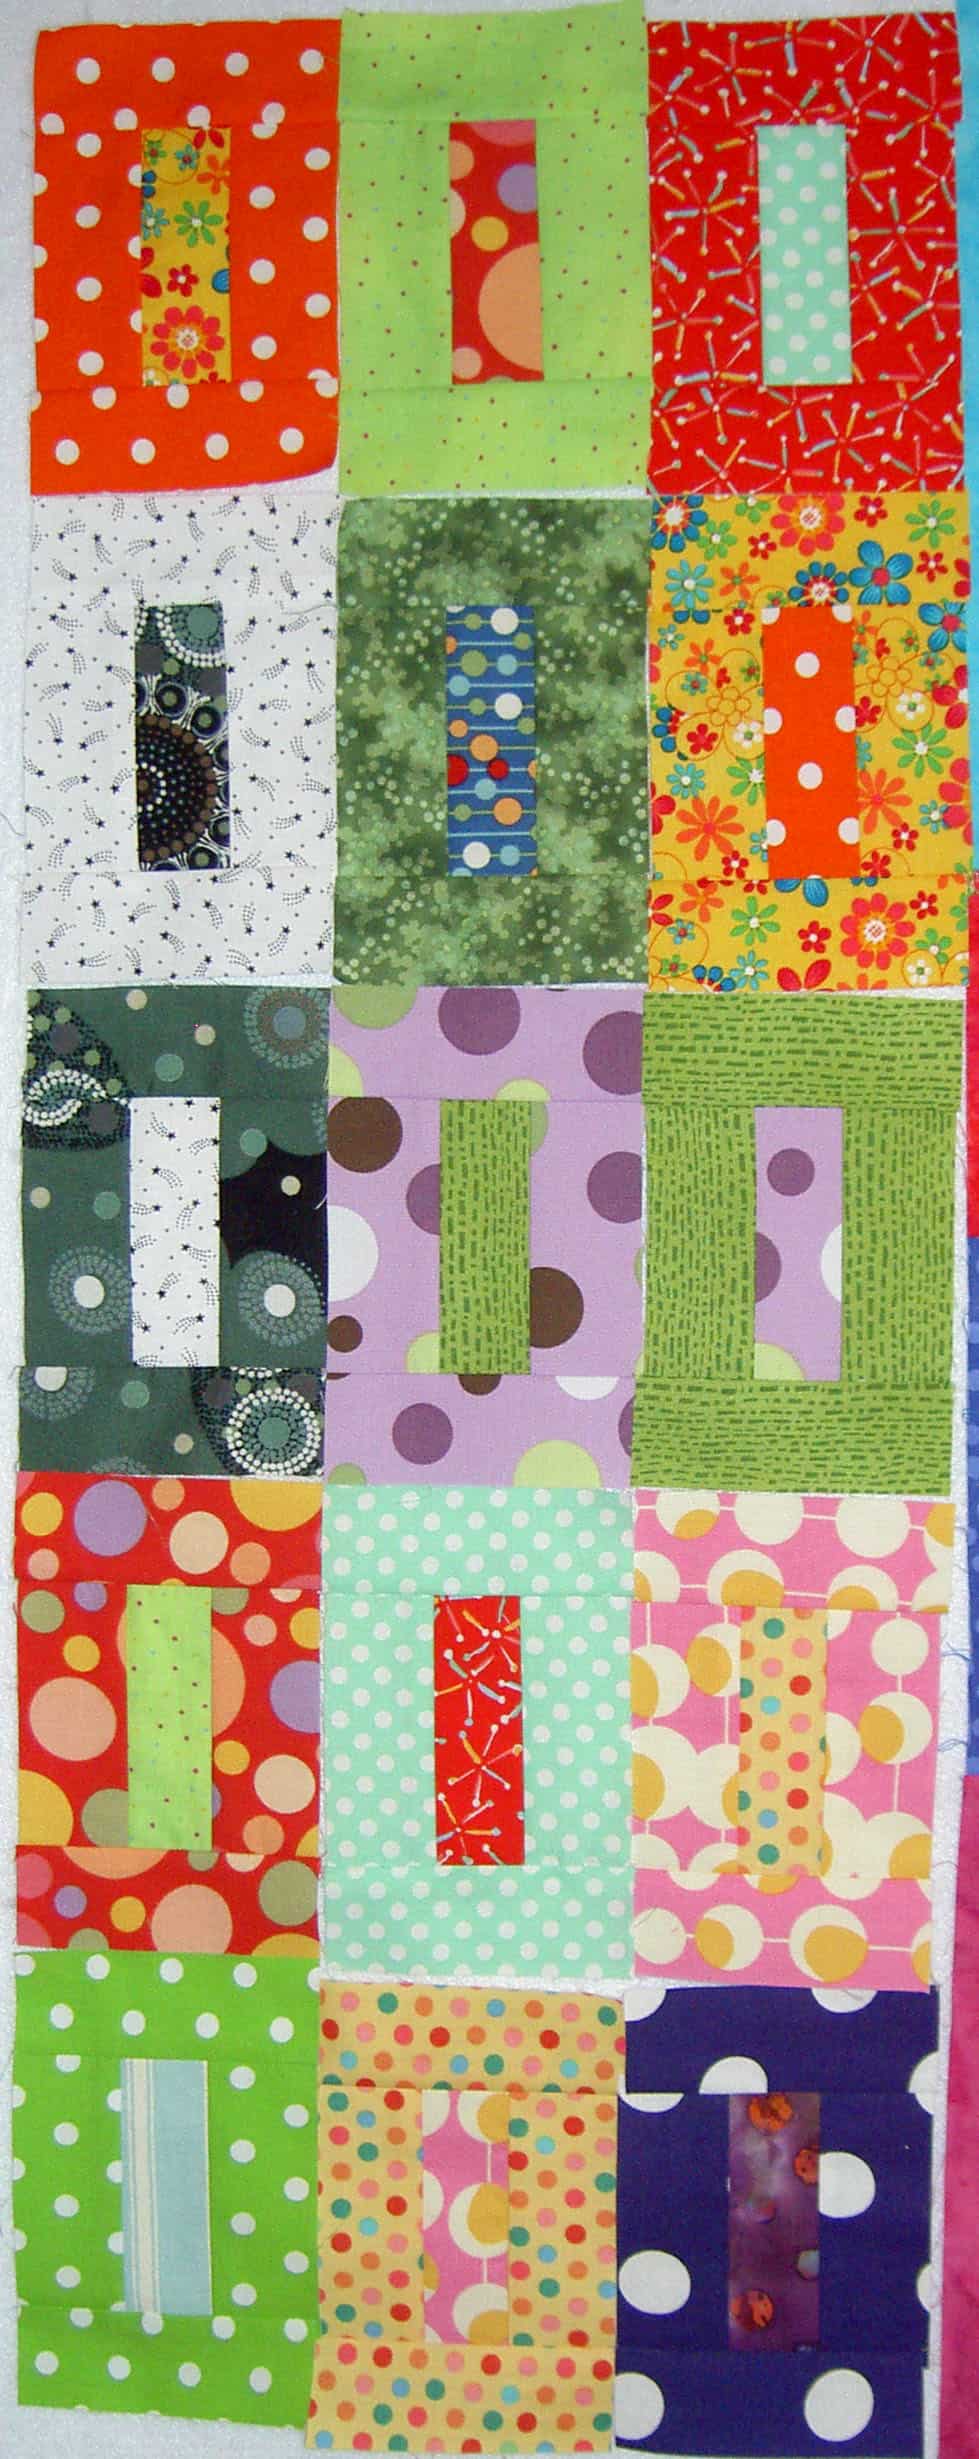
The Pineapple has been on my mind lately. I took TFQ’s visit as an opportunity to get a new perspective. I laid the blocks out in the living room and we looked at them and talked about them.
One of the problems is that some of the blocks are too big. I couldn’t figure out why some were so much bigger than they were supposed to be until I was fiddling with these blocks on Monday. I caught a glimpse of the black block in the middle and realized that I cut some of the center blocks slightly larger than they should have been.
My idea was to trim the blocks and make them a little wonky. No, they won’t match up perfectly, but the way they are now; they won’t match up anyway. After my discussion with TFQ, I think I will trim the blocks straight and see how it goes. Worse case scenario: they don’t fit together.
TFQ made no promises that this would work. Sometimes, as I have mentioned, it is just good to talk over the process. I like these blocks. I like the cheerful look of the piece. If it doesn’t work as a quilt; I will have a lot of really cheerful pillows.
TFQ came to stay last weekend. She and I wedged a visit in even though we had a family event in the middle of her visit. One of the things *I* like to do when she is here is get her opinion about my various projects. Often I get stuck and need to move forward but seem to be unable to make any decisions. I can ask any quiltmaker I know, but TFQ knows me well enough not to suggest something completely stupid. She also often prevents me from doing something stupid because I am just tired of the project.
One of the things we worked on was the border of the It’s a Merry & Bright Wrap. I didn’t really work very hard at finding a border by myself, to be honest. I was glad, because what was in my head was not what I ultimately went with.
Possible color comboPossible color combo #2
We auditioned a couple of color combos, including my idea, which included a white dotted inner border (no photo, sorry). I had a lot of that fabric and wanted to use it, but it was too stark as white often can be.
TFQ suggested yellow. We looked through a number of yellow fabrics until we found one that fit well with the yellow from the Merry & Bright Jelly Roll. I found the blues and yellows in this group to be off the beaten path. Interesting, but different than what I have in the fabric closet. The yellow we went with is an older commercial print and not part of that group.
I was pretty interested in using a blue/teal/turquoise color. I found the tone-on-tone in my fabric closet (left photo), but we both felt the quilt needed a bit more pattern. I liked the idea of bringing out the blues, but, since I didn’t have any large pieces of blue from the group and nothing I had was the right tone and I didn’t like the idea of having to buy and wash new fabric I used the green. I happened to see some half yards at Rainbow Resource at the EBHQ show, so I had enough.
Truthfully, we didn’t agonize too much over the colors. We did the Lorraine Torrence thing of making visual decisions visually, we picked and then I sewed them on the next night.
I used the new walking foot to sew the borders on and they are flat and I had not problems. The quilt is now ready for a back and to be quilted. My finishing seems to come in clusters!
I will probably use red for the back, since I have plenty. I don’t know if I will longarm this quilt or send it out. We’ll see.
I need to stop with the large quilts. However, I like making large-ish quilts, though. The problem is that I am too short to photograph them. Perhaps I just need to win the lottery and have my own personal photographer at my beck and call?
OK, enough with the fantasy world.
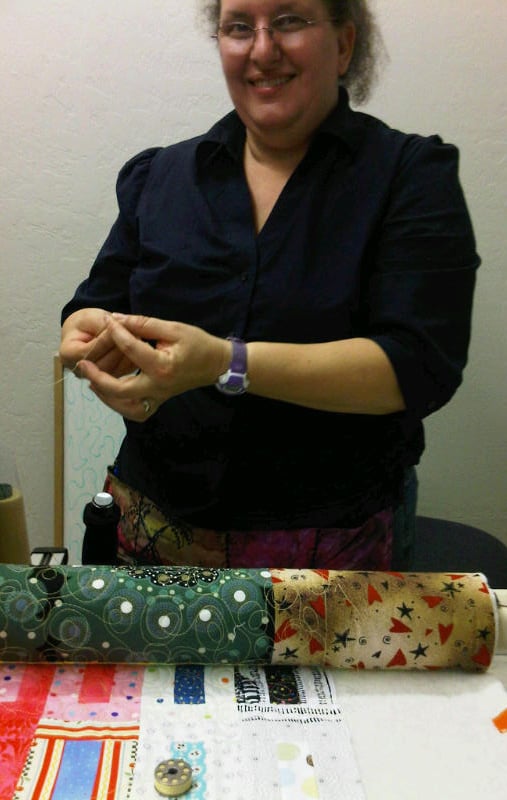
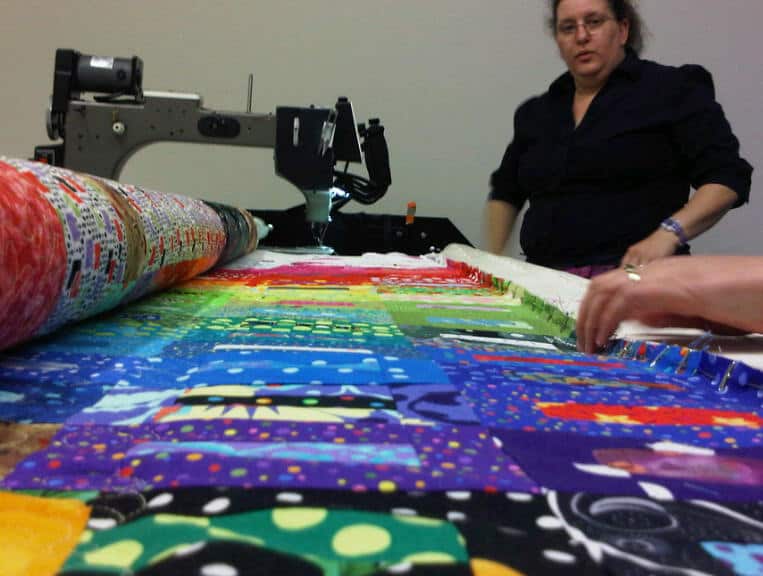
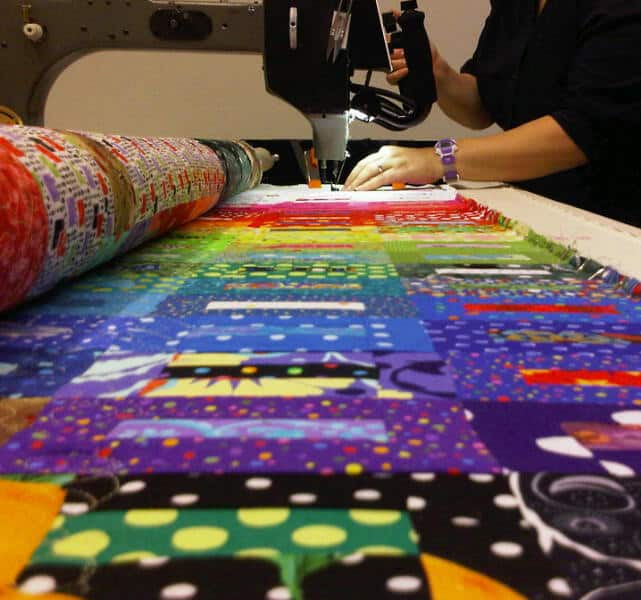
I went to Always Quilting on Friday and quilted FOTY 2009. It has been awhile since I went there to quilt a quilt on their Gammil longarm; July 2009 to be specific. I was pleased that they had tidied up the quilting room. I had enough space to spread out.
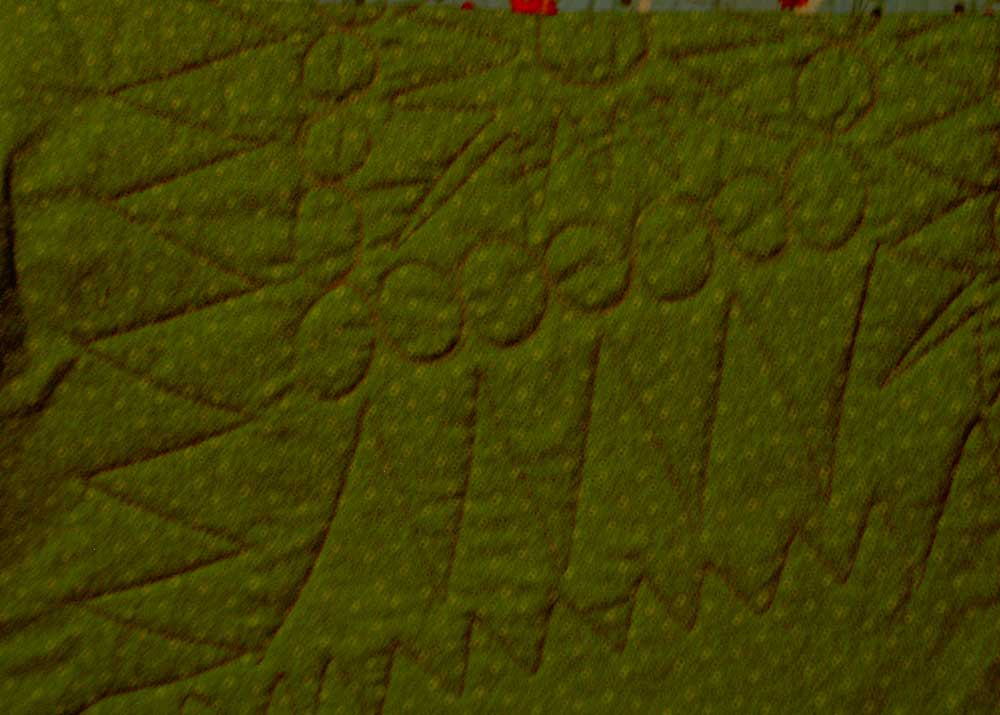
FOTY 2009, detail
General Thoughts
I need more practice at setting up the machine.
Photos are better taken by someone else so you can continue quilting while still getting process shots.
I had an easier time monitoring stitch length and speed and am more pleased with both after this quilting effort.
First, I trained for my longarming day. It can be quite hard on my body, because, essentially, stand up for 6-8 hours. I took the day off work on Thursday, so I wouldn’t be exhausted Thursday night and then have to get up and go stand in front of the longarm on Friday.
I also brought a second pair of shoes and switched halfway through. I would love to see them get one of those industrial rubber mats to put in front of the machine. If I see one on Freecycle, perhaps I will get it for them.
So, the biggest problem with my longarming is that I don’t have enough time practice. Time is relative, too, because it involves making a top and a back I want to quilt myself, taking time to spend a whole day quilting the quilt and getting a slot. That being said, I am much more pleased with the stitch length and quality this time around. I felt a lot more comfortable with the stitching than I thought I would. I wasn’t as anxious about ruining my quilt.
I forgot to put a quilting border on the quilt, which sent me into a bit of a panic when I was pinning the quilt on to the machine’s leader, but I couldn’t do anything about it, so I let it go.
FOTY 2009, detail
I could just quilt a bunch of pieces of fabric and give them away as comfort quilts, but it still costs money to do the quilting. Perhaps I can find a way to get the details stuck in my head without paying to learn. I did sign up for another longarming day at the end of July. I have to confirm it does not conflict with a trip I am planning.
FOTY 2009, detail
I did the same pattern as I stitched on FOTY 2008 and the Eye Spy. I also practiced during the week before my session. I didn’t do as much practicing as I would have liked, but I think it was enough.
FOTY 2009, detail
I try to be well mannered, which involves not ignoring people when they talk to me. It was a little bit of a problem on Friday when I was either trying to deal with the machine or concentrating on driving the giant machine. Other customers kept walking in and talking to me about the quilt. It was really nice to be complimented, but I just couldn’t concentrate on them and the work I was doing. The fabulous Roberta, one of my helpers at the shop, was annoyed when I mentioned it, because people are not supposed tojust walk into the longarm quilting room.
Lil Sissy stopped by on her way to the airport. She forgot my coffee, but beggers can’t be choosers. It was great to show off a bit for a non quilter. She, of course, wanted to drive the machine. I couldn’t let her, because she hasn’t taken the class. She did take some in process photos, which was great except for the person in them!
The Fabulous Roberta
Roberta and Diane were my helpers. It is so great to have them there to assist. After my needle broke and I had three bobbin changes, Roberta knew I was a bit done for and just took over changing the bobbins for me. She talked me through, but was a godo teacher in that she knew when not to push and when to let the reins out a bit.
FOTY 2009, detailFOTY 2009, rollingFOTY 2009,smoothingFOTY 2009, smoothing underneathFOTY 2009, last row ready to tighten?FOTY 2009, tighteningFOTY 2009 instructionFOTY 2009, last bobbin change
Yes, I ran out of bobbin with a 2×2 grid of blocks left to do. I quilt really small motifs – at least I did on this one.
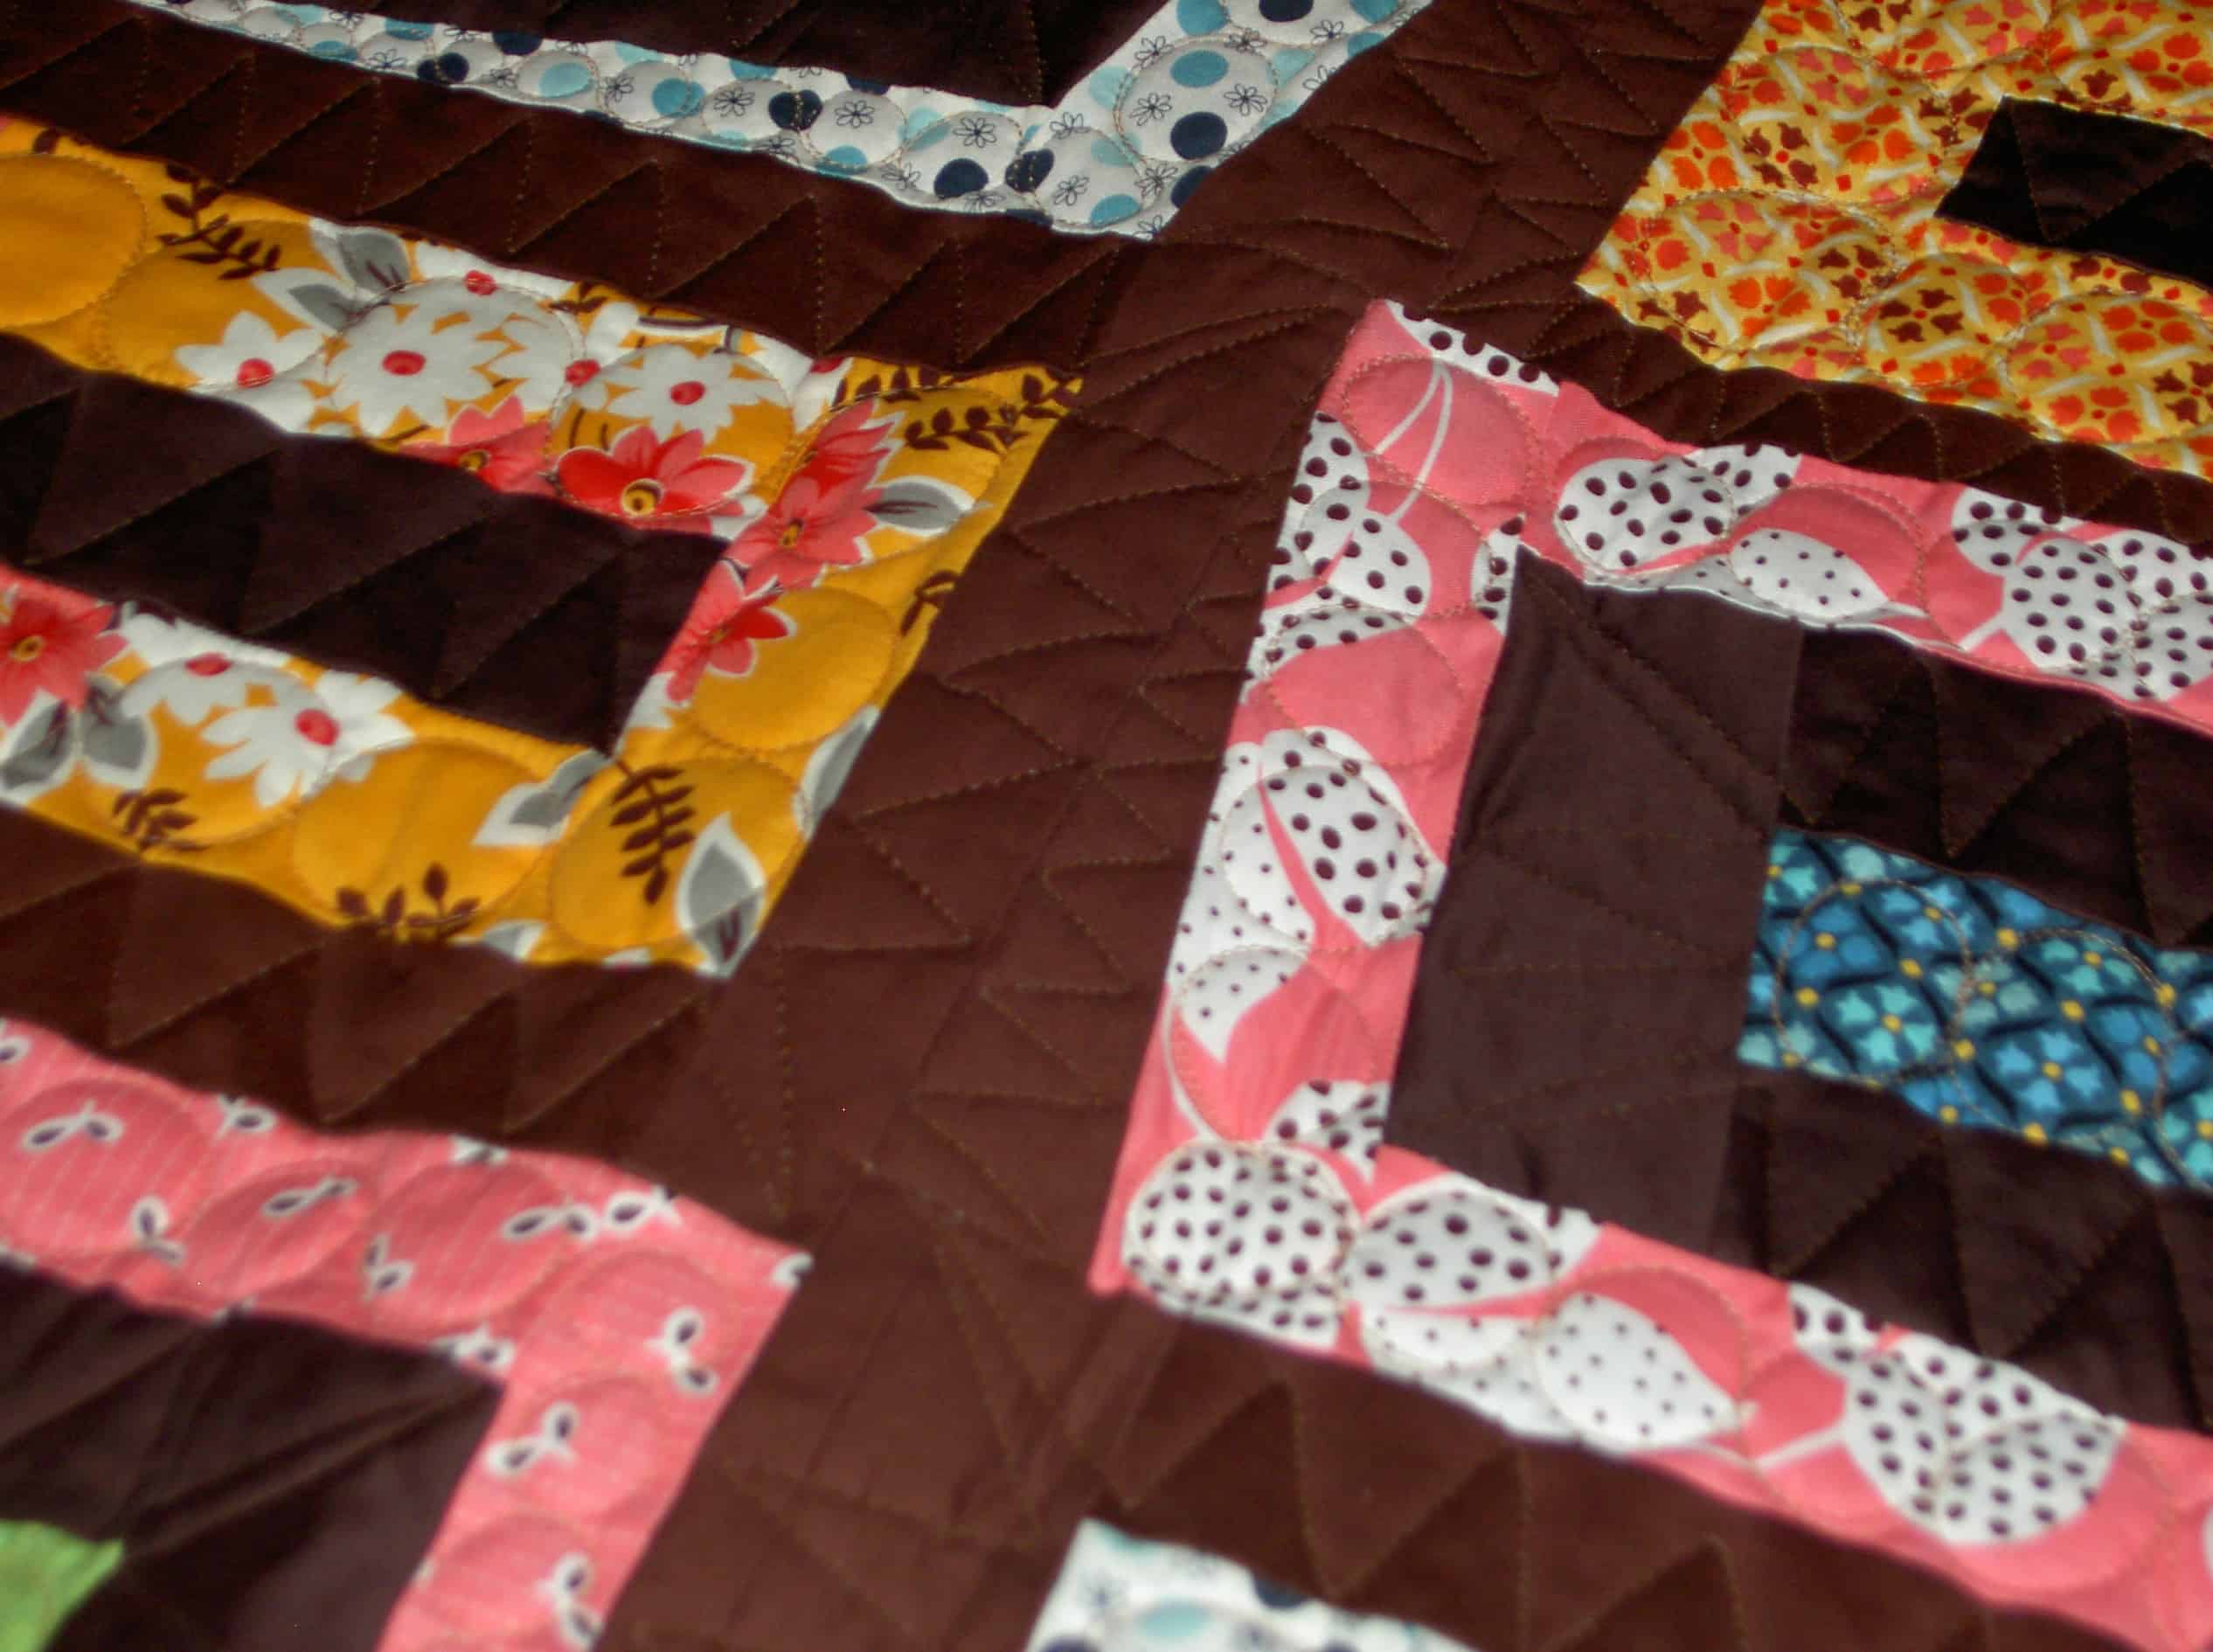
I am really pleased with the quilting on the Chocolate Box.
The whole quilt came out really well, which was surprising, since I don’t usually use much brown (as you might have noticed). I did like that brown – kind of a warm, rich, chocolatey brown.
Chocolate Box, detail
Colleen of Sew Little Time Quilting did a fabulous job. I told her what I wanted and she executed it perfectly.
Chocolate Box, detail
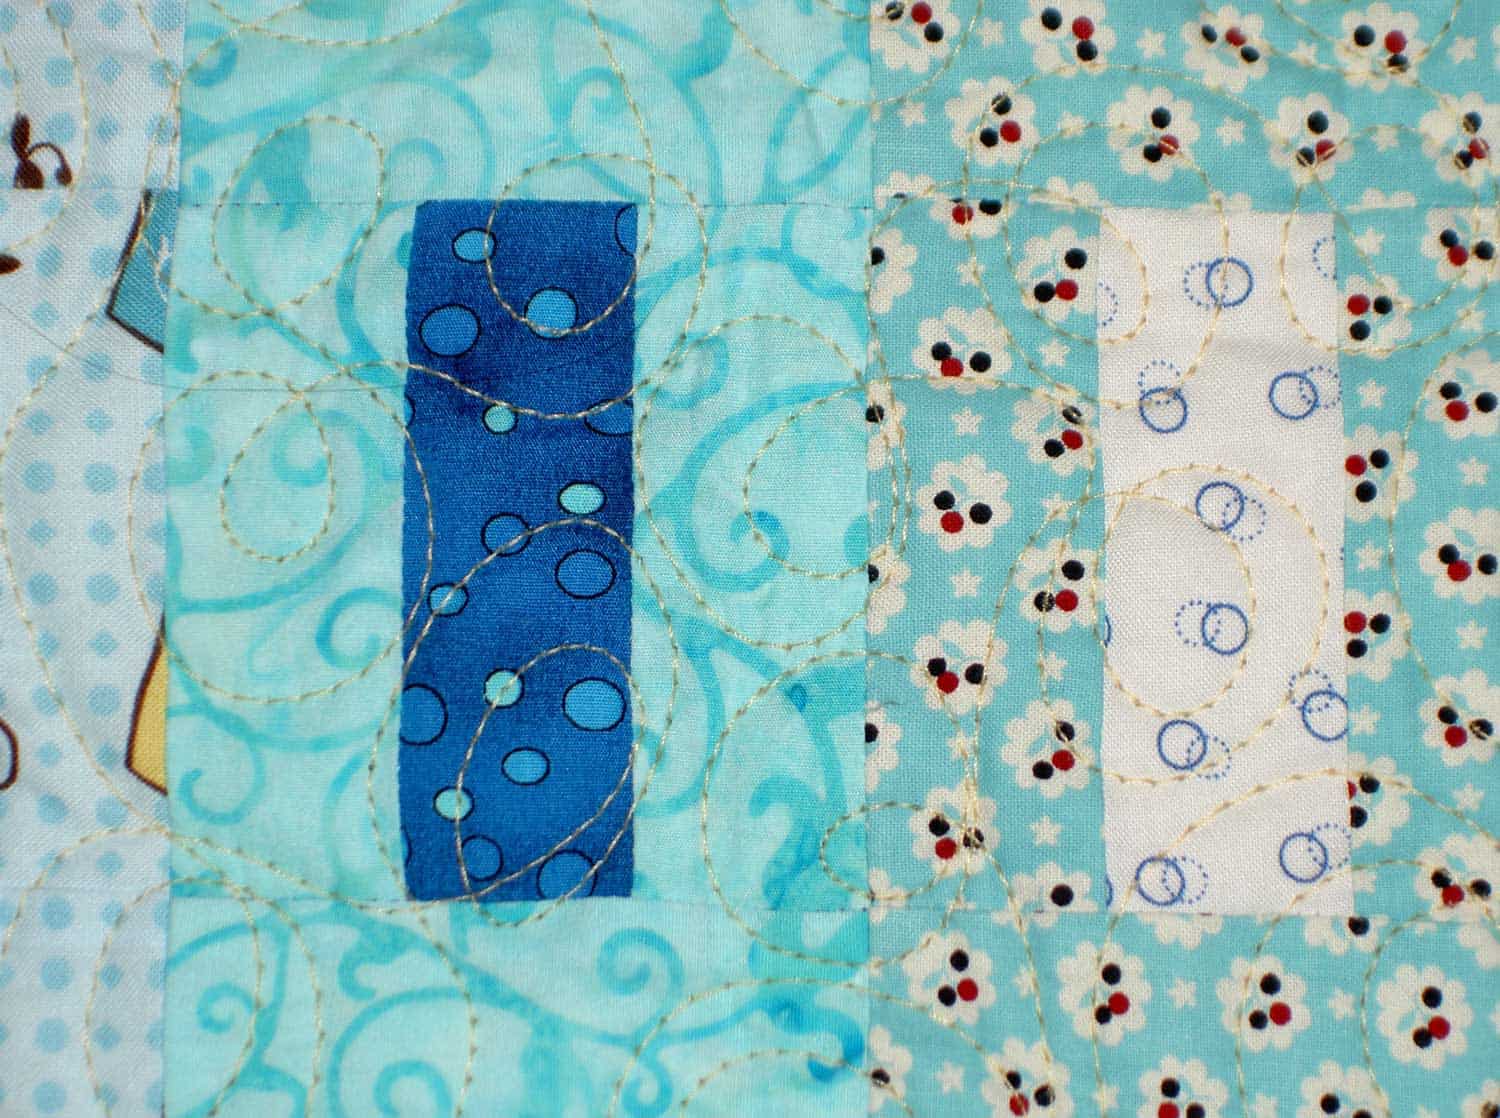
The quilting looks just as good on the front as on the back.
Now I have a total of 3, yes THREE, quilts to bind and sleeve. I had better get busy!
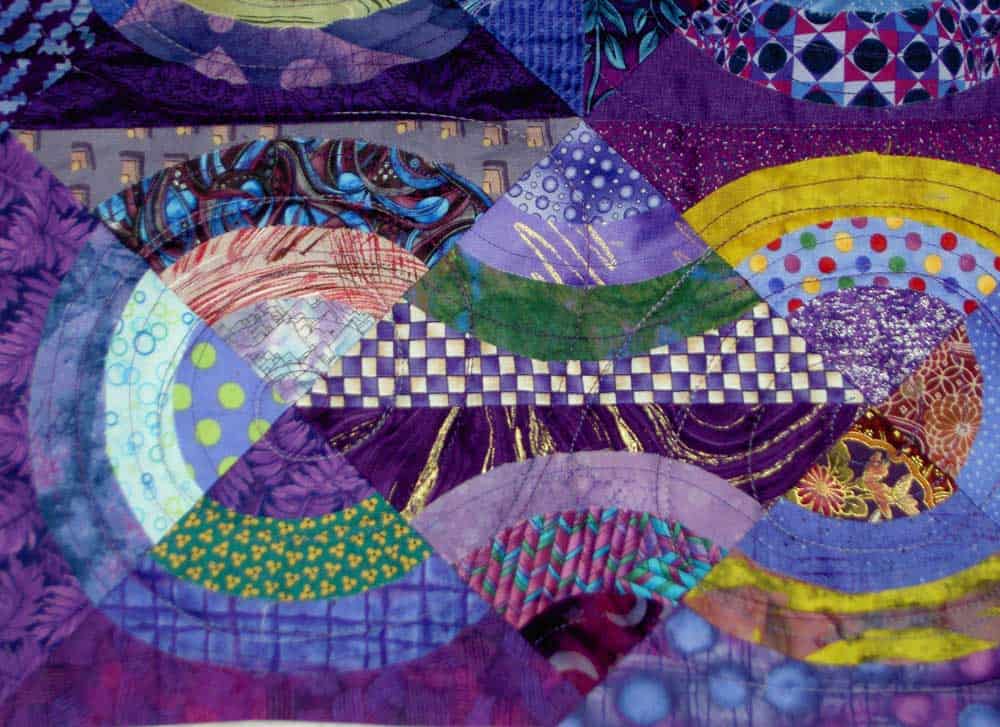
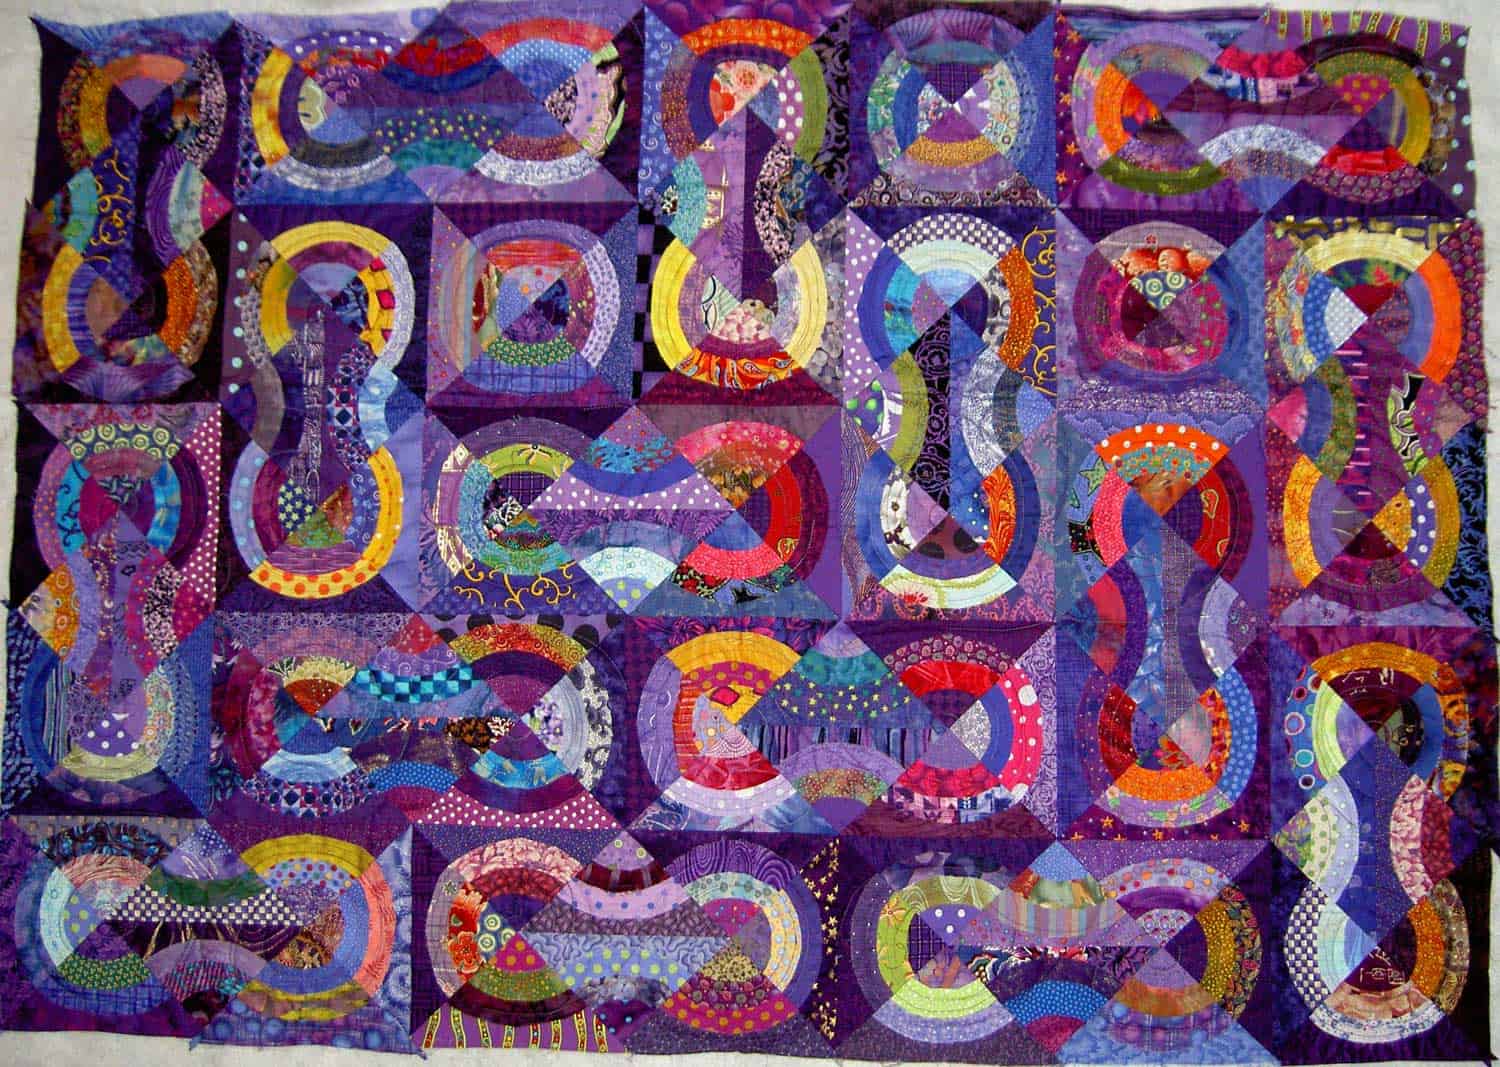
I tool Thursday off of work so that I could rest up for my quilt marathon. One of the things I did was to go and pick up my quilts from my longarmer. Passionate Purple was one of them. Now I just have to finish it. However, after looking at the quilt for a few days, I am thinking that I may take it back and get her to do some more quilting on it. It just isn’t flat enough for my tastes. I don ‘t mean flat as in I pieced it badly and it pooches. I mean flat as in the quilt is quilted within and inch of its life and there is no pooching from unquilted areas.
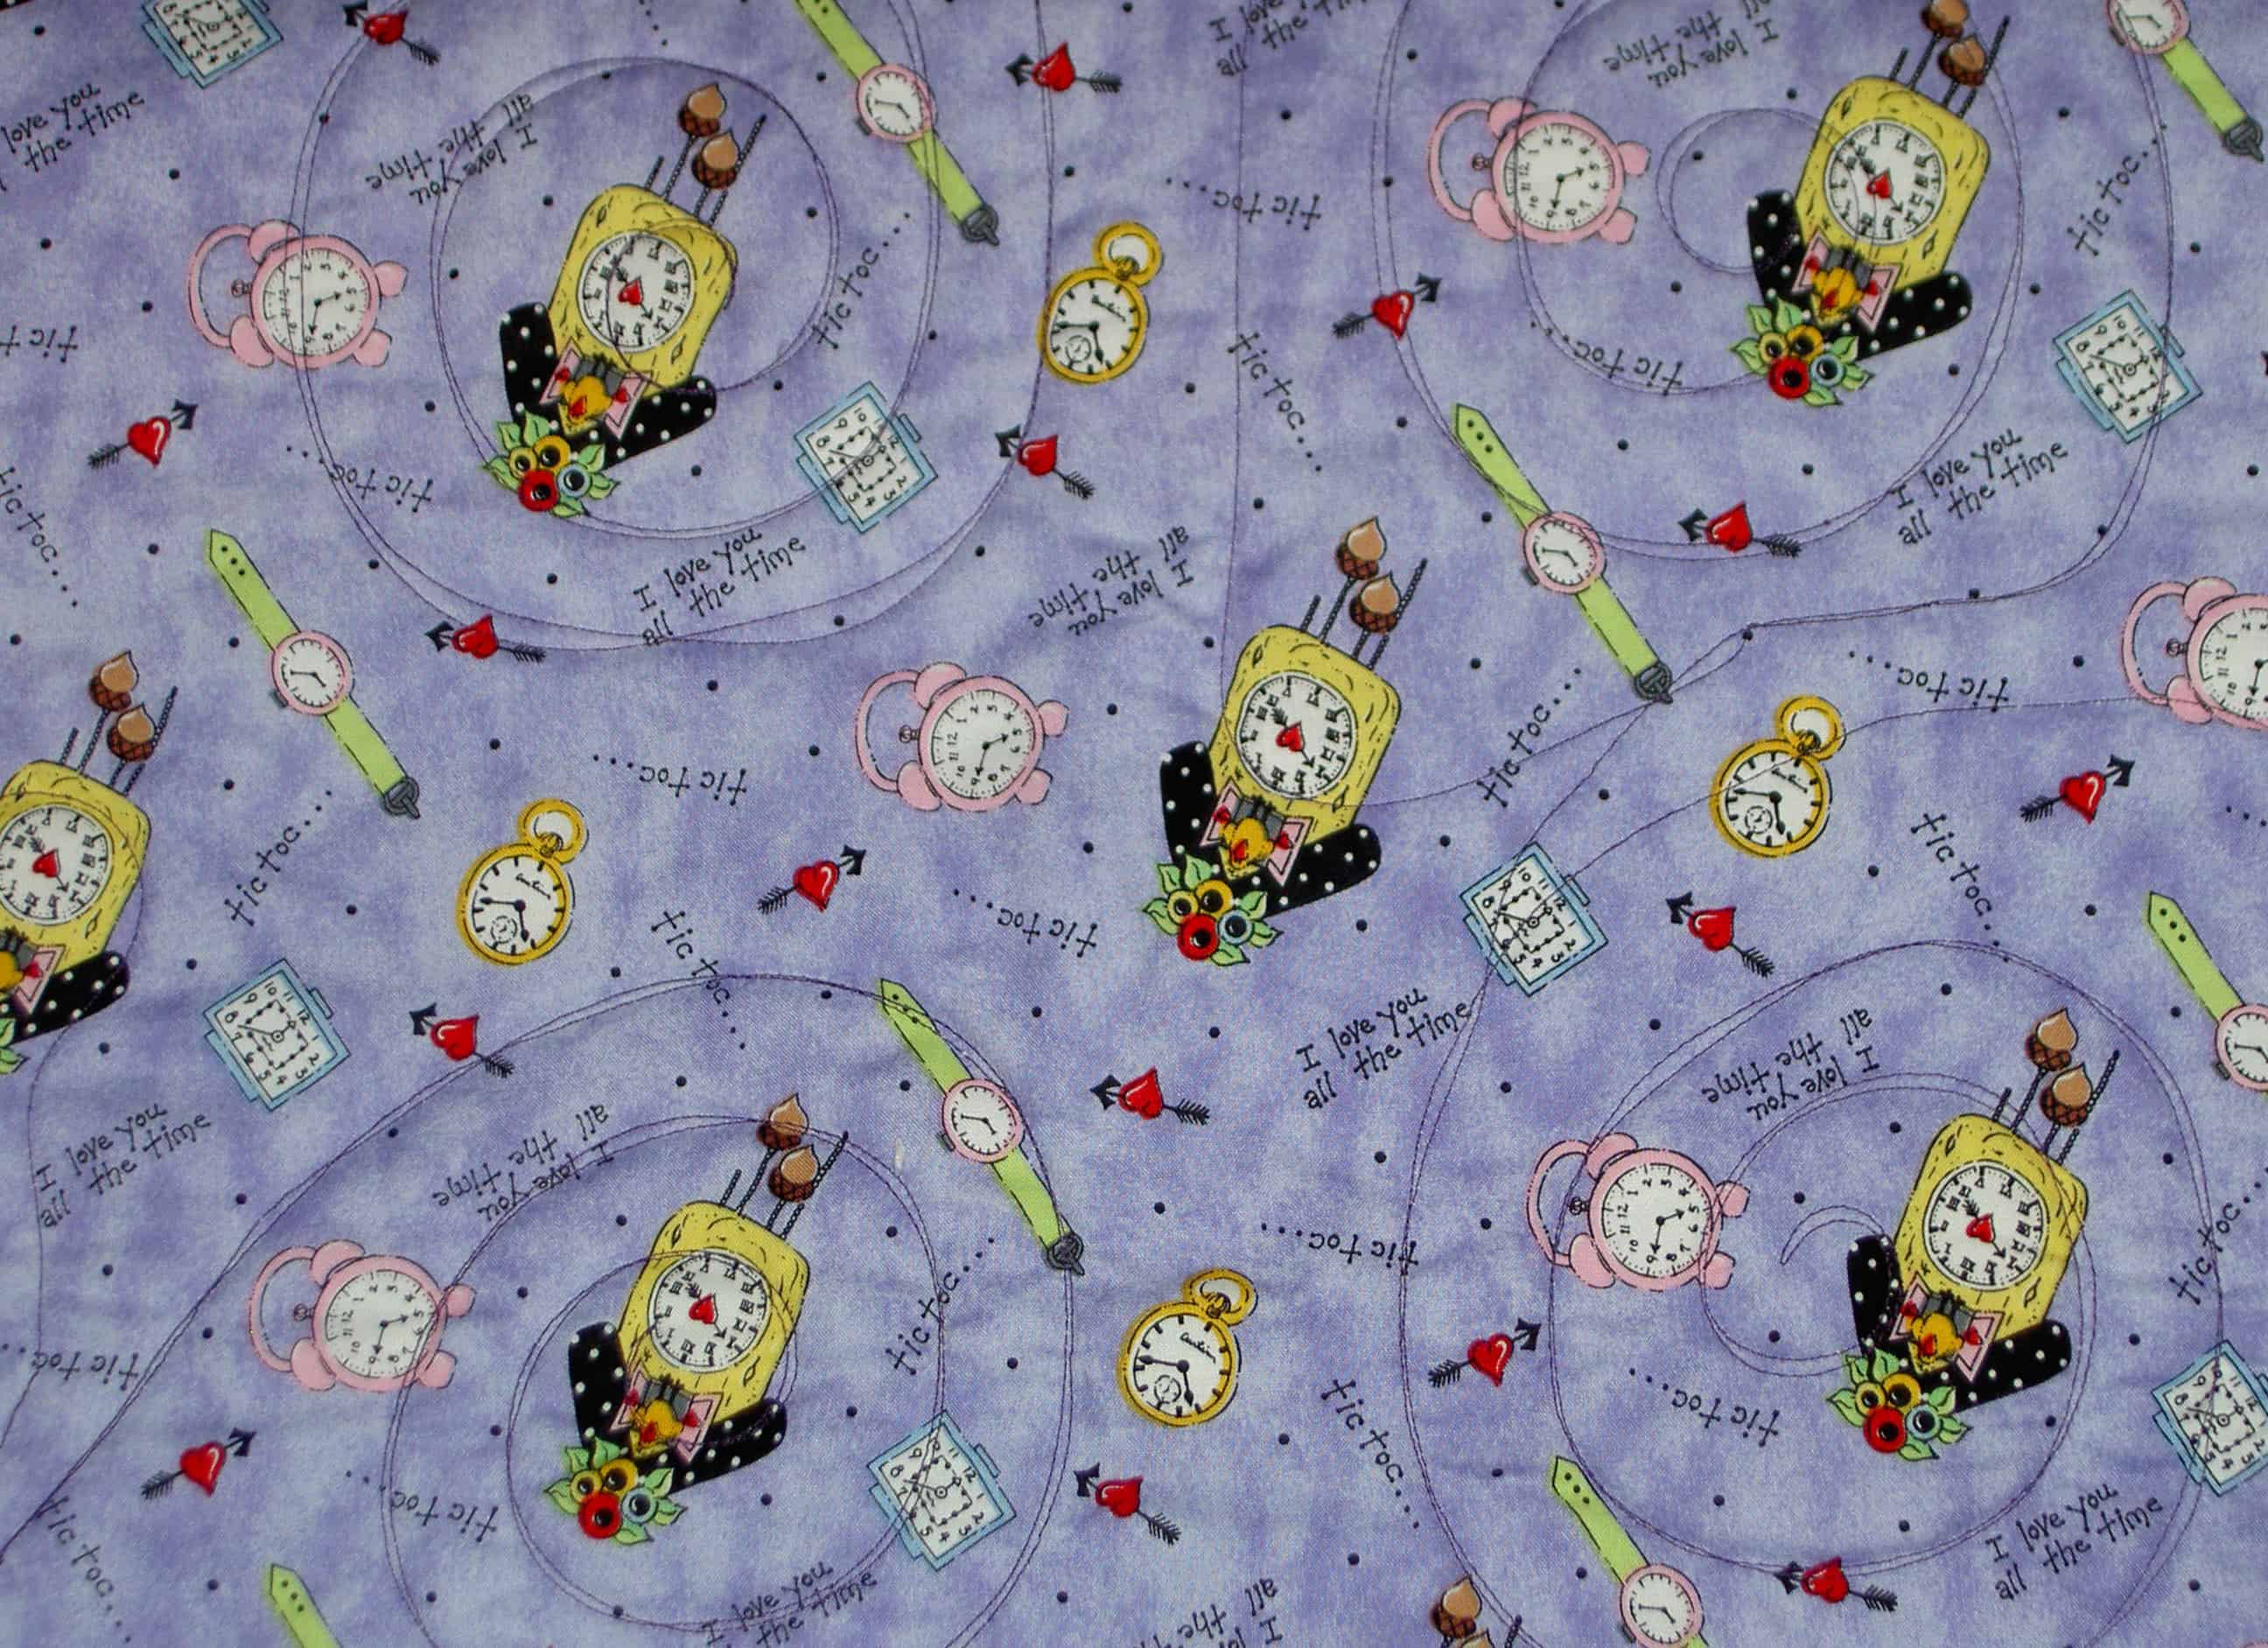
Passionate Purple back, detail
Here is a little of back. Perhaps you can see how much unquilted space there is?
Passionate Purple, full
Here is the full piece. I don’t think you can see the quilting at all in this picture.
I am struggling a bit with my camera lately and am hoping it will not die.
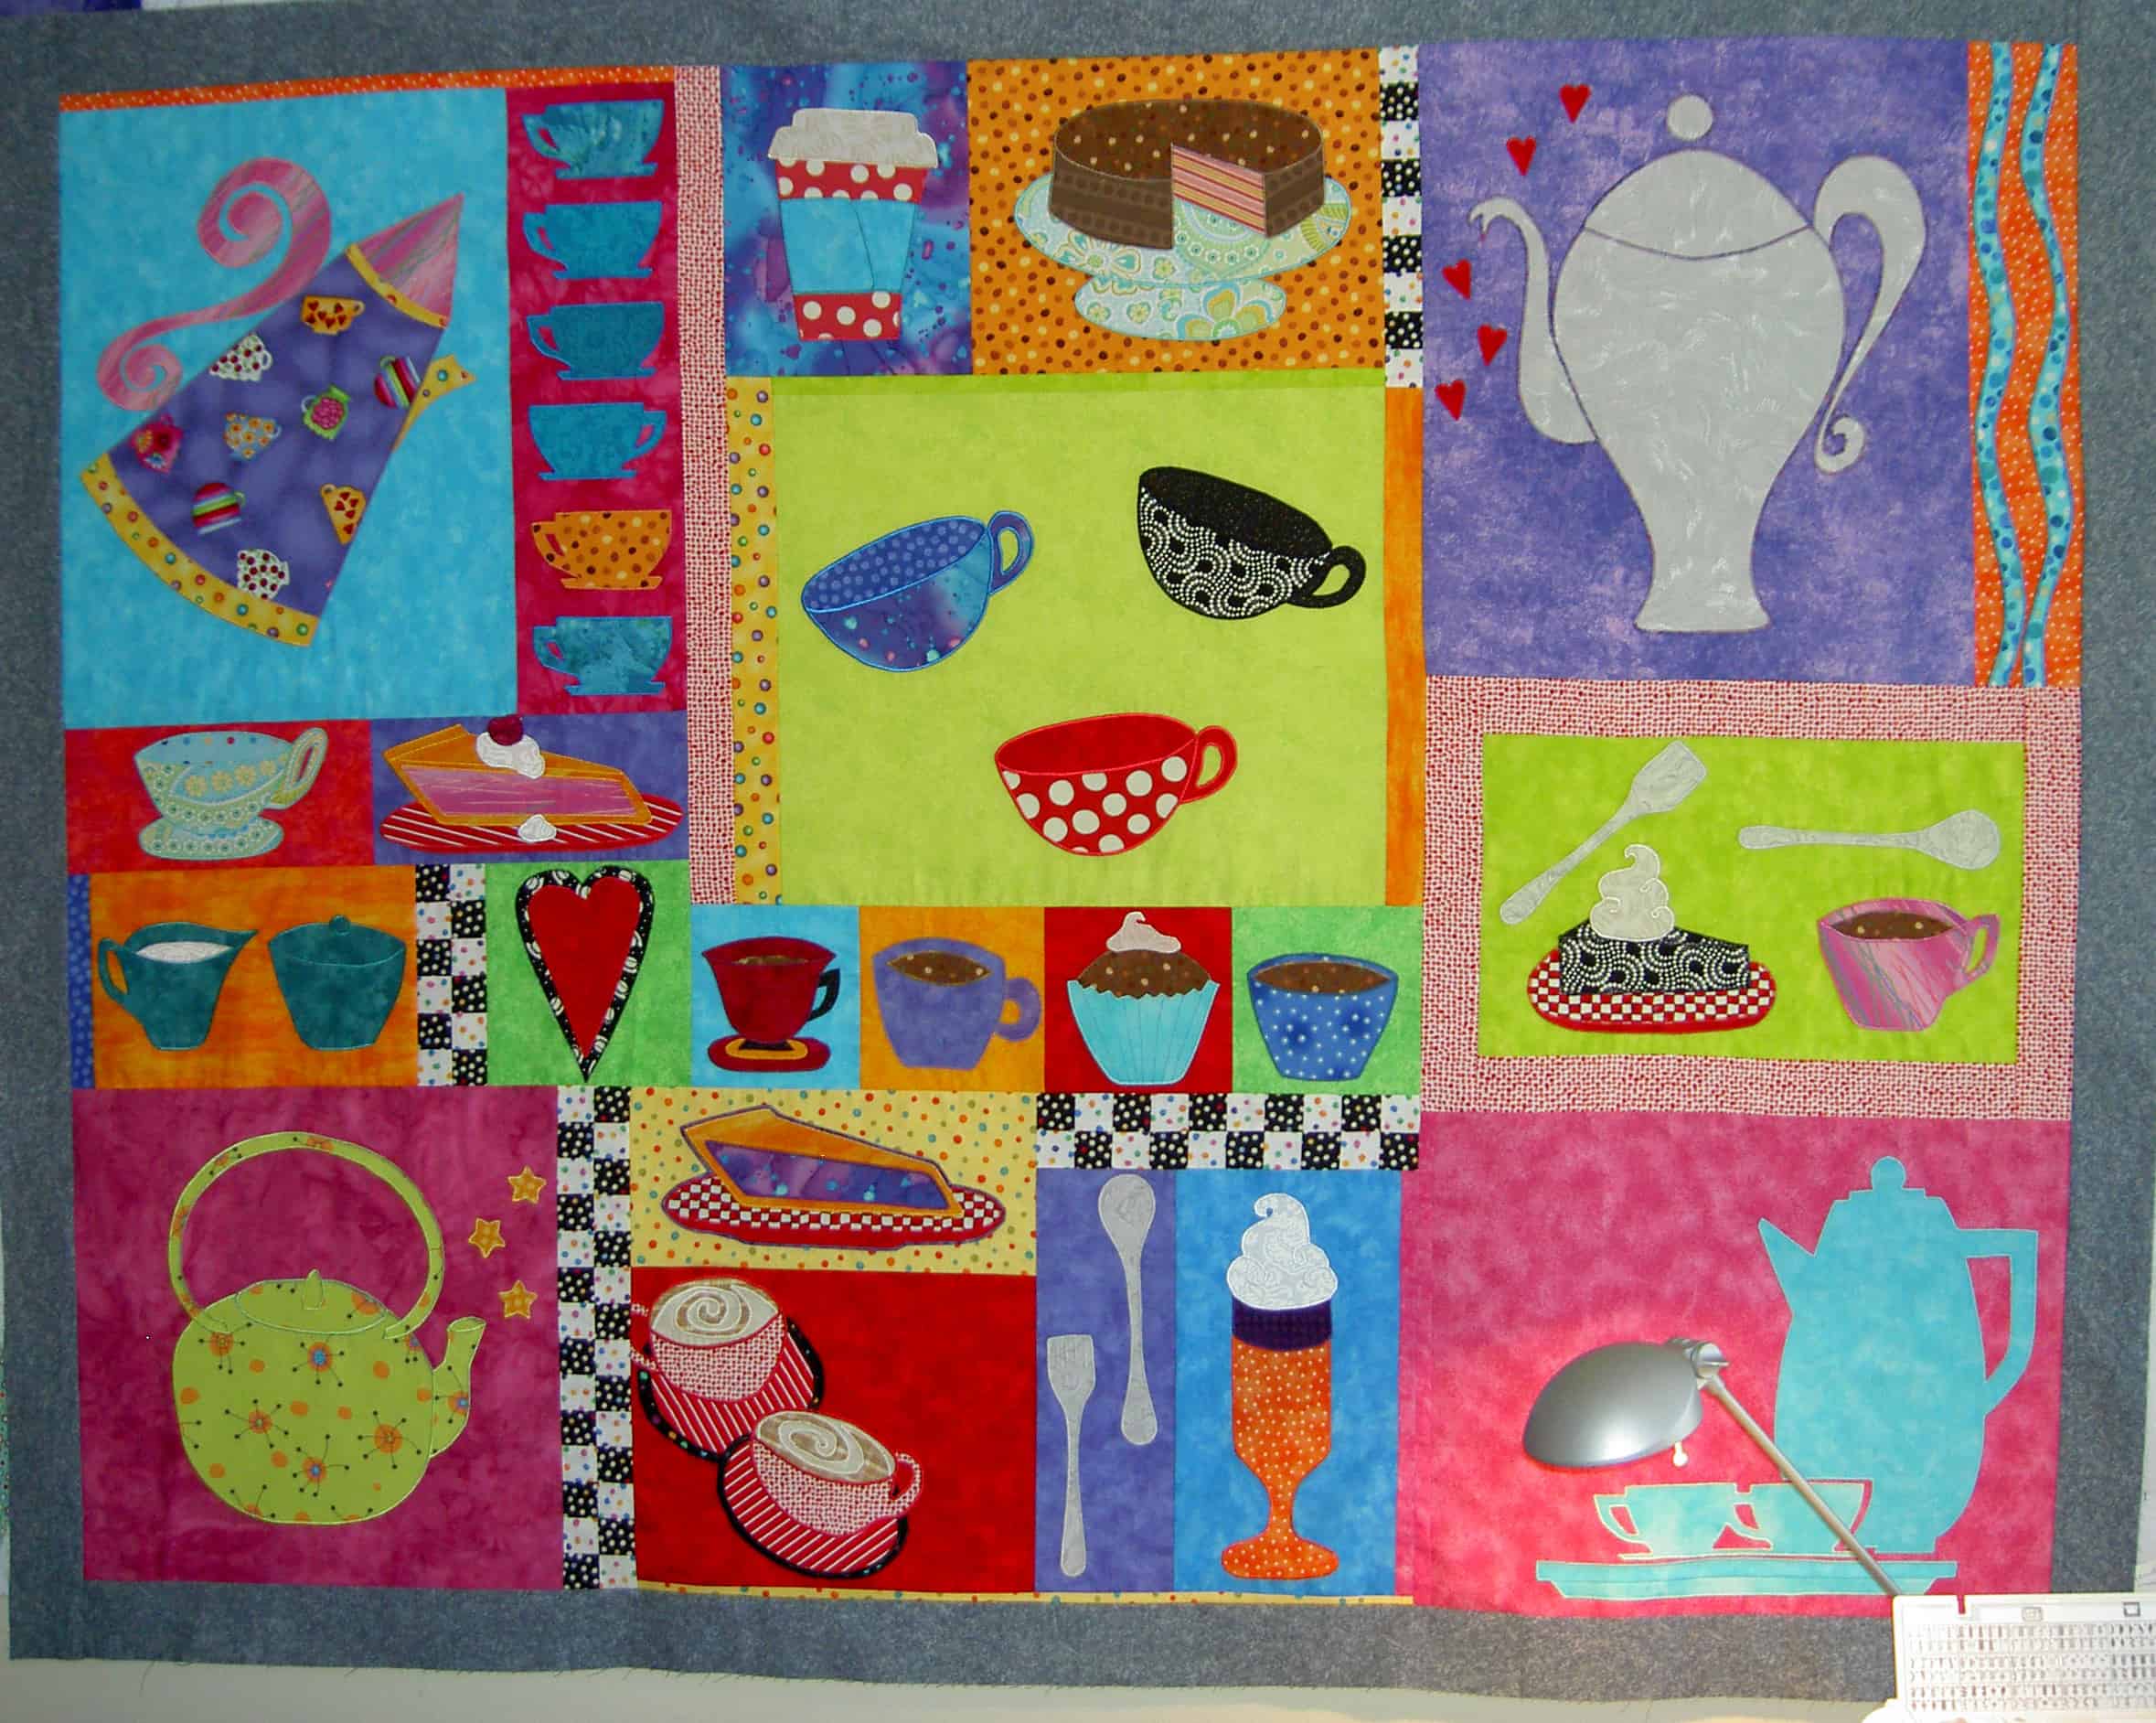
The Tarts are ready to quilt. Don’t have a heart attack when you see the grey border. I know it is ugly fabric that does not coordinate with the bright cheerfulness of the rest of the quilt. It is a quilting border and will be removed or cut off after the quilting is done.
I worked on the last bit of applique’ over the weekend and sewed on the quilting border. Except for the basting, the Tarts are ready to quilt. I didn’t realize that this piece was acting like a creativity dam. It was stopping up my creative problem solving for other projects. As soon as I did the applique’ and put the border on, I felt like I could do anything. It was an awesome feeling.
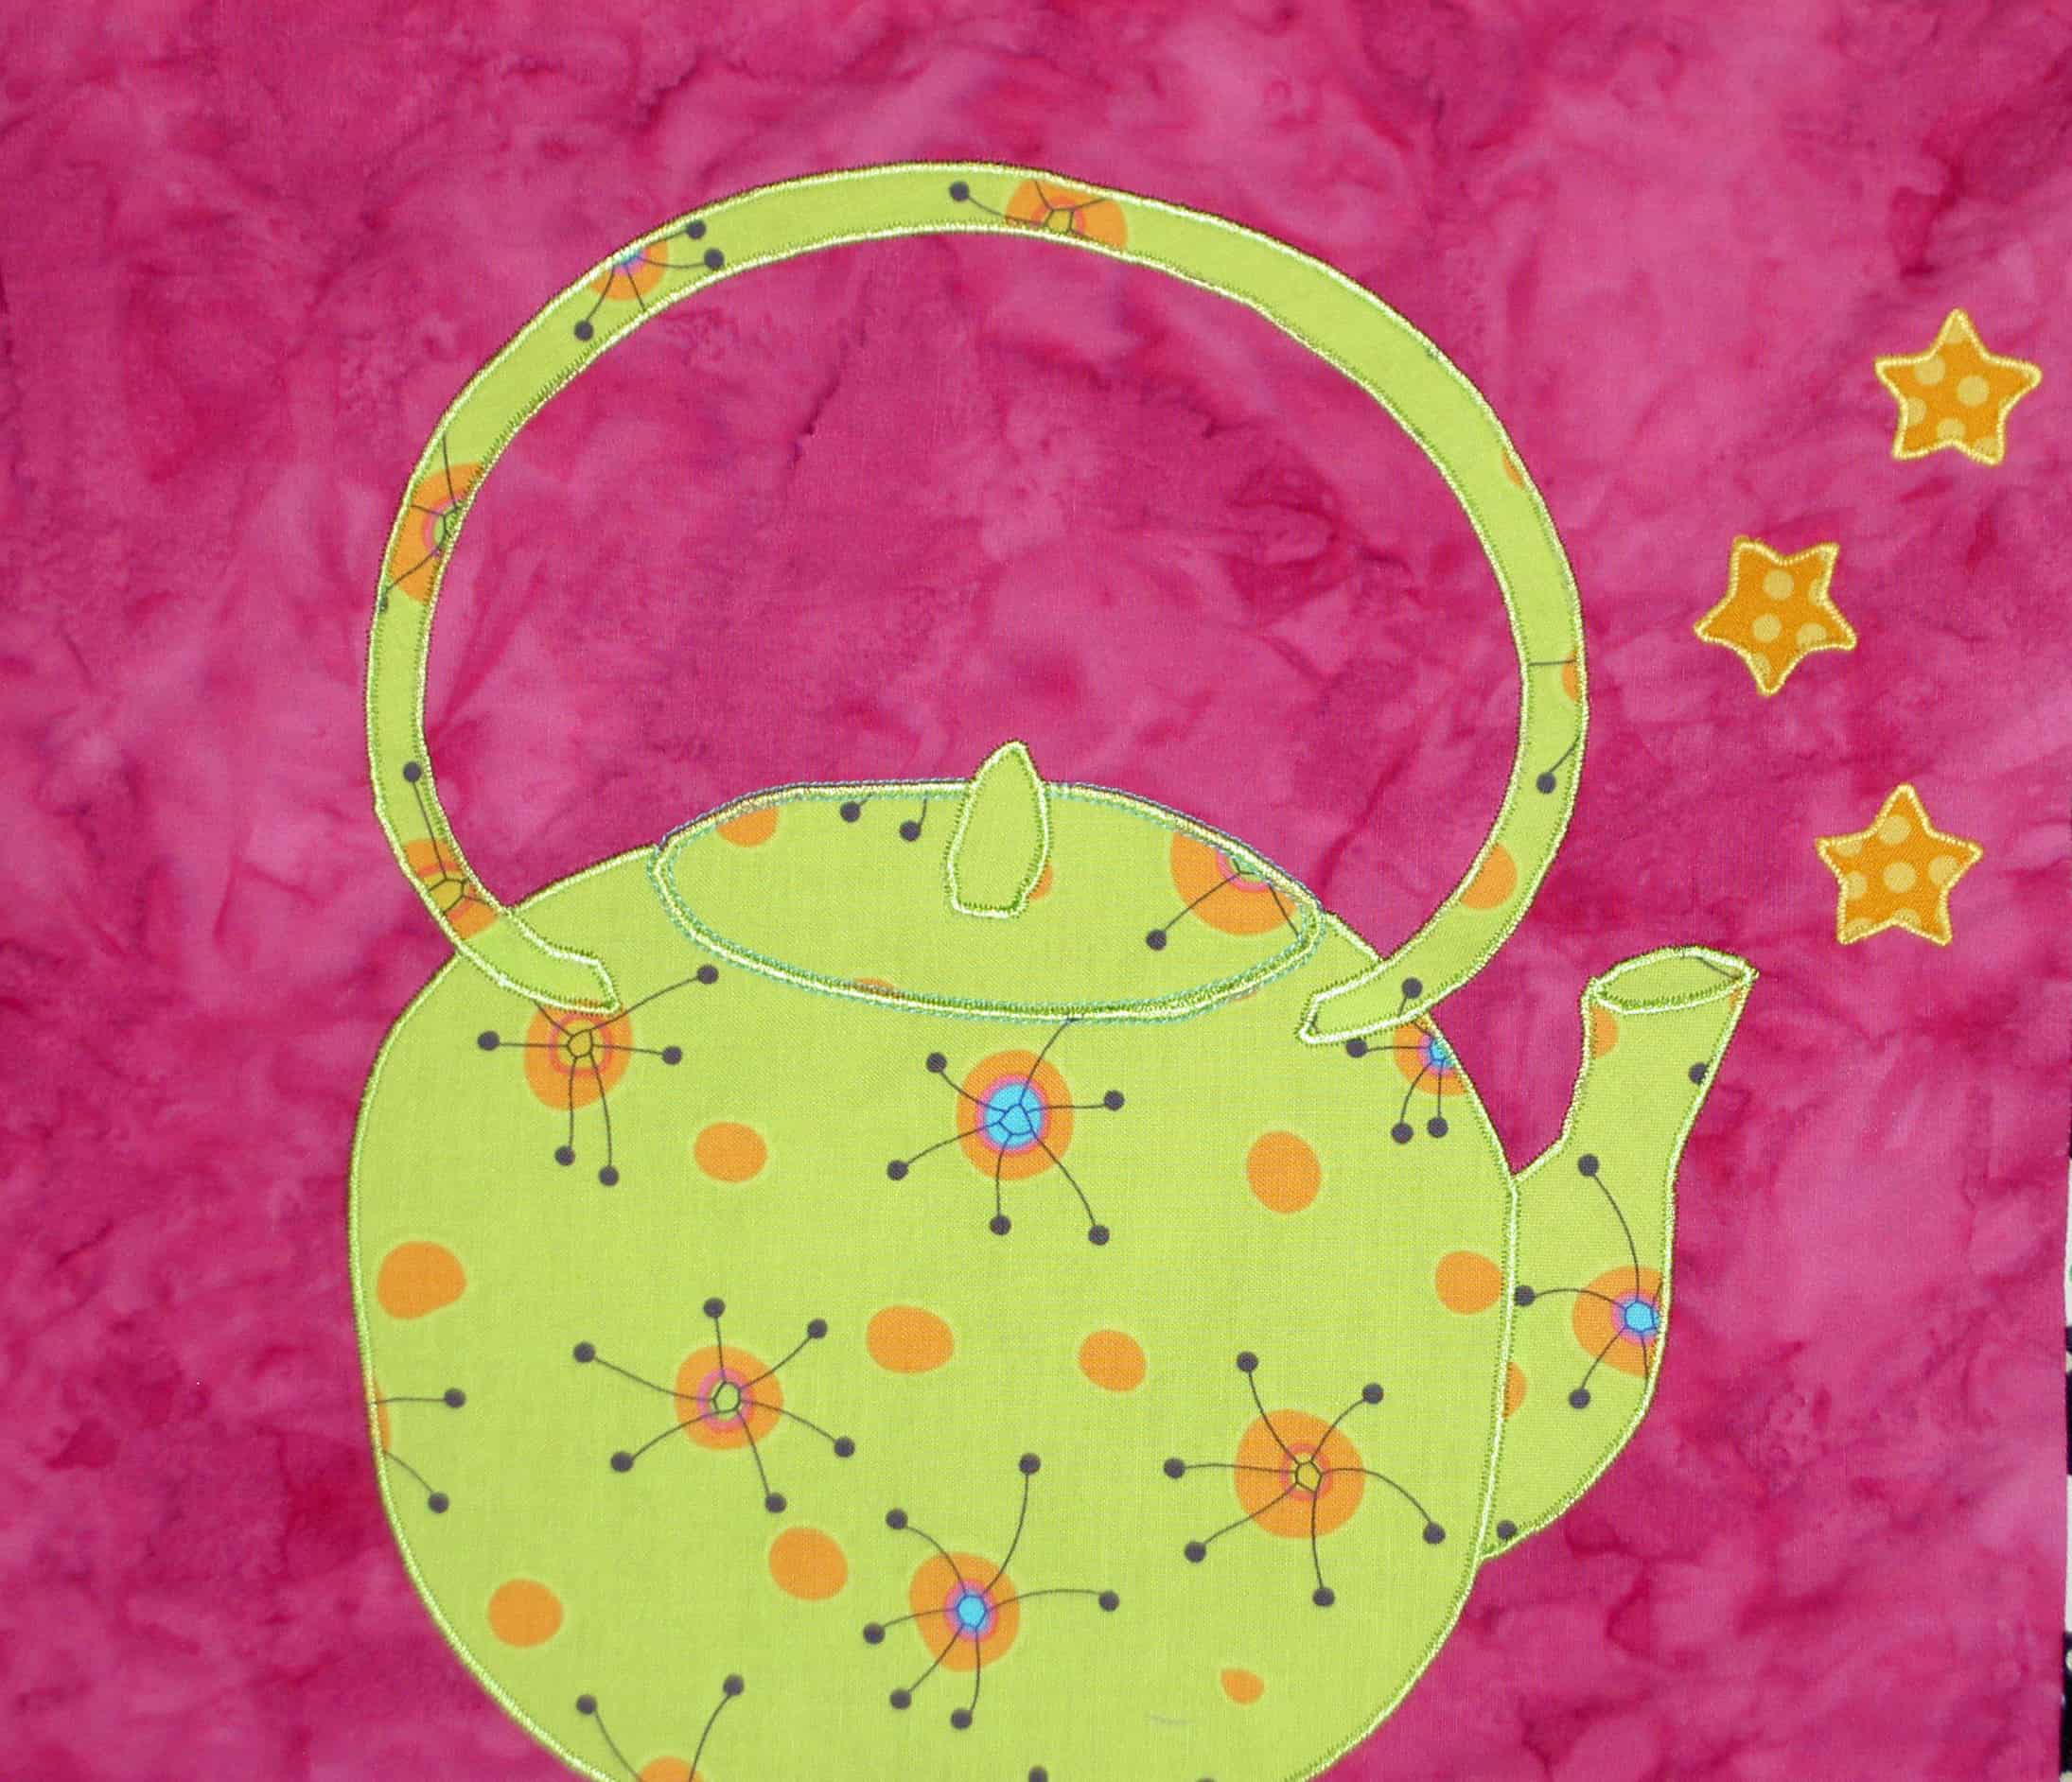
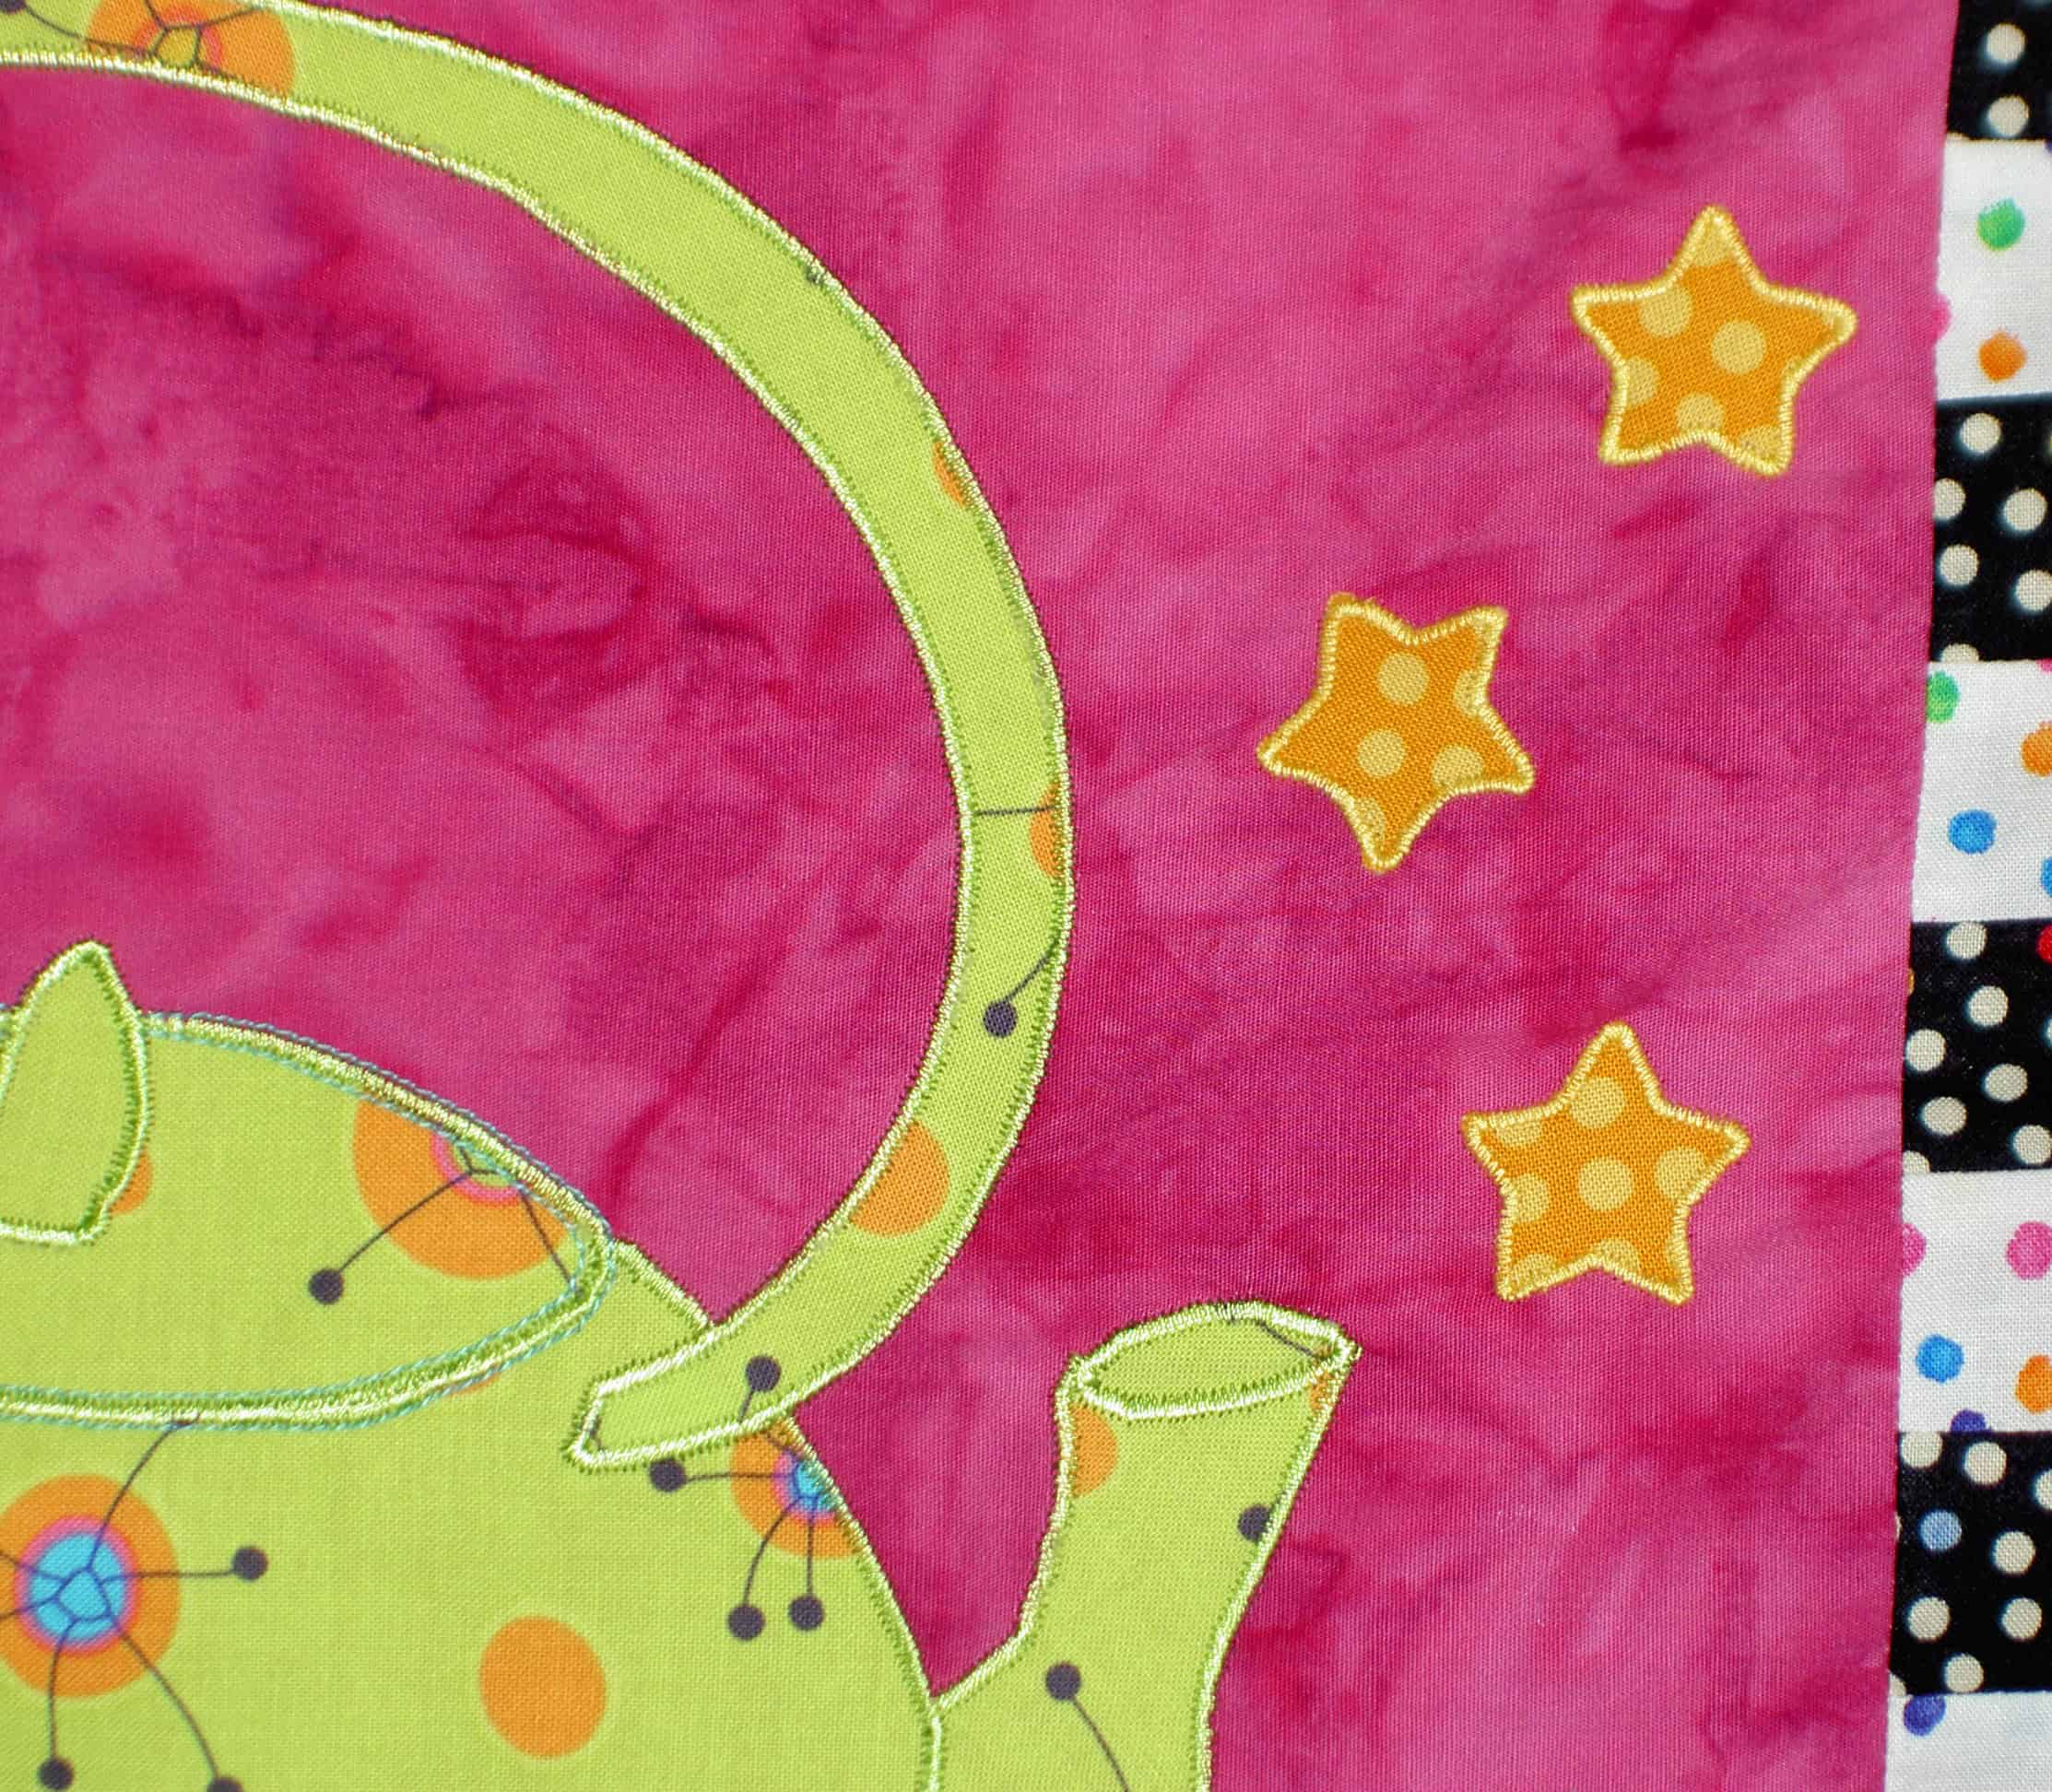
Tea Kettle with Stars
I tried a number of slight variations in location for the stars, for about 2 minutes, and then I just appliqued them on. Mentally, I am done with the project and hope I can make it through the quilting.
As you probably remember, I tried out the Jelly Roll last week and got pretty far along making the blocks. I had a lot of events this weekend, but was still able to put the quilt together. It provided a bit of a quiet haven for me.
One thing I found was that some of the strips, such as the sashing strips were too long. I cut them all the same size, so I am not sure why that happened. As I sewed the blocks together, I was diligent about trimming the excess as well as pinning carefully. The quilt went together really well. I am happy about the matching of seams (most matched!).
I forgot to mention that I tried the Mary Ellen’s Best Press on this quilt. TFQ warned me that the strips were stretchy upfront, so I pressed all the strips with Mary Ellen’s Best Press (MEBP) before I did any cutting. I think it helped. The feel of the fabric strips after I pressed with the MEBP was firm, but not stiff or tacky feeling. I didn’t have any noticeable problems with stretching or bias. I bought my own bottle of it and will probably use it for half and quarter square triangles.
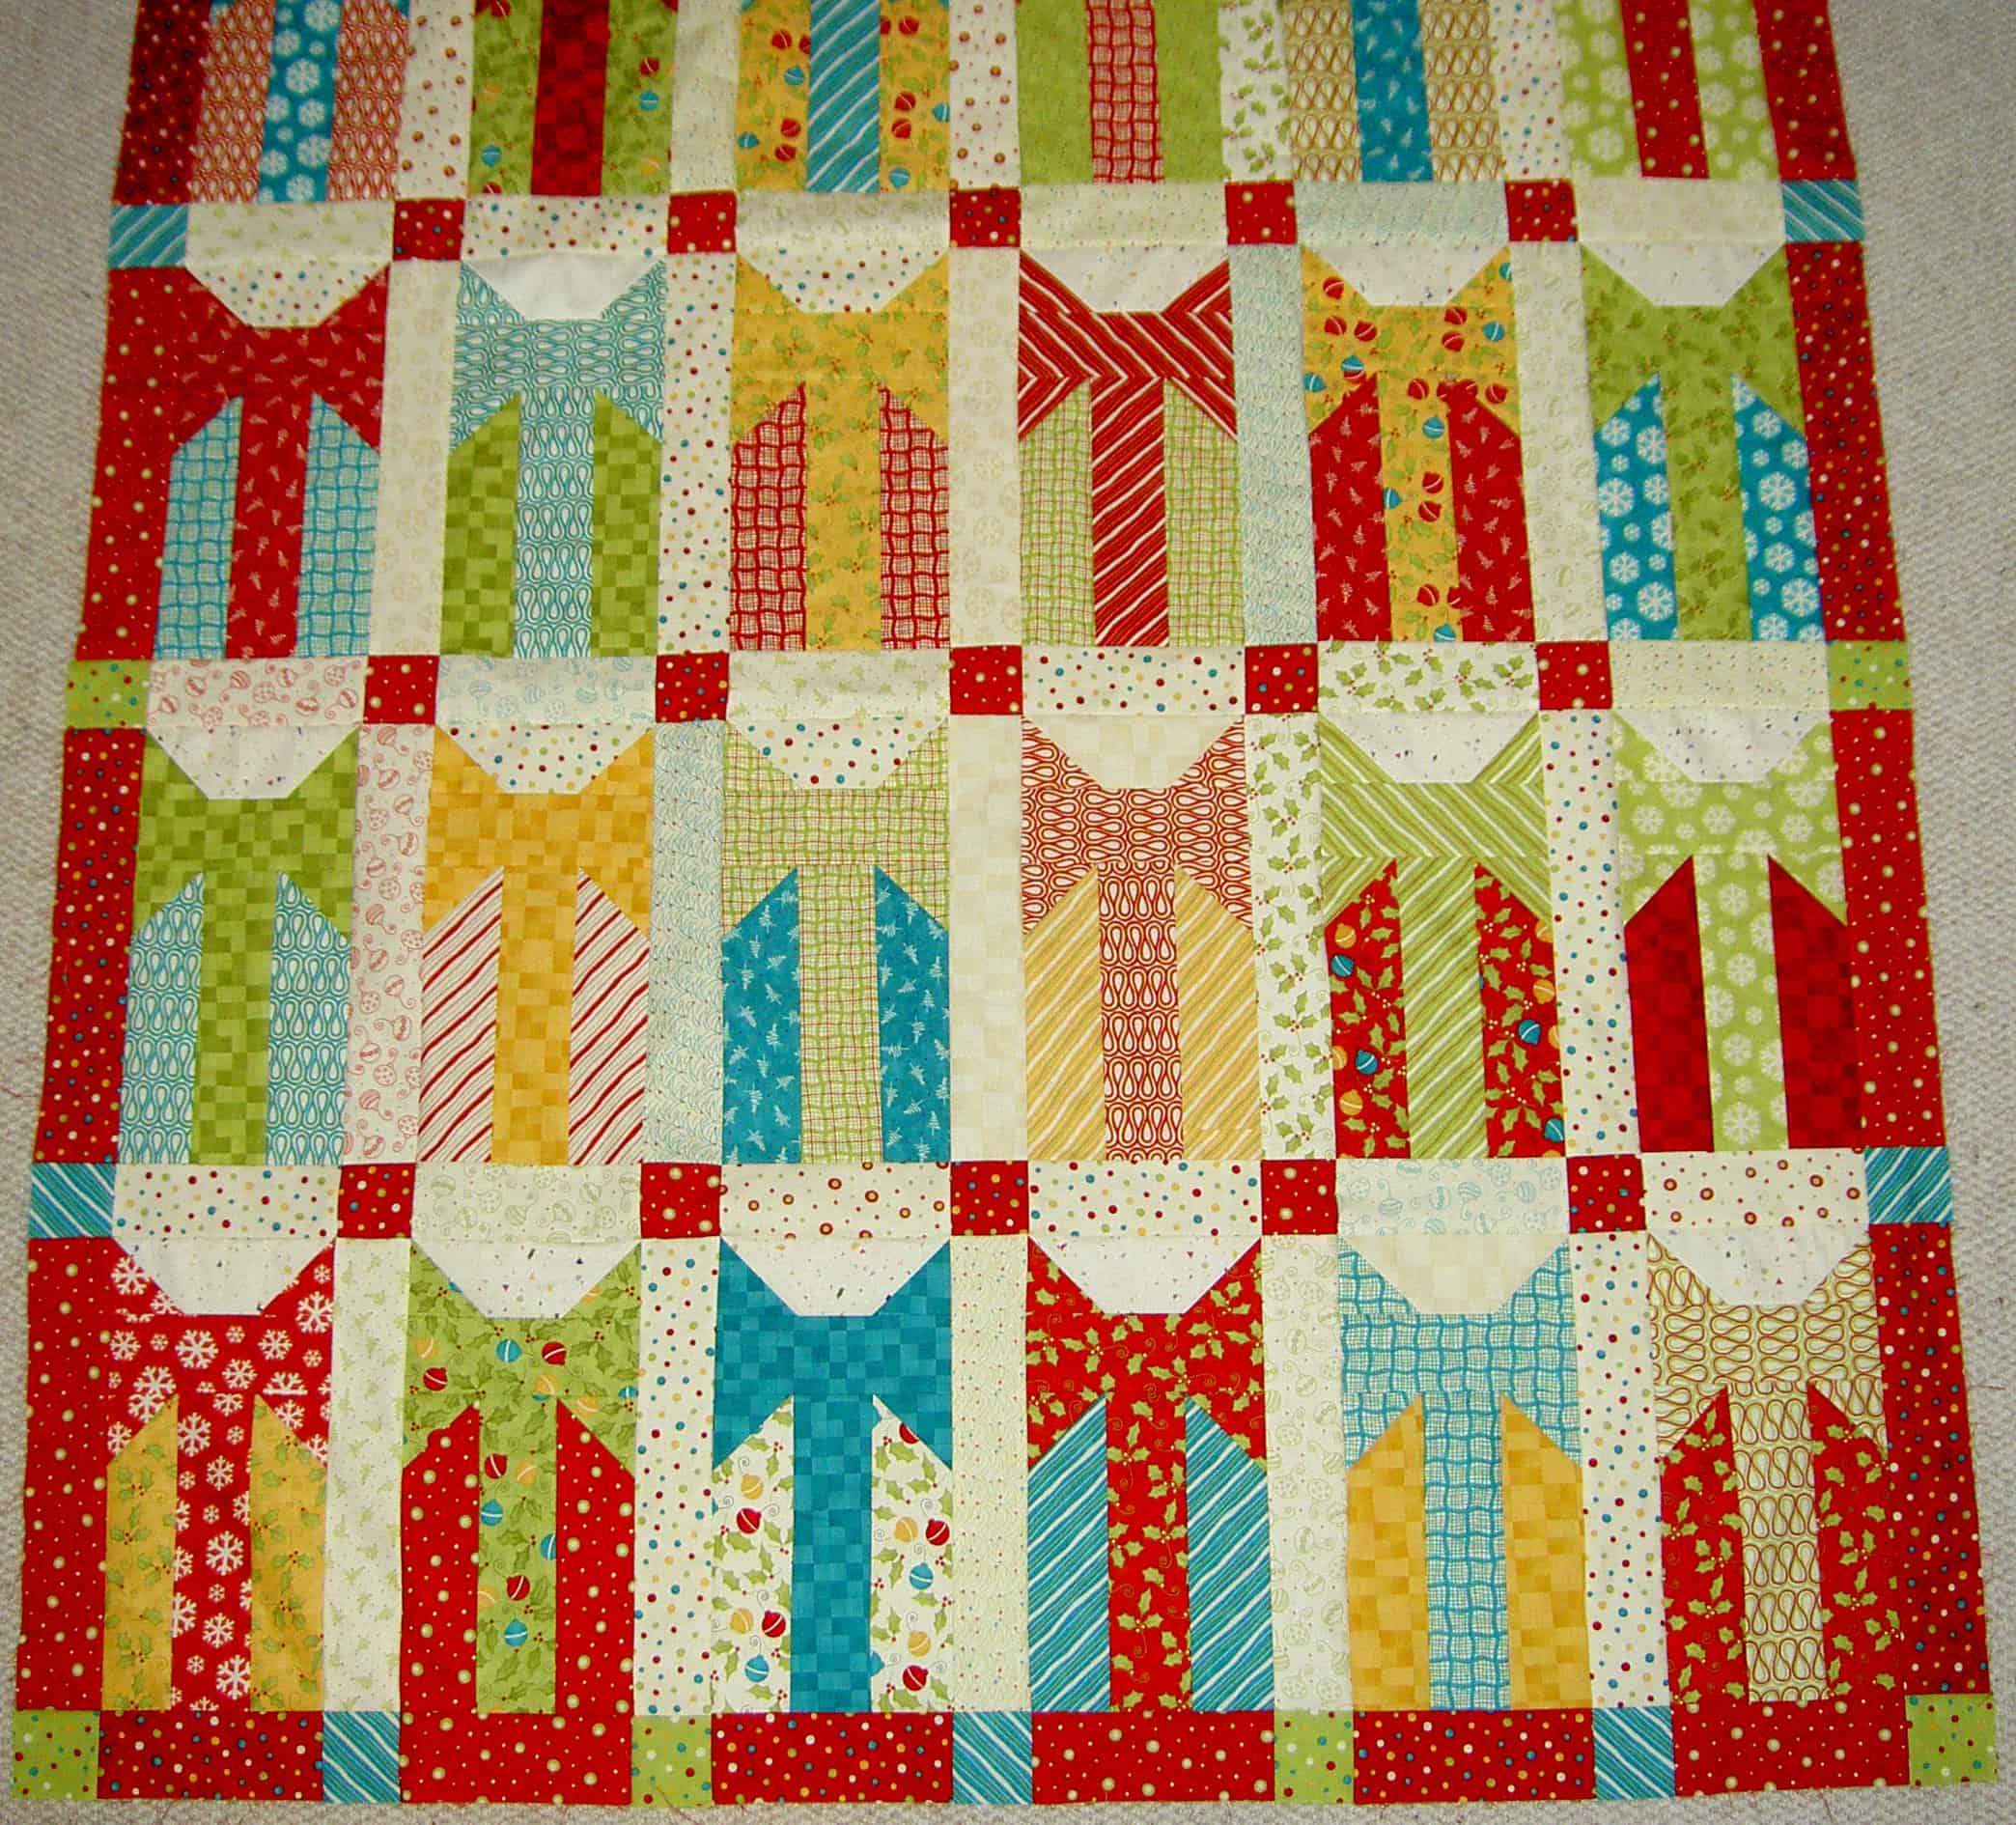
It's a Merry & Bright Wrap!
It is about the size of a large lap quilt. I went to sleep the other night thinking about borders. I found some half yards of some of the Merry & Bright prints that I might use for the border, but I am not sure about what configuration. I don’t have enough just to slap a couple of borders on it. The borders will have to be pieced in some way.
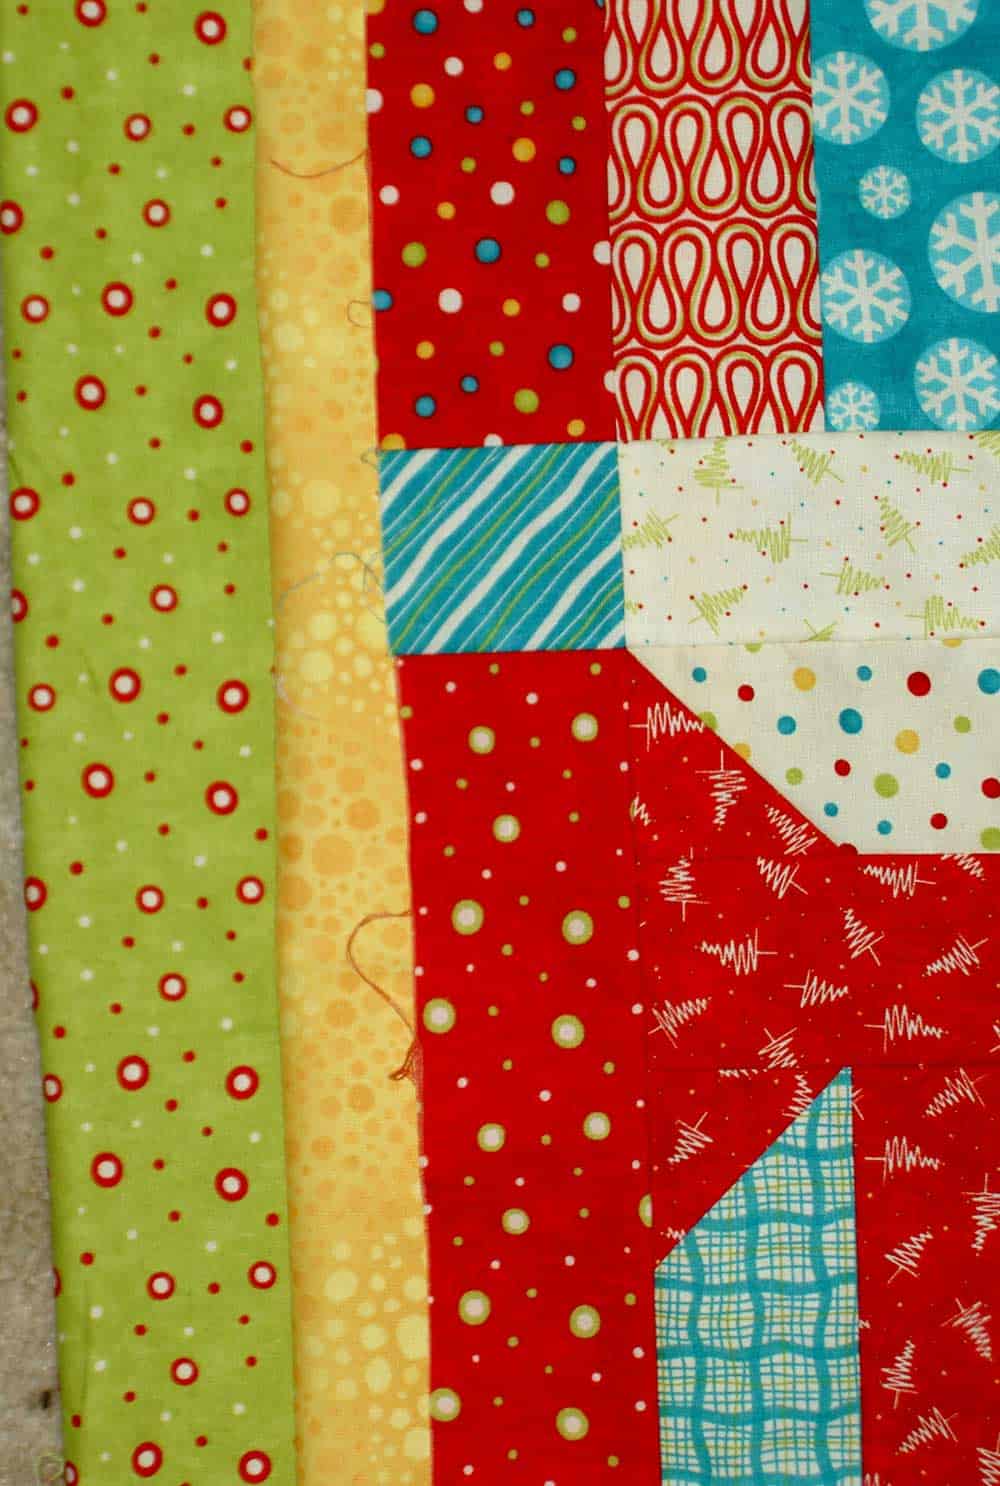
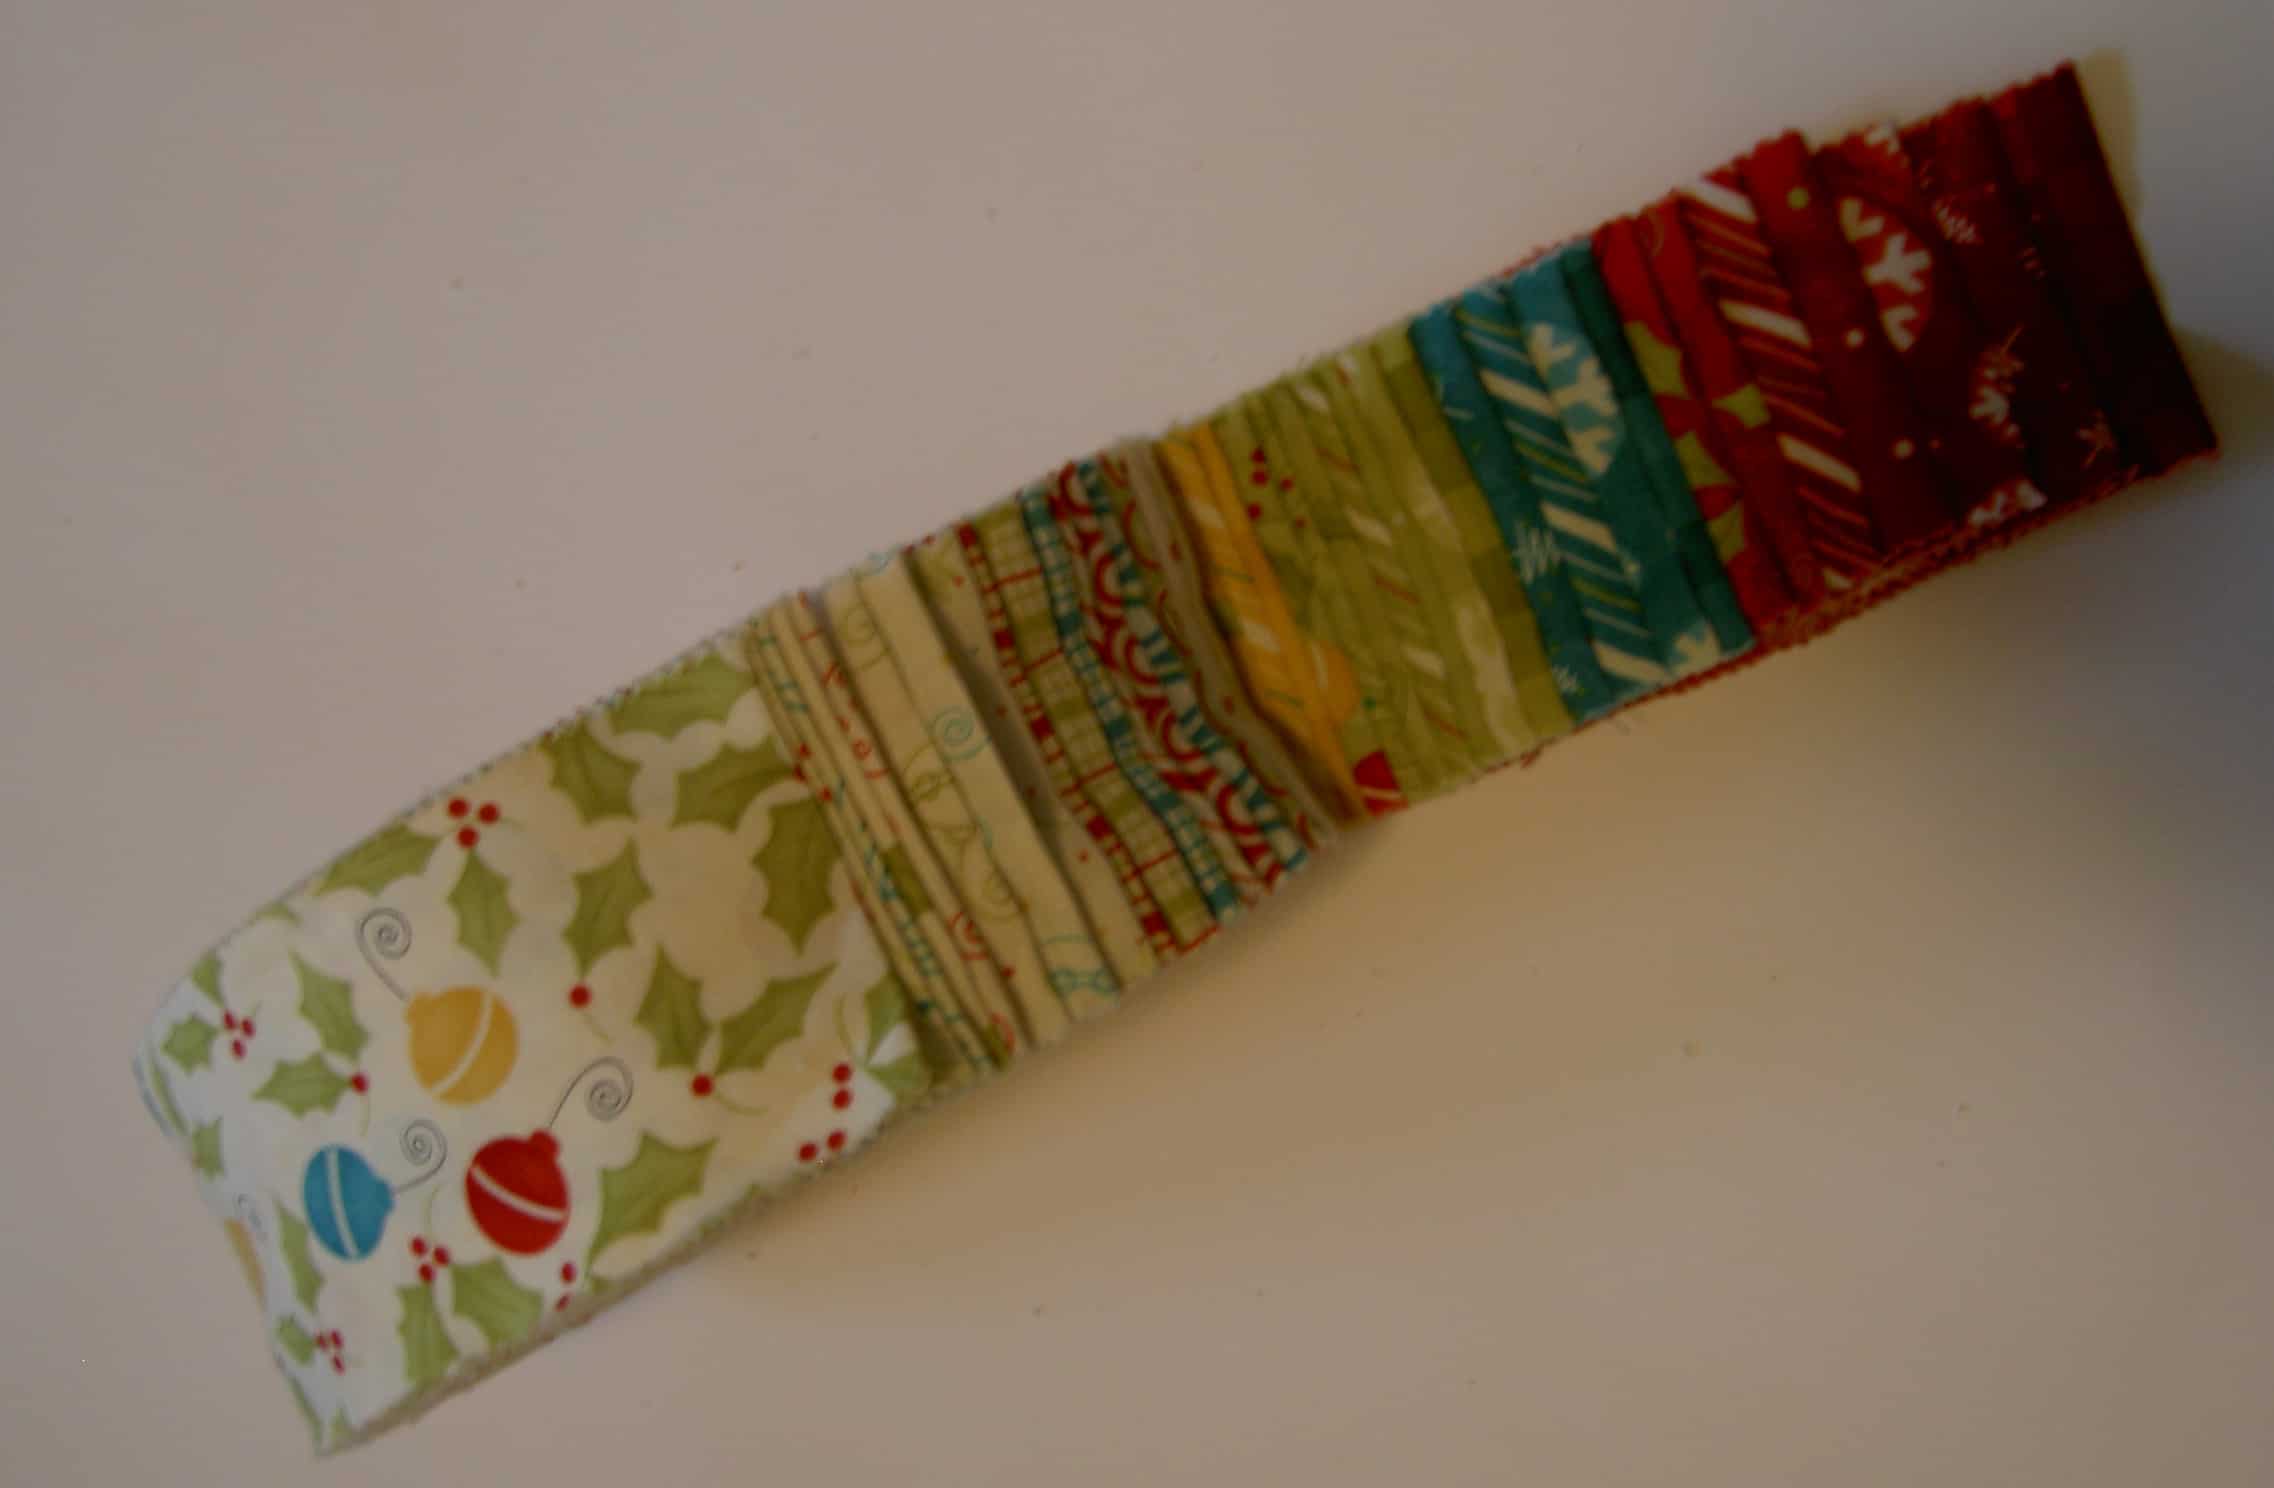
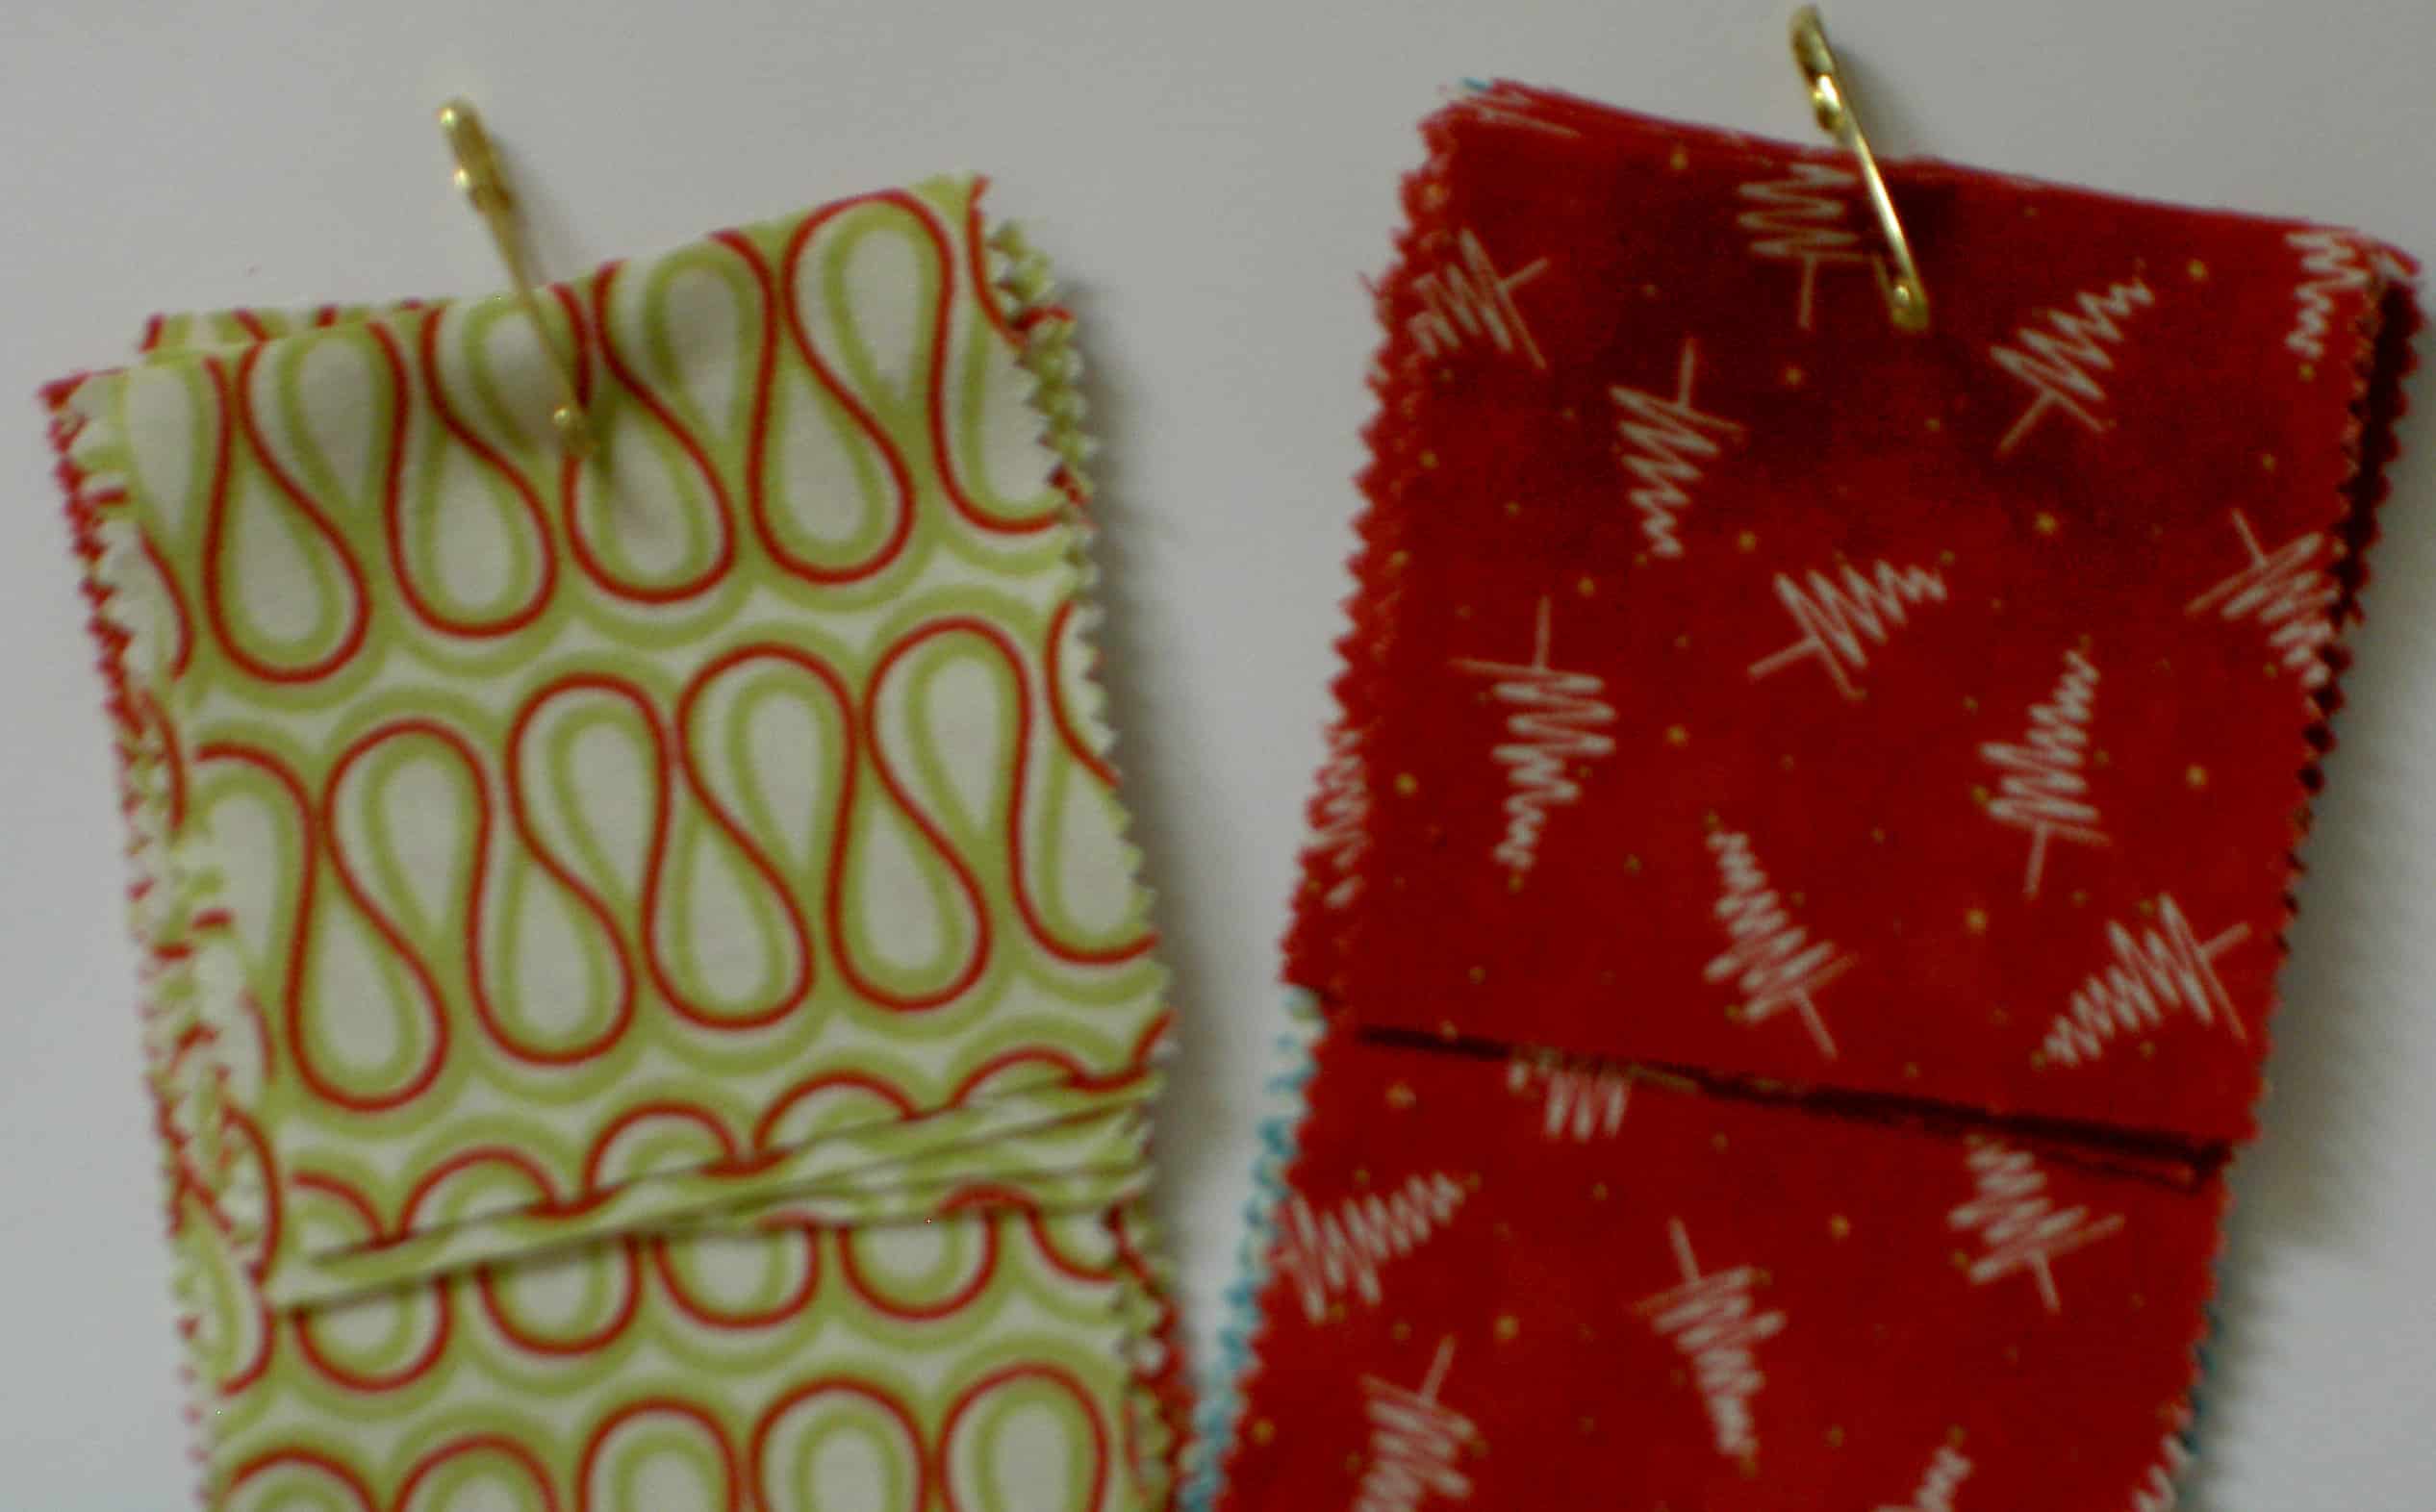
As I mentioned the other day, I enjoyed the Jelly Roll, because I was able to work with a wide variety of coordinating fabrics. I think my favorite in this set, though I do like them all, are the pieces with holly and ornaments. I also liked the diagonal striped fabrics as well.
Aside from the grain problems, the Jelly Rolls provide a quick start for a quilt. I am not saying that this quilt is quick since you haven’t seen the finished piece yet! I don’t really believe in the concept of quick quilts/Quilt in a Day for myself. I think process is important and I think that quilts take longer than a day. Why do you think I make receiving blankets as baby gifts?
Strip Organization
I have worked with my child a lot on learning styles, and strategies for successful learning. I have learned a lot from his teachers and the other professionals that work with him about learning styles, which has made me examine my own style of learning. I know that I learn best by someone showing me what to do and then doing it myself. I also learn okay from looking at pictures/diagrams. I don’t learn well by reading instructions. This is probably one reason why I don’t use a lot of patterns. It takes me too long to decipher them.
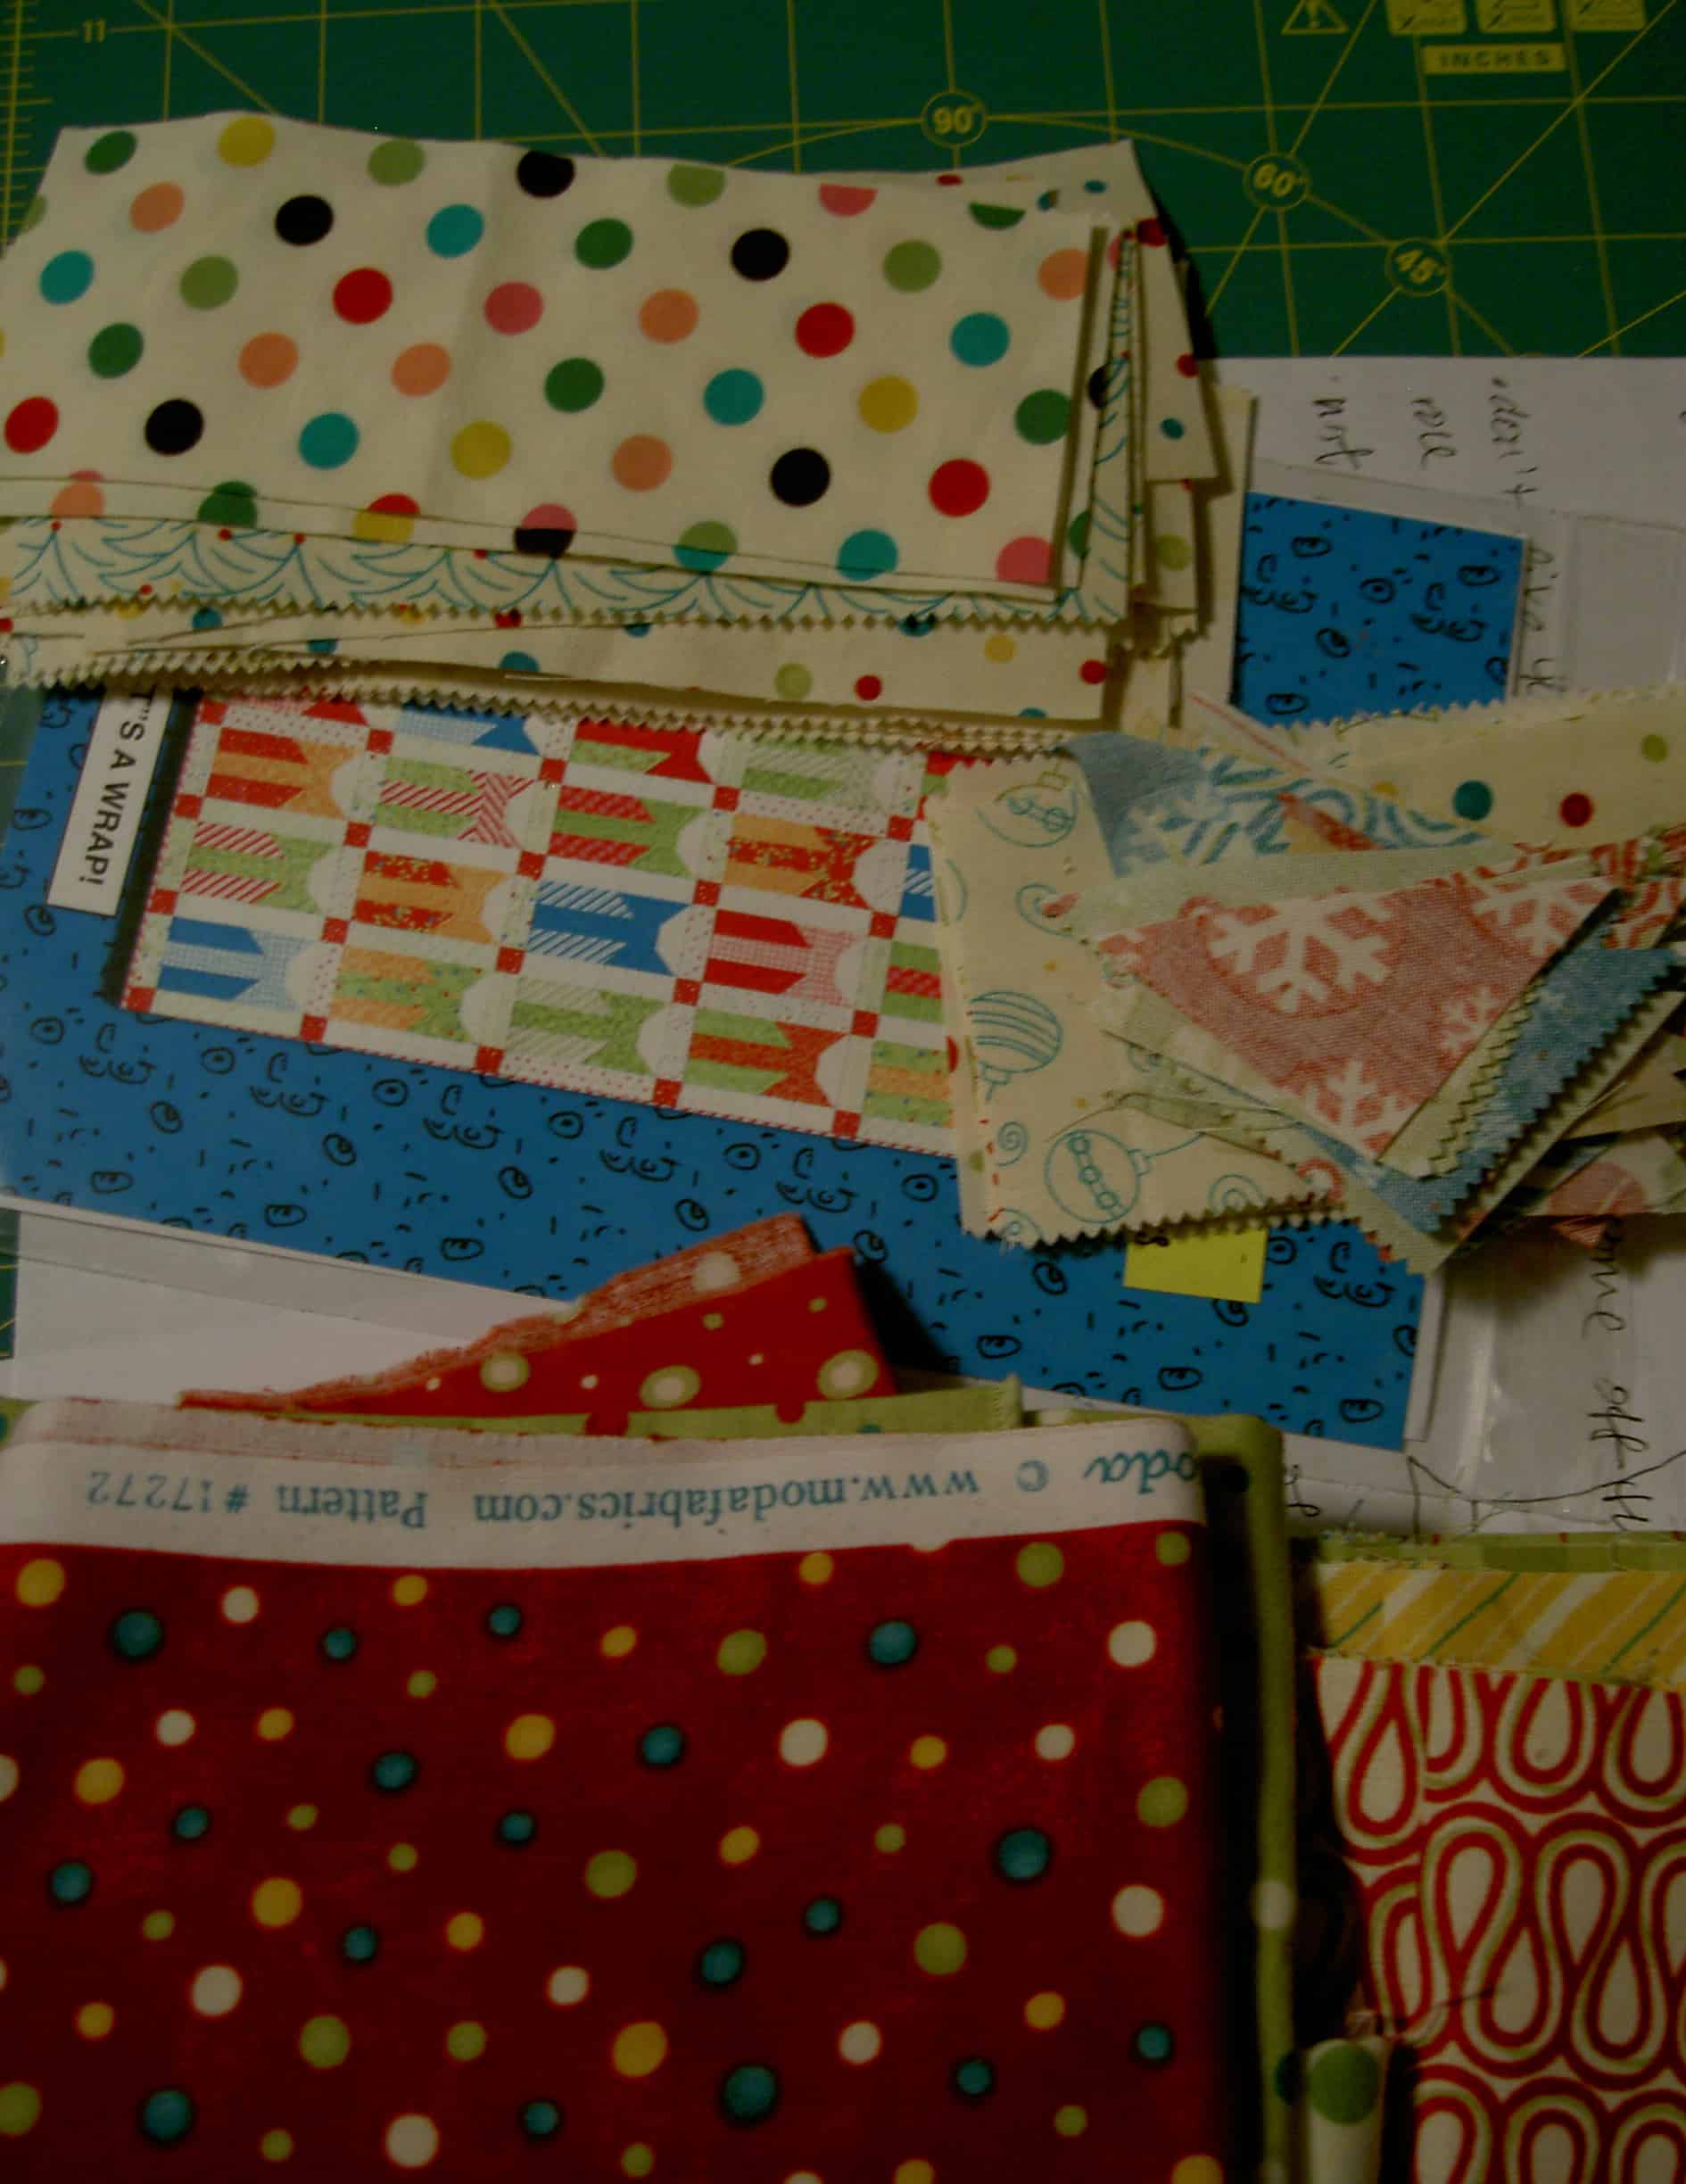
First, I sorted the strips into sets of two. I decided which strips I wanted to be in the same block as package and bow.
I cut pieces, as designated by the pattern, from the Jelly Roll strips and then I needed a way to keep them together. I don’t have the clips that Fons & Porter use, so I used my machine quilting safety pins. They are pretty sharp so they went through 4 squares, 3 rectangles and two strips pretty well.
Strip Organization – detail
I had large pieces of leftover strips and I couldn’t figure out what I was doing wrong. I went back to the directions and, finally, figured out that I needed to cut more bow and package pieces. From each strip needed to be cut enough pieces for a bow and a package.
TV Cutting Kit
I did that extra cutting (more TV watching!) and then rearranged the new strips so that they had different mates for the second round of strips.
Fabric Combinations
One step in the process is to put the bow together. This step involves triangles, but uses the square-into-triangle method to create the triangles at the top of the package.
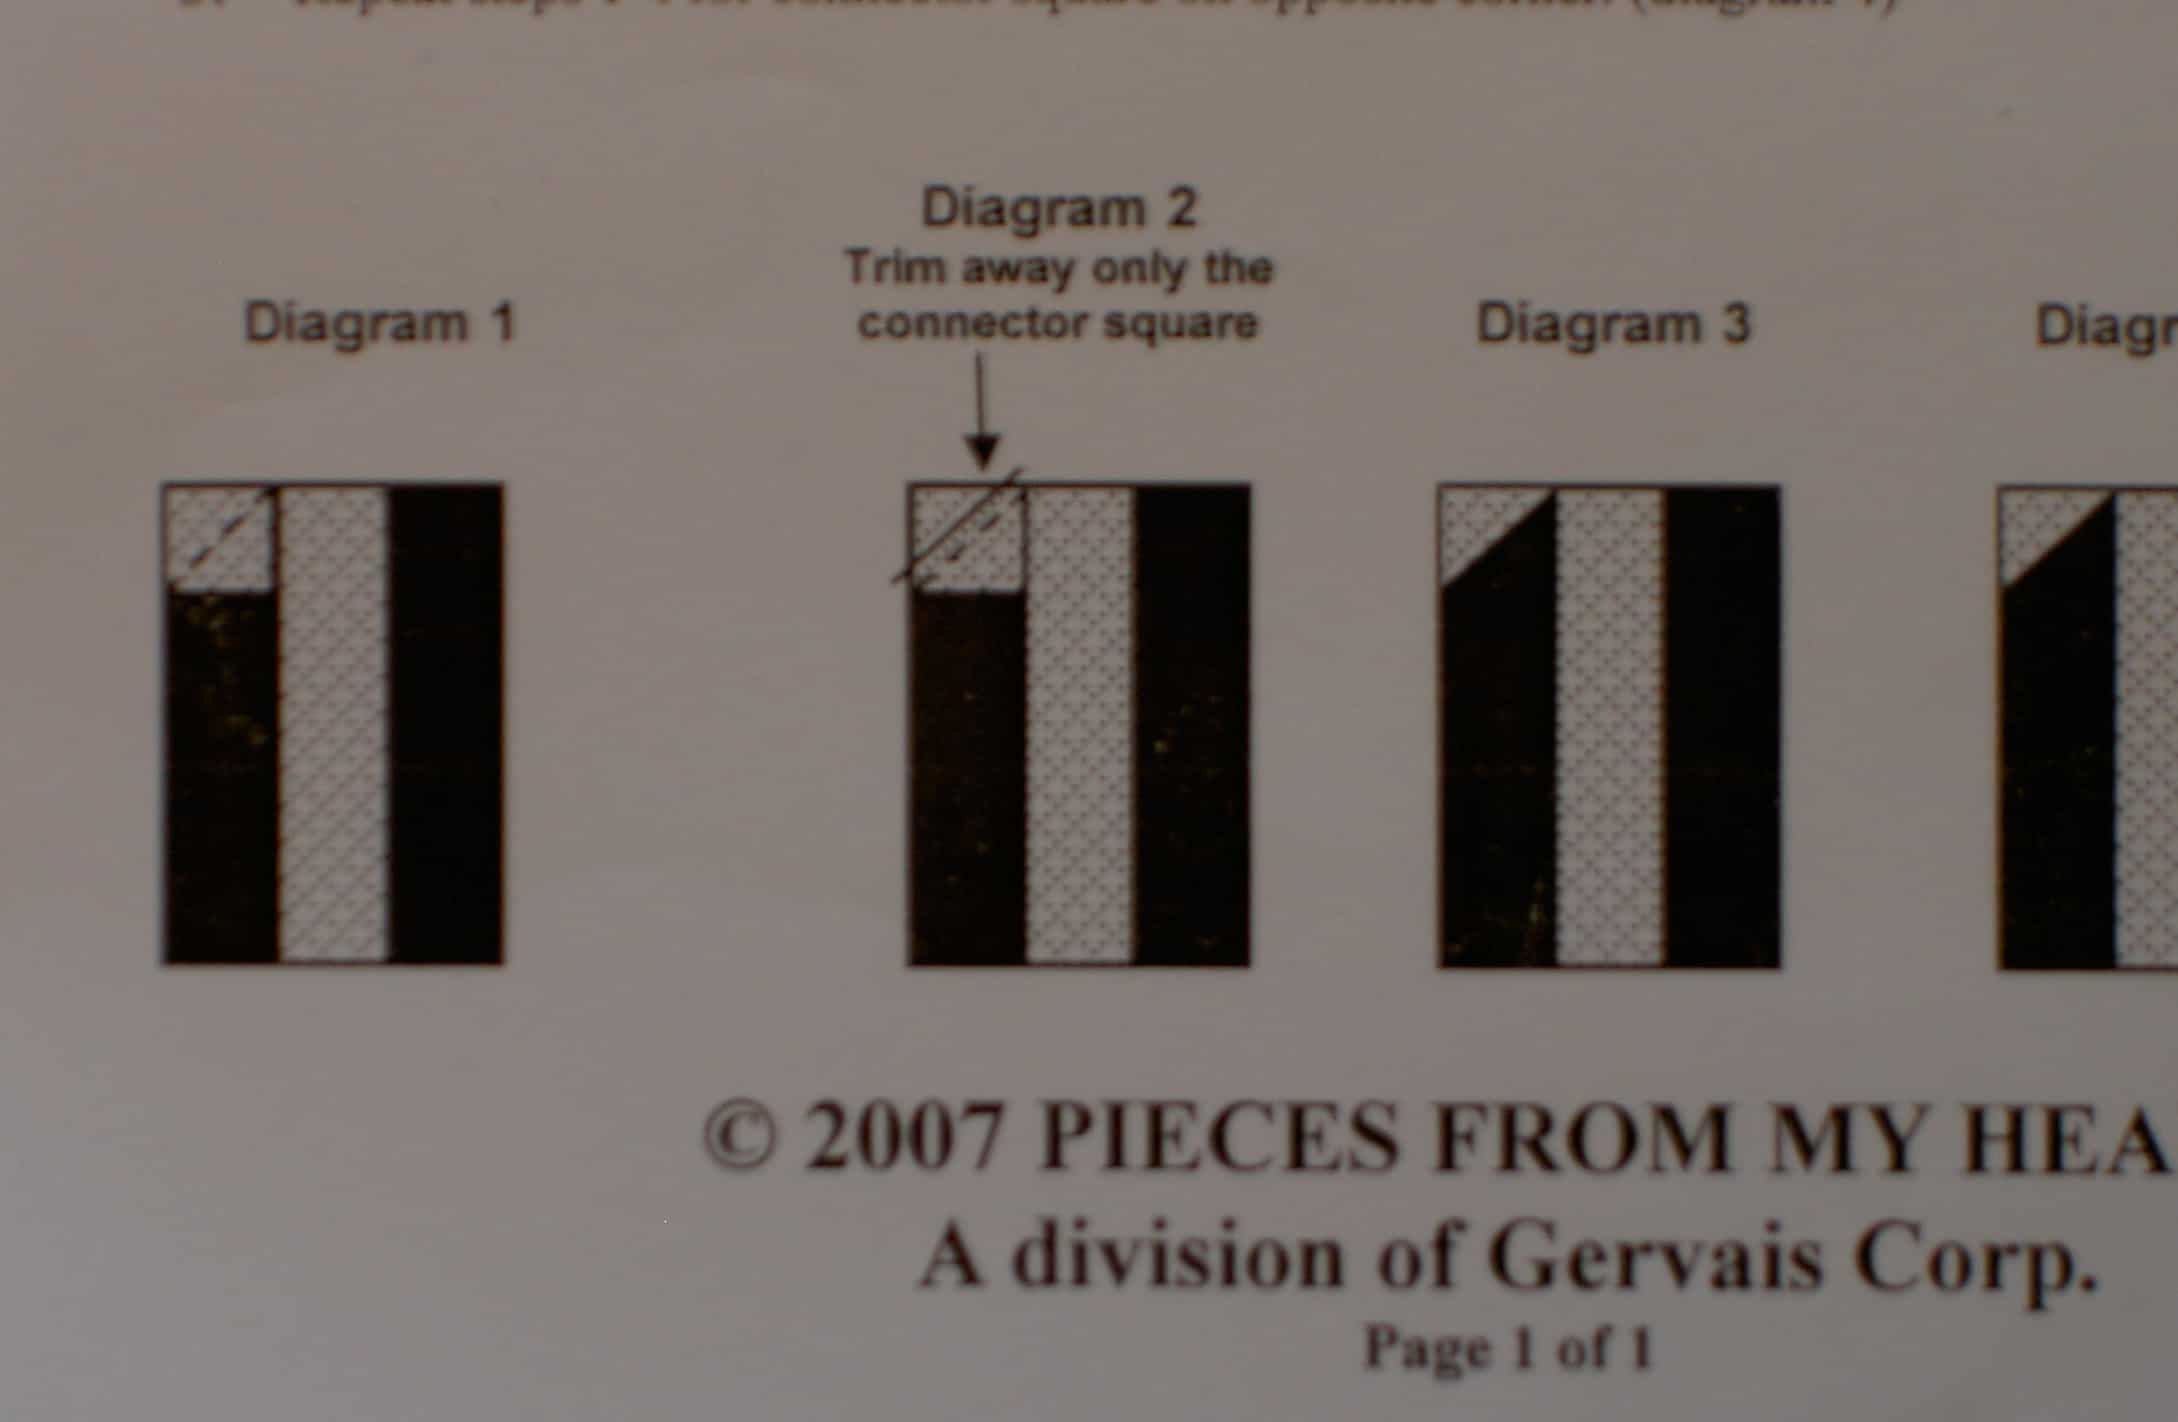
The directions show the following:
Adding Corner Pieces – directions
I think it is pretty hard to show this step in directions, especially for someone, like me, who doesn’t use a lot of patterns. I don’t know all the conventions that have been established.
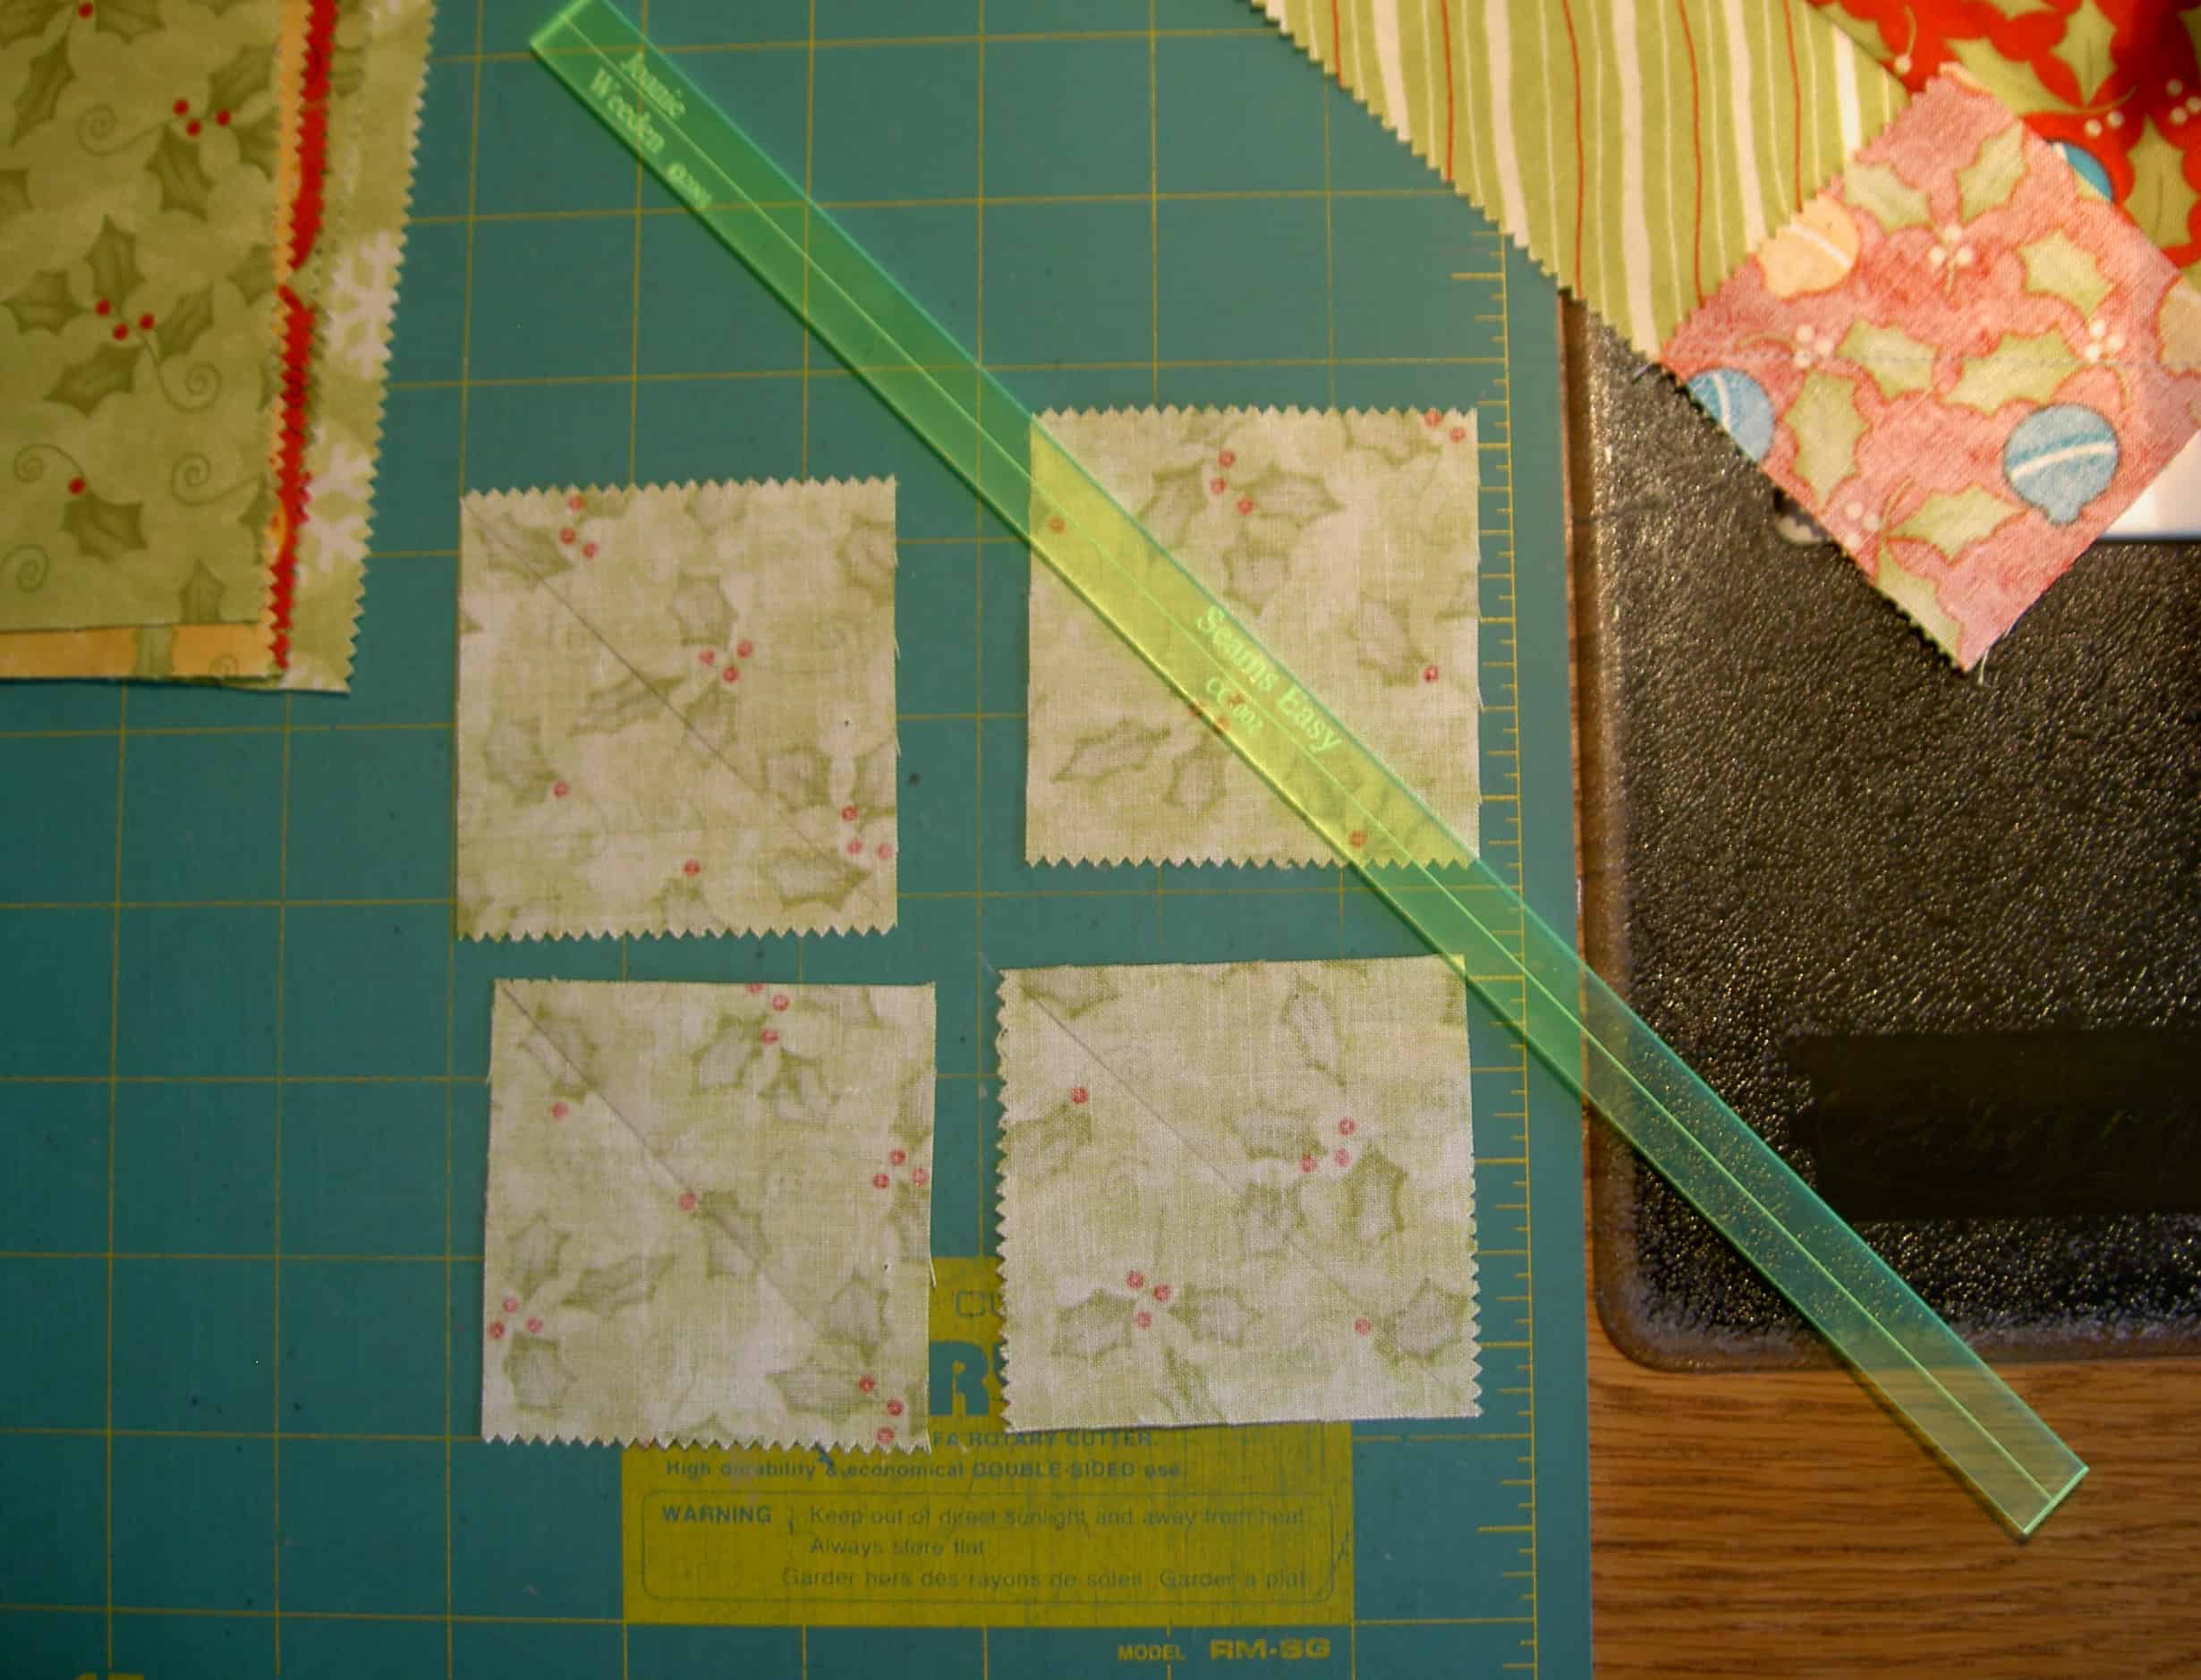
Marking Squares
First, I marked all the squares so I would know where to sew. This was part of the meditation of this quilt that I alluded to in the previous Jelly Roll post. This kind of step can really get on my nerves. I didn’t let it; I just sat there with my pencil and ruler and drew lines. I didn’t mark all of the squares at once, but did them in little batches as I needed them.
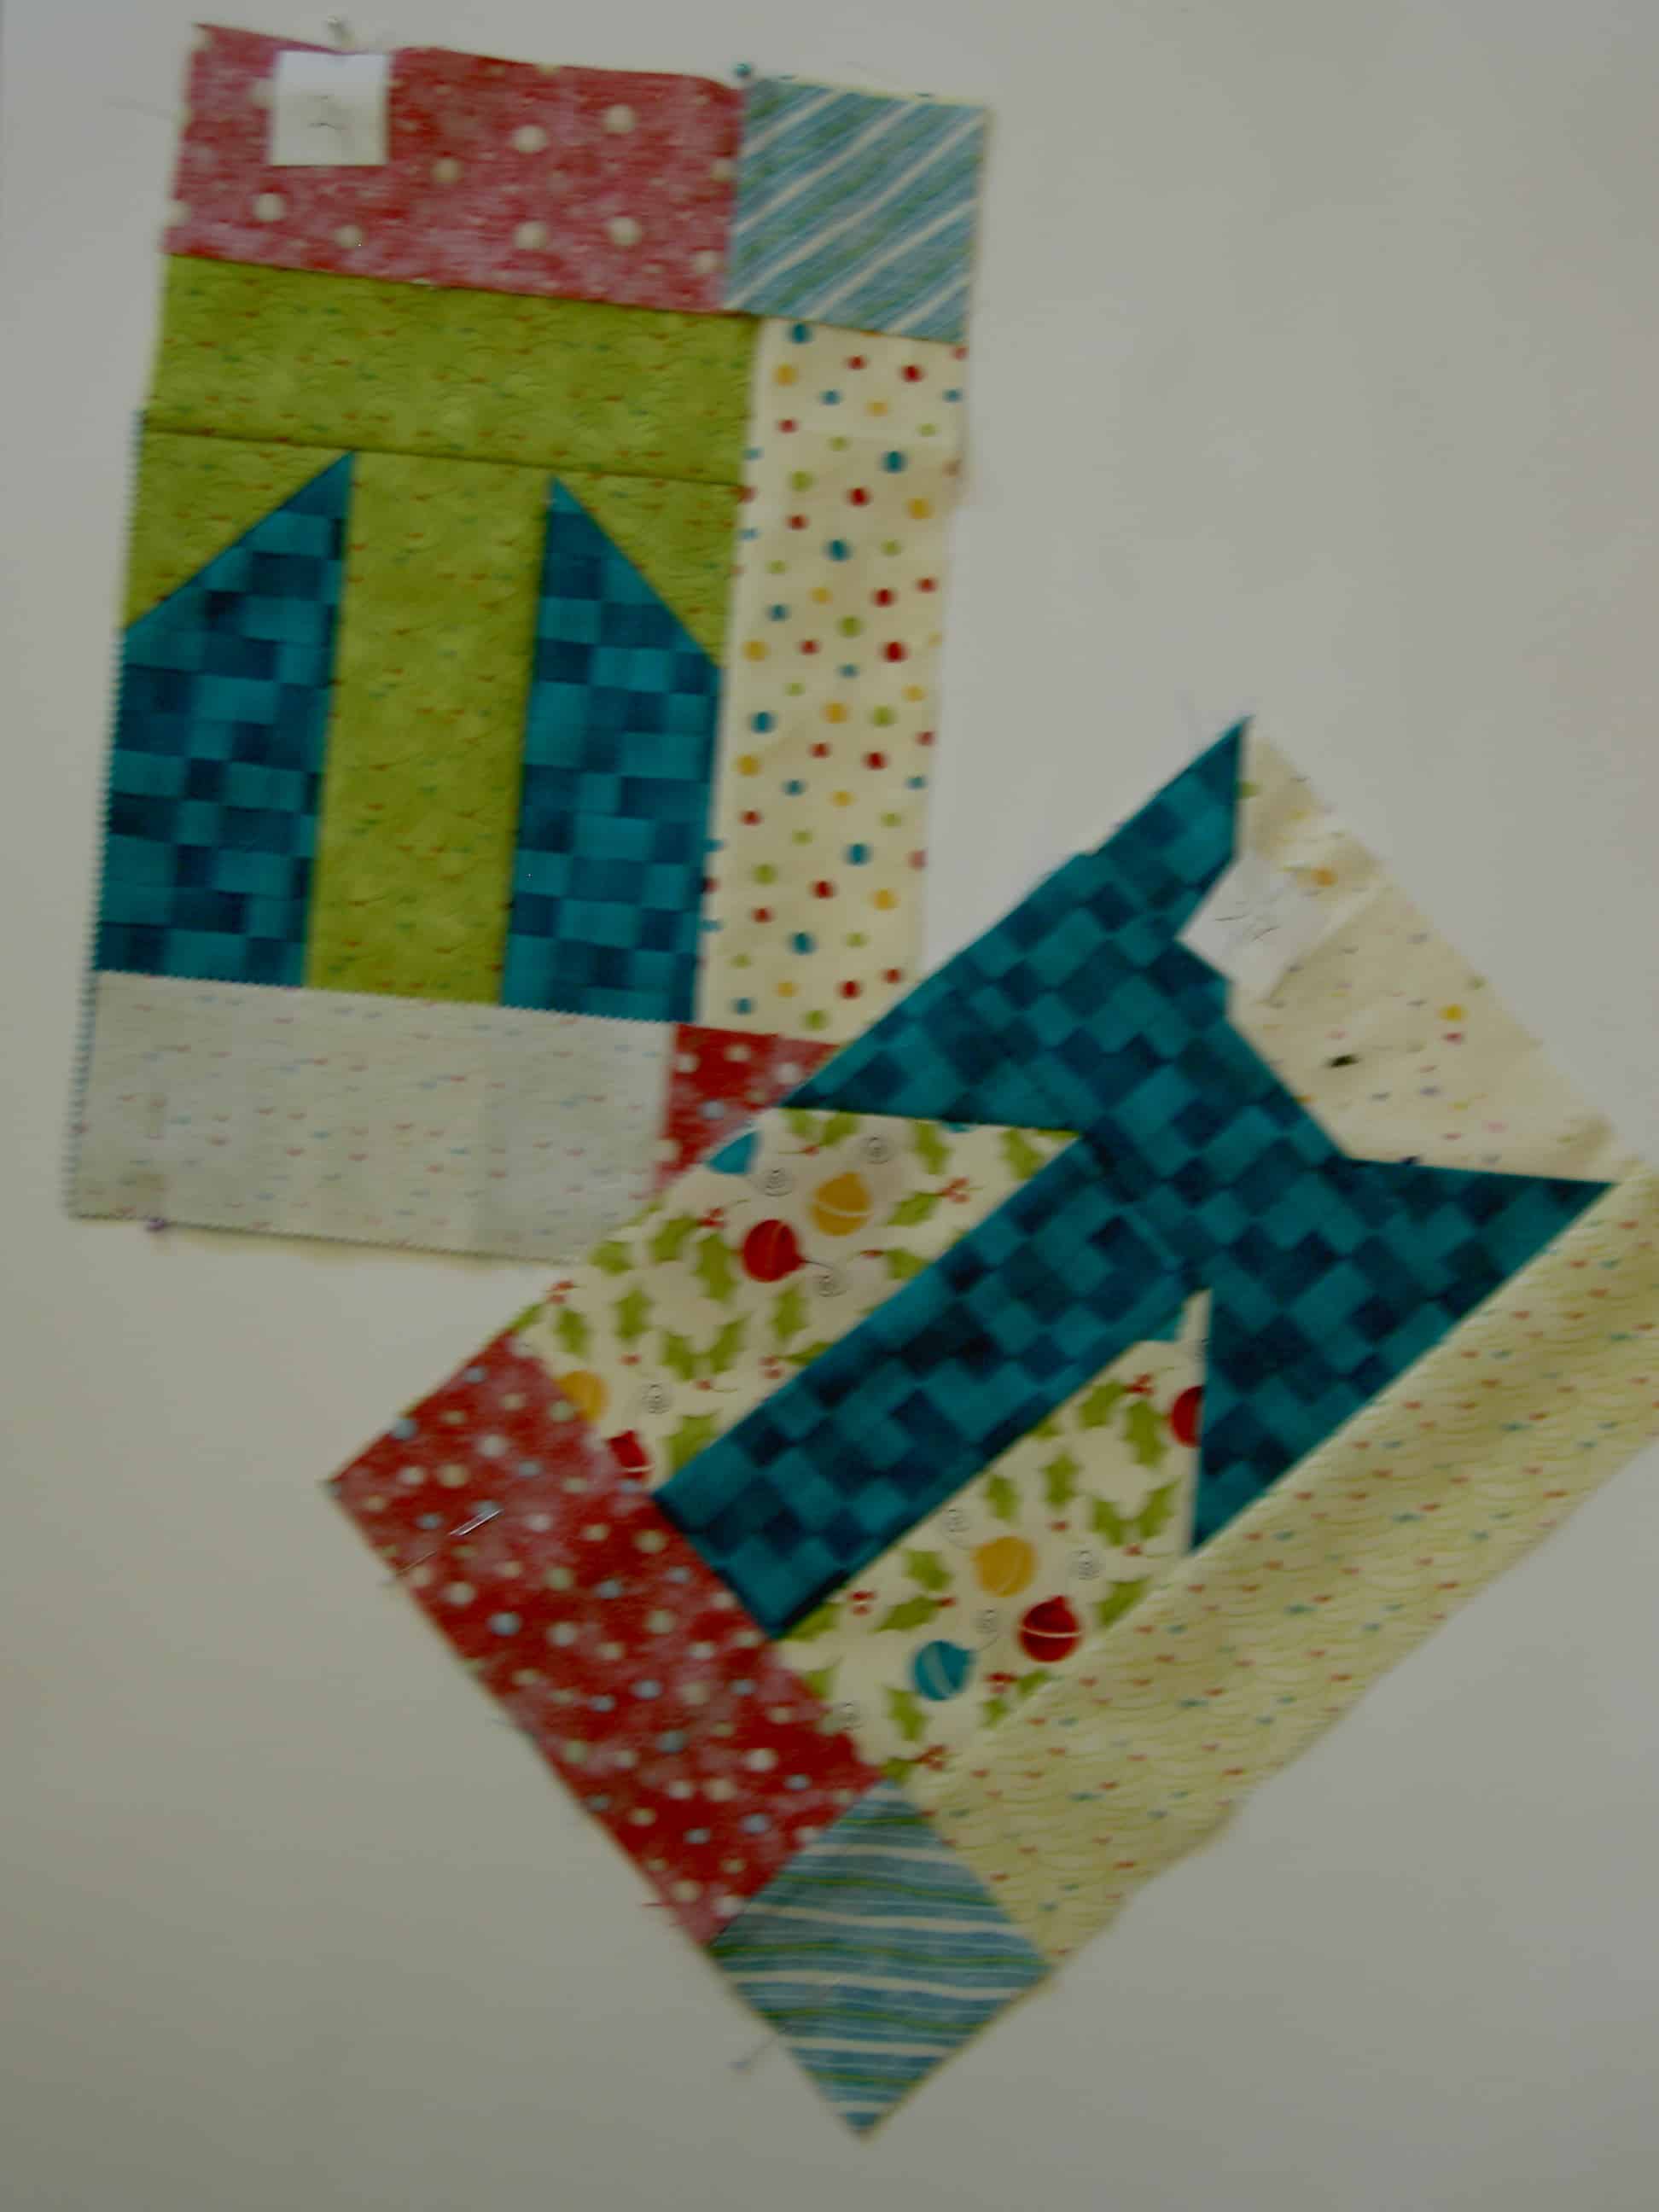
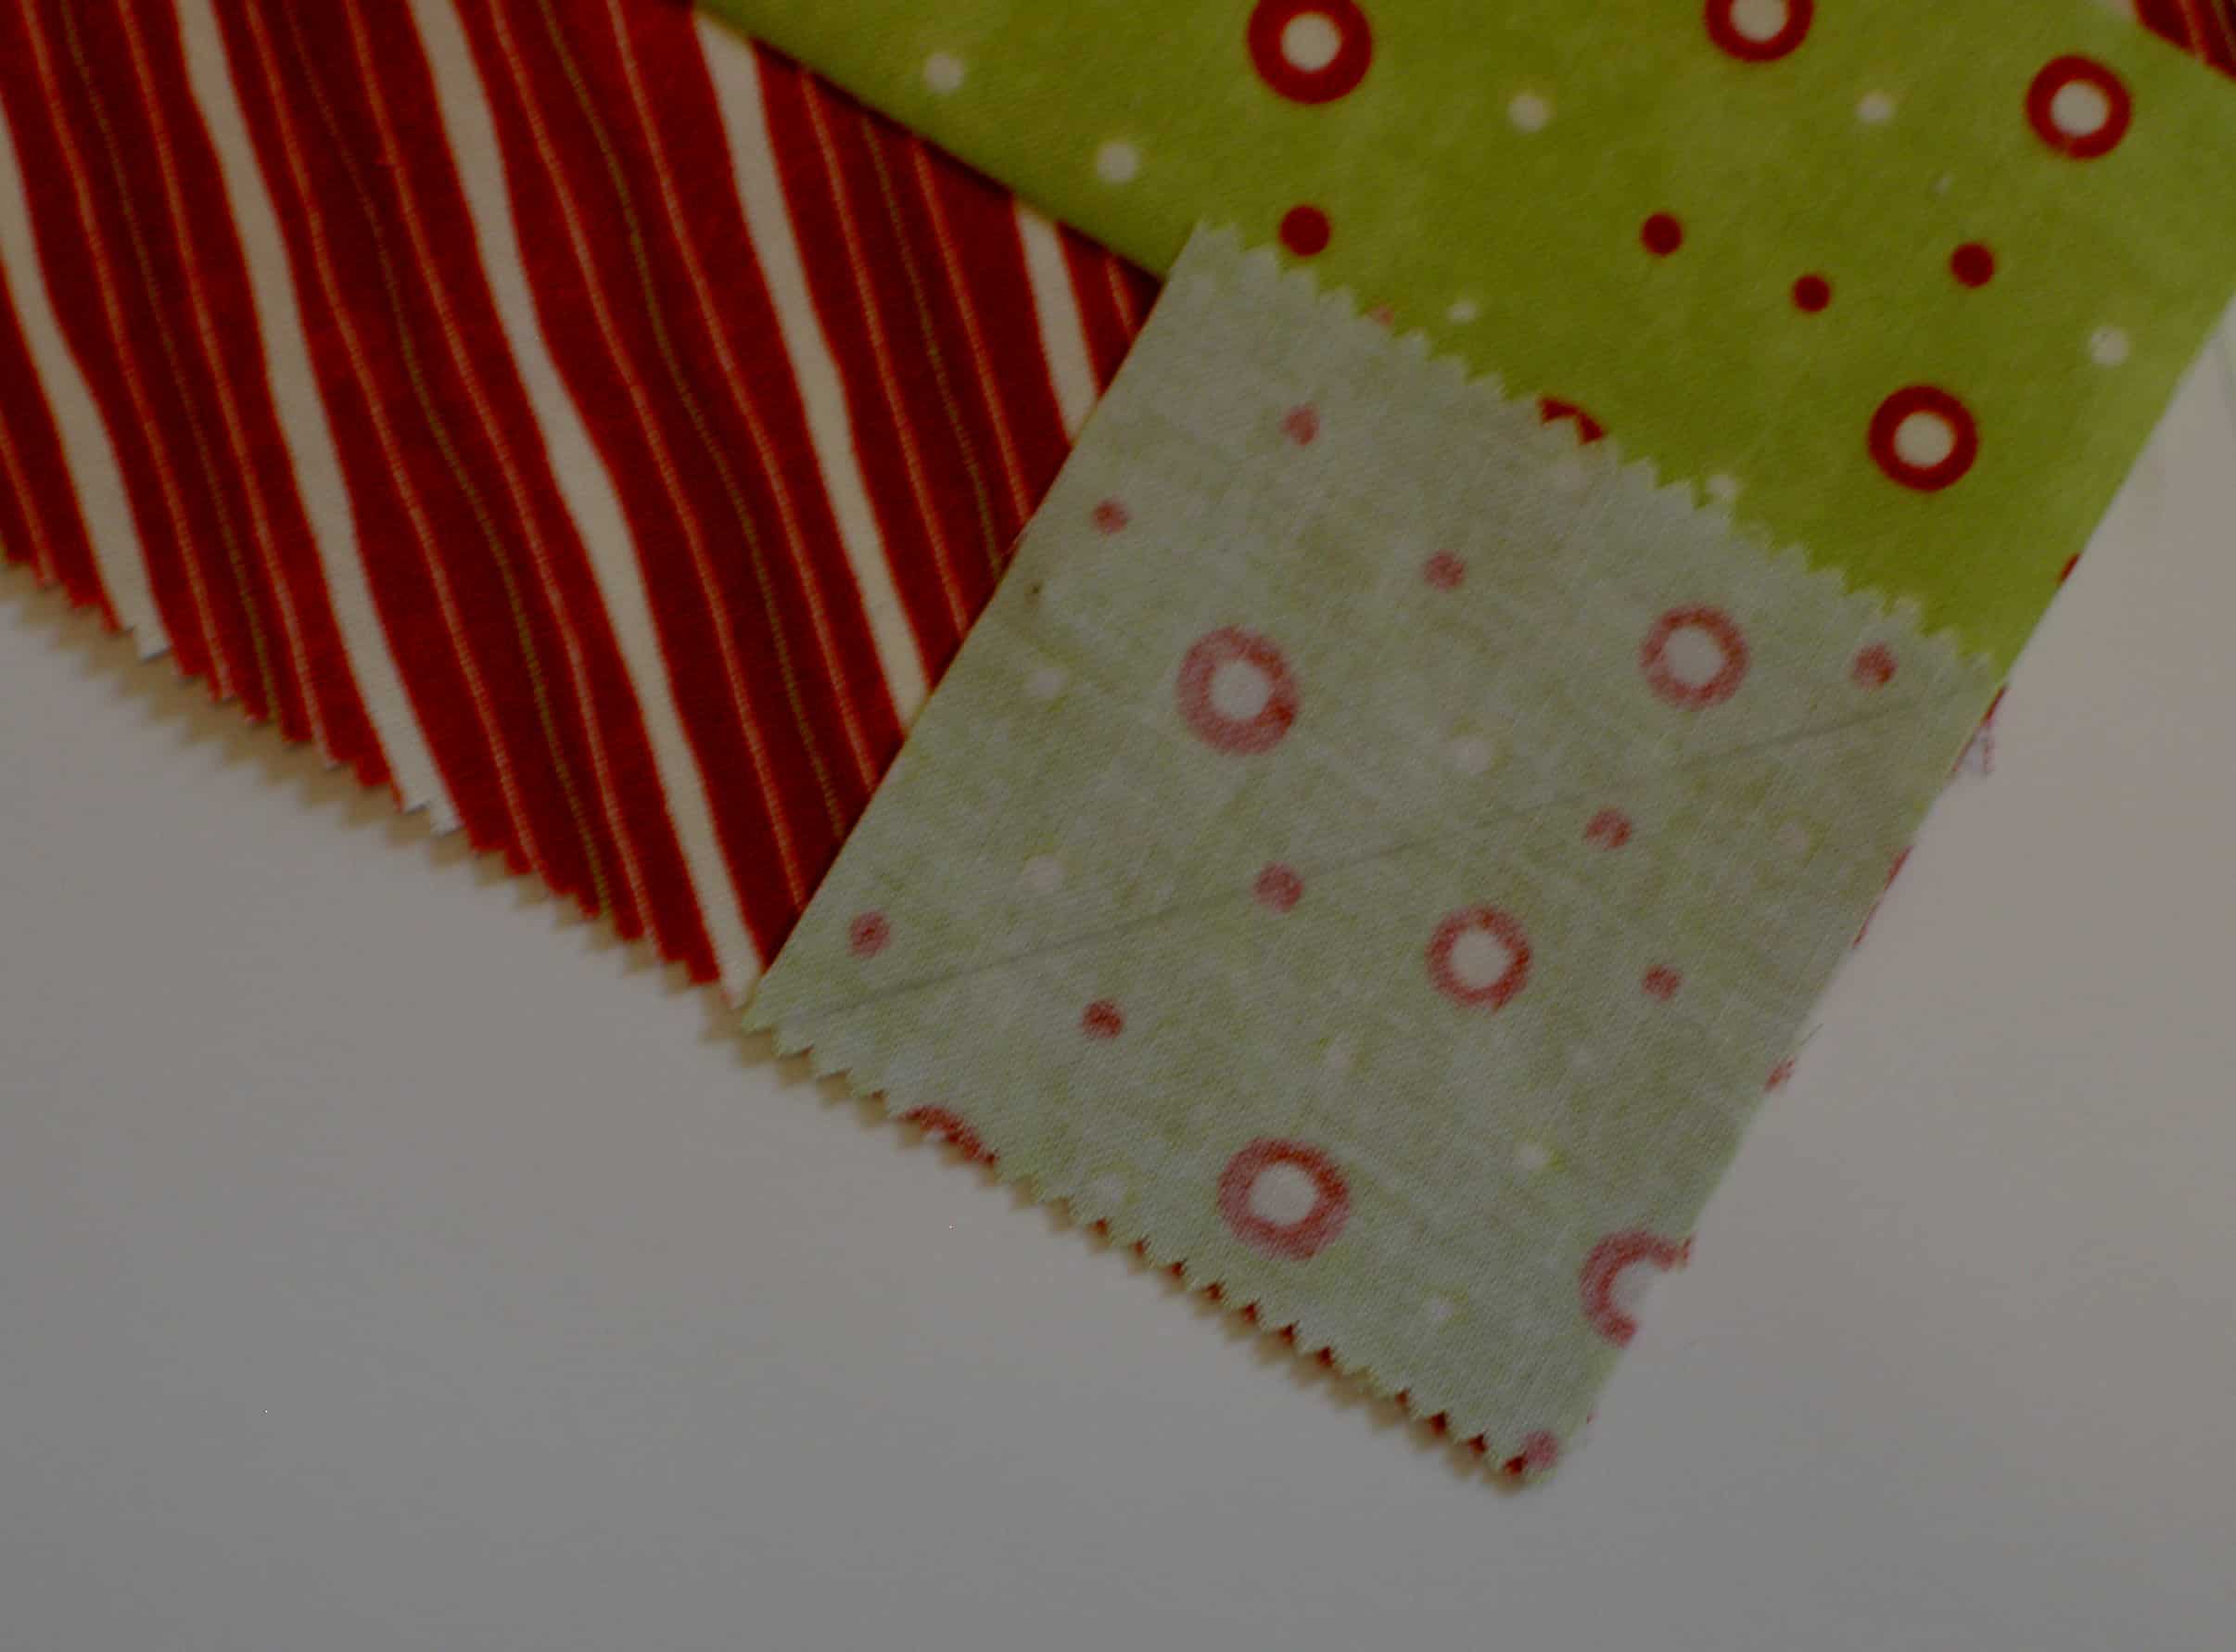
Marked Corner Before Sewing
One thing the directions do not show is that the square will overlap the middle rectangle when you lay it out to make the bow. The directions above show that the square fits exactly over the outside package rectangle. I worry about this kind of thing, because I expect directions to be accurate. Now, I don’t know the limitations of creating drawings in a pattern (on my list to find out about!), but words can certainly be included to explain that layout information. This is not a criticism, just an observation based on my style of working with patterns.
Adding Corner Pieces
In real life, above is how the directions say to add the triangles to the corners of the package part of the block to make the bottom of the bow. TFQ and I talked about this strategy when I first bought the pattern. I think this technique makes it less intimidating for those afraid of bias. I was a little lazy and just did it this way.
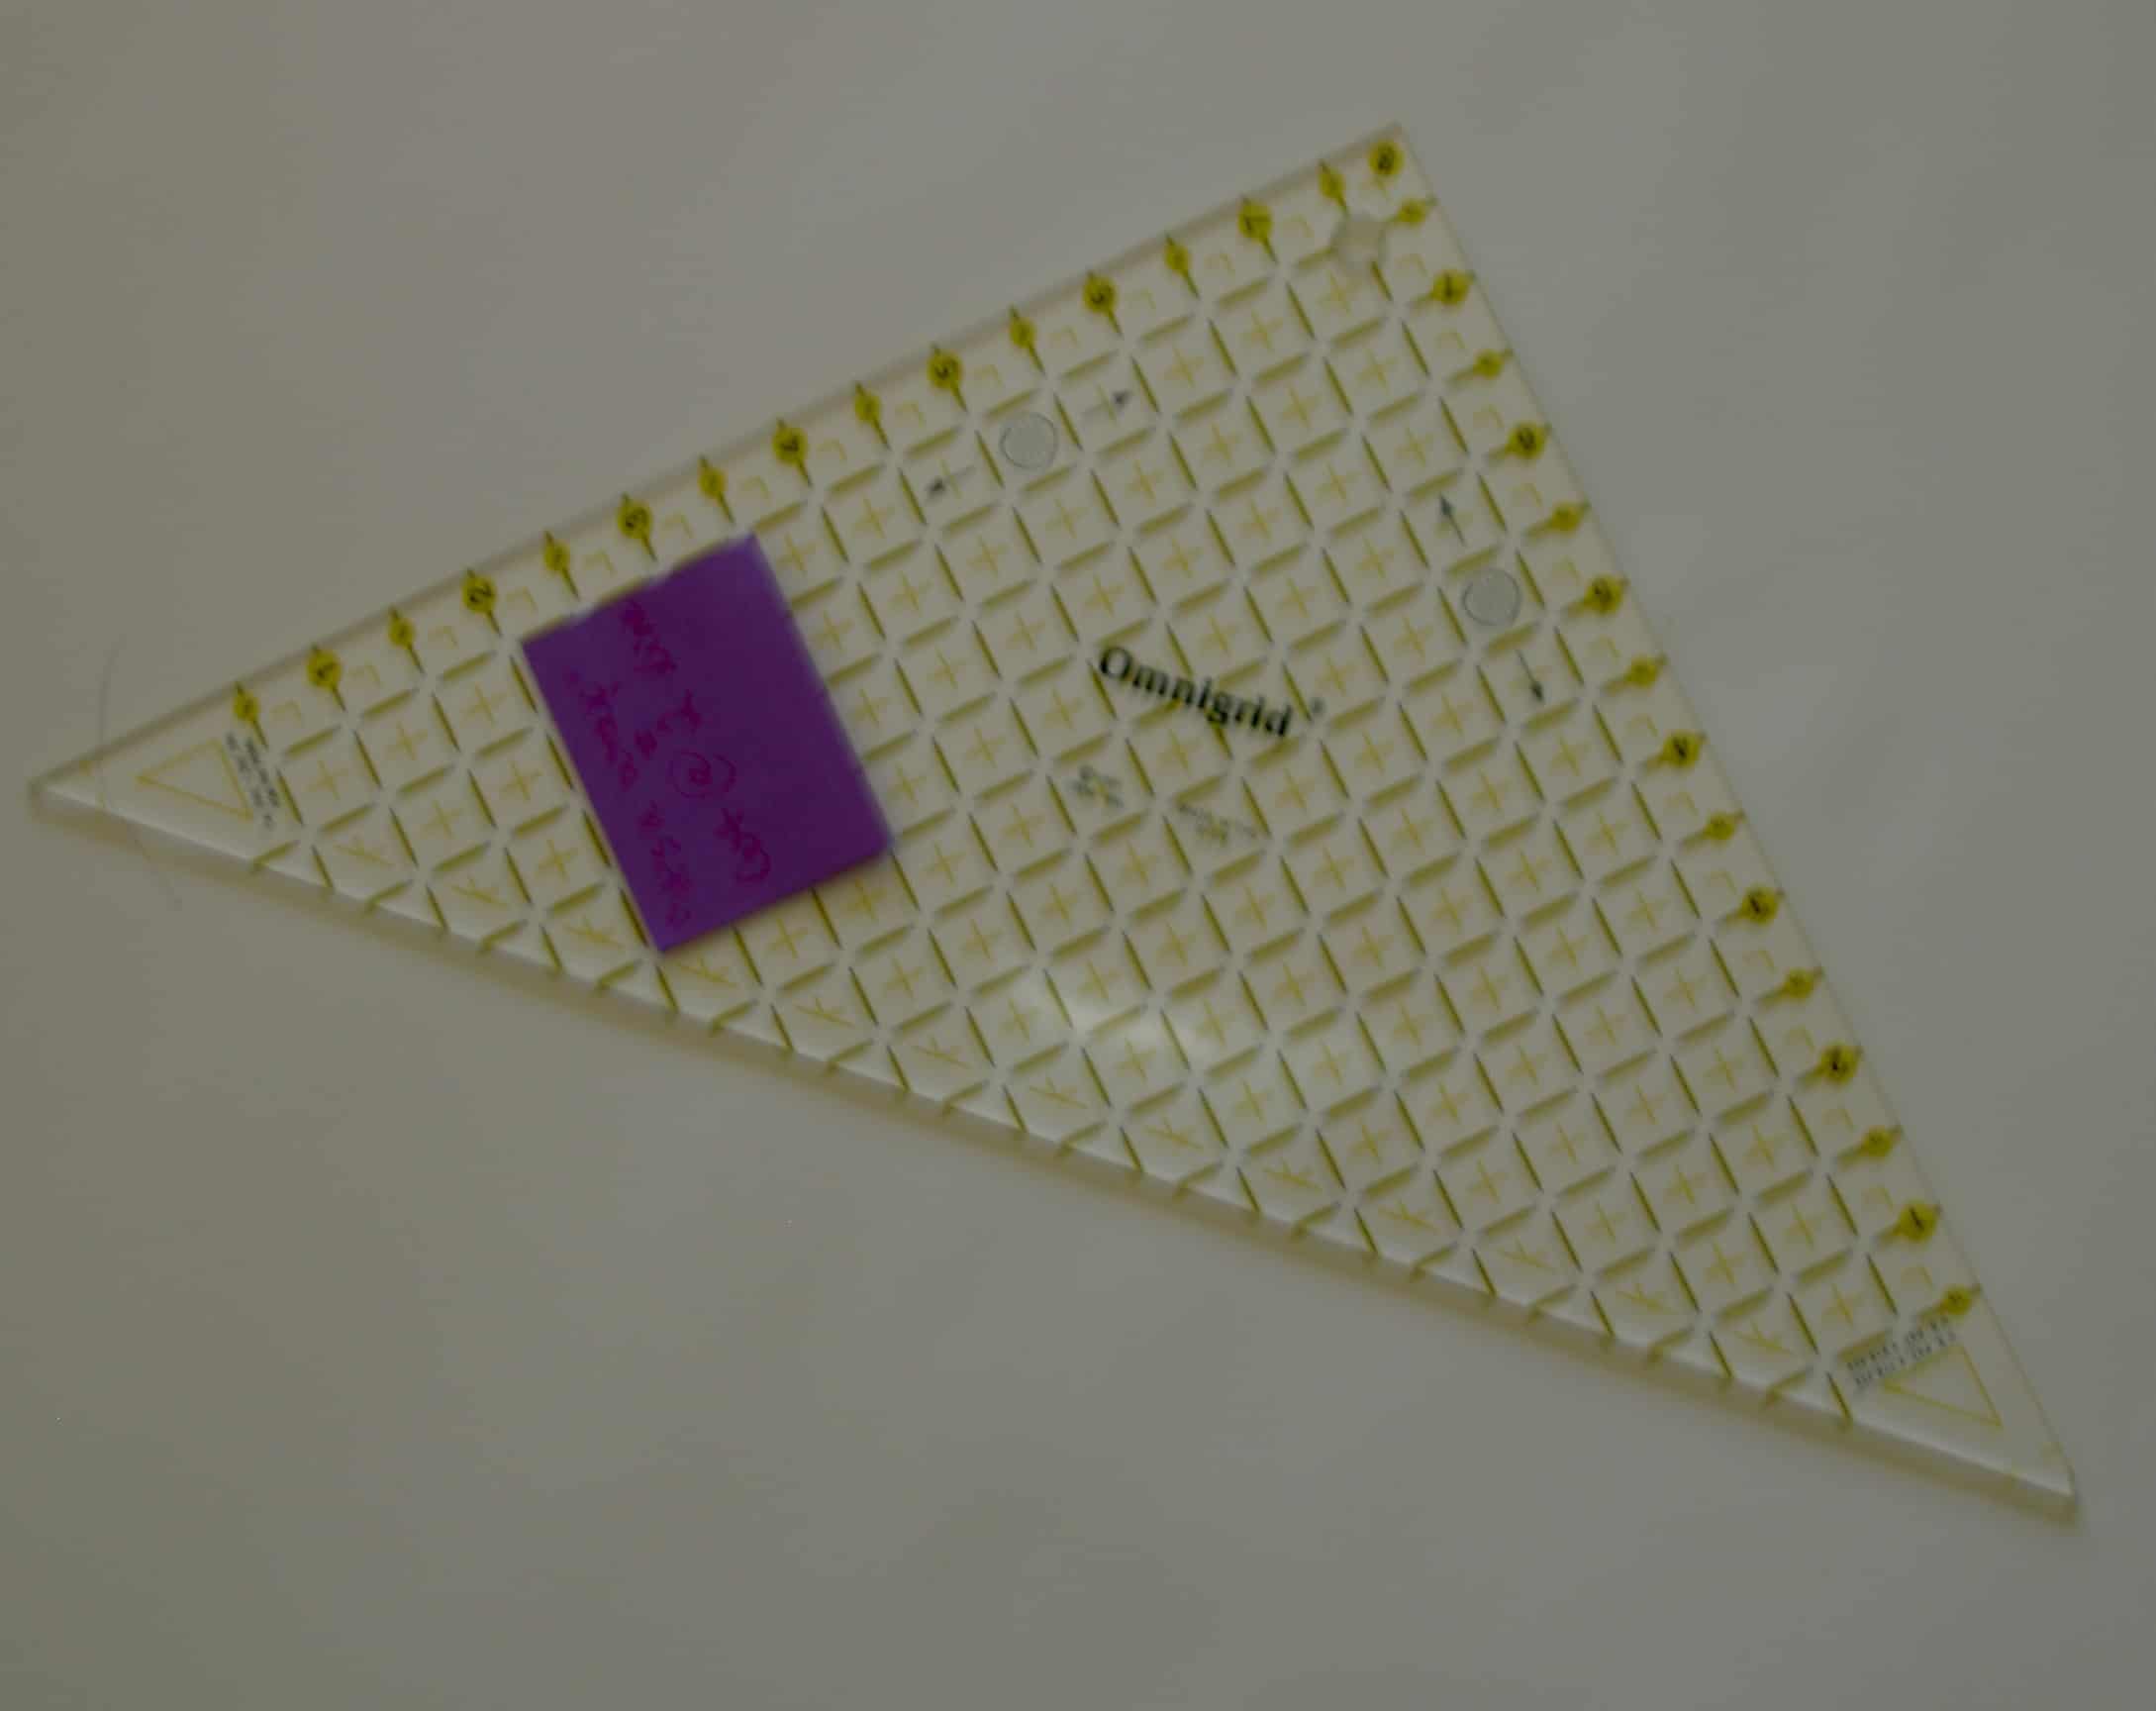
Omnigrid Triangle Ruler
One problem I found with working with THIS pattern using a Jelly Roll is that I only had a certain amount of fabric. When I cut something wrong, I was short. This happened twice. Once with these triangle and I was able to use the Omnigrid triangle ruler to cut some triangles instead of squares, which gave me enough fabric to finish. The other time I just had to add a piece to another piece to make the strip long enough. Working through the process.
Same fabrics, different combination
There is a lot going on in the photo above. First, even though I tried to mix up the fabrics for the second round of block making, I did keep some the same. The two above are an example of how the blocks looks when you just switch where you put the fabrics.
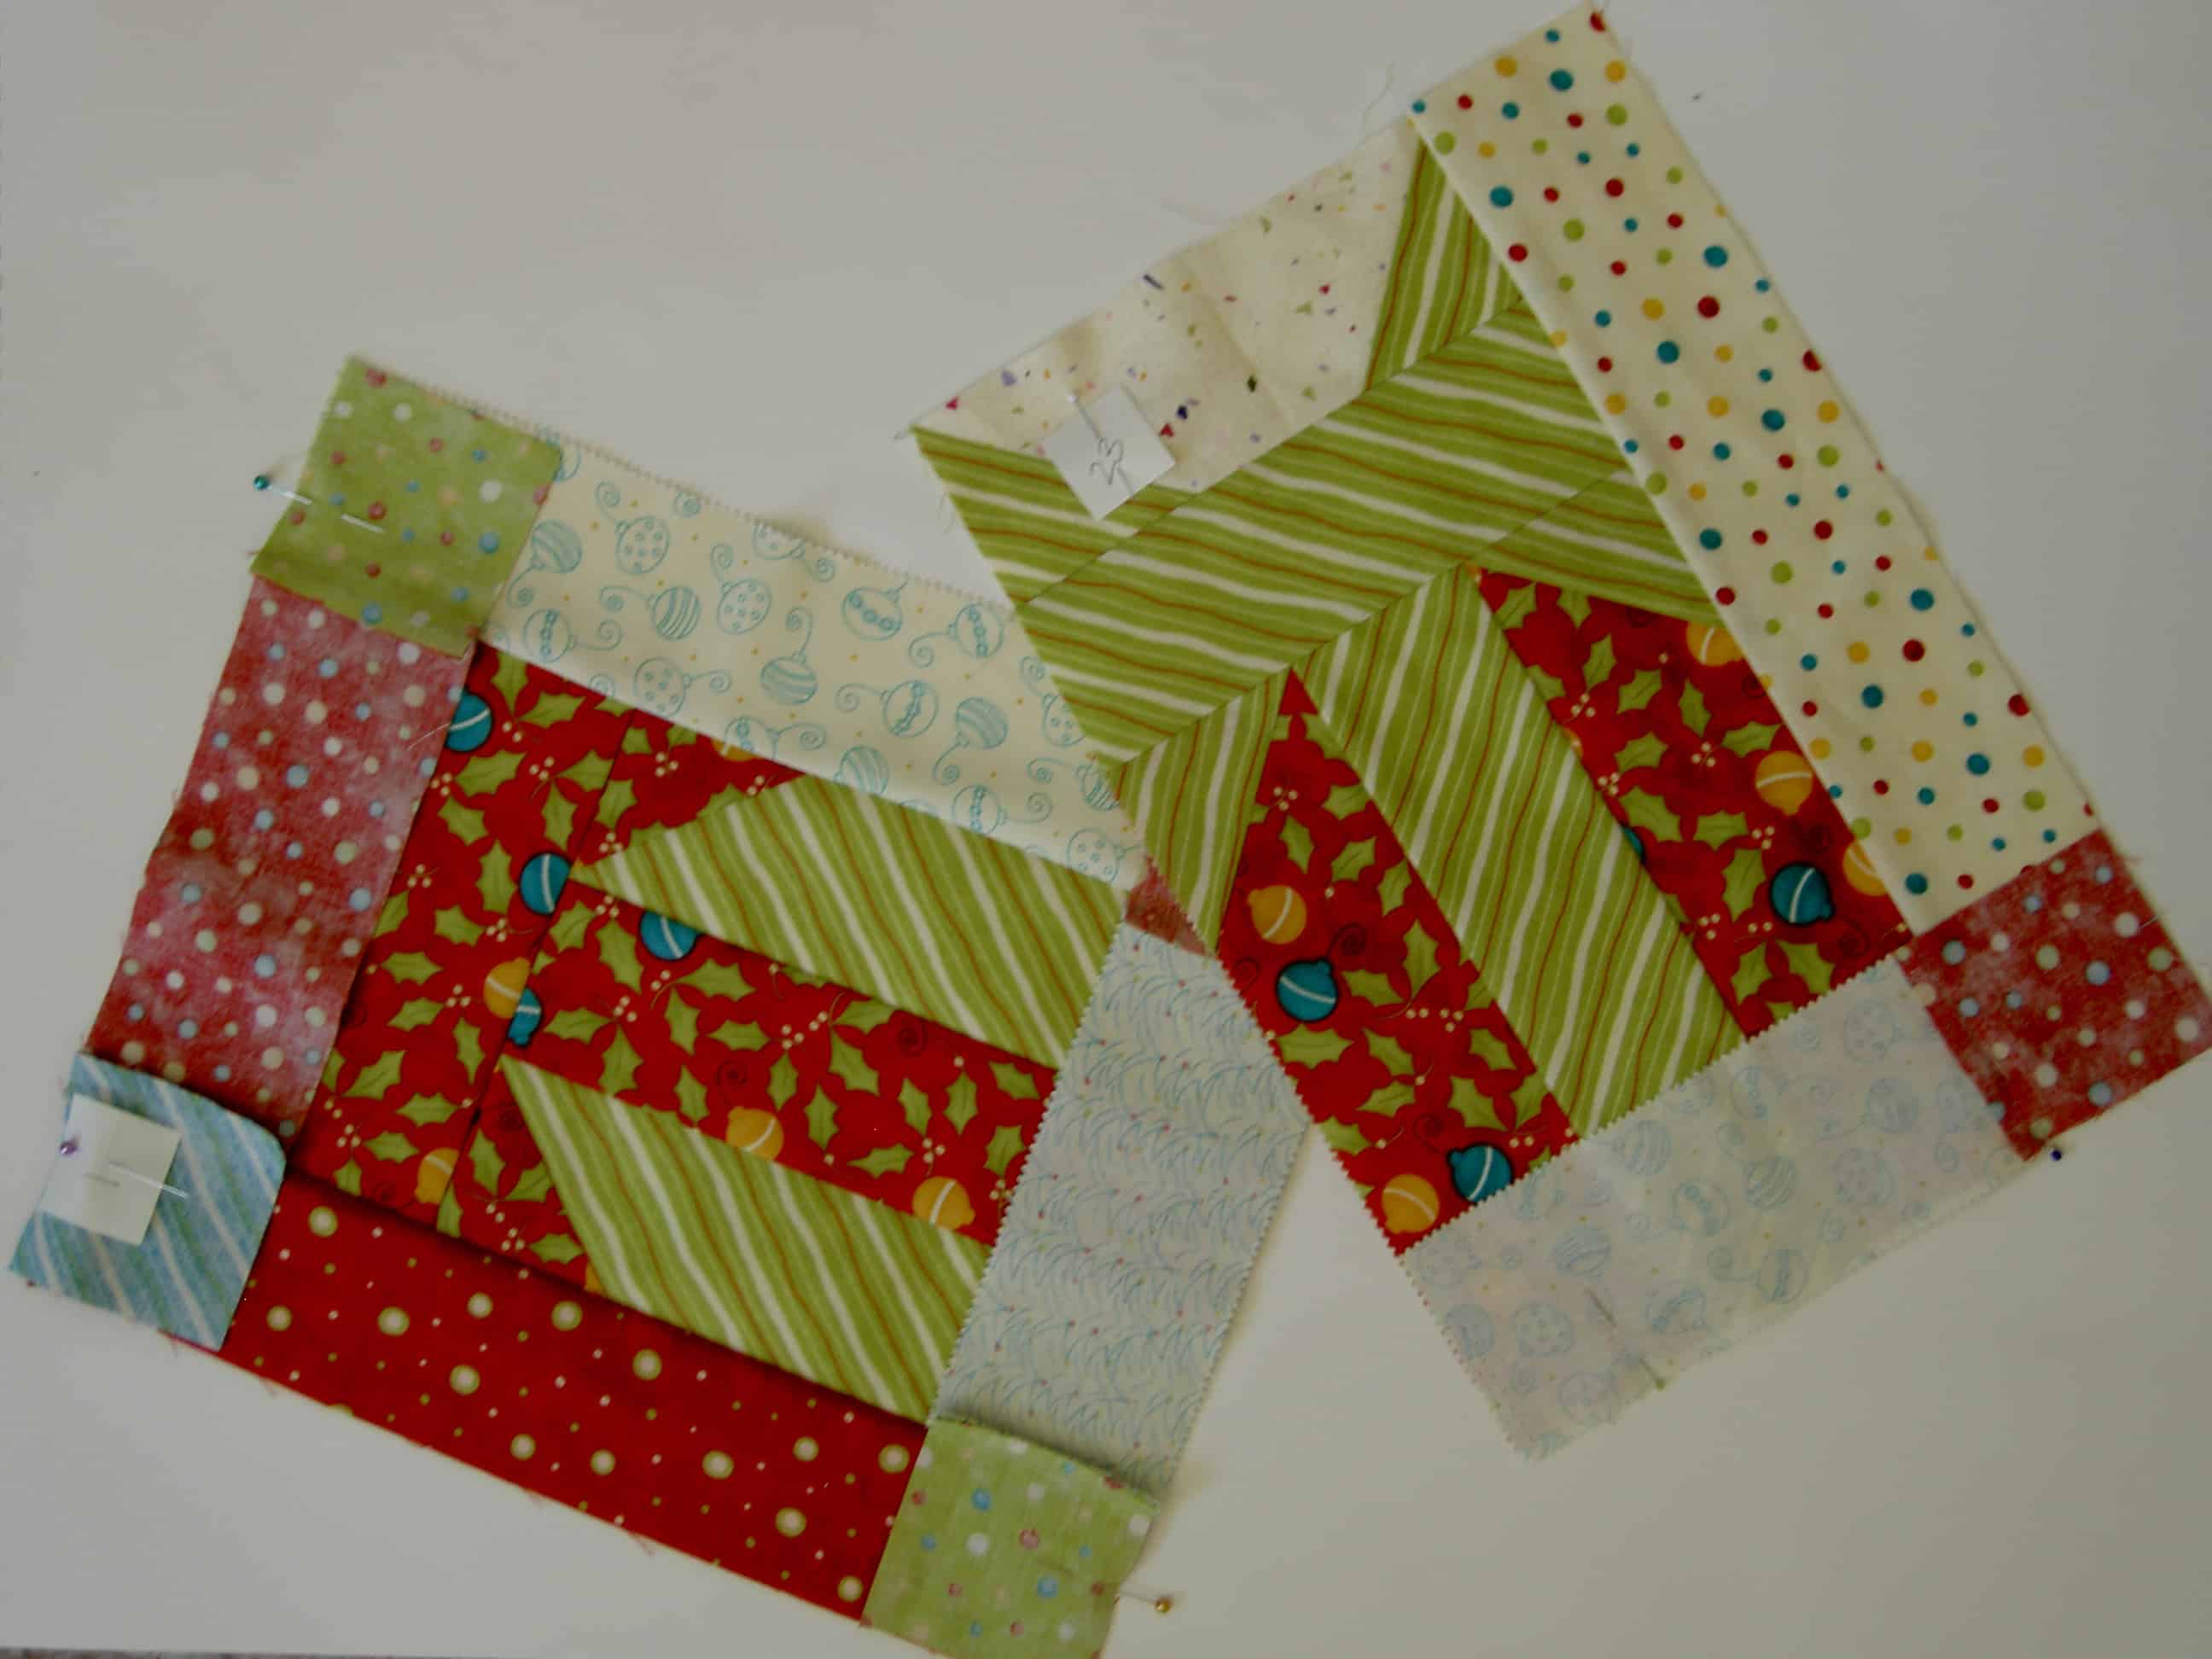
Blocks Laid Out
Second, I had to pick the quilt up off the floor earlier in the week where it was laid out while I pieced various bits. Since it is a scrappy quilt, I wanted to make sure that all the pieces stayed in their place. I drew a quick sketch of the block layout and then made numbers to pin to each block.
Third, not all of the sashing parts were sewed together so I sewed all the sashing squares (cornerstones) to the sashing strips and then pinned the larger pieces to the quilt blocks in such a way that I will know how to sew them when I get to that step.
Blocks Laid Out
Why, you ask, were these on the floor and NOT on the design wall? Because the Tarts are still on the design wall! Why didn’t I set up the portable design wall? I don’t know; I didn’t think of it. Yes, those are my toes in my orange wool slippers and, yes, I am standing precariously (joke!) on an IKEA stool (highly recommended for their stability) to not succeed in taking a photo of the whole quilt for you.
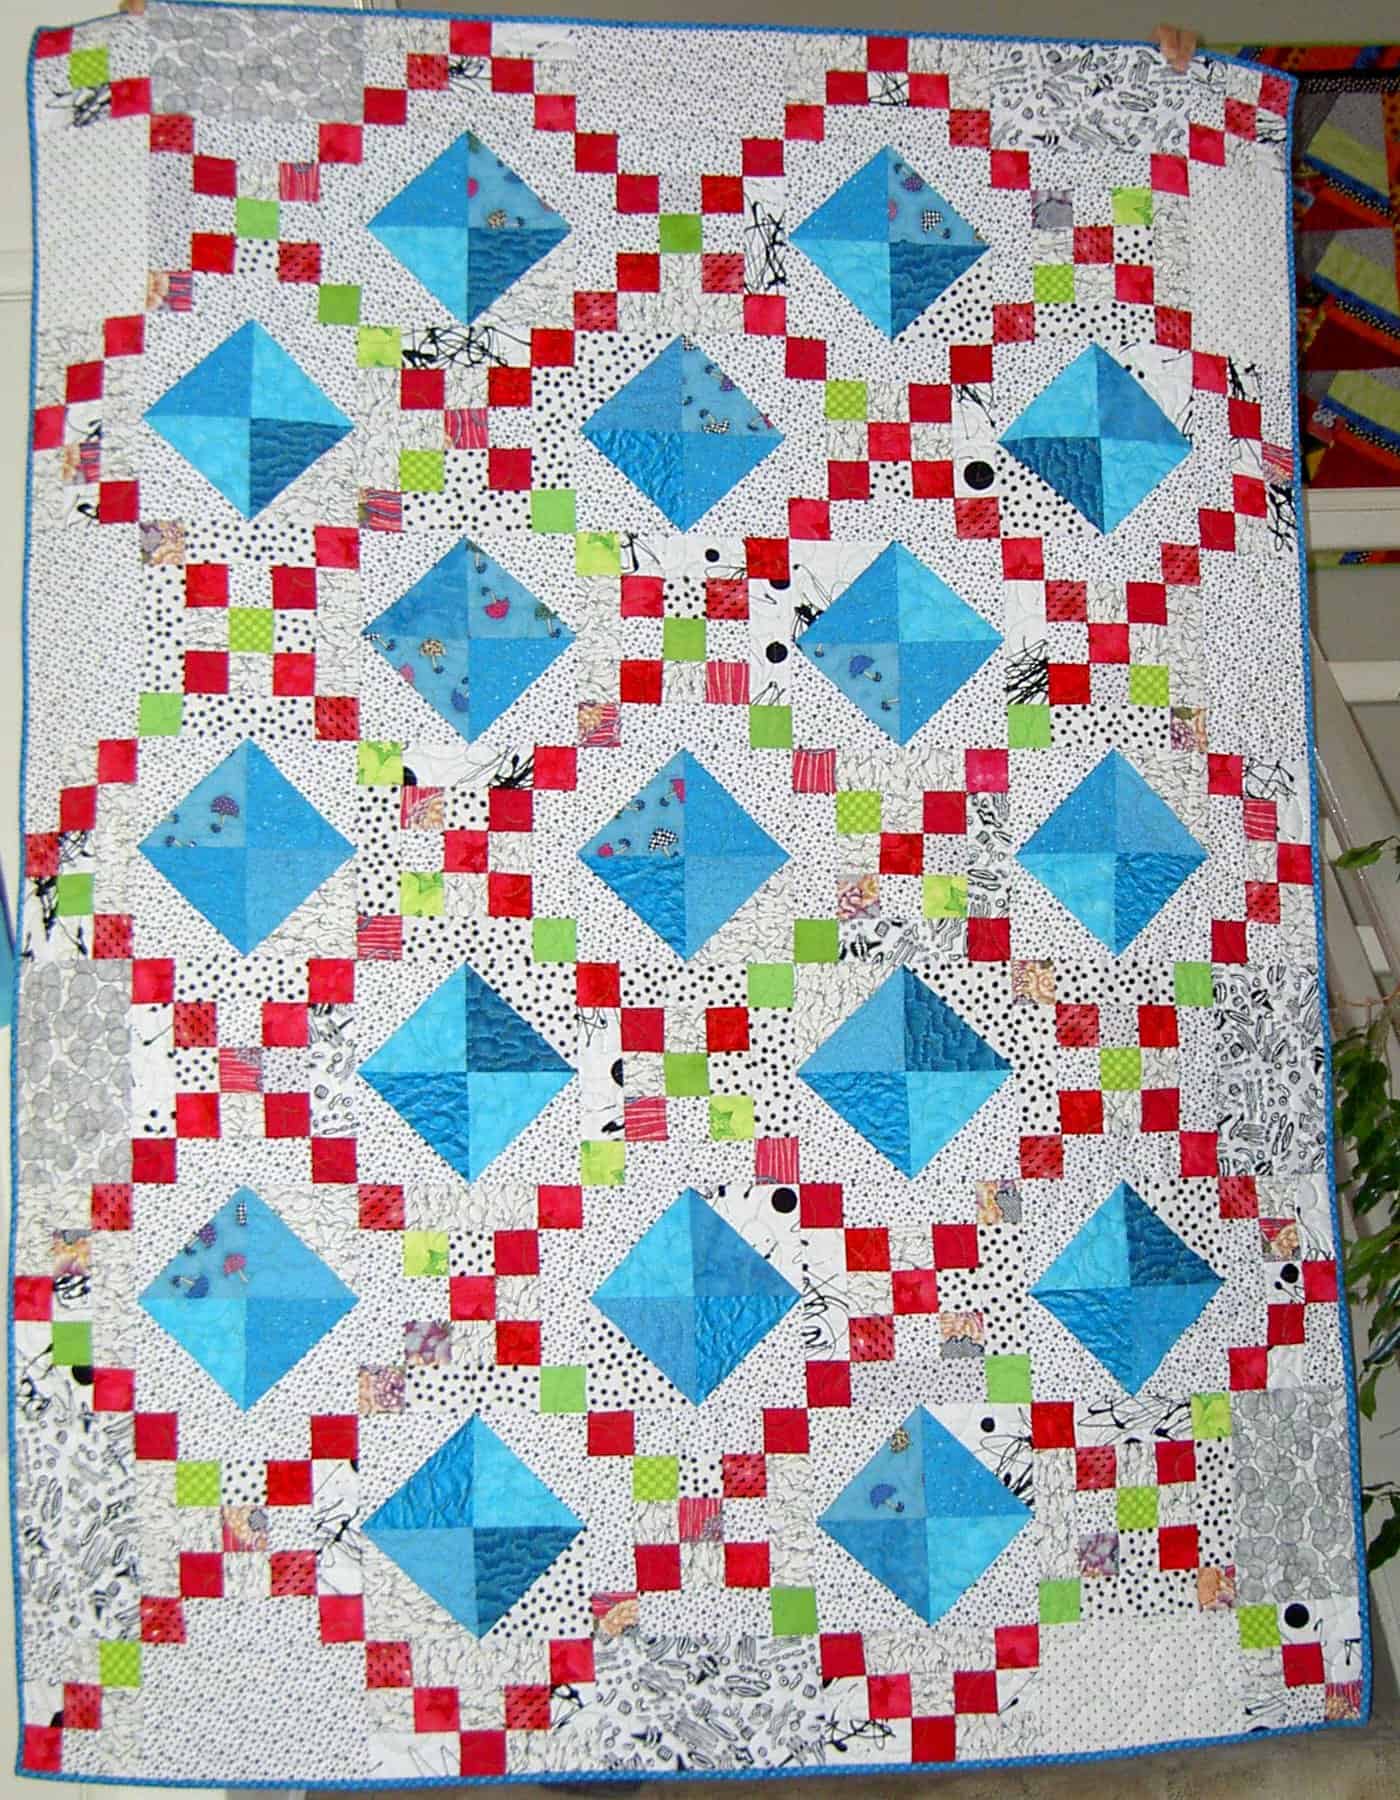
I didn’t find this quilt when I searched for it on my blog, so I think I may never have written about it. That wouldn’t surprise me since it was made in about 2003, before the blog. Perhaps I’ll start dredging up old quilts and showing them to you.
TFQ and I made it back in 2003 for a very special person in my life named Jennifer (yes, another Jennifer!).
It is part of a series of quilts TFQ and I have made in a pattern we call Diamond chain. The pattern originally came from the Spring 1997 issue of McCall’s Quick Quilting and did not list a name for pattern (only a name for the quilt). We changed the pattern somewhat, so we call the overall pattern “Diamond Chain.” It is similar to a Jewel Box. andwe have made at least three quilts (Get the Red Out!, Ocean Avenue, Punk Rock Quilt) in the same pattern. I think TFQ and I have made all the different quilts in the series together.
This is a pattern that is a kind of single Irish chain and anything could go between the chains: stars, applique’, basket, any block. I would like to try to make a version where stars are in place of the on point squares (half square triangles).
I think this is also the pattern that we started working on the self-bordering concept.
I found out that Jennifer died on Thursday and I felt particularly sad. Not at all because of the quilt, but because she a person who really cared about me. She taught me the value of me. She took care of me, taught me to rest and taught me that if I took care of myself I could better take care of my family and others who depend on me. She cared about me in a way that was so valuable, because she didn’t want anything back from me. I didn’t get to say good-bye and that is very difficult.
I mostly don’t make quilts for people anymore, but I do on occasion and I was glad that I made this one. She told me about a month ago, when I last talked to her, that she thought of me whenever she used it and felt like she was getting a hug from me. That is one of the nicest things anyone has said to me about something I have made.
I spent Sunday, and a few minutes on Saturday night, finishing up the FOTY blocks so I can take them to the CQFA Retreat. When I return from sewing bliss, I hope to have the quilt top ready to show you.
FOTY January pt.2 #1
I really like the warm colors in this group. Some of the darker colors, especially the greens were given to me by my sis for my 2009 birthday.
FOTY January pt.2 #2
Getting down to the bottom of the pile made matching up fabrics difficult. I tend to pull out the ones I really like and press and use those first. Some (not all!) of these were my lesser favorites.
In a way the FOTY exercise helps me train my eye and mind to choose fabrics I really love and want to use right away. At the same time, it trains my eye to avoid fabrics that are not my colors. Yes, I did find fabrics that I bought that made me wonder why I bought them. Before I buy, I think I will have to not just look at the fabric next to lovely coordinating bolts. I think I need to take the potential bolt off the shelf and unroll it a little to see more of the fabric. That will make me shop slower, which can’t be a bad thing.
I pressed, cut and sewed the last fabrics on Saturday. Sunday I counted all of the blocks and consulted with DH about the layout. Not the layout in terms of color, but the layout in terms of numbers of blocks across and down. He told me I had to have an even square root number (or something). I ended up needing 14.83 blocks across the top and down the side. I don’t know what a .83 block looks like, but I knew it wasn’t going to fit evenly into my quilt.
I immediately grabbed the fabrics I received for Christmas and shoved them in the washer. Then I went to work on a pencil roll, which you can read about later in the week. When the fabrics were done, I had figured out that I needed to make 7 more blocks to come out with an even 225 (15 across by 15 down). I pick out some pairs of fabrics and sewed them together. Now I am ready to arrange the quilt and sew it together.
FOTY January pt.2 #3
I do have one extra, which I will stick on the back.
Some of the fabrics I bought at the very end of 2009 will end up in the 2010 quilt. As the Quilt Mavs say “my quilt, my rules.”
Unrelated notes:
* I have no Internet at home at this time, so if I am a little slow responding to comments, I apologize! It makes it a challenge to get blog posts up as well!
I moved the Fabric of the Year project forward all weekend last weekend by sewing like crazy. I made over 100 Zanzibar blocks, as well as cut and organized other little pieces that I need for other projects despite the rain, power outages and family obligations.
Keep in mind that these are SMALL blocks. Each rectangle is 1.5″x3.5″, so they sew together very quickly. I do about 8 at a time using chain piecing methods. I talked about the selection and resizing of these blocks on February 16, 2009.
FOTY 2009 January #2
I actually felt rather smug getting so much done. Sadly, that feeling was short lived. I haven’t done anything this week except a little pressing of fabric. Pressing of fabric is the first step in the process so that is a good thing. I, however, had grand illusions of finishing the blocks this week and making another pencil roll this weekend. I have about 18 more blocks to make from uncut/unpressed fabric. Half of those fabrics are pressed and half are not, so I still have some work to do.
I also have about 10 groups of cut pieces waiting for mates that I need to sew. I have a lot of dots, which should not surprise you, and I am trying not to put dots together every time if I can help it. In some cases I can’t help it. In the grander design of the quilt, I don’t think it will matter.
FOTY 2009 January #3
I have been trying to post this blog post all week as well and there were several days where I did not get near the computer at home. I am glad podcasts are around, because they kept me in the creative loop.
FOTY 2009 January #4
One of the things I tried to do with this batch is put contrasting colors together. I did some of that before, but didn’t feel successful. I was bored putting two yellows or two blues together, so I decided to mix it up a little.
FOTY 2009 - January #6
I am in love with the blues. What do you think?
FOTY 2009 - January #7FOTY 2009 - January #8FOTY 2009 - January #9
In case you were wondering, I have about a foot of design wall space because the Tarts are still waiting for me to machine applique some hearts onto the curvy teapot. Below is what I have to work with:
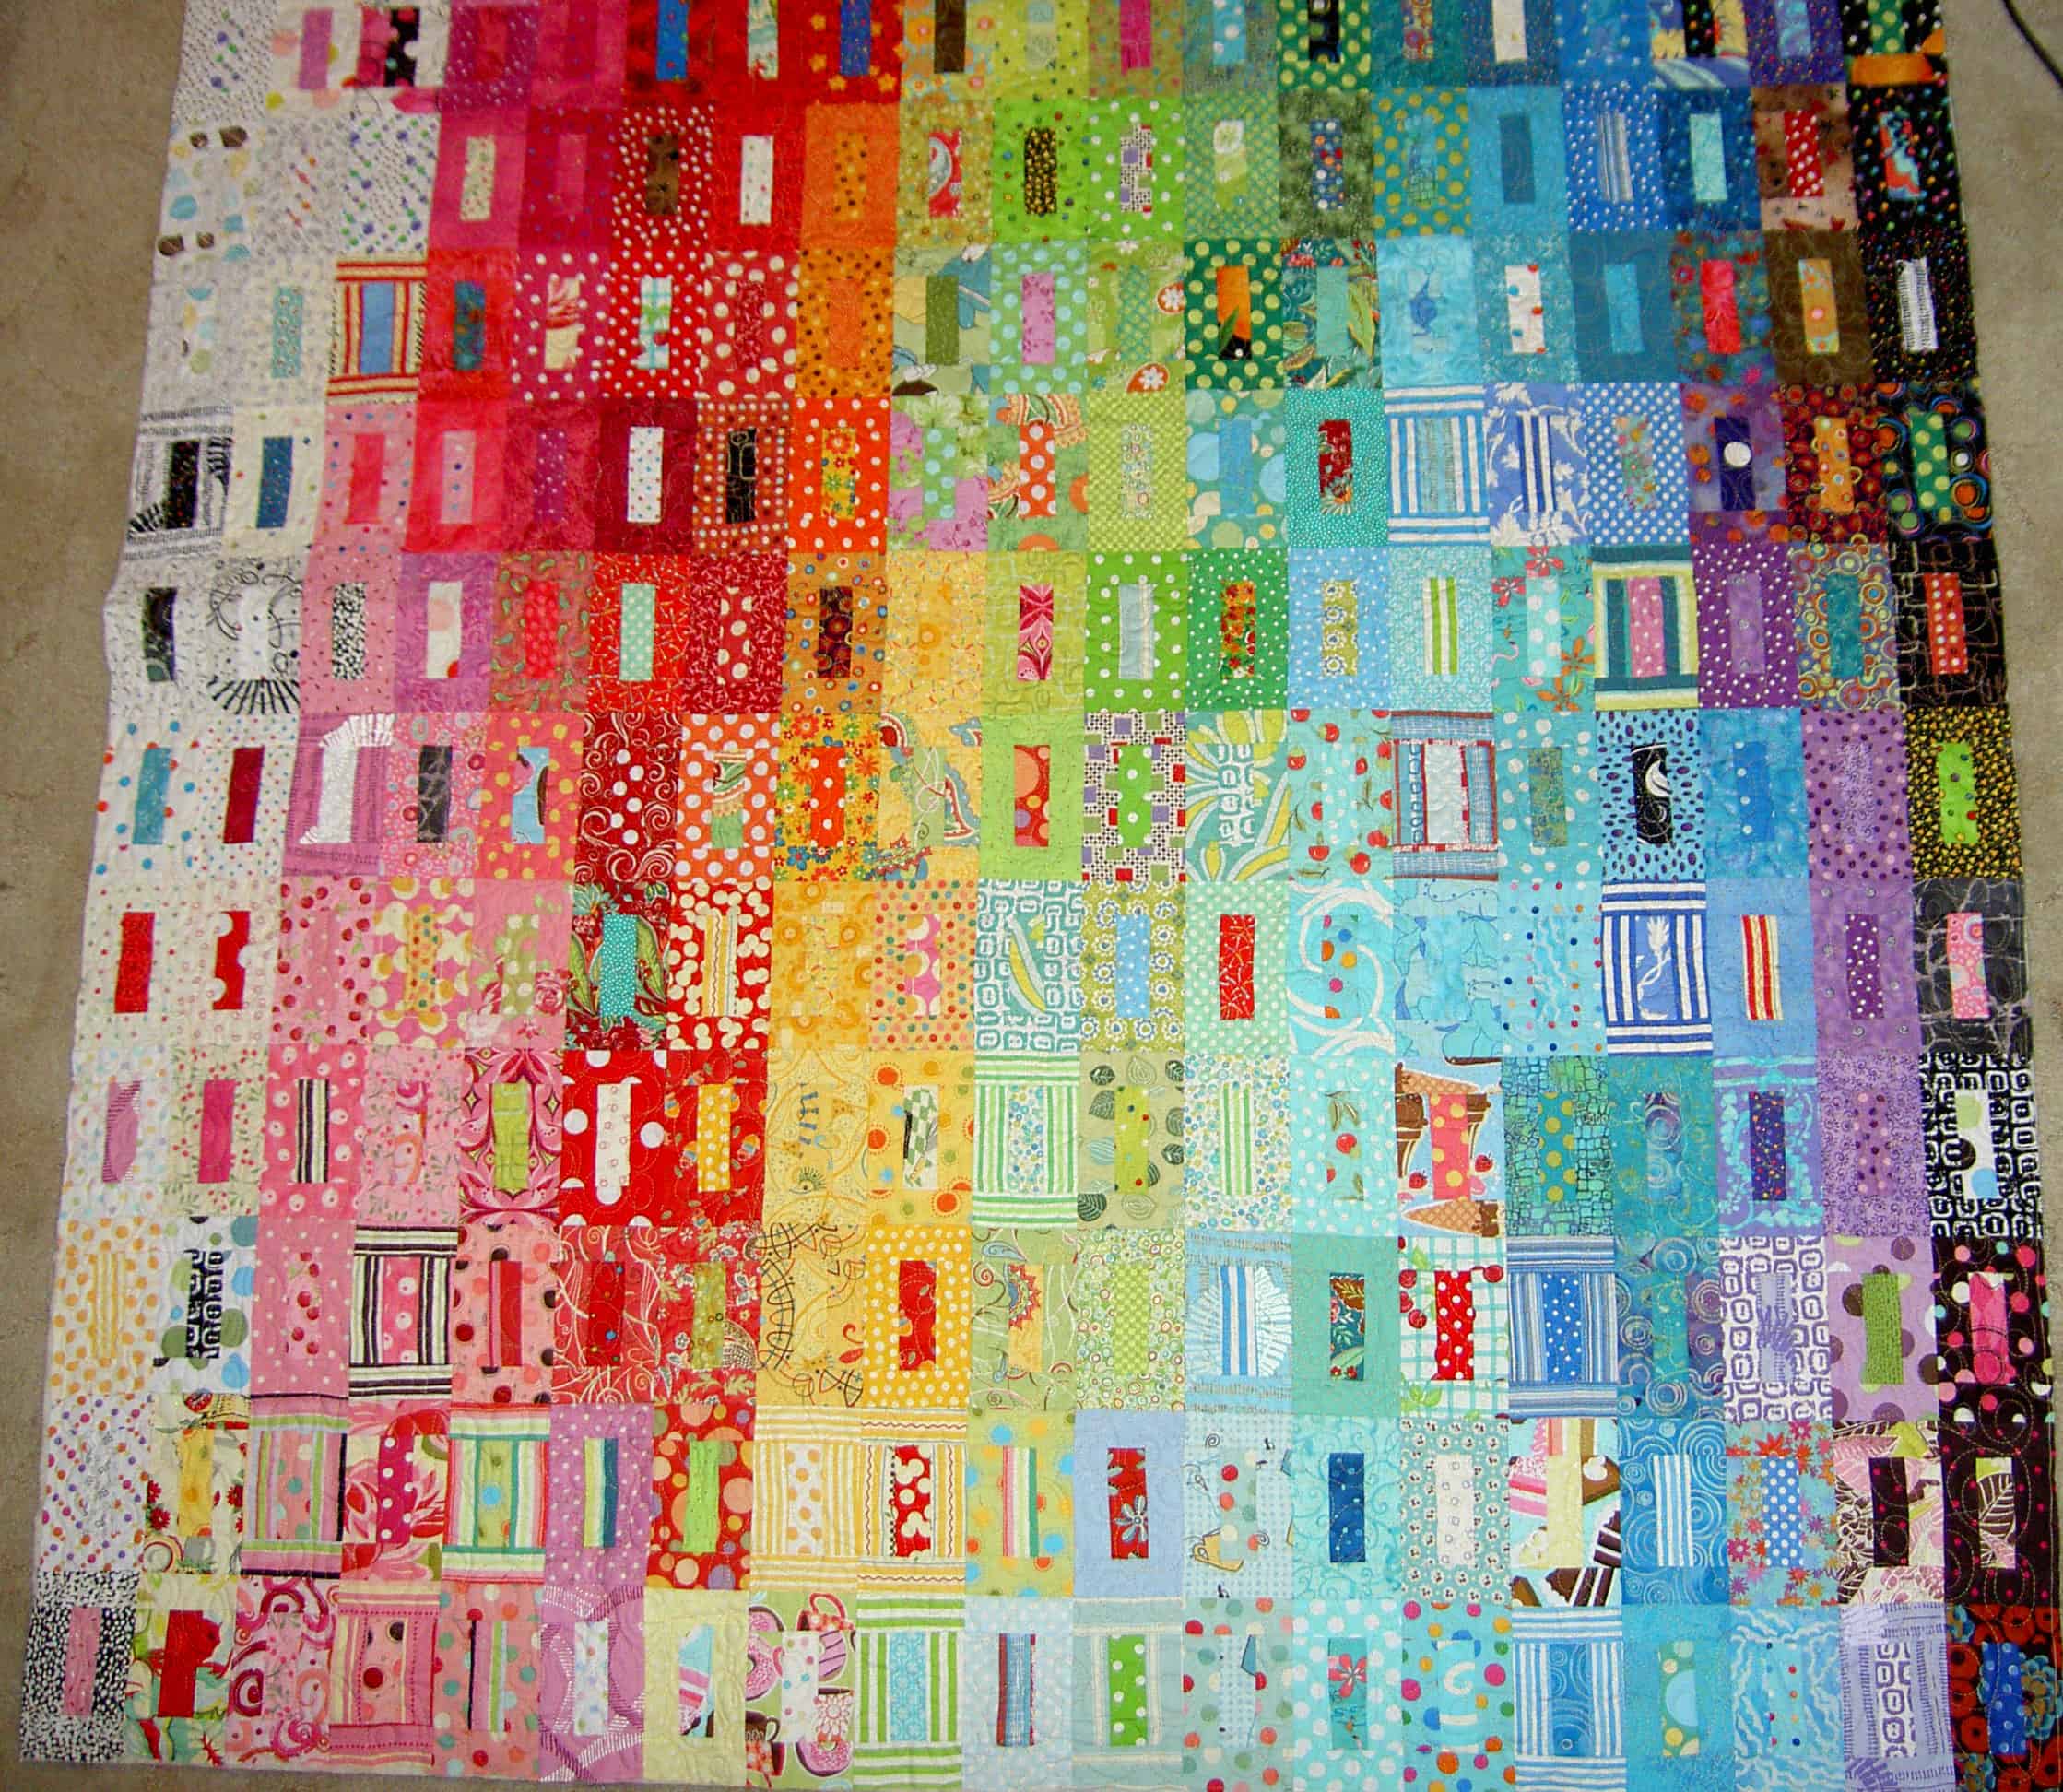
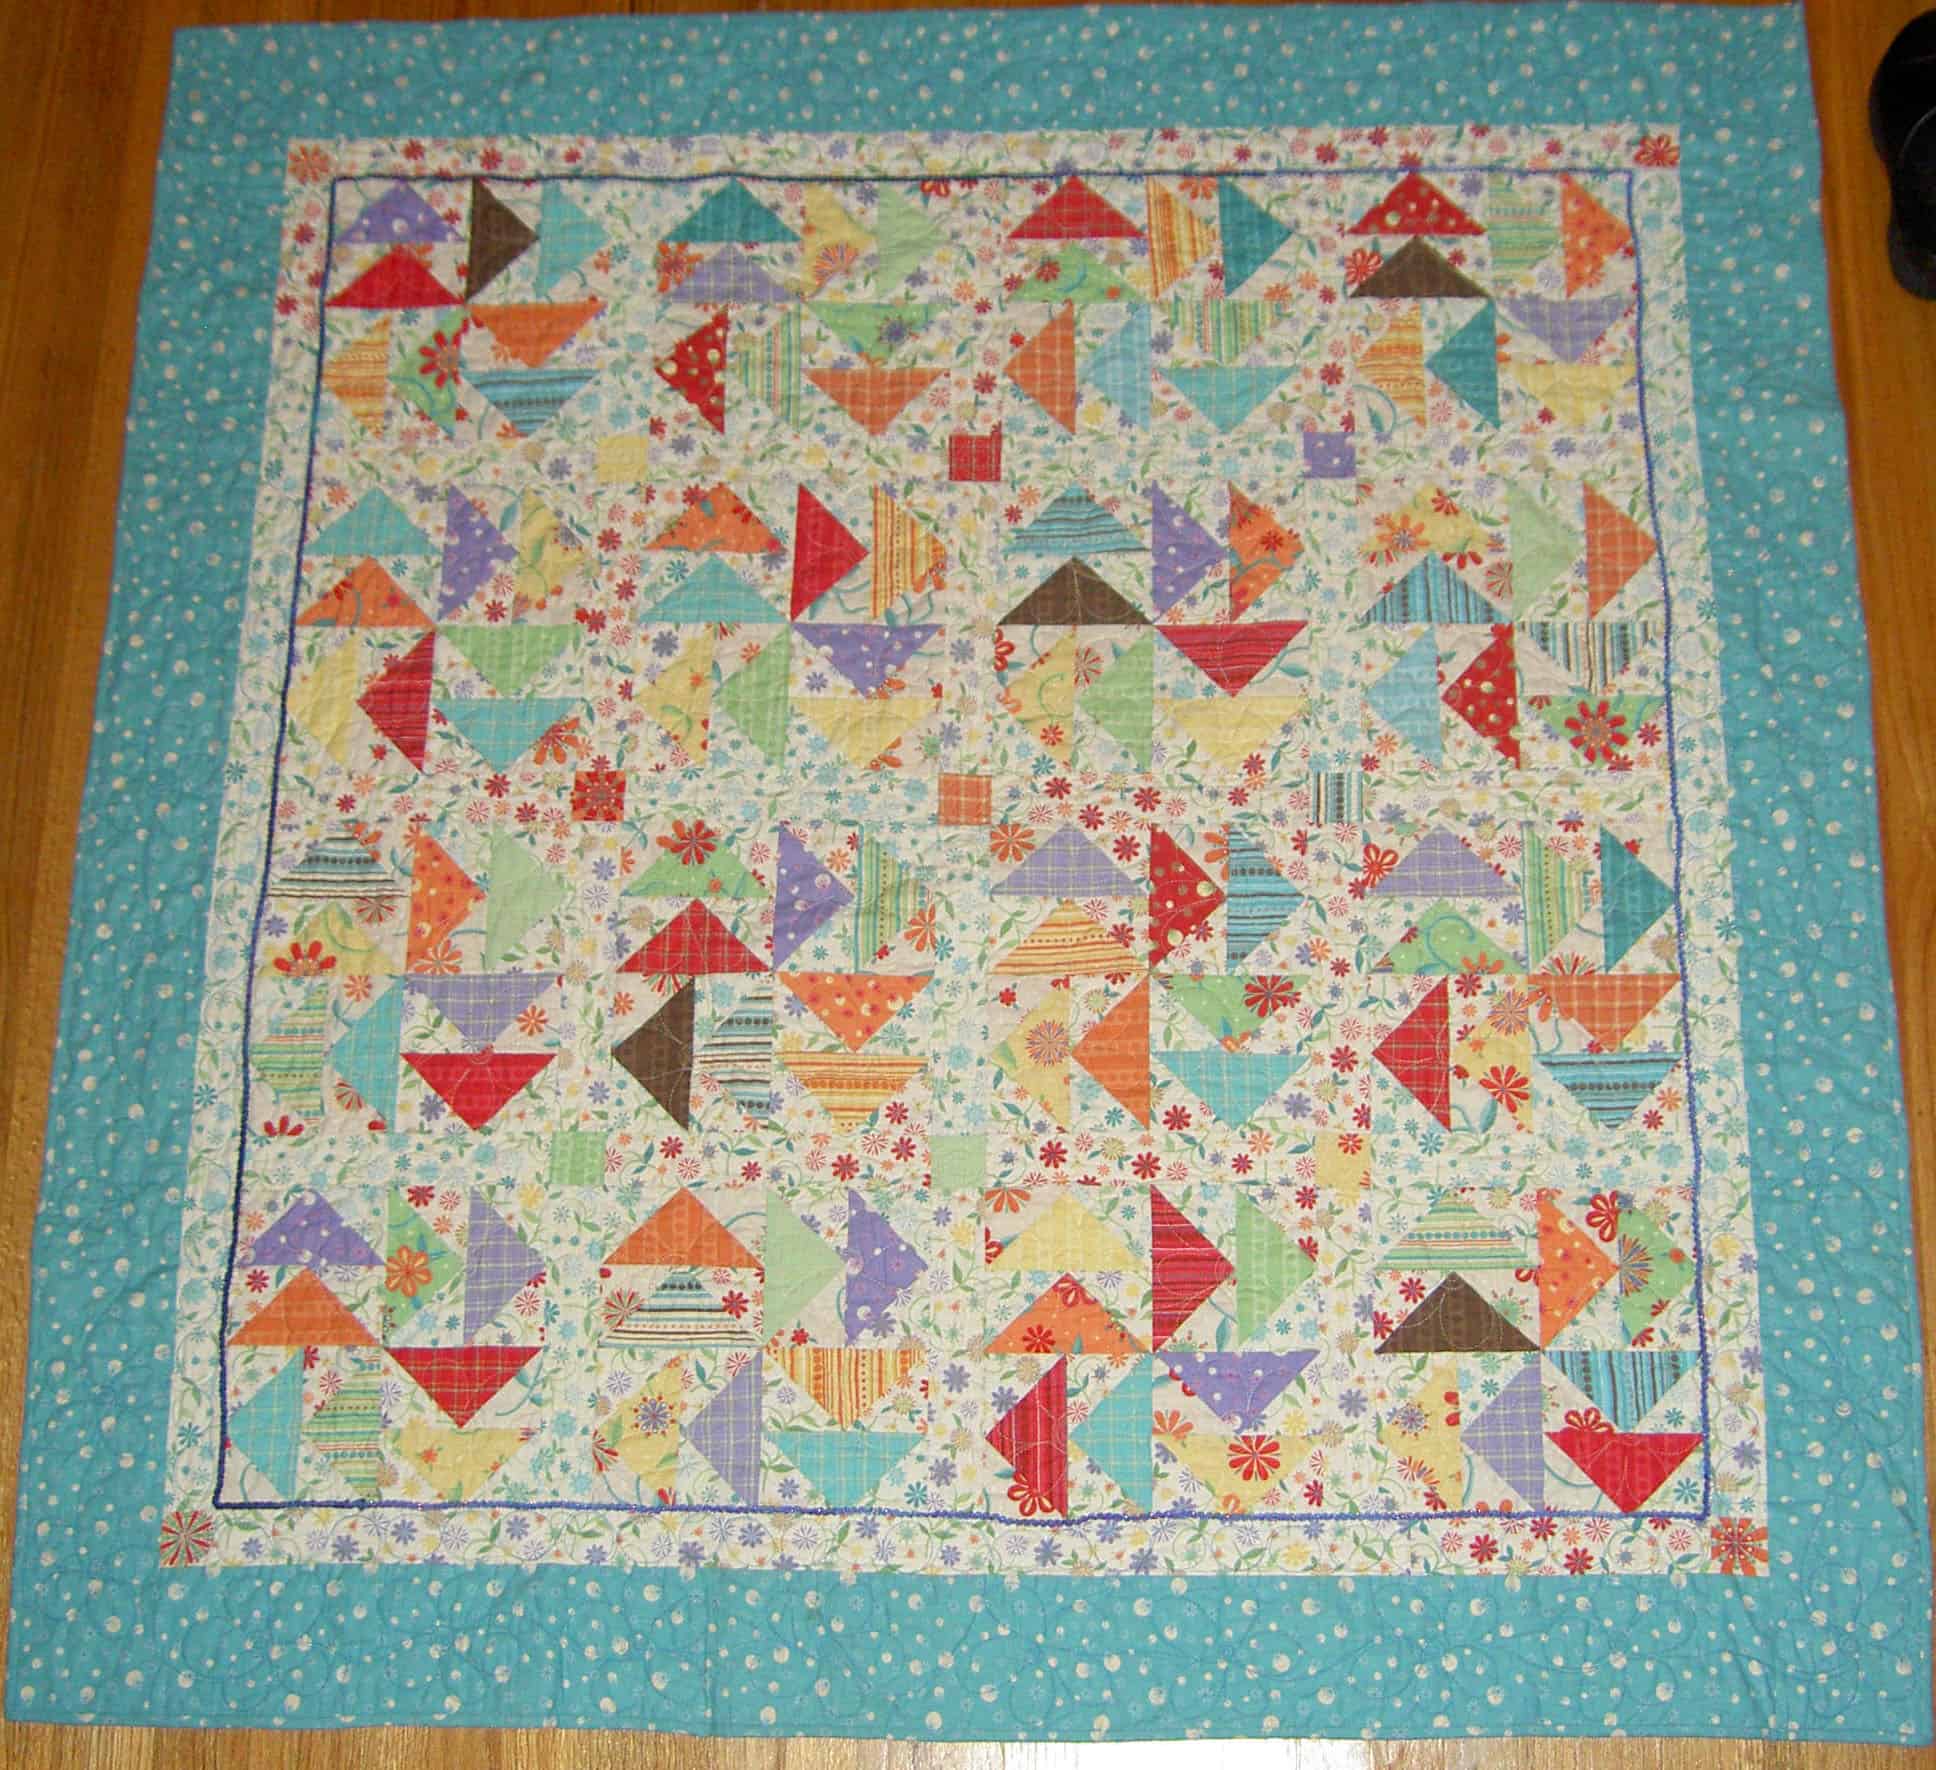
I finally was able to take a picture at their house at the end of our visit. The image is a bit trapezoidal, but the reality is that I am just not tall enough to get it nice and square.
Jessie uses this quilt as a ‘wallow’ for her stuffed hippo.