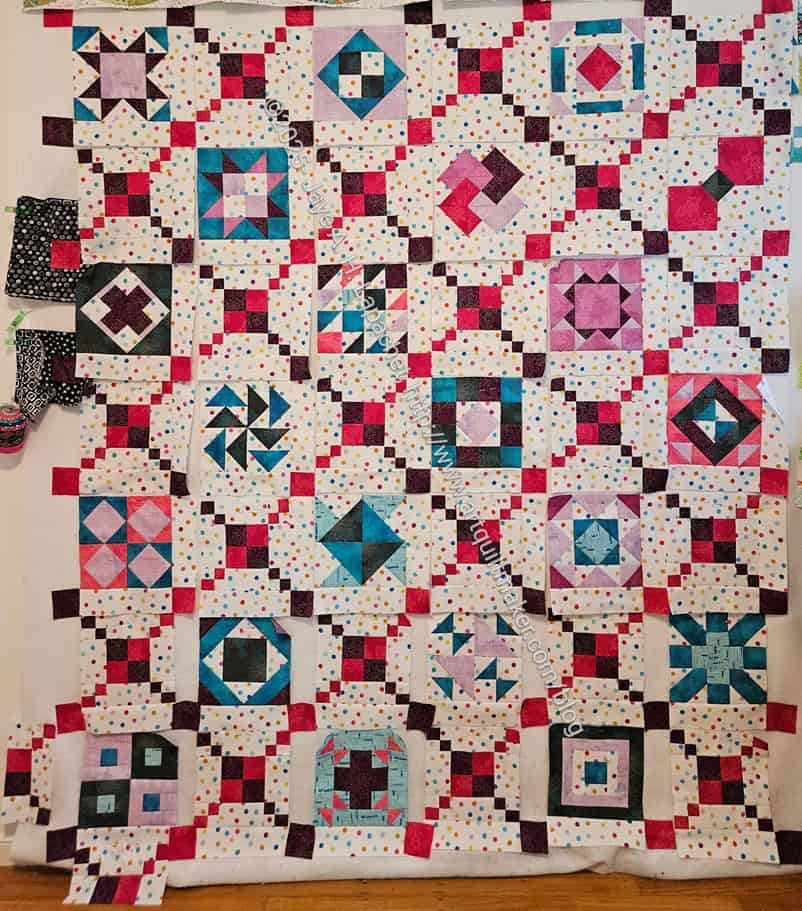
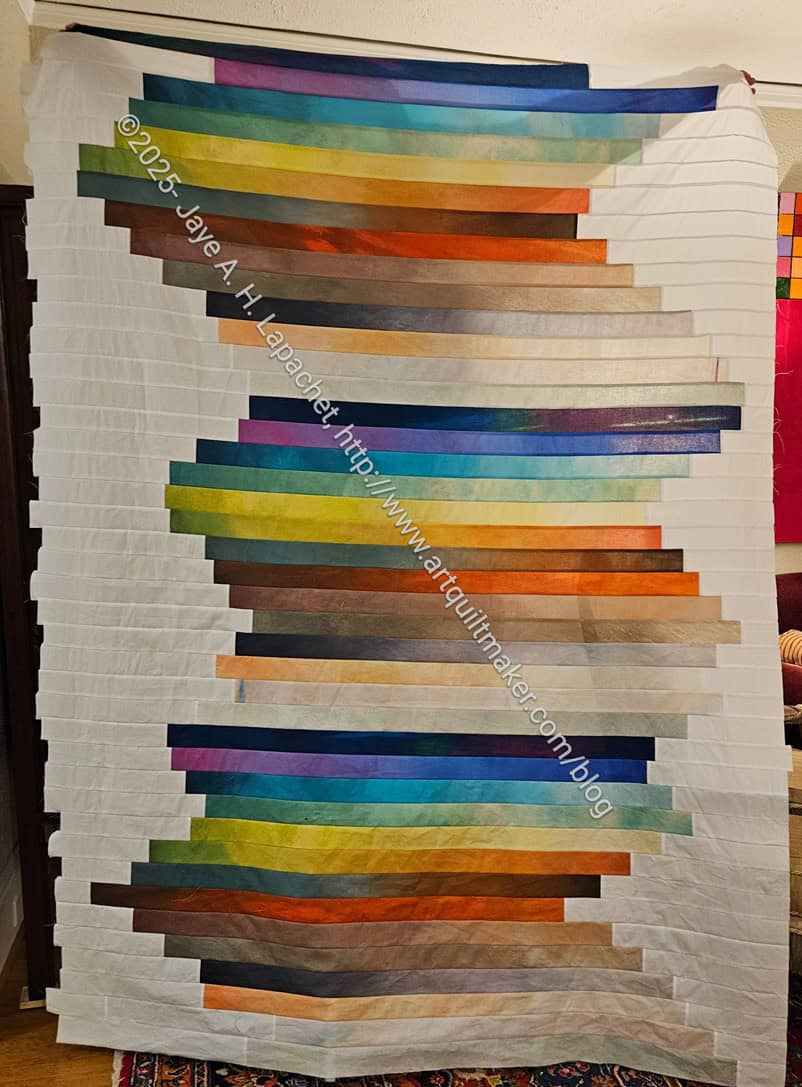
I spent some time assembling Patchwork Palooza the other day. I haven’t finished yet, but I am making progress and I enjoyed the process.
I wasn’t sure about the sashing, but think the blocks needed some space between them. Some blocks, where I used the background fabric as their background, are floating now, which I think looks nice.
All Patchwork Palooza blocks
The blocks looked very crowed when I put them all up on the design wall right next to each other. Now
I put them up according to the layout of the project. I changed around a few of them and may change a few more, but we’ll see. With the limited palette I used, it is hard to keep similar colors away from each other.
I also decided to finish out the Irish Chain effect. You can see what I am thinking in the lower left hand corner of the photo at the top. I took apart some of the extra alternate blocks and made them into border blocks.
Of course, I am not following the finishing instructions, so I am not sure how big it will be in the end, but somewhere around 72×84. A good size.
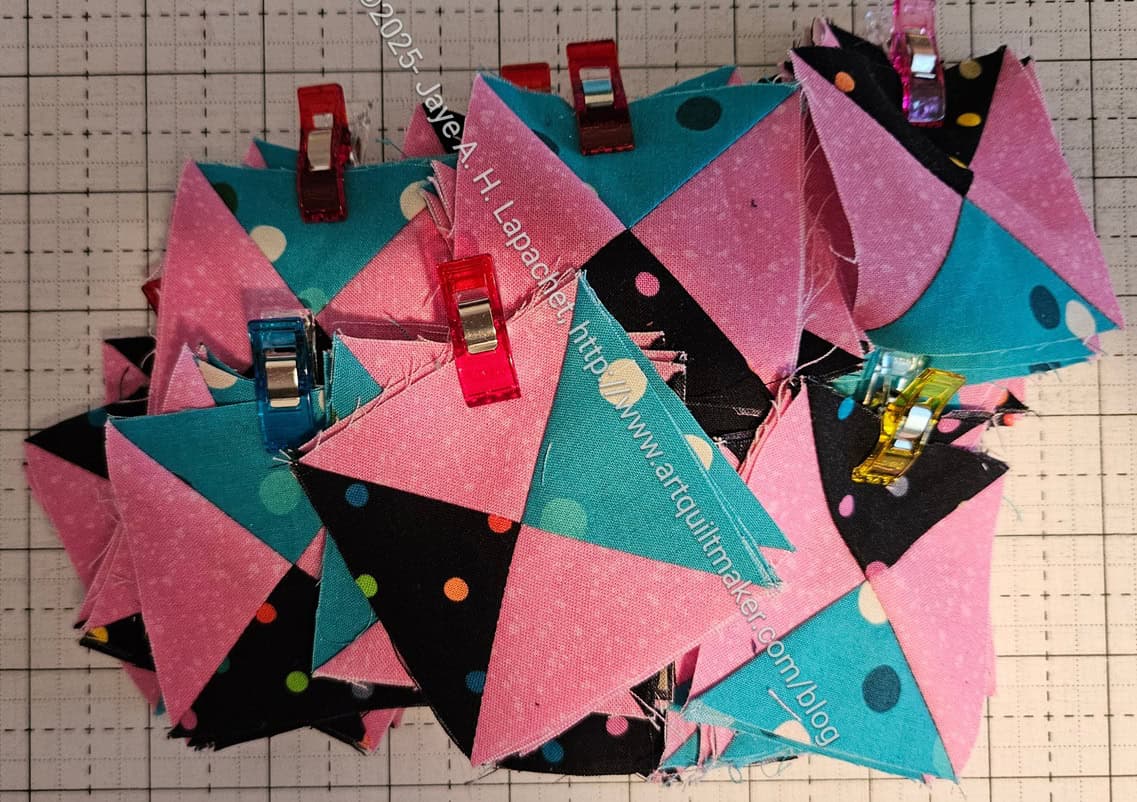
I am very behind, but not giving up. These Flying Geese took a long time, but I was working on the HSTs at the same time.
Clue 5 will be easier, I think, as it is block making and I might jump to it before I get back to the HRTs and HSTs.
N.B. Bonnie will remove the posts to which I have linked from her blog sometime in February 2026. Download or save the clues now if you want to make this quilt.
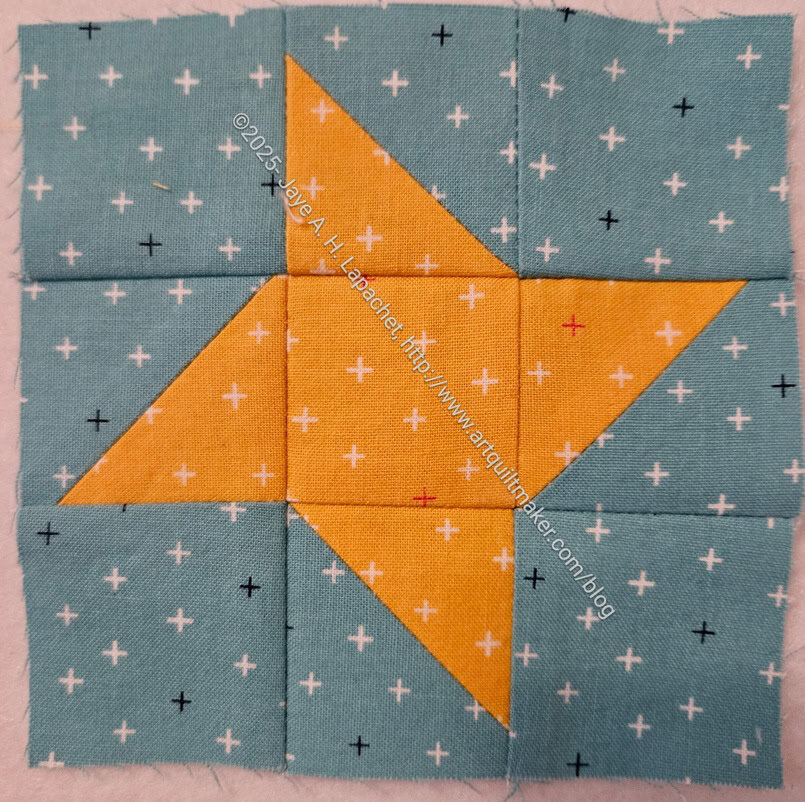
As I said, I am trying to stay ahead of the crowd, so after the BAM Holiday Party, I quickly made a Friendship Star.
In general, I have a tough time with this block. I think it looks much better small. The 12 inch size just looks like it has too much fabric, though a 12 inch block with the star made from a blowsy, large flower fabric might work better.
I do think that using the Friendship Stars as cornerstones, like a donation quilt I made, works well.
The best use of Friendship Stars I have found is making a wreath out of them. I got inspired by Camille Roskelly and then made Flying Around using the Friendship Star wreaths. I’d like to make one for this project. We’ll see if I get to it.
I have been working on and off on Lupine, especially after I finished some gifts.
Lupine: Clue 1 Finished
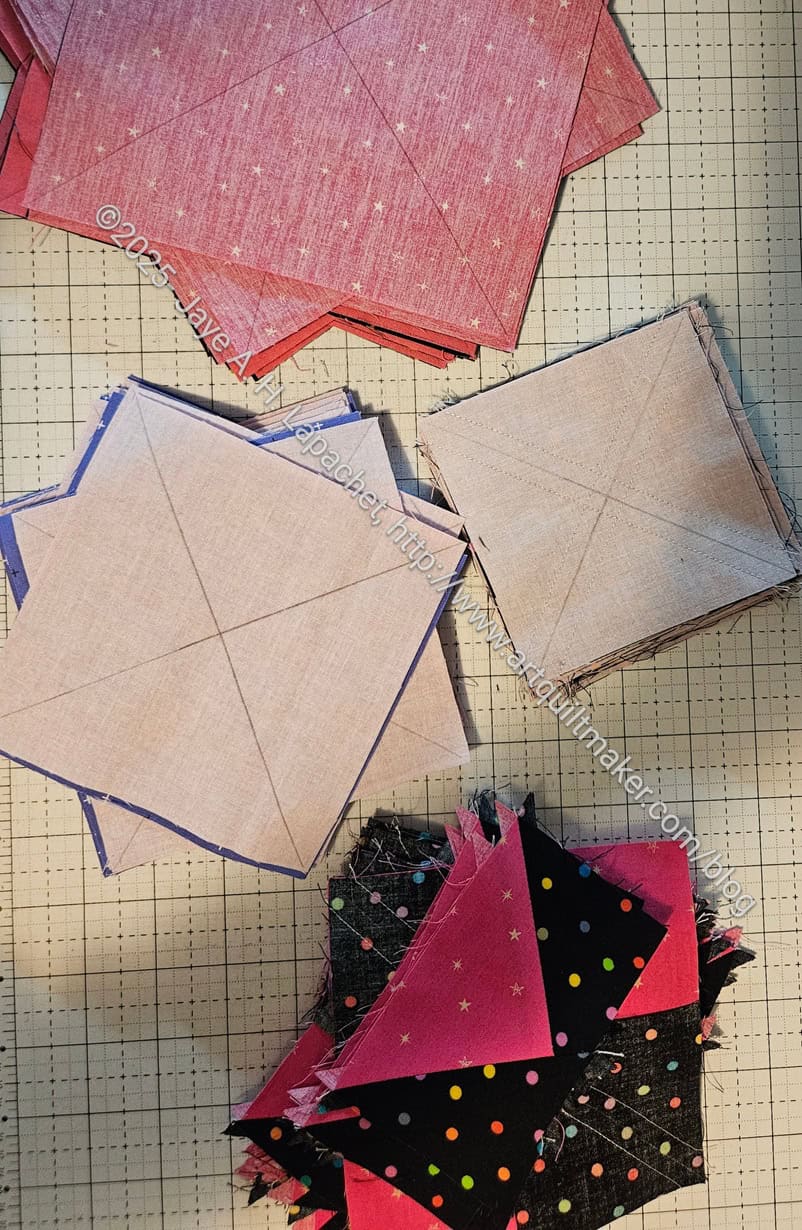
A week or so ago, I finished the Lupine & Laughter First Clue. I wasn’t sure how the black would look as a background, but I am pleased with the combination. It has a little bit of a 1954 vibe. I know you are thinking “WTH? How can she be so specific?” I have a book called 100 Years of Color** by Katie Greenwood. It gives a palette for each year for 100 years. While 1954 doesn’t have the black as part of the palette, it does have the feeling that occurred to me when I put the combo together.
One concern I have with the black is that the fabric seems to shred very easily. Not within patches, but as I trim shreds of fabric embed themselves in my rotary mat. As I mentioned before, I have had this fabric for a long time, so it is possible that the quality is different from current fabrics. Fortunately, I have a number of blacks with colored dots that I will use for this project, so not all will be subject to this problem.
Lupine Clue 2 and 3 Progress
I am simultaneously working on Clue 2 and 3. I sewed quite a bit over the weekend. It was kind of rote sewing, but it was good that I didn’t have to think too much. I also did quite a bit of trimming, though not enough. There is a lot of trimming in this quilt.
Bonnie always has different ways to make the various units. Friend Julie says that she likes to try the various methods in order to practice and to find the method she likes best. I usually just use a method with which I am familiar. For the HSTs, I am using the 8-at-a-time method you can find under tutorials. Her comment gave me something about which to think. I did use the Essential Triangle Tool** to make the QSTs, which was new-ish to me.
N.B. Bonnie will remove the posts to which I have linked from her blog sometime in February 2026. Download or save the clues now if you want to make this quilt.
**Obviously, you should shop at local quilt shops and small businesses. However, if you are too busy or can’t find what you need there, I use Amazon affiliate links and may be paid for your purchase of an item when you click on an item’s link in my post. There is no additional cost to you for clicking or purchasing items I recommend. I appreciate your clicks and purchases as it helps support this blog.
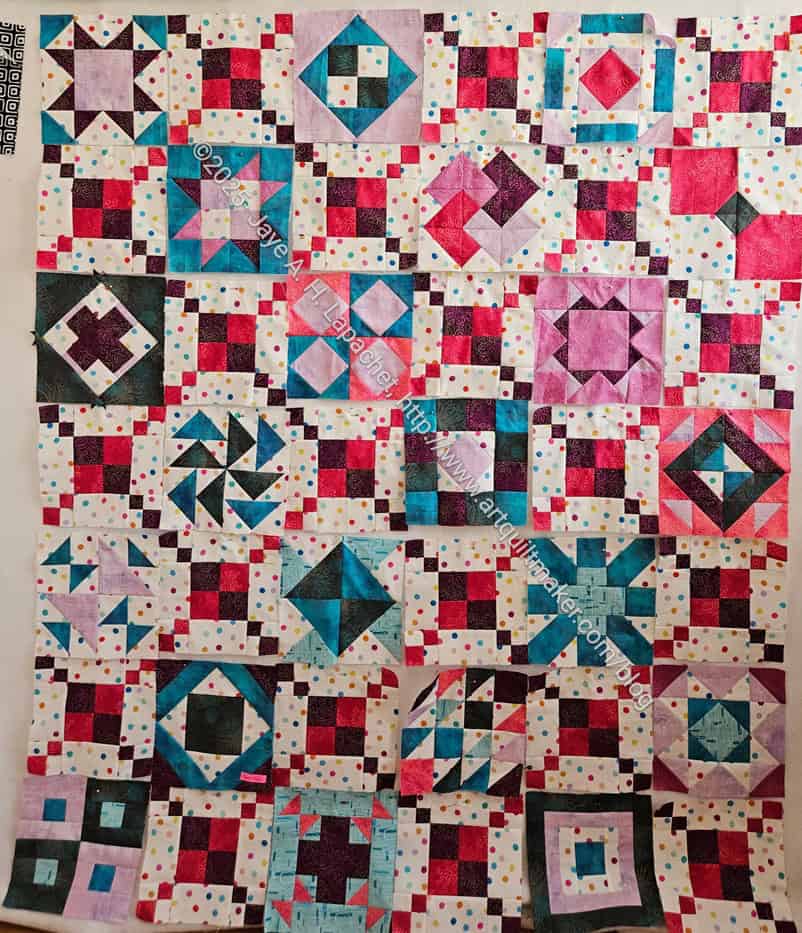
I finished all of the Patchwork Palooza blocks and am now waiting for the finishing instructions. I can definitely finish this without them, but I want to see what they say. I was annoyed not to receive the email last Friday despite receiving other marketing emails. I may just have to make my own instructions for finishing. 🙁
Julie was working on her PP blocks at Sew Day so I was able to see that sashing provided the blocks with a little bit of space. I think it needs the space just by looking at what I have on the design wall.
Some of the blocks look complicated or busy, but that is somewhat because of the fabrics I chose and where I decided to place them. I can also see where making some half alternate blocks might look nice in the border. We’ll see. I’d like to get this finished, so I might not want to make it more complex.
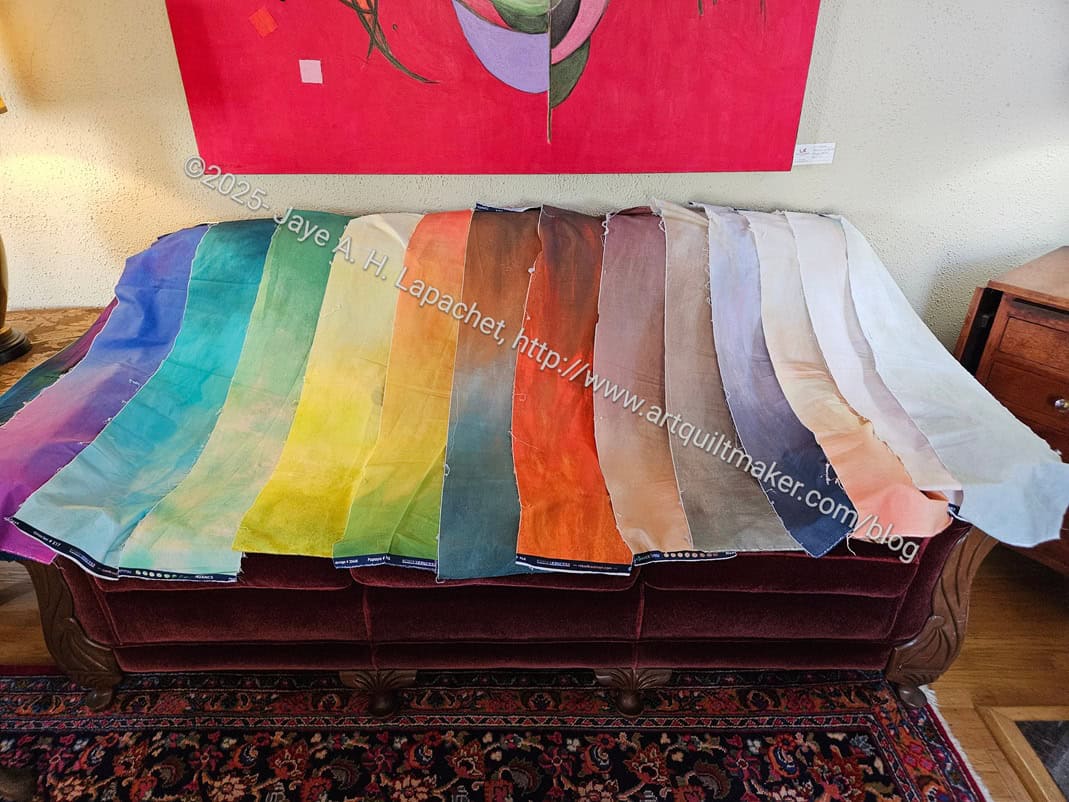
I took the fabrics Friend Julie gave me to Portland. I had an idea for a quilt top and thought I could get it done while I was there.
The yardage was skinny quarter yards and I was able to get three strips out of each piece. That made the quilt around 60 inches long, I think.
Gelato #2: Pathways
Success! The top is done. I just have to make the back and binding before it is ready for quilting.
It was a little bit of a challenge to work without a design wall. First, I used the couch (see above), but since we couldn’t use the dining table to eat, we needed the couch and coffee table for meals. I moved the strips, once they were cut to the mantle, which worked pretty well. I had to figure out how to keep them from falling off. Books were the answer. It is so interesting to see what books people leave in a shared space.
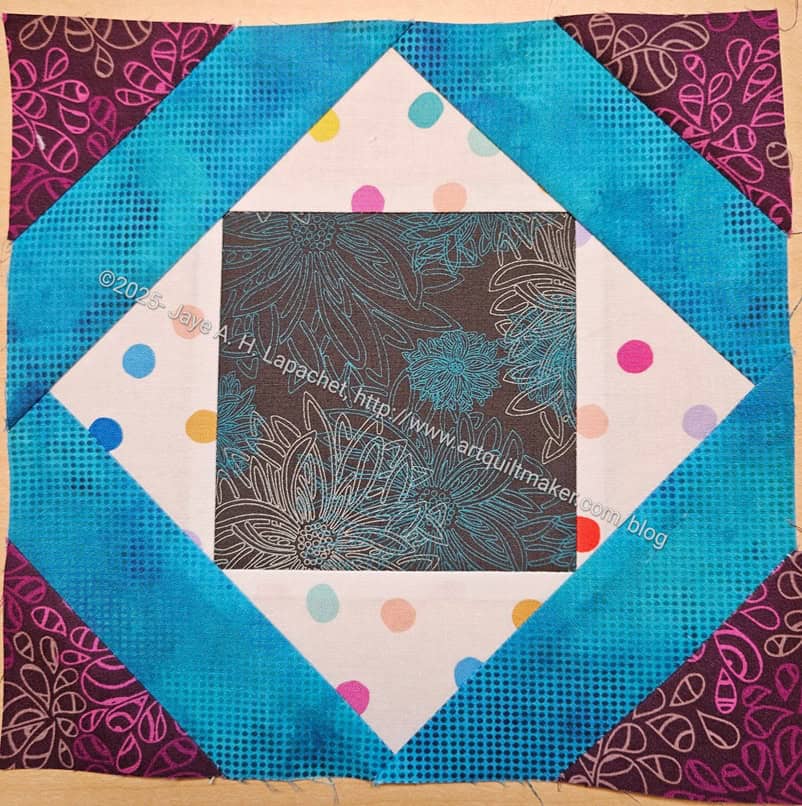
One of the blocks that arrived in my inbox while I was in Portland was Safe Harbor, Block 16. It is a kind of Square in a Square block.
I was very interested in the way the corners were added. Instead of a template for the blue pieces, the designer used a flippy corners method. Very clever!
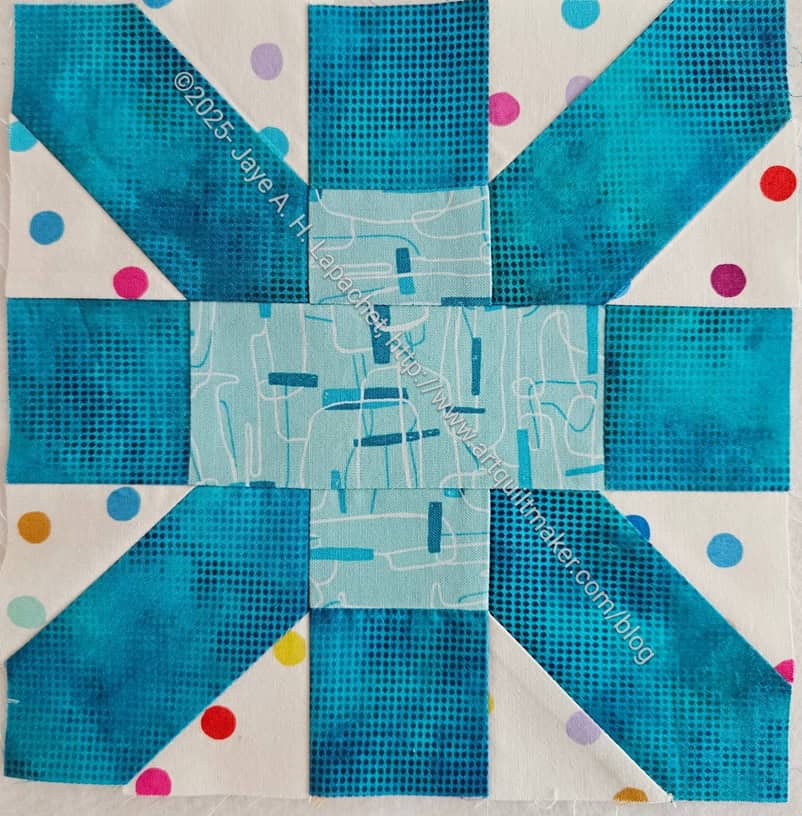
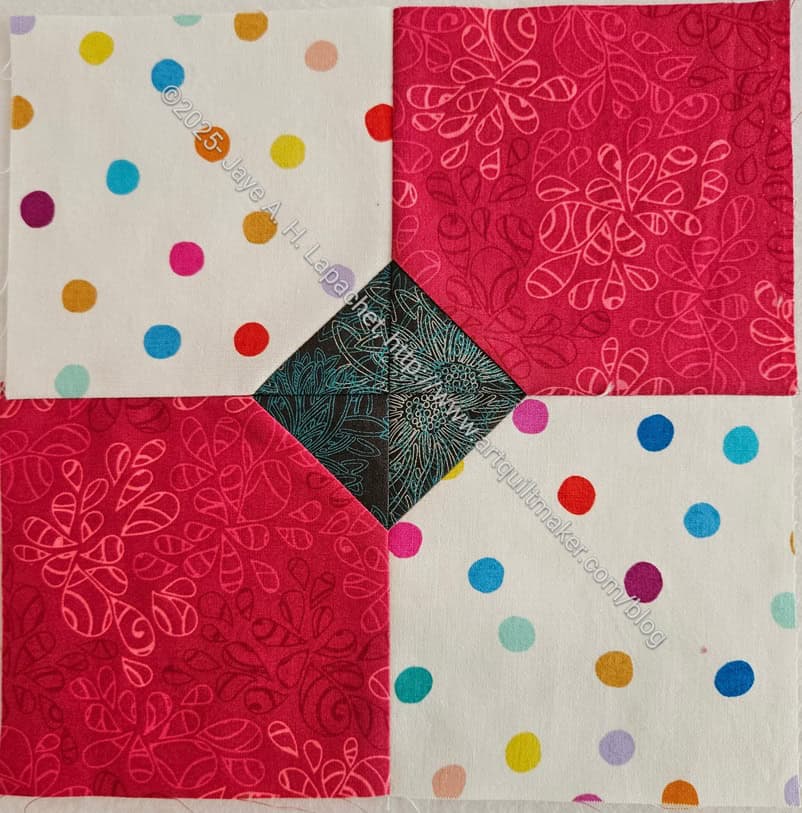
After a hitch with my email subscription to the Patchwork Palooza blocks, I was able to quickly make Block 15 of the project after receiving the pattern from Friend Julie.
This looks like a Lozenge Plus block to me, though the PLUS in the center looks a little fatter.
In Barbara Brackman’s Encyclopedia of Quilt Patterns**, this block, #1970, is called the Spool Block and is attributed to Nancy Cabot, c.1938.
In Jinny Beyer’s The Quilter’s Album of Patchwork Patterns, this block is #186-2. It is also called the Spool Block from Nancy Cabot (glad they agree!). Beyer references The Chicago Tribune, April 1, 1938. I should go look that up sometime.
**N. B. : Obviously, you should shop at local quilt shops and small businesses. However, if you are too busy or can’t find what you need there, I use Amazon affiliate links and may be paid for your purchase of an item when you click on an item’s link in my post. There is no additional cost to you for clicking or purchasing items I recommend. I appreciate your clicks and purchases as it helps support this website.
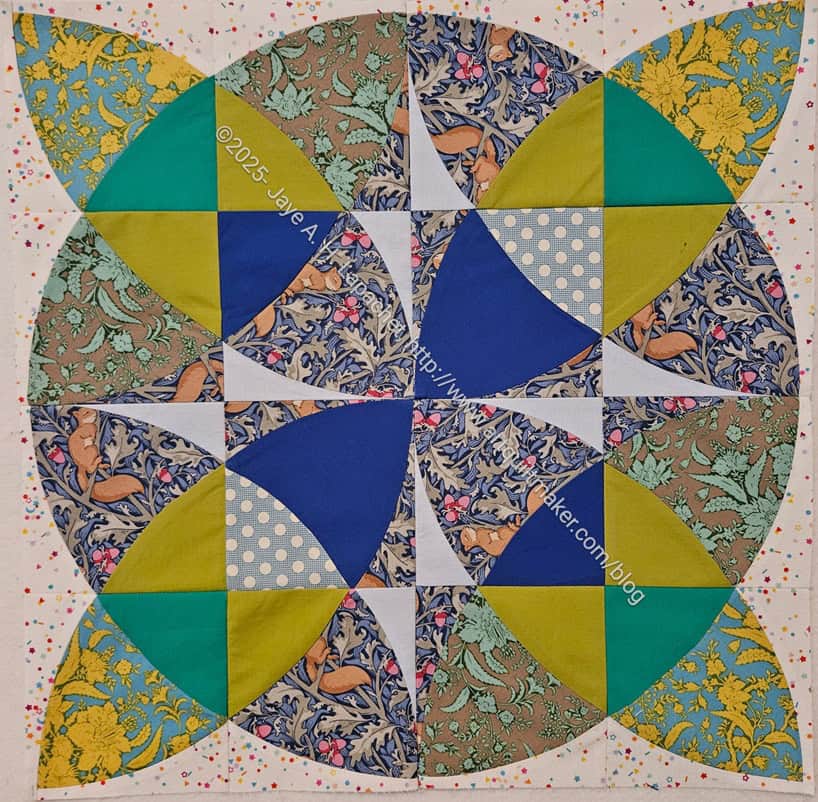
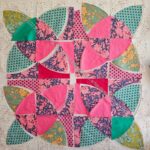
The other day I showed you the rest of the Flower #1 metamorphosis for the Country Revival/Sad Quilt. Here I am going to show you the entire process, though go back to the first post, then the second to read the explanation of whole process.
Country Revival/Sad Quilt flower motif
Country Revival/Sad Quilt flower motif with leaves v.2
Country Revival/Sad Quilt flower motif with leaves v.3
Country Revival/Sad Quilt flower motif with leaves v.4
Country Revival/Sad Quilt flower motif with leaves v.4
Country Revival/Sad Quilt flower motif with leaves v.5
Country Revival/Sad Quilt flower motif with leaves v.6
Country Revival/Sad Quilt flower motif with leaves v.7
I am probably more fascinated by my own process than you are. As a result, I may publish another post later today. Stay tuned.
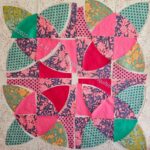
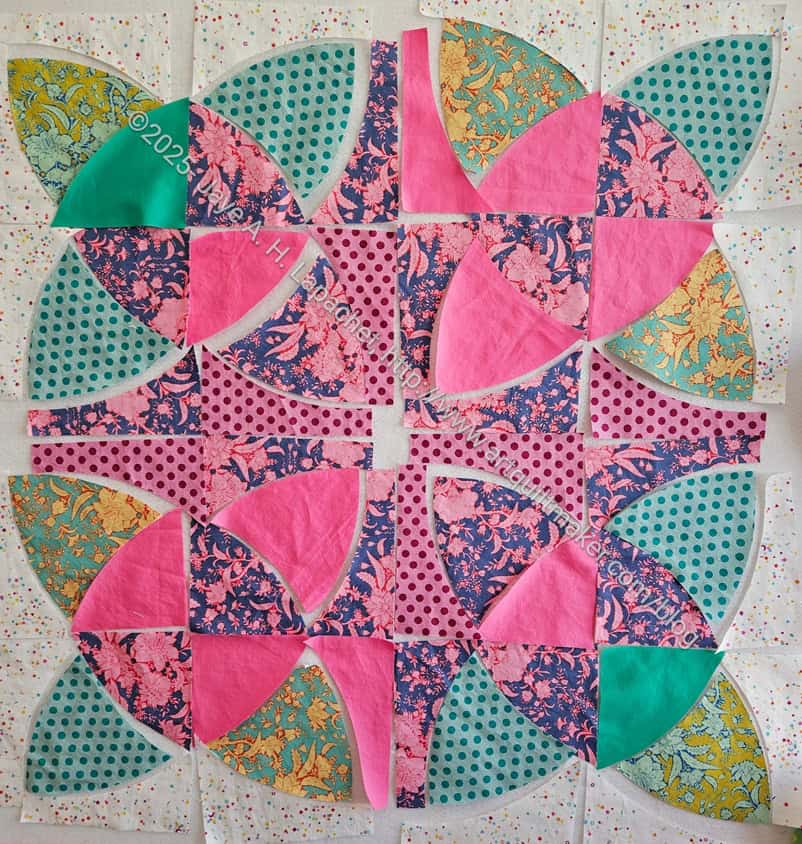
I received the stack of solids I ordered, so it was back to Flower #1 for more changes. you might remember how much I worked on making incremental, small changes the first time around. I have been looking at it as I sewed Flower #2 and still wasn’t 100% happy.
Country Revival/Sad Quilt flower motif with leaves v.3
I decided to pick out some solids and see if I could make Flower #1 look better. I started off with a vast improvement over the original. Adding some more greens made the block much more interesting. I decided that there was too much solid pink, so I replaced some of the solid pink with some Emerald. The Emerald is about halfway down the stack in the photo above.
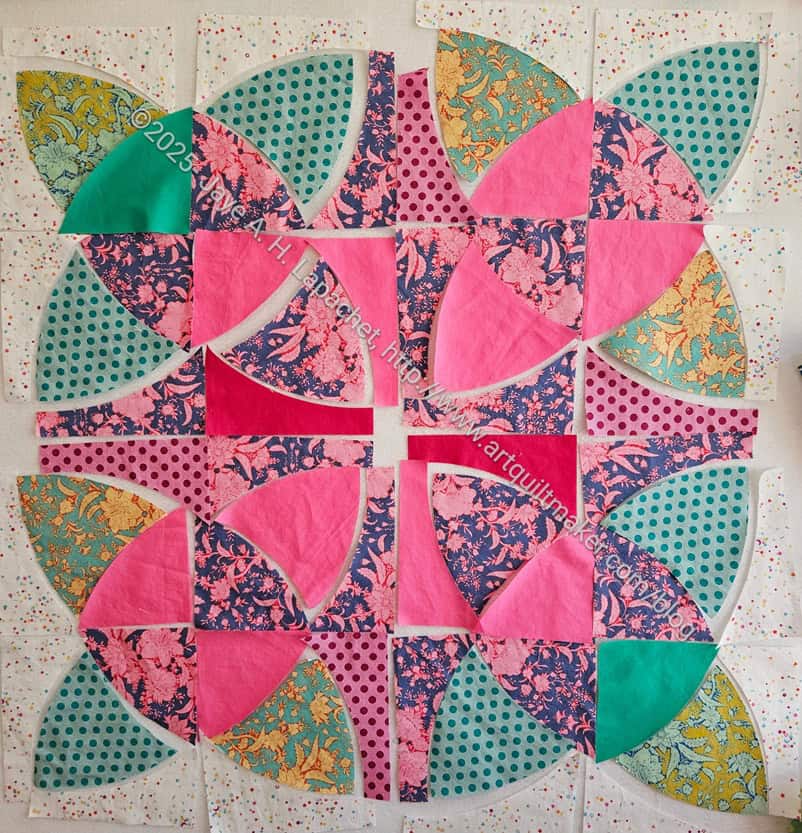
Country Revival/Sad Quilt flower motif with leaves v.4
I put the Emerald in the corners on the bottom right and top left. I want to make incremental changes to so I can see what it happening. It is amazing how the replacement of two little pieces makes a huge difference.
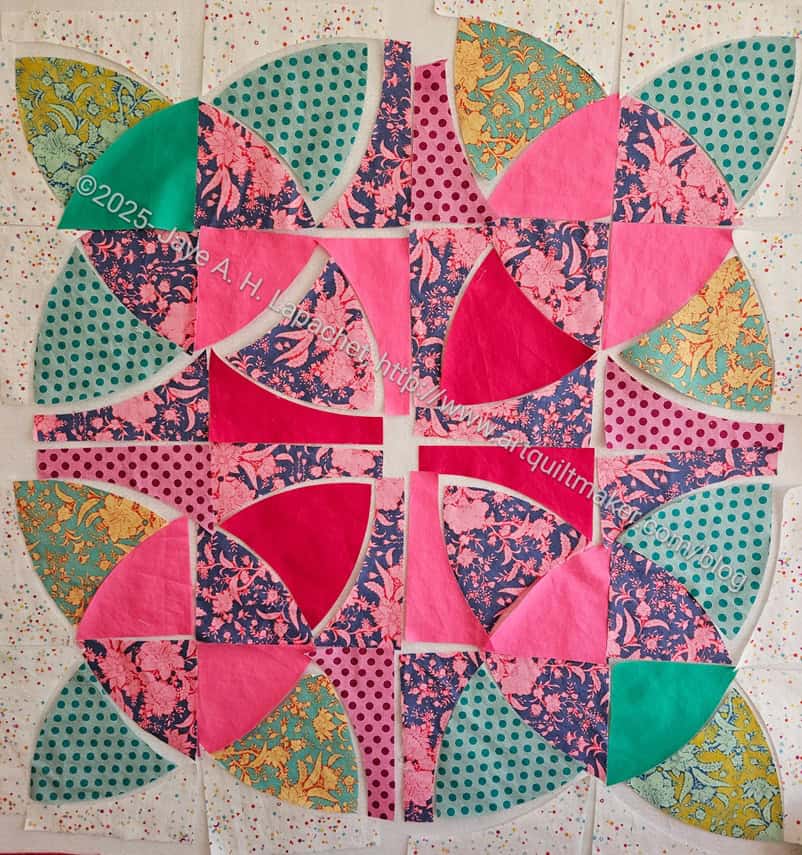
Country Revival/Sad Quilt flower motif with leaves v.5
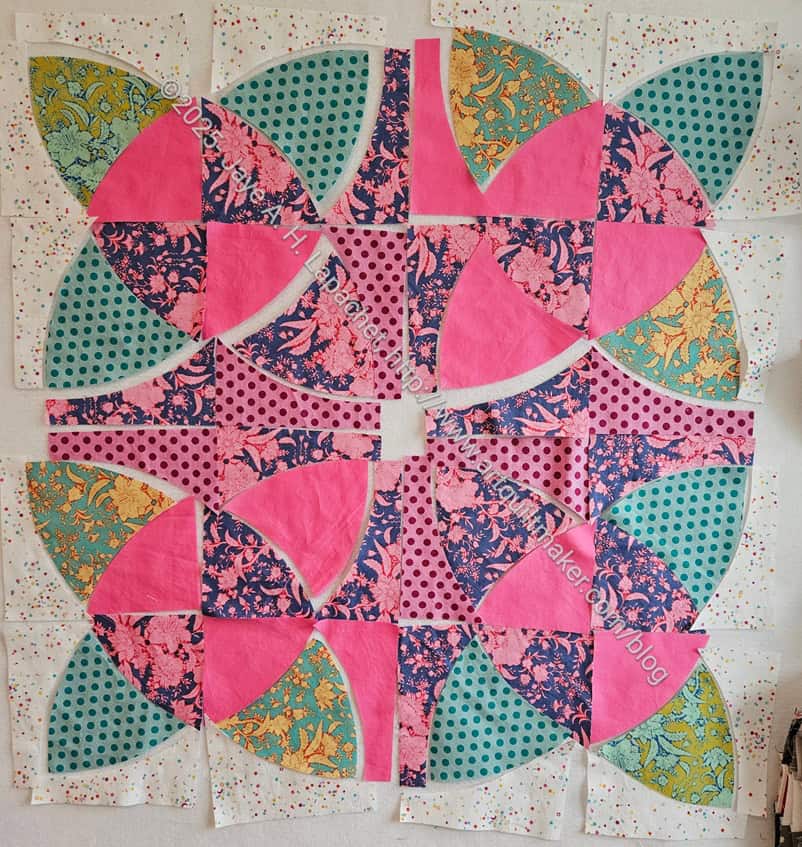
The edges were looking better, so I decided to work on the center. I replaced some of the pink with Dragonfruit, a darker pink.
I liked the change, but it wasn’t quite enough. Each change I make highlights another area that needs attention!
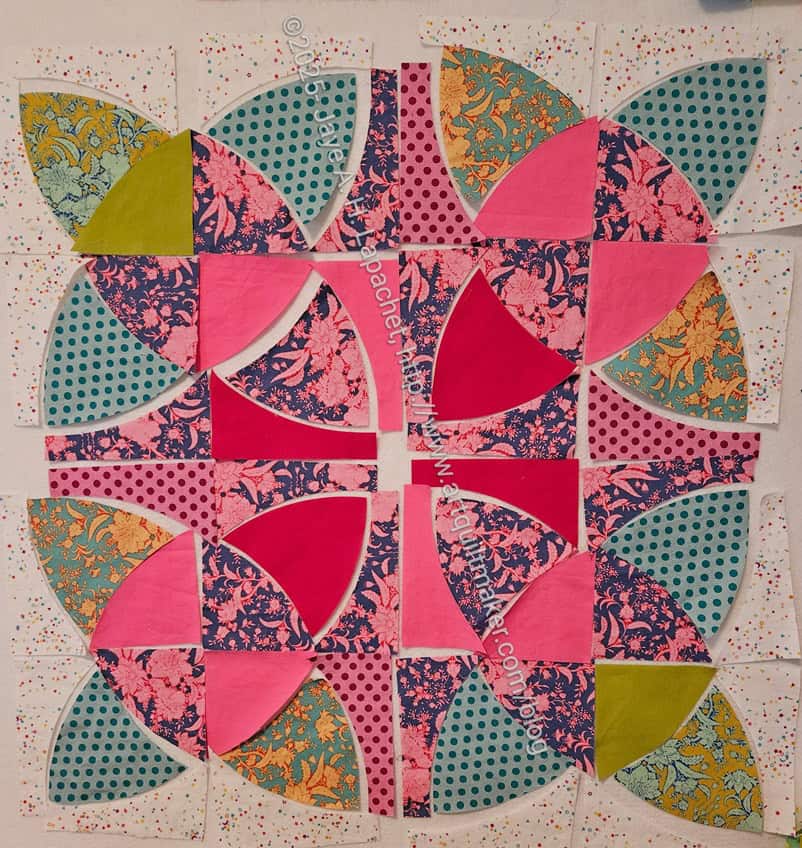
Country Revival/Sad Quilt flower motif with leaves v.6
Once I made the change by adding the Dragonfruit, I thought it needed more. I cut another couple of pieces to end up with more dark pink in the middle.
After looking at v.6 for awhile, I decided that this was the final version. Maybe it isn’t perfect. Maybe it could be better, but I like it. I think there isn’t anywhere that is too boring or too repetitive. Even the bottom left and top right corners light pink works.
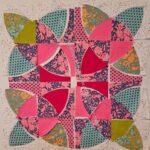
Country Revival/Sad Quilt flower motif with leaves v.7
Finally, I decided that the Emerald needed to be toned down a little. I like that fabric and the color, but for this block, I needed something a little more subtle. I decided to change the Emerald for Dark Citron.
Flower #1: upper left hand corner
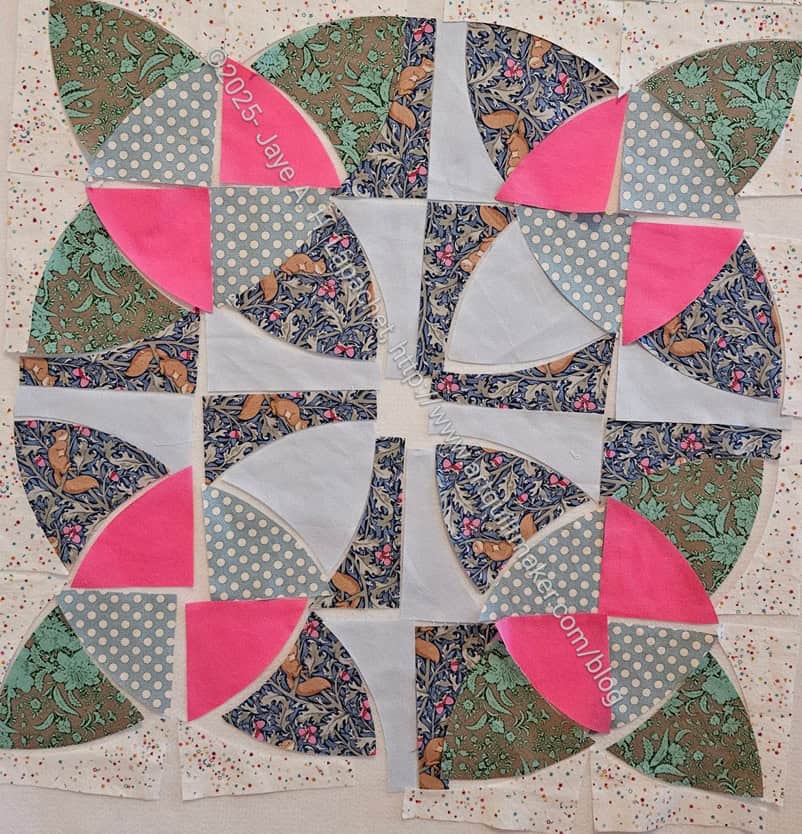
I started sewing the block together and it is looking good.
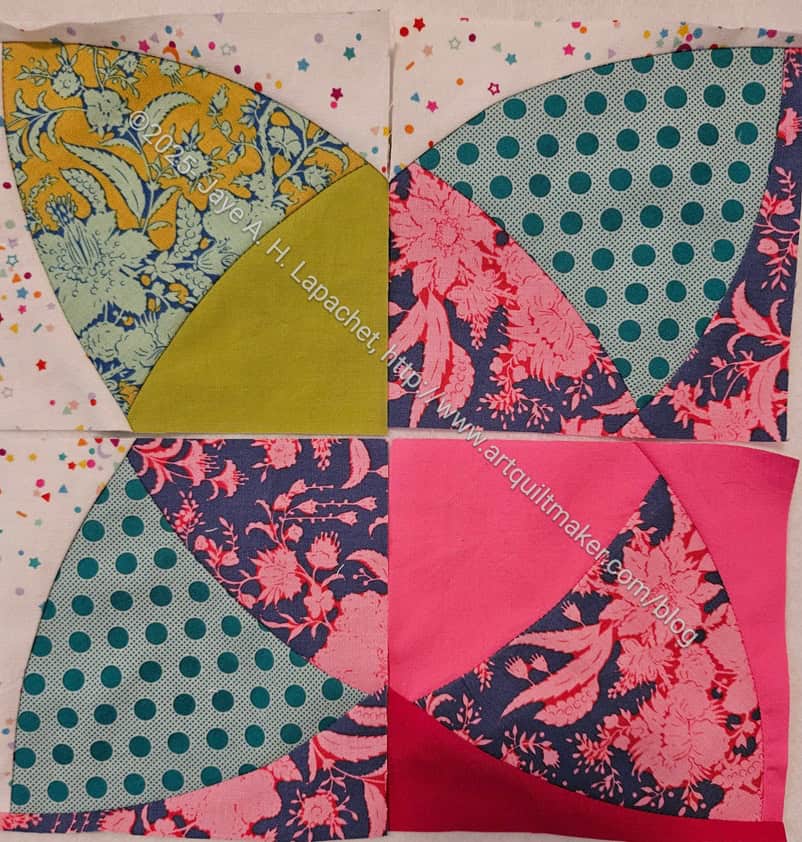
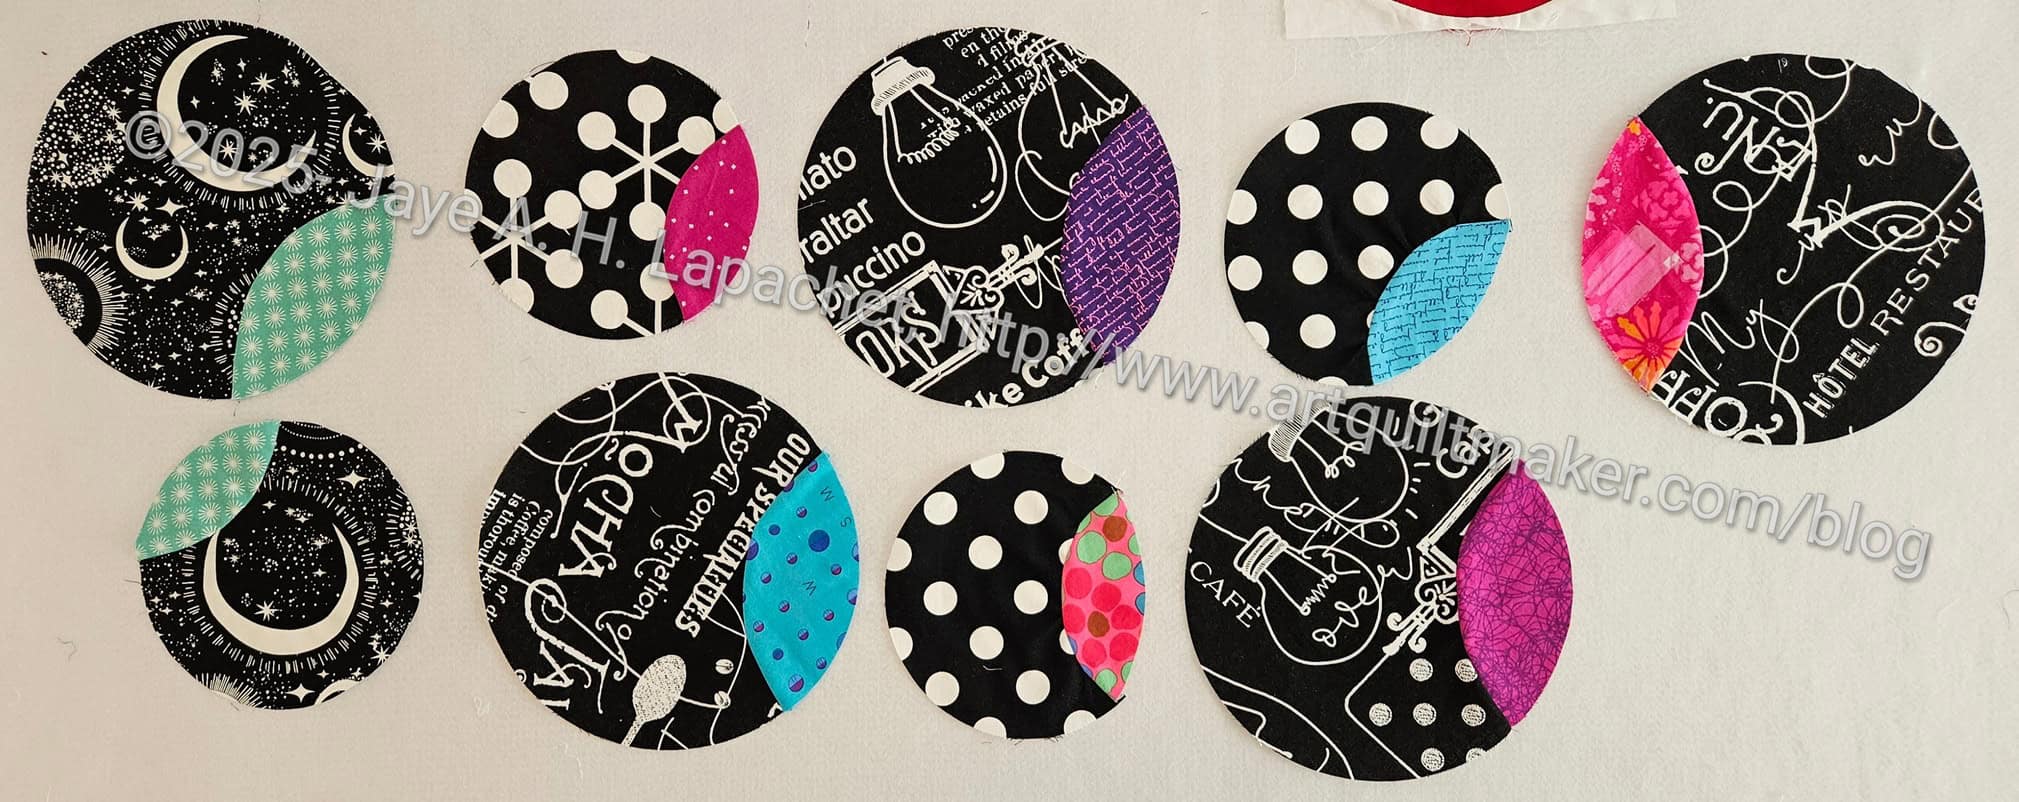
These look too similar at the moment, so I am not happy with what I have made. However, I spent some time when I had a bin of black out cutting squares for the 6 and 8 inch Orange peel circles. This means that there will be some variety coming at some point. I am not in a rush to make these blocks. I have to figure out what to do about the background. I’ll probably use black, but I haven’t 100% decided yet.
I don’t know how many blocks I will make for this project. Many so it will be a large quilt (as usual!), but how many is still a mystery.
This is the last backlog block. The PP project calls it Keep the Fire, but it is a Bow Tie block. I am not sure why the Patchwork Palooza people are renaming the blocks. I suppose it makes the block fresher.
I have to make this block for another project and I found the instructions to make this one SO easy. I have always dreaded the flippy corners method. No problem on this block. It came out great, especially after the grief with Block 8.
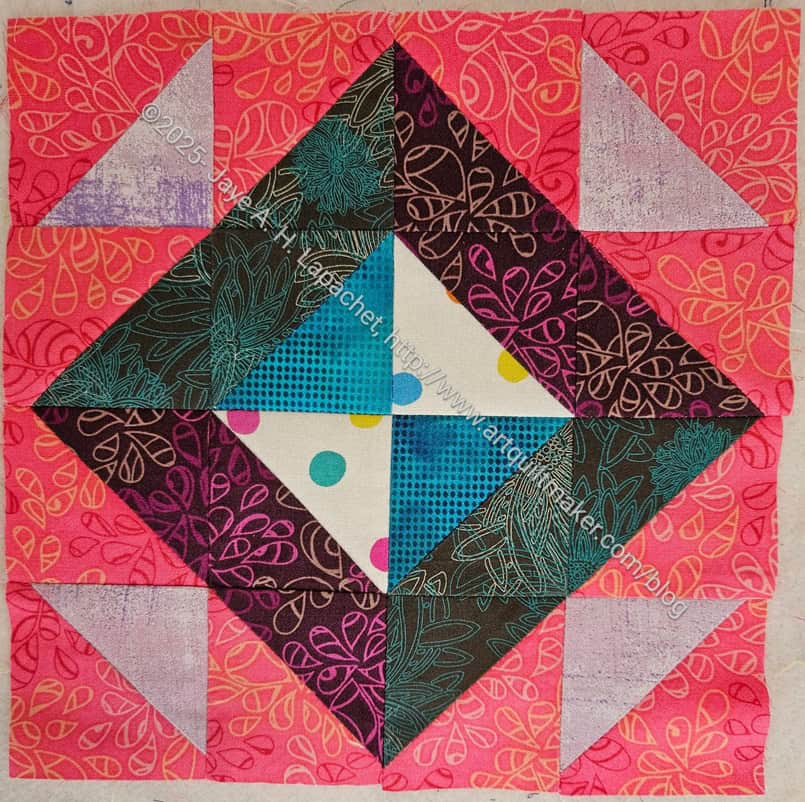
I finally finished block 5, Card Trick, or, as the Patchwork Palooza people call it, Go Your Own Way. I don’t like this block. I always have trouble making it, which seems very odd to me. It shouldn’t be a difficult block, but for me, it is. Apparently, it didn’t like me either as there was a lot of ripping involved in finishing it.
In Barbara Brackman’s Encyclopedia of Quilt Patterns**, this block, #1674, is called Crow’s Nest or Card Trick. Both names are from Beth and Jeff Gutcheon. In the Encyclopedia it is colored very strangely, so you can see the card effect. It looks more like an Ohio Star, but with half QSTs instead of regular QSTs.
In Jinny Beyer’s The Quilter’s Album of Patchwork Patterns, this block is #143 and also called Card Trick, but doesn’t have the QST in the center. It is listed as from The Perfect Patchwork Primer by Beth and Jeff Gutcheon.
**N. B. : Obviously, you should shop at local quilt shops and small businesses. However, if you are too busy or can’t find what you need there, I use Amazon affiliate links and may be paid for your purchase of an item when you click on an item’s link in my post. There is no additional cost to you for clicking or purchasing items I recommend. I appreciate your clicks and purchases as it helps support this website.