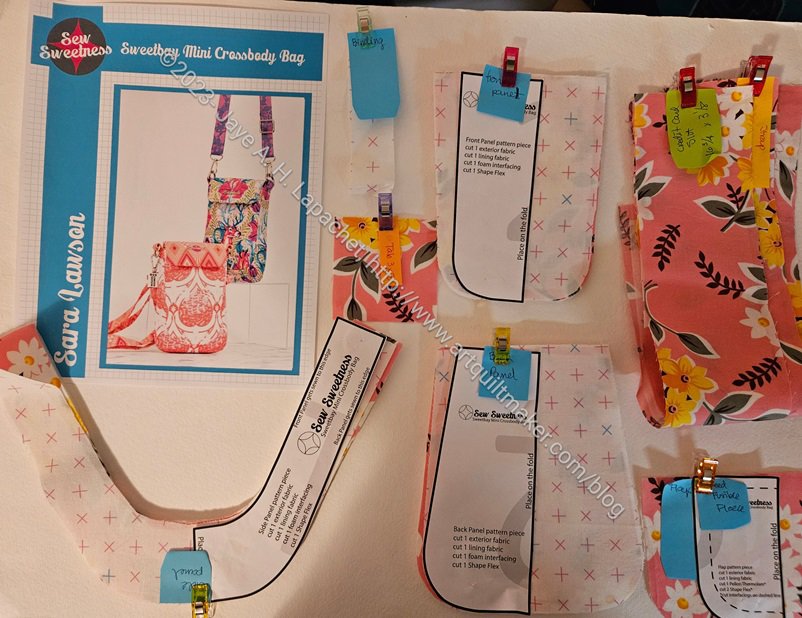
I am making a Sweetbay Crossbody Bag for the Pink Project. The Sweetbay is one of the patterns that Sara released in February. One of the reasons I am making it is because Sara is having a Sew-a-long and I thought that was a good reason to use one of the new patterns. I also wanted to try a smaller crossbody bag. The Daytrip Wallet is still on my to do list, so this will get me closer to that project.
Except for one piece of interfacing, I was able to cut out the whole project, so I am on time with the sew-a-long. Next up is sewing!
This looks like one of the Minikins, but is a separate pattern from the Minikins.
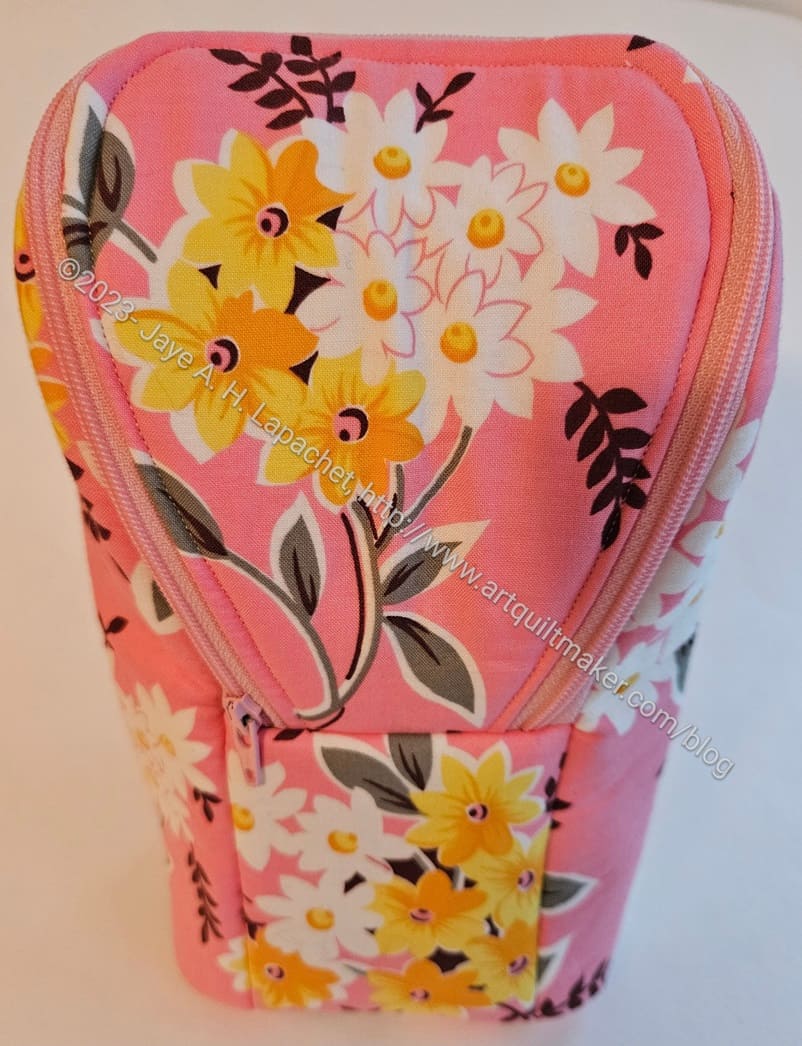
This Pink Piebald went really quickly and I am pleased. There are a couple of techniques I need to practice and some other things I want to do differently to make this pattern more to my liking.
I am super pleased with the fussy cutting on the front. The flap is big enough for a whole spray of flowers, which I think adds a nice look to the pouch.
The front panel has less space, but I was able to center flowers on the whole piece.
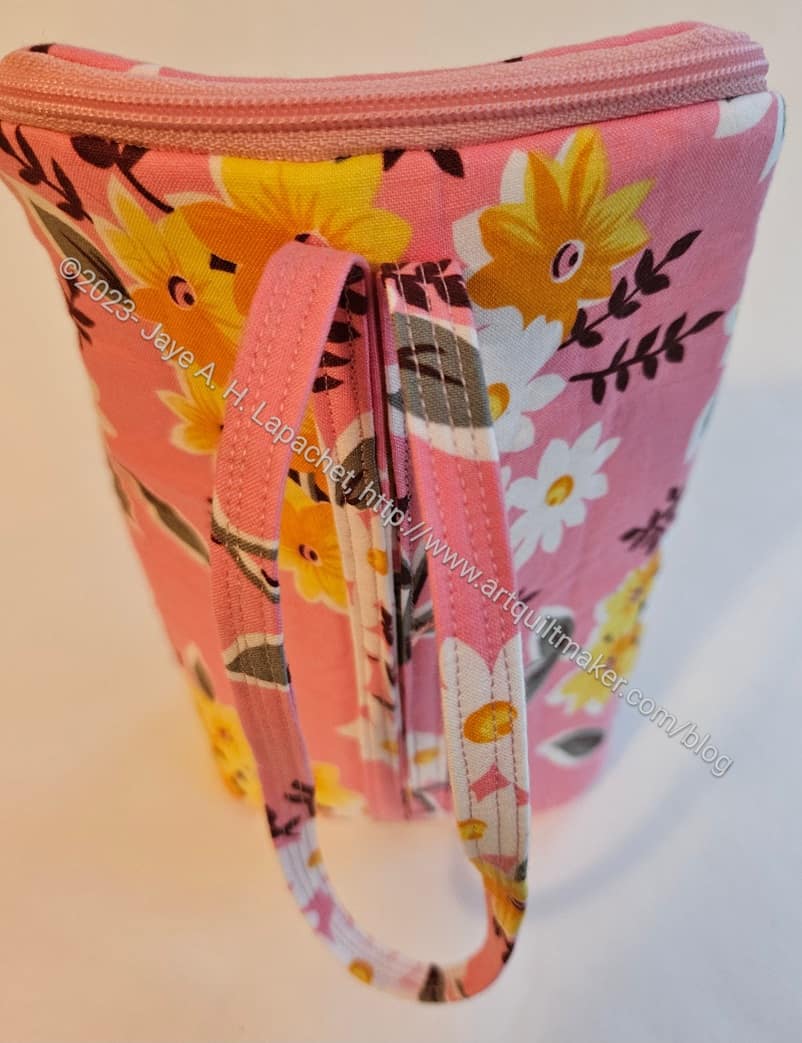
Finished: Pink Piebald – back with strap
The back requires a much larger piece of fabric and I didn’t really fussy cut it. I didn’t think it needed the extra care since the back is partially covered by the strap. I did try to center one of the motifs, though the strap means you can’t really see it.
As mentioned, the strap is longer than the pattern shows. I tested it out as a wristlet and I think it will work. SIL#4 knits and I thought it might be a good project-on-the-go bag. I am going to ask her. The audience for this bag won’t really care or notice, I don’t think. I think they will be pleased they can use the pouch as a small purse.
Finished: Pink Piebald – lining
I ended up making the inside (lining) from the fabric I originally planned to use for the exterior. It is a little darker than I usually use, but I didn’t want to waste the pieces I had already cut. I think next time, I will see about fussy cutting a surprise onto the flap lining.
As a reminder, this pattern is from Sew Sweetness and is from Minikins Season 3.
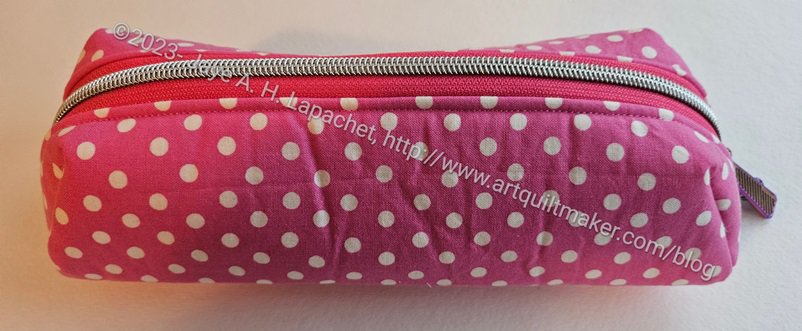
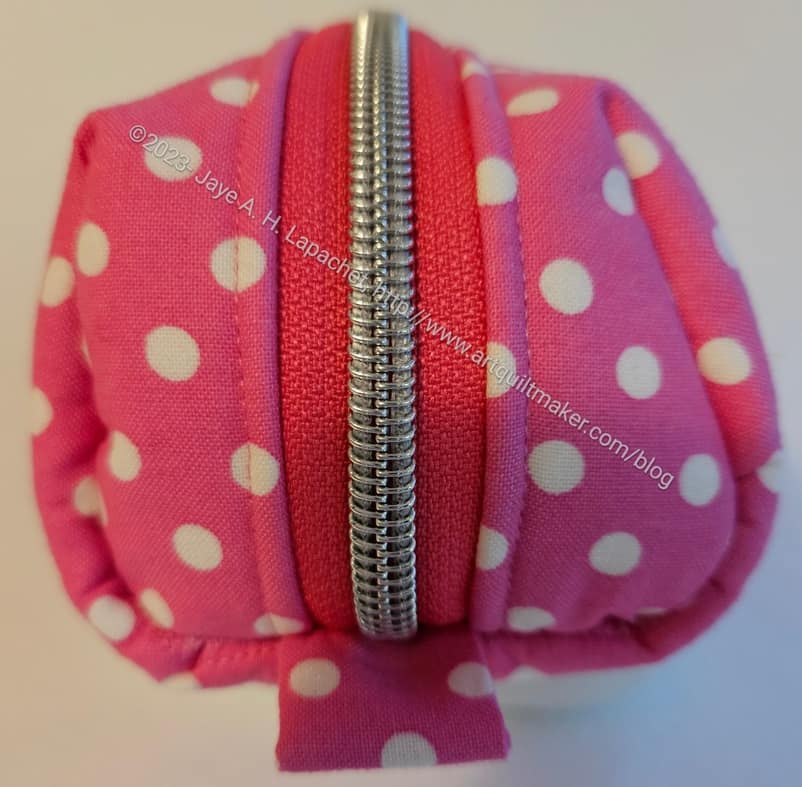
I finished the first Bluestem. It is a small (pens would fit well), firm pouch with the opportunity to use fun zippers and zipper pulls.
Pink dot Bluestem – side view
I have the idea to make a group of pink bags for a fundraiser or raffle gift and this is the first of the possibilities.
This pouch doesn’t take very long to make. The main pattern piece is an odd shape and I couldn’t imagine how the bag would be put together. I had to watch the video and that helped a lot.
I have to say that, unlike other Sew Sweetness Squad members, I don’t watch the whole video before I make a bag. I just get started, then watch the parts that I need to watch when I am confused by the directions. Sometimes I feel bad about that, but it works for me.
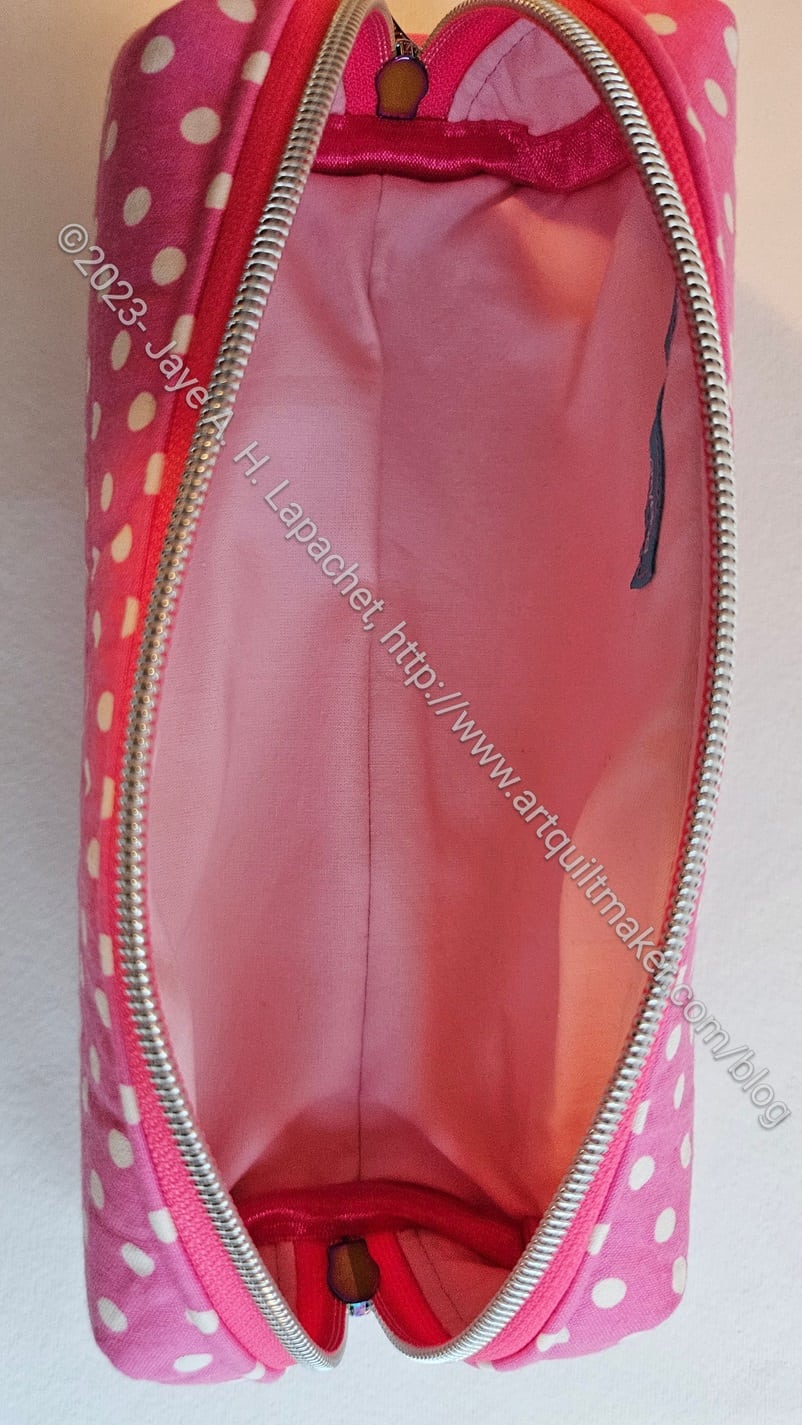
Pink dot Bluestem – inside view
The construction made me worry about raw edges at first, but Sara uses some doublefold (foldover) elastic** to cover the inside raw edges. I am not great at that part of the process, but I am getting better!
You can see the foldover elastic peeking out at the top of the photo, left.
I am pleased with that pale pink solid. It’s from Art Gallery and just looks perfect.
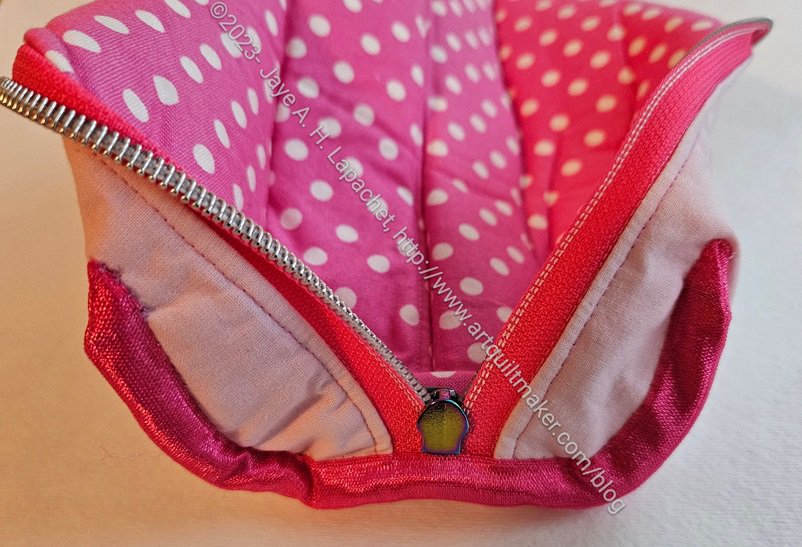
Pink dot Bluestem -end
I am also pleased with how the zipper and the foldover elastic came out together. I admit that I hand stitched one side of the elastic. I just wasn’t confident to stitch both sides at once on the machine. I plan to make more of these, so I’ll get there.
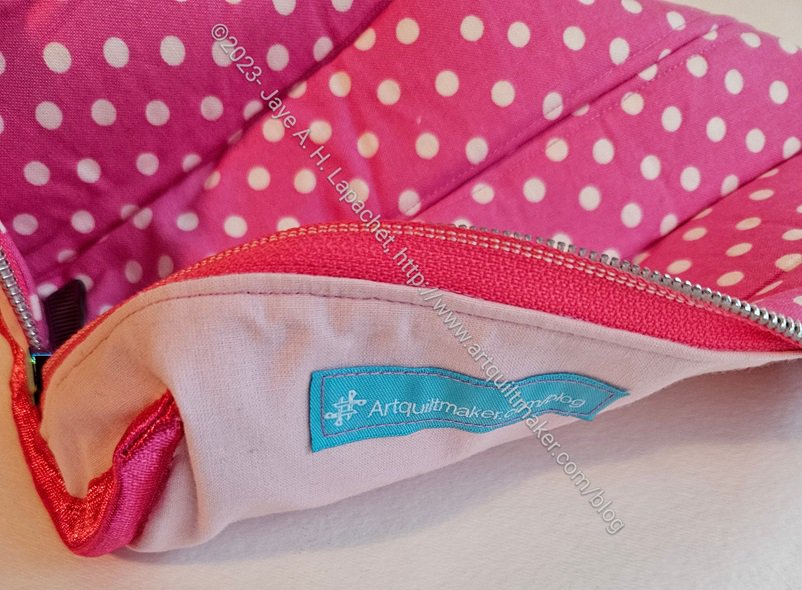
Pink dot Bluestem -label
I also remembered to add a label!
**N. B. : Obviously, you should shop at local quilt shops and small businesses. However, if you are too busy or can’t find what you need there, I use Amazon affiliate links and may be paid for your purchase of an item when you click on an item’s link in my post. There is no additional cost to you for clicking or purchasing items I recommend. I appreciate your clicks and purchases as it helps support this blog.