Some time ago, I wrote a tutorial on making HSTs called The Triangle Technique. After working on my Flying Geese quilt, I decided it was time to update the tutorial.
This tutorial started out after I watched an episode of Love of Quilting where Jo Morton was a guest. Based on what I saw Marianne and Jo do on the show, I tried the technique and was pleased with the results.
For the Flying Geese quilt, I needed 2.5″ finished HSTs, so according to the chart I made after DH did a bunch of math for me, I started with 6.25″ squares. All of the sizes on the chart make 8 HSTs.
Cut 2 pieces of fabric[/caption]

First, I cut two pieces of fabric,foreground and background, the correct size. Again, you need to download the chart and look at it. I cut my squares a bit larger, because I like to trim my HSTs just to make sure they are exactly the right size. The chart does not take trimming into account. You need to make the starting squares larger if you want to be able to trim.
Next, I drew an X, corner to corner, on the lighter square. Then I put the 2 squares right sides together and pressed them. I securely pinned the two squares together.
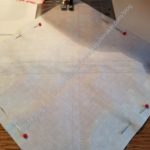
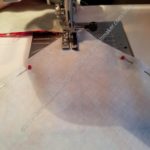
Next, I sewed on both sides of each of the lines of the X, 1/4 inch away from each line.
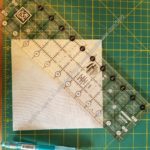
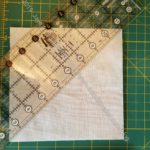
After sewing, I measured to the center of the X from the side of the square. This measurement is the PLUS cut.
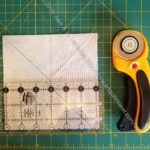
Cut the square in a PLUS configuration.
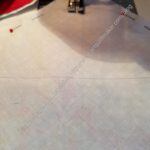
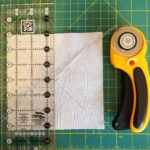
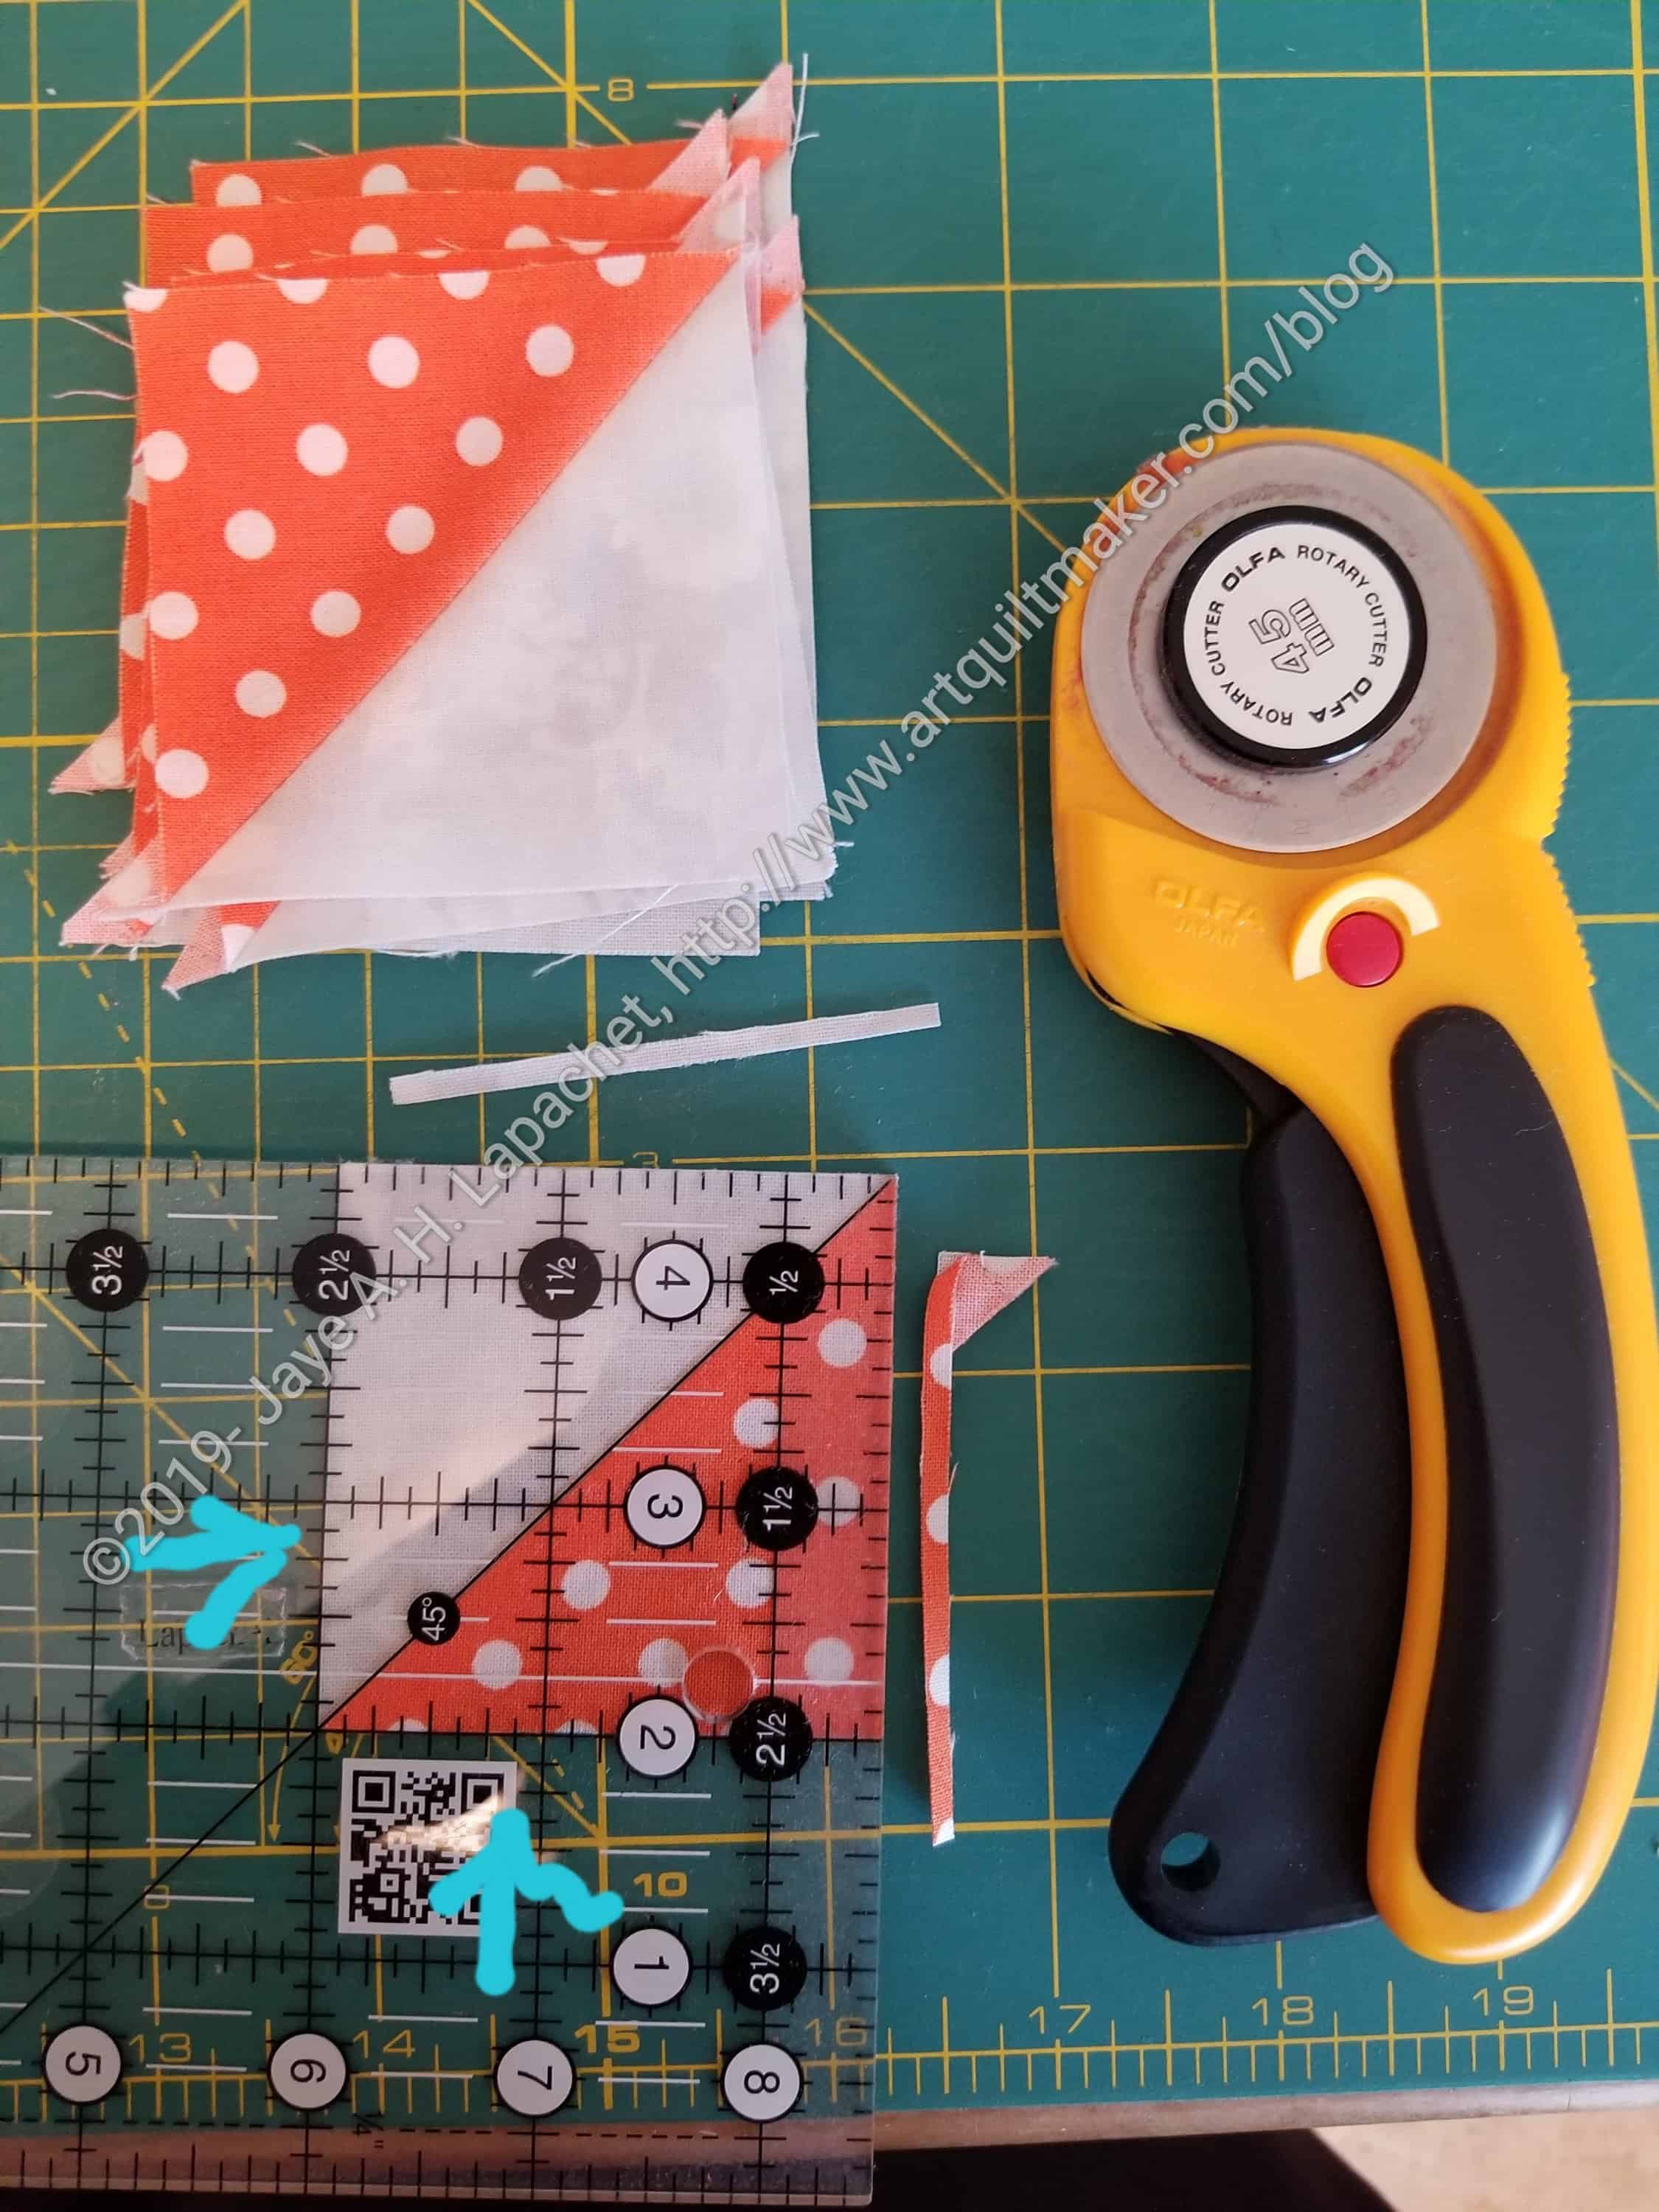
After you cut the PLUS, you will have four squares, each with a line drawn diagonally across the middle. Cut the squares in half diagonally. You can use the line as a guide. It is more important to line your ruler up corner to corner.
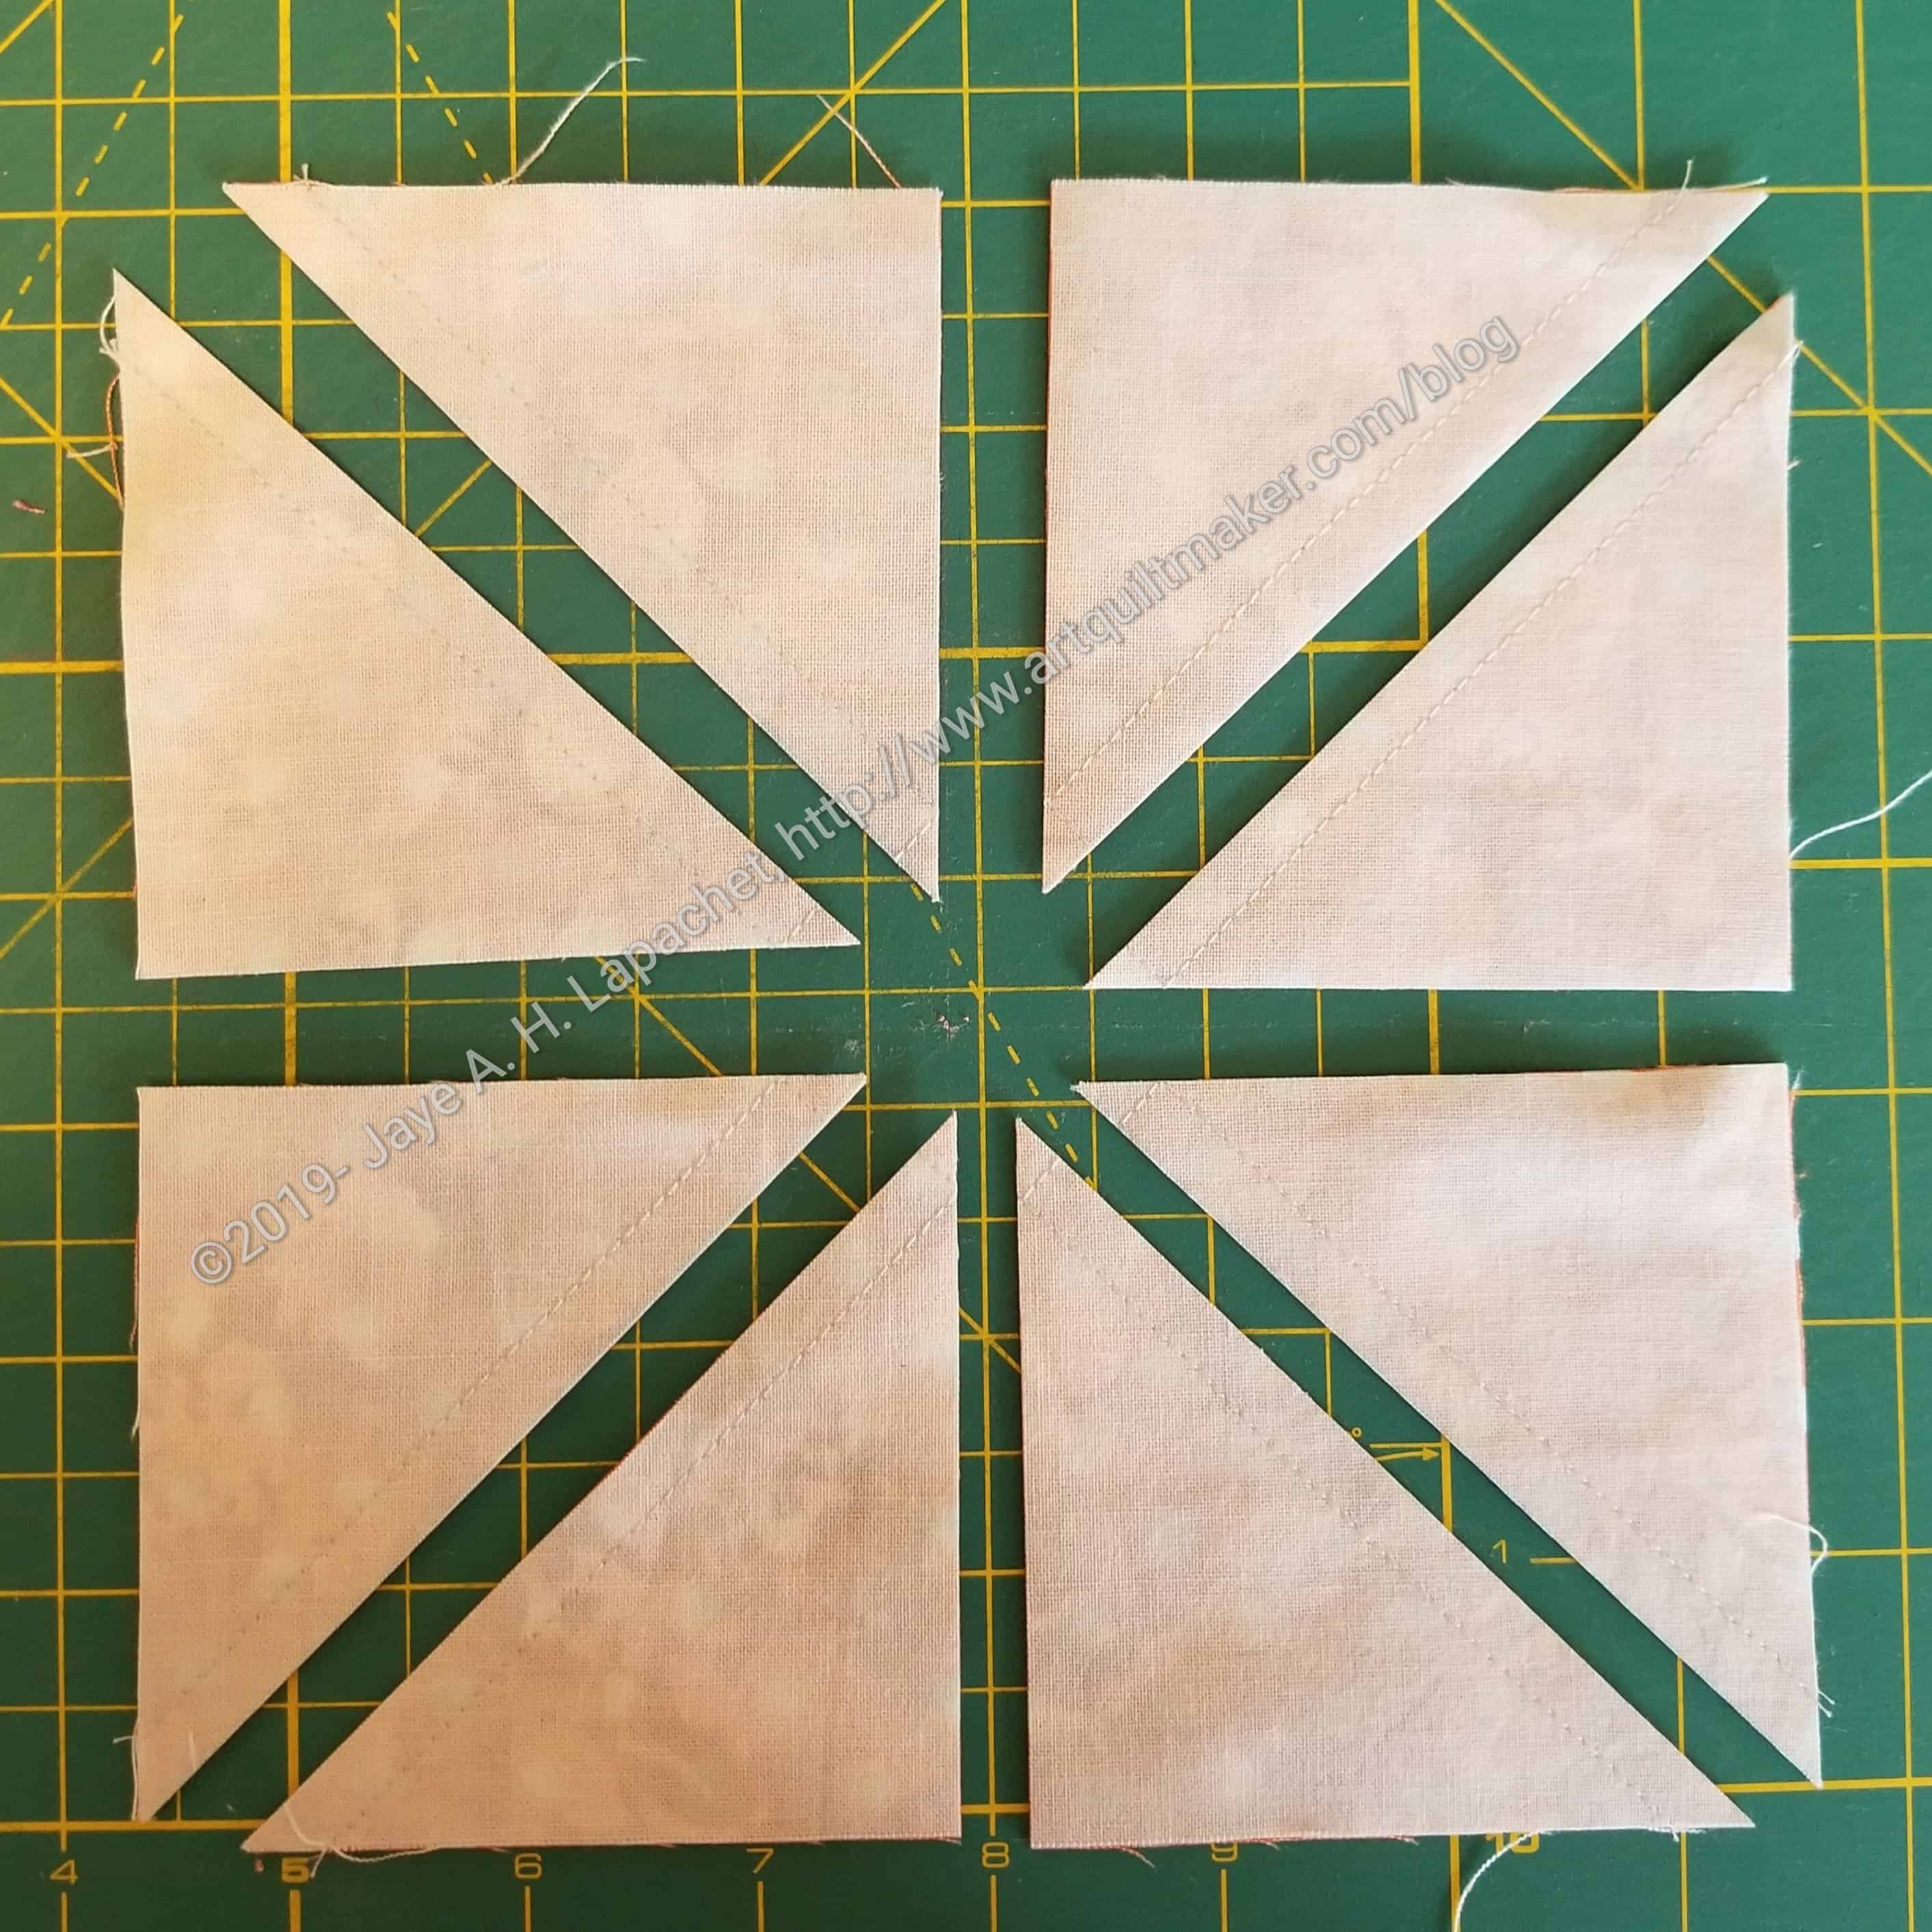
The result is 8 2″ half square triangles. You still need to press them carefully open.
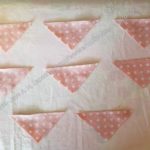
Move the unpressed HSTs to the ironing board and press carefully. Use a stiletto to keep your fingers from getting burned.
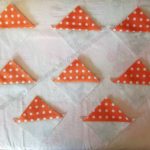
Next, I trim. Layout your pressed and untrimmed HSTs.
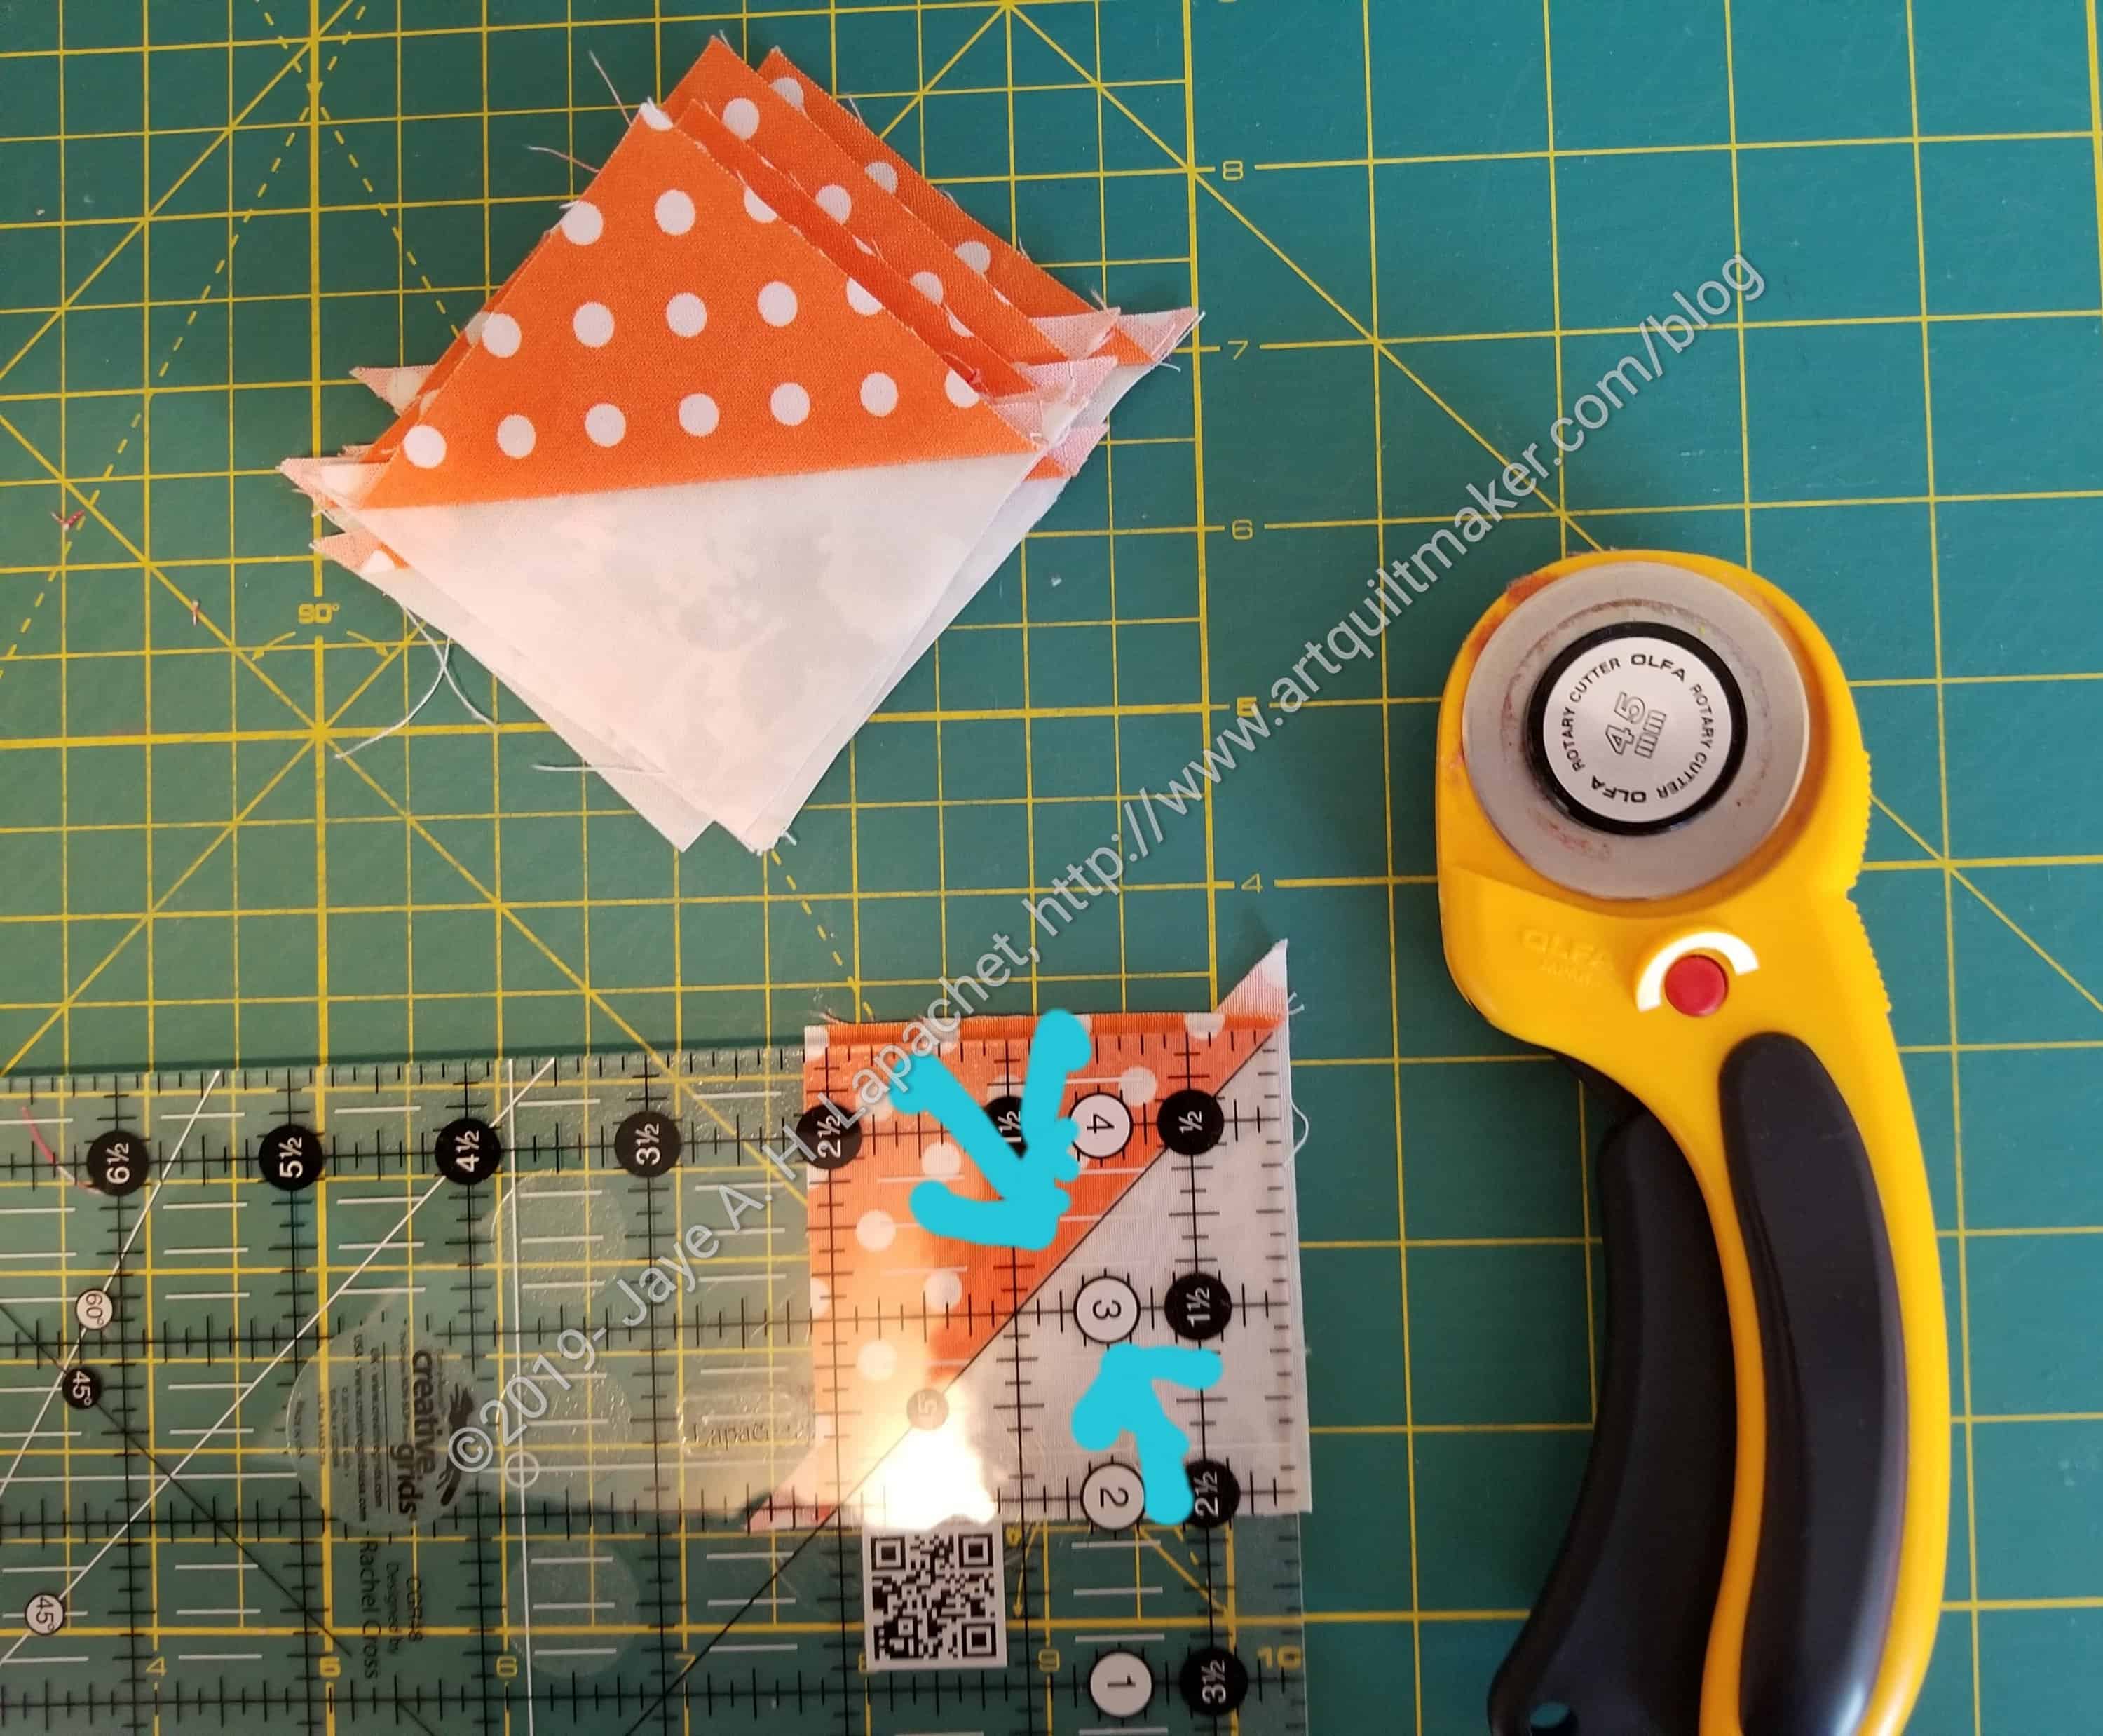
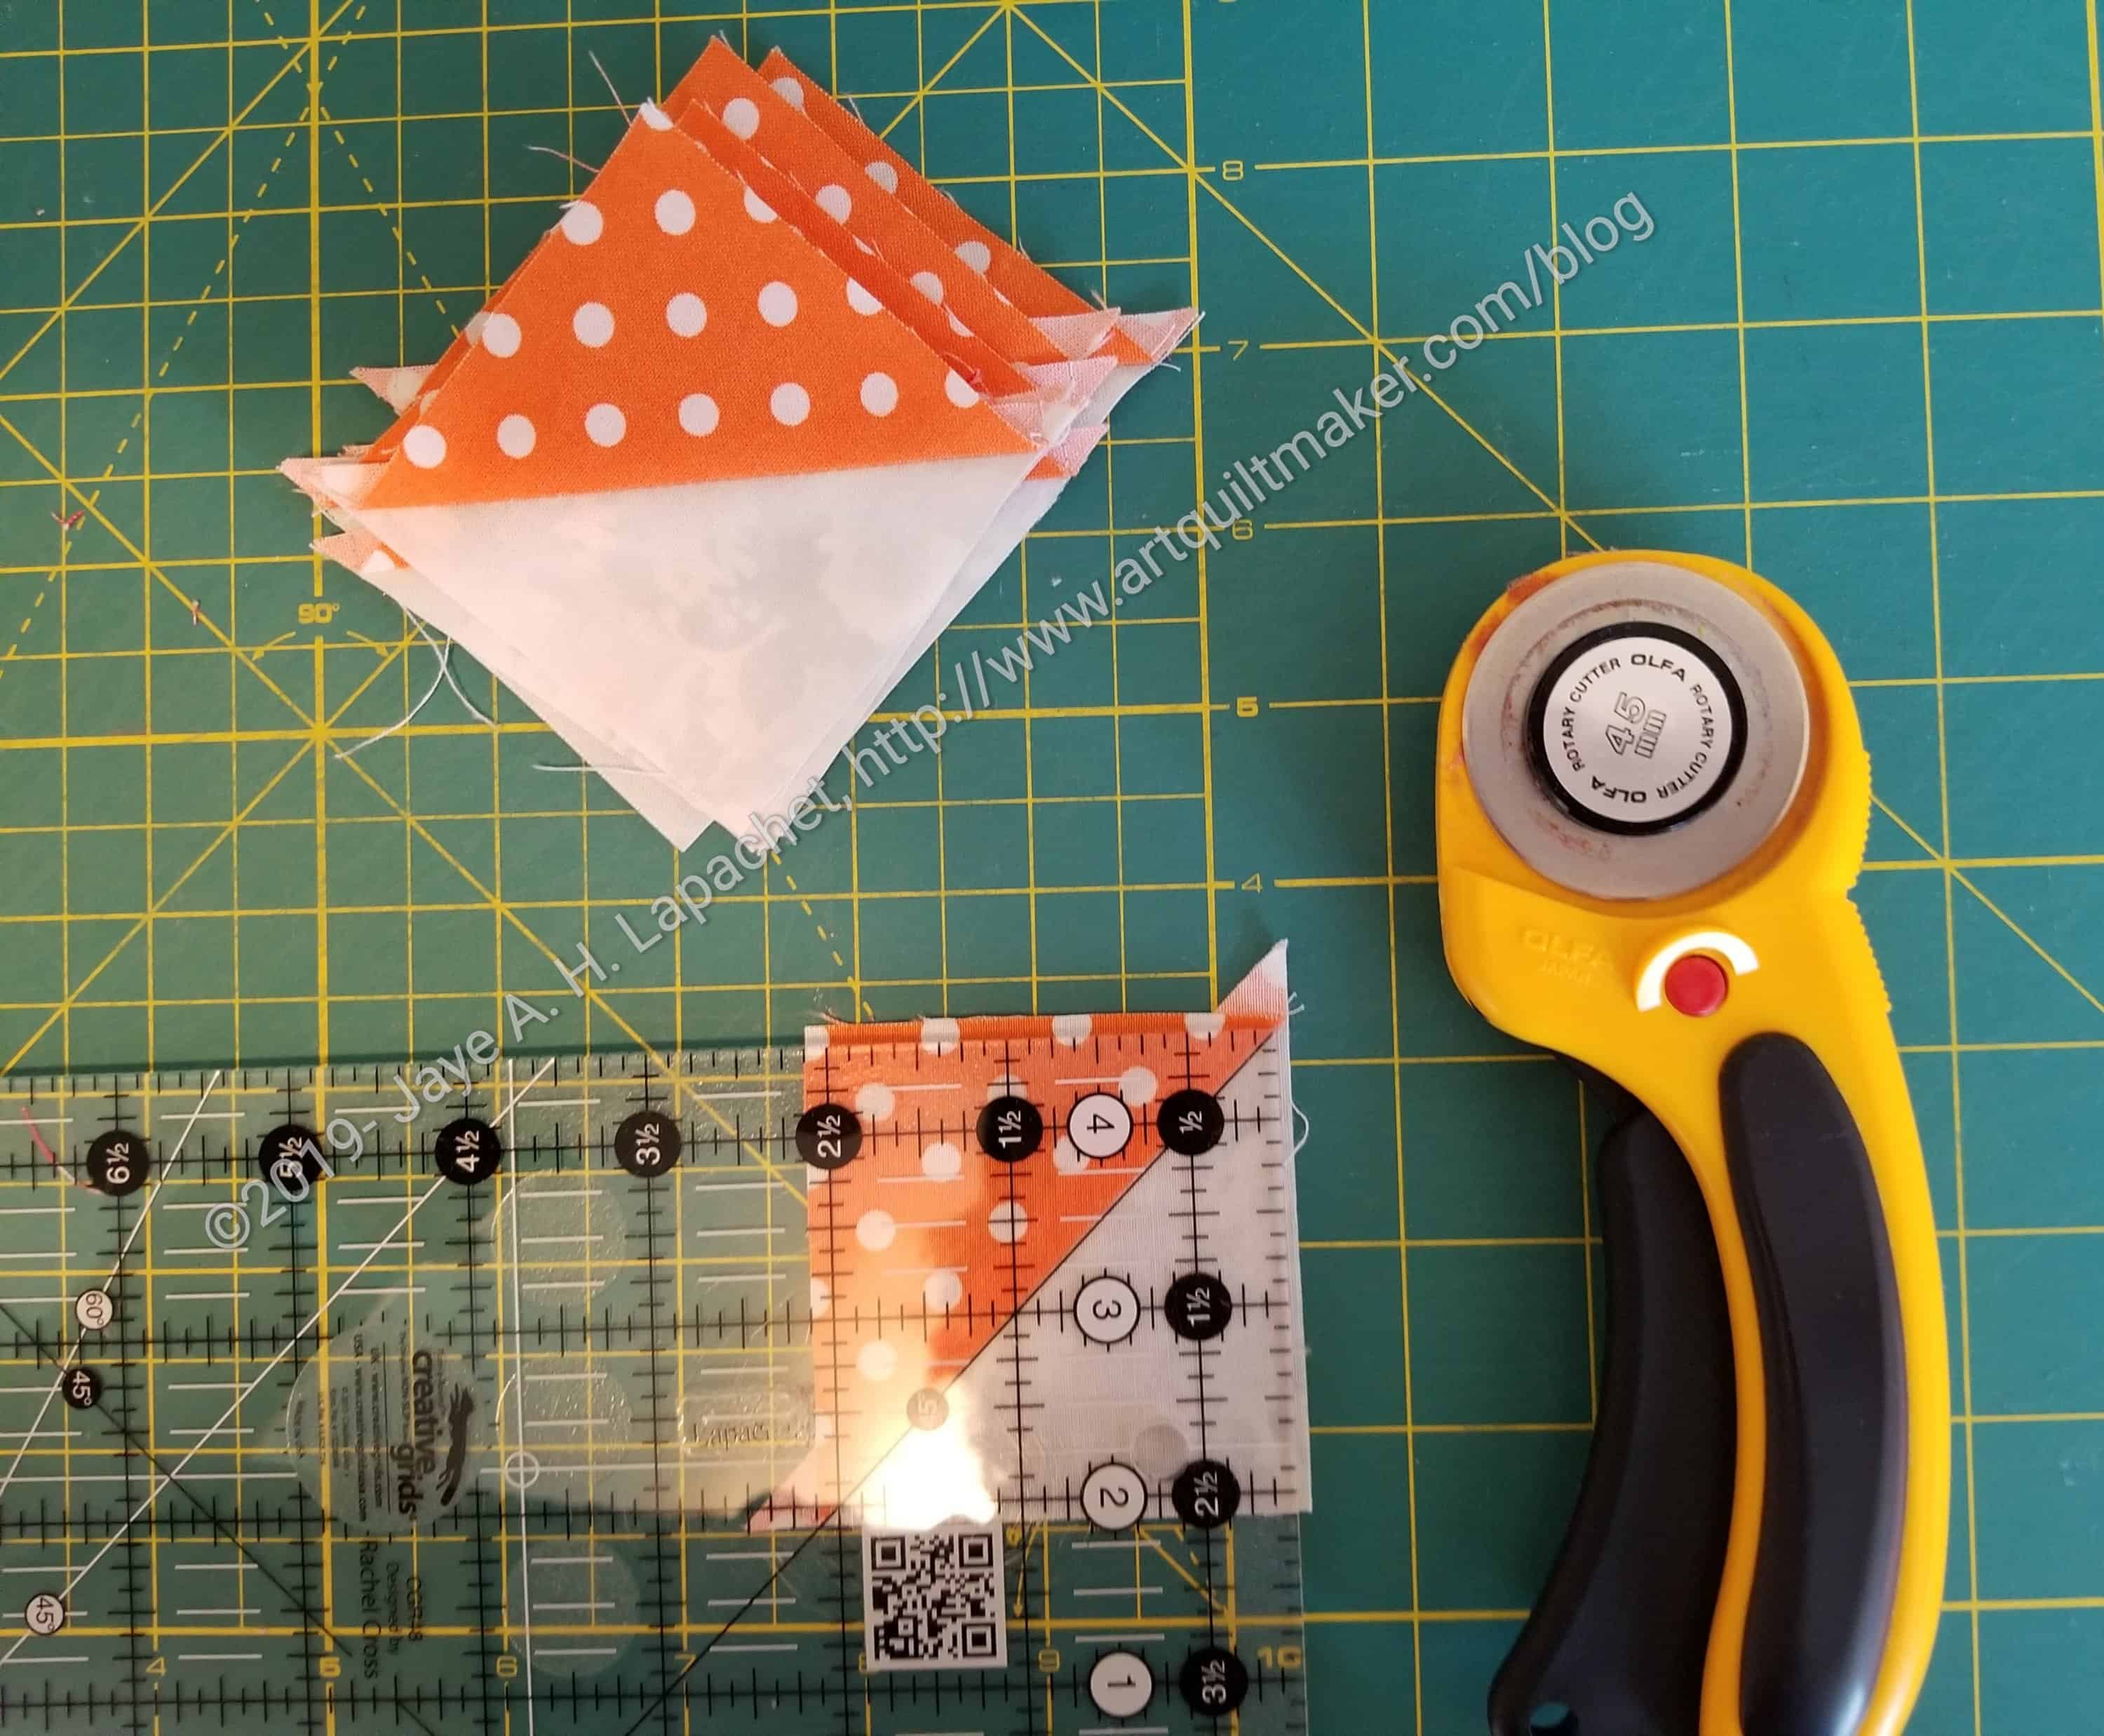
Line up the center diagonal line with the 45 degree line on your ruler.
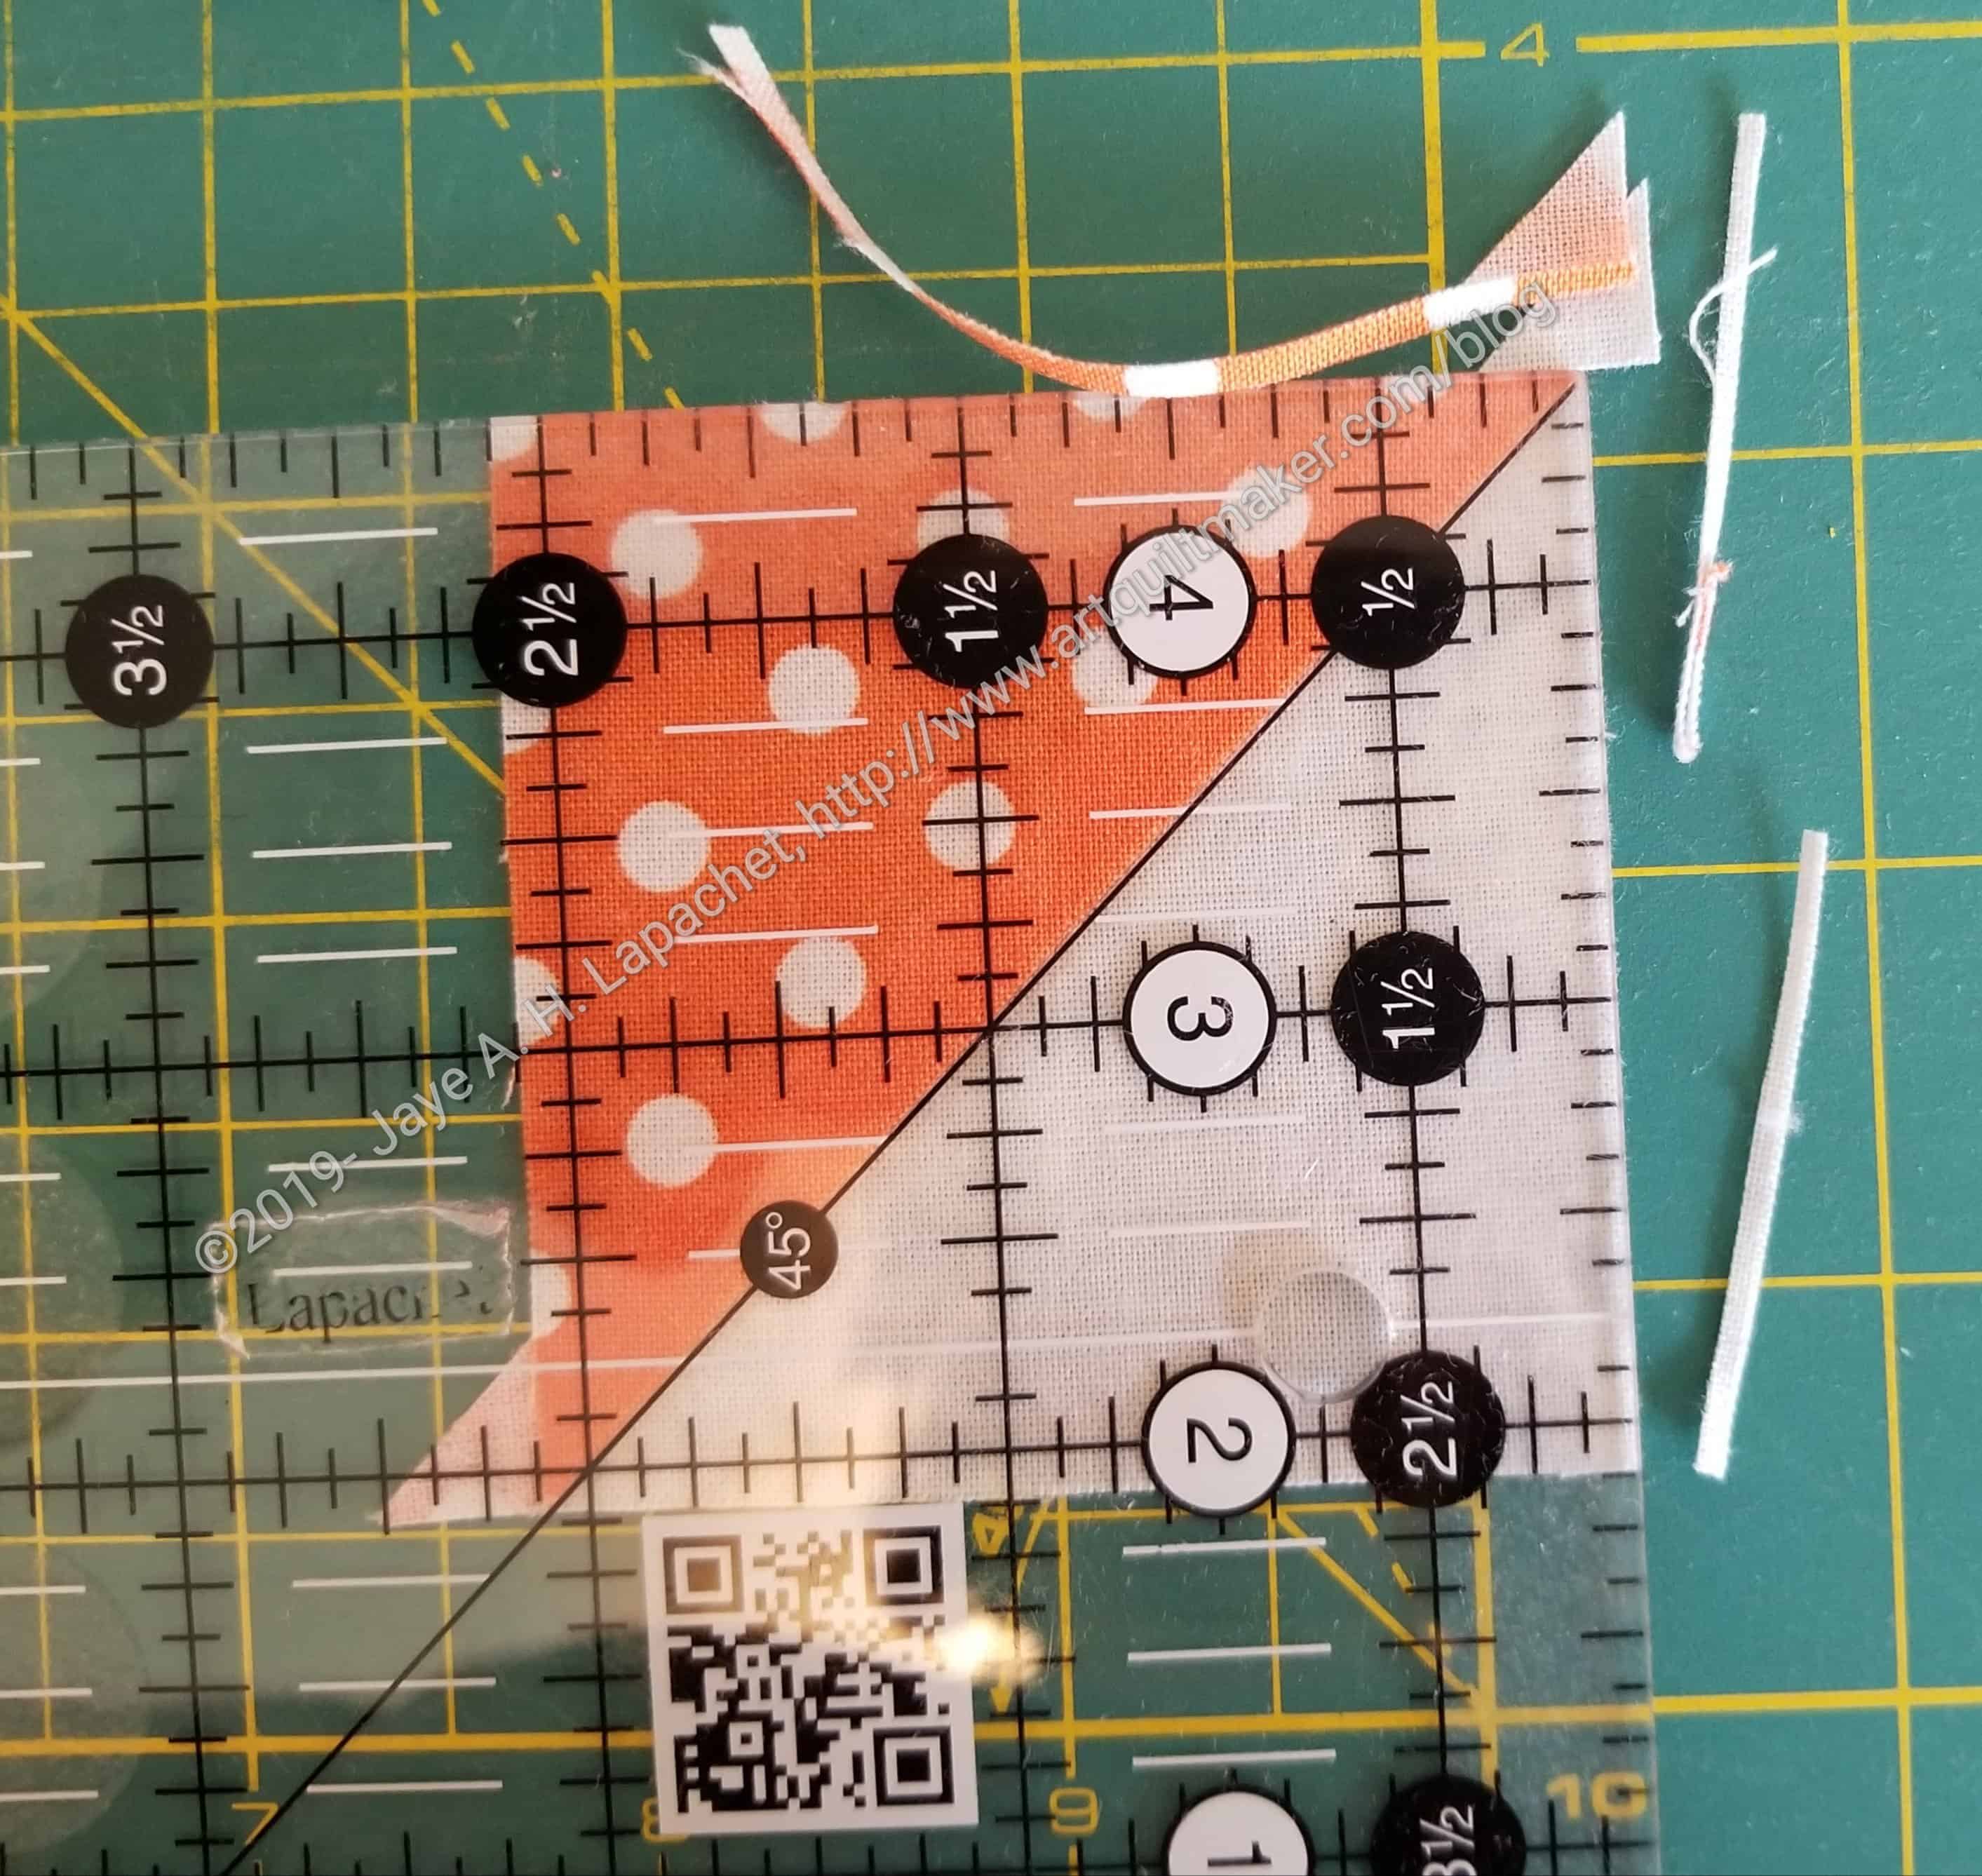
Trim the edges.
Once you trim the first two sides, line up the 2.5 inch line on your ruler with the just cut edges. Trim the second two sides.
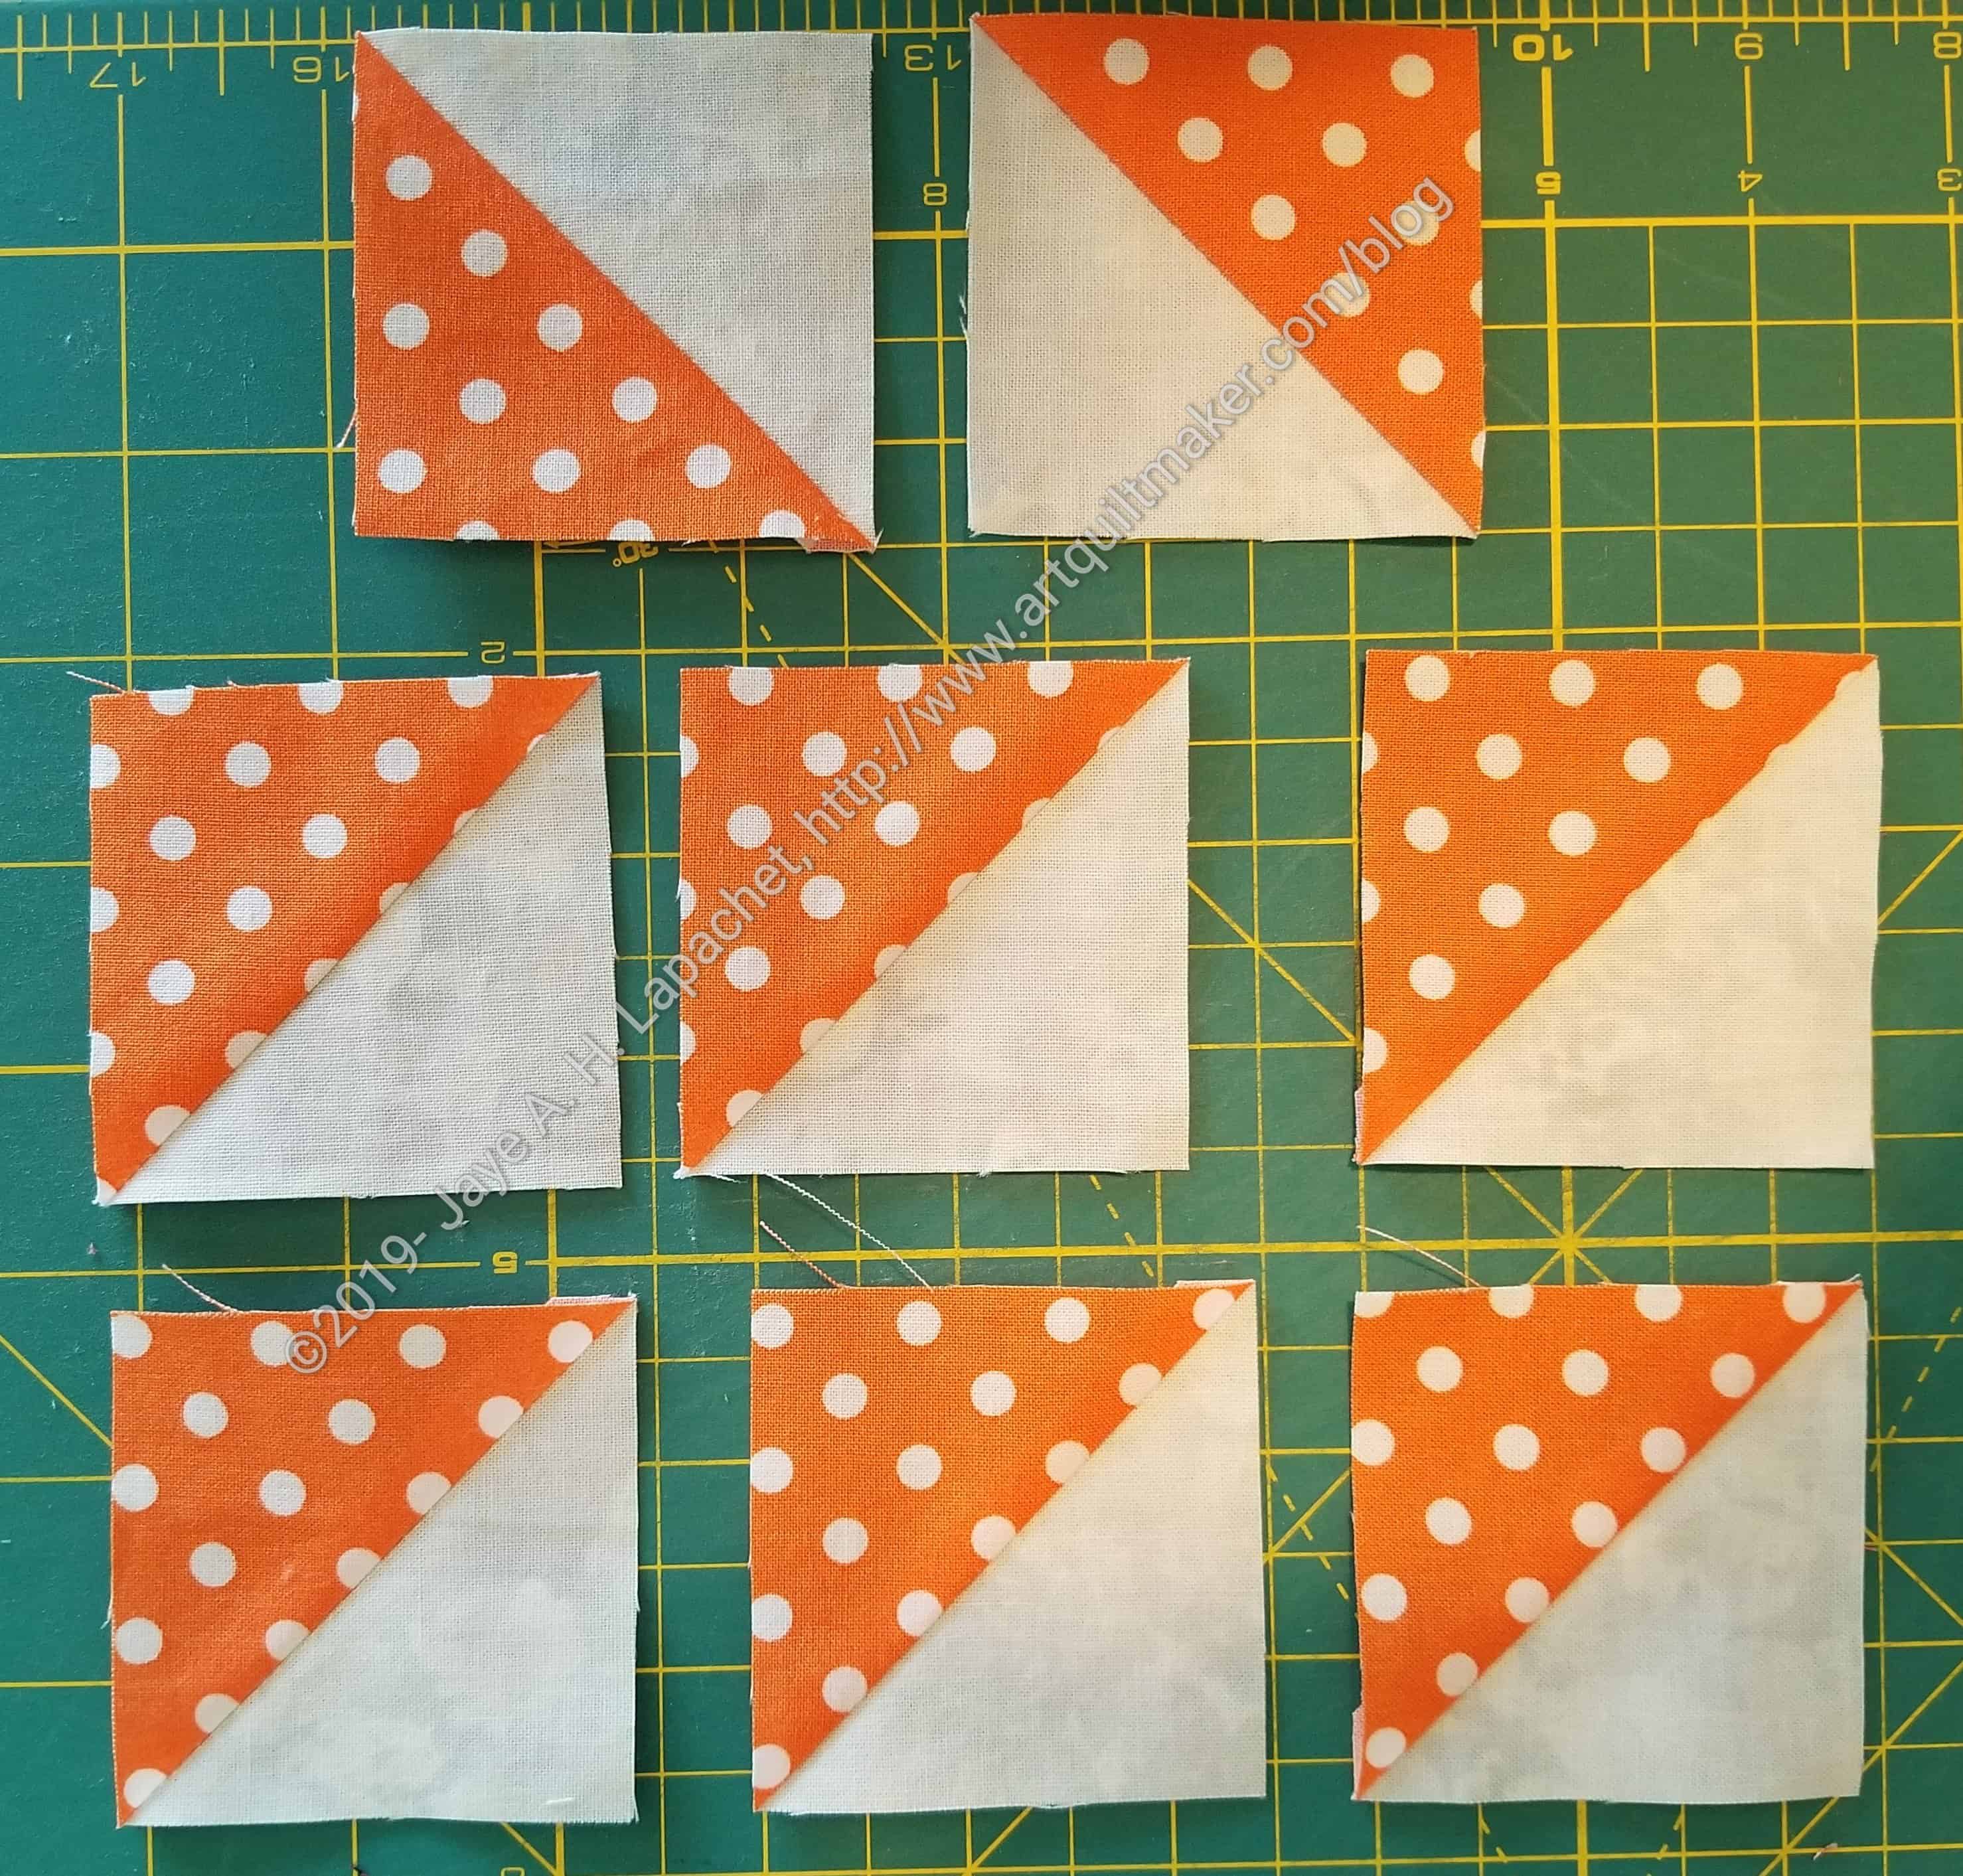
Now you have 8 beautiful HSTs.
N.B. : The bias edges shouldn’t be scary for you on the regular method, but this method makes HSTs much easier. I think this would be a fabulous method to make a lot of HSTs in a short amount of time. It is similar to a tutorial that p.s. i quilt posted, but times 4. I am planning to try out different sized beginning squares to see what sized HSTs I come up with.
I talked over the math with my DH and came up with a chart showing the different sizes you can make with this technique. This is the updated version and you need this chart to use this method.
This is a great technique to use as leaders & enders.
Links:
- Jo Morton website
- Jo Morton blog
- Jo Morton on Andover
- Wet Canvas tutorial
- Carole’s Quilting Adventures tutorial
- B’s Modern Quilting Fish Tutorial
- p.s. i quilt HST tutorial
- Previous AQ HST Size Chart