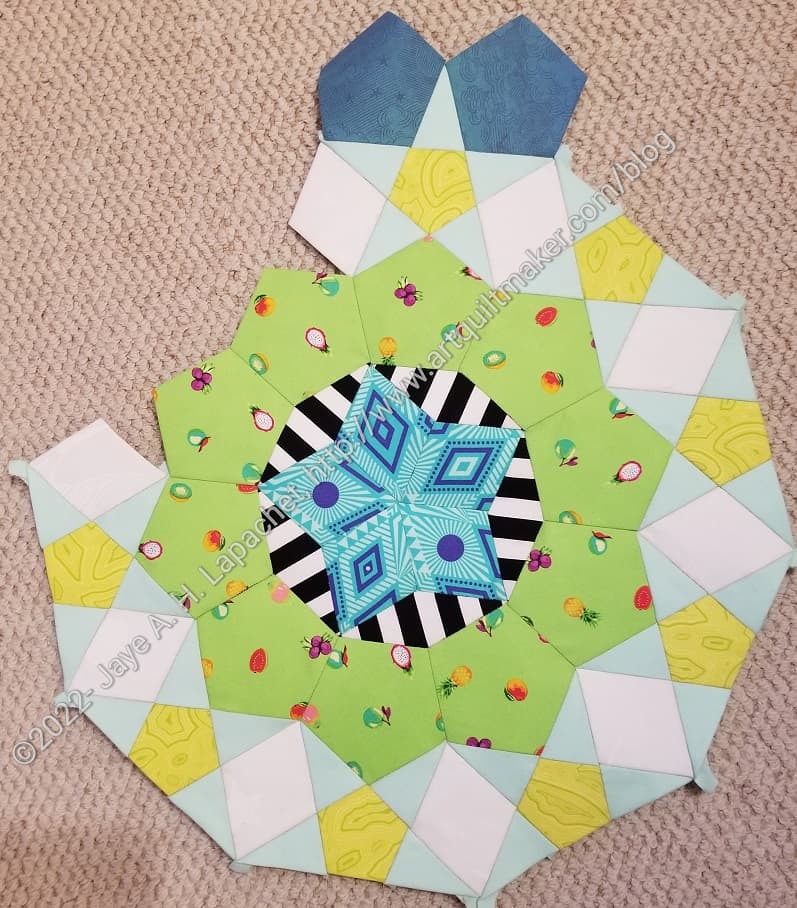
I finished the first M7 rosette or so I thought. I wanted to weave the outer pentagons and thought I would wait until Month 8 came to see what Pink Door did about the outer ring.
The outer pentagons use an ombre fabric and Pink Door has leveraged the ombre qualities for those pentagons.
I may want to keep the gradation smooth rather than including the weaving motif I have seen. Stay tuned.
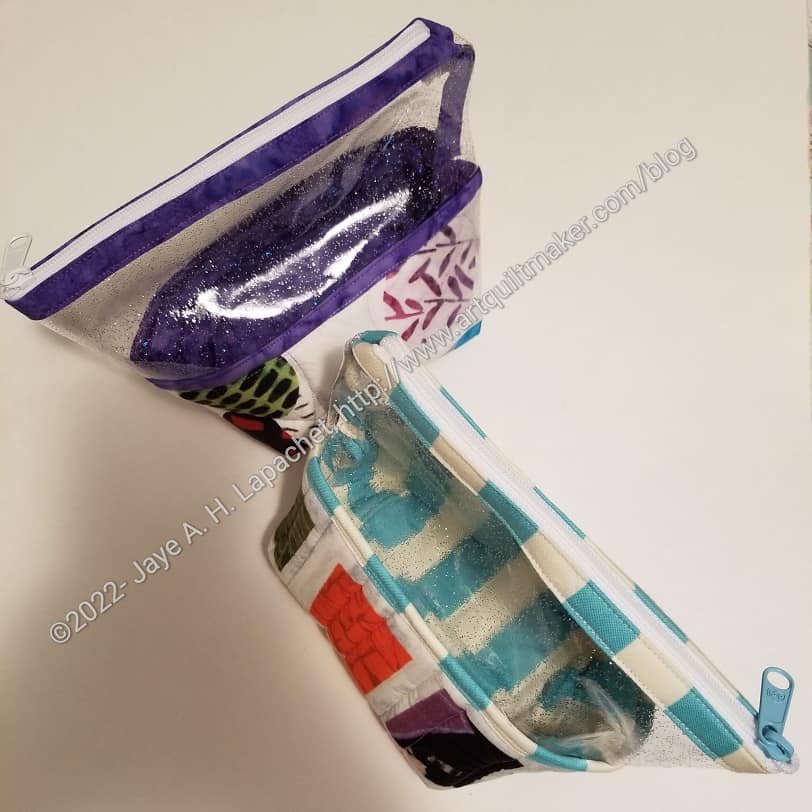
After writing the Hello Pouch pattern review, I couldn’t stop thinking about these pouches. The pattern has a lot of potential and by that I mean the design is good. I think the execution could be better. Regardless, I didn’t want to toss out these pouches even if they aren’t my best work.
Hello Pouch Vinyl Edge
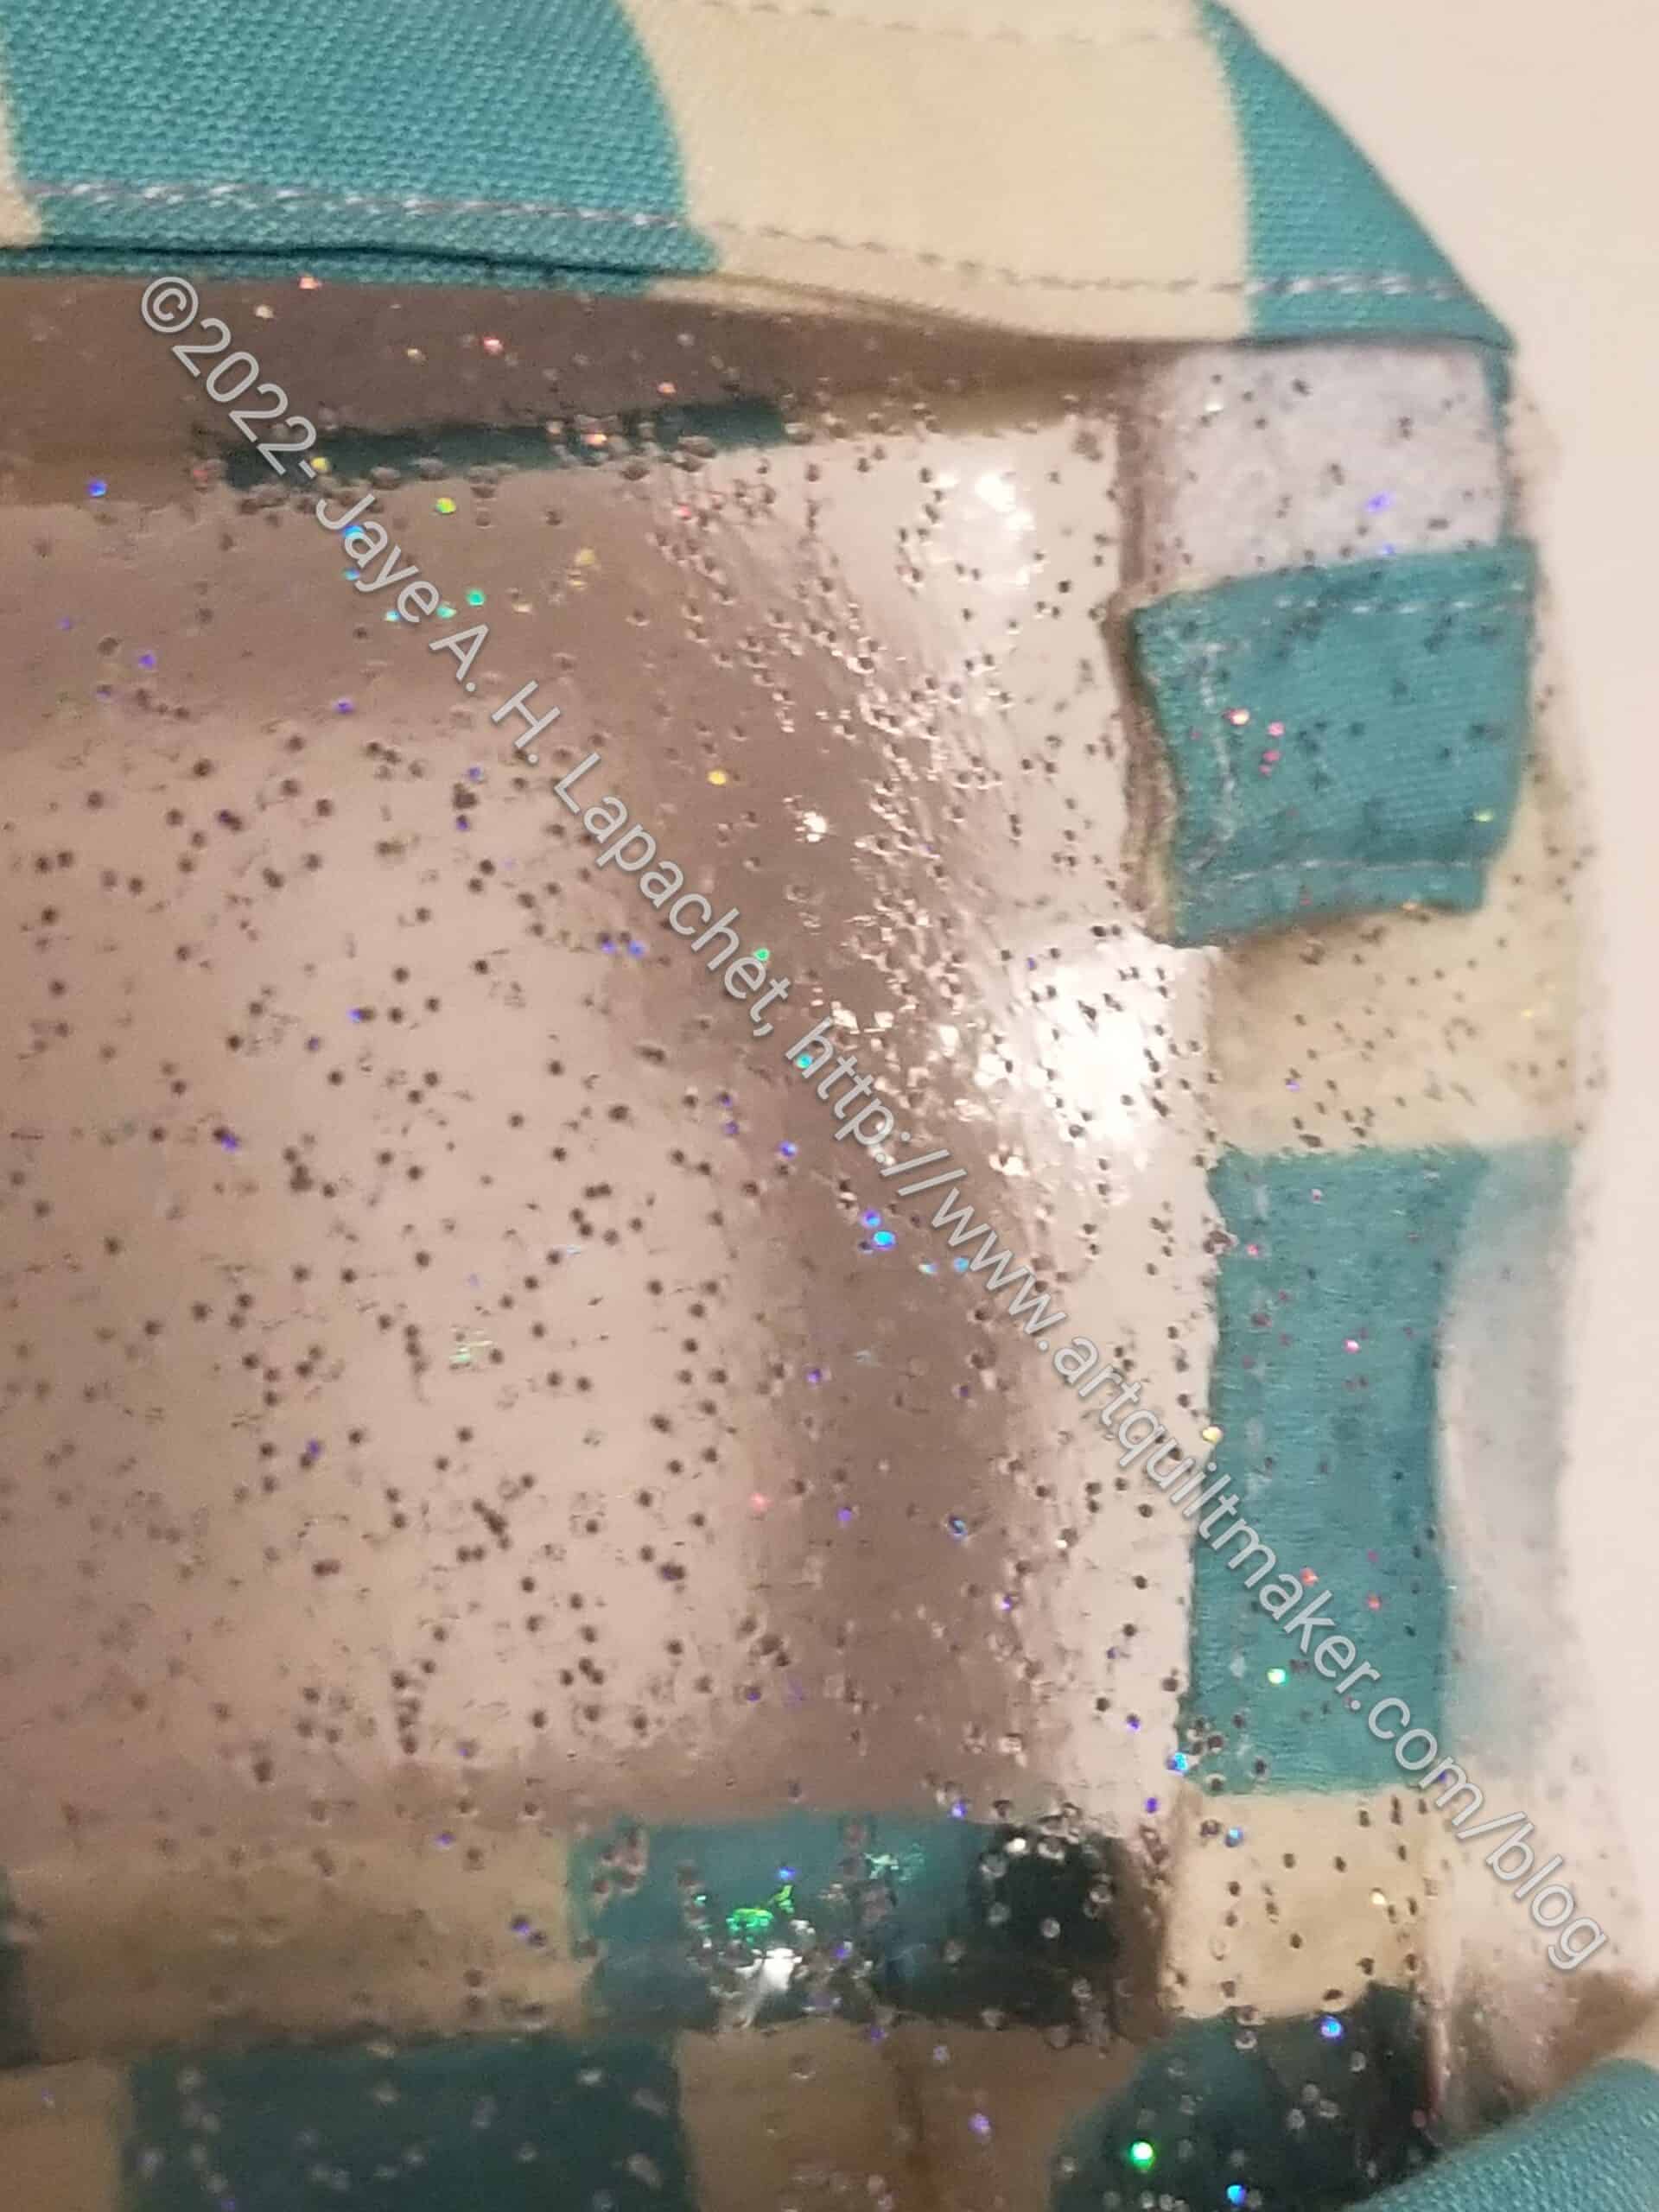
I looked at them and decided that the problem was the vinyl edge. The vinyl edge also included the zipper end, which was fraying like crazy. I didn’t like other parts, but I could live with them. That meant that I needed to get busy on the vinyl edge.
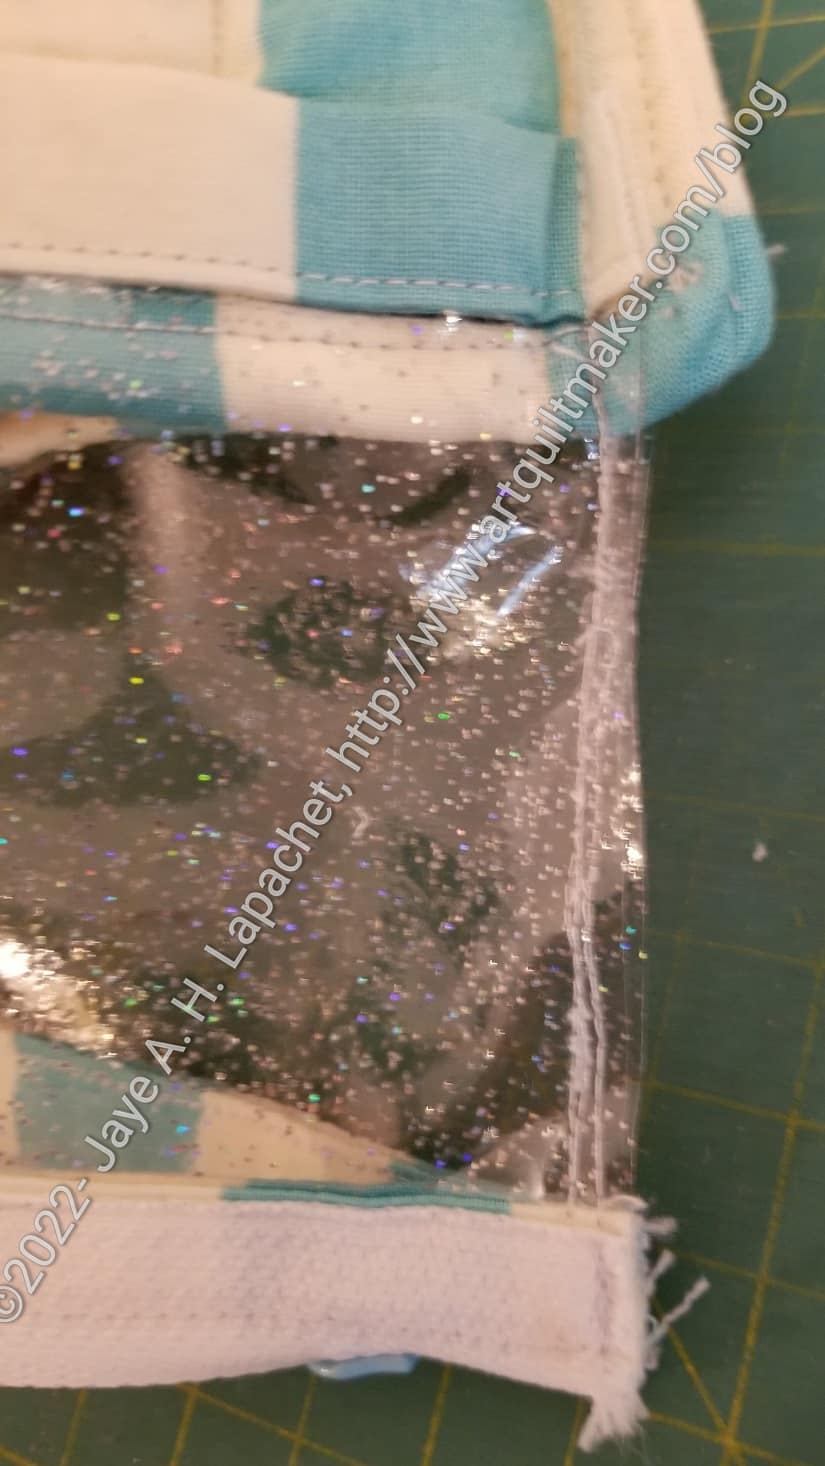
For the zipper edge, a little bit of glue (that dries clear) or Fray Check would be a big help. I cut some fabric strips and installed them over the zipper and down the side of the pouch to cover the vinyl. This did the job, but was a lot of extra work and I wouldn’t want to do it again.
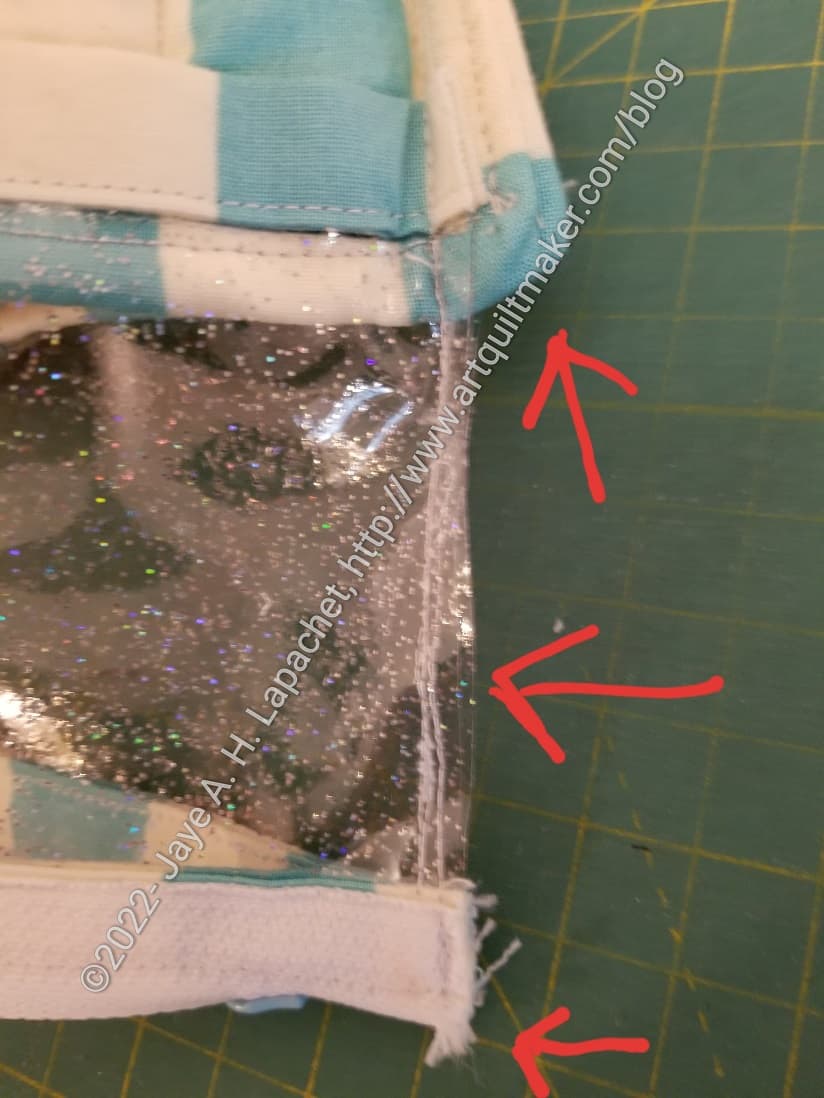
Hello Pouch Vinyl Edge – annotated
If I made this again, I would try to allieviate the things to which the arrows are pointing.
The top arrow points to the edge of the bottom that I quilted. It is much too thick and hard to sew through.
The second arrow points to the vinyl edge and I just dislike the look of uncovered vinyl (naked vinyl).
The edge of the zipper is shown by the third zipper. See how it is fraying? Blech! That looks so terrible. Also, I’m afraid that the zipper would be frayed and falling apart.
Covering the vinyl zipper
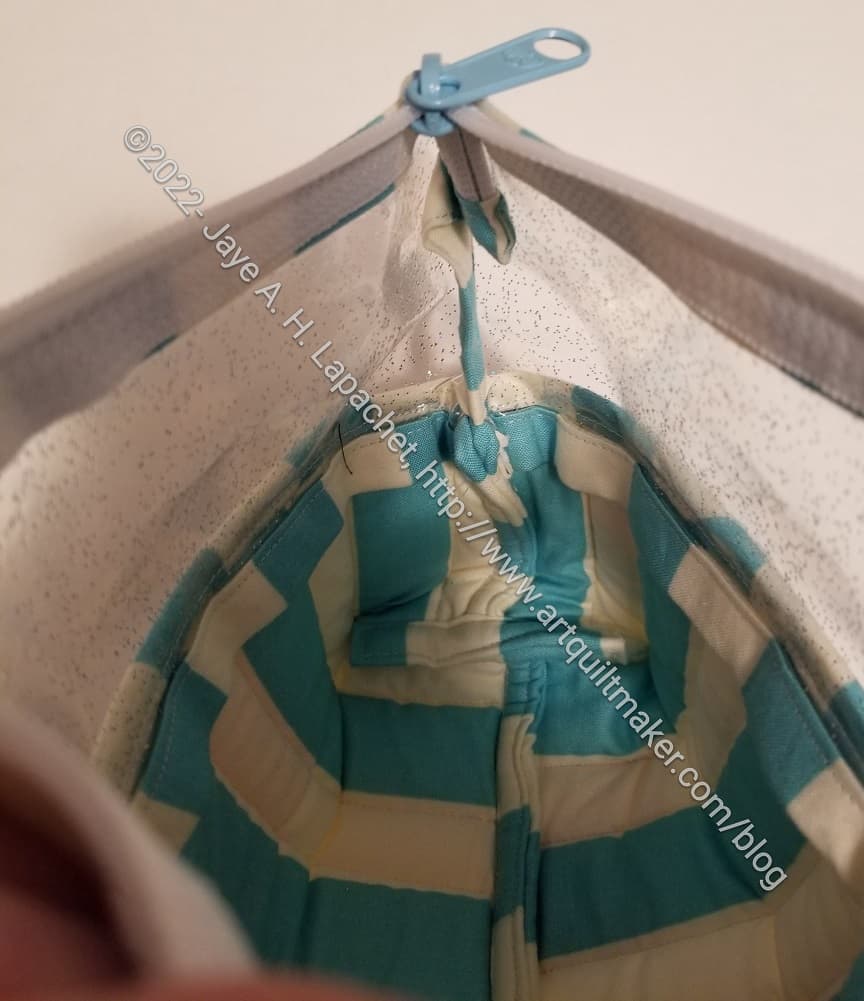
What I did was cover the edge with a strip of fabric. This picture shows the vinyl edge covered by the fabric strips. It isn’t a very good picture and you can see the zipper folded down, which I don’t like. While I do like the way they use the zipper, I don’t like the ending. It also inteferes with the way the pouch closes. the only thing I could figure out was for it to fold down on the inside. I think I would rather have the tail of the zipper hanging down like in the Inside Outside Pouch.
Inside of Hello Pouch
There are a lot of good reasons why the design is the way it is. I understand that. I just found the bottom really hard to sew through. You can see how thick and runscheled the inside looks. If I tried this pouch again, I think I would sew a lining to cover the edges instead of using a binding.
The design of this pattern is great. I just think some of the techniques used were unnecessary and overkill.
**Obviously, you should shop at local quilt shops. However, I use affiliate links and may be paid for your purchase of an item when you click on an item’s link in my post. There is no additional cost to you for clicking or purchasing items I recommend. I appreciate your clicks and purchases as it helps support this blog.