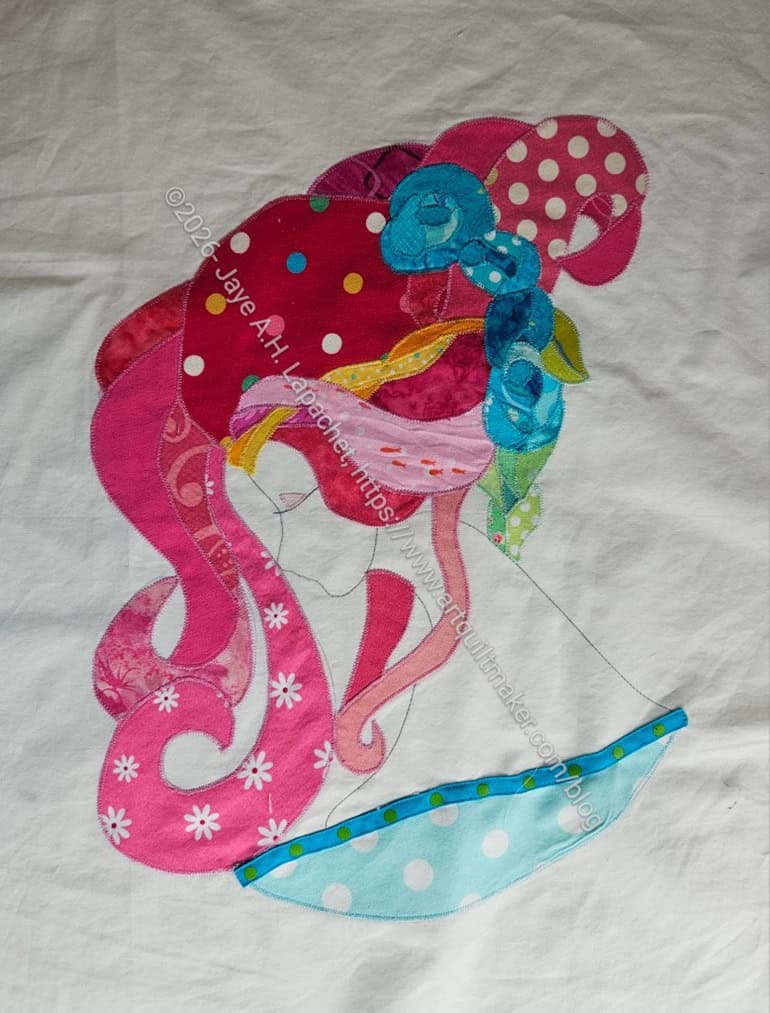
I was able to repair the tear on Serendipity Lady and move forward. Repair is a bit of an exaggeration as I just appliqued a piece of ribbon on the edge and called it done.
I was inspired after reading a novel about debutante balls. It made me think of the trim around those ballgown/ tea dress types of dresses. I am not sure of the era in which my lady resides, but I thought it was an appropriate way to fix the tear.
I am not going to be able to finish this piece before today’s UFO Challenge deadline. I really wasn’t inspired about the quilting and I don’t know my machine well enough to do the careful work I do know I want to do. I have kept up pretty well and am excited for the next project. I am not giving up on finishing Serendipity Lady. Today is just not that day.
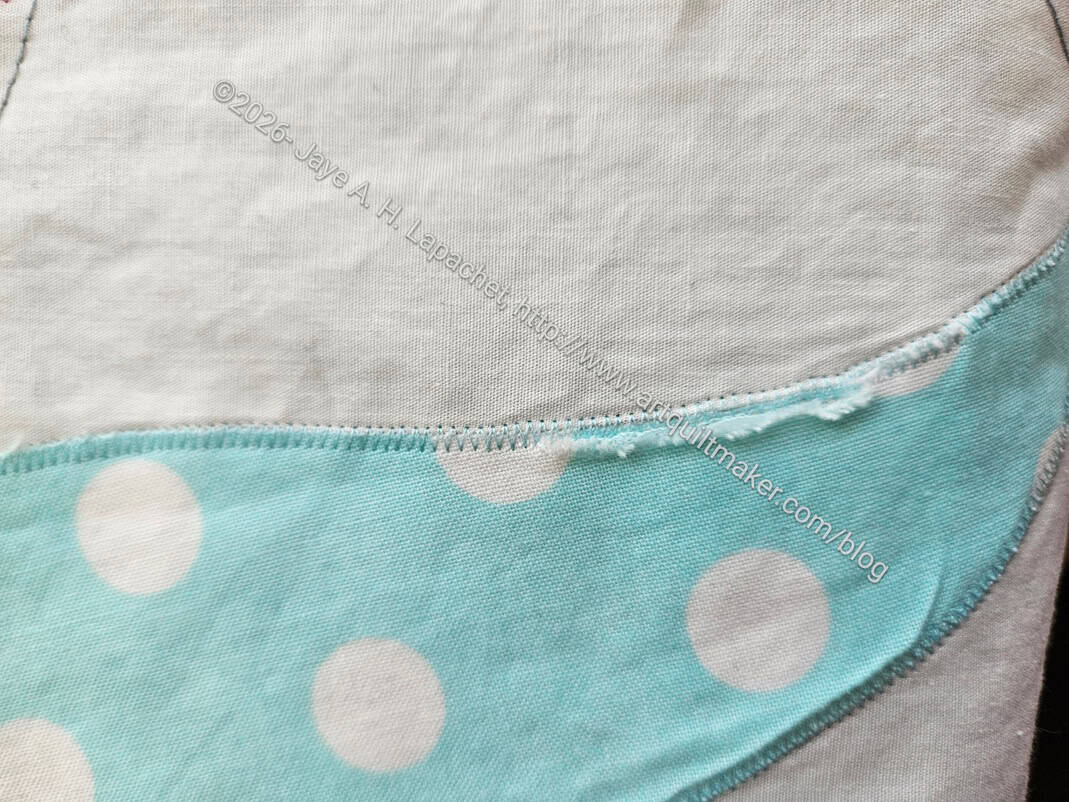
I ripped all the paper off of Serendipity Lady, as mentioned. When I turned it over, I realized that the fabric had ripped or pulled away from the stitching and needed to be repaired.
Mostly, I looked at the tear for awhile, trying to decide the least difficult way to fix the problem. I didn’t really want to rip the whole thing out and do it over, though that was one option.
The other option was to trim the top edge. I was kind of excited about that option, because I think it could add to the look of the piece. The blue dot I used doesn’t provide a lot of contrast with the white of the skin. A trim could add some much needed contrast.
If I did it right, it would look like trim on a dress. I thought about rick-rack, though I don’t know if I have any. Mom does, but I have other options, too. I have a load of Renaissance ribbon. If I found the right ribbon, it might work with the fabric I used for the dress. I also thought about bias tape. I loved sewing the bias tape down for the Red Scribbles quilt.
I am not sure what other options there. I am going to test out a few of these and see what I come up with.
This is UFO challenge project #1 and I may not make the deadline, but at least I am working on the piece.
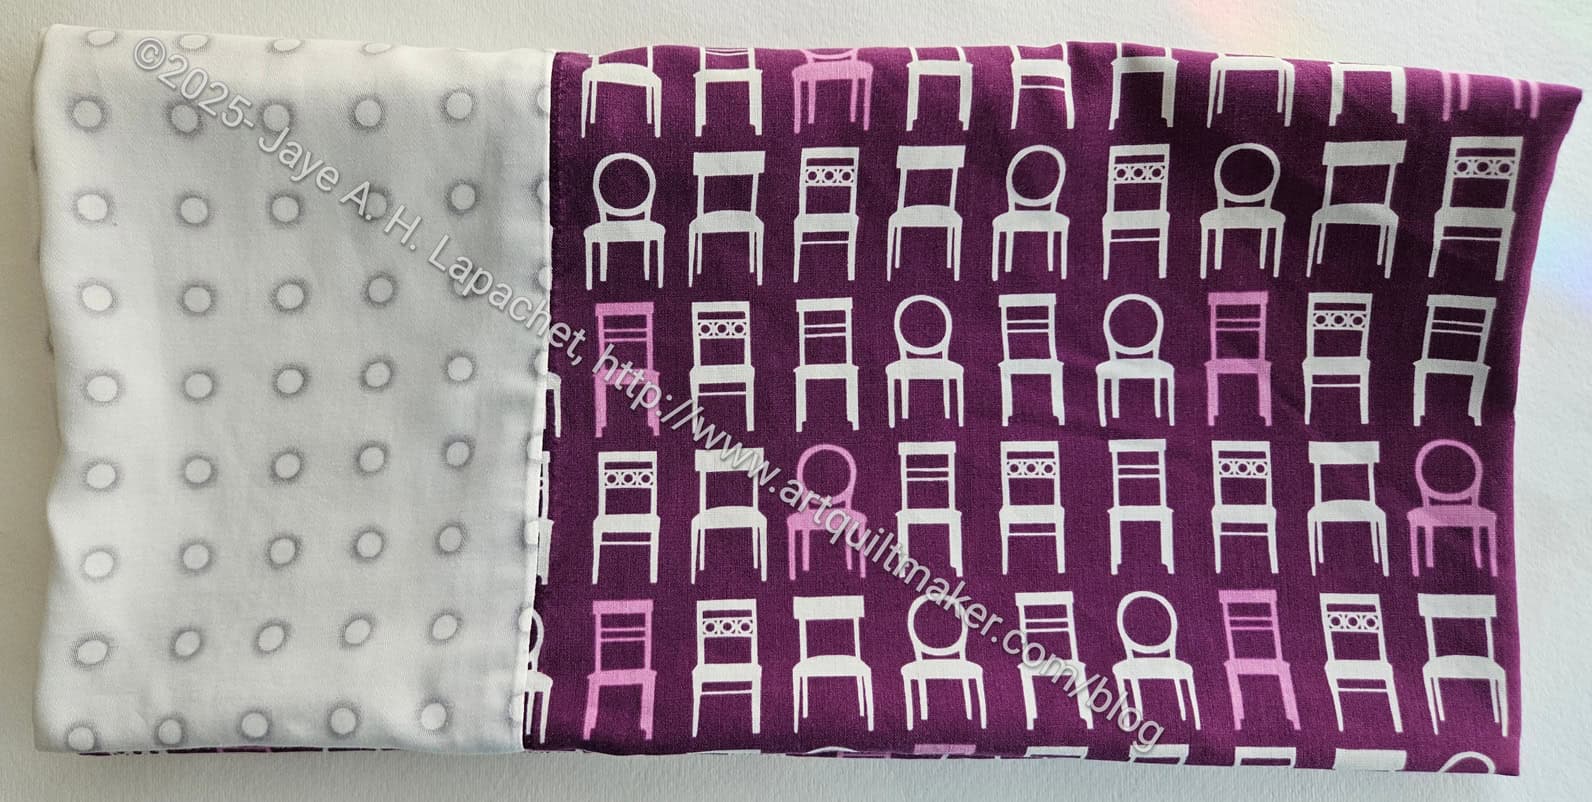
I finally finished repairing my niece’s Tufted Tweets pillowcase! Hooray! It took me awhile to get to it (Pandora Charisma!), but now I just have to take it over to her. This has been hanging around since December 12-ish.
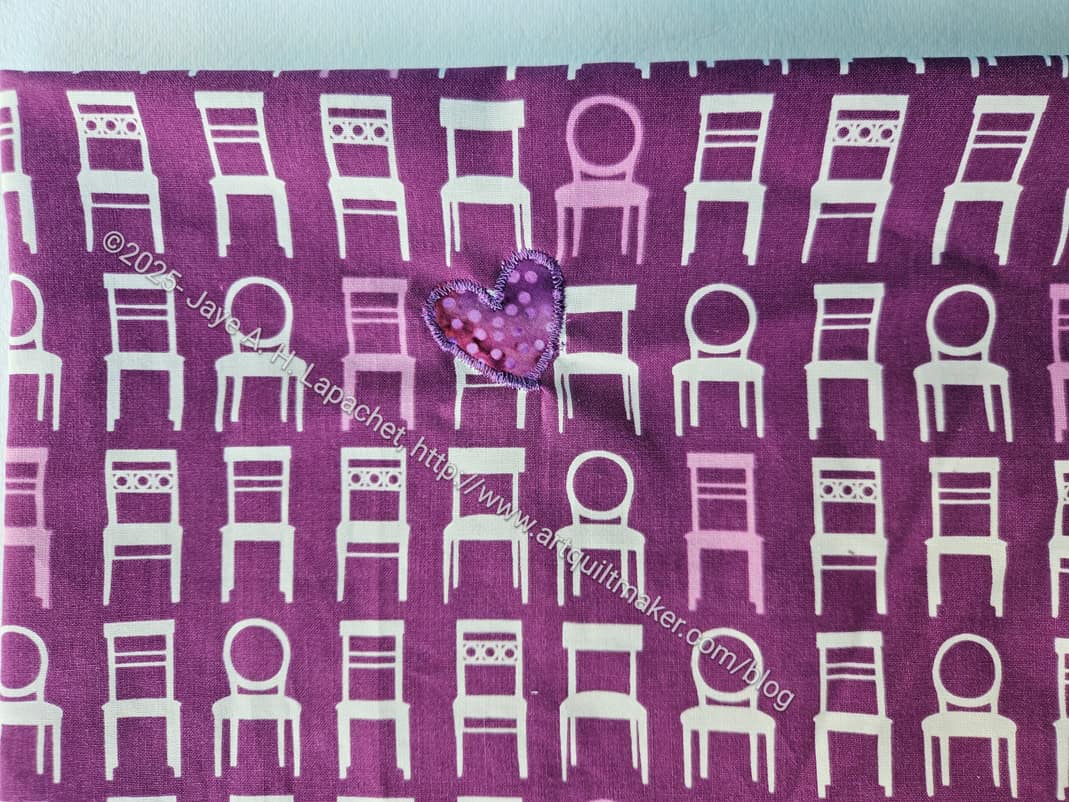
Tufted Tweets (chair) pillowcase -heart
Not only was the cuff ripping off, but there was also a hole in the fabric, so I covered it with an appliqued heart. The heart was a quick and dirty job.
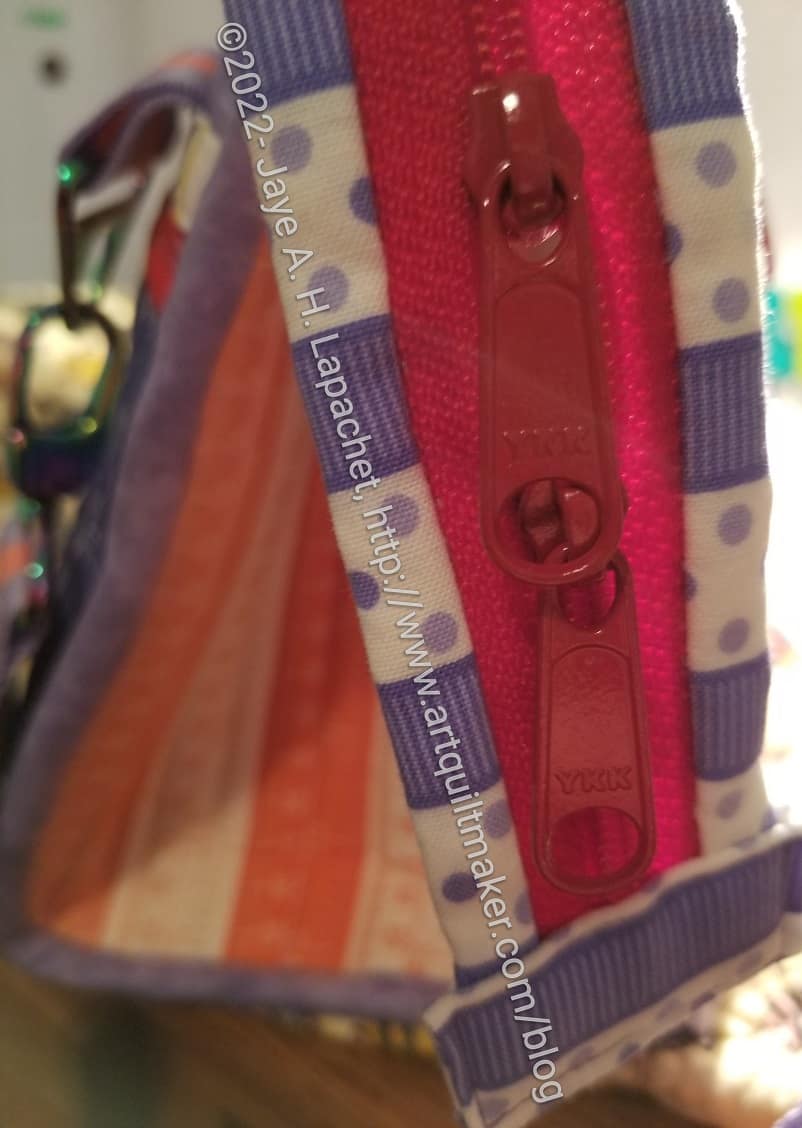
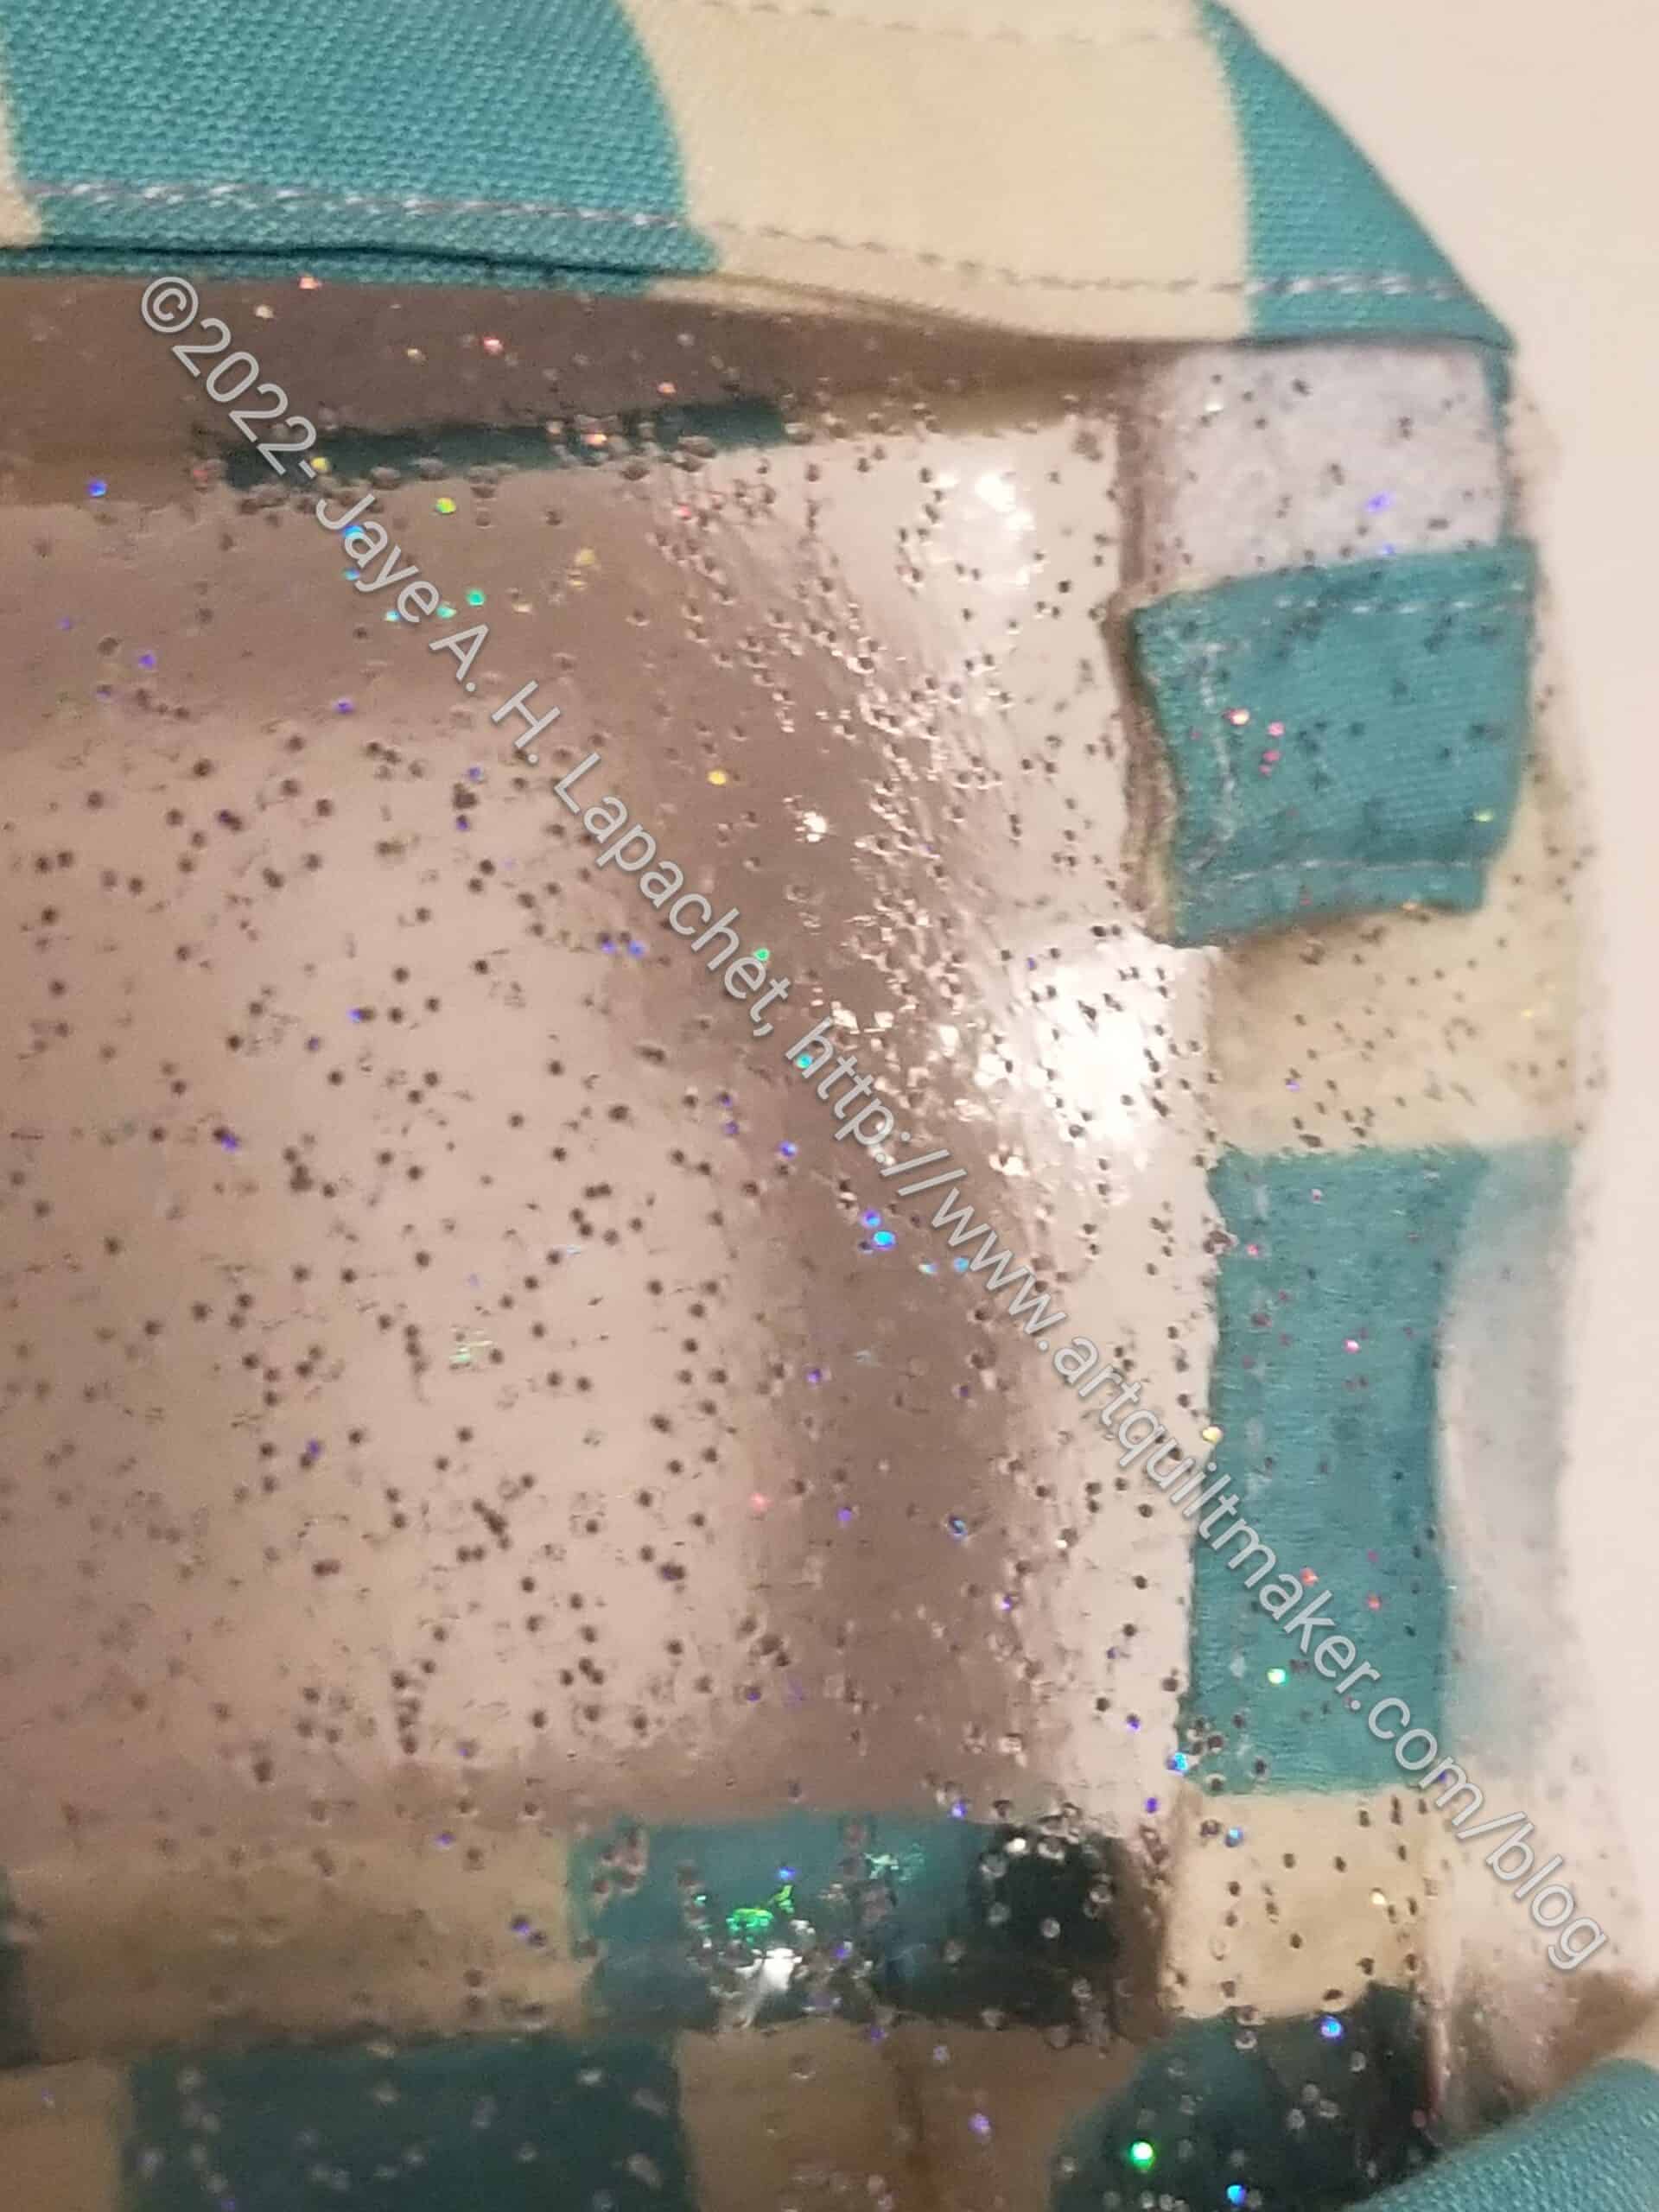
In September I did a gift inventory as I worked on various projects for the holidays. It takes time to make gifts, so I do periodic inventories so I am not scrambling at the last second. During this excavation, I found that the zipper on Julie’s Take a Stand bag had the same problem as mine! Fortunately, I realized this in September, not November 30, and took care of the problem right away. It really only took me a few minutes, since I had already fixed the issue on my bag.
Take a Stand – Fixed Zipper
I took 15 minutes while DH made dinner and fixed the zipper. I was able to tighten up the size of the zipper tab at the same time, which made me feel better. I don’t like zipper tabs that are big and floppy. I realize that the one on the end was not big and floppy before I fixed it, but it was not the right size either.
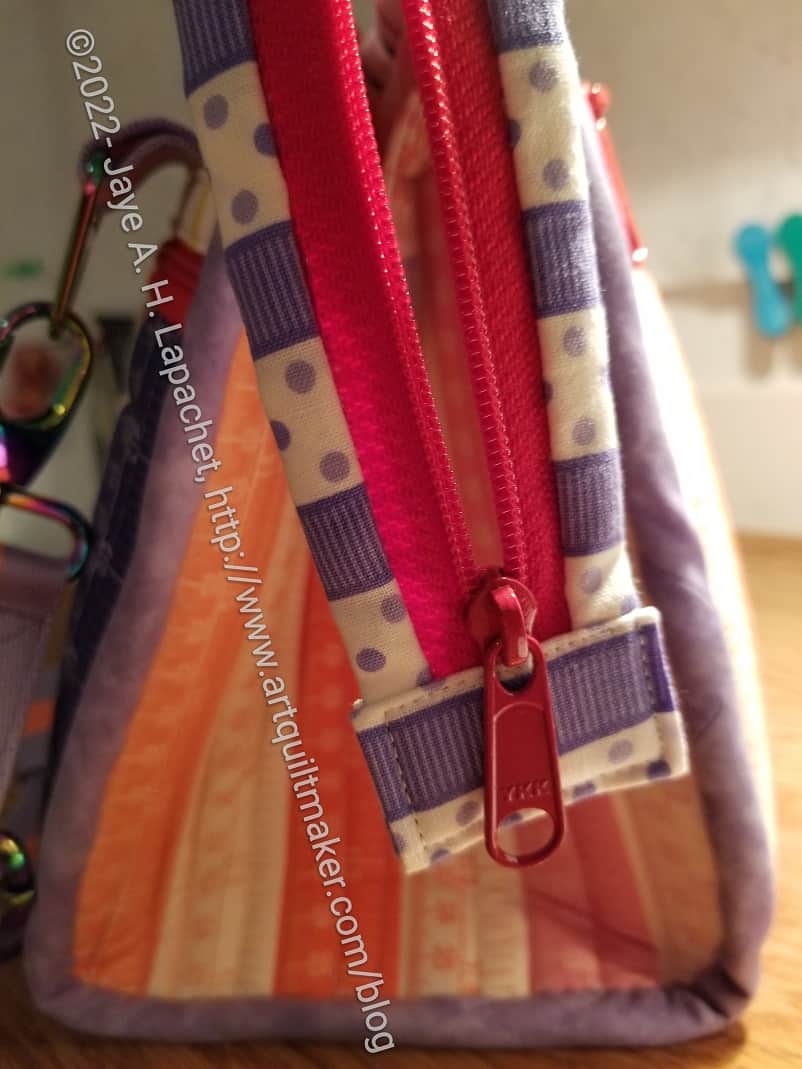
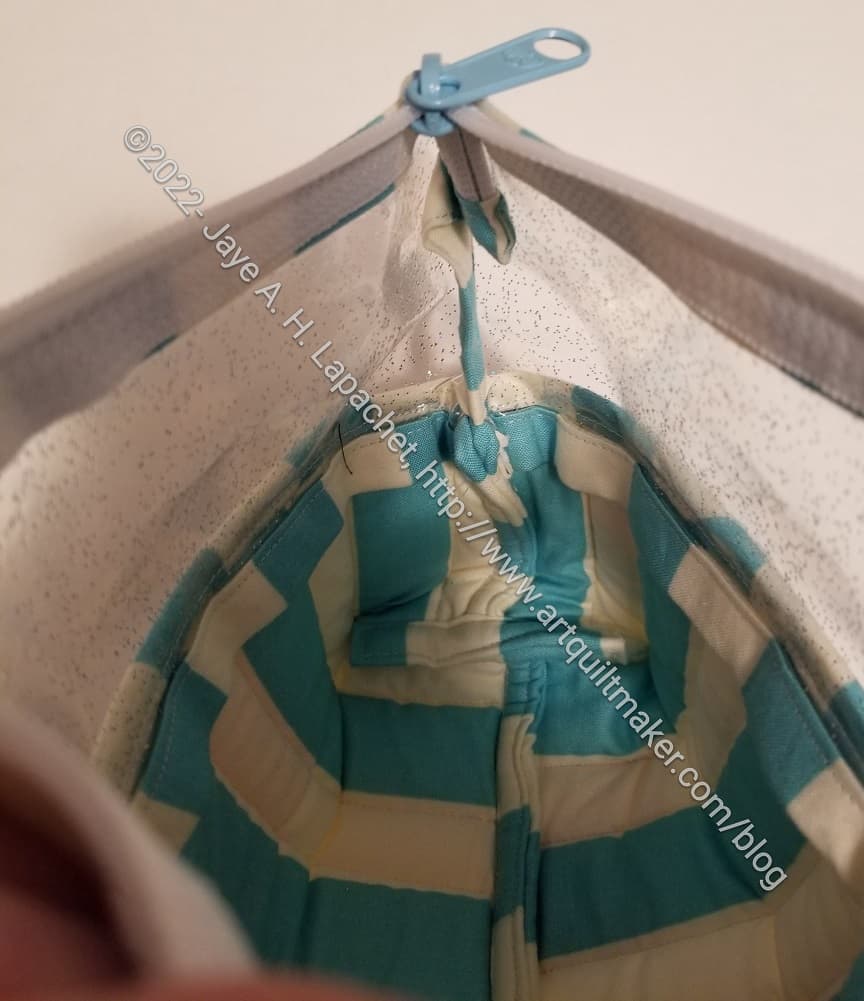
Take a Stand opens wide
Now the bag opens wide. Yay!
And I was able to admire the inside again, which came out very well. I am very proud of it.
I really felt irritated with myself. What was the deal with those two zipper heads? If I did it twice, there had to be something in the pattern.
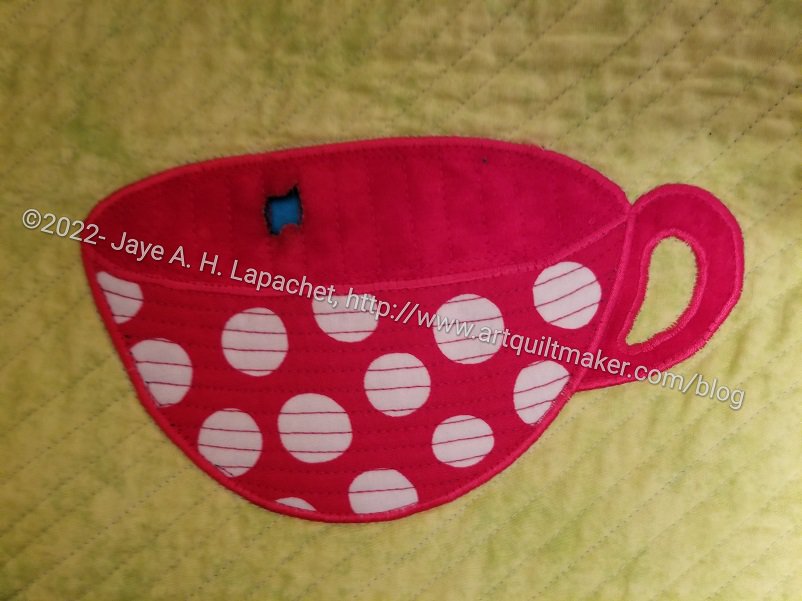
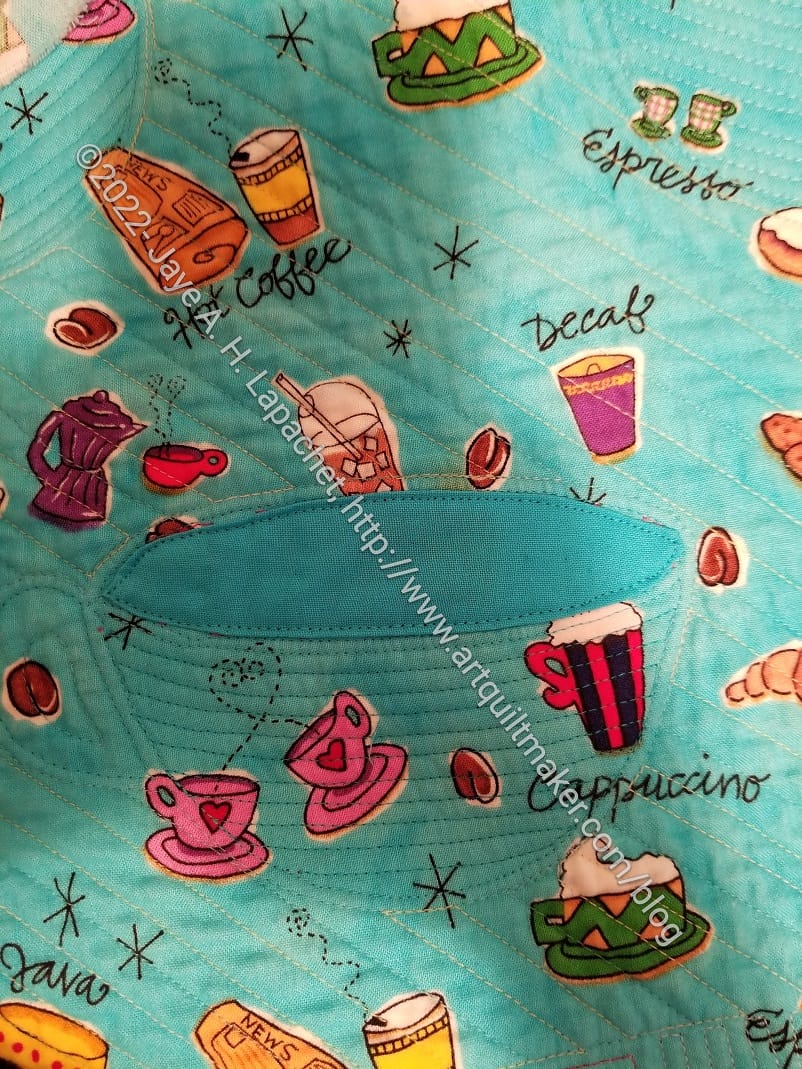
After finishing the quilting on the Tarts Come to Tea, I realized that I still needed to fix the burn. Ever since I wrote about it, I have been very careful not to burn any other parts of the quilt. The center of the burn, however, did not get any better. Crispy bits of fabric and batting fell out until I had a hole I could see through.
As I worked, I also thought about how to fix it. I finally settled on some machine applique.
Tarts: Patching the Back
First, I patched the back. To make the patch the correct size, I made a template out of tracing paper by doing a rubbing of the satin stitching. The satin stitching is more 3D than other parts of the quilt so my method worked pretty well.
Then I cut a piece of fabric that wouldn’t stand out. I didn’t have (or couldn’t find) any more of that coffee novelty print so I matched the background with a solid. It isn’t a perfect match, but looks ok.
Tarts: Back Patch
Then I machine appliqued the piece on to the back.
It isn’t perfect, but I think it looks acceptable. It is so annoying and disappointing that this burn is in the center of the quilt. In the picture of the cup (above), you can see the blue fabric through the quilt. That is the patch on the back.
I needed to take more care with the front of the quilt. I had two competing feelings while I did the work. First, I just wanted it done. Second, I didn’t want it to stand out so much after a quick glance that people would notice it immediately.
Tarts: 3 Cups, Patched
I am pretty happy with the patch on the front. It doesn’t scream out that there was a problem, though you can see it if you look closely. Hopefully people will enjoy the overall look of the quilt and not focus too much on the details.
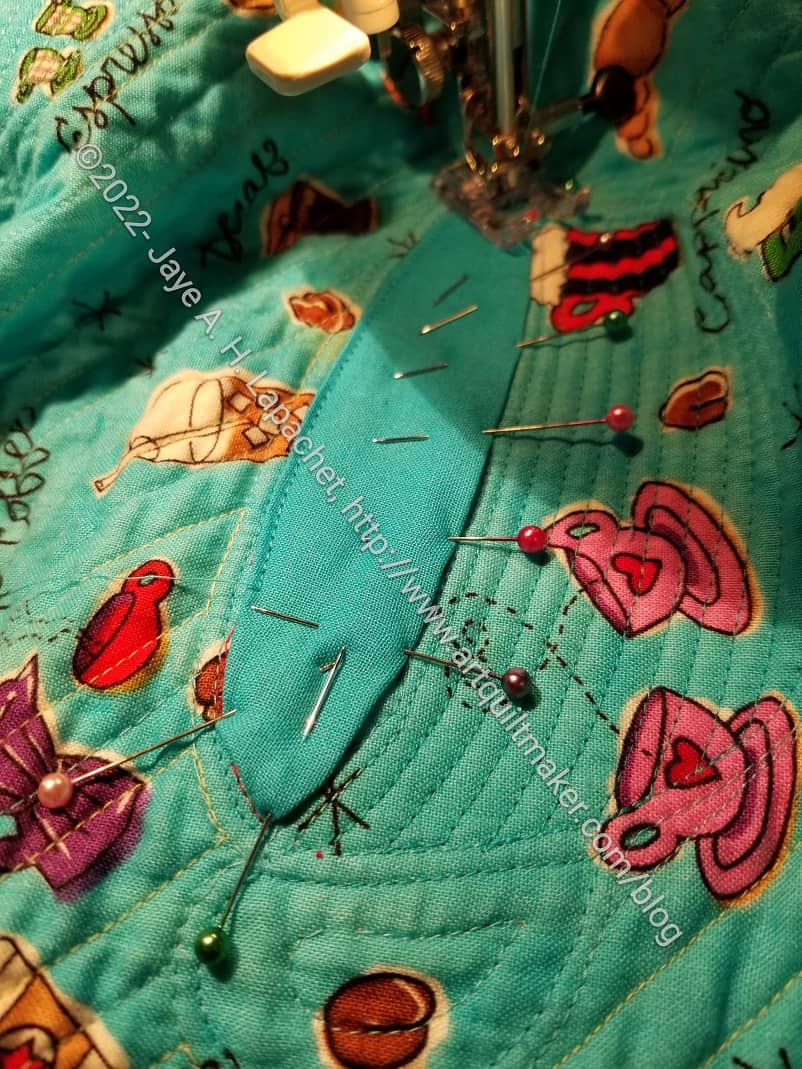
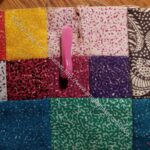
When I brought PP#4 home from Sew Day, I put all of the blocks up on my small design wall so I could see what I had. I had mostly worked on creating small using that would later be made up into blocks. Since I was working at Sew Day, this was a good way to make progress without having to spread everything out. This project is good for random, speed sewing without a plan.
PP4 – damage
PP4 – damage
PP4 – damage
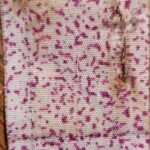
As I put the blocks up, I noticed that two of them had some kind of damage. I thought this was really strange since the project has been in a non-offgassing box in my fabric closet, so mostly out of the sun. I have never seen bugs in there. I am pretty careful with my quilts and projects.
PP4 – damage
PP4 – damage
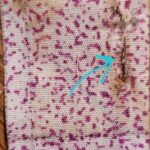
I inspected all the blocks carefully and found only two places where there was damage. I marked the spots with some WonderPins and worked on making the other blocks while I thought about what to do.
I didn’t do any repair right away. Eventually I decided to just replace the pieces. I have plenty of that fabric and the repair was a little fiddly, but not difficult. When I finished the blocks, I made the repairs. The blocks look fine now. I do keep looking to see if I see signs of other damage developing.
I see this as another good reason not to have 20+ year old UFOs lying around.
Take a Stand/Without a Trace Bag finished & repaired
I wrote about my unhappiness with the Take a Stand/Without a Trace zipper a few weeks ago. In a way this is the project that keeps rearing its head. Finally, though, I think it is finished, repaired and available for use.
It is a good, medium sized bag, so I hope to put it to good use in some way I can’t think of right now.
Take a Stand/Without a Trace Bag zipper tab updated
I changed out the zipper tab to match the binding. I haven’t checked the pattern to see if it calls for exterior (my first choice) or binding fabric for the zipper tab. I am pretty sure I cut what the pattern suggested. I like the zipper tab matching the binding better.
I also adjusted the size to match the width of the binding and the zipper. I don’t like the zipper tabs being larger. The Quilts Illustrated Tool Tote pattern calls for a larger tab and it bugs me every time I see it. now that I have changed the zipper for the Take a Stand/Without a Trace bag, I might change that one as well.
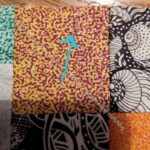
After writing the Hello Pouch pattern review, I couldn’t stop thinking about these pouches. The pattern has a lot of potential and by that I mean the design is good. I think the execution could be better. Regardless, I didn’t want to toss out these pouches even if they aren’t my best work.
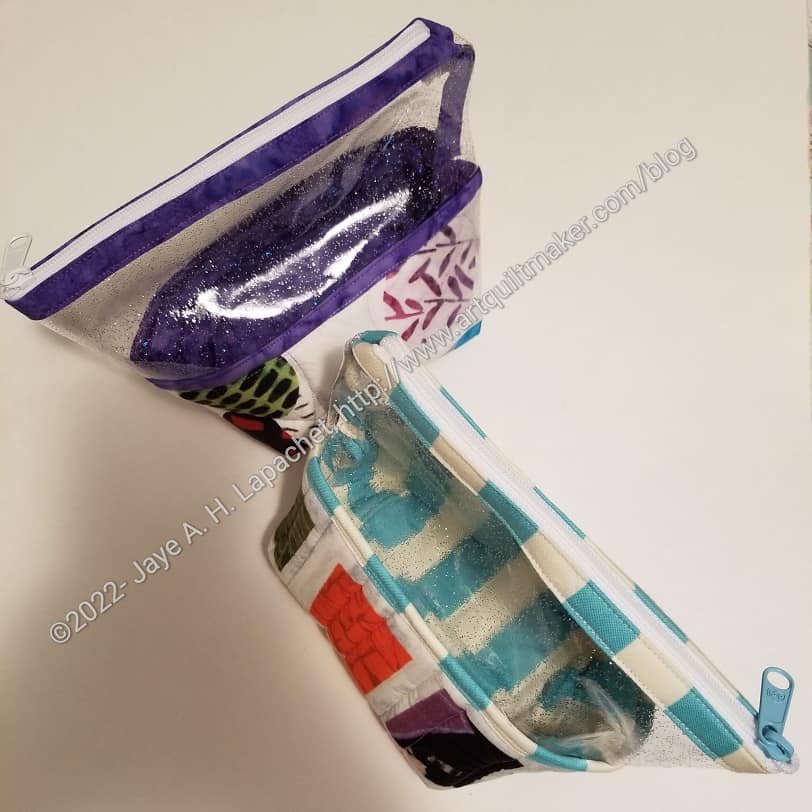
Hello Pouch Vinyl Edge
I looked at them and decided that the problem was the vinyl edge. The vinyl edge also included the zipper end, which was fraying like crazy. I didn’t like other parts, but I could live with them. That meant that I needed to get busy on the vinyl edge.
For the zipper edge, a little bit of glue (that dries clear) or Fray Check would be a big help. I cut some fabric strips and installed them over the zipper and down the side of the pouch to cover the vinyl. This did the job, but was a lot of extra work and I wouldn’t want to do it again.
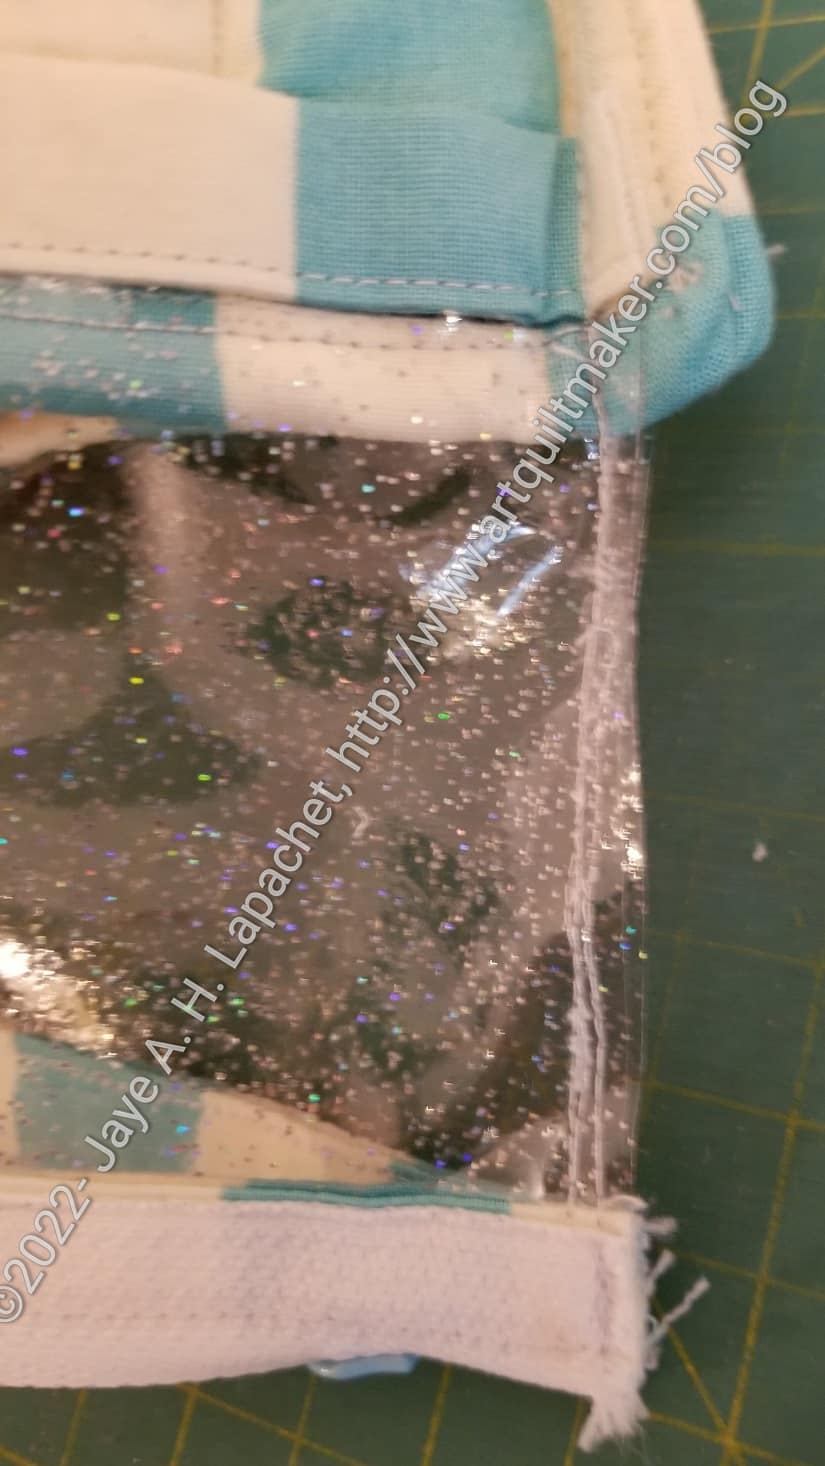
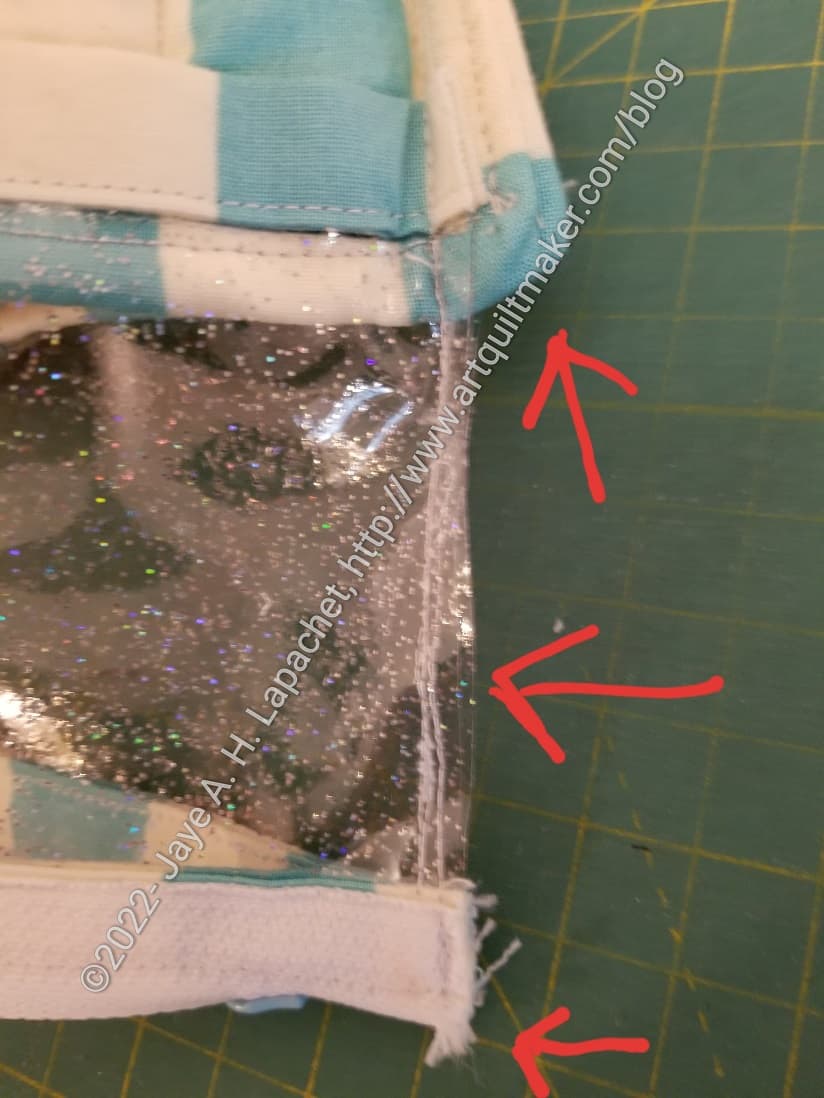
Hello Pouch Vinyl Edge – annotated
If I made this again, I would try to allieviate the things to which the arrows are pointing.
The top arrow points to the edge of the bottom that I quilted. It is much too thick and hard to sew through.
The second arrow points to the vinyl edge and I just dislike the look of uncovered vinyl (naked vinyl).
The edge of the zipper is shown by the third zipper. See how it is fraying? Blech! That looks so terrible. Also, I’m afraid that the zipper would be frayed and falling apart.
Covering the vinyl zipper
What I did was cover the edge with a strip of fabric. This picture shows the vinyl edge covered by the fabric strips. It isn’t a very good picture and you can see the zipper folded down, which I don’t like. While I do like the way they use the zipper, I don’t like the ending. It also inteferes with the way the pouch closes. the only thing I could figure out was for it to fold down on the inside. I think I would rather have the tail of the zipper hanging down like in the Inside Outside Pouch.
Inside of Hello Pouch
There are a lot of good reasons why the design is the way it is. I understand that. I just found the bottom really hard to sew through. You can see how thick and runscheled the inside looks. If I tried this pouch again, I think I would sew a lining to cover the edges instead of using a binding.
The design of this pattern is great. I just think some of the techniques used were unnecessary and overkill.
**Obviously, you should shop at local quilt shops. However, I use affiliate links and may be paid for your purchase of an item when you click on an item’s link in my post. There is no additional cost to you for clicking or purchasing items I recommend. I appreciate your clicks and purchases as it helps support this blog.