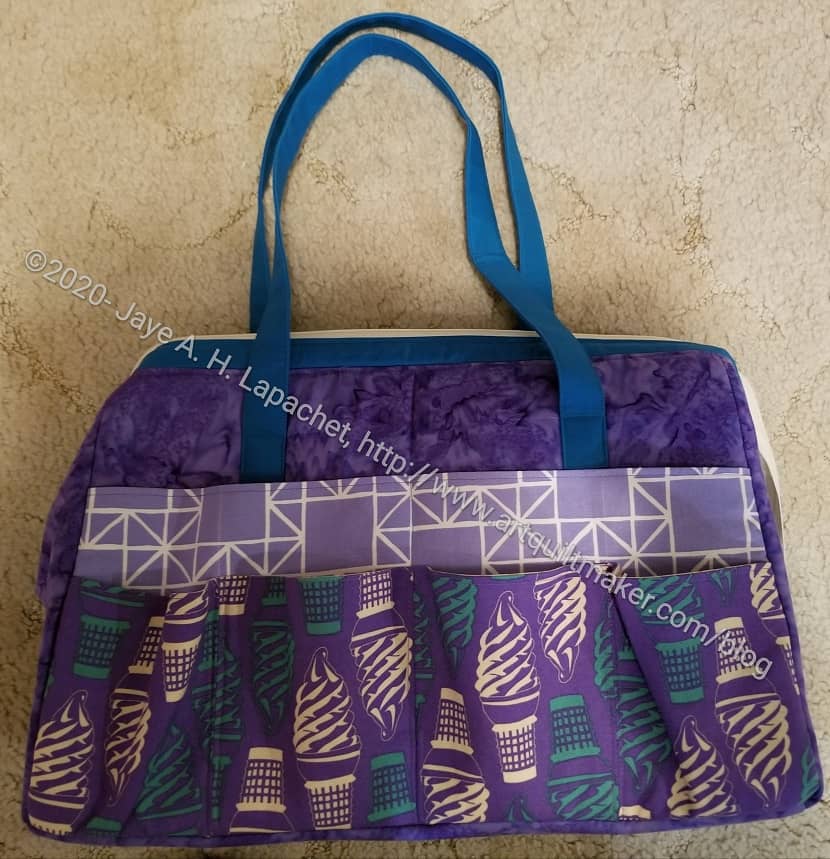
Making a Sheffield bag for me has been on my list for a long time. Since it is #6 for the BAM UFO challenge, it is time to work on it. In case you are confused #6 was selected for this month’s project on which to work. I needed to get busy.
The Sheffield is another Sew Sweetness bag. It has an open wide zippered top and is NOT part of the Minikins series. It is a stand-alone pattern. I made one for Gerre (the purple one above) a few years ago.
I put it on my UFO list, because I knew I could finish it within the 30 day window. I was surprised to find I had started to cut pieces for it. They were in my bag fabric bin with the metal frame. That means it truly was a UFO!
After setup at Mary’s house and making a couple of small projects, I got to work on the Sheffield. I was sad not to be using my new machine, but was happy that Mary had a second machine I could use. Not having to haul a machine in our stuffed car was great. She has a Babylock Crescendo, which I have used before. It is a high end machine, which was fine to work on.
Before I could sew the Sheffield, I had to cut the rest of the pieces. As with most bags, there were a lot of pieces, thus a lot of cutting. The handles and the slip pockets were already cut. Apparently, I had already made the choice to make the handles slightly longer than the pattern suggests. Once I finished cutting, I was able to get started with the preparation of the various elements.
One new thing I did was add purse feet. This was my first time. They are listed as optional in the pattern. Since I had some, I decided it was time to use them. The ones I had were Clover Nancy Zieman Bag Feet in Satin Bronze**
BTW, isn’t ‘purse feet’ a funny phrase? All sorts of hilarious images appear in my brain when I say ‘purse feet’!
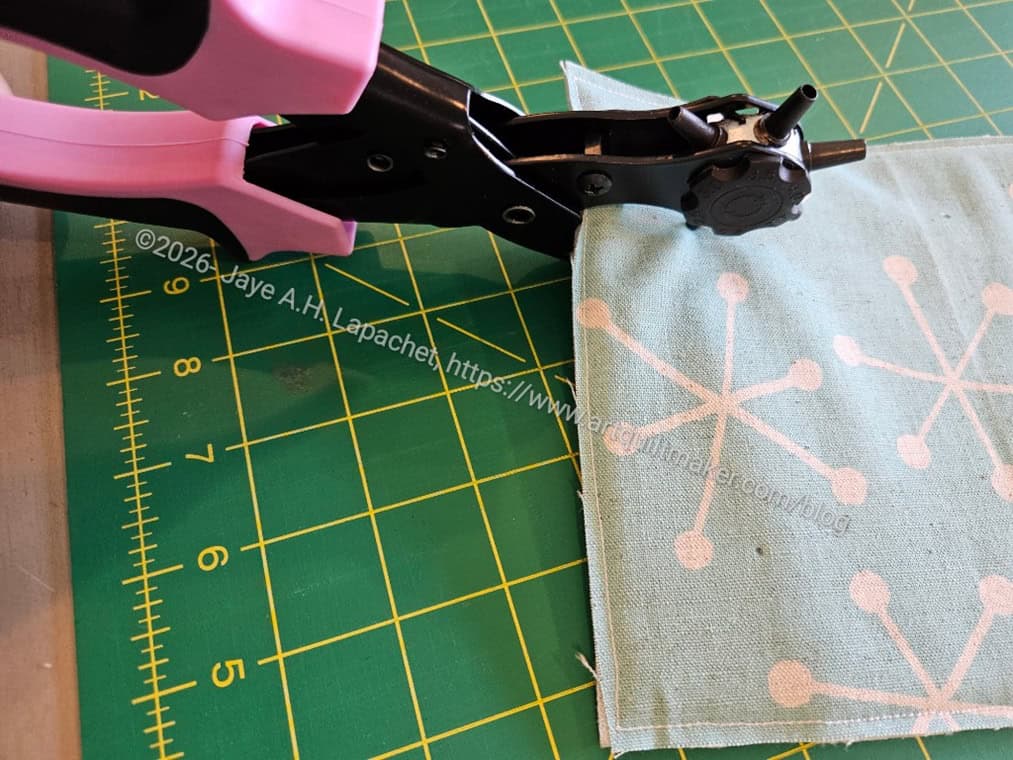
I brought my ProMaster leather punch** (hole maker) along for the trip. I like this tool. It made punching through two layers of canvas and a layer of foam pretty easy. Since I forgot to bring mine, I borrowed some pliers from Mary’s DH, who is a master wood craftsman. The purse feet are installed by shoving two metal flanges through the hole, putting a metal washer over the two and bending the flanges down as flat as possible.
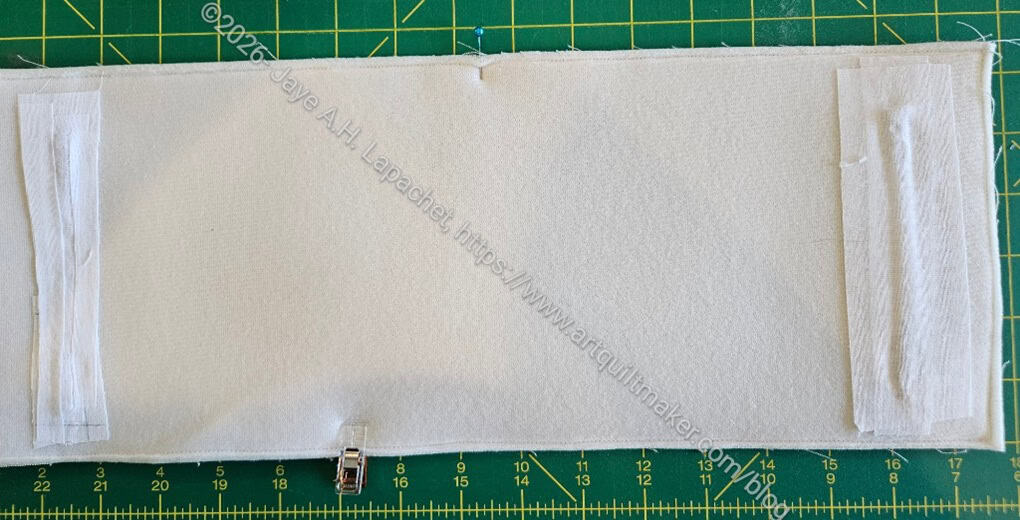
After I installed them I put a couple of layers of SF101 over the folded flanges to keep them from catching on the lining fabric.
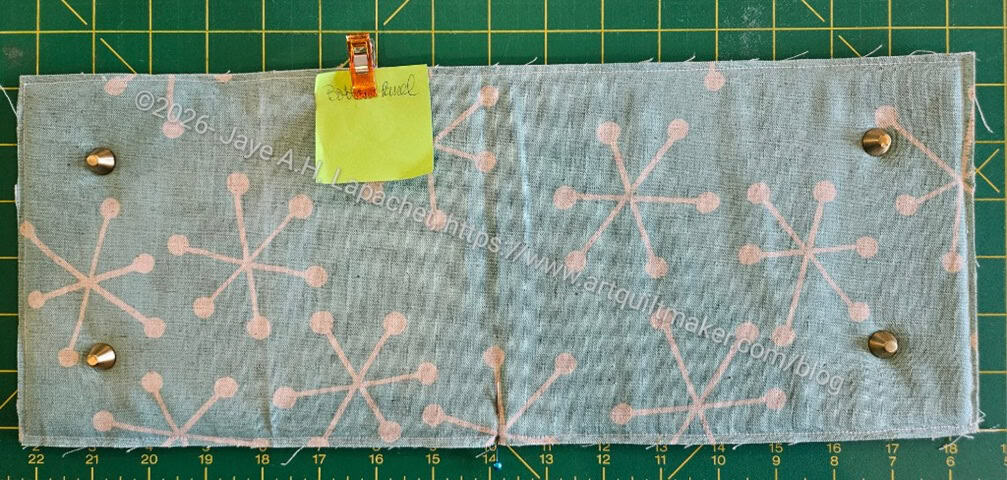
There were only four, which surprised me. I always thought purse feet came in sets of five so you could put one in the middle of the bottom to keep the center off of dirty surfaces, but no, the pack I had came with four. I may add some Odicoat** to the bottom. We’ll see.
I had sort of decided not to add the gathered pockets on the outside, then changed my mind and added them at the last minute. I tried out different looks to see how I wanted them to feature.
I finally decided to alternate the fabrics. I didn’t like the look of the all blue gathered pockets. I really wanted to see the Poppy fabric. I had cut the slip pockets out of the Poppy fabric when I thought I wouldn’t use gathered pockets, because I wanted be able to admire that fabric. Using only the blue would cover up too much of it. Using only the Poppy fabric was too jarring and confusing so I eliminated that option right away.
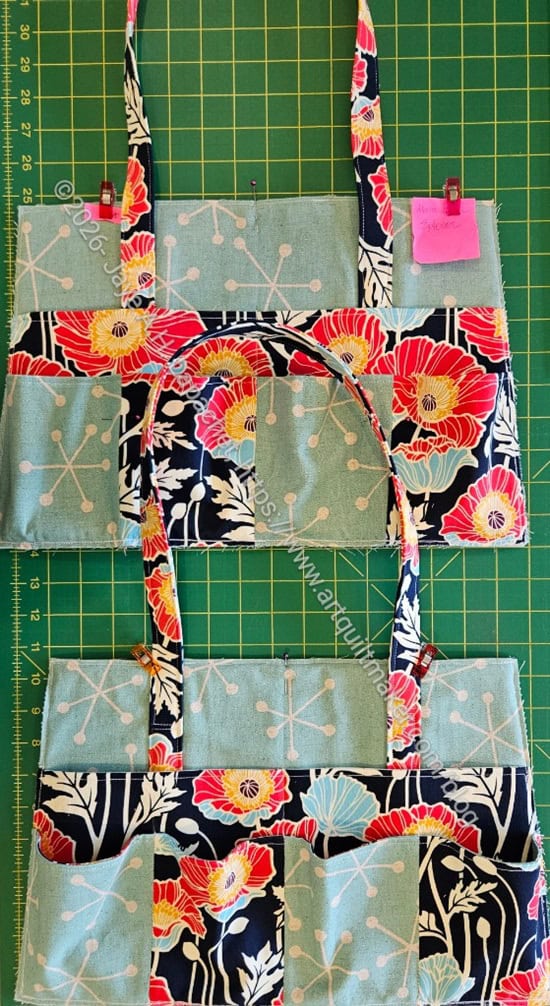
The main exterior panels came out well with my choices.
This isn’t a particularly difficult bag, but I felt like I needed to sew slowly and make sure I was doing everything correctly.
After finishing the main exteriors, I was able to put the exterior together.
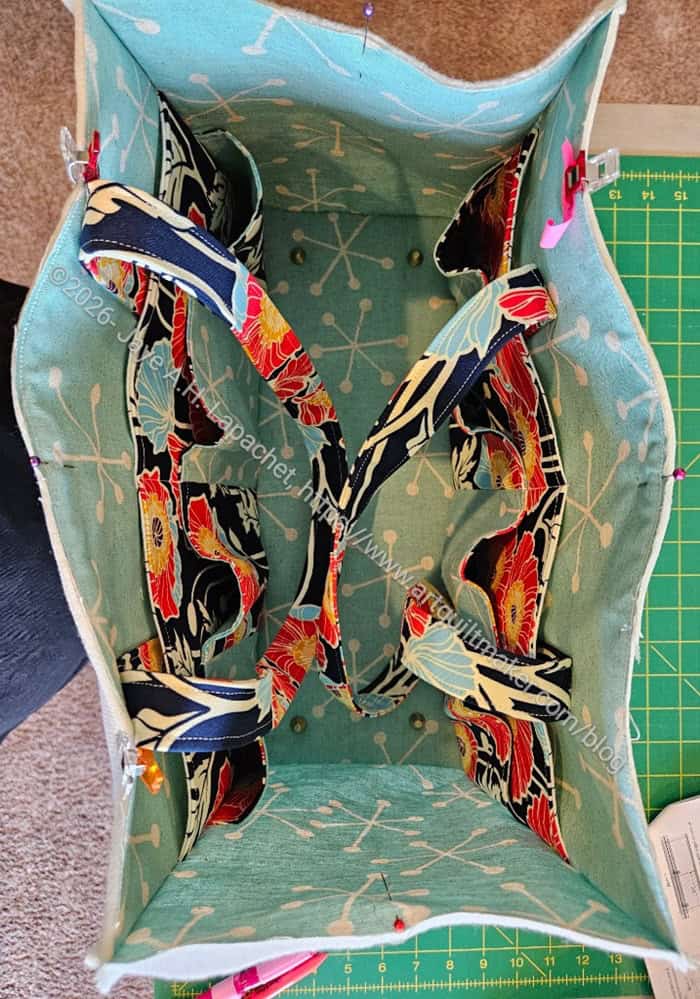
I decided after I had made good progress that I wanted to put some pockets on the inside as well as a leash, so I stopped work on it. I didn’t have the hardware with me and we had already been to Green’s, the place to buy hardware near Mary’s house. Since I had hardware at home, I decided to finish it at home.
This is farther along than I have gotten in the 6 years (SIX YEARS – WHAT?!?!?) since I made Gerre’s. I am pleased with how it looks and pleased with my progress.
I am getting quite the collection of tools and might need to make another one of these to store those. Or maybe I will use this one to store tools such as my my ProMaster leather punch**, KAMsnaps, awl, Snap Setter, etc.
**Obviously, you should shop at local quilt shops and small businesses. However, if you are too busy or can’t find what you need there, I use Amazon affiliate links and may be paid for your purchase of an item when you click on an item’s link in my post. There is no additional cost to you for clicking or purchasing items I recommend. I appreciate your clicks and purchases as it helps support this website.
