Cargo Duffle Prep

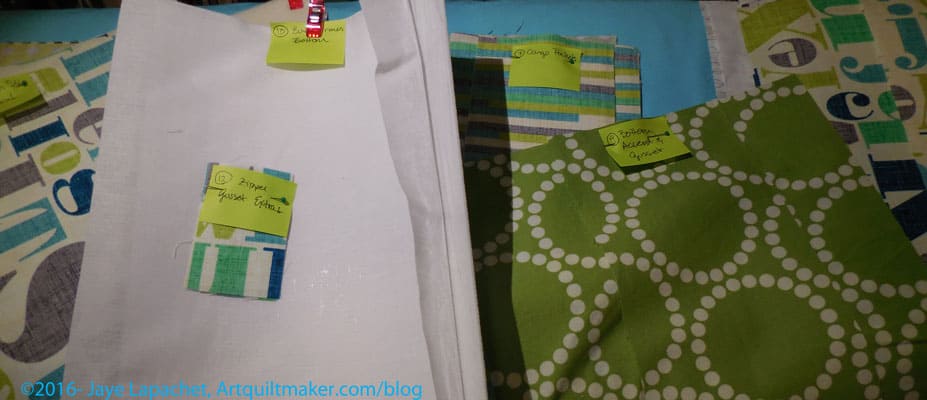
As you know from a previous post, I have been working almost exclusively on the prep for the BAMQG Cargo Duffle class. I haven’t had tons of time to sew. What I have had I have spent on prep.

I like making bags, because I have something useful at the end of the process. Also, people seem to like them when I give them as gifts. I do not, however, like the prep required, regardless of whether I am just sewing a bag on my own or preparing for a class. In fact, I always swear a lot and then swear I will never make another bag again when I am in the bag prep process.

Part of this feeling has to do with my, well documented for you, difficulty in reading pattern directions and understanding what the designer is trying to say. I’ll take some, but won’t take full responsibility because I believe that the directions for this bag were briefer than necessary. I understand why, especially after working with Alison, because patterns need to be printed and printing 60 pages of directions including photos is daunting.

Cargo Duffle pieces and parts

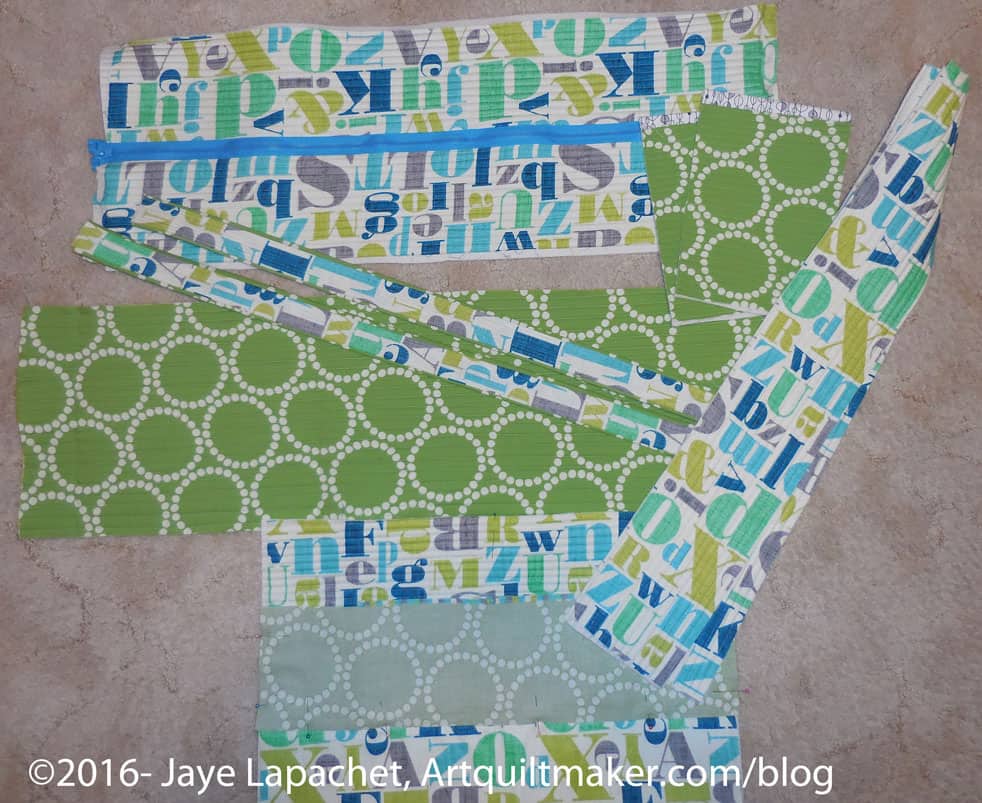
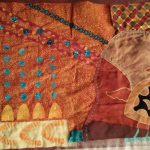
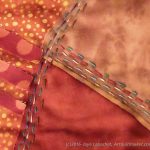
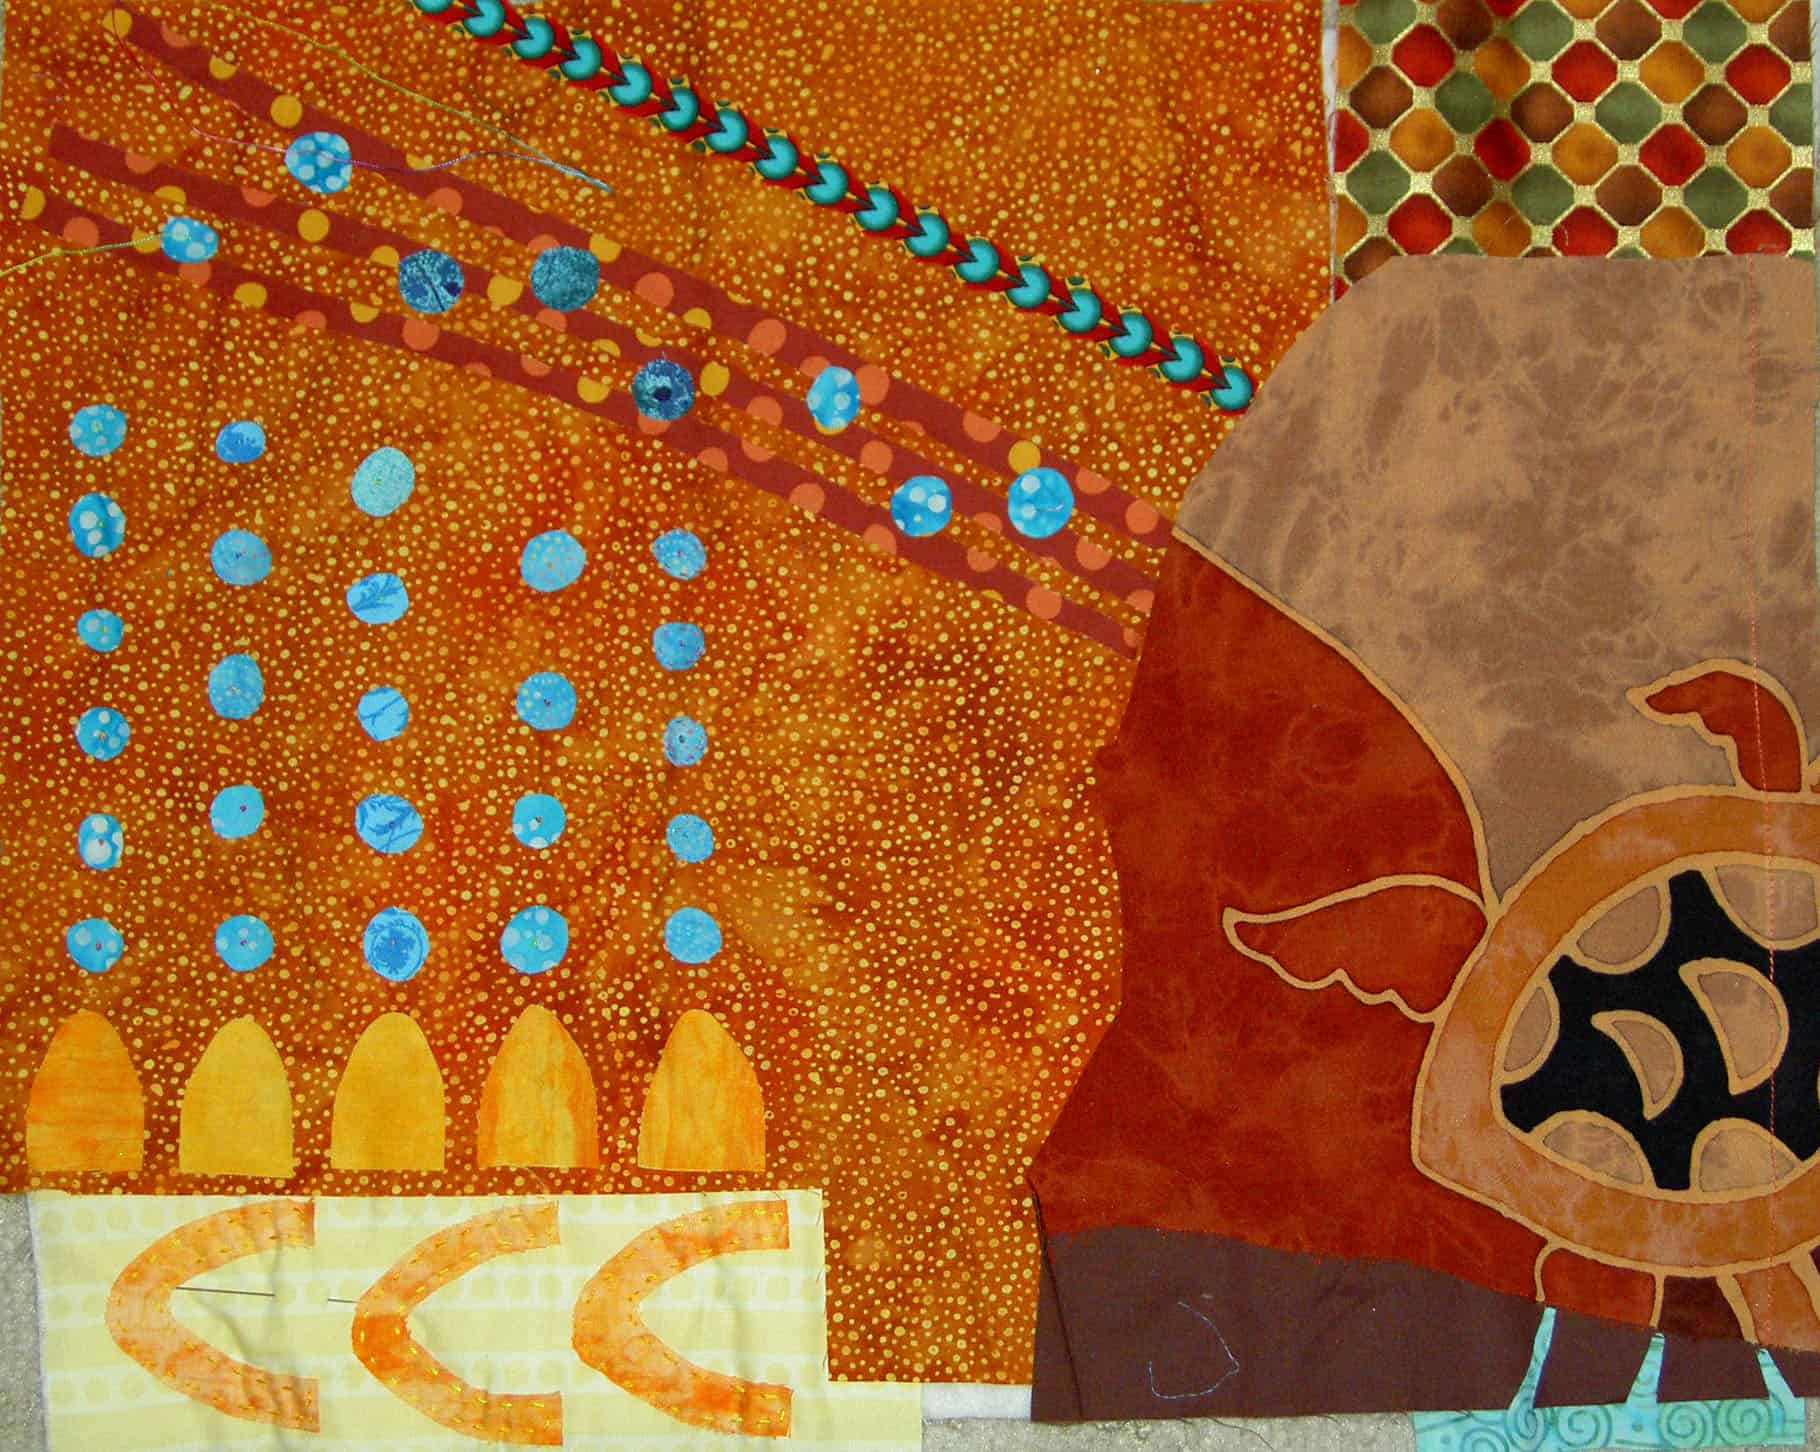
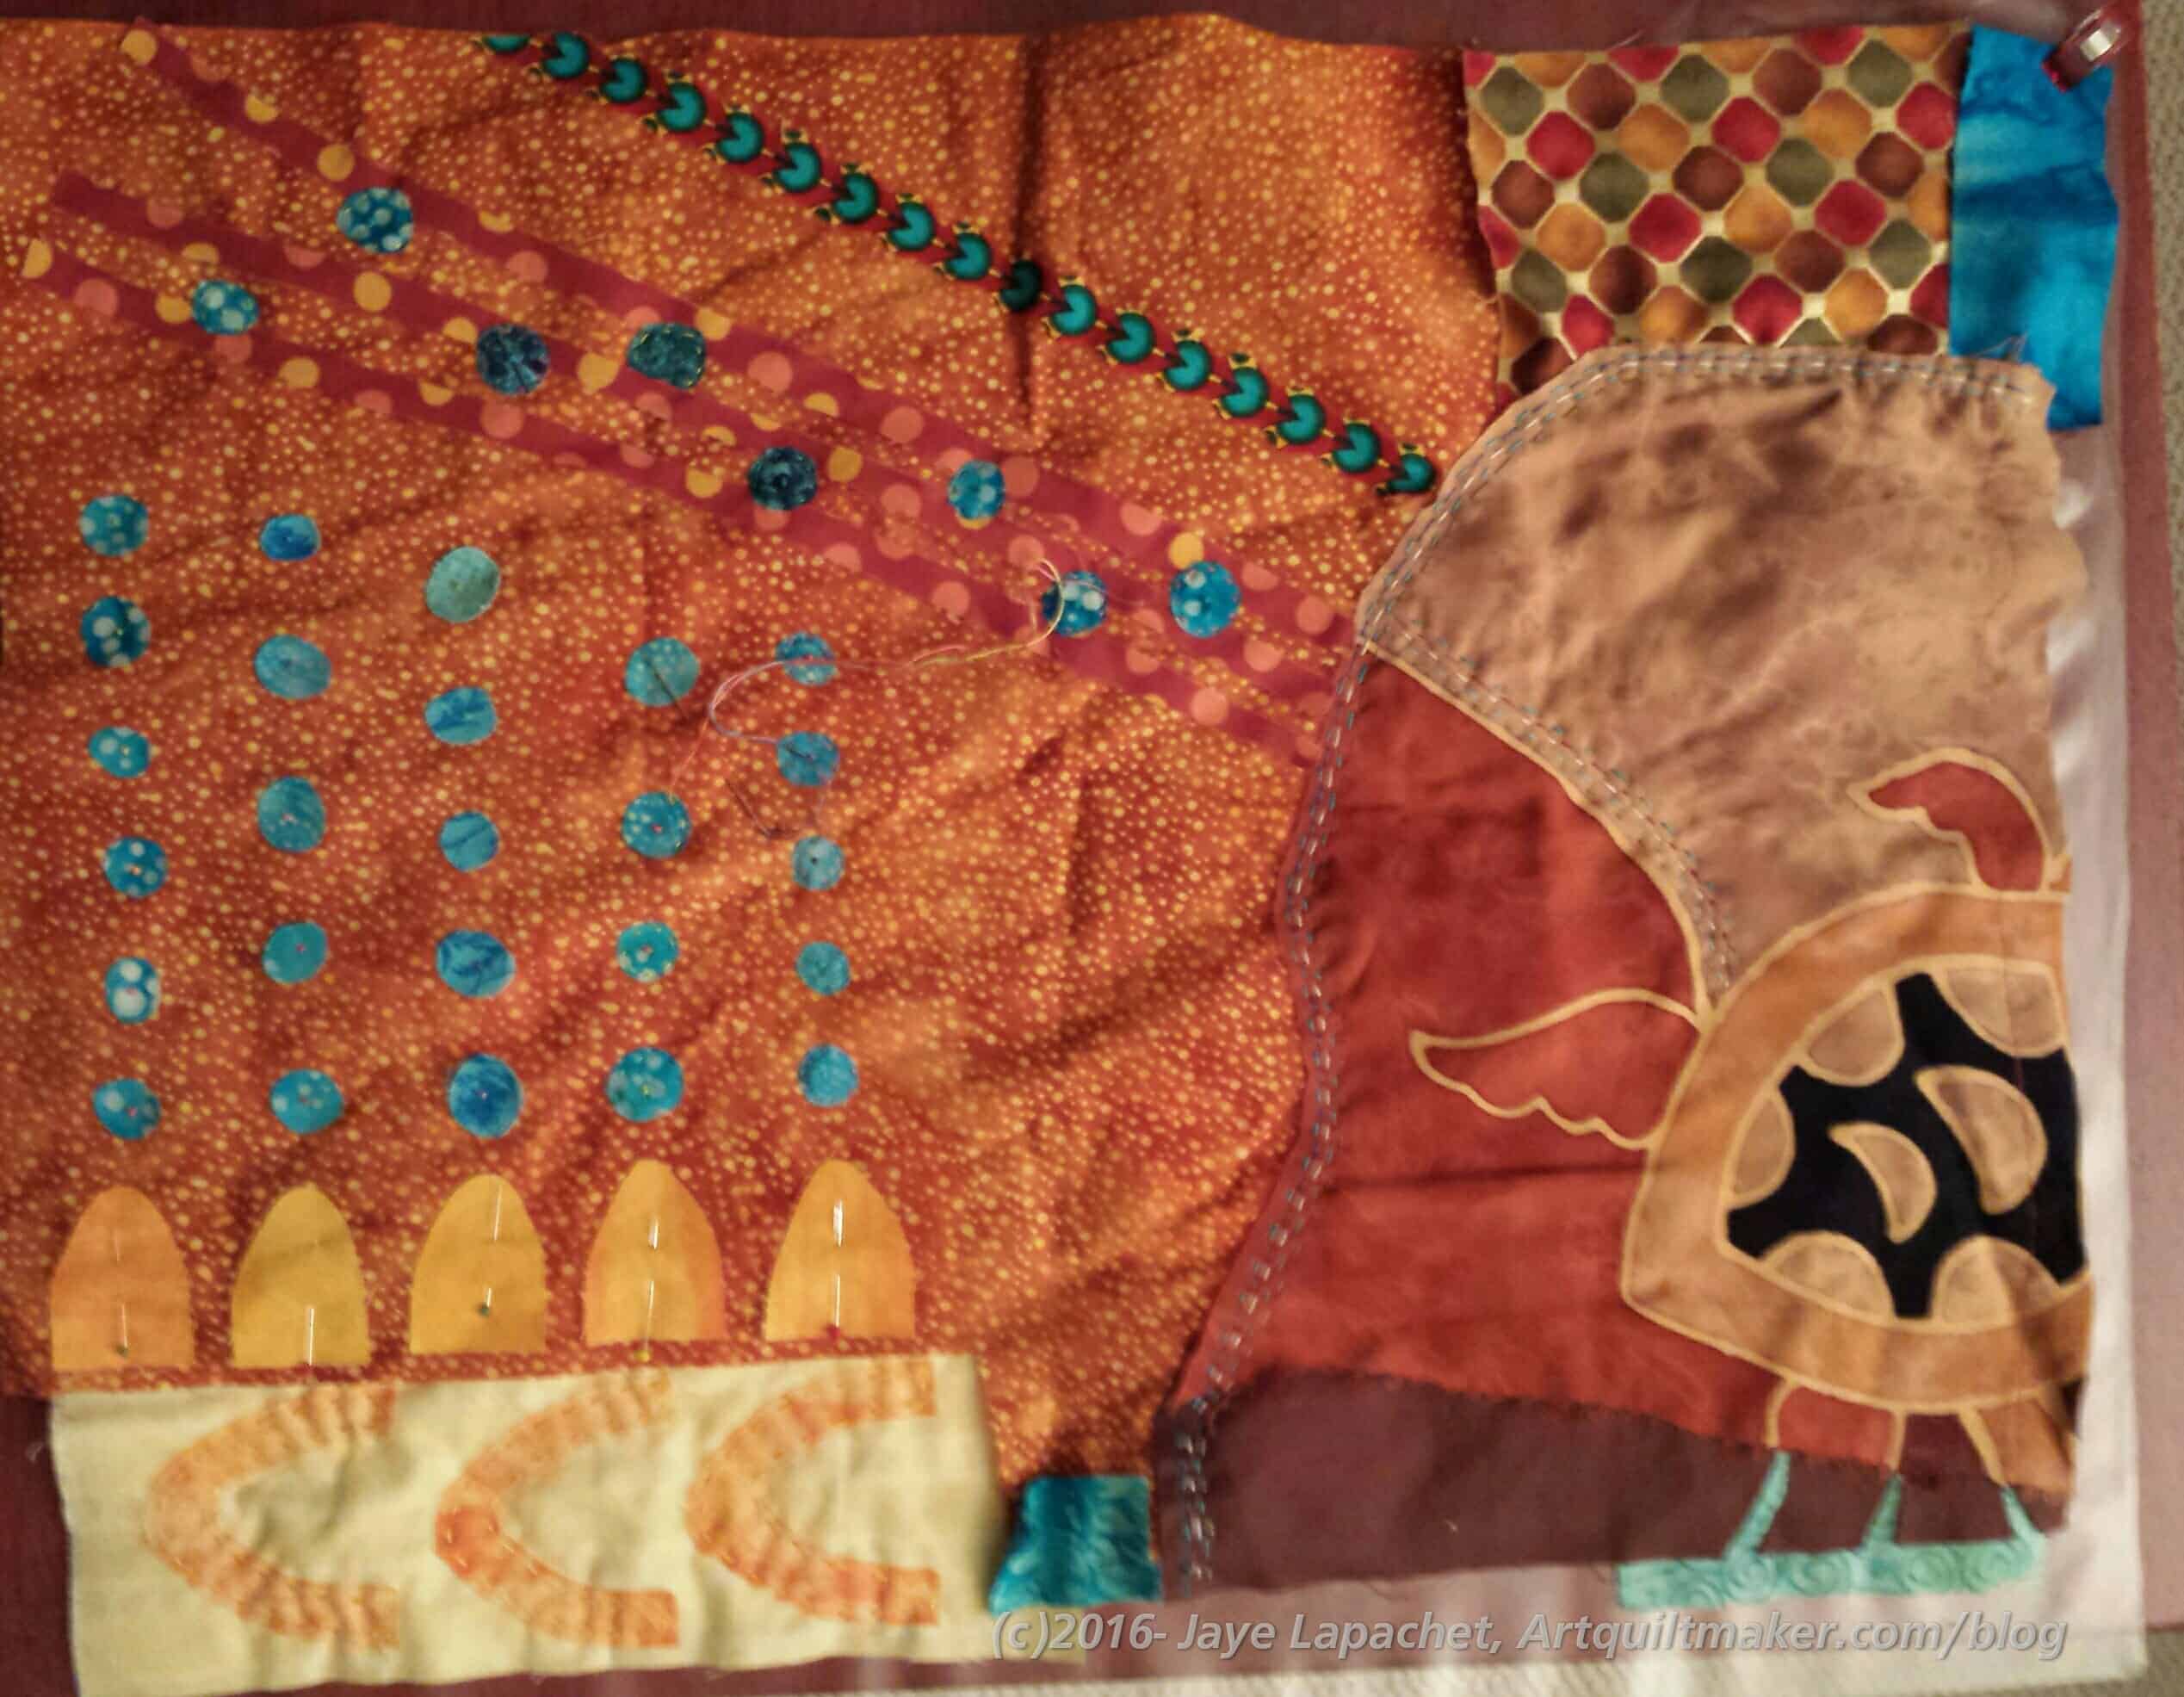
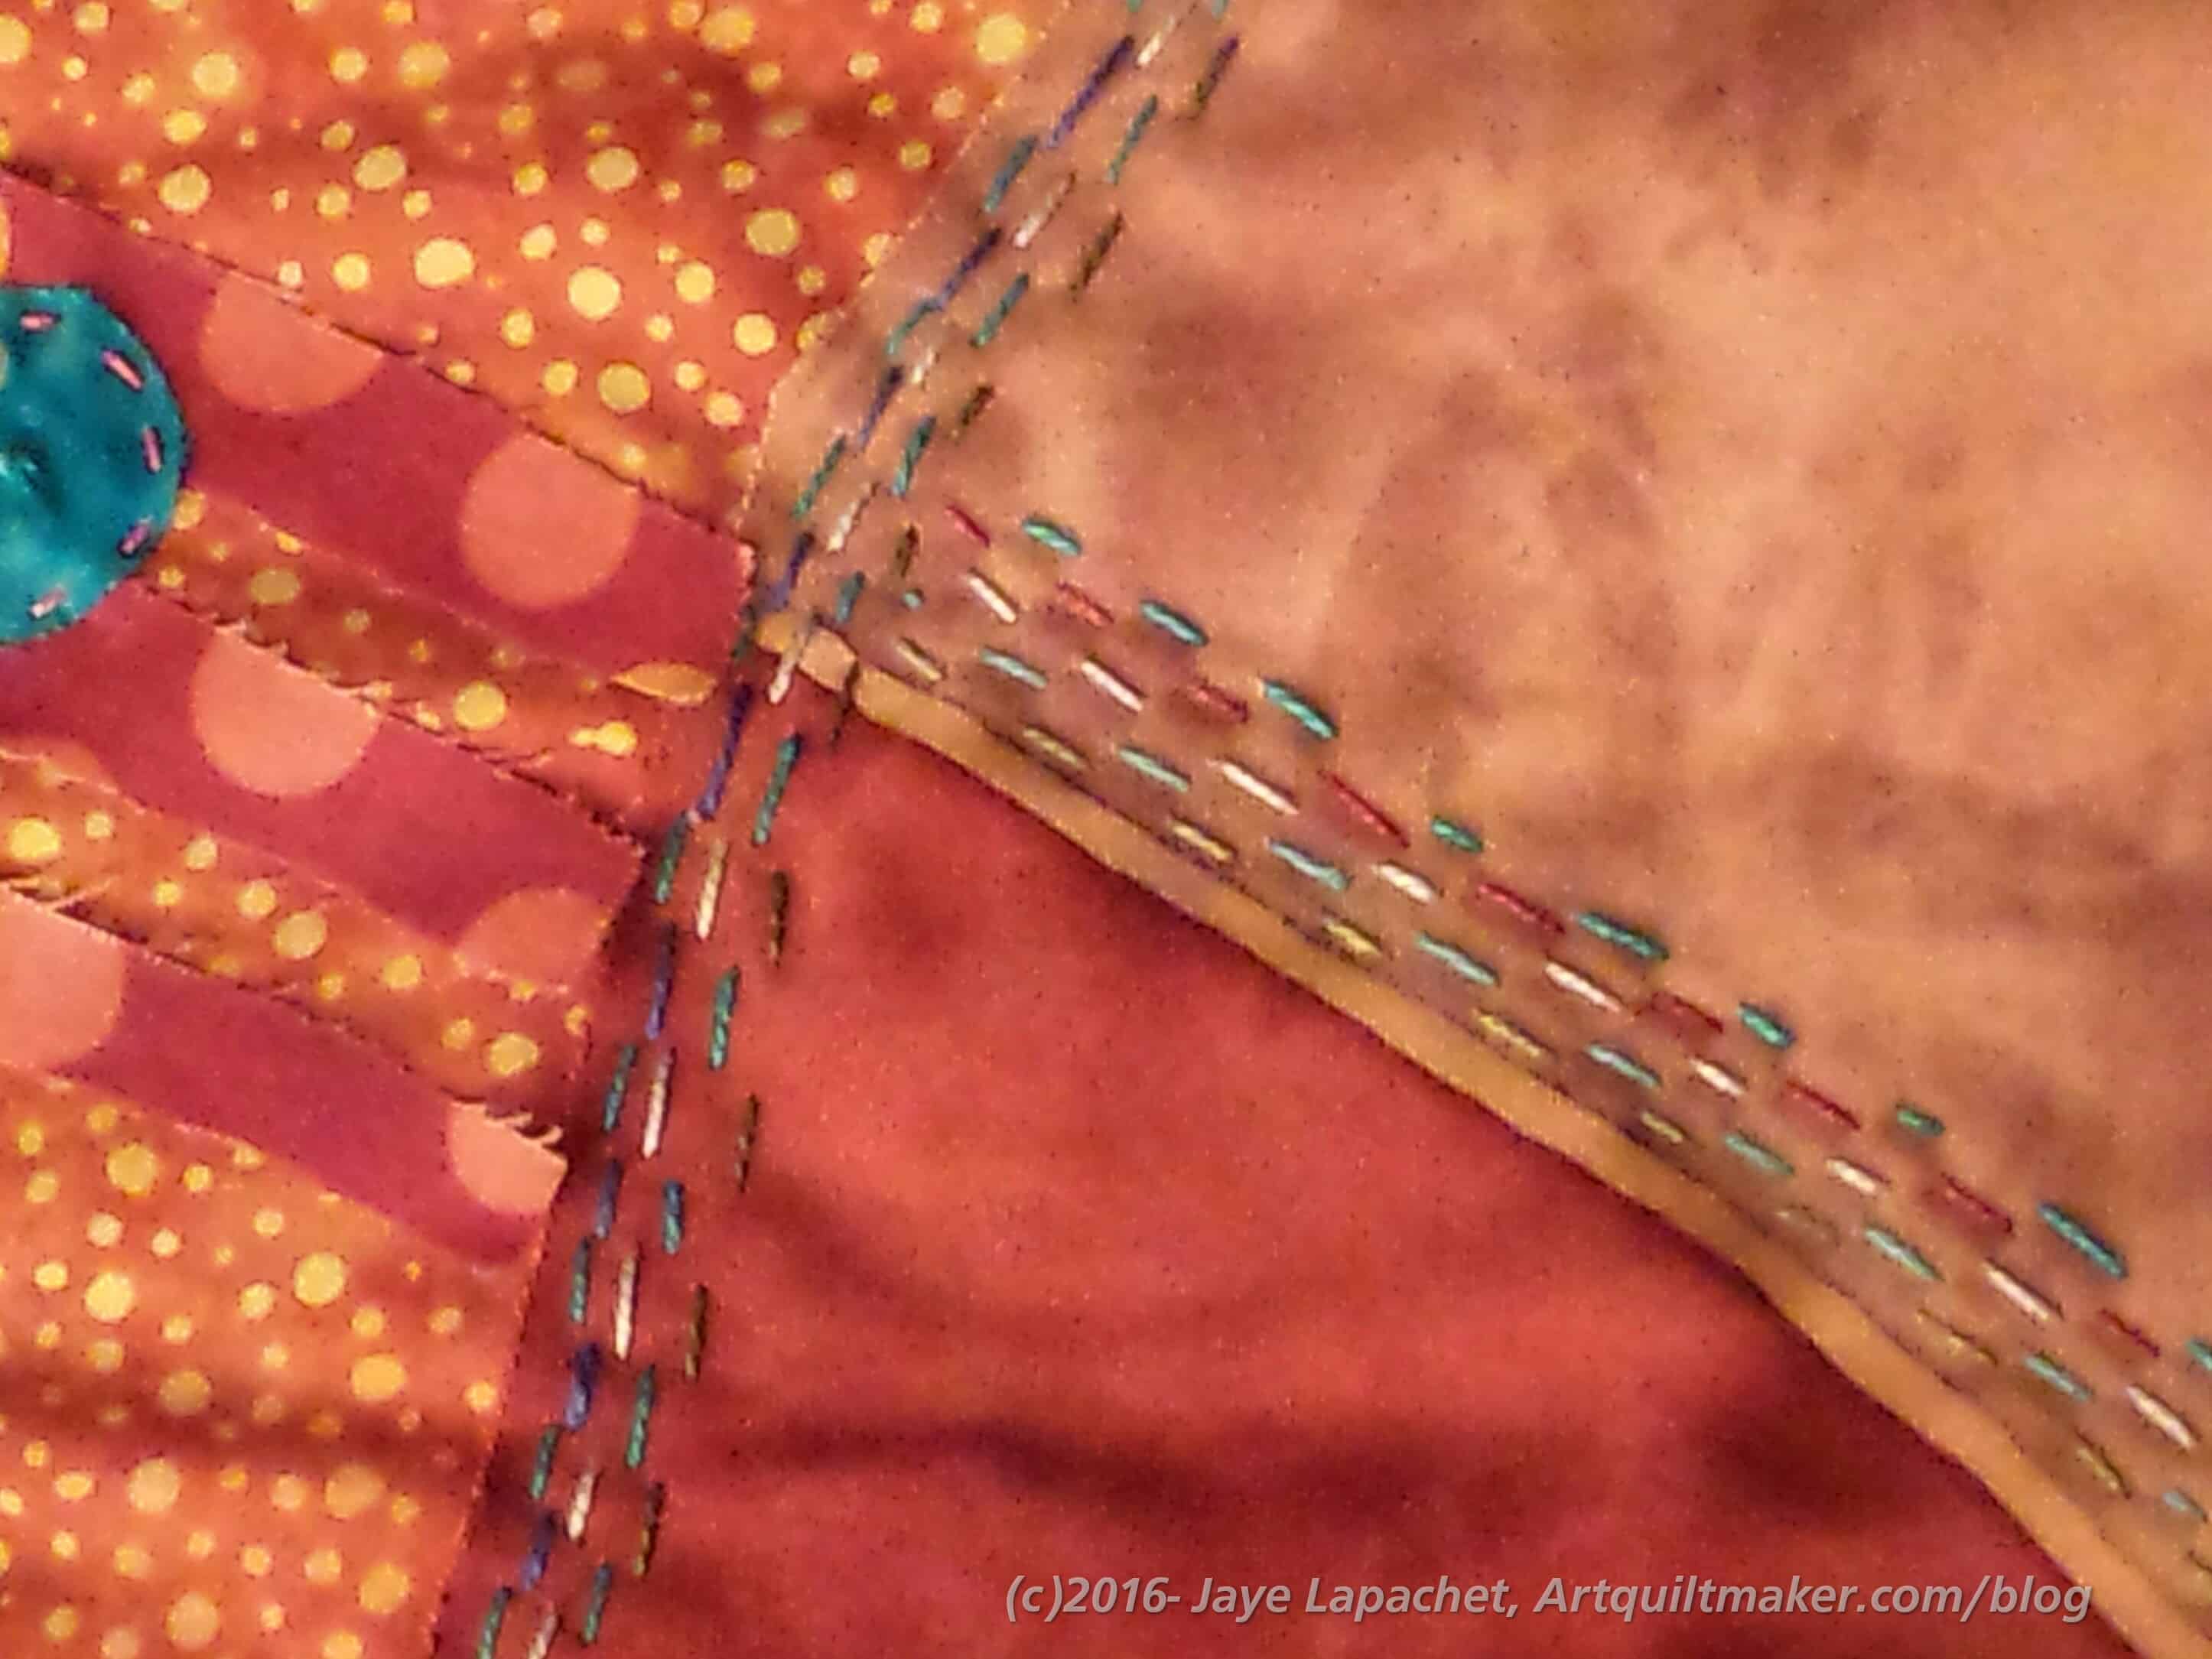
One of the things I had to do, which was different for this pattern was to quilt a lot of the parts. I understand why, and you will as well after seeing the finished piece, but it made for a lot of extra work.

Friday night I stayed in my workroom until 10pm sewing on this project. Finally, DH called me down to watch the parade of nations for #Rio2016. I decided that I would have to work on whatever I didn’t finish in class. I estimate working on the prep for about 20 hours. I didn’t keep strict track, but I think that is in the neighborhood.

What I really needed was a chart showing the pieces and giving their sizes with arrows pointing to the piece on the finished bag. I really needed that visual. I think it would have made my life a lot easier. I didn’t really understand what a gusset* was, especially in this context, and that added to the confusion of all of the parts and pieces.

I am not criticizing the teacher who was extremely patient on her first outing as a teacher. She responded quickly and non-snarkily each time she got a question on the guild forum from one of the 20+ students.

I would have liked to have seen more meshing of the pattern and the hacks/supplement (by our teacher), including references back and forth to when to go and do a step from the pattern and when to stop. This addition would have required a lot more time on her part and we weren’t paying her so I think that would have been too much to ask. It might have been nice to get together with other students beforehand to work on the prep.

I constantly learn from creating new bags and, though, this isn’t the kind of bag I would tend to use, I am learning quite a bit from making it, not the least of which has to do with gussets. 😉


The definition of gusset didn’t match what I was seeing in the Cargo Duffel pattern so that created some confusion. Wikipedia’s definition is similar to the American Heritage and Merriam Webster. I didn’t didn’t find any of them to be super helpful in the context of this pattern: “In sewing, a gusset is a triangular or rhomboidal piece of fabric inserted into a seam to add breadth or reduce stress from tight-fitting clothing.[1] Gussets were used at the shoulders, underarms, and hems of traditional shirts and chemises made of rectangular lengths of linen to shape the garments to the body.[2][3]

Gussets are used in manufacturing of modern tights and pantyhose to add breadth at the crotch seam. As with other synthetic underwear,[4] these gussets are often made of moisture-wicking breathable fabrics such as cotton, to keep the genital area dry and ventilated.[5][6][7]

The phrase “don’t bust a gusset” (a variation of “don’t blow a gasket”) is an admonition to calm down; becoming so enraged and inflated that one busted a gusset would imply extreme rage and expansion beyond one’s clothing capacity.

Gussets are also used when making three-piece bags, for example in a pattern[8] for a bag as a long, wide piece which connects the front piece and back piece. By becoming the sides and bottom of the bag, the gusset opens the bag up beyond what simply attaching the front to the back would do. With reference to the dimension of the gusset, the measurements of a flat bottom bag may be quoted as LxWxG.[9]

Pillows too, are often gusseted, generally an inch or two. The side panels thicken the pillow, allowing more stuffing without bulging.

Gussets are also used in other areas of manufacturing, e.g. bicycle frames employ gussets to add strength and rigidity.[clarification needed]” (Wikipedia)

More on Under the Sea

I have been working on Under the Sea pretty steadily in the evenings. It is soothing to do the handwork. I am also surprised at how quickly I can fill up an area with embroidery.

As I said a few days ago, I am pleased with the work. I am still pleased despite some design challenges.

  • I want the embroidery to be simple, so that limits the stitches.
  • I don’t have enough colors, but when will I have enough colors? This should not come as a surprise to anyone who reads regularly.
  • The browns, rusts and golds are not my favorite, but I am finding that I don’t dislike them enough to toss the project.
  • Beads or no beads?

I have been pretty tired or working on other things the past two nights, but I’ll get back to this soon.

Color Friday: Red?

Red Plant
Red Plant

This is another picture I took while doing one of my daily walks. These are not plants that I normally have much interest in, but the red color caught my eye. When I look at the plant, I see red. When I look at this picture with my eyes, I see red.

The computer sees something different. The computer sees more green and grey than I do initially. Of course, when I really look, I do see the greens and greys, which make me wonder about what catches my eye vs what catches they eyes of other people.

Click on the photos to make them larger. I was surprised that the color selections weren’t that different. The color names are different, but the colors look very similar.

Of course, this tool is too much fun, so I couldn’t stop with the above. I moved the circles around to highlight different parts of the photo to see what I could get. I have to be honest that I skewed the results towards the red tones to see what the tool would come up with. It is interesting to consider the palette without the greens and greys.

Despite the fuchsia issues I had before, I love this combination of pinks and reds.

Not a Complete Solution

Under the Sea, in process

Under the Sea has been on my 26 Projects list for a long time. I started it in 2009 in a class with Pamela Allen. I started it at the same time I started the Flower Garden. I finished The Flower Garden in 2013.

Despite my best efforts, this piece has been on my mind. After my Special Whine, I picked it up and have been embellishing it with Perl cotton and other types of embroidery thread in the evenings while I watch TV.

Under the Sea, in process again

I am pleased. Doing the embroidery, though simple, has calmed down my creative crisis, if just for the moment.

Of course, I don’t have enough colors of Perl Cotton. When do I ever have enough colors? I am making due for the moment.

Under the Sea, detail

I know these colors are odd colors for me. It is a problem, because I keep wondering where to add pink. The turquoise additions do help.

I am trying a combination of greys with the turquoises and blues to see how that looks. I am not sure if it makes any difference, in the way my mind wants, because so much of the piece is made up of browns and oranges.

The piece is small and I think I will make it into a cushion cover and give it away. Not my colors, you know. We’ll see.

More on the Stitch TV Pattern Launch

The Stitch TV Pattern Selection (Belinda)

As you know, I am not a big fan of patterns. Patterns weren’t available in large numbers, if at all, when I learned to make quilts and I never really learned to use them. Yes, of course, there were quilt patterns in magazines, but the packaged stand-alone quilt patterns were not available back in the dark ages.

I do admire the possibility of small business owners creating patterns and making them available. That there are so many indie / women-owned businesses is one of the great things about the quilt industry.

The StitchTV company, Ed & Eddie LLC, is one of those small businesses. One of the things I noticed about the Stitch TV pattern samples were the different fabrics used. In the photo above, you can see at least 4 different fabric groups. While this grouping does not comprise all the possible fabric combinations, it does give the shopper a good idea of how the design will look in different fabrics.

There are so many patterns now. All of us have a quilt ‘to do’ list that extends beyond our lifetime, so we have to be more choosy about adding new things to the list. Marketing patterns with a variety of samples is imperative now.

Great job, Pam and Lynn!

The Stitch TV Show Pattern Release at Red Hen Fabrics

Marietta, GA
July 16, 2016

Thanks to Holly Anne Knight, who blogs at String & Story, for reporting on the StitchTV Show Pattern launch (and telling us a little about herself!) when I couldn’t be there in person.
________________________________________

My name is HollyAnne Knight. I’m a wife and mama of two little boys, and I am a brand new quilter. After about 8 months of experience with rag-style t-shirt quilts, I decided it was time to give “real” quilting a shot. In May, I simultaneously discovered Pam Cobb’s Hip to Be a Square quilting podcast and her quilting talk show, The Stitch TV Show, which is co-piloted by Lynn Rinehart. I listened each night as I plugged away on my own projects, gleaning tips and sharing in the laughs. While I’ve been creative all my life, I’ve done most of my creating in isolation. Now, all of a sudden, I felt like I had friends—funny, encouraging, quilty-friends.

On the June episode of The Stitch TV Show, Pam and Lynn talked about the July Stitch-In and their pattern release which would be just a day apart. I gathered my courage and decided that I would attend both because I wanted to meet and begin getting to know these new friends. I was a little embarrassed at the stitch-in, with my beeping machine and loud trucks outside, but Pam, Lynn, and the others were so patient and welcoming. They laughed at my jokes and answered my questions, and I had a really lovely time connecting faces and voices and names.

Stitch Logo
Stitch Logo

Still encouraged from from what I decided to count as a “successful” introduction on the stitch-in, I gathered my 4 month old, Ian, and the diaper bag and drove the 20 miles to Red Hen Fabrics for the pattern release—determined to make some new friends and have a fun “big girl outing” with only ONE baby! Yippee! I must have frozen just inside the door because I remember one lady behind the counter motioning and saying, “Come on in!” Red Hen Fabrics was my first quilt shop experience, and I’m not sure if I enjoyed the fabric or the atmosphere more thoroughly.

Stripper's Knot Pattern
Stripper’s Knot Pattern

Pam and Lynn are engaging, funny, and kind, and their quilts are BEAUTIFUL. “The Stripper’s Knot” was hanging behind their Stitch TV Show set, and if I hadn’t been quite so self-conscious, I think I could have gotten lost in the piecing and quilting for hours. I loved seeing the variations of the “Time After Time” table runner and the asymmetrical border of “Belinda” (a copy of this pattern is hanging happily over my sewing machine now!). Rae, Kelly, and Mike comprise The Stitch’s production staff, and I enjoyed talking to them as well (over delicious cake no less!). Rae and I talked quite a bit about pattern editing and production. Speaking of, if you are an Indie designer looking for a way to get your quilt patterns into the world, go look her up at 77Peaches!

Pam and Lynn with cake

Before I left, I was sure to get some pictures of Pam and Lynn doing their thing—posing with quilts, laughing, and generally having a wonderful time. Congrats, y’all, on a fabulous pattern release, and thanks for welcoming this “newbie” into the party!

Bio:
HollyAnne Knight is a 20-something wife, mama, and artist. She has a life-long background in visual arts, over a decade of knitting experience, and training in several types on dance from classical ballet to ballroom to Zumba. She has been married to the Hubster (John) for 3 years, and they have two boys, Jem (December 2014) and Ian (March 2016). They live in the Greater Atlanta Area near Holly Anne’s parents and enjoy being outside, sharing meals and adventures with friends, and singing silly songs.

While Holly Anne’s first exposure to machine sewing was at the young age of 8, it was much more recently that she returned to it. She began with a t-shirt quilt for her Mama, and she continues to make t-shirt quilts for customers all over the United States. She also sews modern quilts and is the first Modern Impressionist Quilter, combining the imagery of art quilts with the functionality of other modern quilts. Her style of quilting is strongly influenced by her love of Impressionist and Post-Impressionist painters, her own work with paints, and her familiarity with knitting patterns

Holly Anne can be reached on Instagram at @mesaventureshak and at @stringandstory or via email at stringandstory [@] gmail.com.

Contemplating Creativity

I have had a couple of slams in the face about my own creativity lately. I have projects; I just don’t seem to be interested in working on them. I have plans for working, if I had days straight just to sew. I guess I have to face up to the fact that I seem to be stalled, even though I am limping along.

The first slam was the Peacock. I was excited when I put the blocks up on my design wall. I really was. The excitement faded as I contemplated putting the blocks together. The work involved, the actual sewing, seemed too daunting and I realized I just didn’t really want to do it. I can hardly believe I am feeling this way. Sure, I get stuck on projects, but to simply not want to sew the blocks together is a new one on me. I think part of the problem is the design wall. (Sense a theme??). I really, really dislike this design wall and this project may just propel me to really, finally do something about it.

Freddy Moran's Applique'
Freddy Moran’s Applique’

The second was a lecture with Freddy Moran. I went to the SFQG, because she was going to speak. Yes, I will write more about the lecture. In the meantime, a quick overview: She is over 80. She is the one who made the brightly colored house quilts and did a long term, two book collaboration with Gwen Marston. She always pieced, almost never quilted her own quilts. She has had some personal changes in the last year that have made her look at her creativity. She has been encouraged her to change her style completely. She still pieces, but is doing a lot of applique’ as well. She can, perhaps I should? I don’t think I am happy with what I have been working on lately. I don’t hate any of my quilt projects, but they seem…..boring. Perhaps I need to change my style?

Finally, the third was a lecture with Jane Dunnewold. She talked about her new book, Creative Strength Training. I don’t really think I need creative strength training, but I think there are things I could do to improve my creativity. She talks about cross training. Yes, of course, I do cross training for my body. Running as well as weight lifting. I wonder if changing crafts for a short time would improve my creativity? She also talks about writing. Not angsty teenager stuff, but writing for creativity: capturing ideas that tether them to the ‘earth plane’. ( <– this is how she described getting the perfect dream or shower idea on paper before it floats away).

I write a lot and Dunnewold says that writing begins to open people’s eyes to the idea that you have all the stories inside of you to make great art. This makes me think about what stories I want to use for my art. One of my quilts was made from deep in my heart and was very poorly received. It did not make me want to do such work again.

I do feel that I was smug earlier when I was reading about other people’s struggles with their work and creativity. I feel like now I am getting my just desserts. 🙁

Hunter’s Star

Cathy's Hunter's Star
Cathy’s Hunter’s Star

SIL made a Hunter’s Star. She did a really great job and it came out gorgeous. She used her Accuquilt Go! cutter to cut the pieces and said the piecing went really well. She used Pointillist Palette fabrics.

I really liked the way she combined the fabrics and did kind of gradated placement of the colors.

This is the first quilt she has made since moving back home.

Design Inspiration

Quilt Design Inspiration

I was out walking the other day and saw the design in the picture. It caught my eye as a possible quilt design I imagine that this design would be done in layers. I was thinking of taking a charm pack and making the bottom layer. Perhaps a couple of charm packs or charm packs with additional layers.

Either I would cut the bottom and sew in the black part or make the two parts separately and applique’ the black part on top. I wouldn’t necessarily make the top layer in black. The final color would depend on the charm pack I chose. I think a solid would probably be good.

This was a good reminder for me that design inspiration can be anywhere.

Color Palette Friday

Greens
Greens

I can remember riding along with my parents in the car on some trip or other looking out the car window at the variety of colors on the hills, as we traveled through forests and in the reflections of lakes. I often think that some scene appears, for example, green, but when closely examined is really a variety of greens.

Greens Palette
Greens Palette

I saw this patch of greens (in the salad sense, since I don’t know exactly what kind of greens they are) and I was very interested in what came up in the Palette Builder.

When I look with my eyes, I see a lot of light purple or lavender. I know others would see different colors. The technology is certainly not perfect and limited to the colors available in fabric. I love playing around with it.

Sharing Julie’s Thunder

Friend Julie and I went to drop off a quilt at Colleen’s last week. Thursday? Friday? One of those days. 

Julie's Tumbler
Julie’s Tumbler

It wasn’t my quilt, but I do feel some ownership as I cut a lot of patches for the top in exchange for some Eye Spy patches.

I was pretty excited to see the piece. I really find scrappy quilts to be much more interesting, often, than super matchy-matchy quilts. It is pretty much a charm quilt as well. 


Colleen figured out that the top has over 1700 patches. Isn’t that amazing?

Cargo Duffle Homework

Cargo Duffel homework

I am taking a workshop to make the Noodlehead Cargo Duffel in a few weeks. The class isn’t just making the duffel, but we are making it with some hacks that Jaime figured out.

I spent a few hours the day after the BAMQG meeting familiarizing myself with the pattern and beginning to cut the pieces. There are A LOT of pieces in this pattern. Last Saturday and Sunday, I spent time cutting the rest of the pieces. 

I now have to do the rest of the prep. This involves buying a couple of zipper and sewing bits and pieces together. There is homework because this is a serious bag and it can’t all be done in one day.

I am happy to do the prep even thought I was confused at the beginning. I think it makes for a better start for me once I am in the class.

I actually contemplated cutting out another whole bag so I could make two at once. I am trying to restrain myself.   😉
 

Little Girl Toys

Little Red Riding Hood

The other day Julie and I went to The Granary and saw a doll made from a panel. Unfortunately, they didn’t have anymore of the panels, so we went on our merry way with our day.

A few days later, I was at Always Quilting and I saw the panel plus one other. I was kind of thrilled to see them. I am not exactly sure why, but I have been wanting to make dolls/doll clothes on and off for quite a while.

Coral: Queen of the Sea

The one we saw made was a mermaid, which was very cute. I decided to buy them and make them for my little niece.

The panels have a lot of pieces including a quilt for each one. I plan to make the dolls and the fin for the mermaid as well as the skirt for the Red. Then I will see what happens.

Perhaps this will quench my thirst for making dolls.

Little Red Riding Hood detail
Coral: Queen of the Sea detail

Peacock Again

Peacock - mid July 2016
Peacock – mid July 2016

The Peacock has been on the design wall and I am not as excited as I was. I thought that it would be quite exciting, but I am not excited now. I am trying not to take down all the blocks and put it away, though I do think that is a very real possibility.

Still I am happy with the basic layout. I think the blocks need some space between them, but I don’t think I have it in me to cut up strips of fabric to put between each block.

Testing squares
Testing squares

I thought that perhaps I would add a Peaky to each block and make them in squares. That means I could put the blocks together with a little space between them. I put a piece of a solid behind a couple of the blocks to see what it looked like. It is hard to see what the whole piece would look like, but even still I don’t really like the look.

I think I’ll just sew the piece together, basically as shown, and be done with it.