A long time ago one of my quilts won a ribbon at the Marin Needlearts Guild show. That is probably the best prize I have ever gotten. I feel like that prize came from a real quilt show and the quilt did deserve to win.
Still winning at the San Mateo County Fair is pretty great, too. I did win at the Fair. I entered 3 items: two quilts and a pillow. I did not expect the quilts to win, because the ‘made by one/pro quilted’ category is really impacted. I did expect to win with the pillow based on SIL2’s analysis of the best categories to enter to get a prize.
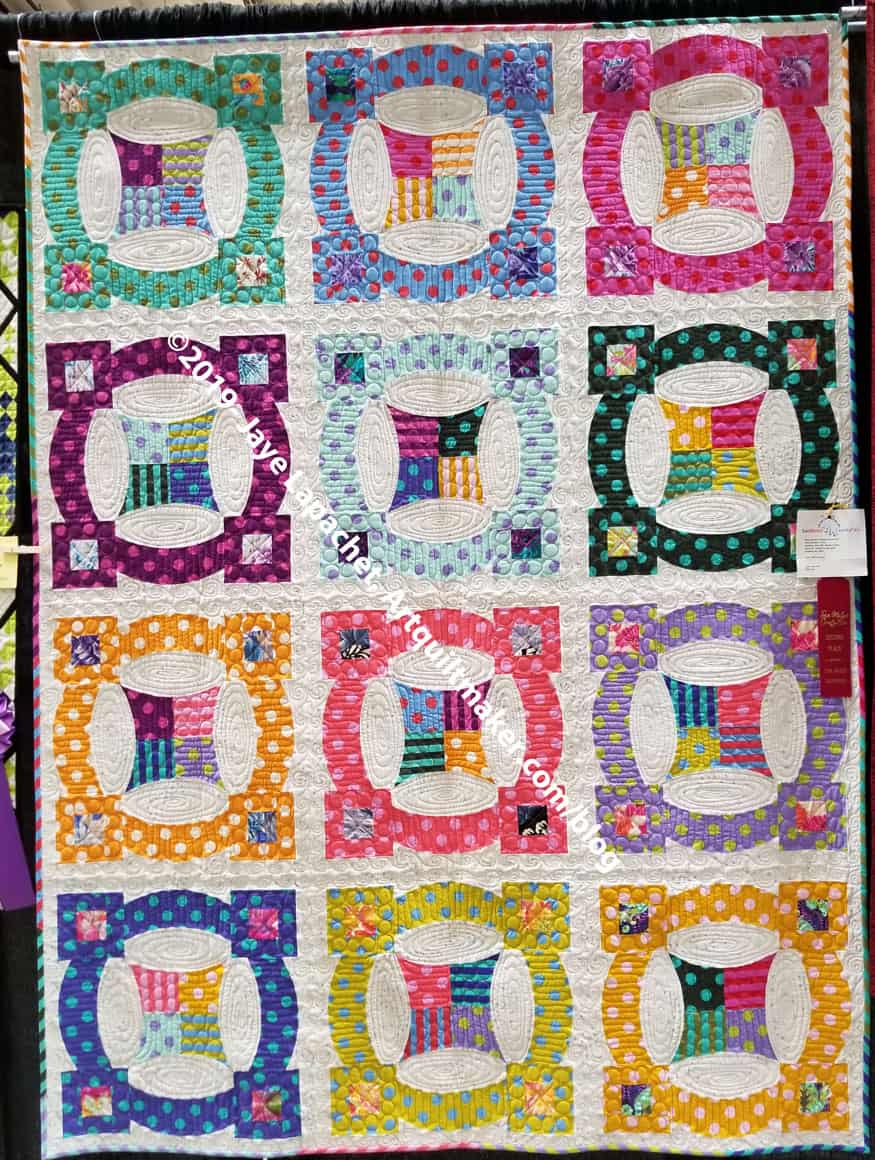
Aqua-Red Sampler with prize
First, the Aqua-Red Sampler Quilt got First place. As you know, I made these blocks in one of my sampler quilt classes. I am pretty pleased that this won. The two color scheme has an impact. Also, Colleen did spectacular quilting and the quilting shows. Definitely click on the image so you can see the detail of the quilting. I am really happy that the judges were able to appreciate this quilt. I think it looks a little modern, but I didn’t dare enter it in that category.
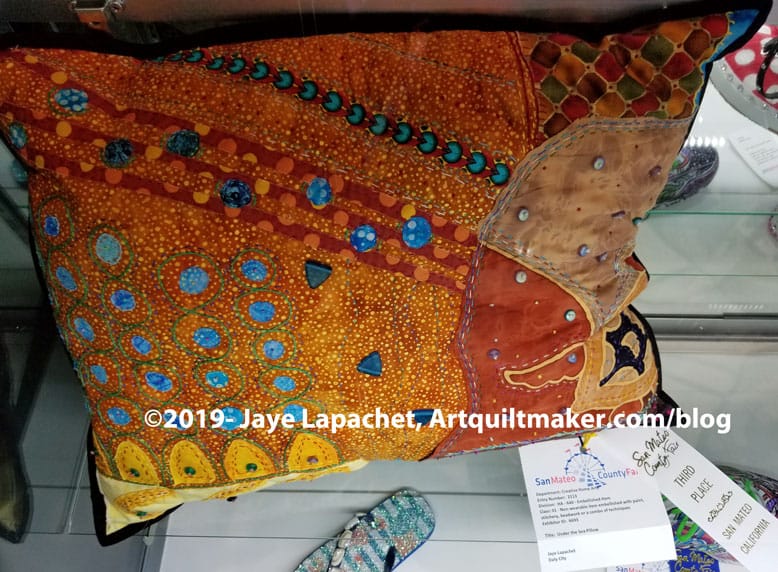
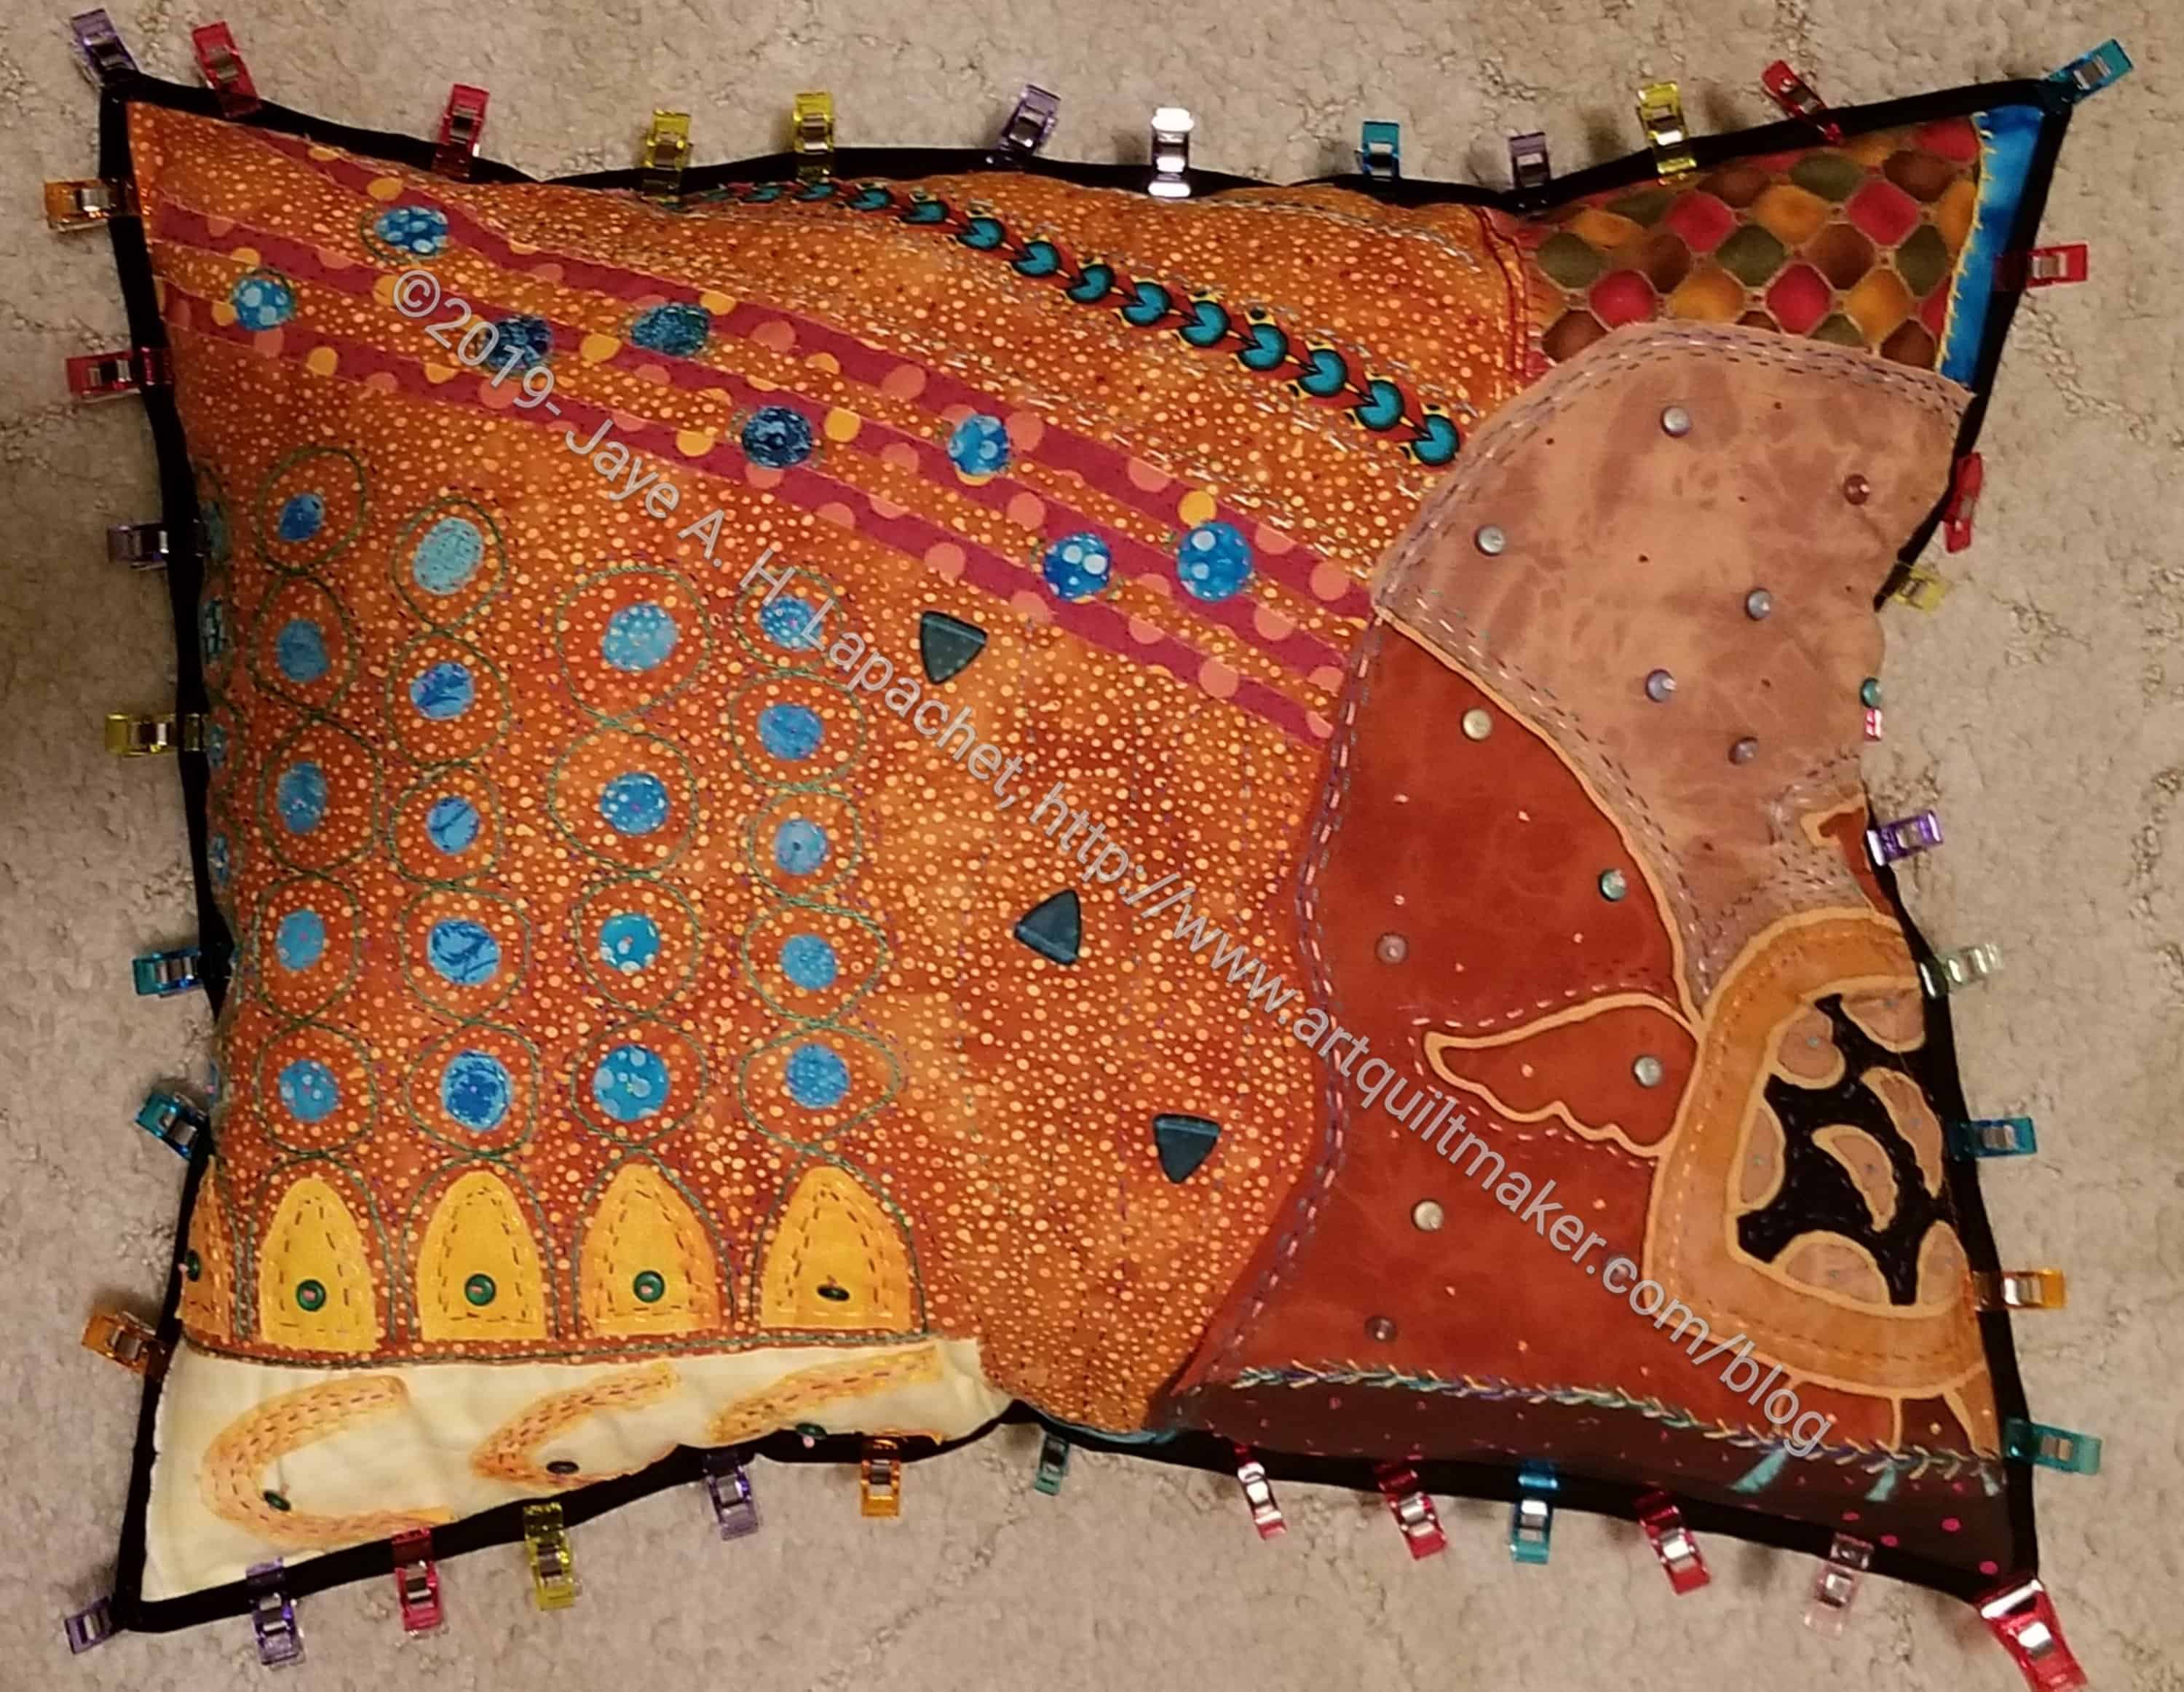
Under the Sea Embellished pillow
Second, despite reports to the contrary Under the Sea did win a prize. It won Third Place, which is fine. I am pleased that it won at all, because it was so much work and took so many years to finish. I could have gone on stitching, but this category gave me a deadline and finishing this piece got one more hand project off my list.
Metroscape with ribbon
Finally, Metroscape won. WOW! This was a huge surprise. I did enter it into the Modern category in hopes of giving it a better chance, but I really didn’t expect anything. There it was hanging with a Second Place ribbon on it.
I enter quilts because I make them and want people to see them. I didn’t, as I said, expect to win. I don’t know what prizes I will get, but I know I will get a prize for each winner.
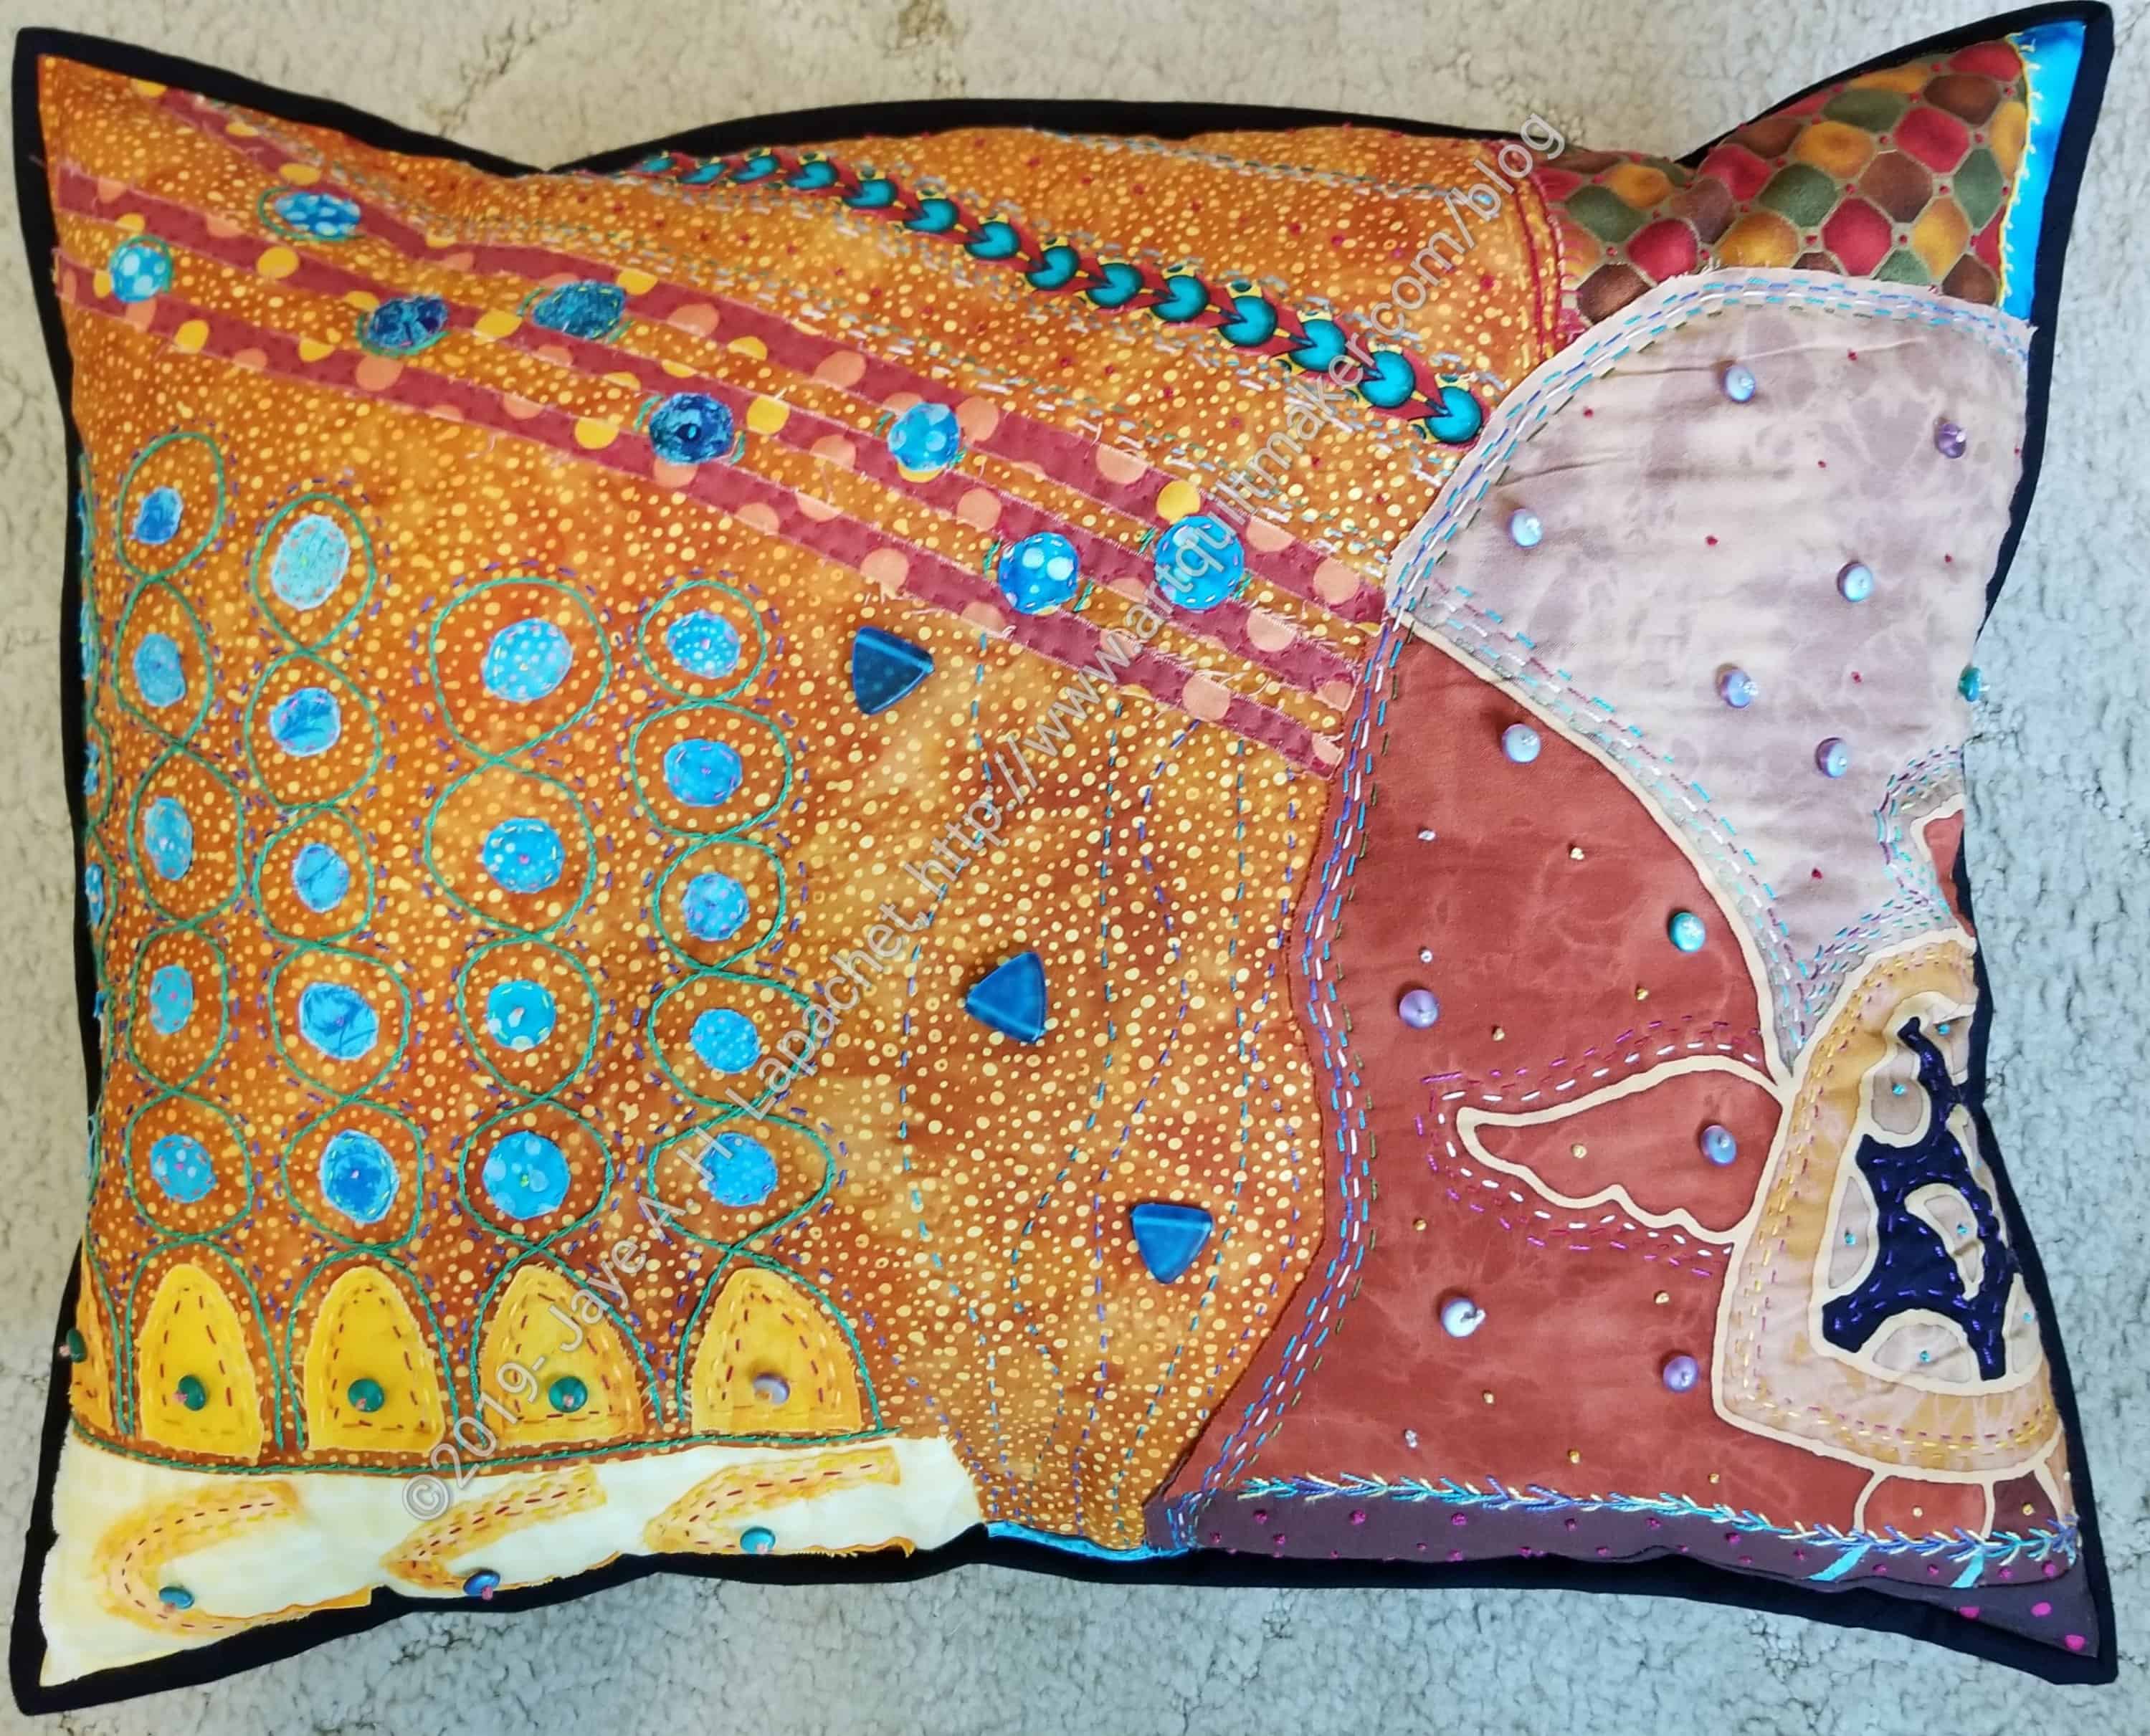
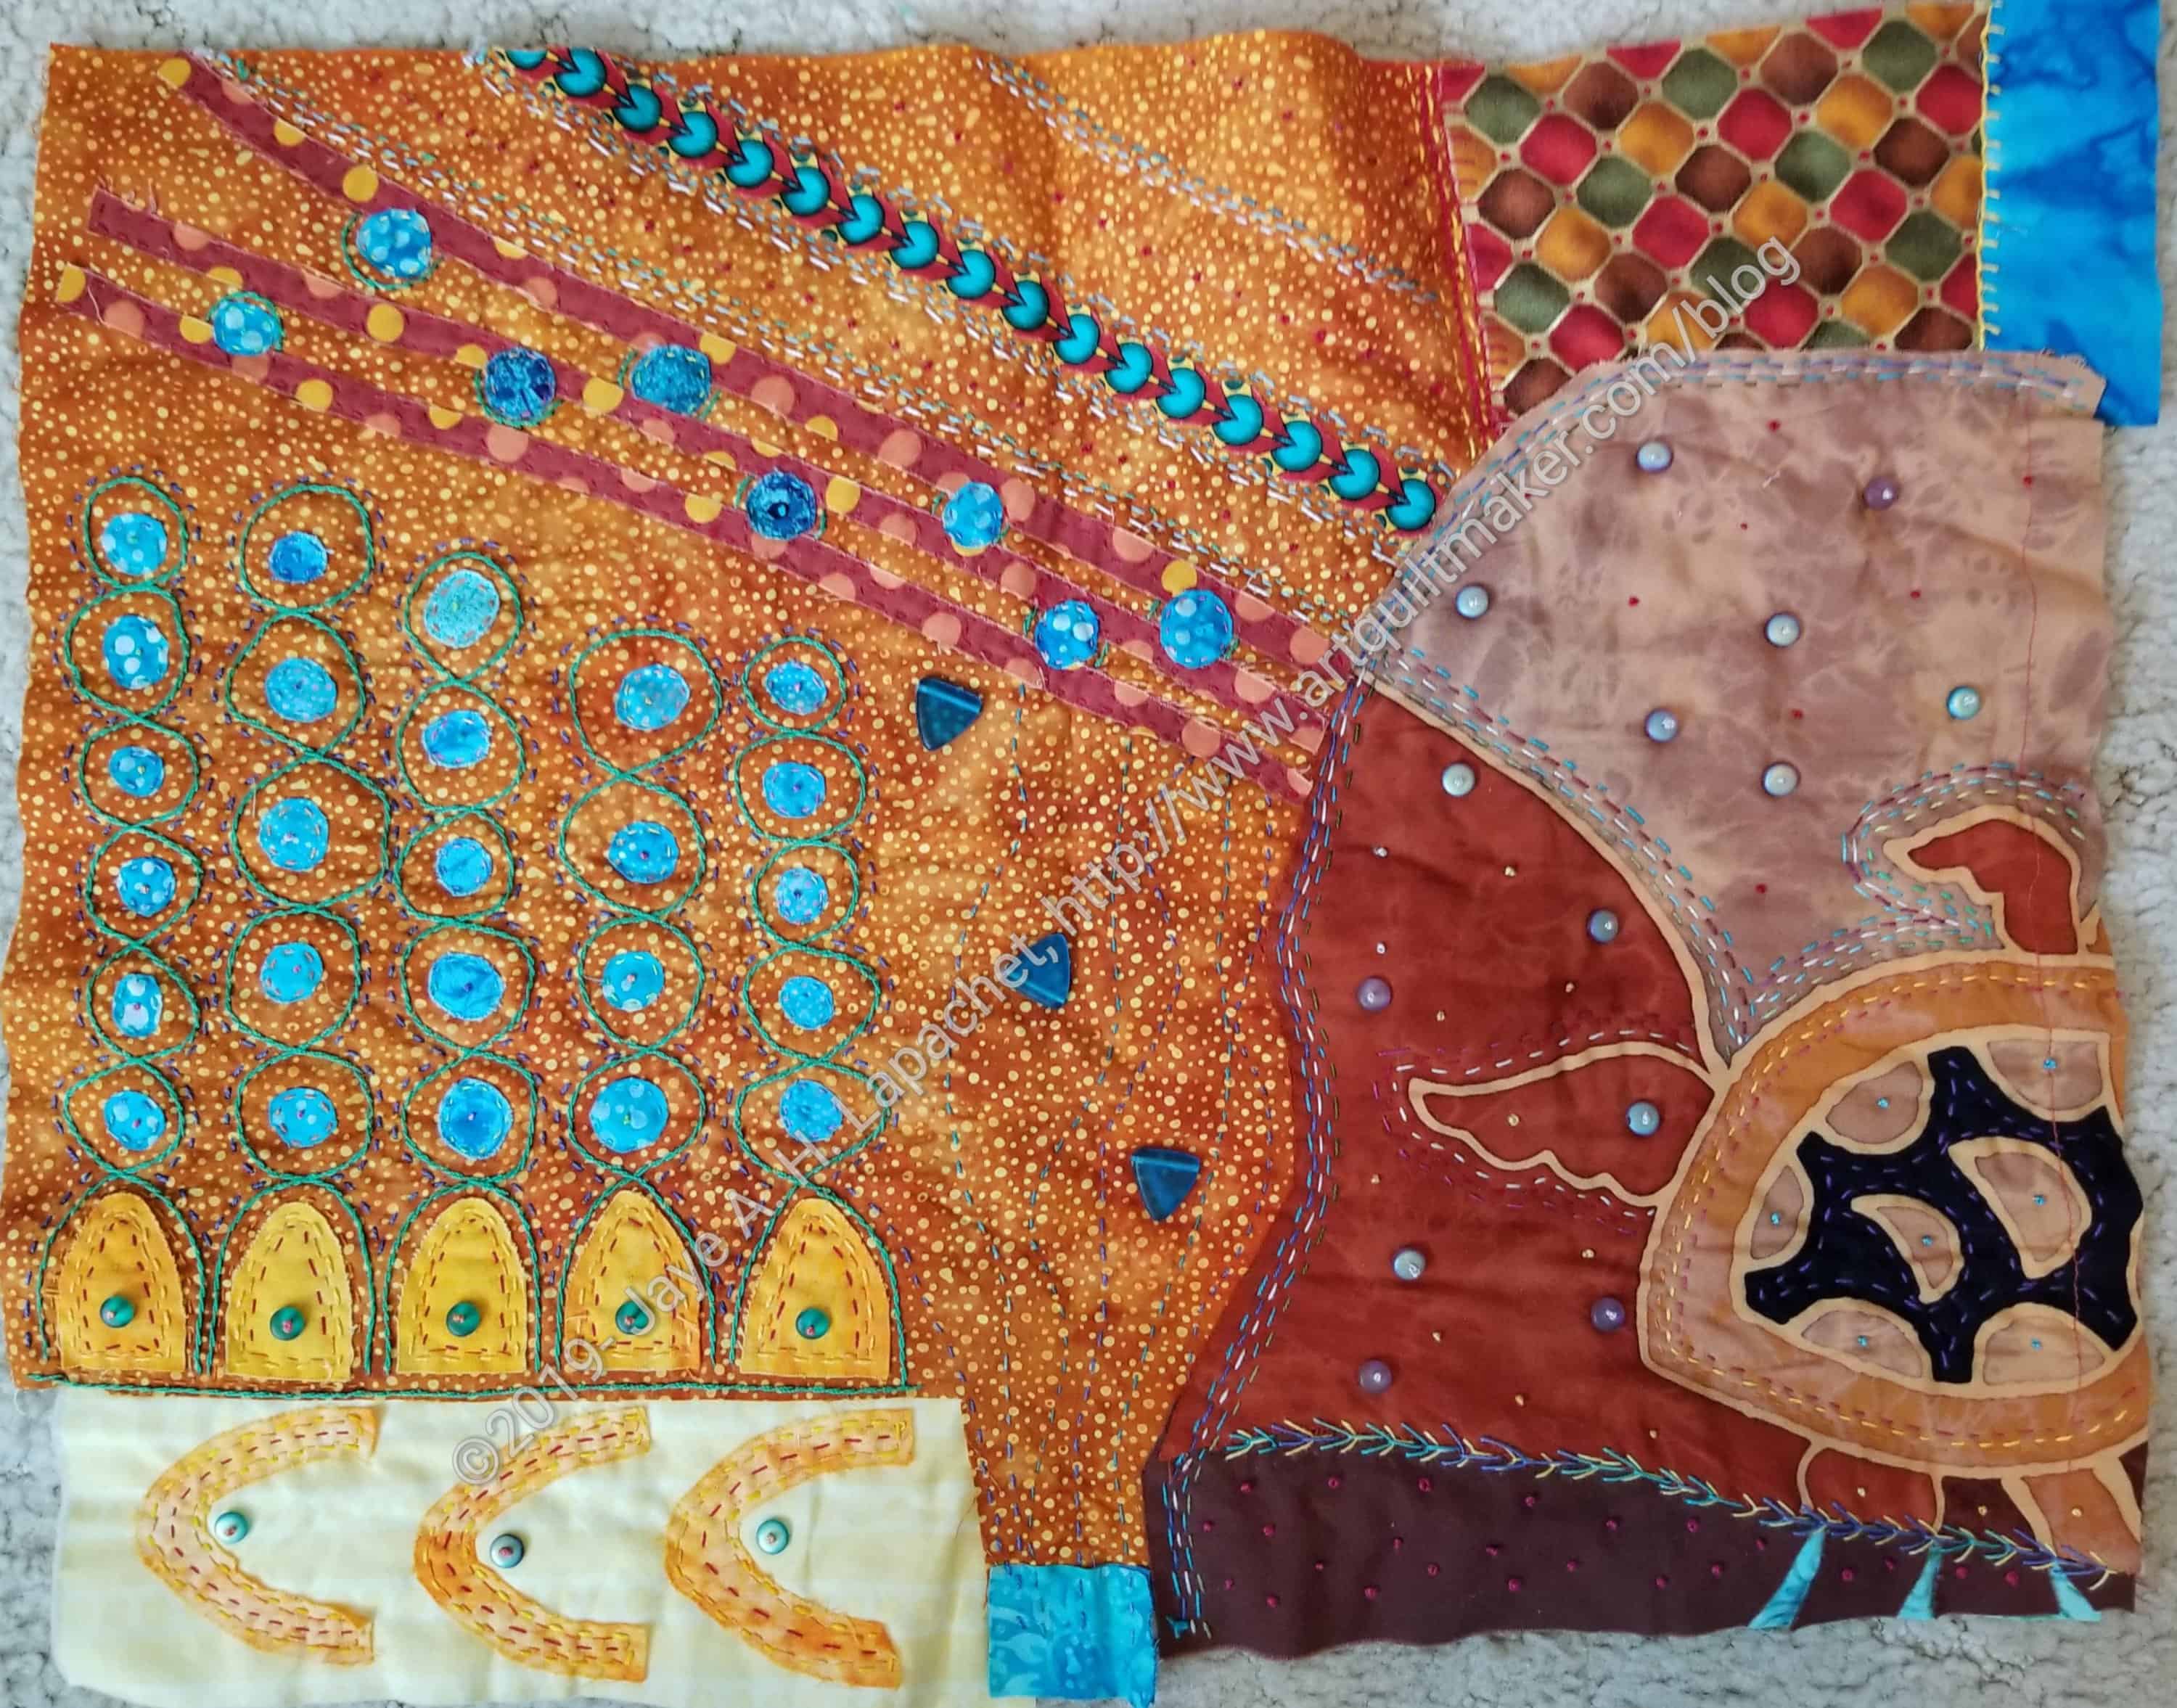
Yep. It’s true. I have finished the Under the Sea piece after many years of working on it. I can hardly believe it.
I am so thrilled that I have one hand project that is finally done. Granted, I could have just said “this is done” and moved on, but projects speak to me and this one was very chatty. I finally feel like it is really and truly done – enough embroidery, enough embellishment, enough stitching.
The London Portfolio fabric seems to fit the front pretty well and I am pleased with the black binding.
This was not an easy project to finish and included a lot of ripping out, but like Beach Town and the Flower Garden, I am pleased with the style of working and the results. Pamela Allen is a design genius and if you want to learn to design quilts, she is a great teacher.
I wanted to finish Under the Sea by now, but I had to backtrack and do some repairs, so finishing will take longer.
I made the piece into a pillow. To do that I used up the polyfil I had leftover from the dolls I made for my little niece. I didn’t have enough, so I cleared out my batting scraps and used bits of batting for the rest of the stuffing. I would have preferred all polyfil, but as a lot of this project was from reclaimed materials, I thought the batting scraps were fitting.
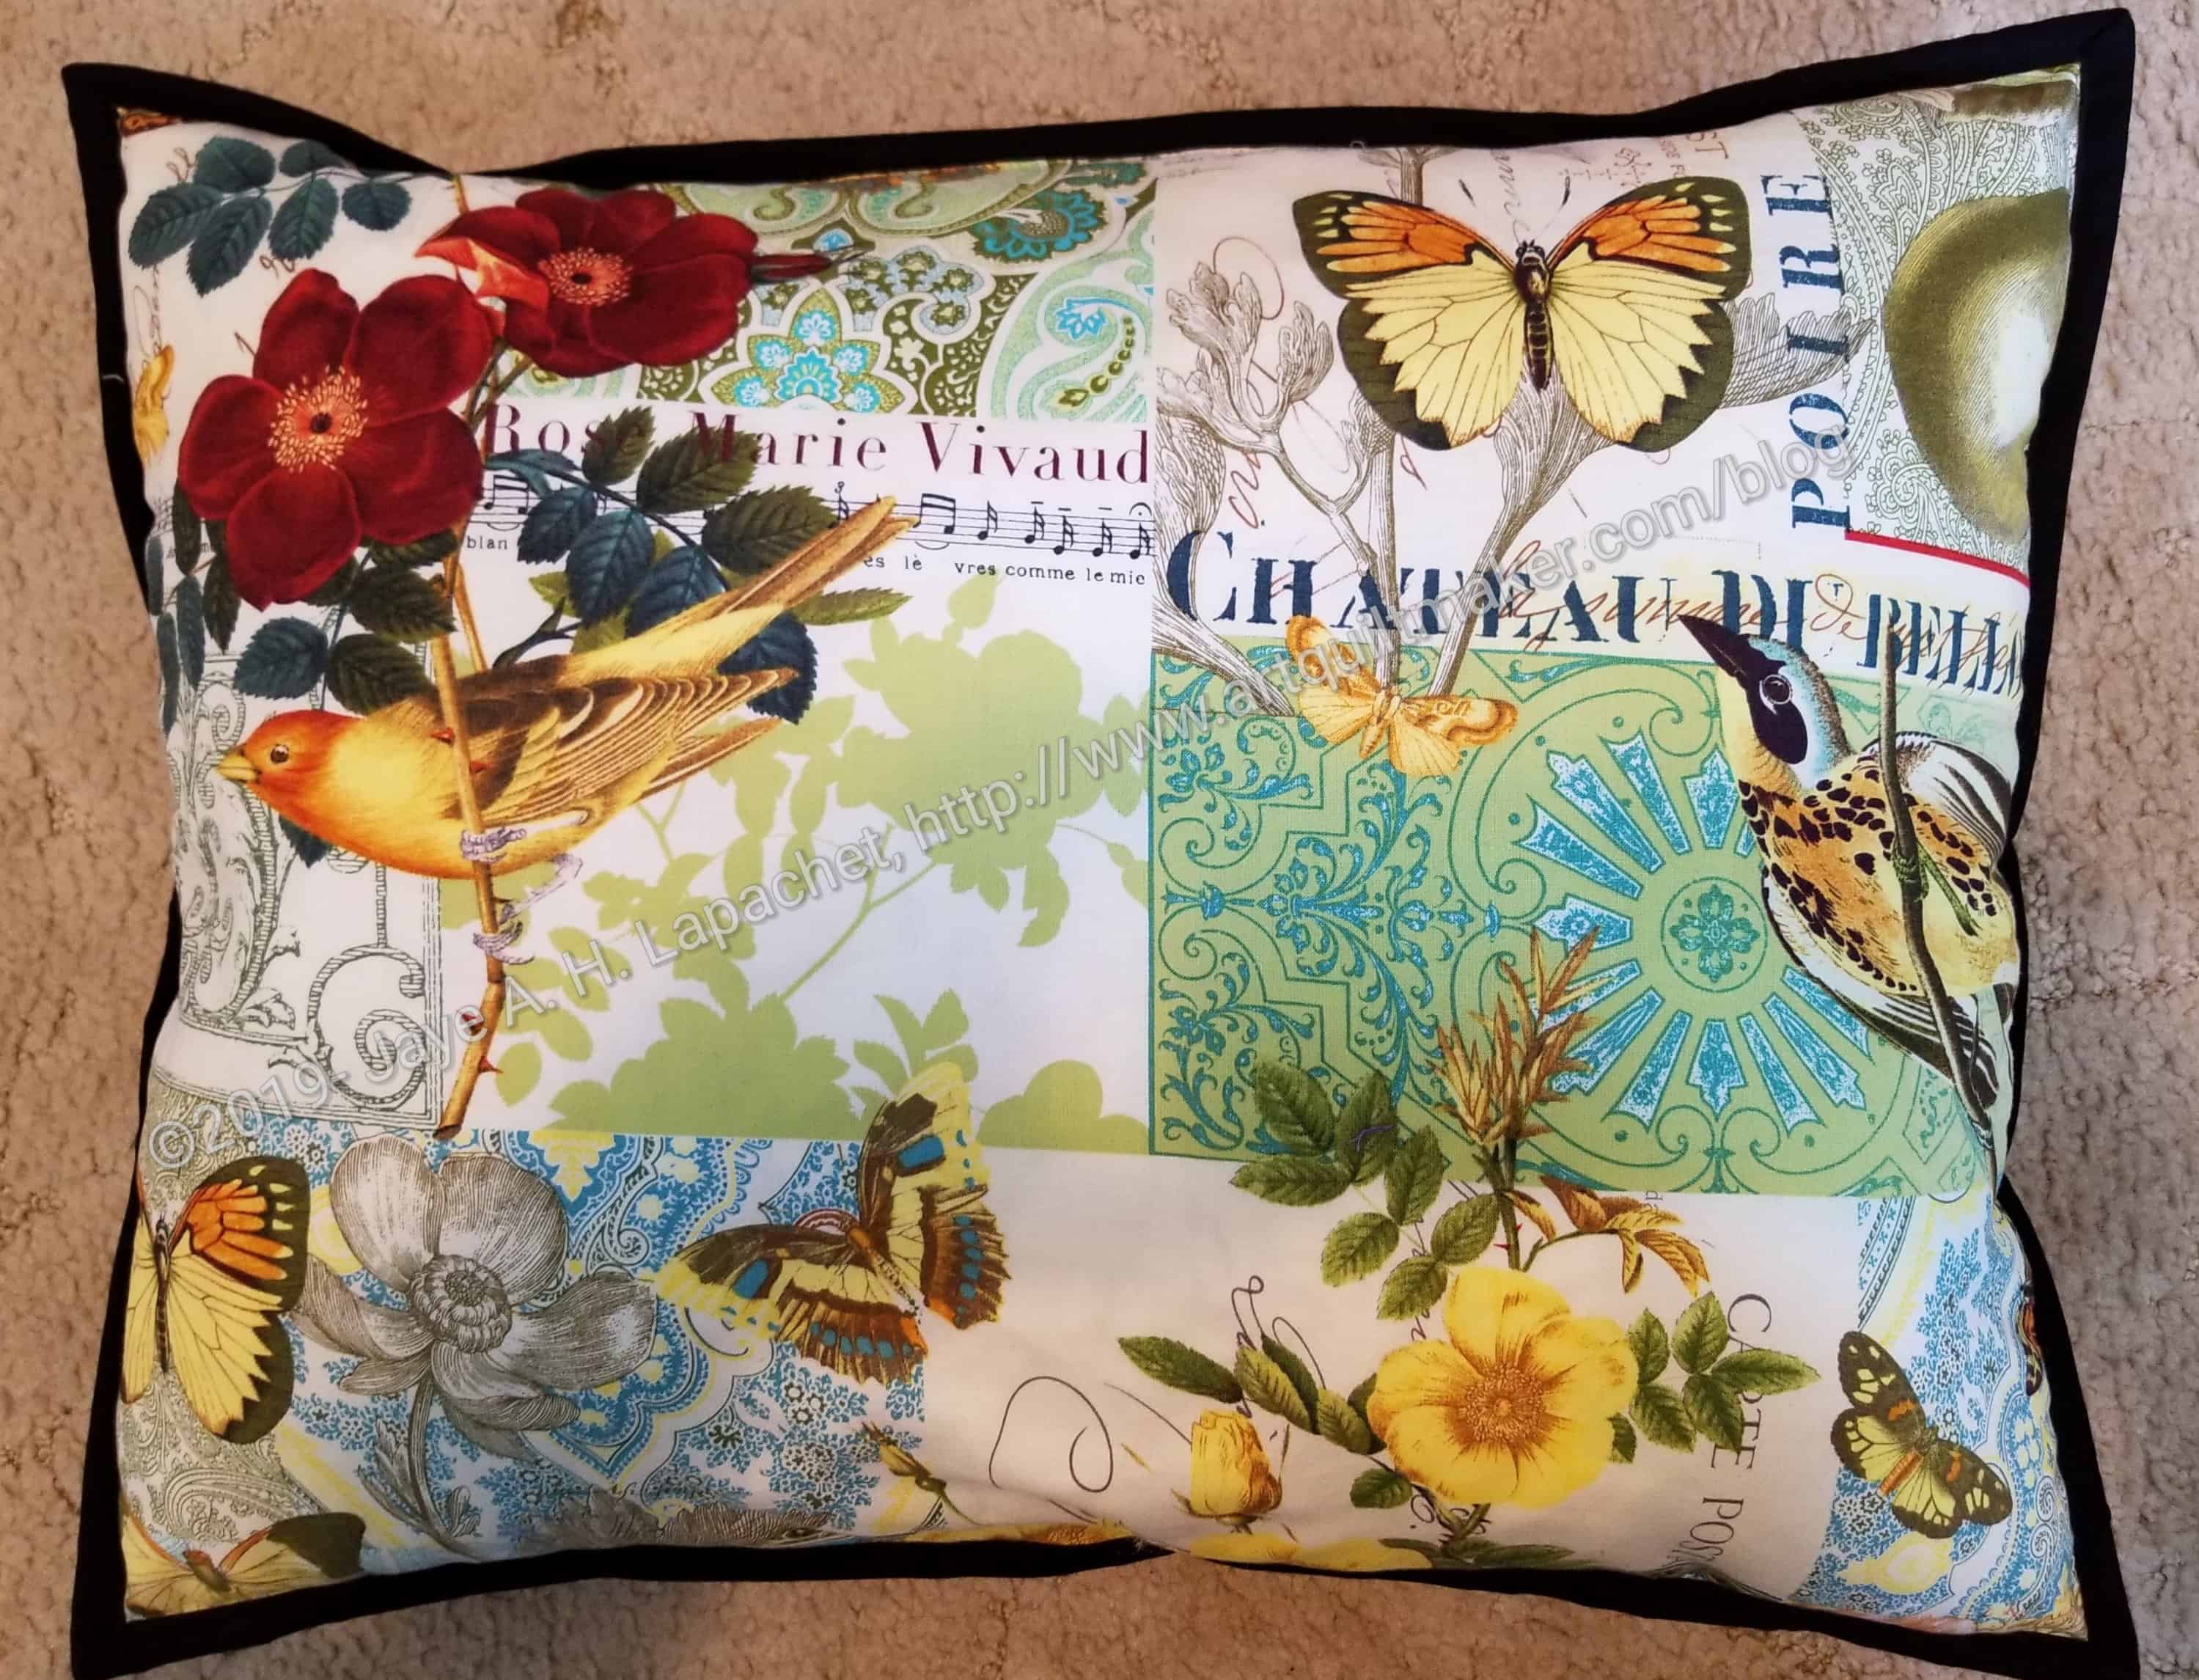
Under the Sea back – Michael Miller print
I wanted to control where the stitching went, so I didn’t plan on sewing right sides together and turning the piece. I sewed wrong sides together, then left an opening I could use to fill the pillow.
The backing fabric is from the Michael Miller London Portfolio collection. This particular print is called Anjou Pour Vous. I don’t know why it would be called that if the collection is called London Portfolio, but I am sure the designer has a reason. I have a number of these prints and will have to use one for a backing.
I also wanted to put a black binding on. I did that to cover the raw edges, then machine sewed the back down. I ran into problems with the black thread catching some of the pillow top and also showing in the corners where it didn’t quite match up with the top binding. Again, I ripped and replaced the bobbin with Aurifil monofilament and restitched the binding so the mismatched binding front wouldn’t have a black line around the corners on the actual top.
Also the larger glass beads are coming off. For some reason, my French knots are not strong enough to hold them with the stress of handling. Again, I am using Aurifil monofilament to secure the beads and not disturb my overall design. The Aurifil monofilament is a hassle to use, so that is also a thankless task.
I will be so glad not to see this project on my to do list when I am finished. I know I will like it again, but right now I don’t.
After several false finishes, I am really done with the top of Under the Sea. This is a HUGE, because I started it in April of 2009 and getting it done has been on my list for awhile. One less handwork project to do can’t be bad either.
I want to make it into a small pillow. Some of the embroidery and beading are close to the edge, so I have to worry about that a little bit. There is still work to do on this piece.
Since this was heavily embellished, I will enter it in the fair in the embellishment category and hope for a prize.
I am determined to finish this piece soon. I want to enter it in the fair in the embellishment category. I also want it finished. It won’t give me much in the way of used up fabric on my spreadsheet, but it will be off the To Do list and that is good.
Making visual decisions visually
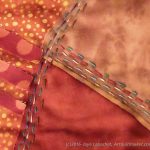
After working on it last week, I thought it was done. It wasn’t done. It needed some beads. So, I laid some out to see how they would look. I thought they looked nice so I worked on it again at Craft Night on Monday.
After analysis of the divisions and categories with the least number of entries at the Fair, we decided embellishment was one to target. Craft Night was Monday and I decided I needed to work on this piece.
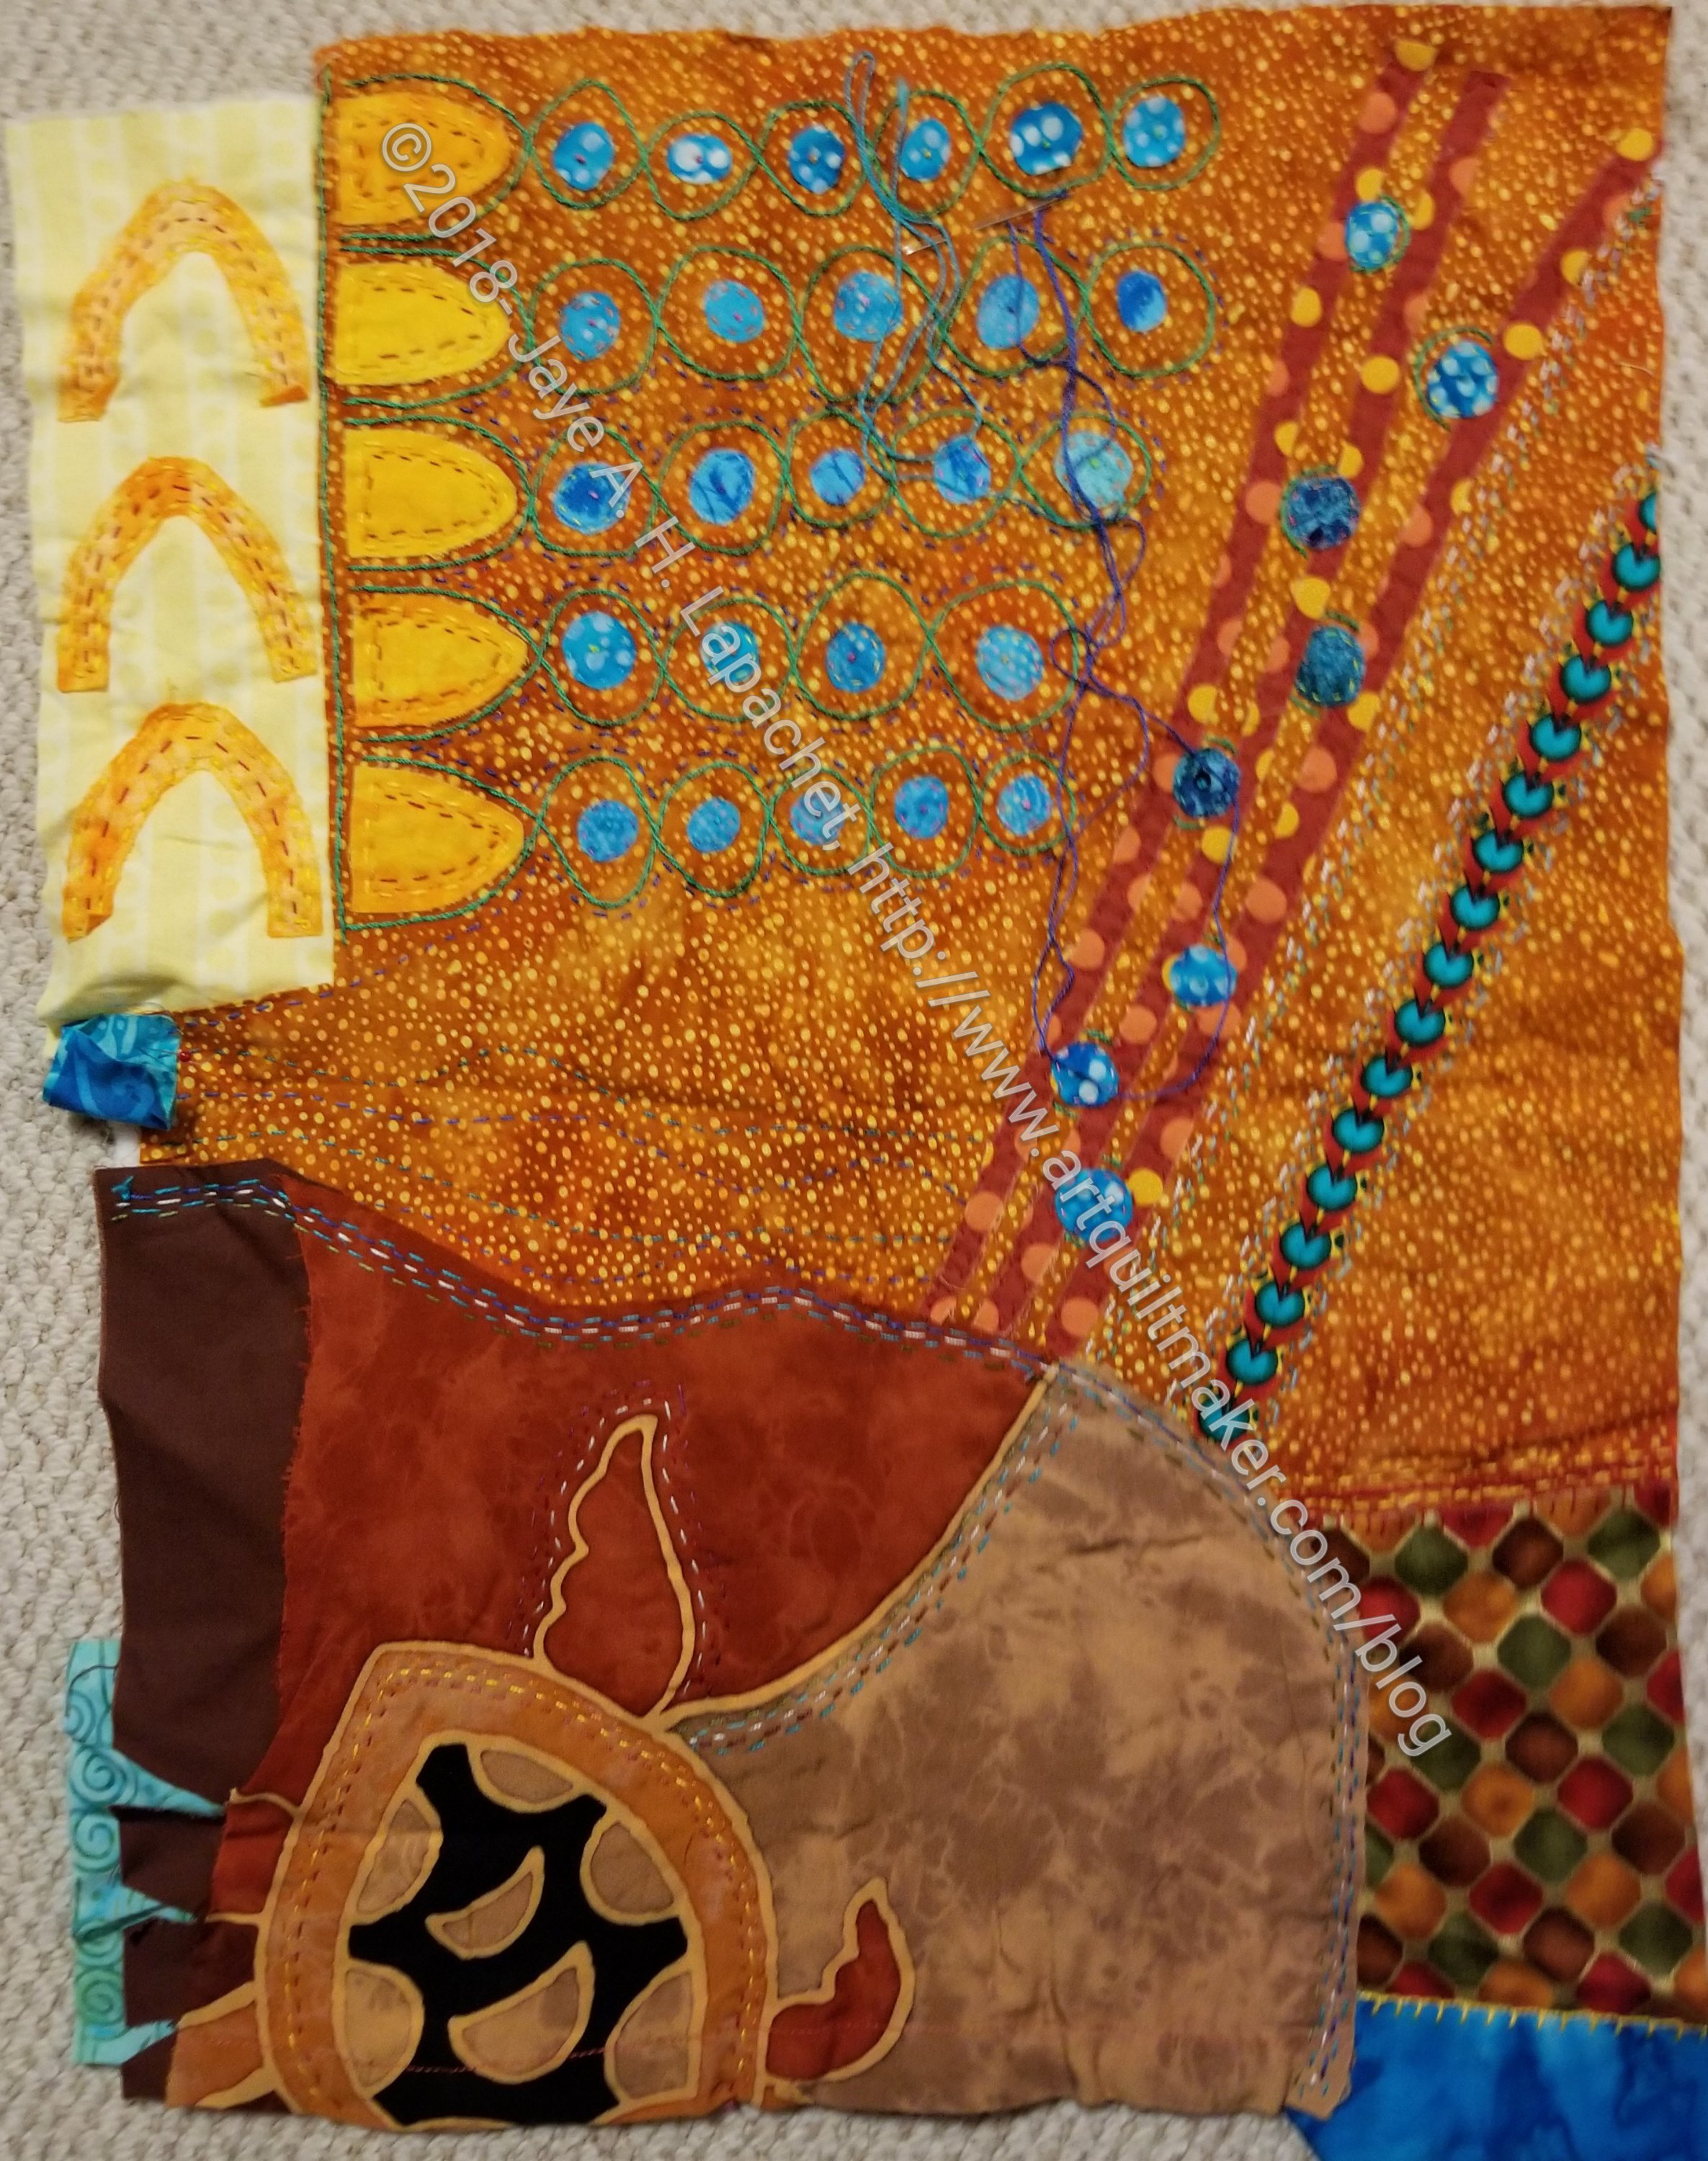
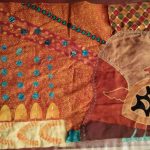
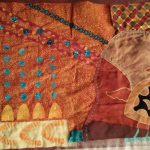
Under the Sea has been underway for awhile (uh, 2009!) I decided that I will make a pillow out of the piece and enter it. That means getting it done. I took it out and got reoriented as I don’t know the last time I worked on this piece. I had a bit of thread left so I finished a section with that thread (see purple arrow below) and then did a few more lines of stitching in the center.
Under the Sea -finished section 1
Under the Sea -finished section 1
I feel like it might need a few beads in various places, but we’ll have to see. I have to lay some out and look at it, otherwise I am going with done.
I am making some progress on Under the Sea. It is a shock, because this piece has been on my list and a UFO for YEARS. I really never thought I would finish it and here I am.
Under the Sea – Late August 2016
We went to Southern California for the weekend, so no sewing machine and I missed the BAMQG meeting. My DH better know I love him. 😉 I did take Under the Sea and my EPP project to work on. I didn’t do much in general – no sewing, no EPP, no quilt shop visits, but I worked on Under the Sea a little on the way home in the car.
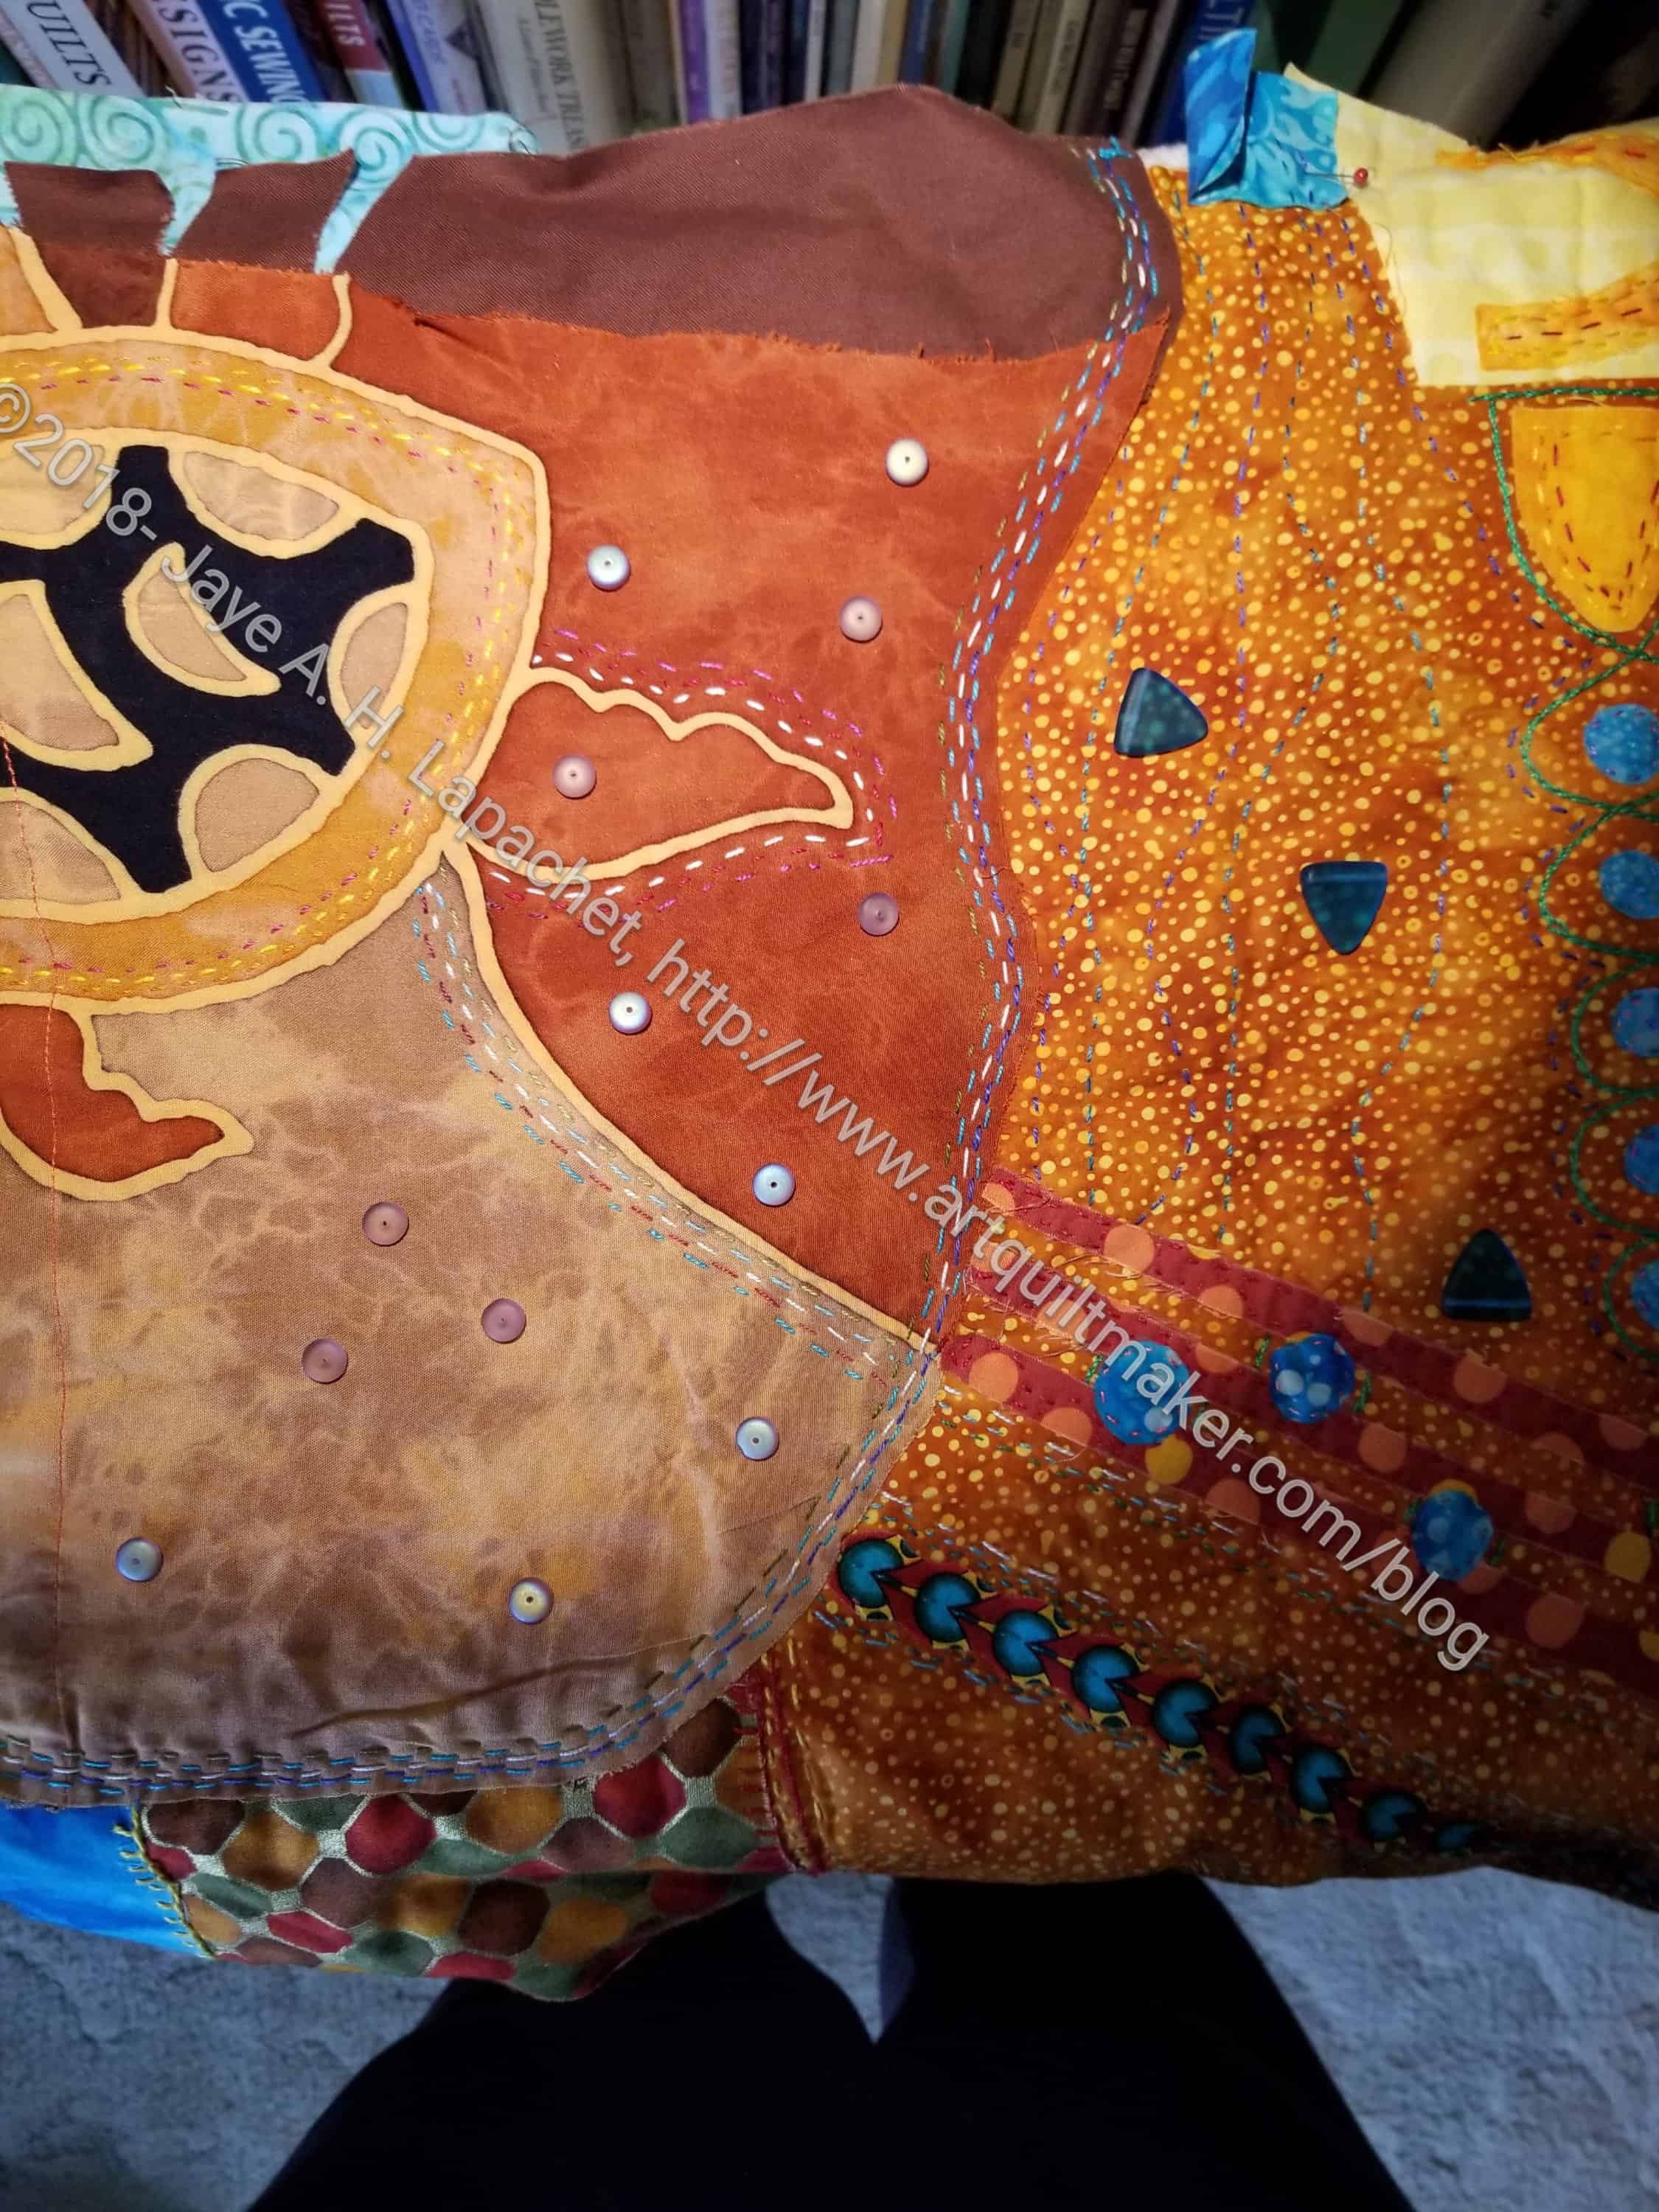
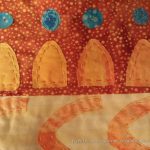
I bought some 12wt Aurifil and have used a little of it along with the Perl Cotton that I have had laying around. It is fun to add layers of texture to this piece. The stitches are adding interest.
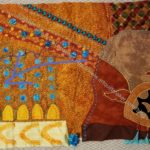
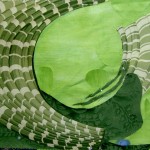
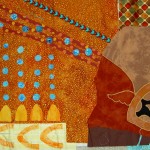
Under the Sea (detail) – Late August 2016
I am not sure about the green circles. I like them as a motif. I am not sure I like them around the turquoise dots. I don’t want to disrupt that bubble like effect.
I am hoping that the viewer won’t see them until they get closer. We’ll have to see.
I have been working on Under the Sea pretty steadily in the evenings. It is soothing to do the handwork. I am also surprised at how quickly I can fill up an area with embroidery.
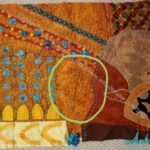
Under the Sea, detail, july 2016
Under the Sea, detail, july 2016
Under the Sea, in process again
Under the Sea, detail, july 2016
Under the Sea, detail, july 2016
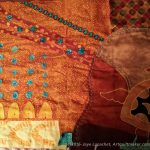
Under the Sea, detail
As I said a few days ago, I am pleased with the work. I am still pleased despite some design challenges.
I want the embroidery to be simple, so that limits the stitches.
I don’t have enough colors, but when will I have enough colors? This should not come as a surprise to anyone who reads regularly.
The browns, rusts and golds are not my favorite, but I am finding that I don’t dislike them enough to toss the project.
Beads or no beads?
I have been pretty tired or working on other things the past two nights, but I’ll get back to this soon.
I realized that when I am in a class with Pamela, I do think outside of my own quiltmaking box. I also realized that if I just listen and do what she says I succeed. I also feel a bit freer in my work. I really have a strong feeling that I need to make a much larger piece in Pamela’s style.
Pamela gave us tips and I interpreted them as:
make lots of art because not all of it will be good; small is good
your first idea will be crap, so don’t cling to it
put the big shapes down first
move things around; try a new view
if you are bored by your piece everyone else will be as well
We talked a lot about art quilts at our dinner out together. I feel strongly that all quilts need to have a good design. Block type quilts have a basic structure which helps with good design. Most art quilts do not have a basic, inherent structure and some go astray because the quiltmaker doesn’t care, doesn’t know how to initiate and then evaluate a design or doesn’t have the technique foundation. I think it is easy to find out about these things. There are a lot of good principles of design type books, such as Pentak and Lauer’s Design Basics. The basic thing concerning technique in art quilts is that they don’t fall apart upon hanging. Pamela doesn’t have the classic quilt background that many quiltmakers have, but she has learned what she needs to keep the quilts structurally sound and then applied her art and design training. This is the best of both worlds and this is where I really want to be.
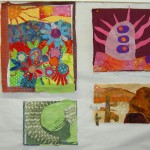
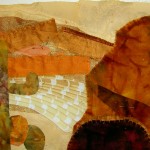
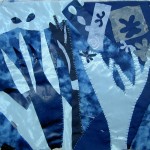
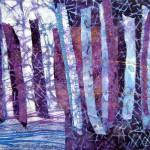
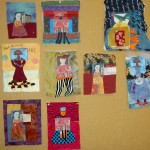
You can see from the gallery above how she inspires great and different work. Diane is a wonderful silk painter. She normally paints a whole cloth piece on silk and then quilts it. Her blue trees piece is really different from her normal style and really, truly wonderful. Kristen is very busy with her family and doesn’t have tons of time to sew, but made some fantastic pieces that her children would enjoy. I love that space alien monster! Kristen’s pieces are also cheerful and imaginative and wonderfully creative. Mrs. K’s sauguaro cactus/Suspicion Mountains piece has a calmness to I that I love. I hope she finishes it and hangs it somewhere where it can inspire other people. Everyone really did fantastic work and I am sorry I didn’t take more photos.
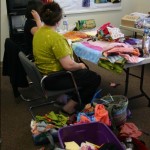
Creative Mess #2Creative Mess #1
We made a creative mess. Mess is the wrong word; we had supplies and we needed to use them. When you only have 15 minutes to make a piece of art, the fabric will be flying and it was. I brought my scraps which kept ending up on the floor. People would stop by, pick up some bit of fabric and ask to whom it belonged. It became quite hilarious. We really couldn’t have done the workshop without Mrs. K. She brought tubs of fabric which allowed us to actually have backs and batting and such things. I seemed to conveniently forget those supplies when I go to Pamela’s workshops! DUH!
I have been in class for the past two days with Pamela Allen. Pamela is much more than a quilt teacher. She is truly an art teacher who works and encourages work in fabric. I had THE Aha moment in her class today and it really thrilled me. I could feel the difference in my work after that moment.
As you may have read, or noticed, I felt crappy all week. Barely any blogging got done even though I have a pile of sticky notes with reminders of things to tell you. My house is a wreck and my to-do list is still long. A cold was really beating me down and I was doing everything I could to conserve energy so I could go to class. A good move on my part was to take Thursday off of work rather than working straight through and then going directly to class.
I have taken several classes with Pamela. The first one I took was in Richmond, Virginia at Quilting Adventures. I actually took two different classes in one weekend. The first was a self portrait class and the second was on composition. I started one piece in each class.
Self PortraitGarden
Pamela also came to California in 2008 to teach at EBHQ. I took her class there as well. I don’t think I ever wrote a blog post about that one, but Julie wrote one, which is probably what I would have written anyway. 😉
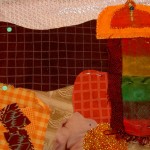
The quiltlet, House and Garden, that I did at EBHQ has been worked on more since the class and I am almost finished with it. Maureen sent me a link to facing directions from Jeri Riggs site and I plan to use them to make a faced edging as soon as I finish the beading.
House and Garden
I brought all three of these pieces to the workshop with the intention of working on them and not starting anything new.
The first exercise was a monochromatic exercise. I didn’t do it. Don’t worry! I warned Pamela that I was planning to bring projects from previous classes. I did enjoy the pieces that others in the class made.
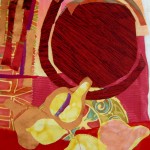
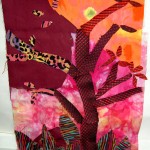
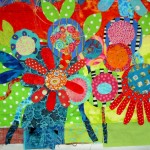
I worked and made progress on the Garden. I am actually ready to handstitch on it, though I do still have a bit of piecing to add. I am really pleased with the work I did on the Garden. I think it looks very different from what it was when I started. I also think it looks a lot better.
Garden (after)
I am really pleased with the petals that I added. I wanted to create a little more interest in the space where the blue petals are now.
Garden (detail 1)Garden (detail 2)
In the bottom part of the piece, the flowers were all middle ground. Pamela helped me create a foreground by putting some darker blue behind the red flower with the petals. I also created a little bit of a different foreground with the flower in the bottom right hand corner. I was thinking of it as kind of a coneflower, but some people said that it also looked like the petals had dropped off. I have a little work to do on the bottom. During the critique, Pamela and the other students suggested that I extend some of the stems to the bottom of the piece and make the bottom of the piece longer as well. They also like the brown border. That brown is currently the back, but I will cut it off and add it to the new front, but only on a couple of sides.
I didn’t succeed in doing my own thing. Pamela is such an engaging teacher that it just wasn’t possible for me to ignore her completely. She did help me with the projects I was trying to work on, though.
After a quick litle quiltlet exercise (15 min), she gave us a piece of fabric and we had to make something with it. My piece was brown. No other colors. None of my colors. Bleah!
The exercise was about accentuating or extending existing lines in the fabric she gave us. I liked the idea of the exercise.
Line Exercise
This is the piece that came out of it. The colors aren’t me, and you can see that I injected quite a lot of blue into the surface.
Today, we worked on critiques and one piece using stripes and prints to create movement.
Final piece, stripes and prints
This piece brought the AHA moment for me. The AHA moment was a point where I finally got all that I have been learning from Pamela. I finally understood about the background and how to put stripes and prints on the piece in different ways in order to achieve movement and the illusion of something. I am really pleased with this piece and think it is very strong.
I can see how some of what I learned today will help me with the Tarts. I am going to use some of the techniques and thoughts to get that piece finished.


")
")

