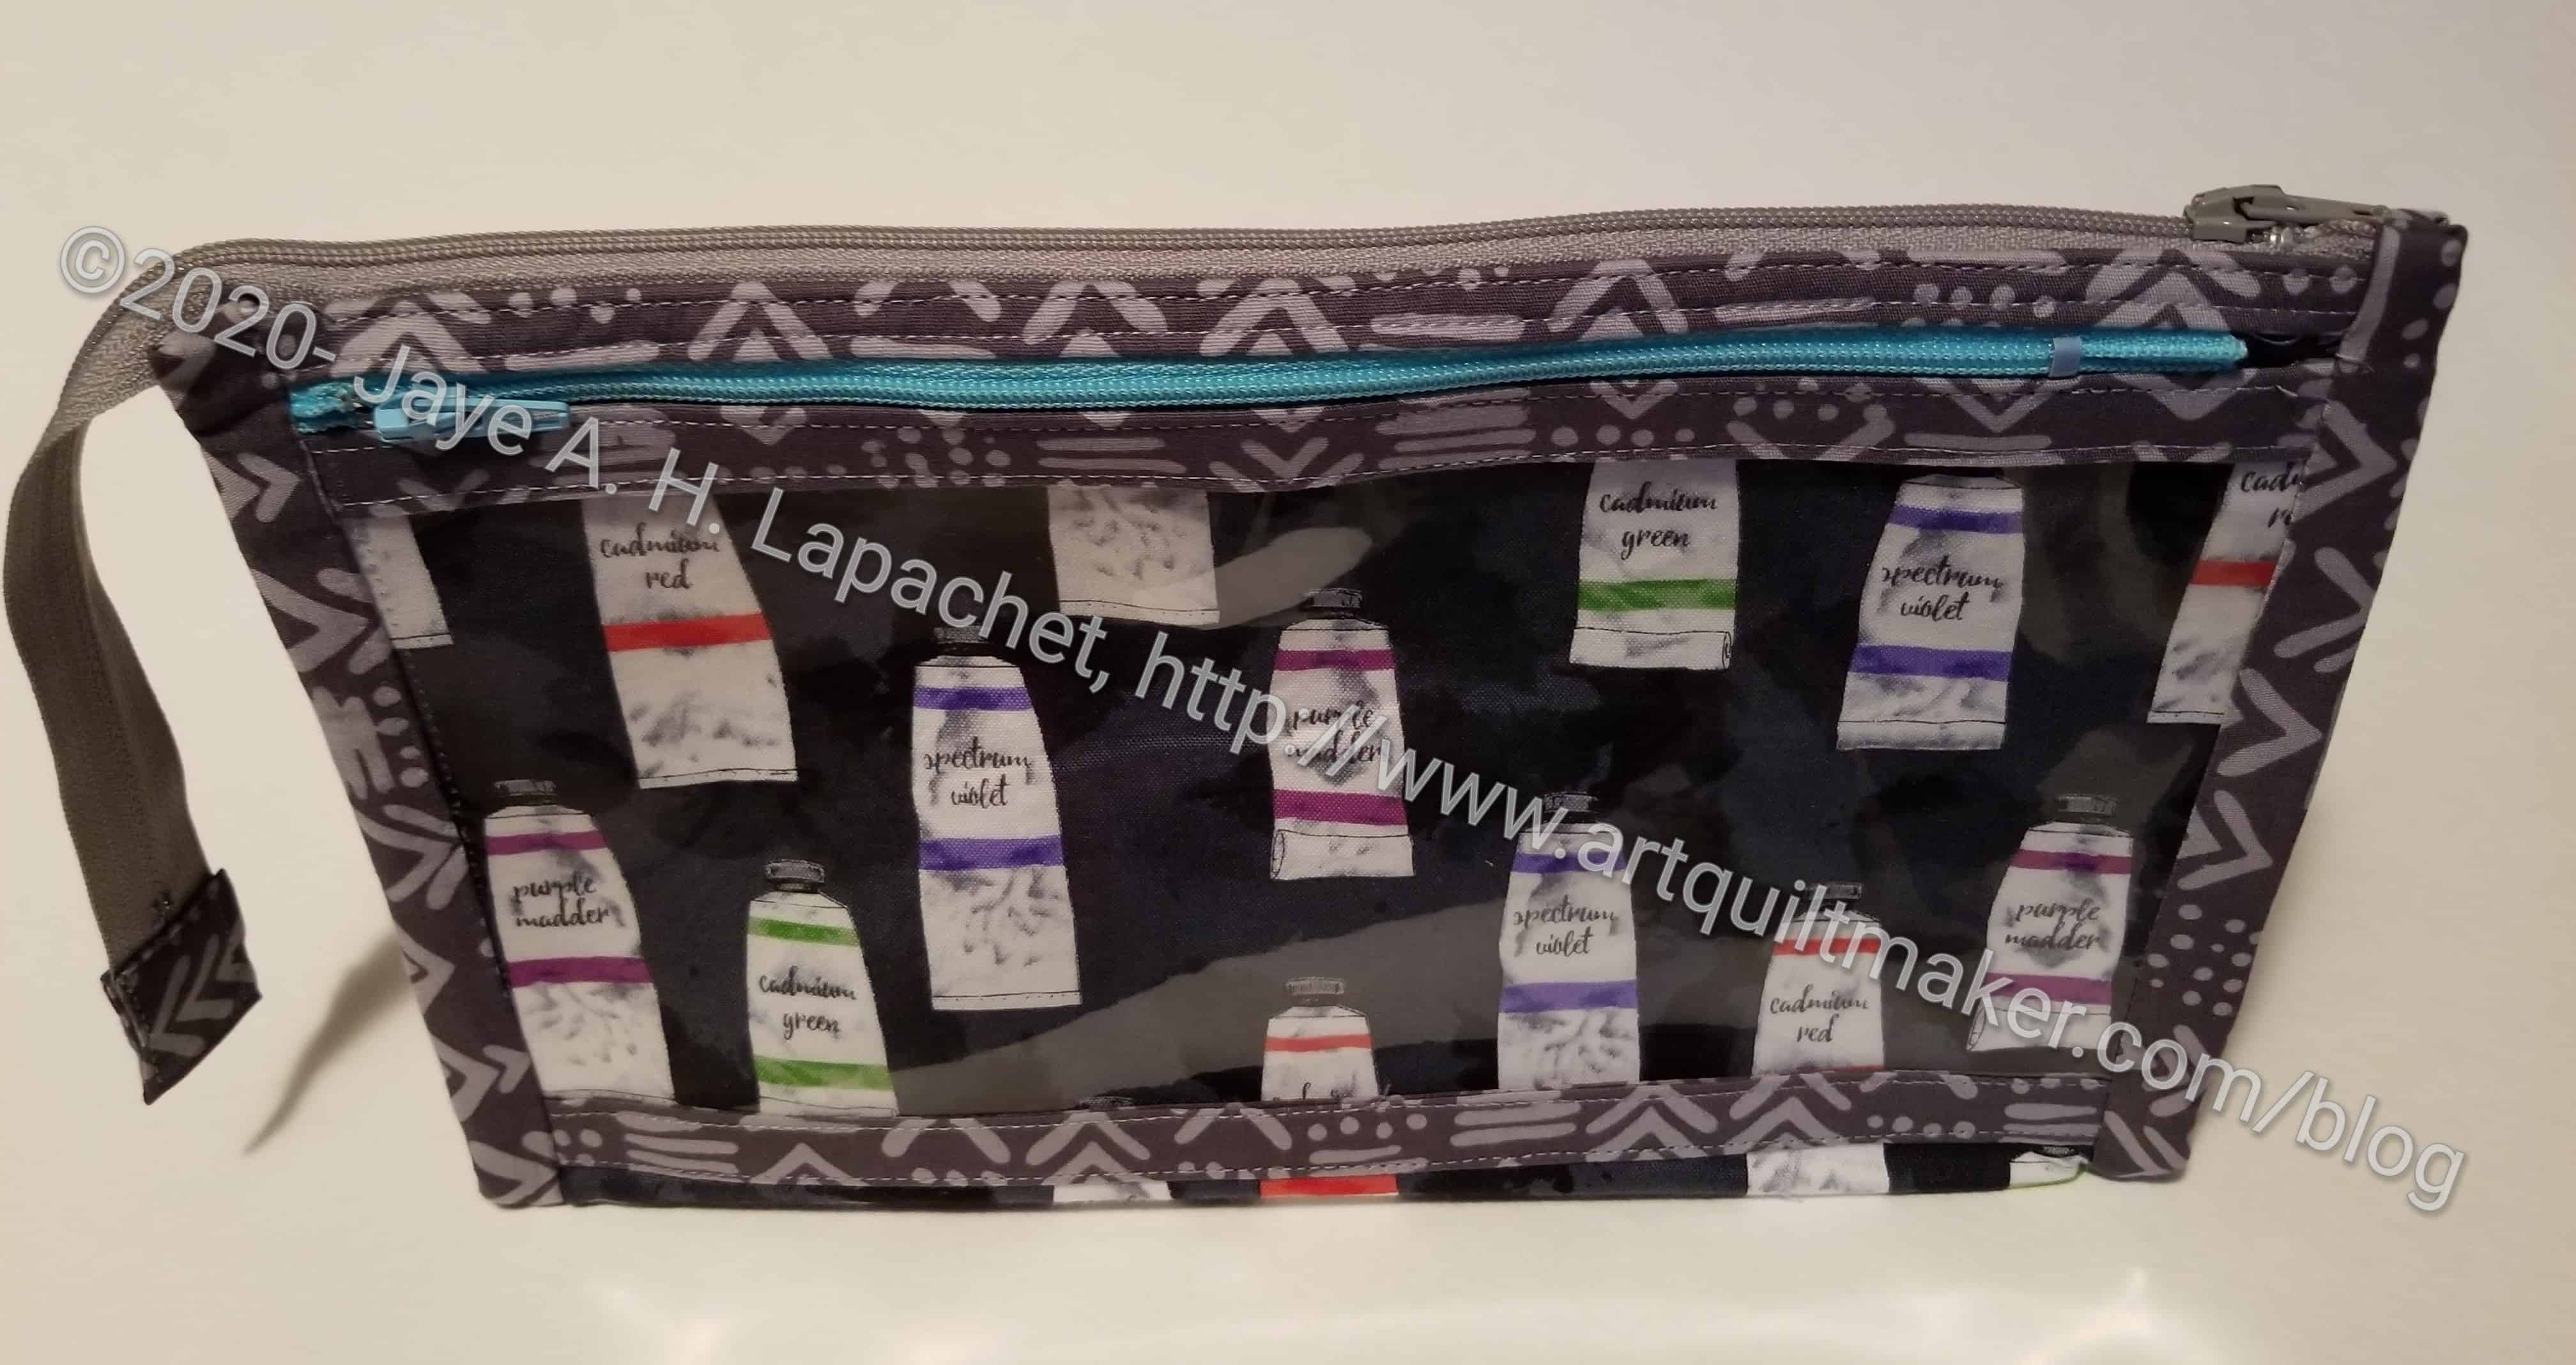
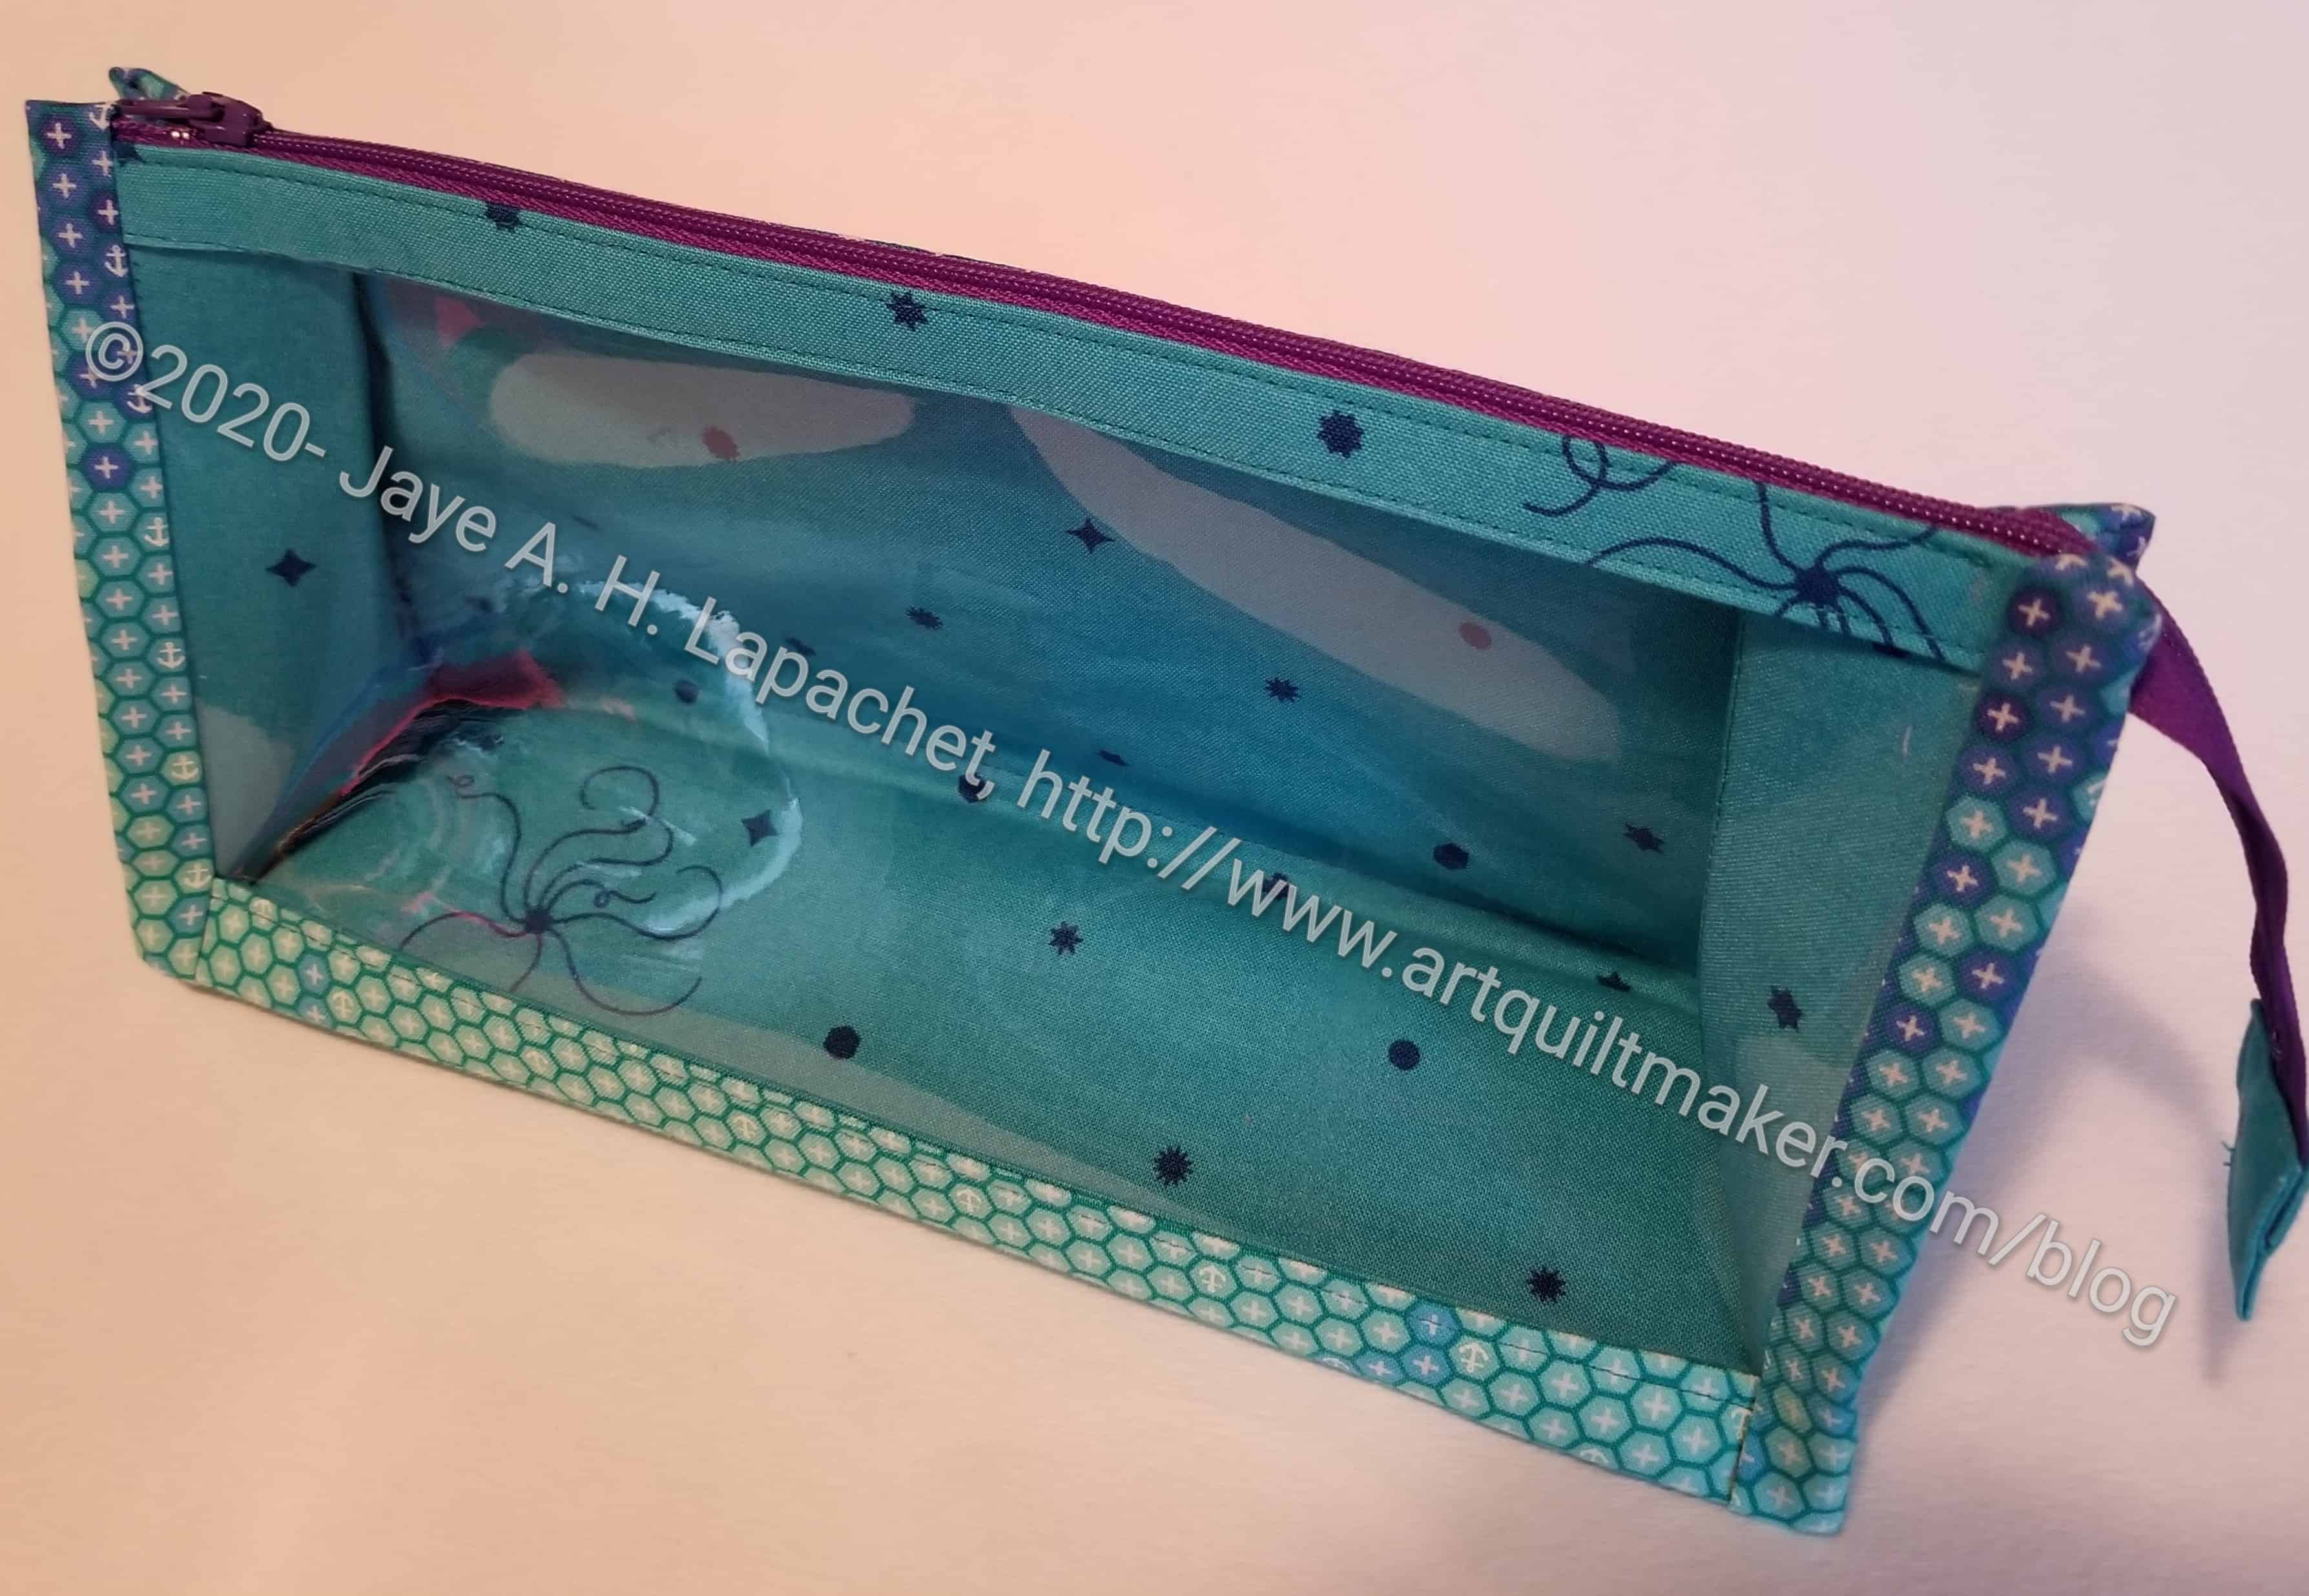
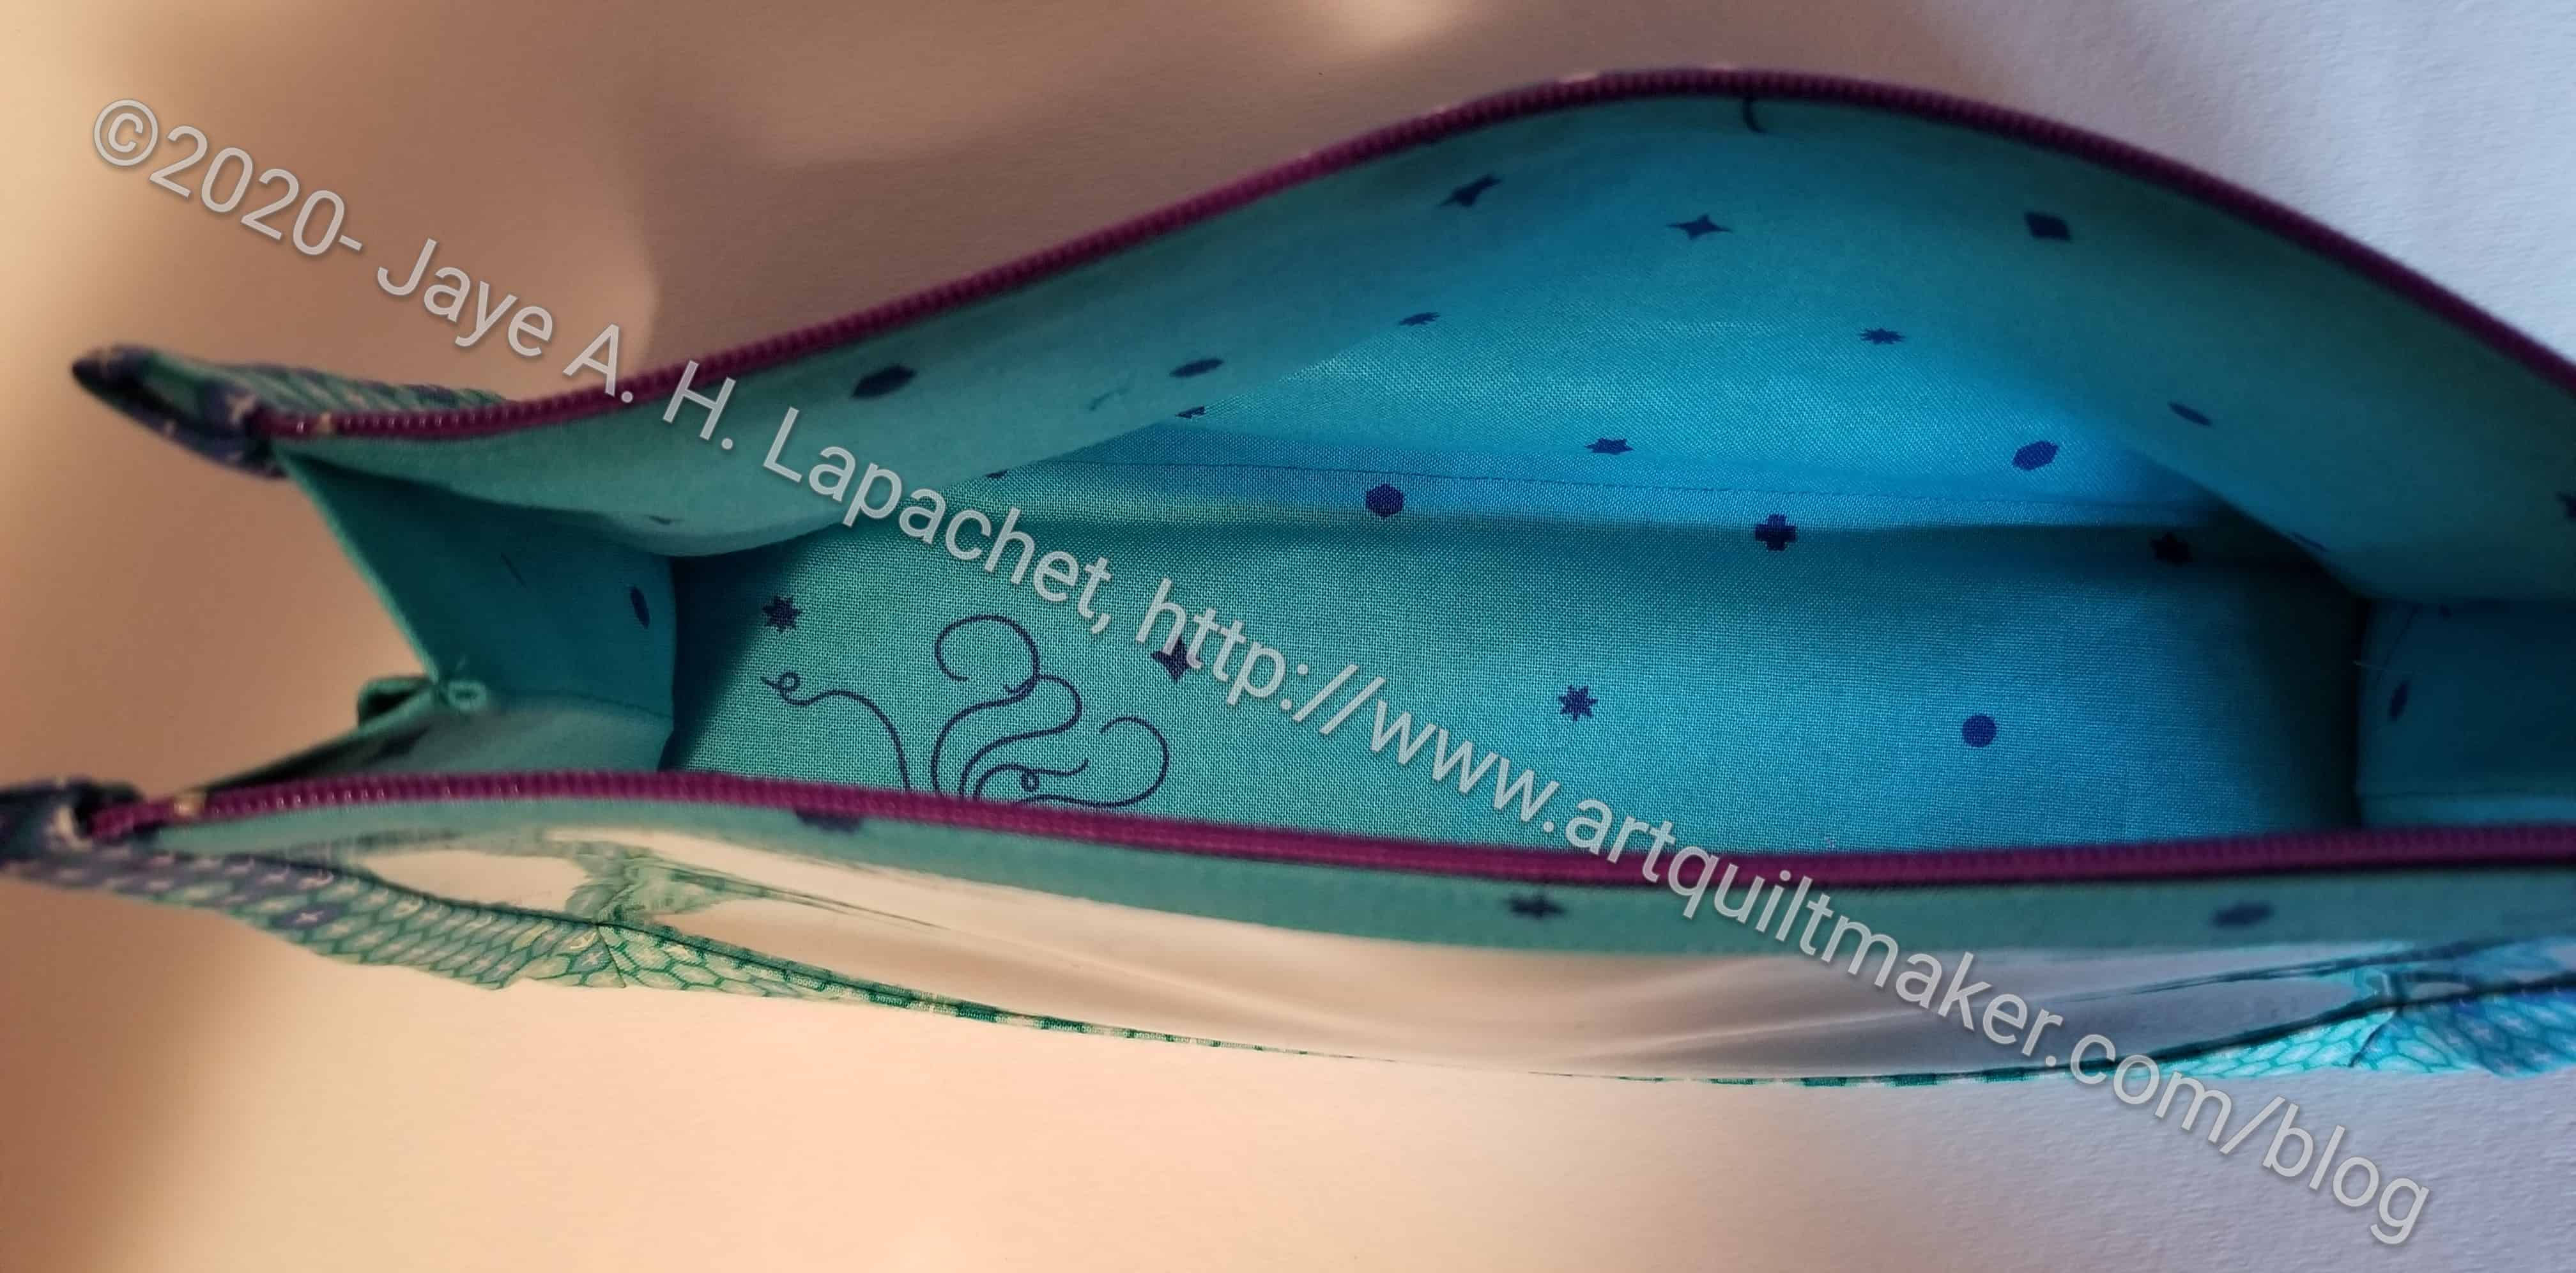
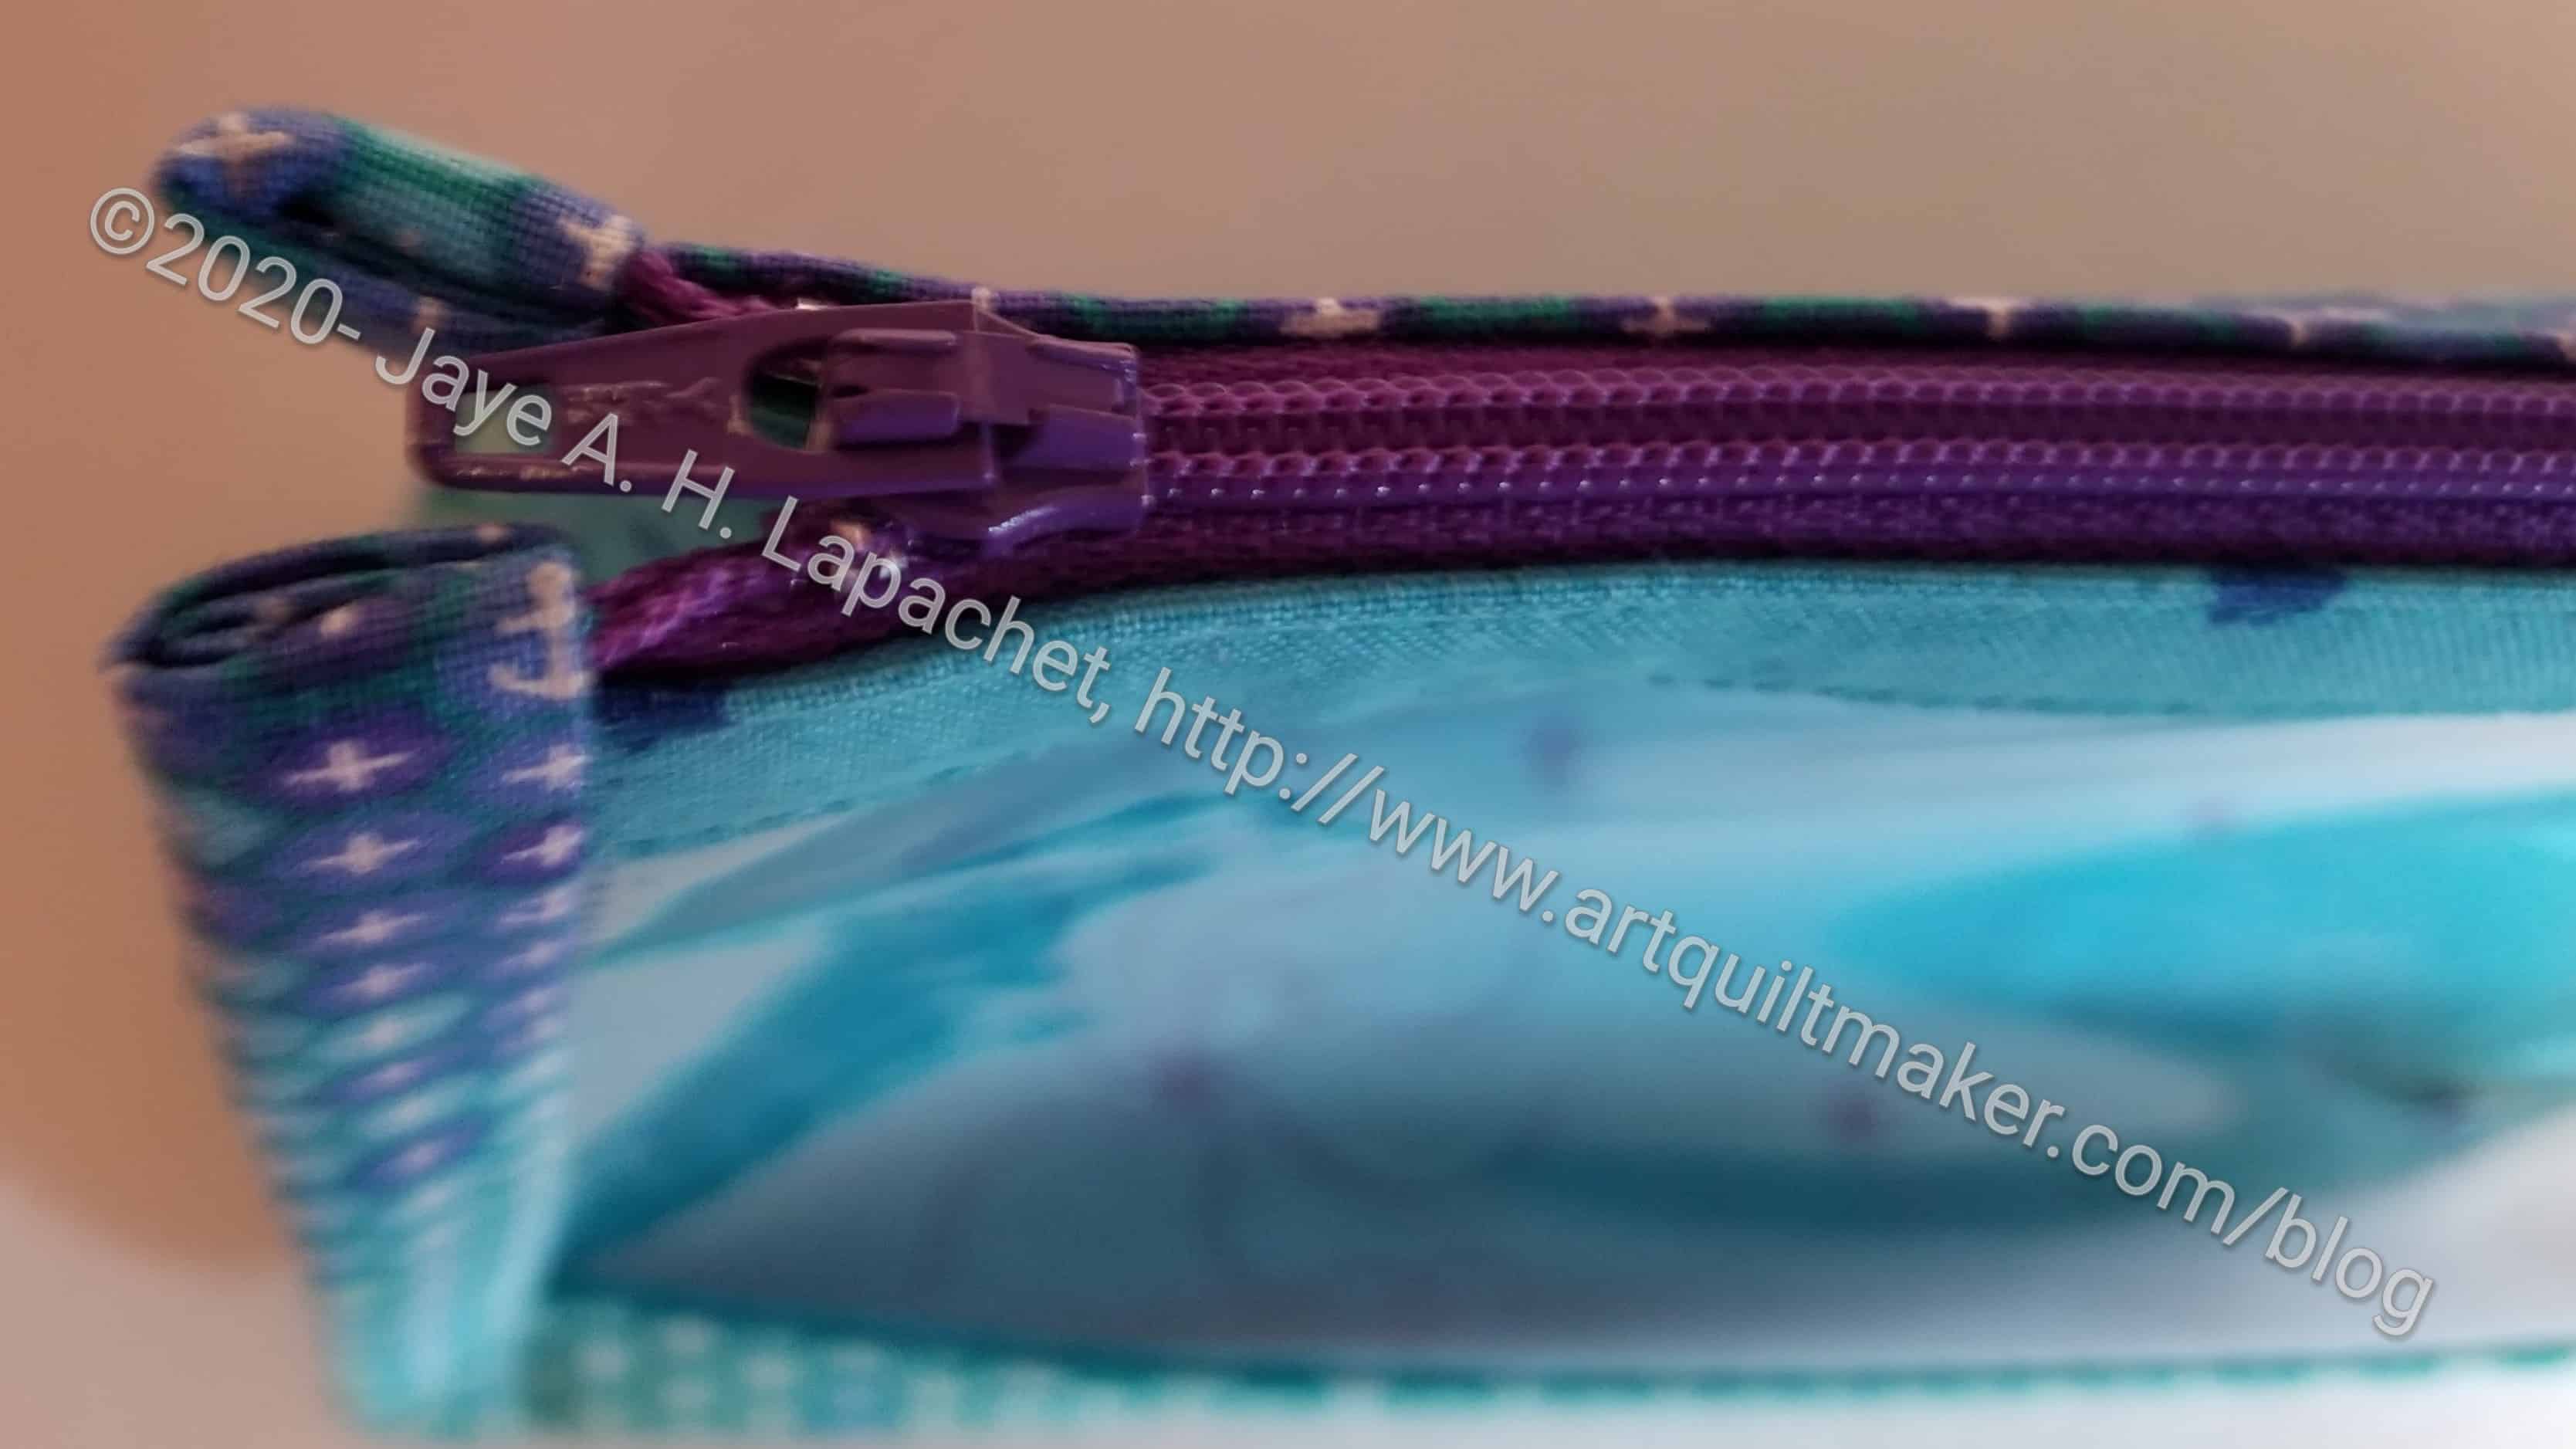
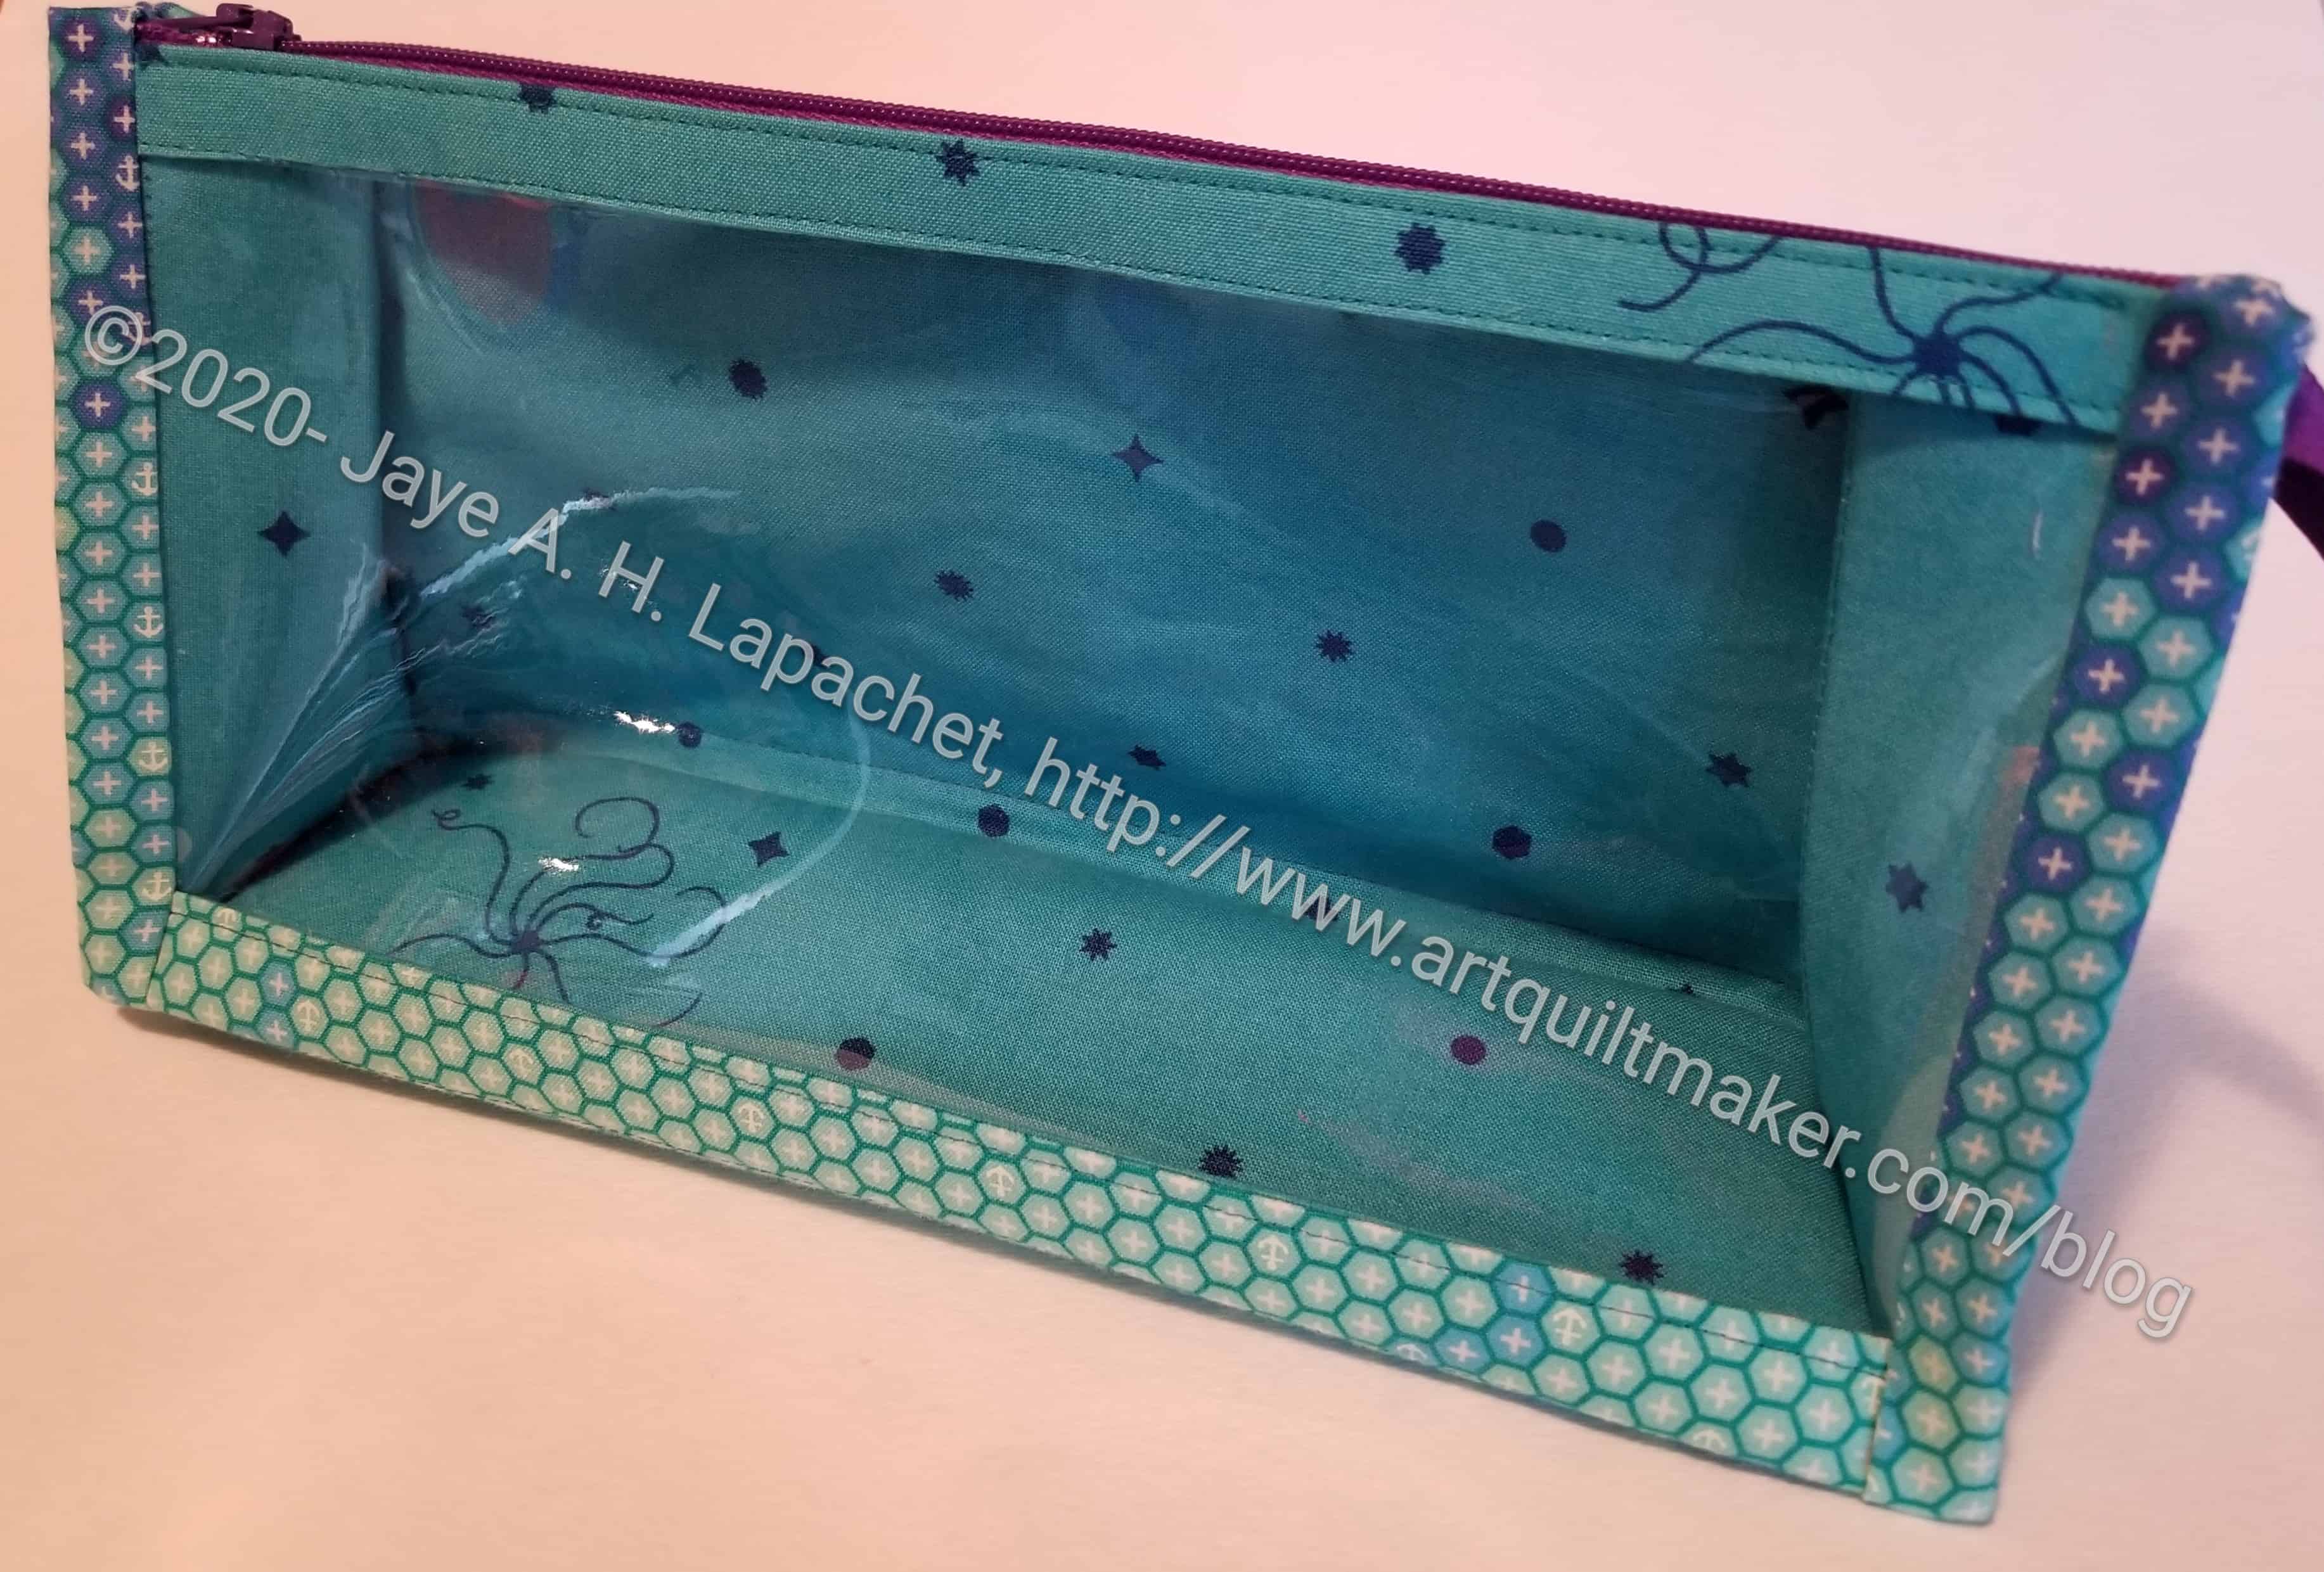
I finished the Inside Outside Pouch at Craft Night on Monday. I only had the binding left and that was a good task to work on.
The pattern is pretty easy, especially after making the Boxy Clear pouch as many of the steps are the same.
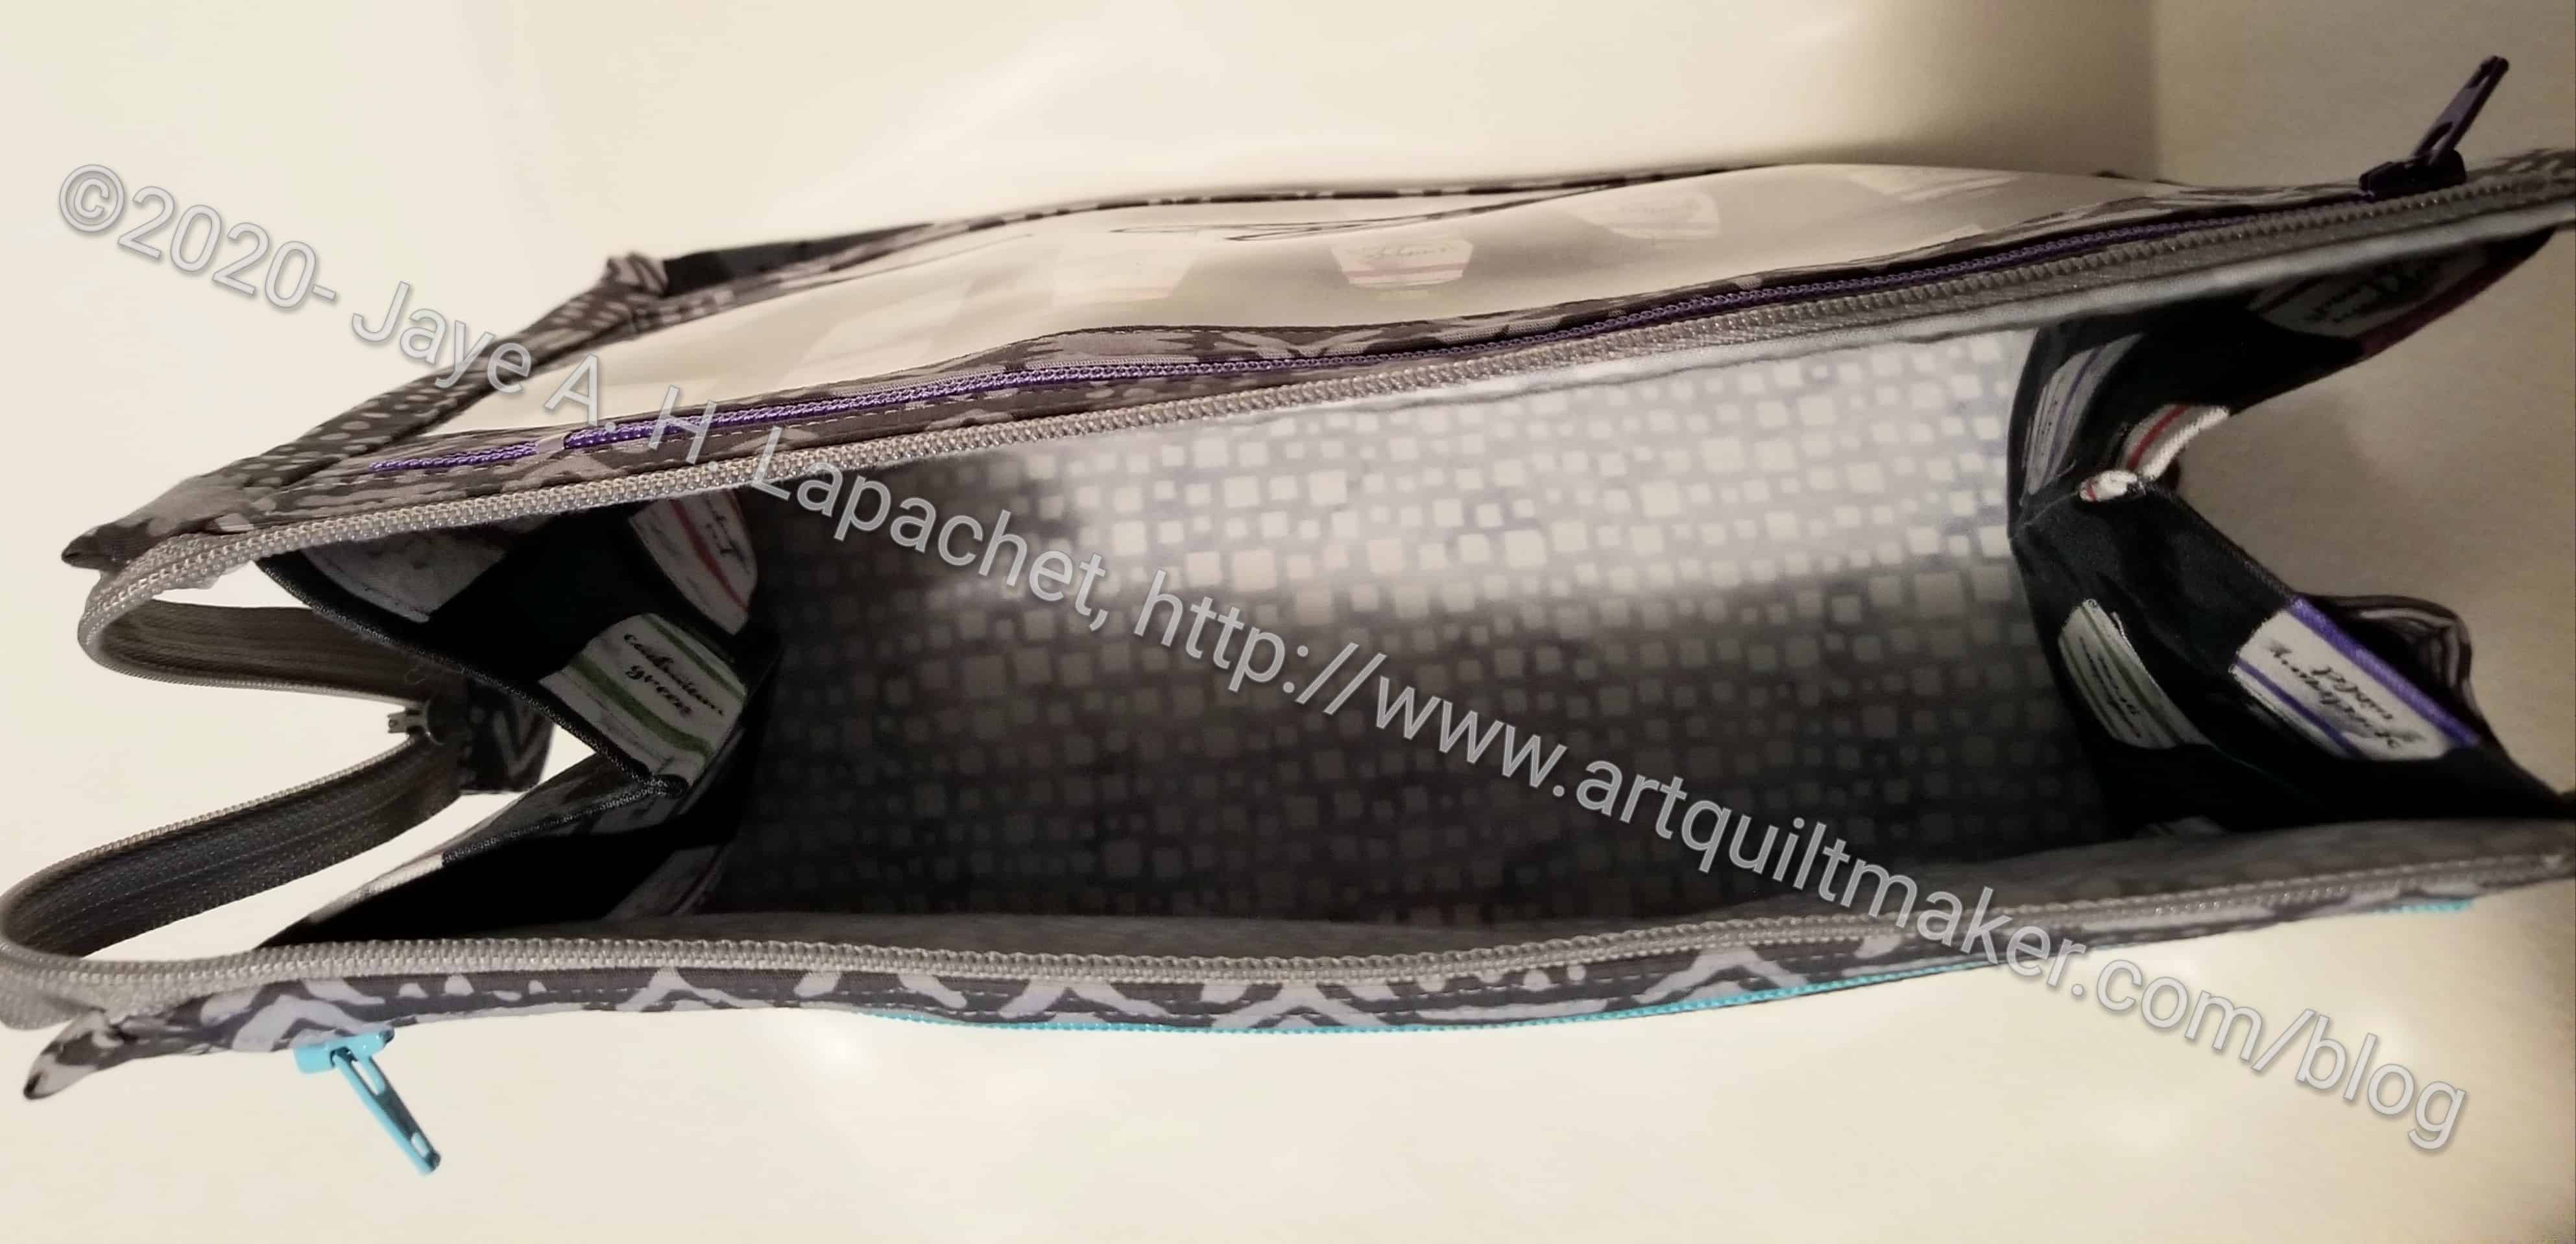
Inside Outside Pouch inside detail
One problem I had was with the zippers. This was not a problem with the pattern, but was a problem with how to measure zippers. I know now that you measure from puller to stopper, not from end to end. The zippers in this pouch are a little short, but it shouldn’t matter in the grand scheme.
I used some leftovers from projects for Mom, so she will probably end up with it. I am not sure how much I like this product. It is a good pattern and easy to follow, but the pouch is kind of large and I am not sure how I would use it. I’d like a smaller version for my binding makers. I may try making a smaller one.
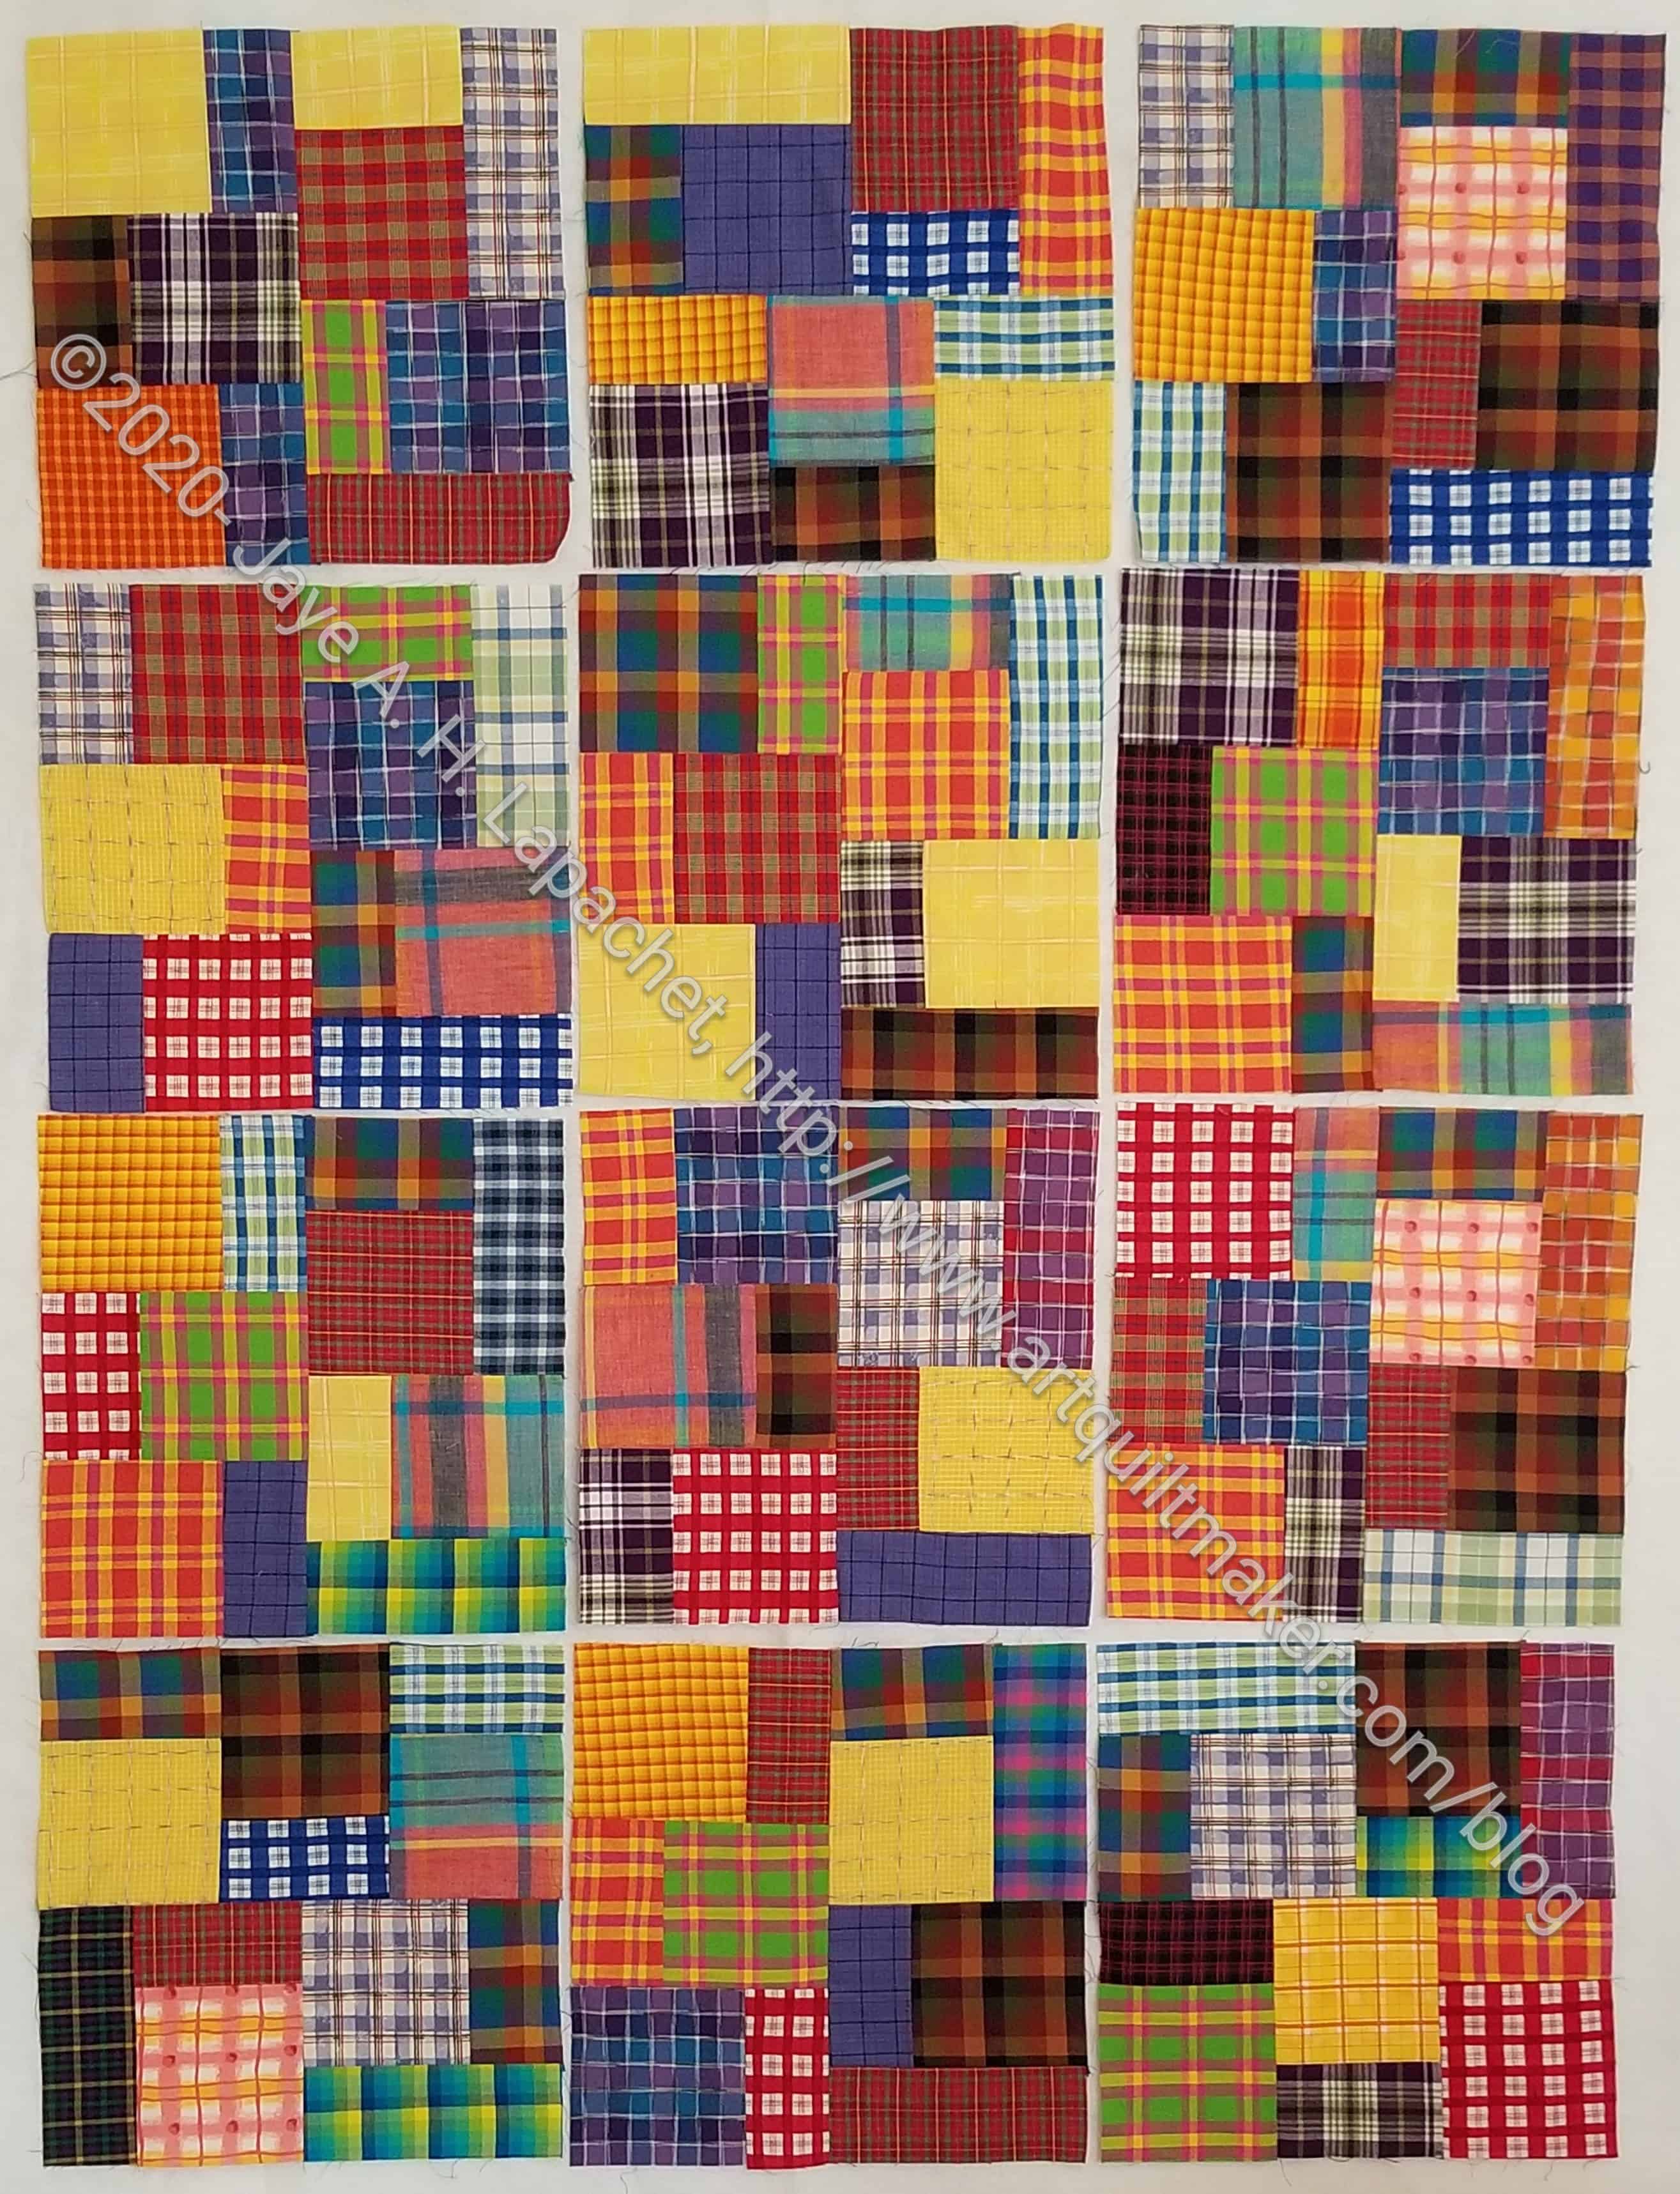
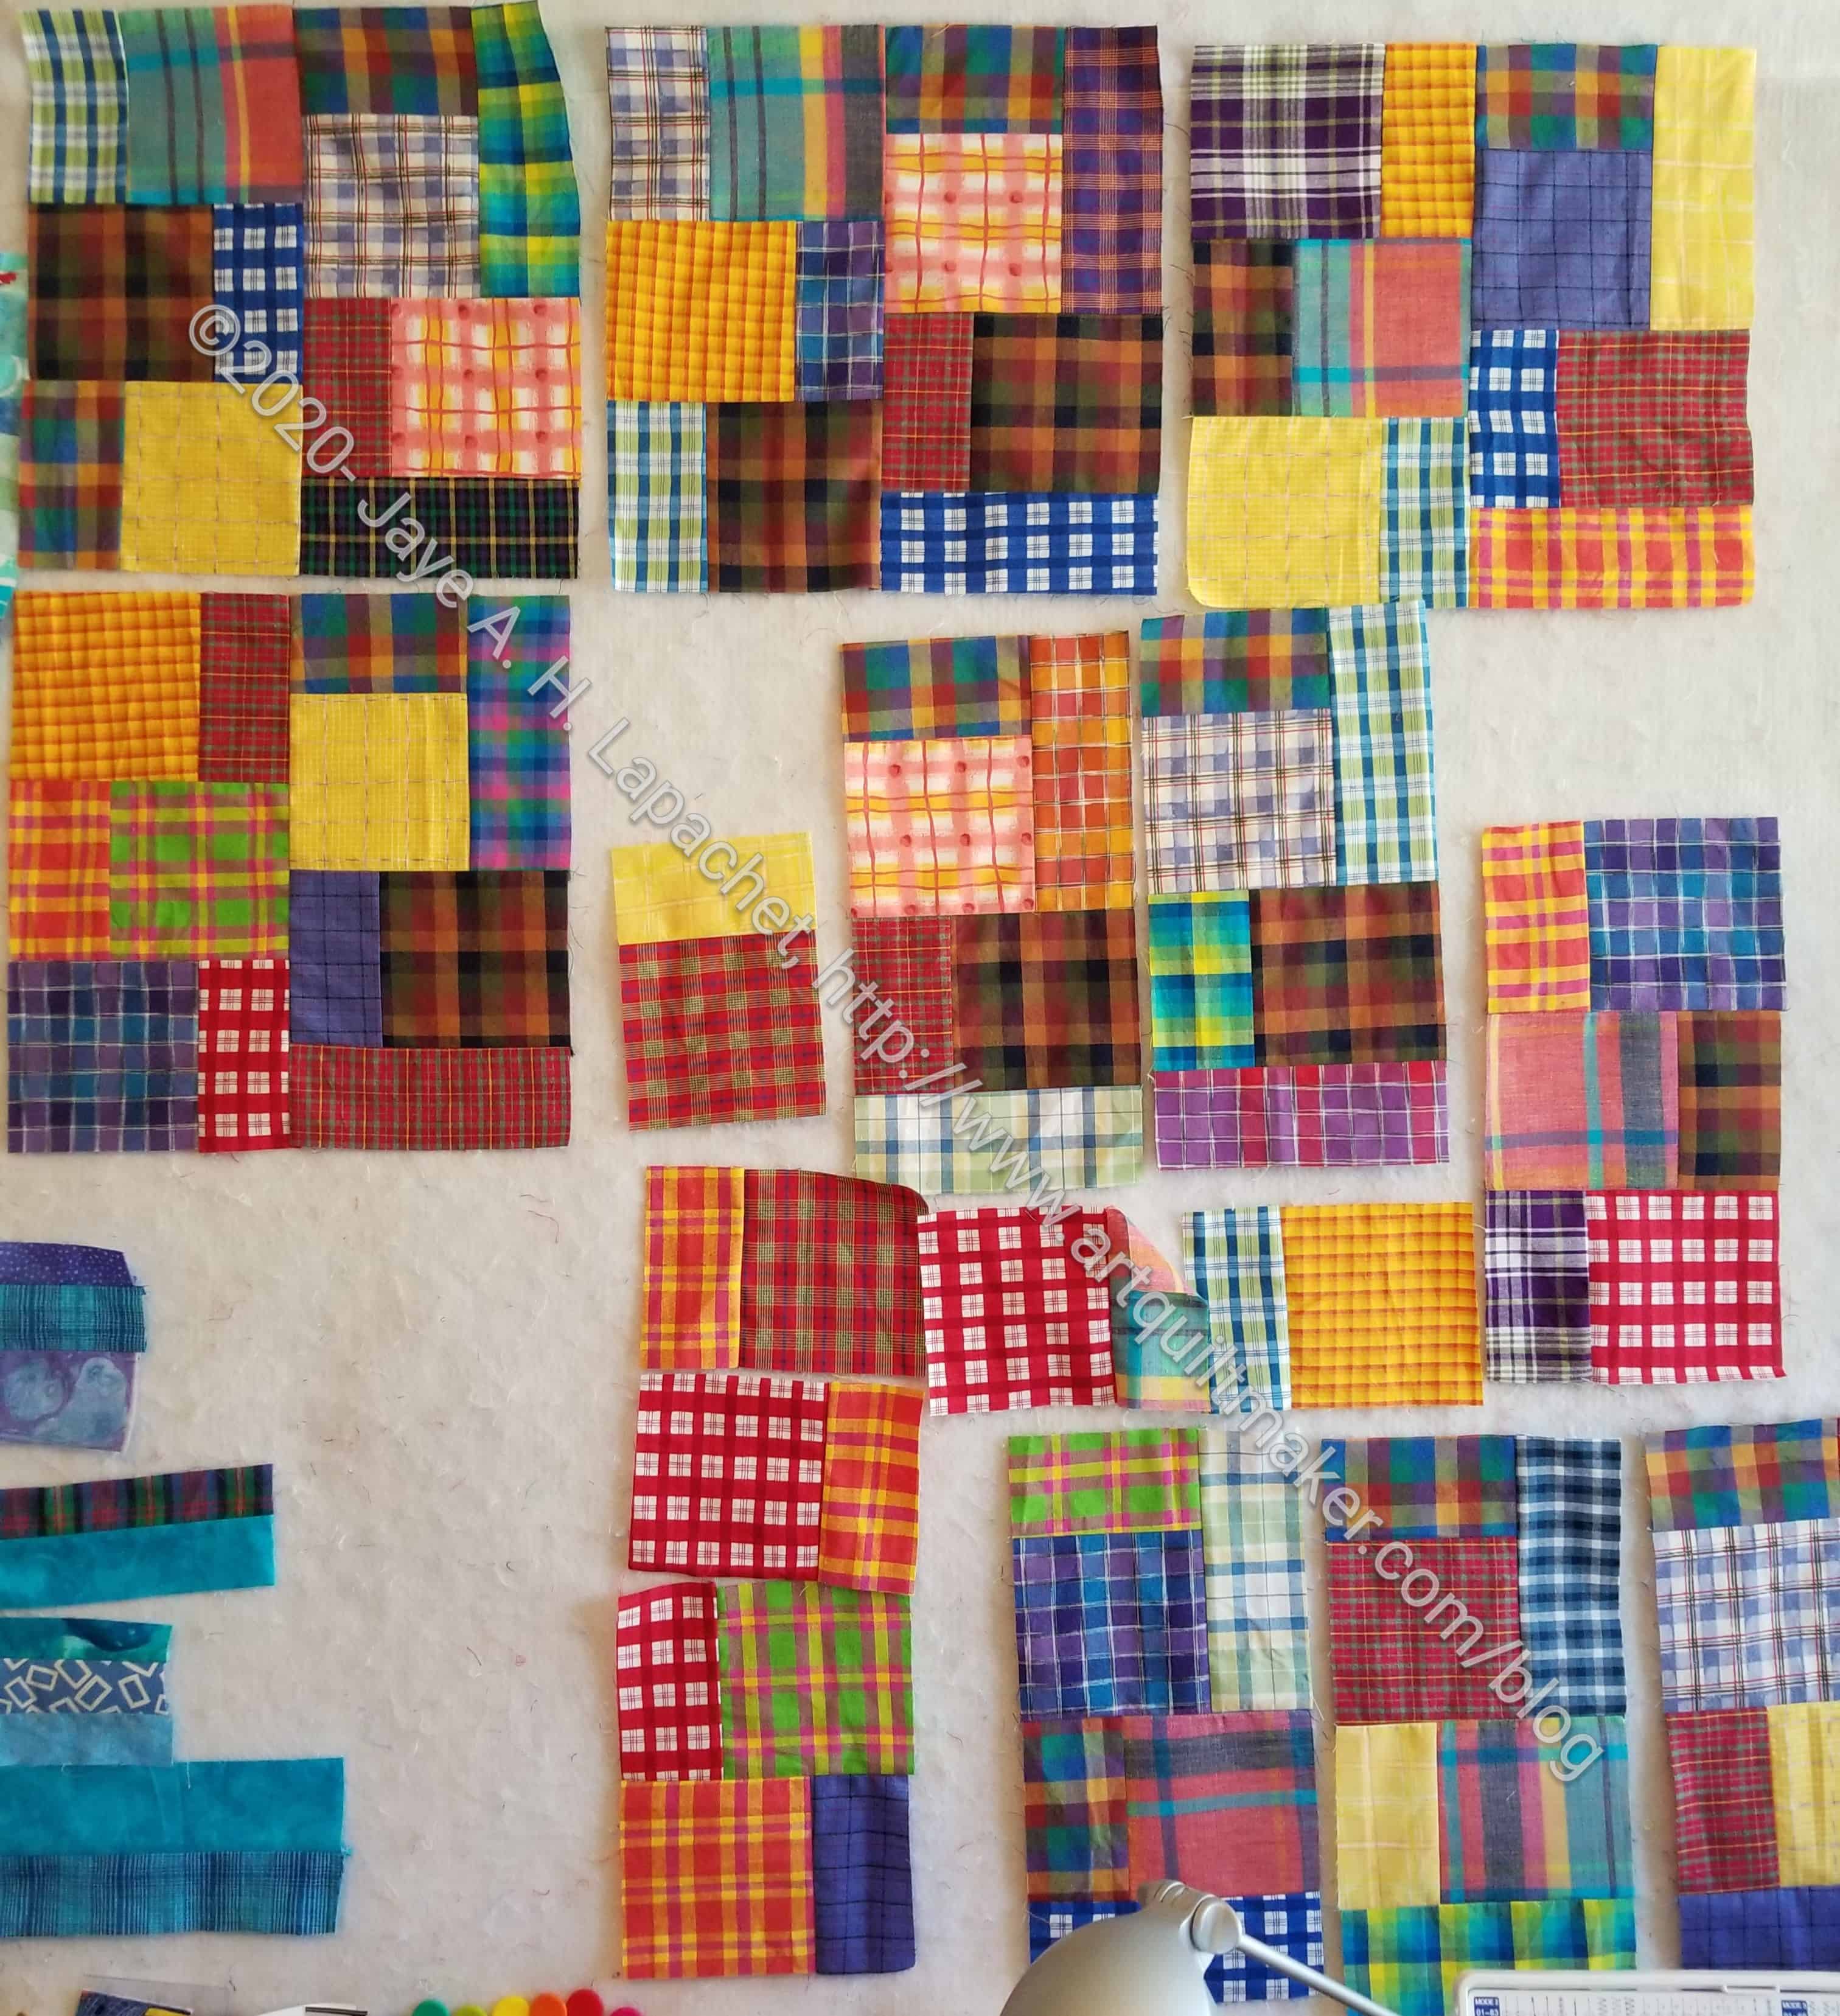
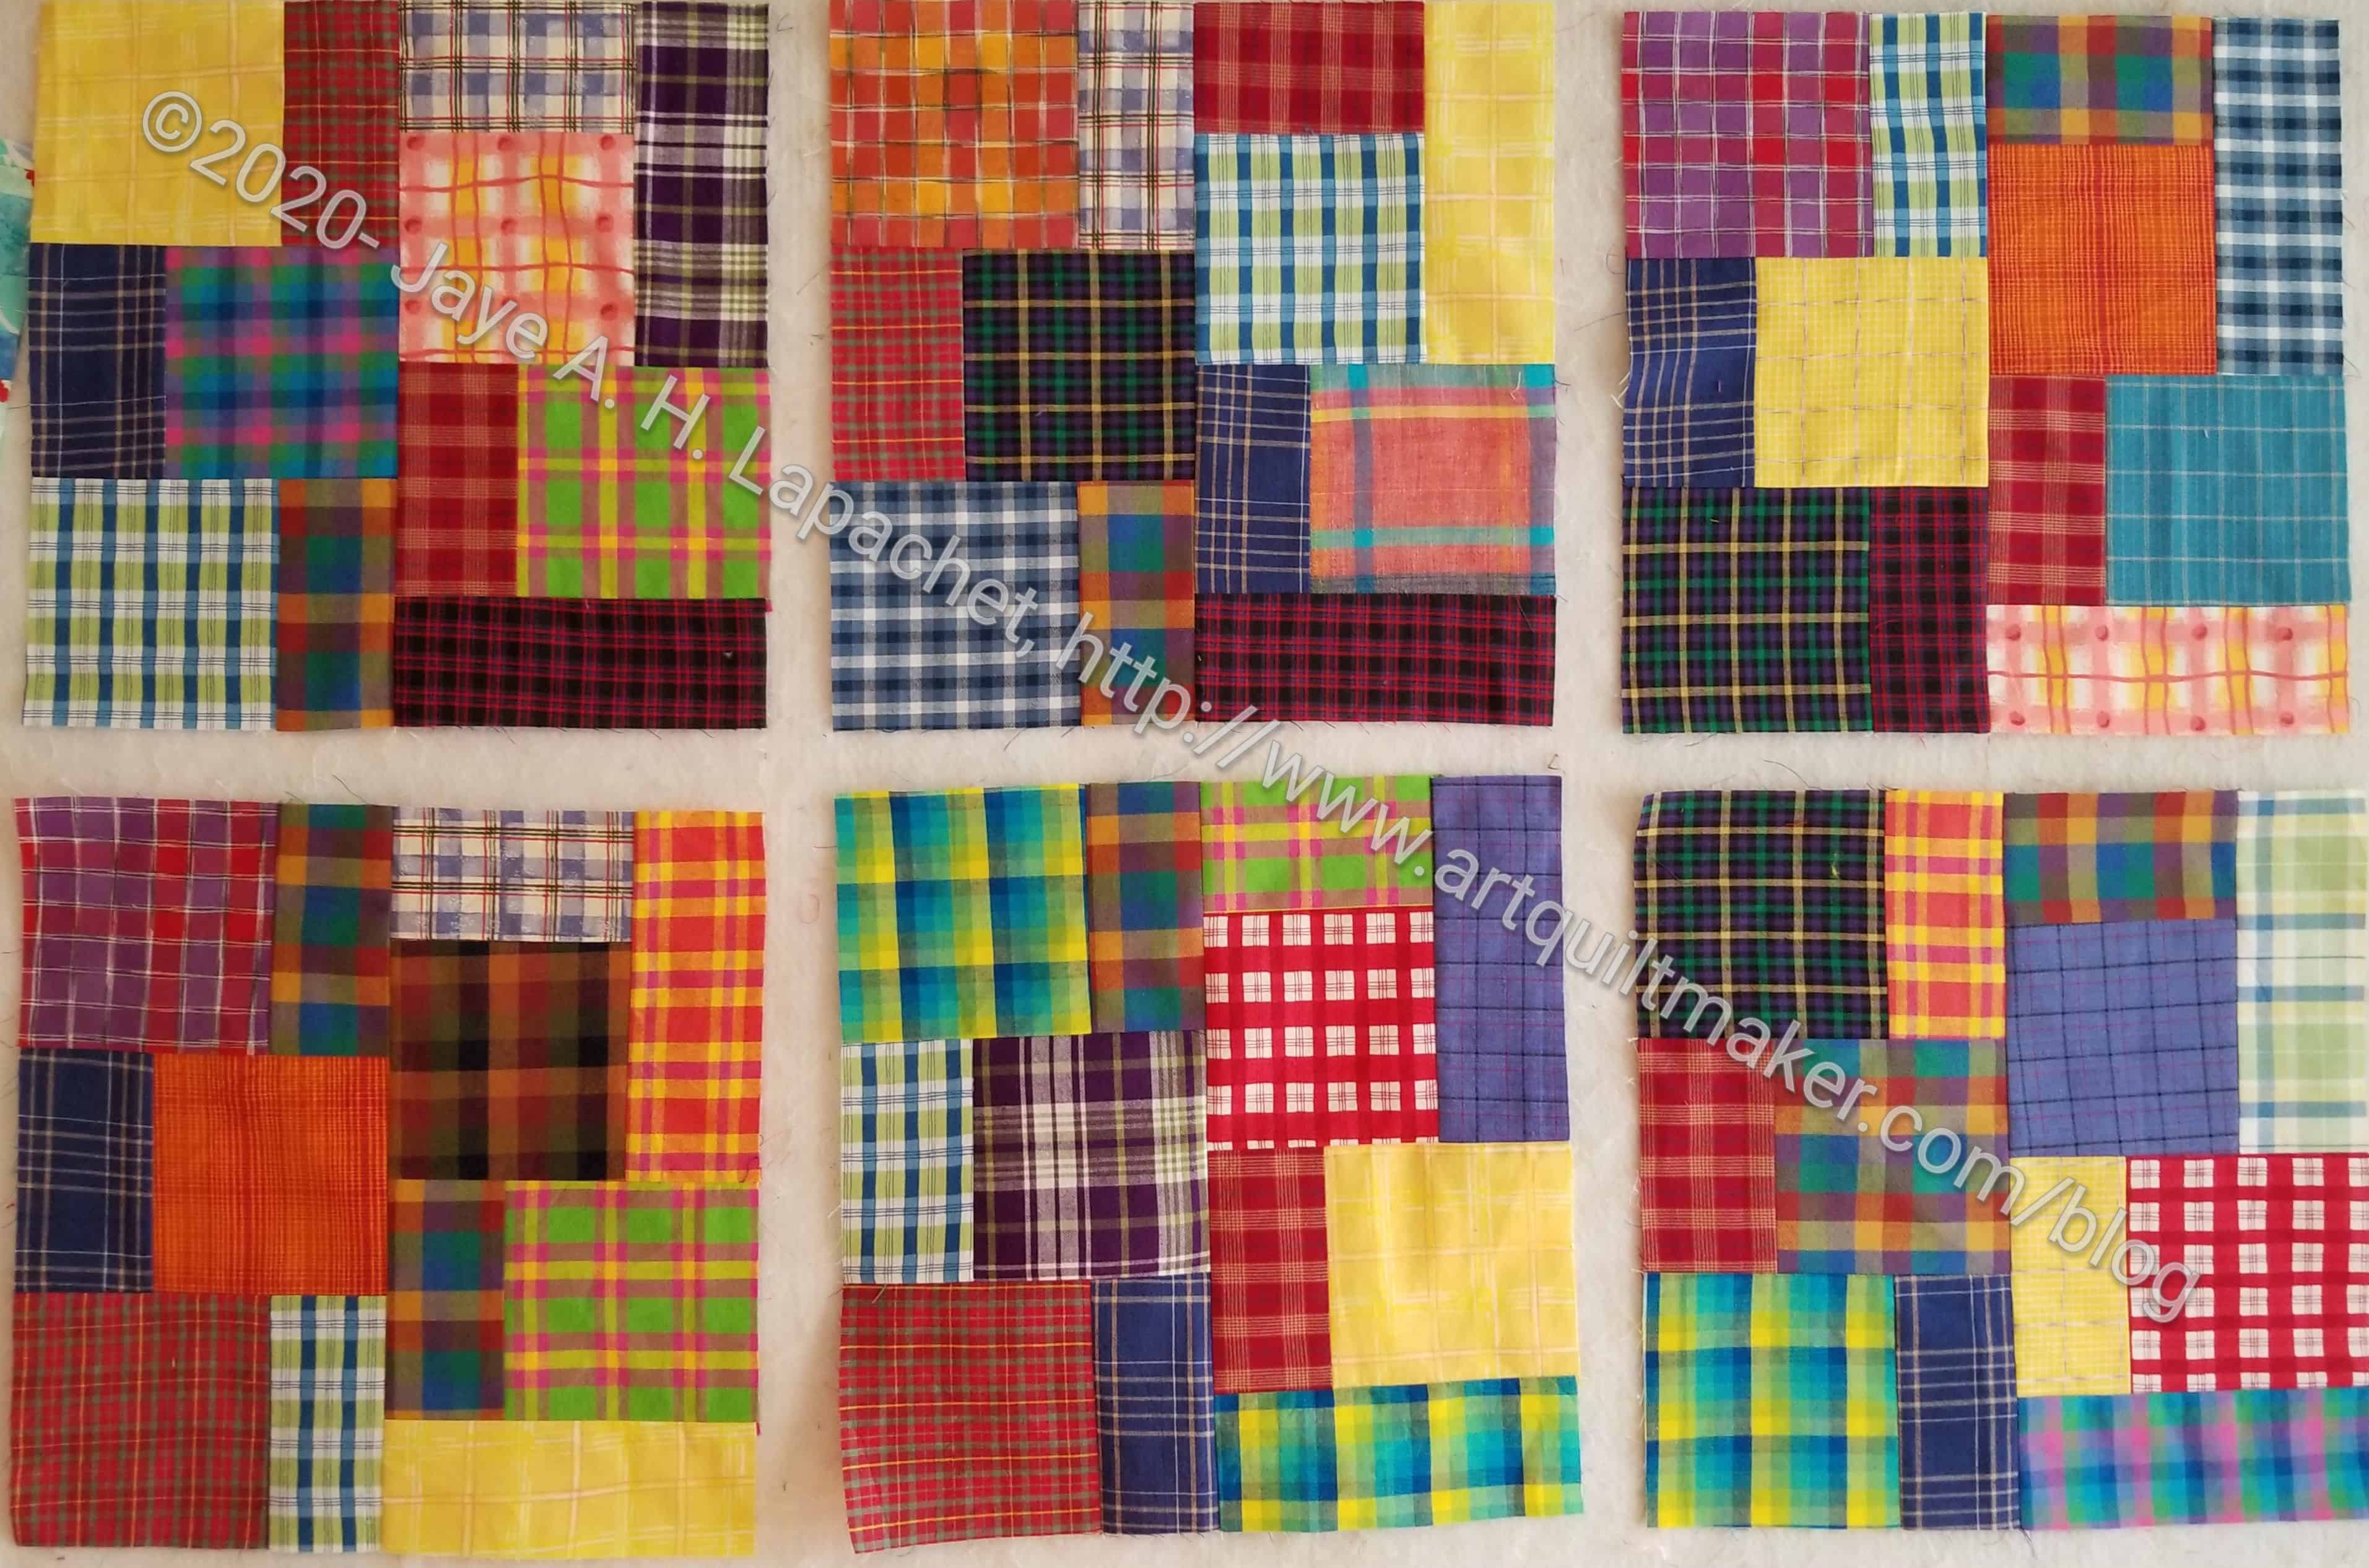
I finished all the blocks for the plaid donation top. I rummaged through some older fabric and found a large-ish piece of plaid I will use for most of the back. The leftovers, of which there are still a few, will make up the rest of the back. I think this will make a great boy quilt.
In the course of my rummaging, I found some baseball fabric remnants and will use them for another donation quilt. Stay tuned for that one.
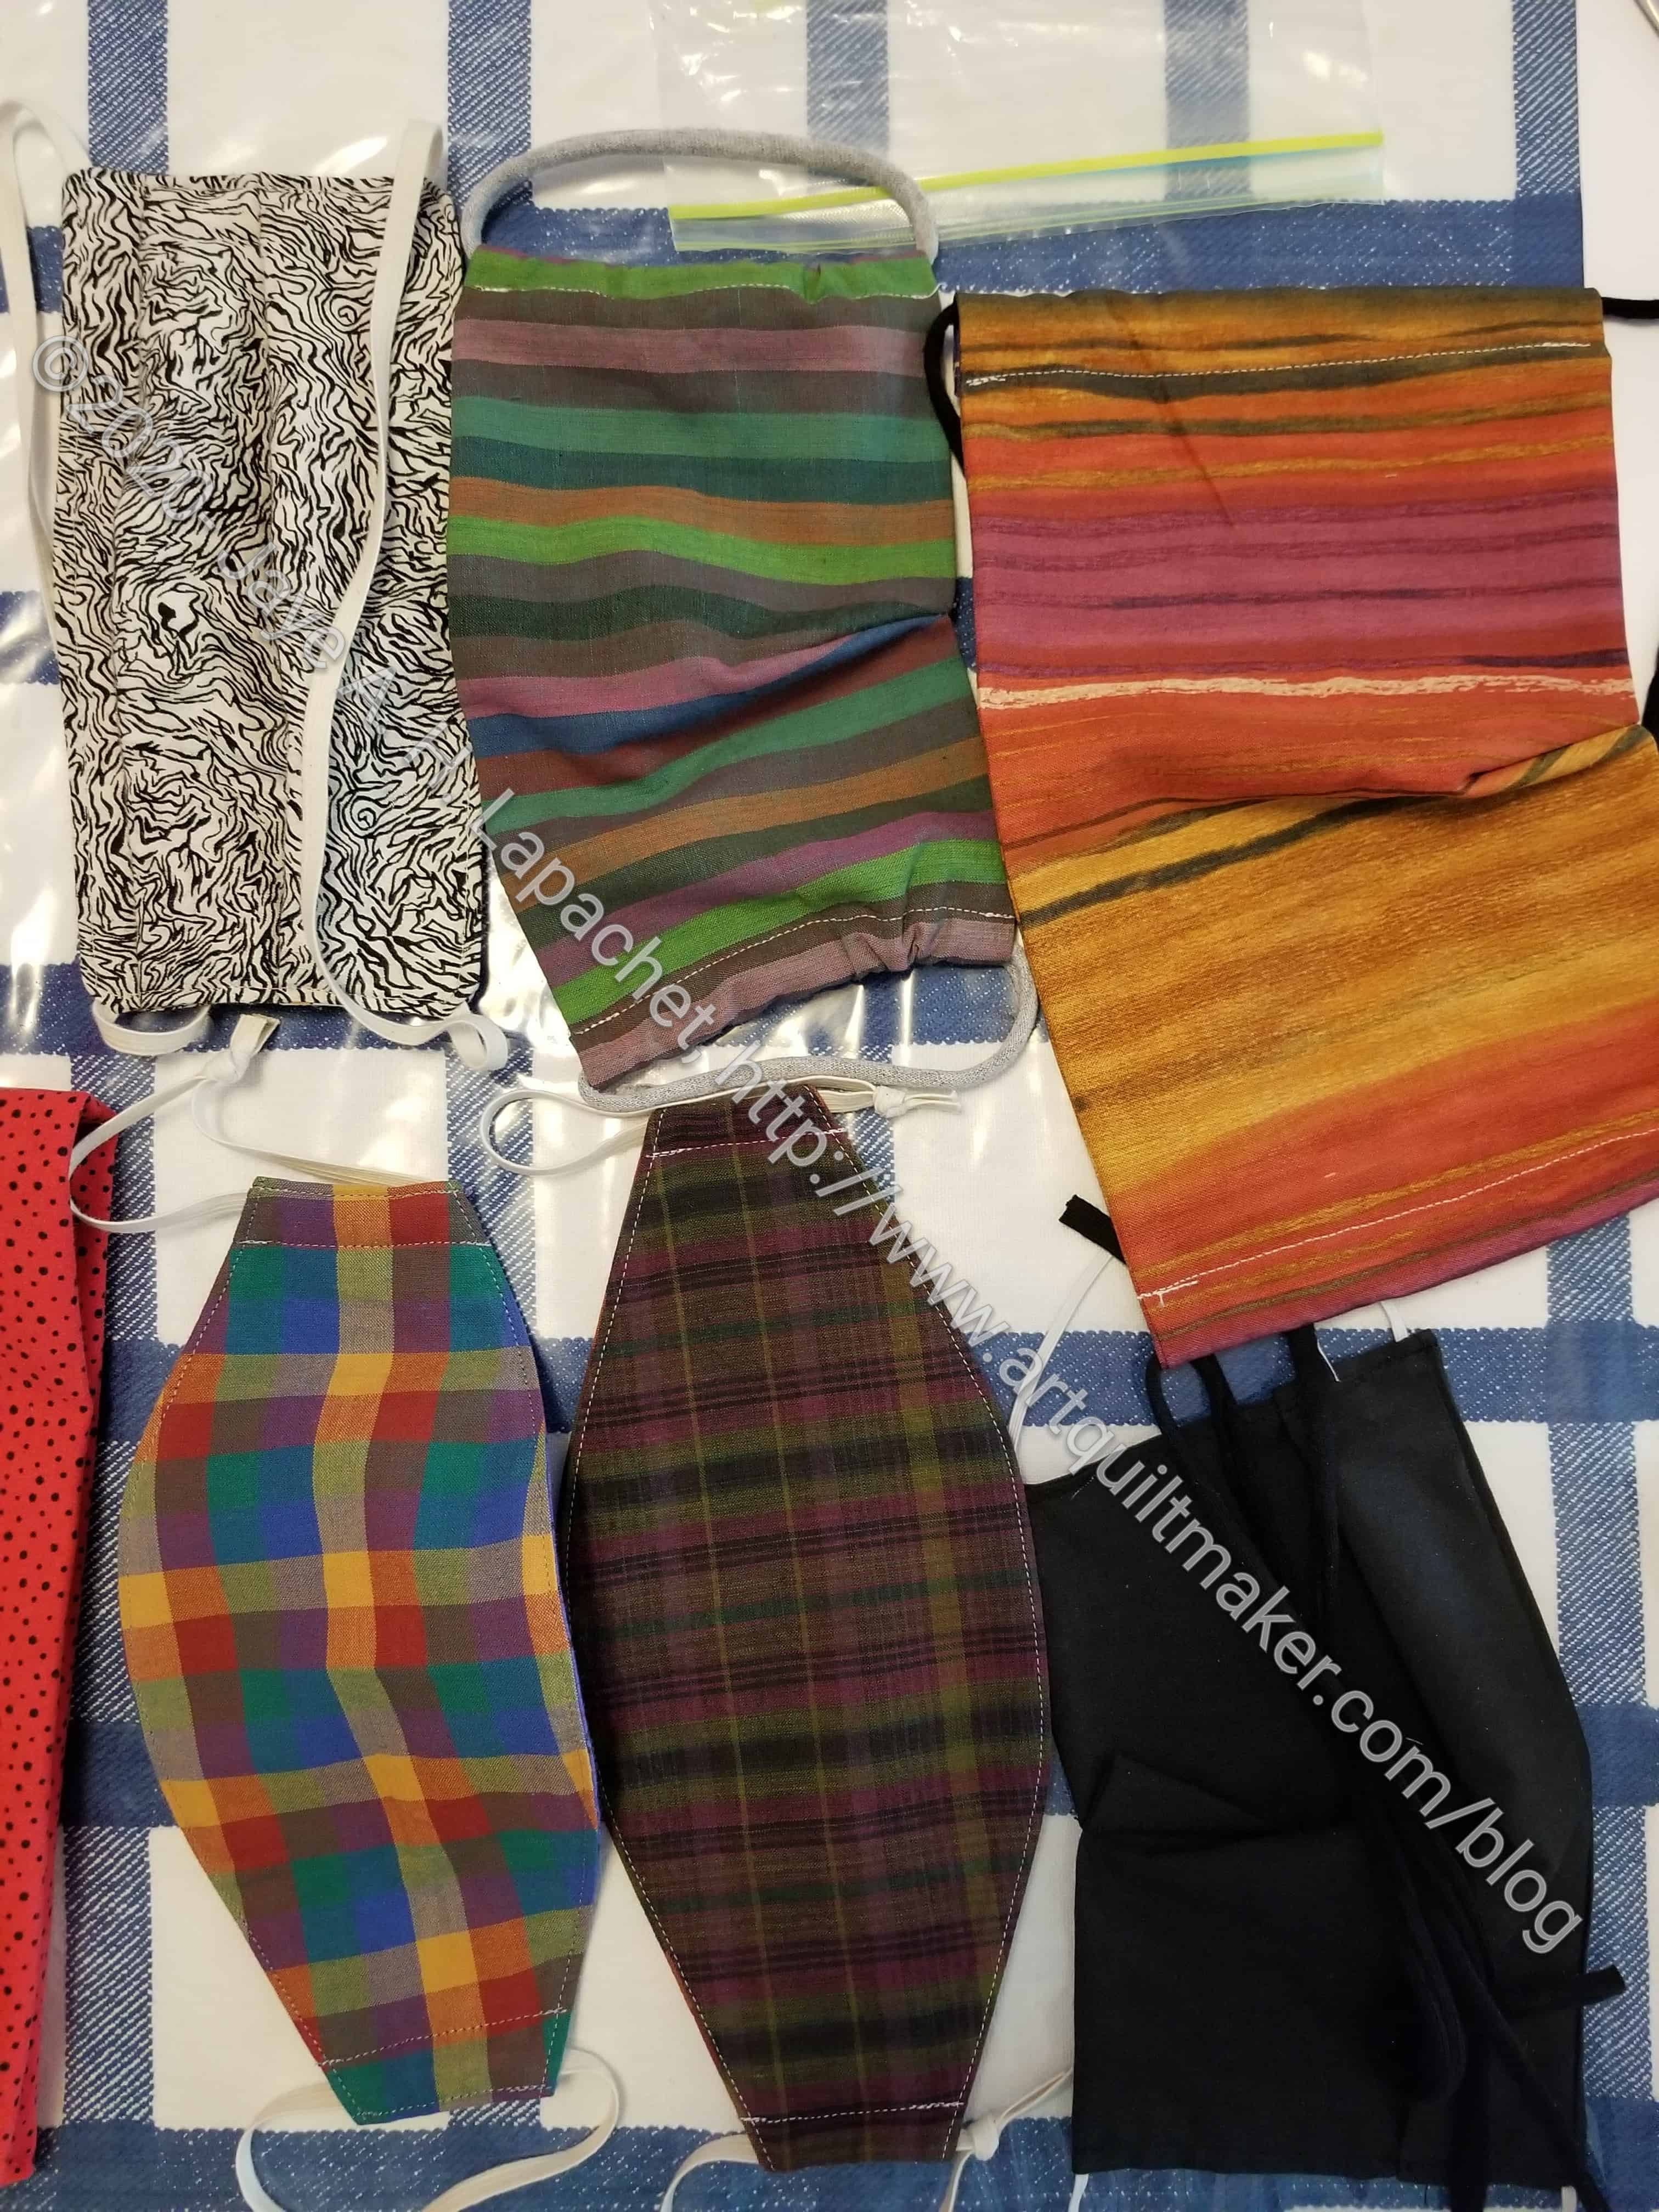
DH got some masks in the mail from my mom. He now has quite the collection! She uses different patterns than I have used, but she has also made a lot more.
I am still experimenting, as I have said, so I try and pick fabrics that he will wear, but may not be fabrics that he will wear to work. That will come when I find the pattern and style that works for us. My mom made him a black one that he can wear with his tuxedo. Of course, I have no idea if we will ever attend a black tie event again.
Welcome to week 5 million of S-i-P and working from home, playing at home, staring at the same people, staying home. I am joking. We are fine and it could be much worse for us. Thank heaven for sewing!
Projects
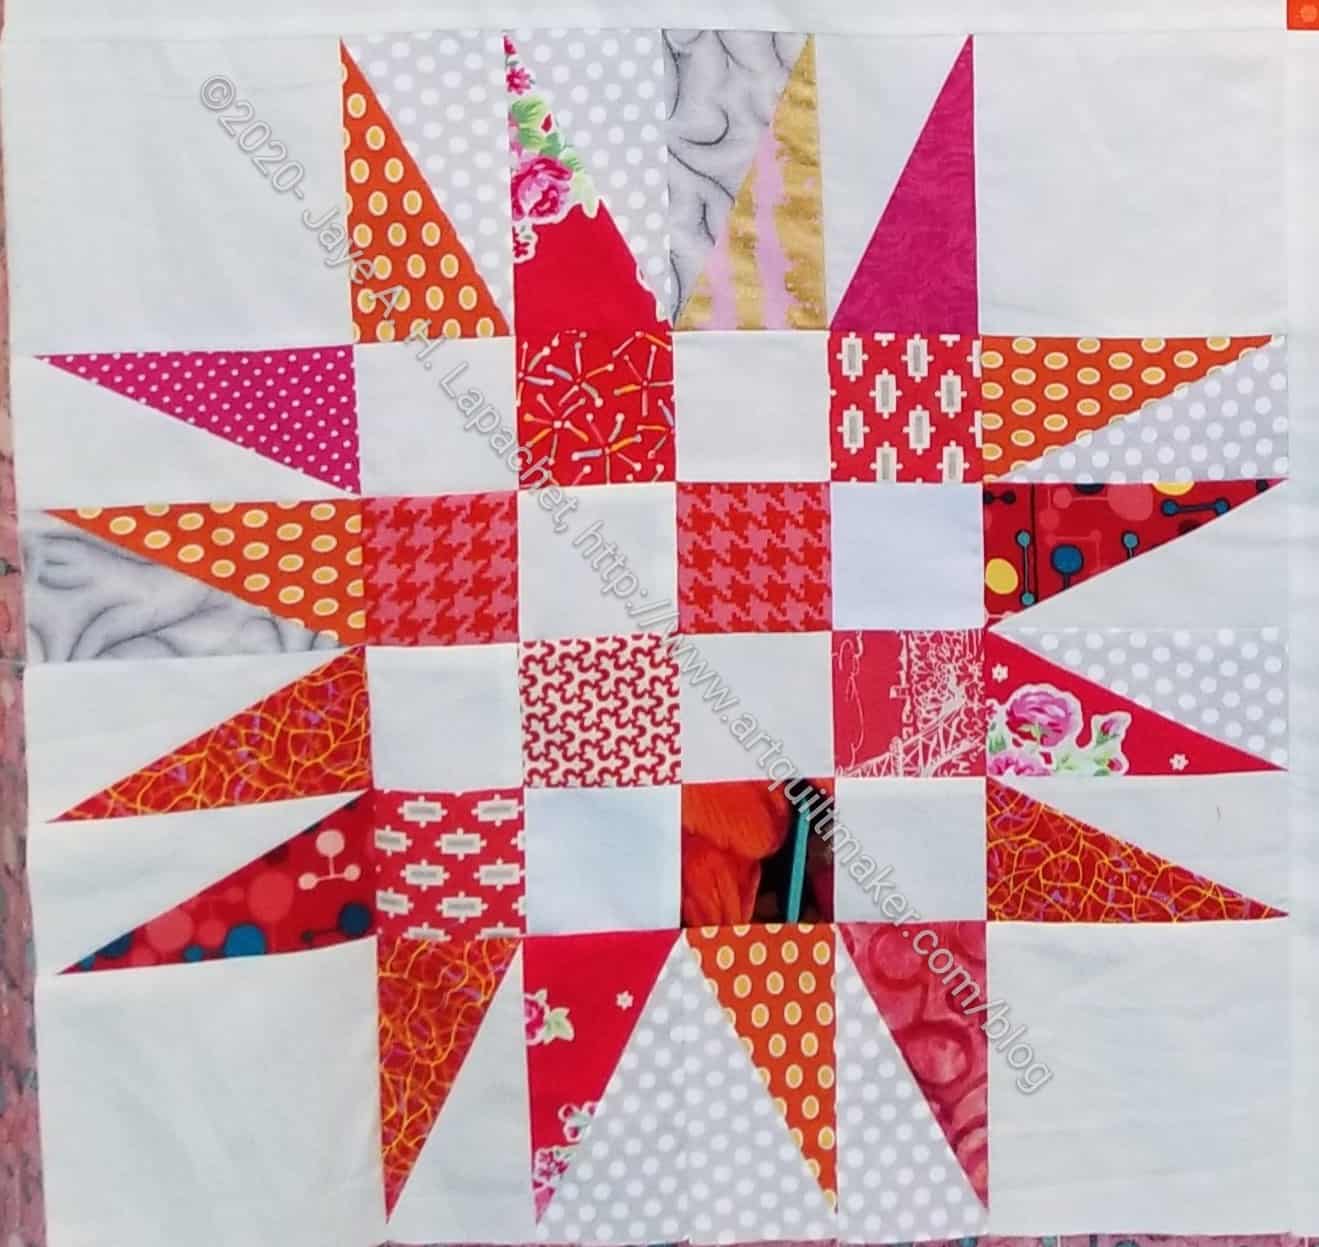
Flame Spiky 16 Patch #4
Join the Toledo Art Museum’s COVID-19 Virtual Quilting Bee by submitting a block of your own design. Deadline is June 22! I submitted one of the Spiky 16 Patch blocks.
Other Artists
Friend Julie has a great post about staying positive. She wrote this a month ago and some of you may be able to move around, go places, work with customers at your office or workplace. None of these resources are specifically quilt related, but Julie has one of the best attitudes of anyone I know. Her emails are always upbeat even if I am acting like Dodie Doldrums. I think these resources are worth taking a look at.
Jim Jenkins provides support at GoDaddy, my hosting service. He was helping me the other day and sent me a link to his website. He is a polymer clay artist who works in the Milliefiori style.
Bill Kerr wrote a thought provoking obituary of Christo on the CraftNectar blog. It tells me that art is not as personal as we think, that it is something to bring people together. With Christo’s work, it was easy to see how that would work. What about what I do? How does making a pouch or a quilt bring people together
Supplies, Notions, Fabrics & Tools
Wisecraft now has rulers that can help you determine value.
I recently bought a ColorGirl ruler. I think it is similar to the Quick Curve Ruler. Sharon has a tutorial on squaring up blocks on her site.
One of the shops Amanda and I enjoyed together in Portland, Cool Cottons, now has an online shop. TFQ pointed it out to me the other day, tempting me with Martha Negley’s new line. The shopping experience isn’t as sophisticated as other shops, but they have great fabric. Yes, I bought some. 😉
Thanks to Luana Rubin, I heard about fabric that is $735 per yard! I won’t be buying any soon.
Sandy and Gretchen both talk on their blogs about the Cotton Cuts Puzzle Mystery Quilt. Recently, Sandy posted about the details (where to buy, colors, etc) so I went to take a look. In surfing around the site, I also found that the shop has an Aurifil club. I didn’t join, but am tempted. Last time I joined one such club, I got too much brown. This shop posts a list of color themes and there is no brown.
I have a friend who subscribes to Art Snax. I went to look at their website the other day and I had a hard time not subscribing. I don’t think I would have the time to explore the supplies sent to me. I do like receiving non-bills mail and the Modern Quilter’s Box has given me a taste for subscription boxes. I’ll have to be vigilant as I can see how I could get myself into trouble subscribing to art supplies and makeup and thread and….
I have frequently suggested you purchase the Jinny Beyer Perfect Piecer to help with Y Seams as shown in my LeMoyne Star tutorial. This tool has been on the market for years and it is a useful way to mark where to stop sewing when machine piecing Y seams. Recently Marti Michell has come out with the Deluxe Corner Trimmer**. This tool, while I haven’t seen it in person, seems to do the same thing, though without the holes at the intersections. It might also be a bit easier to find and purchase.
Patterns, Projects & Tutorials
Carolyn Friedlander has a very cute tote called the Nest Egg tote! She made it for carrying sewing supplies, but it can also be used as a purse. I love the woven elastic on one side. She uses it to secure thread to the tote. I could use this idea in other bags.
The Smithsonian has posted a video of their quilt collection. Thanks to Frances for sharing.
I have been thinking that fashion brands would start including masks as part of an ensemble. Here is the article in the Wall Street Journal (Check your local public library for access, if you don’t subscribe).
Need some coloring pages? Learn EQ8 and get some pages to color with this tutorial.
**I use affiliate links and may be paid for your purchase of an item when you click on an item link in my post. There is no additional cost to you for clicking or purchasing items I recommend. I appreciate your clicks and purchases as it helps support this blog.
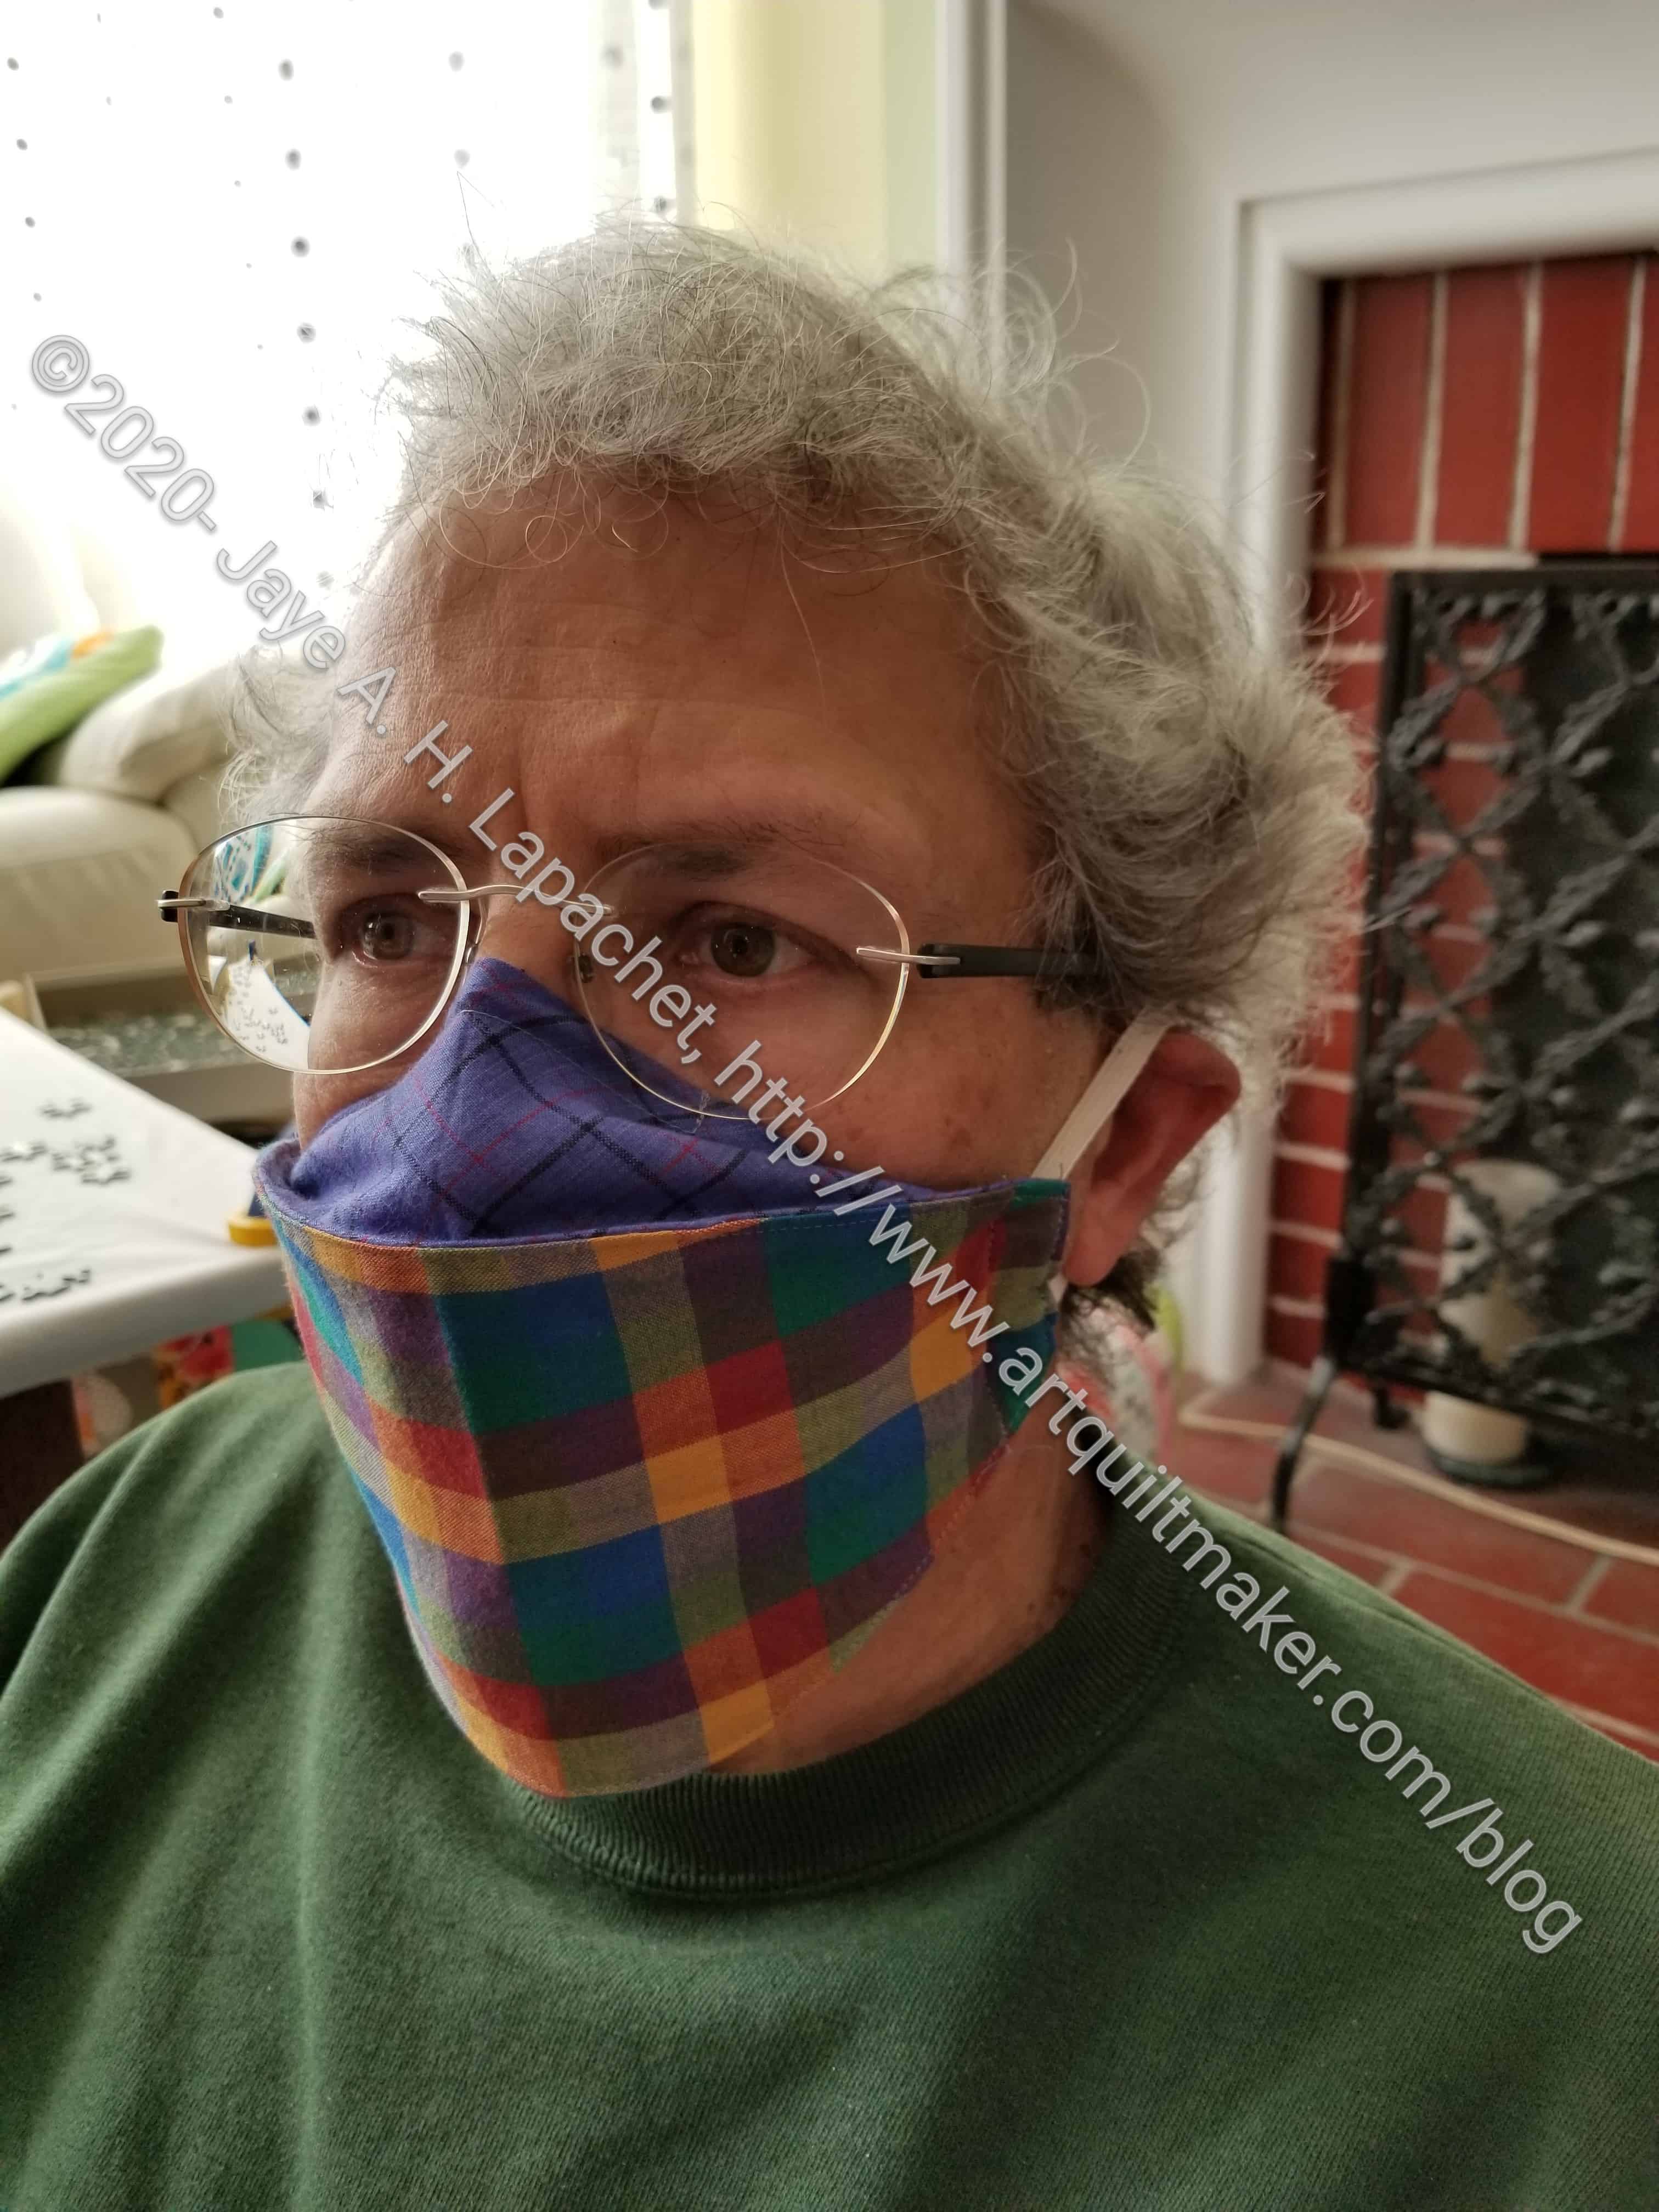
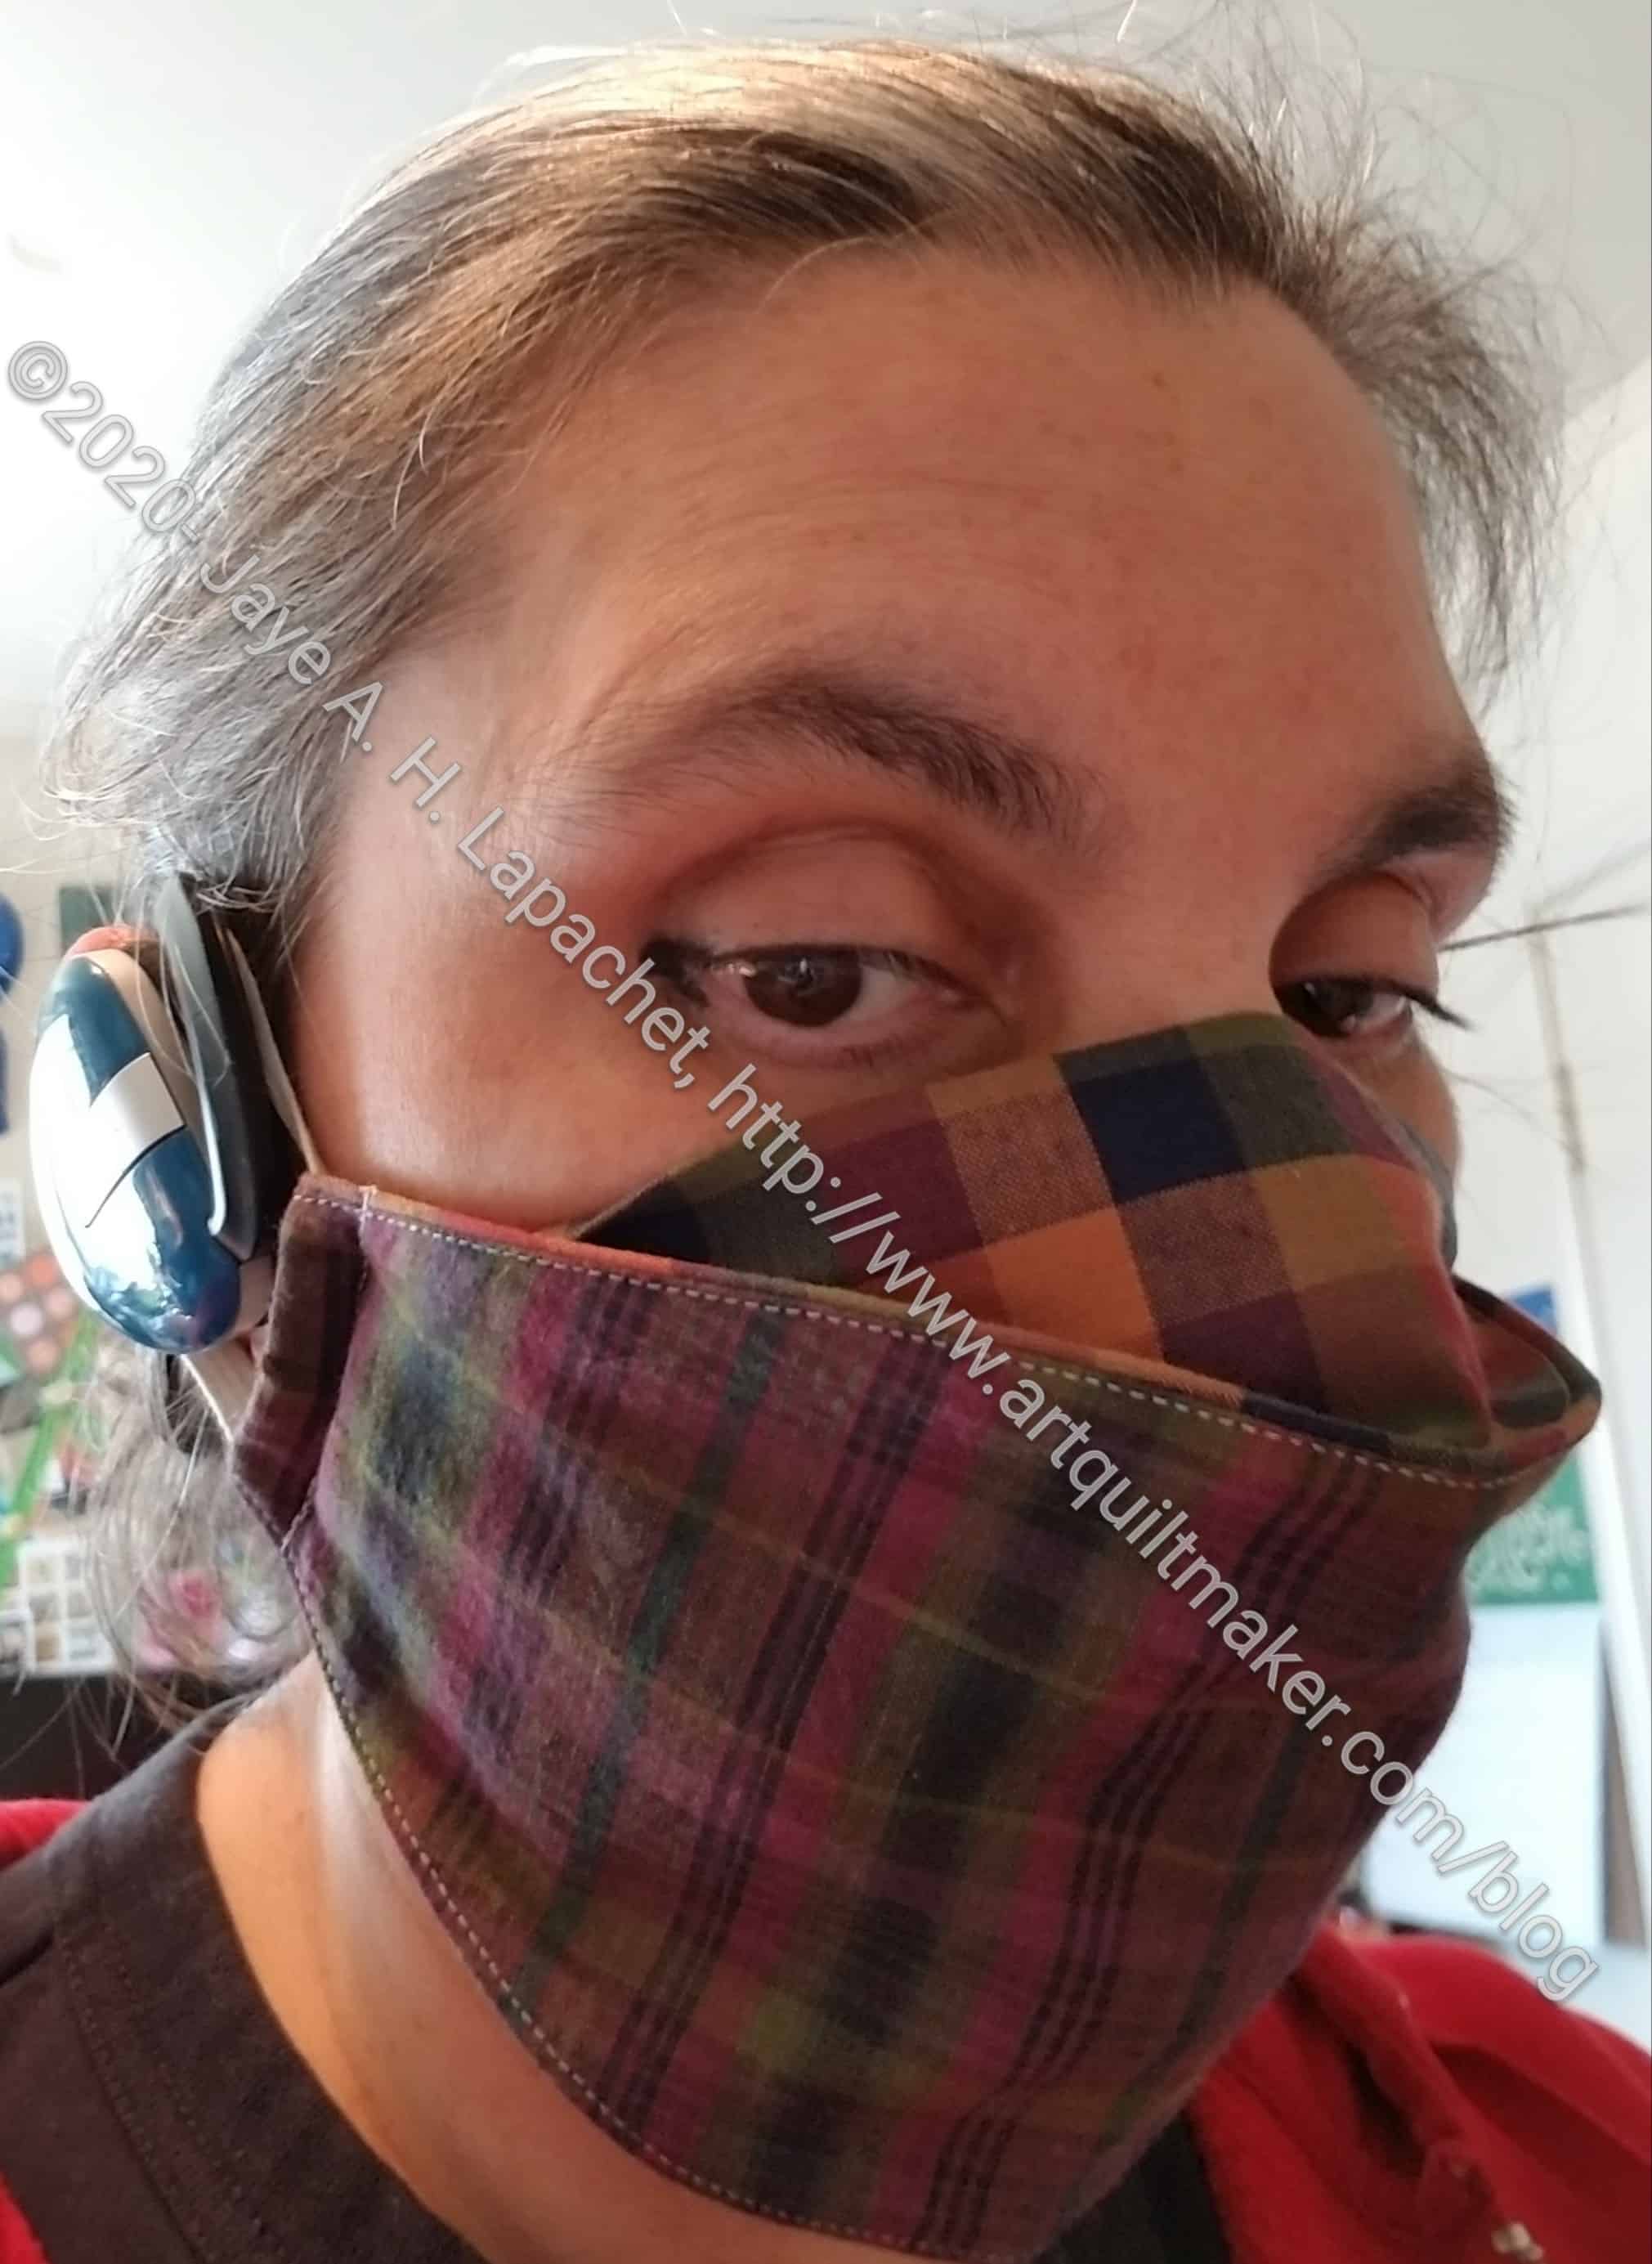
In an effort to help out my neighbor, I made her some more masks. I am also using her as a guinea pig. She will tell me what she likes and doesn’t like about the masks, I hope.
The top one (Martelli pattern) I modified and put a nose piece in it. I like the pattern for that mask, because it goes together really quickly. We have decided, however, that we prefer straps that go around the back of our head, so we can loop the masks around our neck when they aren’t actually covering our faces (in the car or when we aren’t around people). Also, additional things around our ears compete for space with glasses and headphones. I’ll probably make this one again with straps/elastic that go all the way around the back.
The bottom mask is from the video pattern I talked about. It has those wings on the top and bottom. I need to try making it with straps around the back as well. I wonder how it would be if I made an X on the back with the straps (elastic)?
I don’t think I mentioned it before, but our neighbor only had one mask which is why I offered to make her some. She is keeping that one for ‘good’ and since I had more of the same fabric, I made a couple more. I don’t think she understands how much fabric I have. It’s nice for me to be able to do something for someone. She also makes lemon curd for us and supplies us with lemons. It’s a fair trade.
I am determined to use up the plaid. I used a good deal of it for the Plaid Block Party quilt for my cousin, but I still have some. Thus, I am making another donation top with the rest.
Plaid Remnants
I am using the same Block Party pattern. I am using that pattern because it is easy and I had a number of leftover pieces that I wanted to use. I haven’t had much time to sew during the week, so I only have parts made. I am using these blocks as leaders and enders while I work on the Inside Outside Pouch.
Not long ago I received another (yes, I had one!) That Purple Thang** in my Modern Handmade subscription box. I can always add extra tools to my Go Bag, but this was a tool that I never used – or didn’t remember using. I put it in my notions tub, right next to my sewing machine. Since I received it, I have found several uses for it, most specifically threading elastic through channels on face masks.
Purple Thang with Elastic
The video patternI used last for face masks has a channel on the sides. The designer easily threads elastic through this channel, but I couldn’t keep it from bunching up. The Purple Thang has a large eye and is generally skinny, so I was able to use it. I threaded the elastic through the eye and then inserted The Purple Thang into the channel. It worked really well.
I also used it to poke corners carefully out in a gift bag I made.
So, I have found that, despite the stupid name, this is a useful tool.
**I use affiliate links. I may be paid for your purchase of an item when you click on an item link in my post. There is no additional cost to you for clicking or purchasing items I recommend. I appreciate your clicks and purchases as it helps support this blog.
I have said before that my guild Raffle Team is awesome. They continue to show their amazing willingness to continue to make things for the raffle baskets.
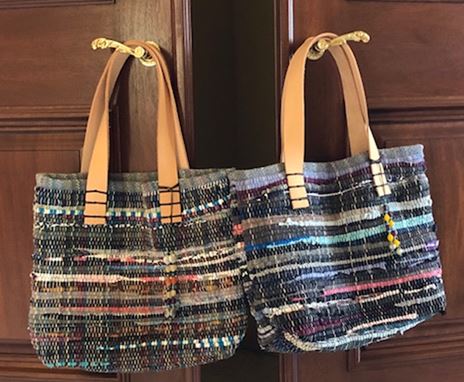
Carrie’s Raffle Bags
Carrie sent me a photo of two bags she made for the team last week.
I will fill these, when I receive them, with the other goodies and the whole package will be given to two lucky winners.
I haven’t seen these bags in person, but they look like they have wonderful texture.
After making the Boxy Clear Pouch, I decided to try the Inside Outside Pouch. I was so pleased with how quickly the Boxy Clear Pouch went together that I thought 2 additional zippers wouldn’t be so bad. I am still working on small projects while I wait for my design wall materials to arrive.
I cut the pieces out during Virtual Craft Night on Monday and felt like it didn’t take much time at all. I think I felt like I was cutting out similar pieces to the ones I cut for the Boxy Clear Pouch.
On Tuesday night, I started sewing right after work and spent about an hour on the project. I really got a fair way into the process before I stopped because it was getting late.
There are many aspects of this project that are the same as the Boxy Clear pouch so it feels like I am reinforcing skills or pattern steps that I did the other day. also, I think I am used to working on the complicated (but fabulous!) ByAnnie patterns and this one is much easier, though just as effective.
I did not want to stop working on it. I was having such a good time and making such good progress that I wanted to keep the feeling going. I may be able to finish tonight. Then I may have to start working on a second version!!!
I talked about the Boxy Clear Pouch yesterday. I realized I had more to say about this project, which surprised me since it is a small project.
Boxy Clear Pouch – zipper end detail
One of the things I liked was the finishing on the zipper. On the stop end, the designer, Aneela Hoey, has the maker stop 5/8 inch from the end. I didn’t know why, but realized that it was to accommodate the zipper draping over the end of the pouch.
Boxy Clear Pouch – inside detail
In general, I try to avoid zippers hanging over the end of a pouch, but this pattern’s design makes me realize what the designer is trying to do. Utilizing a long zipper makes the pouch into one that opens wide. This means that things can’t get hidden inside. Somehow I didn’t realize it or realized it only briefly and then forgot.
Boxy Clear Pouch – zipper detail
I could have done a bit better job on the beginning of the zipper, but, again, Ms. Hoey does a great job with the design. The beginning of the zipper is far enough back so the binding doesn’t get in the way and there is no issue with sewing through a million thickness layers on the end.
My one criticism, which is the same criticism I had with another one of her patterns, Speedy Pouches, the binding ends. The designer doesn’t really say what she does to tuck in the ends. I cut them off and tucked them in as well as I could to make them even with the top edge of the pouch, then I handstitched them down. I’ll have to take a look at her website to see if she ever talks about it.
The one thing I did wrong, which ended up not mattering much, was switch the lining and the exterior fabric. The pieces were fairly uniform and the pouch ended up looking fine with the lining fabric on the outside.
Boxy Clear Pouch
Boxy Clear Pouch – back detail
I am pleased, as I said, with how this project turned. The pouch was larger than I expected even though I made the small size. I would have liked an even smaller version
I finally broke into my stash of Aneela Hoey patterns. I have one of her books, Stitched Sewing Organizers** and a couple of her patterns. I hadn’t made anything from any of them. Recently I started thinking about the various patterns I have that I have not made. I decided, while I am waiting for the parts for my design wall, to concentrate on some small projects. Since I had been talking about the Aneela Hoey patterns with Angela, I decided to make the Boxy Clear pouch.
This whole project took me about 4 hours of work. I didn’t rush because I didn’t expect to get this project done in one sewing session. However, I was able to finish it!
The directions are very clear and the drawings help a lot. I did have to read over the directions a few times as I made the pouch, but everything was pretty clear as long as I went slowly.
The pattern comes with two sizes and I made the small size as I thought I might want to use one for my bias tape makers. It turned out to be larger than I thought it would be, though I may still make one for the bias tape makers. I have to put them somewhere, after all!
**I use affiliate links and may be paid for your purchase of an item when you click on an item link in my post. There is no additional cost to you for clicking or purchasing items I recommend. I appreciate your clicks and purchases as it helps support this blog.
I finally had some success with face masks over the weekend. This has been an ongoing problem for me. Not because we don’t have masks, but because I feel bad that I haven’t been successful.
I think I needed to find the right pattern. This one seems like it might work for me.
Mask Testing
The pattern I used is a video pattern and was recommended by a quilting friend. She has the same glasses problem that we have. While I still have some things I want to adjust, this is the most successful I have been with masks so far.
One thing I need to play with is the edges where the elastic attaches. I am not convinced the raw edges are sufficiently closed. I played around with different ways of dealing with them and still have not found the best method.
The one above with the purple plaid on the top has a nose piece in it. I was annoying DH with trying on masks (they are for him after all) and he wanted to play around with the nose piece before he pronounced judgment.
I spent some time working on sewing the plaid blocks together. I was able to finish the top with only a minimal amount of irritation. There are a few places where I would have changed the blocks if I had been able to see them on the design wall, but didn’t and am not unsewing.
In general, I am pretty pleased with how the piece looks. The yellow is pretty well distributed over the top, so it helps the eye to move around. Now on to back and binding!
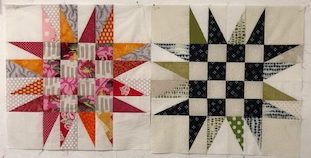
I had a leftover Spiky 16 Patch block from the Flame donation top. Somehow SueS found out, though she is a reader, so that could be the way, and we decided to do a joint project. I sent her my block, not knowing what she would do with it. She ended up making a second block.
MaryC now has both blocks and will do something as well.