Carpenter’s Wheel – 2 Rows Together

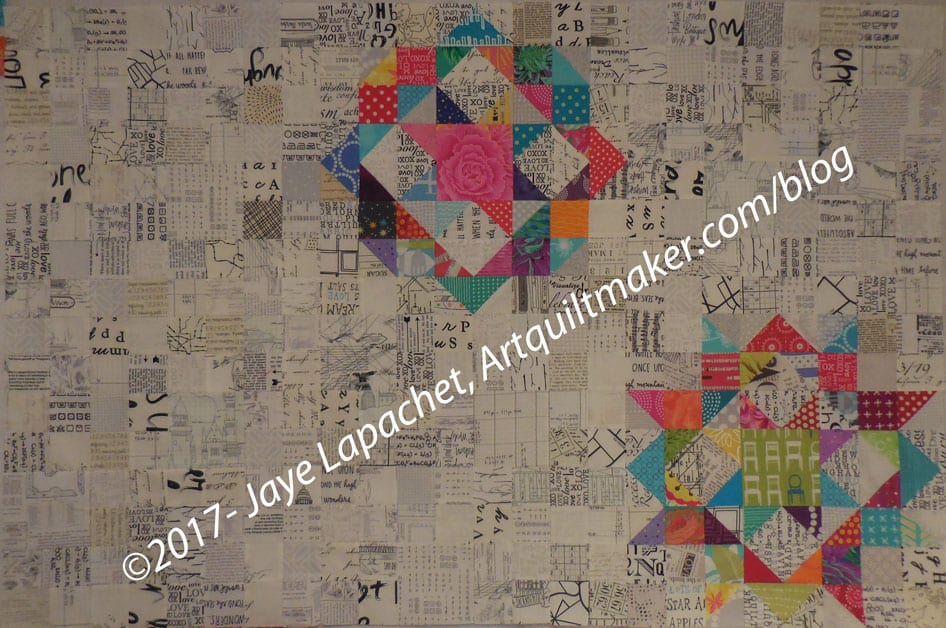
The other day I talked about making the two sections of section 2. After I did that it took me a few days to sew section 2 together and then sew that large piece to section 1.

Carpenter's Wheel - Section 1 & 2 sewn together
Carpenter’s Wheel – Section 1 & 2 sewn together

I still need to make and add Section 3. I have barely any 4 patches left for the background, so I have to sew those blocks together first.

I am stupidly pleased with this section. Even more so because the feeling of having crossed a huge hurdle is even stronger now that I can see this section laid out. Of course, I may never be able to see the entire top as it is so large. I might have to move the dining room table and get a ladder to take future photos.

More on Big Patchwork Tote

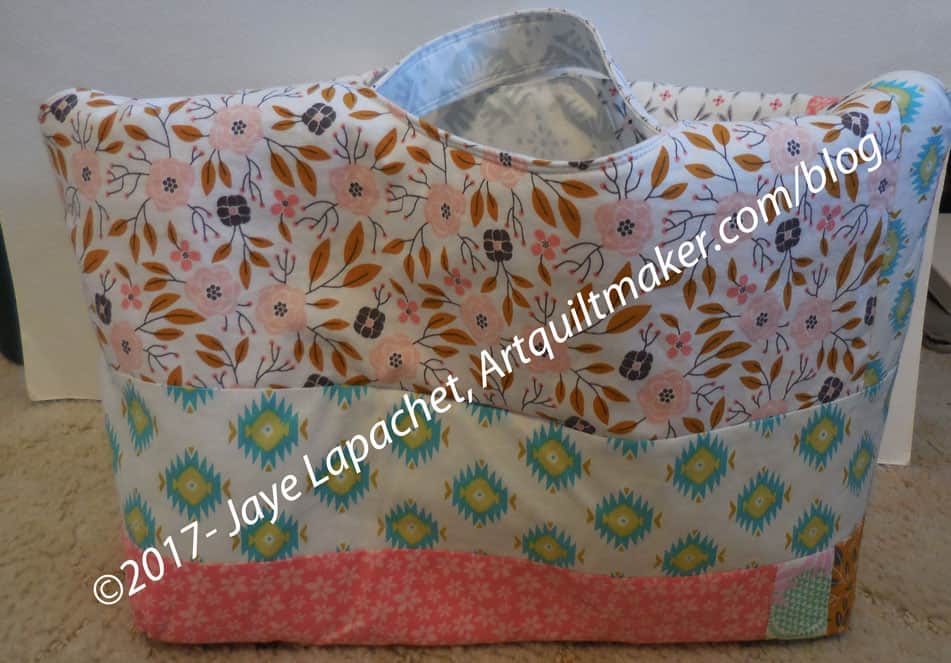
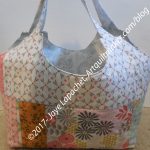
Big Patchwork Tote - 1
Big Patchwork Tote – 1

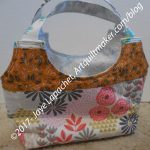
I thought I would write a little more about this pattern as it is a pretty good pattern and has interesting construction techniques.

The bag pattern is included in a book called Make it Take It by Krista Hennebury. The bag is a cover girl and is what attracted me to the book.

I had a gift to make and thought this would be a perfect opportunity to try the pattern. I made the Little Patchwork the first and was a little disappointed at how little it was. I hadn’t planned to make both, but I needed a larger tote for my gift. From the photos in the book, I thought the little tote was more of the large tote size and the Big Patchwork Tote was larger – almost the size of a Chubby Charmer.

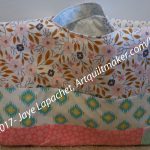
Big Patchwork Tote - 2
Big Patchwork Tote – 2

The pattern calls for patchwork sides and gives instructions for making a strip set. Fortunately, the pattern also gives the desired final size of the strip set, so the maker can cut the piece from one piece of fabric, if desired. This dimension also allows one to use something like mosaic piecing techniques if strips are undesired. Since I am using a fat quarter stack for this project, I didn’t have pieces large enough for the strips. I pieced strips together and used those. You can see that in the photo above if you look for vertical strips. I recommend piecing the desired fabrics together well in advance of the deadline for this bag as that takes a lot of time.

I used fusible fleece on the small bag and Soft and Stable on the larger bag. Both work, but I found the fusible fleece to be easier to deal with. Of course, if I had remembered to attach the Soft and Stable before I put the bag together, that would have made a difference. 😉 In the future, if I plan to use Soft and Stable, I will attach it (in the ditch stitching, perhaps) to the exterior before I put the bag together.

The interesting part is how the bag goes together. Instead of putting the exterior inside the interior, right sides together and sewing around the top, as the maker does in most bags, this one asks the maker to fold and press the interior and exterior in half and layer them. It is an interesting method that seems to work, though is hard to understand until you do it.

The problems with this bag are: no pockets, no closure. Considering the method of construction, I am trying to figure out if I can add a pocket or sew-in magnets as closures.

All in all this bag has an interesting shape and lot of room for creativity in making the exterior. I encourage you to buy the book and try it.

New Pincushion – Wonderclip Holder

Can a person ever have too many pincushions? This is the thought running through my mind as I decided what else to make for my second group of gifts.

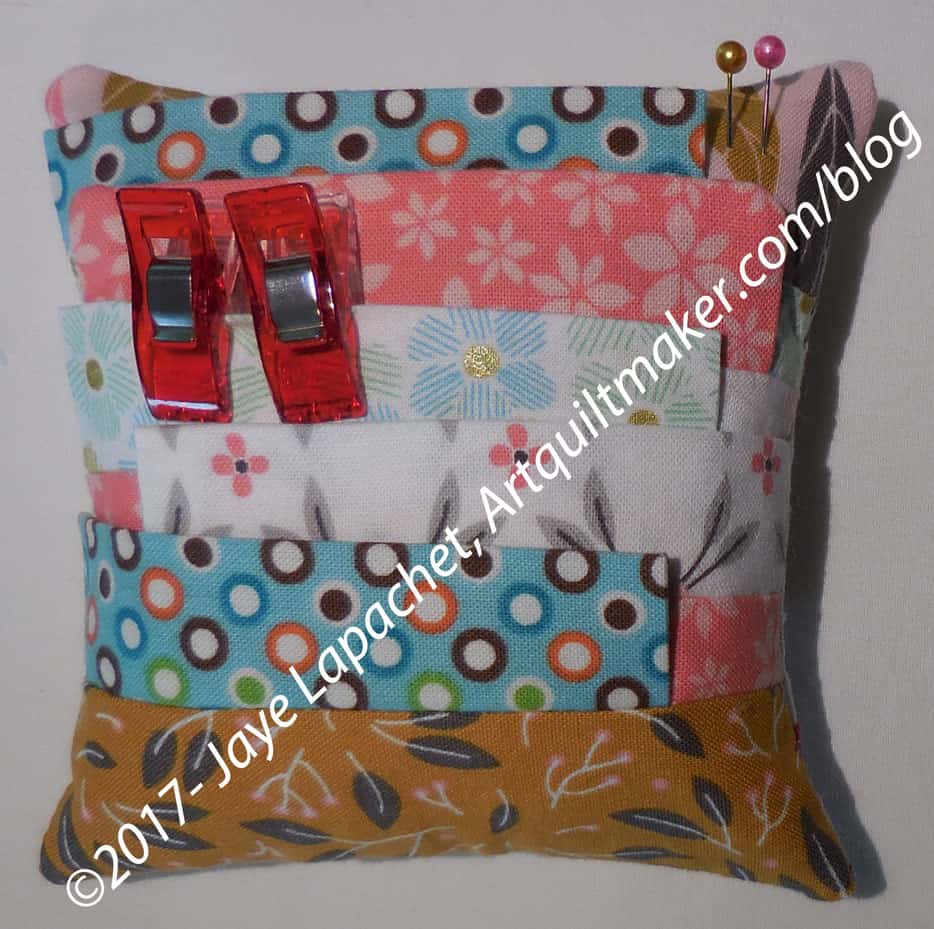
Mary's Pincushion/Wonderclip caddy
Mary’s Pincushion/Wonderclip caddy

You might remember the Pincushion / Wonderclip Holders I made for the guild officers. I really like this pattern and decided to make another one to go with my gift grouping.

It is a useful item and I have a lot of Beanie Baby pellets to work through. It is a quick project, which is an added incentive to include it in the gift grouping.

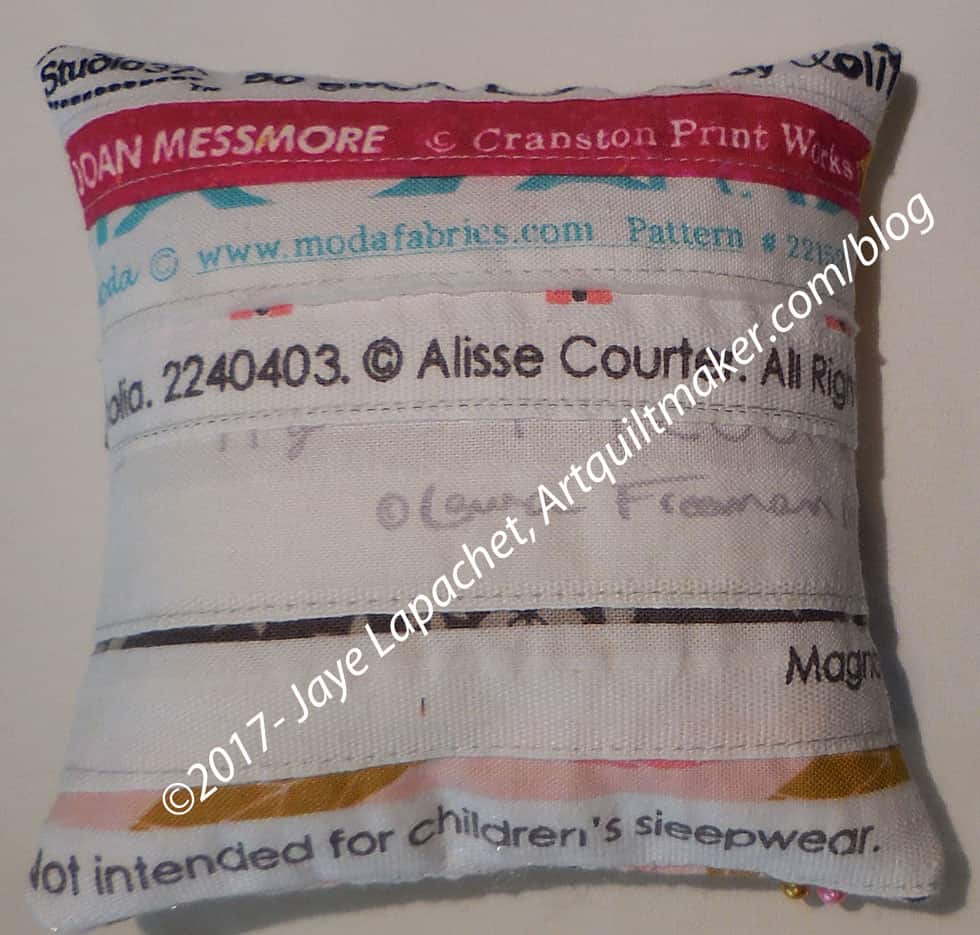
Mary's Pincushion/Wonderclip caddy - back
Mary’s Pincushion/Wonderclip caddy – back

I decided to continue with the selvedge back. It is interesting to look at and I have a surplus of selvedges.

The pattern can be found in Love Patchwork and Quilting, issue 39. It is available digitally in the Apple and Google Play stores.

Creative Spark #11: Jar of Markers

The picture on the title page of this chapter speak to me in a way that is hard to explain. The picture is of two full pottery jars, one of felt markers and one of colored pencils. The jars are full and the variety of each says that the person who sits near them has whatever they need to draw or color whatever they want to draw or color. Carrie Bloomston calls them ‘artful bouquets’ (pg.48), which I think is a fitting description.

Bloomston writes “No matter if your creative passion is playing guitar or glassblowing, you need a jar of markets or colored pencils on your dining table (or some other table that you sit at regularly)…..They sit in the center of the dining table where we eat every day, three times a day…., like an artful bouquet of creative possibility.” (pg.49) I adore this idea. I am sad I didn’t think of it when the YM was small. We had pens, felt tip markers, paint and paper galore, but we always had to get it out. There was never a moment of whim that could be fulfilled in an instant. “No matter what your creative fantasy is, you need ready access to writing, doodling, planning, and sketching tools. Creativity can strike at any moment, and you want to be ready for it when it does.” (pg.49)

She goes on to say that creative ideas are ephemeral and flit away as easily as they came. I am sure you have seen shower noteboards, which must mean that that rote activity is what people need to churn out ideas. I am amazed that office blocks don’t have shower cubicles yet. “the jar of pencils is a butterfly net for those fleeting thoughts and ideas. If you can capture them in their pure, raw state, you have the makings of a new idea, a new beginning.” (pg.49)

Carrie tells us that the jar of pens is an emblem, but it is also a reminder…”they “will quietly call to you, gently reminding you to listen to the call of your heart.” (pg.49). She shows reminders in other people’s studios: rolls of fabric, a bowl of embroidery floss.

I find that my cell phone camera is a wonderful tool, not for the pictures that it takes but for the reminder that I can take pictures and, therefore, must look at things I see in my daily travels in order to notice them so I could photograph them. Although Instagram can be a little bit of a competition, it is a tool that can be used to post reminders, if that works for you. Scrolling through the photos always reminds me to go and be creative, if for no other reason than so I can show something.

As with other chapters/sparks, this one has a to do list of things we must do to remind us to be creative.

Nota bene: we are working through Carrie Bloomston’s book, The Little Spark. Buy it. Support the artist. There is a lot more to each spark than what I am writing and the original chapters will help you. Go buy Carrie Bloomston’s book, so you get the full benefit of her fabulousness! You can see my book review, which is what started this flight of fancy.

You can find the last spark on the blog about a month ago.

Carpenter’s Wheel -Section 2

With two more seams, section 2 will be finished and attached to section 1 making one large section.

To get there, I have to sew two seams. Before that I finished all of the section two background blocks. As a bonus, I feel like I surpassed a major hurdle. The feeling of slogging through and never making progress was strong, but finishing this section made the light at the end of the tunnel visible.

Section 2: right blocks

It is so odd how I can feel like a project will never end, then suddenly, with no warning, I see the end coming.

New Gift Grouping – in Process

I am still not done making gifts with the two stacks of fat quarters I received at the BAM retreat last Fall. As an aside, these small gifts are keeping me slightly ahead of the negative mark in my fabric purchases vs usage. No finished quilts this year yet, so I am still feeling behind. No huge buying binges, so at least I am not in the negative.

Anyway.

I am still making gifts. I took the opportunity to make the two bags I liked from the Make It, Take It book I received for Christmas. One was the The Big Patchwork Tote and one was the Little Patchwork Tote (pattern starts on page 32 for both).

I started with the Little Patchwork Tote. When I hear the word ‘tote’, I think of a bag in which you can carry a bunch of stuff. That is not the case with the Little Patchwork Tote. It is basically purse sized. I should have known, based on the sizes, but I couldn’t put it all together in my head. I wanted something I could put a number of gifts in. I can put a few in this tote, but decided I would make the Big Patchwork Tote as well.

The Big Patchwork Tote is the size a tote should be. Whatever that means. 😉 It is the size in which one can put a number of necessary items. Using the directions in the pattern makes it pretty stiff, which I like. I will probably make this tote again. It might make good officer gifts and is conducive to using large-ish scraps.

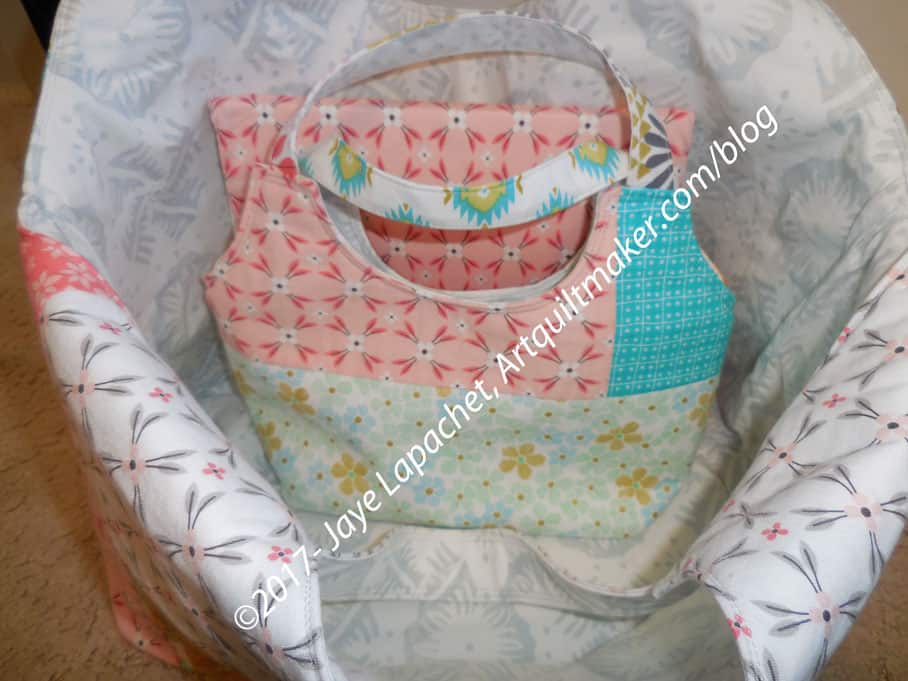
Gifts in Big Patchwork Tote -in process

The Little Patchwork Tote fits easily in the Big Patchwork Tote along with Tooly McToolston. I am working on a pincushion/Wonderclip holder and a couple of other items.

Sawtooth Star Donation Blocks

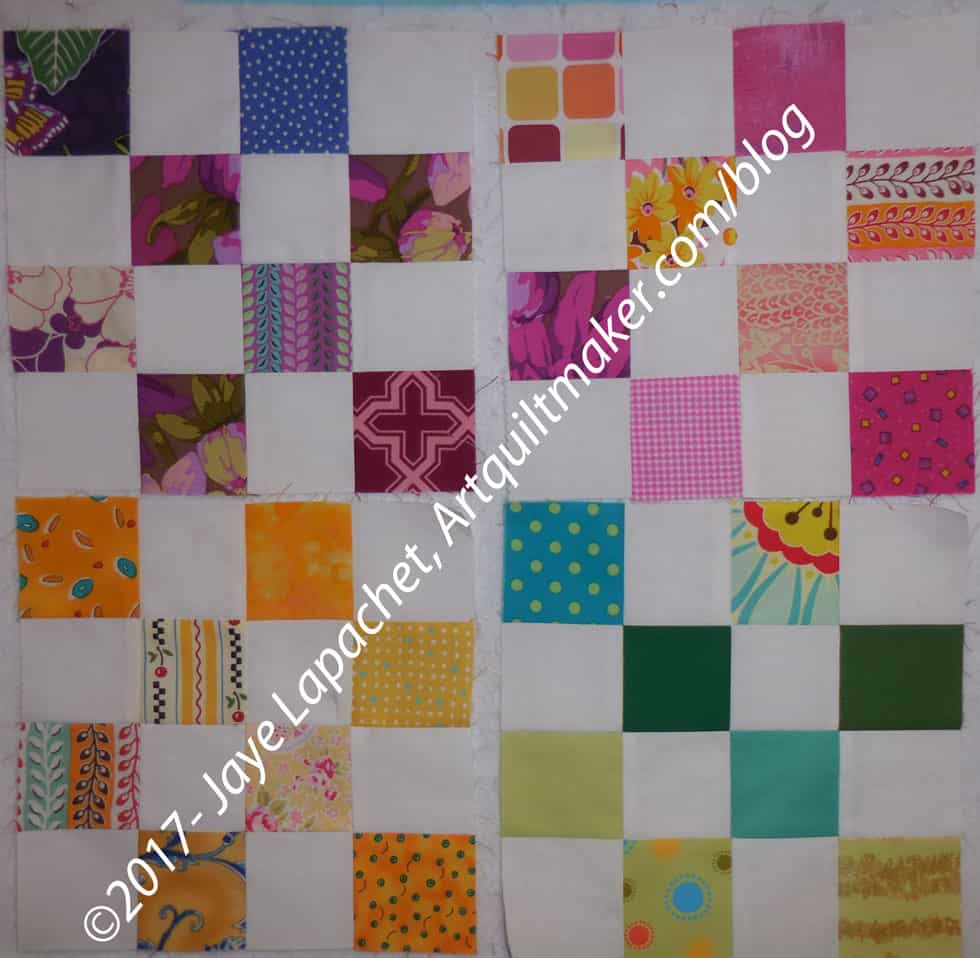
Black background donation blocks

Here is more, finally, about the new direction in which my donation blocks are going. I talked about this last week and had time and brainspace to make the ideas a reality. How long this whim will last remains to be seen.

Remember I can make any blocks I want for charity blocks. Peggy will do something with them, if nobody else does. Still, I feel kind of obligated to make enough of one type of block to make a small quilt so it is easier for the Charity Girls who do a ton of work already. Also, I like the 16 patch/postage stamp format. It makes for easy leaders and enders that take very little brainspace while I am working on other projects.

Thus I was looking for something that would work with 16 patches. I didn’t really need a pattern since I can figure out most quilt blocks myself and my DH will do math if I need help. I especially wanted to make something with these black postage stamp blocks so that they wouldn’t be a drag on Peggy and Michelle.

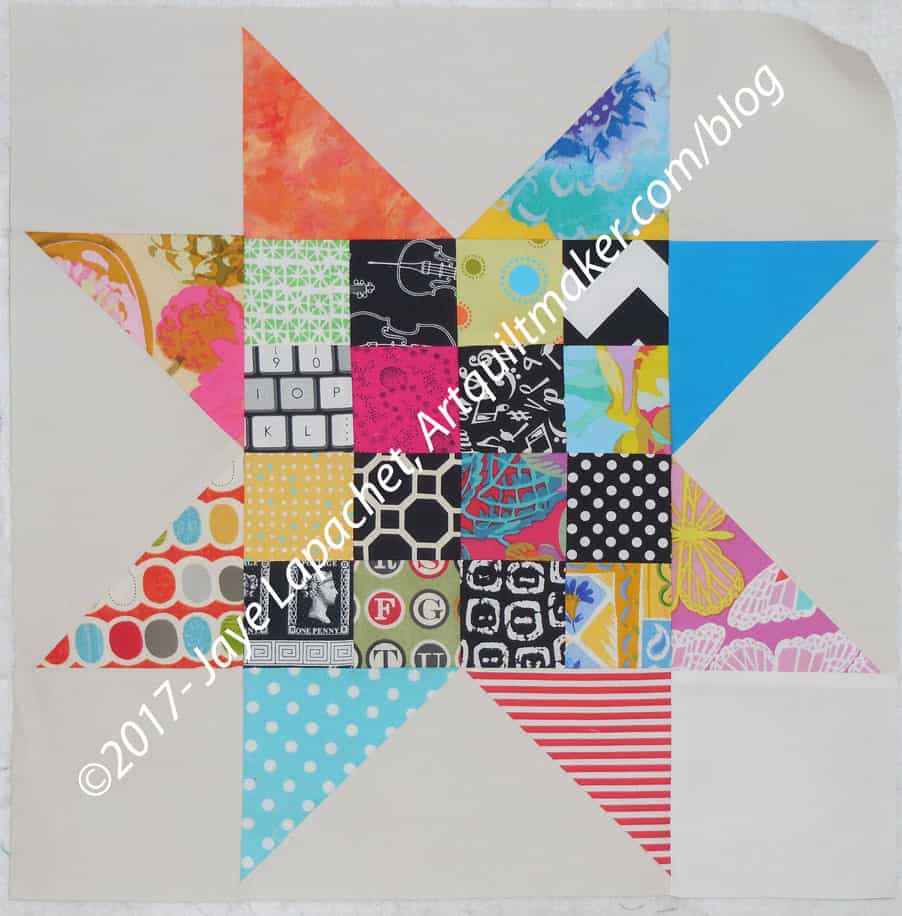
Donation Sawtooth Star

I saw the magazine Quilting Quickly, which I normally don’t buy since I don’t often buy pre-cuts beyond charm packs and the name makes me a little crazy. This time it had a colorful 16 patch on the cover with an almost Sawtooth Star, but sort of Jacob’s Ladder quilt on the front. It gave me the idea to make Sawtooth Stars, so that is what I did.

Immediately I thought of Sawtooth Stars and decided to make them.

I used the Wing Clipper method of making the Flying Geese that make up the legs of the star with scraps. I usually don’t keep pieces large enough to cut a 5 1/8″ square in my scrap bins, so my choices were limited, but I am pleased with how cheerful it came out. The Pure Elements Linen background (not quite white) helps with that. I think a black background would not have given the impression of them looking so cheerful.

The blocks are 16″, so without sashing or border, I would make a 32″ square quilt. I am not sure if I will add sashing or not. We will see.

I am pretty excited about how fun these blocks turned out. Seriously, I really want to turn all of my donation blocks into stars! I guess it is a good sign when you don’t want to give away the quilt!

Even More Donation Blocks

Early April Donation Blocks

These blocks have nothing to do with my new direction in making donation blocks.

I made these with the last of my white 2.5″ squares. You can see that I am also getting short on foreground squares. Sadly I don’t have a minion to cut for me and cutting is not a favorite activity.

My plan is to make the blue and white donation quilt, then clear out my donation squares bin as much as I can before starting in on the all color postage stamp blocks.

I was thinking about how they would look at what  my inspiration was. I could only think of the Patchwork Wheel blocks we made for BAM in 2012. I went look for those blocks and they aren’t quite what I was thinking about.

I have made some blocks and even a donation quilt that have less white in them. One was two colors. It isn’t a new idea to me; it just seems new because I haven’t thought about it for while.

Ghosts and Carpenters

The other day I talked about needing leaders and enders. I was working on another section of background for the Carpenter’s Wheel project. Each of those background blocks has about 64 pieces, though sometimes less when I replace a 4 patch with a 4″ square.

Middle blocks of middle section

I focused and was able to complete 4 blocks. That is the middle part of the center section.

I have four more background blocks to complete the middle section. After the middle section I have approximately the equivalent of what I have already sewn to make again. It is a lot of little 2.5 inch squares.

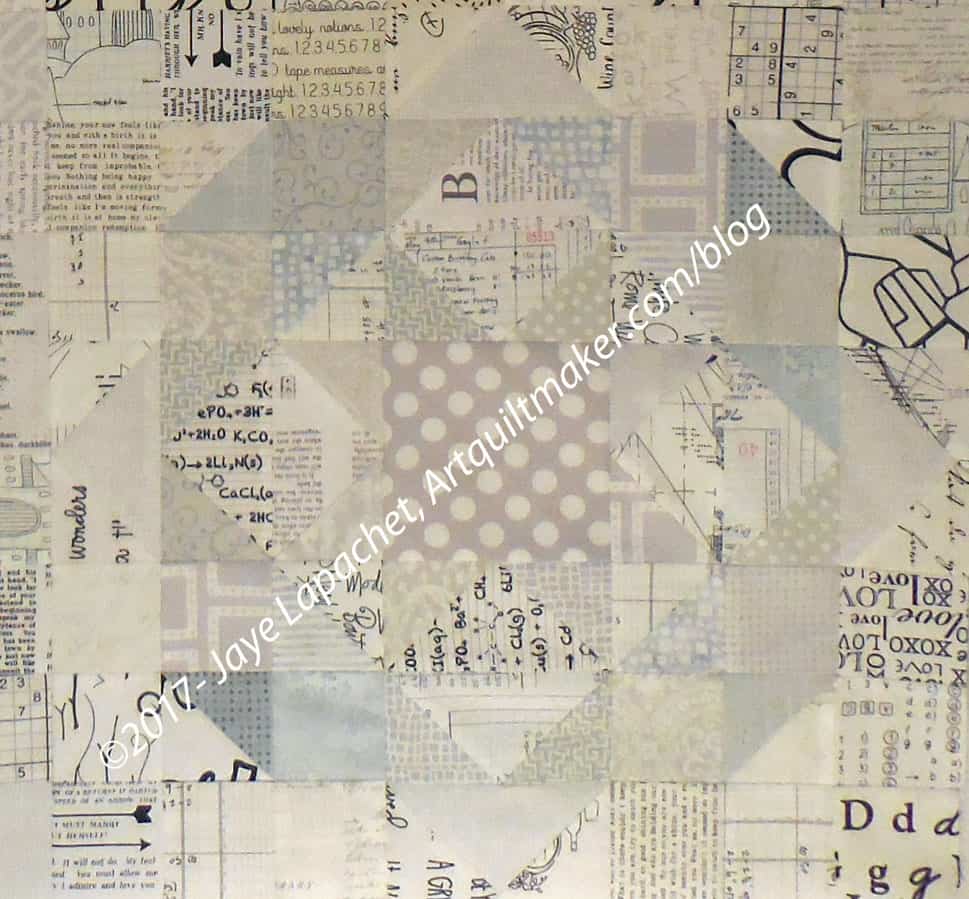
The interesting part of this section is the ghost block. I got the idea in  my mind that I should put a ghost Carpenter’s Wheel block in the exact center of the quilt. I hemmed and hawed and almost didn’t do it. However, I know myself well enough to know that if I didn’t see that idea to fruition or failure that it would haunt me. Every time I would look at the quilt, I would wish I made it.

Carpenter's Wheel Ghost block
Carpenter’s Wheel Ghost block

So I sewed another Carpenter’s Wheel block.

This isn’t as easy as it sounds. Because the background is very scrappy – that is my goal – I have to make about twice as many pieces as I need. With the colored Carpenter’s Wheel blocks, this was ok, because I could use various bits and pieces in the other blocks. I only needed one of the Ghost Blocks, so I have a lot of parts leftover. I guess I am building up my Parts Department.

Also, I wanted to make sure that the Ghost block blended in, but could still be seen. I made one bad choice, but it isn’t fatal. Otherwise, I think the design doesn’t scream at you, but also blends in. I am pleased with it and pleased now that it is done.

Moving Donation Blocks in a New Direction

No joke.

I mentioned earlier this week that I was trying something new with donation blocks.

It started when I ran out of white squares. While I have more white charm packs and can cut them, I didn’t want to stop and take the time. I have seen some quilts that use with all colored 2.5″ squares and no white. I have been thinking of making some of these types of postage stamp blocks and now might be the time.

Sunny Skies from Missouri Star is an idea although not exactly what I was thinking. Southern Belle also has a design that would work. It isn’t exactly what I was thinking and is still very similar to what we are doing now, but without the white. Searching for “16 patch quilt” gave me a lot more ideas, though not the one I had in my head. Putting some blocks on point would use up other sized fabrics. I saw 2 16 patch X quilts (one called Arkansas Road) that were really great. Also not what I saw somewhere, but definite possibilities. Finally, I saw one that looked like a tile floor and was interesting enough to have some possibilities for gift quilts using leaders and enders.

Black background donation blocks

I seem to have a lot of black and dark grey squares, so I decided to head in that direction by making a couple of blocks with those darker colors as background.

This plan serves two purposes. It clears out some of those darker 2.5″ squares and moves me towards a different kind of quilt using the same format.

I am cognizant of the need to make these blocks bright and cheerful. Black and dark grey are not always bright and cheerful, so I have paired the darks with brights, for the most part. I like that moon, but the dark blue does create kind of dark hole.

I have enough blocks to make another quilt from a serious bout of donation block making late last year. I’ll keep donating the blocks I made until I am ready to make the blue and white donation quilt.

ColorPlay Pitcher

Grass Valley Pitcher

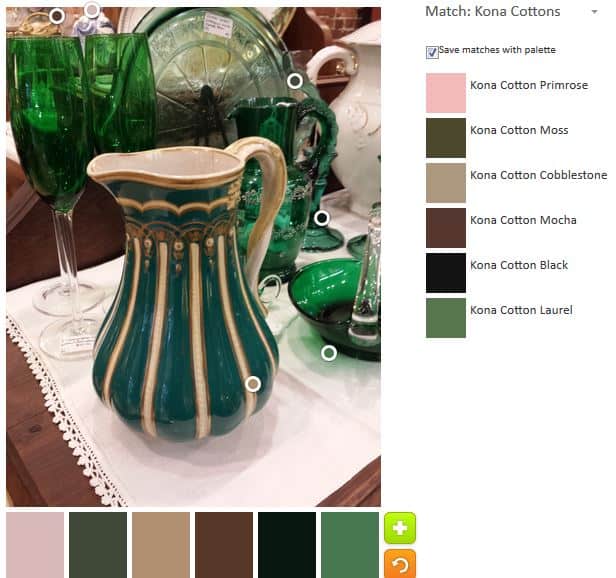
I saw this pitcher at an antique store in Grass Valley. Along with the green glass in the background, I thought it would make an interesting ColorPlay. There still aren’t very many colors, but the greens are varied, which makes them somewhat interesting.

I have no idea what time period this pitcher is from, but I imagine it is the pitcher from a wash basin set. I didn’t see the basin anywhere, but I also didn’t look very hard.

ColorPlay March 31-default

I settled down with the Palette Builder by Play-Crafts and got to work. The first palette, the default, was predictably neutral.

It is a mystery to me how so little of this palette can be green. I know our eyes are much more finely tuned than any kind of technology, but still. It is so strange how these default palettes gravitate towards the neutral.

Onward.

ColorPlay March 31 n.1

I had to try and get some joy with those greens. I was really curious to know what the various greens were in Quiltlandia.

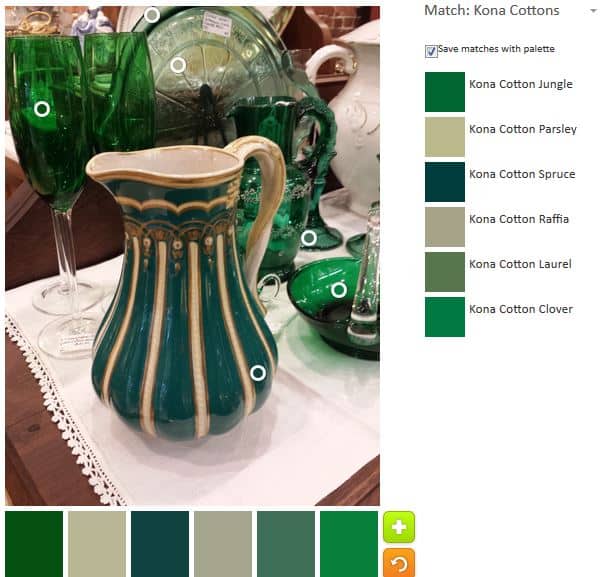
In the second palette, you can see that I moved the circles around to every green I possibly could.

My palette is pretty green and I am pretty happy with the choices. I think the Kona Spruce does a pretty good rendition of the green of the pitcher.

ColorPlay March 31 n.2

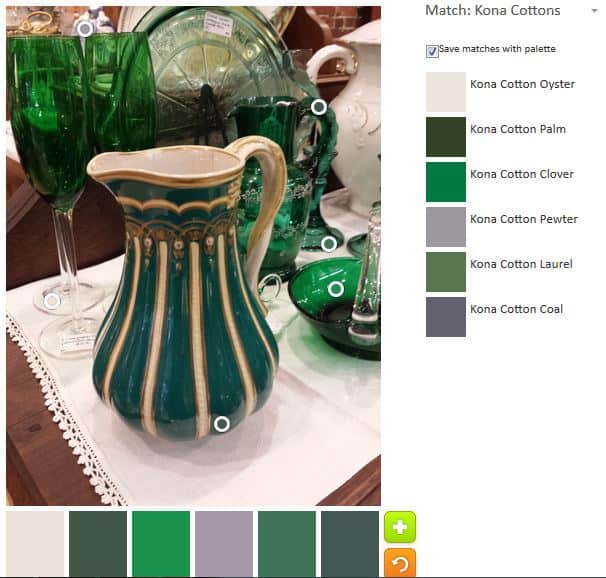
I decided to be ornery and see what kind of palette I could come up with that had no green. Predictably (or just my luck): neutrals.

This is actually a pretty sophisticated palette. It would make a great palette for a house you wanted to sell. I can see a realtor choosing this palette for a house s/he was about to list. I think the Kona Pearl Pink and the Kona Ivory keep it from being too neutral.

ColorPlay March31 n.3

That was fun, but I decided to get back to the greens. I wasn’t very successful, because there are only so many spaces in the photo and a limited number of greens. I came up with a slightly – very slightly – different palette from the one above.

There is some overlap in the greens, but they are in different places in the picture. This is about the time I start thinking I am getting towards the end of the exercise.

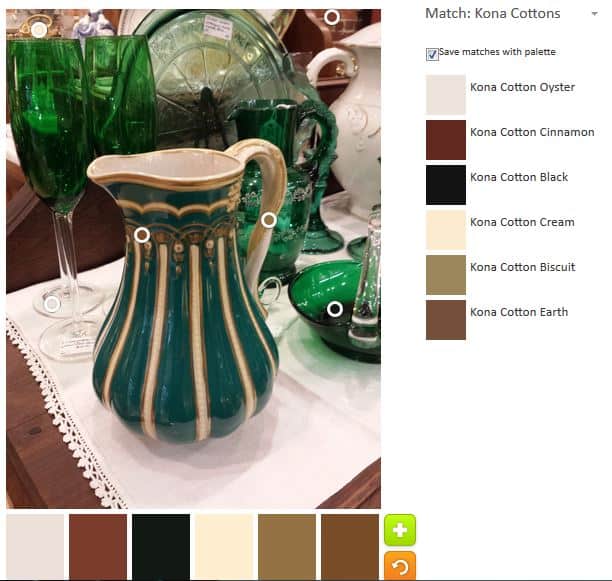
Next, I decided to try to capture that gold. It was an interesting challenge that resulted in more neutrals.

That Kona Cinnamon is interesting. I am not sure I have seen it before. I couldn’t get a good white, but I was able to tease out Kona Cotton Cream, another nice pinky shade, and Kona Oyster, which tends towards the greys.

I would never make a quilt with these colors, but it is interesting.

ColorPlay March 31 n.5

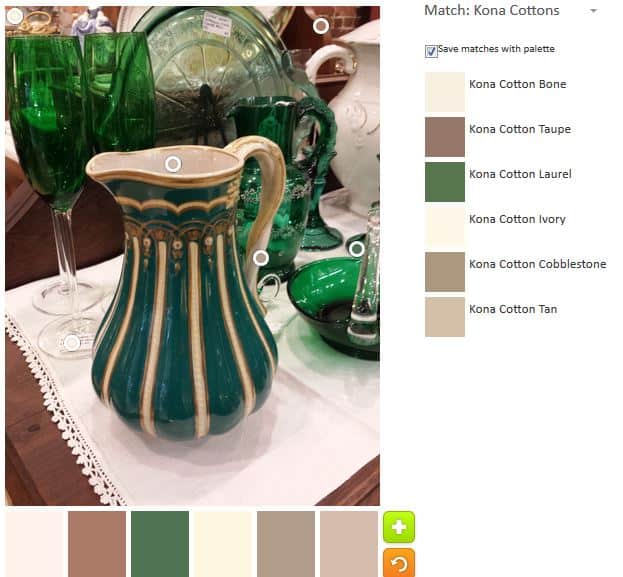
Finally, more neutrals. What else is there to say?

This palette tends towards the grey. I think it also might reflect the truest palette, if comparing the photograph and the palette with a quick look.

Let me know if you make anything with any of these palettes.


Various & Sundry 2017 #5

Books, Magazines and other Media

Lynette Jensen of Thimbleberries fame has written an interesting book, Quilts with a New Attitude, which is reviewed on the Quilts with Love site. I have never been a fan of Thimbleberries. Despite the probably timeless nature of the patterns, I couldn’t get past the fabrics. All that beige and baby poop brown depressed me. I am not saying YOU shouldn’t like her fabrics. If you like beige and brown, more power to you. Those colors are just not for me. She has come out with an interesting idea. Each pattern has a quilt made in her Thimbleberries line and other version in brighter, more colorful fabrics. The effect is startling. Patterns and block ideas I would have never looked at suddenly seem interesting. The Sawtooth Stars that died in a field of beige are amazingly highlighted in blues, yellows and bright whites. I have always felt that blocks are more universal than we realize and this book proves that. Nota bene: I haven’t seen the book; I have only seen the review and the photos included. I would love to hear your feedback.

The new ‘TV’ show, Fresh Quilting, is now available via the MQG. Have you heard of it? It is also showing on some PBS stations and I am sure you can request it.

Crayola is retiring one of its colors according to a USA Today article. It doesn’t say which one. Apparently, Crayola has to have fanfare and has announced that they will announce which color. Sigh. Why? Why do they need to get rid of any colors. Save those old boxes, people. You’ll have a classic there somewhere.

Patterns & Tutorials

Need a pussy hat for the Science March? The Zen of Making has a knitting pattern. You can find a whole host of tutorials on her site. The list includes vegan recipes including a vegan/gluten-free lasagna that caught my attention.

Do you want to make EPP papers? I found a tutorial that shows you how to make them using Microsoft Word.

The Angela shoulder bag has a great set of pockets on the inside.

I saw a cute little sewing kit that would make a great gift. The tutorial is posted, though embedded in an article which shows nice pictures of what you would be making. There is even a zipper in case you need some zipper practice. My only question is why anyone would need a strand for so many safety pins?

I need another bag like I need another hole in my head. Still, I have found myself, lately, looking a vertical format messenger bags. Not sure what my sewing subconscious is thinking. I found the Pacific Northwest Messenger bag and I think it looks interesting. The article links out to a tutorial and, of course, the shop of the designer. I looked at both carefully and can’t find any interior pictures. ERGH! That makes me crazy. How am I supposed to know if I want to spend time on a bag when I don’t know the layout of the inside pockets? A giant bucket will become a black hole of doom for me.

Events & Exhibits

Sew Sweetness has a bag contest going. Bags must be made and photographed between between March 21, 2017 and April 30, 2017. You can use any of her patterns. See all the details on the website.

Stitch Modern 2017 will be held at the Piedmont Center for the Arts, 801 Magnolia Ave, Piedmont, Calif, April 3-25. The Opening Reception will be held on April 7 at 7pm. Thereafter the gallery hours will be Fr-Sat-Sun 12-3pm. Visit the East Bay Modern Quilters website for more information on workshops, etc

Need a place to sew? Sips ‘n Sews is a membership sewing studio that includes a 3500 sq. ft. workspace, 58 machines a thread wall and notions nook, dress forms, a library of patterns free wifi, discounts and a self-serve tea bar. Check it out at 1167 Sutter Street, SF, Calif. (415) 814-2036.

The Seven Sisters Quilt Show will be held June 24-25, 2017 at the Alex Madonna Expo Center in San Luis Obispo, Calif. There are workshops and pre-registration begins April 2.

People and Personalities

I have never been to Mary Jo’s, the famed fabric mecca in Gastonia, NC between Charlotte and Atlanta. I have always wanted to go and will some day. Schmetz Needles reported her death in a tweet from March 18 and it is a sad loss. The Charlotte Observer did a lovely article.

Kindness

I often use a book to facilitate working out feelings that might lay dormant and insidious. It is called 365 Tao. While it is based in Daoism, it is useful for those of other faiths and spiritual heritage as well.

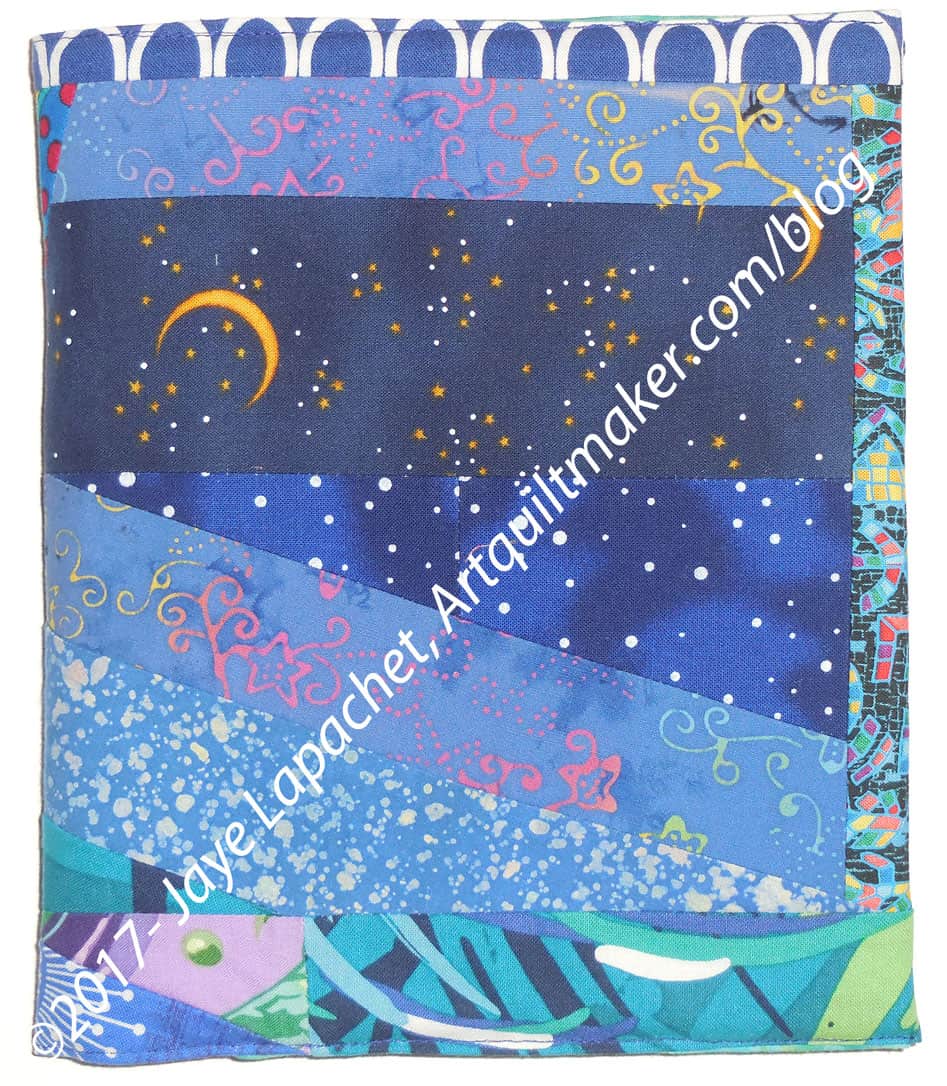
Dark Blue Journal Cover

I have to admit to using Leuchtturm journals lately instead of my favorite Miquelrius journals. The Leuchtturm journals are slim and fit in my handbag with all my other stuff. They don’t need covers. I couldn’t figure out why I was leaning away from the Miquelrius journals.

Finally, I realized, on Sunday when I needed a new journal because I had finished the old one what the problem was. I didn’t have any Miquelrius journals with the journal covers already made. As you may have guessed, I like to put journal covers on the Miquelrius journals, because the corners of the covers tend to poke me. I looked back and found that the last journal cover I made was the Orange Soda Journal Cover back in November (November seemed to be a good month for me). That was at least two journals ago.

I actually had a journal cover partially made. I hadn’t really worked on it in a few weeks. It occurred to me that it be an entry in the BAMQG scrap challenge. The donation blocks were giving me a bit of trouble (decision making not sewing), so it was an easy choice to switch projects. I used the journal cover pieces and parts as leaders and enders while I worked out my donation block issues.

Journal covers are not difficult (tutorial is posted -sizes are for the  Miquelrius journals). The time consuming part is the mosaic piecing. Of course you can make the cover out of one piece of fabric for an even quicker and easier version. I rarely, if ever, do that, however.

Dark Blue Journal Cover

Frequently, I start pulling out fabrics and stick to certain values in that one scrap drawer. I am not sure which fabric pieces I started with, but the first fabrics often set the tone for the entire piece. This one is a little darker than I usually like. I do like the monochromatic look, however, so I stuck with the darker blues.

Dark Blue Journal Cover - other side
Dark Blue Journal Cover – other side

I haven’t decided which side to use as the front. Since I don’t need it immediately, I don’t have to decide for at least three months.

I had some issues with the filling. I have been using flannel, but am just about out. I had some leftover bits of fusible fleece, so I stuck those to the back of the pieced front and filled the rest in with flannel scraps. Some parts are fluffier than I like, but  it works and the project is done.

I started another journal cover with turquoise. Stay tuned.

More Donation Blocks

March Meeting Donation Blocks

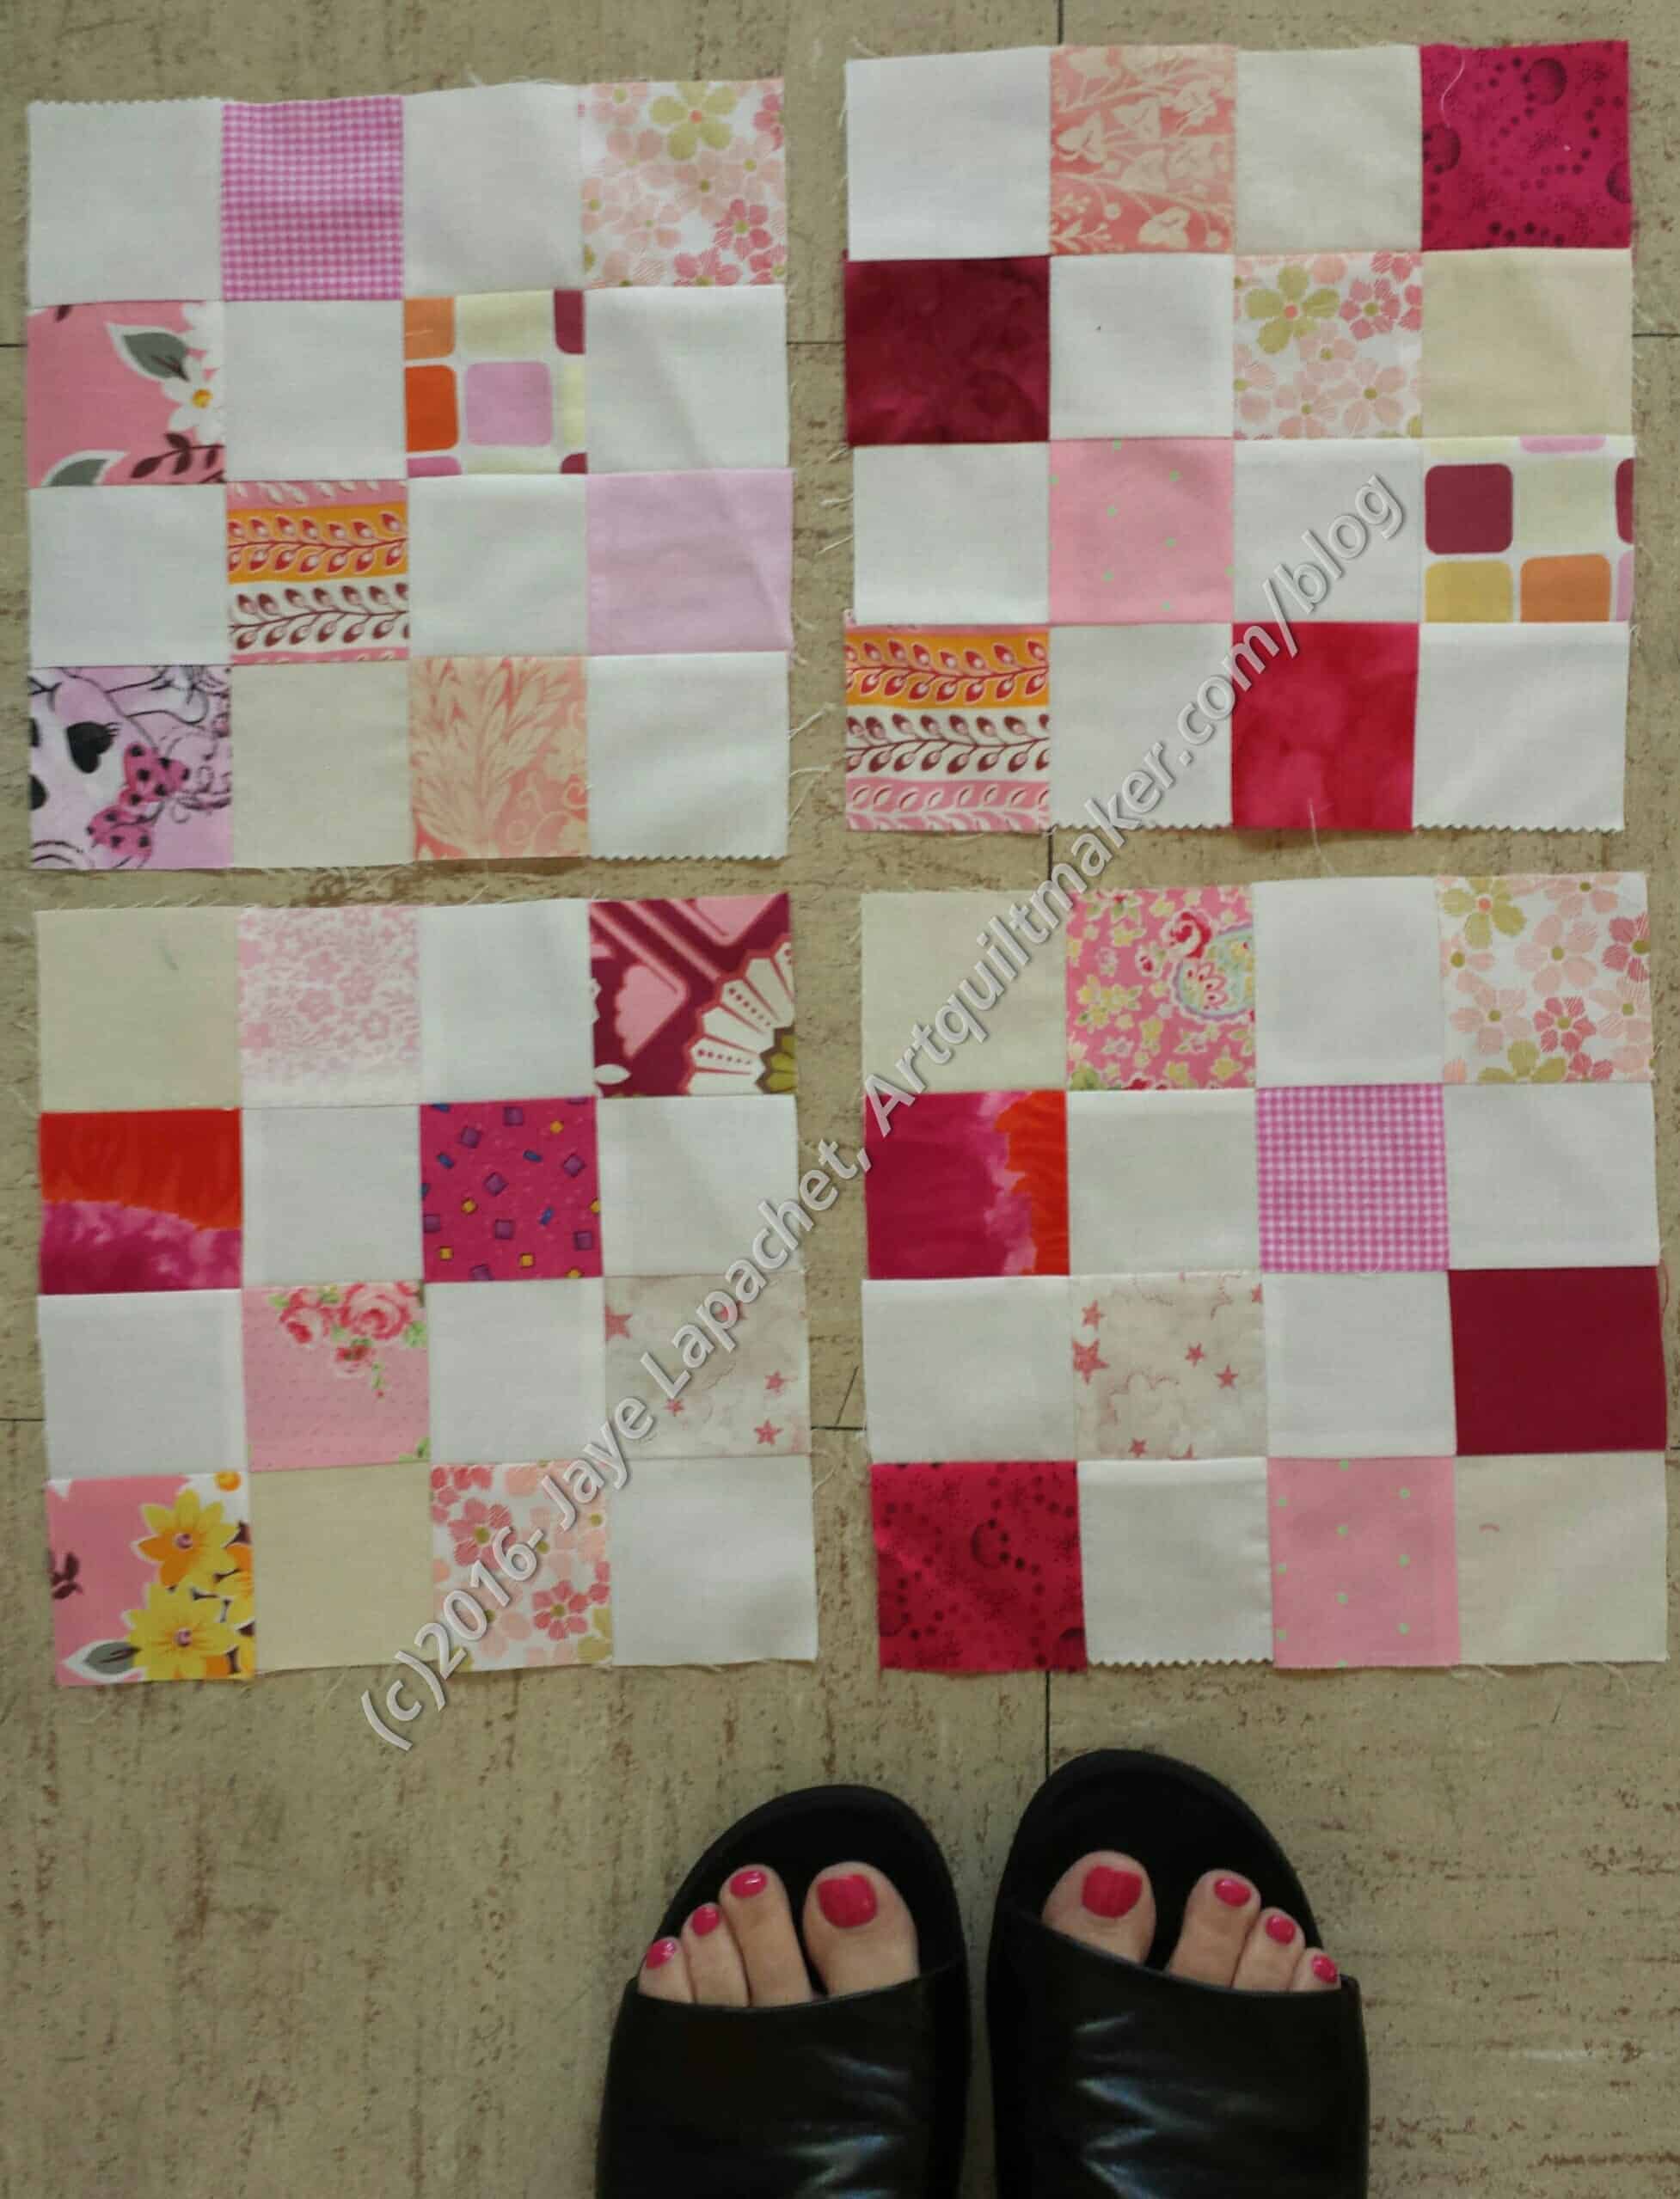
I have several new donation blocks to show you. As I make the Carpenter’s Wheel blocks, the donation blocks keep flying out of the machine as well.I kind of think I should make some different donation blocks, but until I figure out what those will be, you get the postage stamp blocks.

I forgot to photograph this group of lovely pink blocks before I went to the BAMQG meeting. Before I handed them in I pulled them out of the bag, put them on the floor and did the deed. Thank heaven for cell phone cameras. Of course I had to show off my new pedicure. 😉 [It happened to be a warm-ish day and I didn’t have to hang around outside much.]

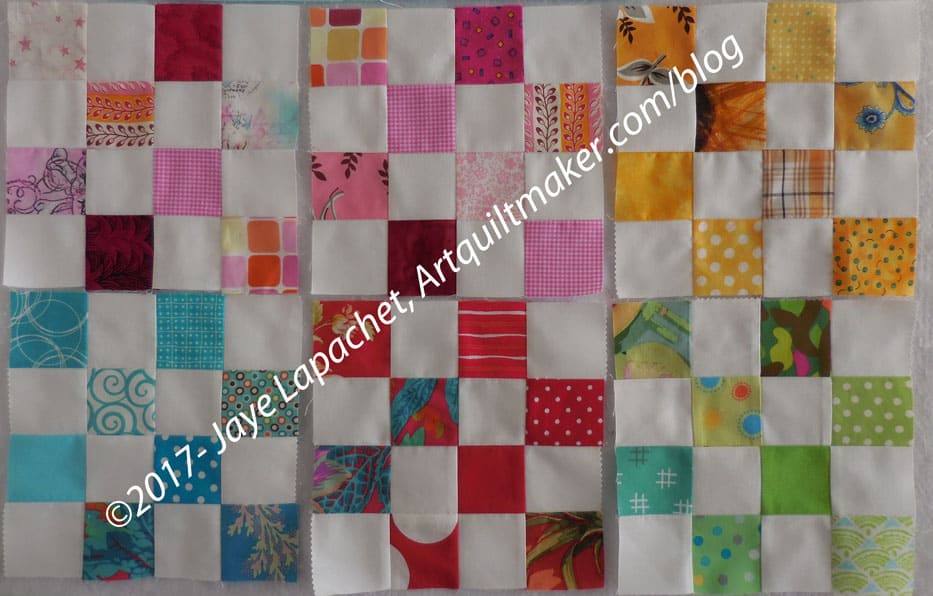
Donation blocks, March 26, 2017

I mostly made this varied group last week. I still have quite a bit of pink fabric, so there are two more pinks for the Charity girls.

I am not a huge green fan, but kind of like that green block on the lower right corner.

I think, in general, the newest blocks are very cheerful.