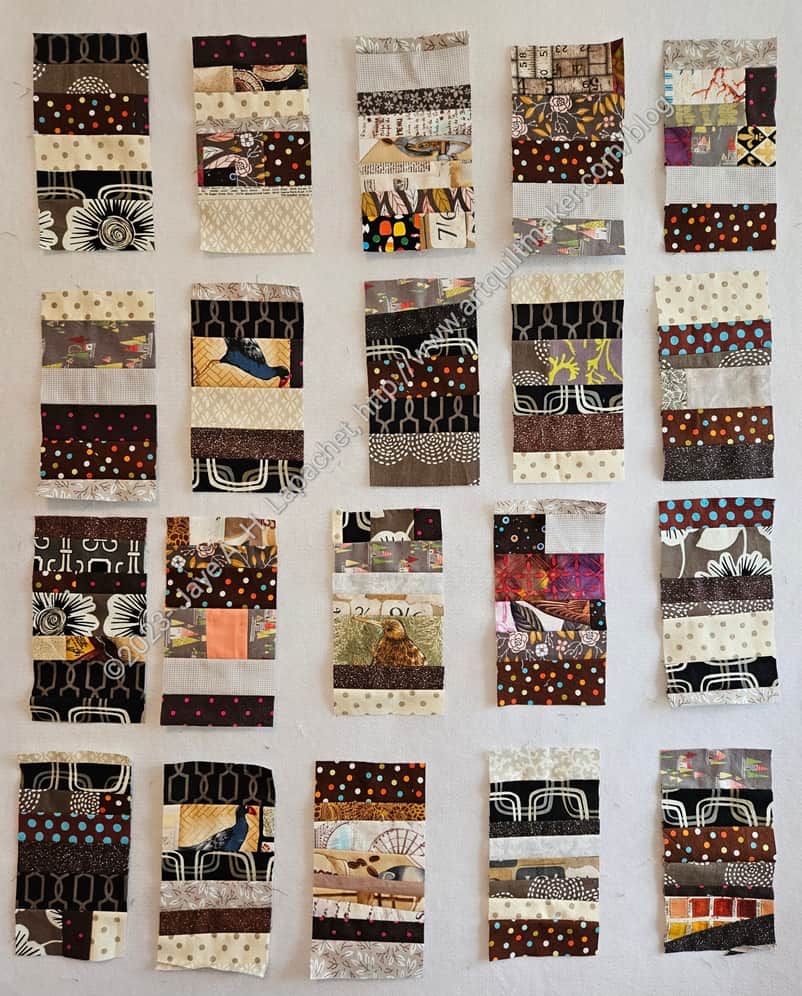
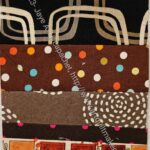
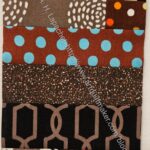
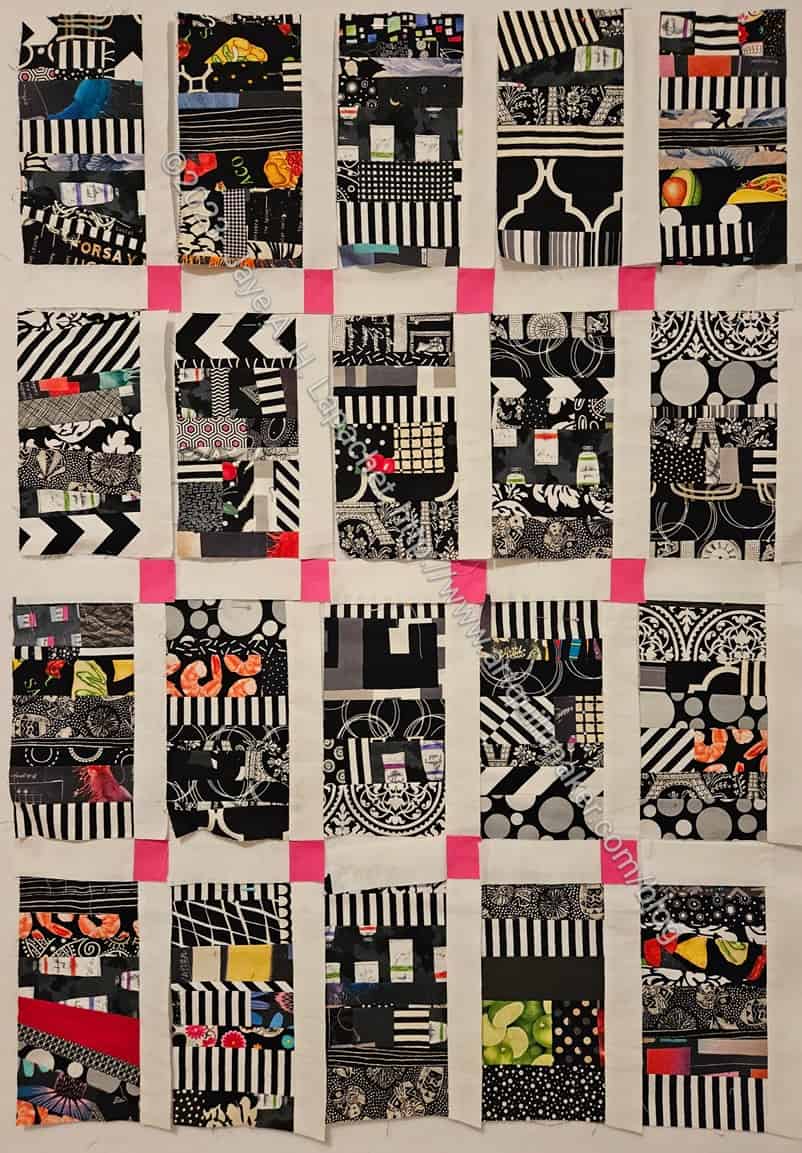
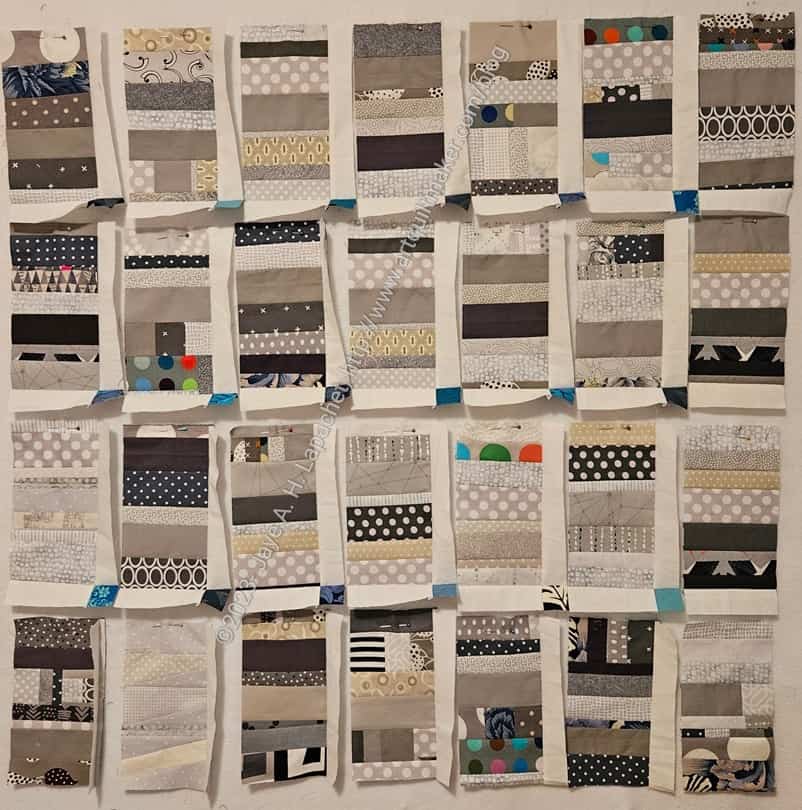
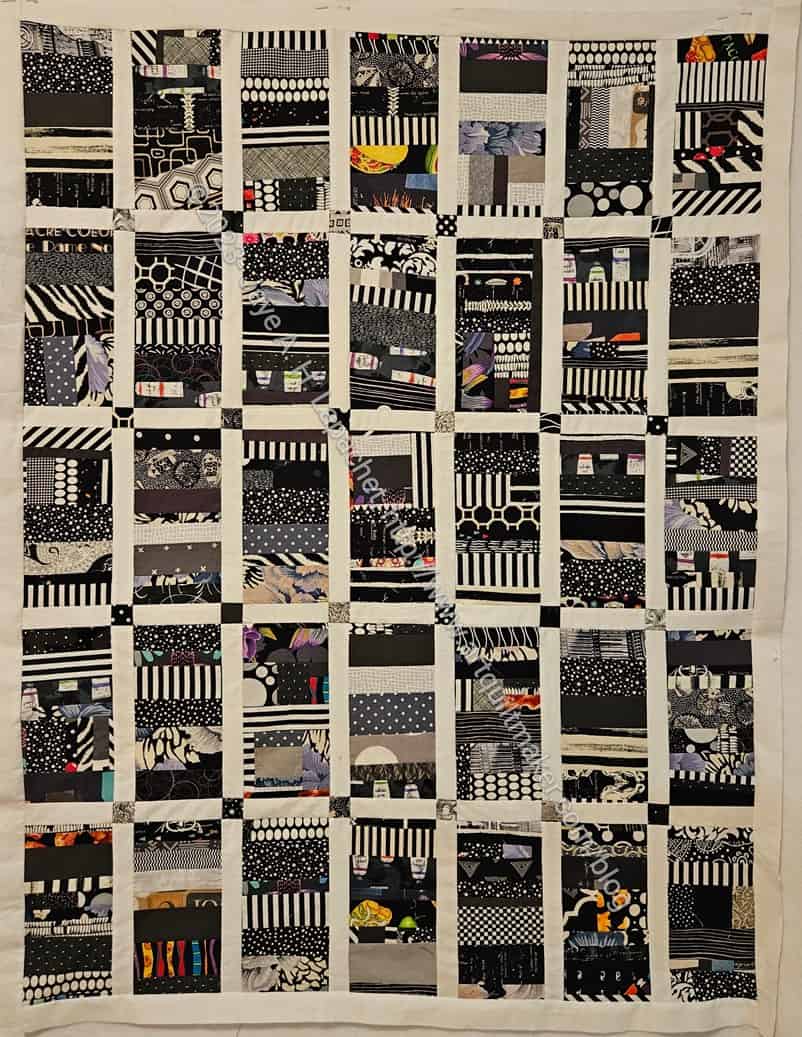
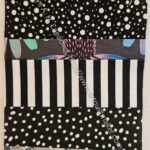
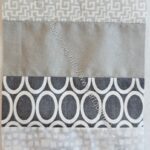
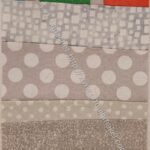
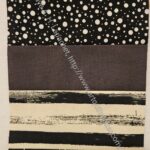
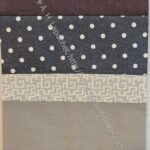
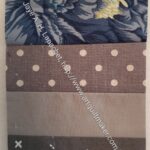
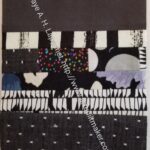
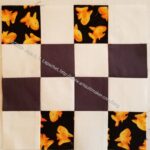
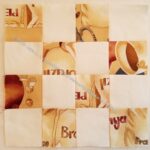
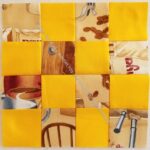
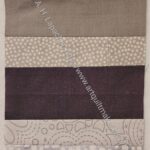
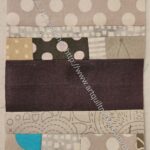
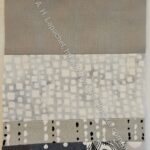
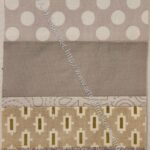
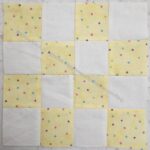
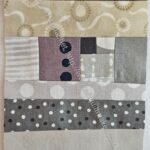
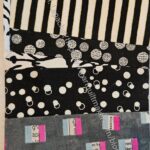
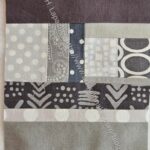
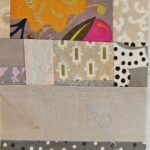
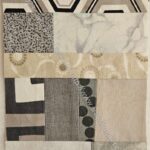
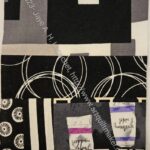
I finally scraped together enough blocks to make a brown (ugh!) donation top. This will be the third quilt I finished from my brown-grey-black scrap bin.I might even have enough blocks for one more grey quilt.
Fortunately, they do not scream brown at me. The lighter-beige strips help.
I am pleased that I finally achieved my goal of one block per day for the month. I have had this goal for awhile and it has taken time to achieve it.
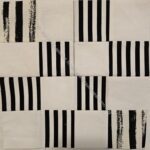
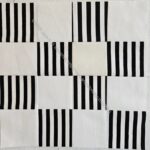
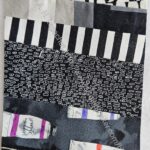
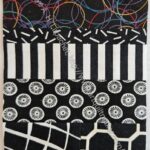
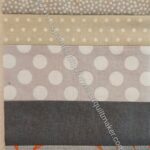
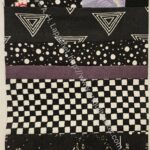
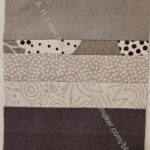
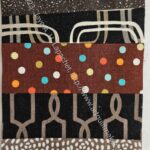
I am still working on the Black, Grey and Brown strip blocks from my black-grey-brown scrap bin. It is pretty easy to make these in quantity using leaders and enders.
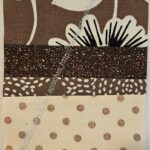
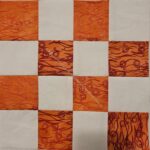
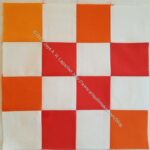
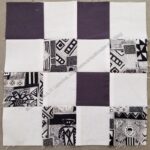
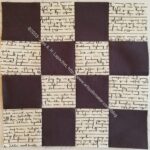
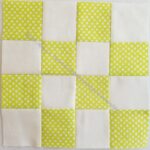
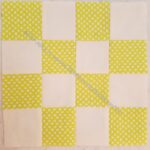
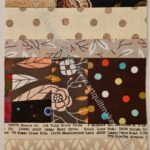
Brown strip donation block #10
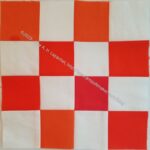
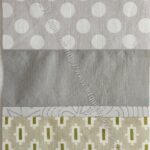
Dark grey color strip donation block #91
Brown strip donation block #11
Dark grey color strip donation block #92
Dark grey color strip donation block #93
Dark grey color strip donation block #94
Dark grey color strip donation block #95
Dark grey color strip donation block #96
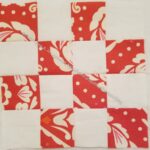
Brown strip donation block #15
Brown strip donation block #12
Brown strip donation block #13
Brown strip donation block #14
Dark grey color strip donation block #97
Brown strip donation block #15
Brown strip donation block #16
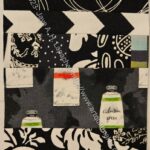
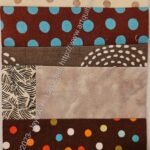
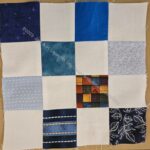
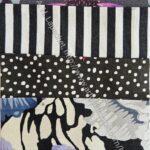
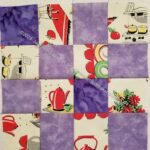
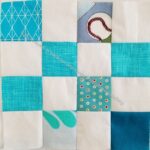
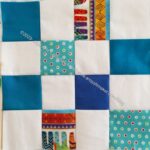
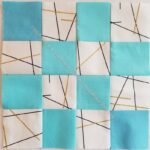
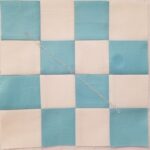
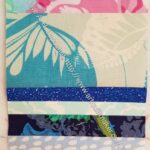
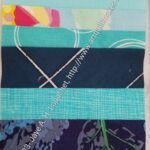
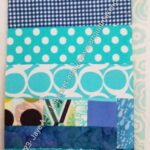
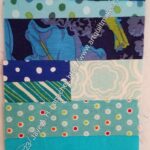
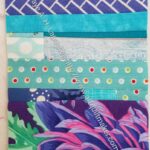
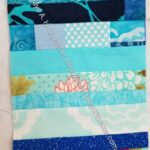
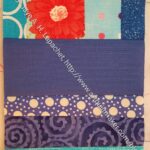
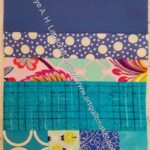
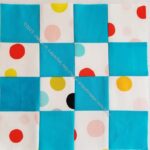
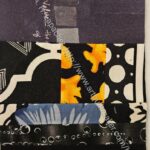
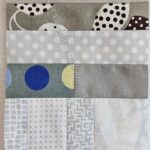
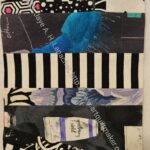
Dark blue donation block
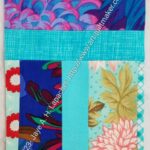
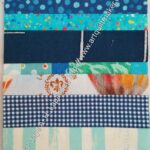
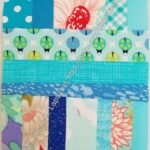
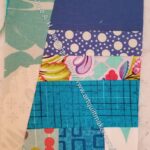
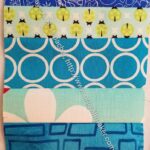
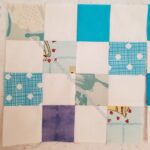
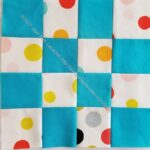
Medium blue donation block
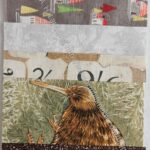
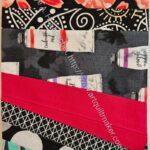
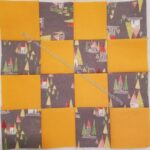
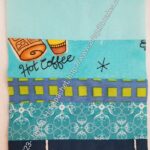
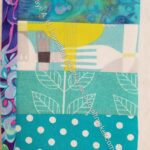
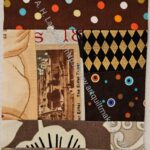
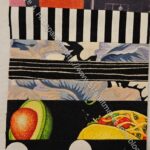
Paint tube donation block
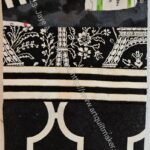
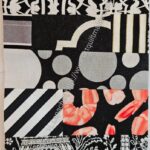
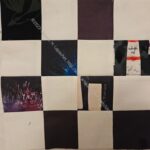
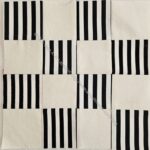
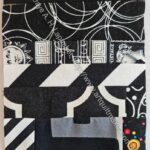
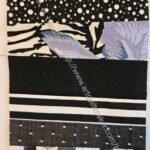
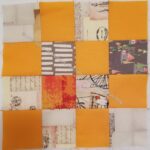
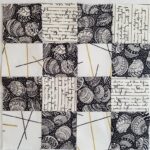
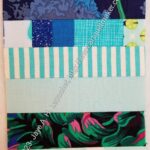
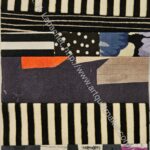
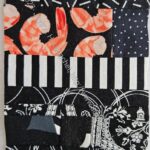
Black & white stripe donation block #2
Black & white stripe donation block #3
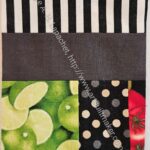
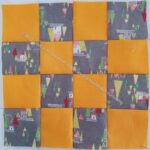
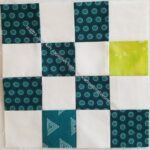
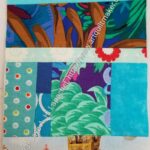
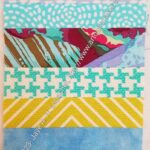
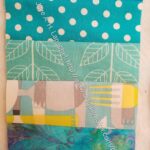
Green donation block
Grey paint tube donation block
Black & white stripe donation block
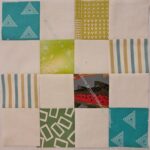
Many greens donation block
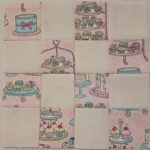
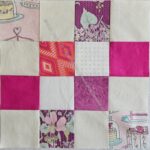
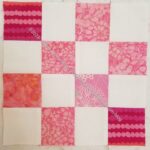
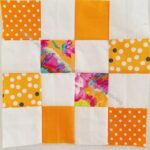
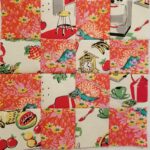
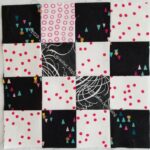
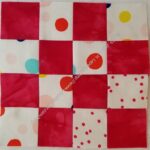
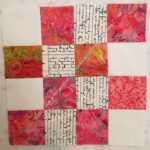
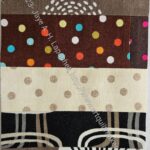
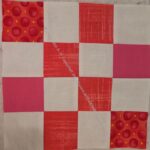
Pink cake donation block
Brown strip donation block #17
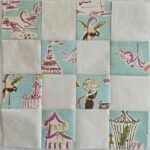
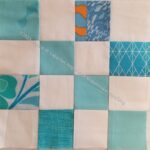
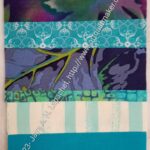
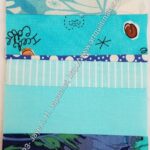
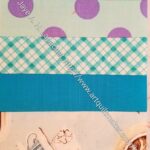
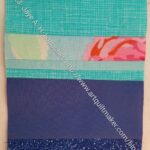
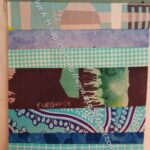
Seafoam French donation block
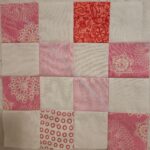
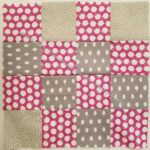
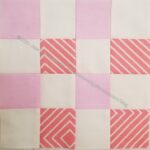
Pink Tula and Tilda donation block #2
Dark grey color strip donation block #98
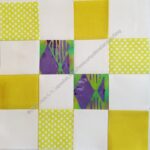
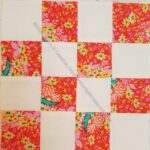
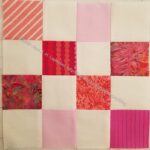
Pink Tula and Tilda donation block
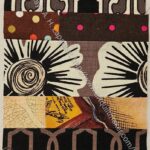
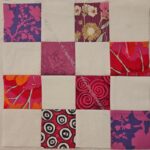
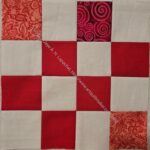
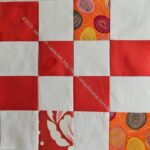
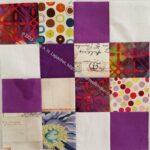
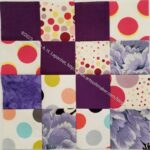
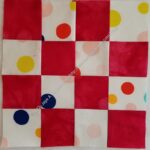
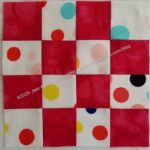
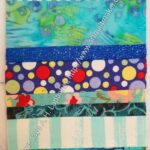
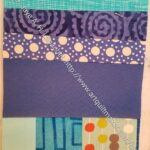
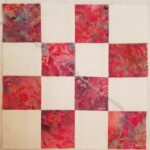
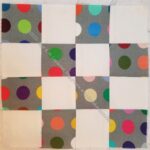
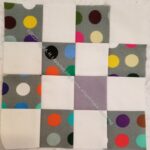
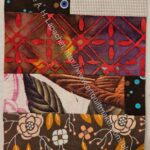
Red-violet dot donation block
Dark grey color strip donation block #99
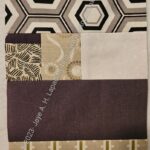
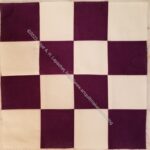
Mauve donation block
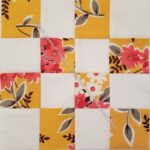
Red leaves donation block
Mauve & pink donation block
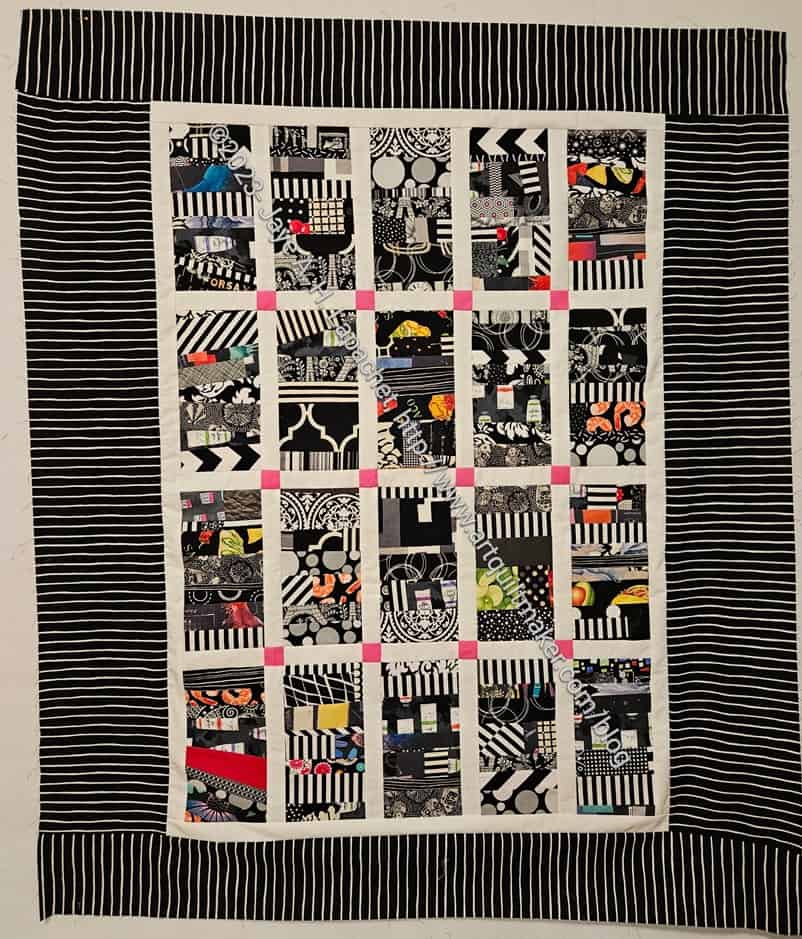
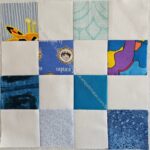
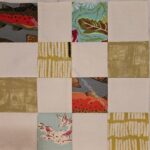
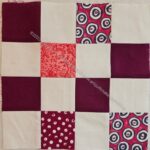
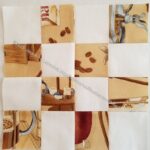
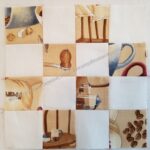
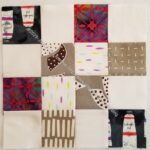
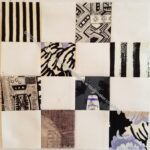
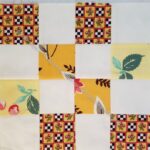
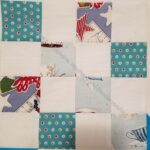
A couple of the 16 patches are straight from the box available at Sew Day. I needed some leaders and enders as I worked to finish the Grey Strip donation top at Sew Day, so I grabbed them to use. I am glad the Community Quilts team has them available.
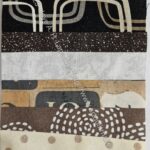
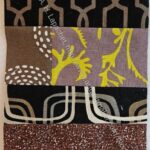
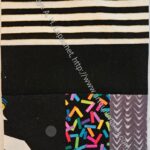
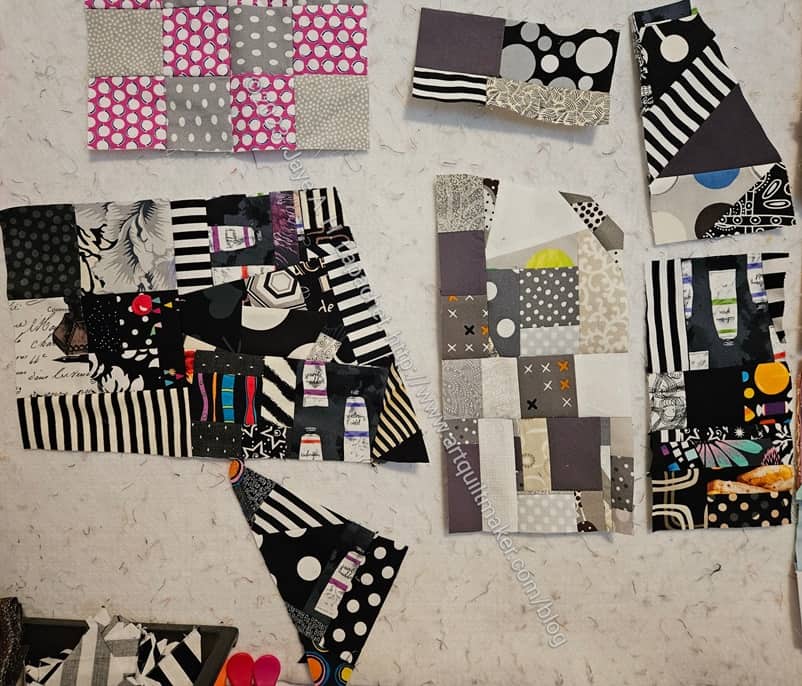
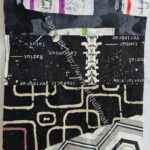
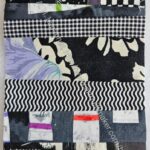
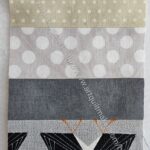
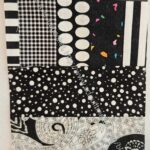
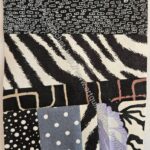
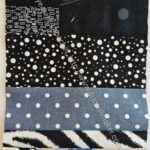
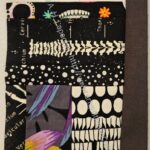
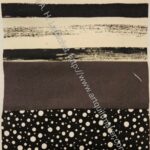
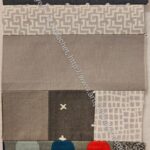
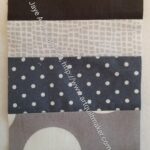
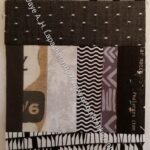
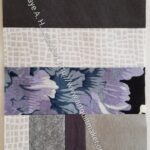
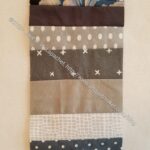
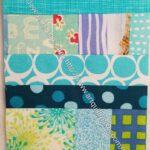
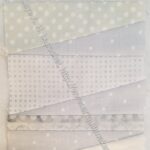
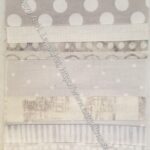
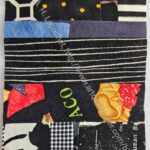
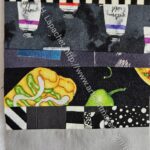
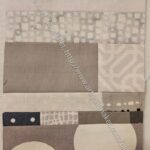
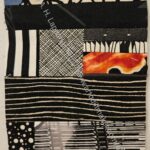
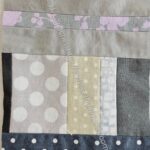
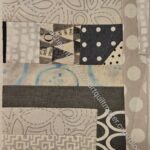
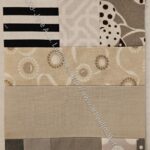
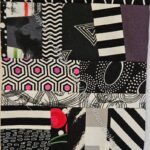
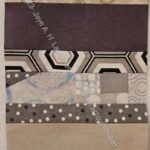
As you have seen when I have made other Color Strip donation tops, they have been followed by an improv version. I have been putting a few pieces together from the black/grey/brown (mostly black and grey) scrap bin, but it isn’t going well.
Leftovers from black/grey strip quilts
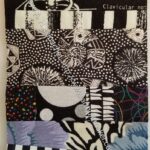
Well, I have made chunks of improvisationally pieced fabric, but mostly they are unsatisfactory. Also, I am not sure if I have enough small scraps to make three quilts. I also am not sure I want to combine the three colors into one quilt.
The grey piece looks really good and I don’t really want to ruin it. The others are meh.
I am tempted to bring them to the guild and see who wants to work on them.
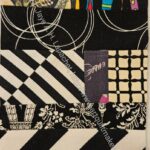
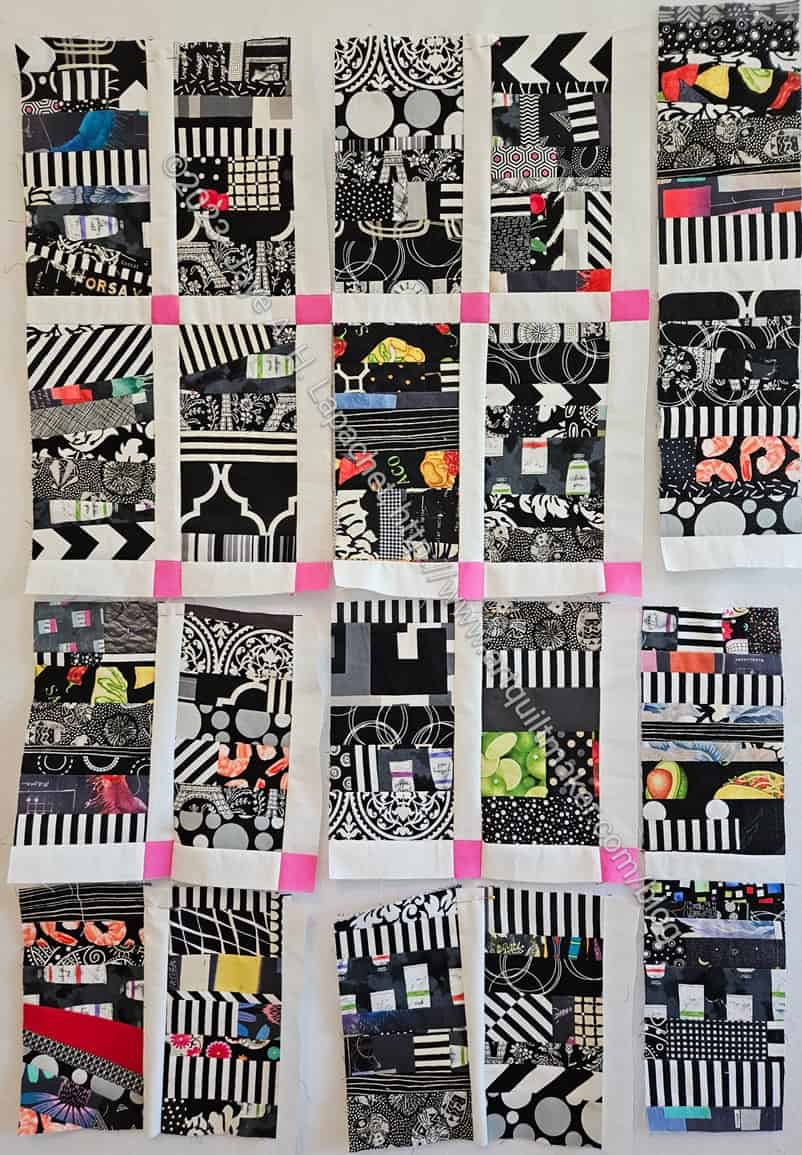
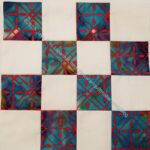
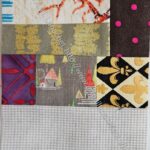
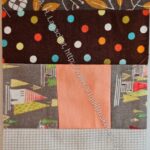
I am using this project for leaders and enders, so it isn’t progressing as quickly as it might otherwise. Still, progress is good.
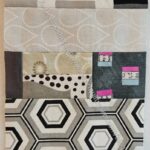
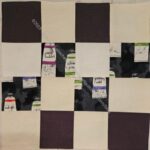
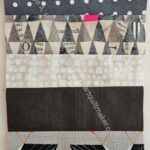
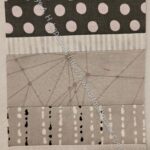
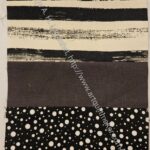
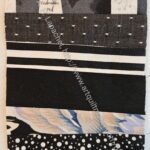
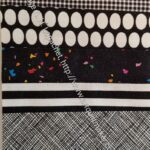
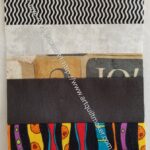
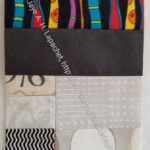
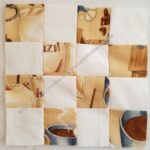
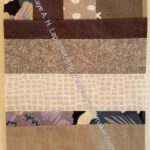
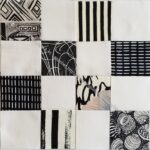
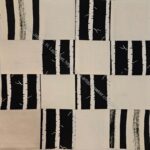
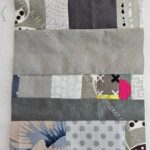
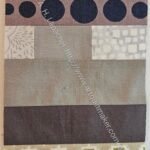
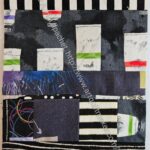
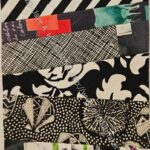
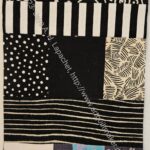
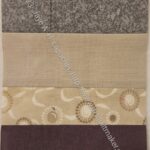
These are the additional blocks I made, some of which were rejected from Black Strip [#1].
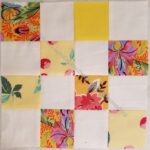
It has that weird shape again and I don’t have enough additional blocks to make it wider. Not having additional blocks is a good thing in terms of scraps as it means I am working through my scraps (making room for more!). On the other hand, it is a not ideal situation for actually using the quilt. I might have to go with wider sides and narrower top/bottom when I do the borders.
Today is the day where we give the officers their gifts.
Carrie, Sue and I spent last Saturday at The Granary, a local quilt store that has a great restaurant nearby.
We bought gift cards for the officers and spent time, in between eating, looking at quilt supplies and wrapping the gifts. It was another fun time with Carrie and Sue.
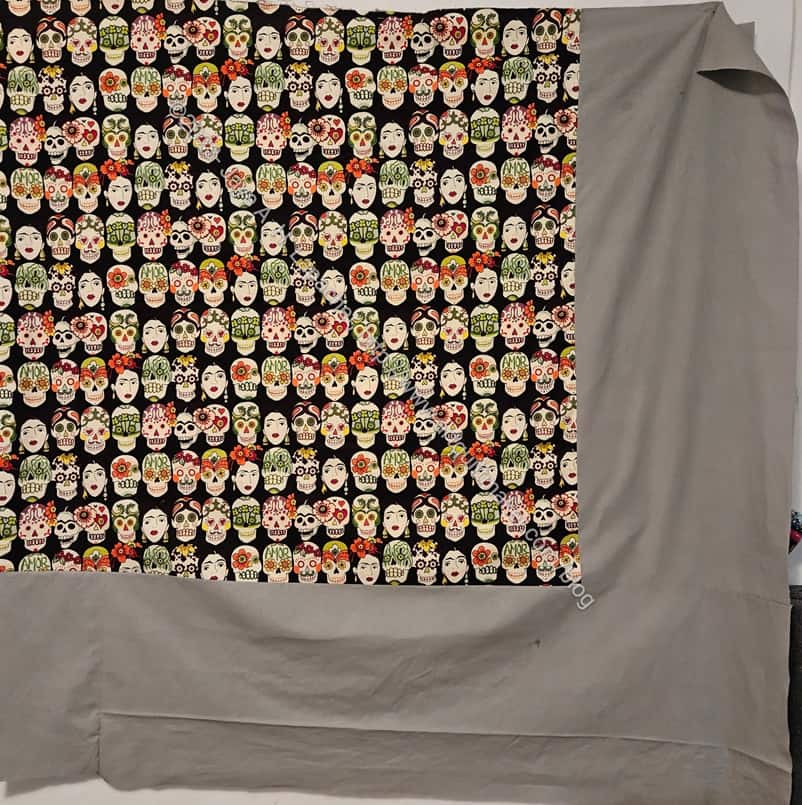
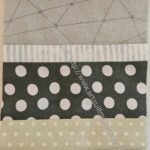
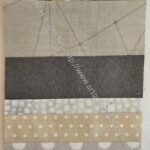
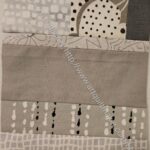
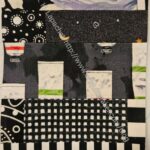
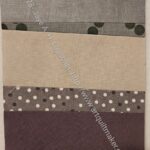
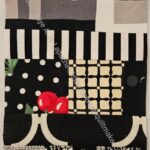
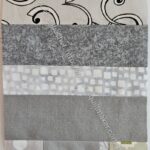
I was able to finish the grey strip top at Sew Day, then work on the back at home. I am pleased that this top is finished and am already working on the next black version.
With the back, it is another 3 yards used for a good cause.
Grey strip donation back
I have now made 14 of these quilts, with the help of my guild colleagues.
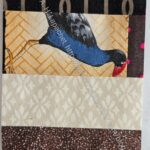
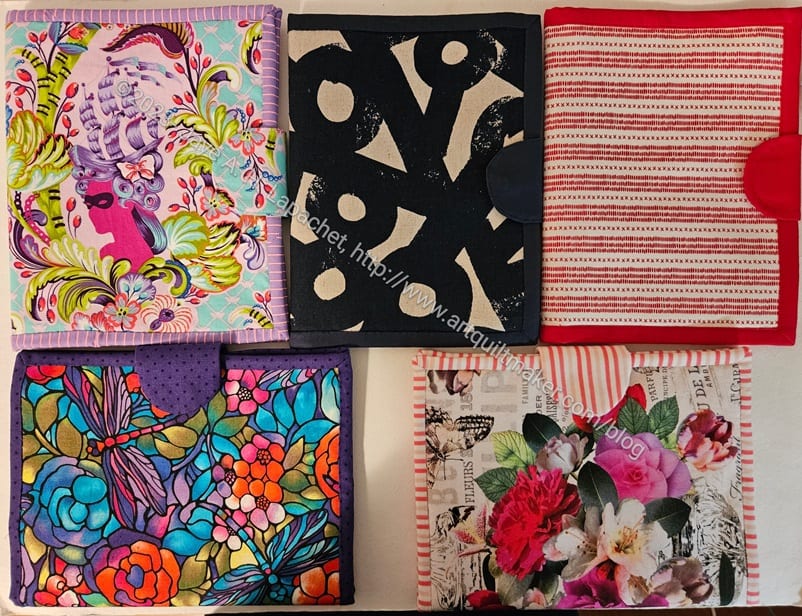
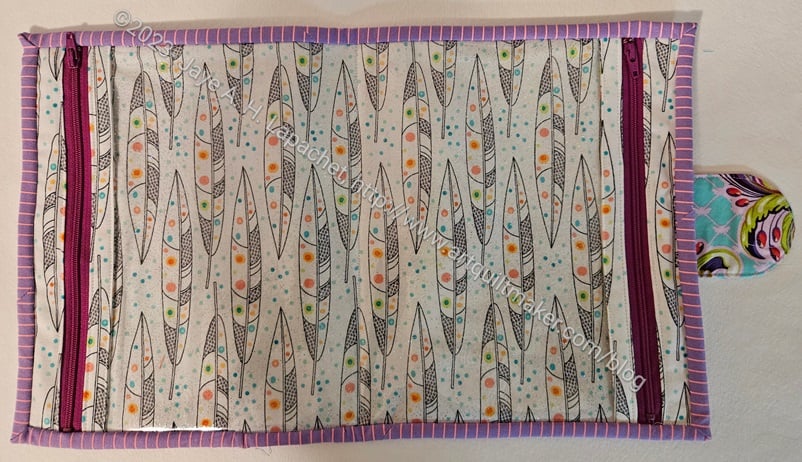
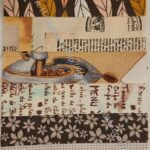
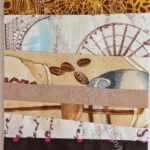
I finally finished the Tula 2-in-1-Case. The binding gave me fits. I am pleased, however, that it came out so well. Choosing a Tula Tiny Stripe for the binding made coordination easy.
The inside is an old feather print I had. I like it and it is light colored so the recipient will be able to see what’s inside. I suppose, however that is not as important with a bag that opens flat?
Tula 2-in-1 Case – openTula 2-in-1 Case -back
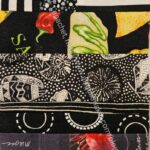
The back is fairly normal. It is just the back of a bag. There is an interesting bit of symmetry because of the way I cut the exterior panel so that the lady would be centered on the front.
I don’t yet know who the recipient will be. Stay tuned!
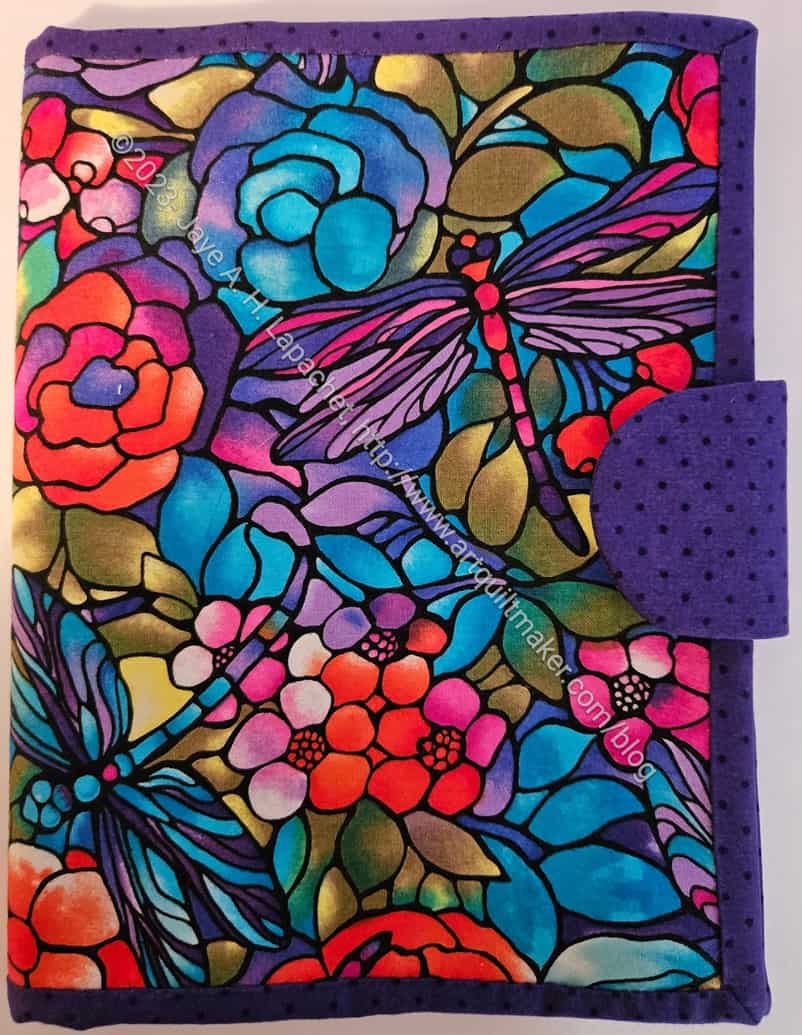
Angela is a relatively new member who volunteered to make one of the 2-in-1 cases for the officers. She did a really wonderful job!
The colors are really great. I think the binding picks up and enhances the purple in the dragonfly print really well.
I love the fussy cutting she did, though she claims it was a happy accident. The cover really looks like the dragonflies were placed intentionally.
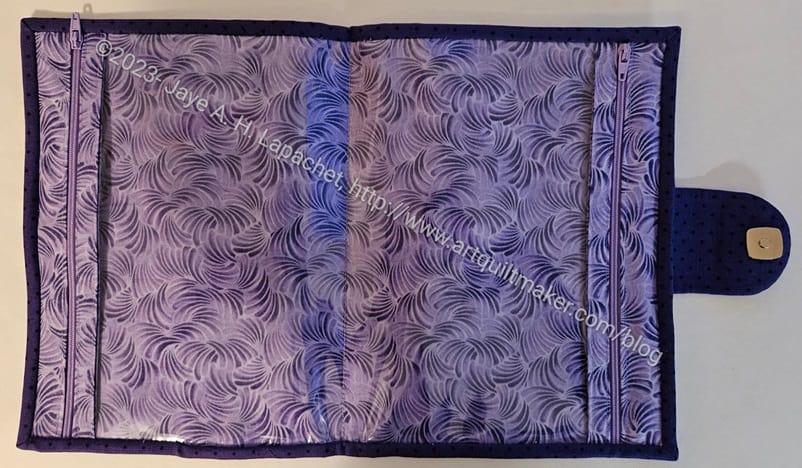
AngelaB’s 2-in-1 Case – interior
The inside mimics the outside, but uses a lighter print to still allow the owner to see what is inside.
She really matched the interior print and the zippers well.
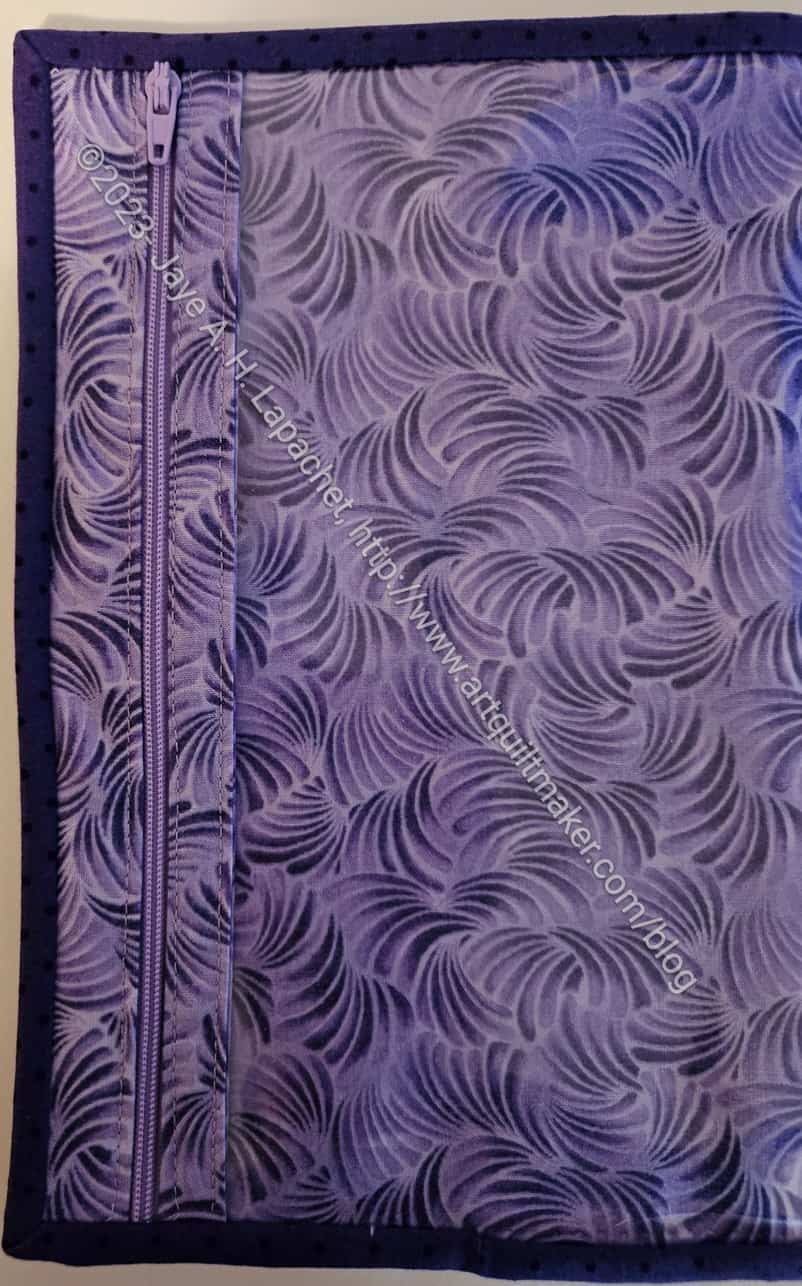
AngelaB’s 2-in-1 Case – interior detail
Angela’s zippers also went in beautifully.
I am completely impressed with this version of the case. You can see the other completed 2-in-1 Cases in a previous post and my, second, in process case in a post from earlier this week.
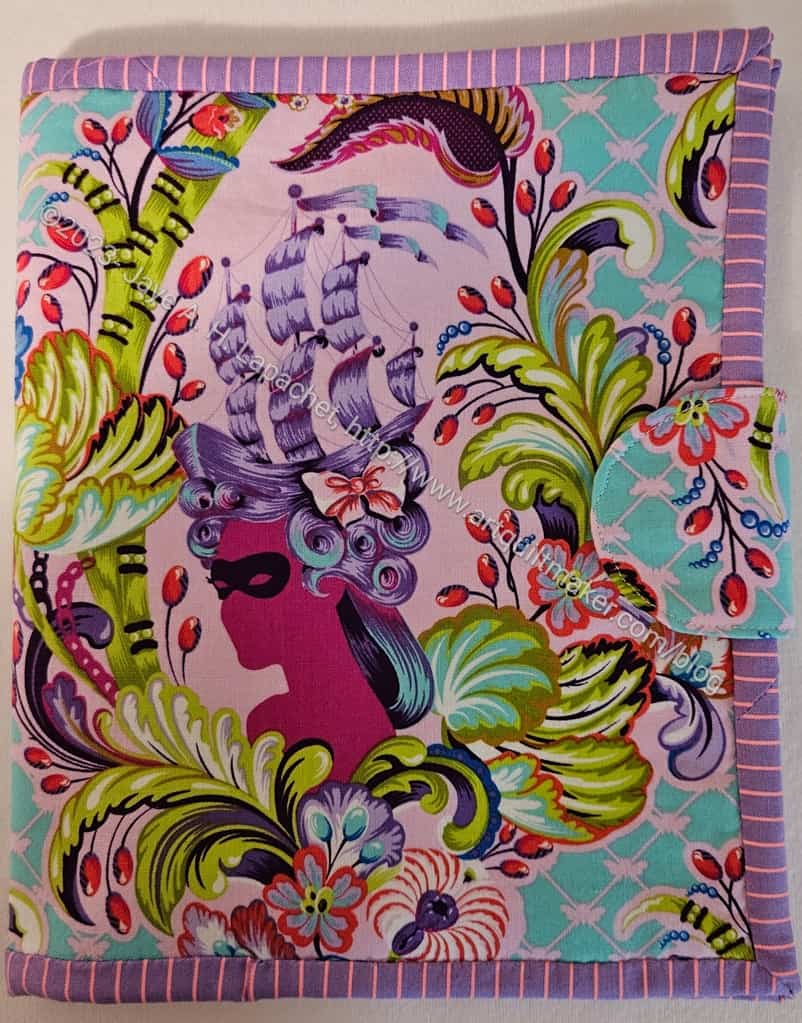
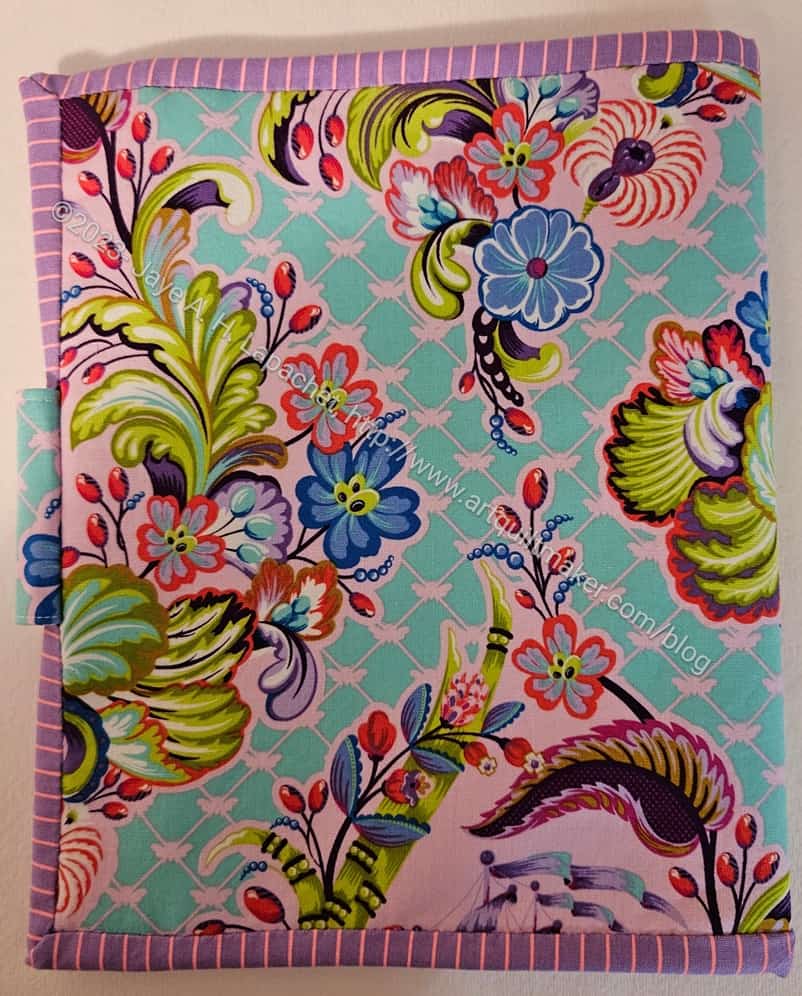
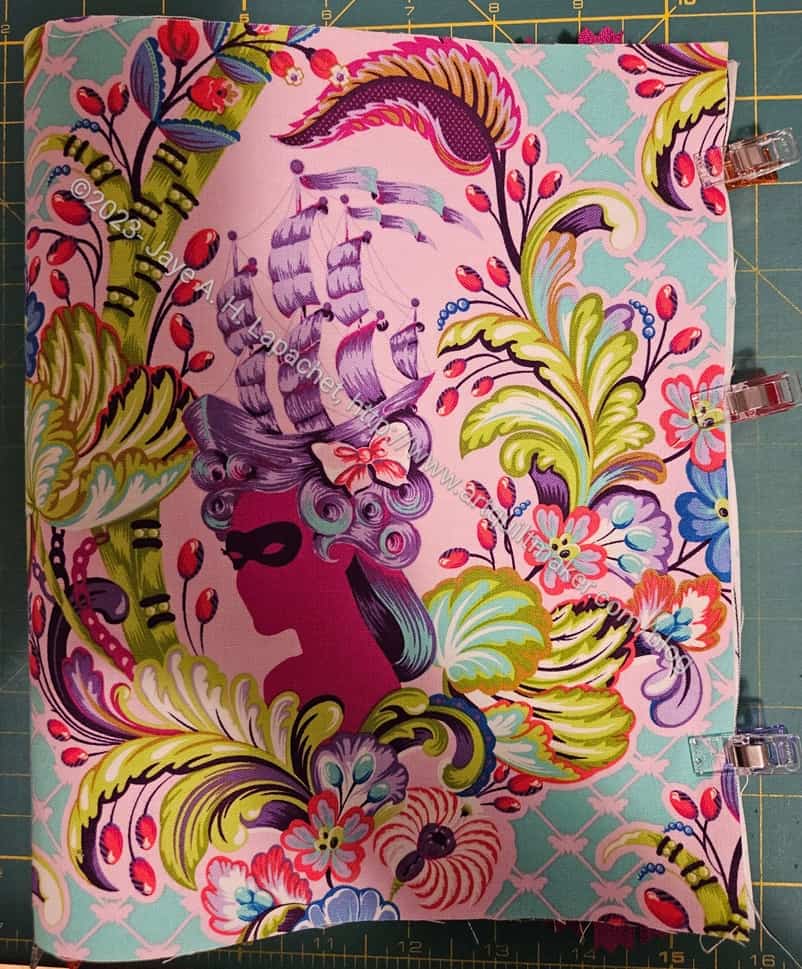
I realized I needed one more 2-in-1 Case for the officer gifts so I decided to make a Tula version.
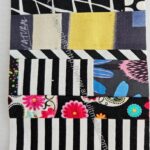
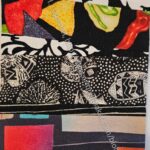
This is a really singular print and I wouldn’t normally choose it for a gift, but it kept calling to me for this project. I really hope one of the officers is a Tula fan!
I carefully fussy cut the image of the woman so that it would show up on the front.
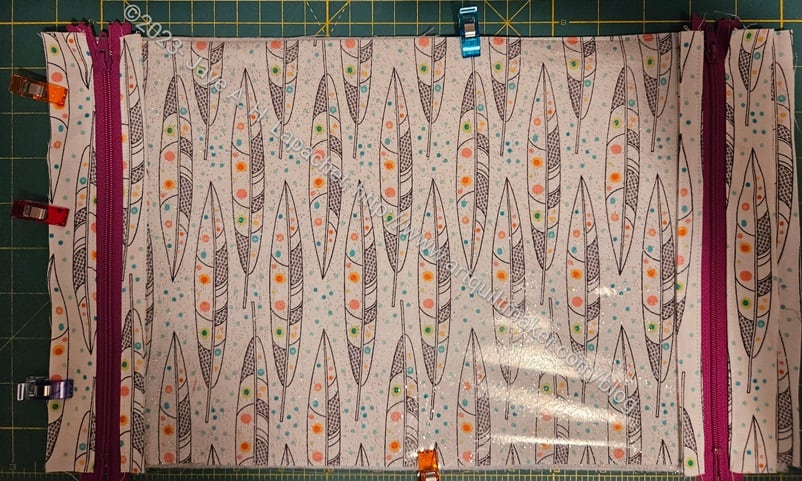
Tula 2-in-1 Case interior in process
I also made the inside first so that any seam allowance problems, as mentioned when I made the last case, could be dealt with by cutting the exterior a different size.
This version is really coming together quite quickly. I am surprised at how easy it is compared to how difficult the directions seem.
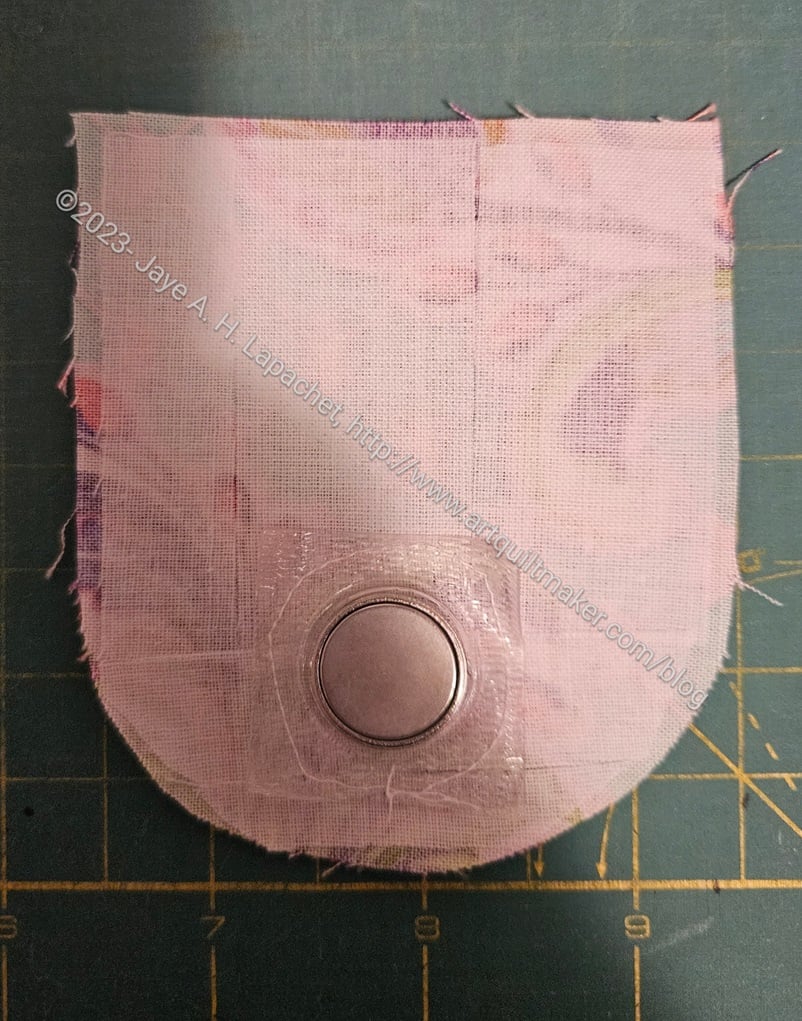
Tula 2-in-1 Case-sew in magnetic snap + tab
This time I am also using one of the sew-in magnetic snaps. I used the edge of the square-ish zipper foot to sew around the magnet part and it worked pretty well. I can sort of see the stitching on the outside, which I am not thrilled about, but am leaving and hoping for the best.
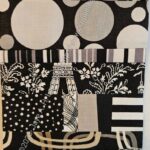
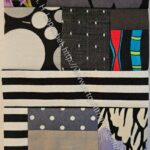
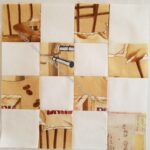
This is quite a few donation blocks (188 at last count)! I am pretty pleased with how many blocks I made this year. I know you saw many of these yesterday. Scroll down to revisit the ones I made earlier this year.
I realize that most of these are black or light grey. This is a result of working through my black, grey and brown scrap bin.
Unfortunately, I was being odd when I first started naming these blocks and so they are all called Dark Grey…. I will probably end up making, at least, two quilts out of the blocks you see. I think I will make a light grey and a black quilt, but it depends on how much light grey I have. The drawer was full when I started and I still have quite a few scraps, though most of the straight strips have been used.
I was able to make so many because I used a strip piecing method and just zoomed them through the machine. I also didn’t have to worry about matching any seams since I trimmed them to the right size once I had a large enough piece.