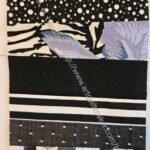
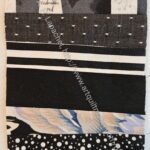
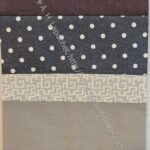
Black Color Strip donation block with cornerstones
I spent some time yesterday, before I started cooking and wrapping, cutting sashing strips and cornerstones. I thought about putting colors in the cornerstones, but ultimately decided that I would stick with black. My goal, after all, is to clear out that scrap bin.
I wanted to get all the pieces cut so I would be able to sew if I had a few minutes in between the crazy. I tried all day yesterday to press a gift and that hasn’t gotten done, so I doubt I’ll find the time. Still, I am making progress.
Even though I finished enough blocks to make the Black Color Strip donation top, I continued to make blocks. After all, I had more strips. I don’t have quite enough for two donation tops, but I am getting there.
I am nearing the end of my stash of black strips, but I still have a few blocks coming together. As I finish these new blocks, I have replaced a few of the original blocks you saw in the previous post. I thought I would show you a comparison and see what you thought.
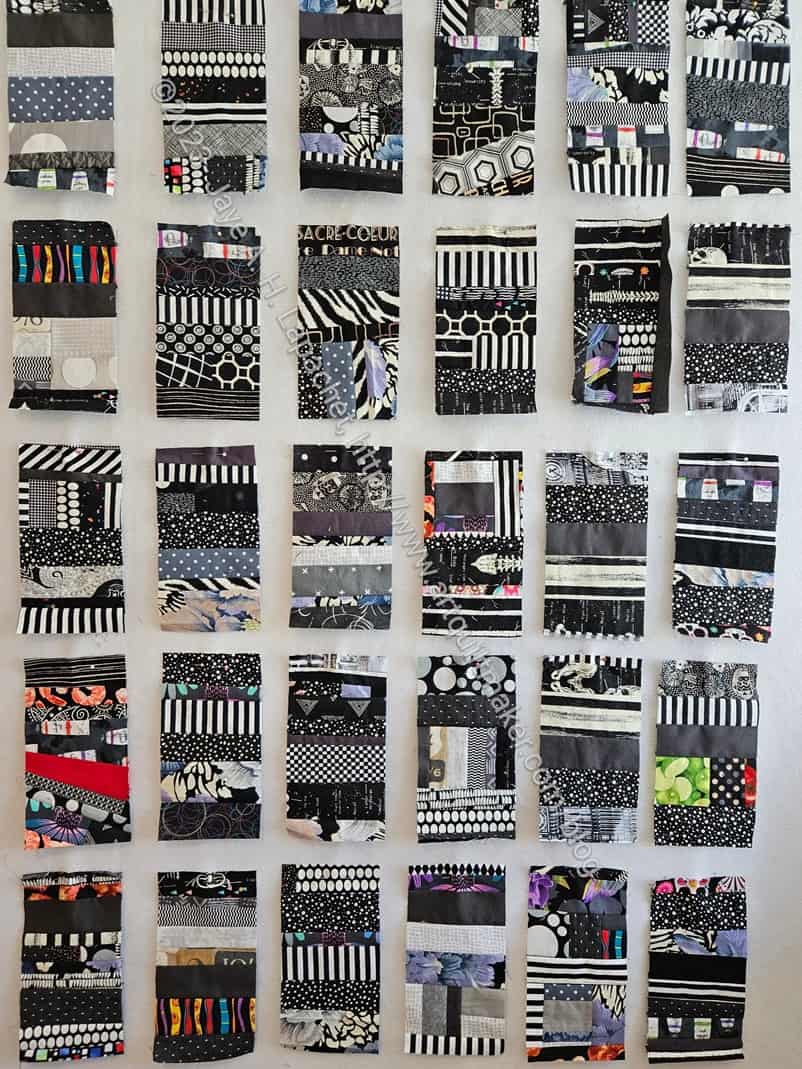
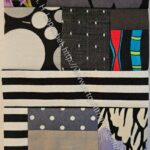
All of the Black Strip donation blocks- 17 Dec 2023
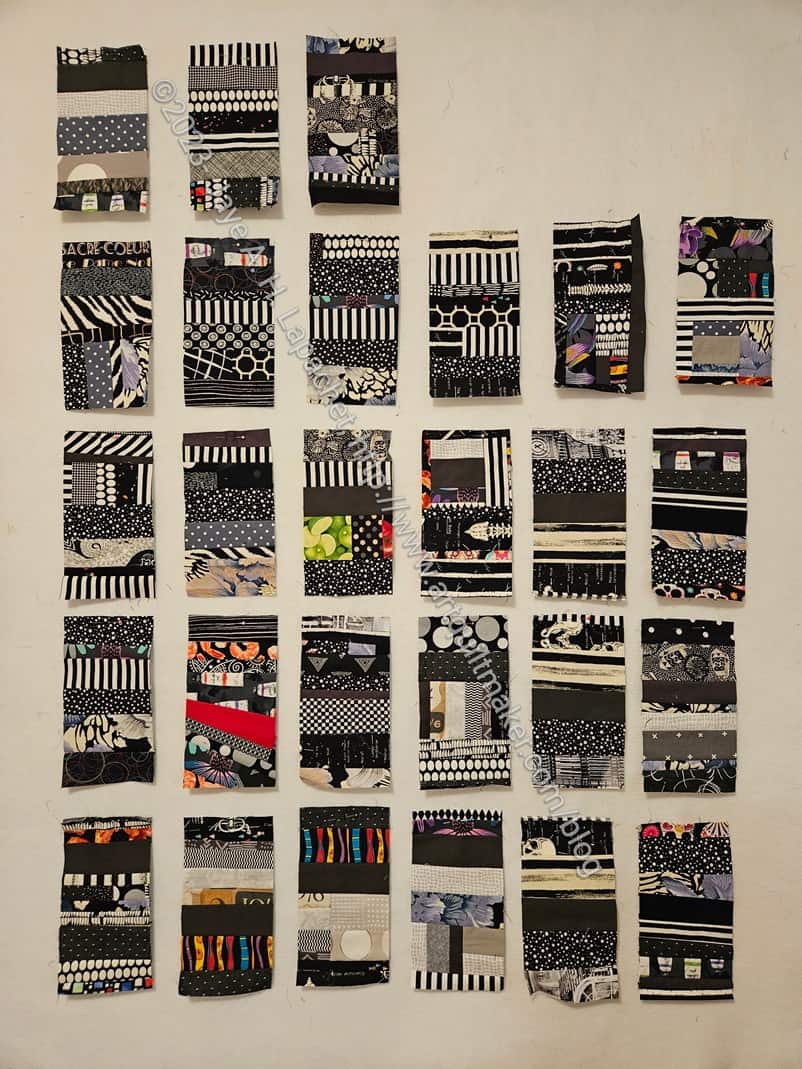
Black Color Strip donation blocks -23 Dec 2023
I have added the dates so you can see the difference. Let me know your thoughts in the comments.
I have been busy making these blocks. I should have been doing other things, but I wasn’t. I just sewed after work, then sat with my DH.
As you can see, I have enough to make a quilt. I am going to start sewing the sashing on soon.
I am thinking of using pink cornerstones and a thin pink border. I like the black and pink color combination. The problem is that this would be a great boy quilt and pink would ruin that. Red might be a good alternative. I’ll have to see.
I still have more strips and am still working on making the grey blocks. My black/grey/brown scrap draw isn’t empty, but it is much emptier. That is a huge bonus as I can actually close it now.
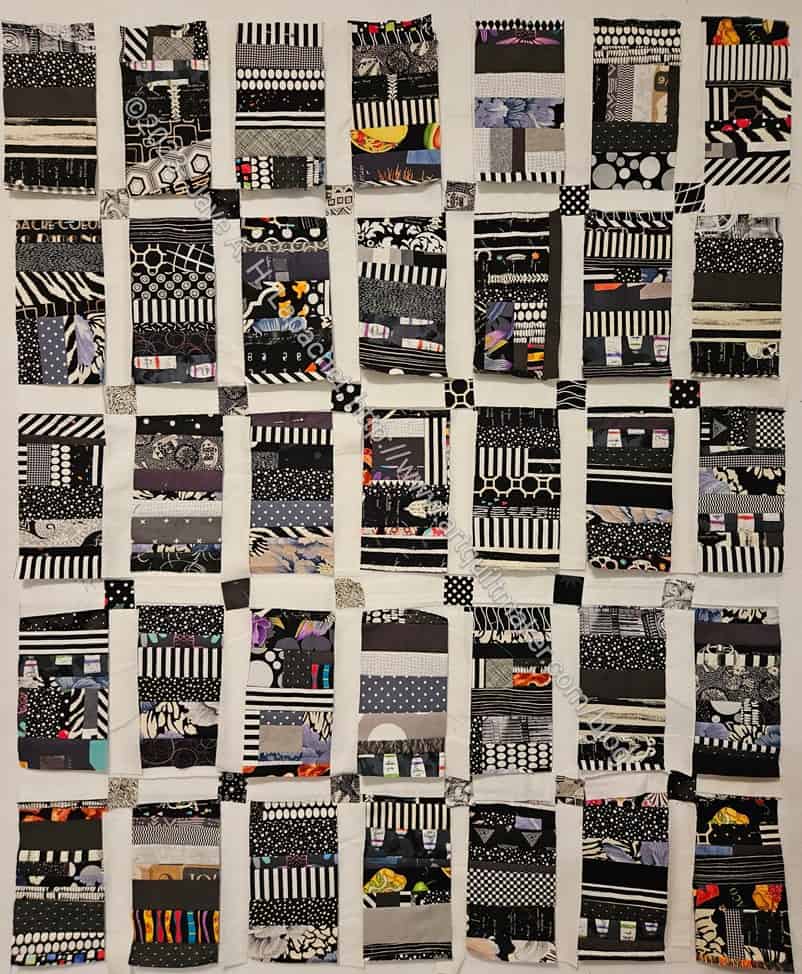
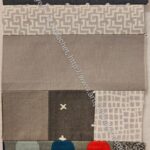
I rearranged the blocks I have made and put them up on the design wall. I like this arrangement much better, but am wondering if I should add another row on top and another column on the side?
I have more scraps, so I think I will just keep making blocks for awhile and see. I can always make a second quilt where this size block has more chunks than strips. Or I can add more blocks to this quilt. We’ll see.
I finished enough blocks since I last posted on Saturday to look at this top as a rectangle.
One thing I noticed when I was looking at the last donation top I made was that the blue top was a weird shape and I had to adjust it with a border. In this case, the number and arrangement of blocks I have made are the same as that blue strip top. I don’t want to end up with a weirdly shaped quilt, so I need to figure out if I have enough strips to make 5 more blocks of if I should put the top row on the side and save one block for another rainbow version?
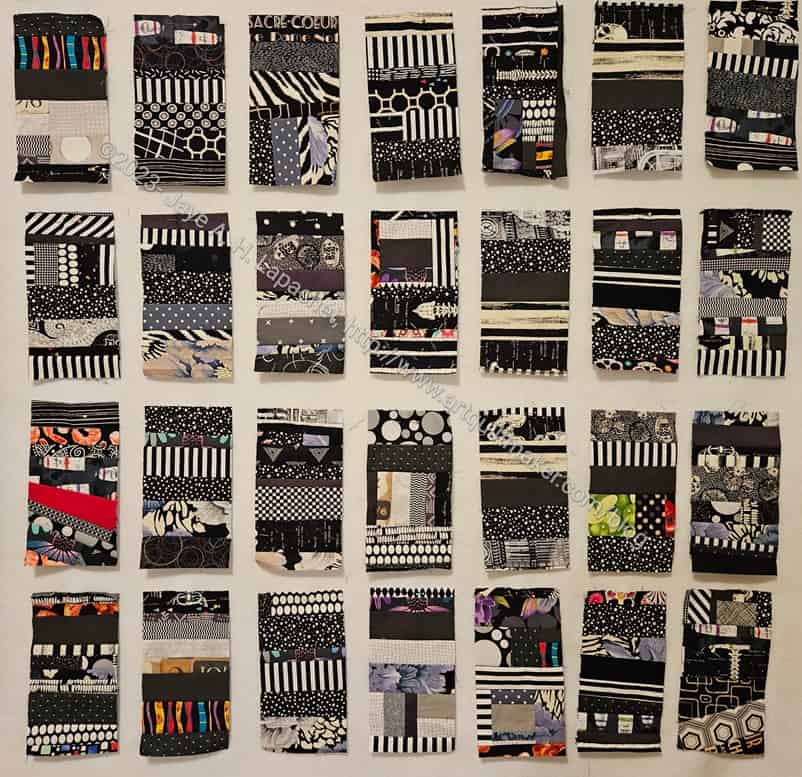
First, I already know that black is not a color. Black “results from the absence or complete absorption of visible light. It is an achromatic color, without hue, like white and grey. It is often used symbolically or figuratively to represent darkness.” (Wikipedia) I chose a Wikipedia link, because I am lazy.
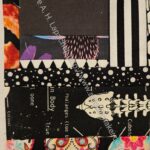
27 donation blocks
Next, I have made 27 of these blocks and my scrap drawer is still pretty full. Granted, the scrap drawer in which I keep the black also has brown (very little) and brown related fabrics, like taupe, as well as grey. I’ll have to make an improv version in black to use up more of my scraps.
Third, I was on the fence about making a black donation top. I thought it would be depressing. I am not finding this collection of blocks depressing. It isn’t primary color cheerful, but I think there is plenty of white, which is good. Someone will like it, right?
I thought 27 blocks would be the right amount, but I need at least 30 to make a rectangular quilt. I may add another column, as well. I still have strips sets in progress, so I know I can make at least 3 more blocks, then we’ll see. If I only have chunks and odd shaped scraps left, I’ll have to leave it at 6×5 and start the black improv version.
I am already starting to accumulate a small group of gifts. They aren’t really Christmas gifts, but are sort of, too.
Over the weekend, we held the BAM Holiday Party. As is usual for the December Sew Day, we combined the meeting and the Sew Day together. Whoever thought up this concept was smart. We only have one meeting in December, because it is very probable that people will be busy on the third Saturday and won’t come to the meeting.
That means that we do all of our end of year stuff on Sew Day. That includes a swap. SIL#2 organized a pincushion swap, which was surprisingly popular. I have enough pincushions, but decided that I would support SIL#2 and make one. I made the one I usually make, the Clippy Pincushion, as shown yesterday.
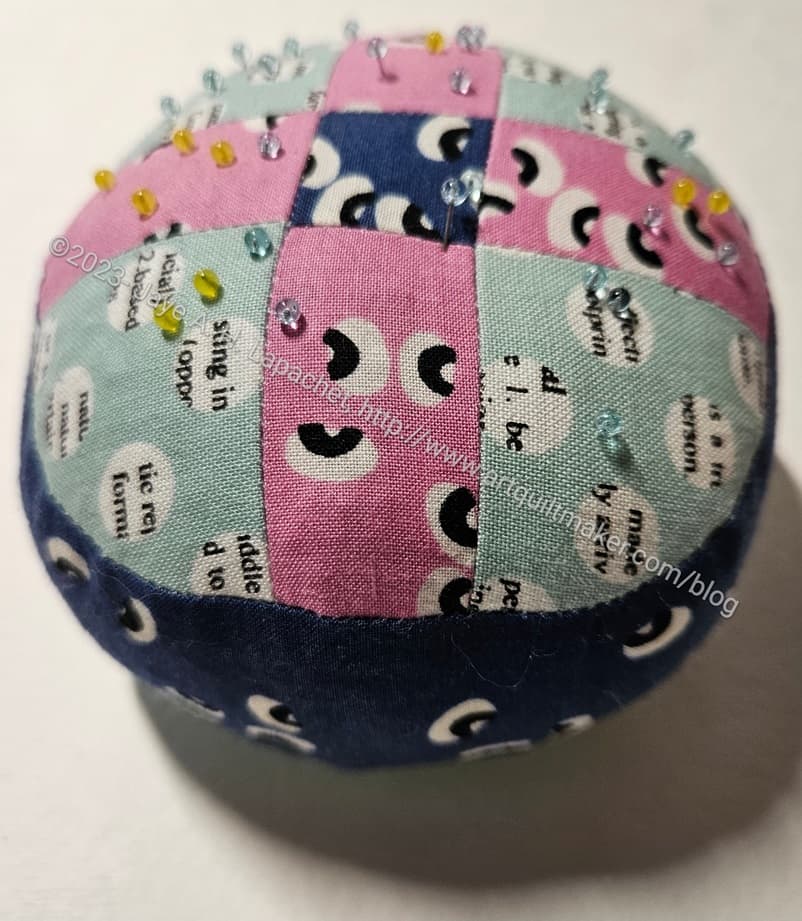
Wagon Wheel pincushion by Julie
The one I selected was from Friend Julie. She didn’t wrap hers and I saw it and thought it was cool and useful. I also saw the pattern for this pincushion somewhere and thought about making one. Now I don’t have to!
I decided to participate in the BAM swap, which was a pincushion swap. I was a little overwhelmed with life, so I just sewed my old standby pincushion, the Clippy Pincushion. The pattern is from Love of Patchwork and Quilting, issue 39. The pattern is also available digitally in the Apple and Google Play stores. I used this pattern to make the Clippy Pockets in the UCAB, which I find to be very useful. It isn’t rocket science, so I am sure you can make something similar without the pattern.
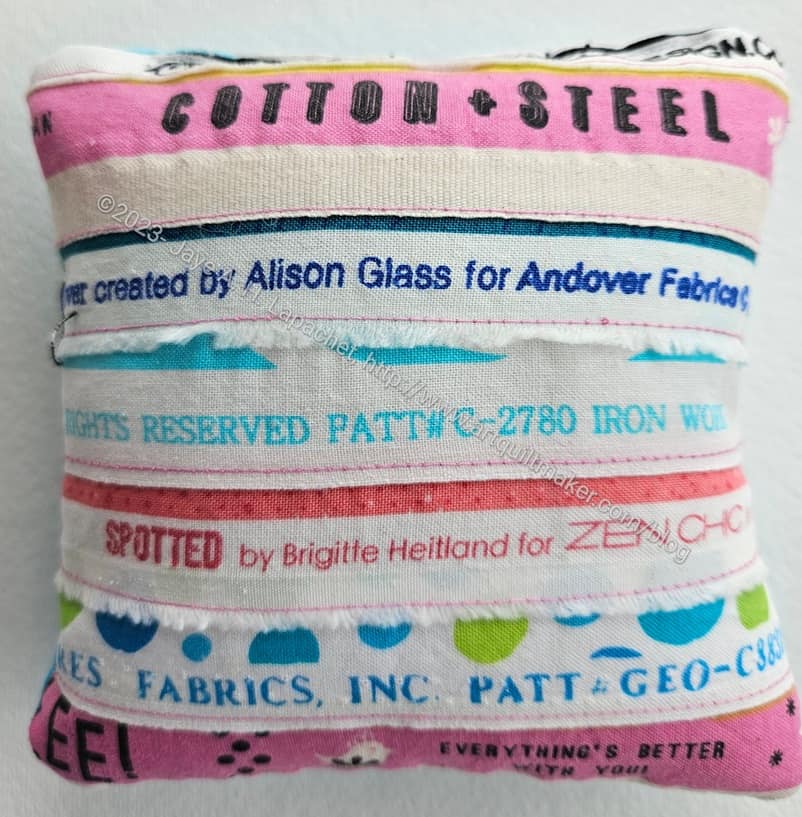
BAM Swap pincushion 2023
I did supersize this one a little bit. I wanted to make it slightly larger to accommodate the cool selvedges from which I made the back.
At first I machine sewed the stuffing hole closed, but then I unstitched and hand sewed it closed. I think it looks better hand stitched.
I am sure you can imagine that I was super careful when sewing this project back together. After all the ripping I had to do, I hope I learned my lesson.
It didn’t take me very long to sew the top together, but it would have taken me less time if I had paid better attention the first time.
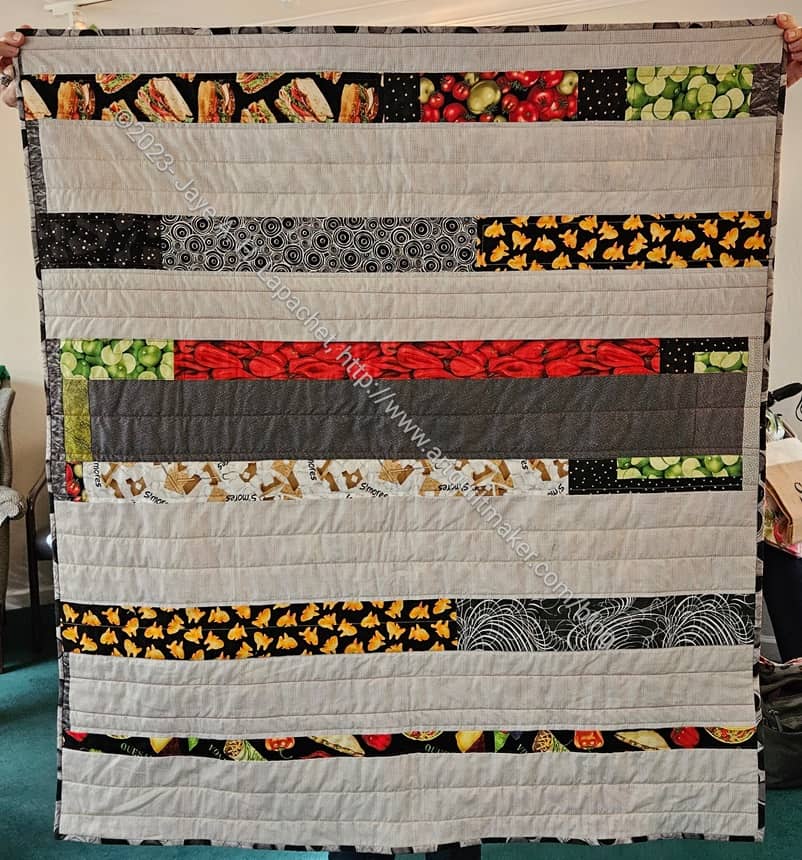
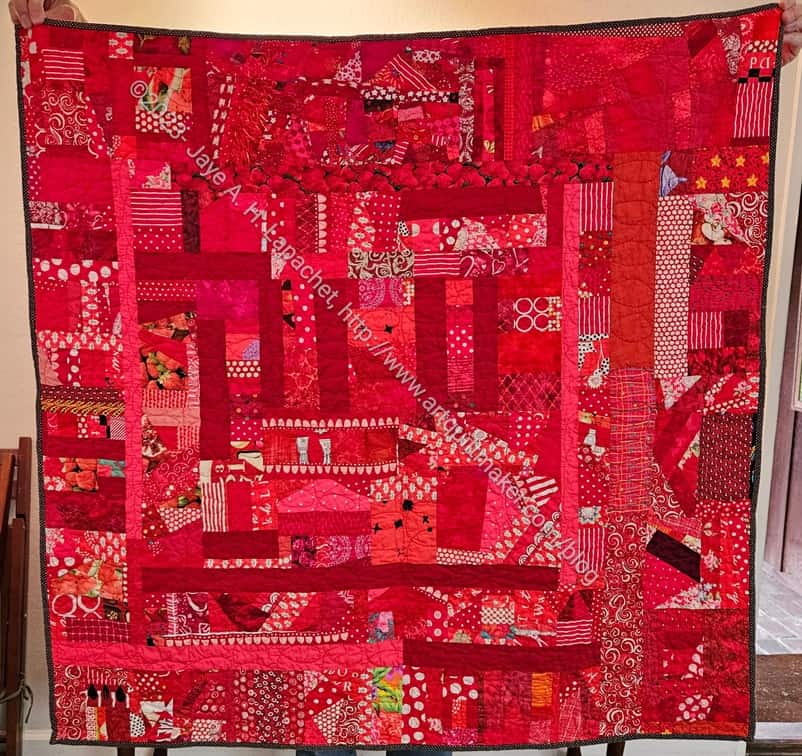
This quilt was returned to the guild’s community quilts project at last month’s meeting by Lee Ann. She named it ‘Leftovers’ after I told her the story of the three food quilts and how I make the Ends quilts.
I am really pleased that a number of my quilt tops have been finished recently.
I am getting to the part of the year where I cannot show all of my progress on various projects. It simply means I need more time to sew! Here are some donation blocks for this month. I might make another QST 16 Patch quilt with some of these. On the other hand, I have an overflowing black scrap drawer that needs some attention, so I am back to making more color strip blocks in blacks and greys.
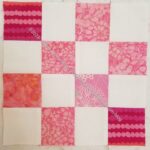
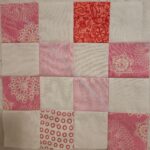
Pink Corners donation block
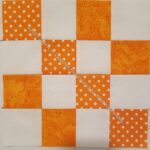
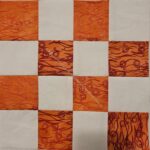
Orange dot diagonal donation block
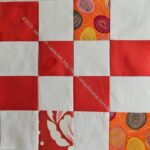
Dark orange donation block
Light Pink donation block
Dark grey strip donation block #12
Orange and red-orange donation block
Dark grey strip donation block #13
Dark grey strip donation block #14
Dark grey strip donation block #15
Dark grey strip donation block #16
Dark grey strip donation block #17
I am trying to organize the patches in the gallery above so they don’t look as random and weird.
Along with the Orange Improv version from the other day, seeing this quilt finished reminds me of how great this process is. It makes me want to make more
The other color versions that I have made over time are really awesome as well and add to the idea of making more.
Right now my black, grey and brown drawer is overflowing. I have made a few black strip blocks, the first step in my process, but not enough to clear out my drawer. I talked about it with guild members the other day about cheerful quilts. Black is not always a cheerful quilt color like pink or orange. Someone suggested doing a two color version. I don’t think I am ready to branch out from the monochromatic parameters of the project so far.
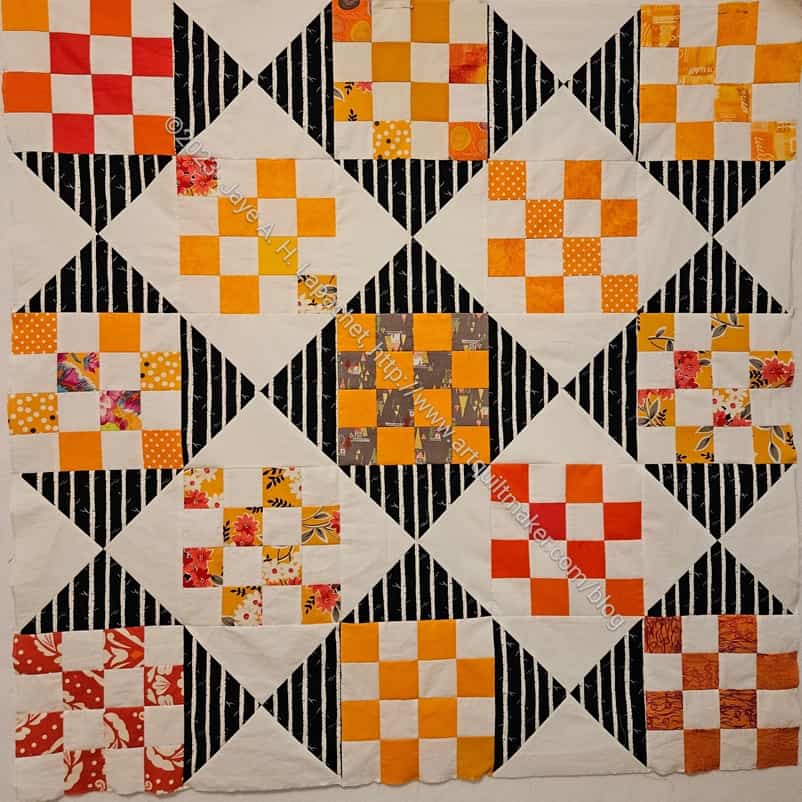
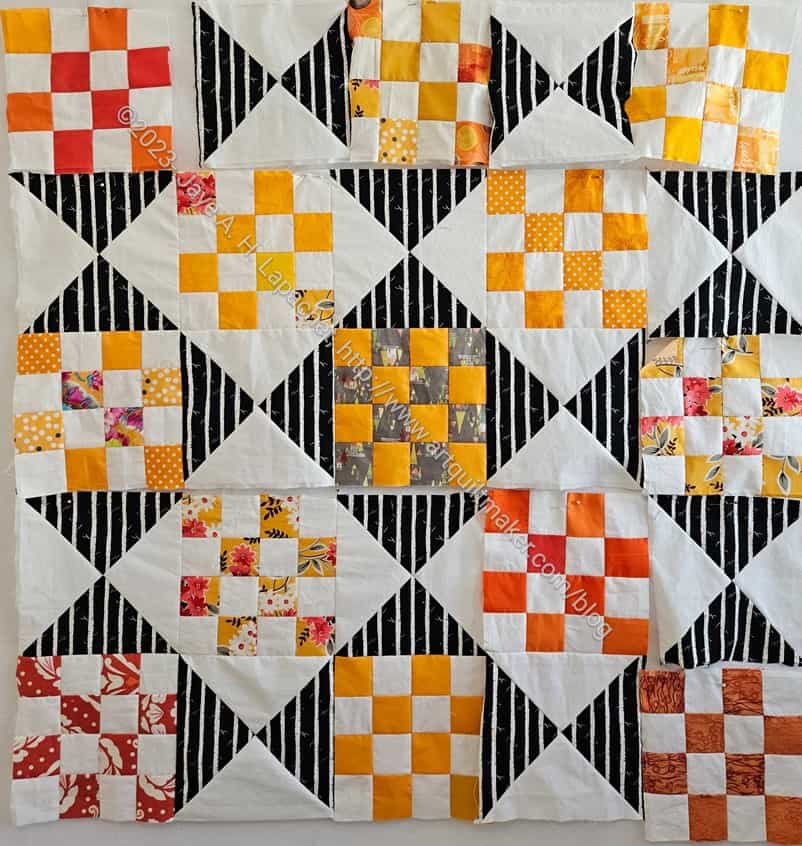
I did a lot of ripping last week and the result is that I can resew the QST 16 patch #2.
I had to rip more than I originally thought. Here is the layout I will use. The stripes are all going in the correct direction and the secondary pattern is in order.
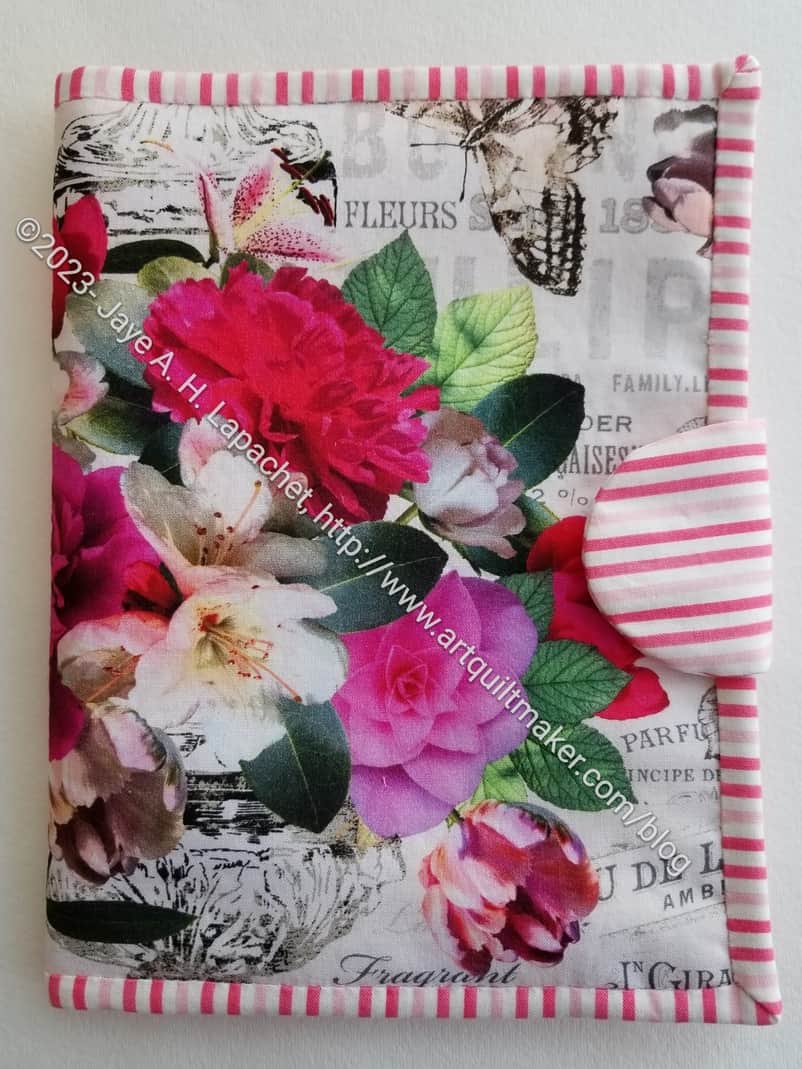
I am pleased with how it looks. I like the fussy cutting of the flower fabric (I bought that flower fabric at the Quilt Loft). It is sweet looking, though not modern at all.
I am a sucker for striped binding. I think it works. I think black and white would have been classic, but too much of a contrast with the flowers.
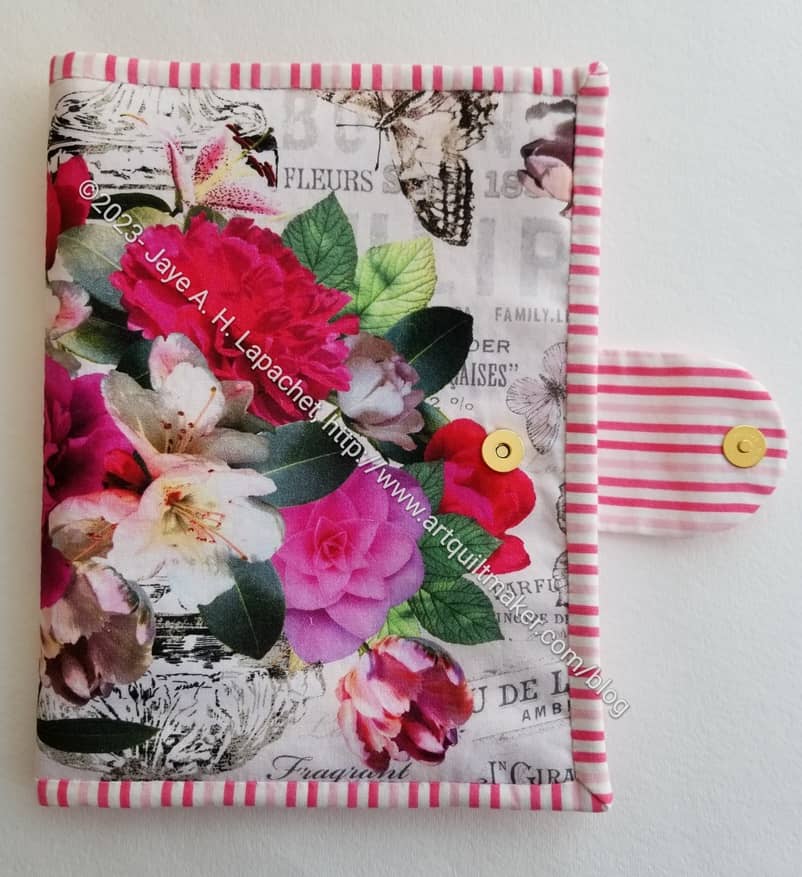
2-in-1 Case #4 exterior – open
The magnetic snap is gold. I am not sure why I had a gold one. I don’t usually buy gold, but the brand was one carried by Joann, so maybe I bought it there on ‘spec?
I was able to line up the stripes pretty well on the snap tab. Honestly, it was a happy accident. 😉
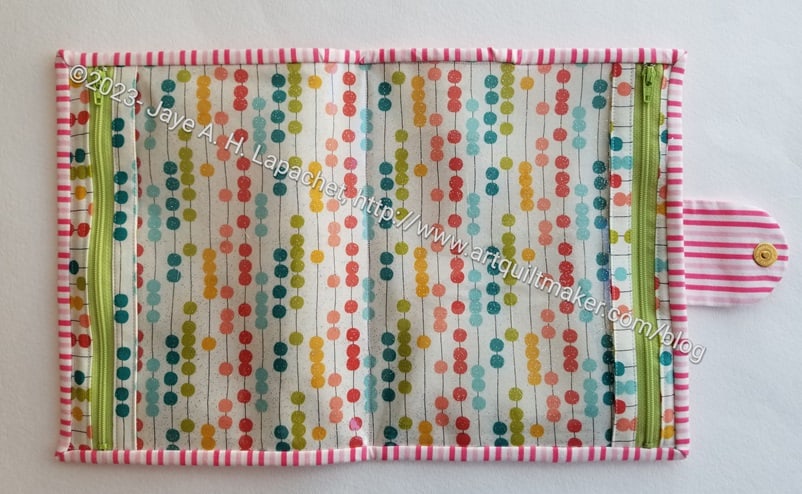
2-in-1 Case #4 interior
The inside looks pretty good as well, though the contrast between the outside (sweet and flowery) and the inside (modern) is very obvious. At least the user can’t see the flowers when the case is open.
I am looking forward to seeing the last two. The photo below shows the ones I have so far.
2-in-1 Cases – closed
Joelle made the red version. Cyndi contributed the blue example in the center and mine is on the right. They look so different!