I received a weird email message early last week and, since I was busy, I ignored it. I didn’t open it, thinking that it was spam I could investigate or delete later.
A little while later, I received an email from the BAMQG Retreat Coordinator saying that I should have received my first ‘clue’. Hhmm. I went back to the ‘spam’ message and it still made no sense, but I figured it was the Mystery quilt project, so I downloaded the instructions.
BAMQG is doing a mystery quilt on the retreat. I decided to play along.
BAMQG Mystery Color Story
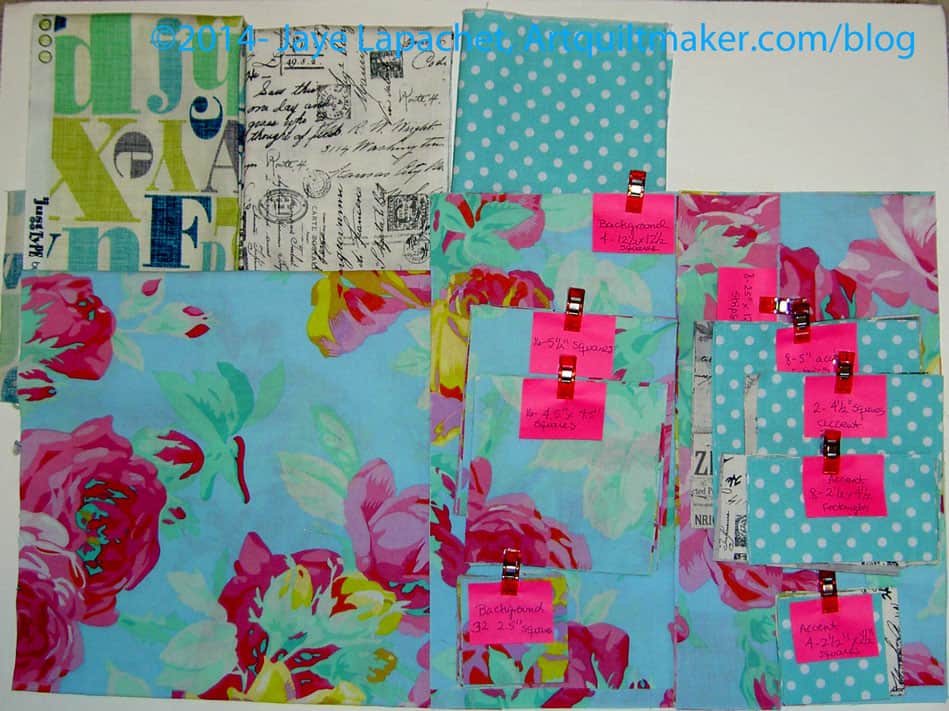
I recently read an article about color that included a suggestion about using a large scale print as a background. One reason I decided to do the mystery quilt was because I couldn’t get this idea out of my head. If I was going to do a project that I wasn’t sure about, I didn’t just want to do the same old thing. I picked a wild selection of fabrics. I am not sure they go together and will tend towards ‘pushed neutrals’ or a ‘low volume’ color story.
First, I went rummaging through my Phillip Jacobs and Martha Negley prints. I have been using those mostly for backs so the opportunity to use one on the front made me giddy. I picked English Rose.
I had the dot on my cutting table. It is very close to the green in the English Rose, but it will be fine (famous last words, right?). The text prints are really different. I don’t think I have used many before and they have been on my mind. In they went.
I may add the charcoal circle stitch fabric by Michael Miller as well. We’ll see.
Still, the quilt will be interesting and will be a nice donation quilt, if worse comes to worse.
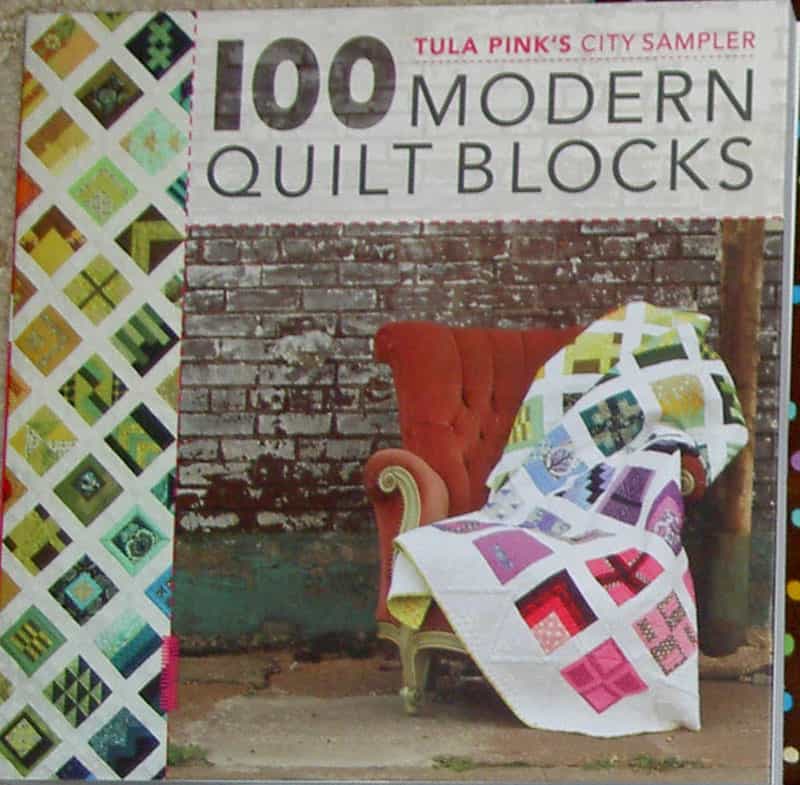
City Sampler by Tula Pink is block book that was written/designed in 2013. The project has been all over Twitter, Instagram, Flickr and other social media outlets as quiltmakers make the blocks, the quilts and share them. BAMQG has just started a project using this book in one of the small groups. So far, I have only seen a few blocks and some members seemed to imply Instagram would be better for sharing than Flickr. I am not a huge user of Instagram and don’t find the way the app crops photos to be appealing, but whatever. My view is probably the old fart quiltmaker view.
Julie got the book for me, as I mentioned, and we agreed to do the project as a way of doing something together while she is in China. One of us thought of the name Tale of Two Cities and I decided to be inspired by the colors of winter here. I haven’t selected all of the fabrics, but there are a lot of blues and greens and they are very clear.
I have been feeling bad that I haven’t done the blocks until now. I finally got busy and I knew that once I started, I wouldn’t be able to stop.
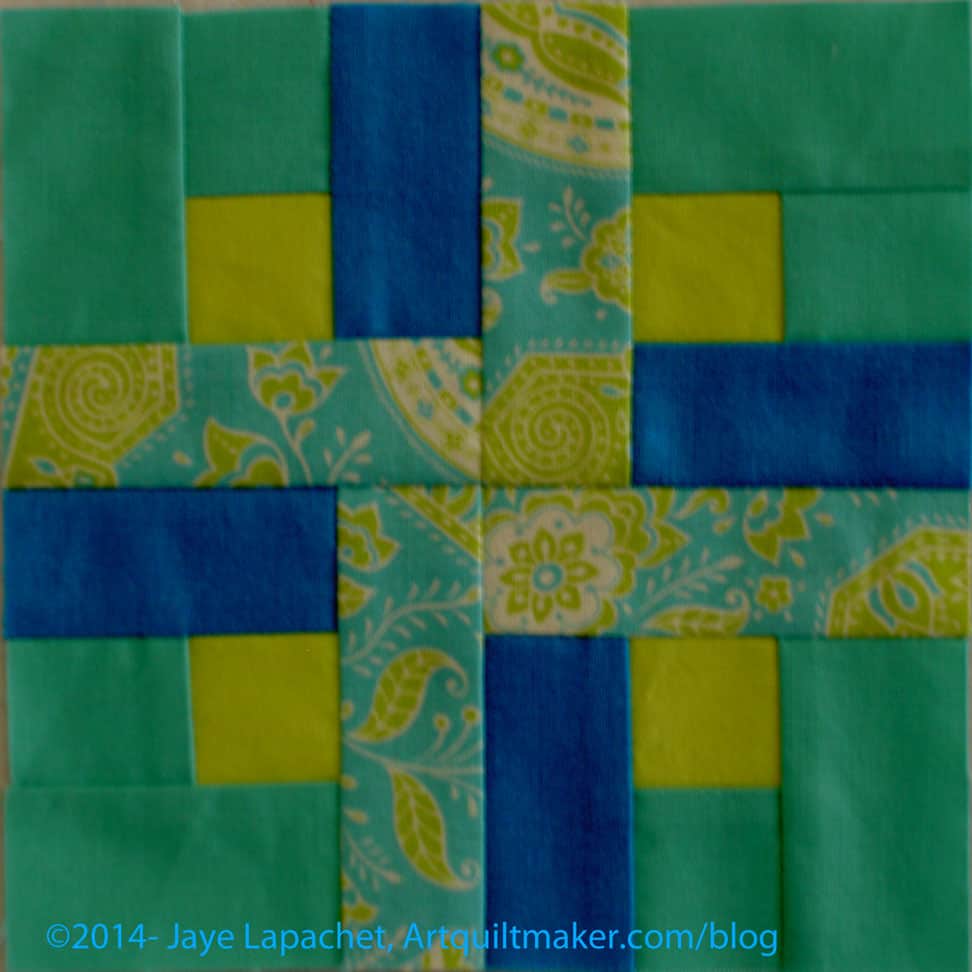
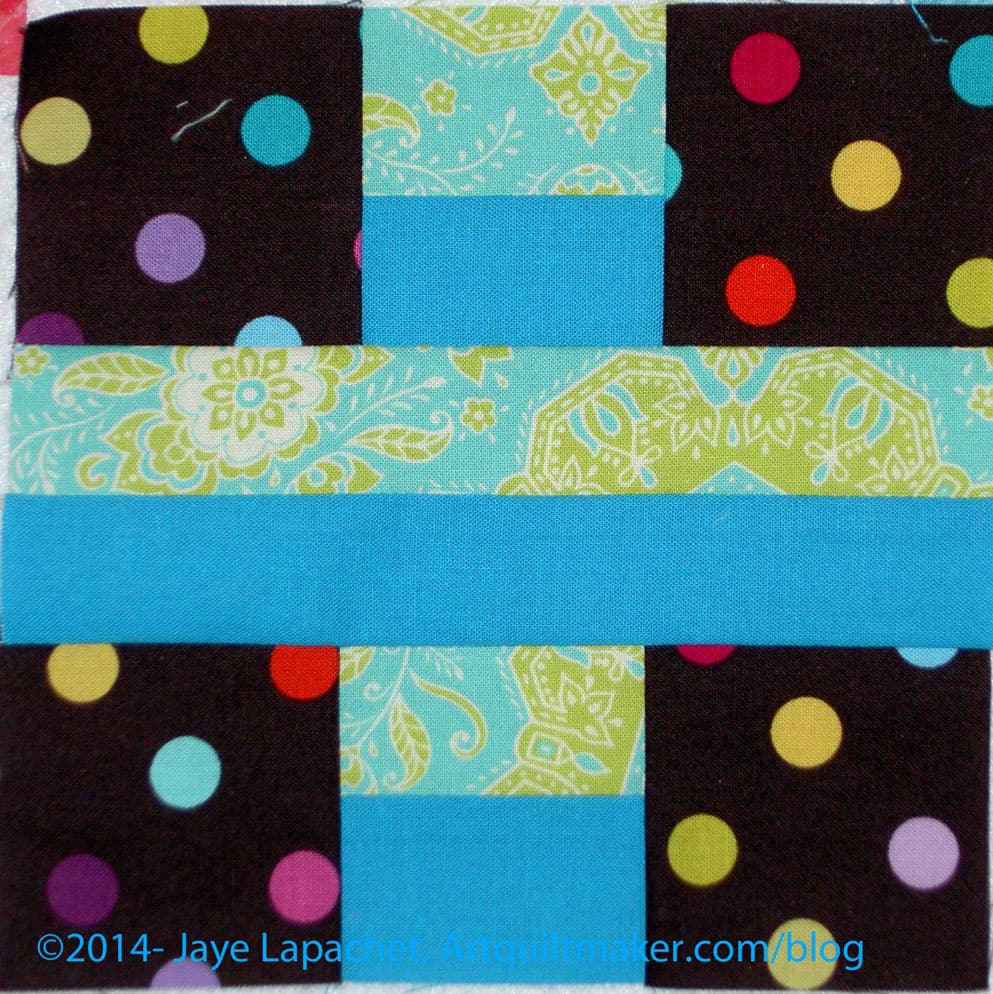
City Sampler block No.1
The first group of blocks shown in the book are crosses. These are, or feel like, log cabin blocks. I admire log cabin quilts and the variety of layouts possible with the log cabin block style. That being said, I don’t like making log cabin blocks. The strips make me crazy. I don’t know why. Strips are fine, but somehow sewing these types of blocks makes me crazy.
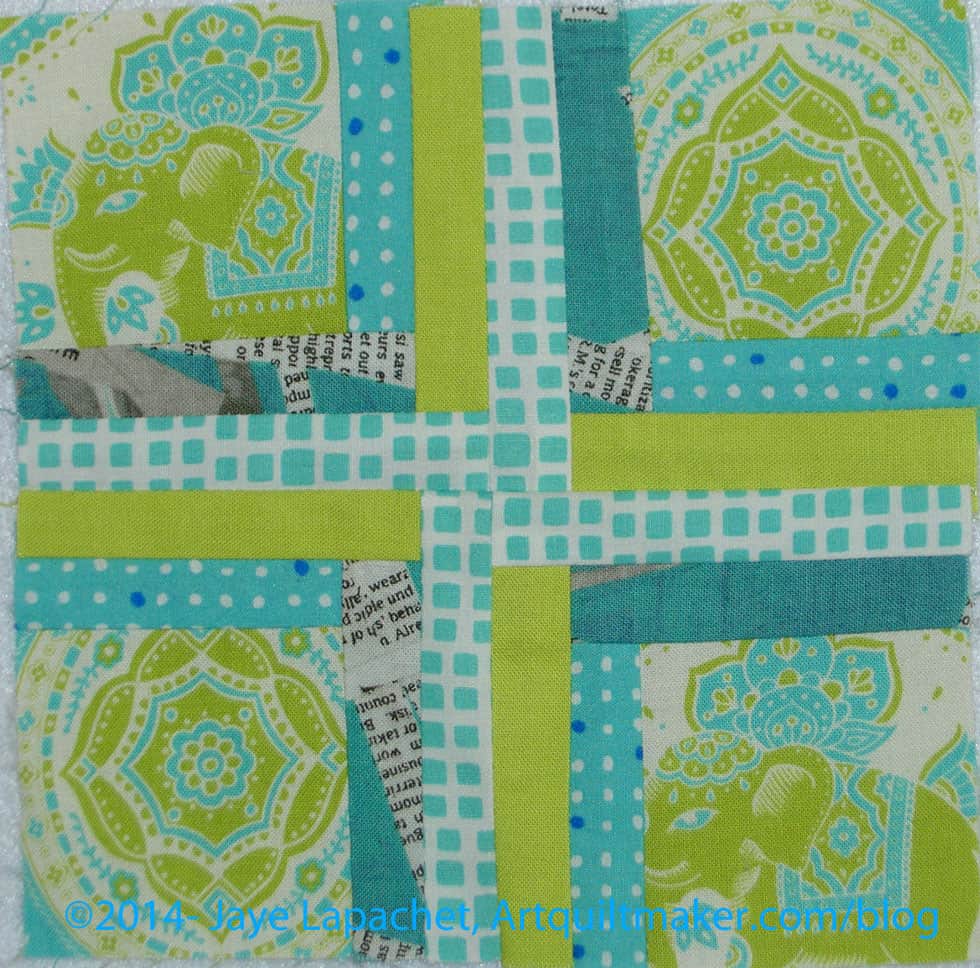
City Sampler block No.2
The group of cross blocks are part of the City Sampler, which is a group of 100 blocks. I said I was going to participate in the project, so I am making the cross blocks. There are 15 of them and not all have a log cabin-y feel when I sew them, so I can suck up the ones I don’t like making. After making 5 of the blocks, I found that they go together quickly.
No.2 (all the blocks are numbered and there is a spot where you can fill in the name) looks the most like a log cabin. I took the opportunity to fussy cut some motifs from one of the prints. This will provide a surprise for those who decide to look closer at the quilt. This is the one that set my nerves on edge, because of the small pieces. The others, so far, have had larger pieces.
All of the blocks are 6″, which contributes to the small size of the pieces. When I say “larger pieces” I mean that the pieces are relatively larger.
City Sampler block No.5
I don’t know if these are all original blocks. I haven’t taken the time to look through The Quilter’s Album of Patchwork Patterns (have you bought yours yet??) or the Encyclopedia of Pieced Quilt Patterns (or the BlockBase equivalent). I might at some point.
I know I added 3 browns to my original group of fabrics. I used the brown dot in No.5 and the corners might be too much brown. It is hard to tell with only a few blocks, but I can always make this block over if the corners look like big holes in the middle of the quilt. After making this block, I decided I would use the brown in less prominent areas of the quilt and for smaller pieces.
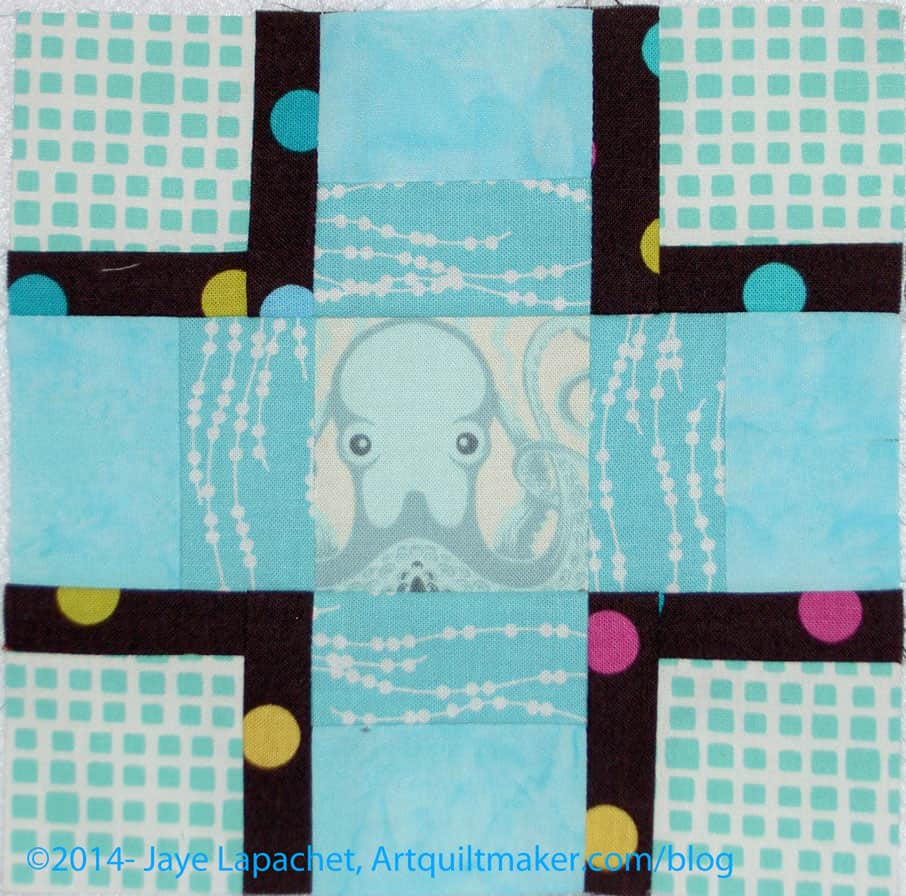
City Sampler block No.4
I used this idea for block No.4.
I cut very small brown pieces to see how the idea would work. This block has all new fabrics except for the brown. I used the brown in small pieces, as I said. I want to use it as an anchor to relate No.4 to the other blocks. The blues are subtle.
A word about the octopus. Tula Pink put out that octopus print as part of the Salt Water line. I thought the print was amusing, so I bought a fat quarter. I am going to sprinkle it into the quilt, but I am not planning on making this a Tula Pink quilt. If I had to assign this quilt a theme it would be either blue or calm.
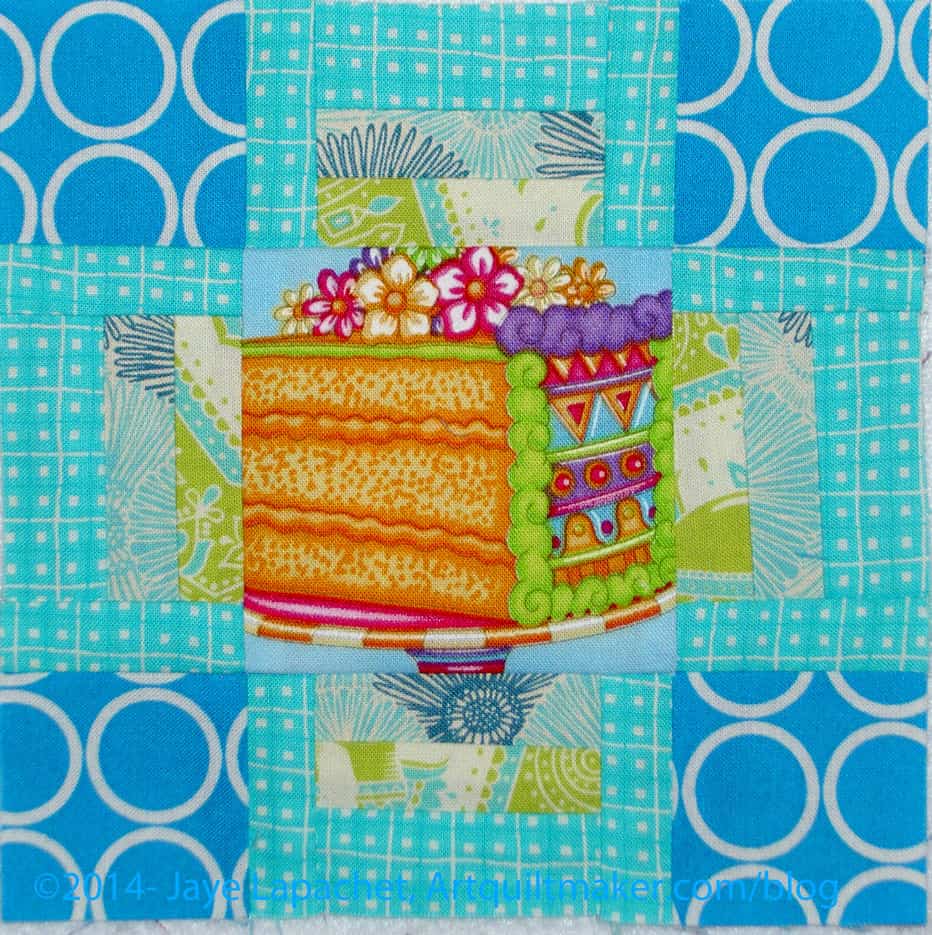
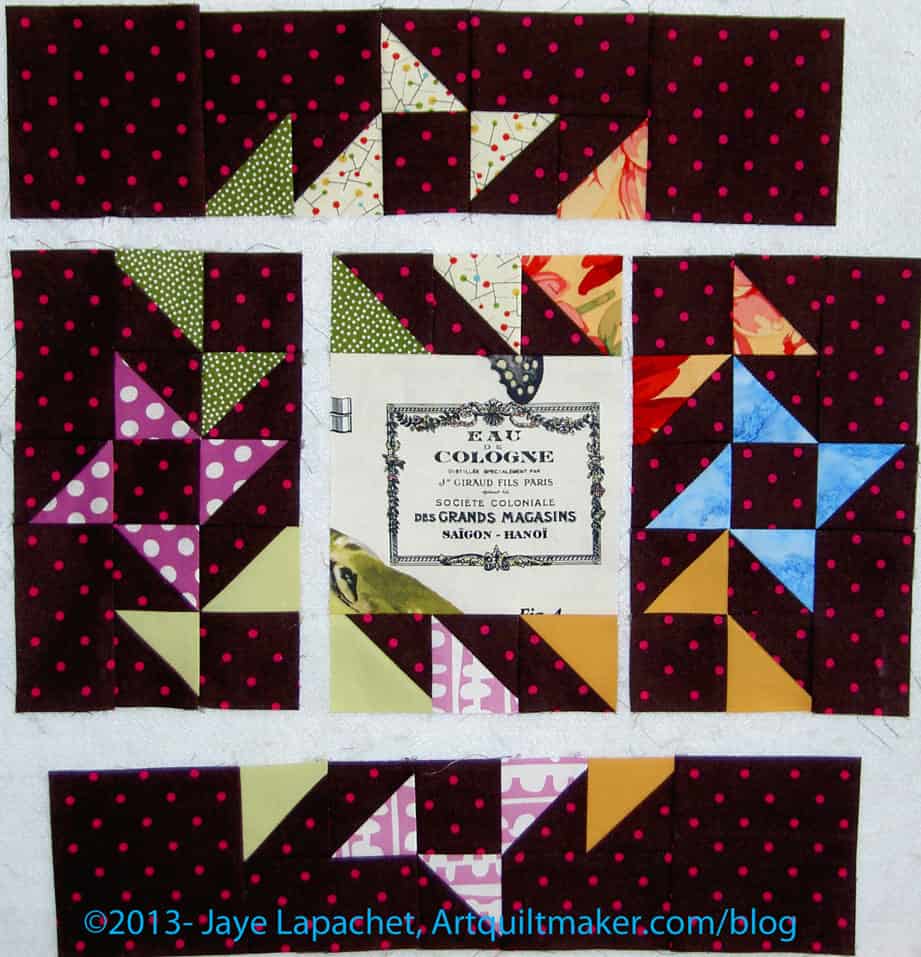
City Sampler block No.3
Block No.3 is another one where I could use fussy cutting. I skipped it initially as I was waiting for the Thomas Knauer Asbury fabrics to arrive and be washed. Instead of going through with that plan, I pulled some fabrics out of my scrap bin and used those.
I am not sure I like this block with the others, but I am reserving judgment until I get more blocks and see if they fit my theme and how they look with the other blocks.
I think I will use a lot of fabrics in this quilt, so I am trying to use as many fabrics as I want, but also trying to use them in multiple blocks so that there is some continuity.
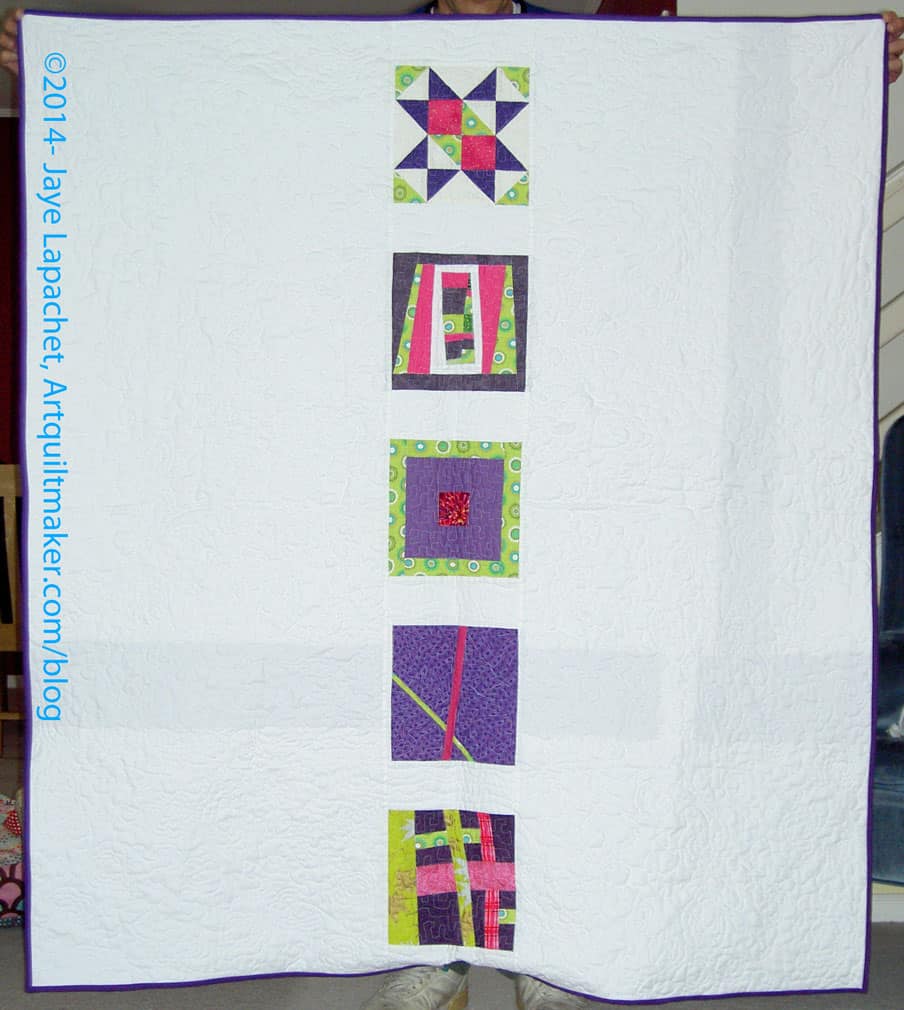
You might remember that I finished the piecing of this quilt last fall. I handed it off to Chris for quilting and then she gave it back to me last month, or, perhaps, in February for the binding.
I finished the binding and gave to the Charity Girls at the last meeting for the charity project.
I have done a lot of art quilts, but this is the first quilt that I think looks like a modern quilt. I am not saying that it is modern; I am just saying that it looks more modern than other quilts I have made. I think it was a good use of the blocks and really made them shine.
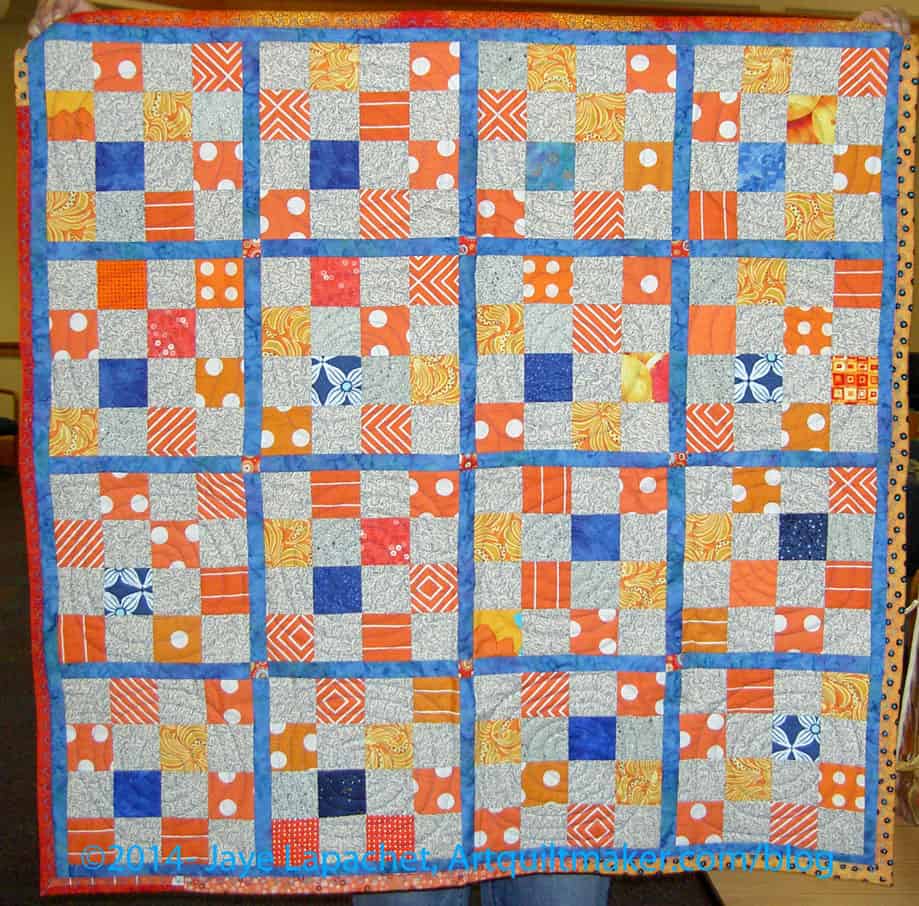
Last summer I finished the piecing for the Orange & Grey donation top. At the BAMQG meeting last week, I saw the finished top.
I was so pleased! the quilting looks great and someone was very clever and pulled excess fabric from the back and did a very nice machine binding with a decorative stitch. It looks great!
It is one of the larger quilts so the Charity Girls will donate it to a shelter, I think.
I feel great when I contribute to this charity project.
I was able to see my round robin start on Saturday at the BAMQG meeting. It was fun to see it, though not much has been done.
Poor Kelly moved after we started the project. My RR got stuck in a box by accident when she had some problems with the move. My piece has only had one person work on it. While it is cheerful and the work done so far looks really good, when compared to the fabulous work another group did on their projects, my piece looked kind of sad.
HOWEVER!
The other group has done 6 rounds and mine has only gone through one round so the potential is definitely there. Also, we only have 4 people in our group. Looking at the piece in photos really makes me realize how bright and cheerful it is.
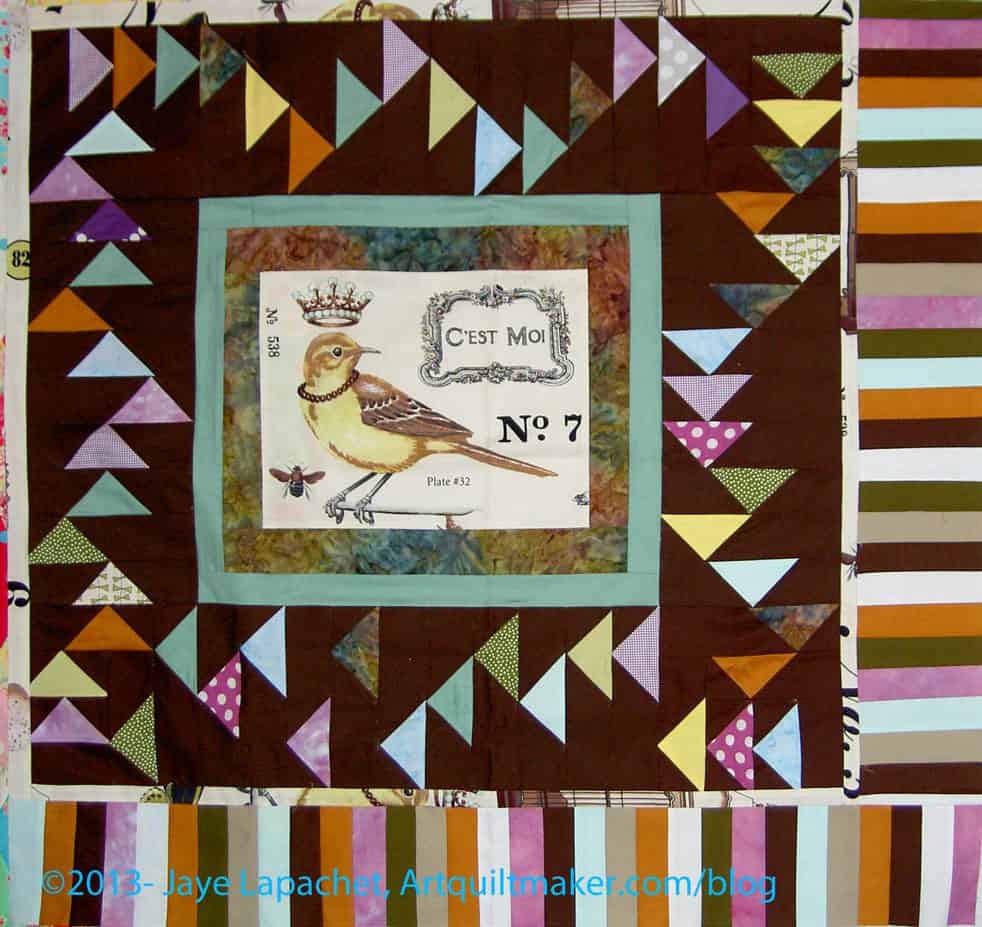
Round Robin potential for Round 2
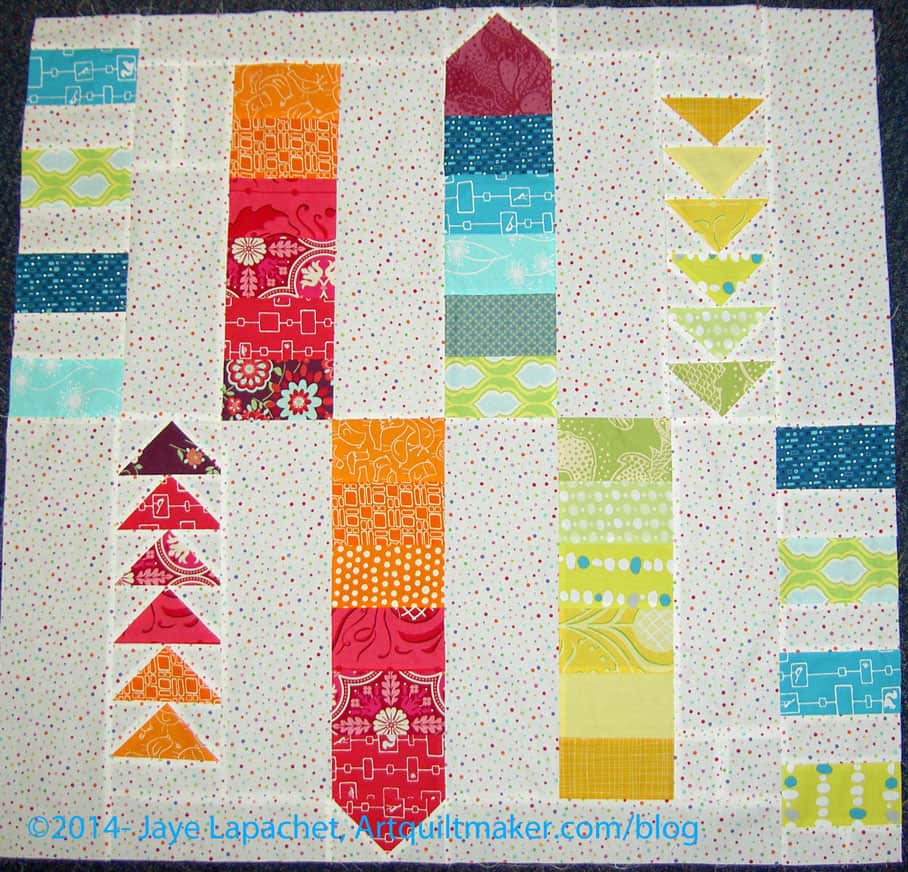
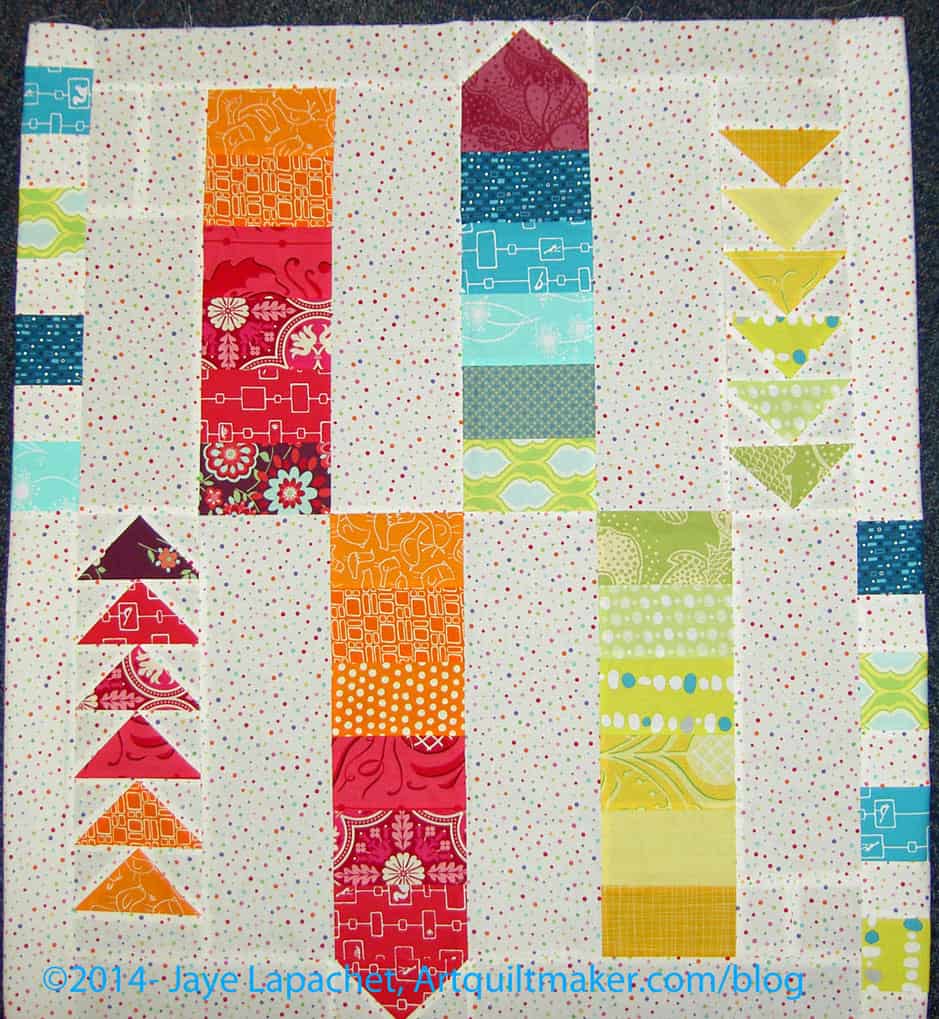
Kathleen is next on the list to work on my piece. She and I pulled out my piece and talked about what to do on it. At the moment the piece is very vertical. We were thinking that it needed some more horizontal, so we explored some ways of making it more horizontal. One thought was to make the edge a little smaller. In the photo you can see that we folded the edges under so that we could see how the piece would look with squares of color on the edges instead of rectangles.
We also talked about connecting the liked colored edge squares (or rectangles) with lines of the same colors, possibly weaving more than one under the other. You can see that some of the various colors on the bottom right are also on the top left. I am a fan of that idea, but I am not working on it, so who knows.
Kathleen said she might draw something to try and work out a design. I was wondering if I could use EQ7 to import the picture and then draw around it to show what I meant. I don’t know if it will work, but can try it and see.
The other thing I was wondering was if I should see if there are other people who want to work on it – perhaps non BAMQG people? We’ll see what fabulosity Kelly and Kathleen conjure up. 😉
I whipped these up in order to get them done in time for the meeting, which was yesterday. I love the combinations that Amanda comes up with! I am wishing I had some quilting fabric in that yellow and black. Isn’t it great? It reminds me of Jane Sassaman’s work. I can see cutting out the leaves and things an rearranging them, then satin stitching them down. What do you think?
This project has been on my mind since December when Friend Julie suggested it. I am finally making a wobbly start. The start is that I have started to choose the colors.
Julie bought me the book as a gift and after some discussions with her, I decided I would be inspired by the city around me. This, in my mind, fits into the ‘City Sampler” theme that Tula Pink encourages also.
In the winter, the sky is very blue here and, though cold, I enjoy the strong light and clear colors. It should be no surprise that turquoise factors into my choices. I just can’t help myself.
Another appeal of this project is the block element. I miss making blocks on a regular basis like I did for the A-B-C Challenge and the Star Sampler. This project will help me satisfy that craving and, hopefully, will not annoy me.
Finally, shortly after Julie and I talked about the project, Kelly brought it up as a BAMQG small group project. This means I can have fun with Julie and participate more in BAMQG.
I was having trouble getting started. I have been distracted by life and picking a few fabrics (I am sure I will need more) really helps me to get the process out of my head and started.
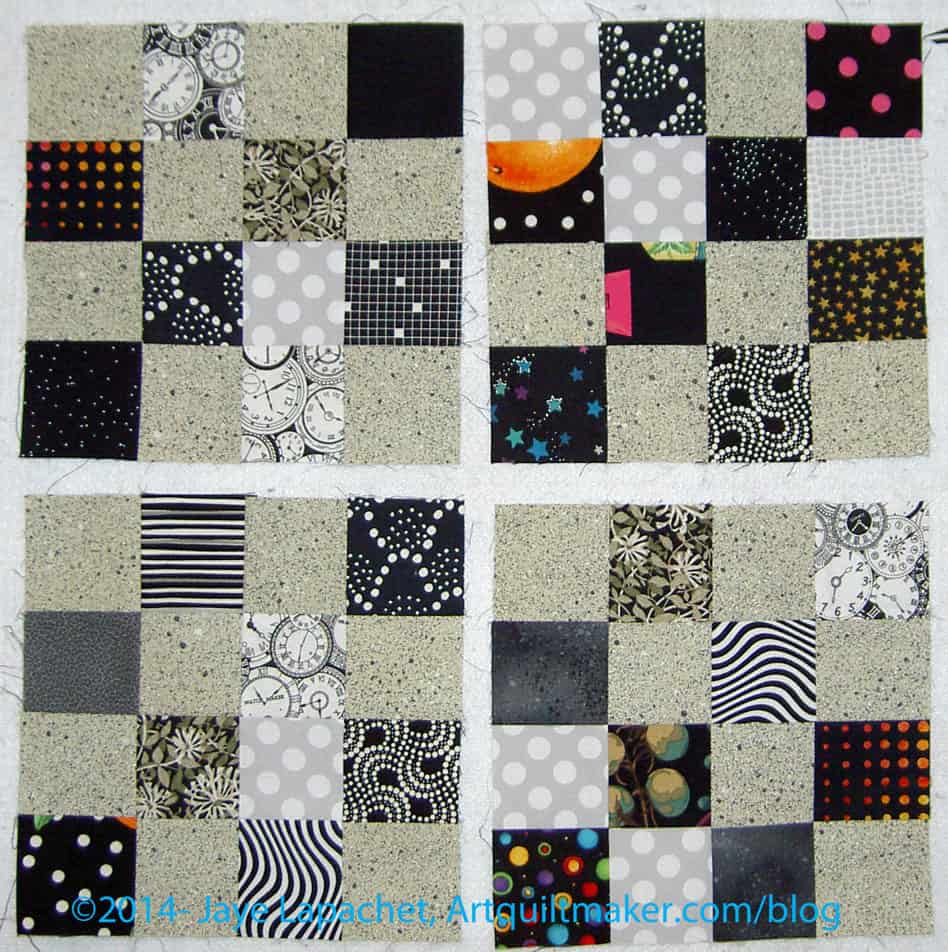
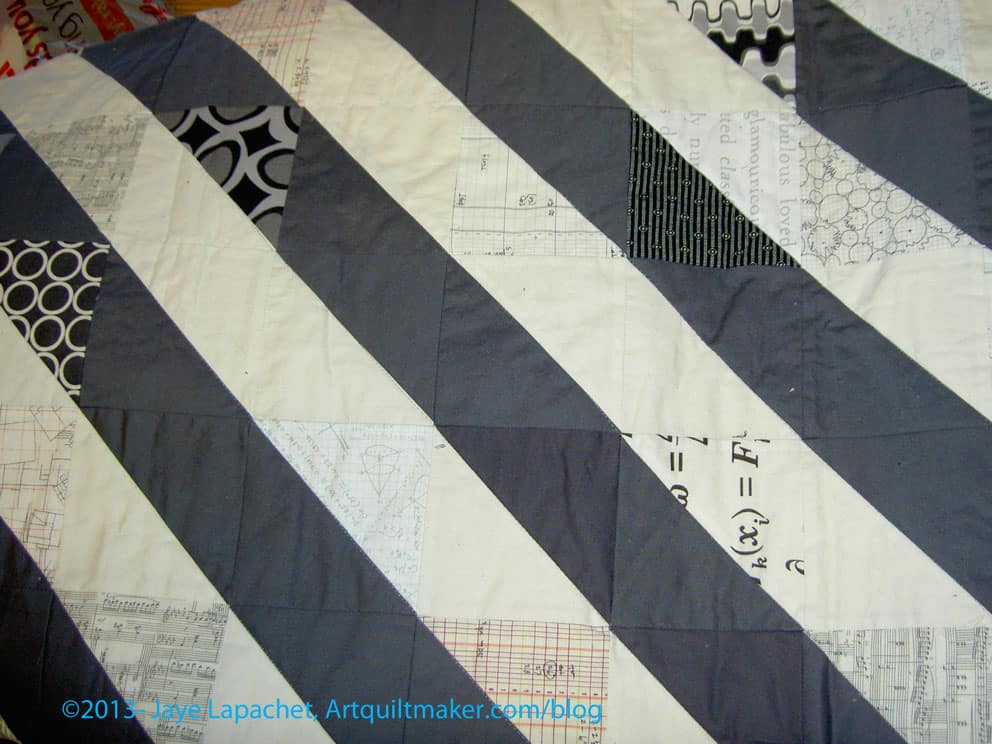
I am back on the donation quilt bandwagon with the Black/Grey Donation Quilt. I was afraid this would be a little depressing, but I think it will be great for a teenager.
I used the patches as a leaders and enders as I was working on Scrapitude.
It isn’t turning out exactly the way I thought, but I like it. I have four other blocks around somewhere, but they are misplaced. They’ll turn up.
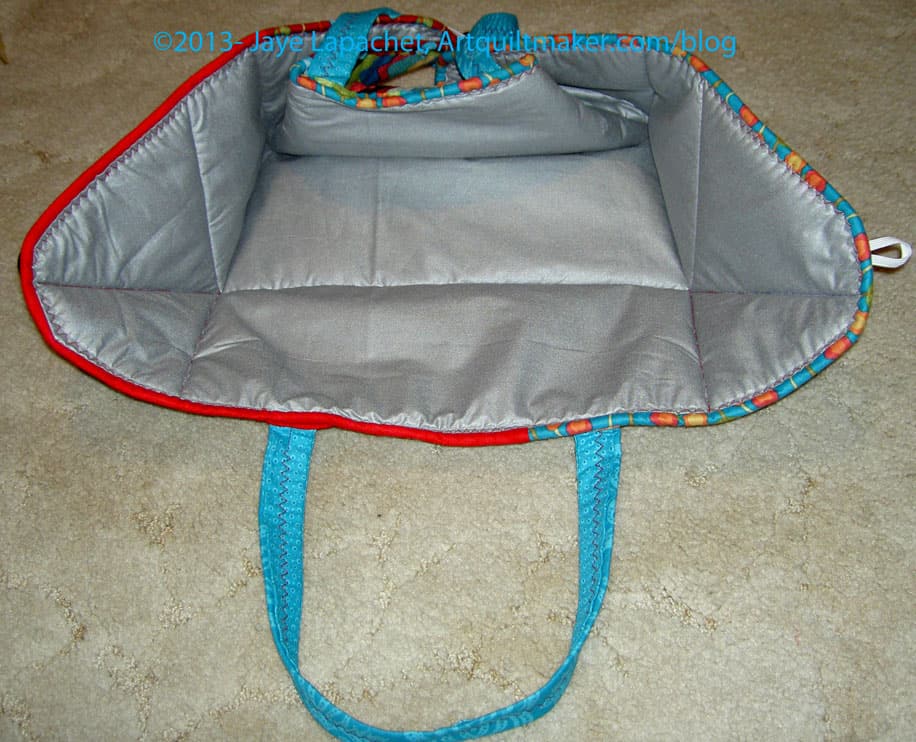
We give bags of gifts to the officers of the guild. Some of us make tote bags and then all the guild members bring a gift for each officer. It is a lot easier than making a quilt. It also allows people to contribute in a way that makes them comfortable.
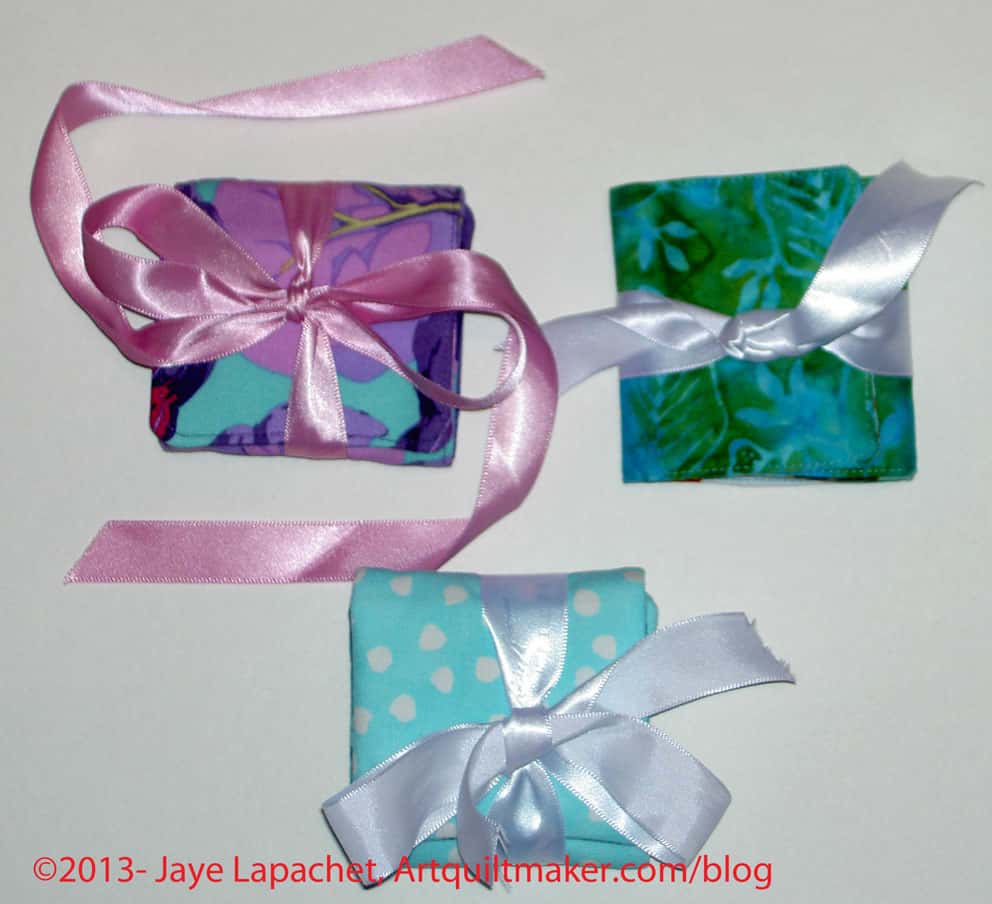
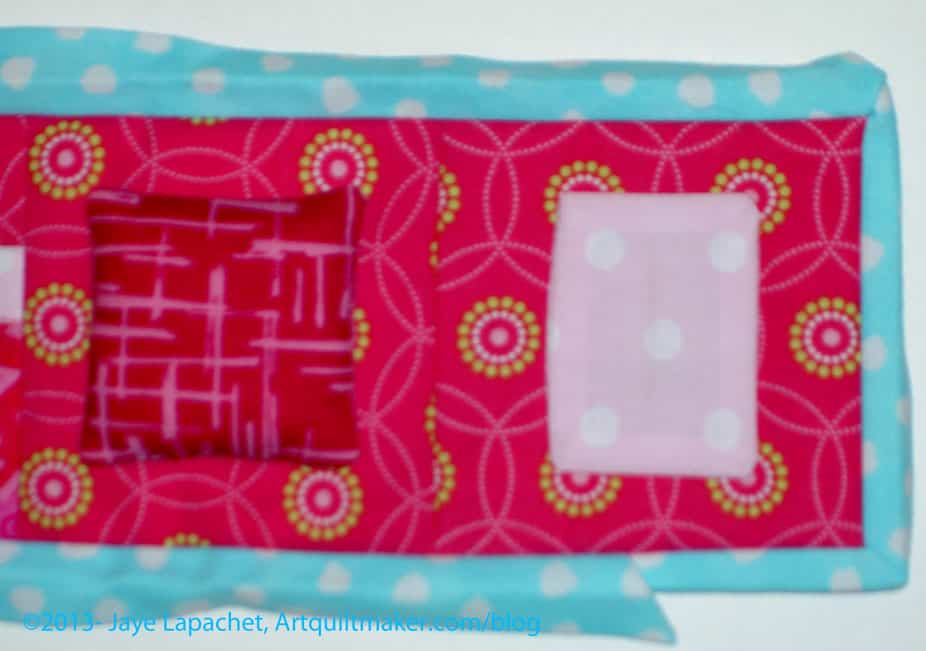
Needle Cases
We encourage people to bring small gifts, such as spools of thread, packs of pins, needles, Pigma pens and WonderClips. We also encourage people to make small gifts, like zipper pouches. Some just write heartfelt cards and I know that is appreciated.
This time I made needle cases. As I mentioned in previous posts, I found the needle case pattern in a magazine and modified it to suit my needs.
I used, mostly, scraps for these needle cases. I like this project and am pleased with the modifications I made to the pattern. It is something I can make quickly as a gift.
I wasn’t able to make the meeting yesterday as I just returned from a work trip. I hope the officers liked them.
I spent some time with Kelly’s Round Robin over the past week. I finished my portion on January 1 and was pleased to be able to move on to the Attack of the Hexies.
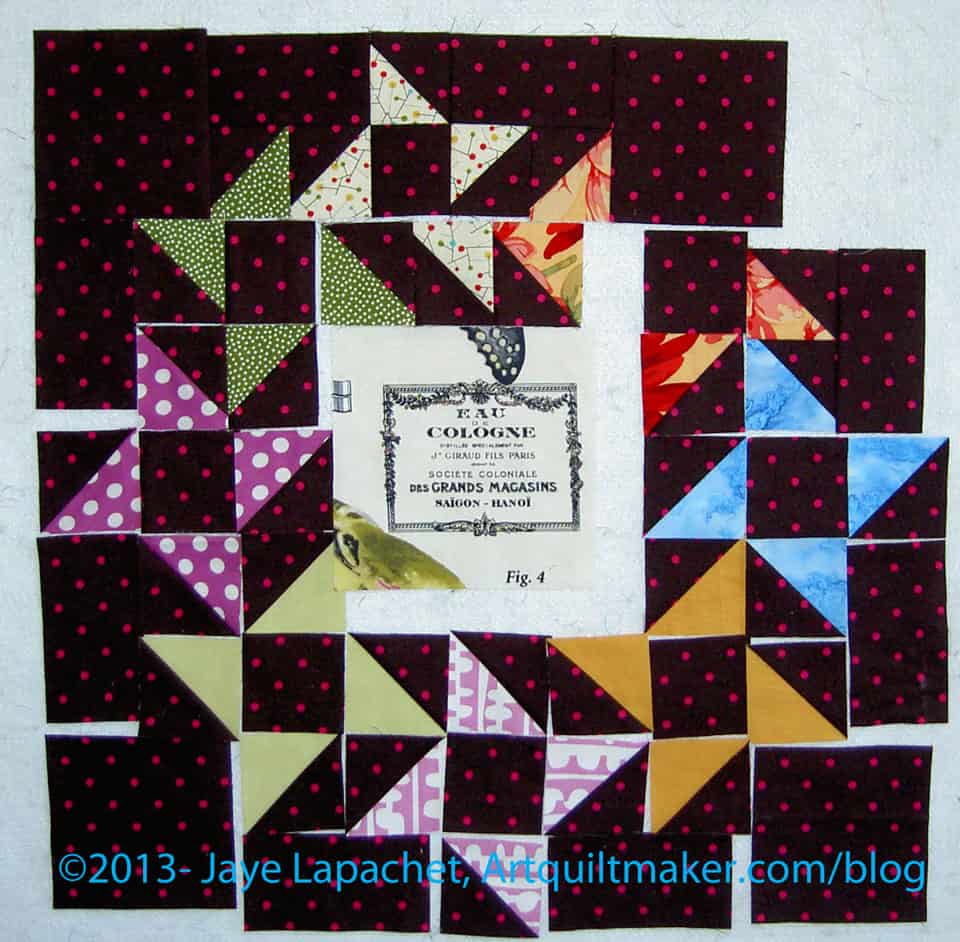
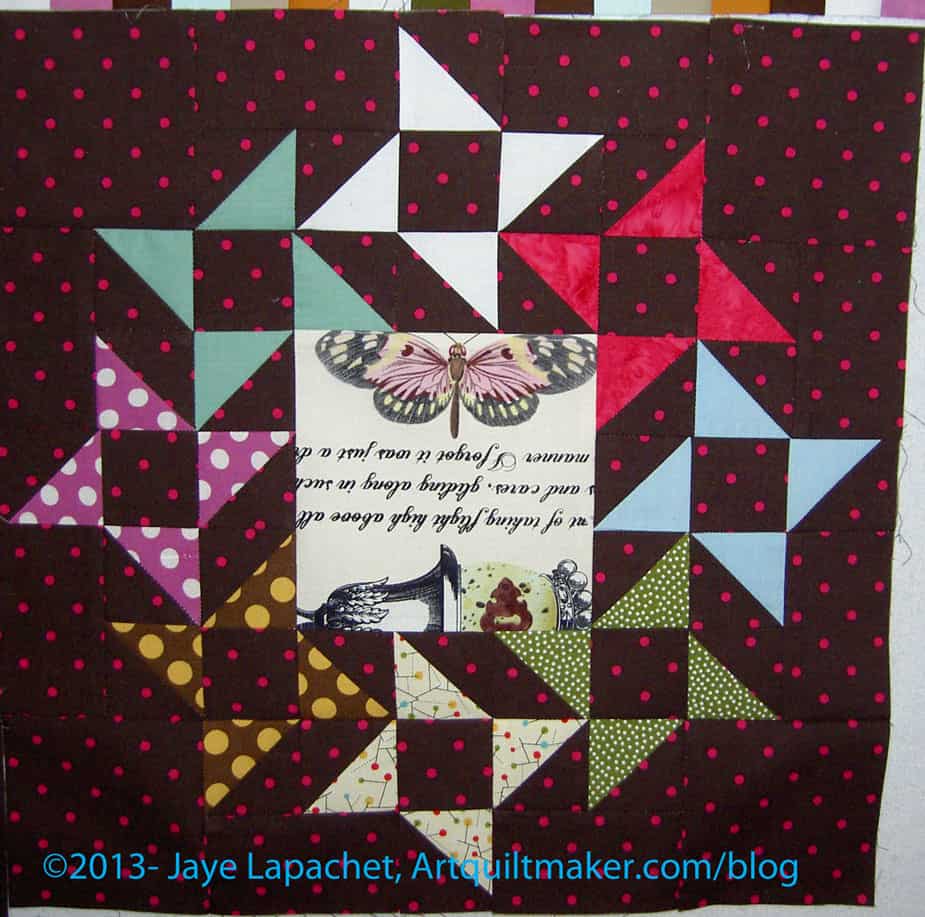
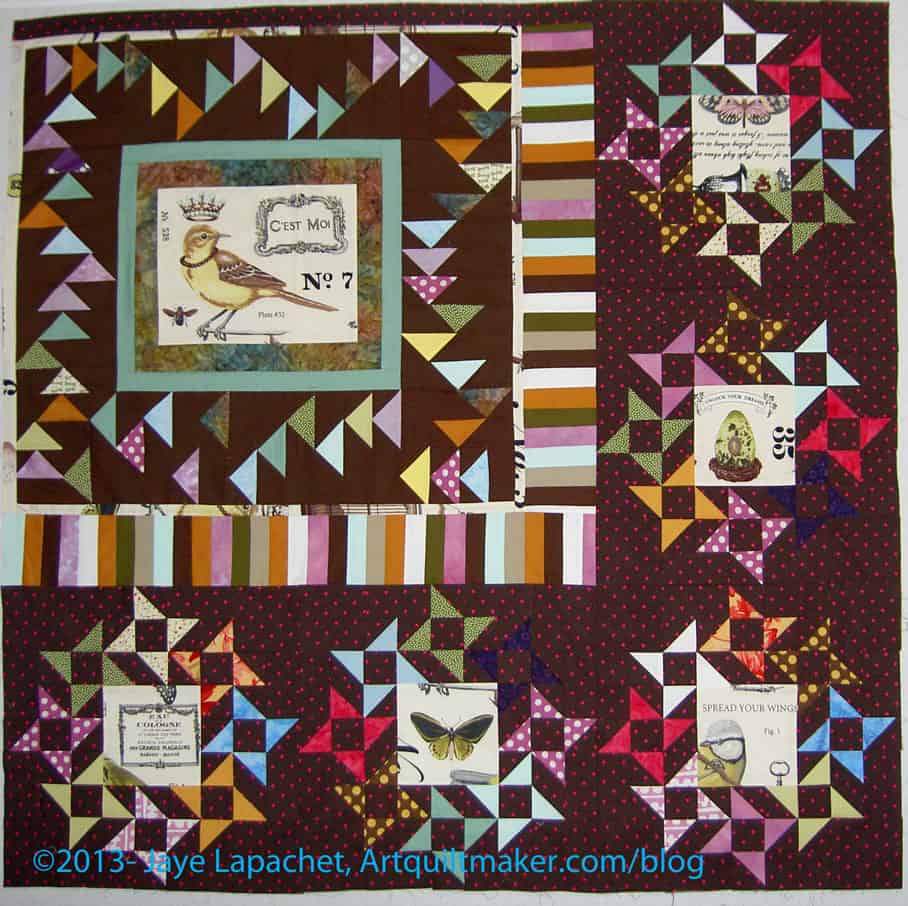
I saw Camille Roskelley’s Round and Round quilt and liked the basic block so much that I wanted to make it. The version from Around the Blocks blog really inspired me. I love the way the triangles seem to flutter or twirl on the background. The basic component is a Friendship Star, a block that I always thought had potential, but never quite liked. Now I know that making it smaller and combining it with others like it was the ticket. Camille Roskelley is a genius.
I didn’t think the block was the right size for the piece, but I decided the piece could use something bold. I resized the block and worked on the whole piece in EQ7. I could only get an idea of the outcome. The piece has special fabric and I didn’t feel like scanning and uploading it. From what I could see, I thought it would work.
Round and Round – one block
The block has 85 pieces. I reworked the piecing as well as resizing it, because some of the pieces didn’t need to be small squares. Also, I didn’t want, for example, to piece 4 squares together to make a larger square.
Chunking Round & Round
This made the final piecing of the block a little different than just piecing the block together in rows. I was able to chunk it. Once I was able to see how to chunk the piece, the piecing was no problem. I used the Triangle Technique to make all of the triangle squares (half square triangles).
Fussy cutting in Round & Round
SIL suggested that I fussy cut the special fabric and use that for the center rectangle in order to echo the original focal point of the piece. I thought that was a good idea and fussy cut different portions of the special fabric for the centers.
Kelly’s Round Robin
I think it came out well and I hope that Kelly is happy with my work. I was really pleased with the block. I can’t make it to the meeting in January, so I sent it off to Kelly.
As I mentioned earlier in the week, the BAMQG meeting was on Saturday. I can’t tell you how happy I was to attend the meeting. It was a surprise, because I thought the meeting was on the 8th. Angela told me that it was on the 14th and when I checked, I realized I could attend! I declined the invitations of several Christmas parties this year, because, as a friend aptly described, mustering merriment just wasn’t in me. I didn’t feel like I had to muster merriment to attend the quilt party. There were quilts! What more did a person need?
Cheryl Strong
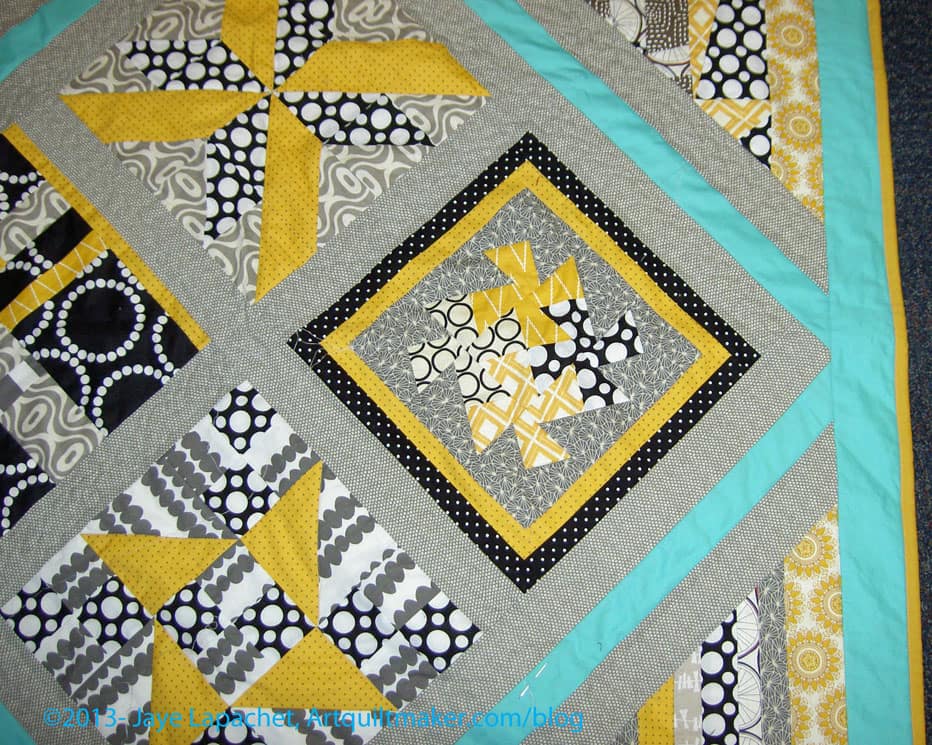
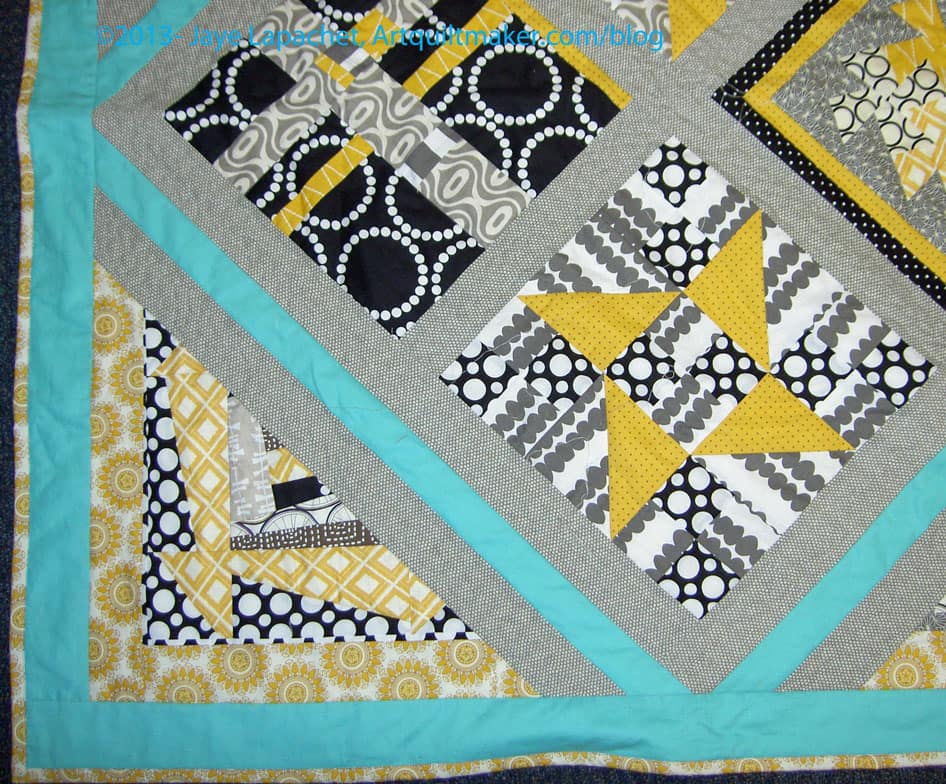
One of the show and tells was Cheryl’s quilt (above). She won the blocks and added the aqua/greeny-blue. I love the way this quilt looks. It isn’t stark like all-black and white quilts can be. The gold isn’t depressing. There is a lot of movement, which made my eyes move around the quilt and every time I looked at it, I saw something interesting. This is a fabulous quilt and one that makes me think, again, about the ratio of black to white in a black and white print.
One of the small groups that the president created this year were meeting with their round robin quilts.
This is a great shot – I wasn’t being diligent about taking photos.
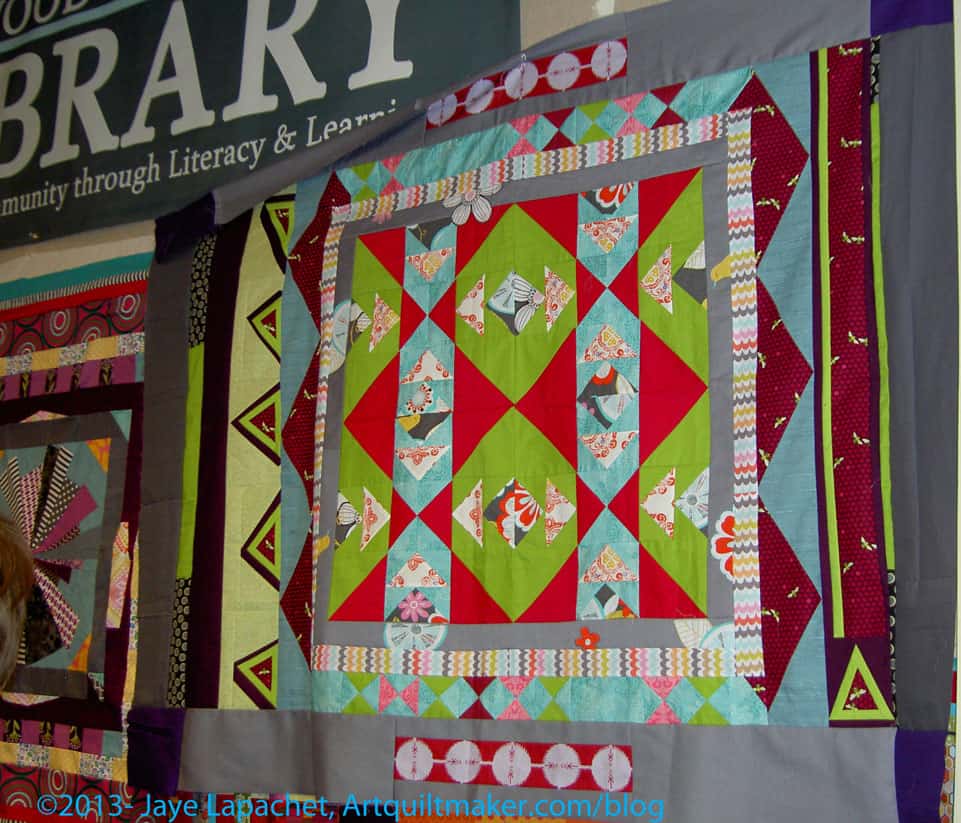
Trust me when I say that their round robins LOOK fabulous. The one that really caught my attention has the pinky-red and green. the contrast of the two colors is wonderful.
This group has done a great job. Their centers started out interesting and a strong start clearly set them all off to do their best work.
Cheryl Strong
Cheryl also finished a quilt for her nephew who will receive it as a Christmas gift. I took a close-up, because I missed my chance to take a full photo. Fortunately, there is a full photo on Flickr (say that 3 times really fast!).
She did a great job using mostly the same darks, but interspersing a few others in to add interest. I also liked the background.
Yesterday was the BAMQG Holiday Party and Meeting. The meeting part was relatively short, then we had the gift exchange and Show & Tell.
I mentioned that I had made a gift for my Secret Santa and showed it a week early, which led to the realization that I was able to make the meeting. The recipient, Laura was really pleased with the tote bag and needle case I made. I really should have put pins and needles in it as I think she was a little confused about what should go where. I showed her and I think it ended up okay.
Jen was my Secret Santa and she made me this Iron Caddy. Didn’t she do a great job?
Iron Caddy – half open
Jen said used a free pattern she found somewhere on Ning. She said she made two of them alongside each other so she could test the pattern. I thought that was really sweet; it made me feel like she really cared about the gift to me
The pattern she used didn’t sound like the same one Julie told me about that so frustrated her.
Jen did say that there was one measurement off — the 7″ measurement in the middle should be 6-1/2″. I haven’t tried it so, pay attention if you make this pattern.
I still have not yet made the Iron Caddy pattern I bought at Quiltin’ Cousins, so perhaps I am off the hook?
I hopped back on the Doing Good bandwagon this past weekend and I feel great about that.
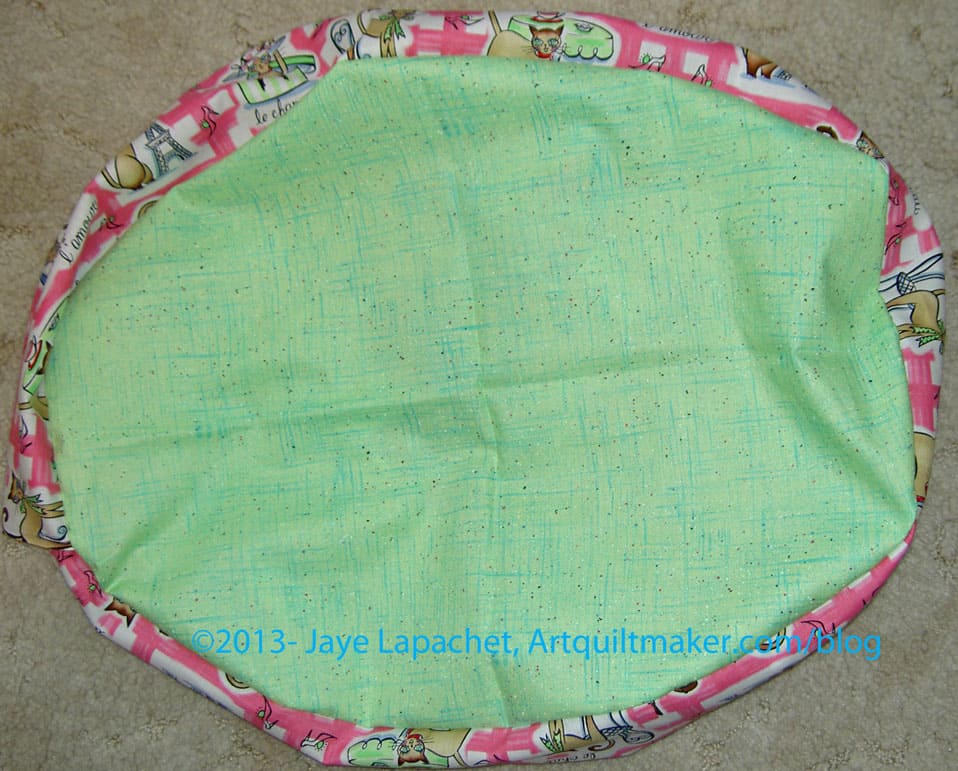
Green Speckle Cat Bed
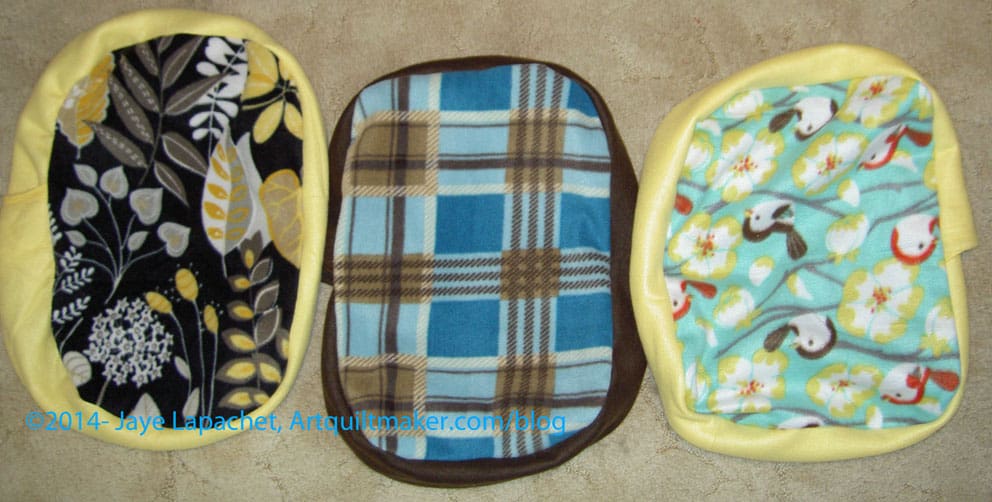
I had some Cat Bed kits from the last BAMQG meeting I attended and I decided that sewing them would be a great way to get back on the sewing bandwagon.
These cat beds were using the same fabric Amanda used in the last round of Cat Beds – regular quilting cotton. I thought they were a lot easier to sew, but wondered about durability? I will sew whatever she gives me. It was just a thought.
I only had two and really had to force myself to sew at all and I worked very slowly. It took me much longer to pin these than it has in the past and I think my mind just kept wandering off somewhere.
This color scheme reminds me of the green and pink donation quilt I made last year. It is a fun combination that I don’t think gets used as often as it should.
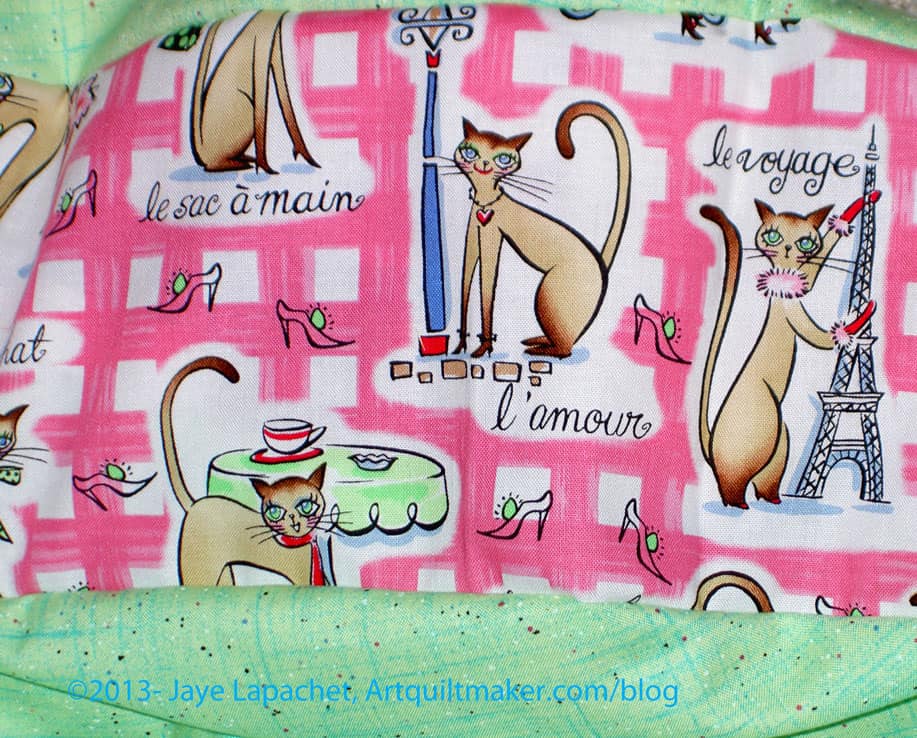
Green Speckle Cat Bed detail
It was also fun to see that green speckle fabric again. I had some of that at one point, but thought it was long since out of print. I wonder if it has been reprinted?
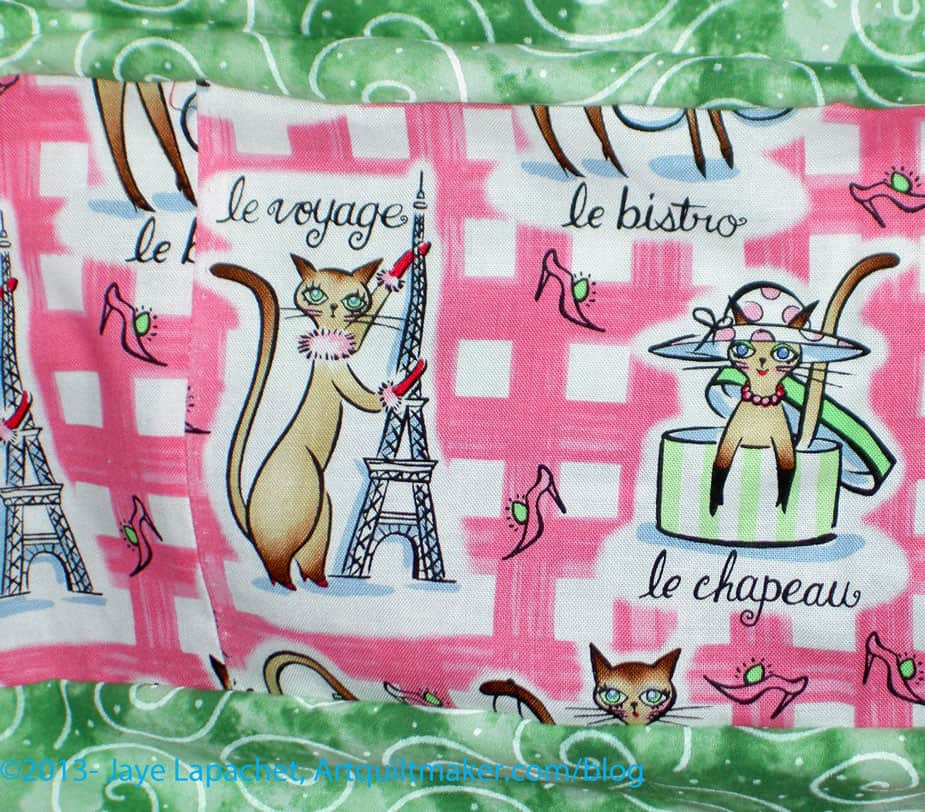
Both of the cat beds used a fun French cat fabric for the gusset. Again, this a fabric that I wouldn’t normally use, but this is a perfect application for it and it was fun to look at while I worked. As an added bonus, I forgot how much I liked the word “parapluie”.
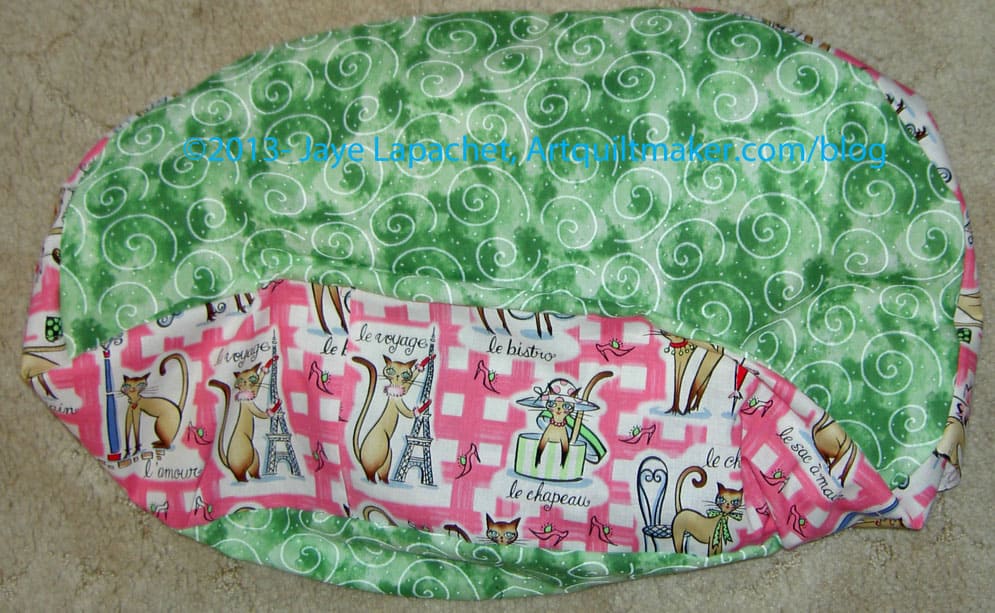
Green Swirl Cat Bed
Amanda did a good job choosing the fabrics as the greens she chose go together very well.
The cats are engaged in a number of different activities, which I found amusing. I hope the cats will as well, though I suppose they won’t care.
Green Swirl Cat Bed detail
I was able to stuff both with a small amount of scraps, but Amanda will be able to use up more of the scraps she has as I didn’t have anywhere near enough. I haven’t been sewing and that is the outcome.
I have to say that doing these wasn’t enough, so I cut up some grey and black squares and have started to work on another donation quilt. I know it sounds a little depressing for a donation quilt, but my grey/black scrap drawer is overflowing. There will be little sparks of color that I will scatter throughout the quilt as some of the prints are mostly black, or have a black background, then have a colorful motif on top. Perhaps I will make it large enough for a teenaged boy. All teenaged boys like black and grey, right?
I don’t have many more scraps that will make a whole quilt from 2.5″ squares, so I may need to go down to 2″ to clear out more. I’ll finish this one and then we’ll see.
When I was down at Grama’s I had a stack of quilt magazines with me. I hadn’t brought a lot to do, because I was supposed to be at a conference and didn’t want to feel like it was a waste to have lugged a bunch of stuff down with me only to lug it straight back home.
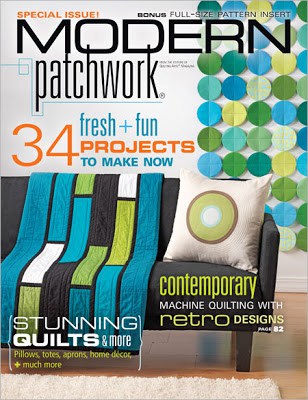
As you know, I ended up at Grama’s, racing around like a crazy person before dropping into bed exhausted, looking at two pages of quilt magazines and falling asleep with the magazine on my face. Two pages, however, is progress. While looking through the magazines, I found a needle case pattern in Modern Patchwork. I decided to add it to the shopping bag for my BAMQG Secret Santa. As soon as I finished the machine part of the shopping bag (I still have a bit of hand stitching to do), I started in on the needlecase.
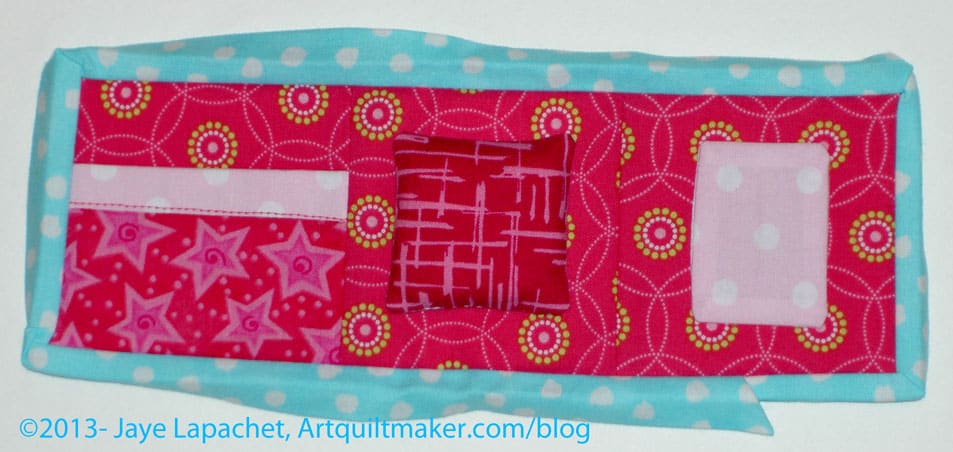
Needle Case #1 Open
The pattern is by Rashida Coleman-Hale of the I Heart Linen blog and I, initially, had a hard time with the way the pattern was laid out in the magazine. Remember, I am much better at being shown how to make something than I am reading directions and following them. I began reading the directions and couldn’t figure out what to do first. The pattern started with “Create the Pocket.”
Huh? What pocket?
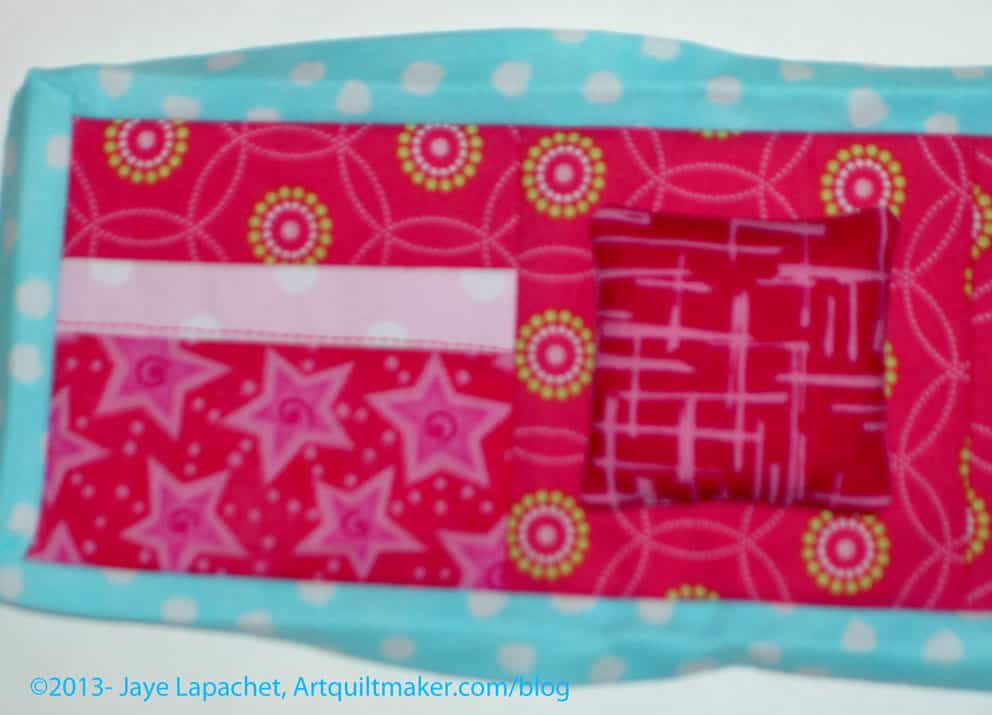
Needle Case #1 Open detail
Finally, I realized I needed to cut all the pieces out first, even though the pattern says nothing about that. Step 1 should be “Cut out pieces (see Sidebar)”, but it wasn’t. Also, the list of pieces of fabric that need to be cut is on the right hand side of the page and I was looking on the left (we read from left to right), which happened to be instruction #1 of the pattern.
My heart sank. I didn’t want to do a project that was so hard to understand that it wouldn’t come out well. The project is small enough to use scraps, so I decided to cut out the pattern pieces and try one more time. Miraculously, as soon as I cut the pieces, step #1 of the directions made complete sense.
I am skeptical of magazine instructions, but these were ok, after my initial confusion, for a not very complex project. I am not quite done with the project, but the one thing I would do differently is sew the cording (I am using a ribbon) on before I sew on the binding. I think it would look neater and be stronger. I might also figure out some other closure, but I haven’t thought that far ahead. Live and learn.
Needle Case #1 Open detail
I used fabric scraps from the shopping bag and also a few others. The the two Secret Santa pieces will match, but not be matchy-matchy. Cute, huh? I did not use the linen. I used regular quilting cotton.
If I made this project again, I would give the outside pieces some body by lining them with ShapeFlex (LOVE that stuff!).
I didn’t have any Fiberfill to fill the pincushion, but if I had been thinking I would have used the roving I bought for the other pin cushions I have been making on and off. I just wasn’t thinking so I cutting up some batting scraps to fill the pincushion. It is small, so I think the batting will be ok.
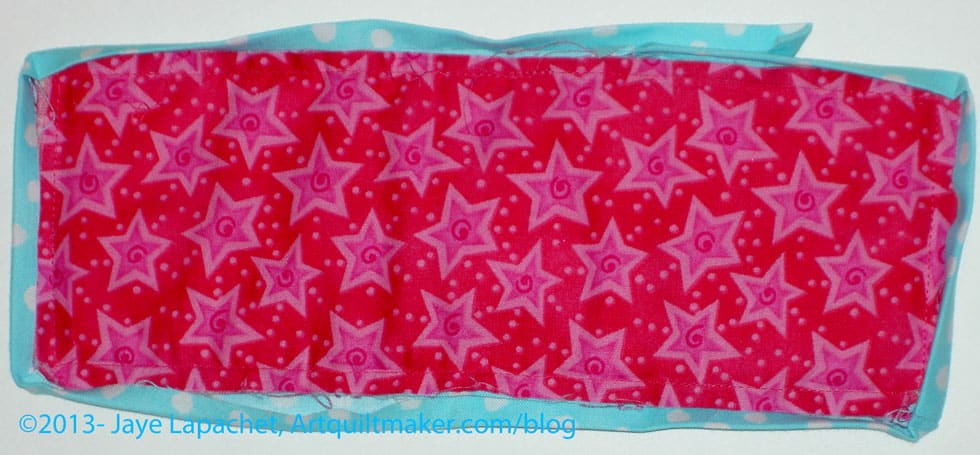
Needle Case #1 back
My Secret Santa likes pink, so I am going all out on the pink. I really hope she likes what I have made. This needle case really did not take me very long and I think I might make a few more for friends. We will see.
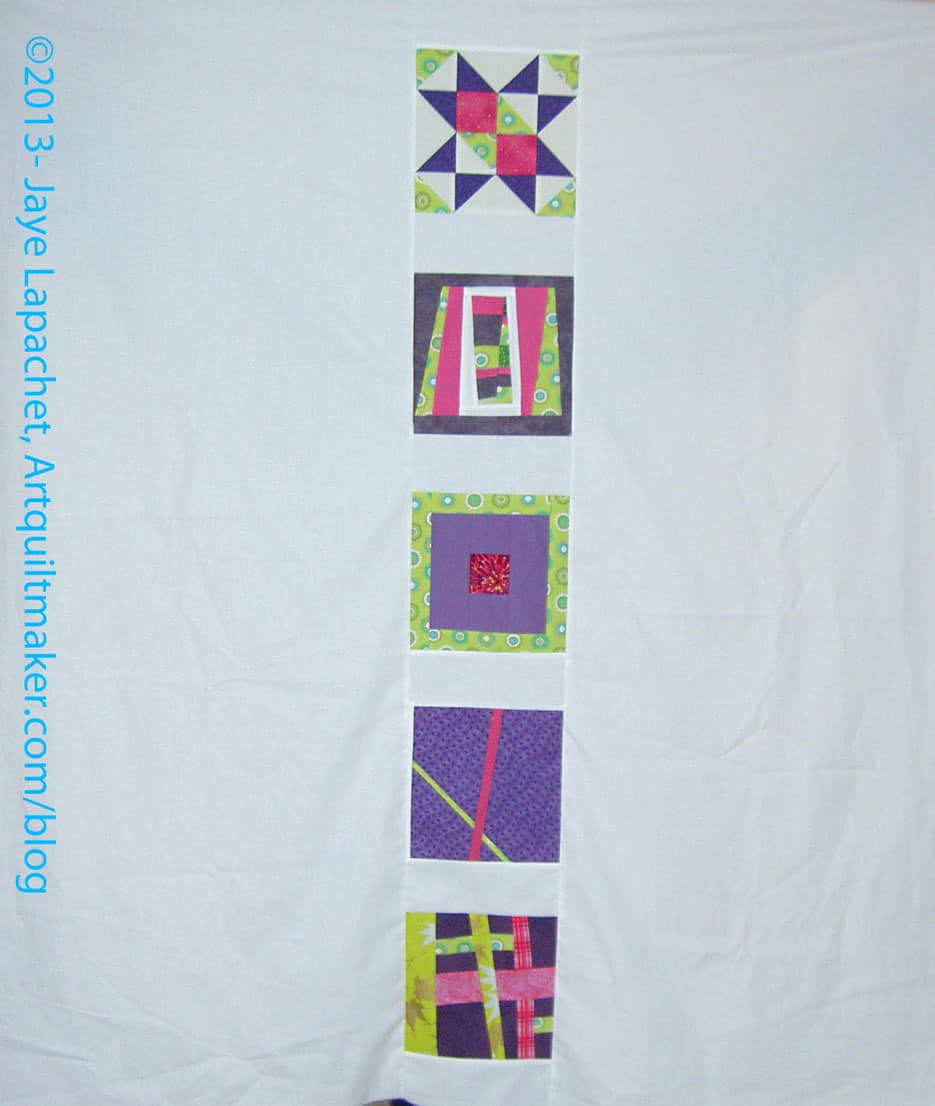
As I mentioned in the last post about this project, Kathleen and I got together at the last Sew Day and worked out what we were going to do with these blocks.
I saw somewhere that Kathleen had finished sewing her donation top, so the project was nagging at me. I had the blocks and decided after working on the needle cases that I would put the top together, then I decided to put the back together. As I write this, I am about to think about a binding, but it might be too late and I might be too tired.