La Pass Border Continues

La Pass bottom corner

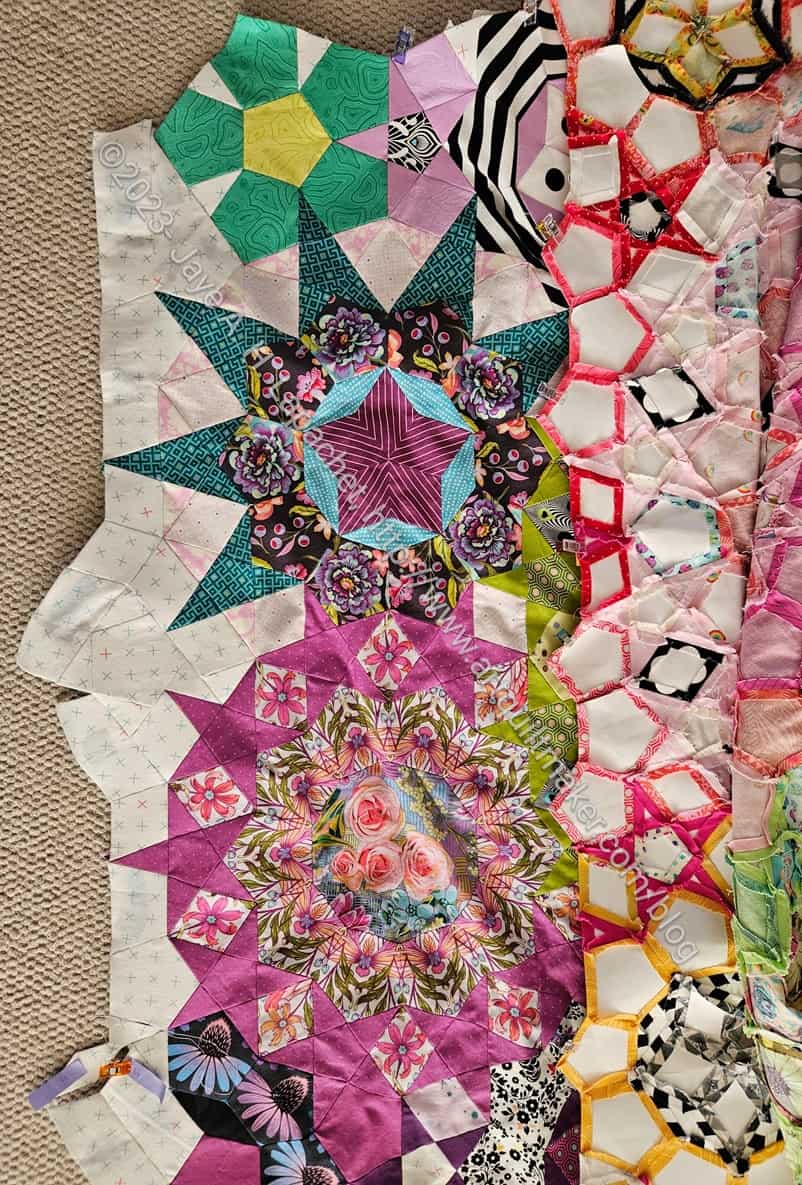
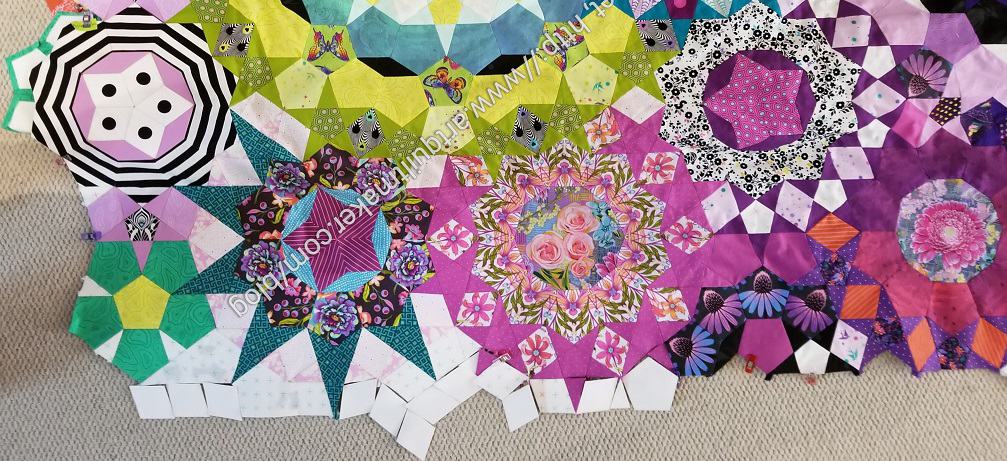
Slowly, but surely, I am making progress. I finished the one side I was working on  last week and am now on to the next side.

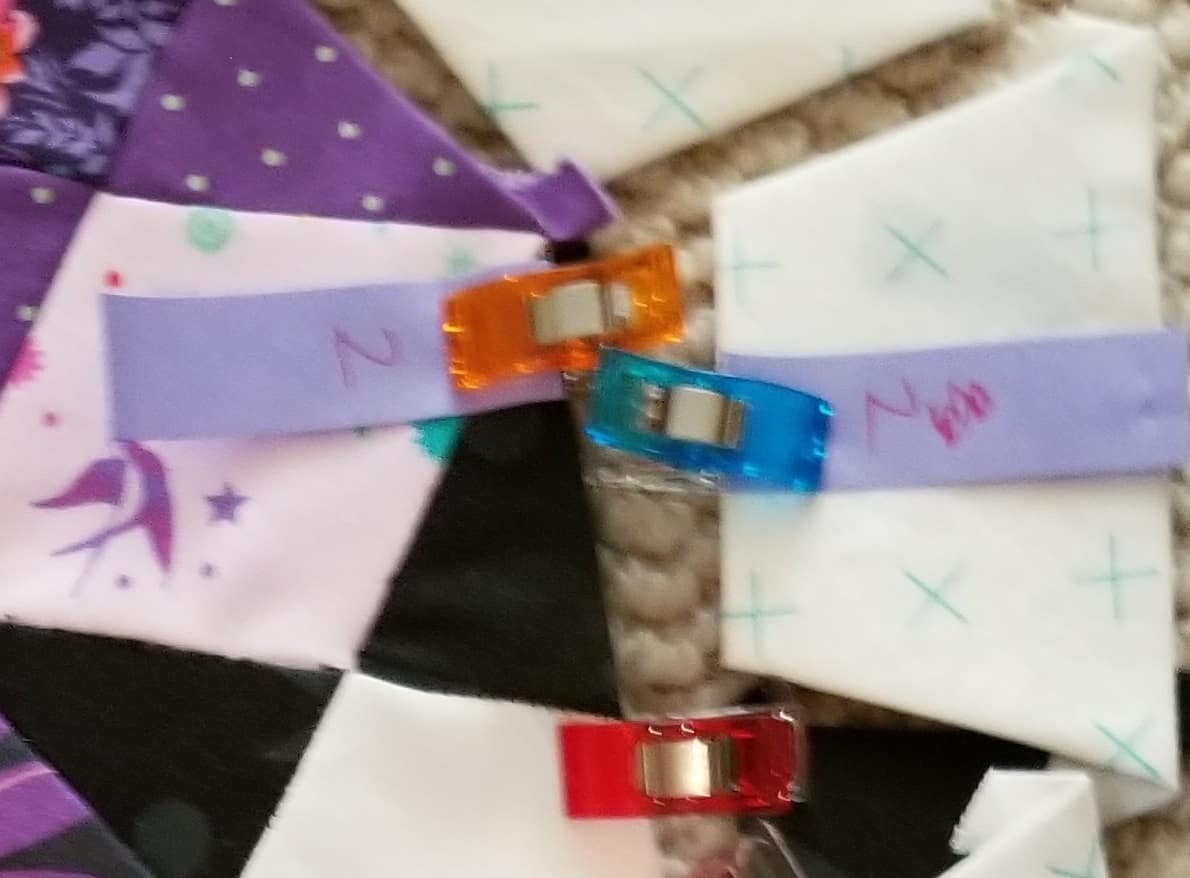
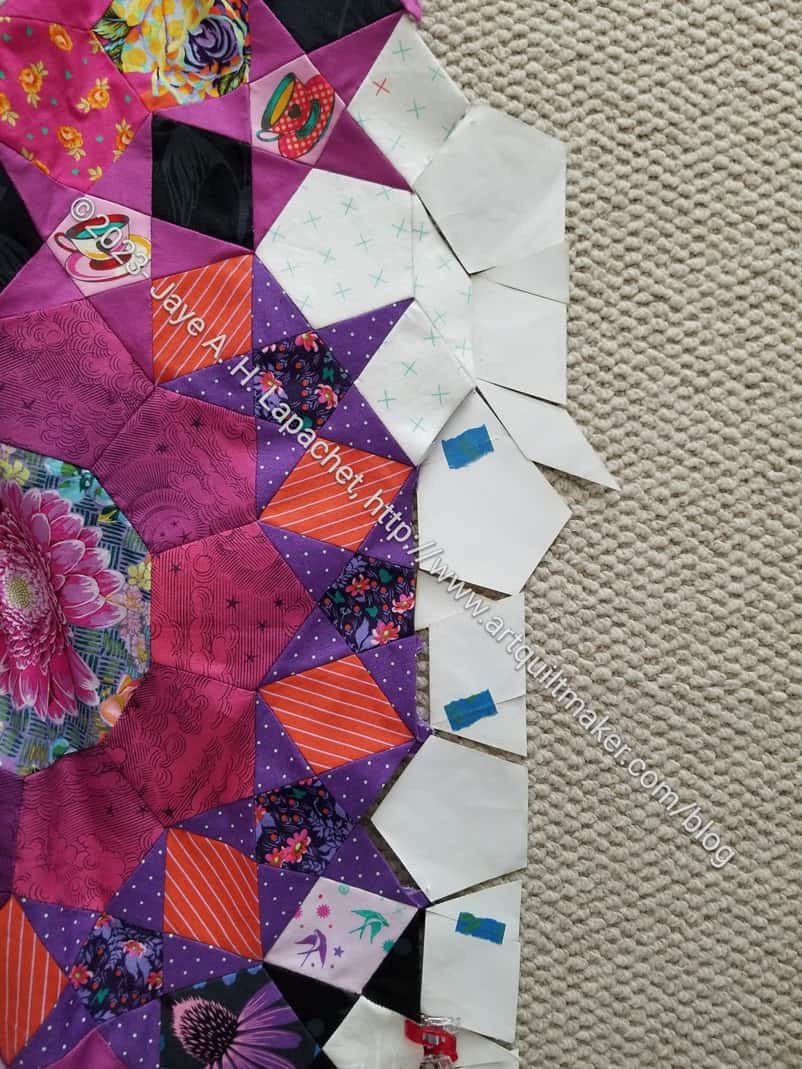
You can see my Post-it notes** as described in my Border Methodology post.

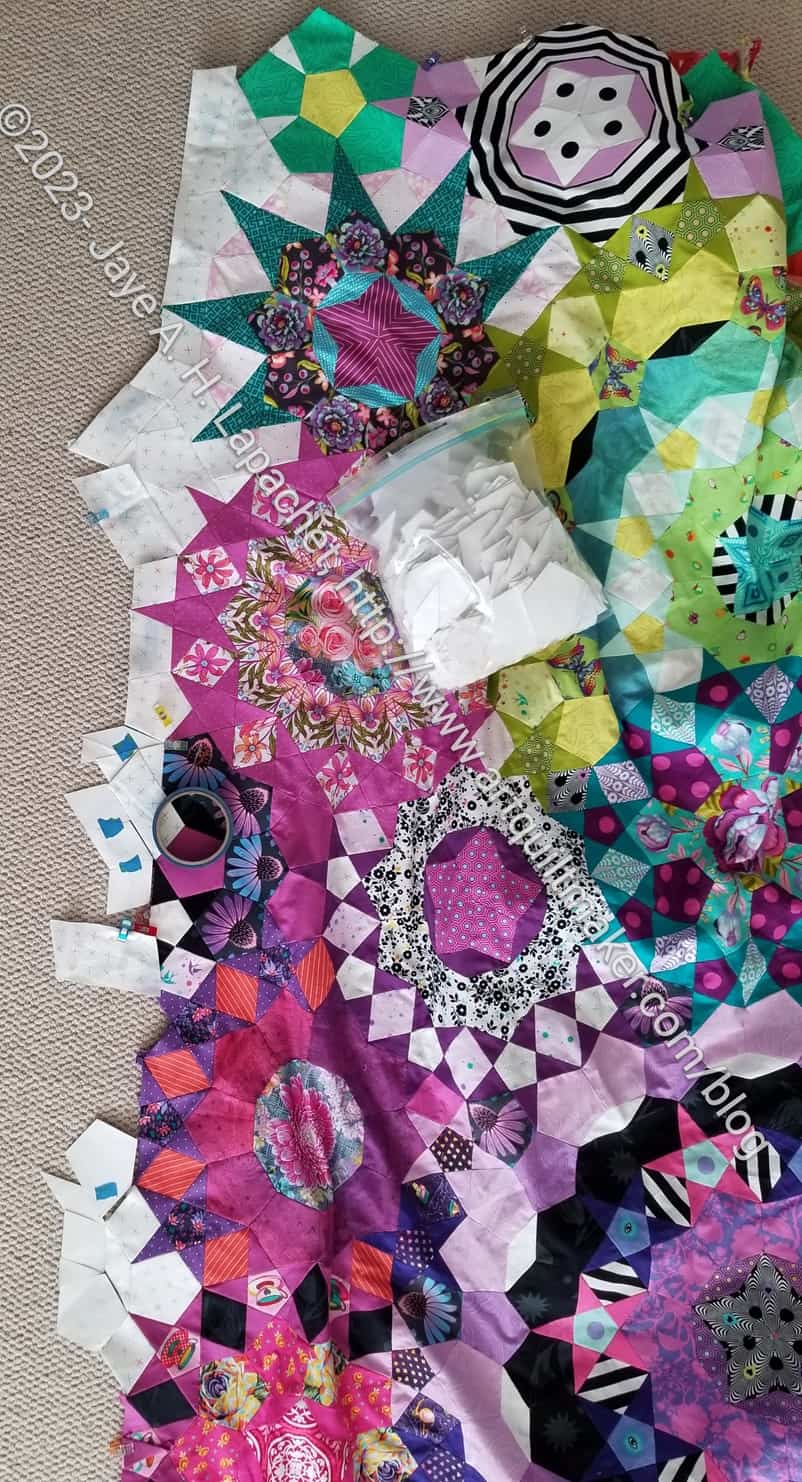
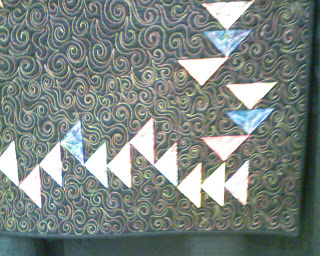
In this corner, I decided to add a bit to the red star and put my border fabric around it. I’ll probably end up cutting some of the star off, but I thought it would look weird to have border pieces where star pieces should be.

Yay for some progress!


**N. B. : Obviously, you should shop at local quilt shops and small businesses. However, if you are too busy or can’t find what you need there, I use Amazon affiliate links and may be paid for your purchase of an item when you click on an item’s link in my post. There is no additional cost to you for clicking or purchasing items I recommend. I appreciate your clicks and purchases as it helps support this blog.

La Pass Border Methodology pt.2

La Pass border in process

My new system works very well. I am pleased that I was able to sew the border pieces I prepared without drama or sewing the wrong pieces in the wrong place and having to rip out.

The white you see might look a little weird. AT this point it doesn’t have to be even, but it will be even later when I – or someone (ha!) – cut a straight line.

I am so pleased with how that green rosette came out. The green spikes really are highlighted. They have some space to breathe.

WonderClip facilitating organization

One issue I had was the WonderClips** getting in the way of each other. That was a minor detail since the system worked so well. Another thing I learned is to just baste a small section at a time. I don’t need to try to organize an entire border (one side) all at once. I am making good progress a little at a time.


**N. B. : Obviously, you should shop at local quilt shops and small businesses. However, if you are too busy or can’t find what you need there, I use Amazon affiliate links and may be paid for your purchase of an item when you click on an item’s link in my post. There is no additional cost to you for clicking or purchasing items I recommend. I appreciate your clicks and purchases as it helps support this blog.

La Pass Border Again

La Pass border side
La Pass border side

I finally dragged La Pass out again and started working on the side of the border I talked about before. I haven’t worked on it lately because I was gone, then the cleaners were coming, and [ add in a bunch of other excuses ]. I meant to work on it last weekend, but only had one day to do my own projects at home and just didn’t get to it. I regretted it and determined to, at least, baste a few pieces during the immediate past weekend. I made good progress and followed up with some basting during Craft Night.

La Pass Border again

The section, left, is about halfway down the side. I plan to add in that purple dot star point so it sticks into the border a little. I like that rosette with the orange striped diamonds and think it will look good finished.

I am going back and forth with combining pieces and adding a lot of single pieces. It should have been obvious, but I am finding that a weirdly shaped piece is harder to baste than single pieces and the mess ends up looking weird in the end. I am back to combining some shapes, but not as many as I thought I would.

La Pass Border Again

I am back from my trip to Portland. As usual, I went to get my mom away from home for a rest and to see my sister, the YM and some friends.

Unfortunately, La Pass is too big to bring with me on trips now. But I am working on it every spare moment I can. DH was gone for a week and I just left it laying on the living room floor and worked on it as I passed by.

La Pass Corner & Side

I decided, and I hope I can remember, that I would work on this side. I plan to fill in with pieces up to the tip of that green spike, then sew on a larger piece of background fabric.  I think most of this side will get cut off, but I still need to add some background pieces to straighten up the edges.

So far, I have only put the paper pieces down on the floor. I haven’t taken the time to tape them together and create larger sections from them. I need to do that soon as I can’t leave it on the floor forever, especially with DH home now.

Corner Store Once More

Corner Store Red Border

Apparently, I am still thinking about this quilt and you are, too.

Rhonda wrote in a comment “I’ve been thinking a lot about this quilt. Probably because the whole idea of a “souless quilt” is so sad! If this were my souless quilt, here’s what I would do. I would keep it as is, including the white border that is the same width as the squares. Then I would add a 6- or 8-inch wide border in a warm solid color, maybe red, or orange, or magenta. The border would need to be wide enough to balance out the white with color. I would probably do the binding in the same solid as the wide border. Maybe then it would look like the border was trying to contain/constrain all those active little triangles that are dying to get out of the box, and create some tension. Some applique on the border of escaping/leaking triangles would be fun, too. That’s it. That’s all I’ve got.”

When she wrote that I thought I would see how the quilt would look with a red border. I’m not sure, though I do see an improvement. I bought the red for something else, but it does add something to the quilt. I would have to make the back larger, if I decided to add another border.

Another Mosaic to Influence Quiltmaking

Borders have been on my mind lately,especially as I work through my Crazy Test quilt. I think about the value of borders when the self bordering technique does not work.

Here is another Ferry Building mosaic. The thing that struck me about this mosaic was the two different (large) borders. They are distinctly separate, but close enough in value to go together and look like they were planned. I don’t actually like the peachy hue, but it works on this mosaic. I think a couple of aquas or an aqua and turquoise would look great on a watery quilt.

Cow with a Border

This is another one of the nature related mosaics that decorate the Ferry Building. I have walked past this particular mosaic numerous times. It wasn’t until this week when I happened to standing near a newly moved table that I noticed the border. I really like the way the border sets off the center. I also like it that it isn’t a traditional checkerboard border. I think the classic checkerboard pattern makes a wonderful element in a quilt, but the rectangular tiles (aka patches) in this piece really give the work something extra.

I hope to get a picture of each of the mosaics.

Thinking about Borders v.APNQ

Quilt shows are a good place to try and work out a quilt puzzle because there are, generally, more quilts at a quilt show than any other place you normally inhabit.

I wasn’t really trying to work out a problem, but the idea of borders was rumbling around in the back of my mind.

I sincerely dislike borders t hat have no good DESIGN reason for being there. I don’t like borders that are just slapped on because the Quilt Police say you need a border or the quilt wasn’t quite large enough. I have engaged in this behavior, much to my chagrin, and endeavor not to do it anymore.

Thus you can imagine my delight when I saw this light and airy border on a Mariner’s Compass quilt. I LOVE the idea of giving the Mariner’s Compass some boundaries without hemming it in with a heavy and long piece of fabric. While it is not as cohesive as the self bordering technique can be to the design, I still find it to be very successful.