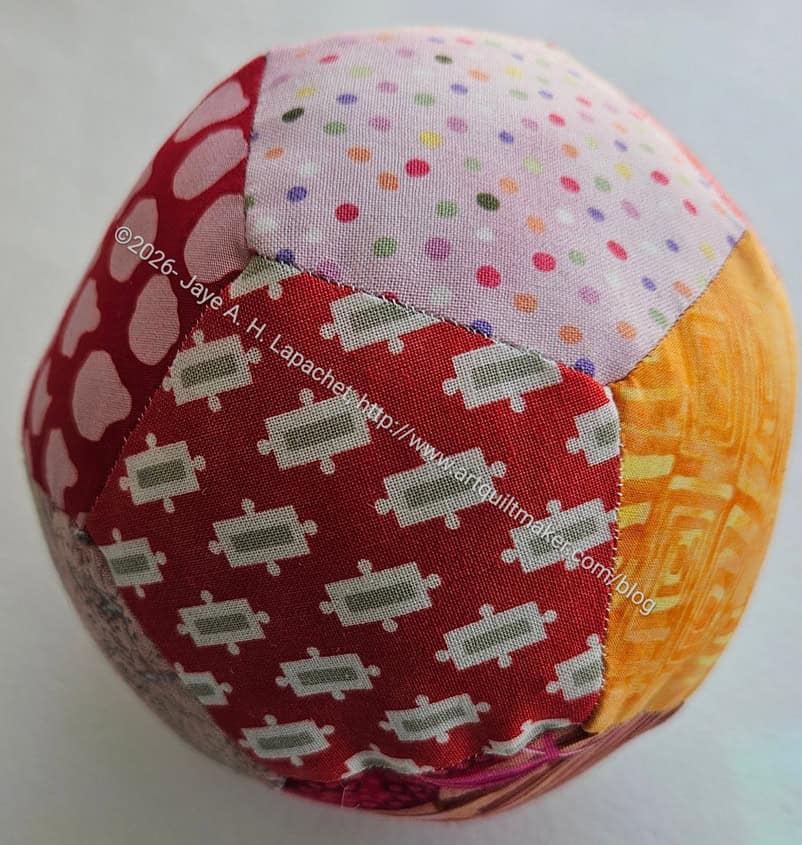
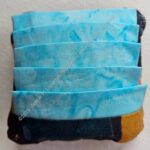
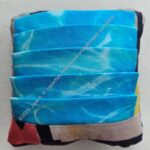
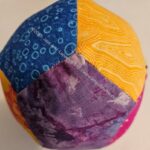
I finished another EPP Ball a week or so ago. This one is heading off to a Farmer’s market for my friend to sell. It’s a new adventure for me and we will see how it goes.
I have never wanted to sell my creations, because I love making things and want to continue to use it as a method of expressing my creativity as well a way to reduce stress.
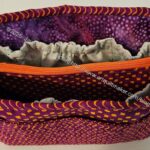
EPP Ball #11: orange & pink
This foray has a fairly low commitment. I am sending her two items to sell. I priced them on the high side, so we will see. I don’t want to encourage orders or people telling me what colors to use.
This one does not have any Beanie Baby pellets inside it. I had a reason for not including them, but I don’t remember what it is. I am working on another one and will add the pellets.
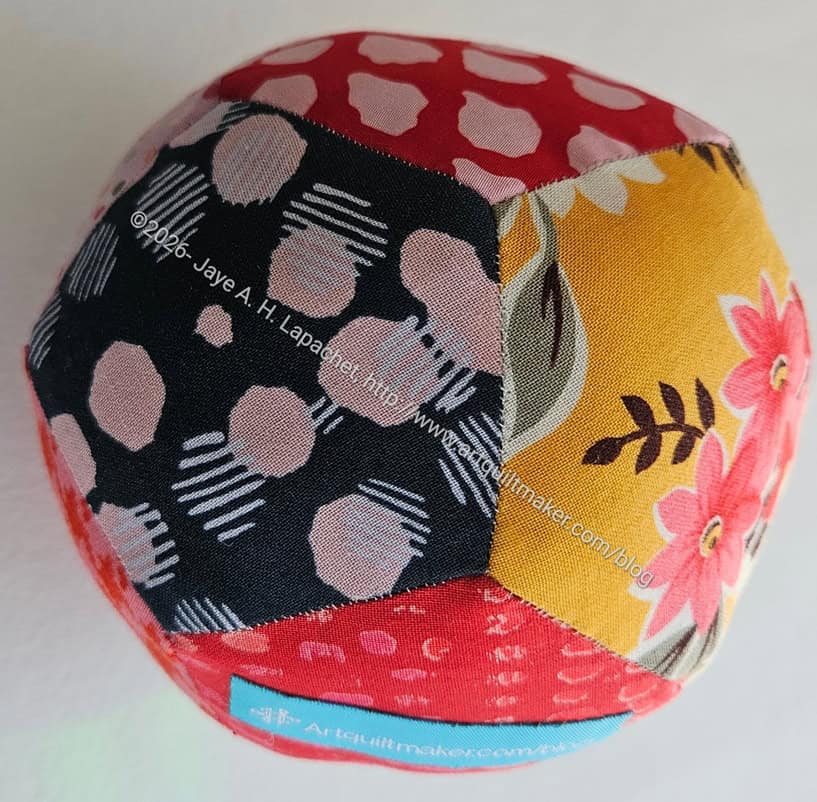
EPP Ball #11: orange & pink
Working on this project has made me want to get back to La Passacaglia, which is languishing.
Megan’s Bone Enigma has been on my list for awhile. It doesn’t show up on any of my 26 Projects lists, because I hadn’t started cutting or sewing. It only shows up on my UFO Challenge list, because I have been wanting to make it for awhile and hadn’t quite gotten to it.
I could have waited to write the “All the Enigmas” post, but I will have to write another one as I am already cutting others out.
Megan’s Bone Enigma-interior
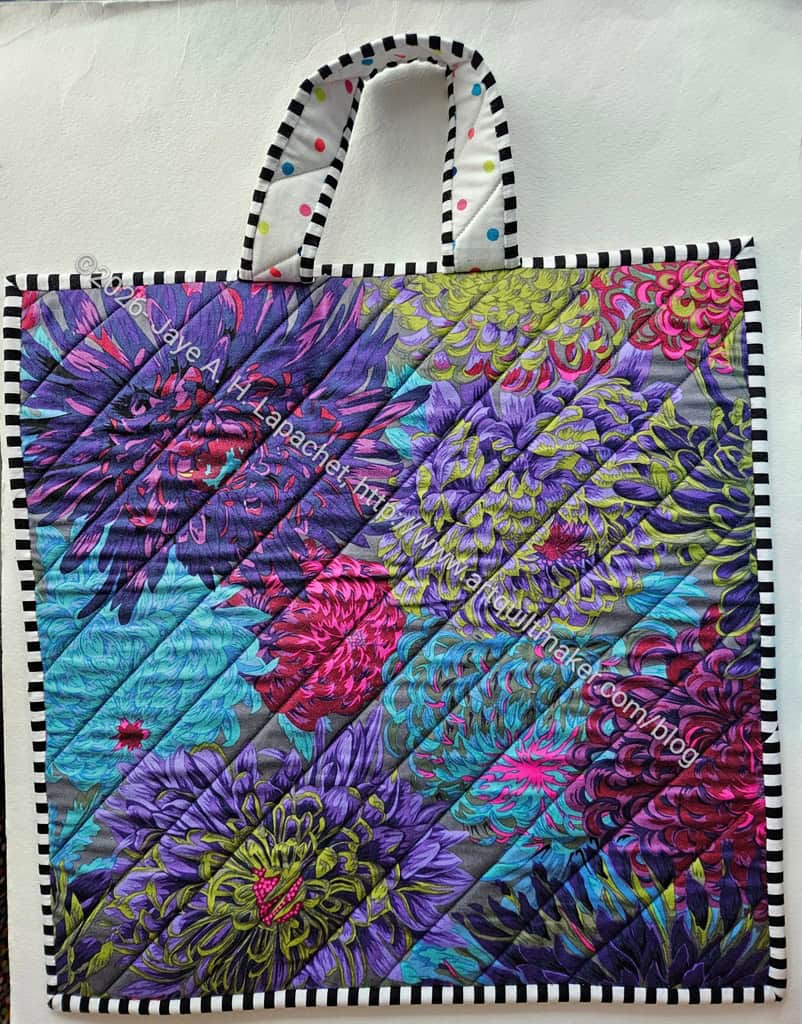
This bag goes with Megan’s Hand Bone Hackney. She said she liked this fabric and I hope that is true. I bought it for another purpose for which the fabric will not be used. I did make several projects from it, but still have at least 1.5 yards left.
One thing I did on the bottom, which are pieces that need to be quilted, was fuse the fabric, both lining and exterior, to the foam using MistyFuse**. I had forgotten to cut the lining and exterior larger before quilting and wanted to try and mitigate shrinkage. I think I could have left the bottom unquilted, because the MistyFuse really adhered well to the fabric. I was kind of surprised since the MistyFuse has been laying around my workroom for years.
I am pleased with how the center looks. I just feel like it came out really well. The fabric, a Birch Organic, looks really great.
Megan’s Bone Enigma-bottom
I tried really hard to line up the fabric so that the motifs were oriented in the right way.
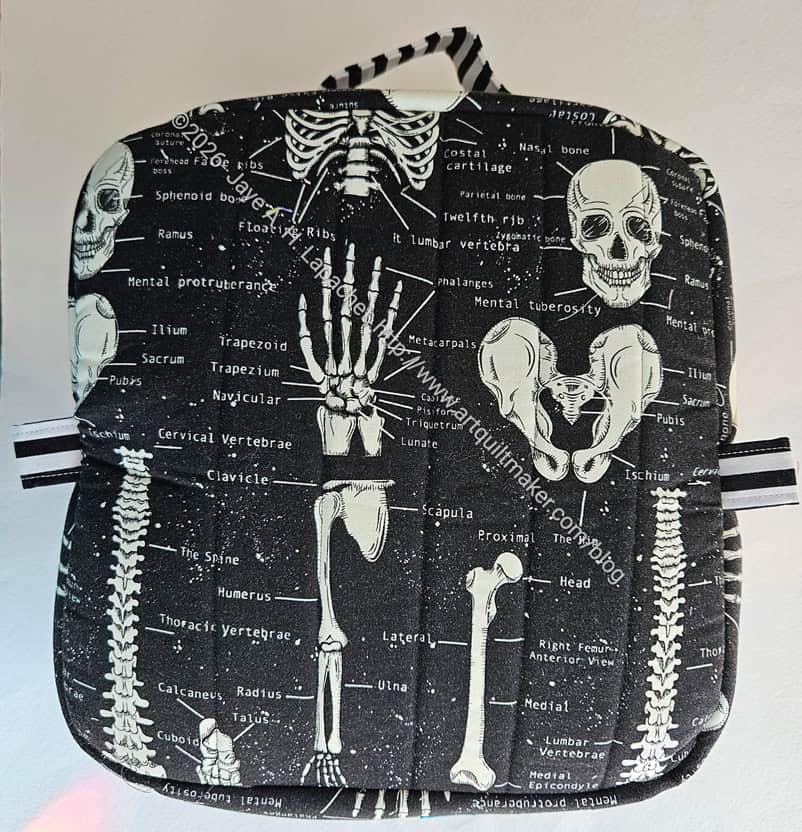
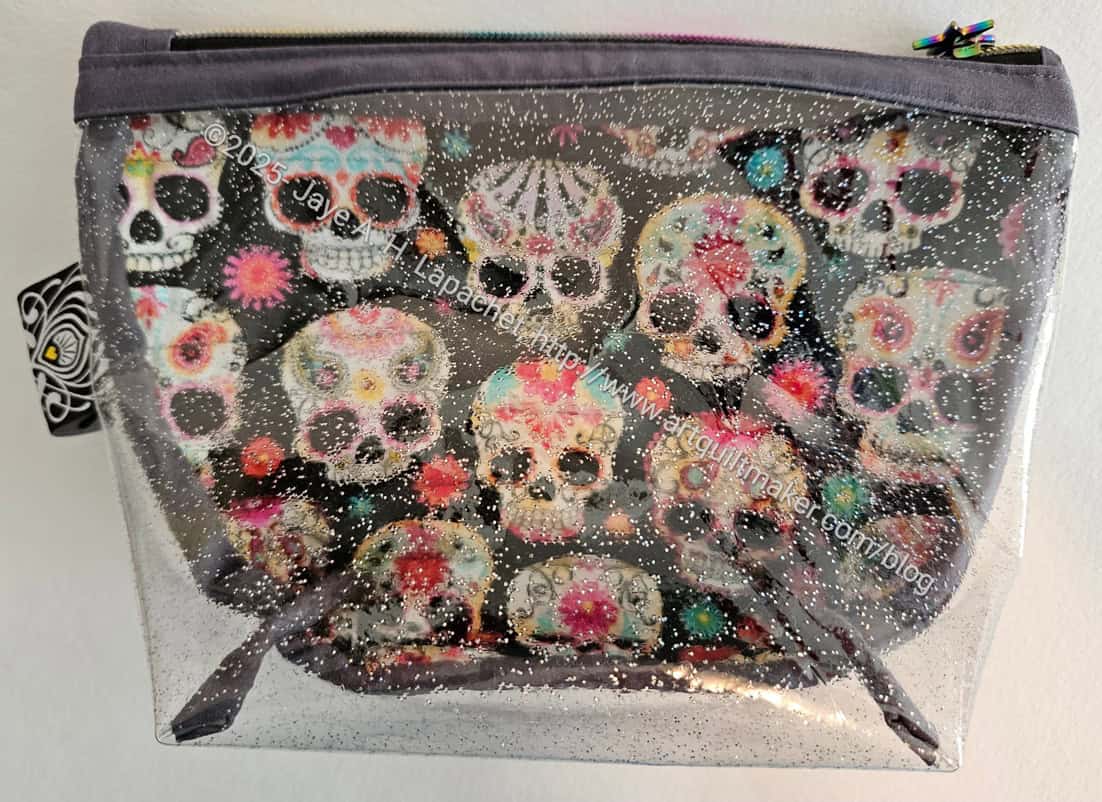
In the photo of the bottom you can see how the motifs are oriented towards the top. See the handle? When the bag is closed the part of the bottom with the skull forms the back of the bag and that skull as well as the other motifs are right side up.
Megan’s Bone Enigma-bottom-> back – closed
Cool, huh? Sadly, I did not match up the motifs on the top piece with the back piece. I was pretty proud of myself for doing this much, though I don’t think anyone will notice. *I* notice and that is what is important!
Megan’s Bone Enigma-top closed
I am on the fence about the striped handle and pull tabs. I didn’t have any solid black at the time I cut those. The design works pretty well, but I think a solid black would have been better. Or maybe a black and grey stripe? Not sure, but I’ll have to think about it. I did use this same strip on the handle of Hand Bone Hackney, so that is something.
An unintended effect looking at the top is that the handle is enclosed by two hand bone motifs! It looks kind of cool.
I also used MaryC’s rivet press at Sew Day to put rivets on the handle. I am super excited about that!!
Megan’s Bone Enigma -side
Megan’s Bone Enigma -side
I still love the diagonal zipper. I thought the zipper tape I chose would be too large, but it worked out ok.
Well, even though that number hasn’t been picked in the UFO Challenge, I have finished it. I am giving it to Megan today, so needs must.
**Obviously, you should shop at local quilt shops and small businesses. However, if you are too busy or can’t find what you need there, I use Amazon affiliate links and may be paid for your purchase of an item when you click on an item’s link in my post. There is no additional cost to you for clicking or purchasing items I recommend. I appreciate your clicks and purchases as it helps support this website.
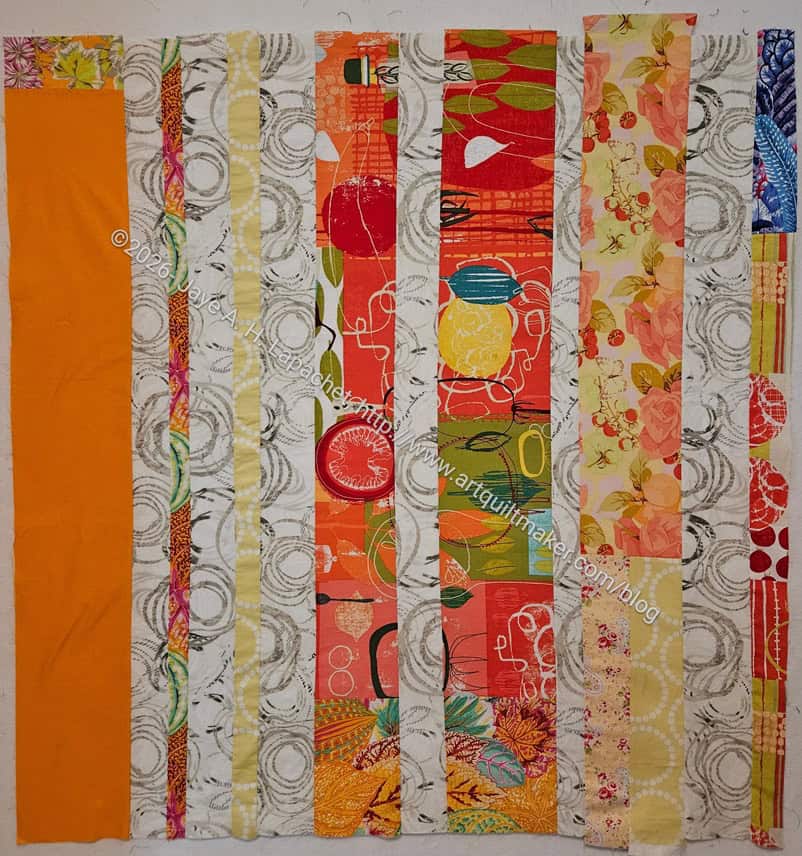
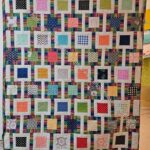
I wanted to make a second donation top for the year and going through a stack of fabric helped. I found the neutral background and that cemented my resolve.
I used the edges that Colleen cut off of Gelato #2 to start this donation quilt. That back was quite large, so I had long pieces from which to choose.
I shoot for about 40×40 for these quilts so a yard of fabric total works. The neutral I found was a half yard.
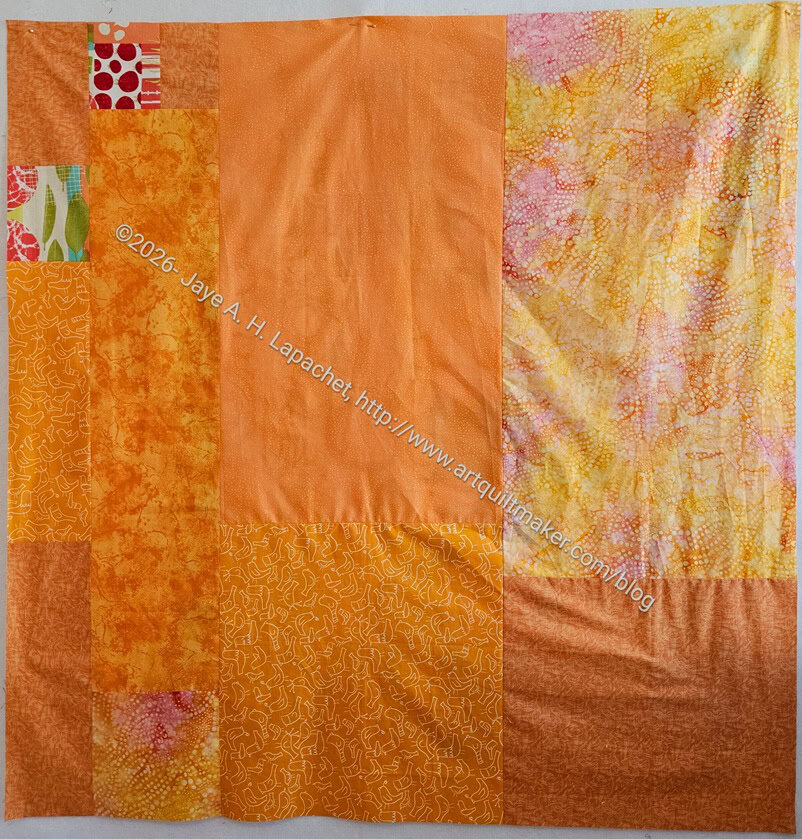
Ends n.23 back
Except for the back, I didn’t need to dig into my bins of fabric. I chose some light oranges for the back, then dutifully measured and put together some batting scraps for the batting.
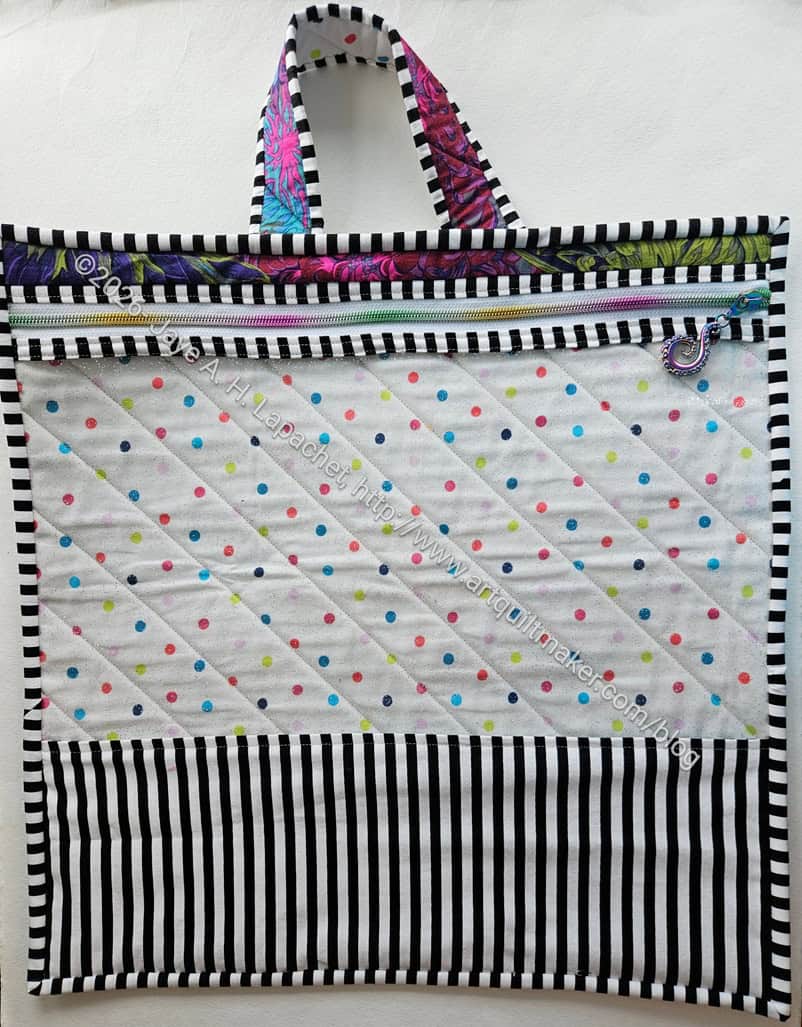
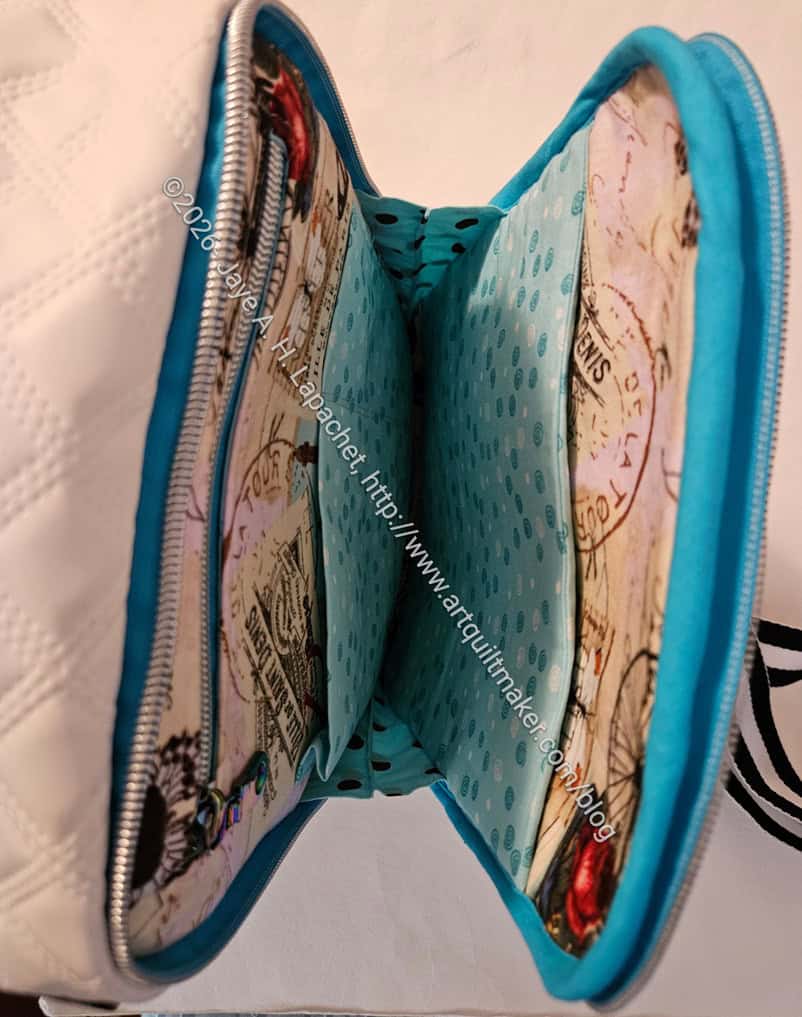
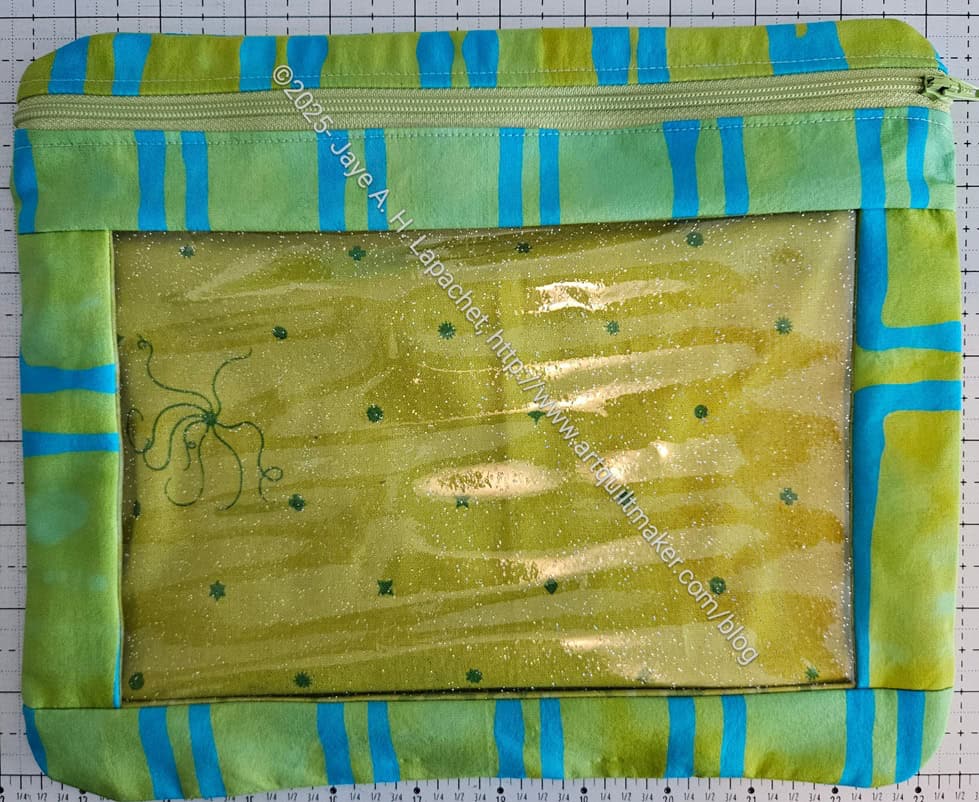
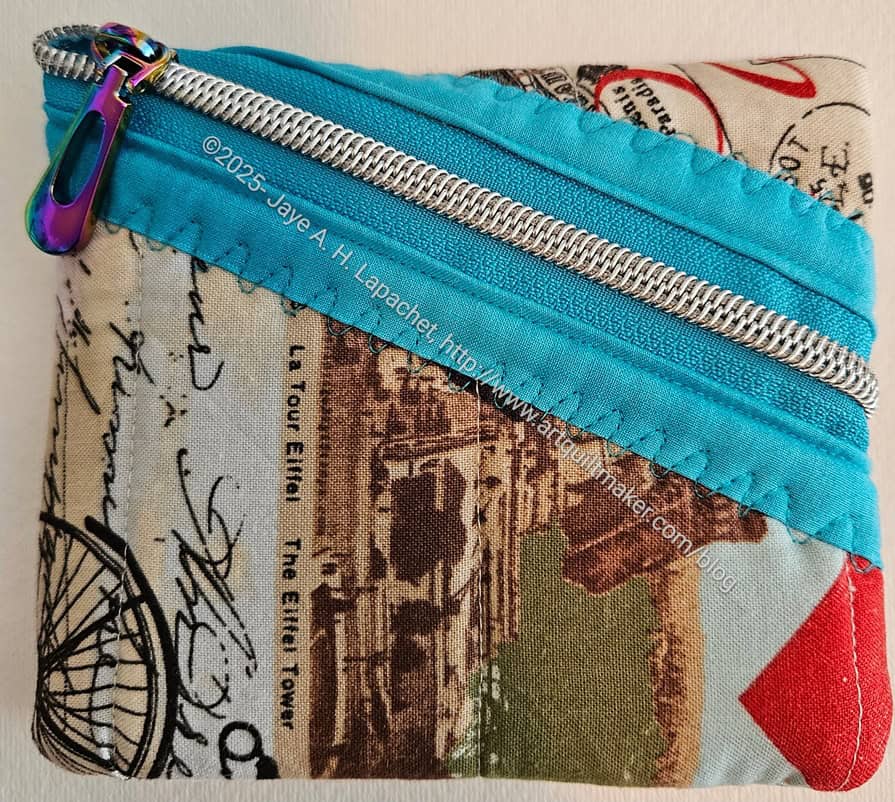
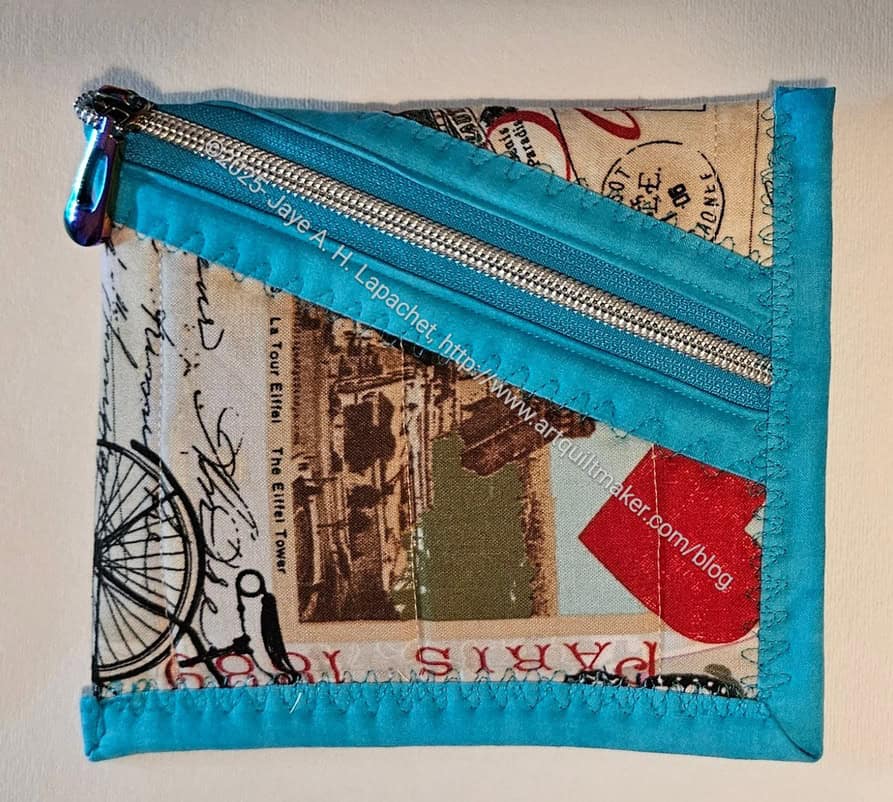
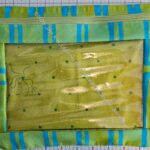
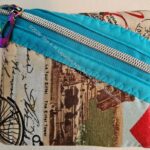
I finished the Project Bag that has been on my list for a long time. Or what feels like a long time. The last time I posted about project bags was a year ago and I was thinking about making this project bag.
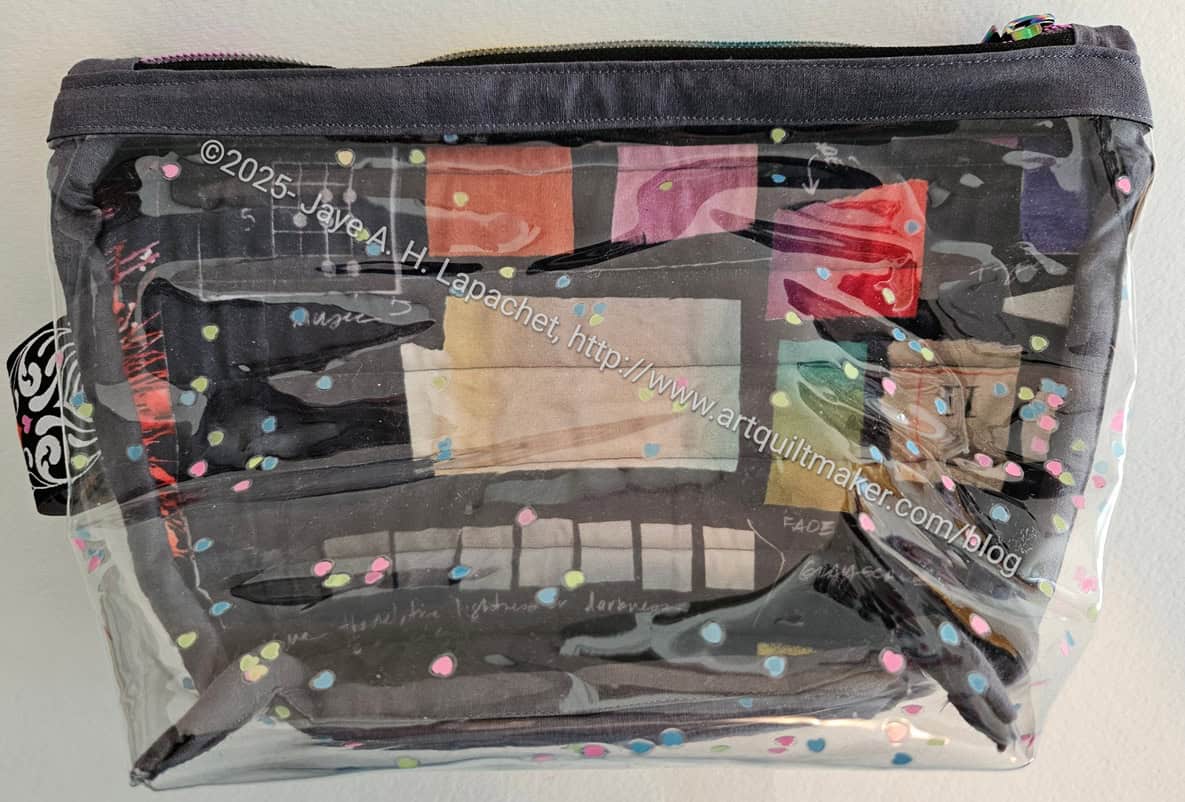
I wanted to make sure that the zipper tape was covered. The ByAnnie patterns don’t always take care about that and it is a particular annoyance of mine. I know it doesn’t really matter, but I like the zipper tapes completely covered, even on the inside.
My extra large project bag-back
MaryC uses a technique where she folds a piece of zipper tab fabric in half and slips the zipper tape in then sews and folds the excess back. I tried that this time and found it worked well. My only problem was that I made the piece too small in width. I had to add an an extra piece on top to close the gap. Still I liked the technique. I just need to figure out a better size for the zipper tabs. I think I might have read the pattern wrong and reading it correctly might help. We’ll see if I make this bag again. I think I have enough project bags for the moment. I don’t want too many as it will encourage UFOs.
This is #9 on the guild UFO challenge. I’ll bring it to Sew Day to show off.
I am into sneak peeks lately! You got one the other day about this finished Pandora Charisma.
Yep!
Finished! Done! Complete!
I powered through a lot of the finishing steps, which were the hardest, on Friday so the bag could be done for the Month 1: UFO challenge reveal.
When I brought it to Sew Day, as mentioned, I wanted to add some additional rivets, but for all intents and purposes, it was done before I did that. I am pretty pleased with it, though I know there are things I could do better and want to do better.
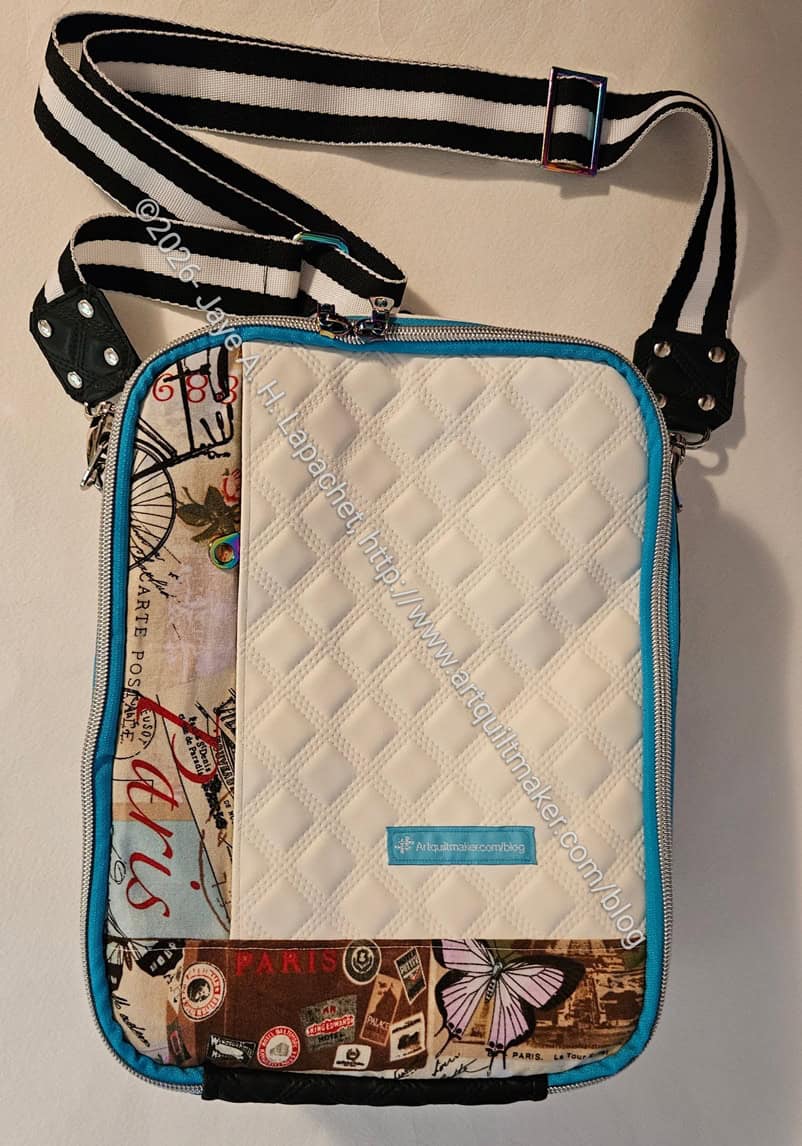
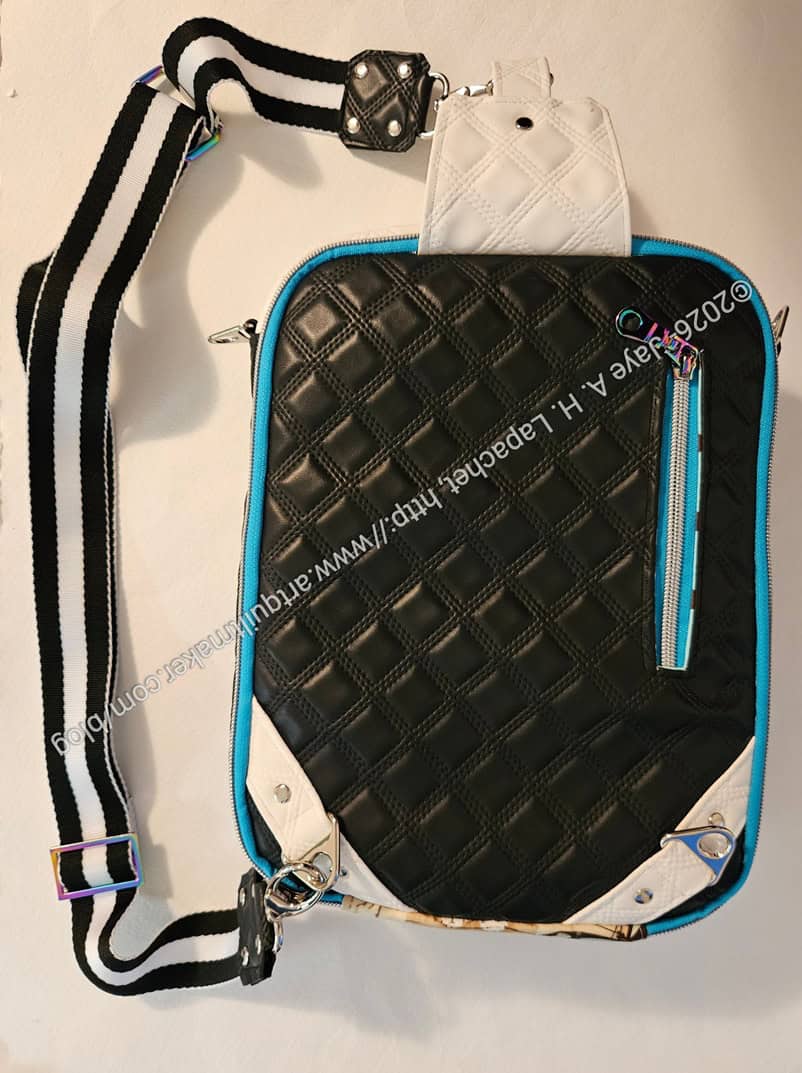
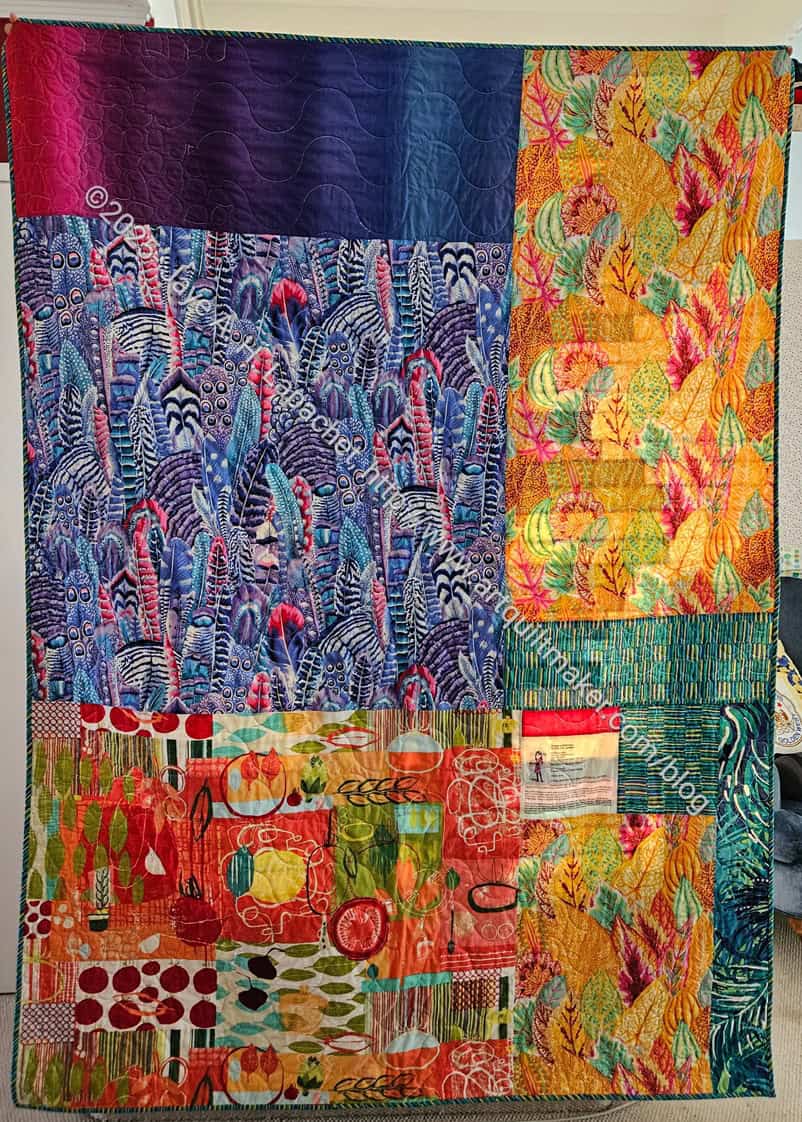
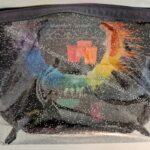
Pandora Charisma – back, finished
I am really pleased with the back. I think it looks awesome and I can’t really believe that I made it using all the weird substrates.
The zippers look good, but I wasn’t happy with the way the teeth were so high up from the zipper tape (the teeth were not flush or flush-ish with the tape). Also, there was something strange about the zipper tape. I am going to use a different brand when I make this bag again, maybe Wawak or ByAnnie continuous zippers next time. Using the continuous zipper was good for small zipper areas like the back zipper shown on the photo, right. The teeth were too high, but I had to secure the zipper with fabric, so the stitches looked ok. In general, though the high teeth kept me from making nice straight stitches. It was good that I had enough continuous zipper yardage to have the same zipper tape on all of the many zippers required for this bag.
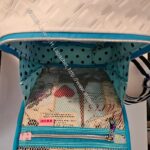
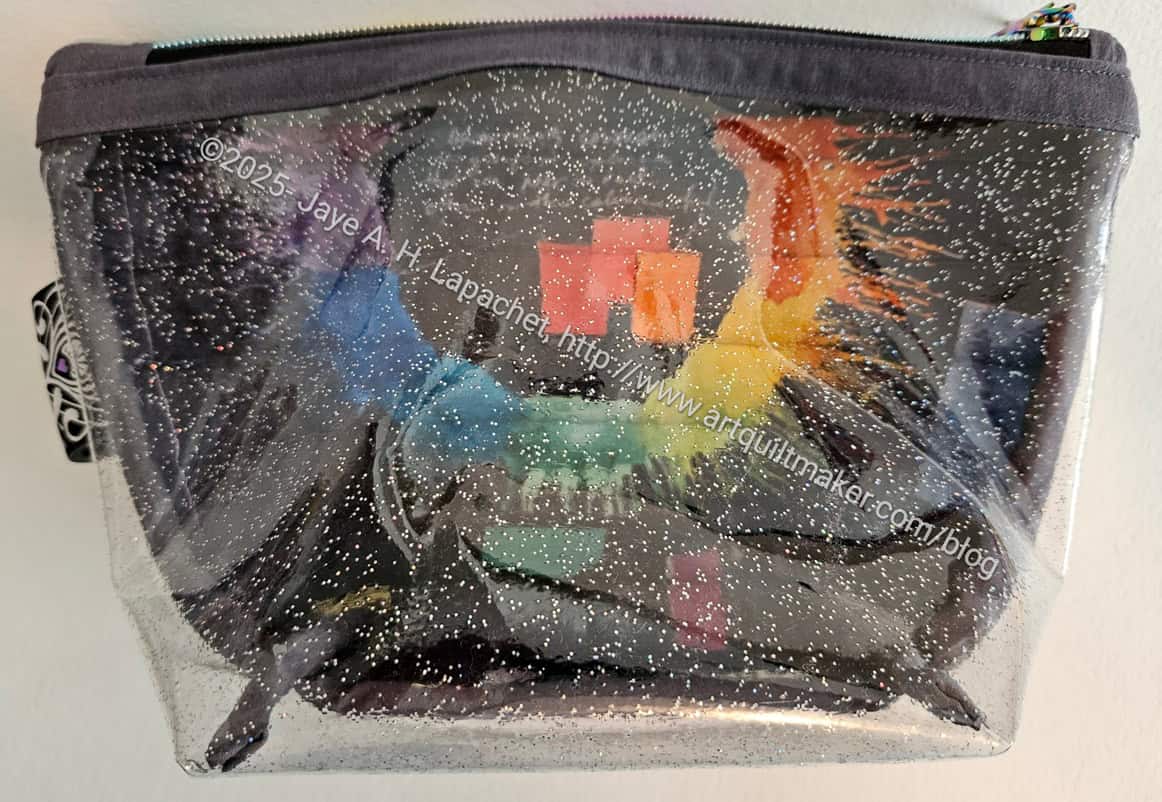
Pandora Charisma – large pocket, open
Pandora Charisma – large pocket, open
There are a lot of pockets and places to hold stuff in this bag. The front pocket is like a regular purse area. the main area has a mesh pocket, which will keep things safe but handy and a slip pocket. The leash is very useful for keys, but also for attaching anything you don’t want to lose. That leash could be made of ribbon, tiny webbing or leather.
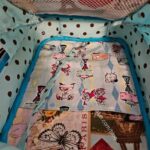
Pandora Charisma – tablet pocket, open
The back pocket has a small tablet sleeve, which is padded to keep your Kindle, iPad or other type of tablet safe. The pocket opens a lot more narrowly, so you have to use that side for items that can be slipped in and out.
The most challenging part of this bag can be seen in the photo, left, and that is the binding. The final step, which, seriously, almost made me give up, is putting the bag together then binding the edges. It is really hard to shove so many layers under the needle and get it to look ok. I did one side of some of the bindings by hand, which was a big effort, but looked a lot better than my first binding by machine. My binding effort is not stellar, but I was able to finish.
I do want to make another. I plan to borrow my mom’s 1960s Emdeko machine, which is one of those all metal machines that can sew through anything. I also plan to go through the pattern while I have the bag at hand and decide which pockets I can sew in vinyl, which need more interfacing, etc, so I am more prepared next time. I also want to count up all the hardware I used so I have matching hardware when I make the next one.
I am really pleased that I finished it and plan to take some time to relax with some easy projects.
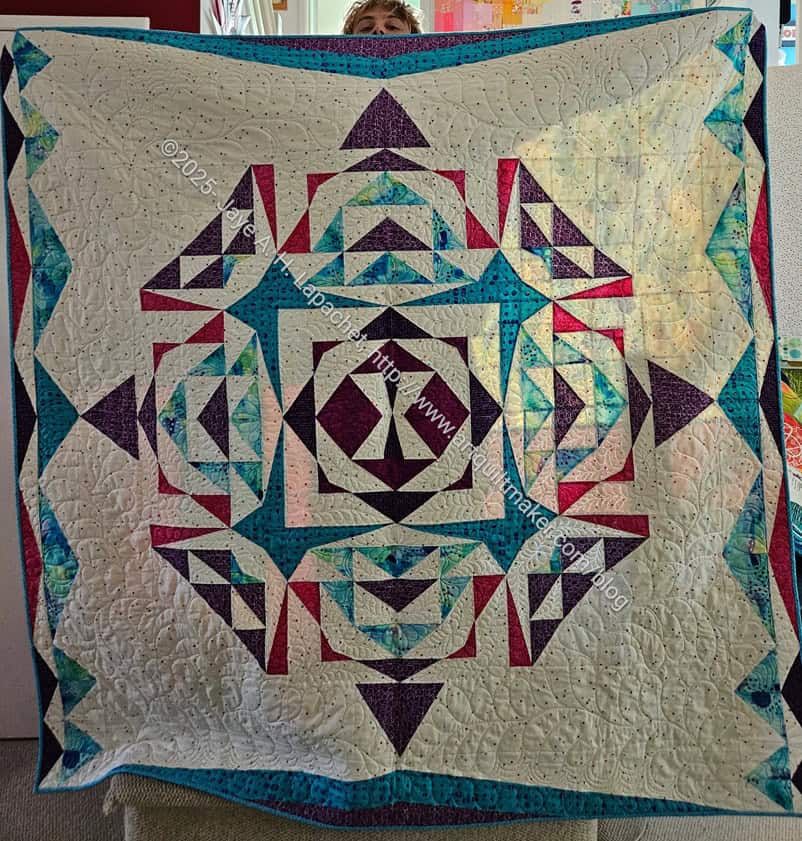
You got a sneak peek the other day that I had finished this quilt. I plan to enter it into the Fair, so I need to start working on a sleeve. I could have made it when I made the binding and prepared the quilt for longarming, but I didn’t think of it so here we are.
My quilt holder is my youngest nephew. He spends at least once a week with me doing yard work, though the day I took this picture his duties expanded to quilt holding. This was his first outing as quilt holder and he is as tall as the YM or DH, but you can see the quilt pretty well.
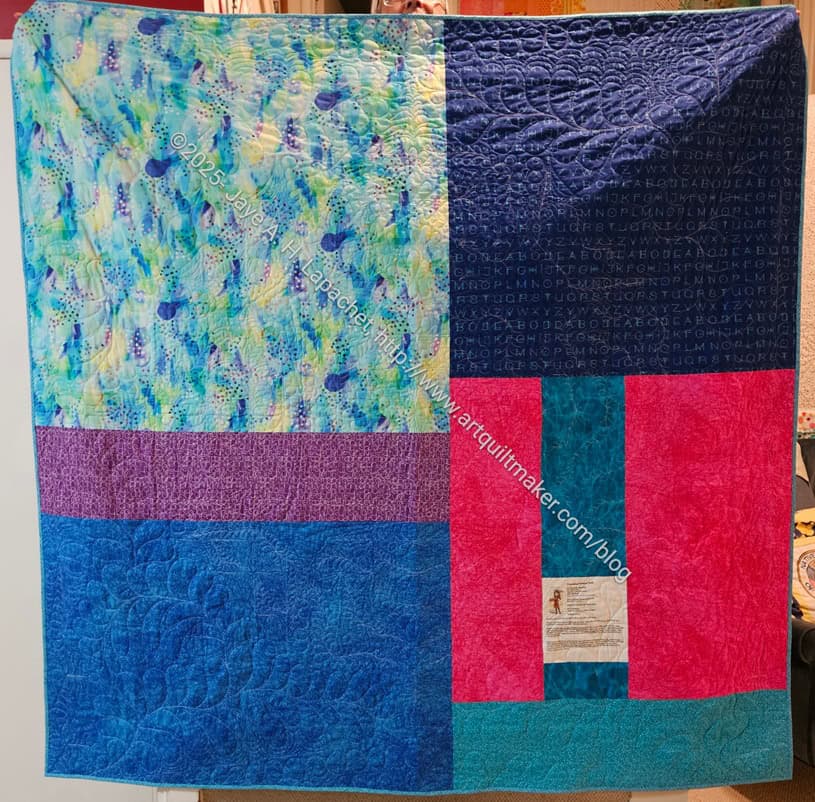
Triumphant back – finished
I used much of the leftover fabric for the back, which I really like.
This was a great quilt to finish, because I’ll be really happy to see how the recipient likes it.
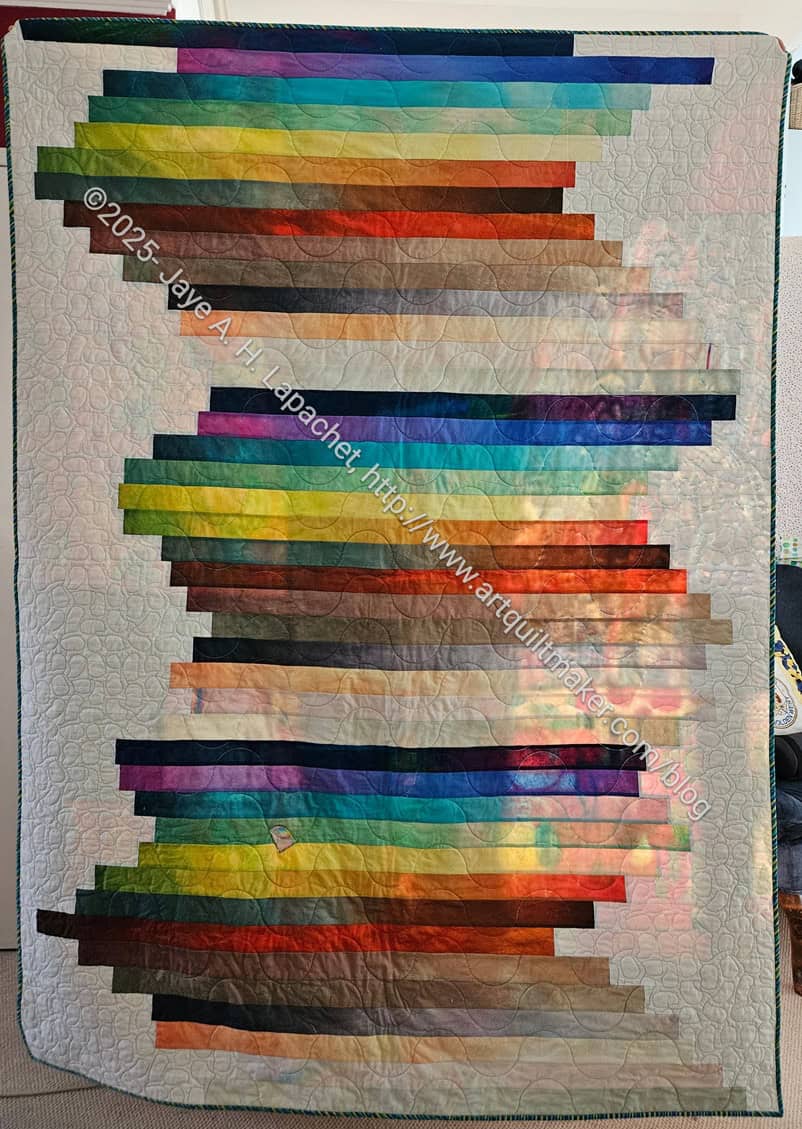
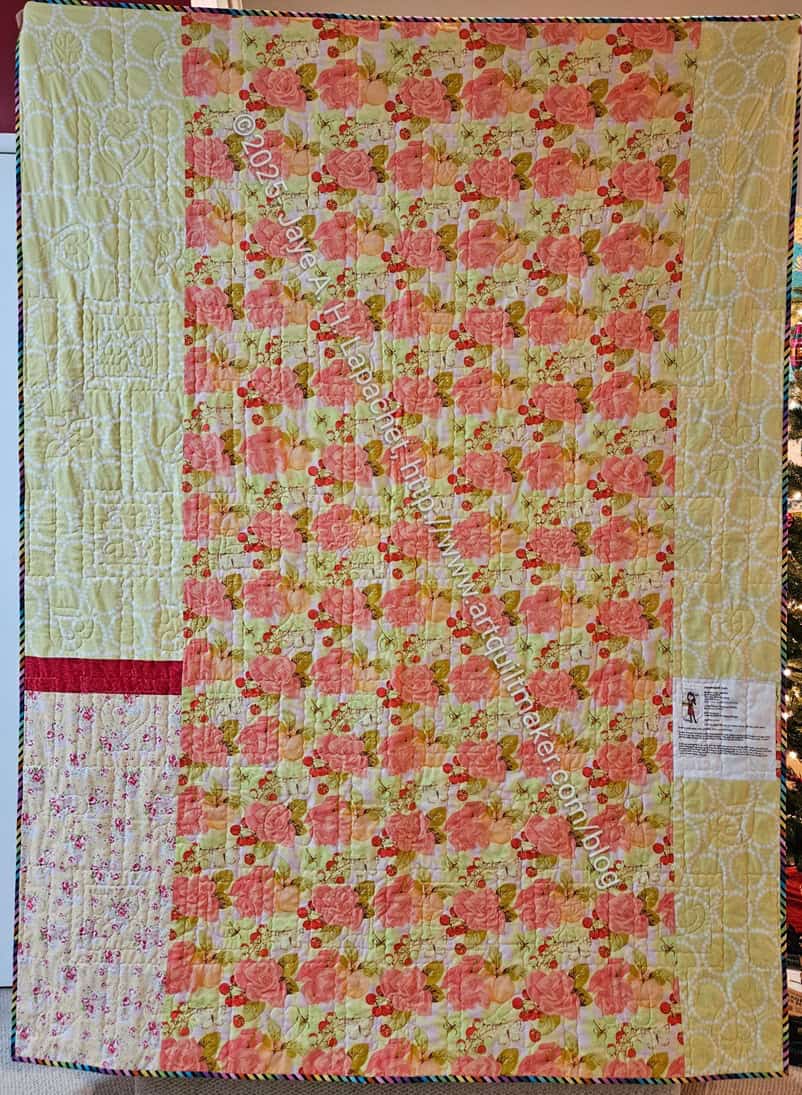
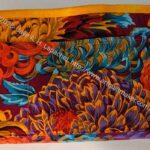
I think I am calling this quilt Gelato, because of the style in which I pieced the first one, but more because of the name of the fabric I used for the first quilt.
Gelato #2 back
The back is pretty wild, but I also like how cheerful it is. This is what happens when I pull out all of my backing fabrics and pull out ones I haven’t seen in awhile.
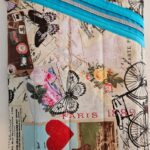
One of the patterns I used to make holiday gifts was the Stella Pouch from Center Street Quilts. I have made a couple of these before. One was for a swap and one was my contribution to Laura’s gift basket. I got excited about this pattern when I saw the video with a half vinyl version. I also like the ability to see the fabulous prints used for the lining.
Stella Pouch for Carrie
I made three of these for the holidays. There are no specific directions for using vinyl or adding a Flying Geese strip, as Katrina shows in the version linked above. It isn’t difficult to change substrates or add some Flying Geese, but I forgot the Flying in all three pouches! I’m annoyed because foundation paper piecing, in general, takes me forever and I worked hard at getting these strips done for these specific gifts. Oh well. I’ll make some more of these pouches and add the Flying Geese to them.
Stella Pouch for SueG
The other thing I did just to add a bit of flair was use some of my Renaissance Ribbon as the pull tab. I am not sure how practical it will be. I need to start using my ribbon and this was as good a start as any.
The one thing I need to do differently was the zipper end. It was very thick and hard to turn. I talked to Mary about it and probably need to trim more around the zipper. Another good reason to make more of these.
I finished the Chain Link just in time for Christmas. All I had to finish was the binding. It required hand stitching, which seemed to take forever. As DH was holding it up for the photo, he commented on how large it is. I guess that’s why the binding seemed to take forever.
Chain Link back
I don’t mind. I like having some hand stitching to do in the evening.
I made the back as cheerful as I could after digging into my backing pile.
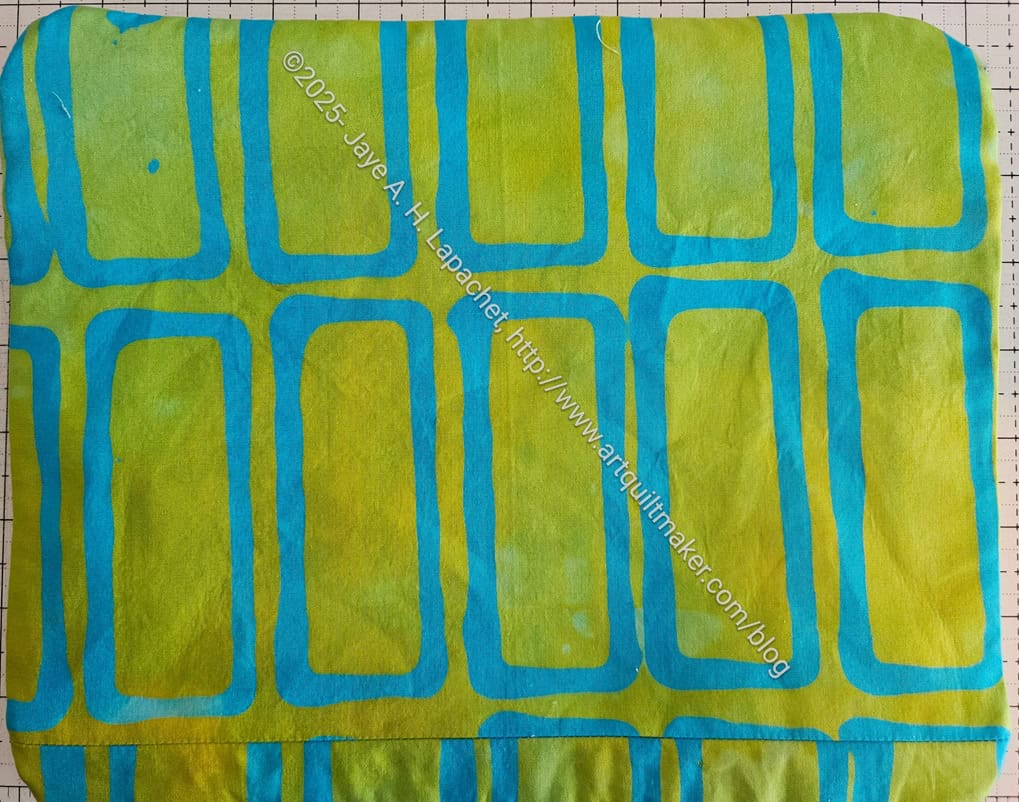
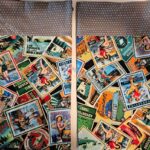
I quickly made this pouch for Tim as a gift. I usually make him a gift, but for some reason I didn’t plan ahead for him. I will in 2026.
I rounded the corners of this version as it was easier to sew. I also used some great hand-dyed fabric that Sonja made for me a long time ago. It is precious so I save it for special projects.
Green I Spy for Tim-back
Tim loves everything green and he uses the bags I give him, so I decided to use some of this precious fabric for him.
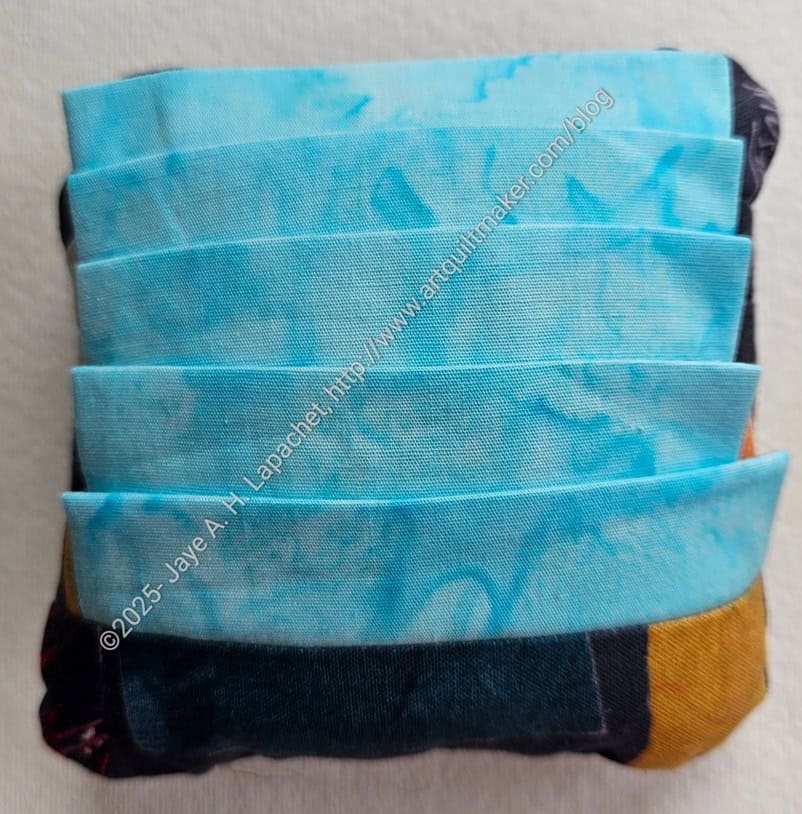
Sue has mentioned a few times that she loves my Clippy Pincushion.
I decided that it was time to make a couple for her and Carrie. I hesitated because the pins have to go into the pincushion almost horizontally in order not to get stuck when you grab the item. I have never figured out a way to prevent that. Of course, I haven’t lined the largest pieces with foam or something either. Maybe I’ll try that.
**Obviously, you should shop at local quilt shops and small businesses. However, if you are too busy or can’t find what you need there, I use Amazon affiliate links and may be paid for your purchase of an item when you click on an item’s link in my post. There is no additional cost to you for clicking or purchasing items I recommend. I appreciate your clicks and purchases as it helps support this blog.
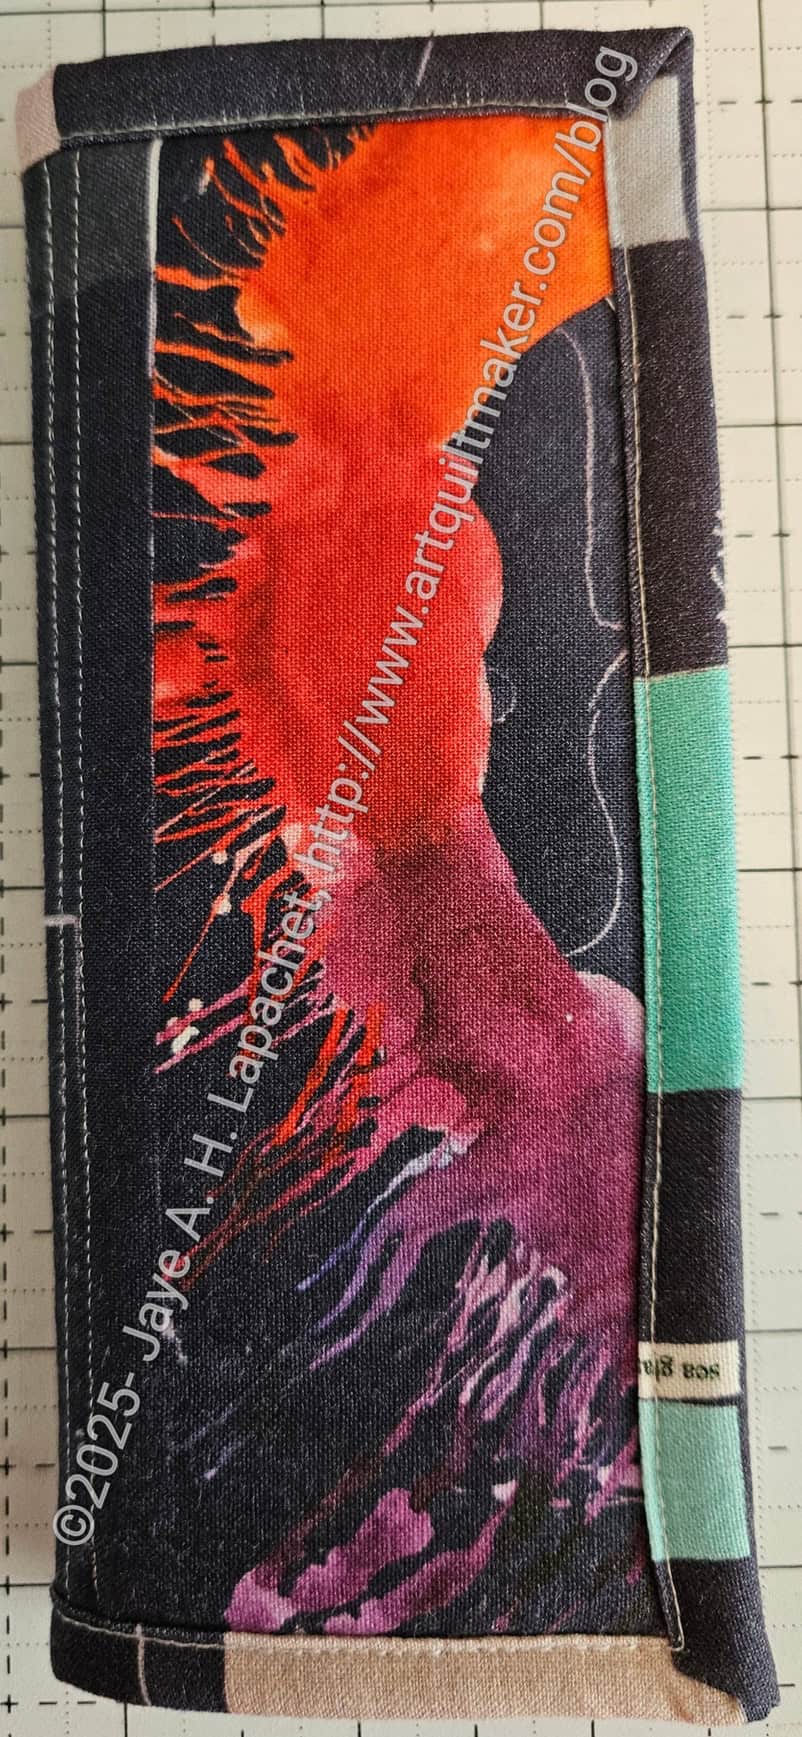
For a long time I have had the hardware for the Hold Tite Folios. I bought it to make one for myself and one for Friend Julie. She, however, beat me to it and I never made them.
The pattern is free from Lillyella. You have to buy the hardware kits from her Etsy Shop, but they are currently unavailable. I don’t know if you could get the metal, two pieces 26 gauge galvanized sheet metal: 2”x 5.625”, cut at a hardware store or not. I was going to make more of them, but I won’t since the hardware kits aren’t available. Maybe I’ll ask if they can cut metal at the small hardware store in the City that I visit. I doubt Home Despot would do something like that.
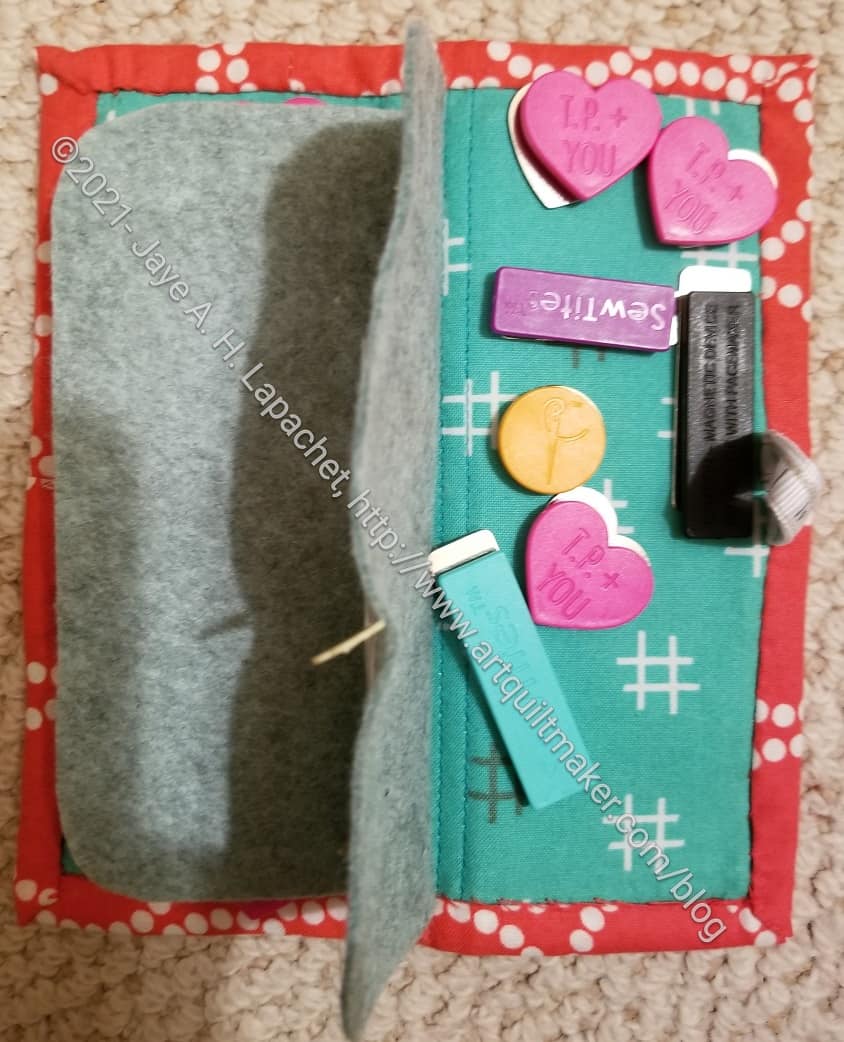
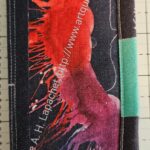
Hold Tite Folio (right)
These are useful, because they can carry and contain Sew Tites. The picture is of my Hold Tite Folio since I didn’t take photos of the insides of the ones I made.
The galvanized steel really holds the Sew Tites in place.
I know it doesn’t always seem like it, but I am trying to use various supplies I have on hand. This was one reason I made the Hold Tite Folios. Another is that I like giving useful gifts.
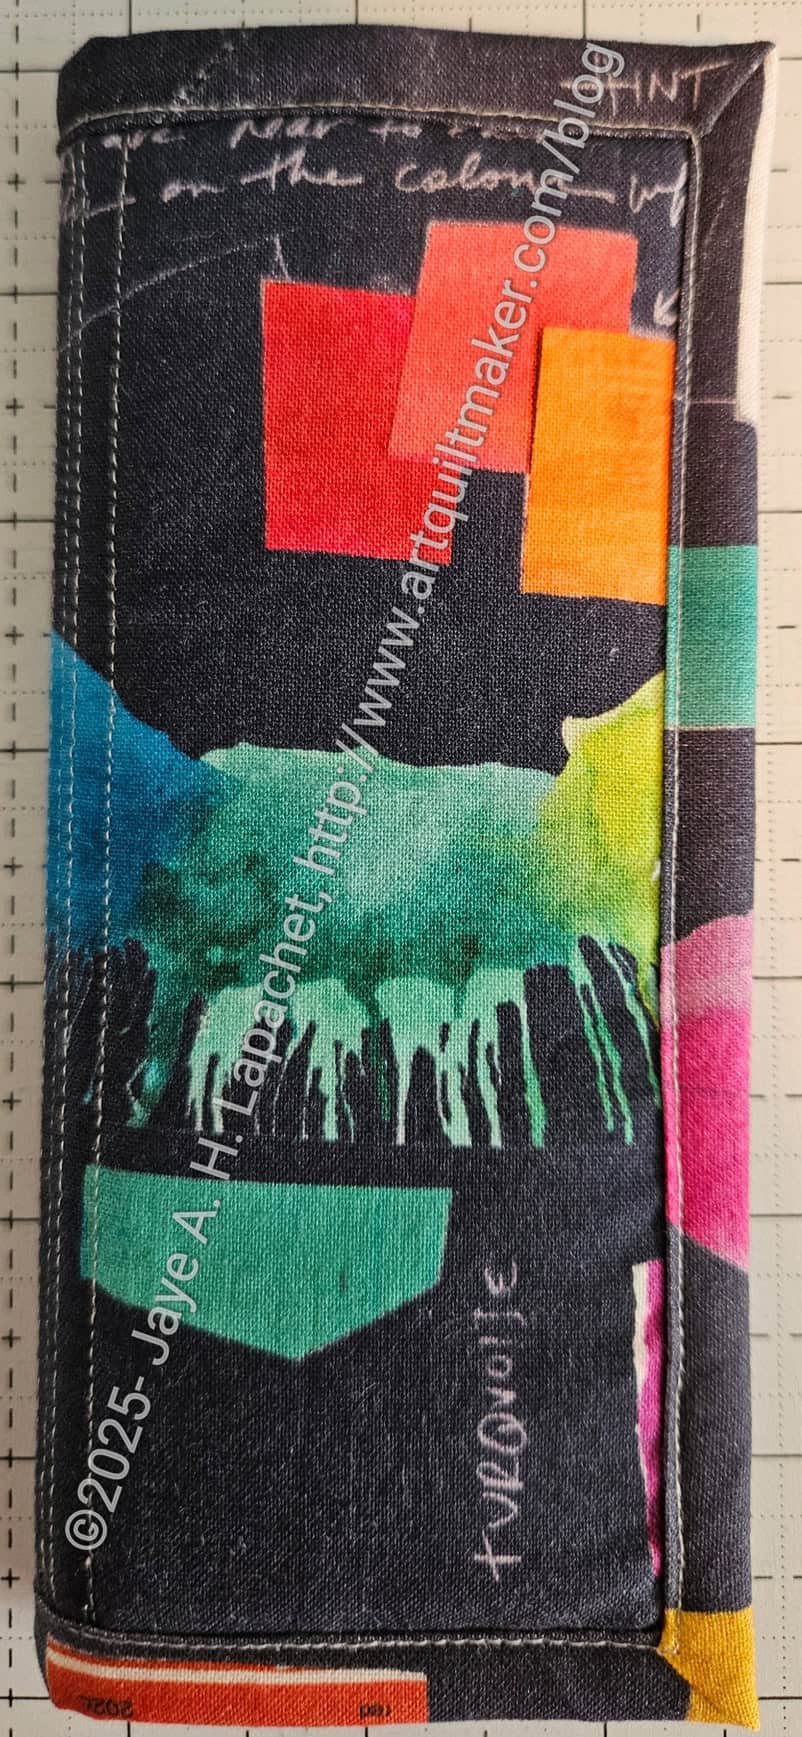
Hold Tite Folio for Carrie
As you can see these match the other gifts I have made for Sue and Carrie. I like making sets.
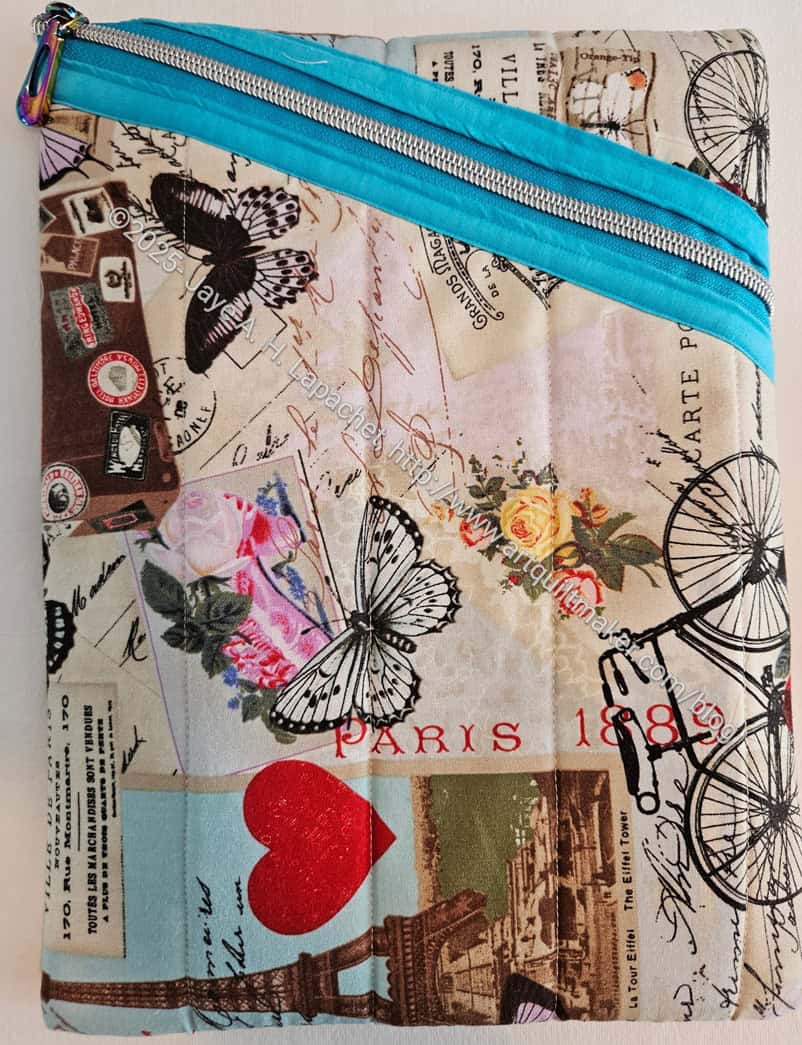
I decided to make a Hemingway pouch for my sister for Christmas. Partly this was to provide a laptop/tablet cover for her and partly because this is a quick project and I hadn’t started a more complicated bag in time to get it done before Christmas.
I made this pattern once before. I ended up with a section of vinyl and half a zipper. This time I decided to take MaryC’s advice and make a small pouch to go with the larger one. Mary uses hers for WonderClips, but Lil Sissy can use her for small cosmetics or dog treats.
I am pretty pleased with how it came out, though the print looks a little sideways. I also meant to add a handle, but forgot in the process of getting it done.
Baby Hemingway – 1st iteration
The first iteration of the small Hemingway had the binding on the outside. My machine binding still needs work. I didn’t like the way it looked so I cut off the binding, bound it on the inside and made it a little smaller.
It isn’t really a Christmas gift, but I made it and gave it to my niece around the holidays, so I am putting it on this list. It makes the list look more impressive. 😉
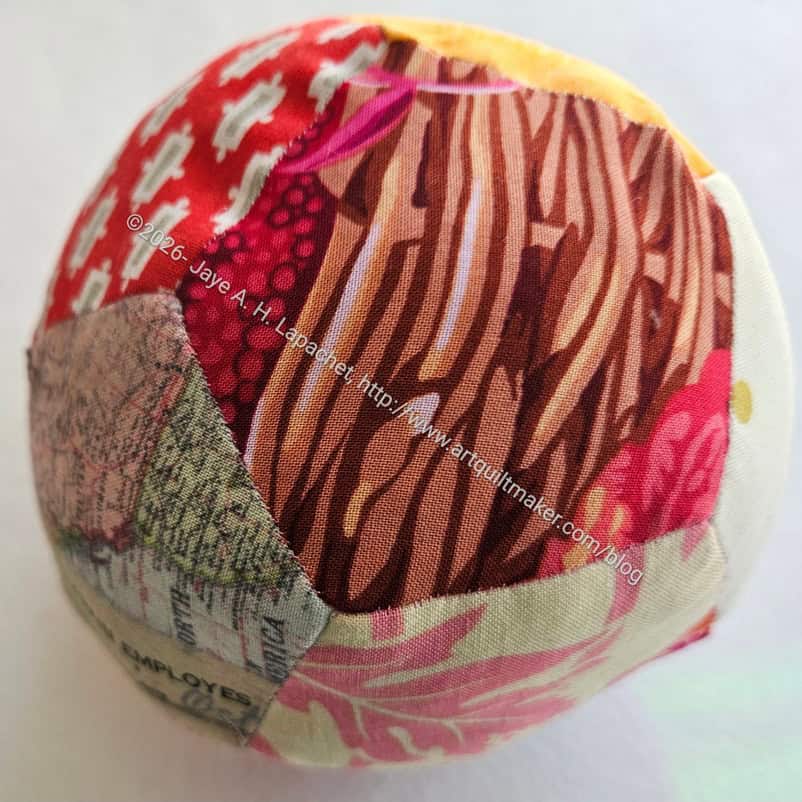
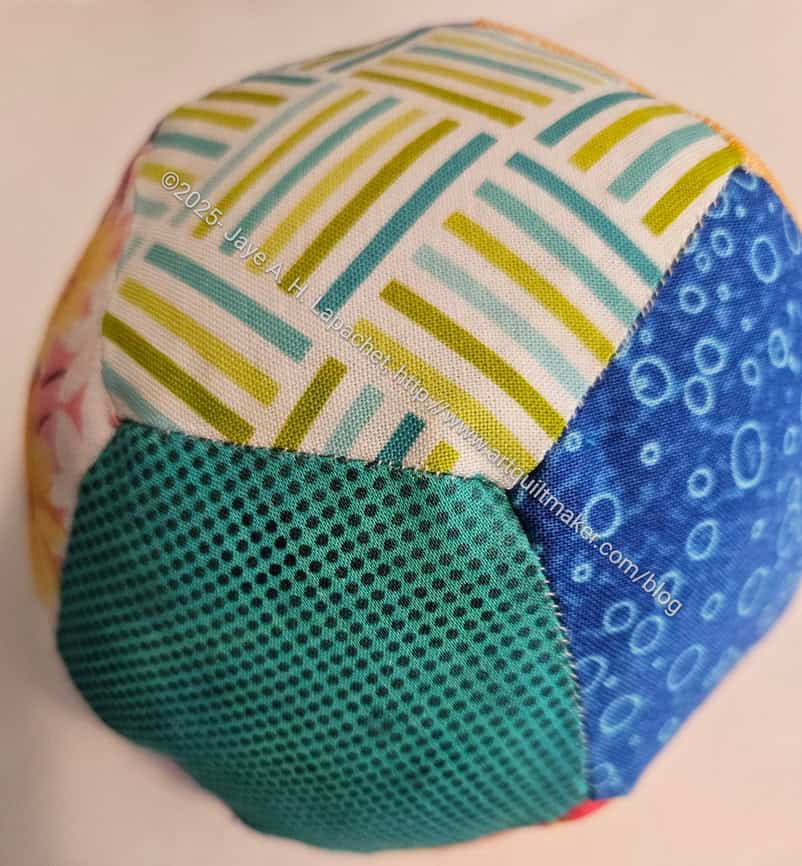
I made another EPP Ball, which I will give to my exercise teacher. These are super fun to make. I love having a hand project and babies and toddlers really like them.
I also like using the 5 inch squares I cut from scraps. I have a ready supply so I always have a lot of different fabrics from which to choose.
These are a little hard to photograph. It is hard to get all the different sides. The photos below give you a good idea of how it looks.