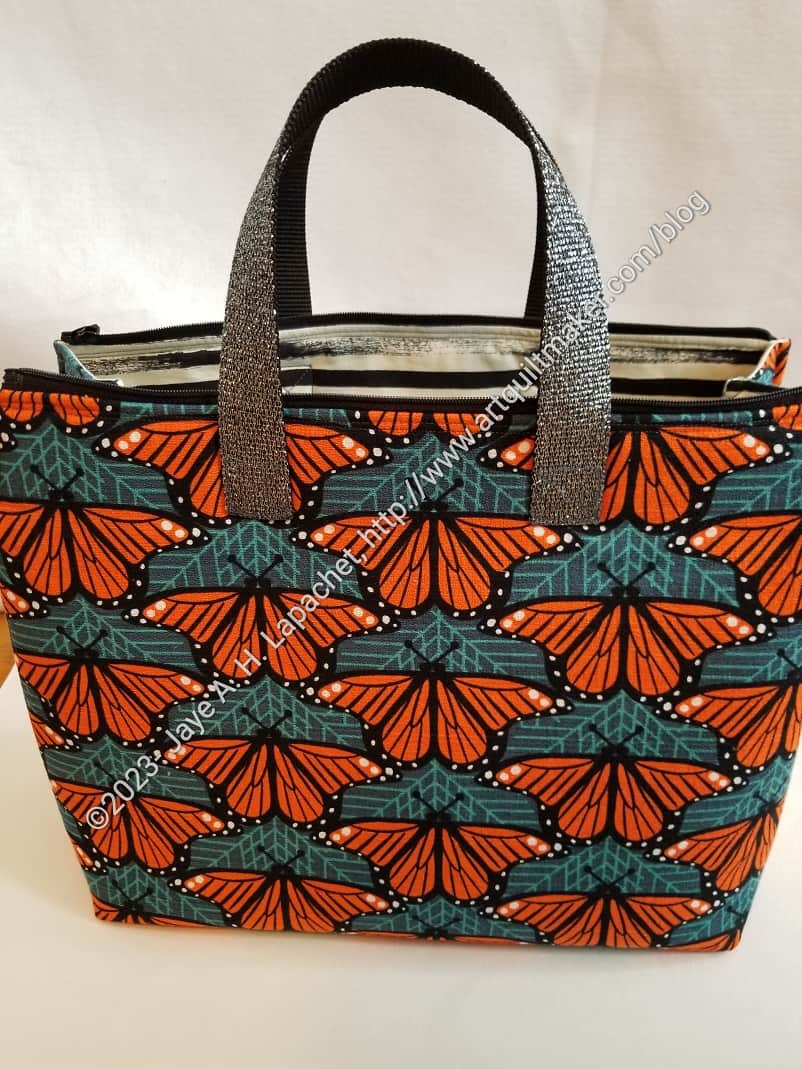
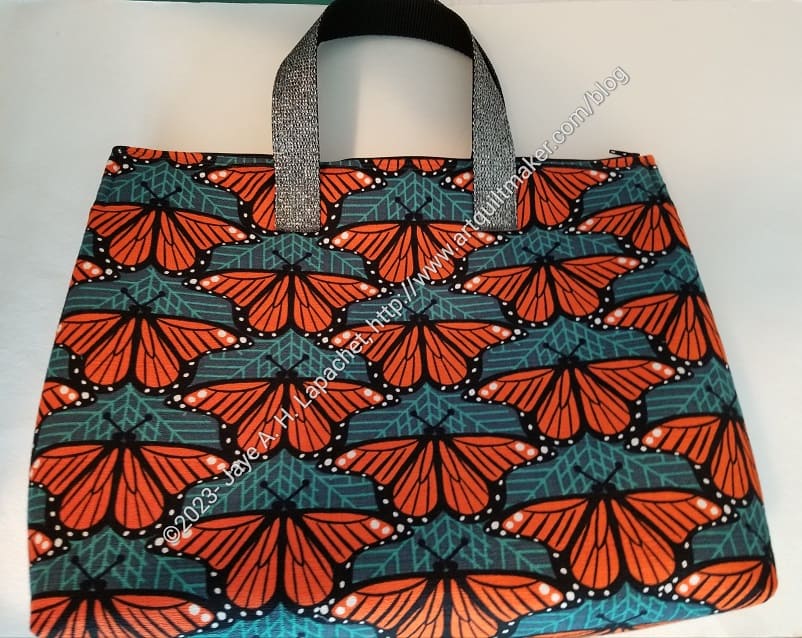
I really love this bag. It is sitting on my cutting table so I can admire it. The fabric is great, but I really love the size and shape.
I haven’t tried carrying anything in it, so stay tuned for that adventure.
There are also some details I haven’t used in other bags that I think make a nice finished look.
This is an Aneela Hoey pattern. It is a stand-alone pattern, as in not from her book, Stitched Sewing Organizers**. I have had the pattern for awhile and admired Mary C’s version at every Sew Day. I talked a little about the beginnings of this bag in the post earlier this week. I will say that I was able to finish it pretty quickly and that I immediately wanted to make another.
Of course I did! It seems to be my MO. I do have some of the pieces cut out for a smaller version, so I may make one of those. We’ll see. I do like the large size.
I had some trouble with some of the directions, but it is my poor pattern reading not the pattern. I’d love to hear what others think about the directions on pg. 8. I found them confusing, but I looked at some of the photos provided after the first page, then I tried some things and went with it. The basic idea was to sew the lining to the exterior staying within the seam allowance.
There was some ripping, but in general this bag went together pretty well.
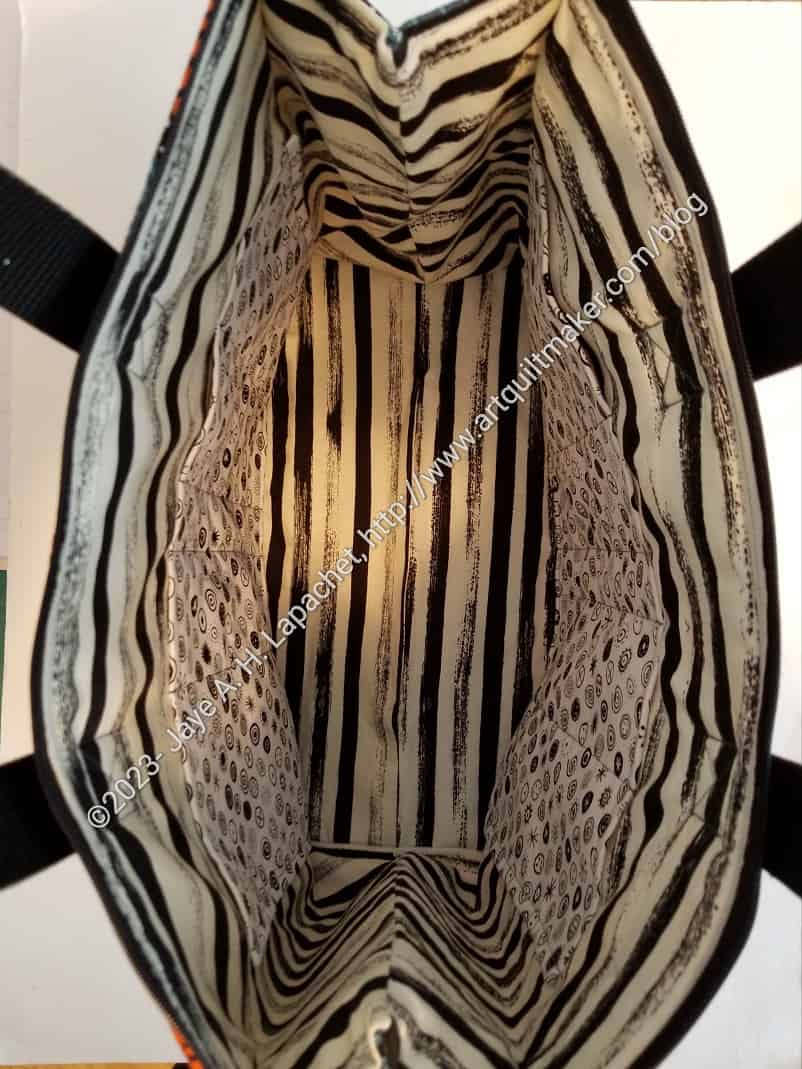
The pockets look pretty useful. I don’t have measurements for my particular tools and supplies, so I mostly followed Ms. Hoey’s guidelines in the pattern. I don’t know yet what I will use this bag for, so I am not worried yet.
I did change the pocket fabric at the last minute for the circle motif fabric. I had cut out the pockets using the striped fabric of the lining, but changed my mind. I will use the fabric for the pockets for another version.
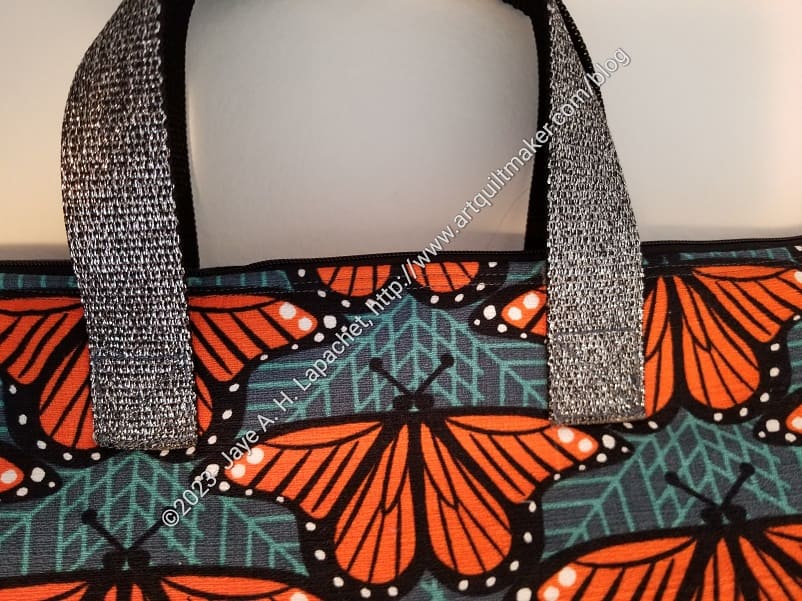
Considering my ‘handles from the back’ technique, I am pretty pleased with how they turned out. I don’t think these handles will feel very good if I had to carry this bag filled with heavy supplied for a long distance, but I don’t anticipate that happening.
One thing I did with my fingers crossed was modify the zipper. This pattern calls for a 14″ separating zipper. I only had a longer one. I followed the directions, which were to fold the ends over at a 45 degree angle and sew the angle into place. It seemed to work just fine and the zipper looks good. Whew!
I really want to put this bag into use. I may replace the Ultimate Carry All bag with this one, though that bag is growing one me.
**Obviously, you should shop at local quilt shops and small businesses. However, if you are too busy or can’t find what you need there, I use Amazon affiliate links and may be paid for your purchase of an item when you click on an item’s link in my post. There is no additional cost to you for clicking or purchasing items I recommend. I appreciate your clicks and purchases as it helps support this blog.