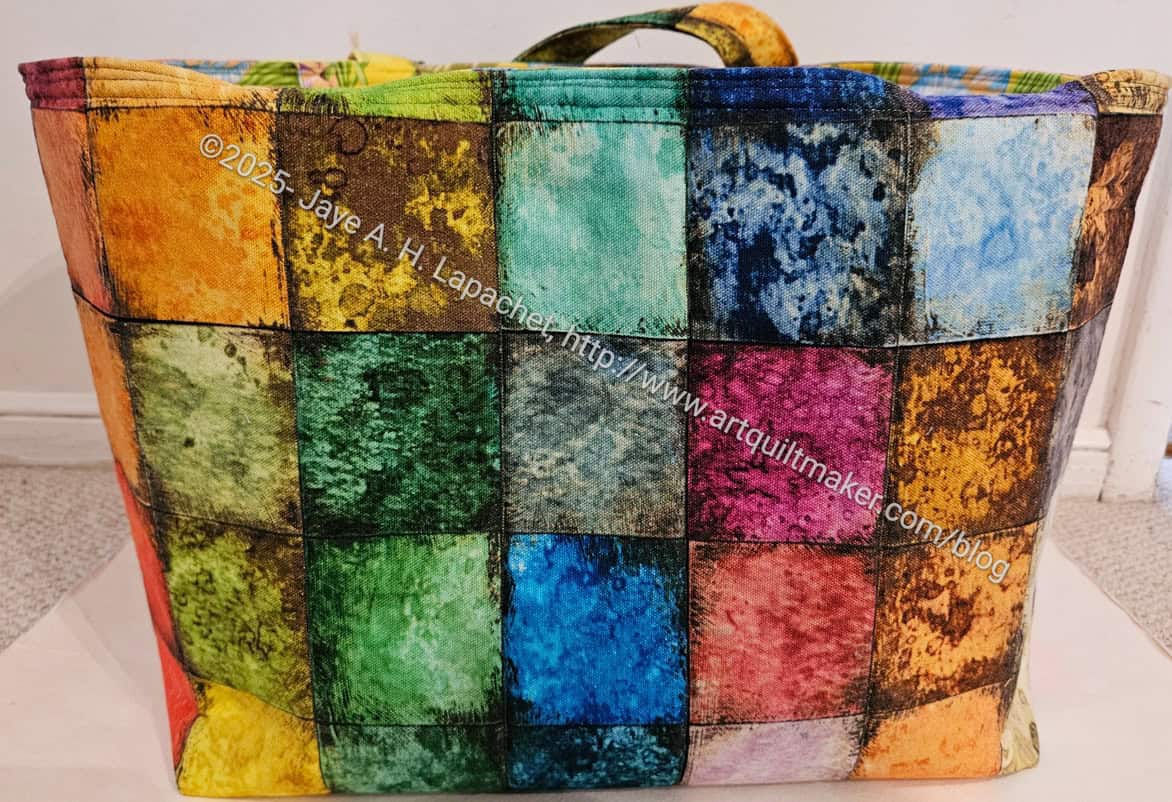
I bought this fabric at Pioneer Quilts, I think. It is a Tim Holtz canvas. I like the color block pattern even though it has a lot of brown.
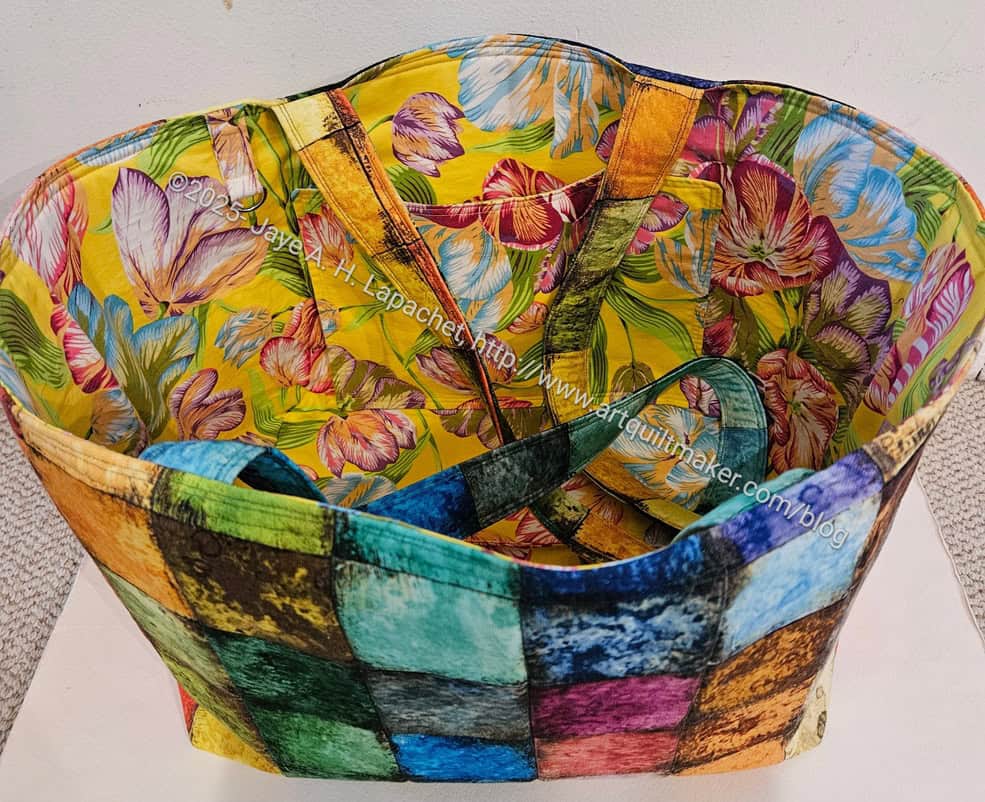
Chubby Charmer 2025 – interior and exterior
Almost as soon as I arrived home, I dug out the Chubby Charmer pattern and got to work. I have made several of these. I think I bought the pattern and made the first one in 2009, which is still in good shape and serving as a collection point for interfacing. I felt like it was time for a new one. The pattern calls for a charm pack, but I wanted to just use one fabric, so I had to do some math. This is a pretty basic pattern, so I didn’t worry too much about exact numbers. Since I wasn’t sewing 50 charms together, the bag went together very quickly.
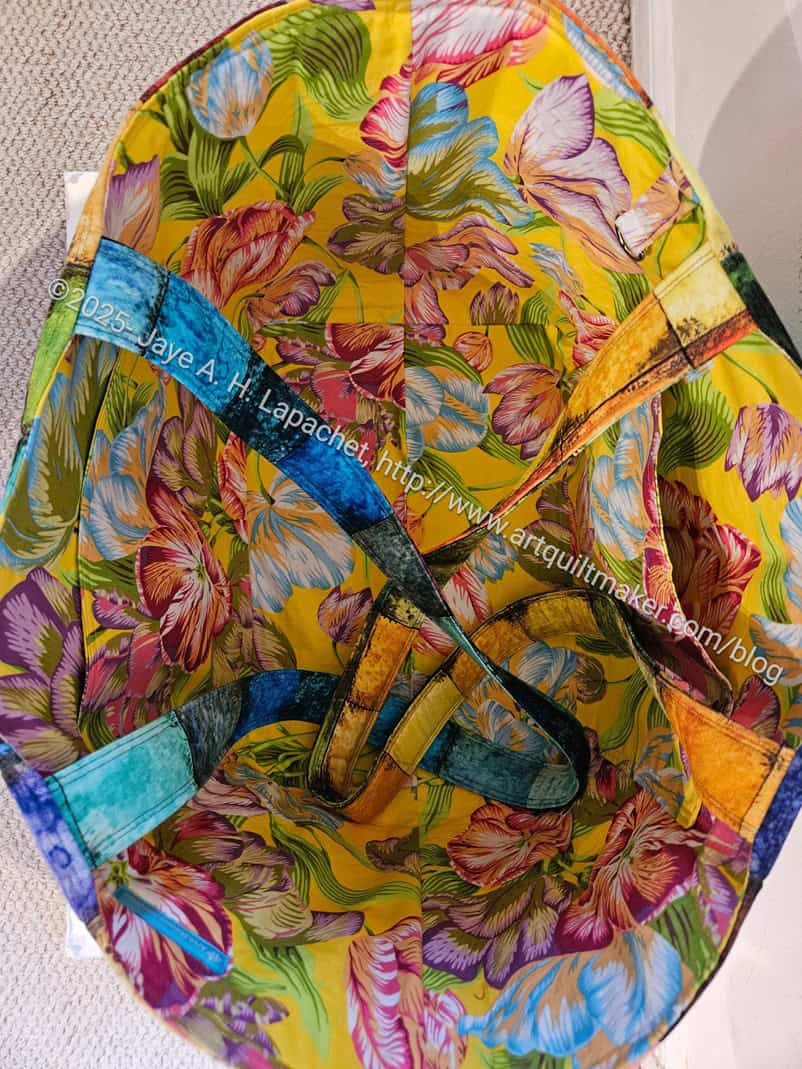
Chubby Charmer 2025 – full interior
I used a fun and favorite Philip Jacobs fabric for the interior. It is a little busy, but also light colored, so I should be able to find things ok.
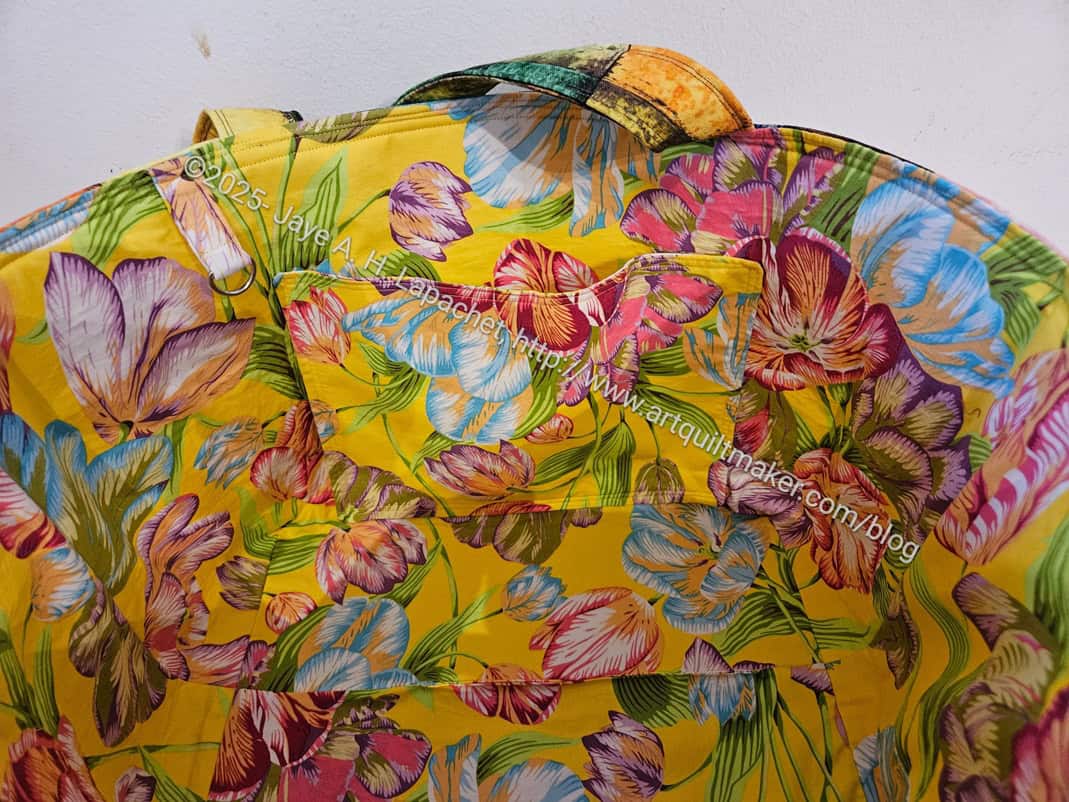
I put only basic pockets inside as I was lazy and didn’t want to spend a lot of time on the bag.
Chubby Charmer 2025 – interior
I did add a leash so I may make a zipper bag to clip to the inside. We’ll see. I can also clip keys or whatever to it.
While I was working on this bag, I realized that my stitch quality isn’t good on my main machine. I need to figure out the problem. I am annoyed, because it was just serviced a few months ago.
We are taking a break today from your regularly scheduled end of the year/holiday extravaganza that is the blog,. I want to show you that quilted things are not just pretty. They can also be useful.
Half Moon Modern Chubby Charmer Finished
Remember my Half Moon Modern Chubby Charmer? This is a bag I worked on for a long time, mostly, because the fabric was so precious I couldn’t think of a ‘good enough’ project for it.
Fortunately, I still like the fabric and still use this bag.
In fact, this bag does double duty as present transport during the holidays. To do that I have to clean it out. I actually use the large pockets for my collection of pie servers and knives. You might think dishing up pie is easy, but with 40 people who want to try everything, 7 desserts and two gluten free diets that will make people sick if wheat wafts past them, I need multiple implements and a strategy. That strategy includes knives (BIG knives) for cutting recalcitrant crust and pie servers since you don’t serve with a knife.
One of the attractions of the Chubby Charmer is that it is big. Big enough to bring a quilt to show and tell. And big enough to bring my pie implements, a mixer, a metal bowl, plastic bag with whipping cream (unwhipped) and 25 small gifts to the Christmas Eve celebration and some back home again.
Chubby Charmer pocket contents
In order to use this bag for a non quiltmaking purpose, I had to clear it out. All the large items went on the floor, but I needed the pockets, too. All the small things went on my desk. Later when I had a few minutes to look at them, I was sort of amazed and shocked at the variety and non-variety.
What I was most interested in were the multiples of things:
in that cool aqua pouch is a selection of pens. More than one.
3-4 nametags?! I guess I can share with a friend or really want people to know my name.
Two chocolate bars: emergency and backup emergency, I guess.
3 ATCs, because you never know when you are going to need a random ATC.
Out of date meeting and exhibit flyers. Good for nostalgia, I guess.
Multiple post-it notes. You can never have too many pens or post-it notes.
I put most of the stuff back in, if it wasn’t out of date or spoiled. I did spread out the nametags among other various bags. Better to have one than none.
What’s in your guild bag and do you use your bags for other, non-quiltmaking purposes?
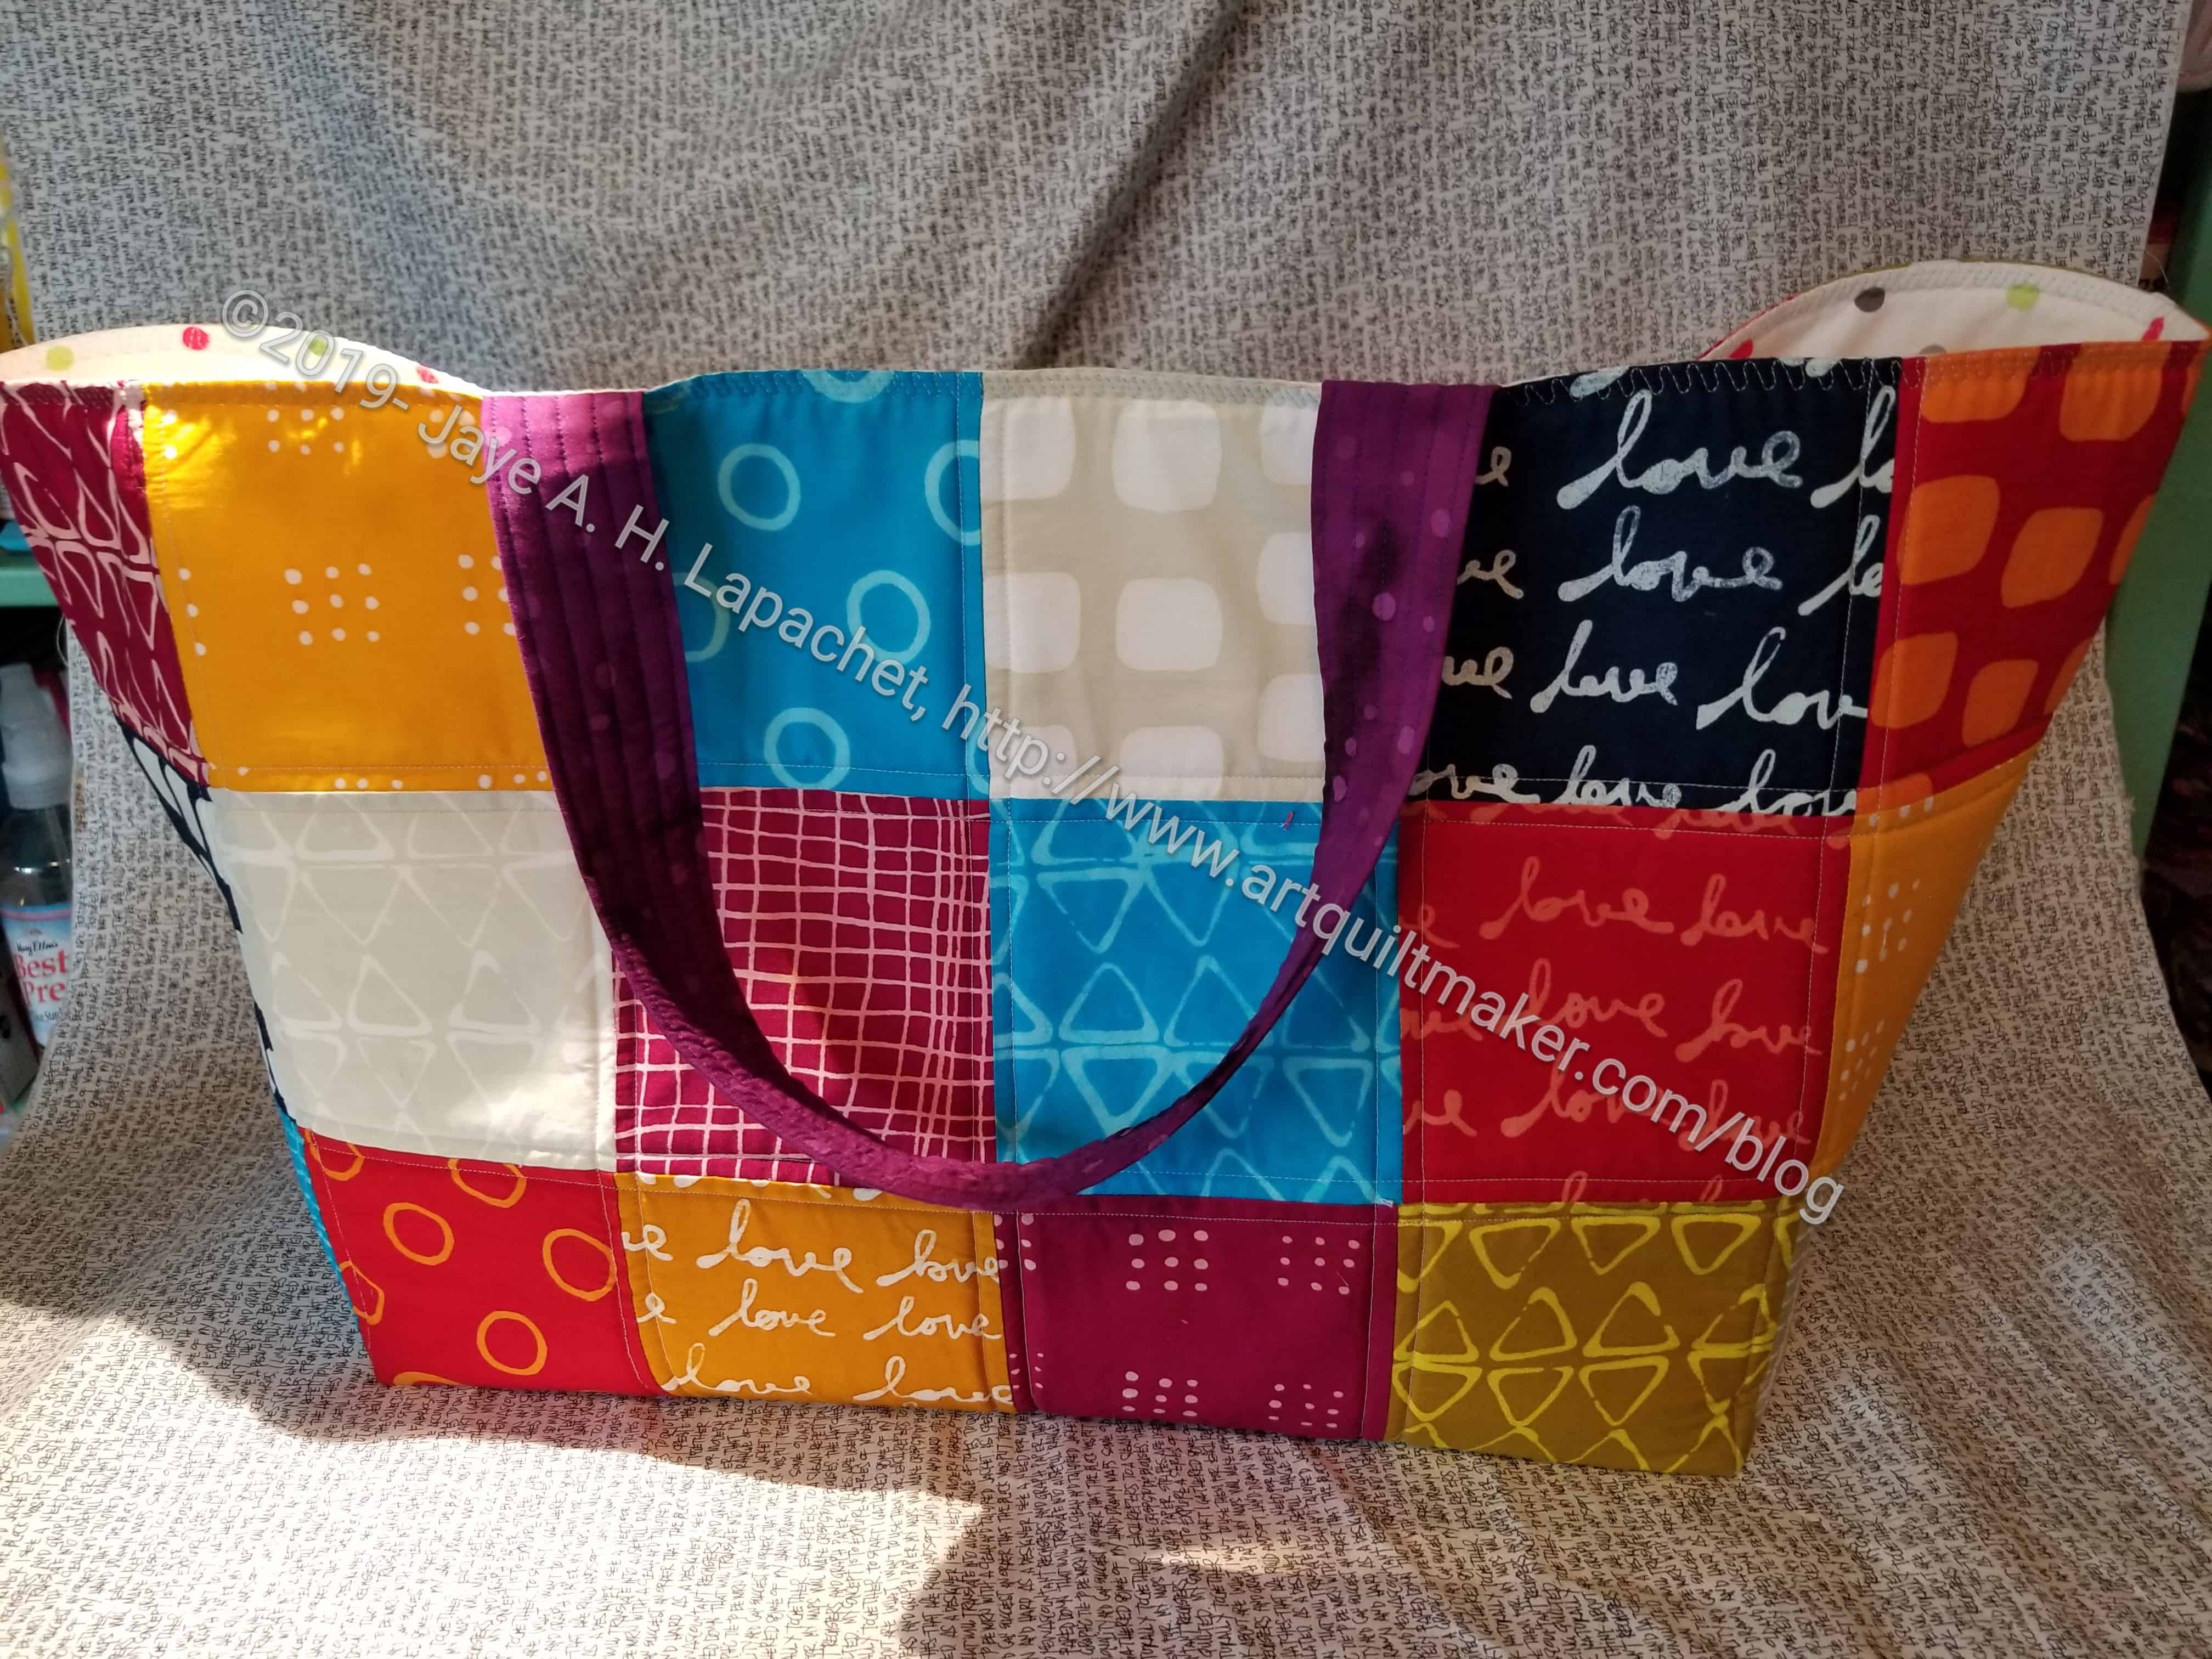
I finally finished the Chubby Charmer I started making for myself a few weeks ago. I am really pleased with how it turned out. I started filling it with supplies for the Jelly Roll Rug class almost as soon as I had finished with it.
Finished: Batik Chubby Charmer
I used a violet batik for the handles and I am pleased with the choice.
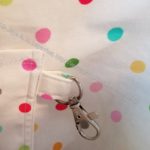
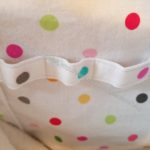
I also did a few different things with the inside pockets. I didn’t make smaller pockets or slip zipper pockets. I even forgot to add Shapeflex to the pockets, but I did add a lobster clasp and a special pen holder.
Batik Chubby Charmer: Lobster clasp
Batik Chubby Charmer: pen holder
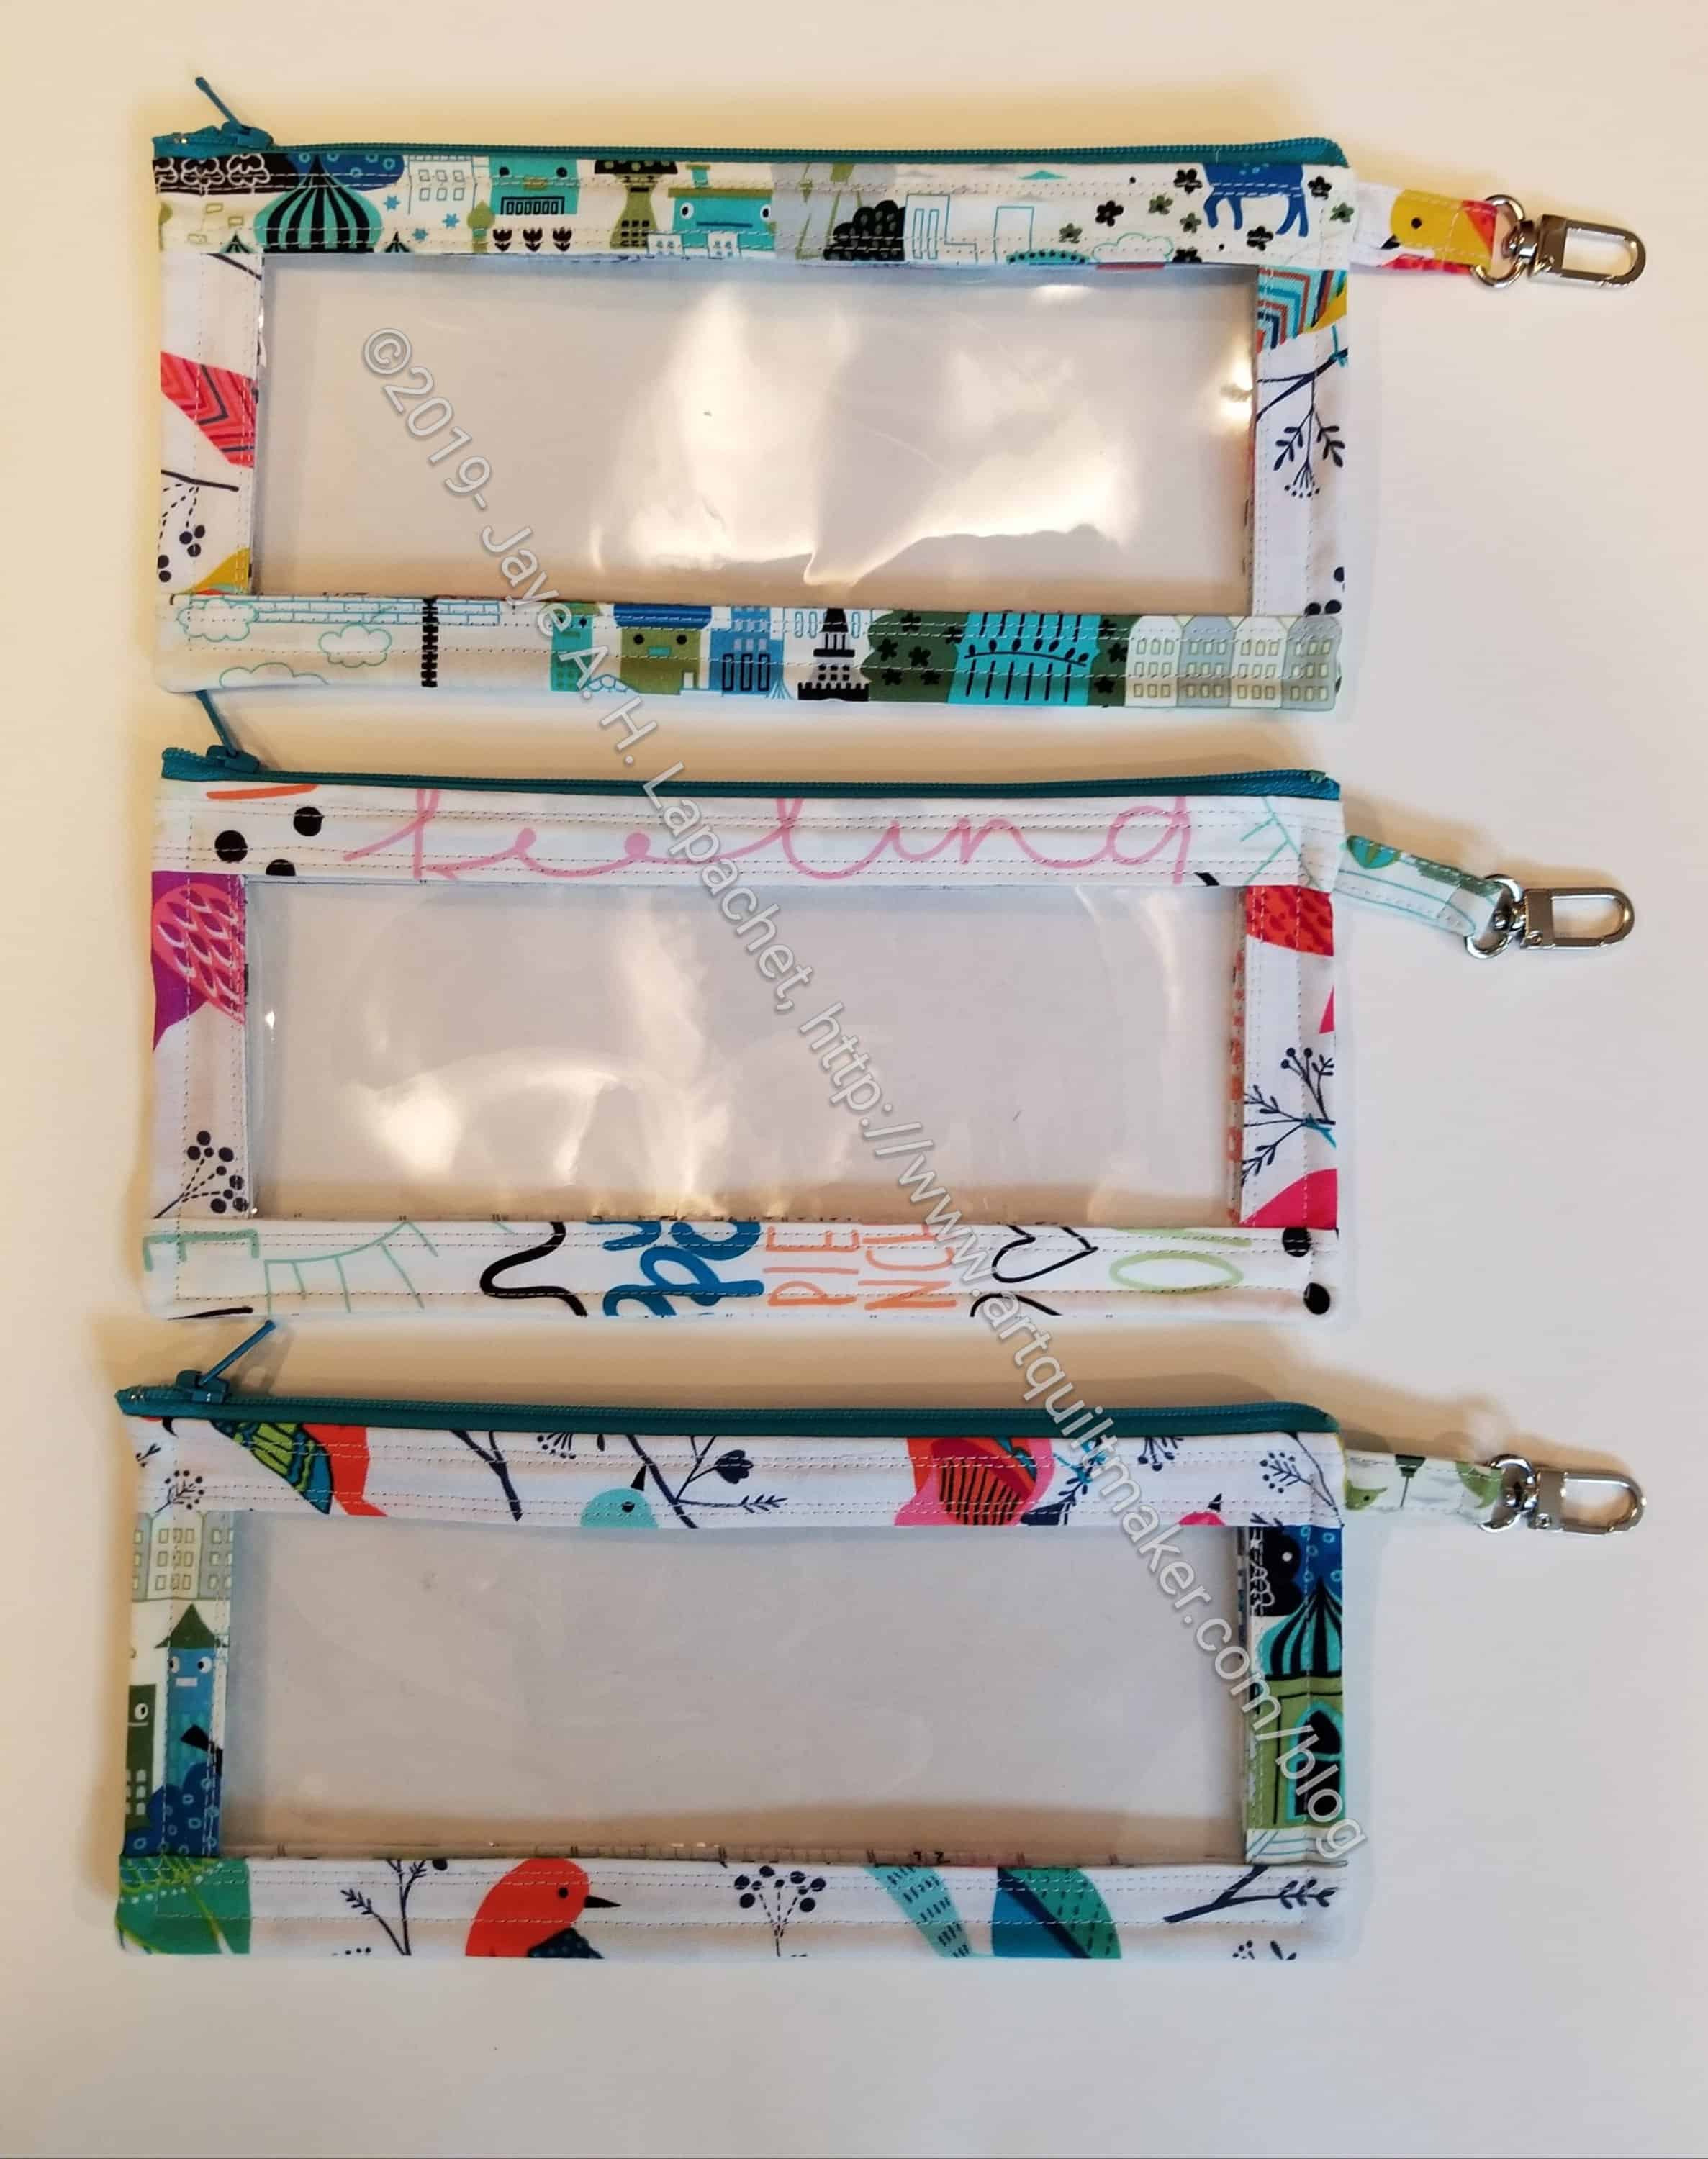
All Rolled Up Tote – pouches (back)
My idea for the pockets had to do with the pouches I discussed when I made the All Rolled Up Tote. Yes, there is no D-ring like I discussed, but I didn’t have a D-ring that would fit with the lobster clip. I have a lot of those lobster clips. I will need to get some D-rings to go with them, but at this point I thought a lobster clip could still be clipped to a lobster clip.
Looking at the pictures now, I might just make a pouch to go with this Chubby Charmer as well.
I finished the Good Fortune Chubby Charmer I started last week. I was able to take some time while DH was out the other night to finish the last bits. It was a little tricky, because I stashed the pattern somewhere safe….
I couldn’t find it, but, fortunately, I have made enough bags to know how they go together. I may not have done it exactly the way the directions suggested, but the bag is together, looks good and will work. Also, it is on time. SIL’s birthday is tomorrow and my nephew has it to put out with the other gifts I helped him buy.
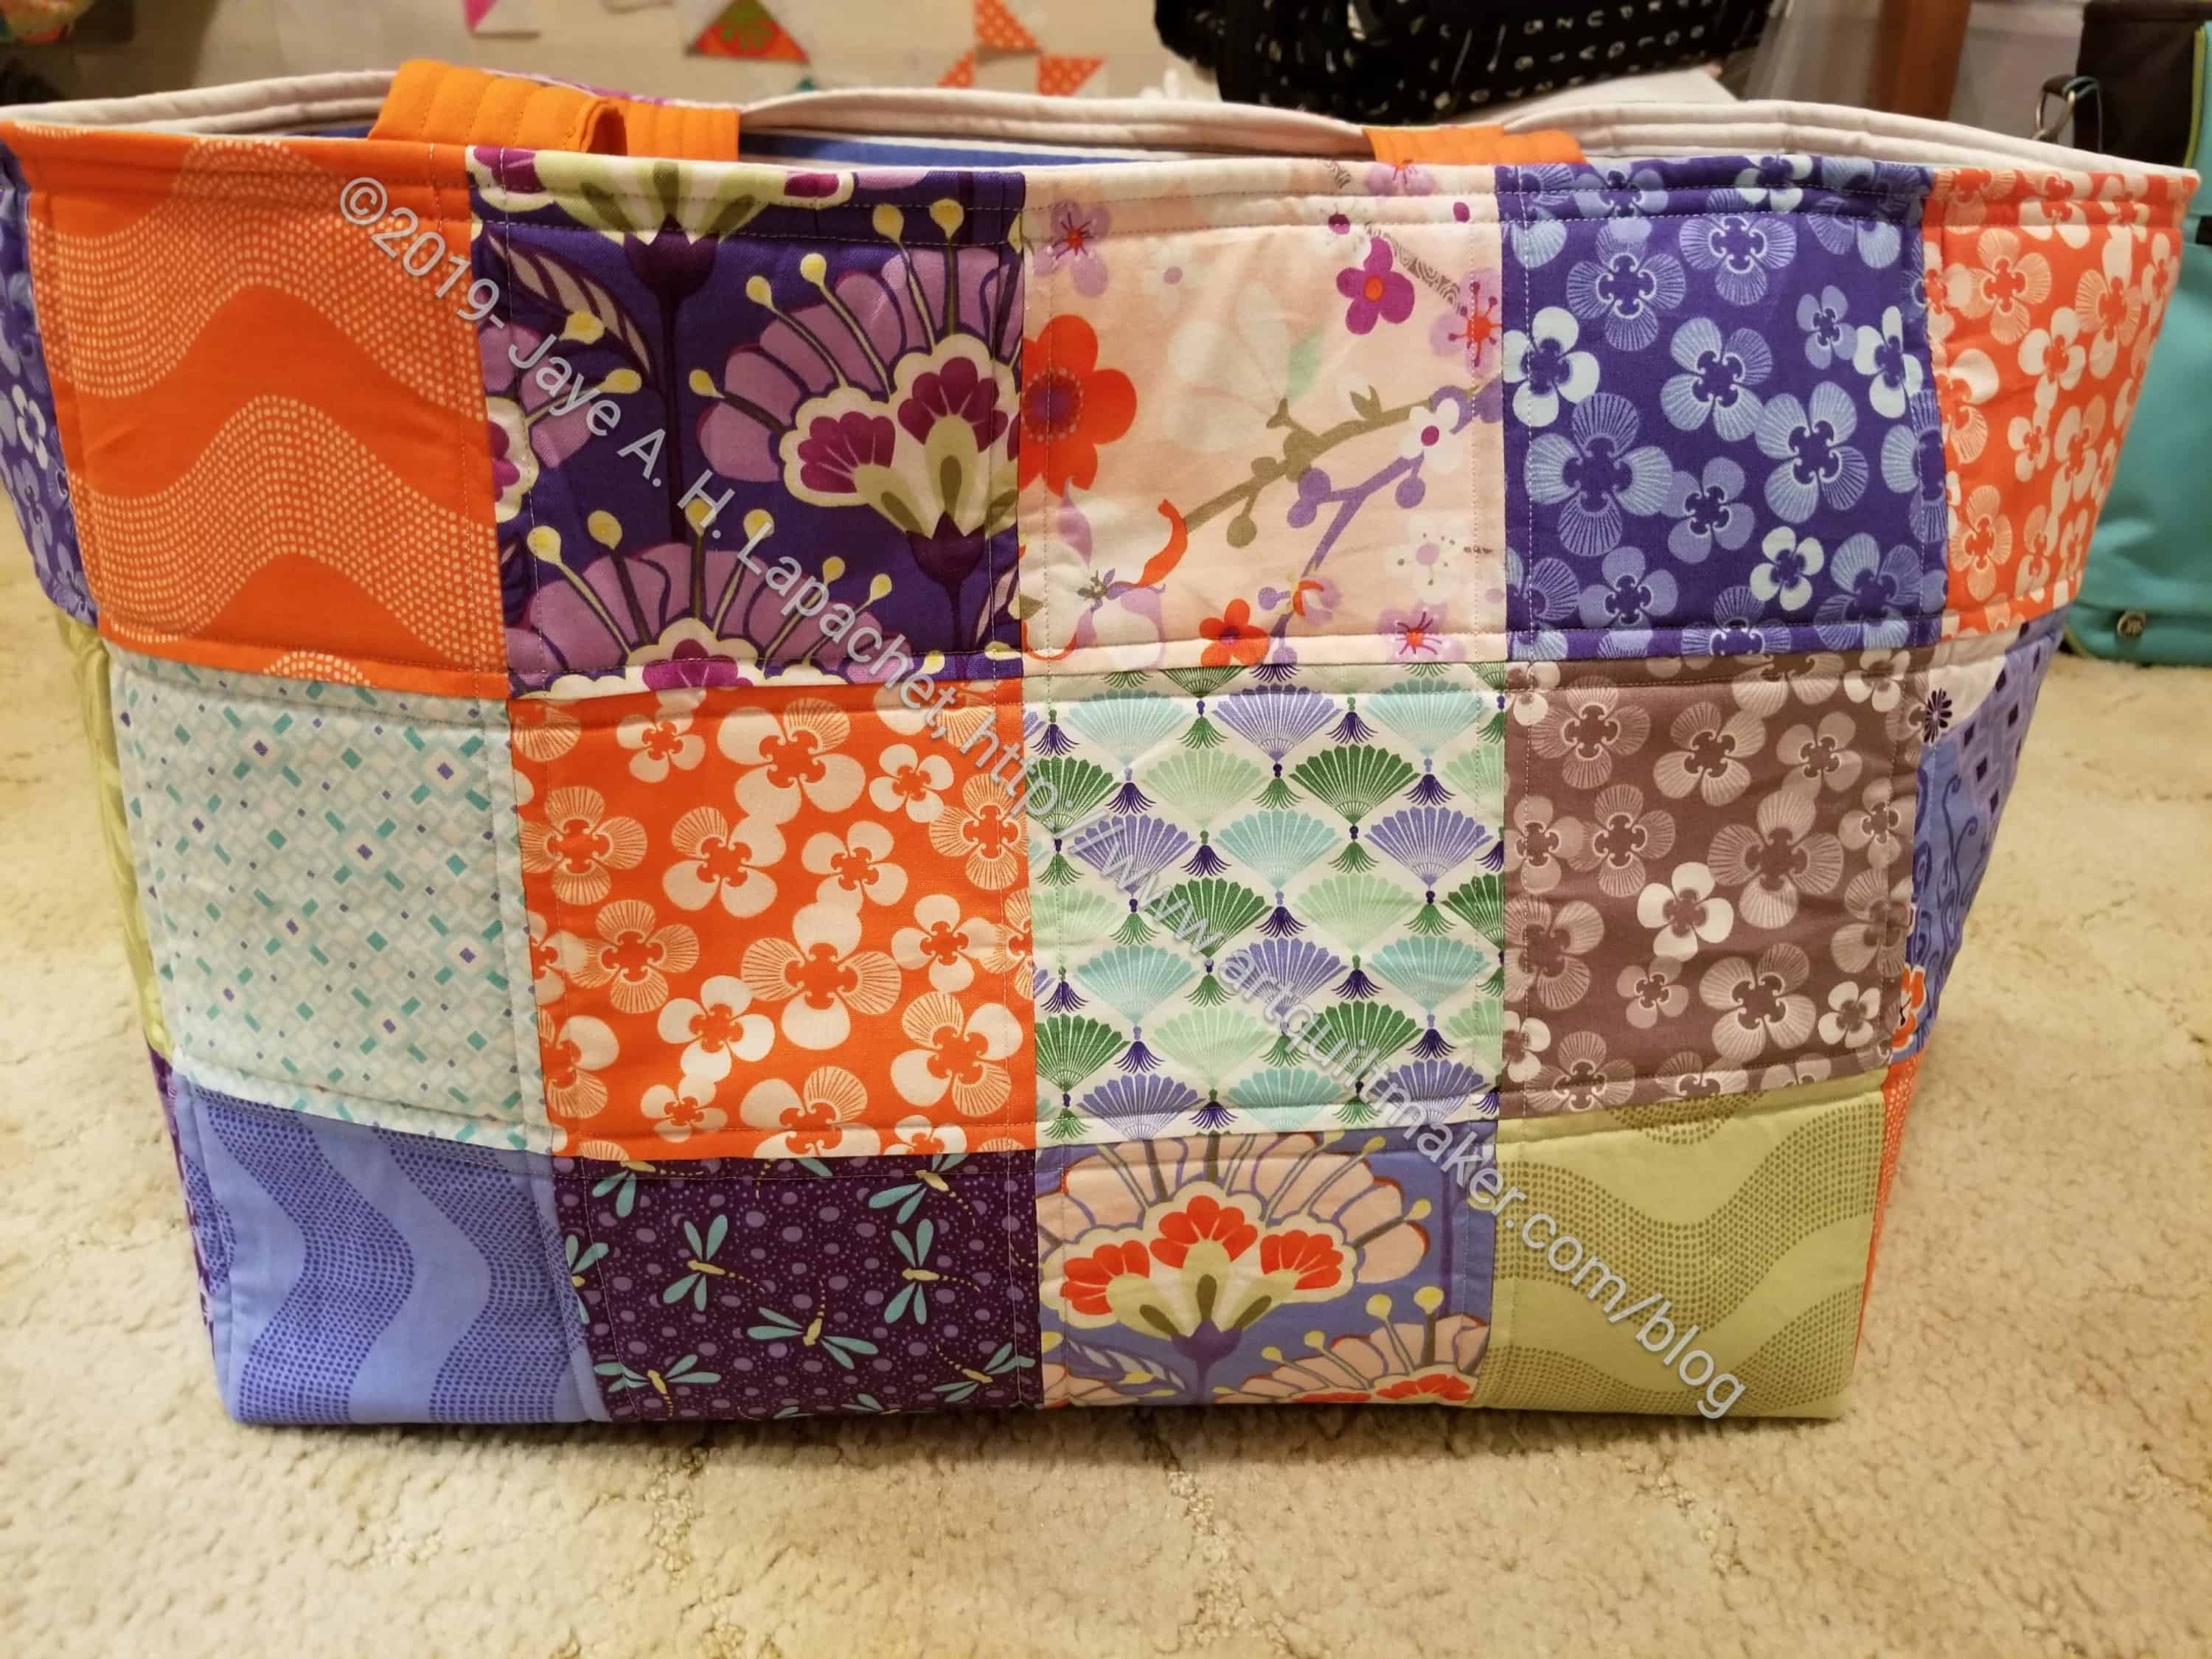
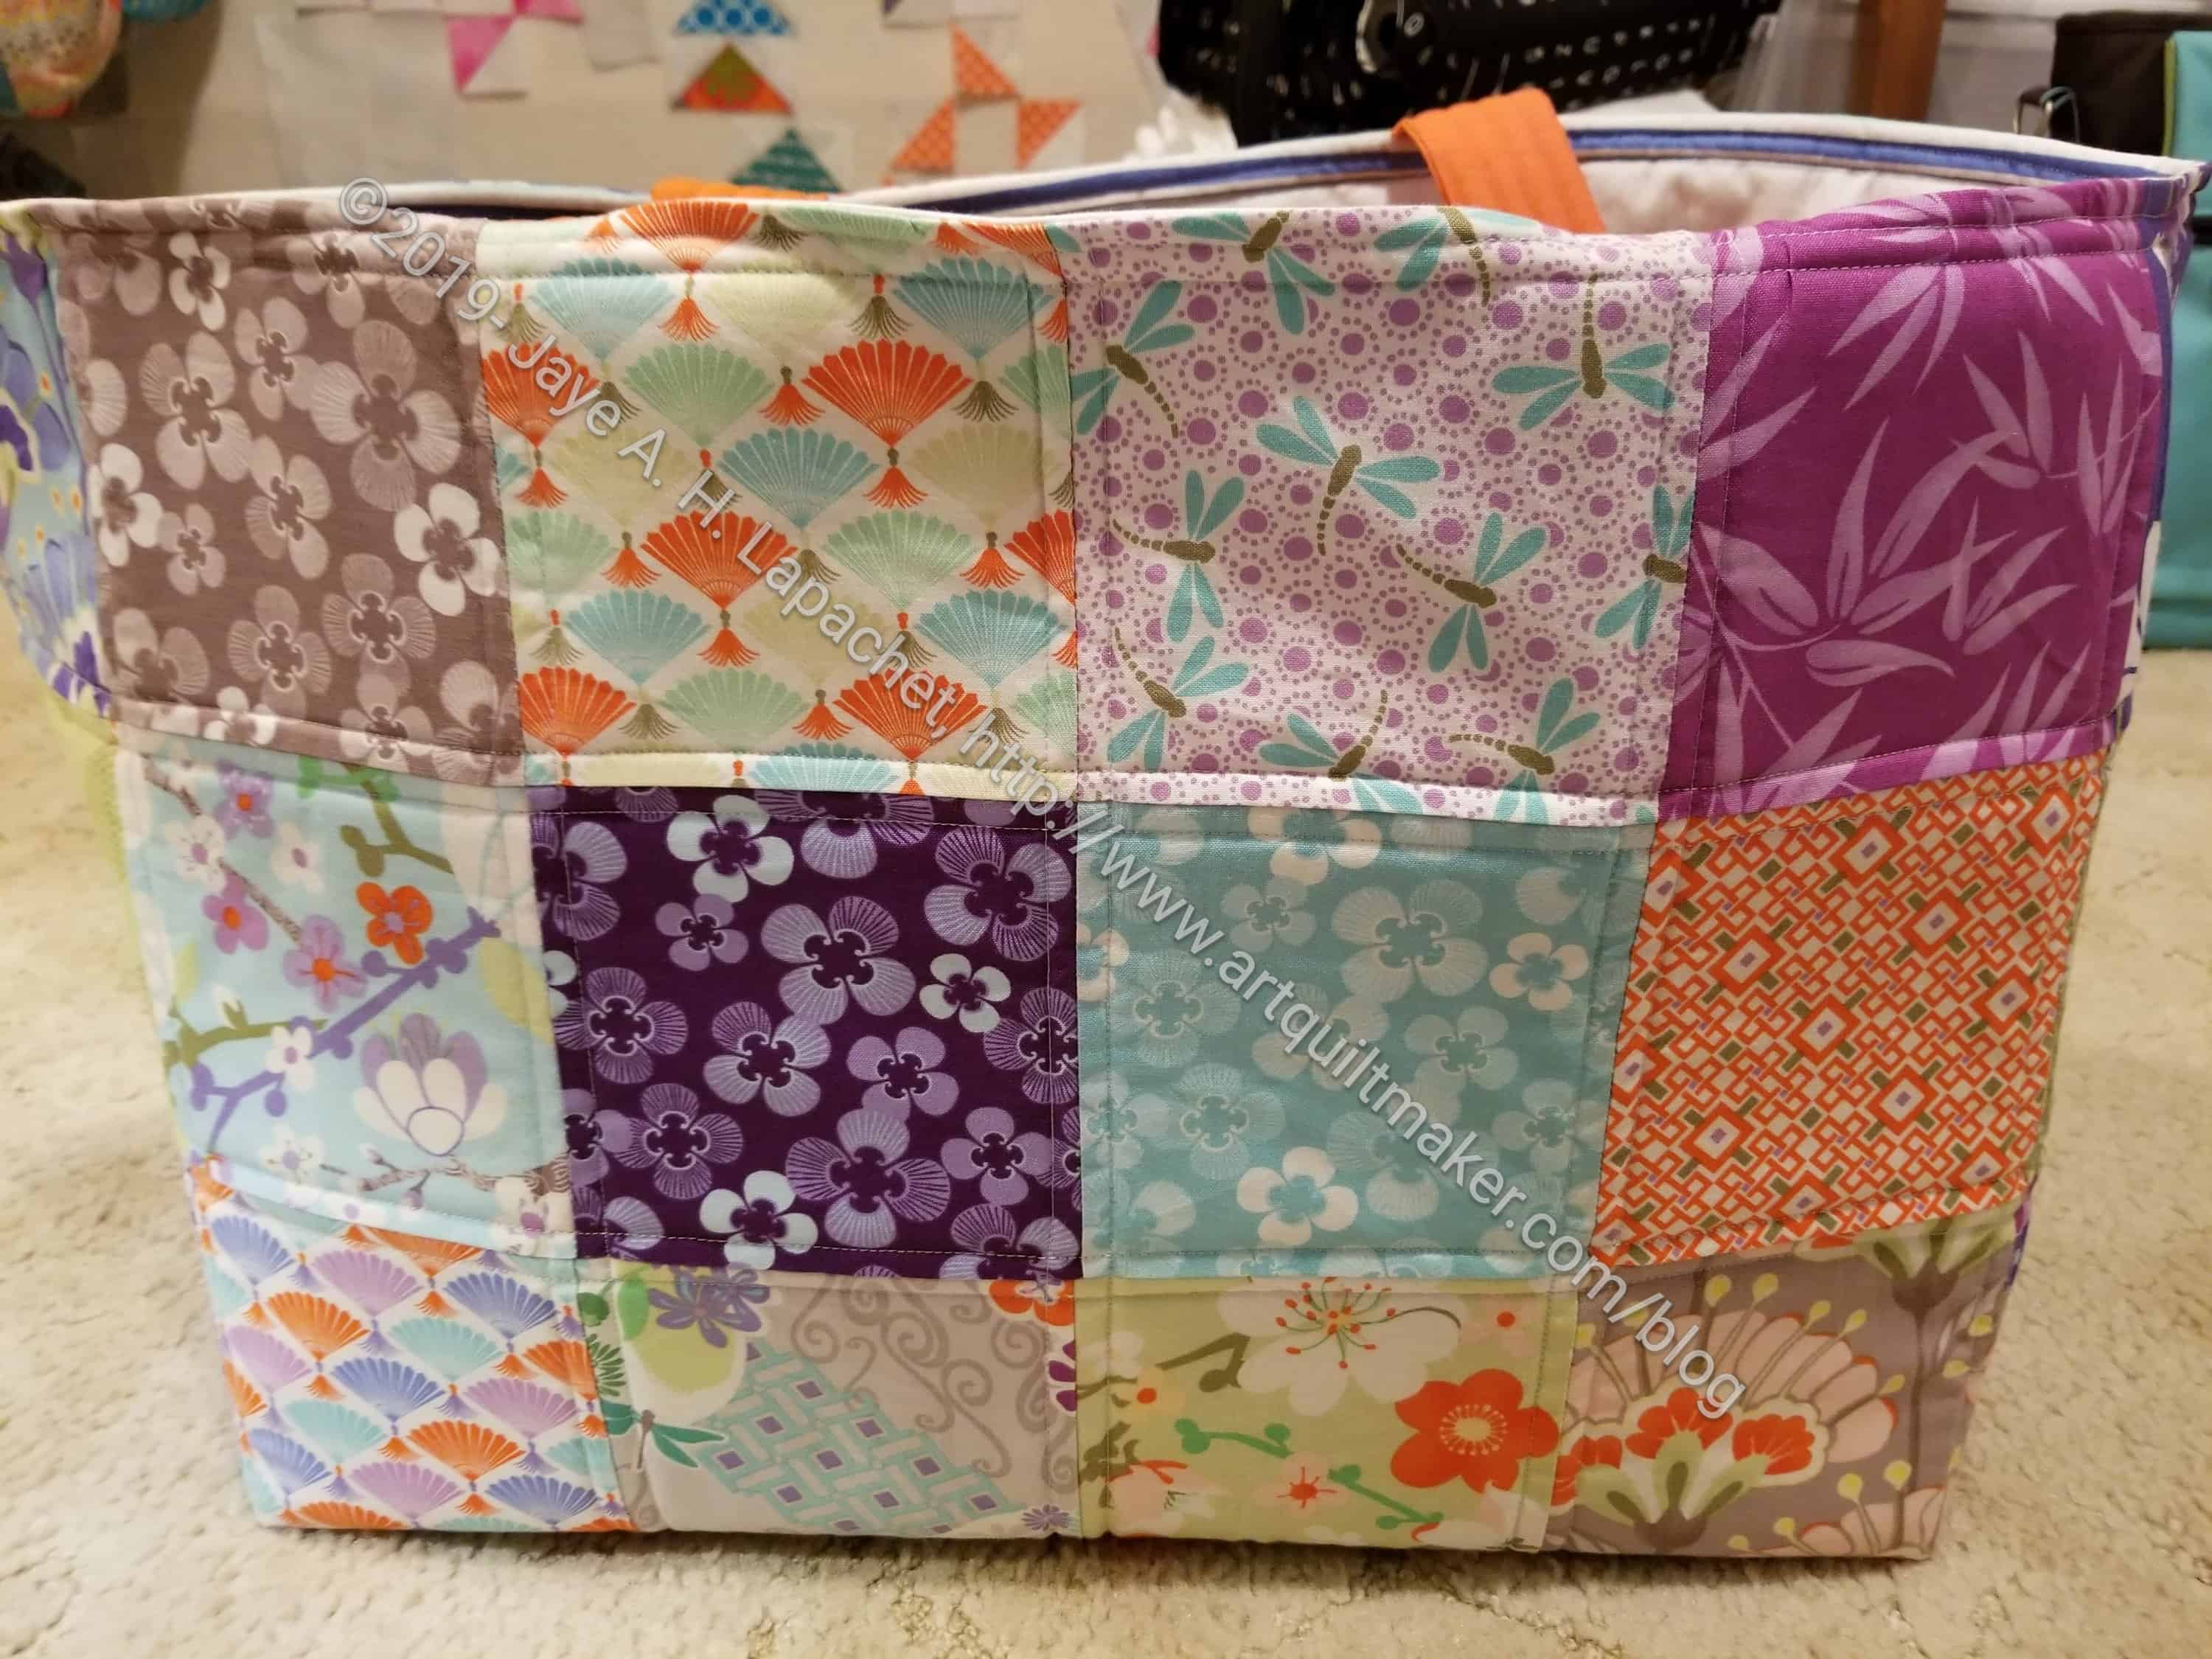
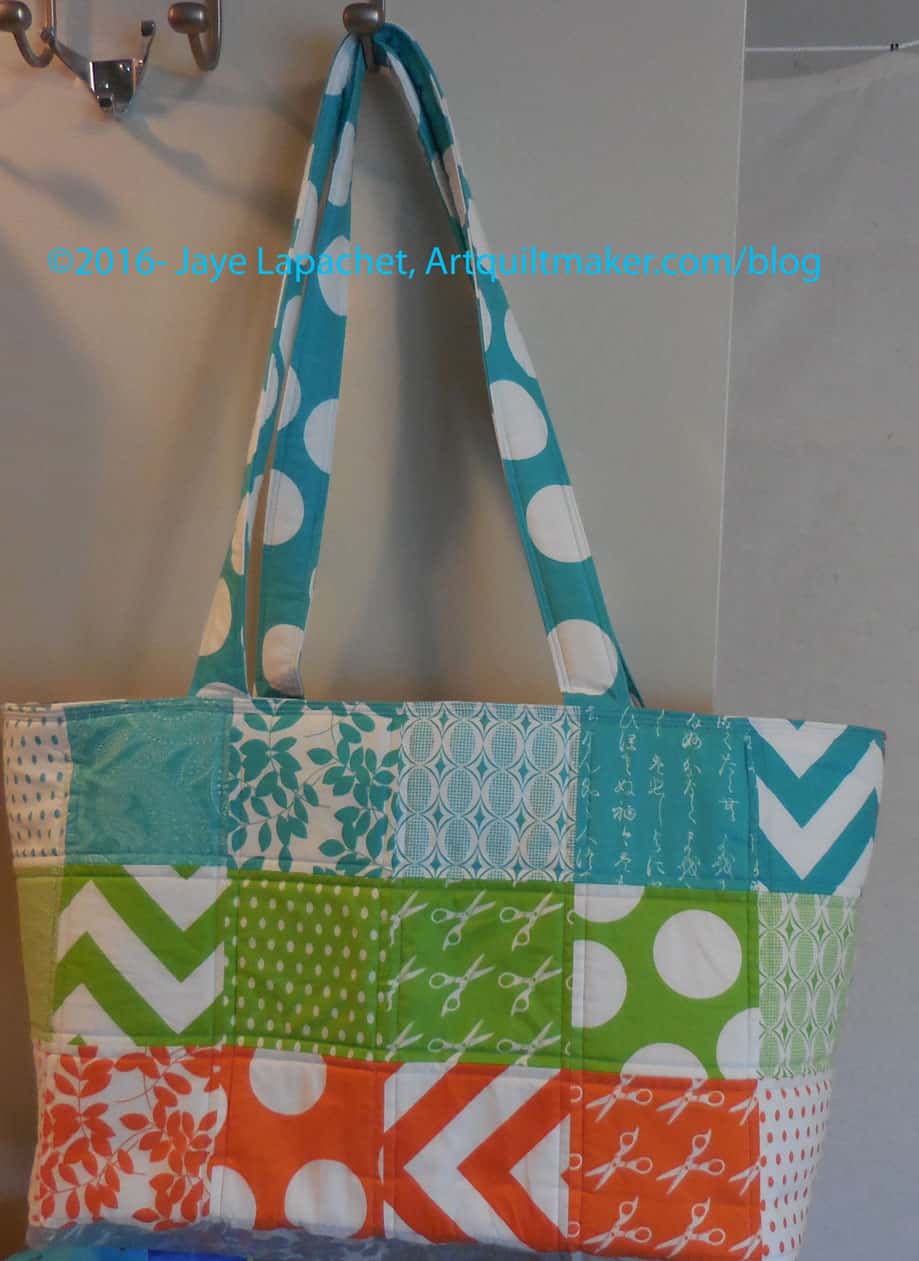
Good Fortune Chubby Charmer – back
One thing I have to remember next time I make one of these is that the first square (top left) is on the side of the bag, so if I want to see a particular fabric, I need to put it in the second position.
The back (or other) side came out lighter than the front. I am not sure how that happened, but I should have mixed it up a bit more. There is always room for improvement in a project.
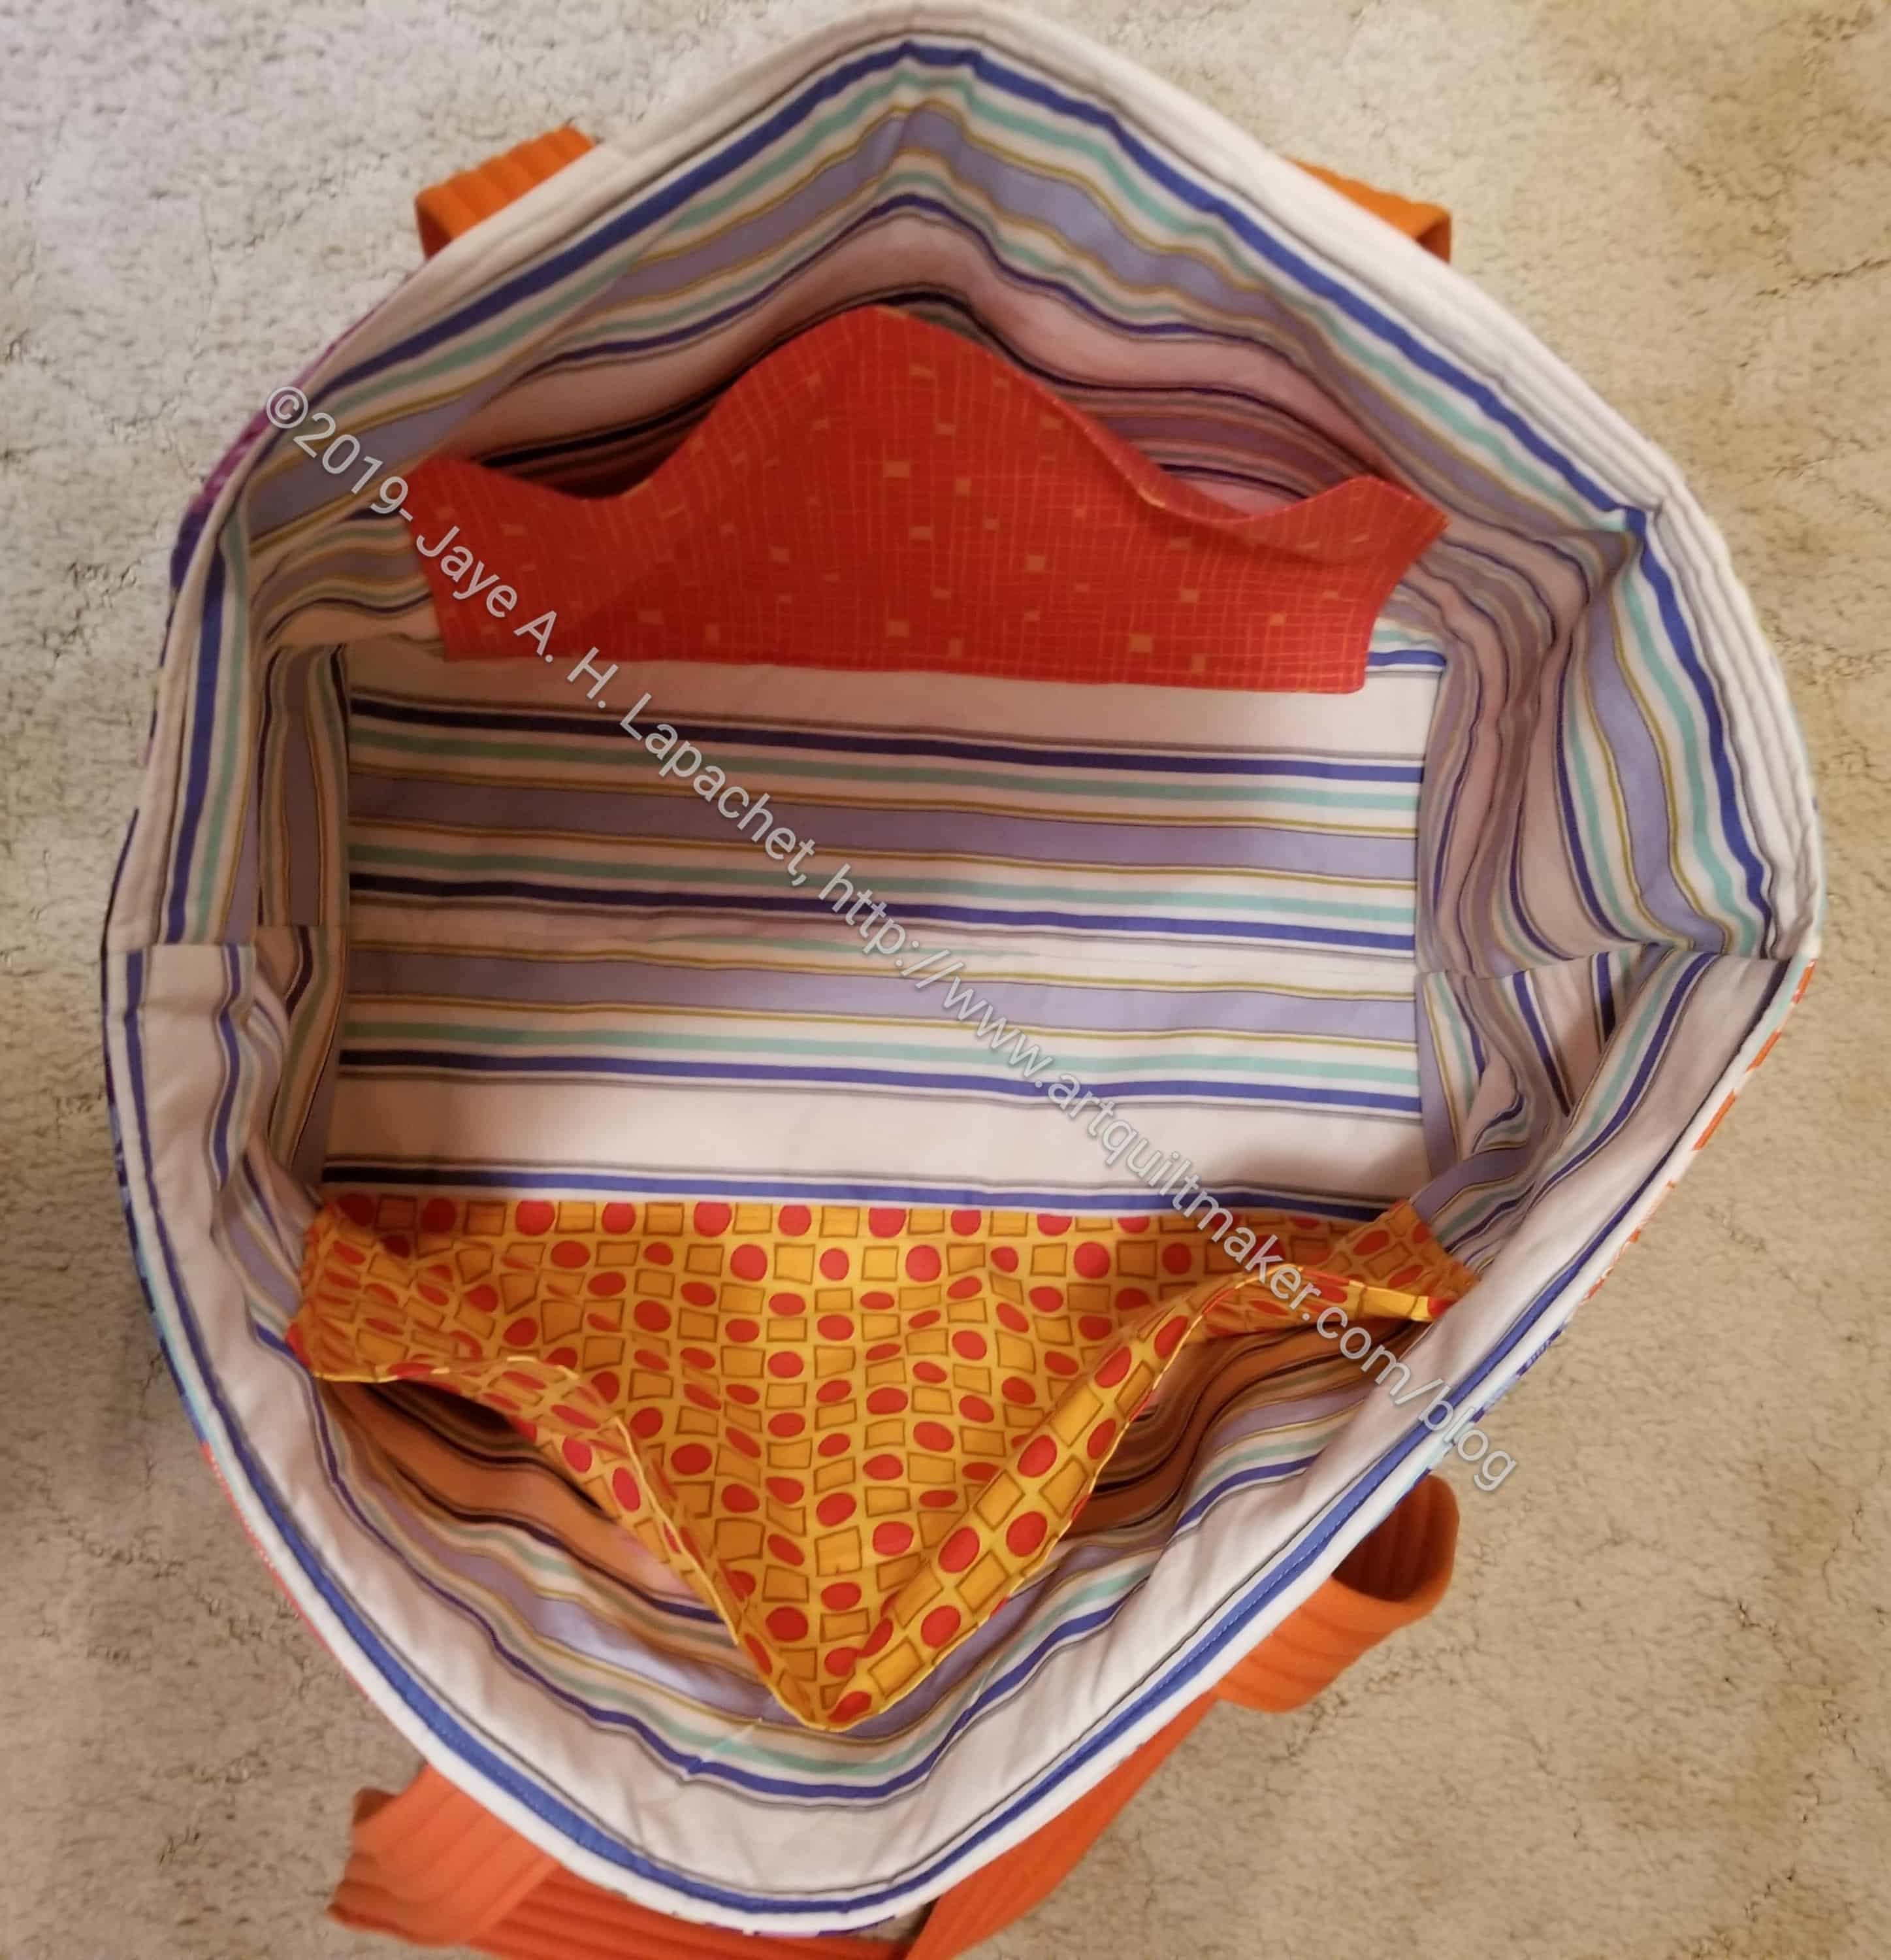
Good Fortune Chubby Charmer – lining
I also used a half inch seam allowance on the lining. This makes it lay really well on the inside of the bag. It was difficult to attach at the top. I wondered if I used a quarter inch seam allowance at the top and then graded the seam allowance out to half inch after about an inch, if that would solve two problems.
The pockets are large and a bit too floopy for me. Still they work really well for folders and large pieces of paper plus they fit a lot.
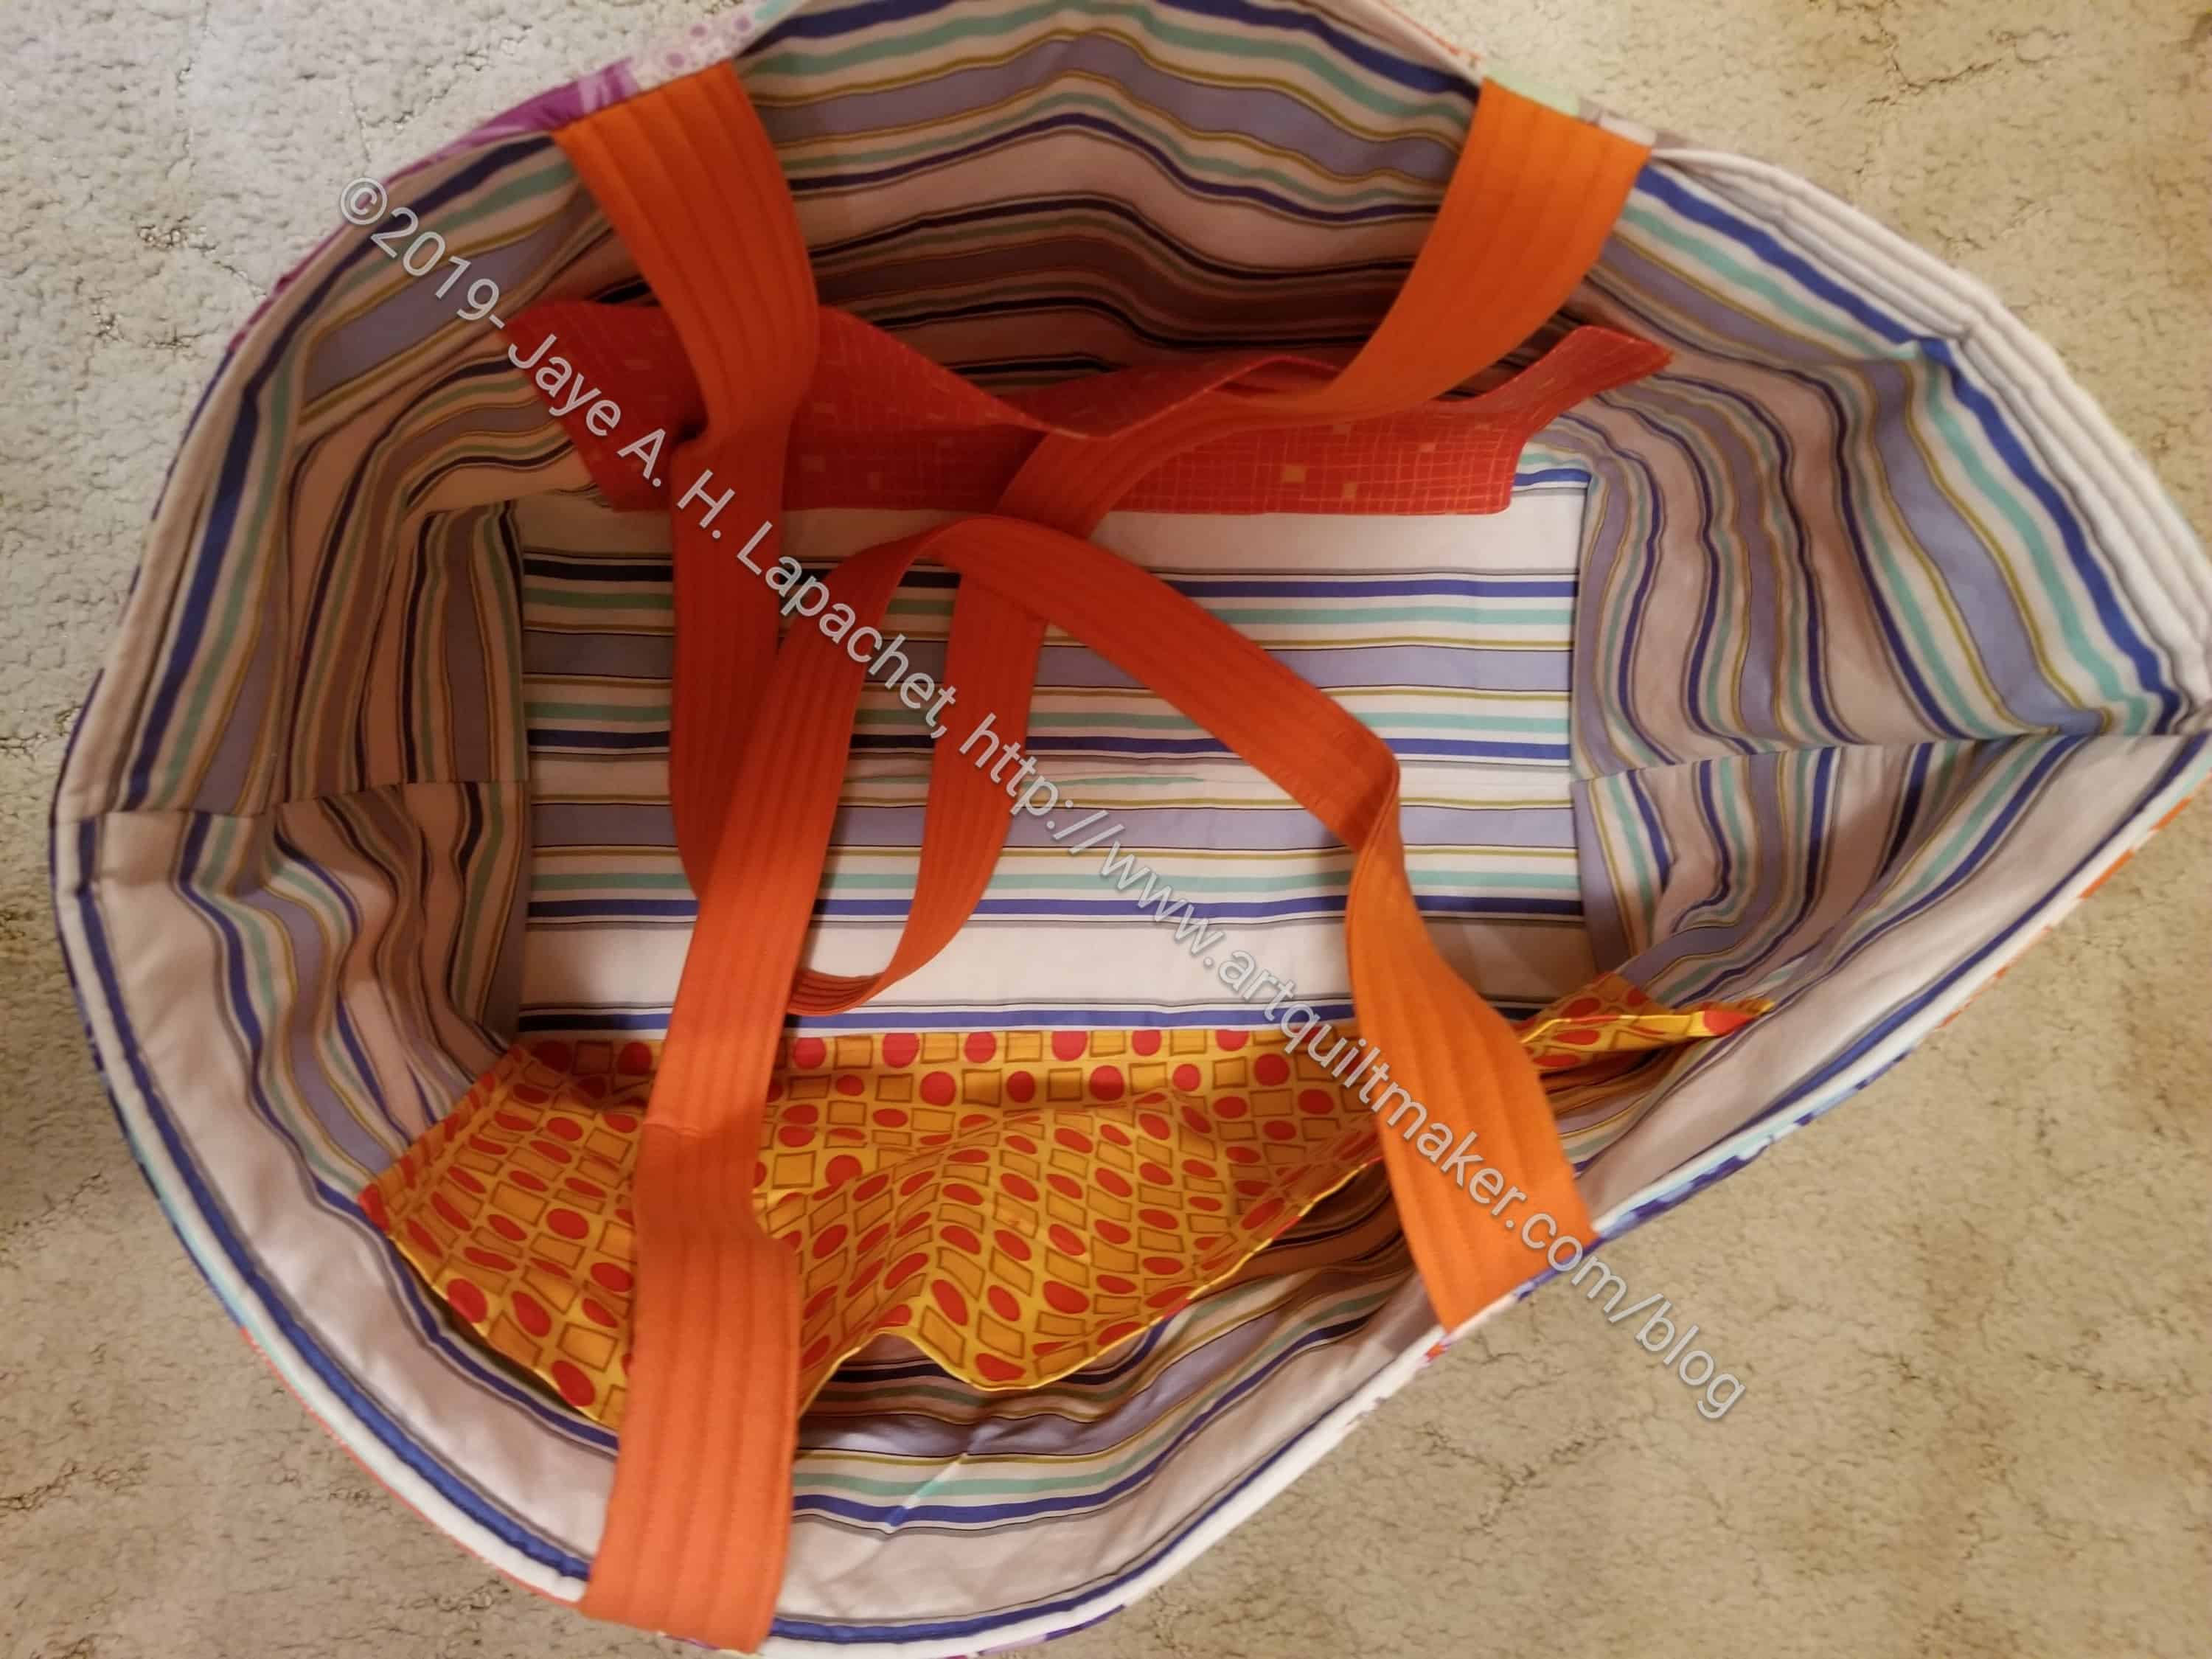
Good Fortune Chubby Charmer – lining with handles
I also plan to make the pockets on my batik Chubby Charmer a little different than this one. I am not 100% sure of the exact configuration yet. I want to think about what would be useful. I also have to make the lining! I might make a slip pocket, which I learned to make (really well) in the Cargo Duffel project and have also made a few times for the Petrillo bags. The slip pocket would be for one side of the linking. Perhaps some smaller pockets for the other side, like a pocket with dividers for pens.
I also want to add a D-ring somewhere. Remember when I talked about clipping smaller pouches to different bags (AKA the lobster clip plan)? Well, I want to make a habit of putting D-rings in bags so clipping small pouches to different bags is a real possibility for me. Putting pens in a pouch might a better plan than having pens in each bag.
Now I can cross this project off my list and add the yardage to my spreadsheet.
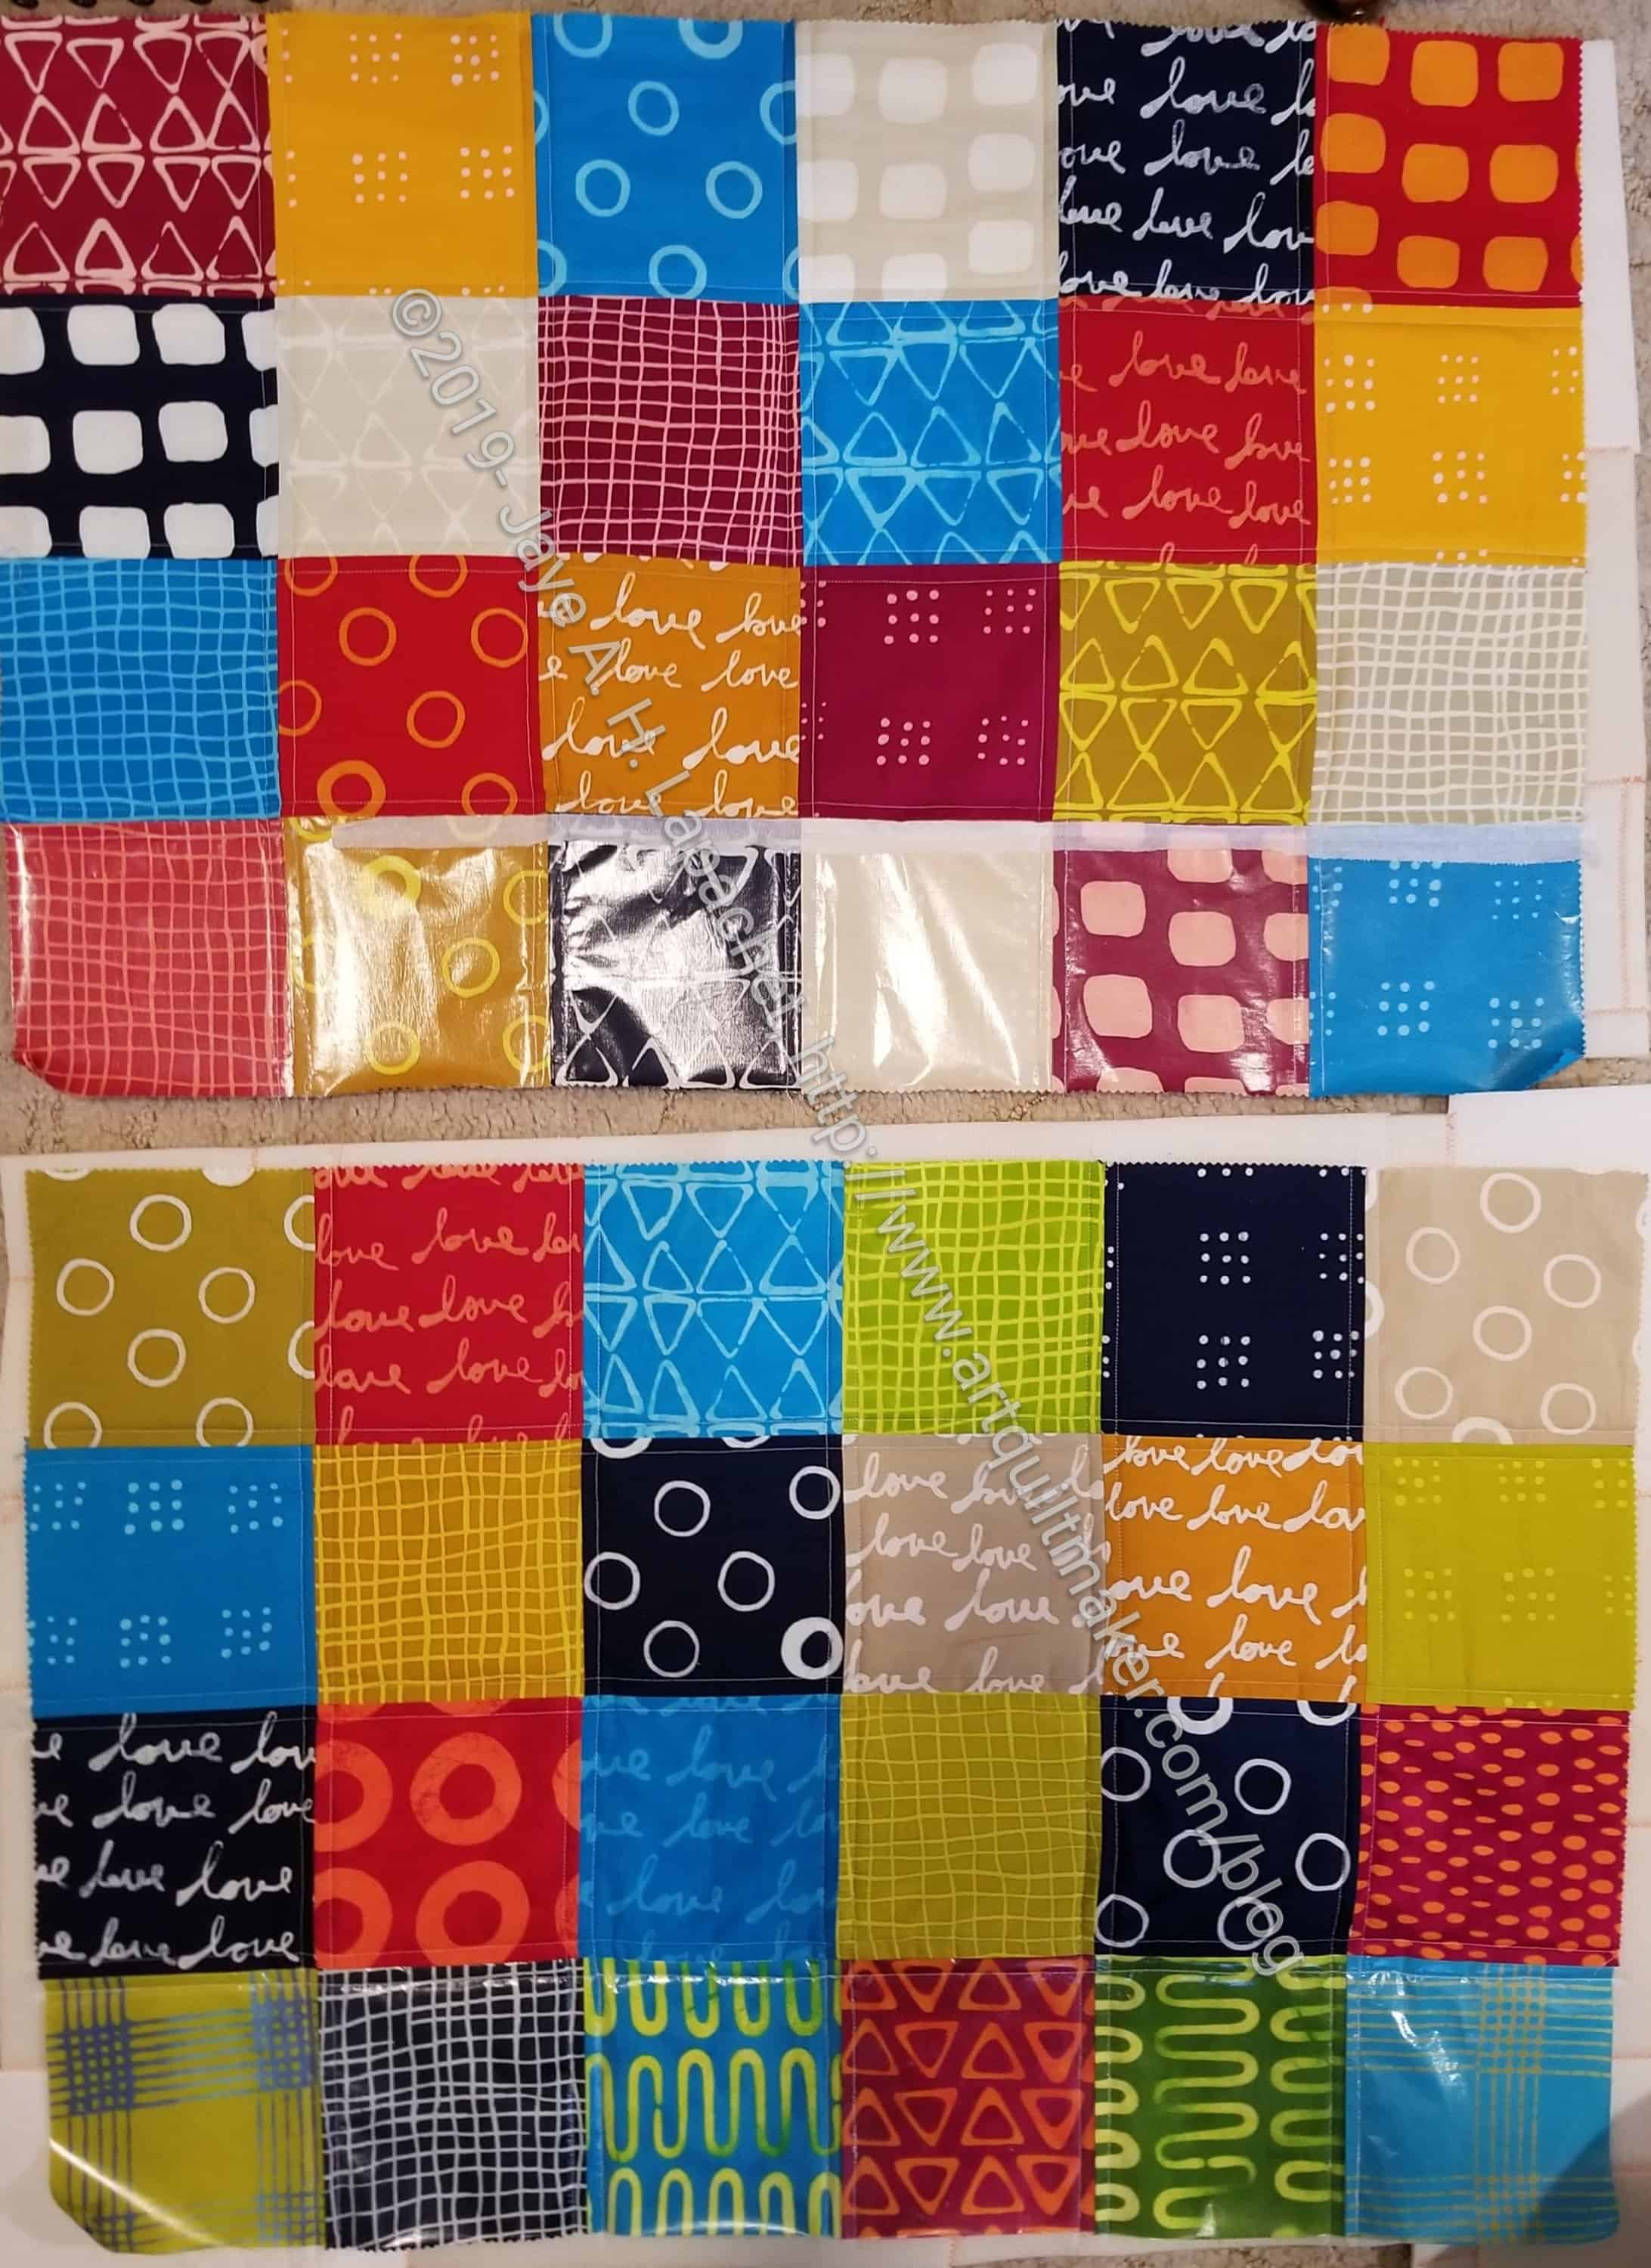
I also made progress on the Batik Malka Dubrowsky Chubby Charmer. I am not as far along as finding suitable fabrics to go with the charm pack is challenging. I have made some progress, especially the quilting since I last spoke to you about this project.
I found another Malka Dubrowsky charm pack and used some of the squares for the missing pieces of fabric I needed to complete the bag. The second charm pack uses similar colors.
I did a few things differently on this bag. First, I remembered to put vinyl on the squares that will be the bottom. This is my small attempt to keep the bottom clean and dry.
As you know from my other sewing with vinyl efforts, I cover the vinyl along the seam line with tissue paper and sew. This time I had some problems, because I didn’t cover the entire area where my foot would touch the vinyl. The bit of the foot that touched the vinyl got caught up and made my stitches look icky. Fortunately, they are on the bottom, so they won’t be seen that much. Pulling them out is not an option, because the holes in the vinyl don’t heal. I would have to rip out the entire last row and remake the vinyl covered squares. I am going to live with a few tiny stitches.
I am making progress on both Chubby Charmers. I have made the most progress on this one.
After creating some new pieces of Soft & Stable, I spent most of the day on Sunday quilting. You might remember that I screwed up my shoulder quilting the Lights tablerunner, so I was extra careful about keeping my shoulder down. I tend to quilt with my shoulders up near my ears and that is a bad thing.
I have the inside pieces with pockets made as well as the handles. Now I just need to starting putting the bag together.
Yesterday, I talked about the Chubby Charmer I started for my SIL. I had some time leftover when I finished as much as I could with the Good Fortune Chubby Charmer. I had another charm pack and have been wanting to make myself another Chubby Charmer. I still love my Half Moon Modern Chubby Charmer. The original ME Chubby Charmer is filled with stuff in my fabric closet, so it doesn’t go anywhere at the moment. The Sugar Pop Chubby Charmer, however, is not a favorite. I tested out the pattern using leftover batting and the bag is really just too floopy. I don’t use it much and will replace it with this new bag. Also, there was really only a couple of fabrics I liked in that bag. I’ll donate it somewhere. Someone will like it. I did a good job when I made it.
Malka Chubby Charmer
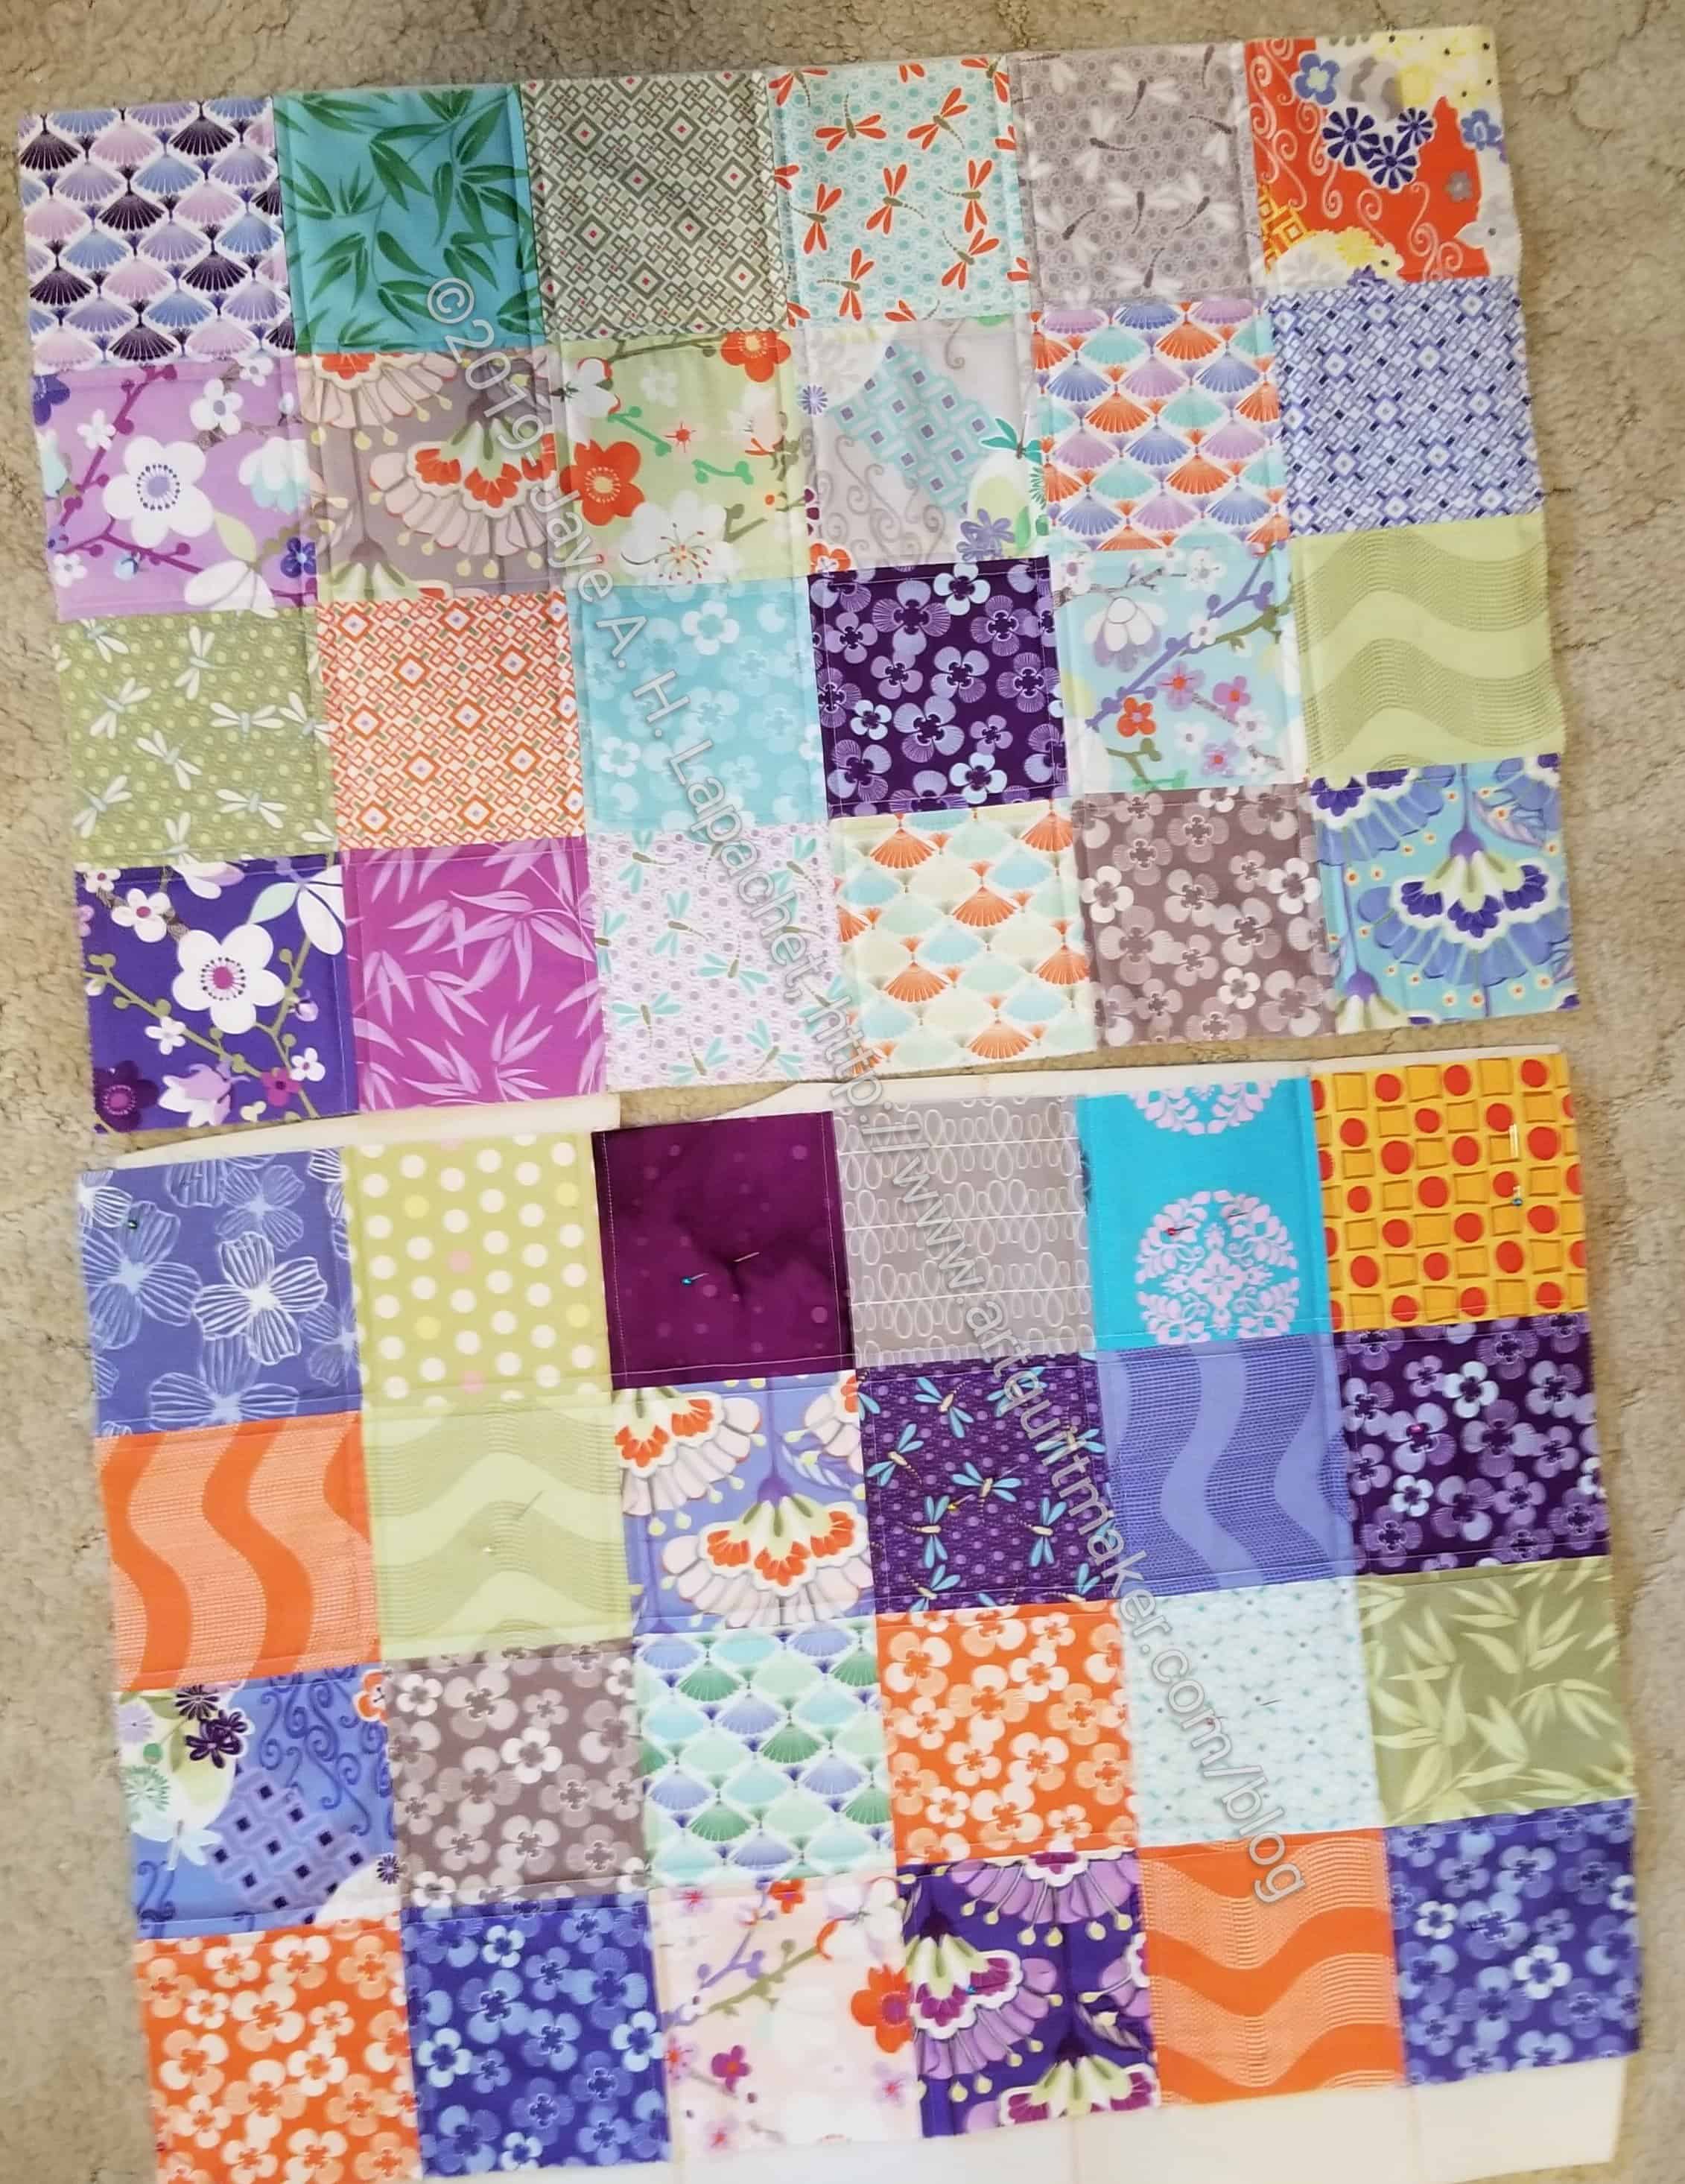
The new in process bag is made from the newest Malka Dubrowsky charm pack. Again, I didn’t bring extra fabric to finish the last row. I did spent some time finding fabric when I got home, so I am well on my way to having the two sides done.
My other issue is Soft & Stable. I bought a new pack a few weeks ago, but I used it for the Good Fortune Chubby Charmer. I have some bits and pieces left from the giant pack I got from MassDrop. I am not sure how much I want to piece together little bits. I’ll lay out the bits and see what I have before I decide. I may have to go out and get more before I can finish this one.
I have wanted to make a Chubby Charmer for my sister-in-law for a long time. I have a Kate Spain Good Fortune charm pack that I have been saving for the purpose. Yesterday was the day to start it.
I went over to Tim’s to drop off a donation quilt he will quilt and enter into the Fair. Before I left he suggested we sew. I had some bag project materials ready to go from last time we sewed, so I threw those in my bag, stopped to get some lunch and off I went.
Chubby Charmers require 48 squares. I neglected to bring the extra fabric needed for the last 6 squares. Still, I was able to cut pockets and handles and ‘baste’ one side to Soft & Stable, so it is ready to quilt. Yes, I have to quilt again. I hope it won’t screw up my shoulder again.
I know this is another project that I am starting, but I am pretty sure I can get through it quickly. SIL’s birthday is in a couple of weeks and I am pretty busy between now and then. I need to get it done before that.
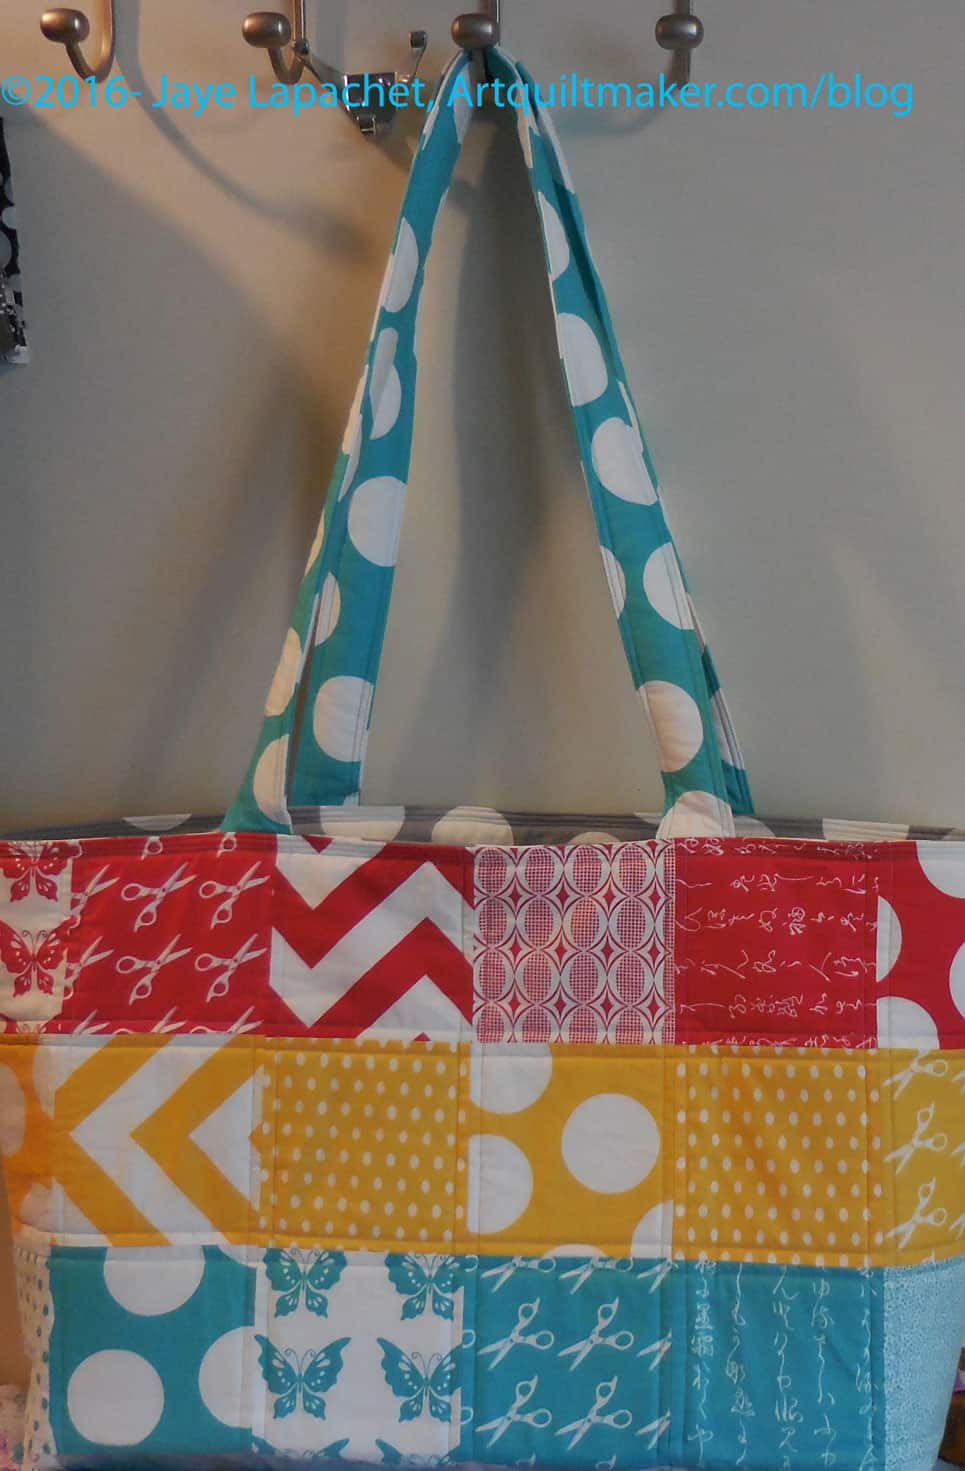
As I said last week, I was well on my way to finishing the Chubby Charmer (pattern name) made from Half Moon Modern fabrics. I finished it last Sunday. It took me about 6 hours total, including pressing the Vinylfuse to the squares I was using for the bottom.
Half Moon Modern Chubby Charmer Finished
I did a couple of things differently this time.
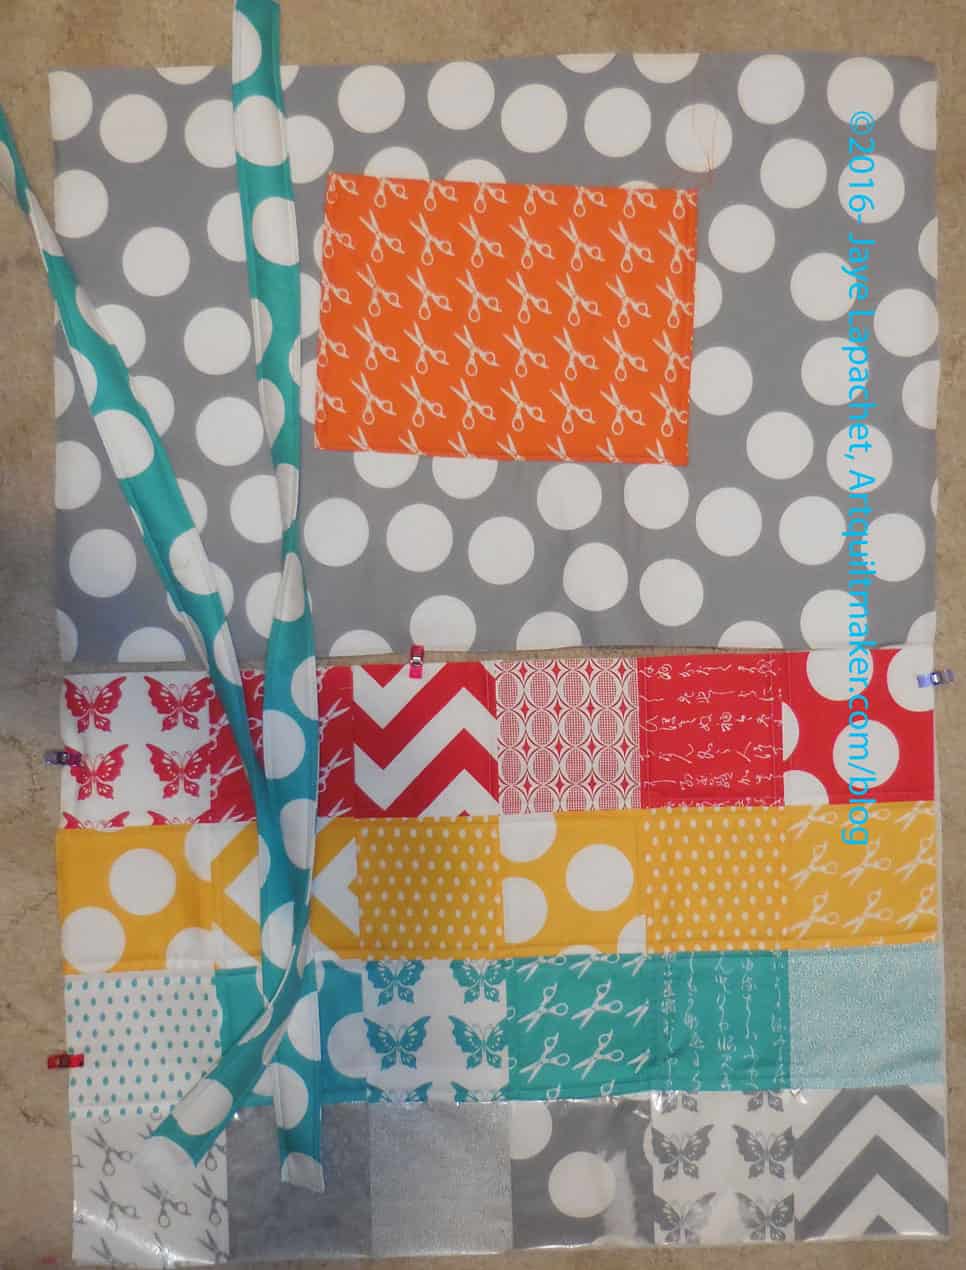
I like bags with something on the bottom that can be cleaned without washing the whole bag. Some tote patterns use a “self-bottoming” technique to make the bottom of the bag, which is actually a really nice technique. You don’t have to insert anything. That technique does not lend itself to putting vinyl on the bottom of a bag since the bottom is made up from parts of the sides. If you don’t have a seam to create the bottom the VinylFuse will look bad and eventually peel.
The Chubby Charmer pattern uses this “self-bottoming” technique, but you can add VinylFuse to each square that will go on the bottom before sewing the charm squares together, thus enclosing the vinyl with seams.
You still have to be careful with the vinyl. You can’t rip out much as the holes stay in it. It is also messy and sticky. I used the paper backing as a pressing cloth. It worked ok most of the time, but I put the wrong side on one piece at one point and now have paper fused a bit to one of my squares. Fortunately, it is on the bottom. I could have ripped it out, but I decided to live with it.
Half Moon Modern Chubby Charmer Finished
I also made the handles twice the length of the handles in the pattern and on my other Chubby Charmers. This was an accident. You are supposed to cut and make one handle then cut it in half. I missed the one part and made two, thus this Chubby Charmer is more of shoulder bag, which is fine.
I also put Soft & Stable in the handles to make them really soft and comfortable to use. I also want to keep the handles from getting squished together permanently when I hold them.
The pattern calls for using Pellon Fusible Fleece. As I said with my first Chubby Charmer, the Fusible Fleece worked really well. This time, however, I wanted to make sure the bag stood up. I used Fusible Fleece on one side and Soft & Stable on the other size. Mission accomplished! The bag stands up. No floop!
I was a little disappointed with the Fusible Fleece, because it didn’t fuse very well. I know the fusibles can age, but it wasn’t old. I bought the product and then used it the same day. At least it wasn’t old from sitting around my house.
The other thing I did was use the walking foot to topstitch the top edge. I like more than a single line of topstitching and that area was so thick that I thought I would try the walking foot. It worked really well.
This is a great bag and it was a great use of the fabric. I already used it to go to the Midi Bag class (look for a post soon) and look forward to showing it off at the guilds soon.
My Chubby Charmers (I have two) are full, thus I decided to make another one. That makes sense, right?
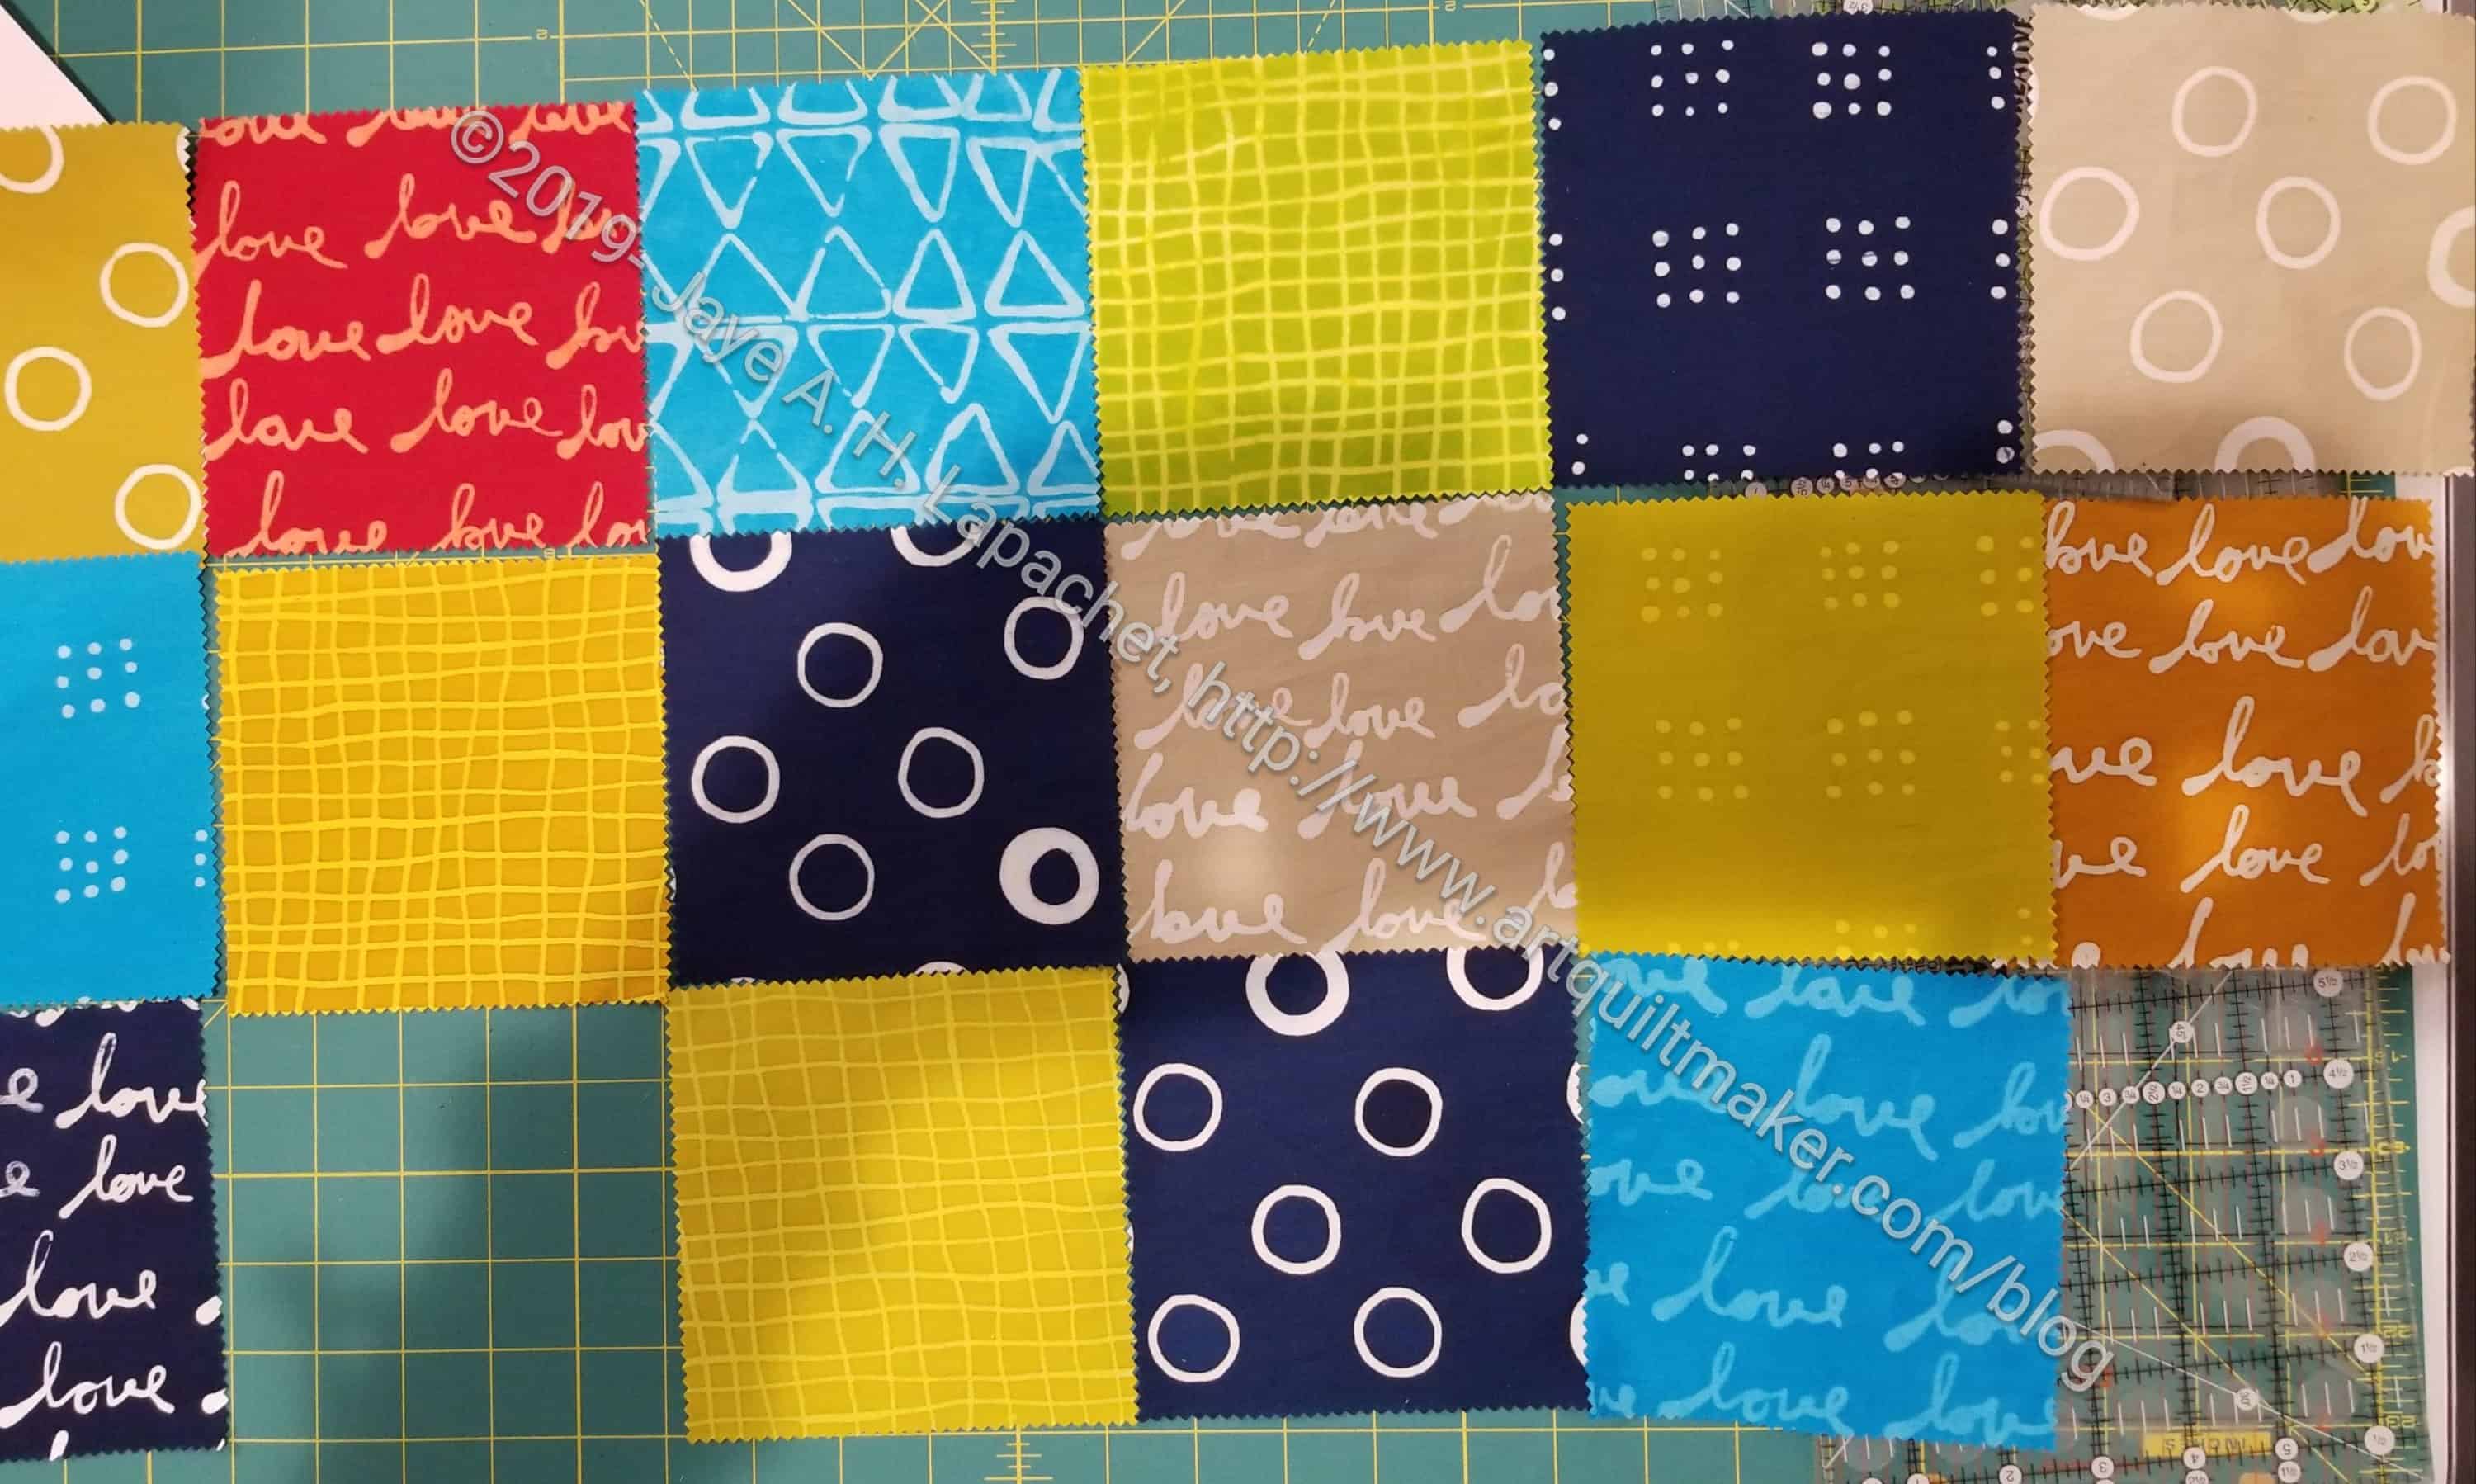
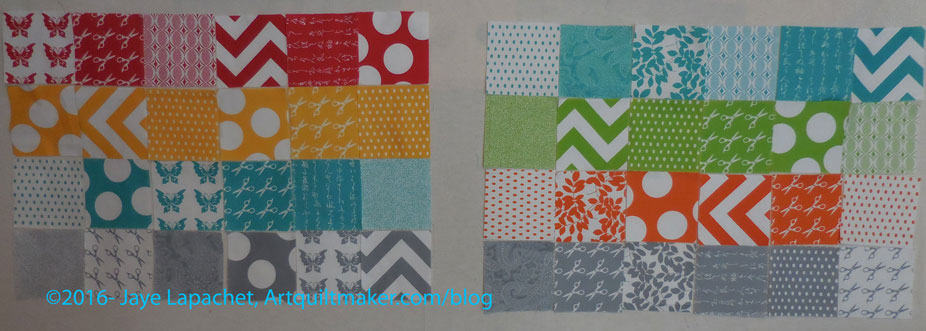
Half Moon Modern Chubby Charmer layout
I started it last week and worked on it a bit this week. I hope to finish it today.
I used a Half Moon Modern charm pack I have had for awhile. I decided that this would be a good use of fabric I have been trying to find a way to use for awhile. This was a good use of the fabric, because it made me delve into my group of Half Moon Modern fabrics. I didn’t have as much as I thought and I had a lot of the same prints.
Half Moon Modern Chubby Charmer parts
The charm pack had most, if not all of the prints and they were fun to work with. I used the yardage liberally and I am pleased with how it is working out so far.
I still have a bit of handsewing to do, but I want to bring this to the meeting this weekend, so I am considering it done. 😉 As Margi says: My quilt, my rules.
This is a great pattern. Once I sat down, focused and stopped with my own creative drama, it really came together.
I know now why one should use the fusible fleece. It is much stiffer and makes the bag stand up very well. This one is a little floopier than my first Chubby Charmer. My closet is a bit emptier because I used batting I already had.
I can’t wait until this bag is done, but I also haven’t worked on it much! I know, really I do, that they don’t get done by magic. The side shown above is half sewn together.
Sugar Pop Chubby Charmer side 2
The side show above is completely sewn together.
I was really busy working on FOTY 2010 over the long weekend. I tried to work on it every spare moment I had, because I don’t want it lingering. I want to finish that baby and take it to the quilter. Since I am using the Chubby Charmer (CC) piece as leaders and enders, I didn’t get much work done on it, because I just used other FOTY 2010 diamonds as leaders and enders.
I was thinking about the inside of the CC, the straps and the filling, however. I think that I will add some interfacing to the straps as well as batting just to give them a little more substance. If I have enough fabric I will use the icky green/white dot (bottom photo, 3rd fabric from the right, 2 up from the bottom) as the inside. I may only have half a yard, which won’t be enough.
I was also thinking about using some leftover batting instead of the fusible fleece. I have batting scraps and would have to buy fusible fleece. I wonder if there would be a noticeable difference? I don’t remember the fusible fleece sticking all that well when I made the first Chubby Charmer. I do remember it being stiffer, though. I could add fusible to the batting I have. I do want this one to stand up like the first one does, but I would also like to use what I have. I’ll have to think about it.
I figured out why the other layout didn’t look right. In very tiny writing at the end of the first instruction, the pattern said “repeat for side 2.” I generally skim directions, so I didn’t see it the first time around and had to carefully read every word to find that crucial piece of the process. I am glad I did!
Sugar Pop Side 2
I picked out a dot to go with these fabrics. The charm pack didn’t have quite enough squares for the pattern, but that shouldn’t be a problem. However, I didn’t finish FOTY 2010 at the retreat, so I will have to put this on the back burner until I do finish it.
I finally broke down and am making another Chubby Charmer. I use my first Chubby Charmer all the time. It is a great bag.
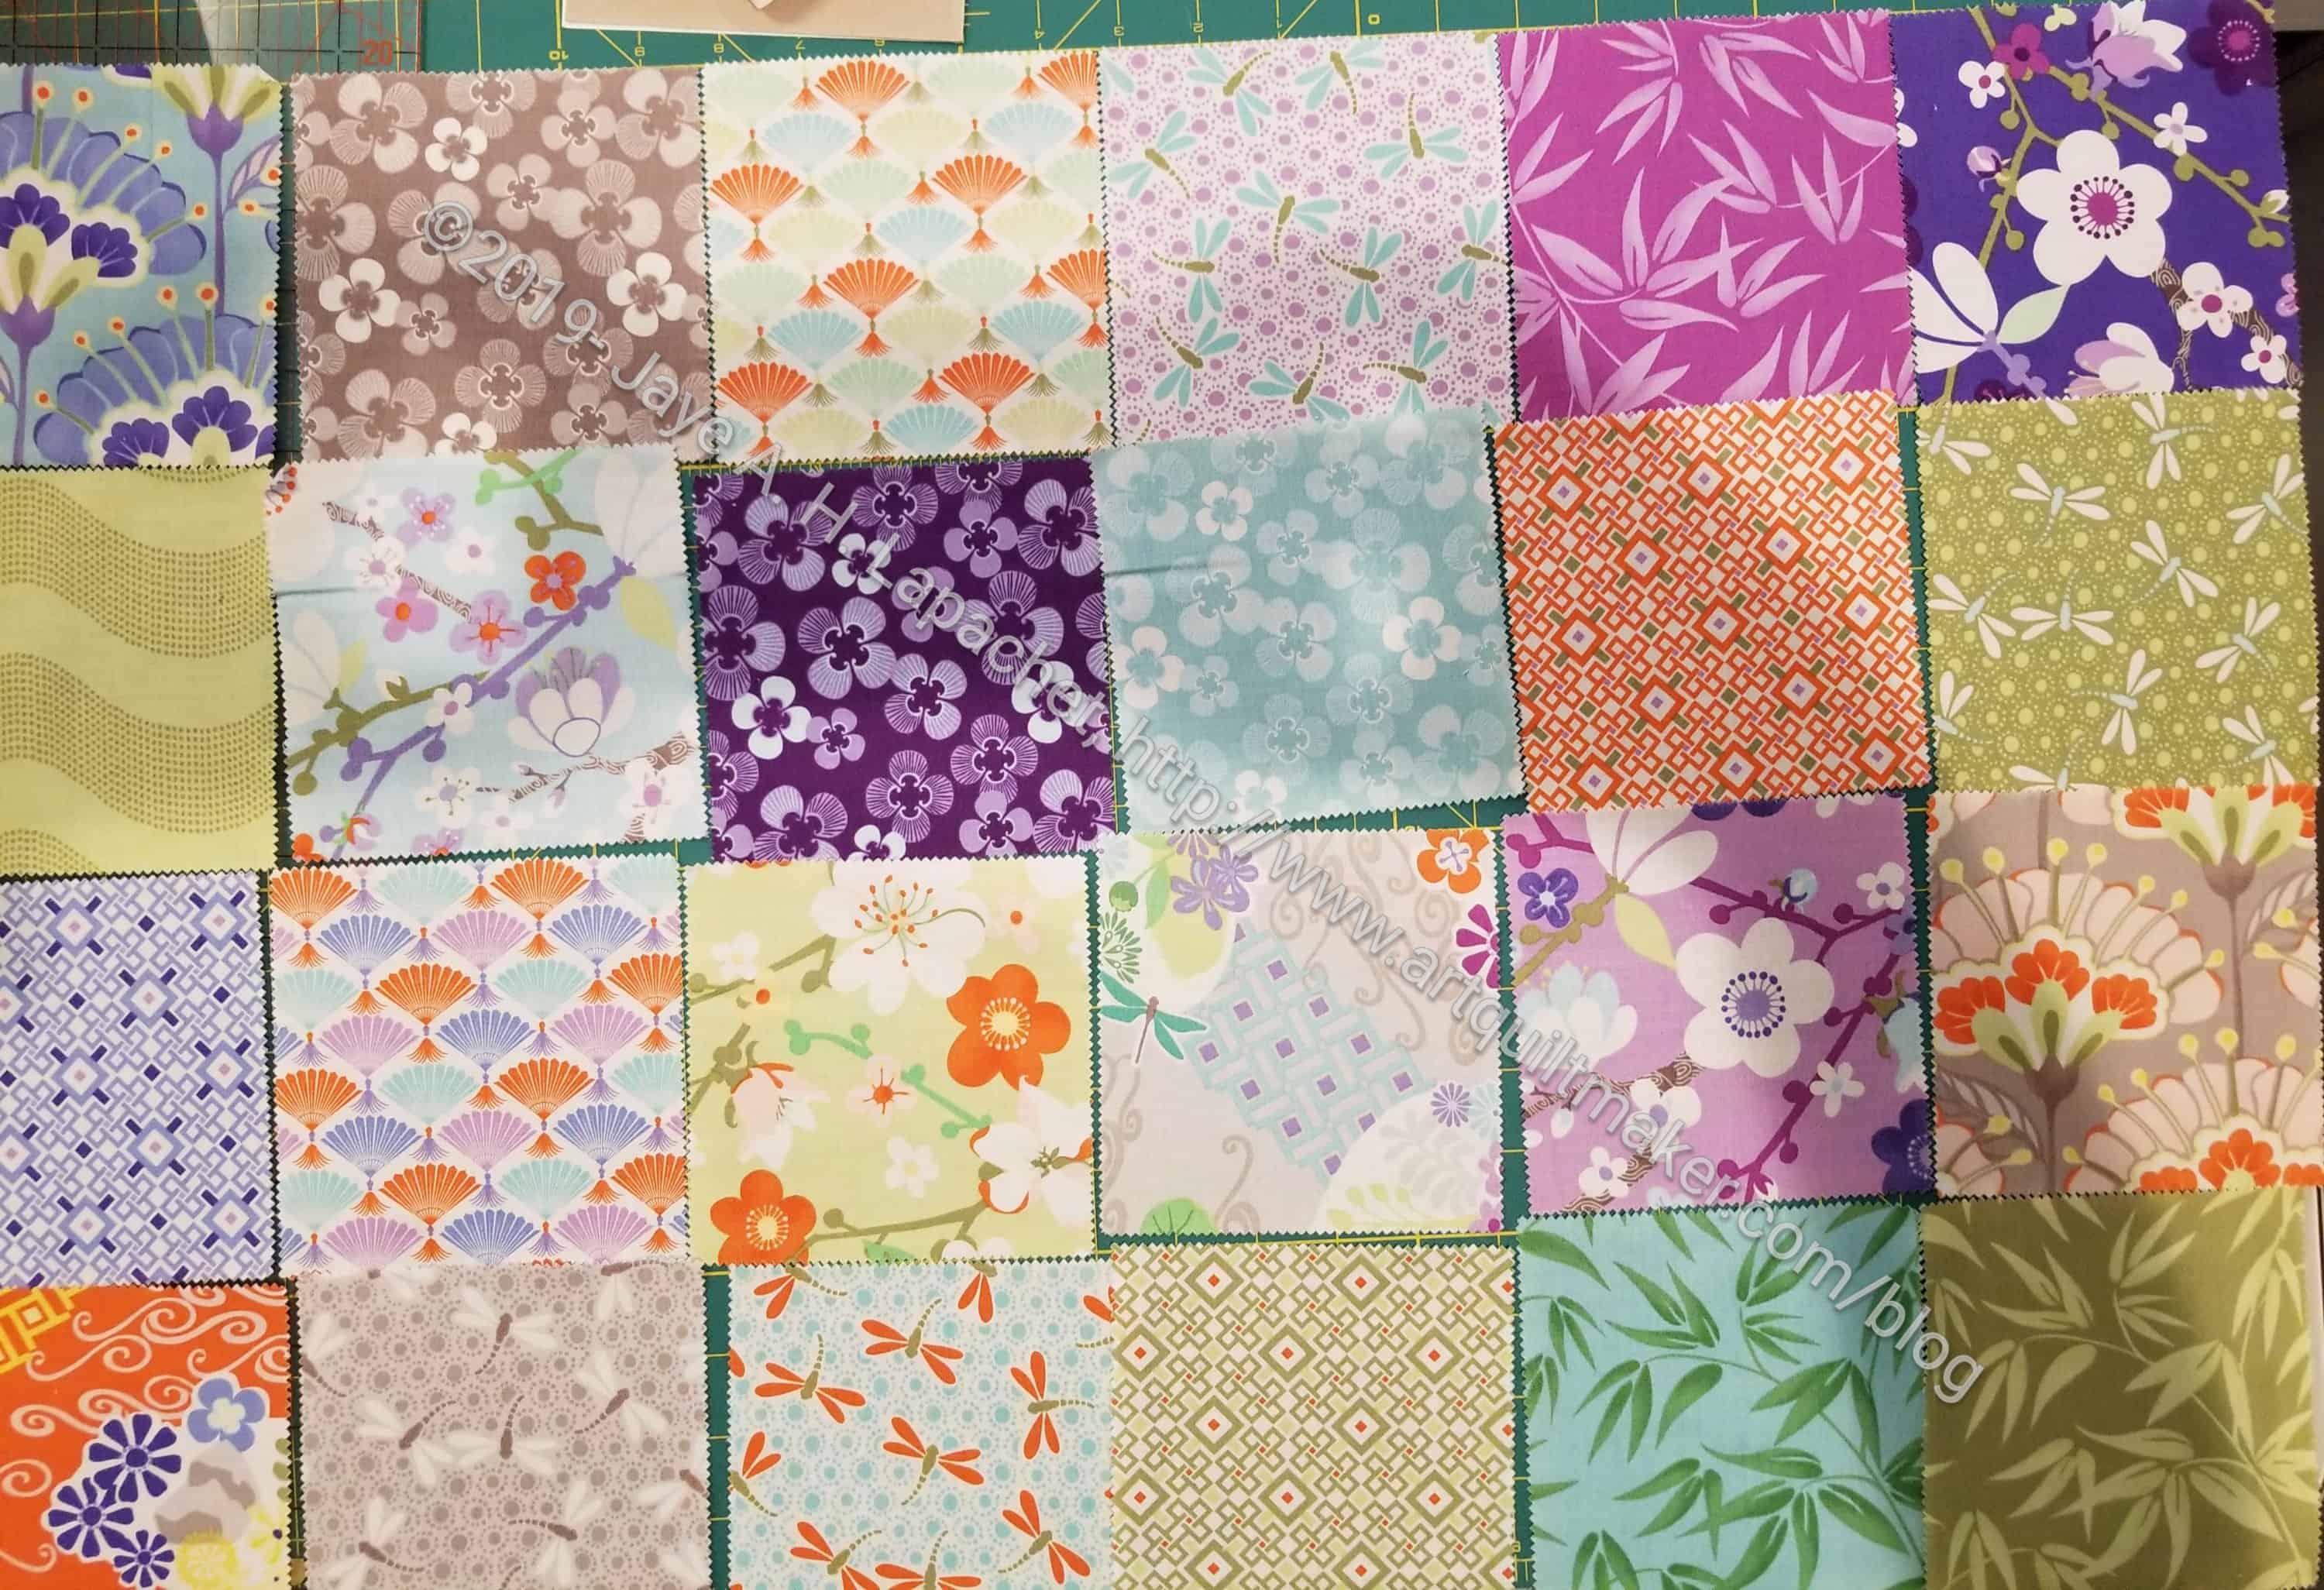
TFQ gave me a charm pack of Sugar POP squares by Liz Scott for Moda. I like it because it is a cheerful pack. I needed some leaders and enders while I worked on other projects, so I laid the charms out on my design wall and sewed a bit.
My favorite fabric is the flower fabric with the turquoise background (second from the left, top row).
The layout you see is not exactly correct in terms of the Chubby Charmer pattern. It is correct in the placement of the fabrics. Notice I have placed the browns on the bottom? 😉 I haven’t wrapped my head completely around the Chubby Charmer pattern yet, which is why not much has been sewed and I have layout wrong.
This is the Chubby Charmer. Two of my friends, Maureen and Terri both had bags made from this pattern and I admired their shape and size. On my week away, I made one.
This is a BIG bag. I could fit my 3YO nephew in this bag! I didn’t realize the size in relation to my size until it was finished. I like it and will probably use it to carry stuff up and down the stairs in the house, or perhaps out to the car. I can imagine it would be useful for carrying packages out to the car to take to the post office.
I don’t think it will be great for carrying around on a general basis, because it might get really dirty and I am not sure about the washability. I also think that I could easily fill it up with 30 pounds of stuff. I’ll have to make an effort not to fill it with 30 pounds of stuff.
I used a Moda pack of charm squares from approximately 2007 called Recipe for Friendship by Mary Engelbreit to make the outside of the bag. There weren’t quite enough so TFQ threw in a few from the more recent Snippets collection. We agonized a bit, but not too much and then I began sewing them together.
Side one
Side two
One of the things I liked about this pattern is that it is specifically designed for the Moda Charm Packs. I don’t know if other companies make 5″ charm packs. I assume some do. It is very easy to cut your own 5″ squares out of your favorite fabrics. If I were going to use my own fabrics, I think I would collect 5″ squares as I cut fabrics for other projects.
I was putting away some other charm packs I have (Figgy Pudding and Pumpkins Gone Wild), I was thinking about what else I could make from these charm packs. I don’t need to have a specific charm pack pattern; I could just sew the squares together and then cut a pattern out of that new fabric.
I also used the red and white dotted fabric (by Susie Osborne, Emmalyne’s Day of the Week line) for the handles and TFQ gave me the red fabric (Mary Lou Weideman for In the Beginning Fabrics) for the inside.
I bought a pack of fusible fleece at the same time I bought the pattern at PIQF. I found, though, that that pack didn’t have enough of the fusible fleece and I had to get more. Both the inside walls and outside walls take two layers of fusible fleece. I didn’t find that it stuck together very well afer pressing. As a result I think I would just use my leftover batting if I made this pattern again.
The pattern designer has a really cool trick for making the box bottom. The maker traces a square template (provided in pattern) on to each bottom corner. After some sewing gymnastics, which are well explained in the pattern, you end up with a line to sew across that makes the box bottom. Very easy and no box bottom guessing. TFQ came across a similar trick in the Jane Market tote by Posie Gets Cosy. We tried to find the ratios of squares to front panels so we could try it ourselves on our own designs, but haven’t yet been successful.