I made this Cotton Candy pouch for a friend’s birthday.
It ended up being a ‘slimline’ version as I sewed the side panels to the wrong end of the main panel and had to trim extensively. It worked out and she liked it so no harm.
However, I need to get this right. I have made so many of these pouches that I am shocked and amazed that I made such a big mistake. I am going to make some others to cement the process in my head.
This bag has taken a long time to finish. I am not sure why, because it came out really well and I really like it.
It is quite a large bag, for one with a handle. The finished size is 12.75 inches in length x 6 inch tall by 5.75 inches deep.
Hildegarde Finished – front (closed/exterior)
I am pretty pleased with my fussy cutting. The fabric I chose, a Heather Bailey print called Aflutter in pink. I find it very cheerful. It is from an old line, so I don’t know if you can find it again.
I worked really hard on lining up the birds on the top and in the front panel. I can’t remember doing that kind of fussy cutting before. Sara models fussy cutting on her sample in the pattern.
Hildegarde Finished – back (closed/exterior)
I think the little bit of top stitching on the back looks really good as well. I used pink for most of the topstitching, but there is also a bit of white as well.
I like the plethora of birds on the back.
Hildegarde: Interior with dividers
Remember I said that I thought the dividers were unnecessarily complicated? They weren’t. They now seem super useful. I am glad I took the time to follow the directions and make them. I wonder if I could (should?) put another mesh pocket on the other side of the divider?
I don’t often use Velcro and this application went better than expected. I seem to remember sewing Velcro in the past and having it stick to the bed of the machine or the foot or something. I had no trouble sewing it this time, which was a relief. I think the design using the movable dividers, works very well.
Hildegarde Finished (open/interior)
I found a good place for my label, as well. It is not really hidden at all. I like the placement.
I also like how open this bag is. It is like an ‘open-wide/wide mouth bag. I am able to see everything inside.
Side note: when I went to get a label for this bag, I realized I only had two Wunderlabels left. Another thing for my To Do list.
Hildegarde Finished – front pocket – open
I was pleased with the way the front pocket came out. I think the elastic technique worked out very well. I haven’t tried using it for thin tools, but I will. One thing I was thinking about the design is that the tools stored in this pocket would be available without opening the main zipper. I think that would be a good thing.
I plan to use this bag for notions to take to Sew Day and Retreats. I plan to place it inside the Crafty Carrier . I am not sure how I will use this large open space with the movable dividers. I need a lot more space for long thin tools like pencils, tweezers, etc. Rotary cutters will go well in the mesh pockets, I think.
I ending up giving away one of the EPP balls I made to a surprise baby of a friend. I had some leeway with the great niece/nephew due in October, so I made another one very quickly.
This one doesn’t have any novelty fabrics, but is still fun.
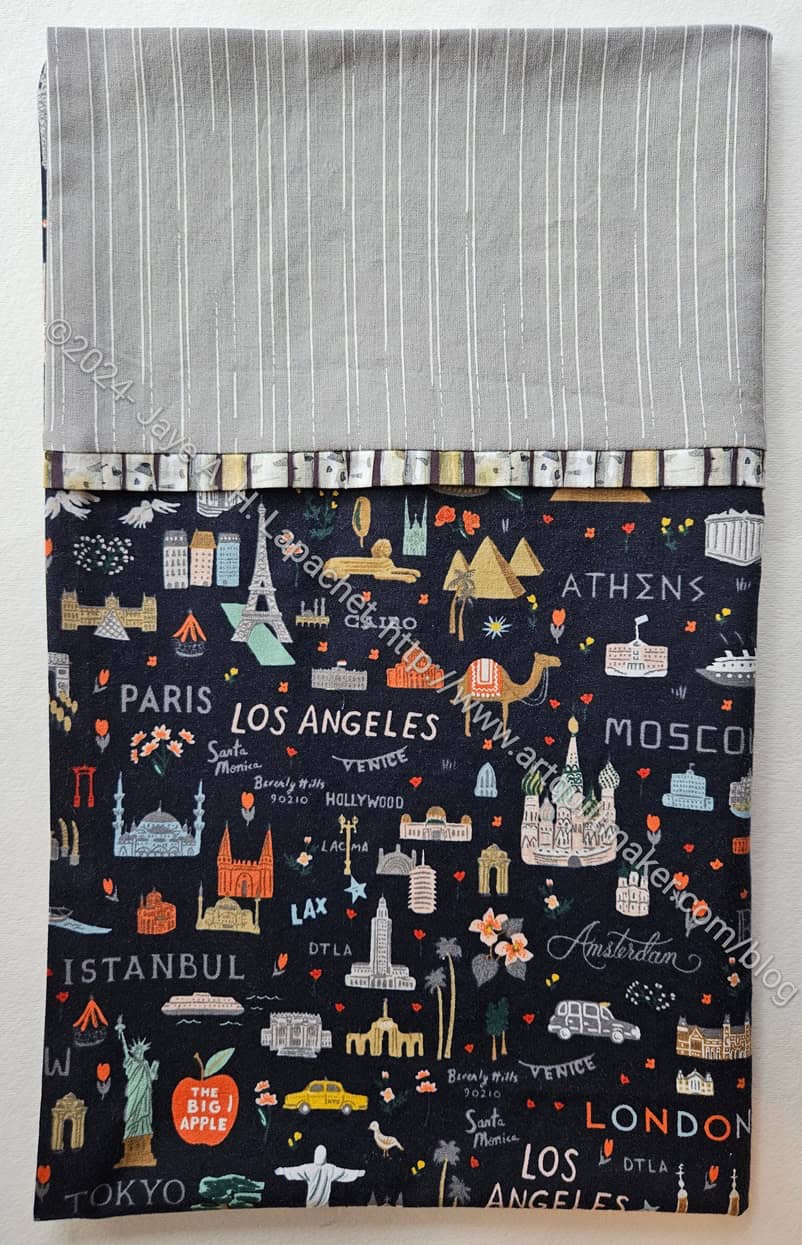
This month I sent off one of the actual travel pillowcases. Last month was the camping pillowcase. I suppose you have to travel somewhere to camp, but it didn’t feel like ‘real’ travel to me, whatever that is.
This was also a birthday gift since the nephew turned 18 yesterday. I stuck a card in the package for him. I actually got a thank you text! Unnecessary, but much appreciated.
I had some extra fabric, so I added the trim pieces to some of the pillowcases for this project
I finished this quilt at the beginning of last month, but forgot to post the finished quilt. August was busy!
One of my SILs brought it to the new baby when SIL traveled to the area where my niece and her husband live. I was glad not to have to mail it.
I am pleased with how it turned out and the juxtaposition of the same design in different colors. The first D9P was for this baby’s brother and is almost the opposite in color of this one.
I was able to finish Ends n.18 over the Labor Day Weekend. DH was out and about participating in various activities, so I had time to concentrate on clearing up projects that were hanging around.
I know Labor Day was a long time ago, but things are busy and I am sewing quite a bit.
Didn’t have quite enough of the grey dots for the background, so I added in a solid grey that has been hanging around for a long time. I have quite a bit of various background fabrics, so I just decided to add it in. The quilt top is about 48×48 inches, which is a nice size.
The back is very much off balance. I thought of putting the scrappy bit in the center, but couldn’t be bothered taking more time on it. It looks kind of cool as is.
Yay! I finished the Carrier in time for the next Sew Day. Yes, I am finishing a lot lately. It feels great, though I still have a lot to finish.
This is a large bag and it is simply a bag. There are no ironing pads or tool holders and there aren’t 45 pockets. I even forgot to put a leash in it with a lobster clip!
As mentioned previously, I thought it would allow me to be modular in my transport of tools and supplies to Sew Day.
Finished: Crafty Carrier – front/handles
There are 8 pockets, six on the outside and 2 on the inside. The inside pockets might have been better as vinyl pockets. I had already added Soft & Stable** as the interfacing. This means that the first time out, I was reluctant to add another layer to some already thick seams.
With this bag, I was already considering whether or not I needed an industrial machine. The top stitching around the handles and the edge was difficult, but I lengthened the seam allowance and that worked pretty well. I really don’t want additional machines hanging around. If I had a larger workroom, maybe, but I don’t.
The pattern called for ‘heavy interfacing’. Peltex 70** was suggested. As you know, I have yards of Soft & Stable and I know how that works. I haven’t tried Peltex 70, that I remember. I also know how to work with Soft & Stable, so I went with that interfacing. The bag stands up, which I like, so I call it a win.
Finished: Crafty Carrier – interior
The lining isn’t as tight as I would have liked. I should have used a larger seam allowance. I trusted the pattern maker and the lining was very saggy baggy. I went back and increased the size on some of the seams I could reach once the bag was all together. That made it better, but not as I would like it. I have to review the directions in a different pattern, which is rumored to include anchoring the lining in the seam allowances. Stay tuned for that.
I also painted Odicoat** on the bottom. Not photo since you can’t see it in a photo. I put on two layers after the bag was completed and I don’t see any harm to the bag. I don’t see much, if any, shrinkage. When I do this again, I’ll still pay attention.
I still have to migrate all of my ‘going to Sew Day’ tools and supplies to this bag. That’s a project for another day this week.
Making bags is always a learning experience. I learn something every time. I need to remember to incorporate my preferences into each bag regardless of what the pattern says.
**N. B. : Obviously, you should shop at local quilt shops and small businesses. However, if you are too busy or can’t find what you need there, I use Amazon affiliate links and may be paid for your purchase of an item when you click on an item’s link in my post. There is no additional cost to you for clicking or purchasing items I recommend. I appreciate your clicks and purchases as it helps support this blog.
I worked hard over the weekend to clear out some projects. My workroom and my brain was getting cluttered and I needed some space.
Green Strips #3 donation top
The first one was the Green Strips #3 donation top and back.
The top is finished. It looks a bit weird, but I was trying to accomplish a couple of things. I wanted it to be mostly square, thus the borders only on the sides.
I also didn’t have enough fabric to make the side borders all one fabric. It is more interesting, or it looks weird.
Green Strips #3 donation back
I also made the back.
I was a little sick of this top by the time I got to the back. It has just been hanging around for too long; it isn’t a bad top or anything. I couldn’t find any large pieces of green I wanted to use for the back in my green bins, so I dug into my pile of backing fabrics. I found that stripe, which I know would make great binding, but I wanted to finish it. That piece of fabric has been hanging around for awhile, so it is time to use it for a good cause.
This is ready to go to the Community Quilt ladies.
I think I mostly like saying “Petunia Pouch”. Here is the finished version. It is not a hard pouch, but what a pain this one was!
I had to recut the exterior to get the print going in the right direction. The zipper is a bit off and I had to rip a lot. I don’t know why. Perhaps I was just tired.
Petunia Pouch for Alex – interior peek
More Tula on the inside – this time the tiny stripes in pink.
I was able to finish the binding for the Green & Grey Diagonal 9 Patch. I am thrilled.
There is still a lot of yellow-green, but this pattern is magical. It works so well with a variety of different colors. I want to play with more different color combinations using this pattern.
Finished: Grey & Green D9P back
The back is one of my typical backs. As usual it is made up of large pieces of fabric. Lately, I have been using older fabrics. I am finding that fabrics are better in a quilt than in the Fabric Closet.
I think it looks great and I can’t wait to send it off, though I think I might make a bag for it.