FOTY 2014 – End of the Road?

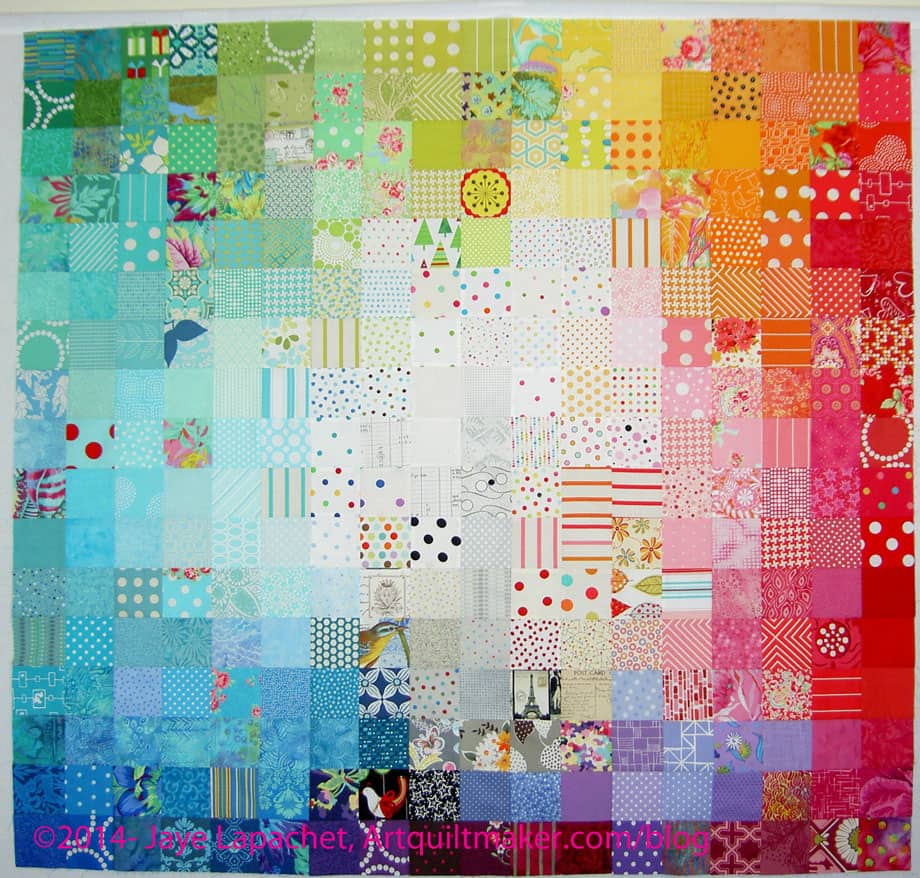
I think I might be ready to start cutting for FOTY 2015. I know. It is nearly March and finally I am getting in gear for 2015. 😉 Sometimes you have to let the process guide you.

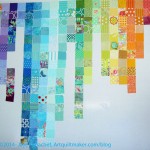
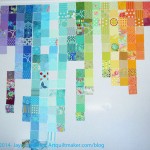
I said last time that I wasn’t sure how much more I should cut. I think that I made that comment because I didn’t have a clear view in my mind of how to start FOTY 2015. I hadn’t decided on a shape. I have a better idea now.

As mentioned previously (or, maybe, on Twitter), I have been ironing fabric. when my sewing chair starts to fall over because I have too much washed, but unironed fabric hanging on the back, I have to iron. I ironed a lot while listening to Outlander (long LONG audiobook) and let it stack up on my ironing board, but finally I was ready to cut.

FOTY 2014 - Late February 2015
FOTY 2014 – Late February 2015

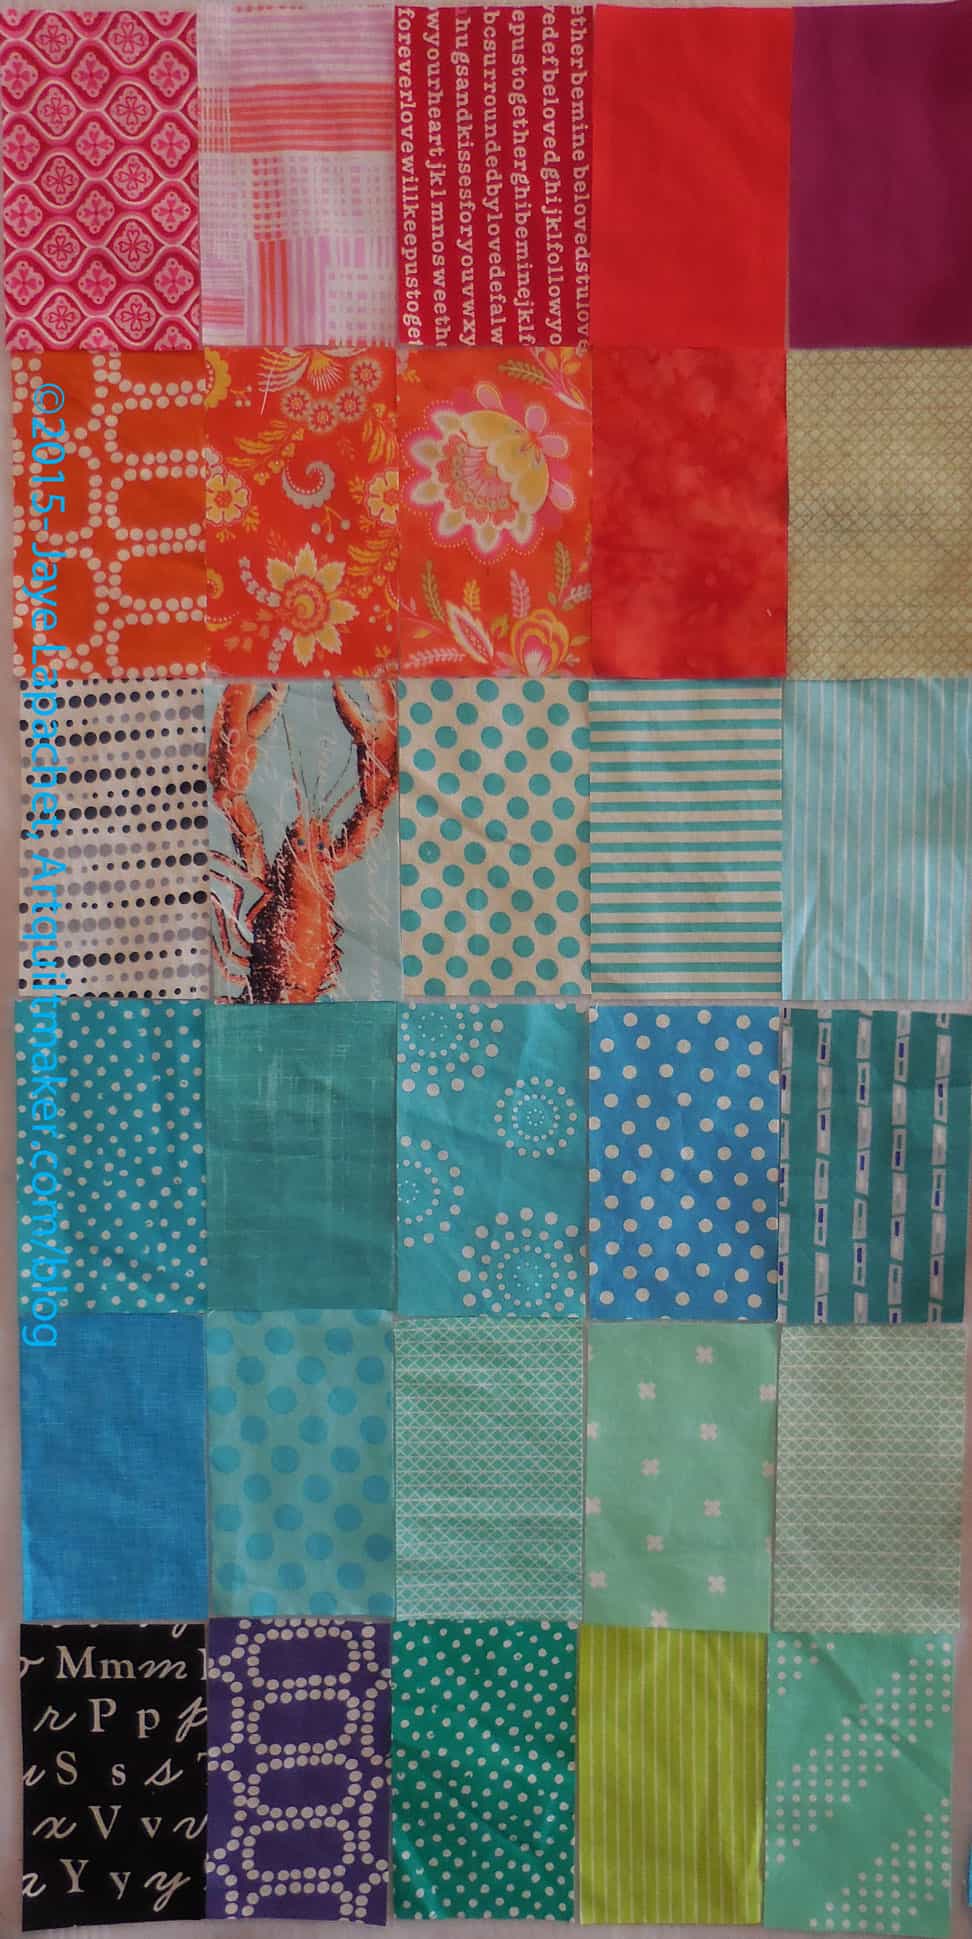
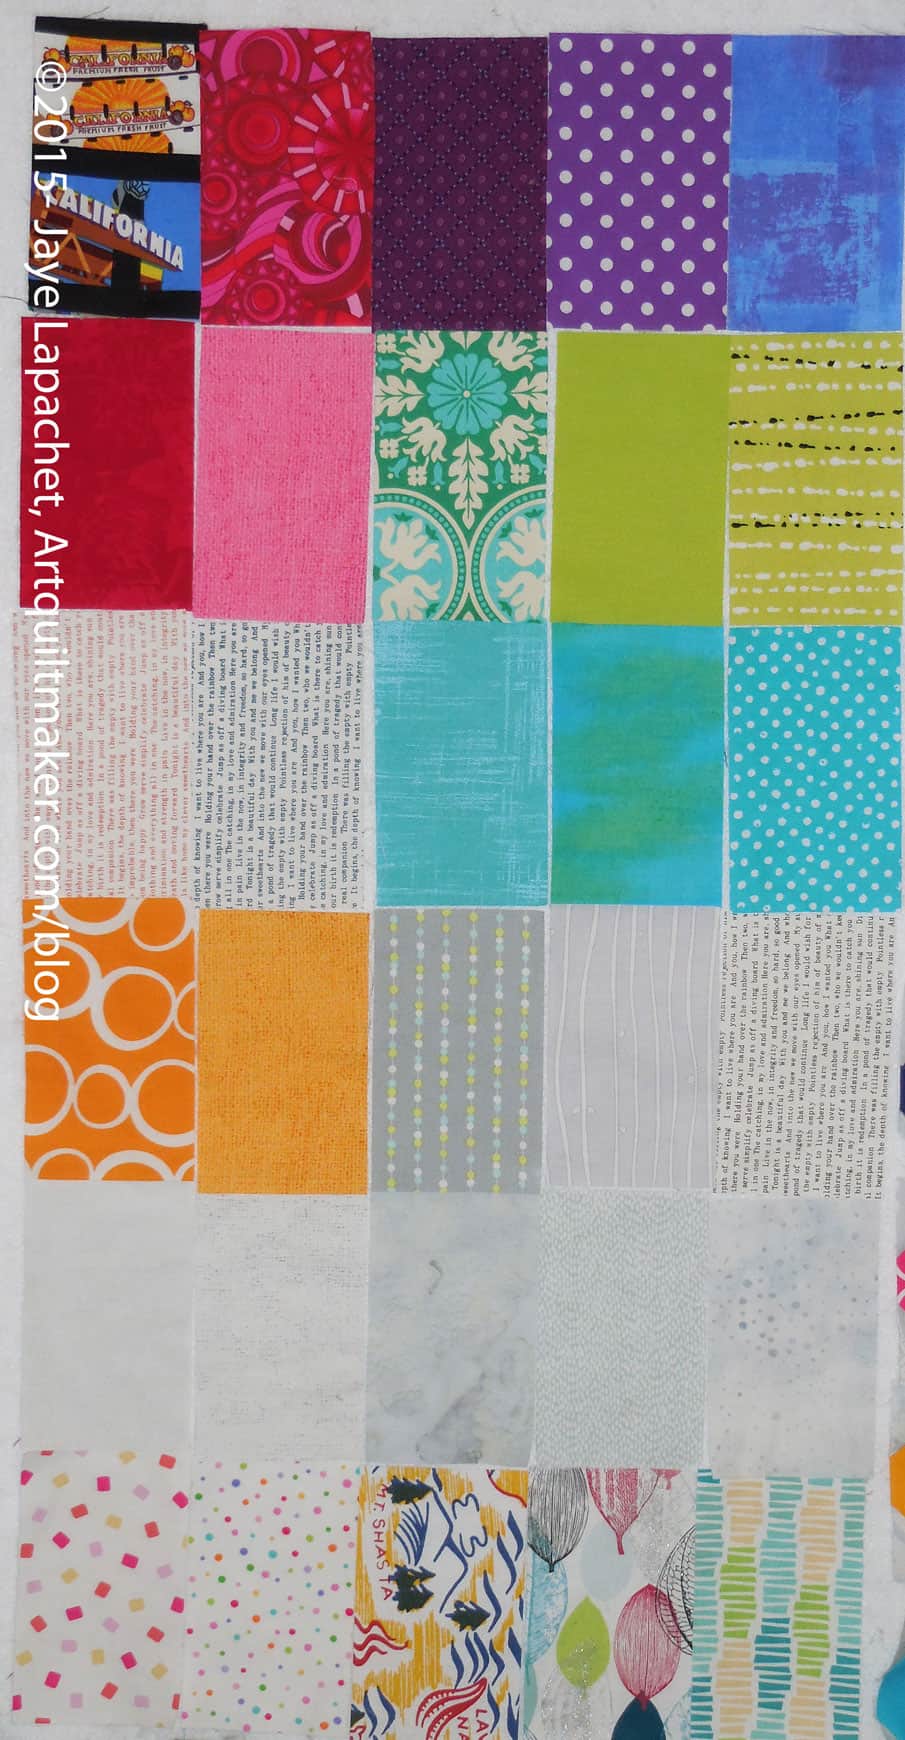
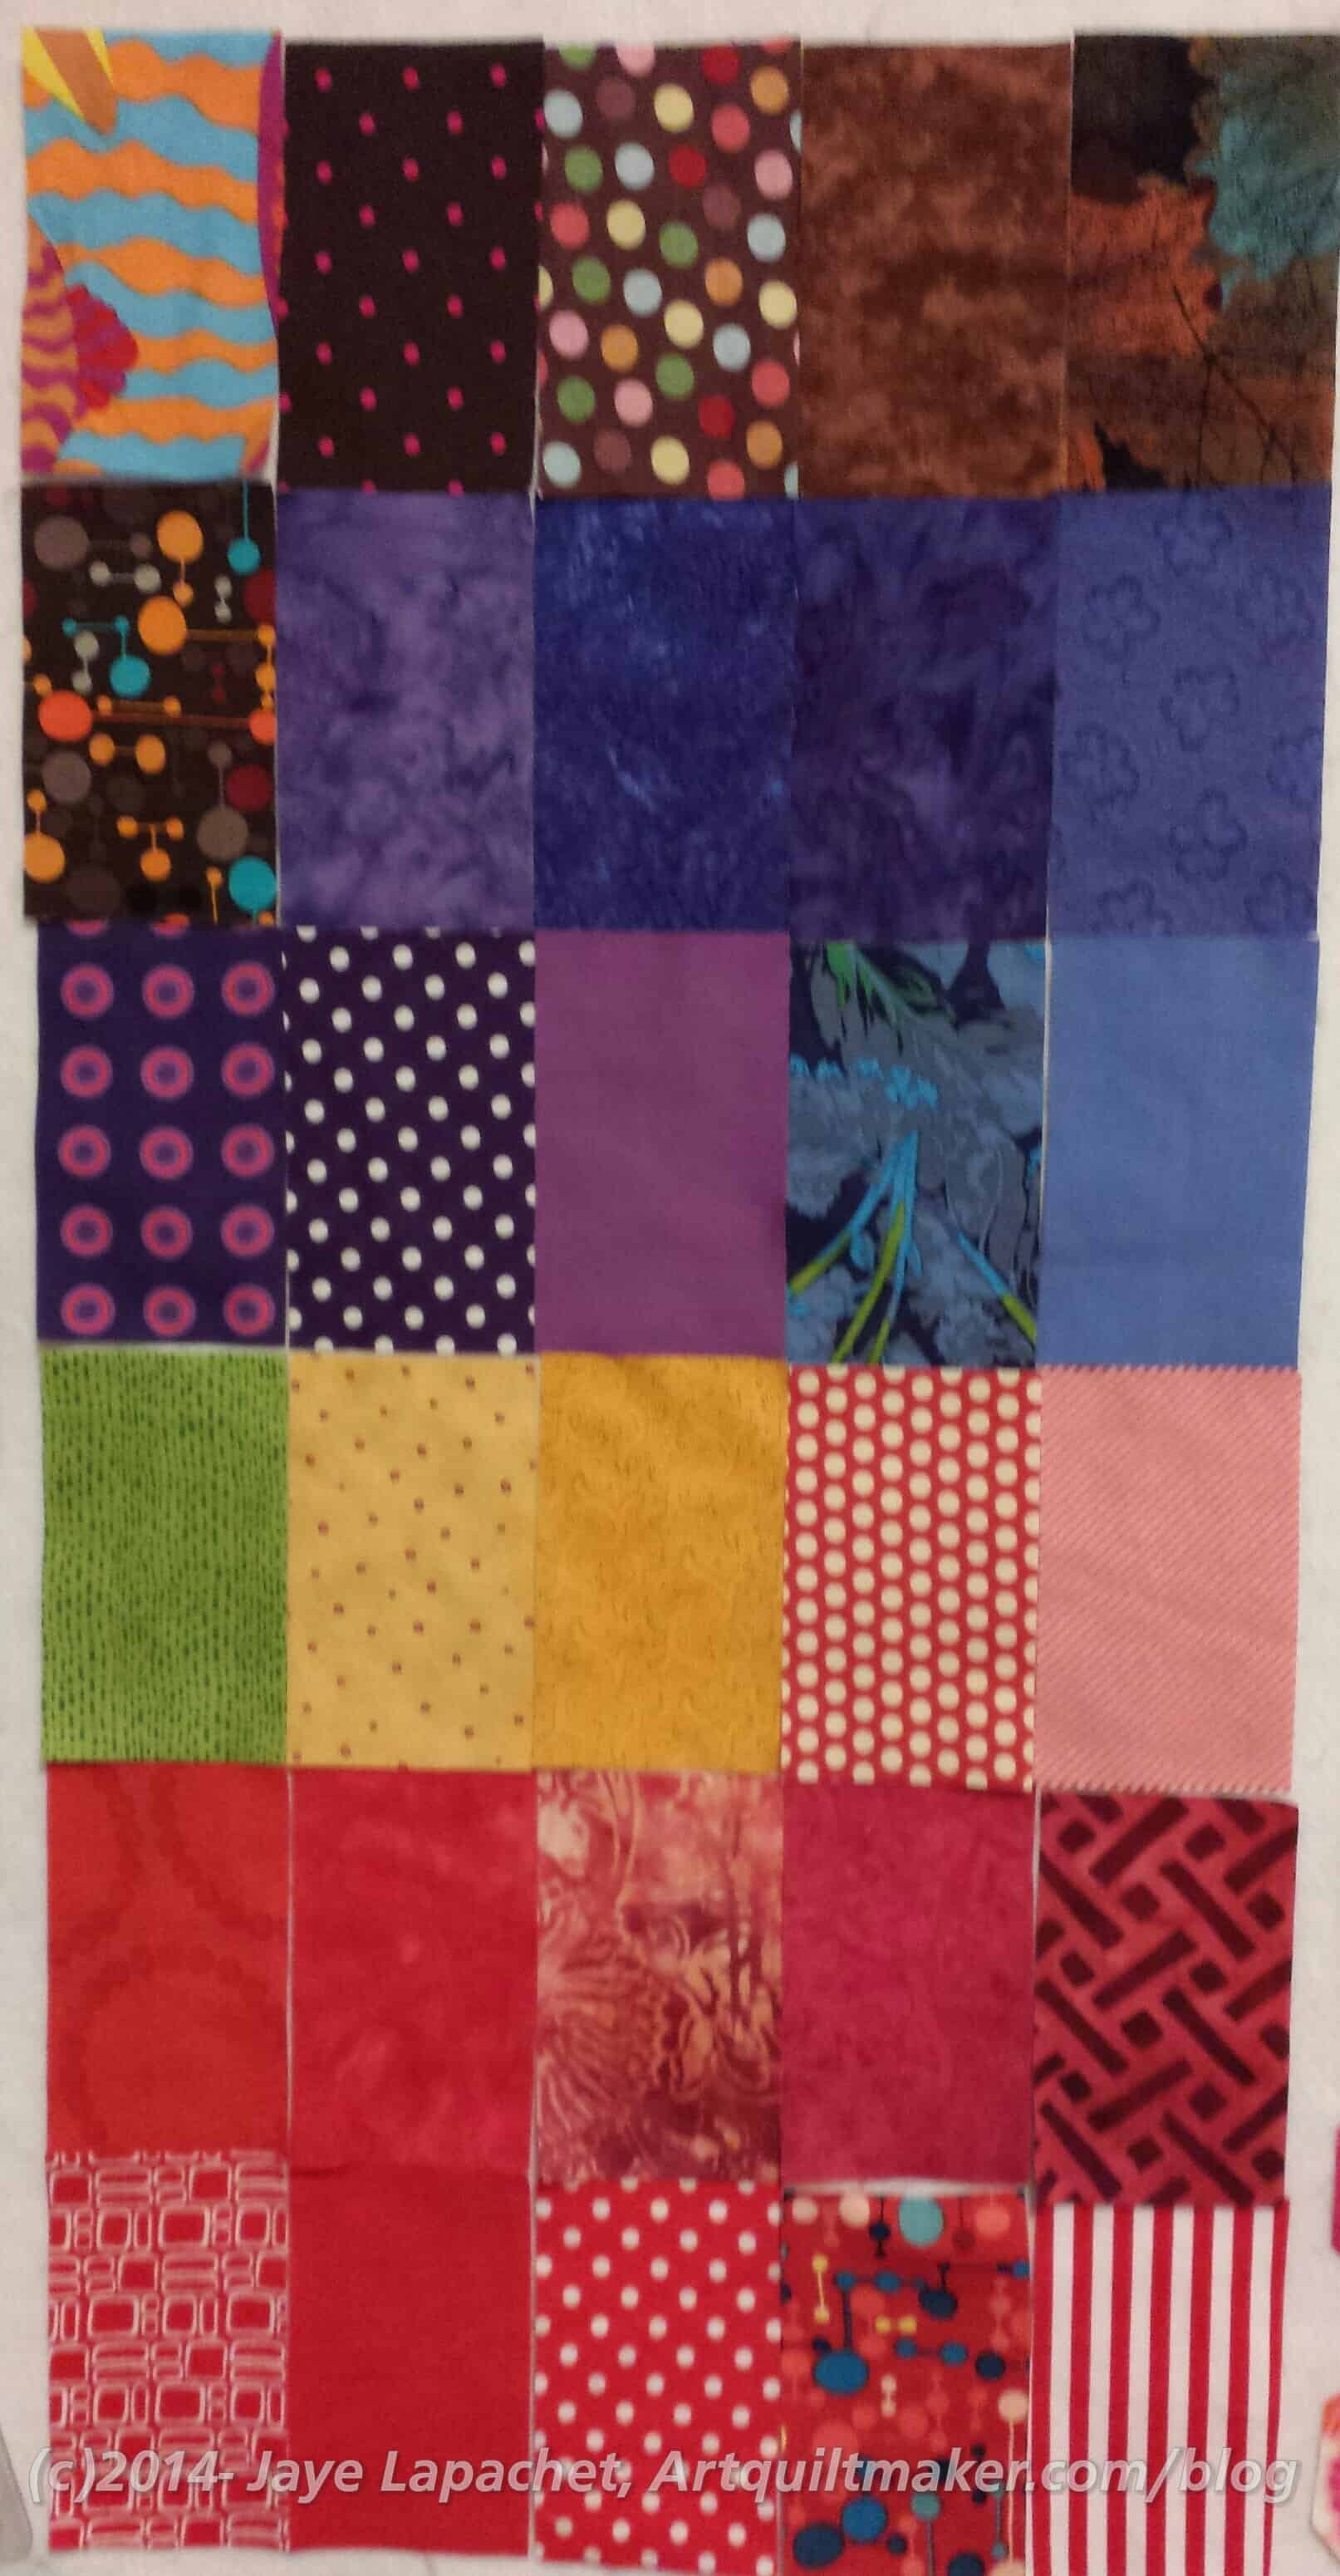
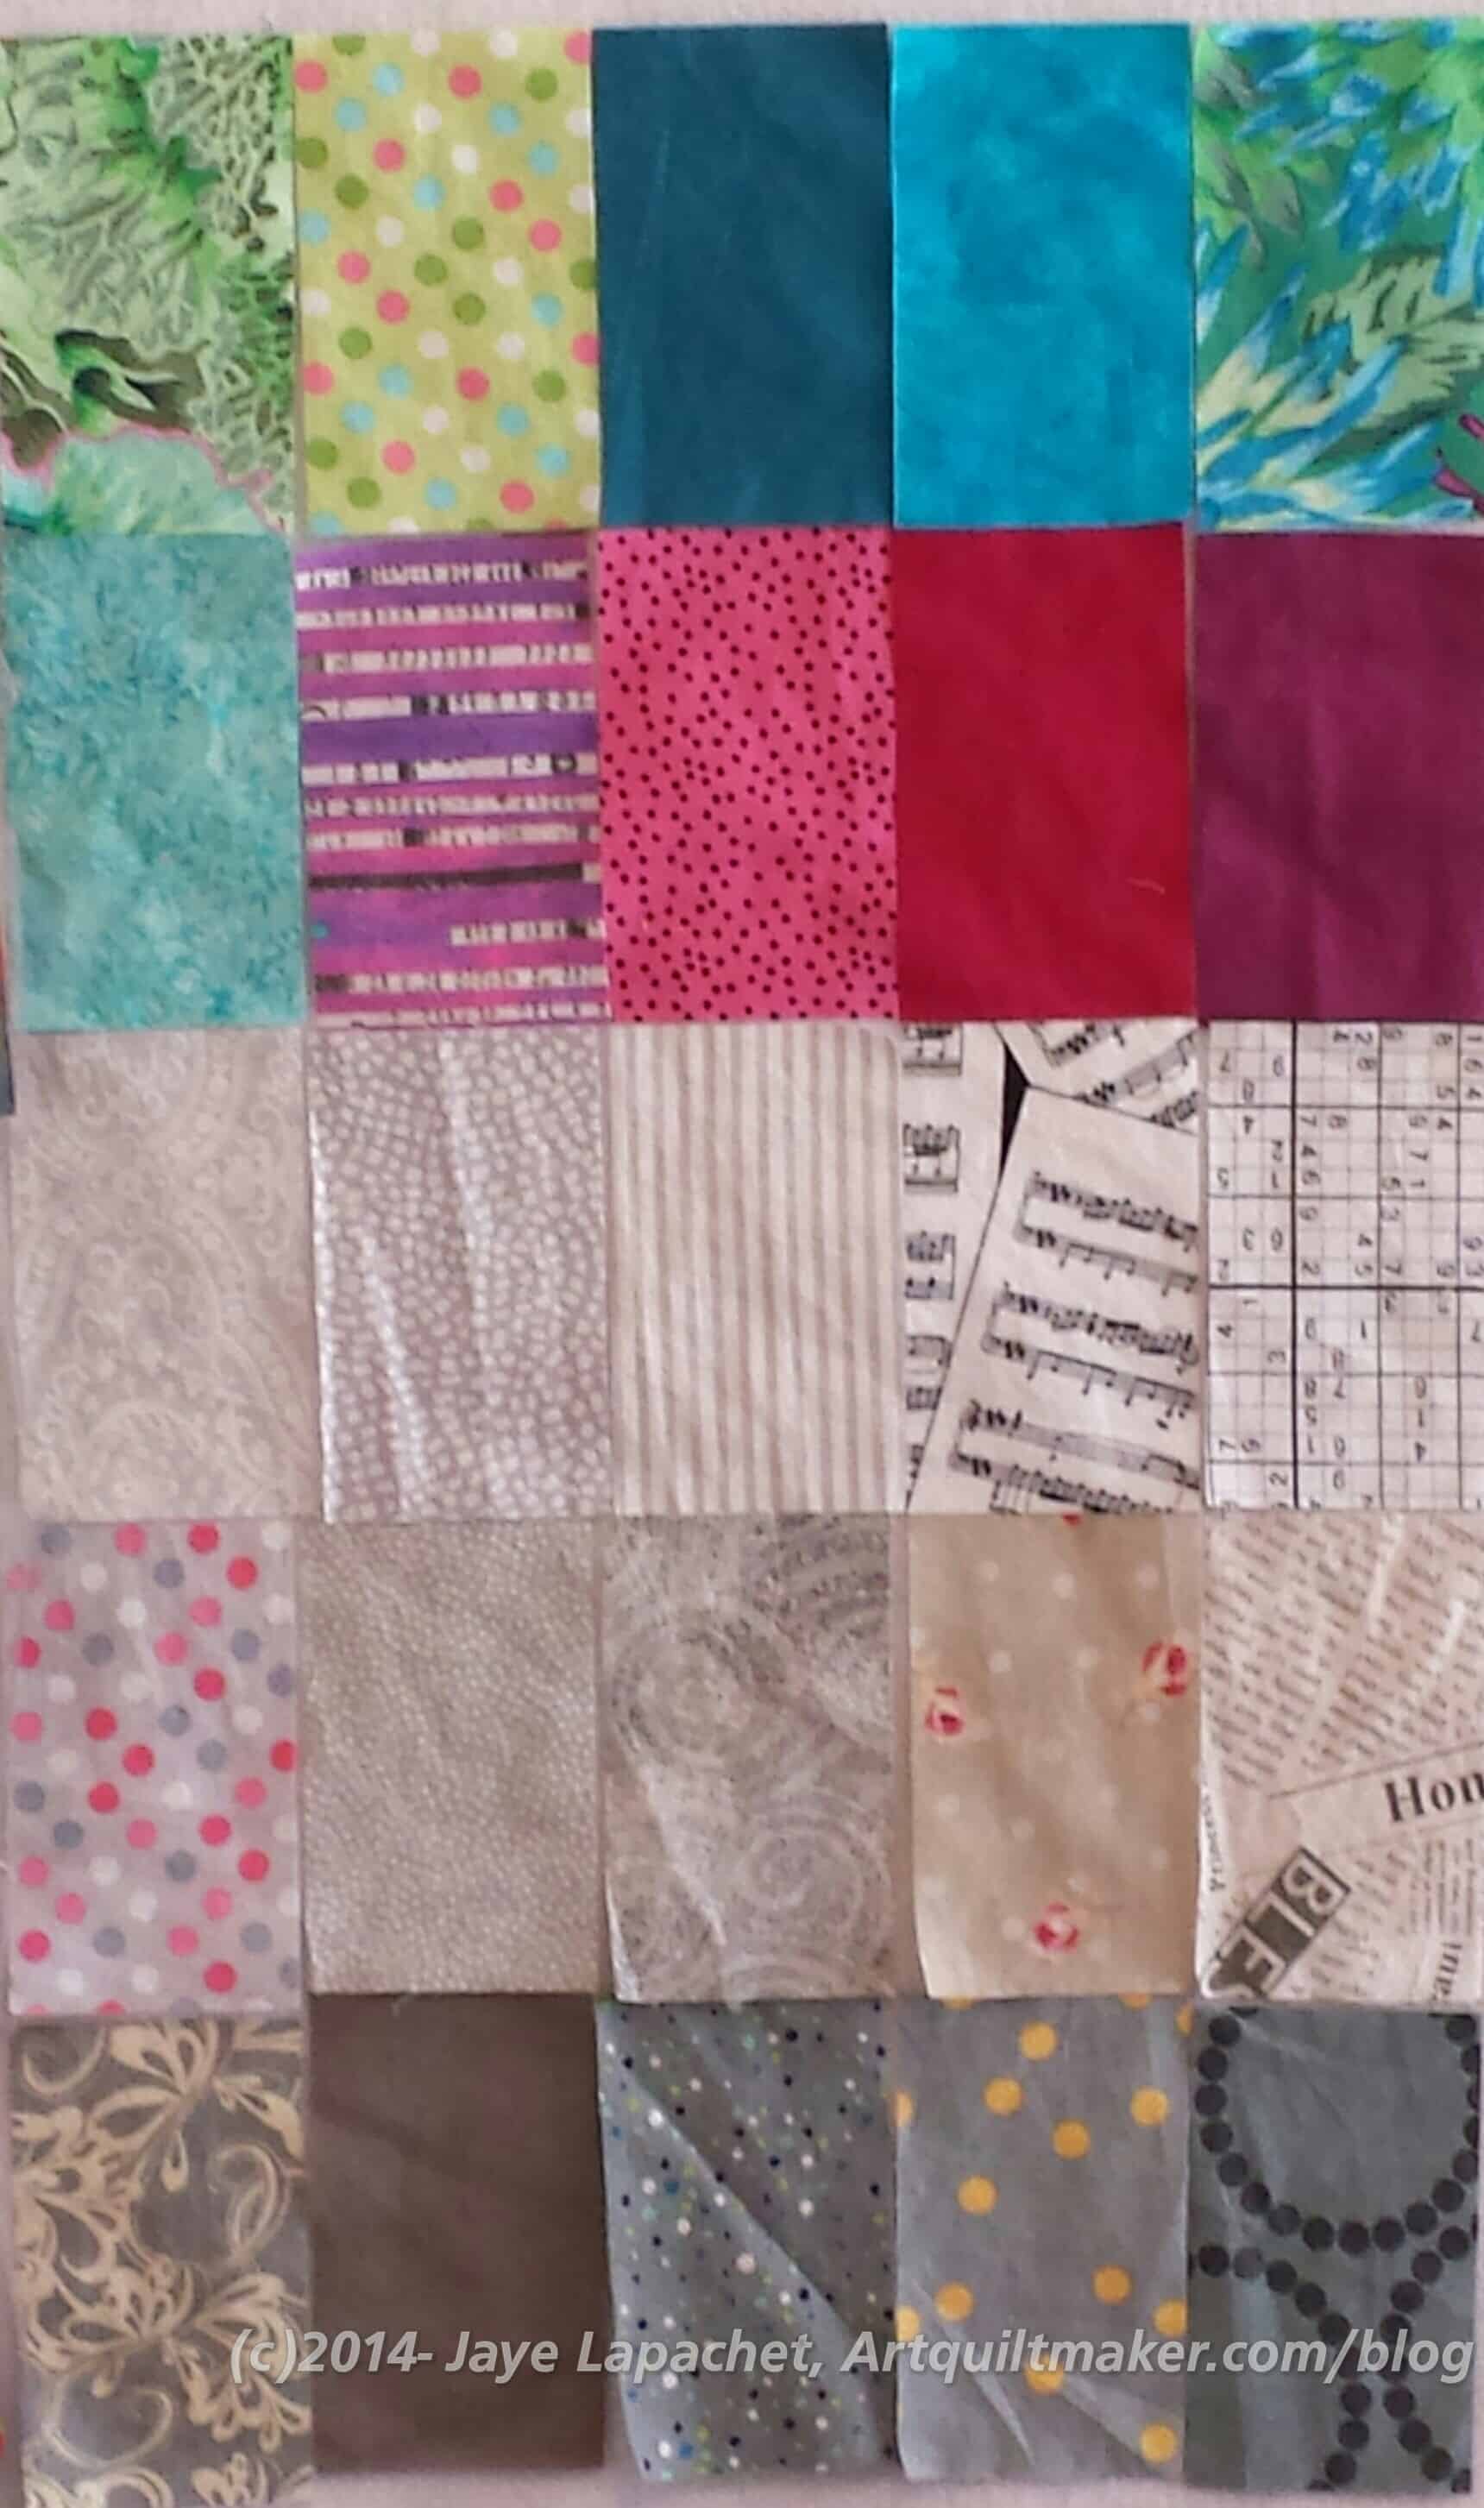
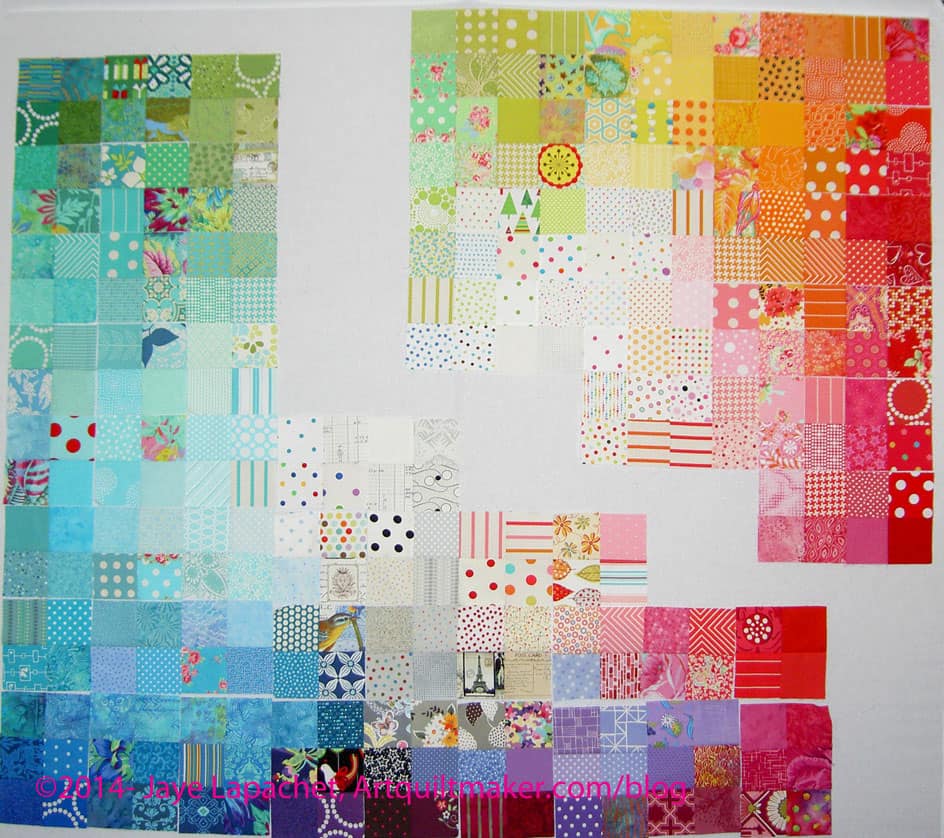
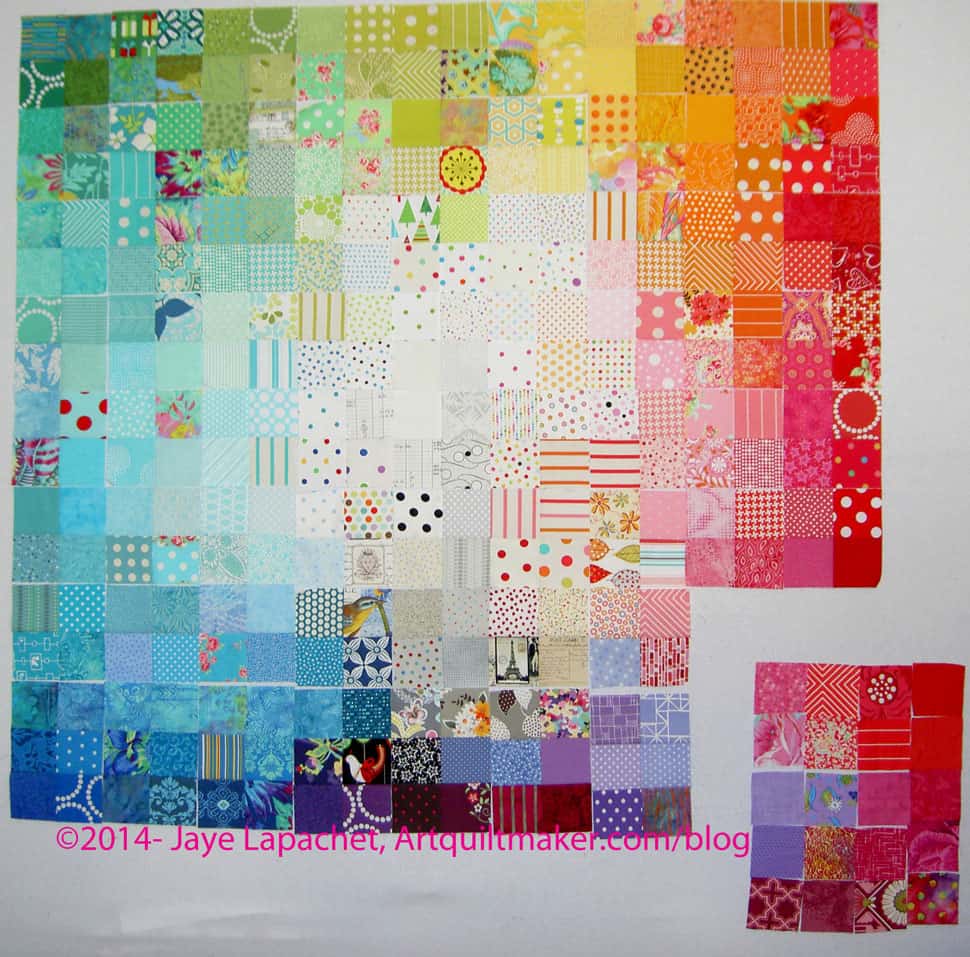
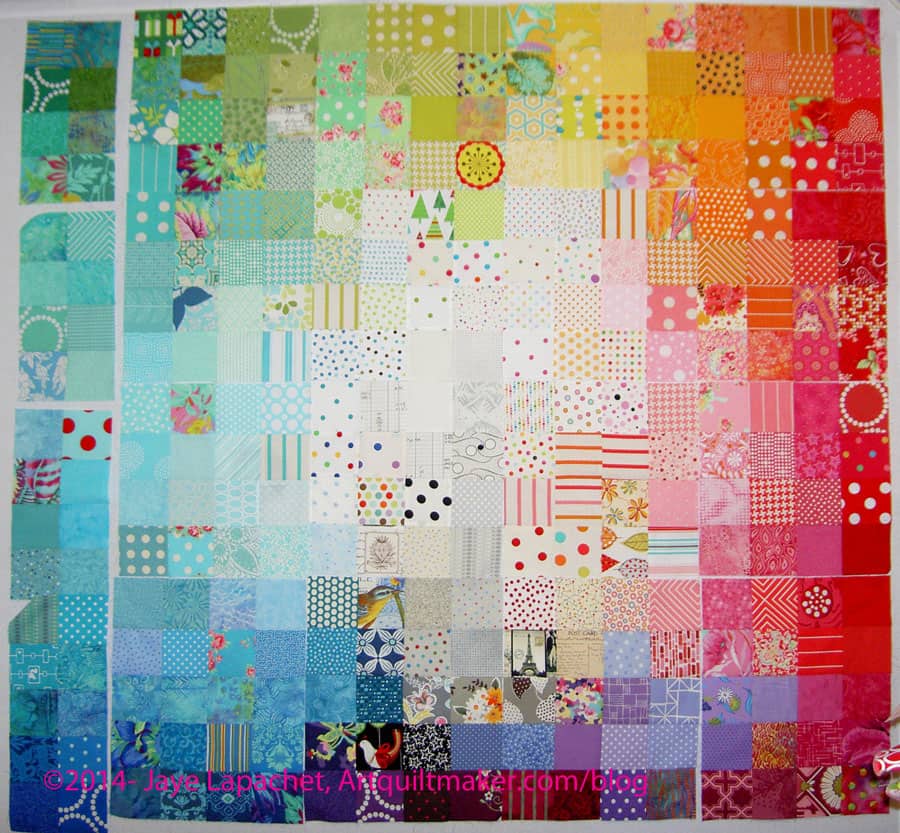
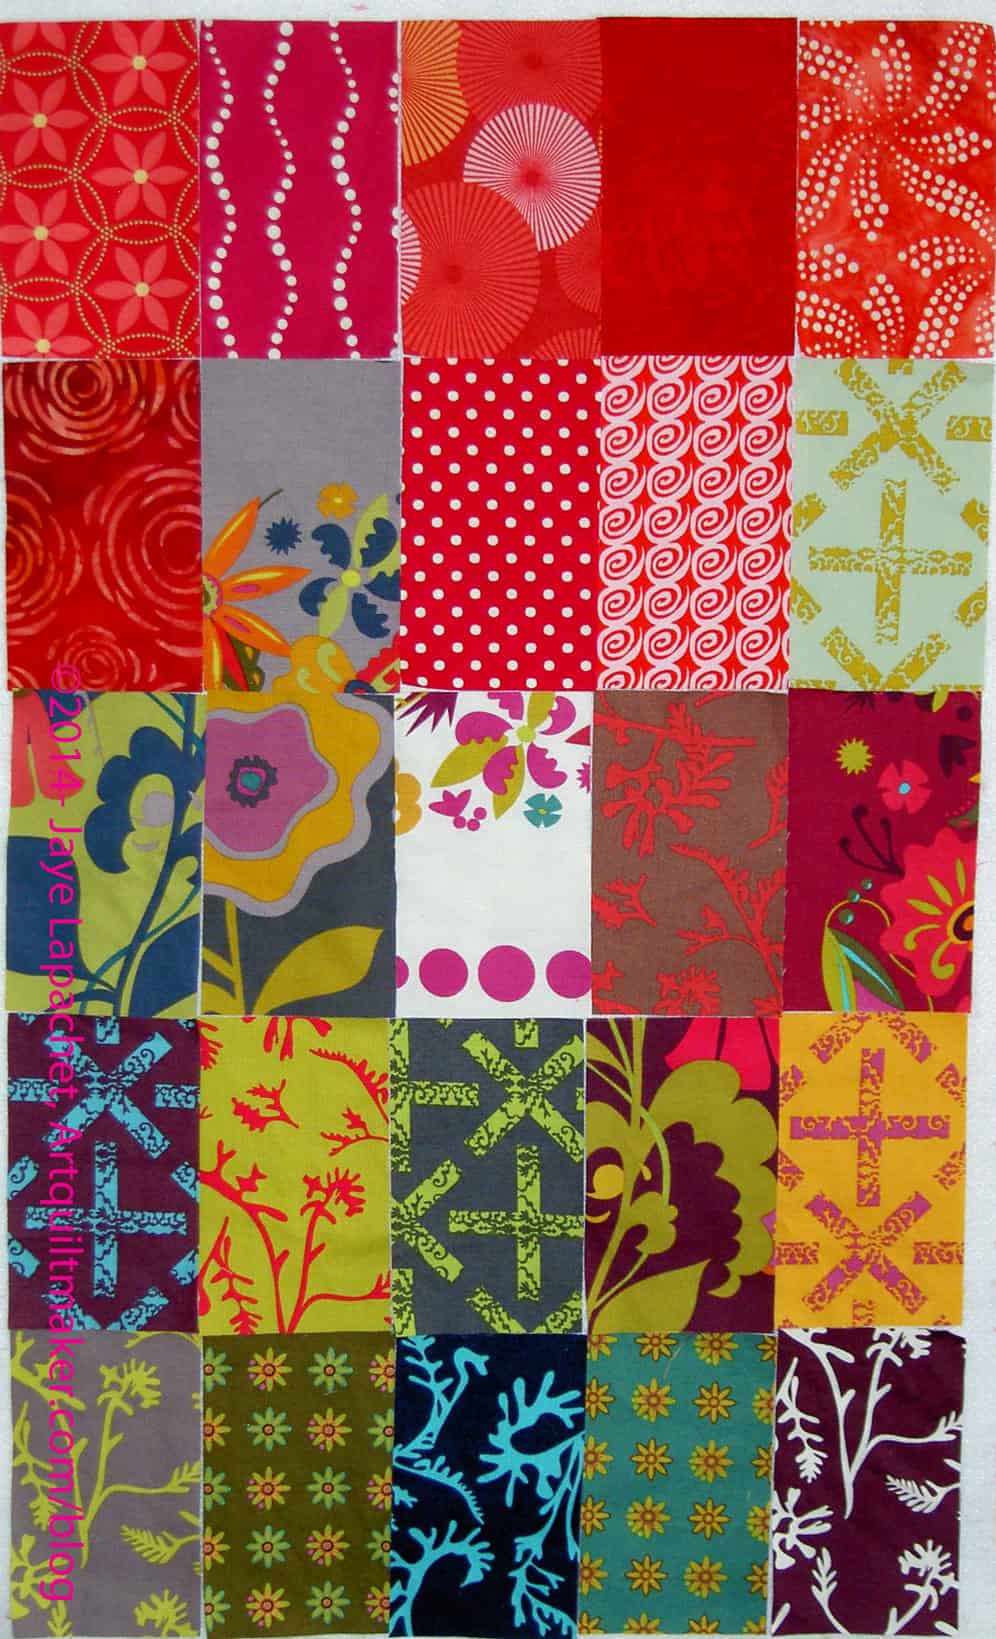
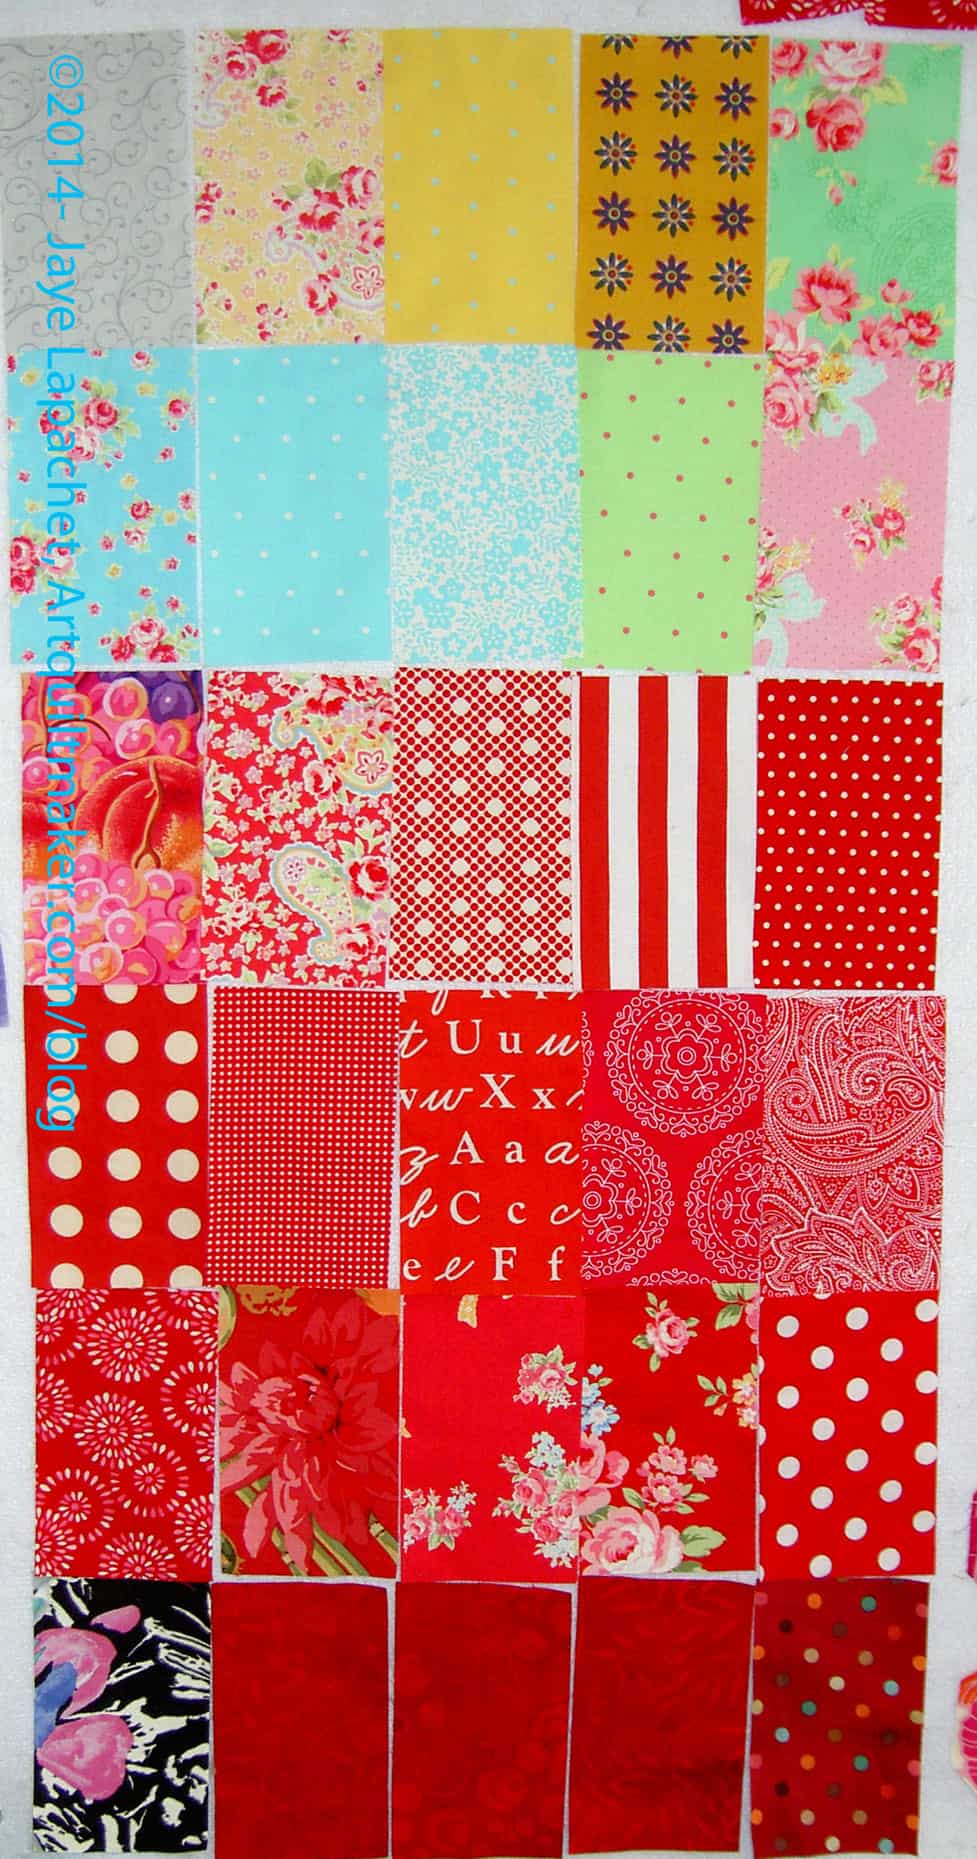
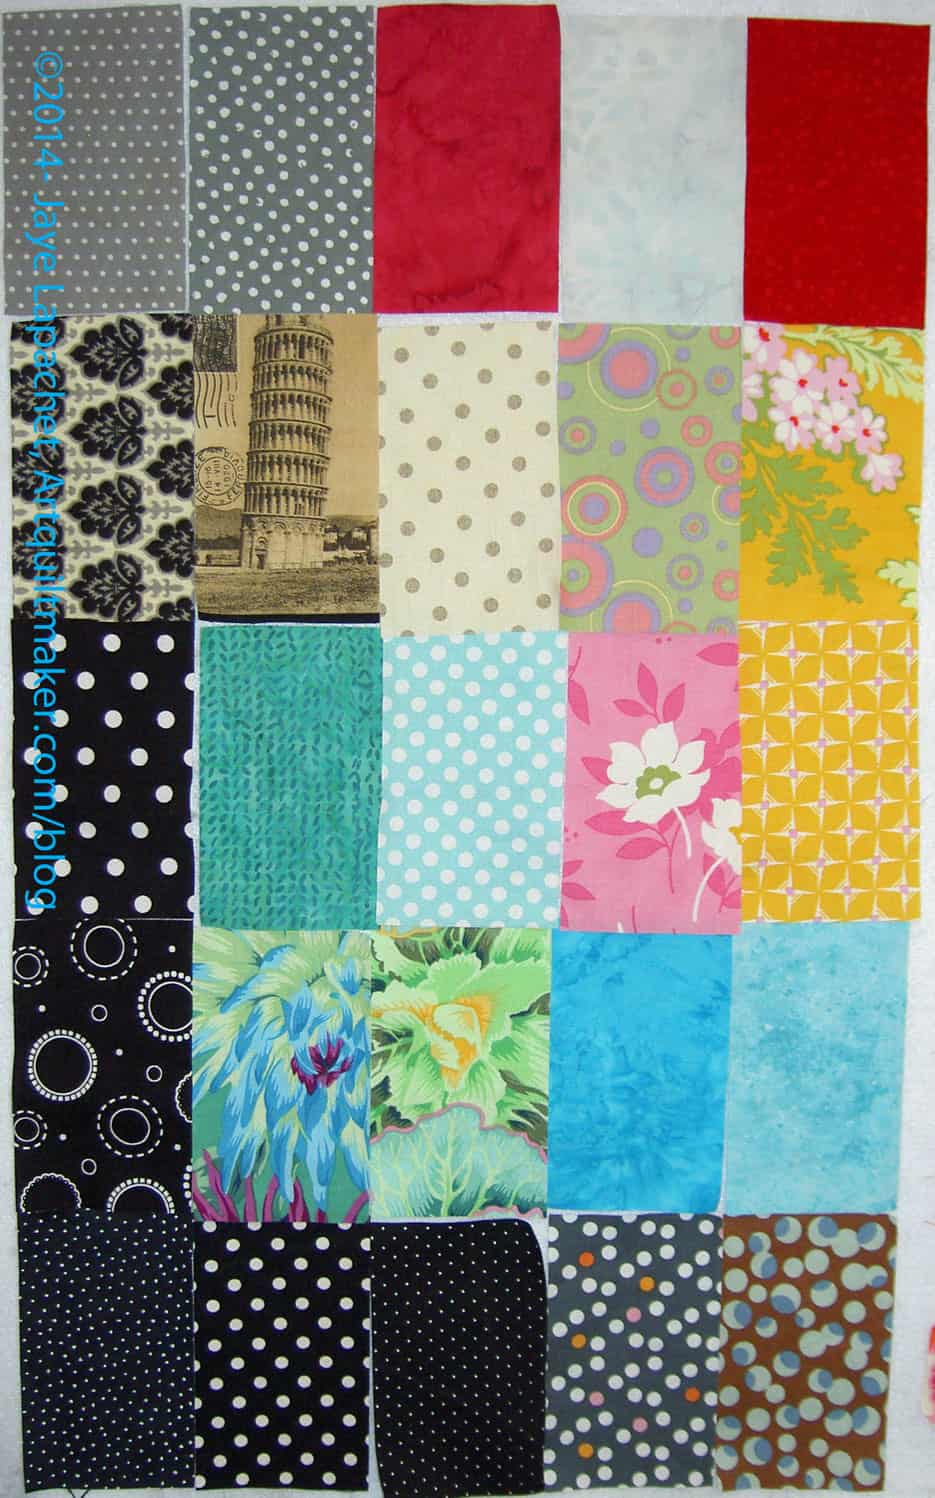
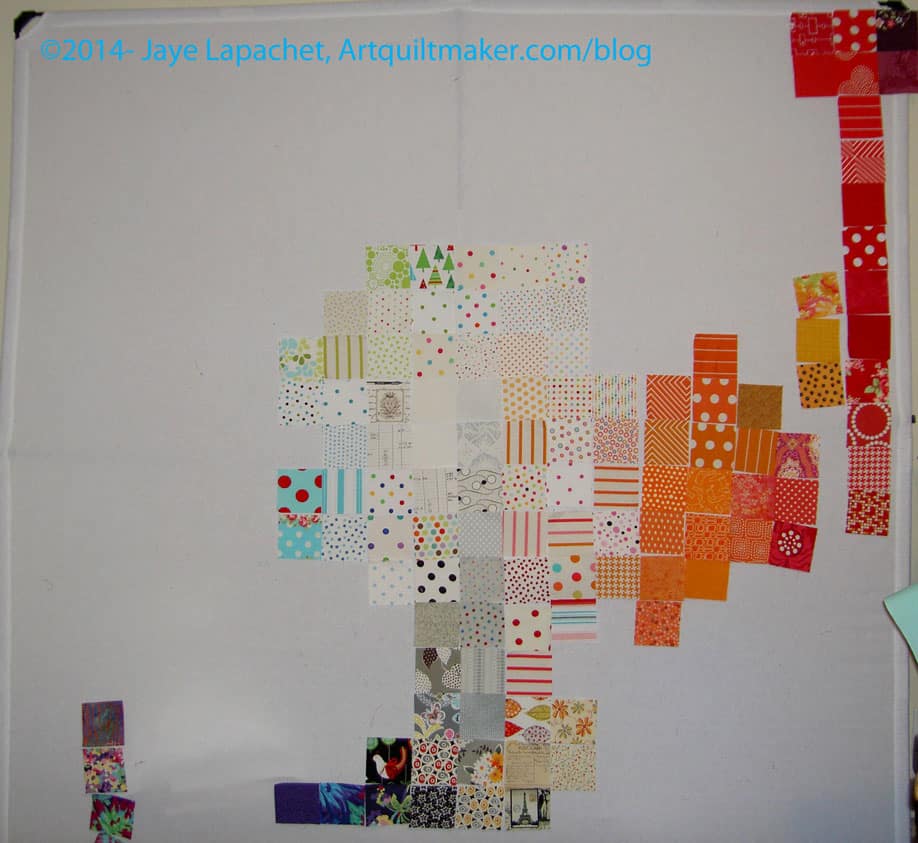
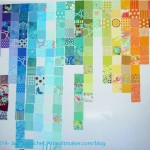
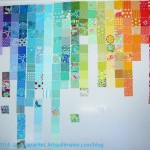
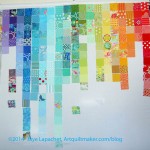
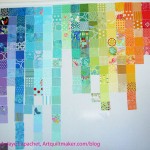
I still have a stack on my ironing board, but Voila! These are the patches I have cut in the past few weeks. I thought there were more, but if there were I lost the photo.

Yes, I cannot help attempting to gradate the patches.

Fabric of the Year 2014 – Early February

FOTY 2014 - Early February
FOTY 2014 – Early February

Here are the most recent patches. I can’t decide if I am going to keep cutting until I start laying out the piece on the design wall or if I should stop now.

The CQFA Retreat will be in May this year, but I certainly don’t want to wait that long. On the other hand, I haven’t chosen a shape for FOTY 2015. Lots to do.

FOTY 2014: Home Stretch

FOTY 2014 Home Stretch

Yes, it is 2015 and I am still gathering fabrics. In fairness, most of these were from the end of 2014. In any case, it is my project and I am still gathering fabrics. 😉

I can’t arrange this piece until the Black & Grey Teenaged Boy Quilt is off the design wall and that project is going nowhere at the moment.

There are a couple of things going on. First, there are certain fabrics I want to include in this entry in the series.

Next, I am doing quite a bit of scrap reduction and when I have a large enough piece that I can use a goodly chunk of it, I cut a piece for the FOTY 2014.

Finally, I am annoyed that I didn’t decide on shapes like I did for 2012, which were rectangles and squares. I’ll probably go with that arrangement for the 2015 version. That is still some time off, so we’ll have to see.

FOTY 2014 Returns

FOTY 2014 - December
FOTY 2014 – December

Like a bad penny the pieces for this quilt just keep turning up. I purposefully did a load of fabric laundry on Wednesday, even though I was enjoying my unpressed fabric free space, just so I could add some more pieces to FOTY 2014.

I did a load of turquoise/aqua so I could also cut some patches from that color for another project.

The last time I had enough rectangles to show you was in early November. I feel like I am not cutting enough pieces for this project (within the parameters, of course), which makes me feel like it will be 8″x10″. I know it won’t be that small, but I want it to be a nice sized wall hanging.

Also, I look at the fabrics and think they are not that interesting. Of course, I have to remember that they will be completely rearranged and their individual motifs will be lost in the overall layout.

I think I might be experiencing a bit of a creative block. I need to find some rote sewing to do.

Off to cut those rectangles from the fabric I just washed.

FOTY 2014 – Early November

FOTY Early November 2014

I went back in time to look at the tags for my last FOTY post and was shocked to see that it was August that I last posted. I really couldn’t believe it, but I looked at the various Design Wall Monday posts I have posted recently and those same FOTY patches were there with very few changes. I actually took a picture of this group (above) right before the picture of the design wall for yesterday’s post, so next time I do a DWM post, you will, hopefully, see a new batch of FOTY patches.

The reason it took me so long, aside from being really busy during the week is that the last load of fabric I washed was grey and light neutrals, which I found really depressing to press, so I kind of avoided doing it. TFQ saw the pile and got down to business, so now I have newly pressed fabrics from which to cut patches.

I also have a lot of great fabrics waiting to be washed and I should make time so the patches can go into FOTY 2014. The new year isn’t that far away and pretty soon, I’ll be sorting thesepatches into color groups and picking the shape for FOTY 2015. WOW! Time flies.


FOTY 2013 Top

Fabric of the Year 2013 Top

One of my goals for Labor Day was to finish the Fabric of the Year 2013 top. This was a daunting goal, because each piece has to be sewn to another one in a certain order.

That meant that I started in one corner (see below), sewed two pieces together, put a leader/ender in the machine right after the two FOTY pieces, sewed those, took the FOTY pieces out of the machine, pressed them and put them back on the wall before taking the next two pieces. Repeat. There are 306 pieces in this quilt, so I made progress on ~306 pieces from other projects as well.

FOTY 2013 Back
FOTY 2013 Back

This project is extremely taxing in terms of piecing. I was pretty much done with the project when I finished top, so I did try to piece the back with large pieces of fabric. I used two pieces of different Philip Jacobs fabric. They go together well enough and I enjoy the large lettuces. They make me laugh. I hope I’ll still laugh when I am liking the project much better.

Normally, I would have put a quilting border on it, but I emailed Colleen and she said just to stitch 1/8″ away from the edge and that would keep the quilt from getting out of shape when it is quilted. I hope it works, because I want the shape of the quilt today to be the shape of the quilt forever. If it works, I’ll have to remember this trick for the future. I do like using ugly fabric as a quilting border, though.

Below are some photos of the project in process.

FOTY 2013 in process

FOTY 2014 Update – August

FOTY 2014 - mid-August
FOTY 2014 – mid-August

I has been nearly a month and a half since I posted new rectangles I have cut for the FOTY 2014 piece. Before the past weekend, I felt like I haven’t been in my sewing room much in the past month. I know I have been in there, at least a little bit, since there have been no shortage of posts to prove it.

I didn’t press and cut very much in that time, though, so the wall where I keep new rectangles has looked the same all this time. Then Friday I started pressing fabric and cutting some new rectangles with a vengeance.

I went to put them away and found my container full, so I have to figure out what to do about that. The work room overfloweth, that is for sure.

FOTY Red and Green

A week or so ago, I posted some black and white photos of the Fabric of the Year 2013 quilt. I also took photos through the red and green film of the Ultimate 3-in-1 tool. I am not sure they were very help, but they are interesting. I thought I would share those photos with you.

FOTY 2013 in Green
FOTY 2013 in Green

The green makes the entire quilt look a little sick and this might cure me from this color green for awhile.

It is helpful, though, as there are a couple of places that stick out that also stuck out in the black and white photos I posted previously. A few other things stick out that I need to look at in the real piece.

FOTY 2013 in Red
FOTY 2013 in Red

The red makes the colors extremely subtle.

One thing to remember is to look at the piece in real life. I mentioned it above, but it is an important point. These different views that I have shown are great tools to use to point out glaring problems. The key thing to remember is that they are tools. TOOLS. Your viewers won’t be looking at the quilt through a black and white, or green, or red filter when the quilt is on your wall. Be sure to use these tools to get an idea of what might not be working, then look at the real pieces in color before moving patches around.

FOTY 2013: a New View

FOTY 2013 - Black & White
FOTY 2013 – Black & White

I am slowly, painfully, making my way through the FOTY 2013 piece. I am nearing the end of the arranging.

Nearing the end.

Not there yet.

I have been looking at the quilt project through the green and red films that come with the Ultimate 3-in-1 Color tool (if you don’t have this, click on the link and buy it RIGHT NOW**). It hasn’t been working out that well for me, so I decided to switch a photo to black and white to see areas that could use improvement. This was a great idea, because 1) it shows me that I am doing pretty well and 2) it shows me areas that I might be able to improve.

I am trying to stick to the idea that the darkest fabrics will go on the bottom because they have a heavier feeling.

I also want the like colors to be mostly together and there to be a smooth-ish gradation between colors.

Annotated FOTY 2013
Annotated FOTY 2013

I thought I would share with you areas that jumped out at me and see what you think.

The areas I have indicated are too dark or too light for where they are currently placed OR do not make a smooth transition. I have not moved anything yet, because identifying a problem creates another problem: where to put the problem fabrics and what to put in their place.

This is where you have to look at the piece and at the colors to make sure that if you move it to the ‘obvious’ location, it doesn’t ruin the smooth transitions between colors.

Once I make the changes, I have to go start the process over.


**You should buy the Ultimate 3-in-1 color tool because it is a quick reference for color work. You can look at the relevant page see the complement, the analogous colors, triadic and split complementary. There is also a long list of colors that would work in a monochromatic quilt. It is a sampling of tints, shades and tones.

Previous Posts that Might be of Interest:


FOTY 2013 Progress

image

This is probably the basic layout of Fabric of the Year 2013. It needs some tweaks in terms of where specific fabrics are placed, but I feel like I have a basic layout. I have found that taking photos and looking at them helps me figure out the placement. I am not sure why I didn’t do that more for the previous quilts in the series. It could be that I am taking more time with this one. Others have been put together in, essentially, one weekend.

It also occurred to me that I could also use the green and red films that come with the Ultimate 3-in-1 Color Tool by Joen Wolfrom. I am going to try that next.

One issue I have found troublesome in the past is not seeing the individual fabrics for the predominant color. I am really trying to make the transitions smooth this year. It is hard to see which colors predominate in a fabric with multiple colors, but I know it is a process. I have to work at it.

FOTY 2014 – Early July

FOTY 2014 - Early July
FOTY 2014 – Early July

Here is another batch of rectangles for my FOTY 2014 piece.

Early July is a bit of a lie because all of these patches were cut in June. I picked the title based on the publish date and next year nobody will remember or care.

In between my travels, I did a load of blacks and greys. The colors you see are from projects I have been working on.

These are not in the same kind of color order that I normally use, but I was out of town for many days in June. You’ll see some of the fabrics I used in recent projects as well as a couple of loads of the Great Unwashed experiencing a bracing cleanliness for the first time. 😉

FOTY 2013 Even Better Progress

FOTY 2013: Mid-Late June 2014

I am not ready to piece yet, but I am so much farther along than I was when I last checked in.

I know a number of you liked the falling water/color gradation effect, but process wins and it wasn’t working for me.

This is so much better. I couldn’t have done it without the work I did on the first version. I did extensive sorting of the colors, as you may have noticed if you enlarged the photos and looked carefully. I expect that most of you didn’t have time and will just take my word for it.

The extensive sorting that I did really helped me leap frog over the preliminary shuffling that I have done in the past. I’ll have to keep that in mind for the future.

I still have a lot of work to do, but I am feeling better about the piece.

Previous Posts that Might be of Interest:

FOTY 2013 Better Progress

FOTY 2013 Mid-June Progress

I know many of you liked the progress I was making on FOTY 2013. I didn’t like it, so I talked to Maureen and her son and started over.

This project is killing me and I have to get it done. I have to get it done for my own piece of mind. I also want to get it done, but the other layout was not achieving the goal I wanted to achieve. I was having a hard time gradating the colors horizontally and thought that I would need too much background.

I also didn’t want to do the same thing as FOTY 2012 despite the success of that quilt. I don’t want to do the same thing over and over.

Maureen and Andy suggested starting in the middle. I went home and started, which is what you see in the picture, and I feel like the process is going a lot better.


FOTY 2013 Progress

As you can see I making some progress on this piece.

I have about a thousand more photos of this piece and it doesn’t seem to be working. If you click on each photo in turn, you can see the minute changes. It doesn’t matter what I move around, the piece is not working.

I knew I had to go back to the regular format, but I wasn’t sure how. I had a chat with Maureen and her son about it last week and they gave me an idea. Stay tuned!