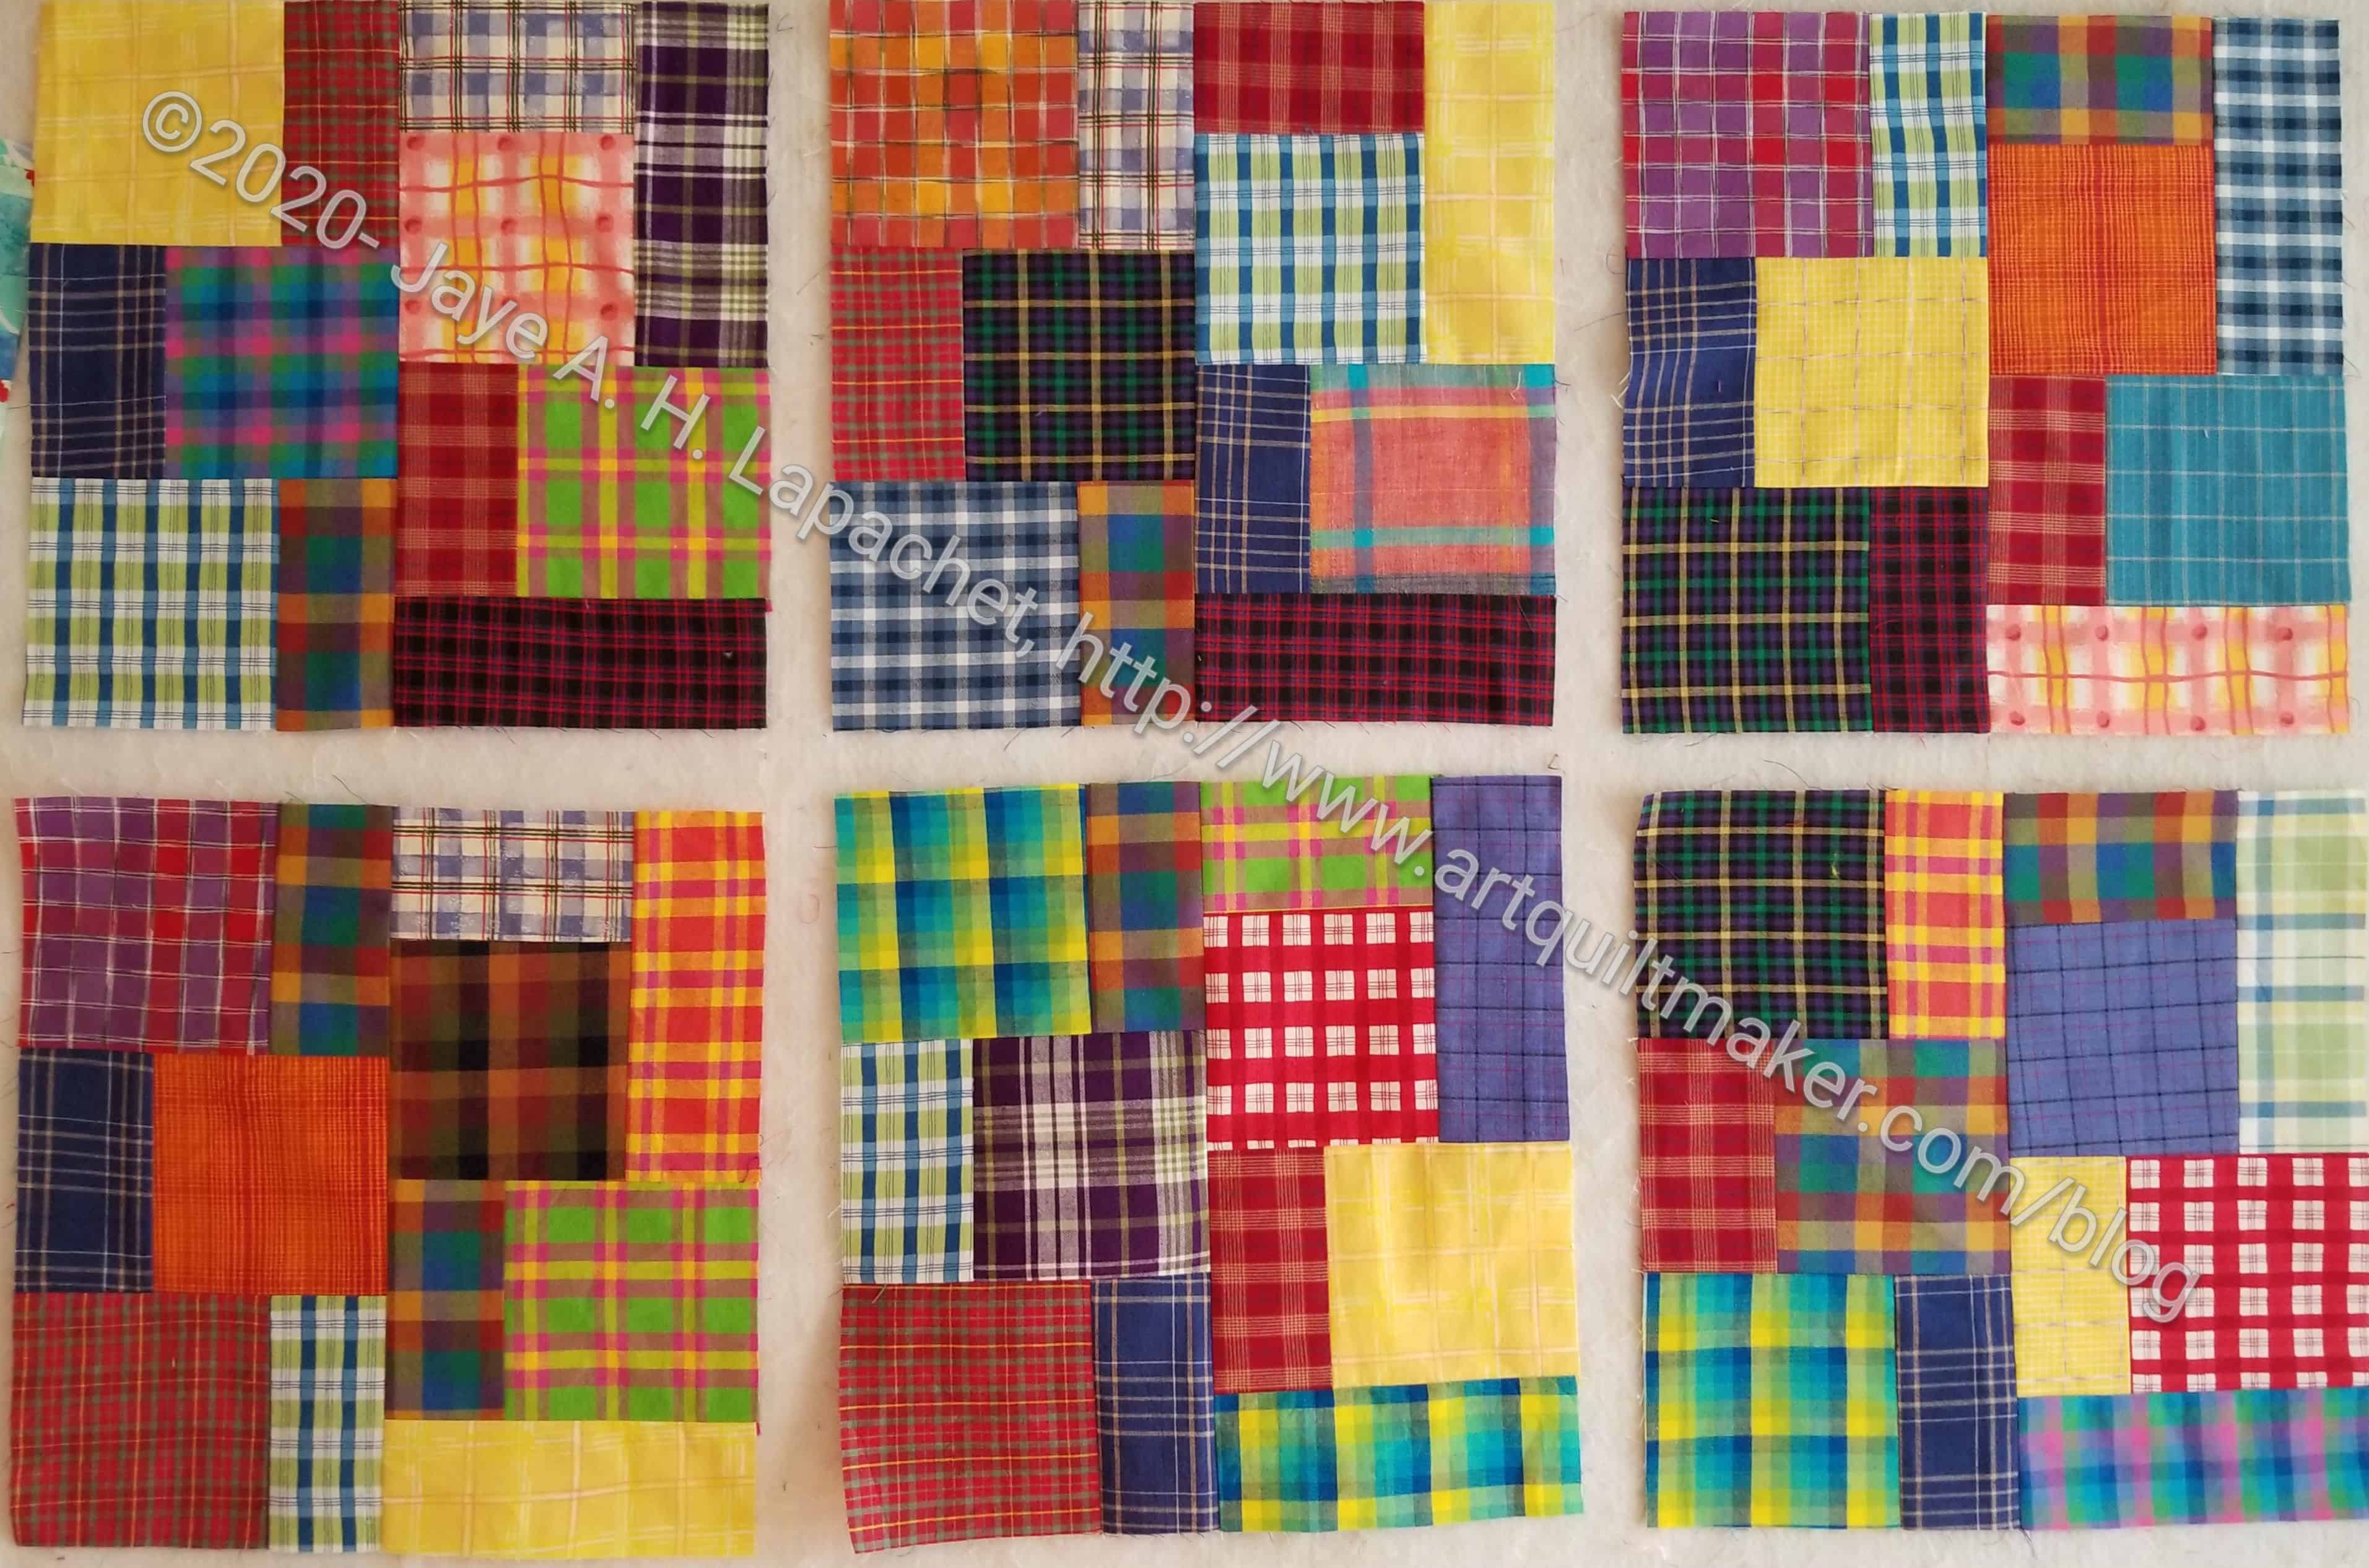
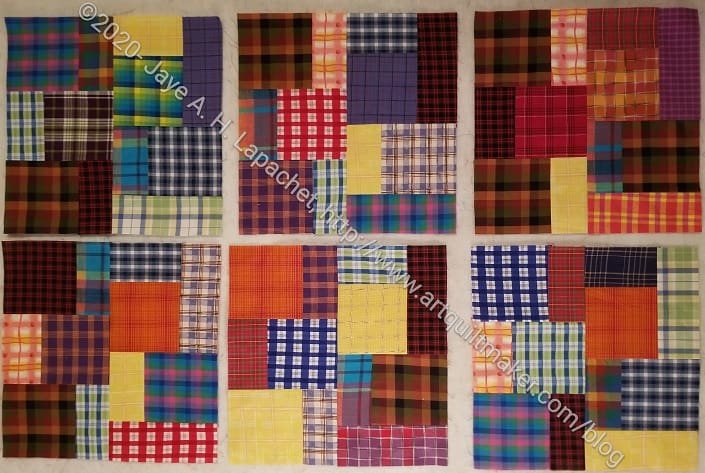
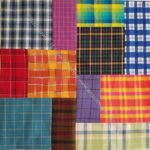
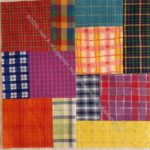
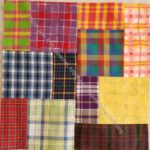
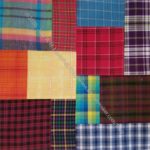
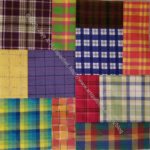
I spent some time working on sewing the plaid blocks together. I was able to finish the top with only a minimal amount of irritation. There are a few places where I would have changed the blocks if I had been able to see them on the design wall, but didn’t and am not unsewing.
In general, I am pretty pleased with how the piece looks. The yellow is pretty well distributed over the top, so it helps the eye to move around. Now on to back and binding!
As mentioned, I had (took) Friday-Monday off for Memorial Day weekend. While I had to clean the house, I also took the time to finish a few projects that needed finishing or knocking other must-do projects off my list.
Minikins 2: Sewing Room Stand
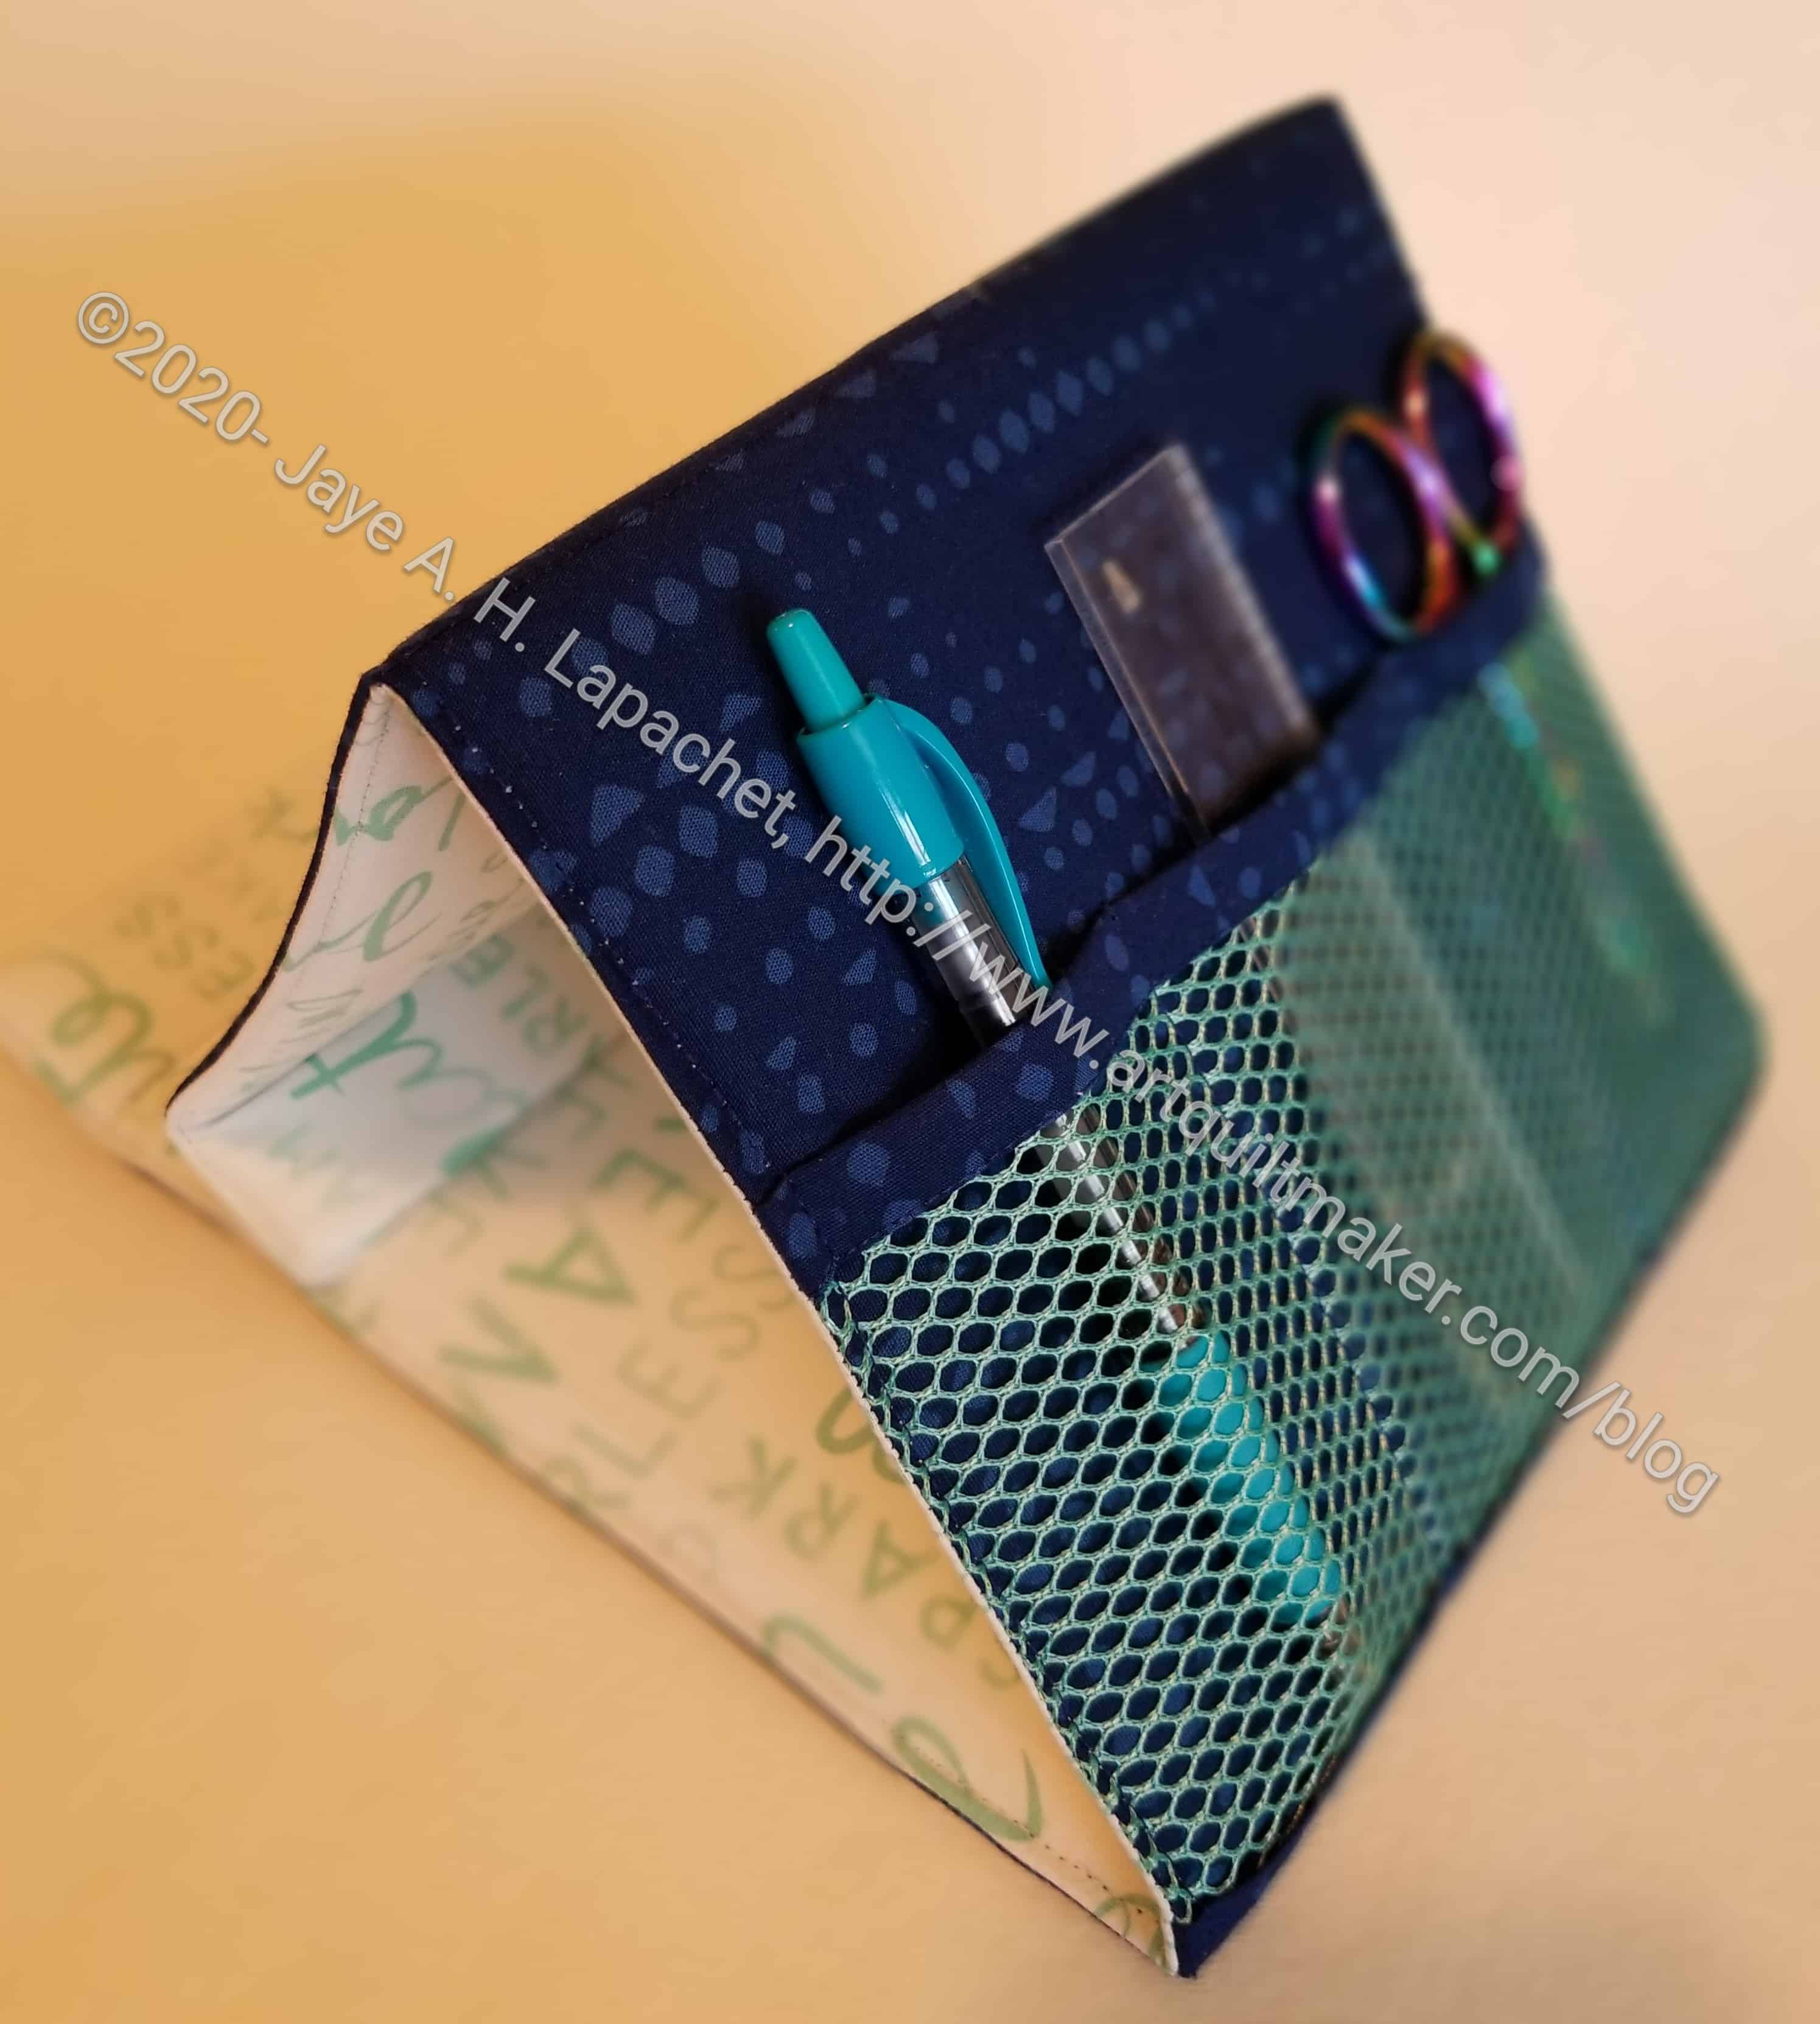
One thing I started and finished was a Sewing Room Stand from the Minikins Season 2 patterns.
I made the item in a couple of hours. I used the video portion of the pattern (Sew Sweetness Minikin patterns comes with a video as well as the printed pattern). I didn’t find it difficult. I thought it was a lot easier than Tooly McToolston, though the Sewing Room Stand is smaller and doesn’t have as many pockets. It is the same idea.
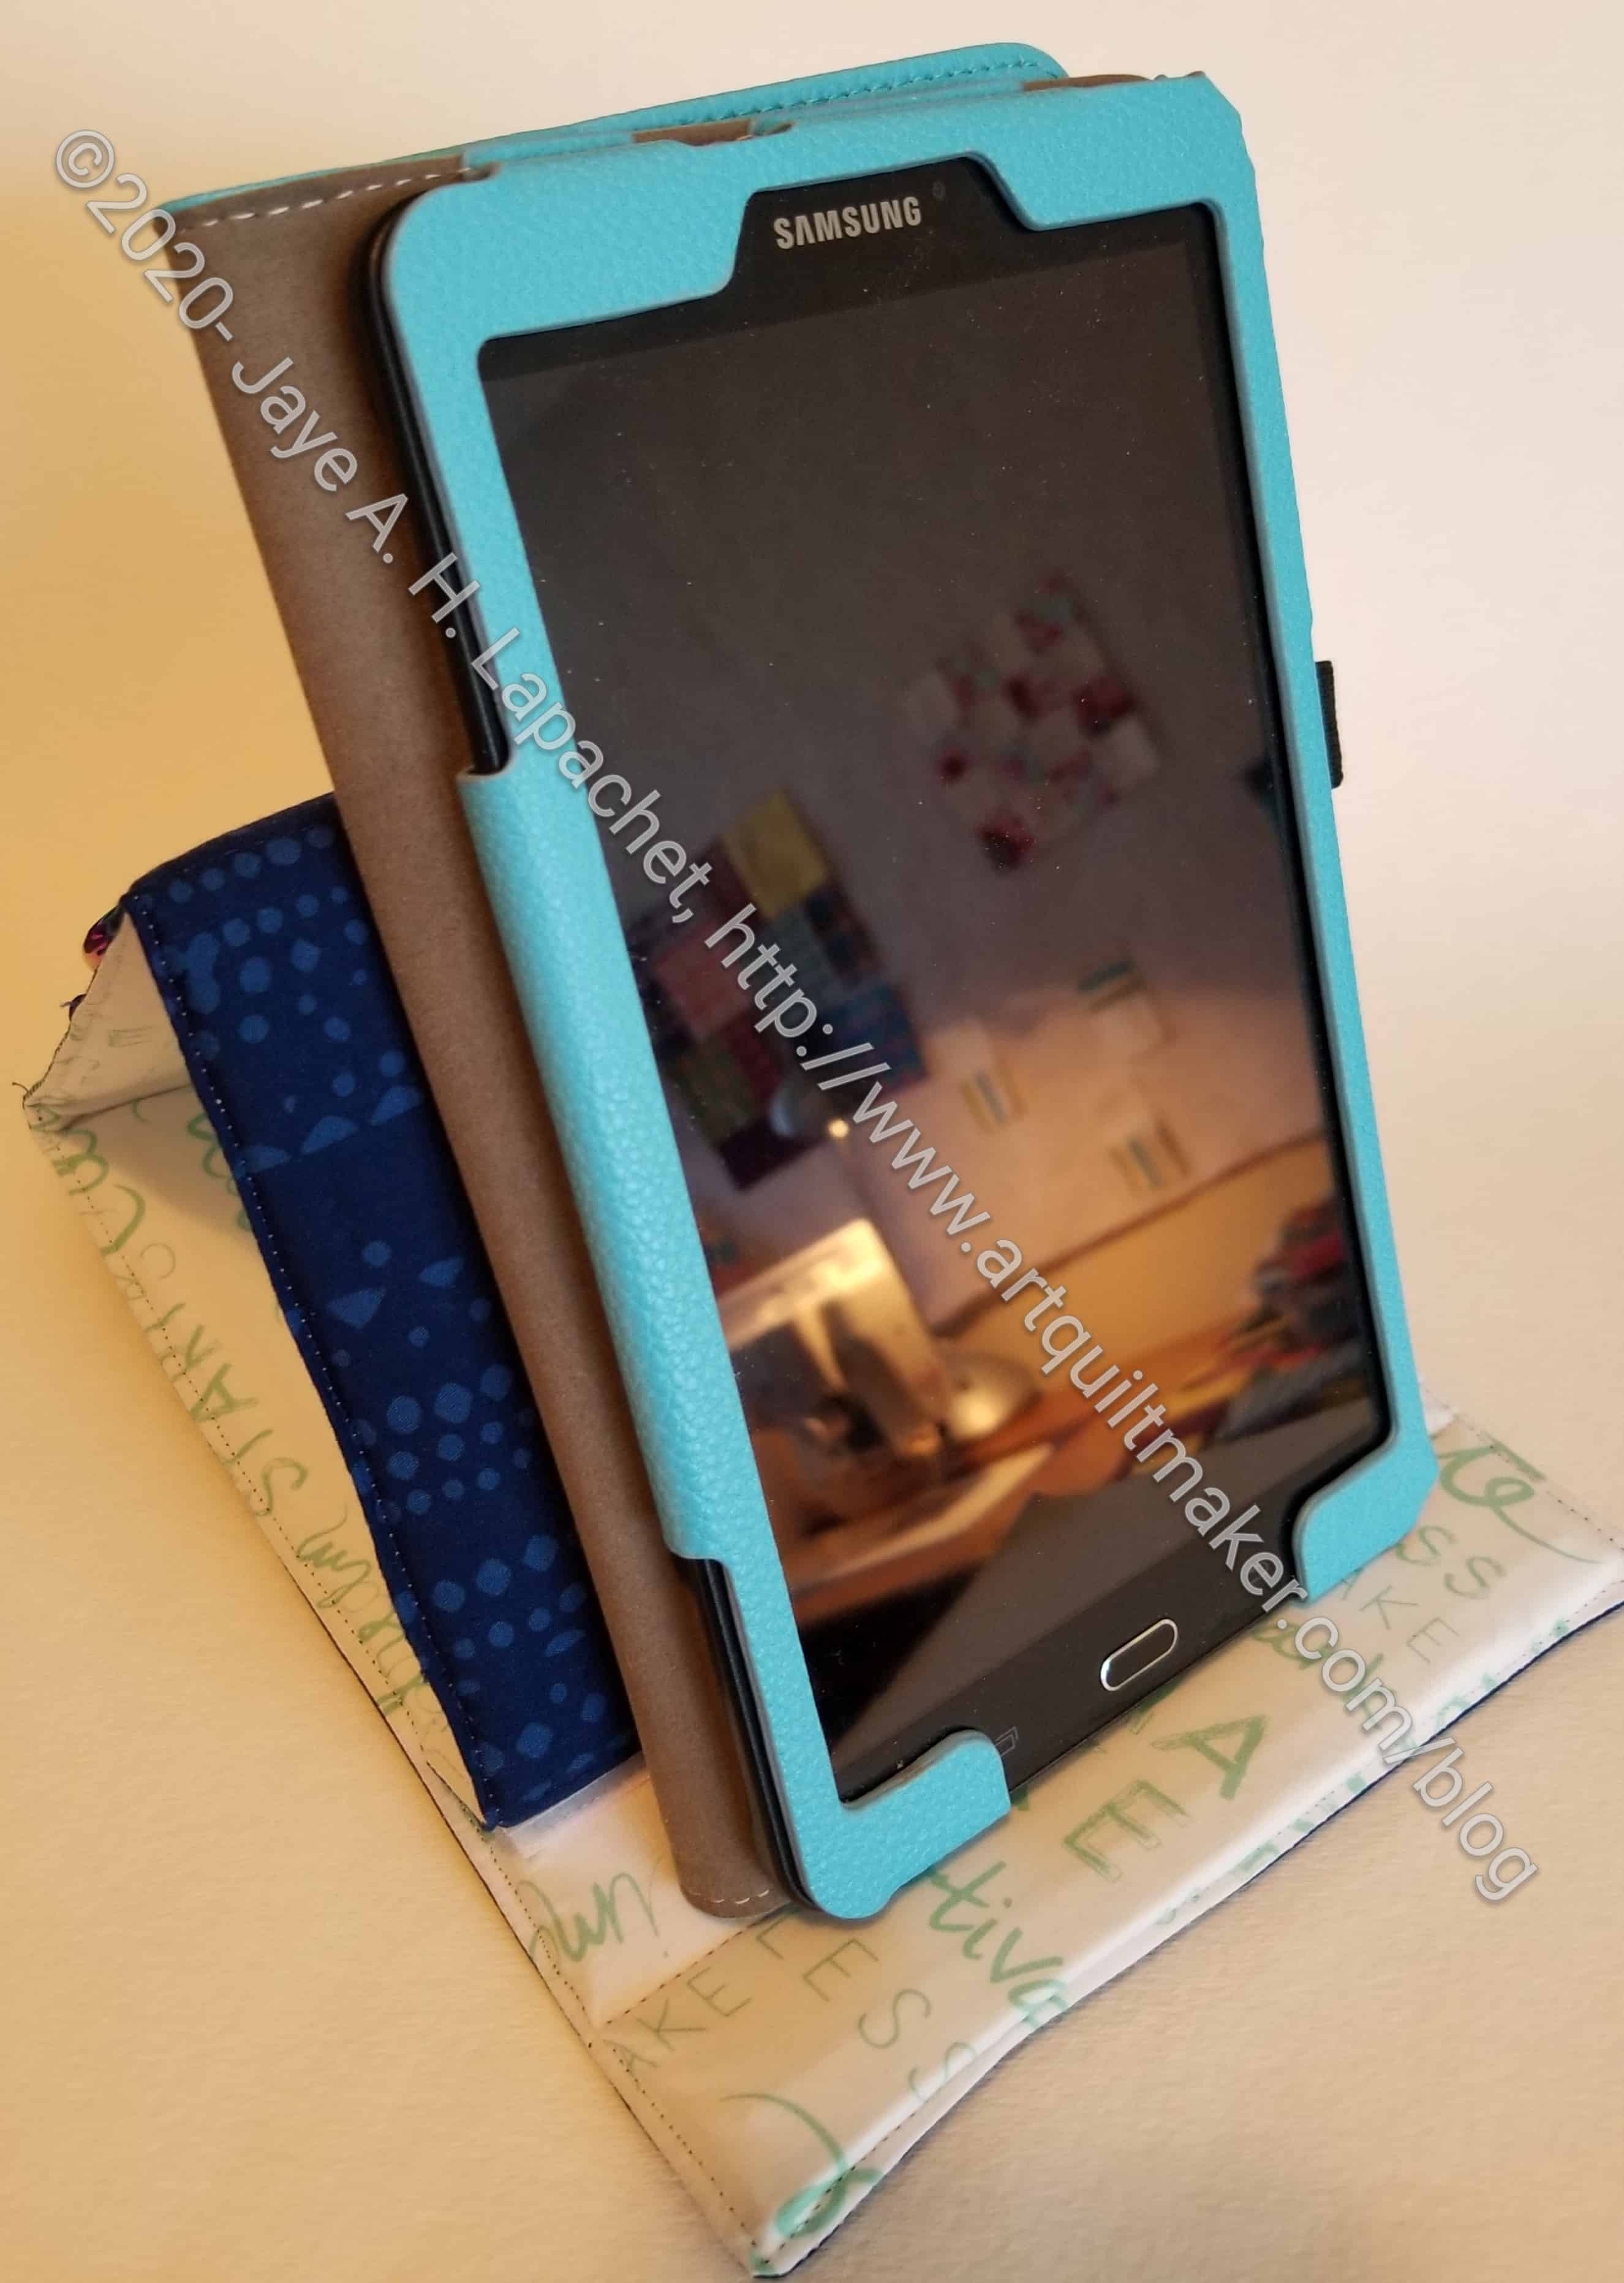
Minikins 2: Sewing Room Stand tablet side
One of the things I like about this pattern is the possibility of standing a tablet on it and having the tablet oriented in such a way that I could see a pattern as I was working on it.
I thought the stand would come out larger based on the picture on Sara’s website. My tablet is not large (*inches?), but the one in Sara’s photo seems larger and the stand is still larger. Granted, my tablet does not hang over the ends, but still seems like it is overwhelming the Sewing Room Stand.
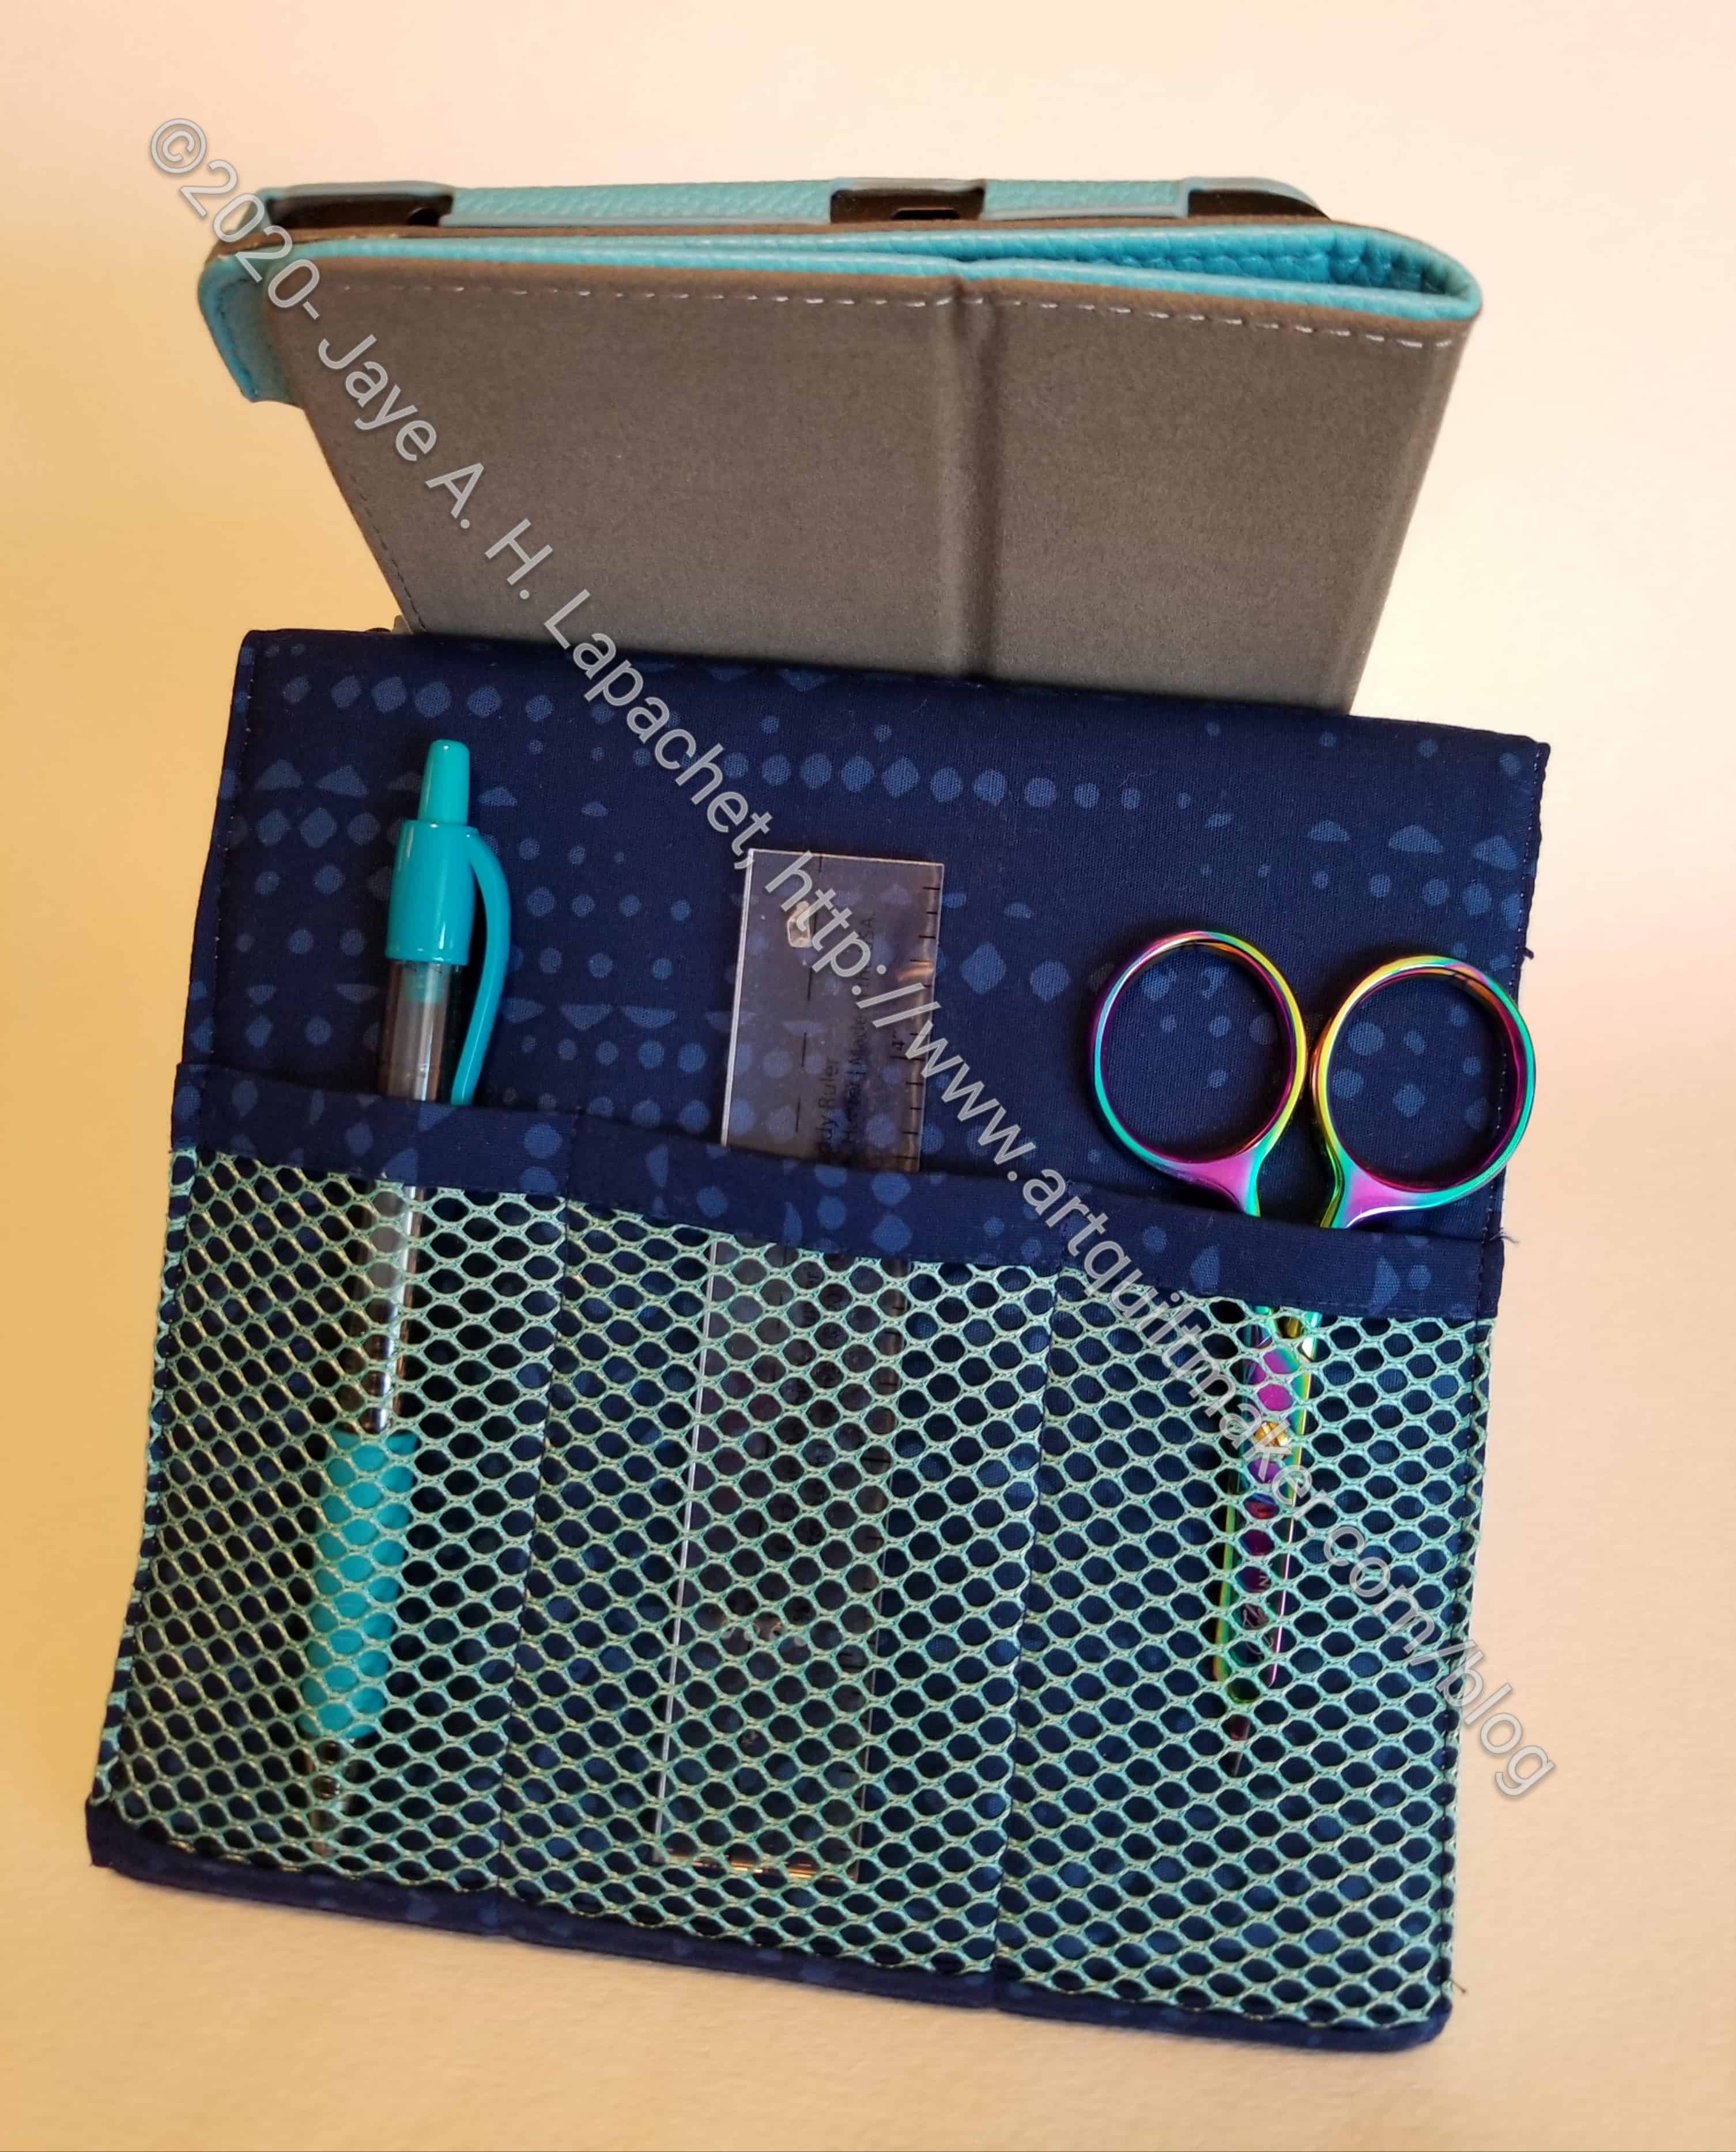
Minikins 2: Sewing Room Stand tool side
Thetool side is tall enough to accommodate a medium sized tool, so you could have your tools and your tablet in use at the same time.
I turned pretty quickly to the video to make this item. I was not getting what the printed pattern was saying. The video made it very clear, so I was glad to have it.
As far as I can tell, the pattern doesn’t fold up into a flat package.
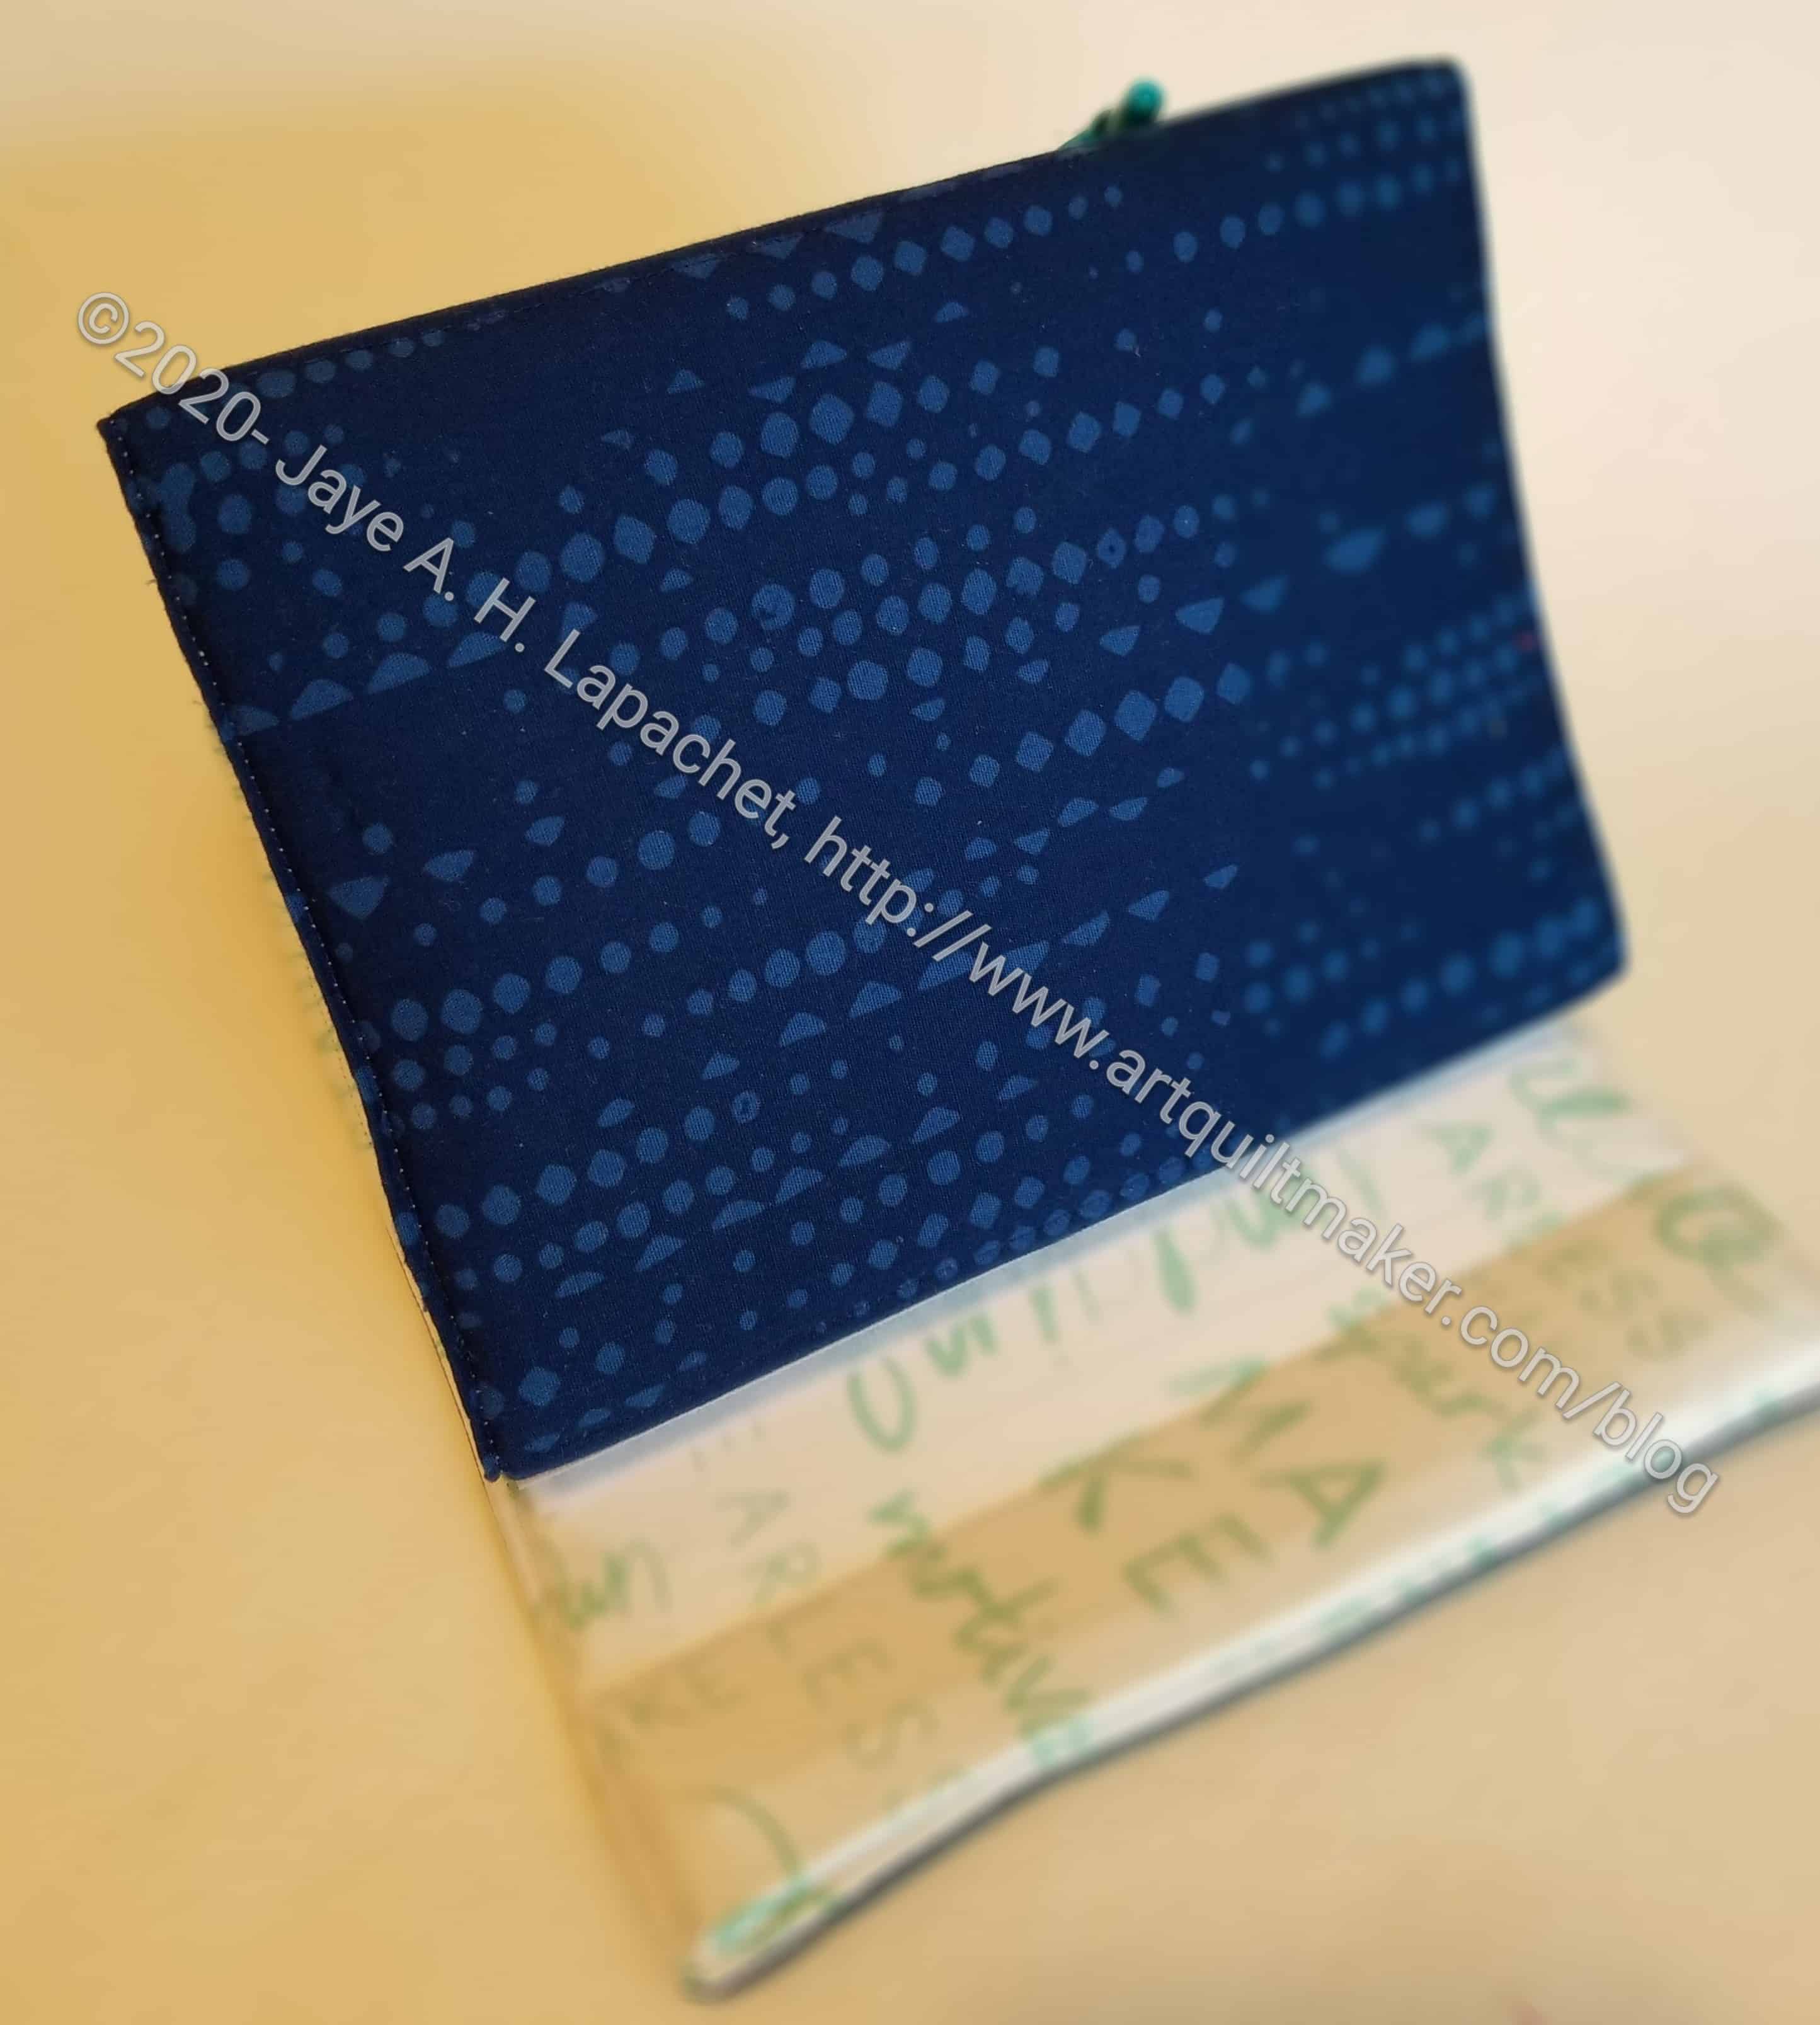
Minikins 2: Sewing Room Stand empty
I chose the colors as this will be a swap gift and these are the colors the person requested!
I had 4 days off over the weekend and it was great to cross some things off my To Do list AND get some chores done. I have a number of bags and a swap gift on my to do list, but after 3 hours worth of video chats and an hour on the phone with the YM, I really only had time for the plaid blocks. I did press some new-ish fabric, though and found some pieces I’ll use for the swap gift.
I now have 25 blocks, so am definitely on the downward slope of block making for this piece. I ordered the felt for my design wall yesterday. I have little hope of it arriving today, but I am hopeful it will arrive int he coming week. I want to get these blocks up where I can see them all before I start sewing them together.
I consulted with a friend who said this block is called Block Party. I did a search and found some instructions on a guild community service site. The instructions are in PDF, which is handy. I wasn’t able to find anywhere else to confirm the name.
6 more Plaid Blocks
I added another few blocks to my total during the week and am now up to 15 blocks. My first plan is for 36, which means 21 more to go.
I cut up a few more fabrics so there are some new ones included. Since I am working without a design wall, mostly, I don’t know if I am duplicating layouts. I don’t think it likely, but I also don’t think it will matter if I am.
I made blocks like this for the charity project back in February (when we could still go out). I having been wanting to make a quilt for my cousin and decided that this was the block to use. Once the pieces are cut, the block goes together really fast. Even with all the cutting, I made 7 blocks over the weekend.
I am not sure how many I am going to make. I don’t have a design wall to fill up at the moment. I am kind of flying by the seat of my pants when I make them in terms of choosing fabrics, but I’ll make a bunch of them and see where I am. In thinking about the size, I have a 6×6 grid in my mind. The blocks are 12 inches finished, which would make a quilt 72×72 inches. That is slightly larger than the last Windmill I made and would be a fine size. I’d like to have at least three quilts to take to Colleen when S-i-P is over. More if practical or possible.
The plaids I used have been languishing for a long time. I think they have been around since before the FOTY project started. I think that is the case because some of the fabrics had no cuts out of them. Some of the pieces were just FQs, so there won’t be much of them. I think this will be lively group of blocks.
I keep thinking of men’s plaid shirts when I look at these fabrics. I am thinking of a name like The Ghost of Plaid Shirts or Thinking of Plaid Shirts. I have to think up something clever.
I finally bought the Minikins Seasons 1 & 2 (no affiliation) a few weeks ago when I received a bonus from a vendor with whom I work on occasion. I talked about being obsessed with these patterns back in January since they came out. They are on sale when they first come out and then they went up in price. I plan to buy Season 3, if there ever is one, when it is on sale.
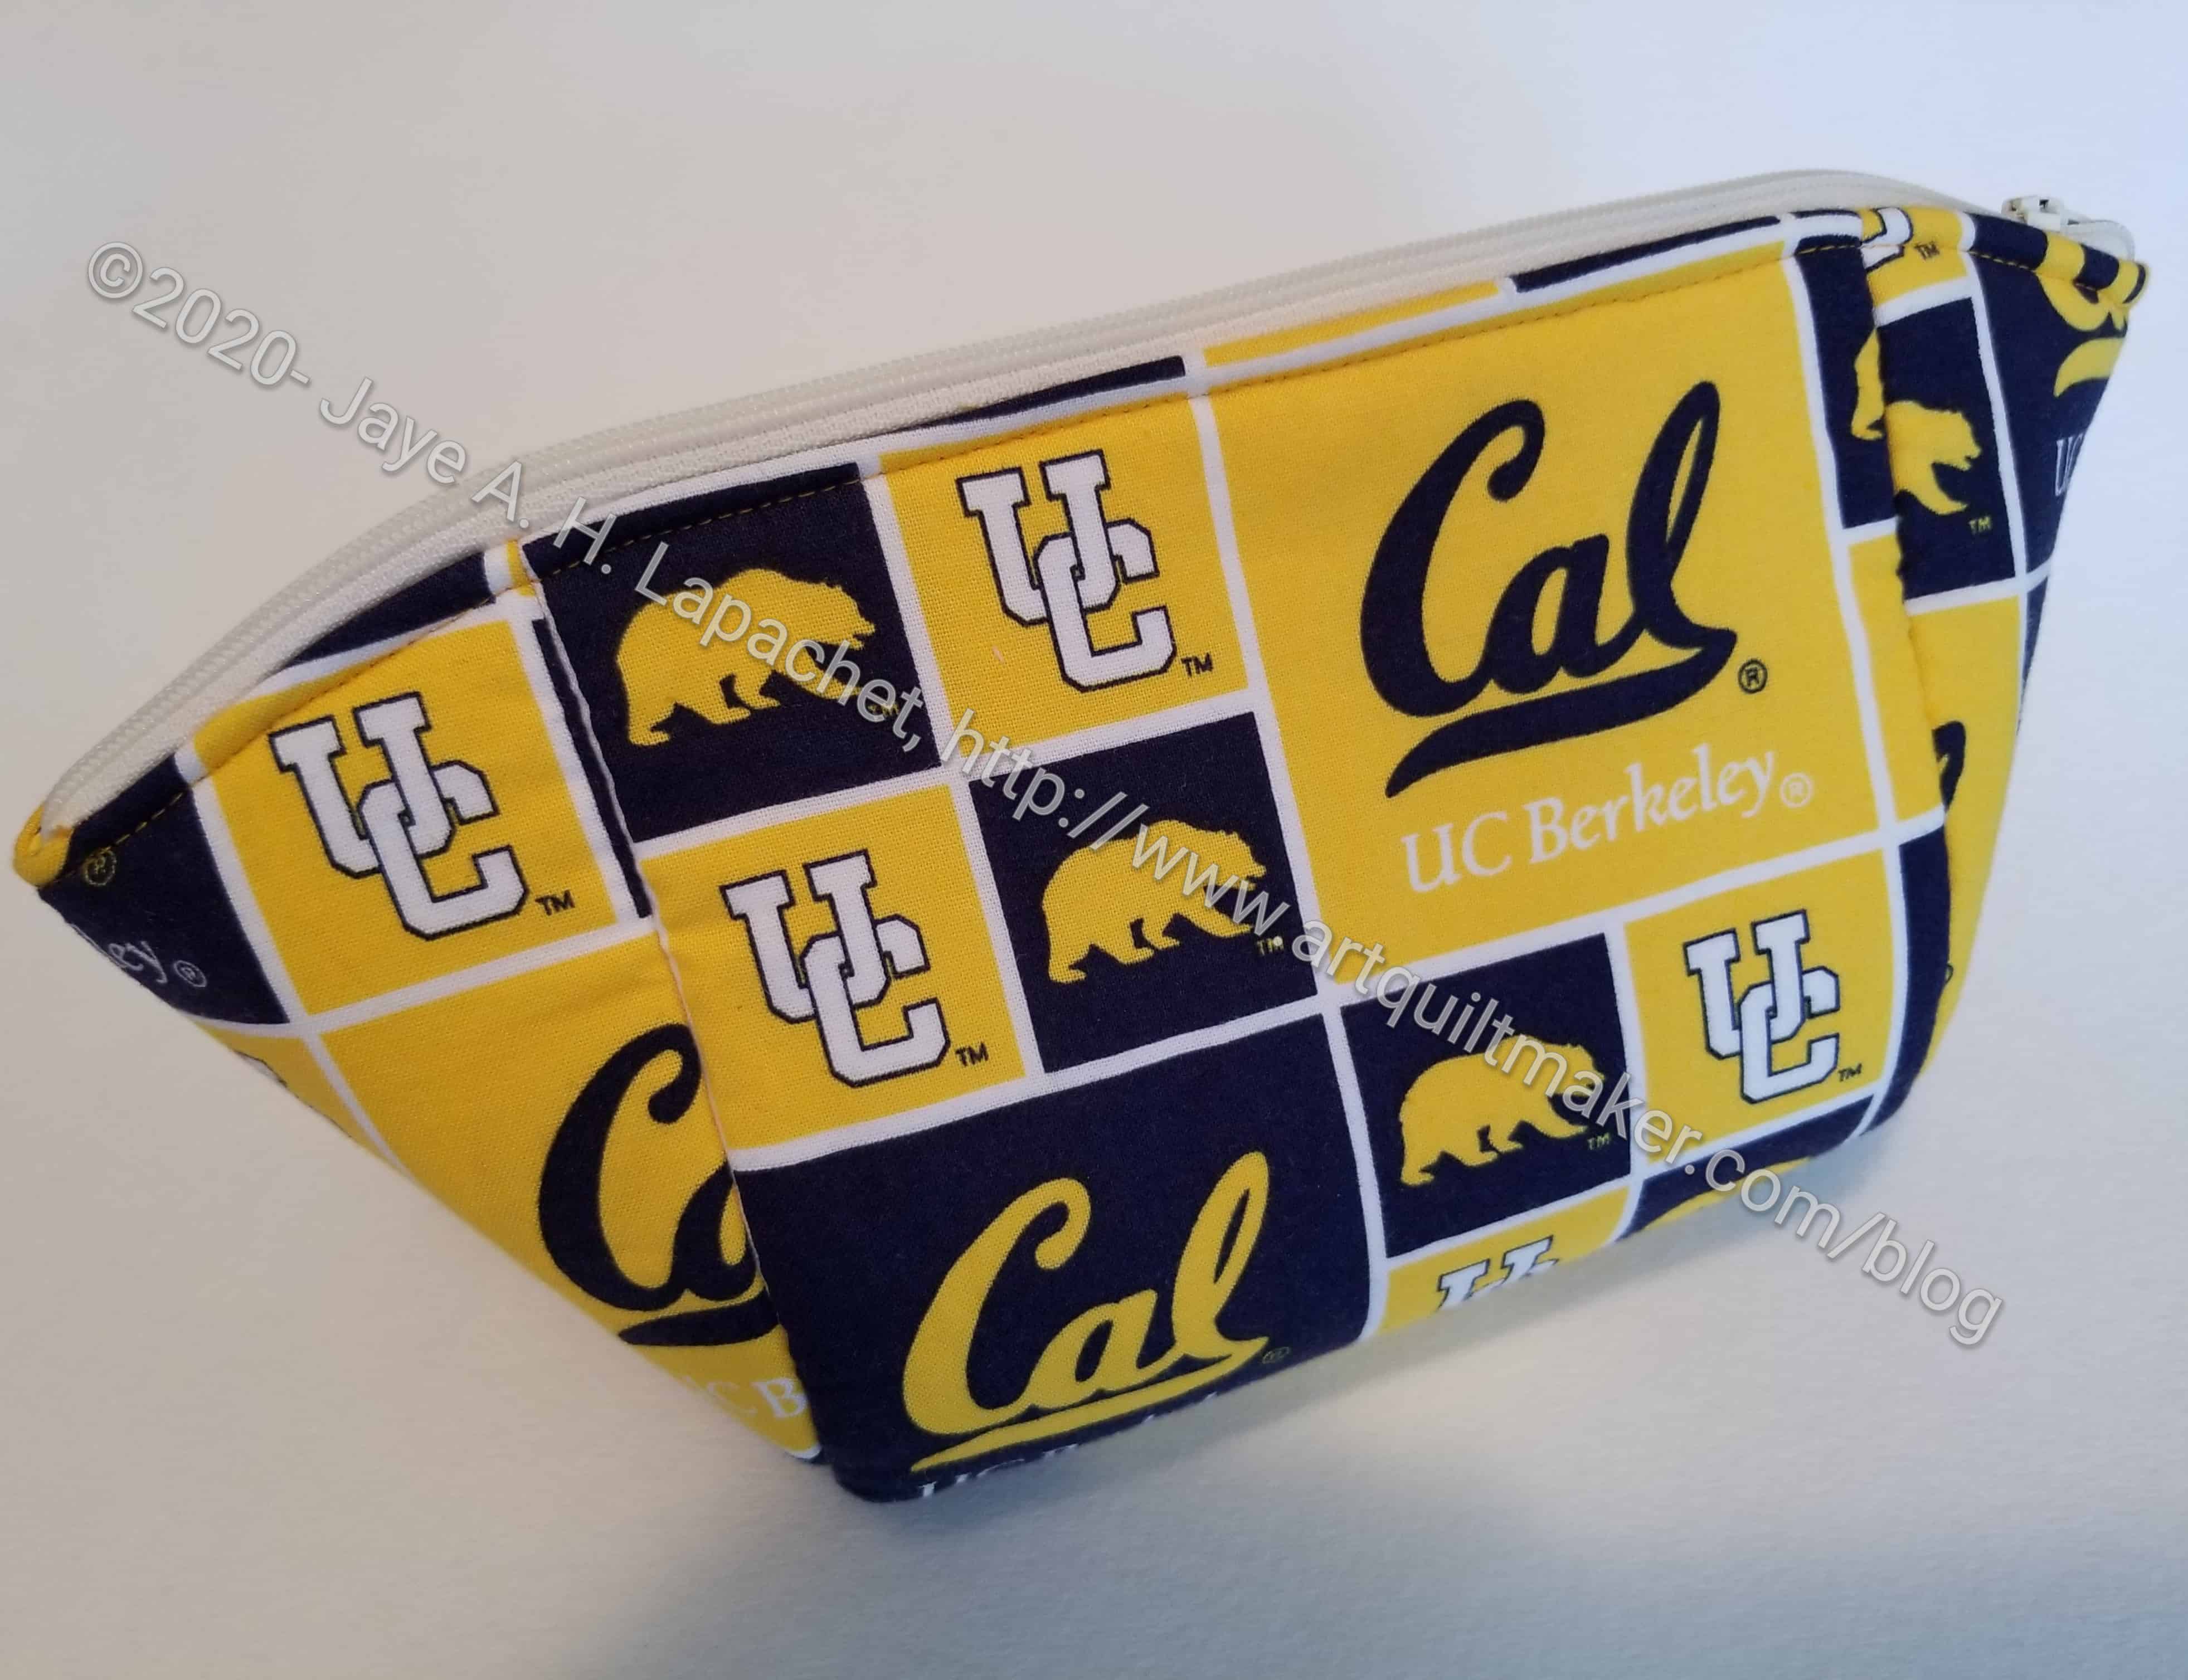
Cal themed Cotton Candy Pouch
Anyway, I made my first project from the patterns, the Cotton Candy Pouch. I made this for my SIL for her birthday. Fortunately, she lives around the corner, so I just put the bag on her doorstep during my morning walk and then texted her to take a look. Not as good a party with cake, but something during this shelter-in-place situation.
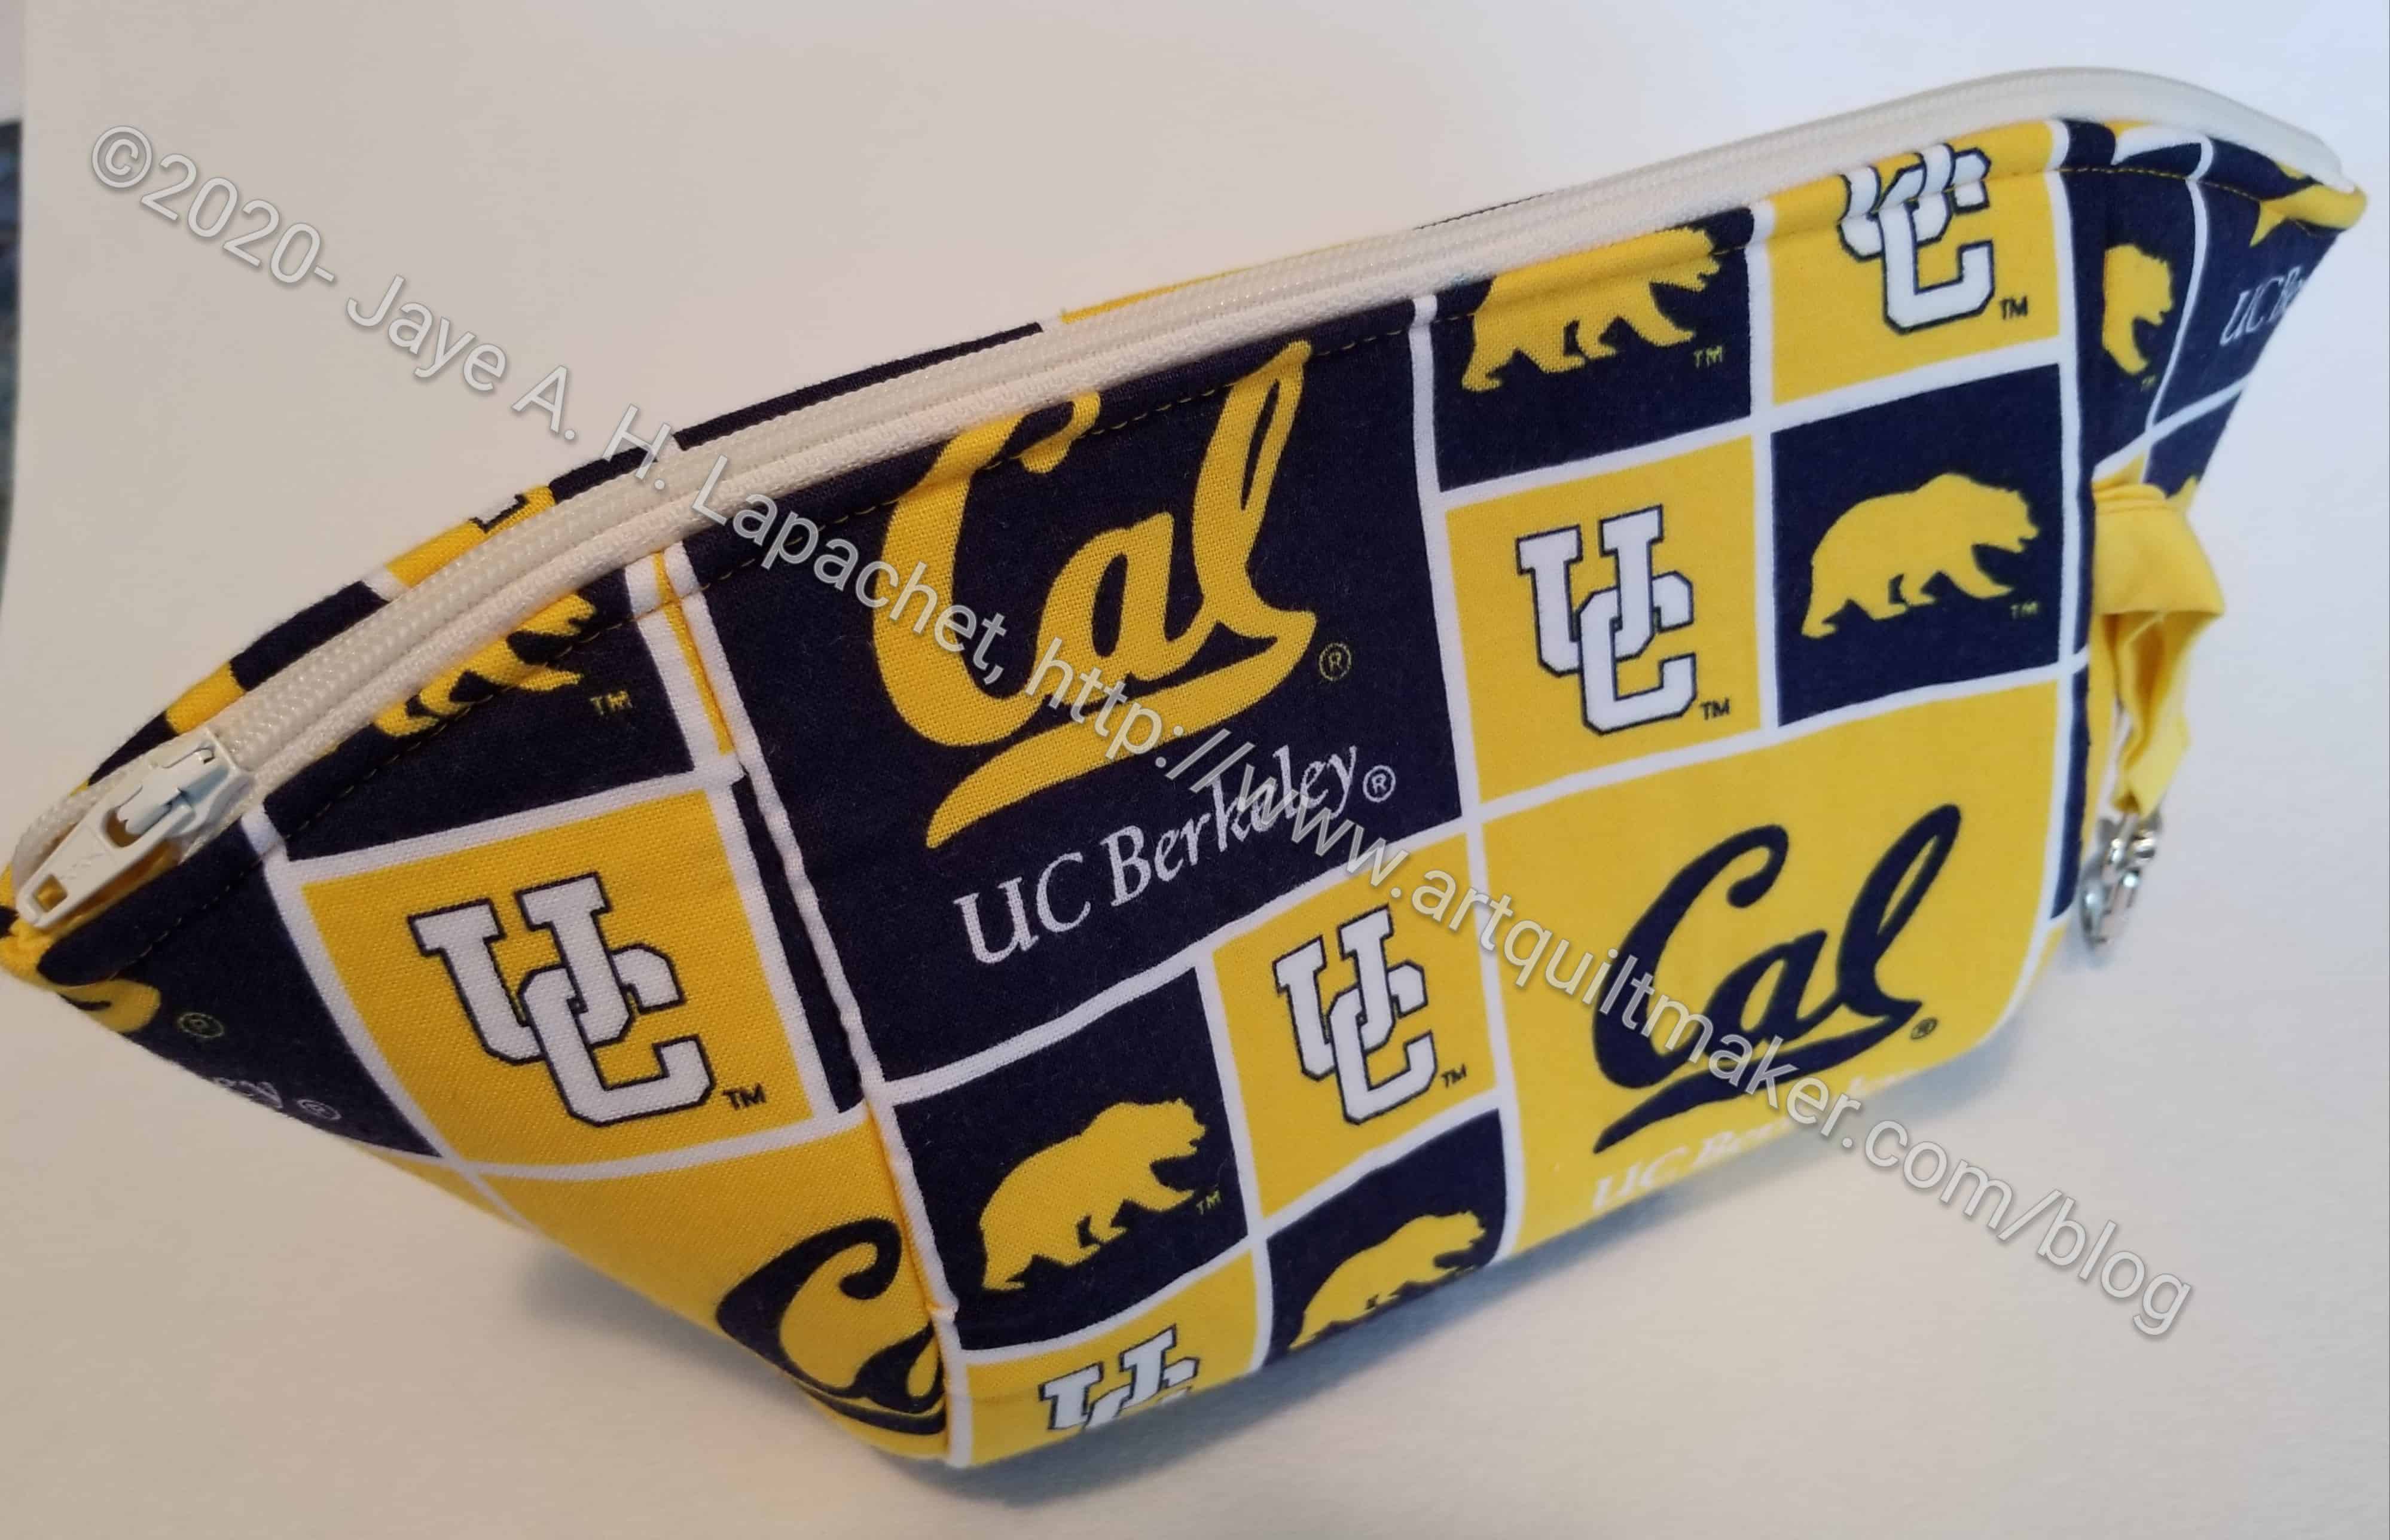
There are a few things I had trouble with. I am pretty pleased with the evenness of the zipper, but the ends were a bit of a problem. Next time, I think I will use a coordinating or solid fabric for the side pieces. I think it will highlight the themed fabric better. I find that making a project the first time is always an adventure and a learning experience.
Cal themed Cotton Candy Pouch
I also added a leash. I don’t know if she has a bag with a D-ring, but when she does, she will be able to attach it.
This pouch takes an 18″ zipper, which I thought was long. I don’t have many that size, so I’ll have to think about getting some.
I have enjoyed revisiting gifts I made for Julie and my mom. I haven’t made as many gifts for Gerre, but I decided to revisit them anyway.
I am not trying to show what a great person I am. I enjoy making gifts for other, especially useful gifts. Revisiting them is just a way to enjoy them again, I guess.
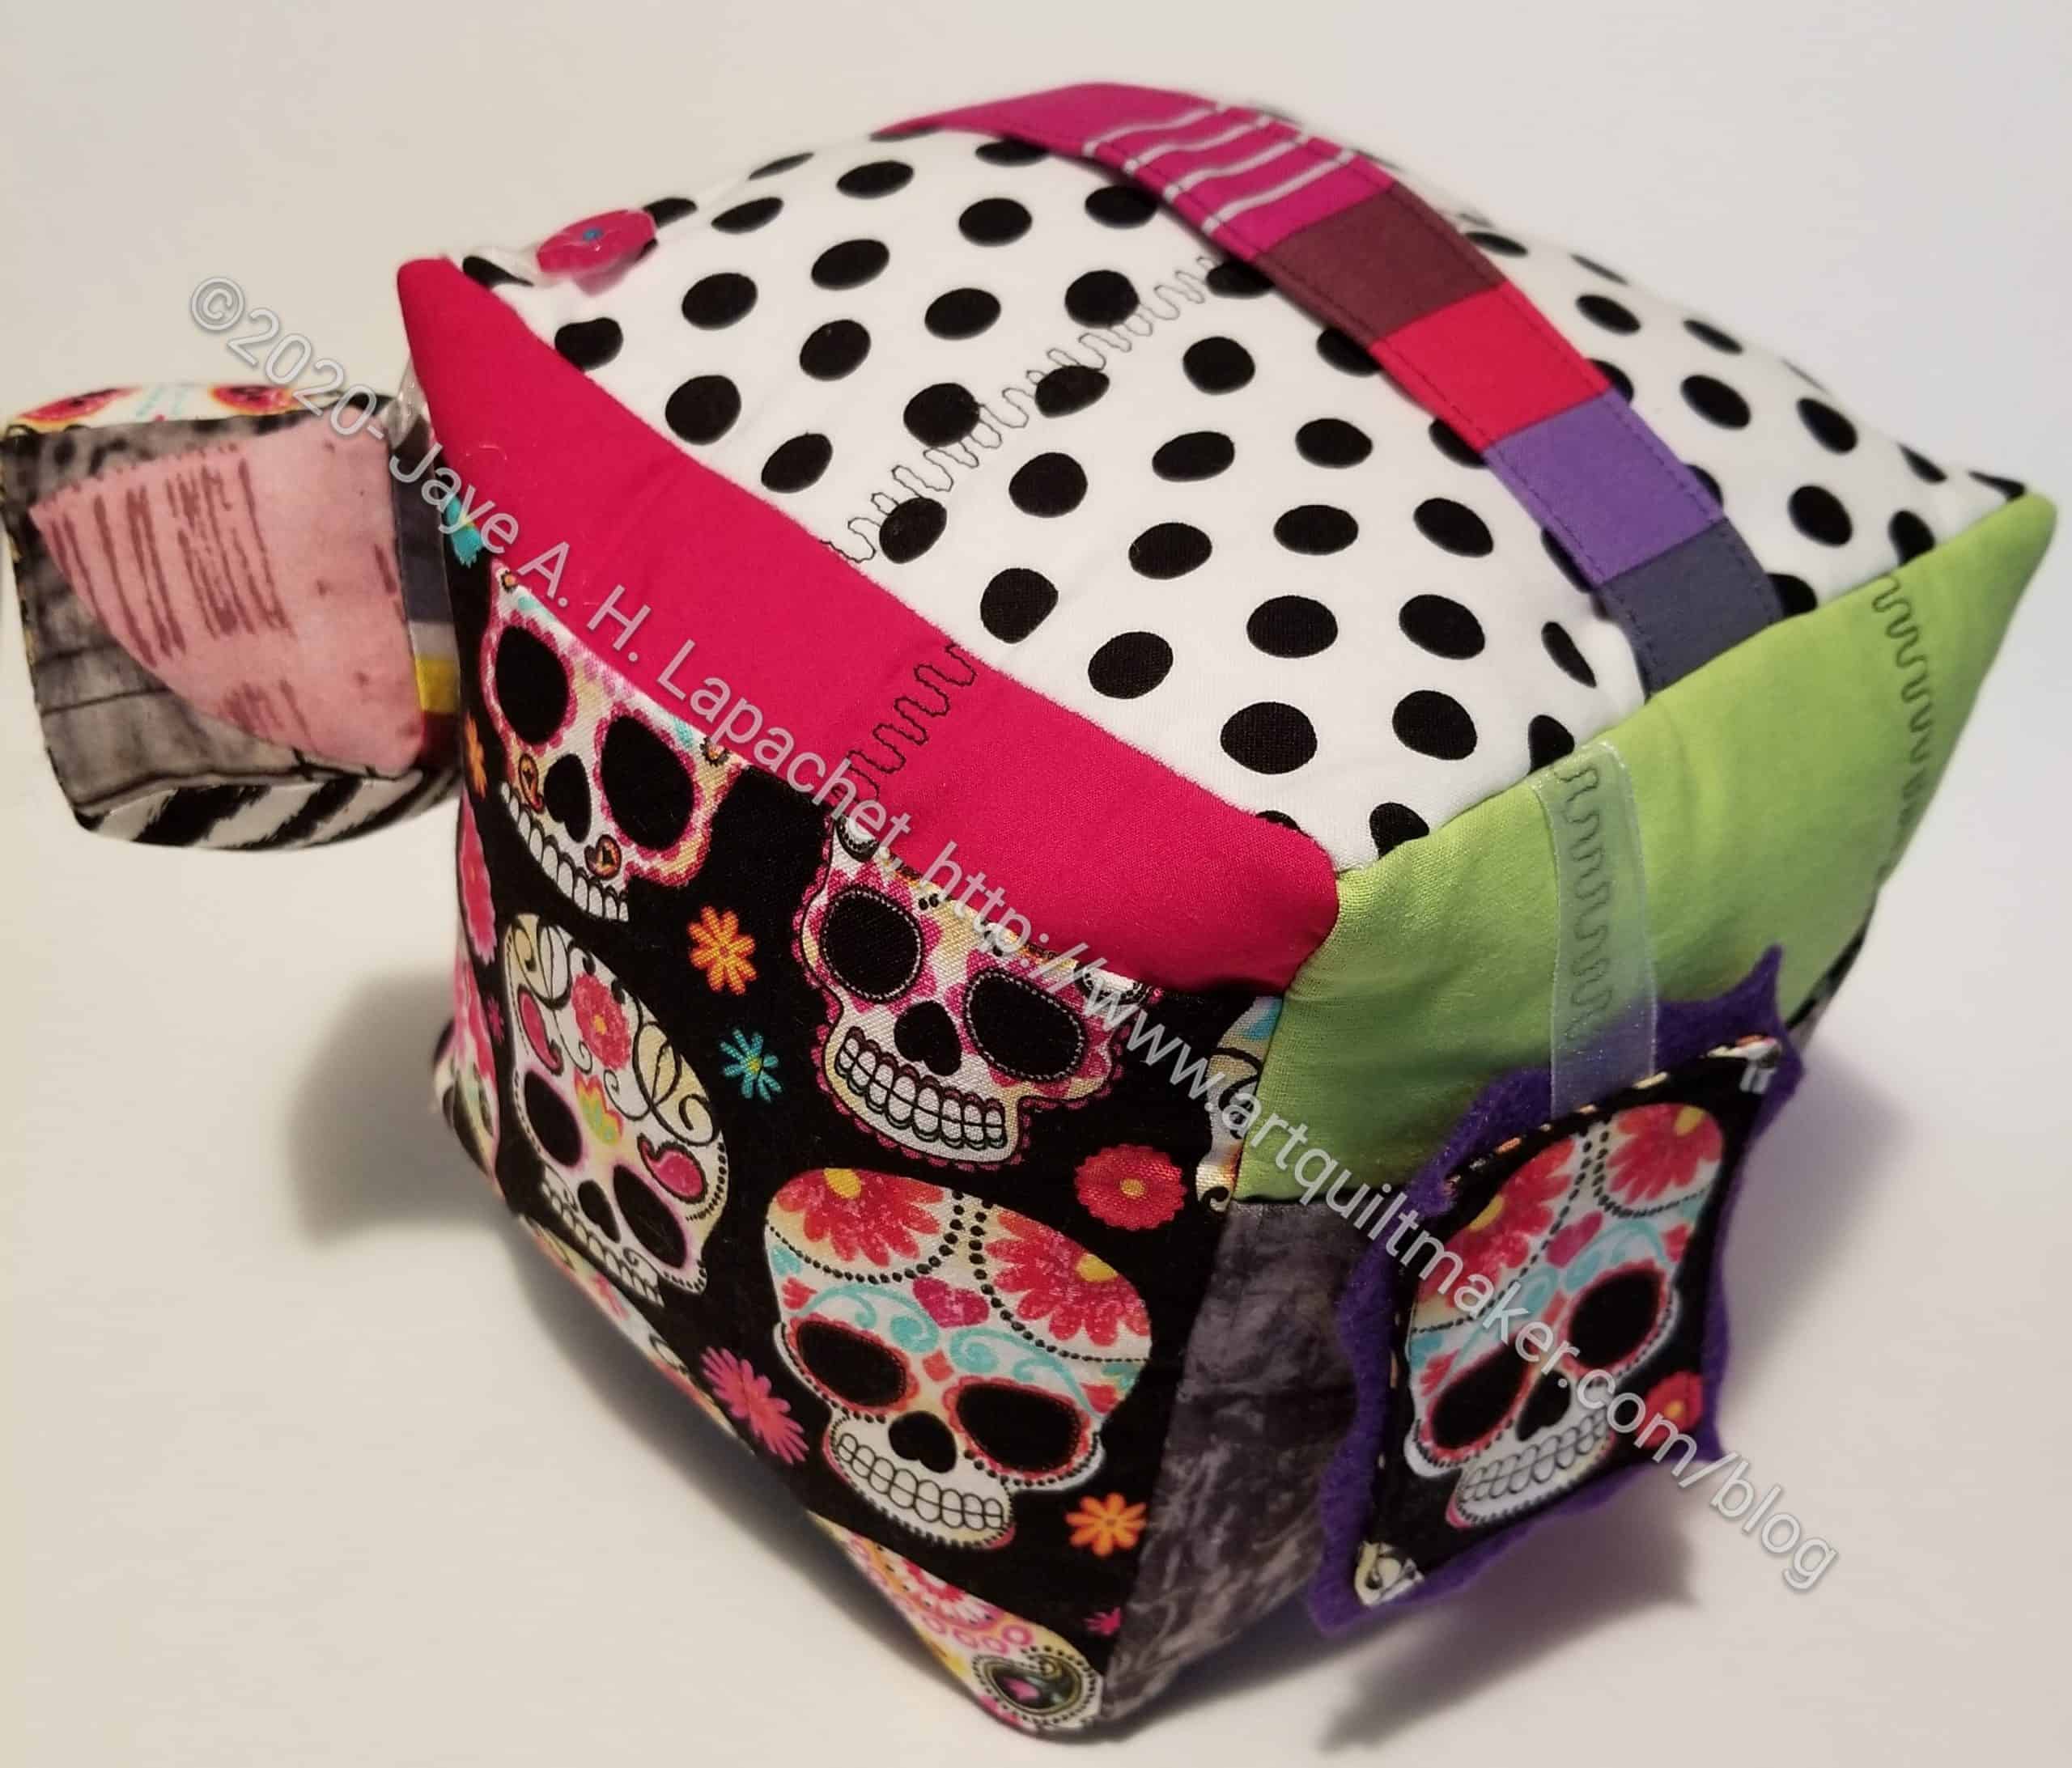
A couple of weekends ago, I realized it was a friend’s birthday today, so I needed to get busy and make a gift. I had decided to make another Mega Pinnie. I already had the fabrics and the pattern picked out. It was really just a matter of cutting and sewing.
She doesn’t celebrate her birthday anymore; she celebrates International Women’s Day.
Gerre’s Mega Pinnie Gift – other side
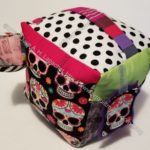
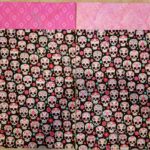
These are really fun to make. I really enjoyed making this one. It came together really easily (not too much unsewing). I chose some of the fabrics to go with the Dia de las Muertos fabric. I wanted to have an edgy urban look.
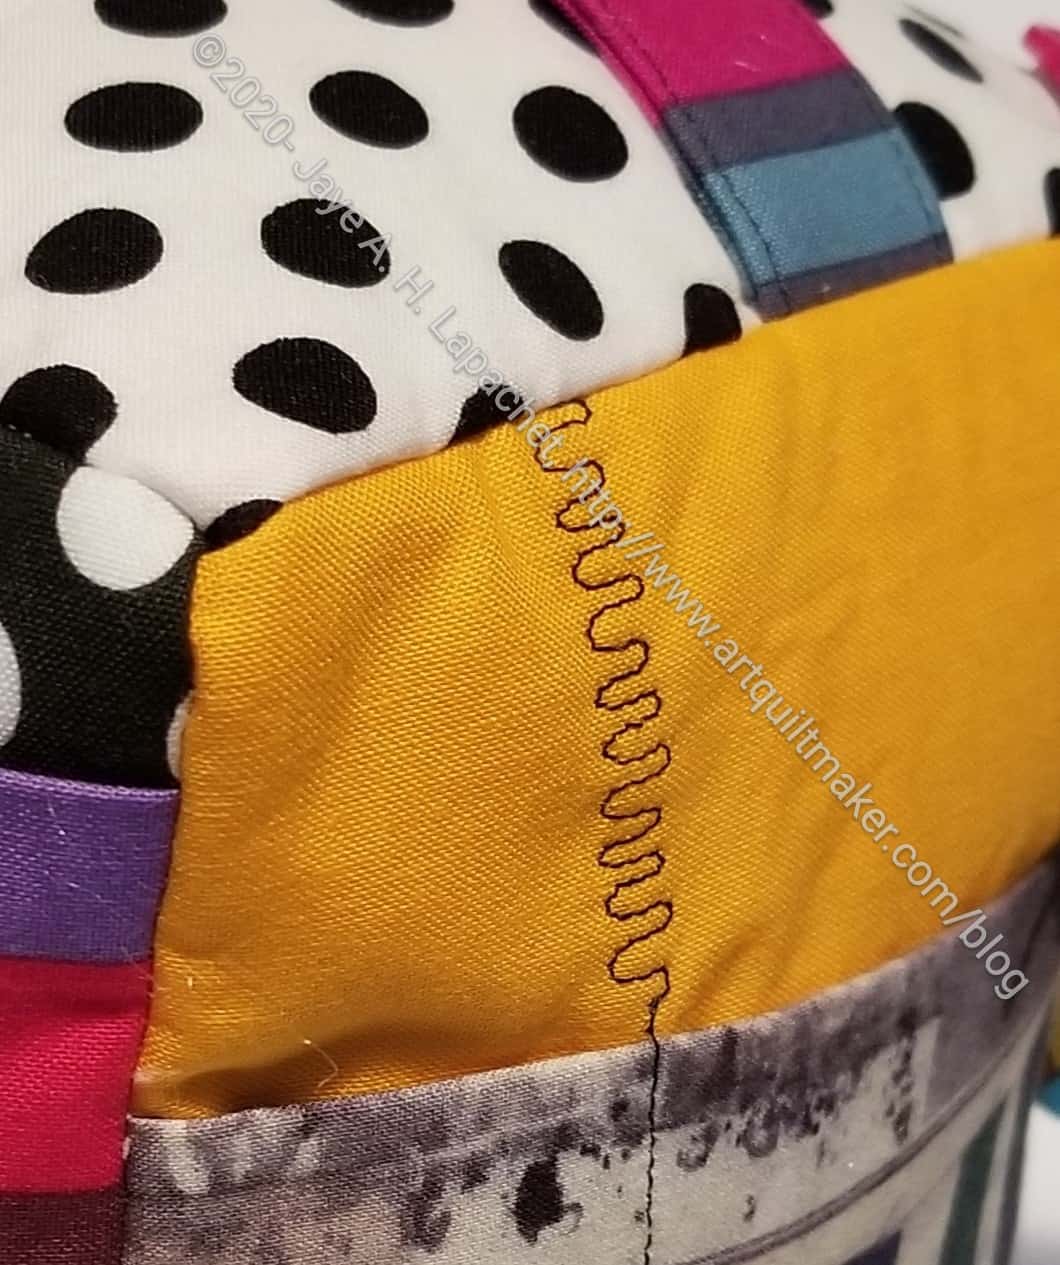
Gerre’s Mega Pinnie Gift – detail
I also did some things a little different. I quilted part of the main panels with decorative stitch. I thought about stitching the decorative stitch all the way down the panel, which I used to attach the pockets. I decided not to use the decorative stitch all the way down, so I switched to a straight stitch on the pockets.
I am pleased with the way this one came out. I might make another one for one of the raffle baskets.
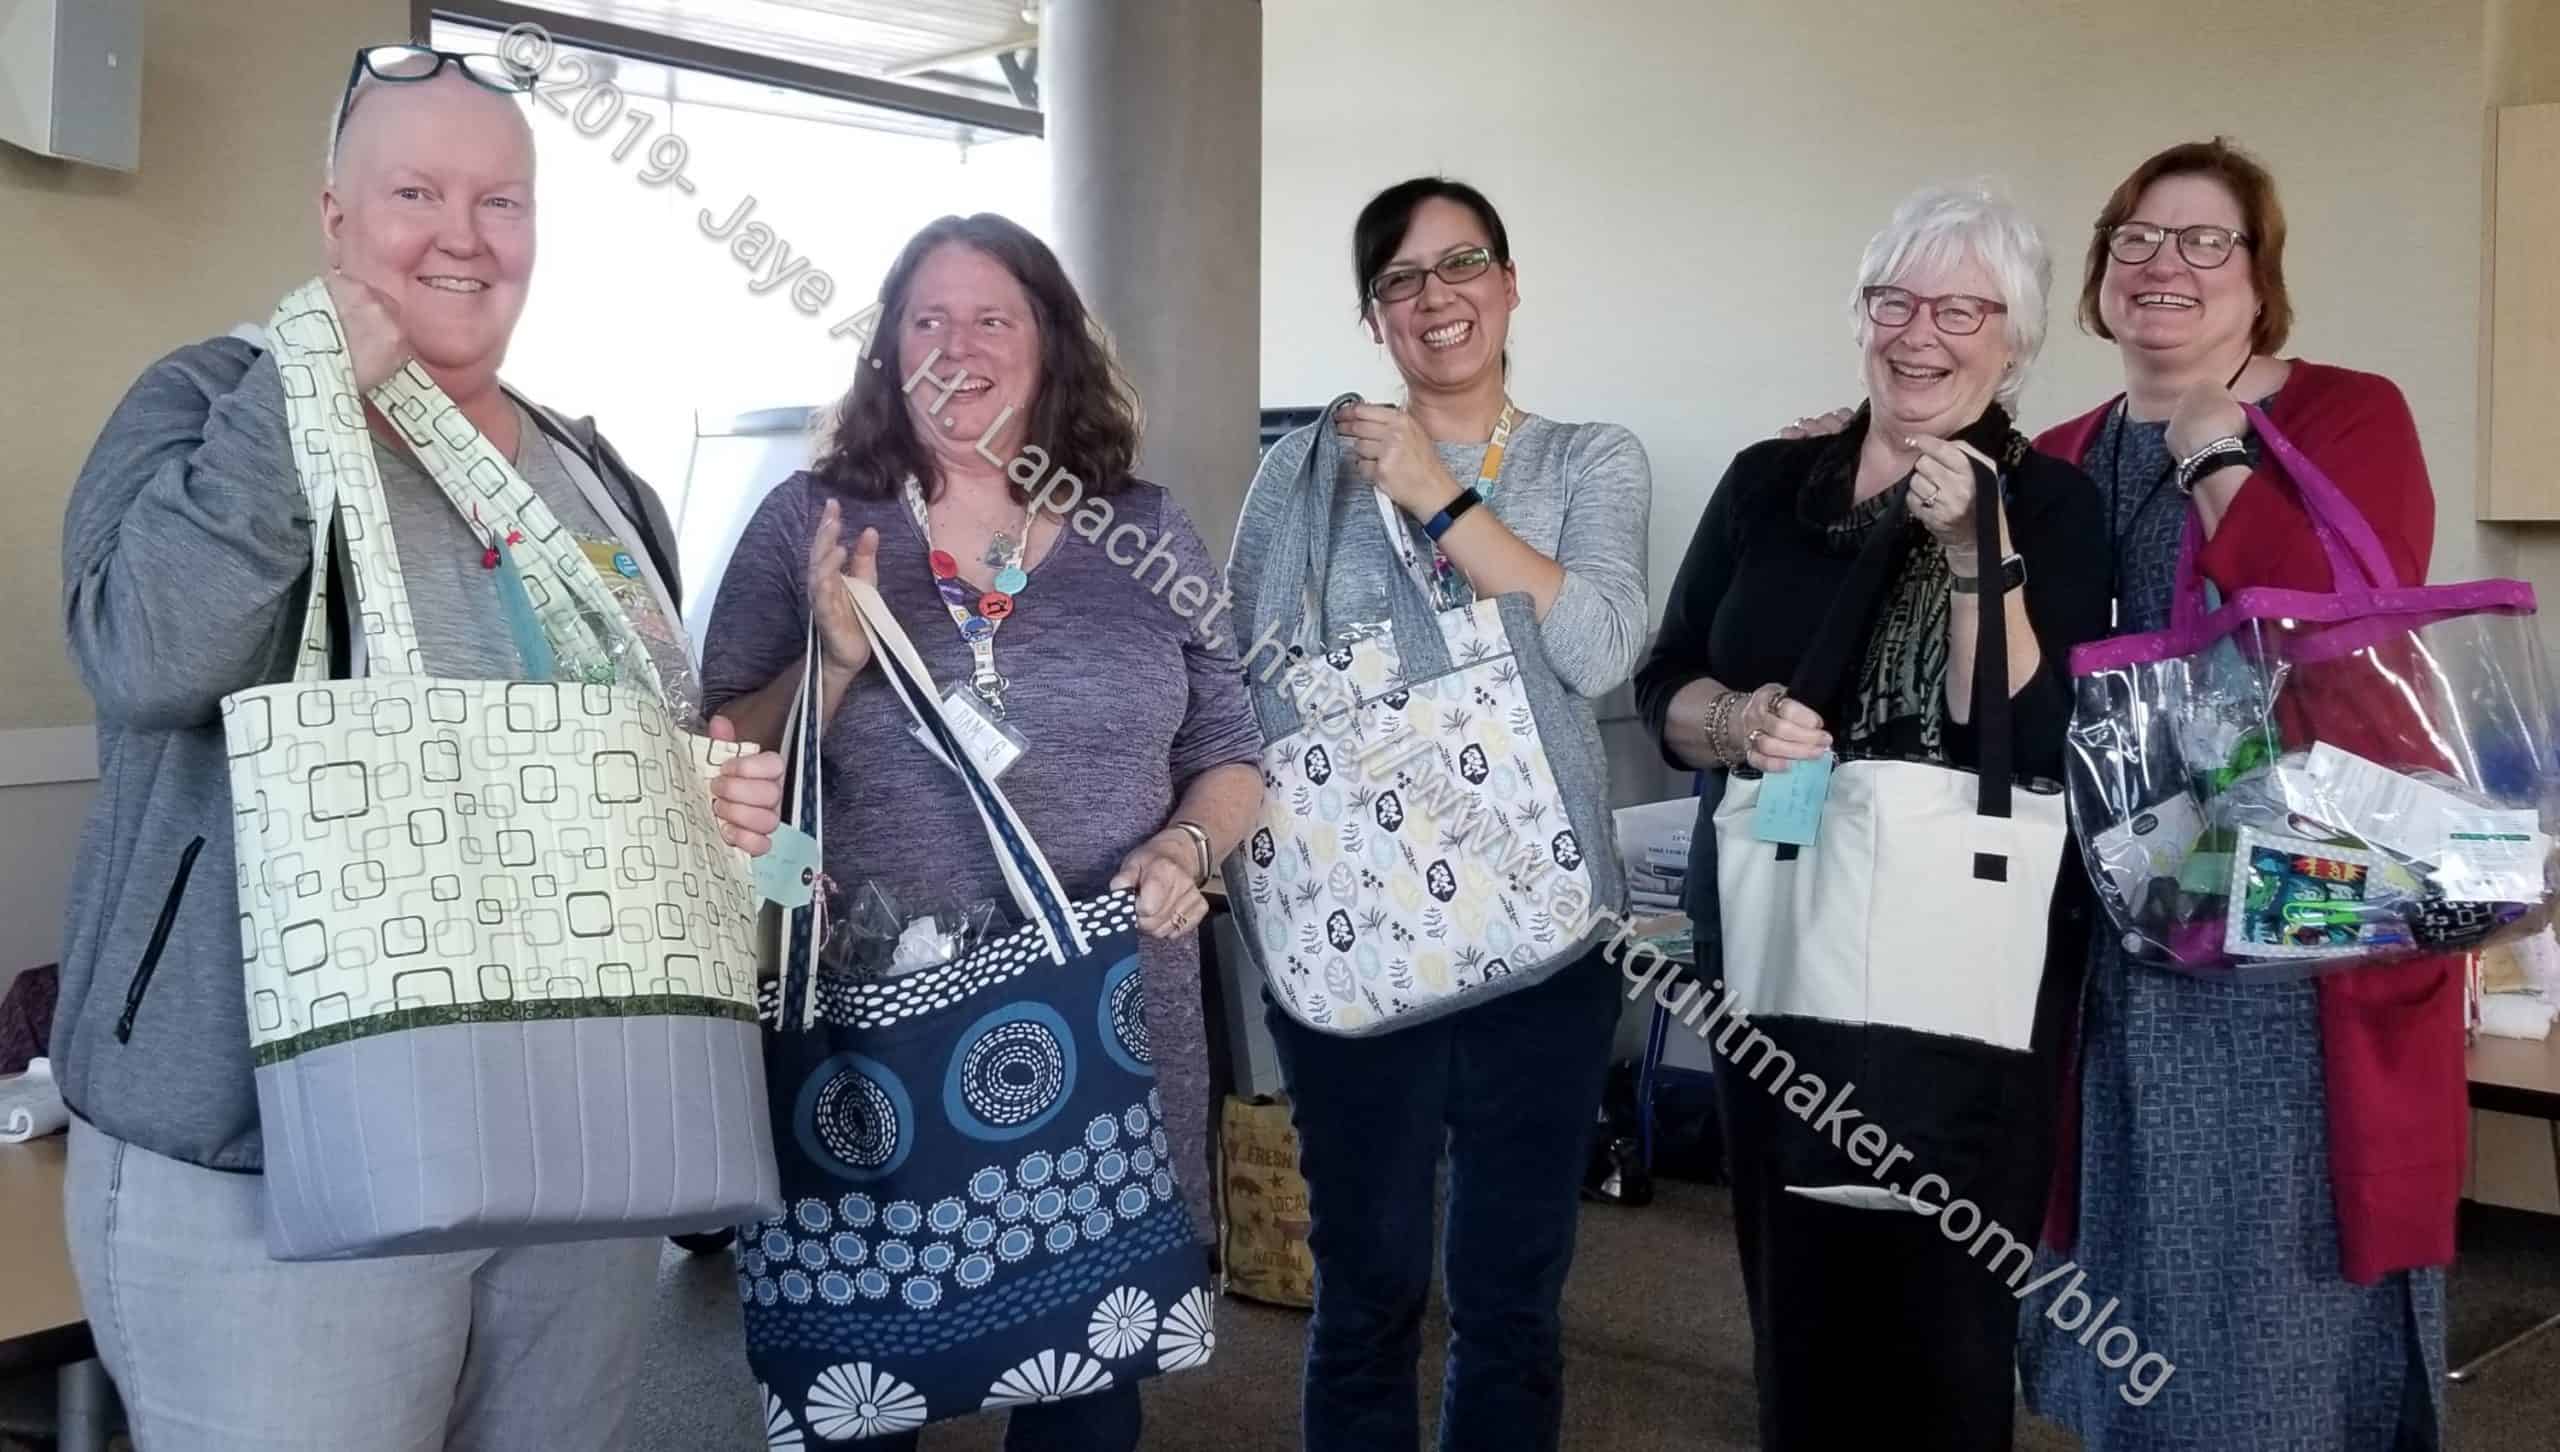
The other day I talked about finishing up the Officer gifts that I was making. They were finally finished on Friday night before the meeting. Fortunately for me, DH didn’t get home until late, so I had some extra time to work on them.
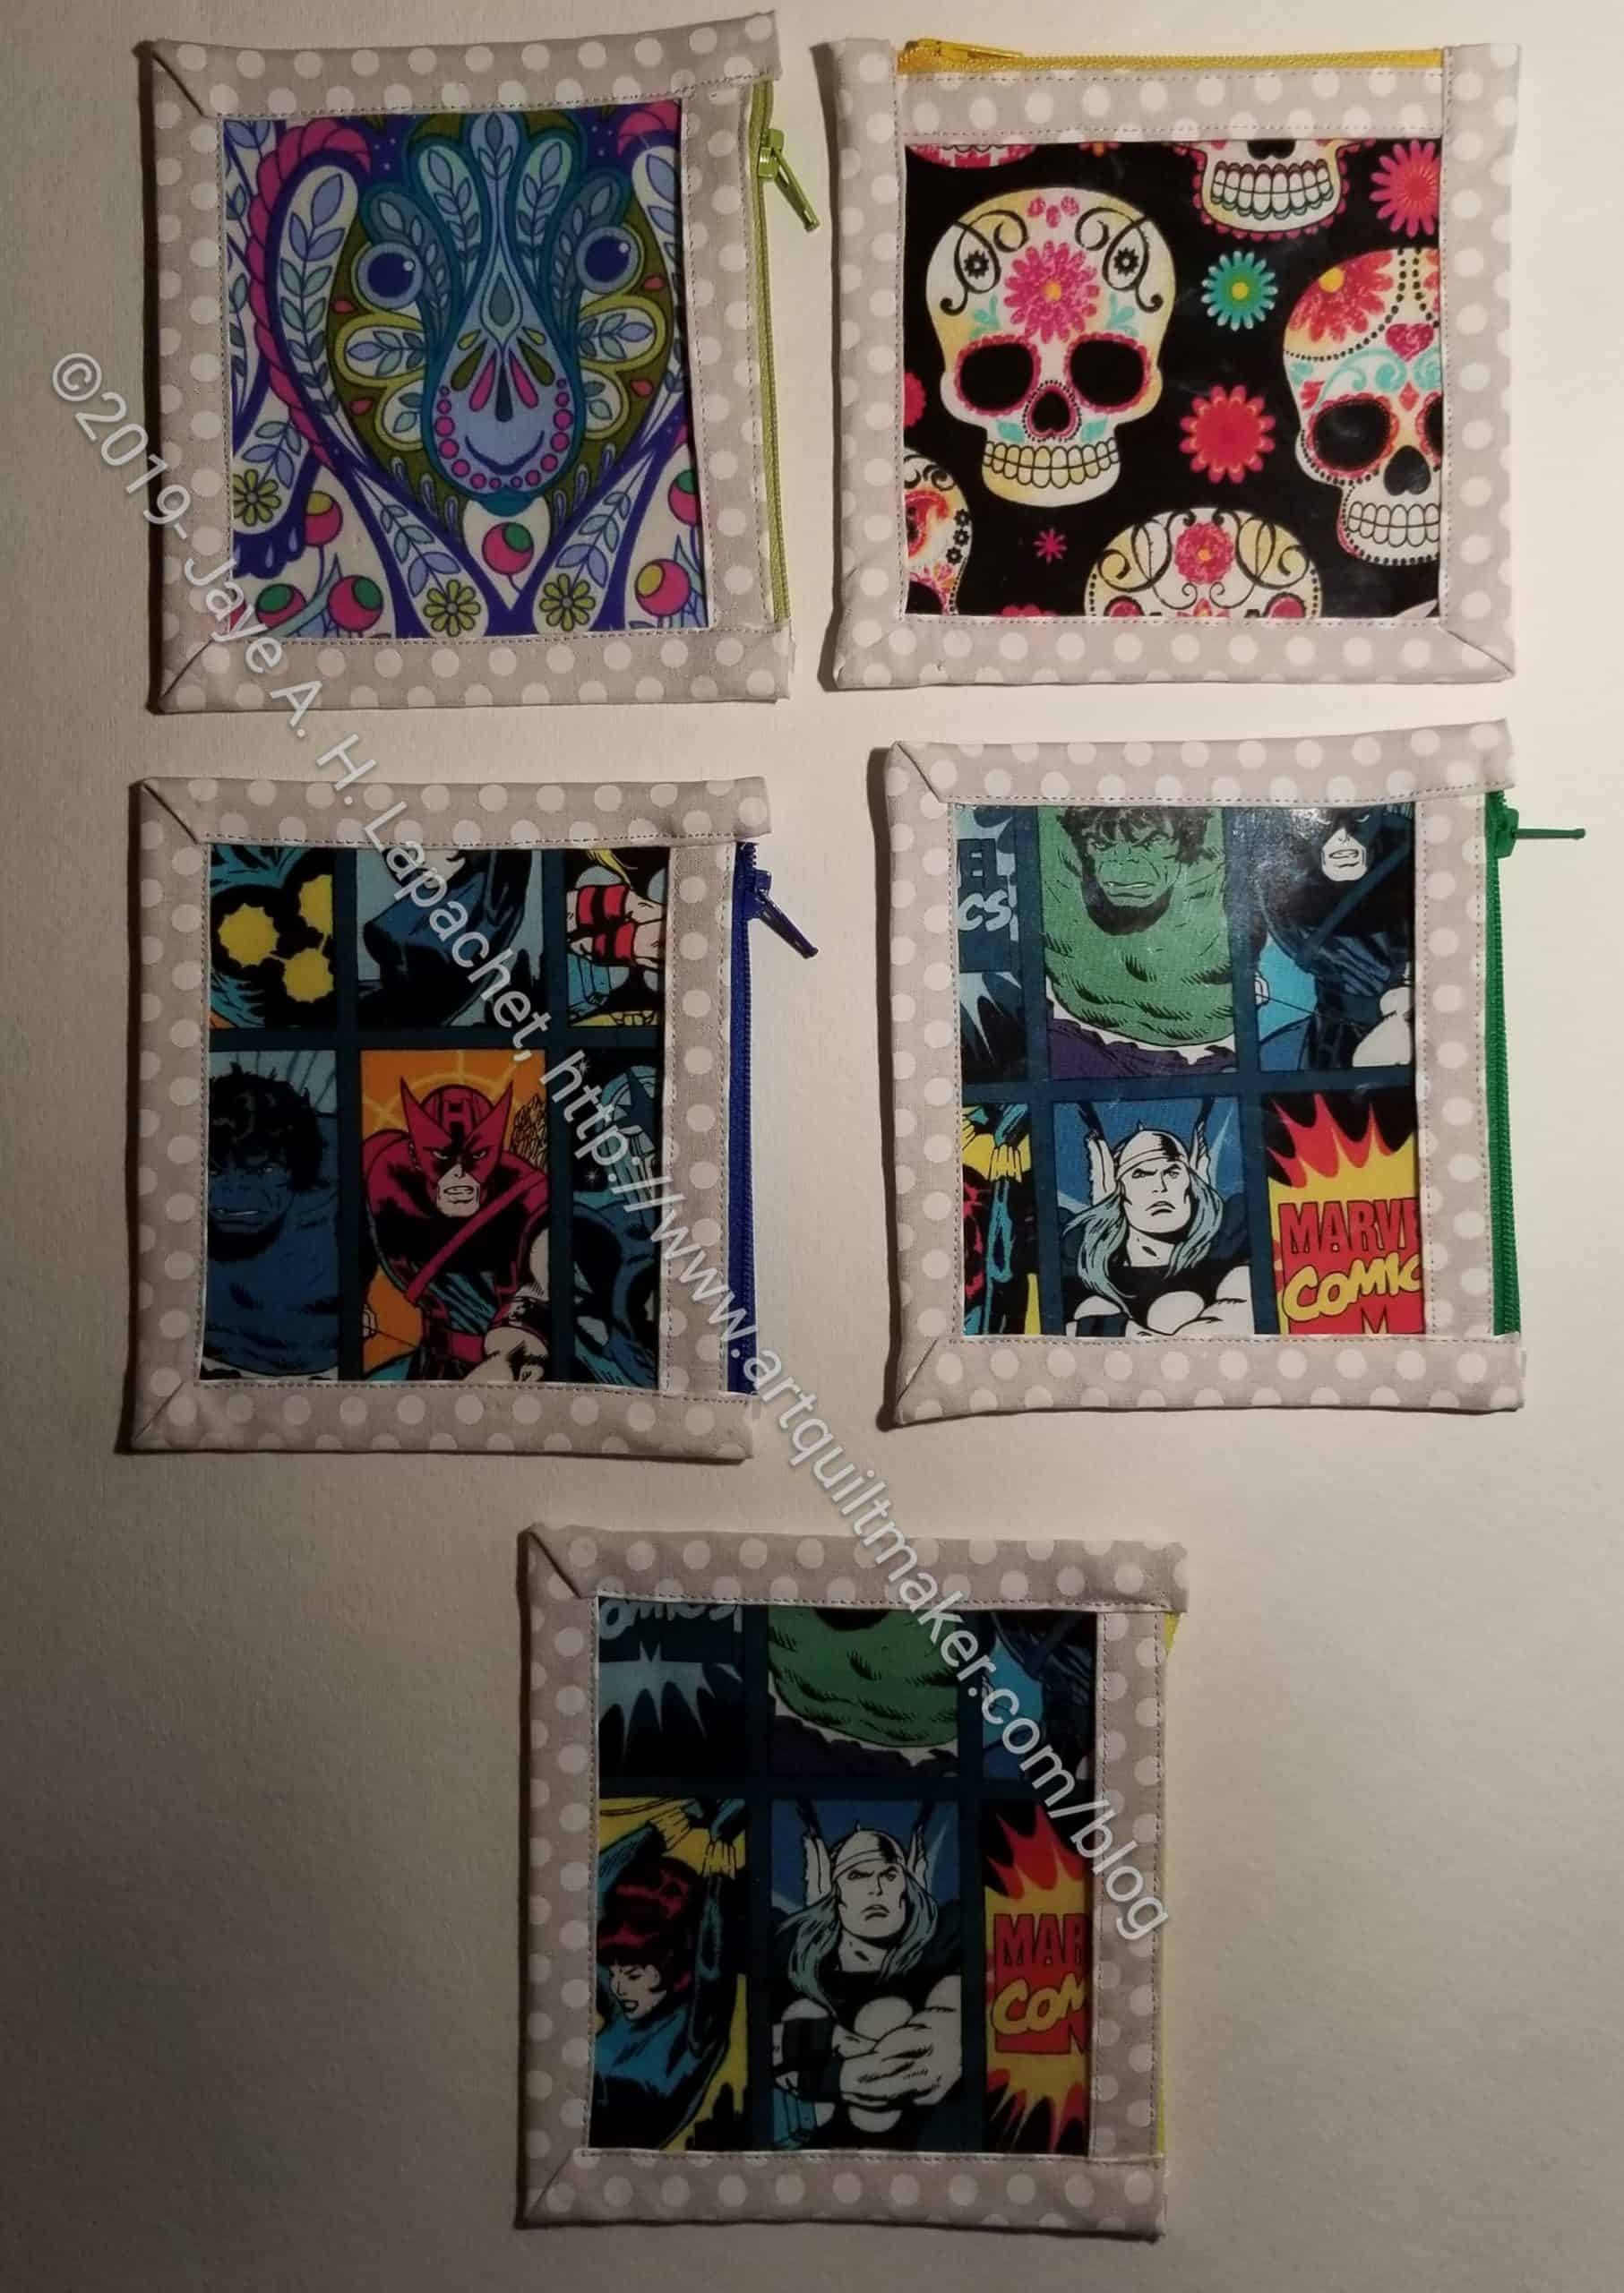
As mentioned, these pouches are fairly speedy to make.
Officer Gifts: Speedy Pouches-ending
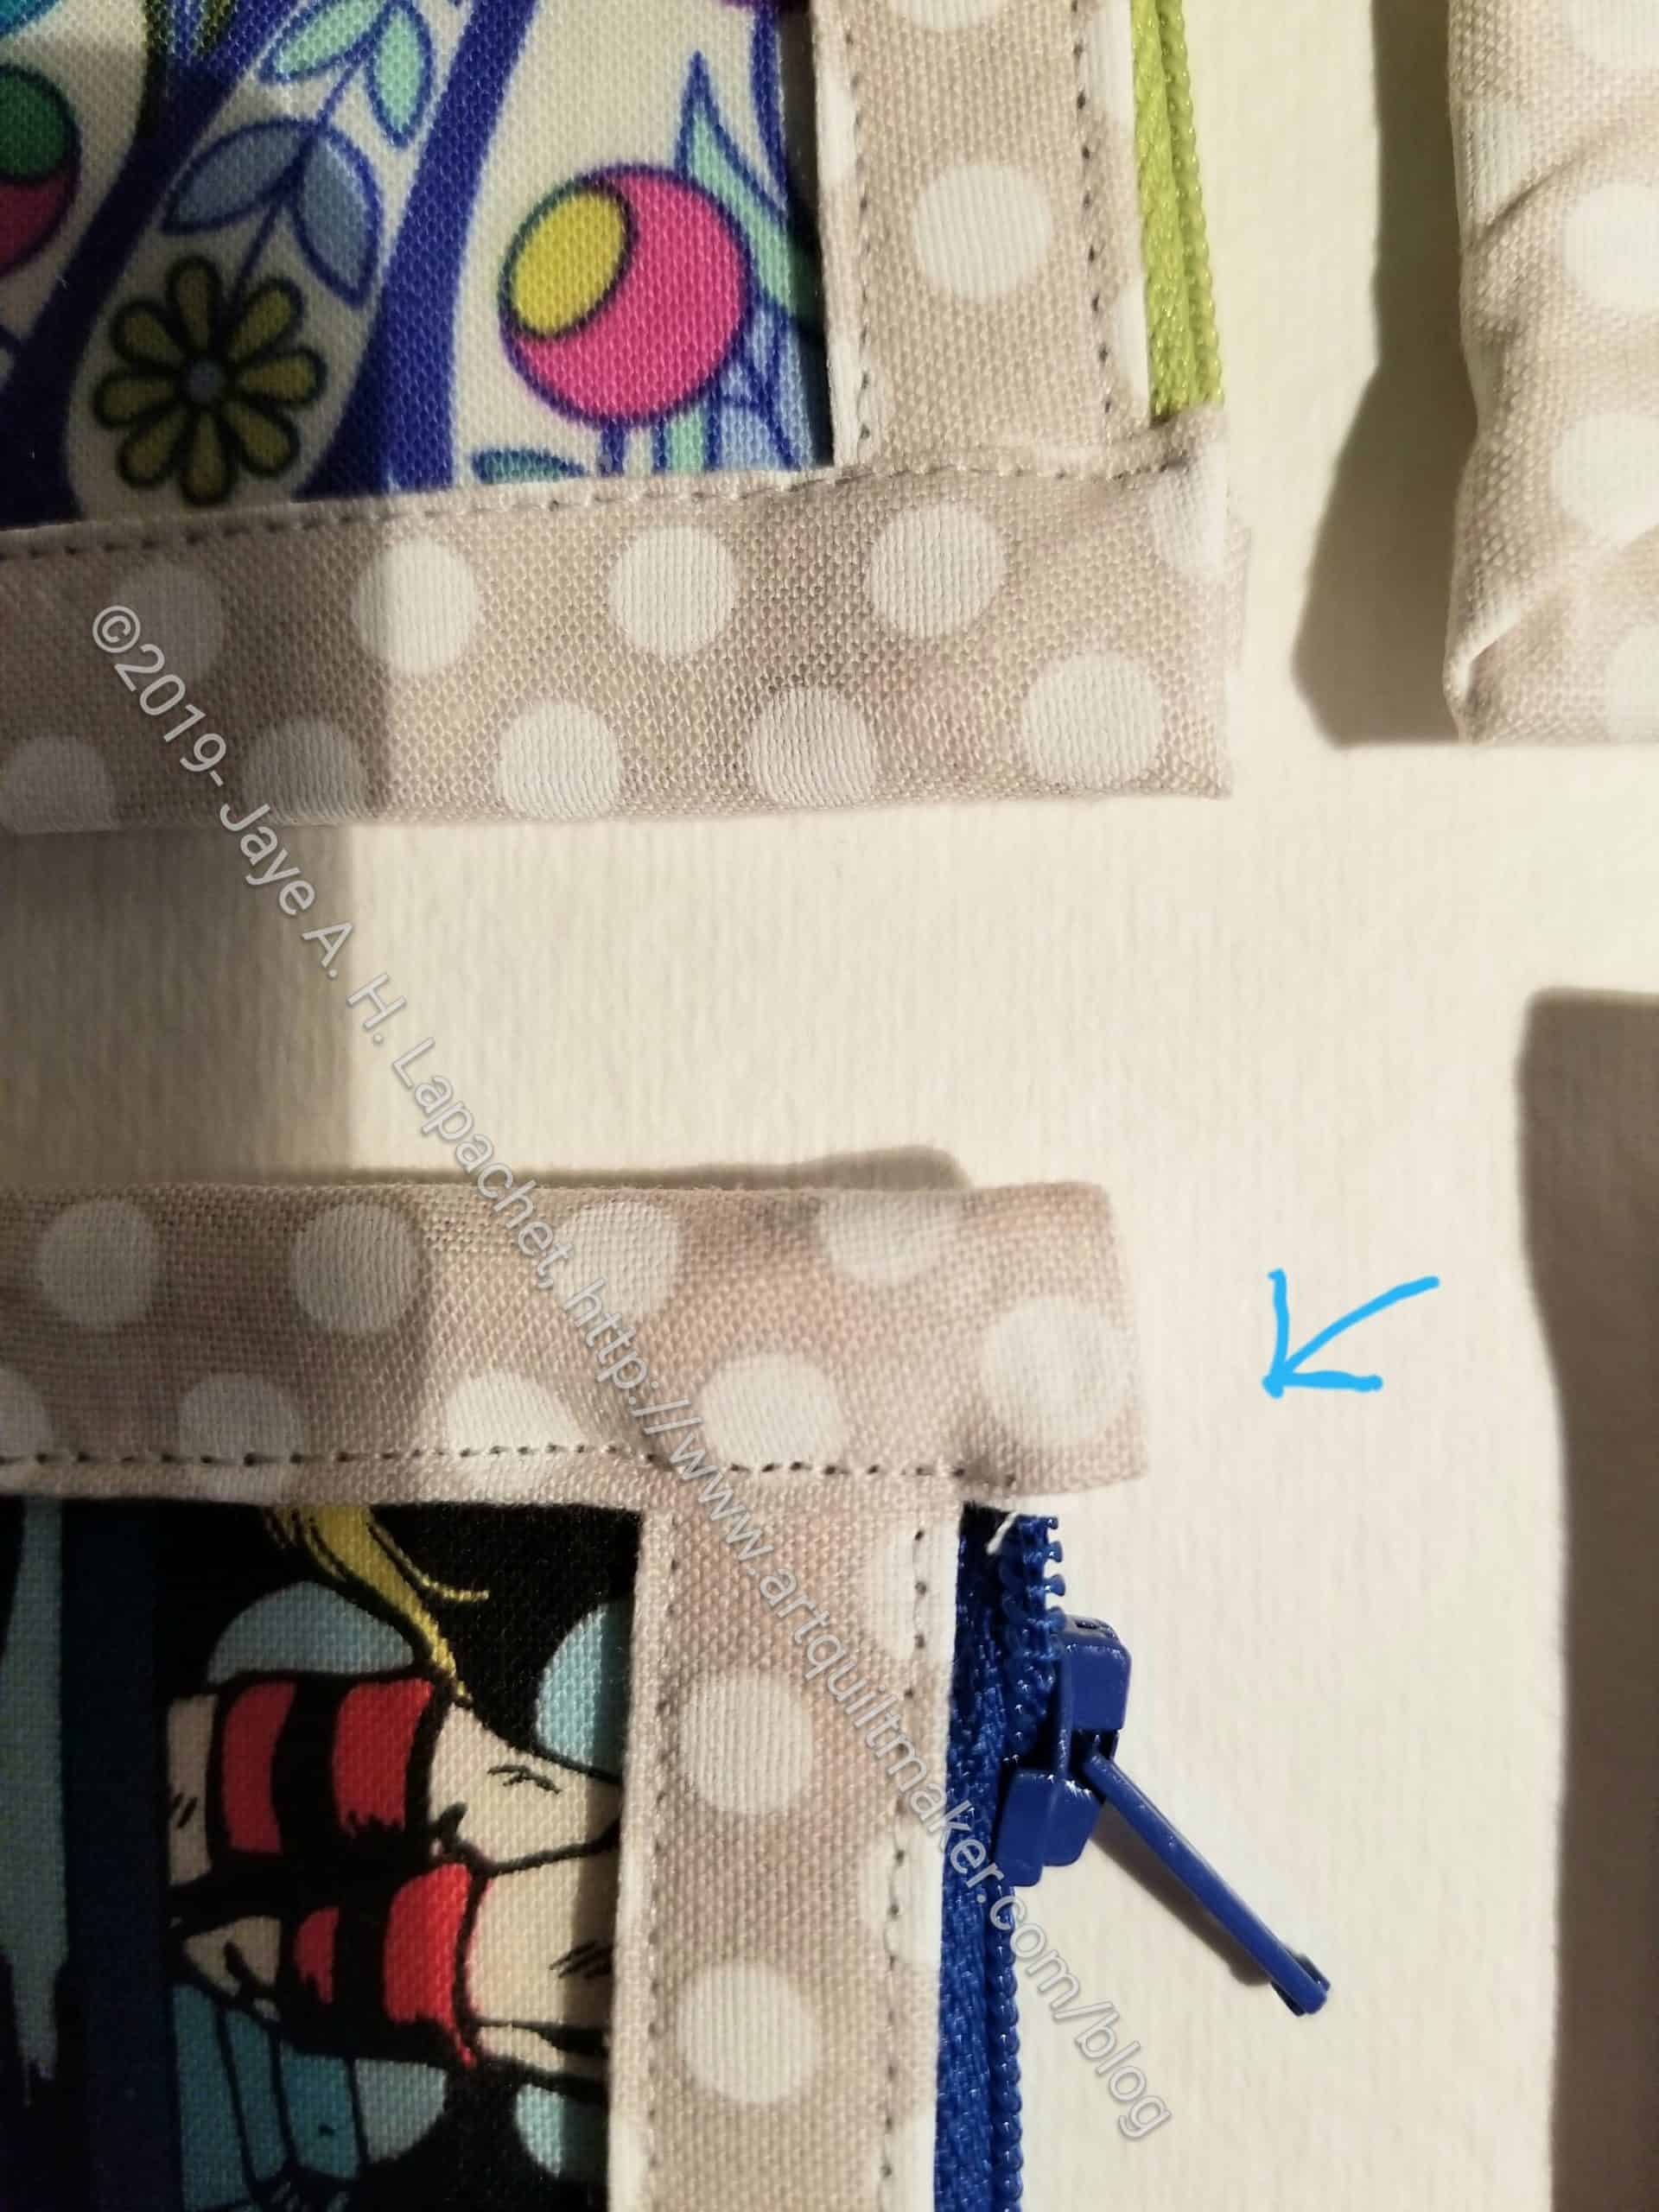
I am pretty happy with the way they came out except for the ending. That was my fault as I stopped reading the directions and just finished them.
I thought about using this pattern for the inside of the UCAB, also as mentioned so I have been mulling over how to add a leash. It doesn’t work with the binding used in the pattern, but the pattern calls for a super long piece of binding, most of which is not used. I could turn the ending in to a leash instead of cutting it off. That would also alleviate the problem of one of the ends. I might try it.
A five month project finally came to a close over the weekend.
Every year for the past few years I have gotten a group together to make gifts for the officers. At first, I didn’t think they needed anymore quilt projects, so I had the idea of making them a bag and having guild members fill the bags with small gifts. This has proven to be very successful. In the last few years, I have brought postcards, so people who cannot bring gifts can convey their thanks in writing.
Both Angela and Rhonda posted photos of their gifts, which is a good way for you to see the variety of made and bought gifts. Rhonda’s bag was a quillow, so she got a bonus and the colors are perfect for her as she loves the Japanese indigo style.
We had an extra bag, so I took mine back and will use it for something else or for next year. I have to think of a way to be better organized as I forgot one person who had agreed to make a bag early on.
I can’t believe I forgot to post about this! I didn’t even take any photos, which is very strange. I had to have Mom bring it back over. I really don’t know what I was thinking. The only explanation is that I was busy, which is boring. I do feel like I am just getting my sea legs under me after a couple of months of frantic sewing.
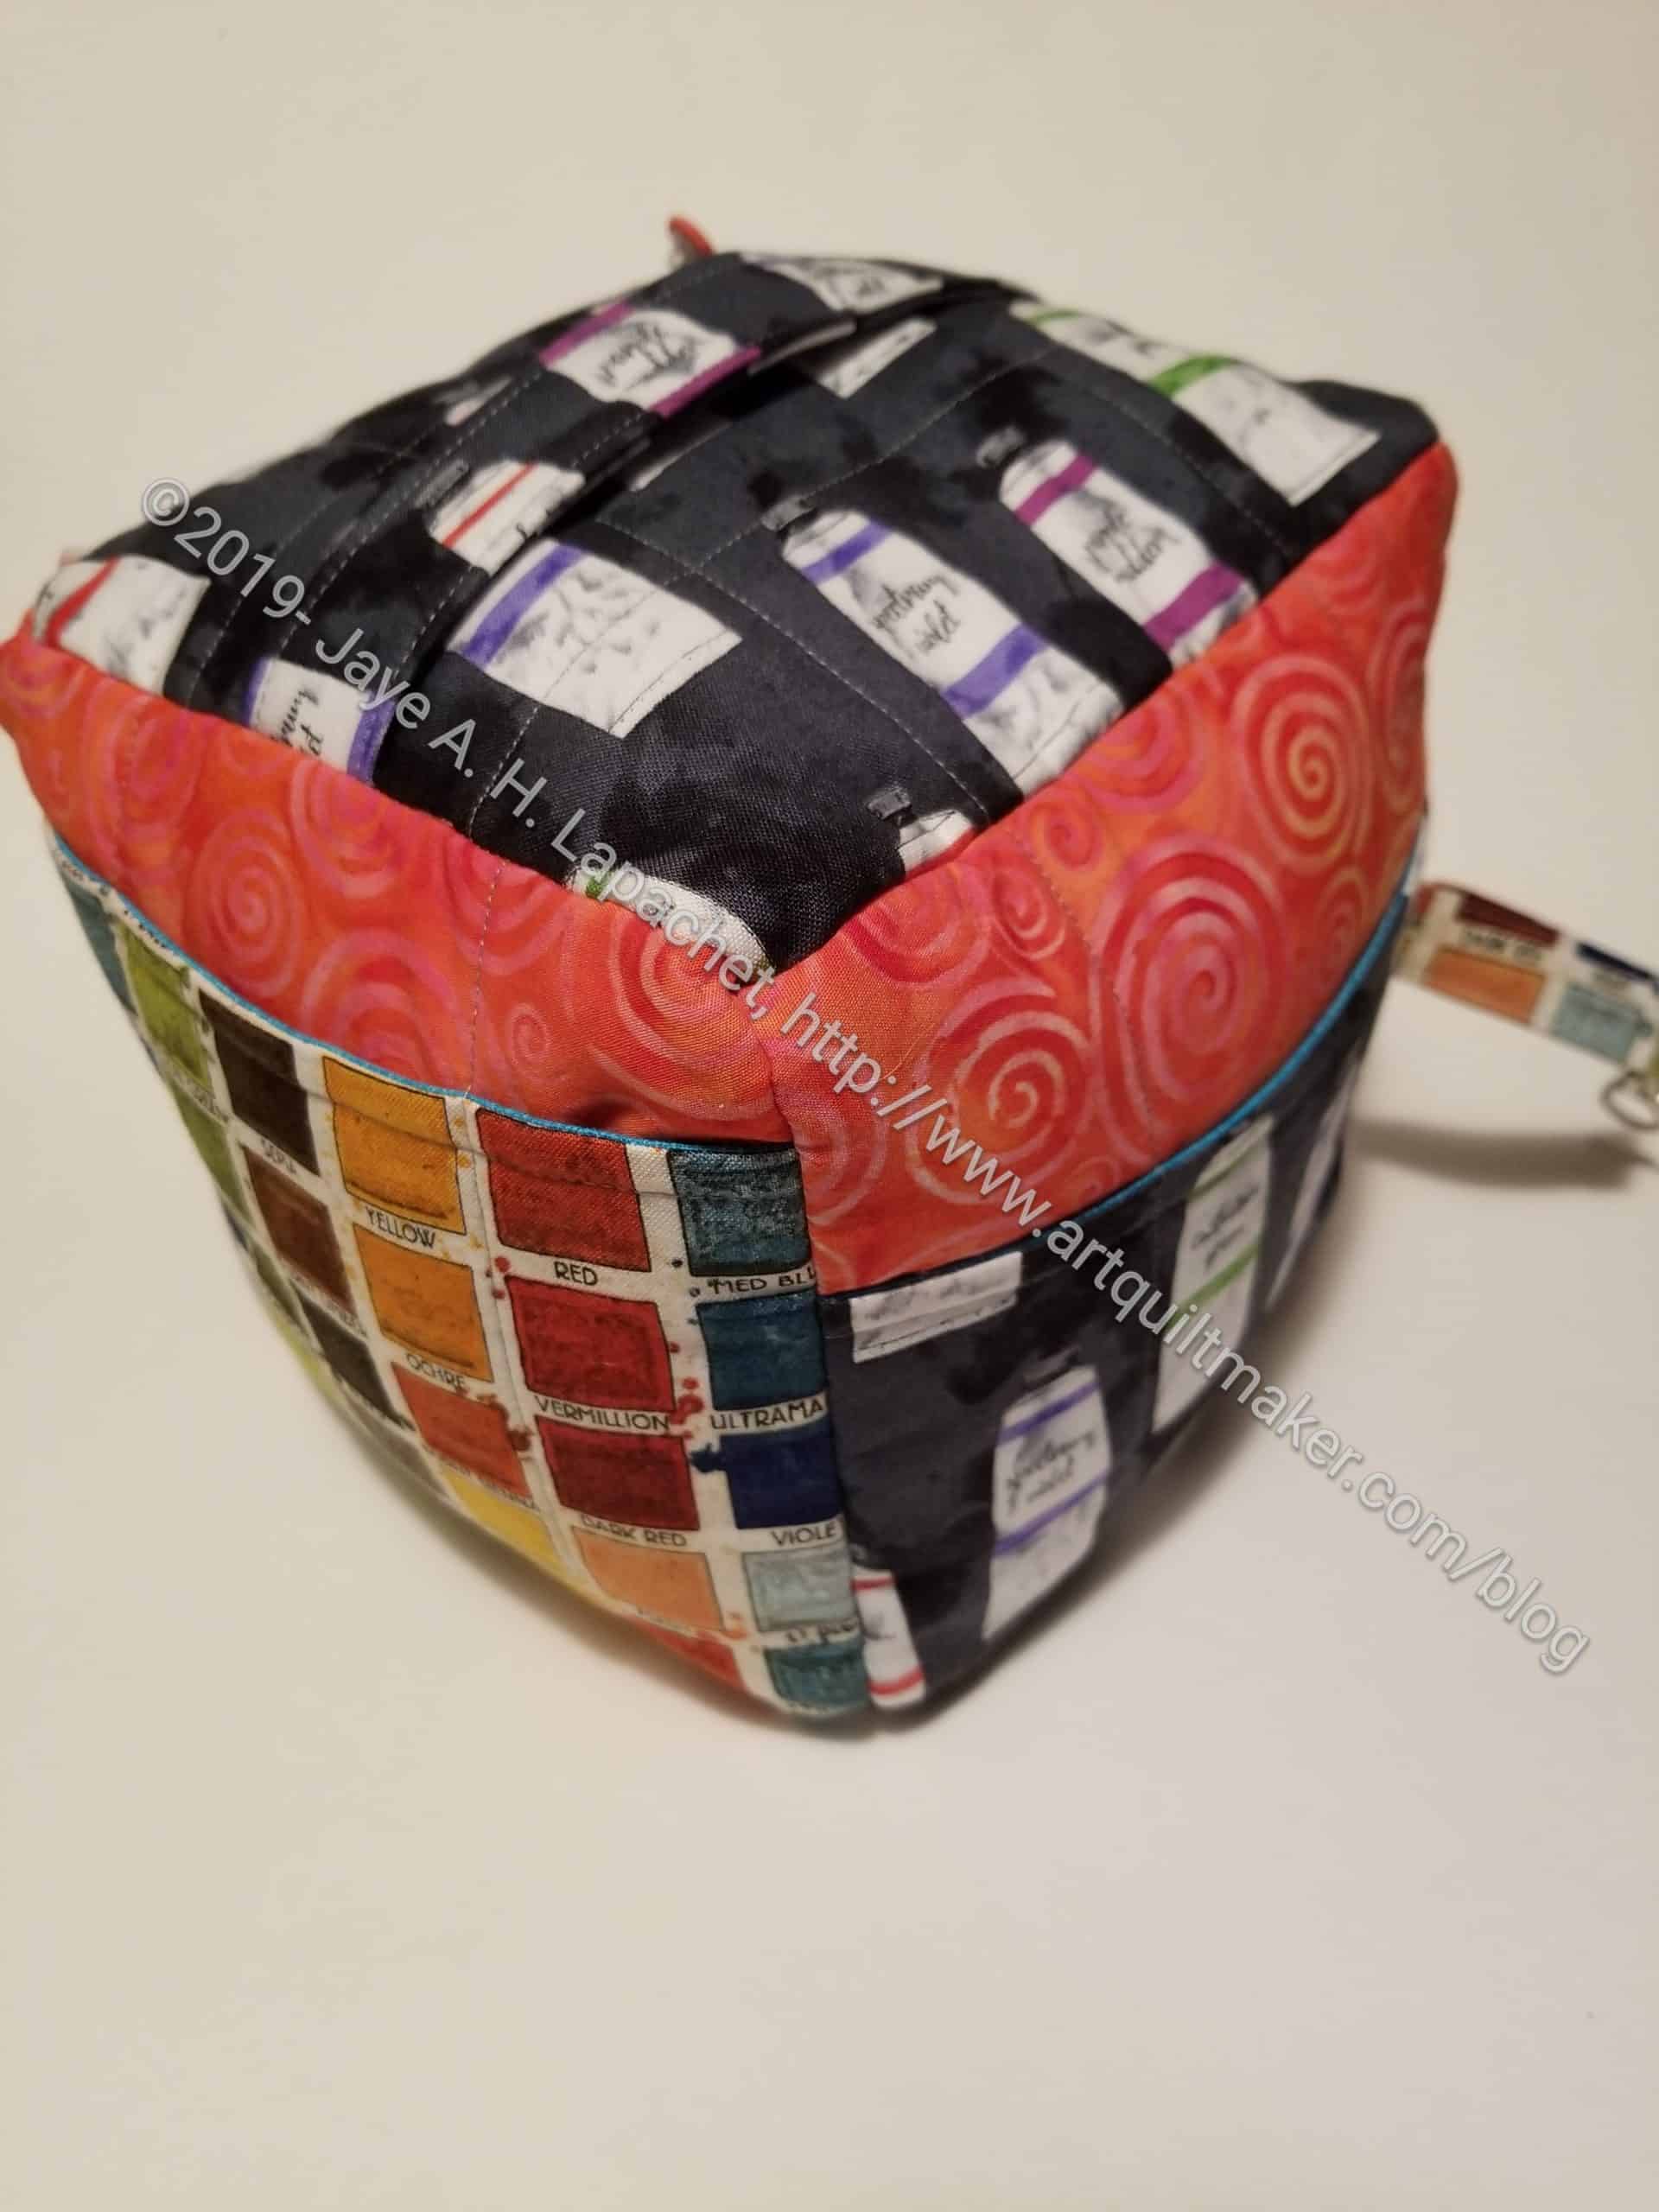
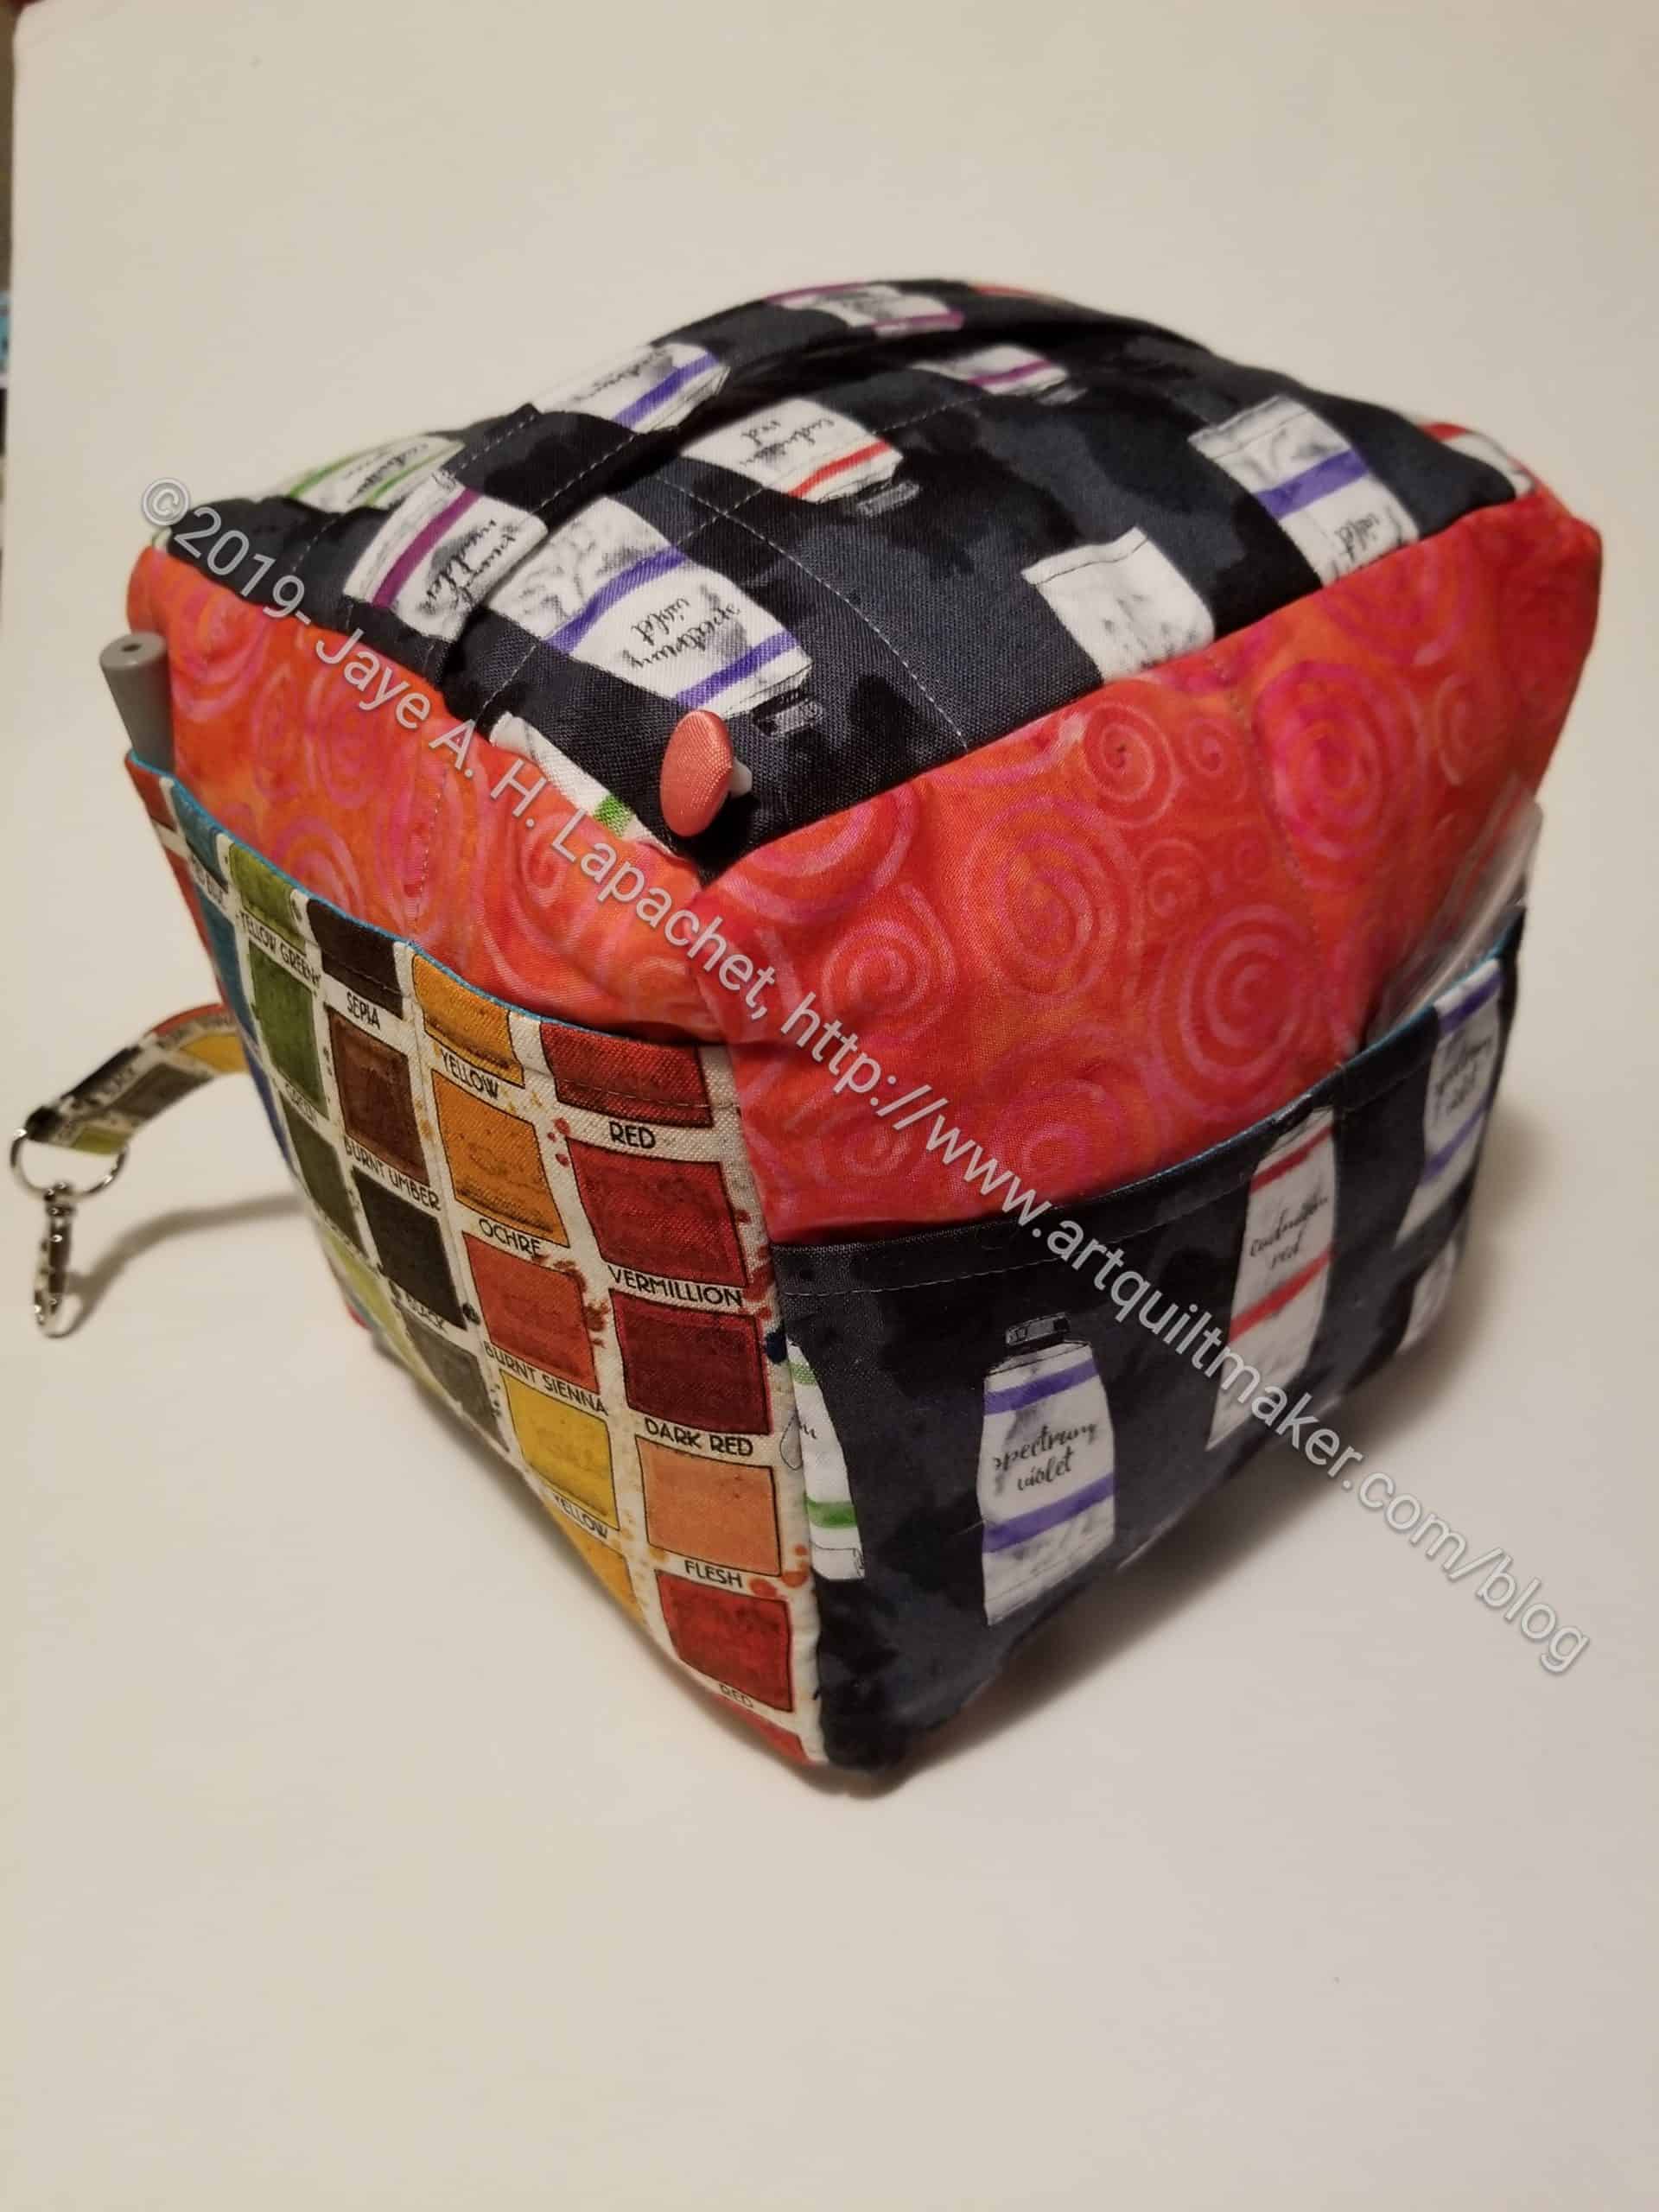
So, yes, I made a Mega Pinnie for mom as well. On hers and on Julie’s, I added a leash, which is not part of the pattern. On Mom’s this was specifically so she could clip it to the Poolside tote I also made for her.
Mom’s Mega Pinnie side 2
You might notice that the Mini Pinnie is missing. I did make one for her, but it is in use in her hand quilting project and she forgot to bring it. Oh well.
She has put a few things in the pocket, but I think she is still working out how she will use it. I know it is an odd sort of caddy.
Also, I used the paint tube fabric so the Pinne will match the other things I have made for her from the paint tube fabric. I am stilling liking those gift groupings.
I got to spend the day with my mom and my husband yesterday. My office was closed, but I had some things to do and I don’t get paid if I don’t work, so I worked early in the day – before Mom arrived – and then took the rest of the day off.
Yes, I received some Quilty gifts! Yay!
Gifts 2020
My nephew (really his mom who is a darling) gave me some quilty gifts off my wish list.
I already reviewed String Frenzy from a library copy, but now I can make the Straits of Mackinac quilt without worry about the loan expiring.
I did a bit of machine quilting last year and since I do mostly straight line quilting, I wanted to try the foot I asked for. The Ultimate Quilt & Stitch Presser foot* allows the quilter to follow lines that are farther apart than the presser foot. I don’t have anything to quilt at the moment, but I could finish quilting the Tarts.
*I use affiliate links and may be paid for your purchase of an item you click on. There is no additional cost to you for clicking or purchasing items I recommend. I appreciate your clicks and purchases as it helps support this blog.
I have been working for a few months on getting raffle baskets for the year together, as I have mentioned.
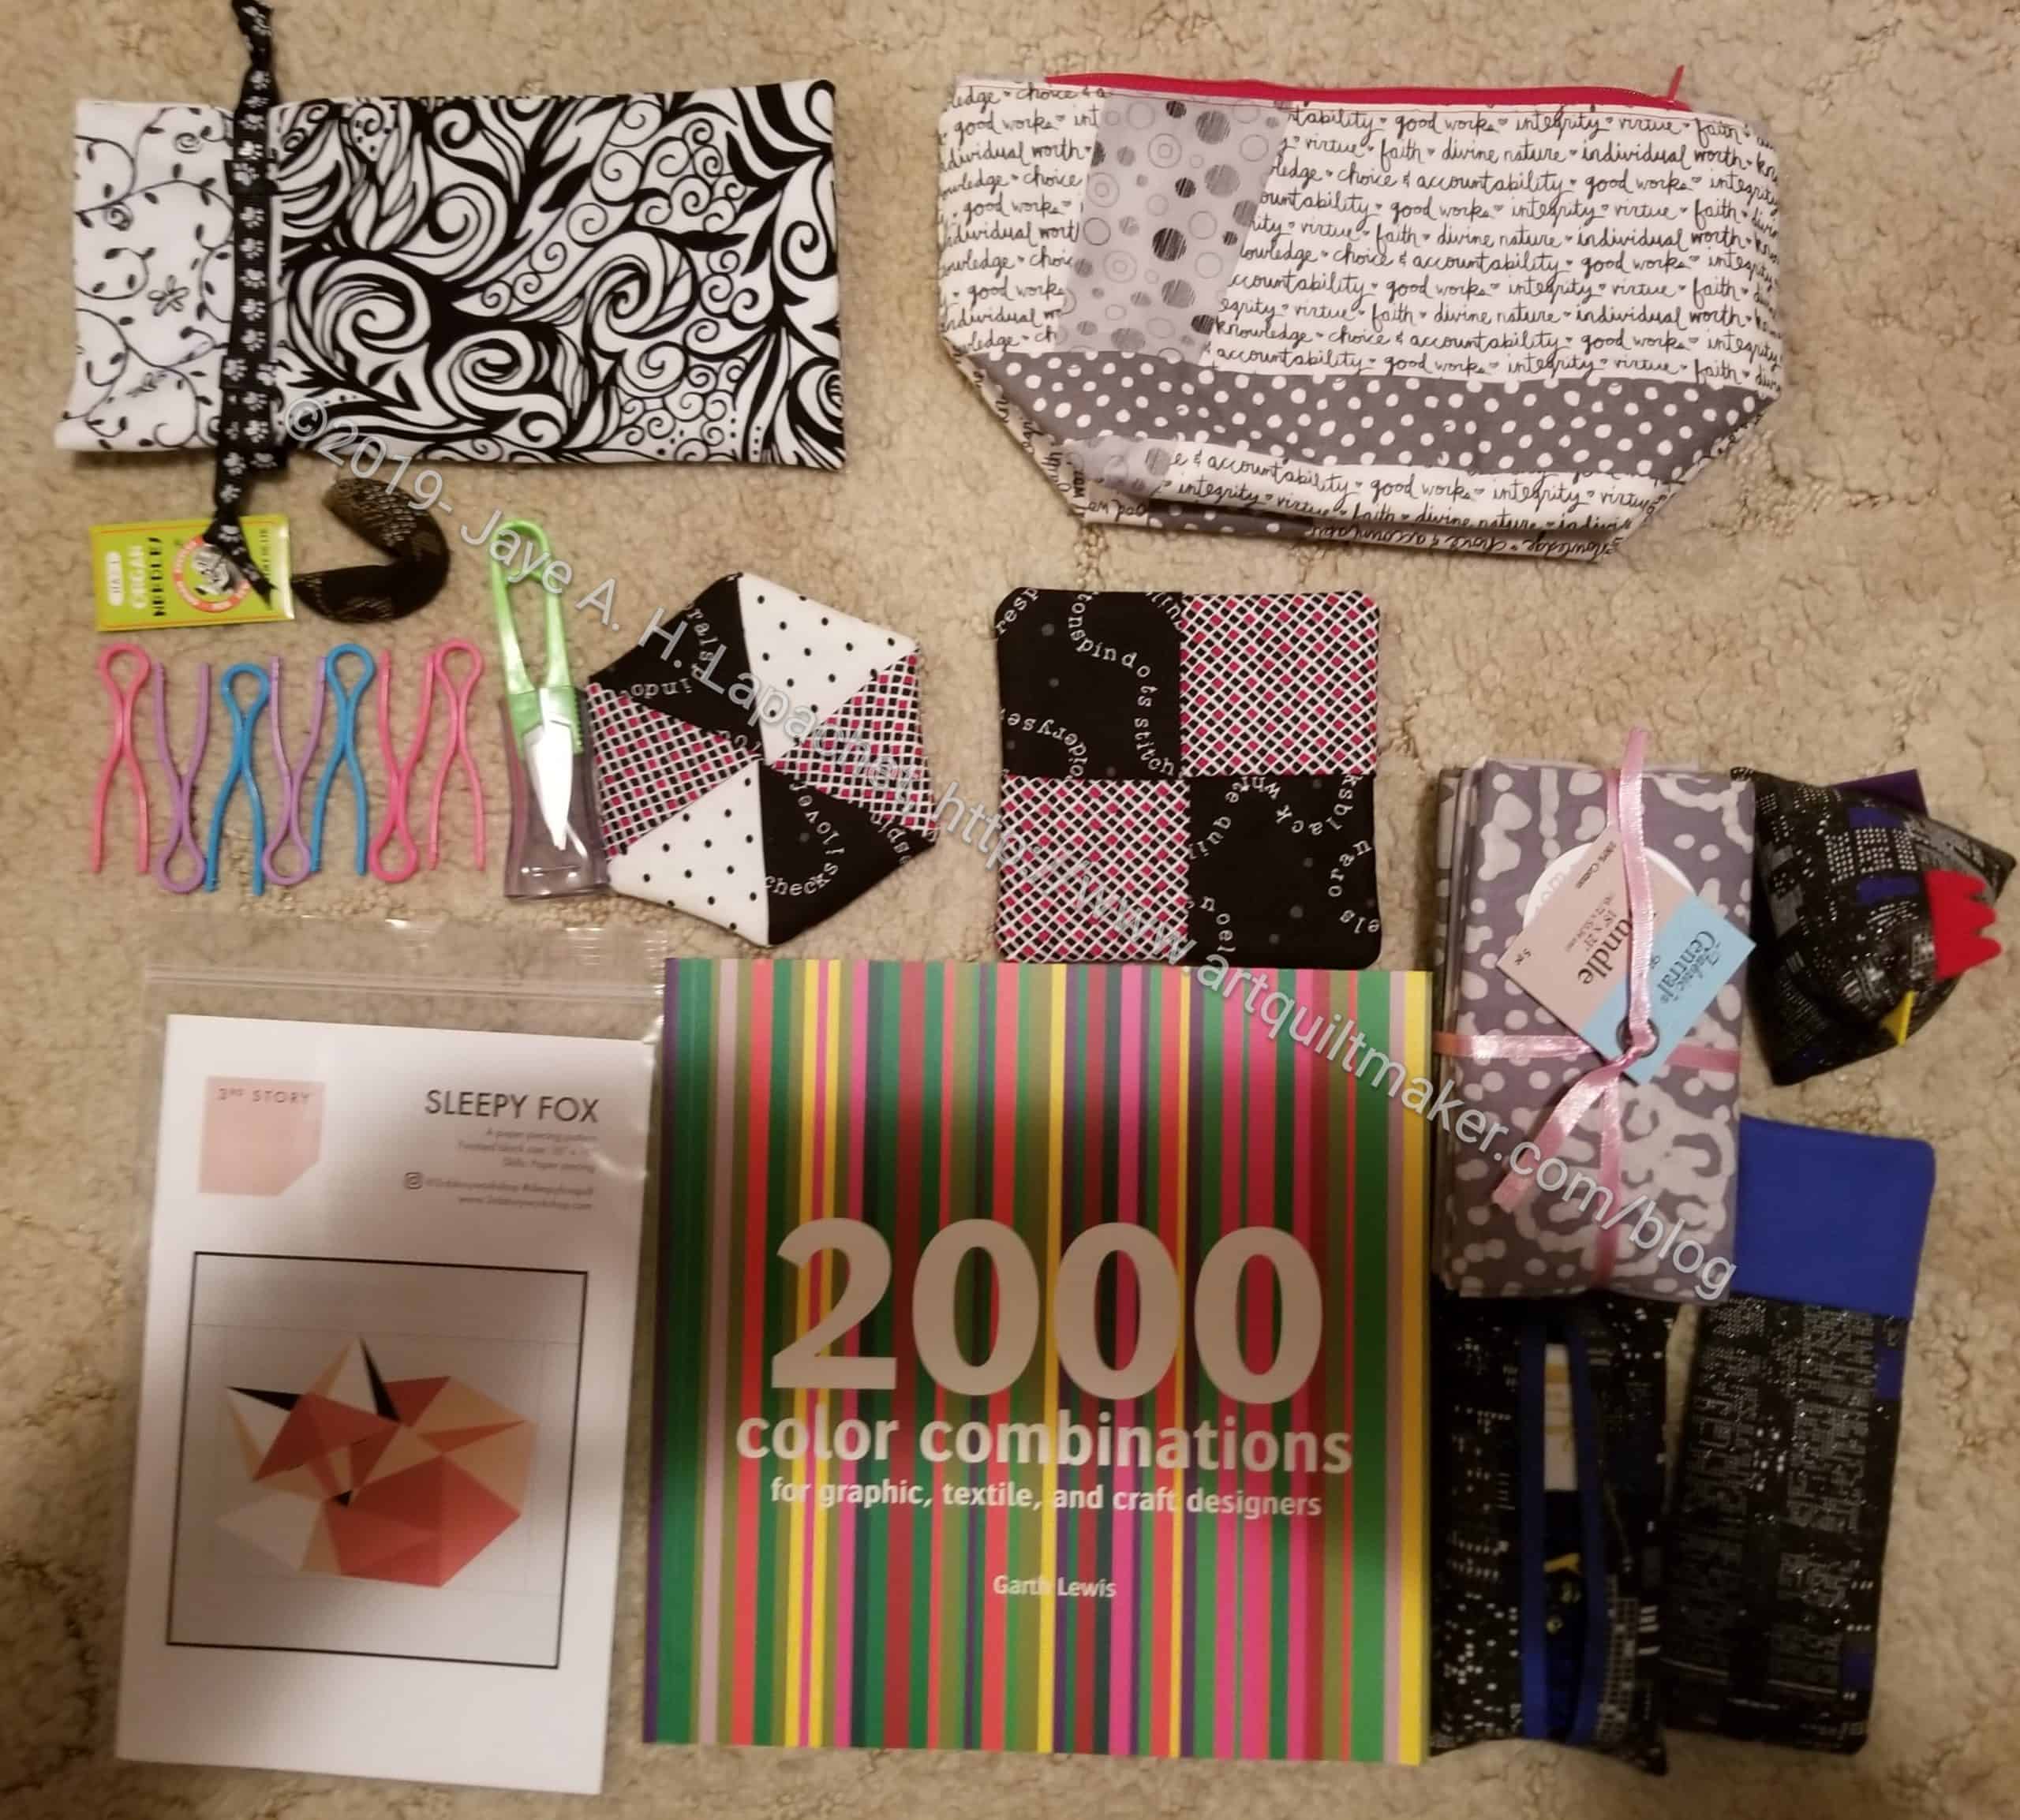
After the last meeting, I got all of the gifts and prizes my team has collected and organized them into months. I put each month’s gifts in a ziploc bag (except the books, which were too big), so I don’t have to do much once the gifts are required.
I did organize January’s basket, which includes all the gifts you see above.
Yesterday we gave out the first basket at the attendance raffle. Yay! it was a big hit and I was pleased not to embarrass myself for my efforts.
The other day I talked about the Mega Pinnie I made for Julie. You might remember I also made one for my mom (which apparently I didn’t photograph or post about!) and for a gift.
She posted about it on her blog and you can see photos of the Mega Pinnie filled up with items. The way she describes it as being “It’s kind of like having a bucket of your most necessary tools, but you don’t have to dig around in the bucket to find certain things” is so great! That is exactly the right way to describe it.
It looks like she will really use it and I am so pleased. The clip has given me another idea of a project to make for her. 🙂