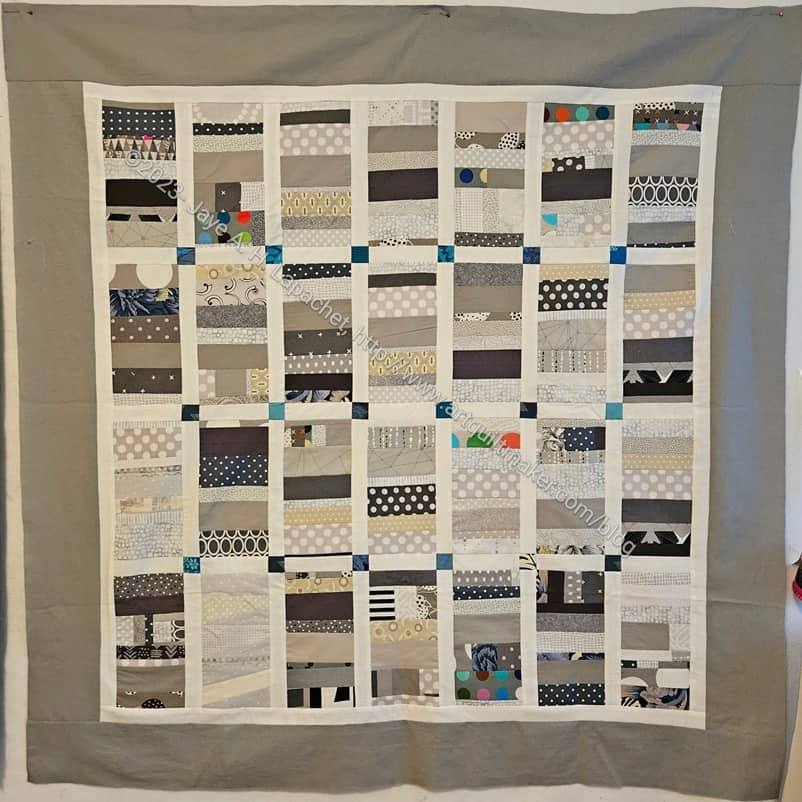
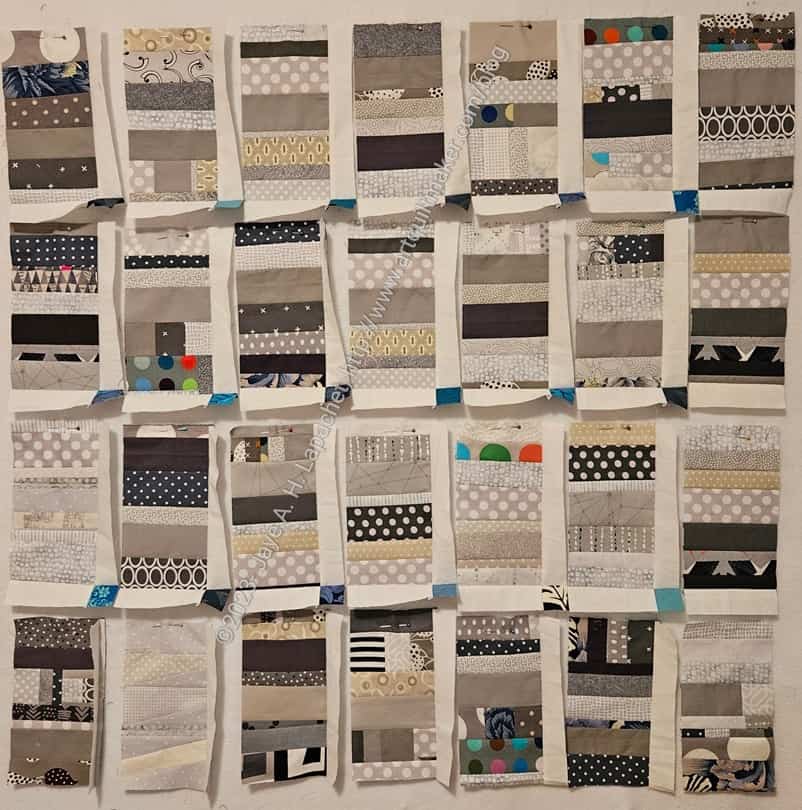
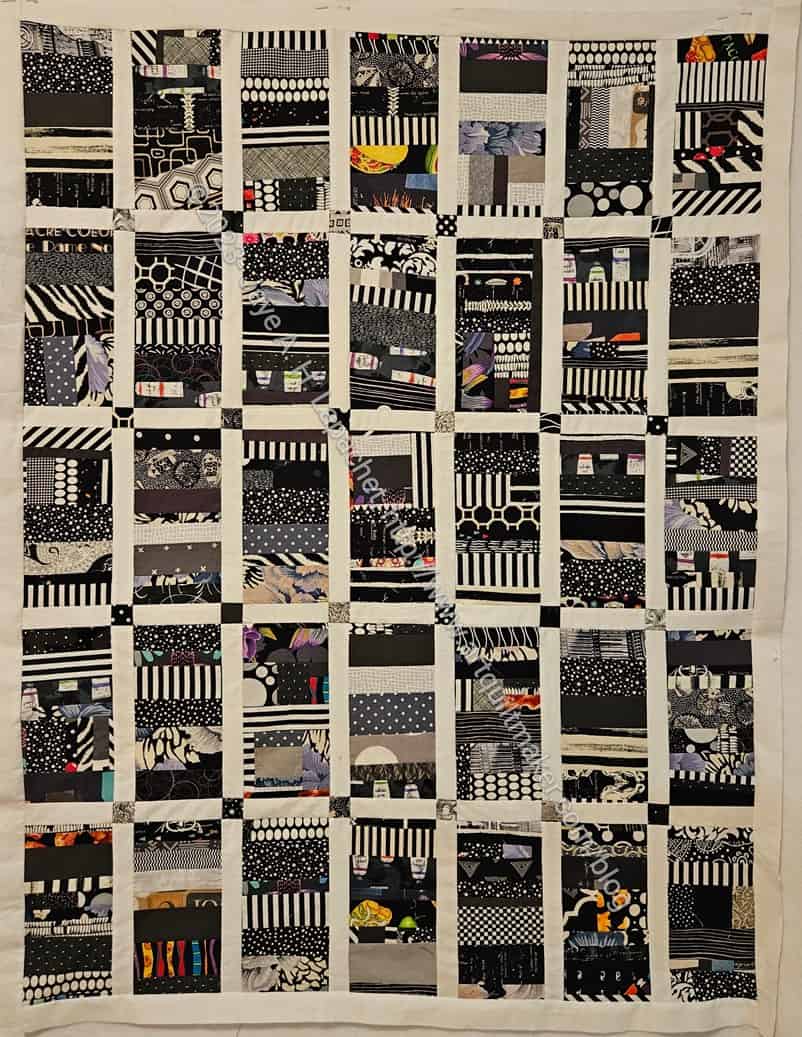
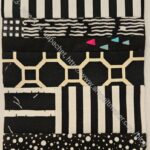
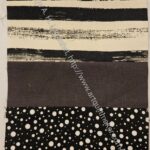
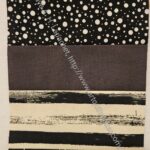
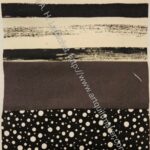
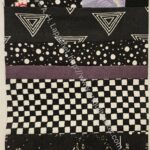
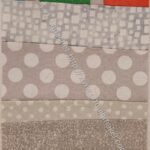
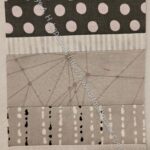
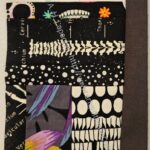
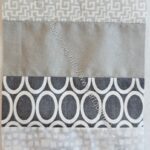
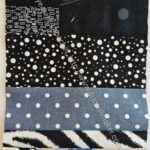
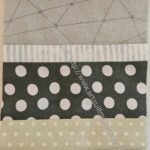
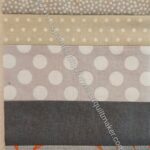
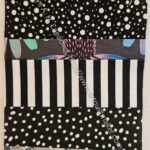
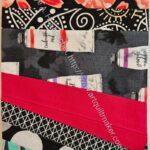
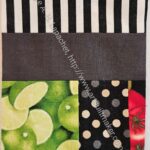
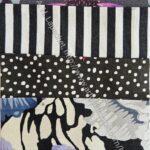
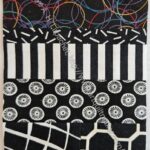
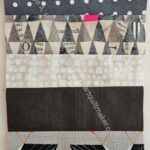
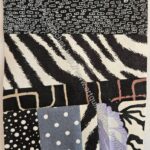
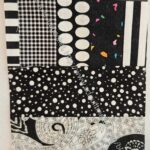
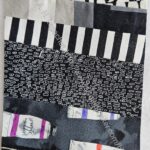
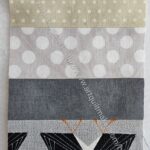
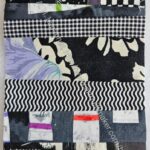
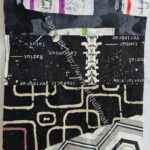
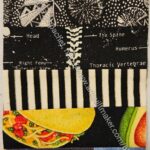
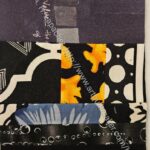
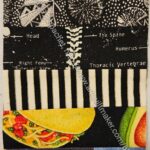
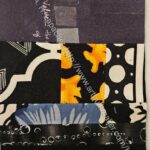
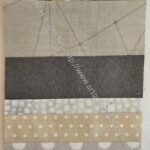
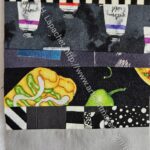
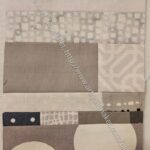
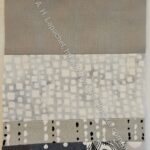
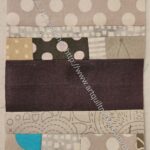
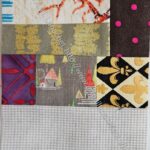
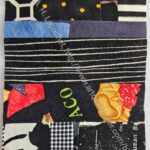
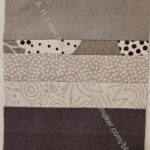
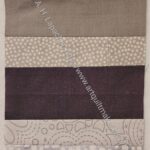
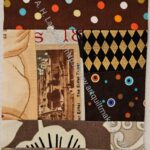
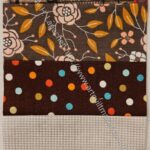
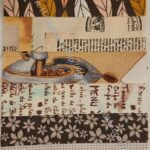
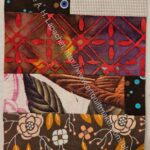
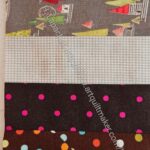
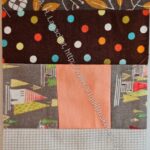
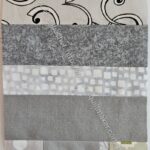
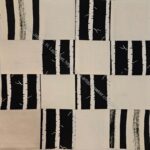
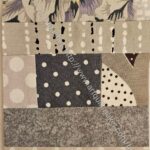
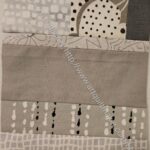
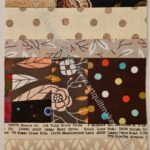
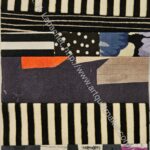
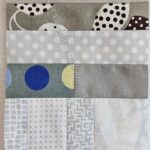
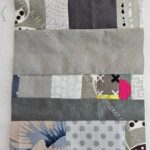
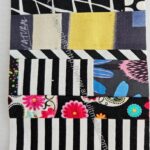
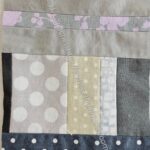
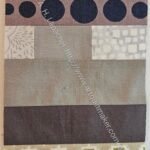
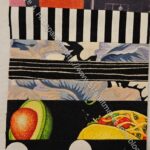
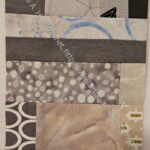
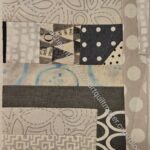
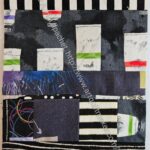
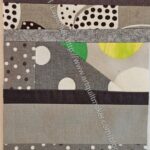
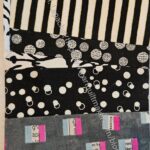
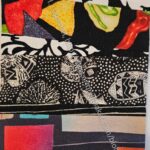
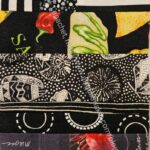
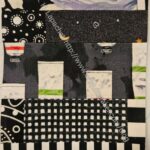
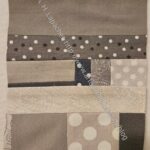
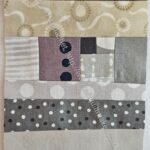
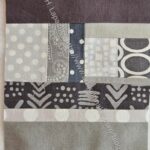
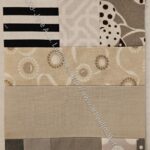
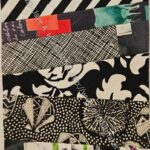
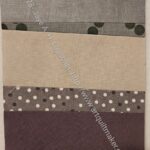
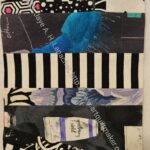
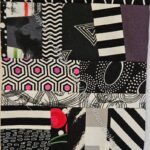
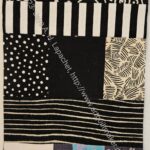
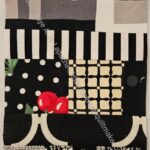
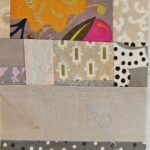
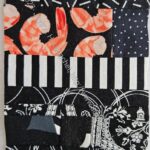
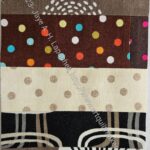
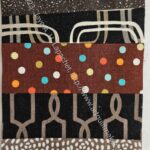
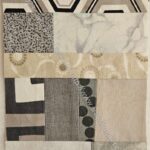
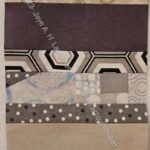
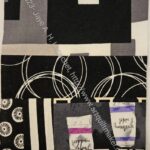
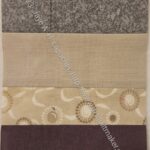
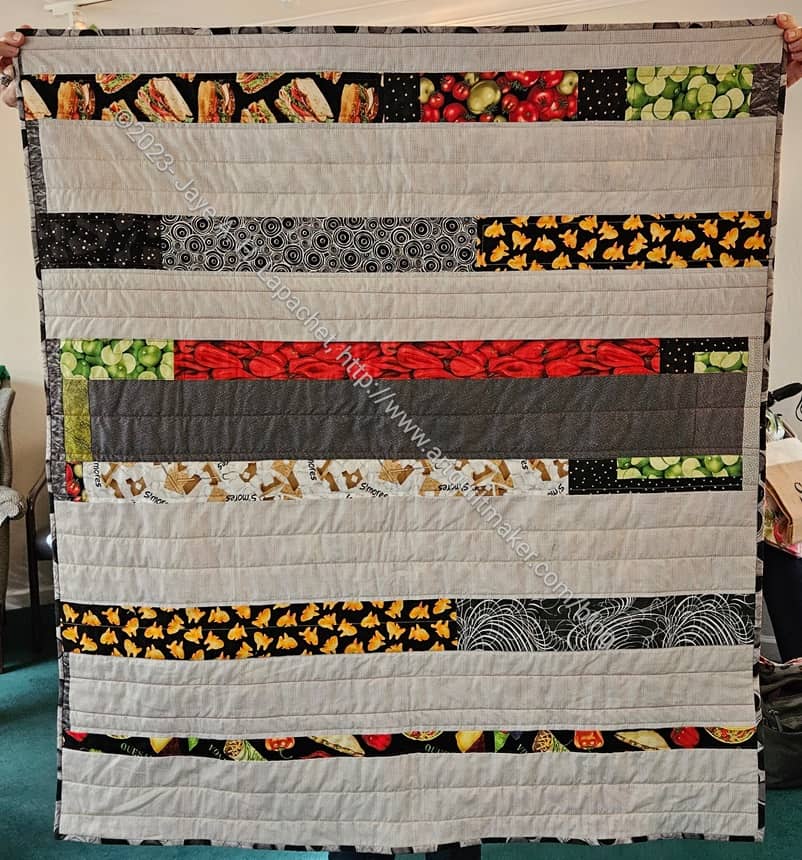
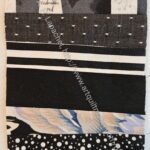
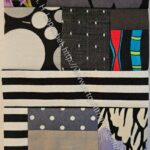
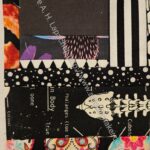
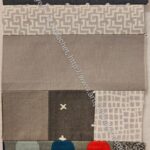
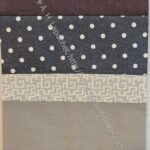
I was able to finish the grey strip top at Sew Day, then work on the back at home. I am pleased that this top is finished and am already working on the next black version.
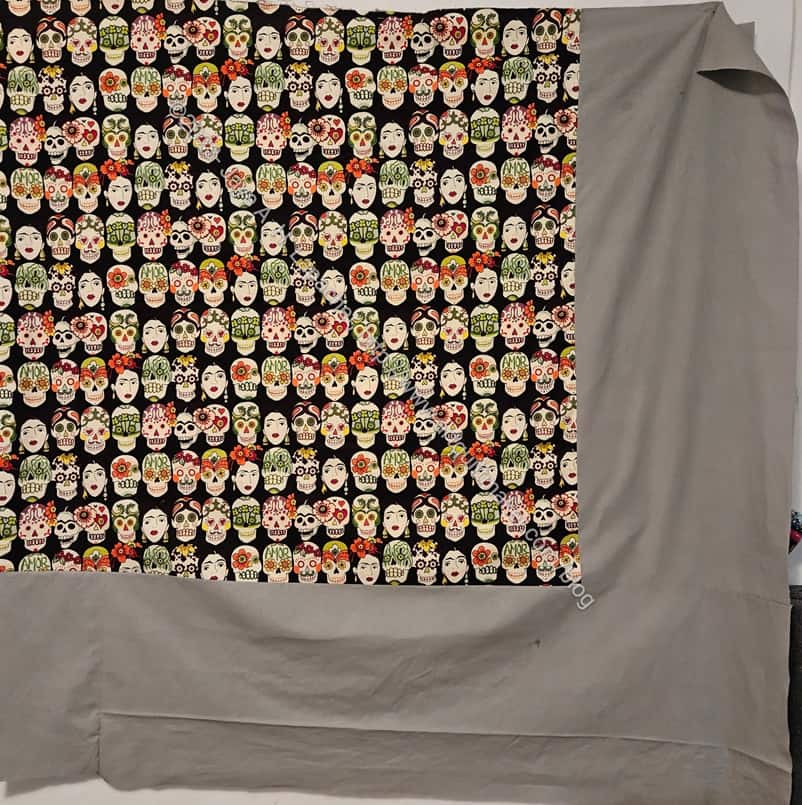
With the back, it is another 3 yards used for a good cause.
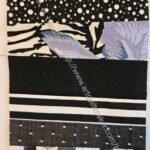
Grey strip donation back
I have now made 14 of these quilts, with the help of my guild colleagues.
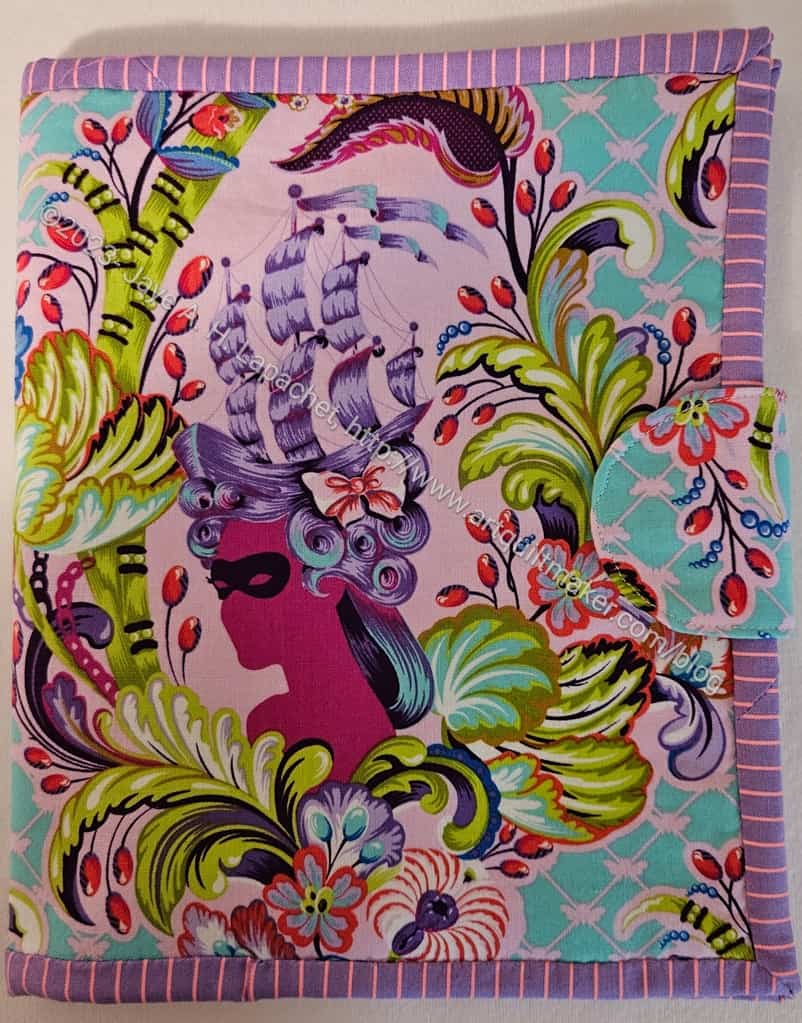
I finally finished the Tula 2-in-1-Case. The binding gave me fits. I am pleased, however, that it came out so well. Choosing a Tula Tiny Stripe for the binding made coordination easy.
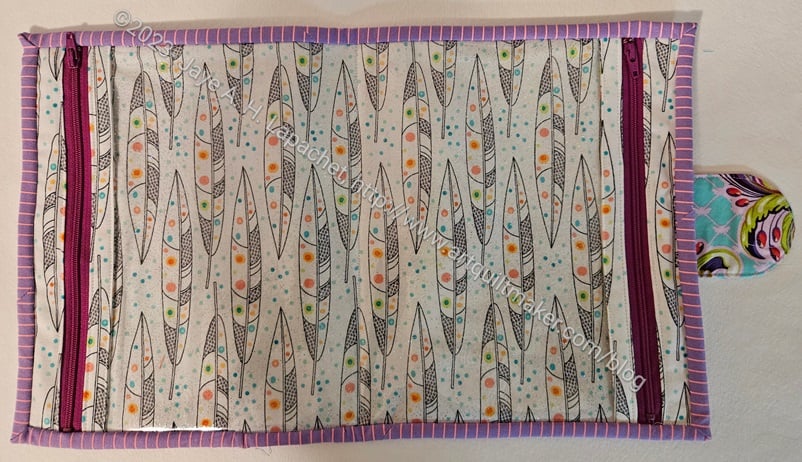
The inside is an old feather print I had. I like it and it is light colored so the recipient will be able to see what’s inside. I suppose, however that is not as important with a bag that opens flat?
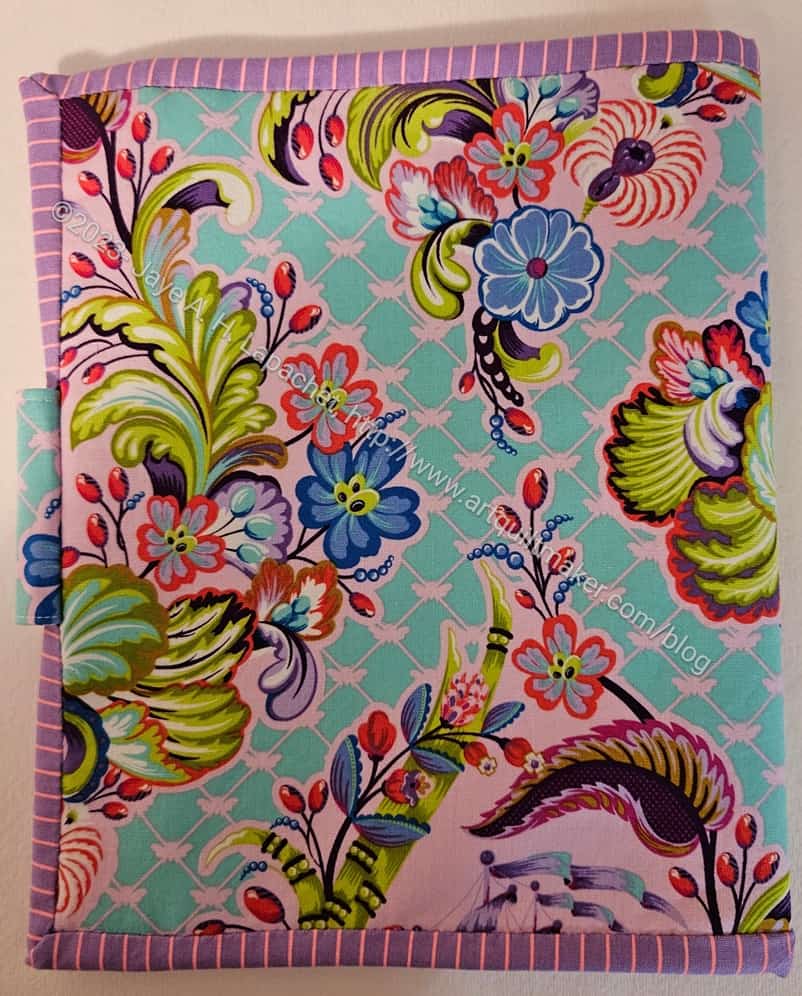
Tula 2-in-1 Case – openTula 2-in-1 Case -back
The back is fairly normal. It is just the back of a bag. There is an interesting bit of symmetry because of the way I cut the exterior panel so that the lady would be centered on the front.
I don’t yet know who the recipient will be. Stay tuned!
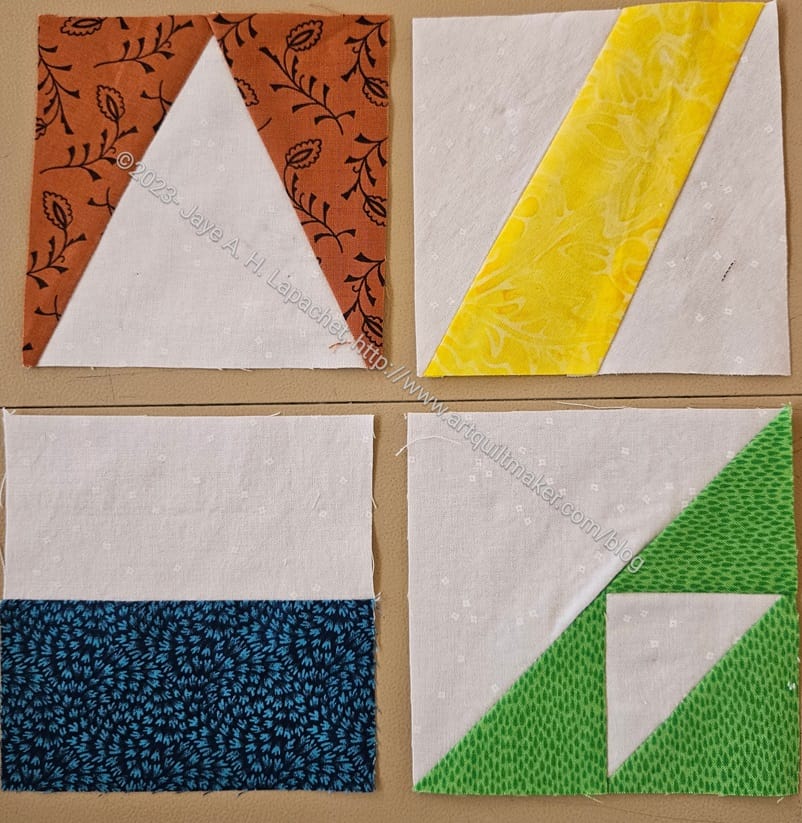
I decided I needed to be diligent about the Pantone Project blocks. I put my nose to the machine and started working hard on them. I want to have another group to give to Julie on Sew Day. I don’t know that I will be able to make them all. I can try.
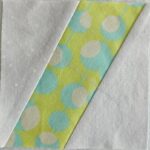
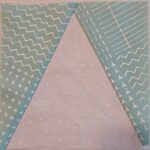
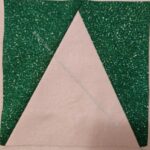
Pantone: Peaky & Spike
Pantone: Peaky & Spike
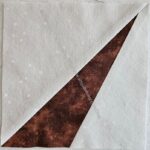
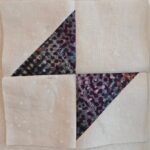
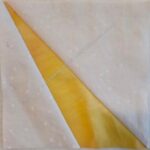
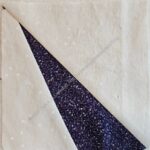
Pantone: Wingy Things
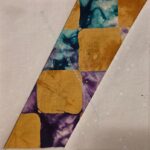
Pantone: Sliver Right
Pantone: Sliver Right
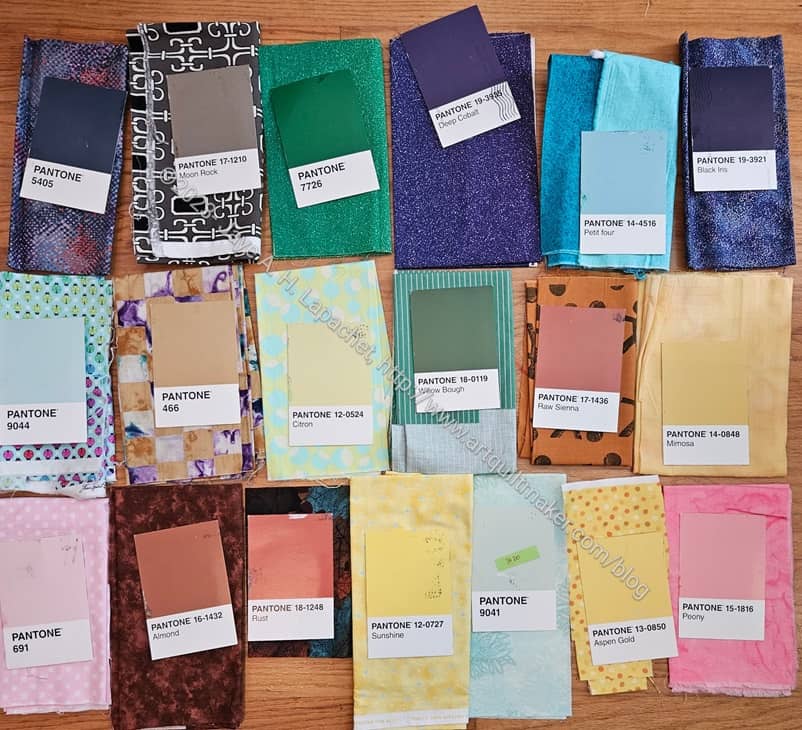
New Year’s Pantone selection
I am in the process of making a second batch. On New Year’s Day, I got all the postcards together and selected fabrics for each of the cards, then, interspersed with sashing the Grey Strip donation top, I started making blocks. I did change out the light blue, Pantone 9044, in the middle on the left. You can see the replacement fabric above in the Peaky & Spike block.
I am selecting blocks to make based what I have already made. I have a sort of plan in mind for the final quilt that requires even numbers of blocks.
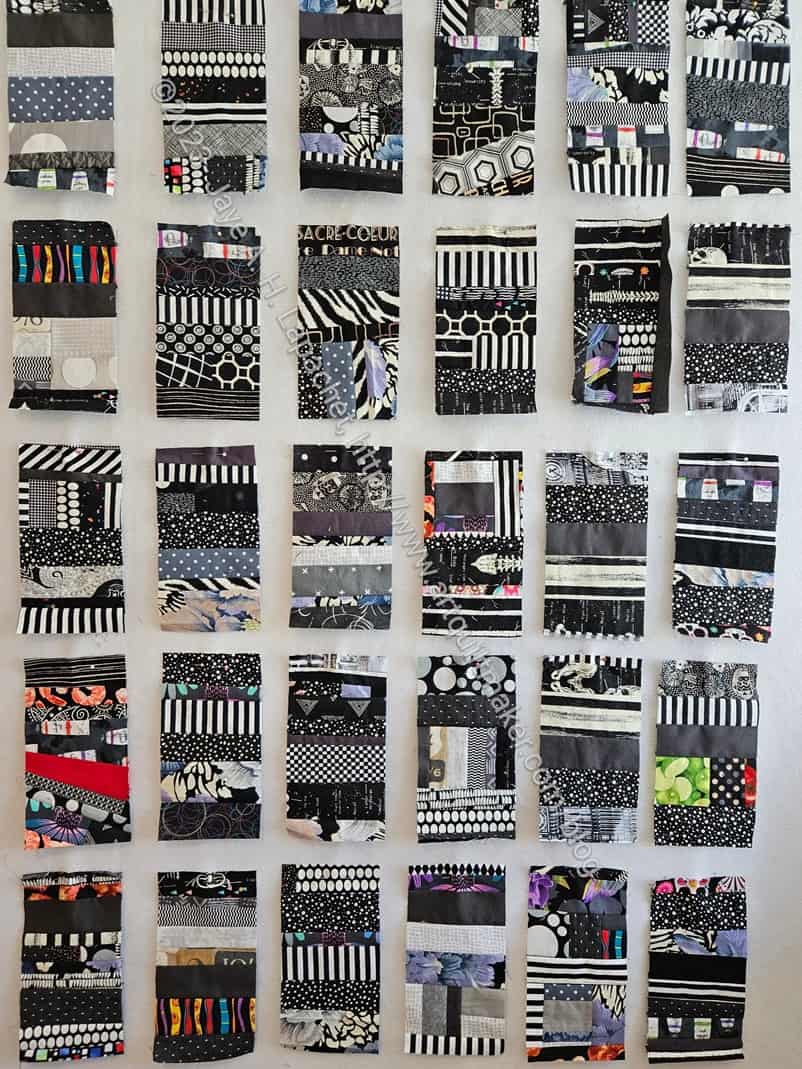
I realize that most of these are black or light grey. This is a result of working through my black, grey and brown scrap bin.
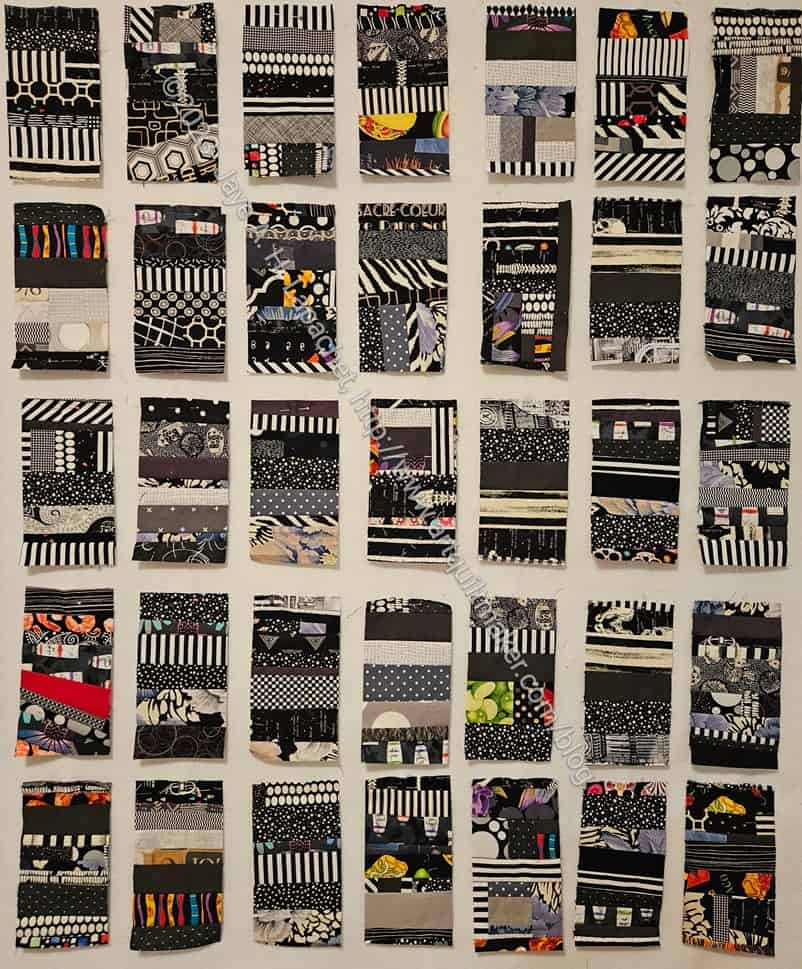
Unfortunately, I was being odd when I first started naming these blocks and so they are all called Dark Grey…. I will probably end up making, at least, two quilts out of the blocks you see. I think I will make a light grey and a black quilt, but it depends on how much light grey I have. The drawer was full when I started and I still have quite a few scraps, though most of the straight strips have been used.
I was able to make so many because I used a strip piecing method and just zoomed them through the machine. I also didn’t have to worry about matching any seams since I trimmed them to the right size once I had a large enough piece.
I have been busy making these blocks. I should have been doing other things, but I wasn’t. I just sewed after work, then sat with my DH.
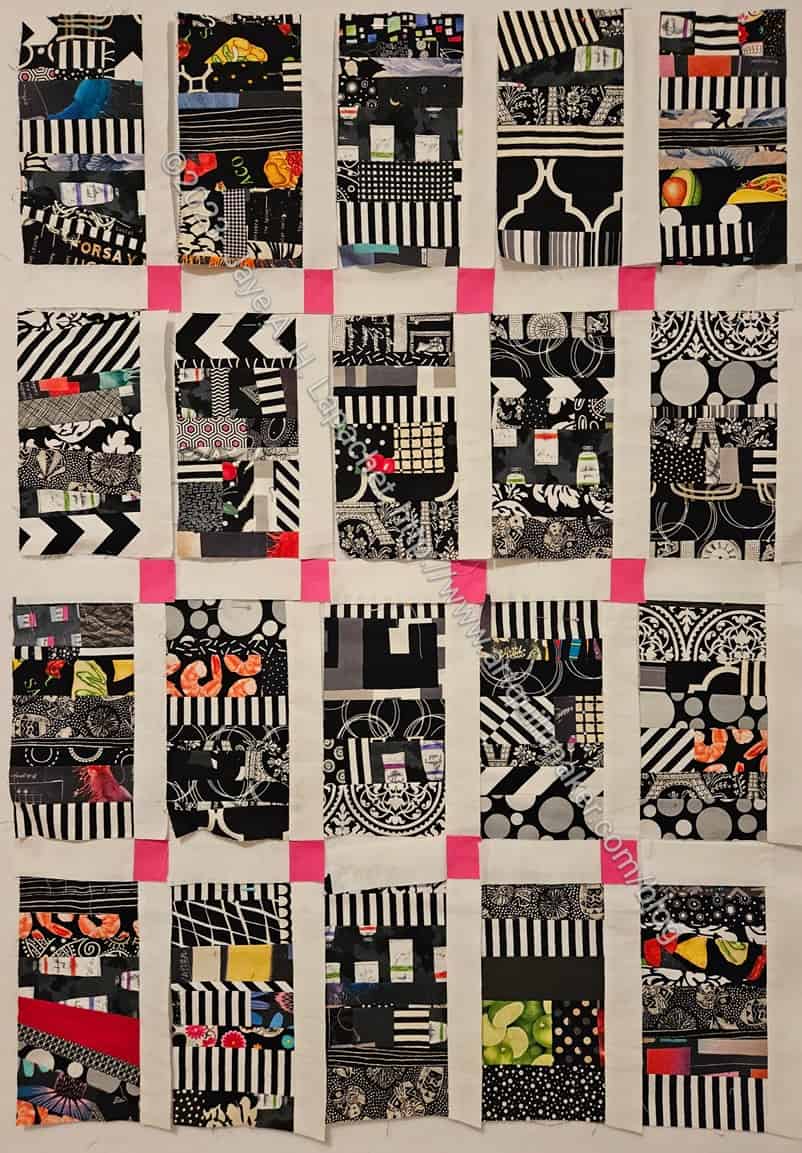
As you can see, I have enough to make a quilt. I am going to start sewing the sashing on soon.
I am thinking of using pink cornerstones and a thin pink border. I like the black and pink color combination. The problem is that this would be a great boy quilt and pink would ruin that. Red might be a good alternative. I’ll have to see.
I still have more strips and am still working on making the grey blocks. My black/grey/brown scrap draw isn’t empty, but it is much emptier. That is a huge bonus as I can actually close it now.
I finished enough blocks since I last posted on Saturday to look at this top as a rectangle.
One thing I noticed when I was looking at the last donation top I made was that the blue top was a weird shape and I had to adjust it with a border. In this case, the number and arrangement of blocks I have made are the same as that blue strip top. I don’t want to end up with a weirdly shaped quilt, so I need to figure out if I have enough strips to make 5 more blocks of if I should put the top row on the side and save one block for another rainbow version?
I am sure you can imagine that I was super careful when sewing this project back together. After all the ripping I had to do, I hope I learned my lesson.
It didn’t take me very long to sew the top together, but it would have taken me less time if I had paid better attention the first time.
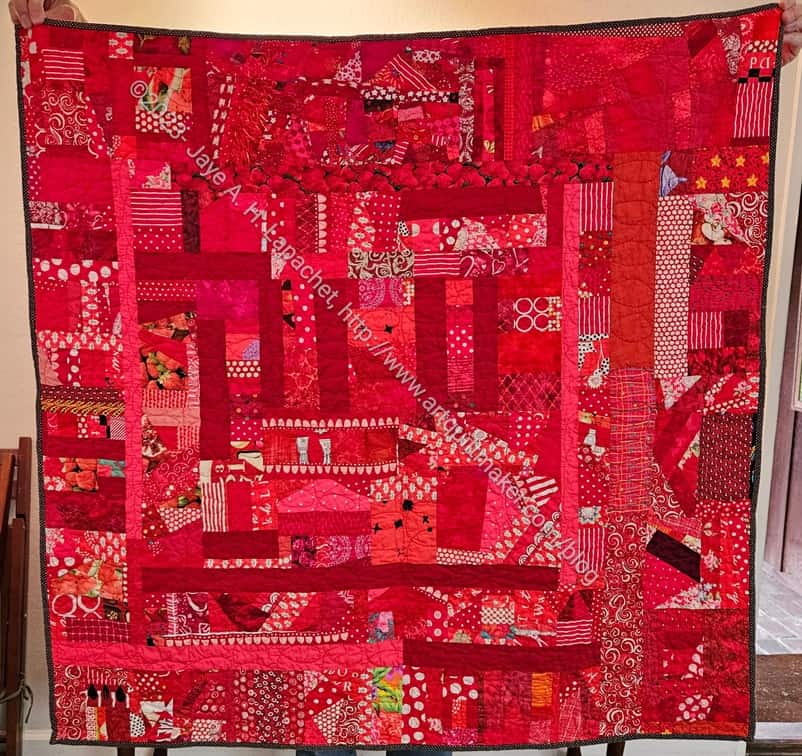
This quilt was returned to the guild’s community quilts project at last month’s meeting by Lee Ann. She named it ‘Leftovers’ after I told her the story of the three food quilts and how I make the Ends quilts.
I am really pleased that a number of my quilt tops have been finished recently.
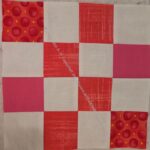
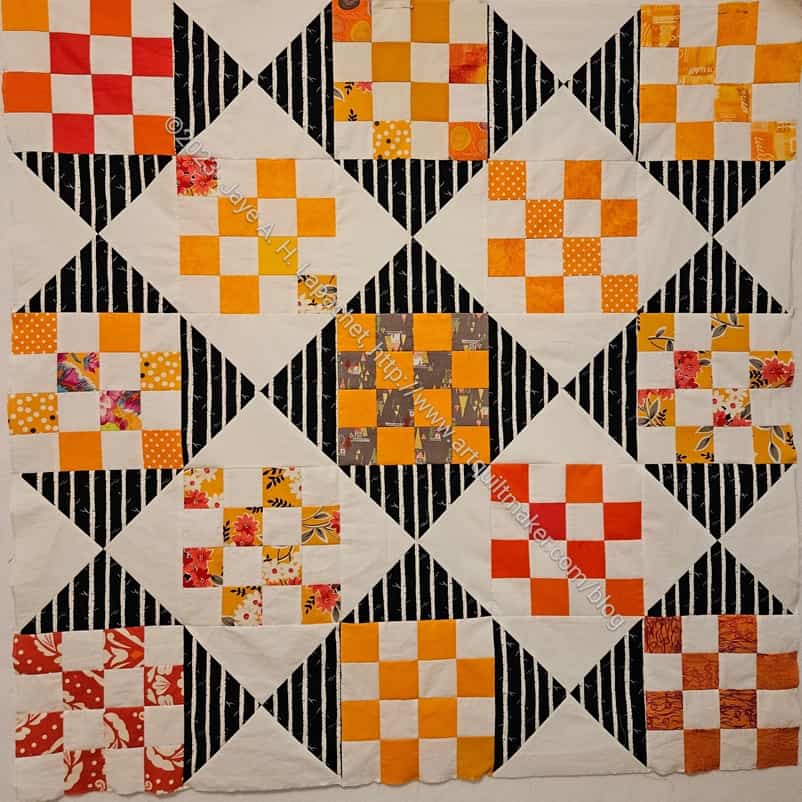
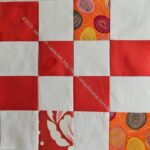
I am getting to the part of the year where I cannot show all of my progress on various projects. It simply means I need more time to sew! Here are some donation blocks for this month. I might make another QST 16 Patch quilt with some of these. On the other hand, I have an overflowing black scrap drawer that needs some attention, so I am back to making more color strip blocks in blacks and greys.
Pink Corners donation block
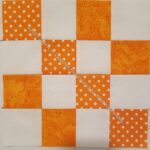
Orange dot diagonal donation block
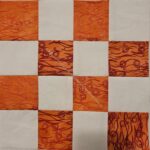
Dark orange donation block
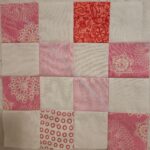
Light Pink donation block
Dark grey strip donation block #12
Orange and red-orange donation block
Dark grey strip donation block #13
Dark grey strip donation block #14
Dark grey strip donation block #15
Dark grey strip donation block #16
Dark grey strip donation block #17
I am trying to organize the patches in the gallery above so they don’t look as random and weird.
Along with the Orange Improv version from the other day, seeing this quilt finished reminds me of how great this process is. It makes me want to make more
The other color versions that I have made over time are really awesome as well and add to the idea of making more.
Right now my black, grey and brown drawer is overflowing. I have made a few black strip blocks, the first step in my process, but not enough to clear out my drawer. I talked about it with guild members the other day about cheerful quilts. Black is not always a cheerful quilt color like pink or orange. Someone suggested doing a two color version. I don’t think I am ready to branch out from the monochromatic parameters of the project so far.