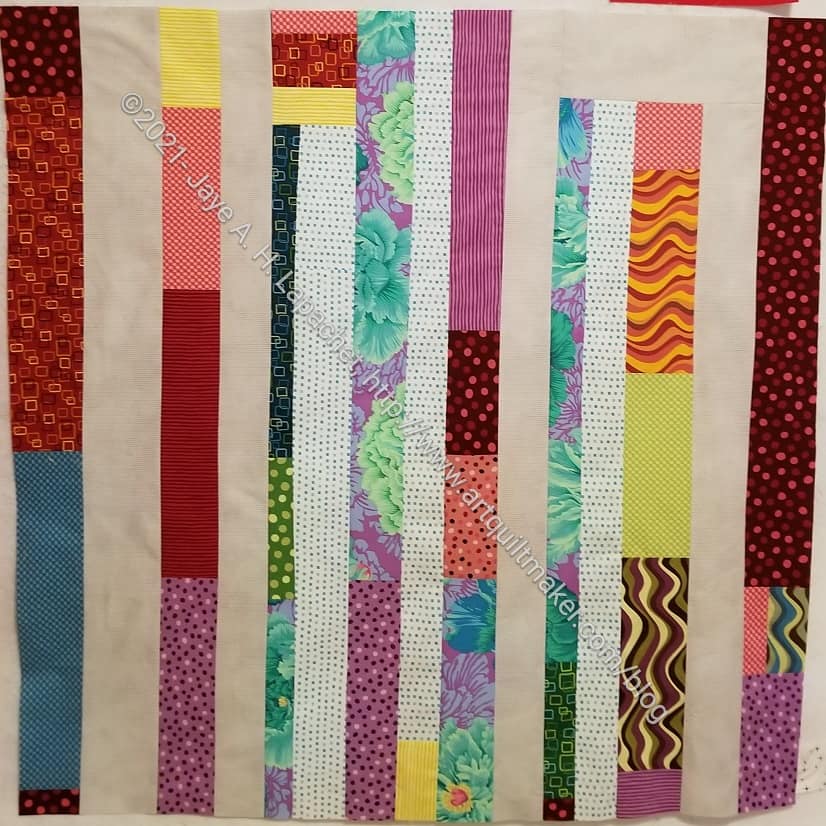
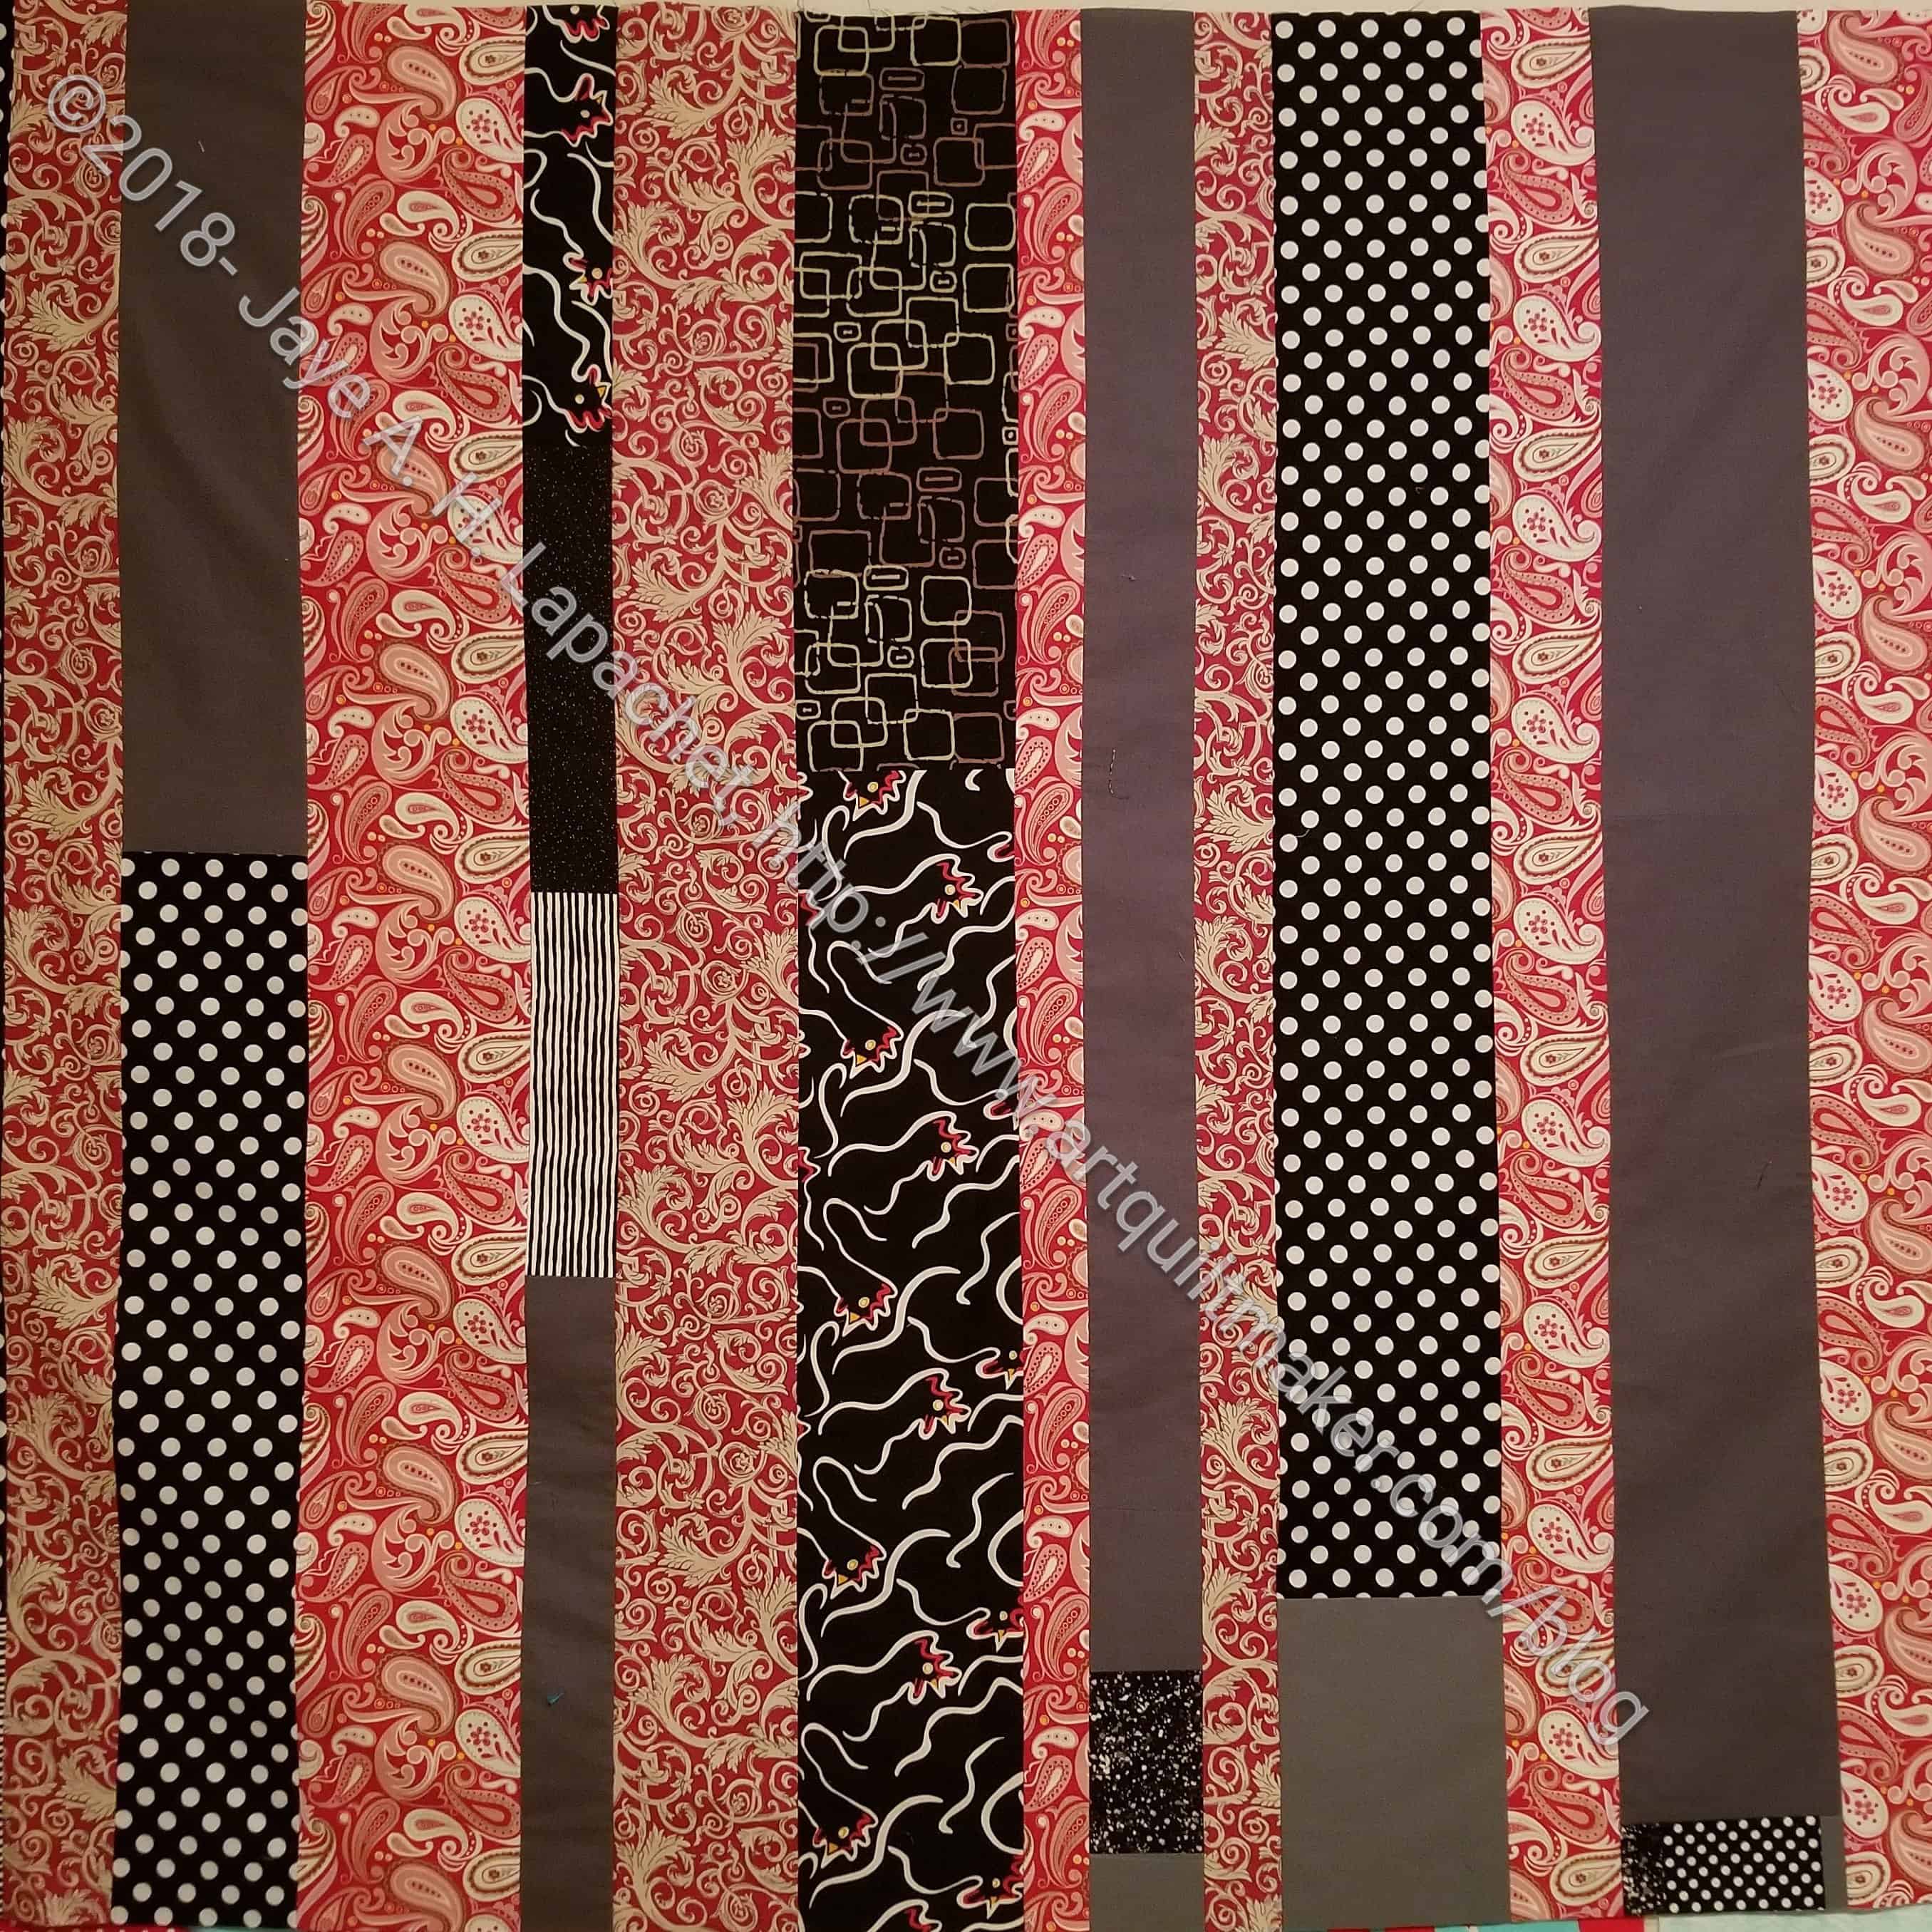
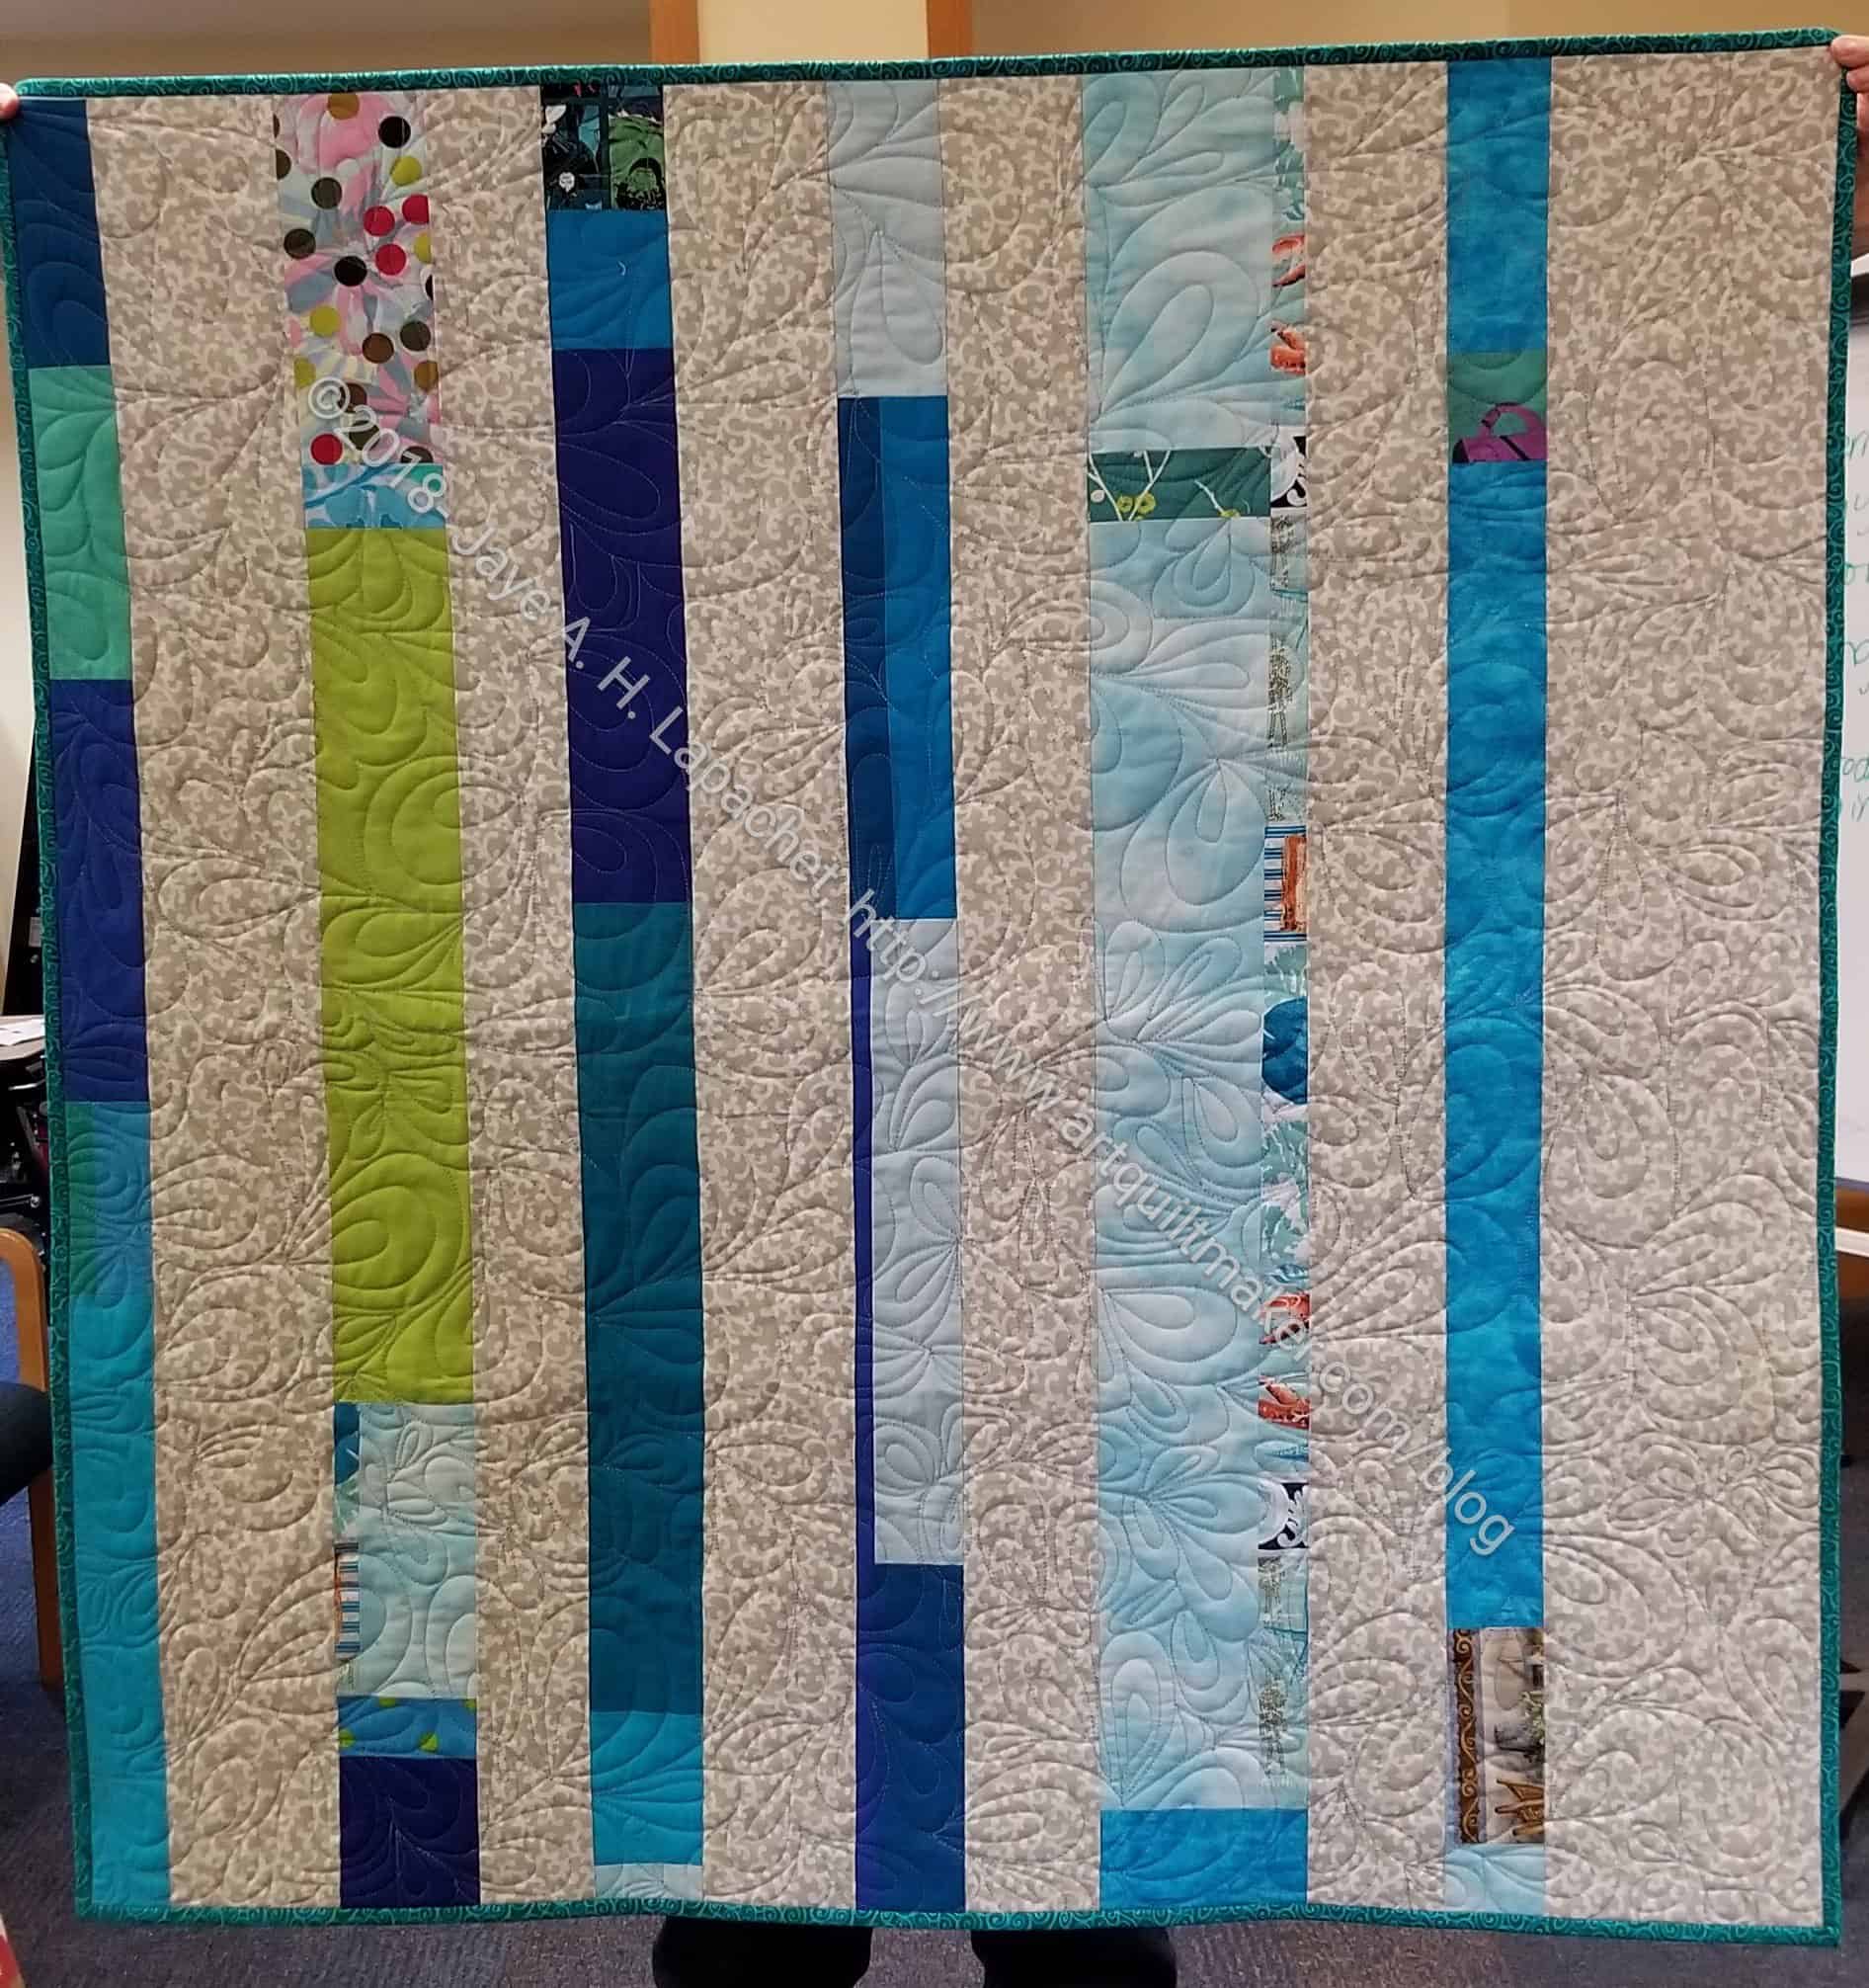
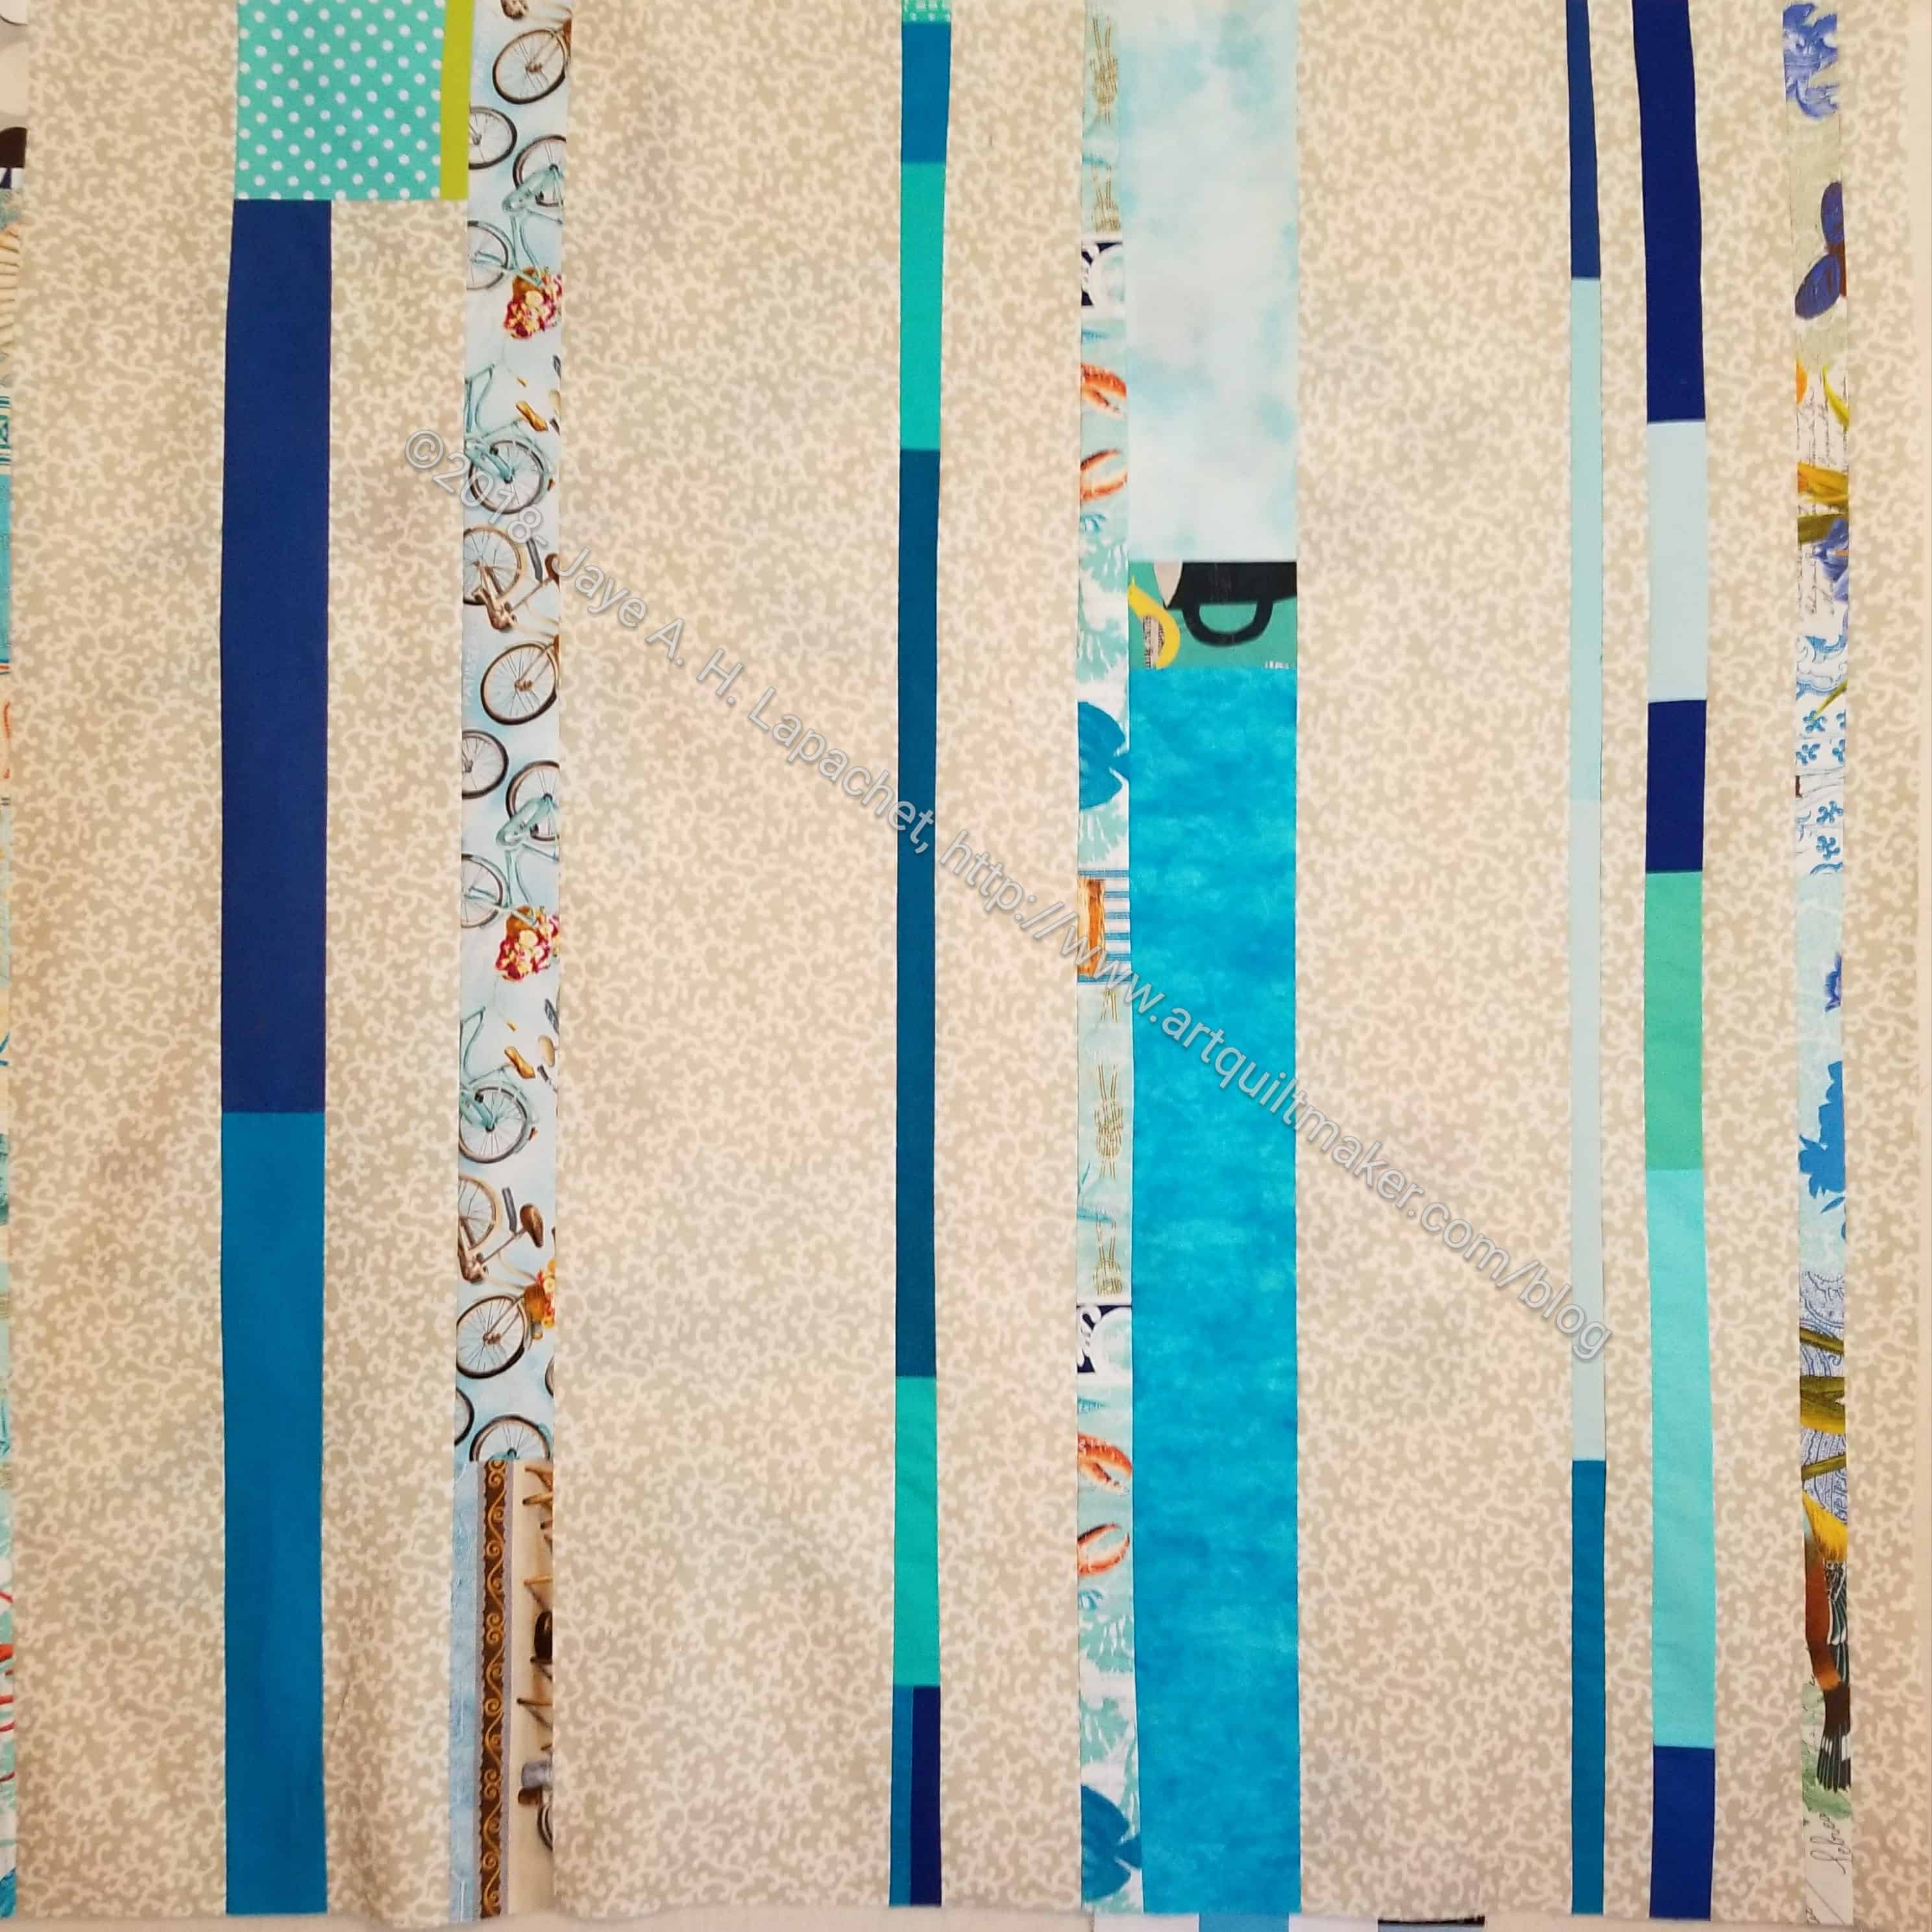
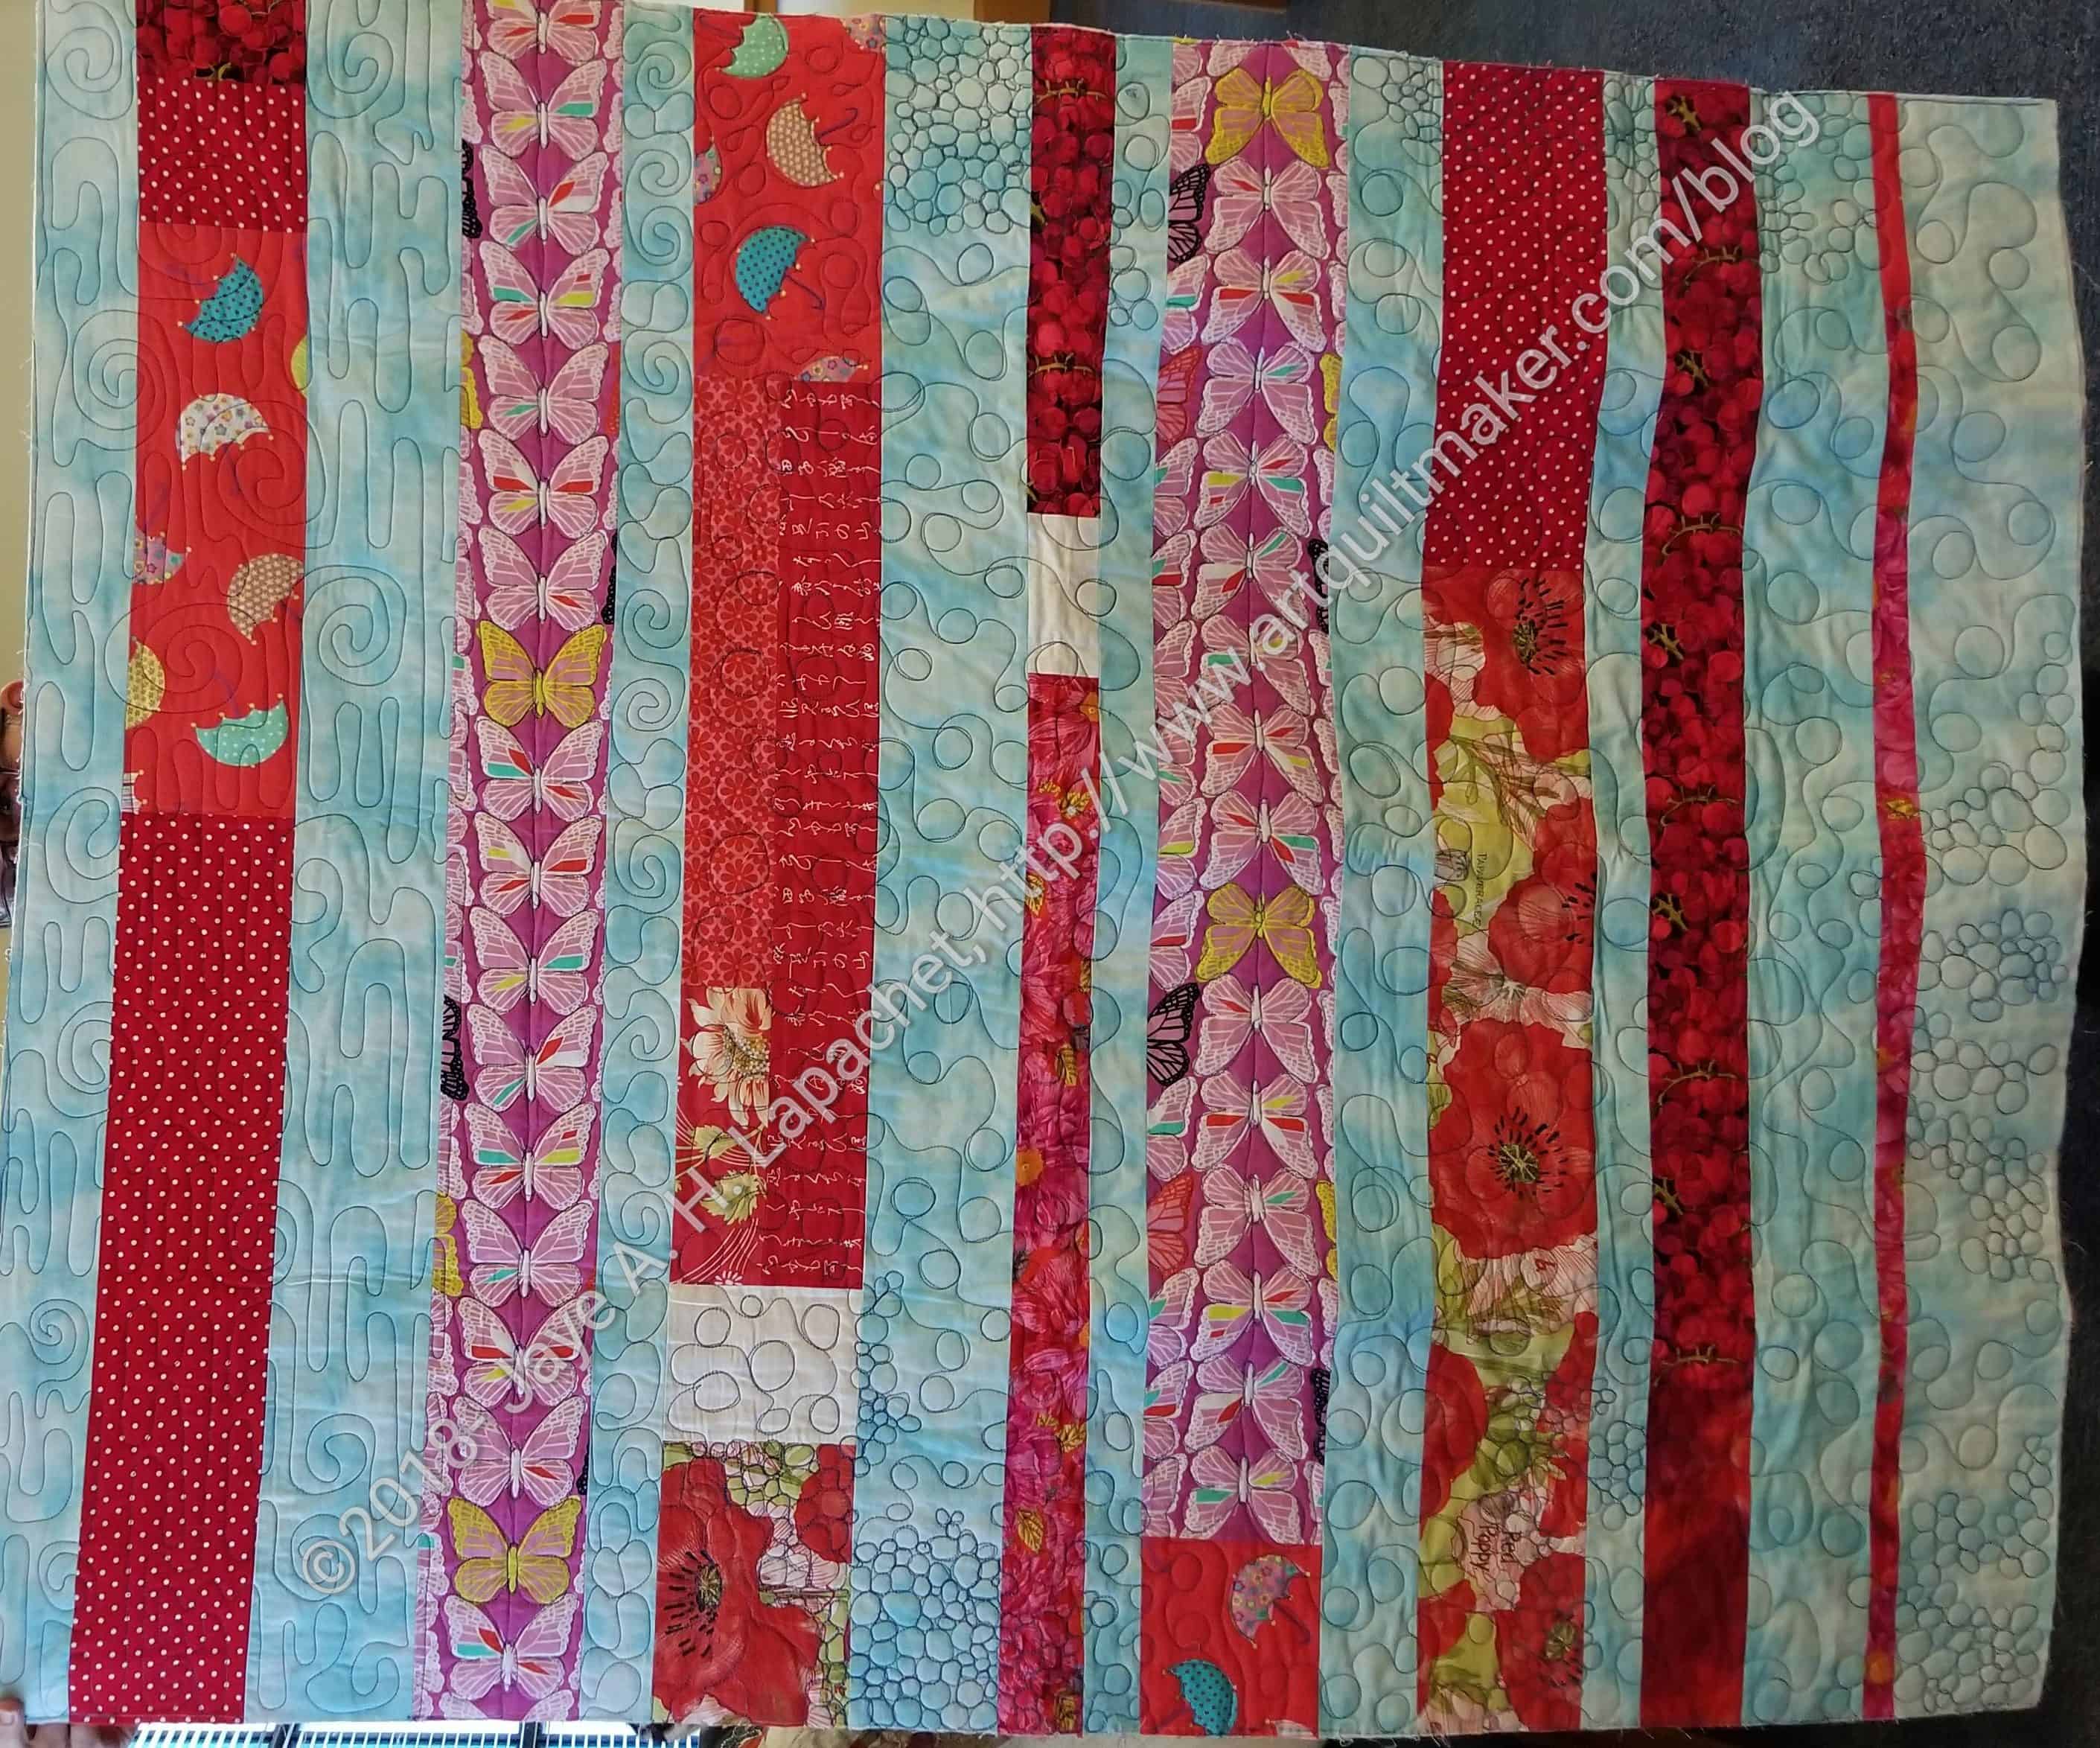
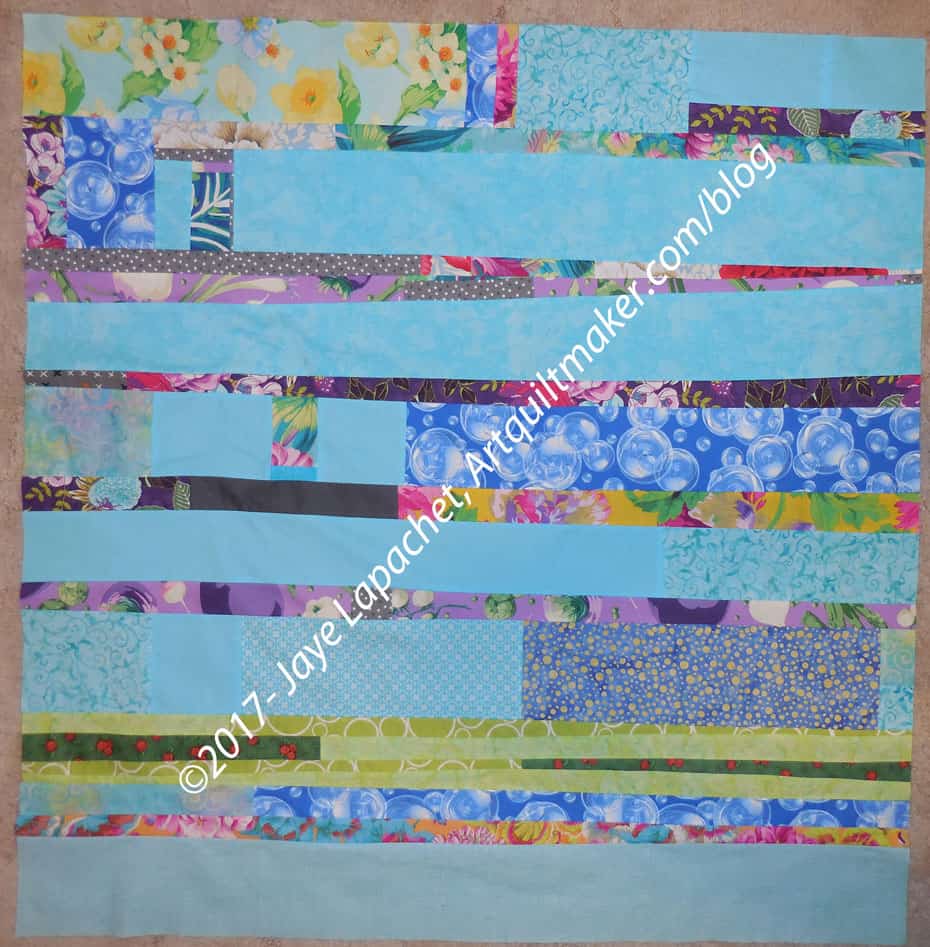
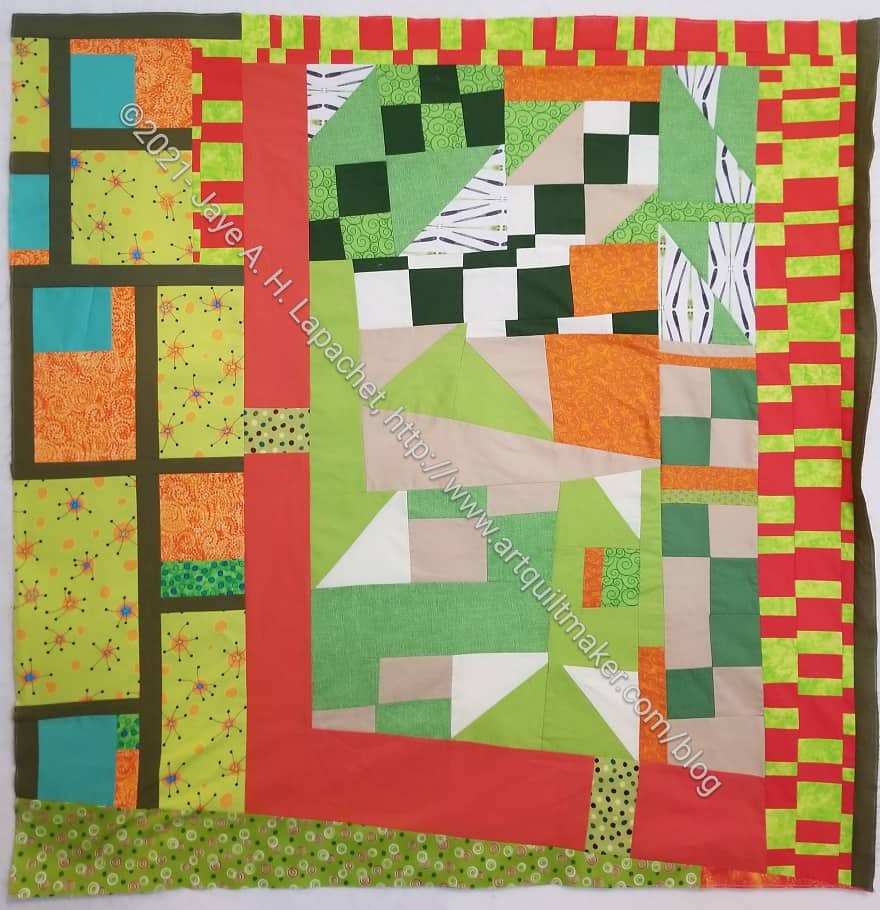
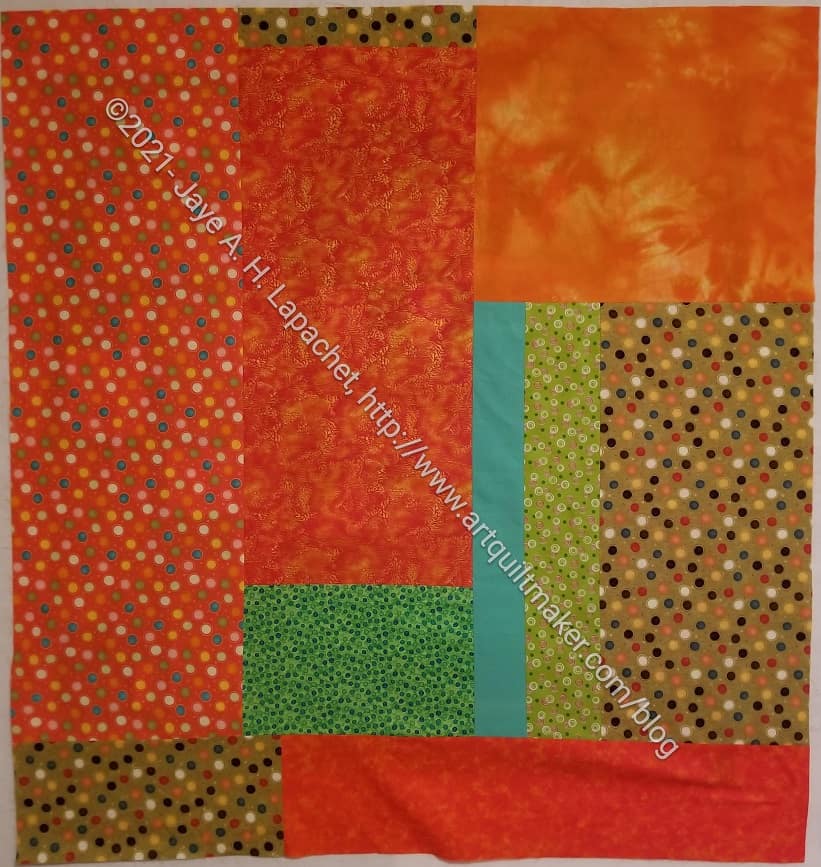
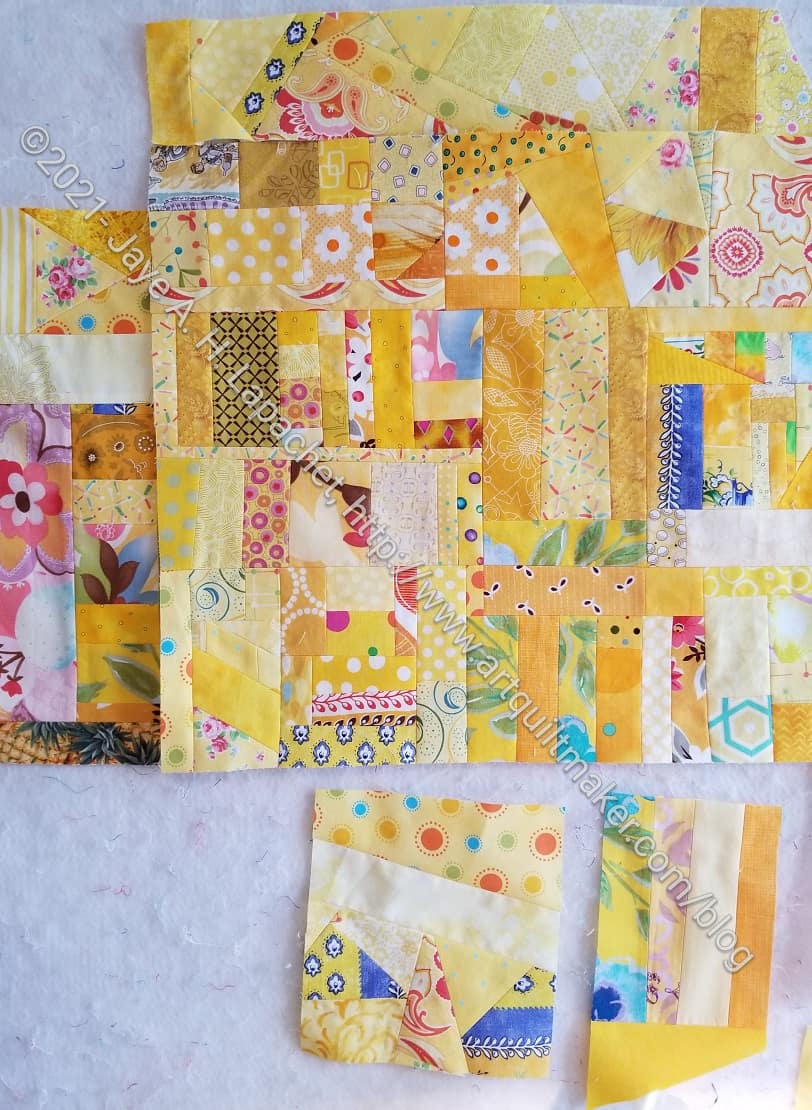
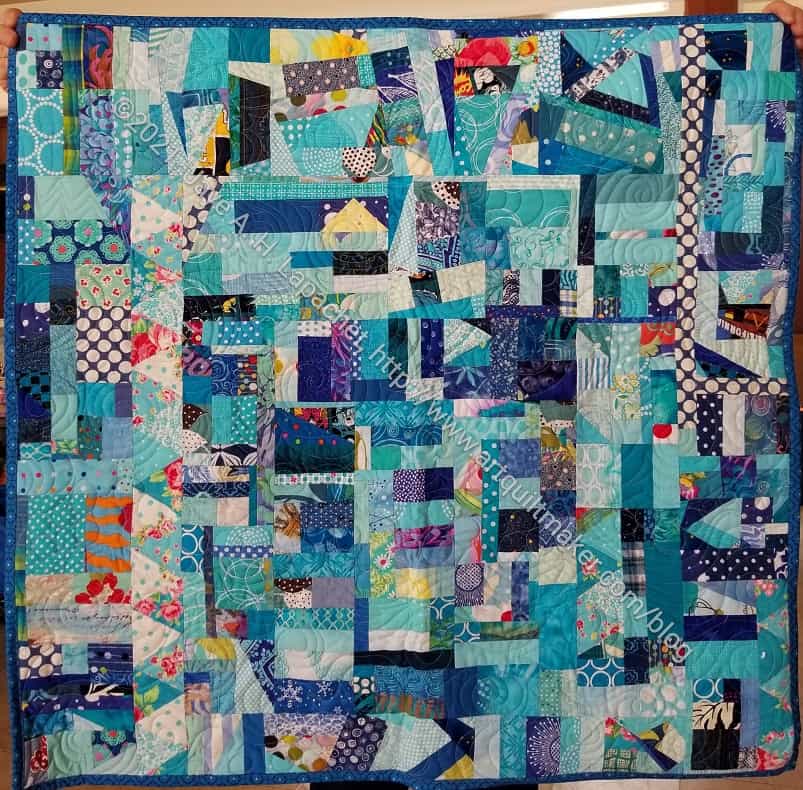
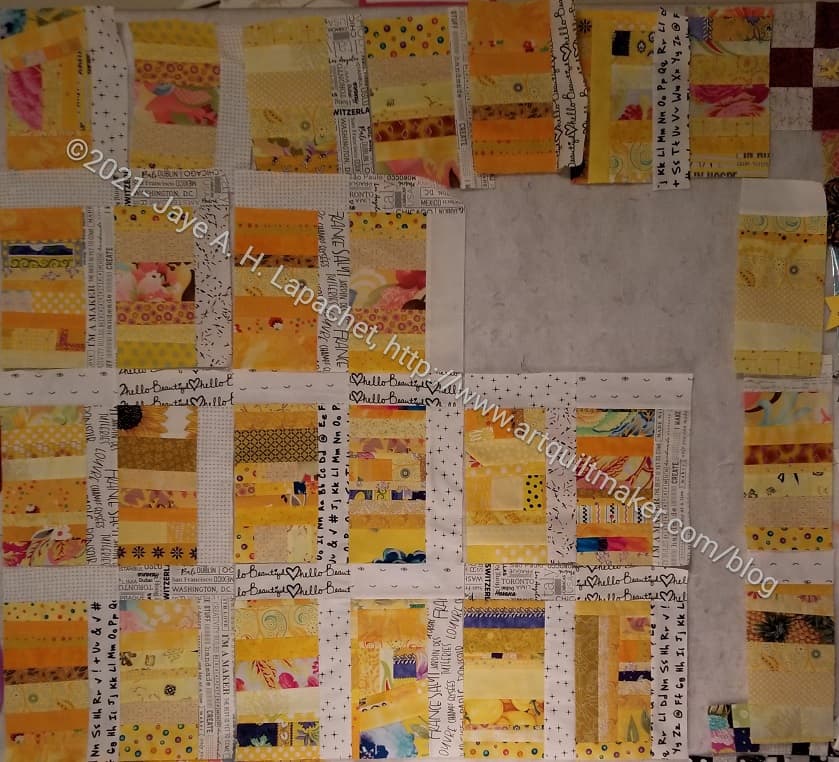
I am working hard on my Yellow Improv donation top. I am trying to use smaller pieces so I use up ALL of my yellow scraps. It isn’t working 100% of the time, but I’ll keep trying. Perhaps my default will be to make this top as big as the scraps I have?
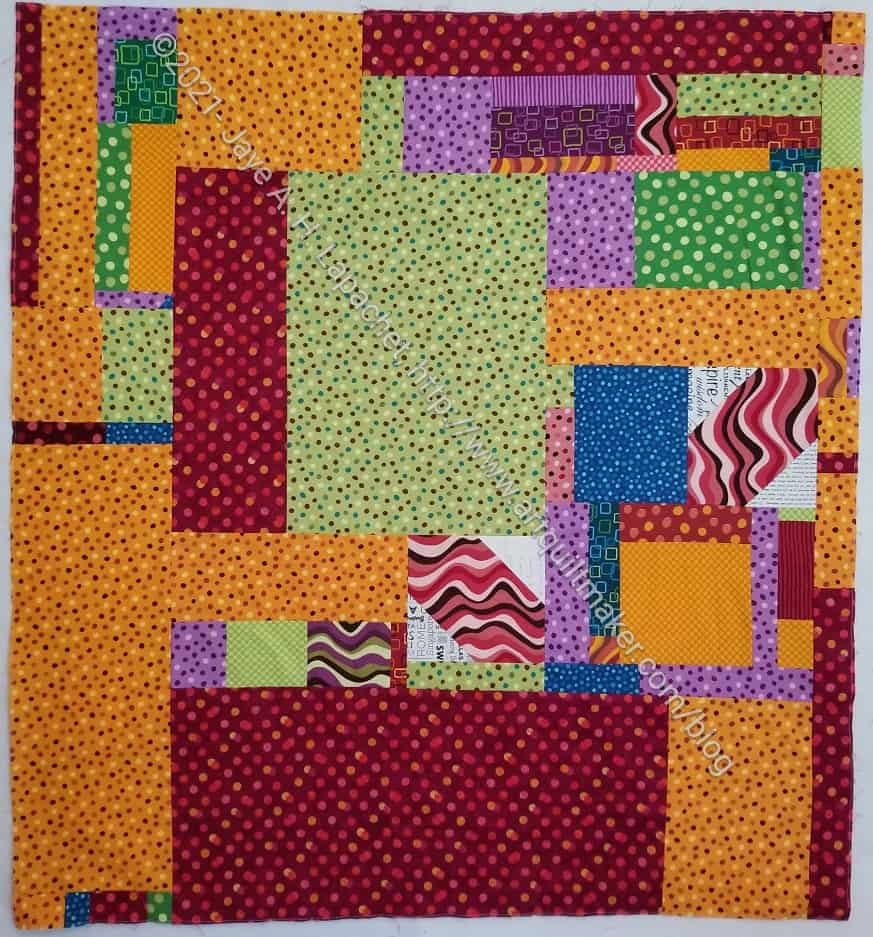
This top came about because I cleaned off every horizontal surface in my workroom holding fabric or projects. I found some random pieces sewn together as well as some Pop Parade yardage. I wanted it all gone except a blue (not shown). I started sewing pieces together randomly, using already pieced sections where I could. I had only two unused blocks from the X quilt, which was a shame, design-wise, but ok. I know that someone will like this quilt once it is finished and off to its new owner.
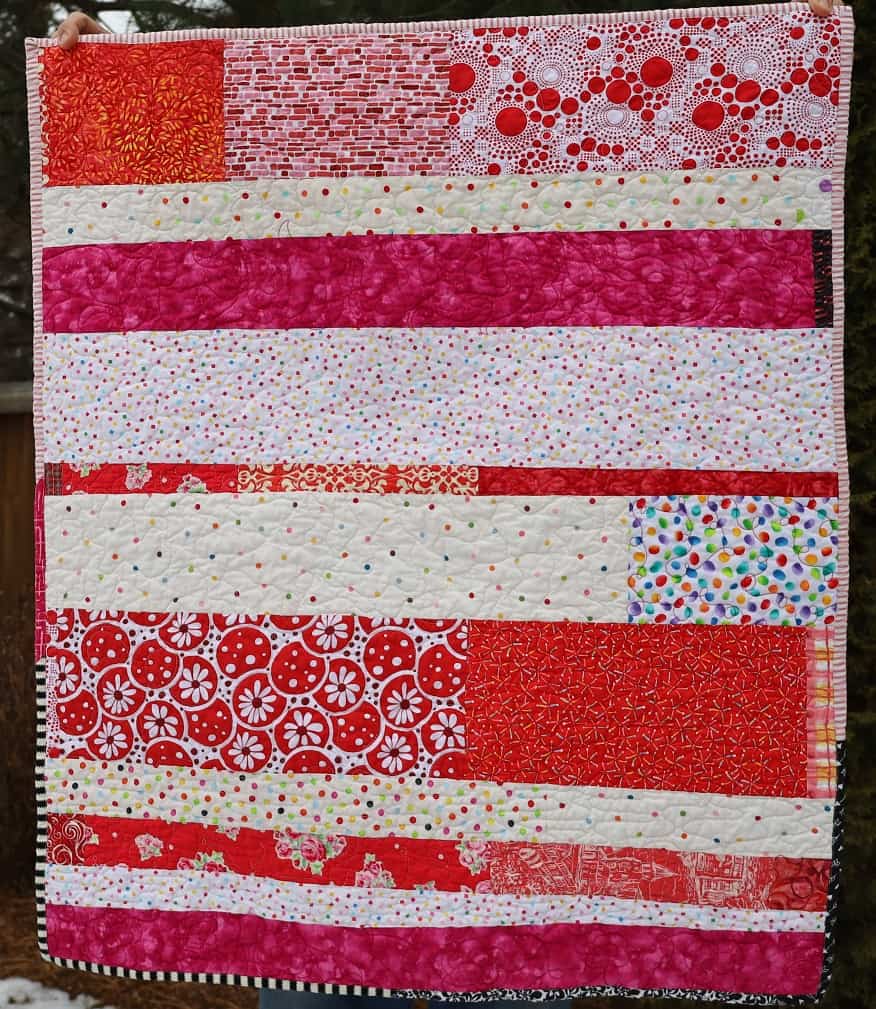
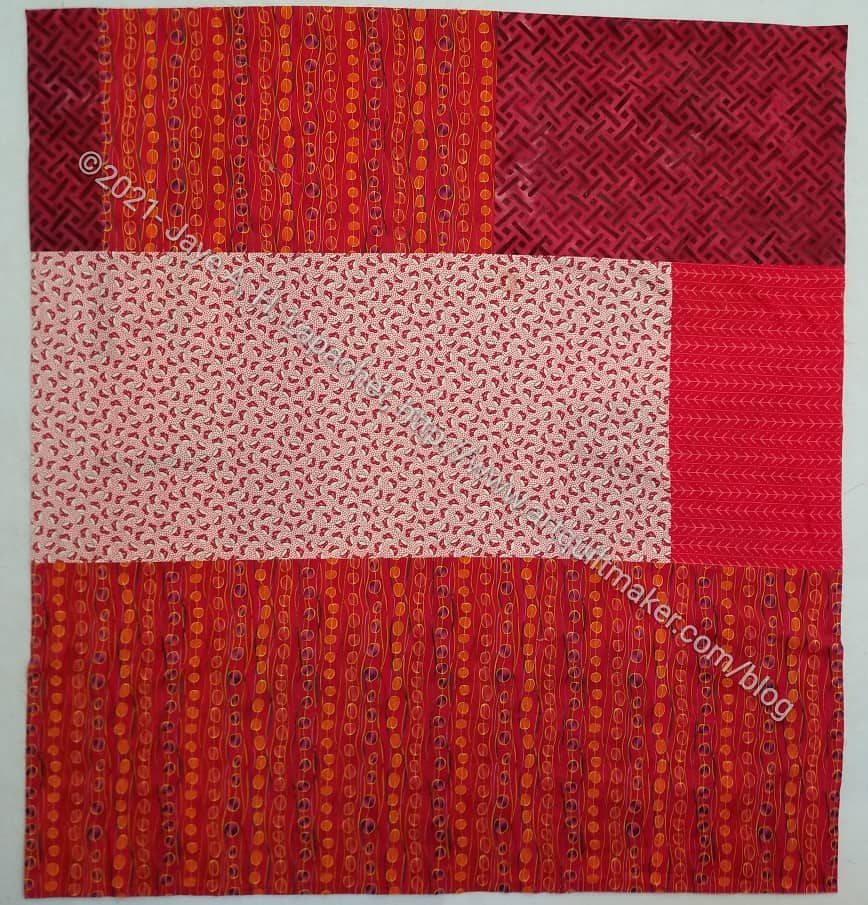
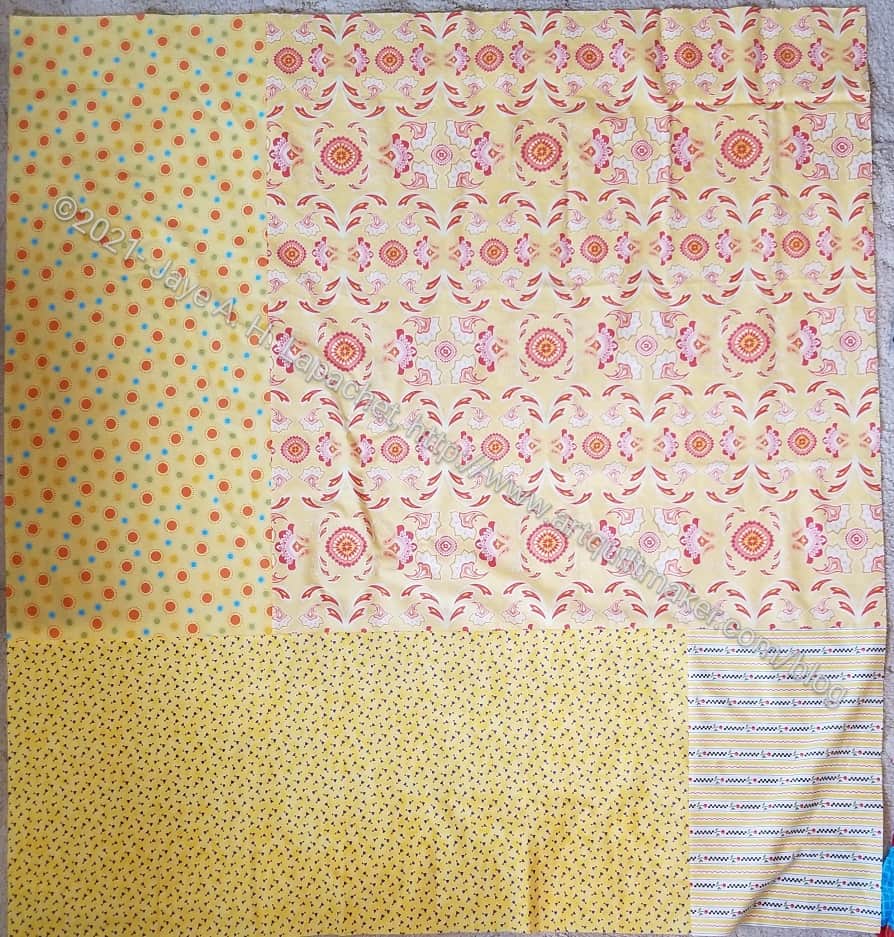
Pop Parade Improv Donation quilt back
My bonus is that I don’t have any random pieces of Pop Parade laying around. I did like the motifs, but didn’t like the colors chosen. I’d love it if they would reprint this fabric in clearer colors. I often think that.
We are now handing in donation quilts at Sew Days, so I will give this to Peggy the next time we meet.
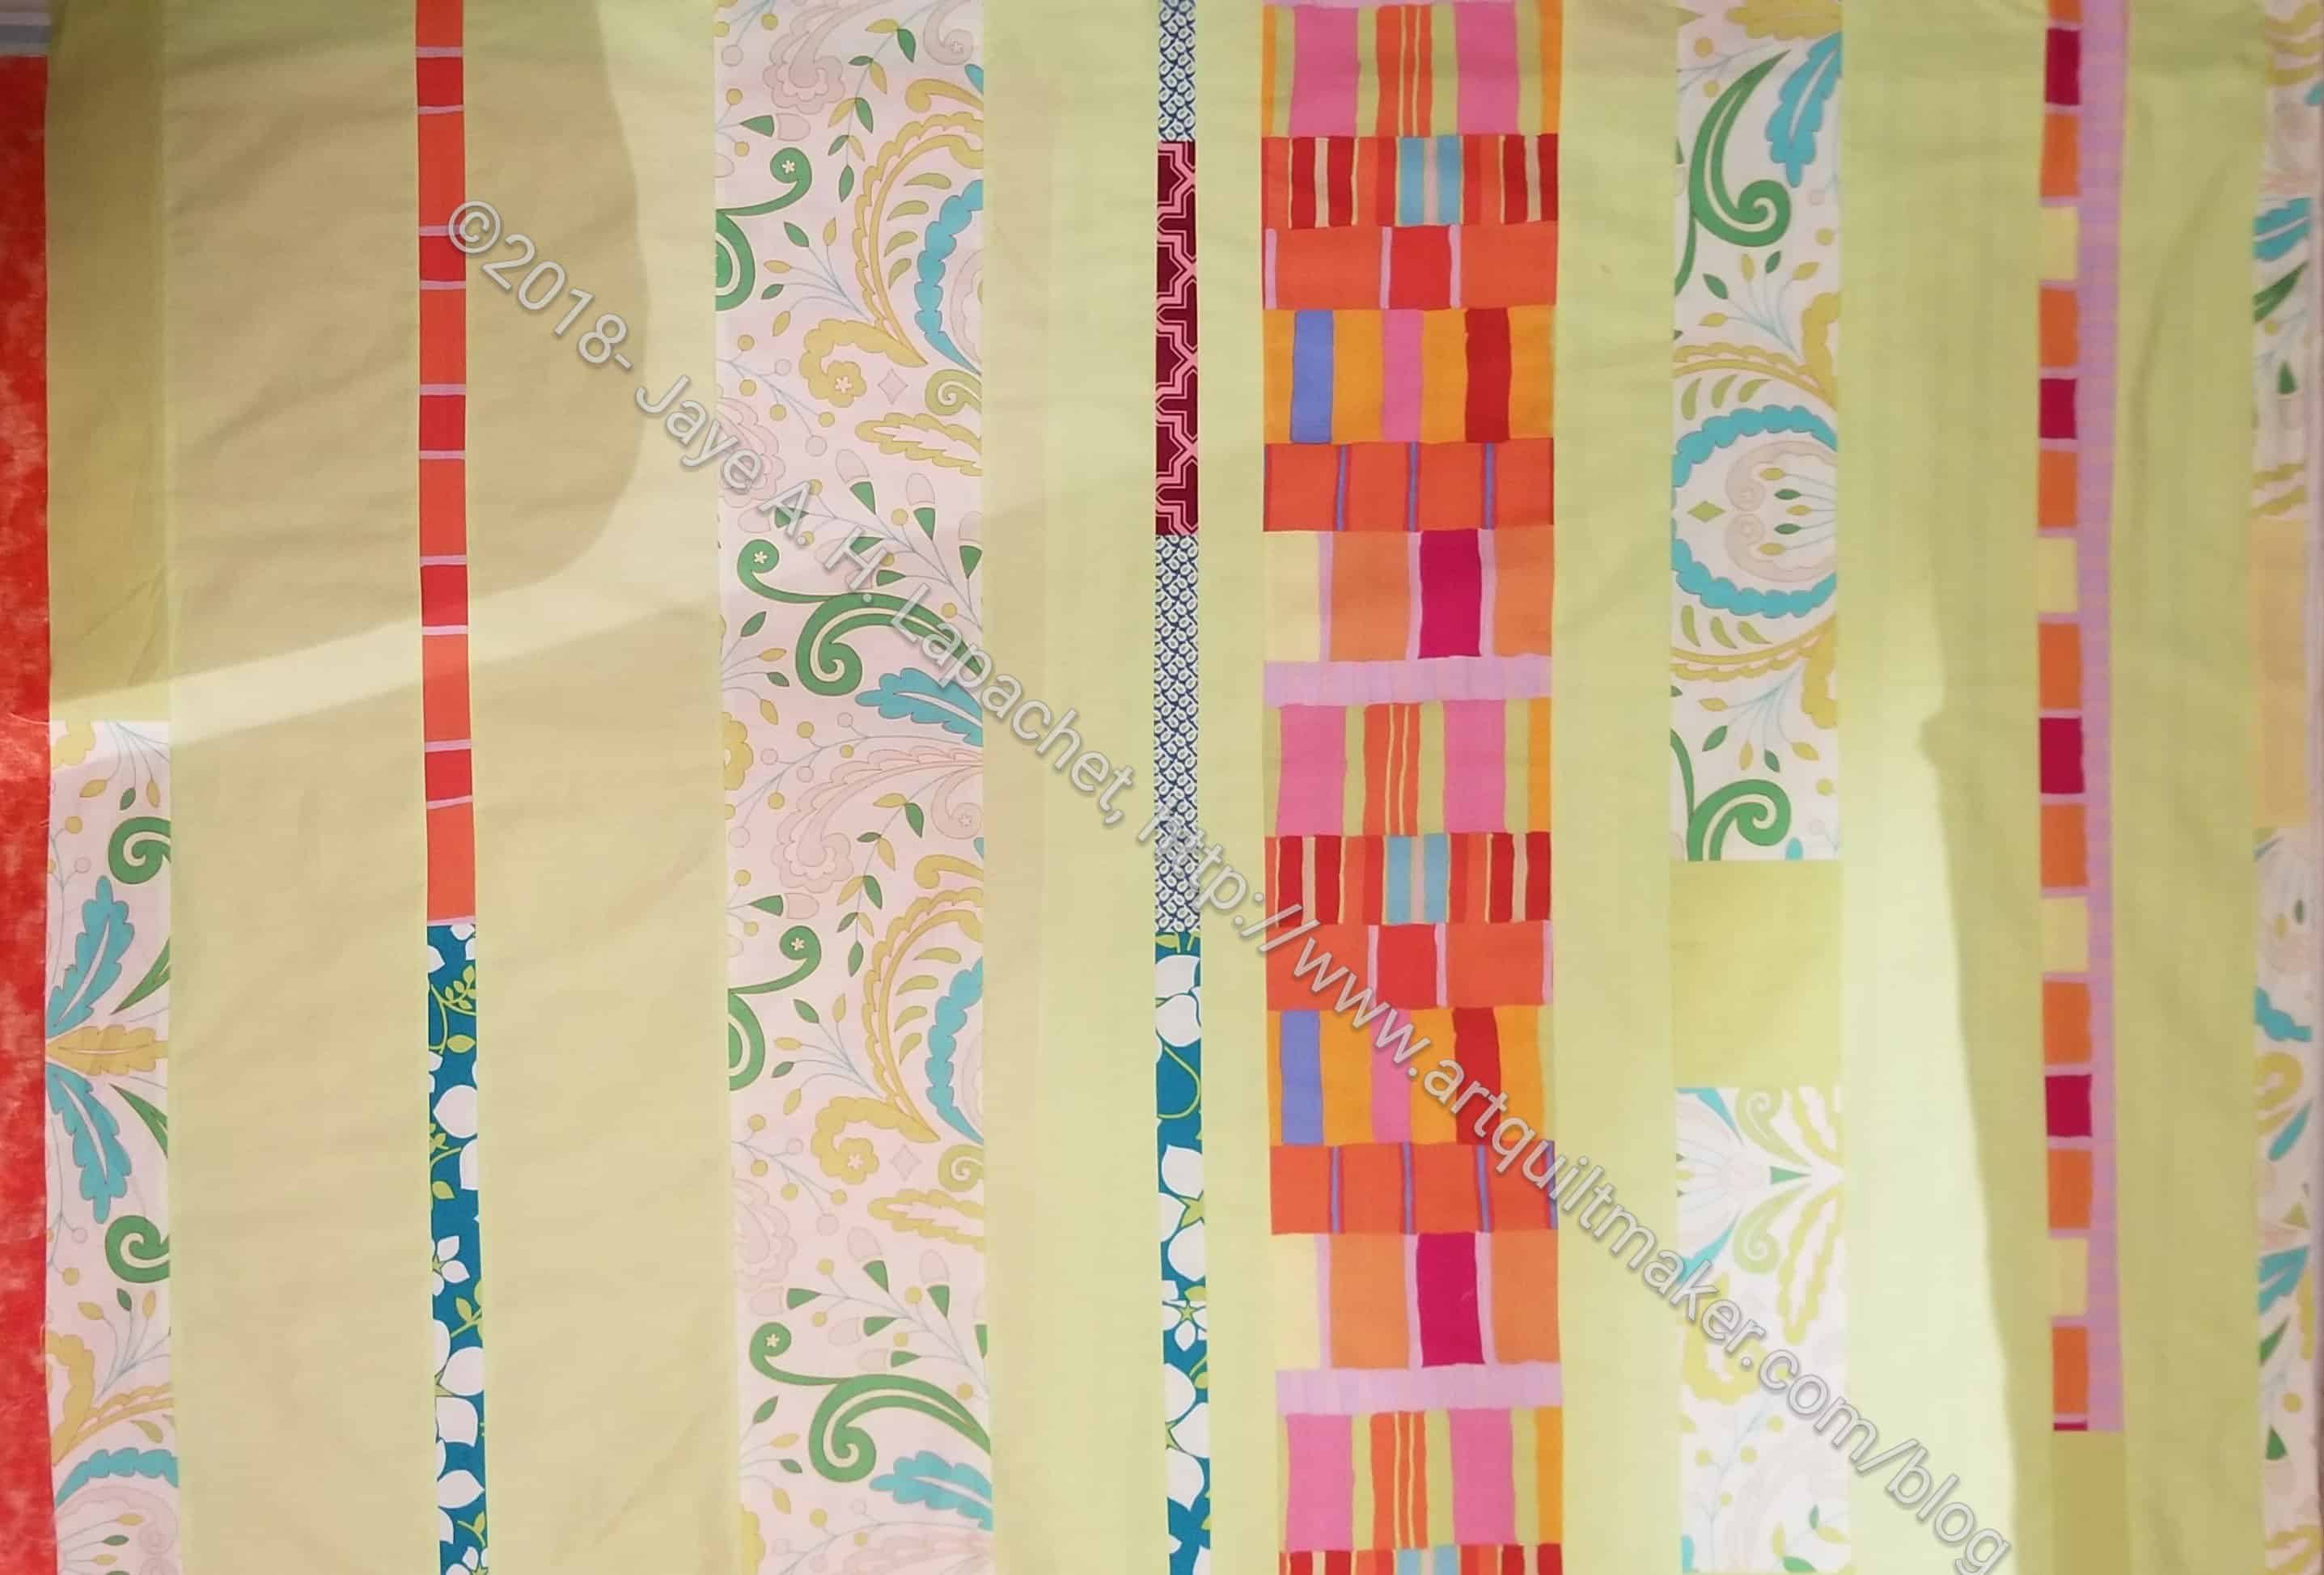
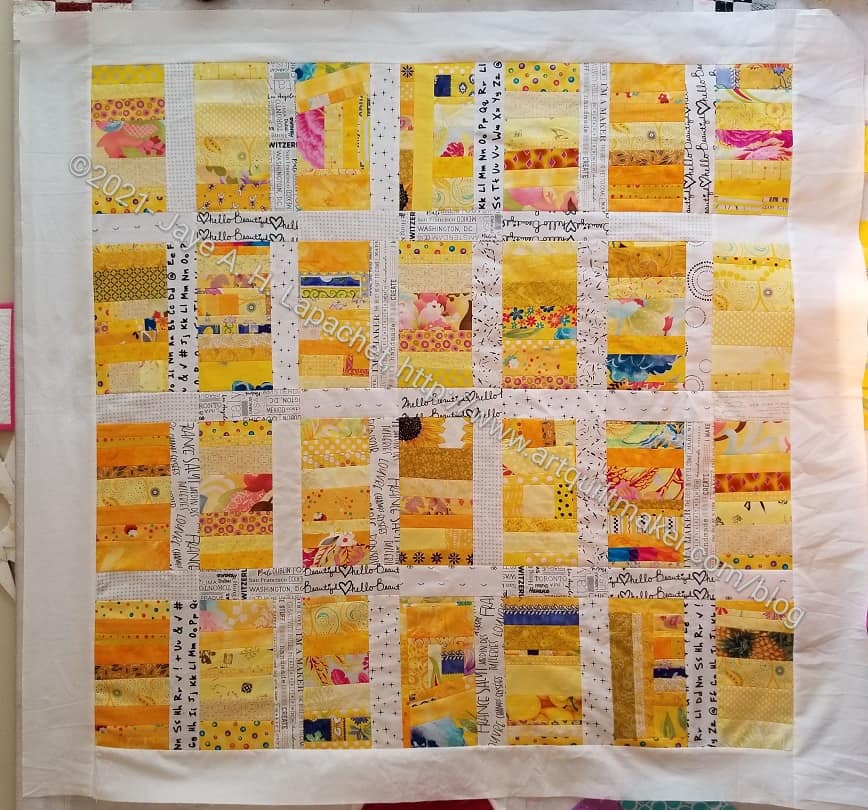
Over the weekend, I finished the Yellow Strip Donation Top (and back and binding). This is another in my Color Strip Donation series.
I did sort of rush this along, but I was piecing like mad on Scrap Dash, so I couldn’t help it, really.
I had to put Scrap Dash on the back burner briefly to add borders, make a back and a binding.
Since I put on very plain borders so the quilting would show up, I decided the quilt needed a dark binding. I made a gold binding.
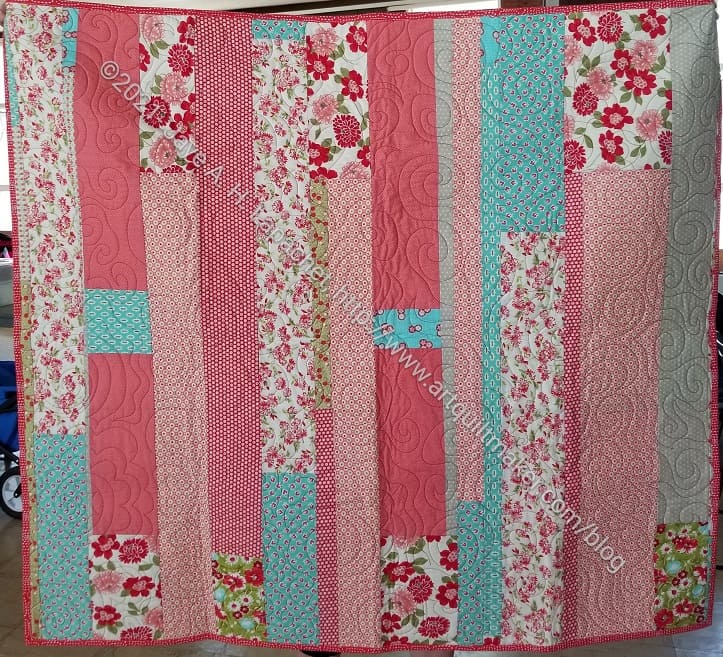
Yellow Strip Donation Quilt Back
I am pleased with the back. I didn’t have to piece too much and I got to use up some prints that have been around for awhile.
I don’t use tons of yellow, so these prints have been around awhile. I think they are good choices: fresh and upbeat. I suppose this quilt could be for a boy, but perhaps not with the flowery back.
Since I was zipping along with Scrap Dash, I was also zipping along with the Yellow Strip donation top. Leaders and enders really works.
I decided to use some text prints as the sashing. I had some scraps that were about the right size, so I used as many as I could find in the white drawer and then cut some from fabrics I have bought recently. The quilt is really coming together and I am pleased with how sunshiney it looks.
Another one of my creations that was handed in at Sew Day was Ends n.8. I only have a bad photo, so it was hard to figure out that this gorgeous quilt was actually the one I made.
Tim, again, did the quilting and Mary C added the binding. I like using up the edges of quilts and this one turned out great. As mentioned in the previous post, the ends that make up this quilt came from the Stepping Stones n.2 quilt, I think. I also added more Bonnie and Camille fabric.
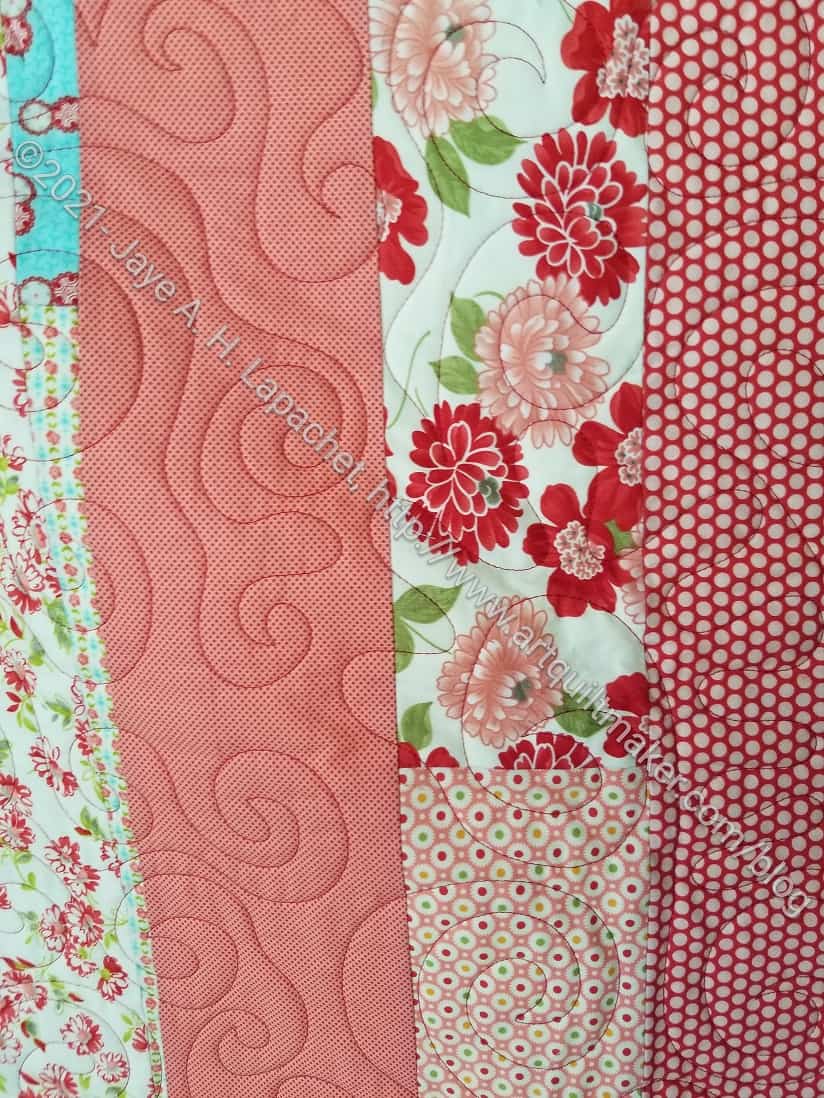
Ends n.8 Finished – detail
As usual, Tim did a great job quilting it. the swirls are a little different, but organic looking and interesting.
We had Sew Day on Saturday, which I will write about soon. One thing that happened is that people brought a bunch of donation quilts that had been in process.
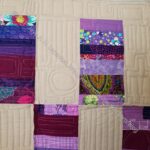
One of them was the Purple Strip Donation Quilt. Tim quilted it and Mary C bound it. I finished it in March of 2019 and gave it to Tim shortly thereafter.
Purple Strip Donation Quilt – detail
I really like the angularity of the quilting designs Tim chose. The fact that he added in a couple of circles to the quilting really adds to the overall piece. One thing I always wonder about is what people think when they receive one of these quilts? Sometimes I wish I were a fly on the wall and I could know.
It looks really great and I am so pleased it is done.
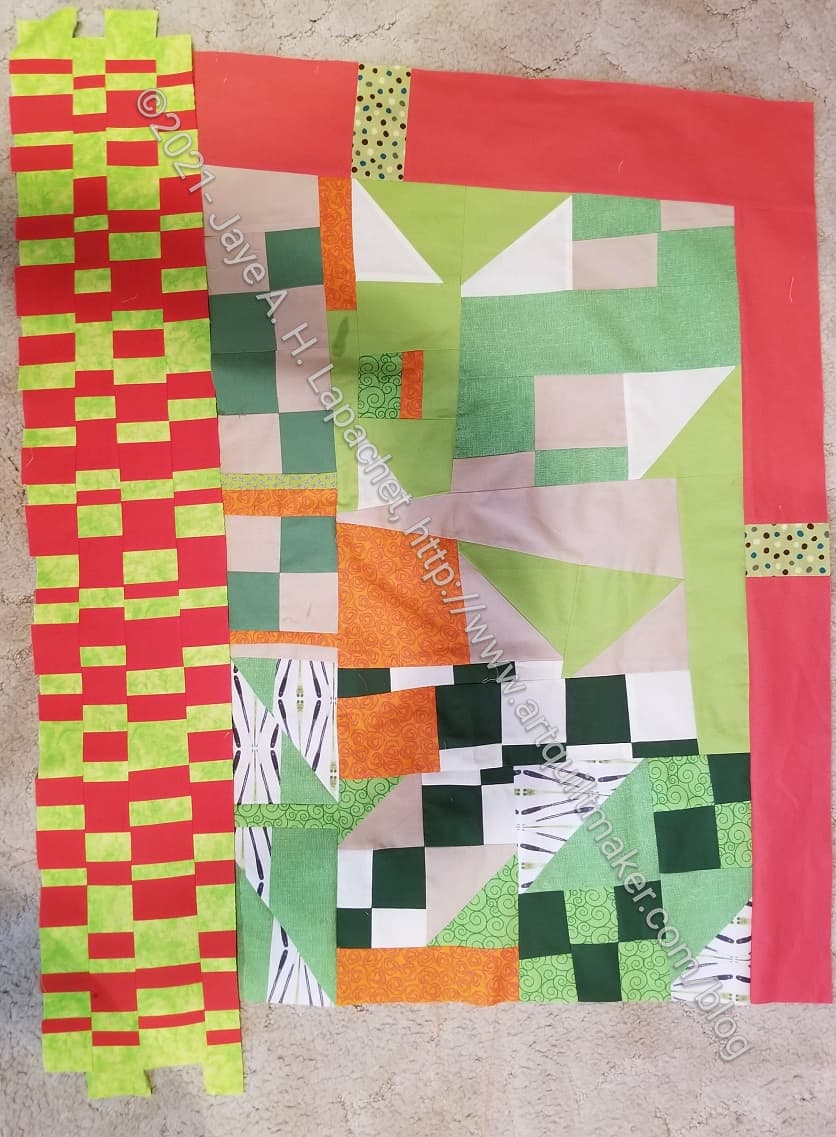
I am on the fence about how this quilt is looking. I don’t have the exact colors that Tim used, so I am using what I have. I don’t know if it is working.
Improv Checkerboard
When I talked about this quilt before, I had finished sewing the parts Tim gave me to the piece and had just added a strip of my own.
I made this improv checkerboard to add to the sides as the first piece that was all my own. It was kind of fun to play around with different sized strips. The green, however is a little more chartreuse than Tim used. While I like the shape, I am concerned about the colors and how they fit in with what went before.
I plan to put part of the checkerboard on another side perpendicular to the checkerboard I already sewed to the top.
Tim’s Improv Quilt with checkerboard
I don’t think it looks terrible and that might be good enough for a donation quilt. I don’t mean that it is ugly so it is only good enough for a donation quilt, but that it is not too ugly to give as a donation quilt.
I really don’t nee to make it much bigger, but I want it to have a relatively cohesive design without me spending 50 hours on it.
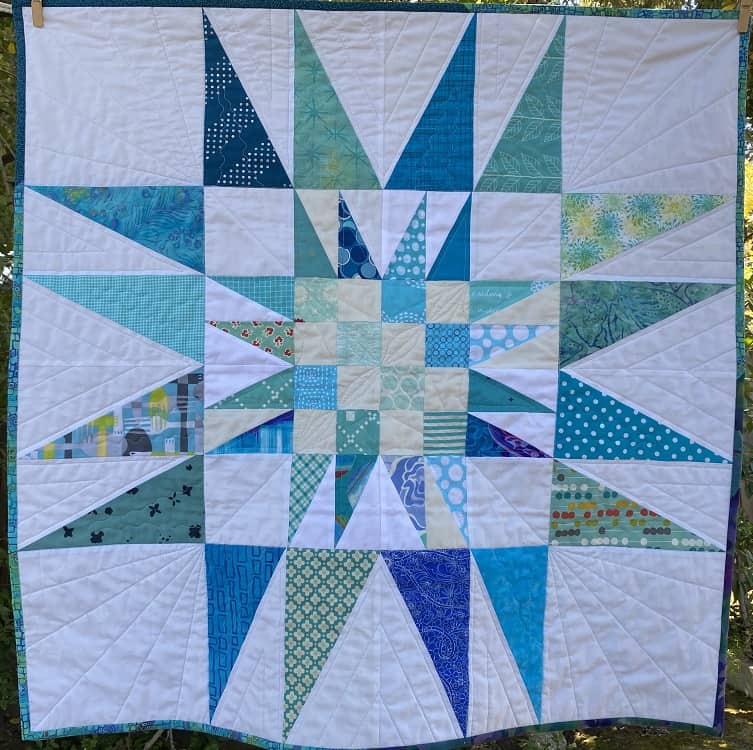
In February, I worked on some more Spiky 16 patch quilts. Then I gave them to Peggy and she found someone to quilt at least one. #2 popped up as finished at the guild meeting last Saturday! Lee Ann did the basting and quilting. She did a lot of straight line quilting, which I think works really well.
There is a wobble on the edge, which surprises me. I am hoping it is the wind blowing the quilt and not my piecing!
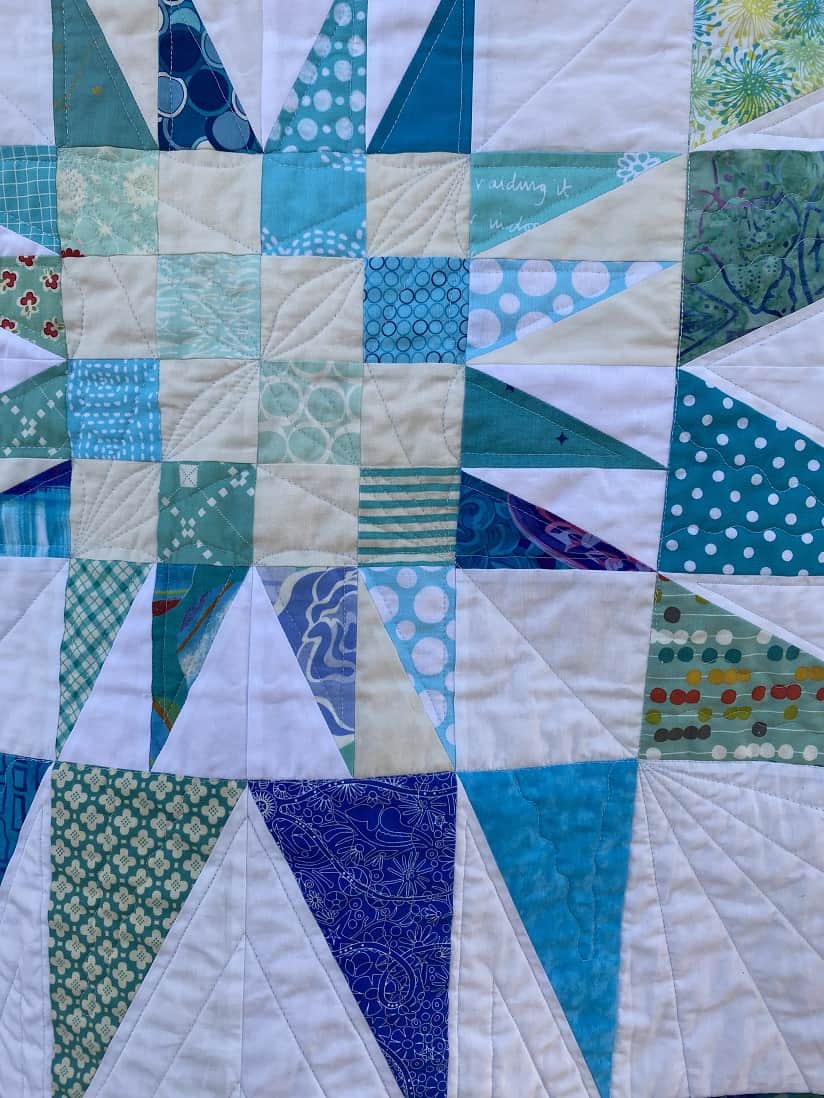
Double Spiky 16 Patch Quilted – detail
Lee Ann sent me these photos, which included a detail. You can see the leaf like shapes in the 16 patch center as well as a little more of the straight line quilting on the border.
Yes, I wrote the title correctly. I have just one block to show you.
I worked to make many, many donation blocks last year. This year I feel like I am sewing a lot and not getting anything done. Am I not finishing things or what? I don’t know.
As I said, I have started some new color improv strip blocks, but I haven’t made any guild donation blocks.
I have been using other projects for leaders and enders. Do I need to get on the ball or can I take a break?
During the tutorial session on Saturday during Sew Day for the Ultimate Carry All Bag, Lynette showed how to complete the front panel. I had tried and messed it up. Don’t worry, though, I will write a tutorial for this step now that I know how to make it to post here later.
UCAB front and back panels
Lynette went further than I had planned. I had planned on just doing the front zipper pocket, which I talked about the other day. She showed us how to complete that pocket, plus apply the pocket to the front, add handles and make the back panel with handles. I am really glad as it makes the tutorials move along faster and I have to create fewer. I am not afraid; the work just takes time.
One thing that came out is one piece was missing from the list on the pattern of pieces we needed for this step. On part 2, pg.16, you need to add L6, an 8×8 lining piece, to the list of pieces you’ll need. This pattern would improve significantly if the designer went through and numbered all the pieces. I know you know that we did that at the beginning, but you can’t number pieces in the pattern that aren’t listed.
One thing I did was use the handles I made for the All Rolled Up Tote, which I ended up not using for that project. I decided that those handles would work for this bag even though they are a little wider than called for in the pattern. One side, which you can see in the other blog post, is pleather and the side you can see above is the accent piece I sewed from Philip Jacobs Brocade Peony fabric to cover the pleather seam.
I had to unsew and redo the back luggage sleeve because I forgot to put SF101 on the back. I thought it would be ok, but decided it was too flimsy. I am much happier now that I redid it, though unsewing takes awhile.
Finally, this project is starting to look like something. With the back and front panels finished, I can see the end of the road in the distance. In some part of my brain, I feel like I am wasting time when I am working on this project. I feel like I could be working on better projects. In another part of my brain, I tell myself that I am making progress, this bag will use up some fabric in my palette, etc. It is so weird. I just think this project has been hanging around for longer than I like and I want to be done with it.
I have to remind myself that one of the reasons we started this was to encourage people to make bags and show them they could do it. Perhaps we didn’t choose wisely with this weird and difficult bag. Fortunately, it will be a useful bag. I don’t know if people will be encouraged to make other bags or be daunted.
We had another tutorial session on Saturday during Sew Day for the Ultimate Carry All Bag. This time Lynette was the teacher. I was relieved not to have to do the tutorial, because I was confused about how to complete the front zipper pocket. I had tried and messed it up. I hadn’t quite given up, but had put it off for awhile.
The directions seemed to be more complicated than necessary, but once Lynette discussed the steps, I was able to follow. The key is that L7 is sewn to the rest of the zipper panel by top stitching the top part of the zipper. you sew around the outside of the whole panel eventually, but this top stitching is such a weird instruction. I have never seen that type of instruction before.
I finally sat down on Friday afternoon and worked to finish this top. I really wanted to get it ready for quilting and it had been hanging around for too long. I am pleased with how it came out and look forward to seeing how it gets quilted.
HST Donation Back
I am going to show it to Tim, then send it on to another guild member for quilting.
I tried to use as much of the Pop Parade fabric for the back as I could.
As I mentioned, Tim was working on the plaid donation quilt when I left him the other day. He sent me a picture of the finished top and a detail (left).
I like what he did with the designs in the piecing. He has a good eye for quilting designs.
Plaid Donation Quilt- quilted
I also like this design quite a bit and plan to make another donation quilt using the Block Party pattern.