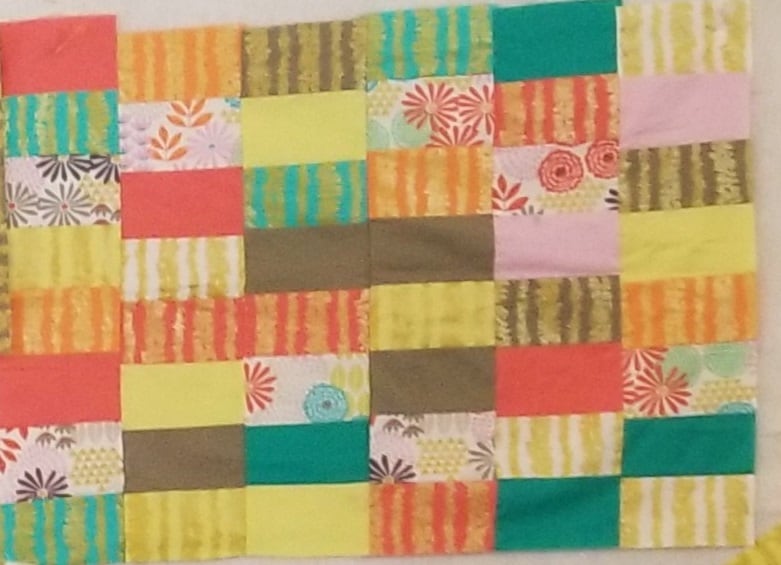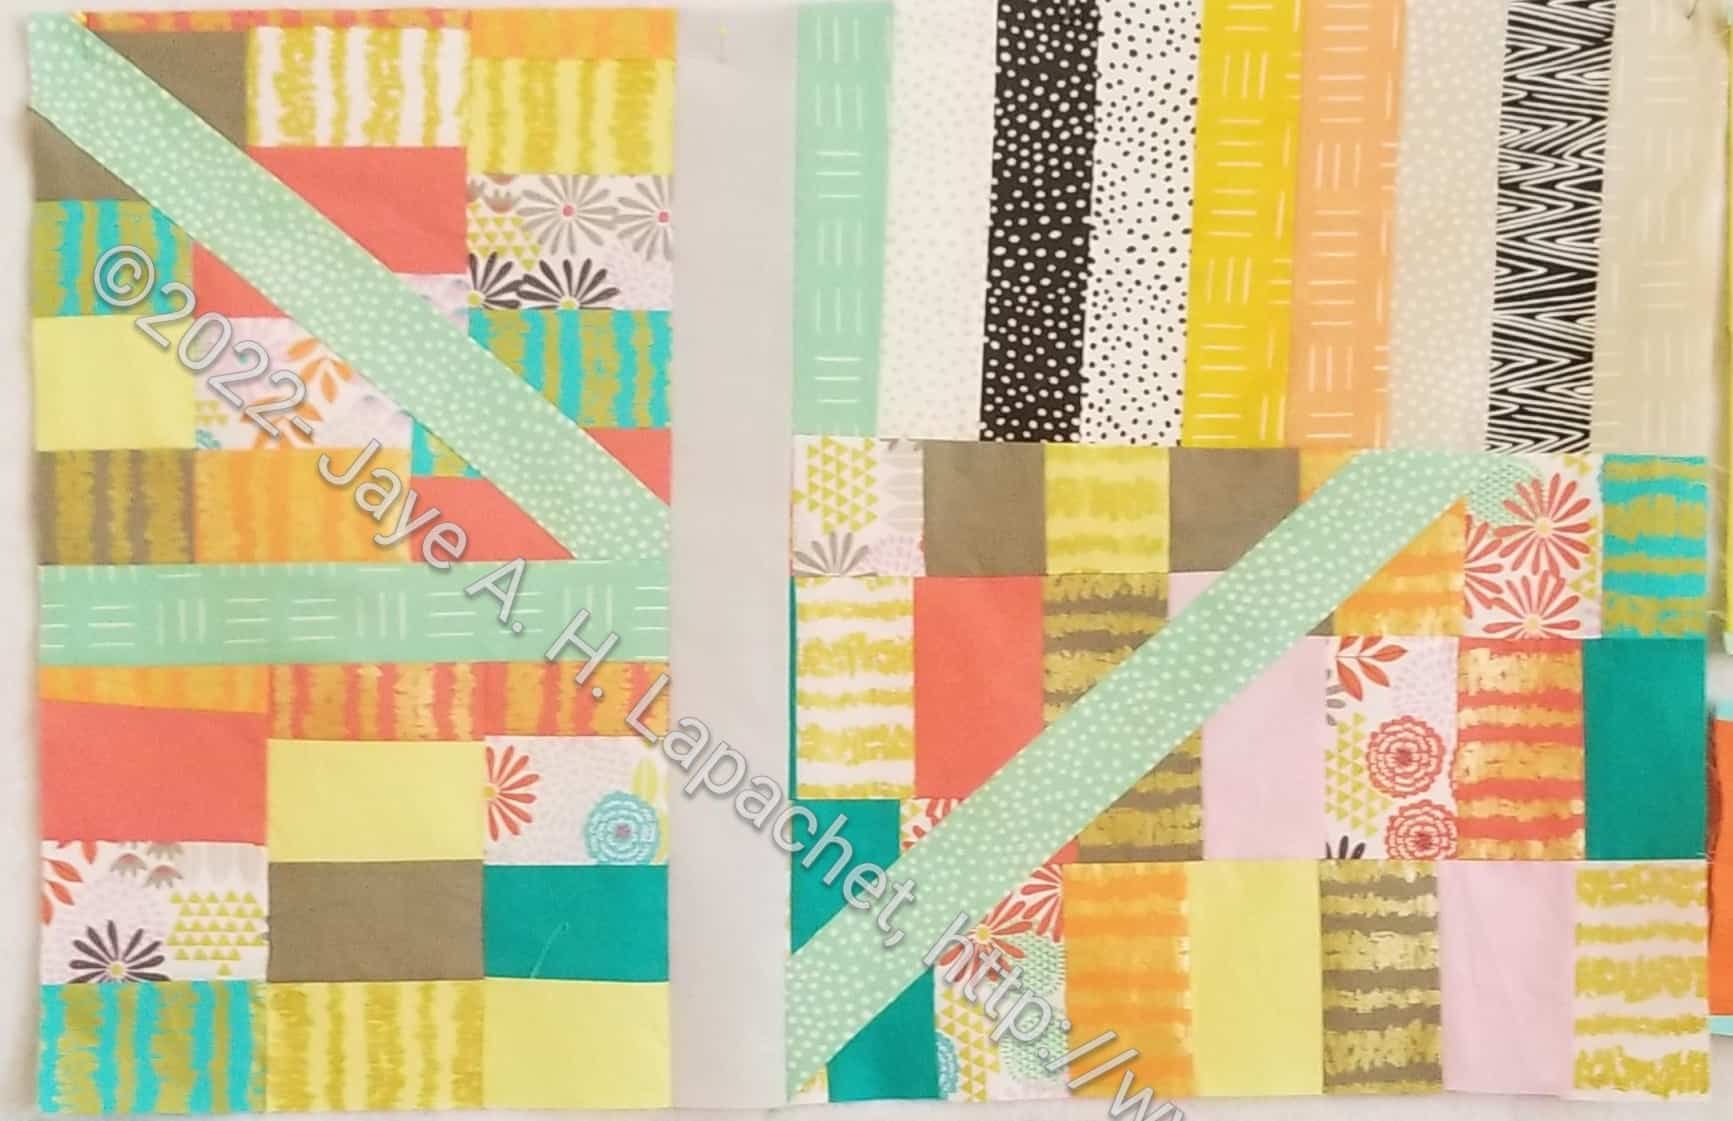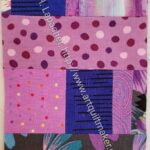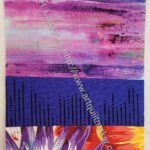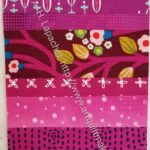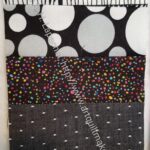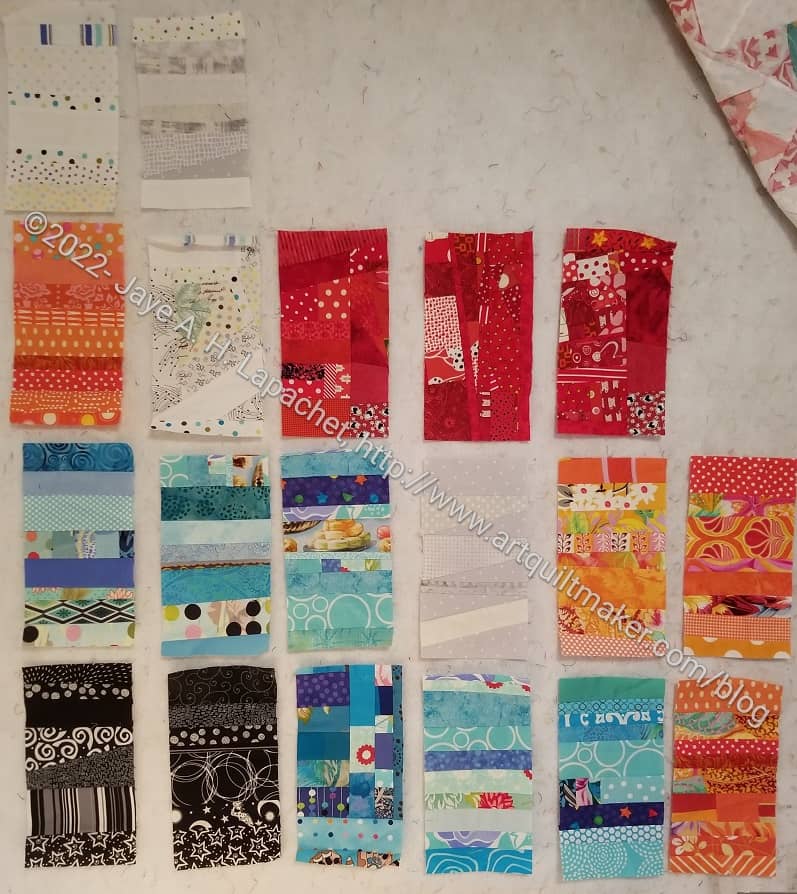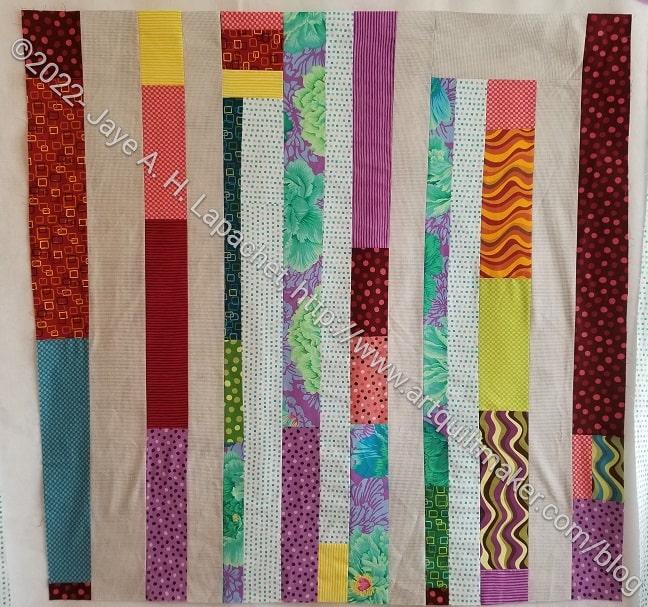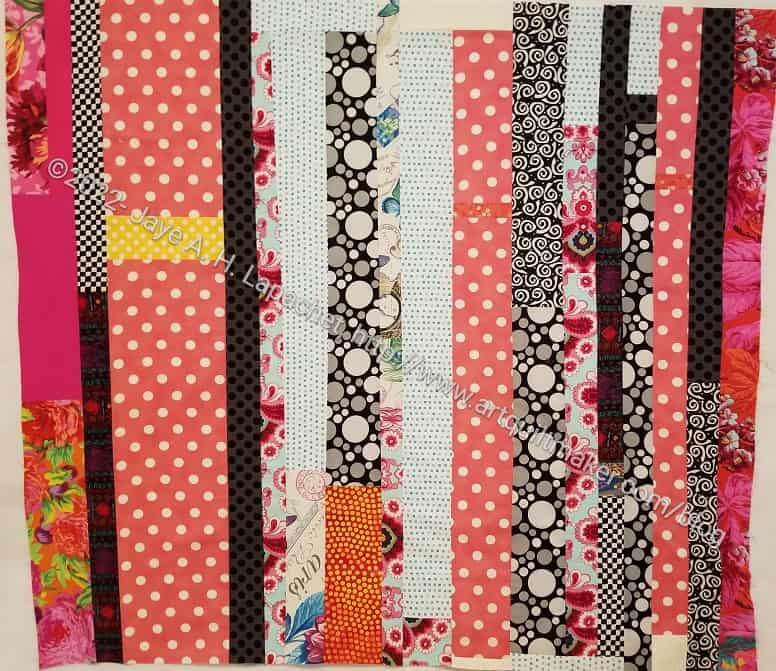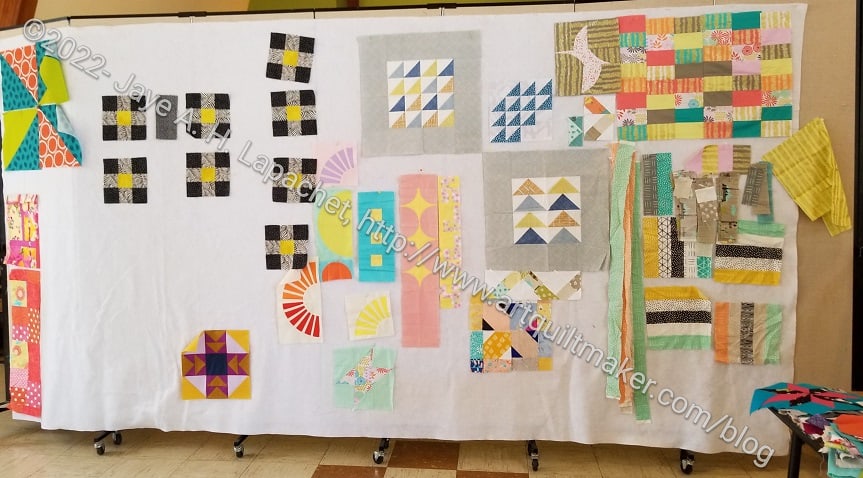
I decided to use the leftover improv strip blocks for one donation quilt. I just slapped them up on the design wall so I could see what I had. I will definitely do some kind of colorwash effect in the final layout.
There area lot of colors missing, so I will make some more blocks in the missing colors. I think I need about 28 total blocks to make a reasonable/useful sized quilt.
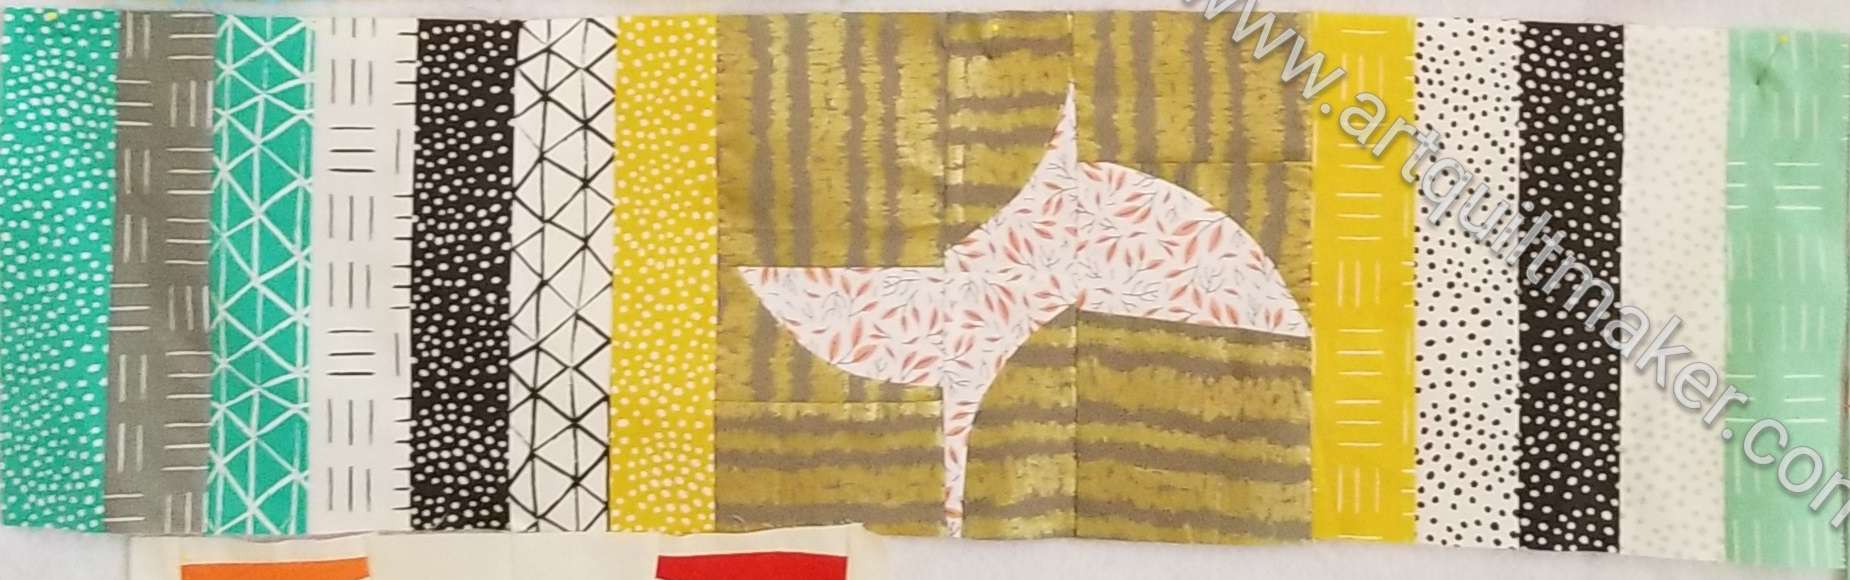
Ends n.12 is another in the series of quilts I am making using the cut off edges of quilt backs. This quilt, as mentioned, uses Pop Parade, the never-ending fat quarter pack.
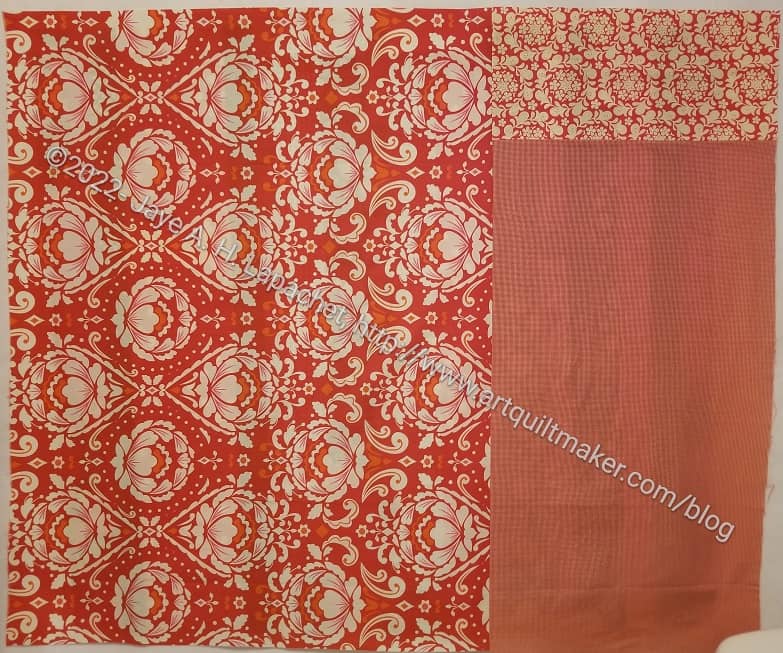
This was mostly done. I had to sew a piece or two on, but mostly I had to make the back.
Ends n.12 (Pop Parade) – back
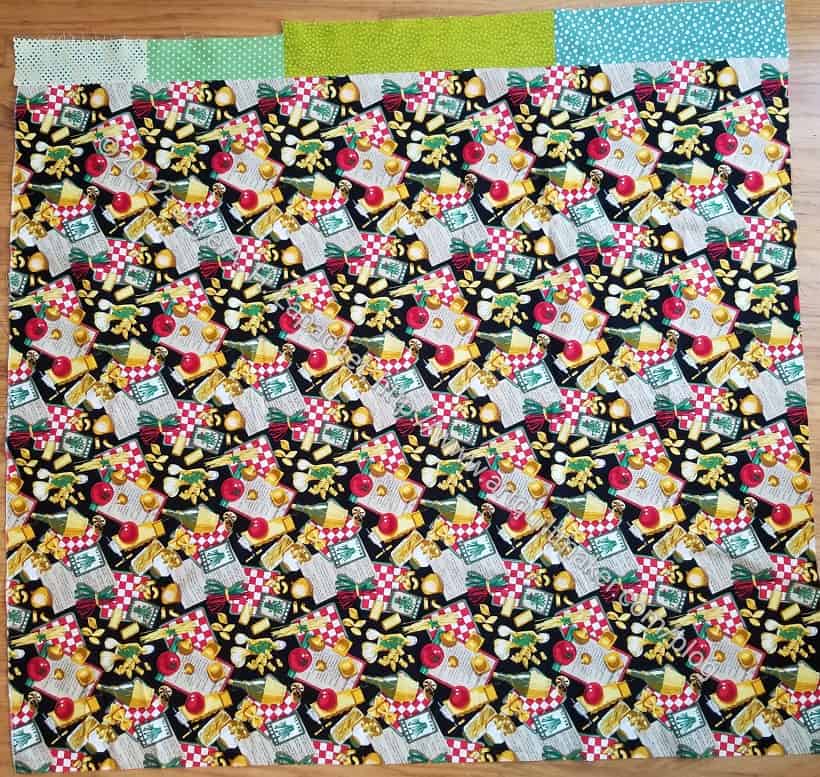
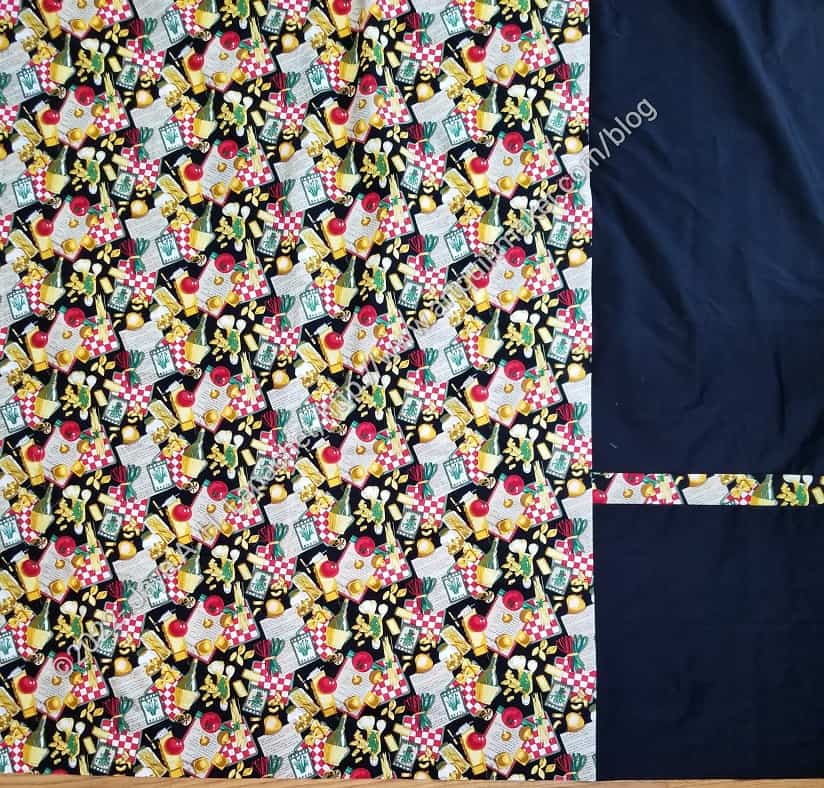
The back uses the rest of that Italian Restaurant fabric I talked about recently.
This will go to Peggy at the next Sew Day.
See all of the Ends quilt on their own series page.
Lee Ann brought Tim’s quilt back to the guild for donation. It was part of, what Peggy called, the Bind-a-thon. I think the last time I talked about it was in July.
I had totally forgotten about it (out of sight, out of mind). I am glad it is finished and it on its way to some needy person.
I decided I needed to get this one finished. All the projects left on my design walls when I put them away were a lot less interesting when I saw them again. I didn’t want to toss them, but I did want them finished.
I started it last year sometime. The first time I talked about it was July, which was right before we dismantled my workroom. I was concerned at that time that I wouldn’t have enough scraps to make a decent sized baby quilt. It’s still a concern as I am piecing tiny scraps together and expect to have no yellow scraps left.
I spent time over the weekend making good progress.
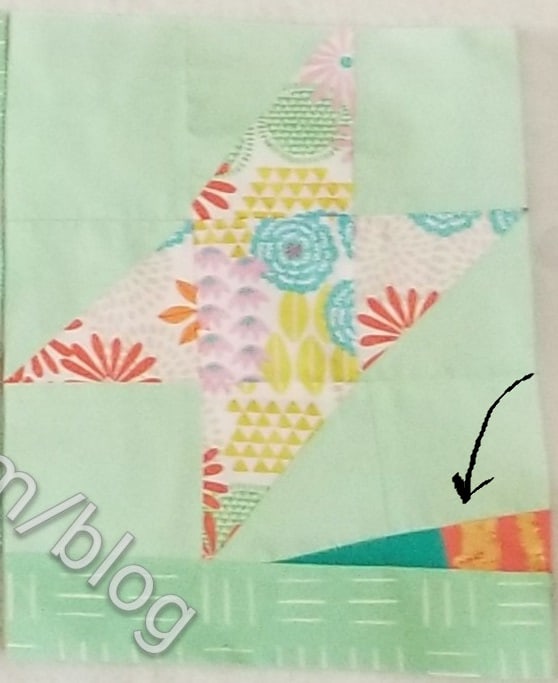
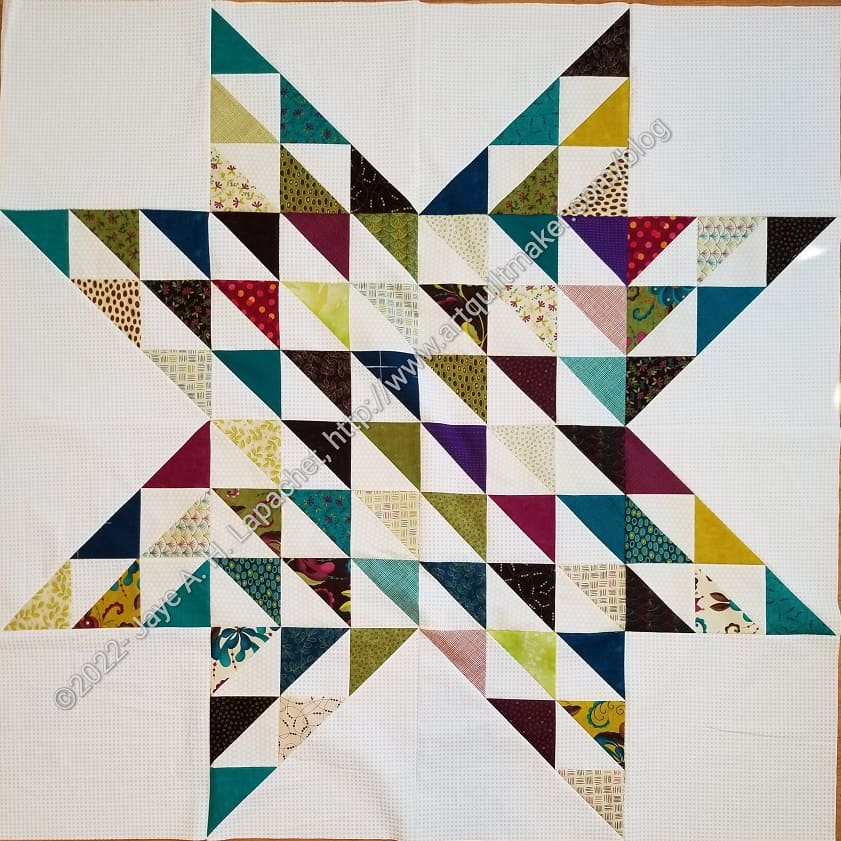
I finished the HST Star quilt in time to give it to the community quilts team.
I am pretty pleased with the way it came. A sort of dull charm pack (why did I buy it??) turned into a cheerful quilt top.
HST Star Finished Back
The quilt isn’t very girly and I wanted it to be suitable for boys as well, so I chose an Italian restaurant print I have had for years. It is time to use it and this is a good use of it.
I am working on a donation top. I saw a picture in Today’s Quilter and thought it would give some relief to poor Peggy who has been the recipient of a 100 or so HSTs recently.
I started going through my charm packs after Peggy asked for HSTs for donation quilts. I used up 4 charm packs (2 of background) and sent the HSTs to her without making a quilt.
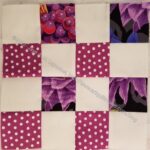
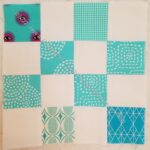
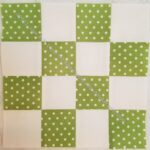
Donation 9 Patch blocks
Finally, I decided that was a little mean and I was inspired by a Sawtooth Star quilt made from HSTs. One day last week on my lunch hour I started sewing the center blocks together. I made three HST 9 patches in about half an hour, which made me very happy on a lot of levels.
Stay tuned for the finish (or another in progress shot.
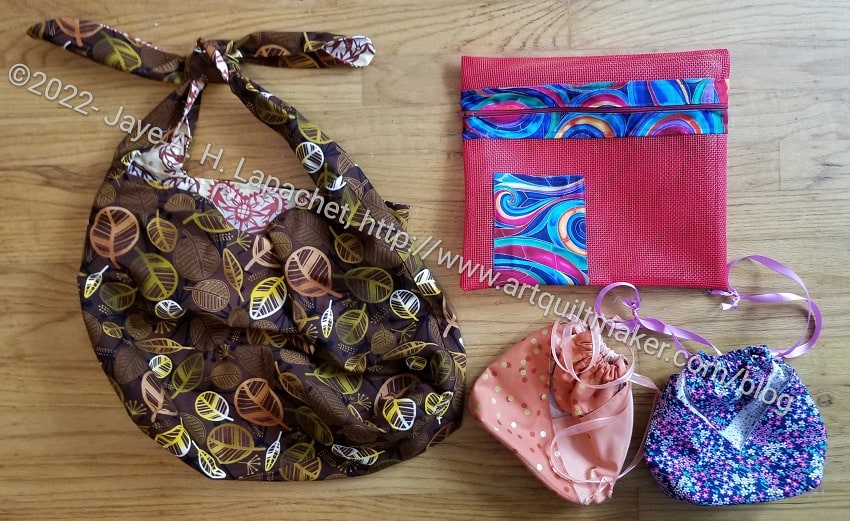
While this is Mom’s UCAB, I tested it on my travel sewing machine bag to see if it would work for me. The key is to adjust the back sleeve to fit over your rolly bag handle. I have no idea if there are standard sizes for those, so make sure you check before you sew everything to the exterior.
I plan to put my smaller items in the UCAB. I am not sure how I am going to reconcile this bag with the Tupperware box.
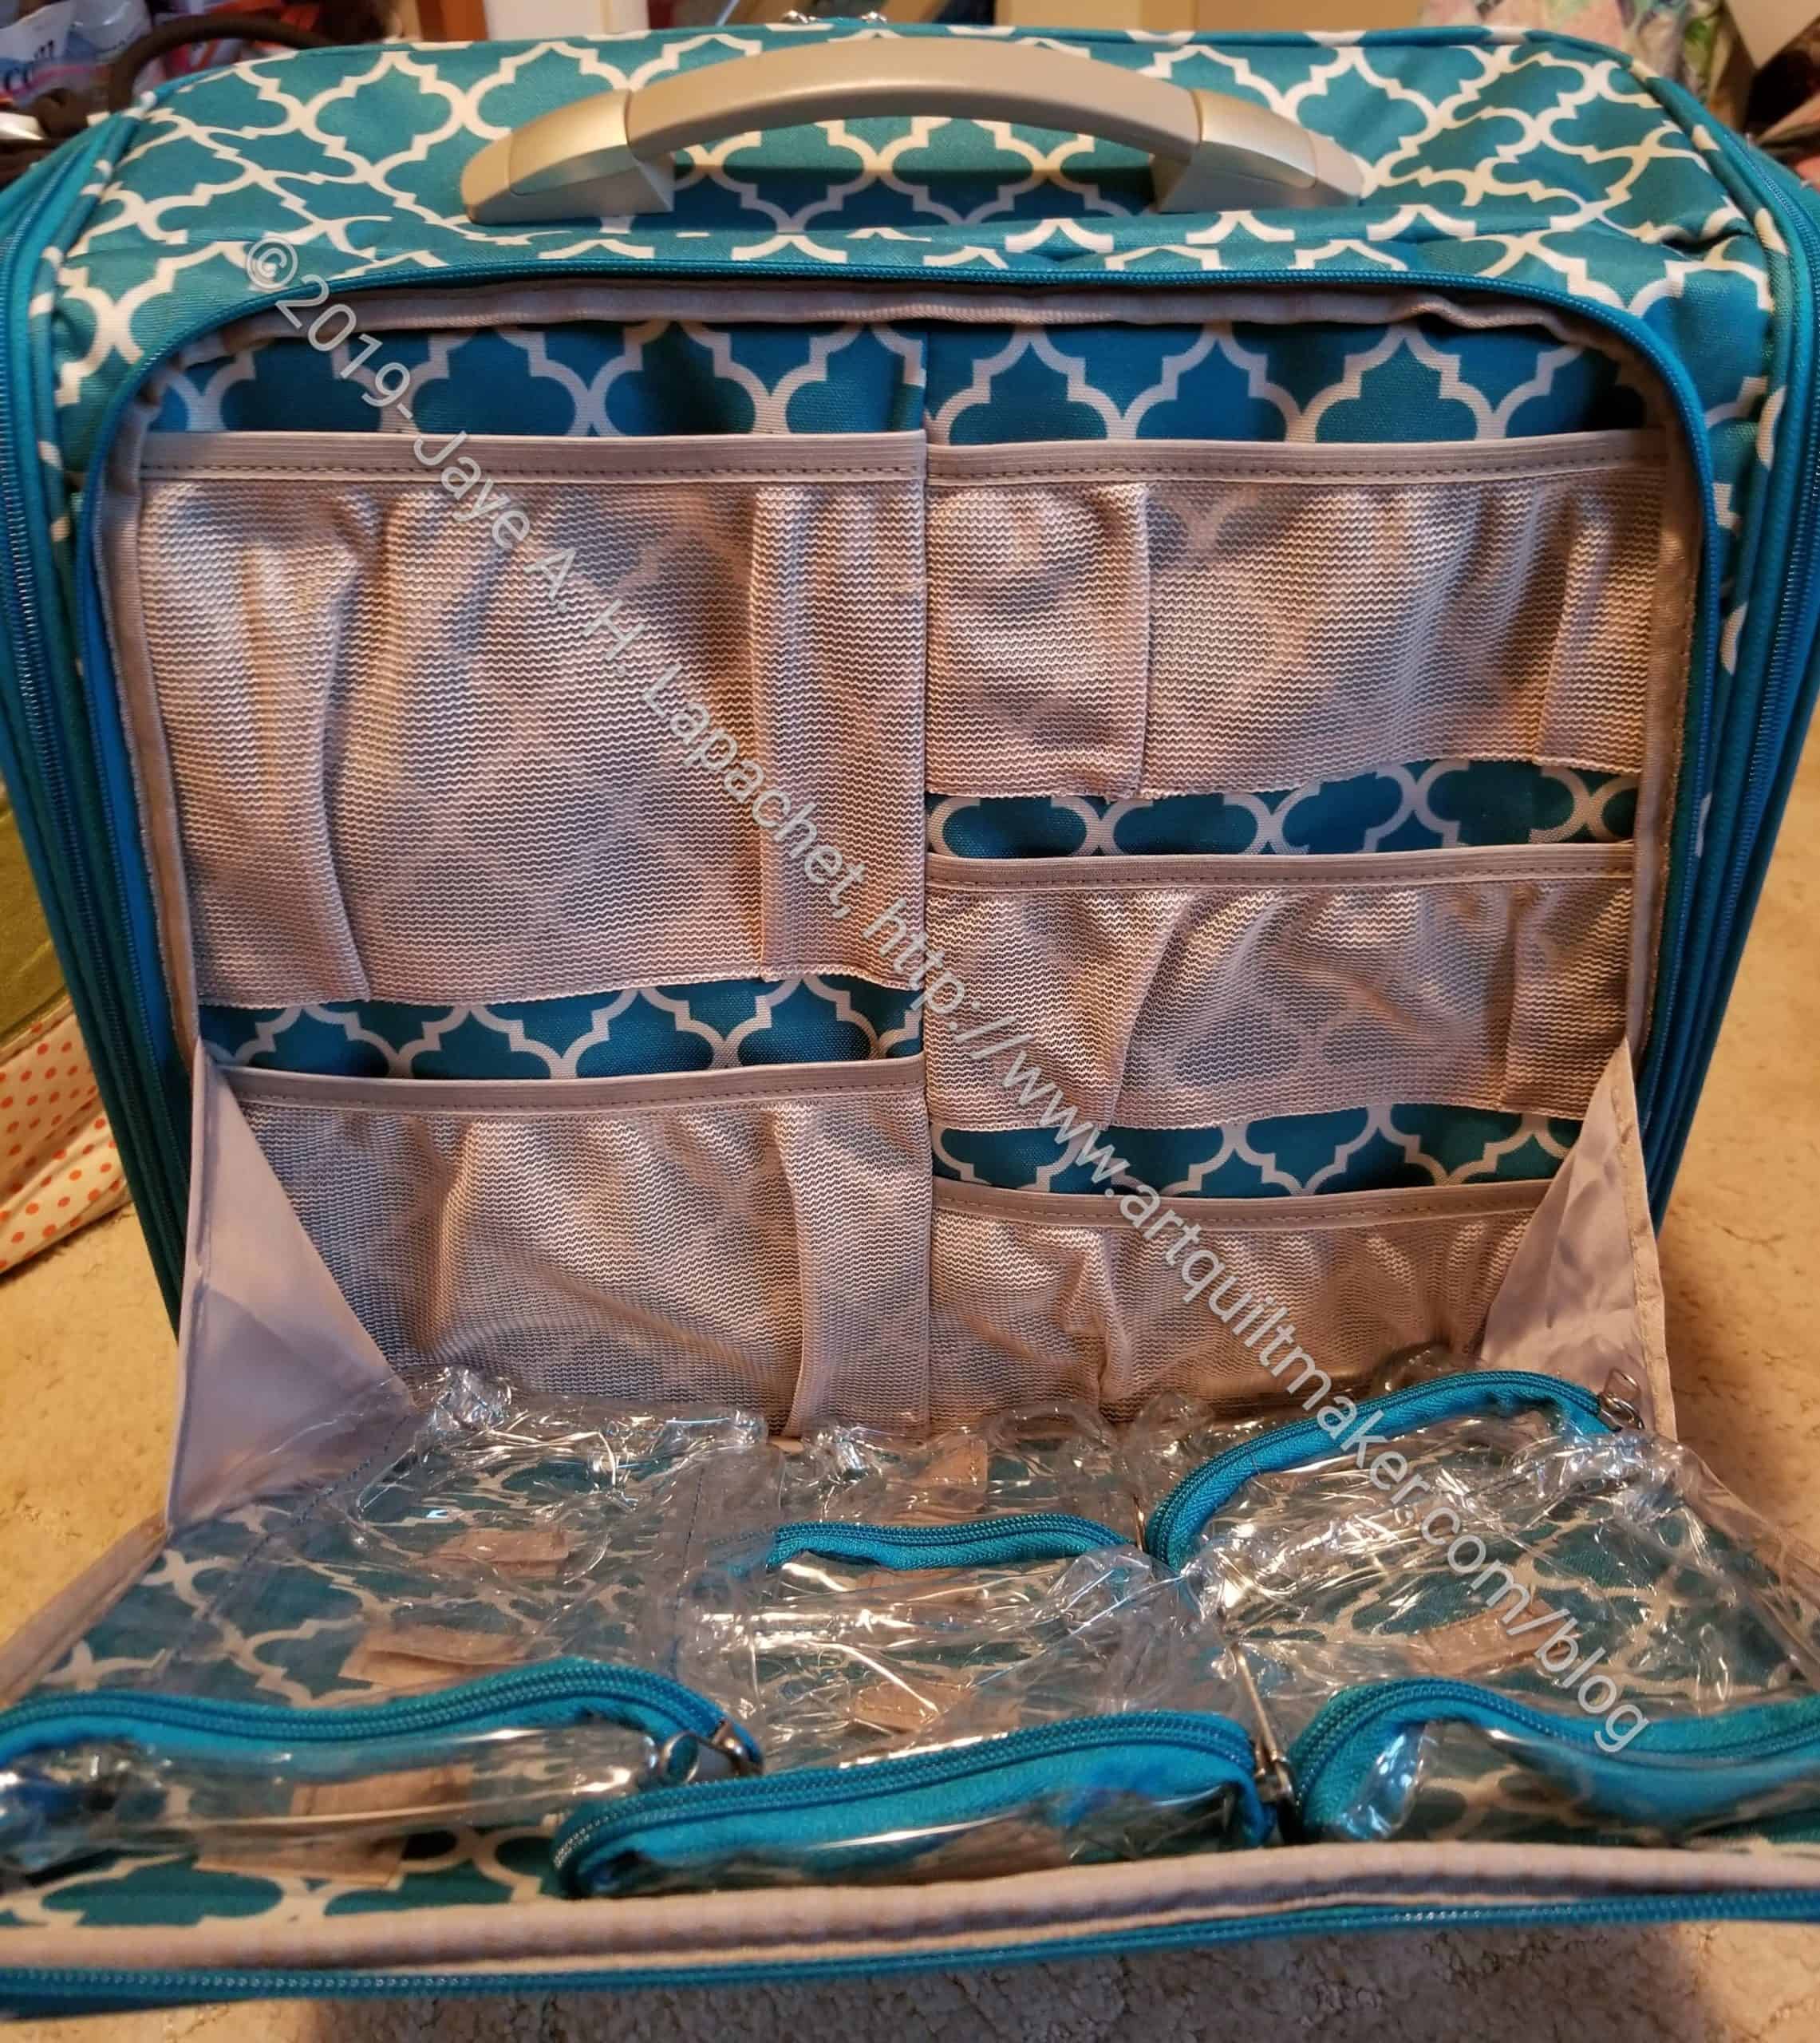
The picture below shows the bag empty, but trust me when I say I filled it up. It isn’t completely filled.
Sewing machine cart – front pocket
I need mine to contain all my to go items – notions and rulers, etc. I put them in the various pockets of the sewing machine bag, which has a lot of pockets, but it makes some of the zippers hard to open.
I had a day off the other day and really wanted to finish my UCAB.
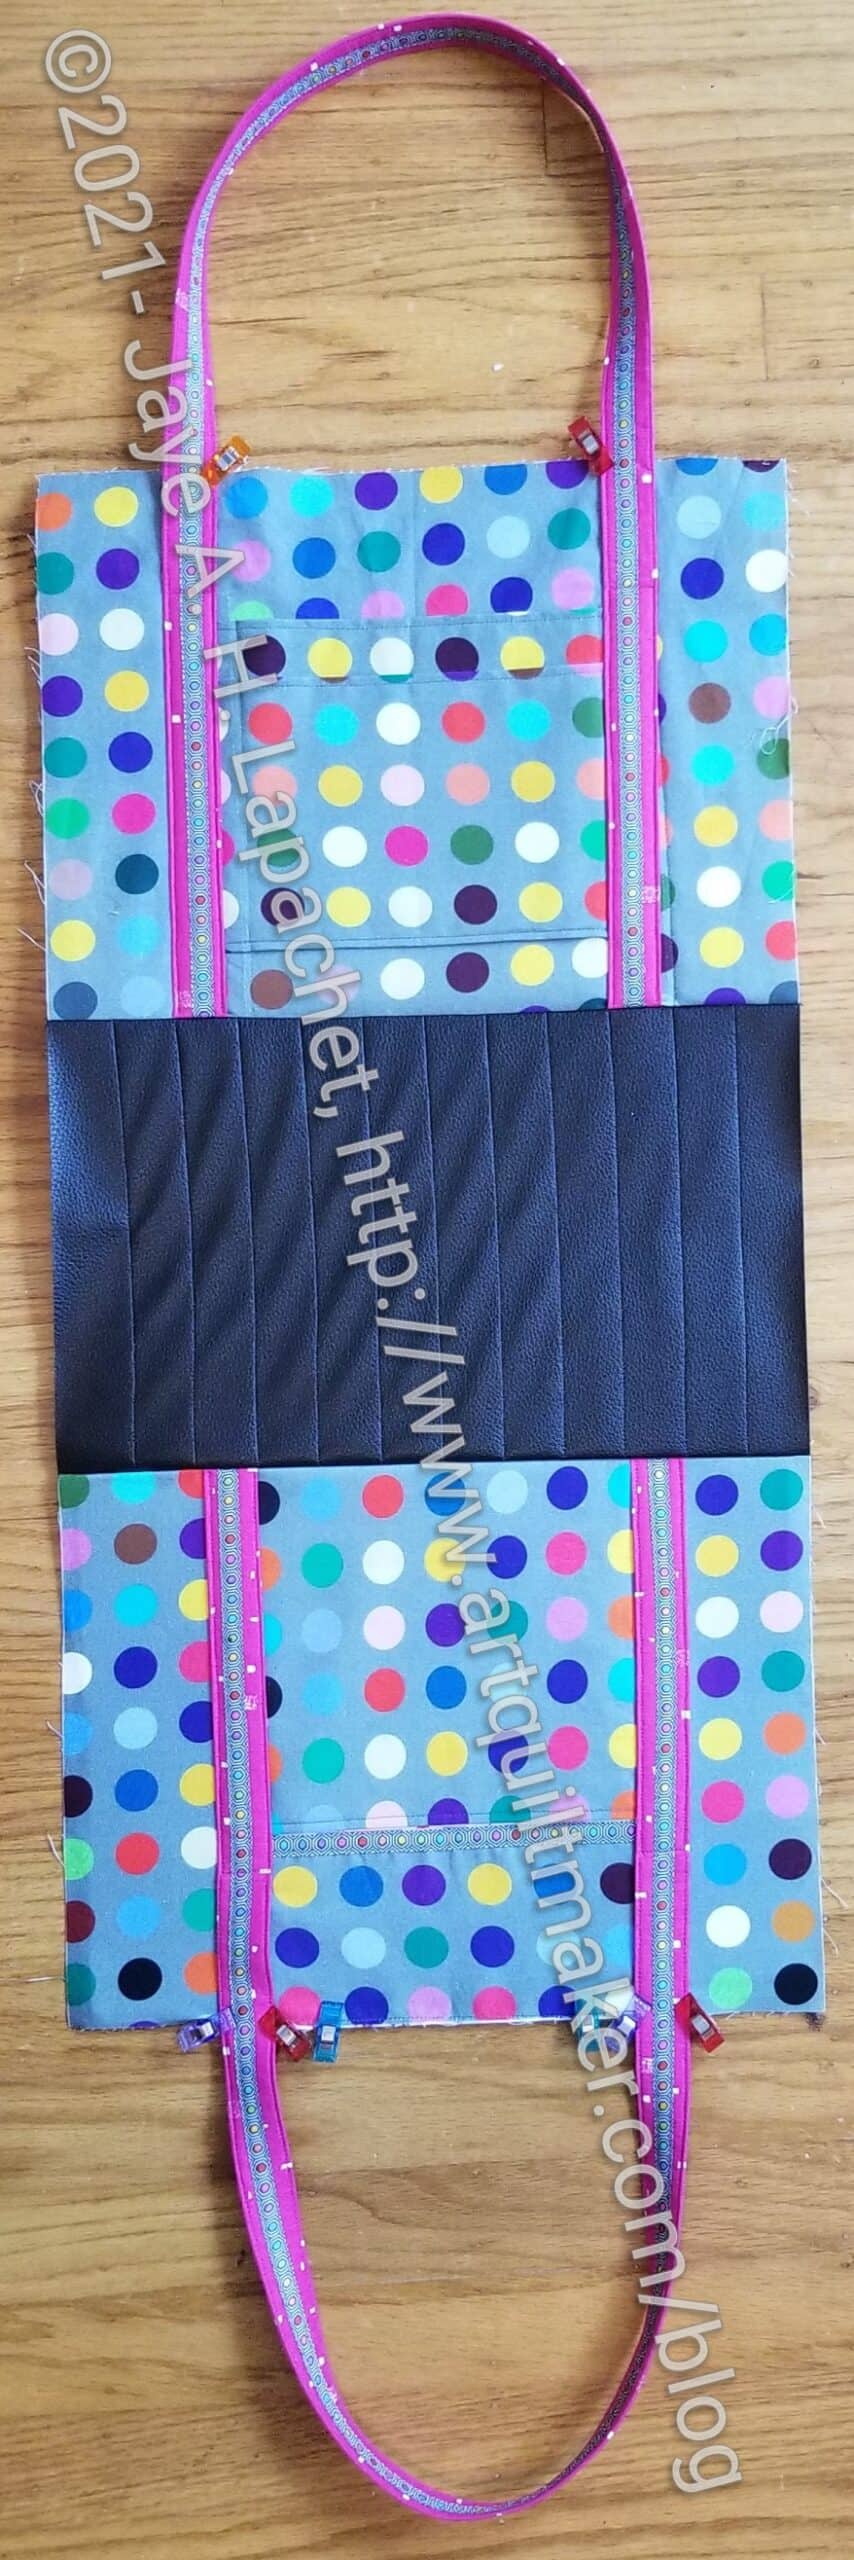
UCAB Lining
In order to finish the exterior I had to sew the lining. I decided to put in an ironing pad even though I don’t think I will use it much. I have my new Mini Maker Case, so I may actually use it. I will try it out regardless.
I had to cut all of the pieces for the lining before assembling the interior. Construction of the lining went pretty smoothly.
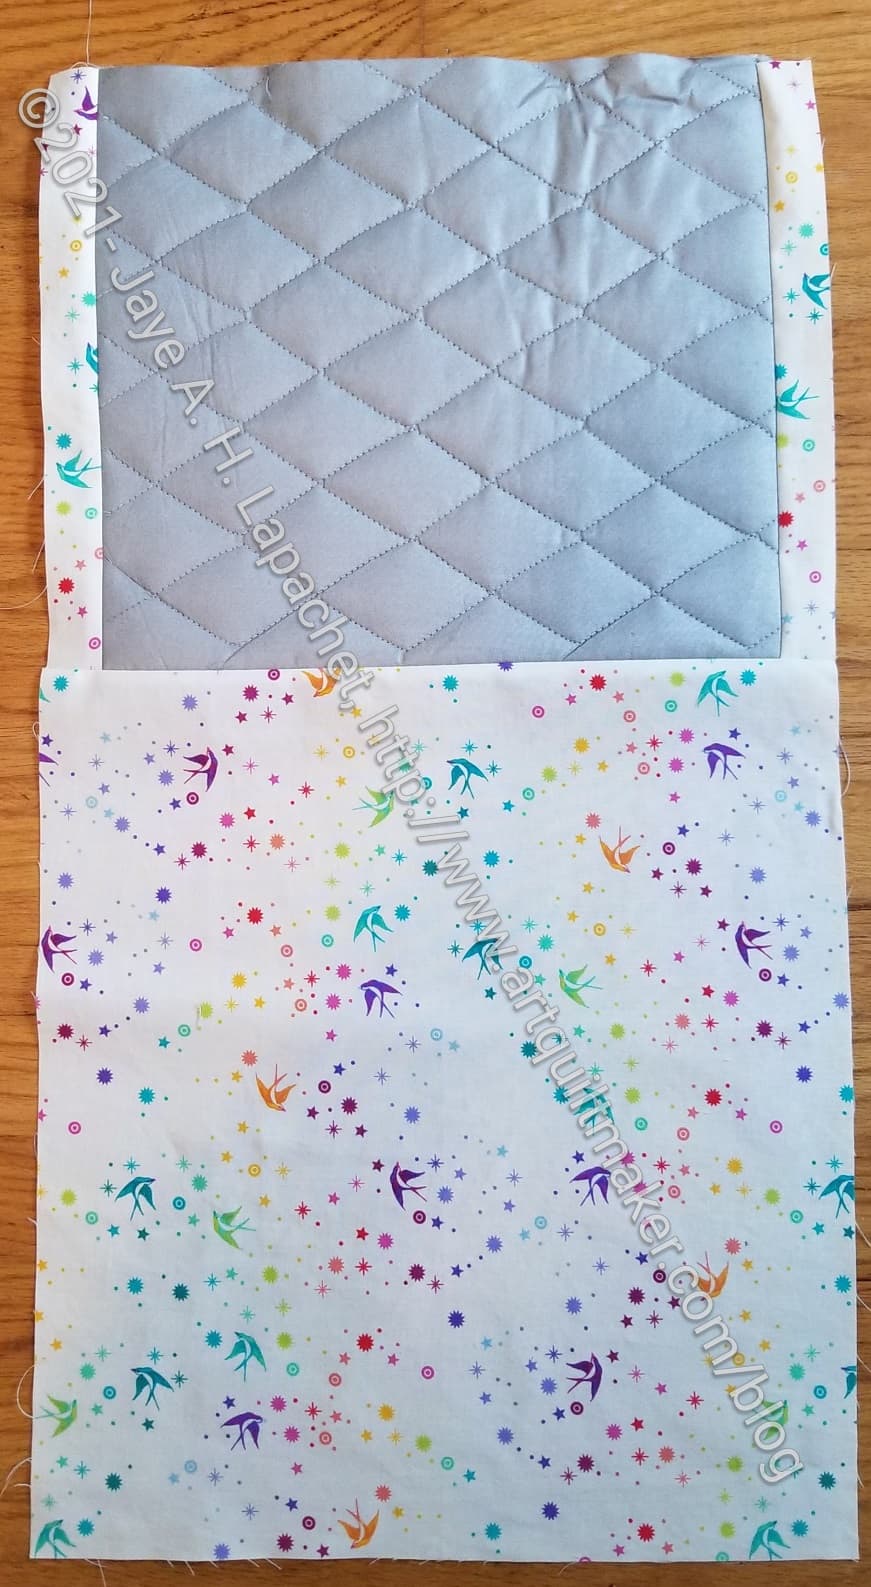
UCAB Exterior
Another task was to finish the exterior. I sewed the three parts together (back, front and bottom), which was pretty easy. I did have some trouble with the pleather bottom sticking to my machine’s bed. I held up both edges and kept as much of it off the machine bed as I could. Then I sort of shoved it through, but will need to rethink that strategy in the future. It doesn’t make for nice stitching.
Laid out like the photo left doesn’t do anything for the overall look of the bag, but you know how it is. It always looks worse before it looks better.
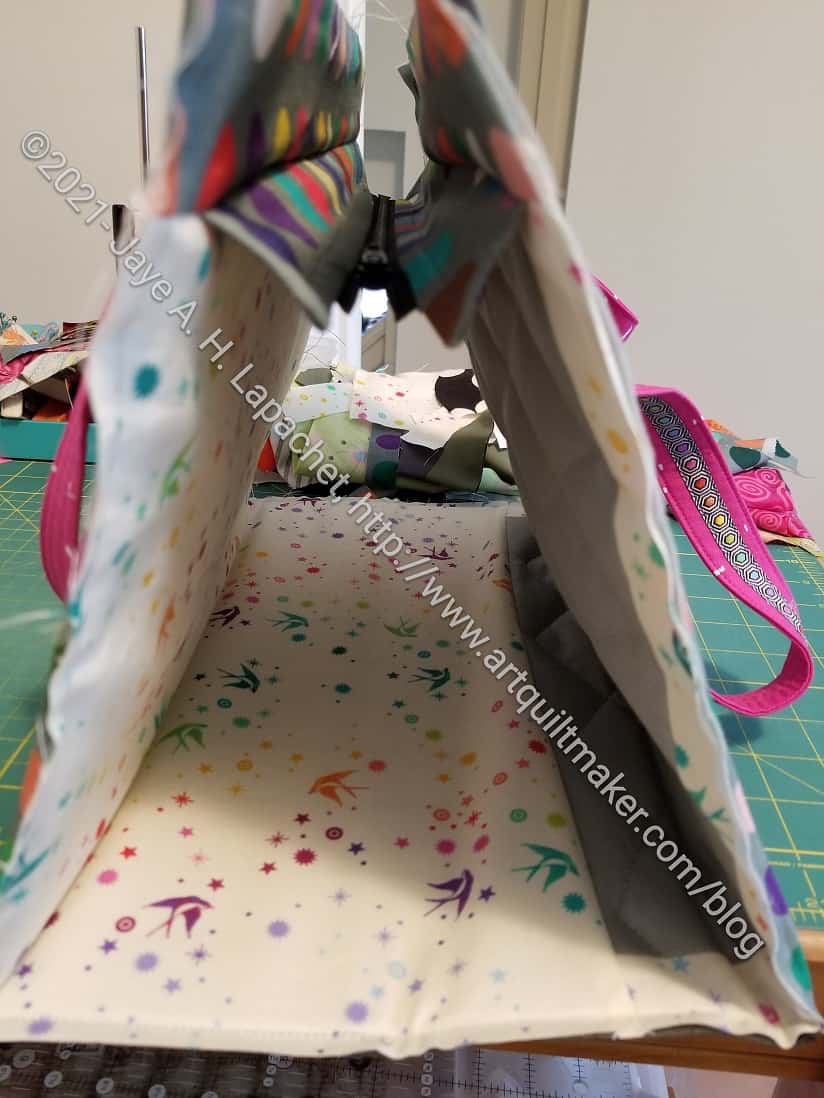
UCAB Exterior – standing up
I wanted the bottom to be flat, so I sewed two layers of Peltex to the pleather – kind of like quilting it. I was careful to keep the Peltex away from the edges so that the edges wouldn’t be too thick. I don’t know if that strategy will work, but it seems to be flatter than I could have hoped.
To encourage the bottom get into (and stay into) the right shape I thought of sewing a seam along the edges where the front and back fold up. The ironing pad extends into the bottom of the bag, so sewing a seam would create a bump. If I want to do that, I’ll probably need to omit the ironing pad.
I also cut out the sides (from a template) and put those together. They are an odd shape, so I used scissors. I also pressed the folds into the places where the pockets will be inserted.
I got a fair amount done, but didn’t finish. Progress! Not finished, but progress.
Joelle quilted and bound this second of the Pop Parade donation quilts. I finished it in July, so the finish was relatively quick. Thanks, Joelle!!!
As you may remember, I added the large dark red batik fabric (left) with the yellow dots to round the variety of fabrics I had for the X Quilt. I am pleased the quilt is done, but I am also pleased that I finally used this bundle of fabrics. This is a great example of why a person should use the fabrics when they buy them. I loved these fabrics when I bought them and loved them a lot less when I finally used them. I don’t dislike them and I am very pleased with the quilts I finished.
I made some progress last weekend on the Ultimate Carry All Bag. Shocking, I know. I was spurred on by finishing the STBs, not having my design walls available and by talking with Lynette at Sew Day. Mostly, I am also determined to get this *&^% project off my to do list.
As you might remember, I am making one as a gift. That one is farther along, because all the pieces are cut. I have been cutting the pieces as I go along for this one and I didn’t cut the pieces for the zipper yet.
Sometime ago, I decided to use some fake leather I bought for the bottom, so I want able to use that piece to put the exterior together.
I am still trying to decide whether I will put an ironing pad in this one. I am not sure I will use it, but it seems like a good thing to have anyway.
I continue to work on the Yellow Improv. As I work on other projects, I sew bits and pieces together. The piece is almost 20 inches square now. Not big enough yet, but getting there.
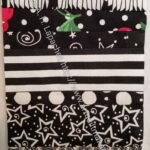
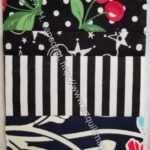
These quilts are all made from the edges that are cut off of other quilts as they are being squared up. Sometimes I make the backs larger than needed so I get some large-ish pieces back. Those pieces are hard to store, so making some donation quilts out of them is a good idea.
Ends (n.1) – see more information – this is the top that started it all!
You could also put scraps together into strips, add some background and make one of these. These are very improv-y and there isn’t a pattern. It is a good way to do something good with fabrics I wouldn’t otherwise use.
Slowly but surely this piece is growing. The top section, which I think of as the main piece, is about 20×20 now. I am working on growing the bottom piece to fit on to the top piece. At the moment the bottom piece is made up of 3 different pieces.
I find that I need triangles in these pieces to add interest. The additional, non-yellow, colors add interest, but I find that if I have too many squares and rectangles the eye doesn’t move around as much. In this piece, however, there isn’t much contrast and that helps the eye not linger on the squares and rectangles.
I learned this from the Green Thing, the first top in this series. Those bars, which aren’t even really green, provide a focal point, but I find that the focal point takes away from the rest of the quilt. Good thing I’ll have enough green scraps to make another!
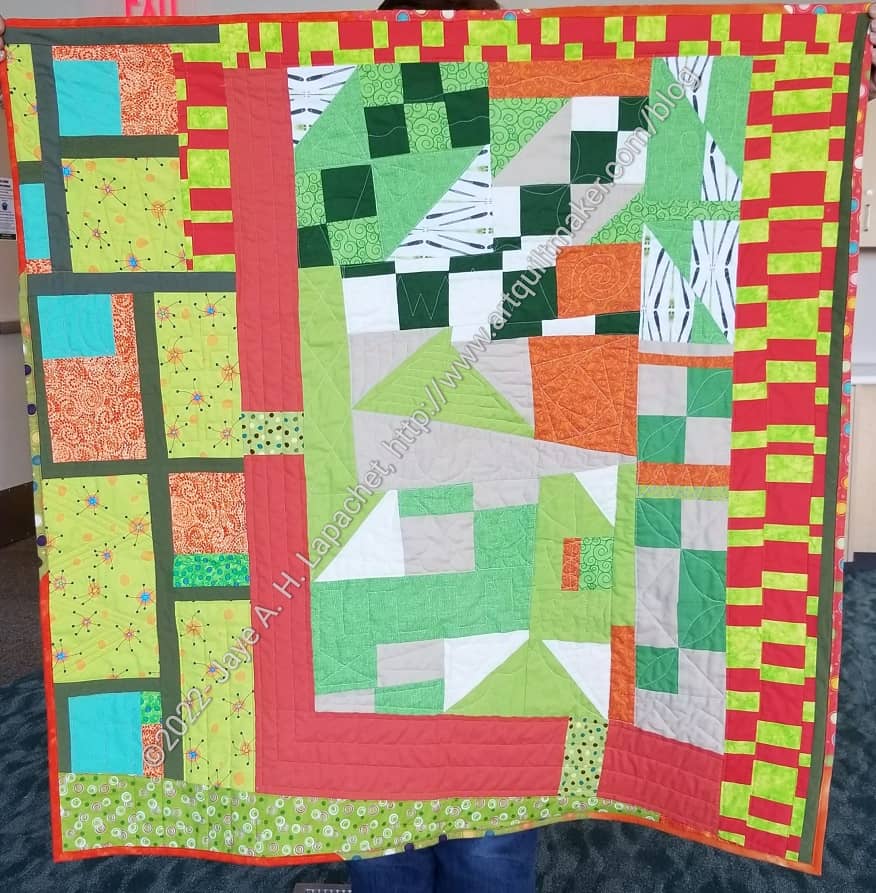
I don’t think this is my best work. there are a lot of disparate elements. Somehow it works. It kind of looks like buildings surrounding a park to me.
I struggled with this piece, because of the green and orange. I don’t sincerely dislike green, but I don’t make it a main color in any of my quilts except the Improv Color quilts. I also like orange, but somehow this was a struggle on which to work.
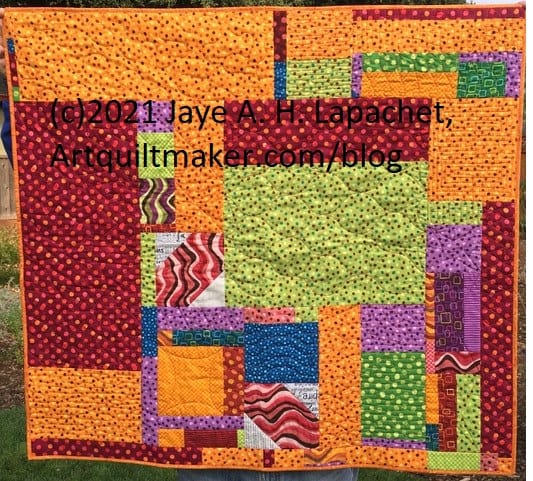
Tim’s Improv Donation Back
The back went relatively fast. I took both pieces to Sew Day and gave them to Peggy and the team for quilting.