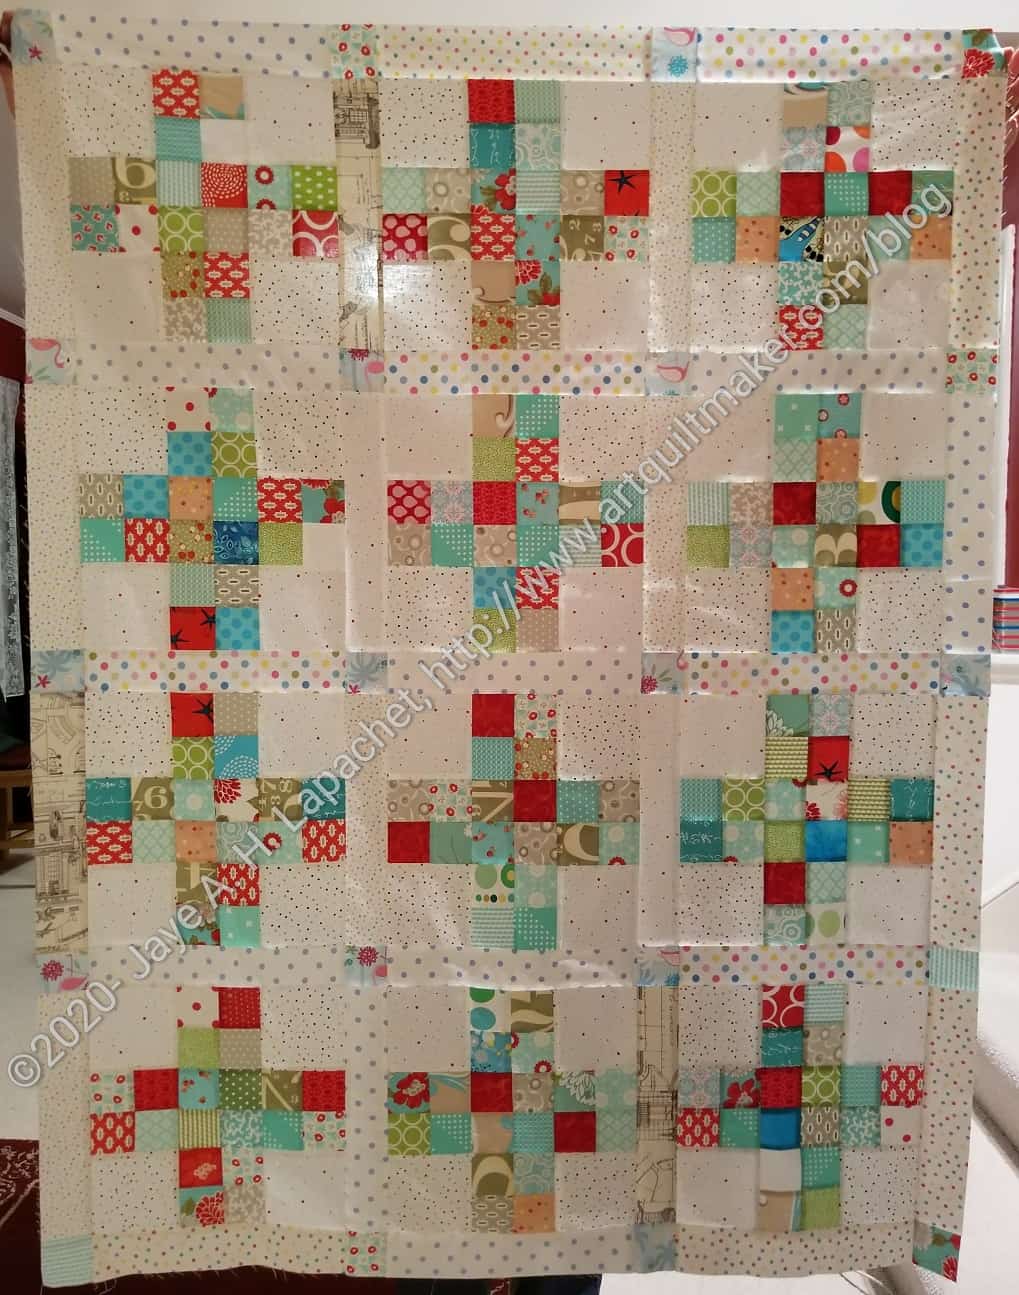
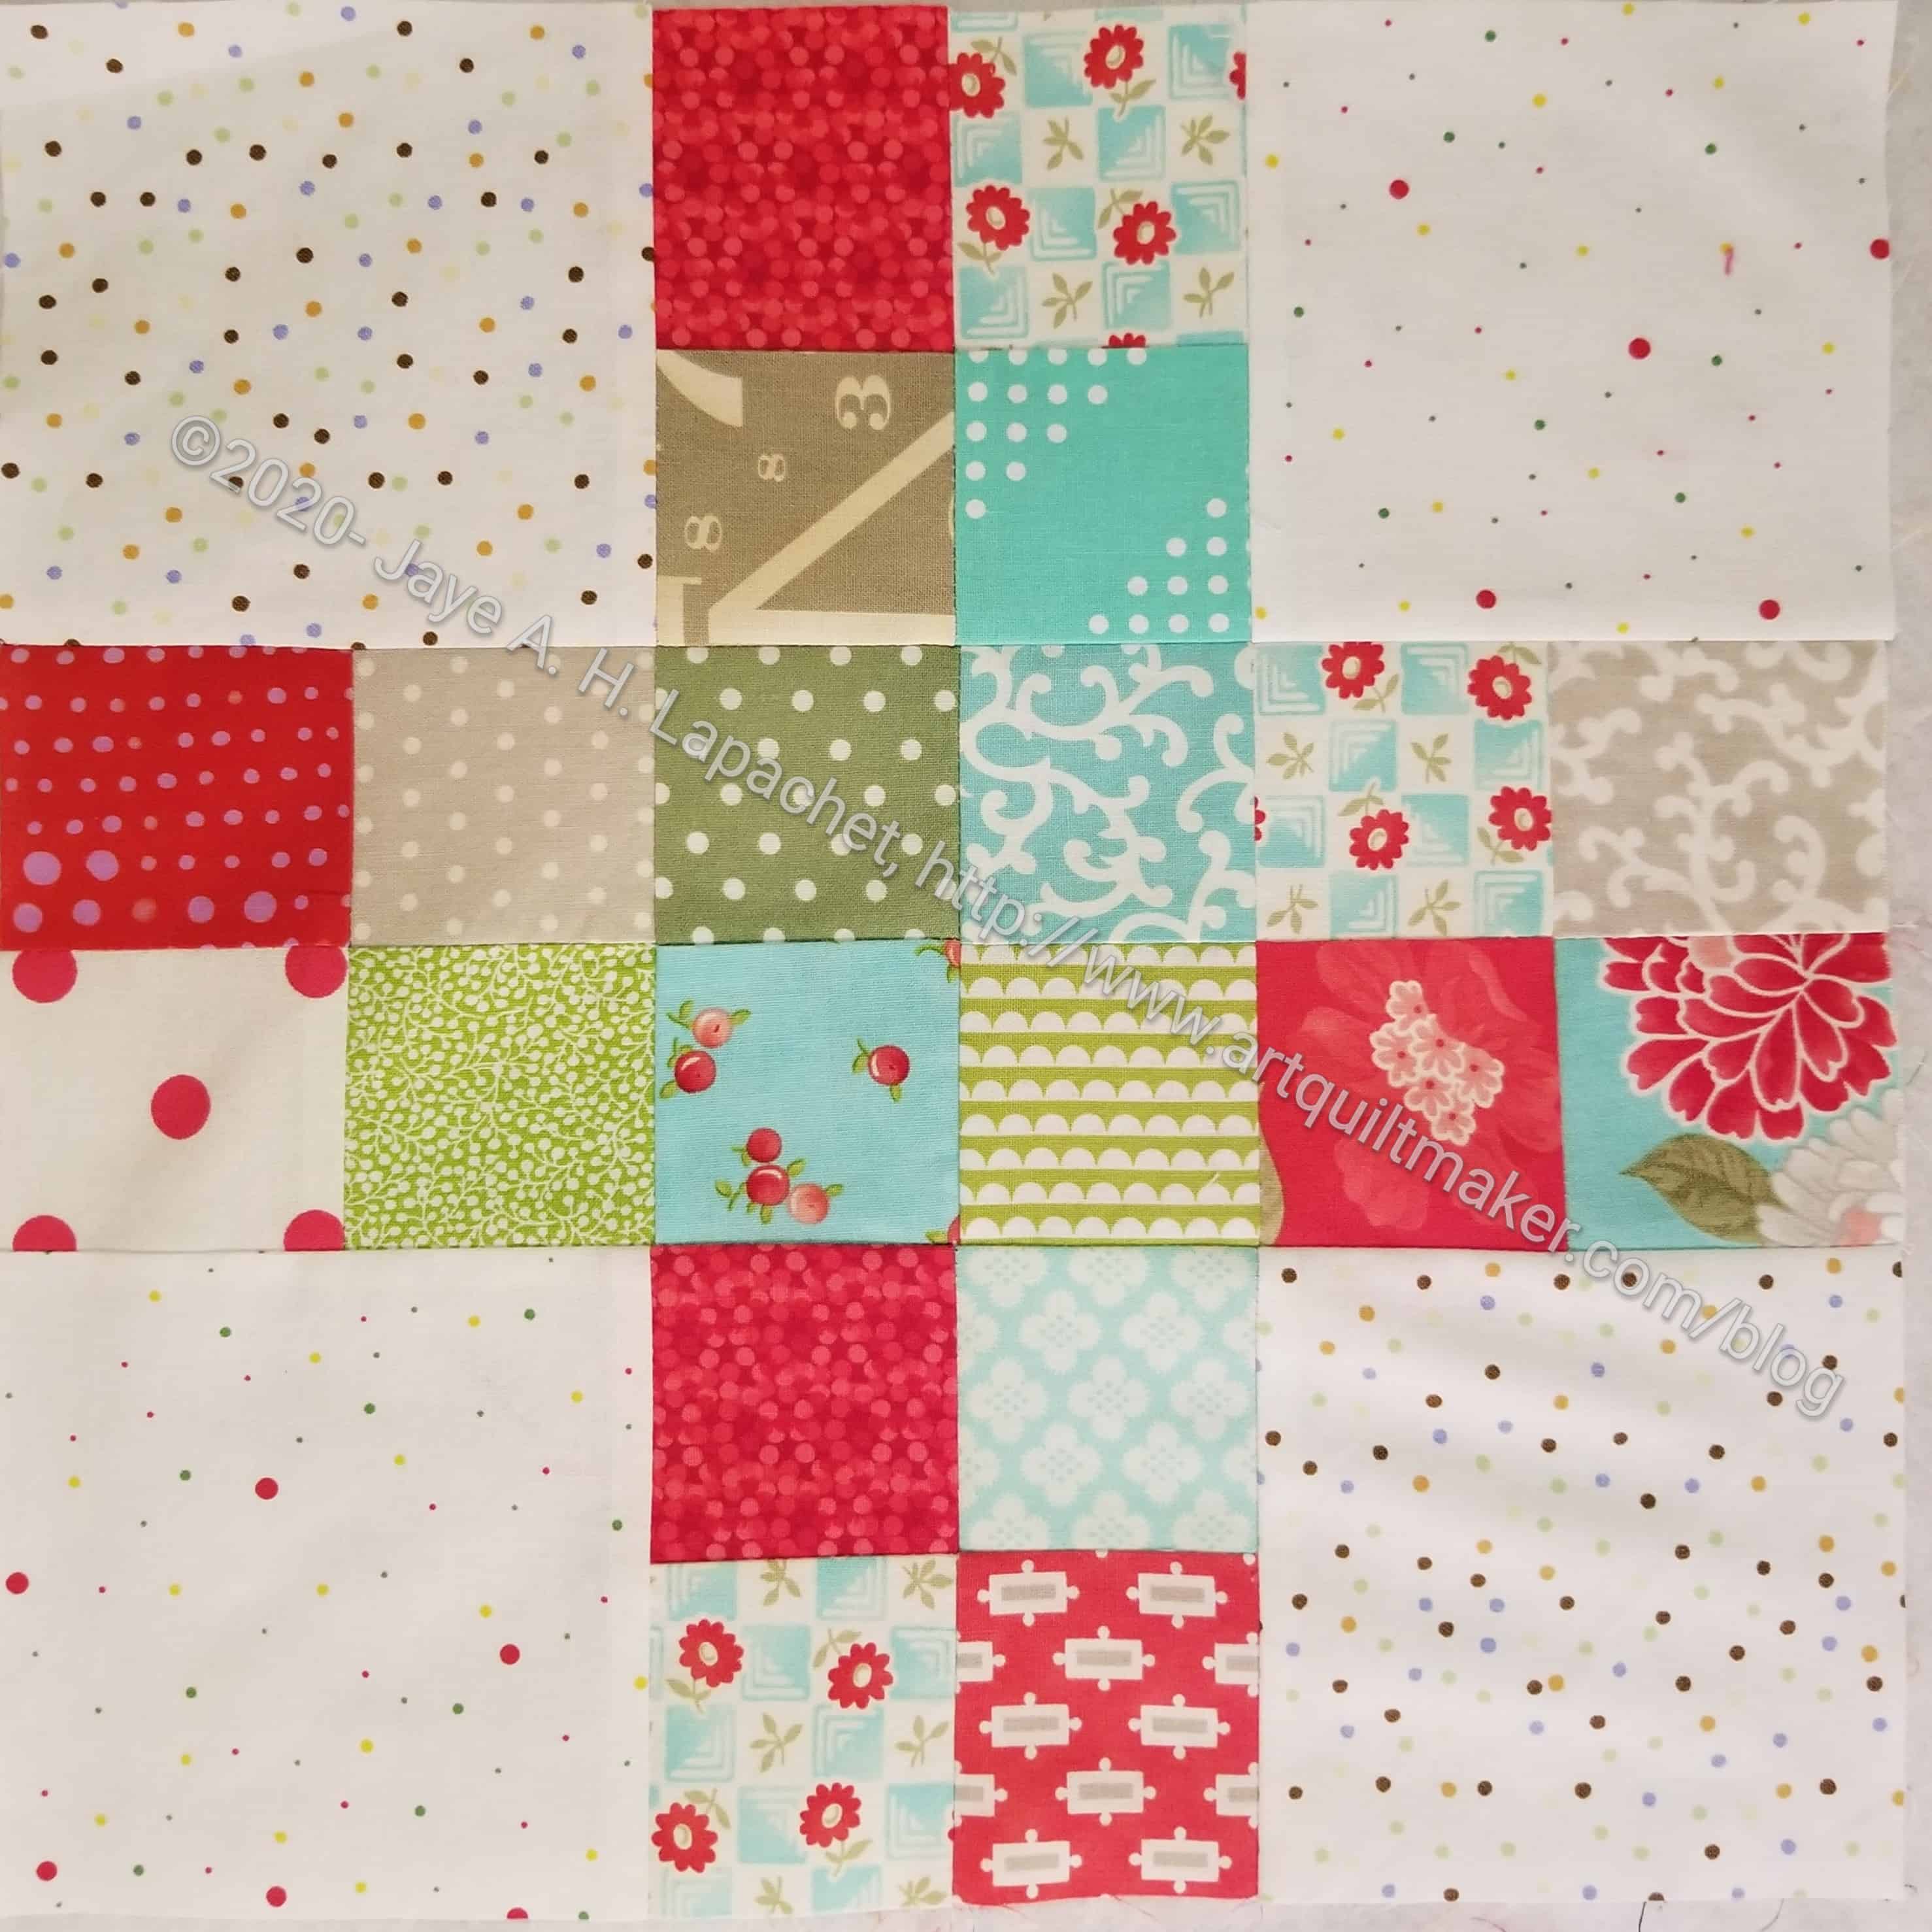
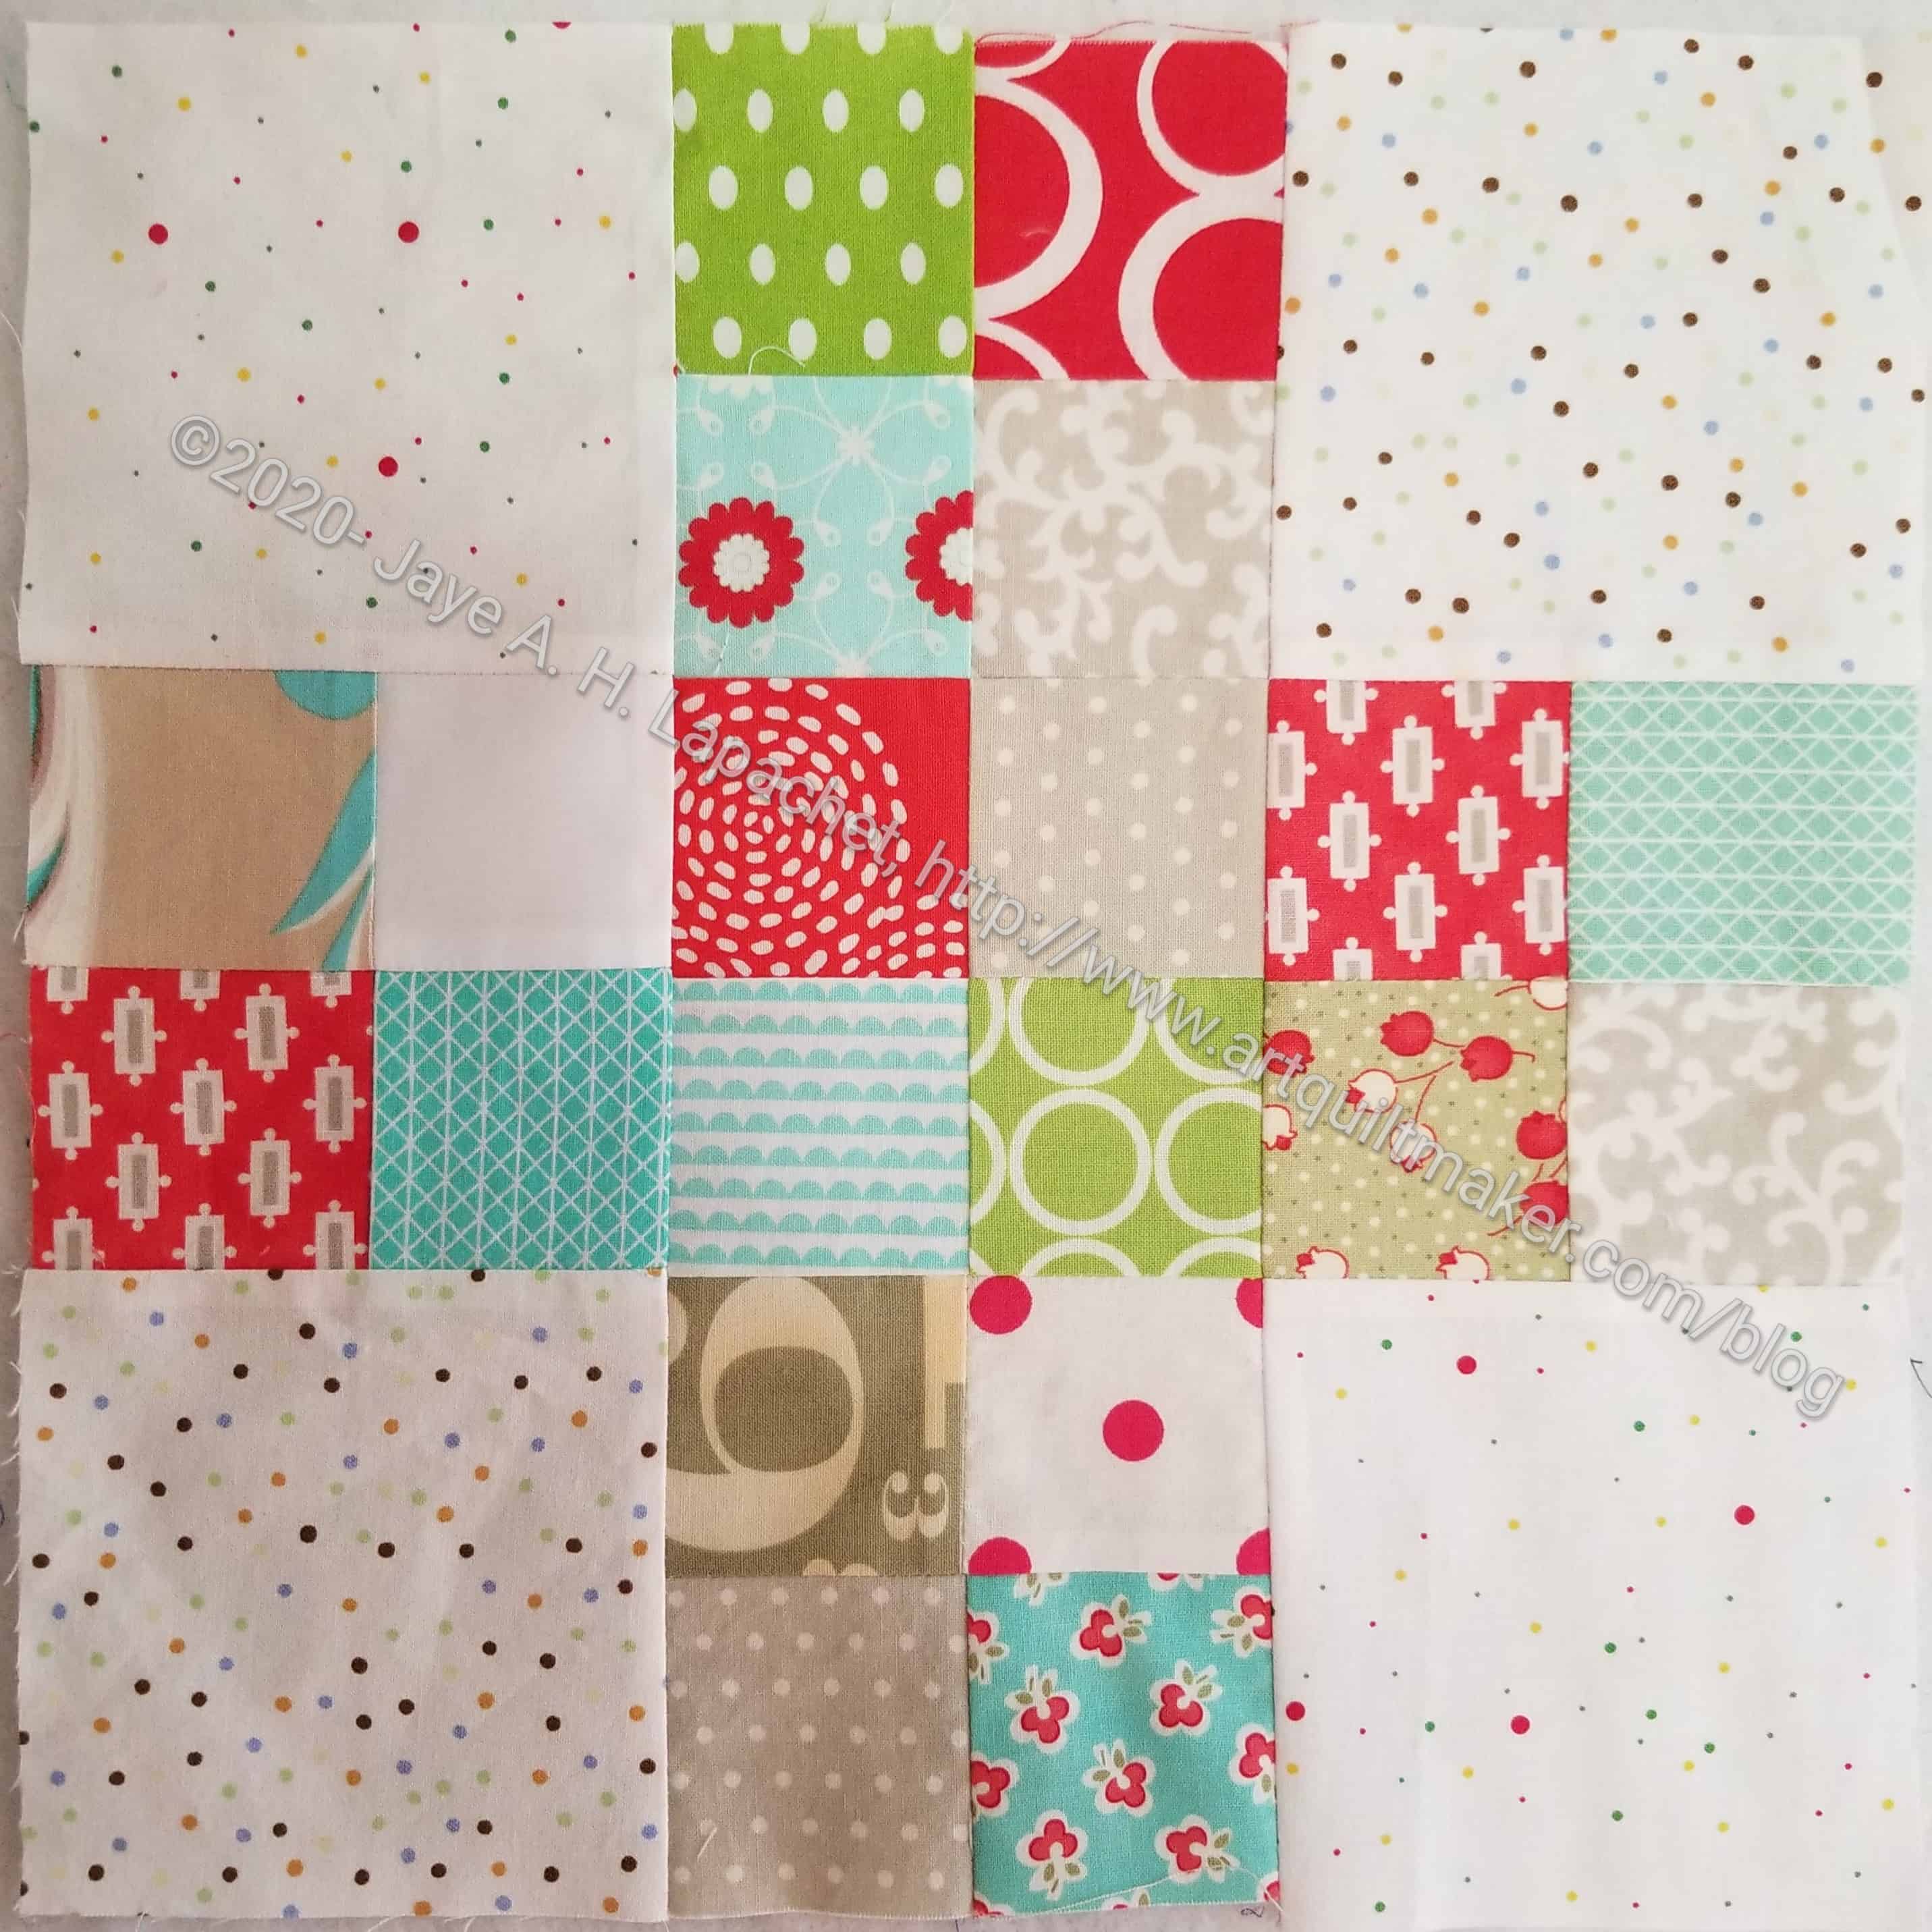
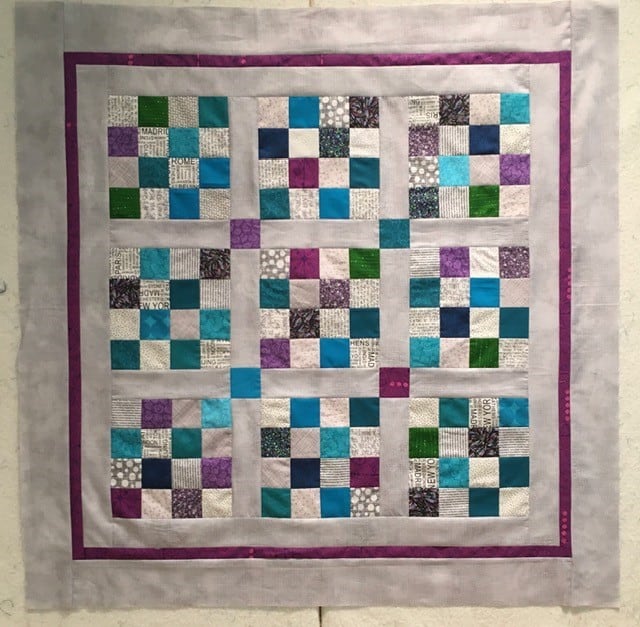
I finally got my act together and put Traffic Jam #2 together. Seeing Peggy churn out donation quilt after donation quilt at the Retreat really kicked me in the backside. I got the blocks out and just started sewing them together. I had to find fabrics for sashing, so I did that and eventually sewed it all together.
I have to make the back, but I can do that this week, then it will be ready to go.
So far, I am ok with the fabrics I chose. I am not 100% sold on the layout, but I am ok with it. I have seen some in the Facebook group that I really don’t like. I don’t sincerely dislike mine, so I can live with it. We’ll have to see.
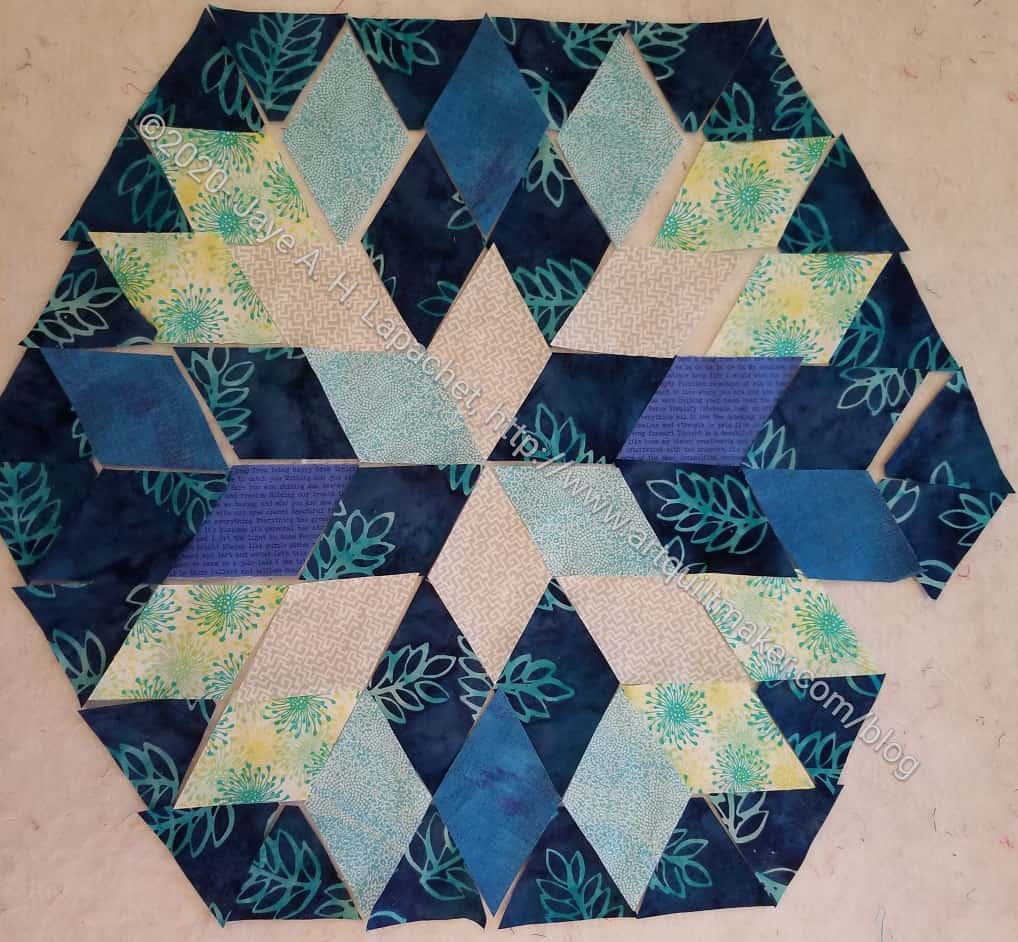
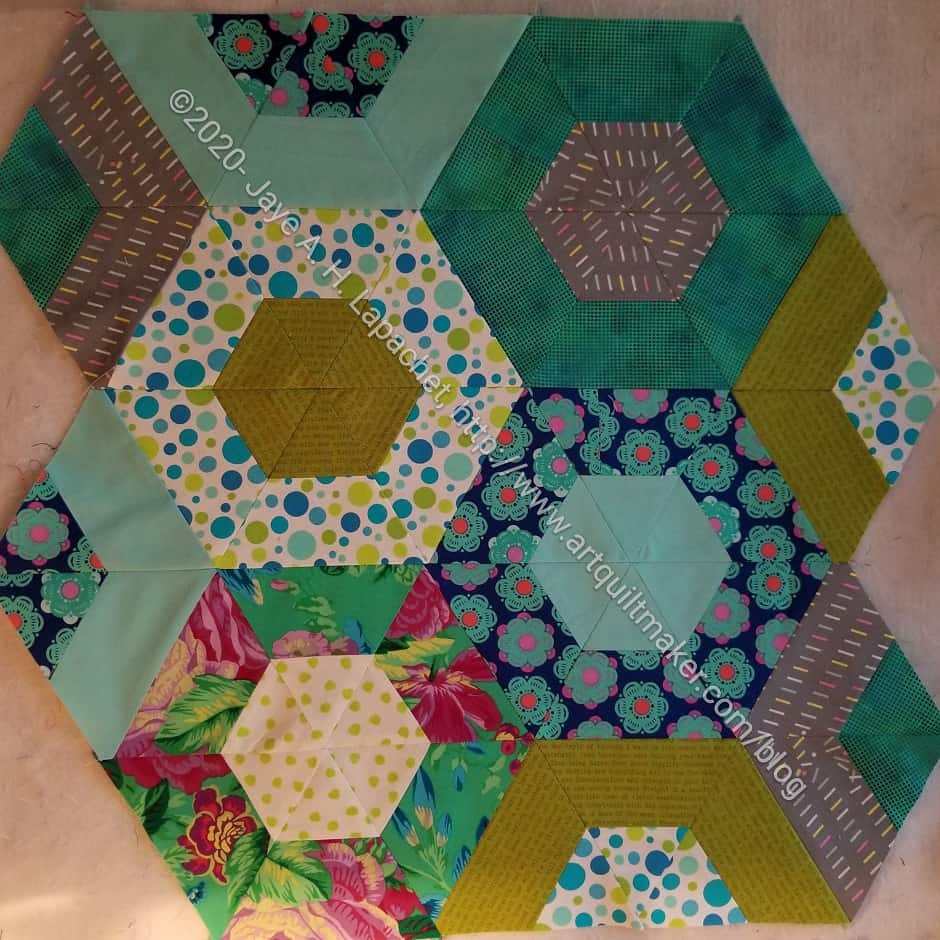
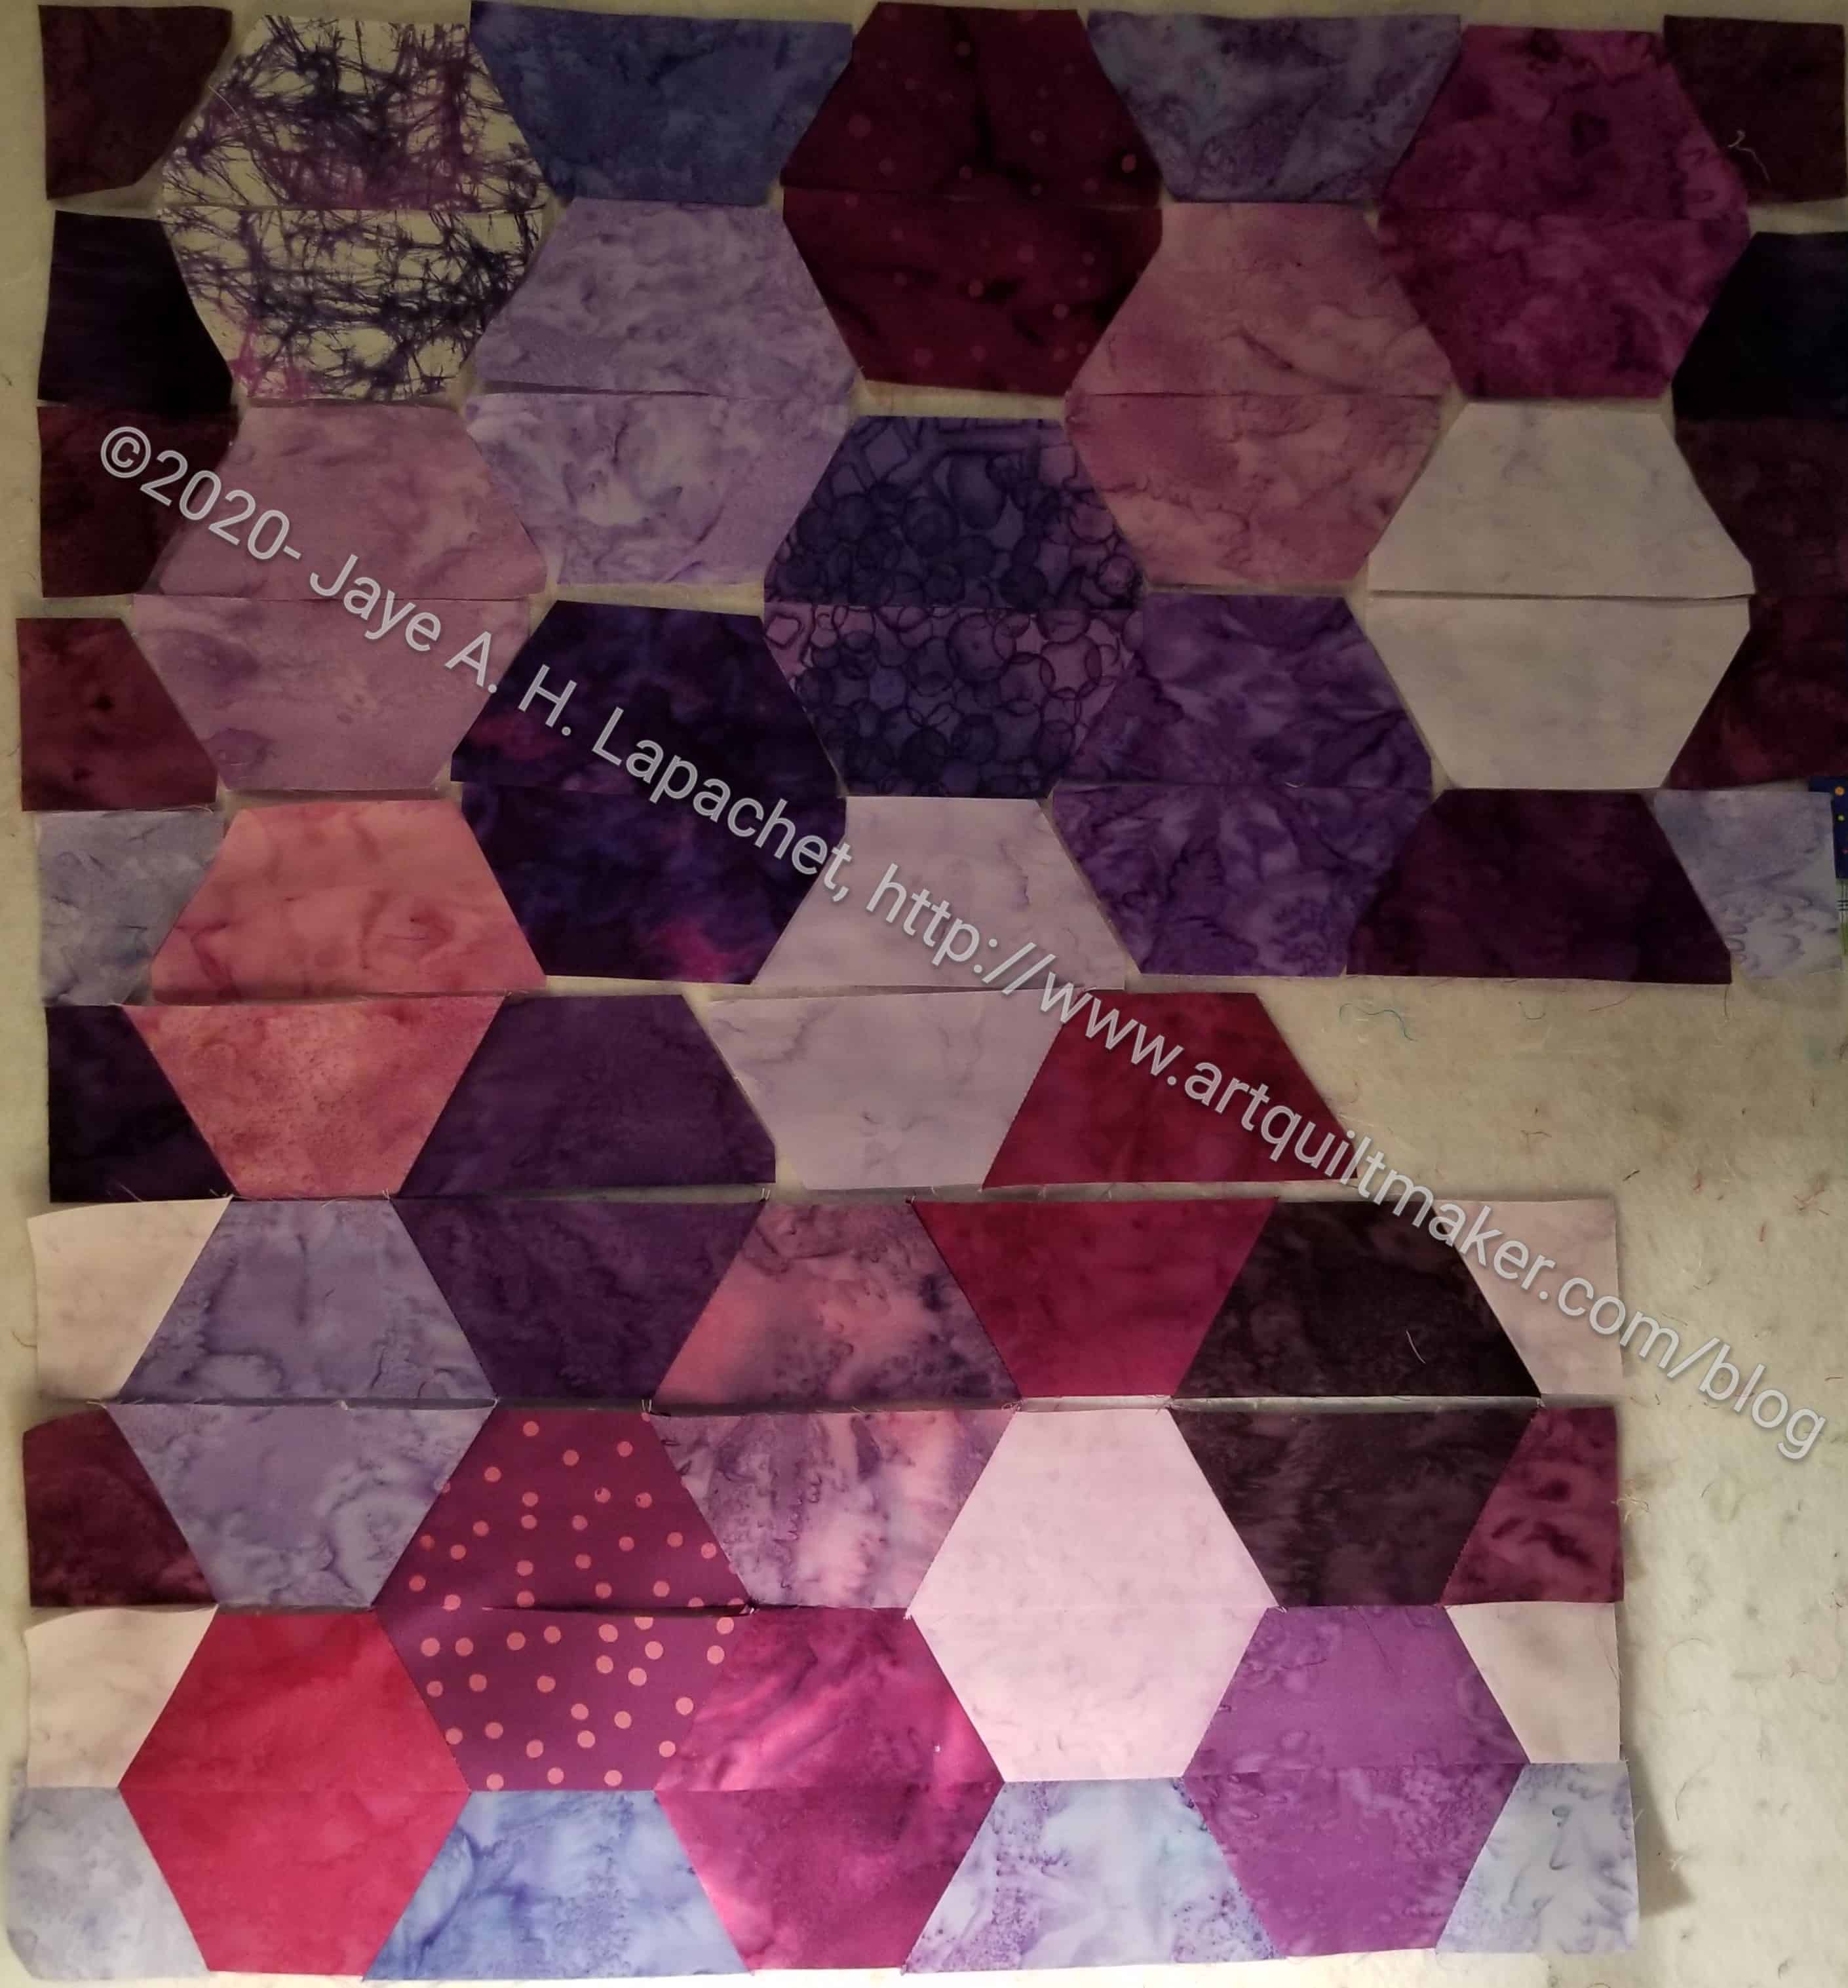
Rock Candy – Pieces cut out
I wasn’t very excited about using the rulers for this project. This project requires the Sidekick or Super Sidekick. The directions said to turn the ruler over and cut from the wrong side at certain points. There are no lines on the wrong side and I worry about the distortion. It seemed to work ok.
I also didn’t like the large size of the Super Sidekick for the small-ish diamonds. Amy didn’t have the Sidekick, as I may have mentioned, and I didn’t want to buy it so I had to suck it up. I did try the Creative Grids Lazy Angle ruler she included. I tried it as it is smaller and fits my hand better. Unfortunately, I couldn’t figure out how to use it for cutting these diamonds with the Jaybird pattern. It is configured a little differently and its use wasn’t intuitive. C’est la vie.
According to the schedule, I don’t have to start sewing until Tuesday, but I may sew it together any way. We’ll see.
**I use affiliate links and may be paid for your purchase of an item when you click on an item link in my post. There is no additional cost to you for clicking or purchasing items I recommend. I appreciate your clicks and purchases as it helps support this blog.
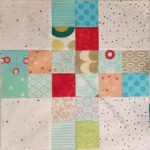
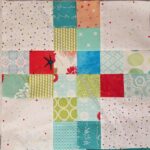
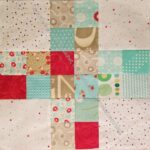
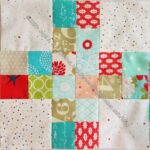
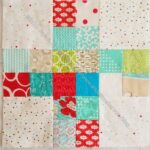
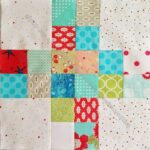
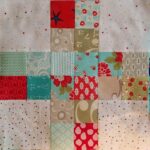
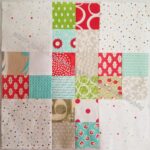
I have all of the Traffic Jam #2 blocks done. That doesn’t mean I am able to show you them all, but most are available for viewing. Somehow I am missing 5 of the blocks
Traffic Jam 2- Block #11
Traffic Jam 2- Block #10
Traffic Jam 2- Block #9
Traffic Jam 2- Block #8
Traffic Jam 2- Block #7
Traffic Jam 2- Block #4
Traffic Jam 2- Block #5
Traffic Jam 2- Block #6
Traffic Jam 2- Block #3
Traffic Jam 2- Block #2
Traffic Jam 2- Block #1
Now I need to find some sashing fabric and put the top together. I think I’d like to try making one of these tops with a darker background. Not necessarily black, but with a color rather than just white.
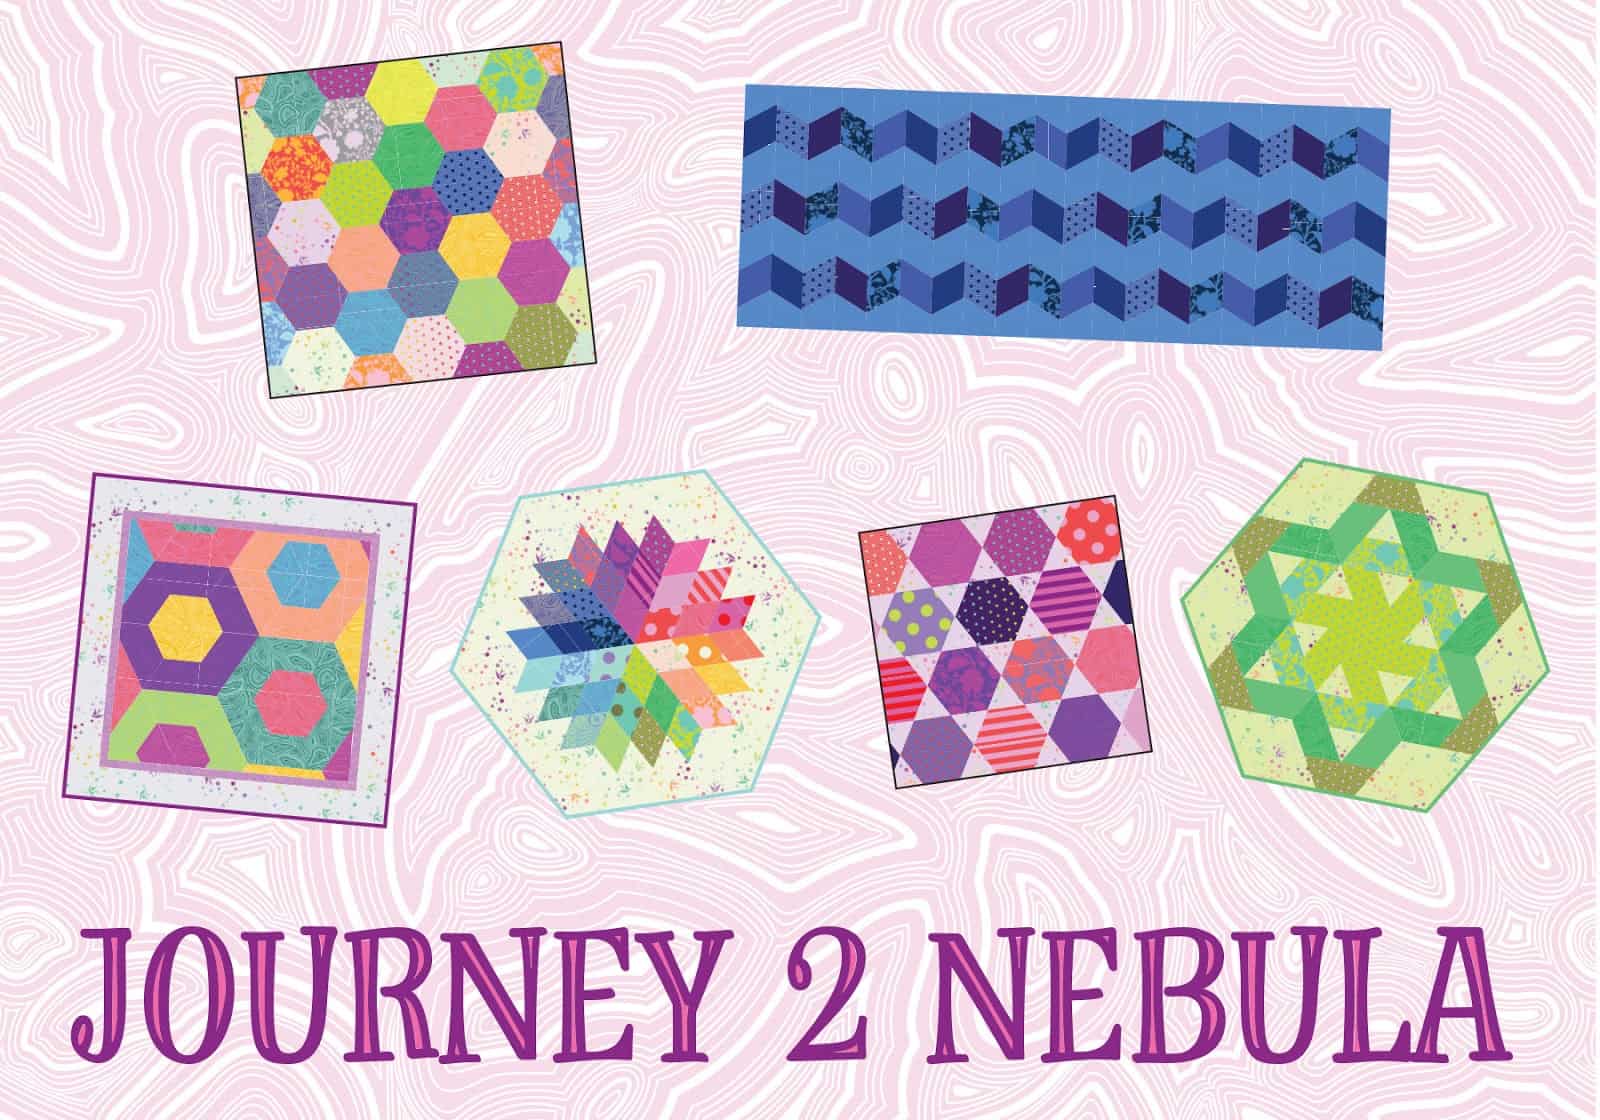
I worked hard on the next Journey2Nebula project and made good progress over the weekend. Surprisingly, we had two social activities, so I couldn’t spend all weekend sewing.
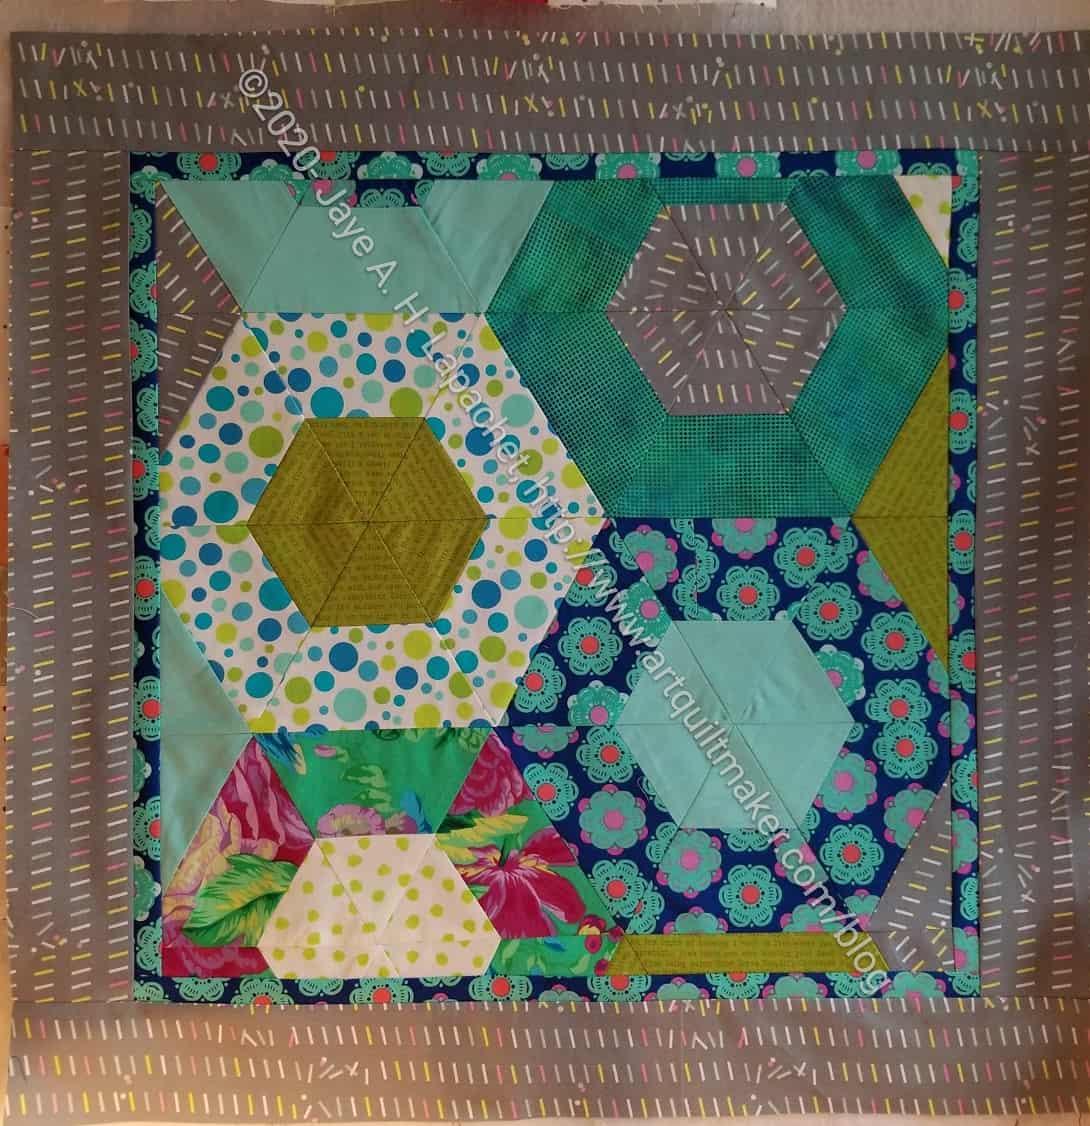
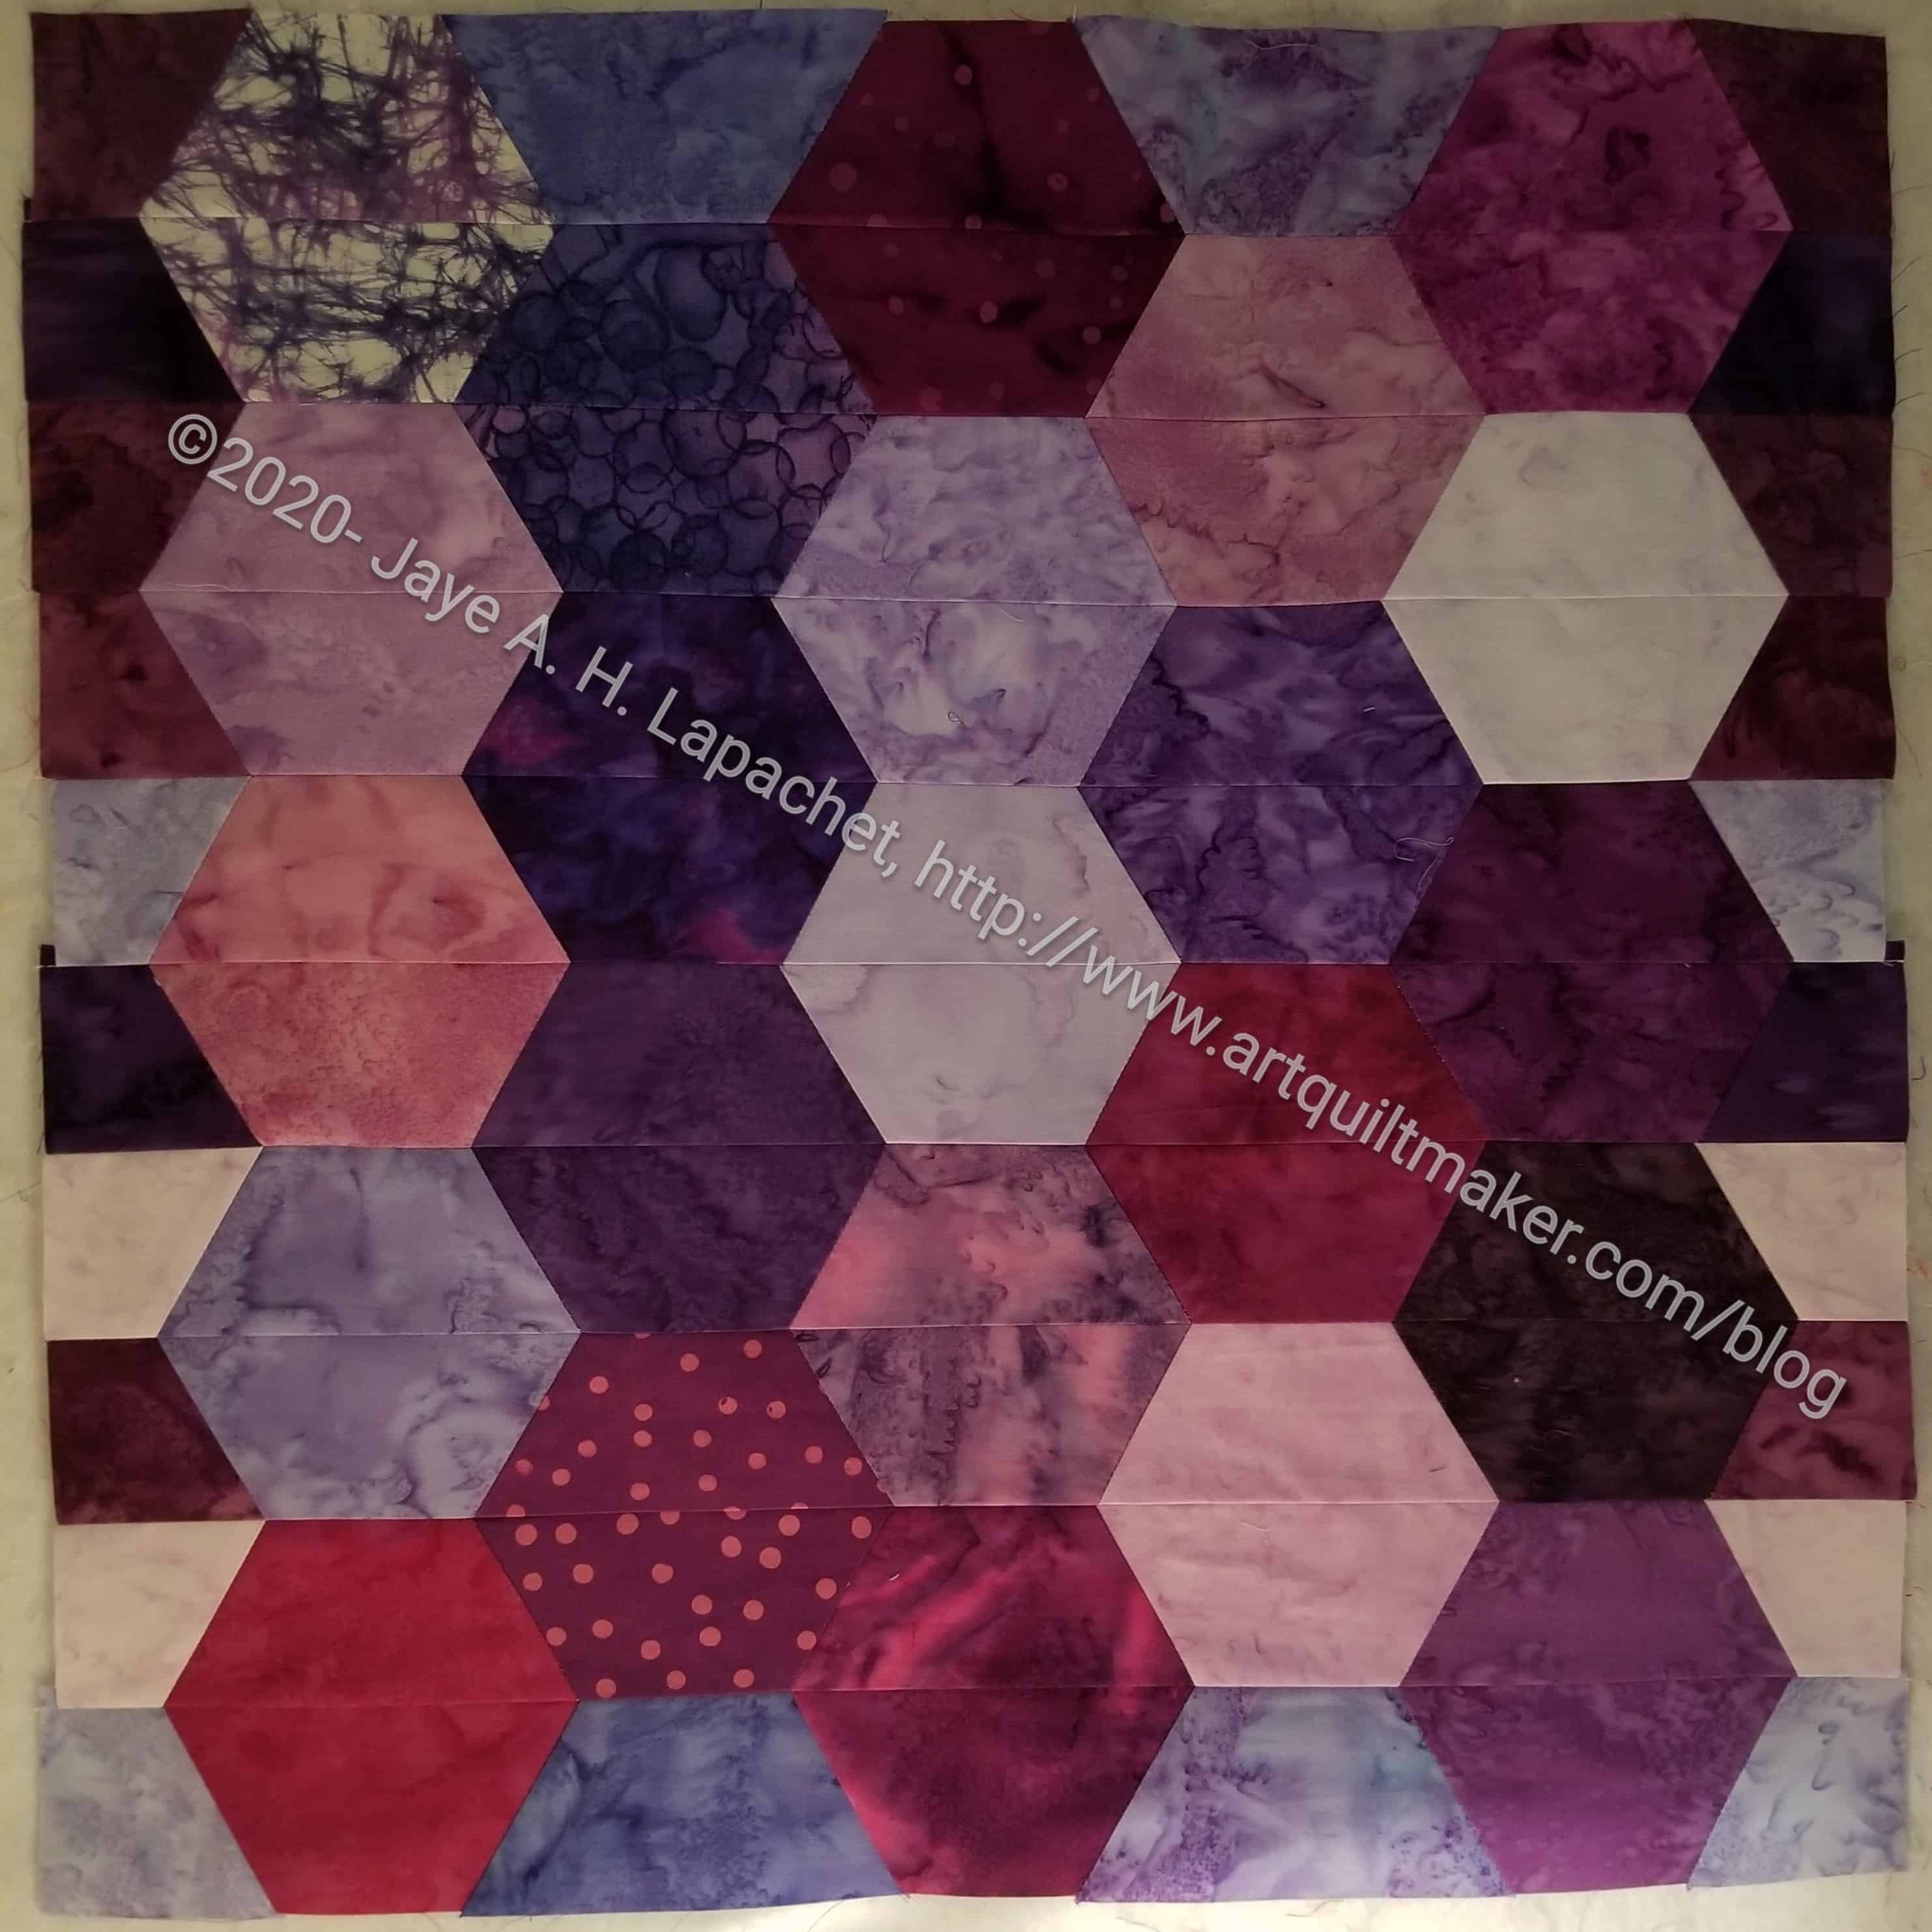
Jawbreaker Pillow Top
This project is turning out better than I thought it would. I don’t mind the greens too much and think they will be ok for my niece.
This post should have really been the first one I wrote about the Catch All Caddy class. I should have posted it before the Baseball Catch All Caddy post. I realized that my mom, to whom I planned to gift it, reads my blog and I wanted it to be a surprise.
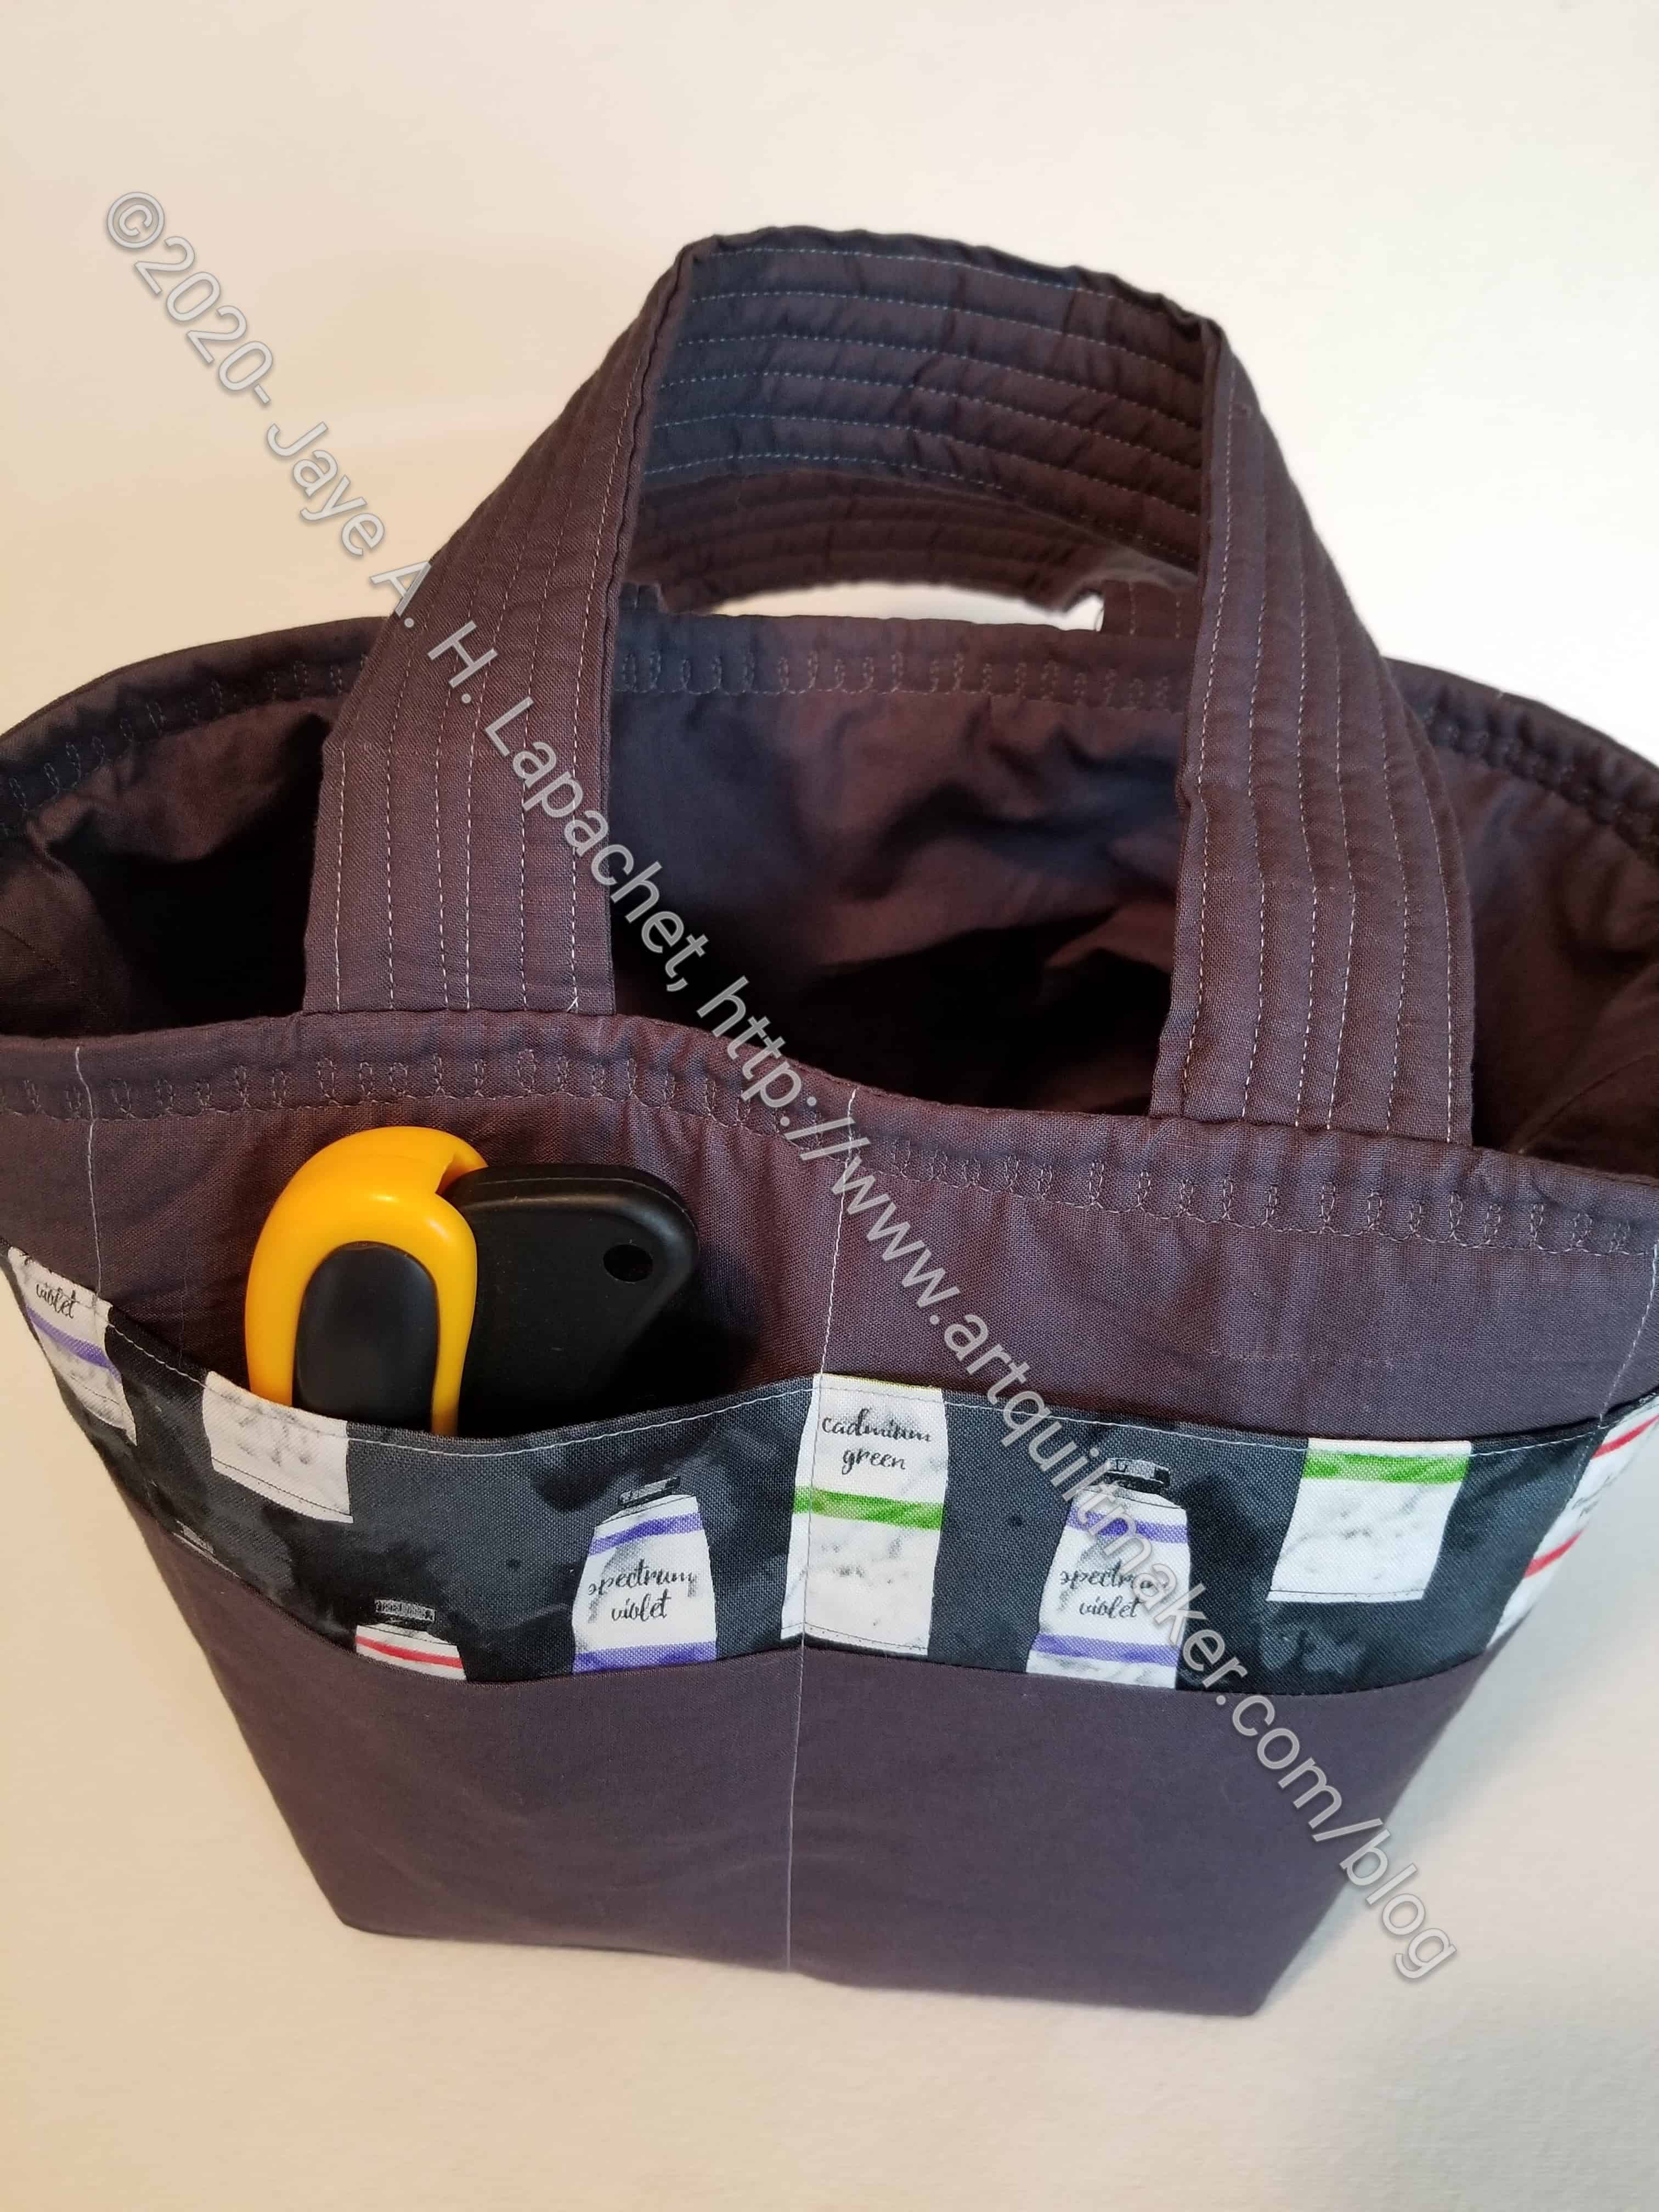
Paint Tube Catch All Caddy
As mentioned in the Baseball Catch All Caddy, this was the project from my first Zoom class and I really liked the pattern. Lynette taught the class and she did a great job. I was impressed with her overhead camera set up (she used her iPad on a tripod). I need to figure out that kind of setup for when I teach. Things take time.
I used the color scheme of the original, because I really like that slate grey. I used a Cotton Couture solid from Michael Miller. It was easy to work with, though I didn’t like the fact that the holes where the basting stitches had been showed even after I took them out.
Instead of making a scrappy border for the pocket, I used one piece of fabric. It is the paint tube fabric that goes with the set of bags and holders I am making for my mom. I was actually glad to add this one to the group, because I am running out of useful bags to make for her. She really liked t he bag and thought she might use it to carry a project between her recliner and her sewing room
Paint Tube Catch All Caddy
The bag went together pretty easily, which was why I could make two in one day, though I did cut the fabric for this one the day before the class.
I kind of like the simplicity of the bag and the opportunity to highlight favorite fabrics or scraps on the pocket border. I was thinking that I could use ribbon as well. I have some of that Renaissance Ribbon and this project would be a good way to highlight some of it.
I had some trouble with the lining, but was able to fix it when I closed the turning hole. I don’t think Mom will mind.
I worked on the Jawbreaker pillow top over the weekend in between working on my donation projects. The Journey2Nebula video for this week’s piecing is available. I didn’t wait for it as I had time and want to keep progressing. Also, I have done this kind of piecing before and will do it when I eventually make the Spin Wheel quilt. I have done this kind of piecing before.
Jawbreaker pillow top
I should have pressed the way I normally press rather than pressing open partly and pressing to the side partly. I worked out the issues, but bouncing between the two methods wasn’t helpful. My fault.
I think the piece looks good and I will probably be able to finish it this weekend, so I can stay on track with the series.
I was annoyed again at the partial blocks, but watching the video made me understand Julie Herman’s thinking about the design choices. I may even follow the rest of the pattern!
I finished piecing the front of the Lucky Charm Pillow cover a few days ago and am getting ready to baste (bleah!) and quilt.
Sewing the half hexies together was not that difficult, but I didn’t enjoy it. I don’t enjoy sewing rows together. That is how this project goes together, so I had to do it that way. When I sat down and focused, it really only took me less than an hour. I was slightly hampered by trying not to hit the edge of my sewing table with my boot, otherwise the process was smooth.
Lucky Charm pillow top completed
This isn’t a project I would make again, but the whole ‘getting to know the Jaybird rulers’ is a good experience.
I am feeling guilty about the Blue Improv Donation quilt, but somehow I can’t seem to get back to it. My reasoning for working on the Traffic Jam blocks is that I need to get rid of the 2.5″ squares that are preventing me from closing my bin of donation squares.
I’ll get back to the improv quilt eventually. In the meantime, I am using up squares from various Bonnie and Camille lines, mostly.
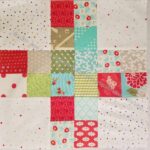
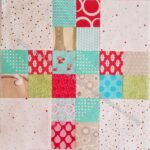
Traffic Jam 2- Block #3
I have been making 4 patches and all of a sudden I am able to put several blocks together. I am going to make at least 9 of these blocks, but perhaps 16, to make a donation quilt. It depends on how many squares I have. I am already running out of red, so I may need to augment that stash a bit. My foot is healing so I may be able to climb upin my fabric closet again. We’ll see.
Even though I am losing interest in this project, I am soldiering on. I decided to do it and I cut the half hexies for this pillow, so I am doing it.
Lucky Charm Sewing
I started sewing the half hexies together despite everything. They are looking pretty good despite my problems with cutting them. With my foot it was a hassle to get up and down to go to the ironing board, but at least I didn’t have to go to the large design wall as well.
I think it is starting to look ok. I have to make it into a pillow soon. I plan to use the Spoonflower instructions for adding a zipper instead of doing the overlapping closure. I think it will look tidier.
First, I started sewing more 16 patch donation blocks with the leftovers from the last Stepping Stones n.2 quilt I made last year. Then I looked at the two most recent 16-patch donation blocks I made and realized that the group of fabrics would make another great Traffic Jam donation quilt.
I made a number of 4 patches and just let them pile up. After awhile, as I was sewing other things, I finally started putting the blocks together. As I may have mentioned, Tim already quilted the last one and this is such a great pattern that I did want to do it again. I wasn’t planning to do it so soon, but here we are.
The leftover 2.5 inch squares from the Stepping Stones n.2 quilt plus some dots are looking fresh and bright. This will have to be another girl quilt, I think, as it doesn’t look very boyish.
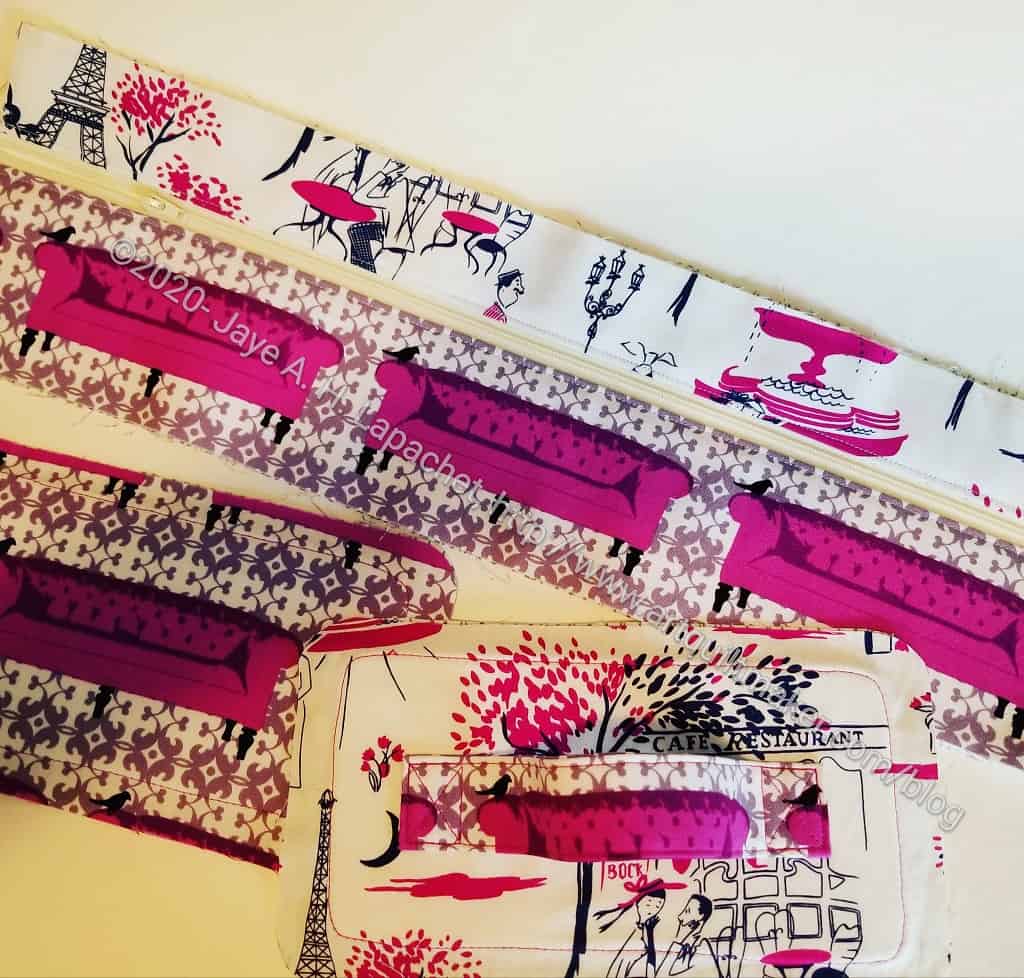
I spent some time over the weekend working on the Mini Maker Case Sew-a-Long with Lillyella. She sent out more instructions on Thursday and some corrections to the pattern. I was behind. I had work to do, and did some, but also wanted to think about some things, so I spent time on Friday catching up.
I normally don’t use a zipper foot, but decided to try it this time as Nicole, of Lillyella, had some good reasons for suggesting it. After breaking a needle and having the zipper foot go disastrously crooked, I ripped out the zipper and put it in again using my quarter inch foot** and a stiletto**. After sewing in the zipper and top stitching it down, I was super pleased with how it looks. It may be the best zipper I have put in EVER. Maybe.
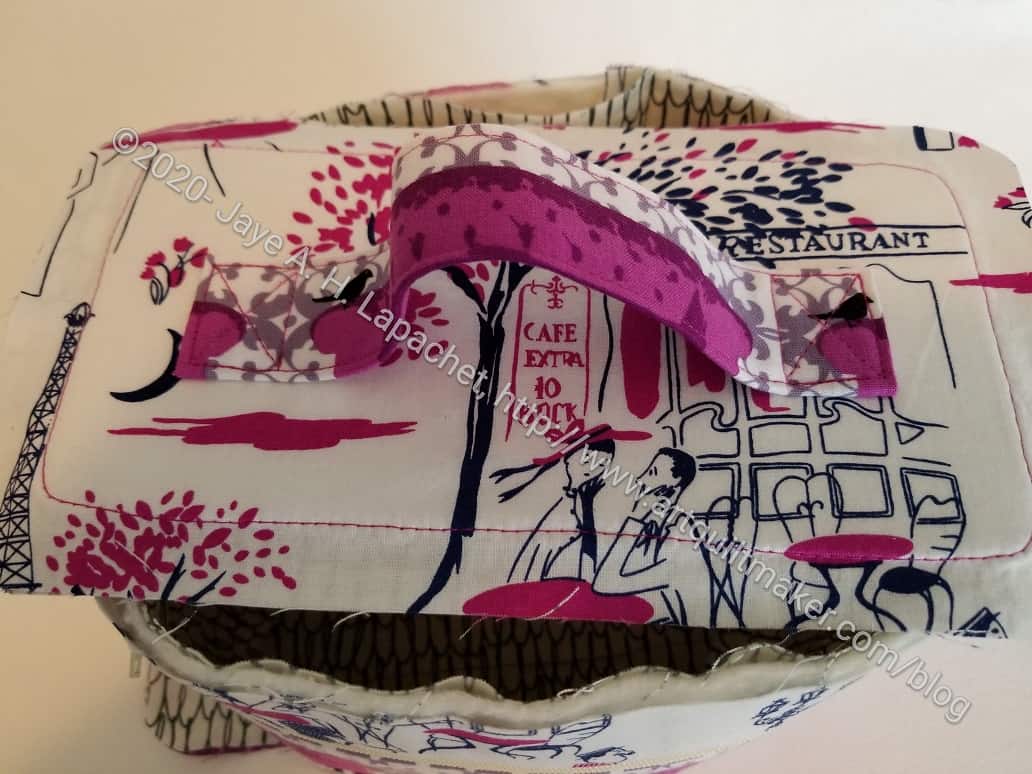
Mini Maker Case – handle detail
The handle was really interesting. I definitely like the look of it, but there were no instructions on holding it in place so it could be sewn. I tried one of the newer super strong Sew Tites**. That worked a little bit, but I had to hold on to it and check the placement until I could get it anchored in place.
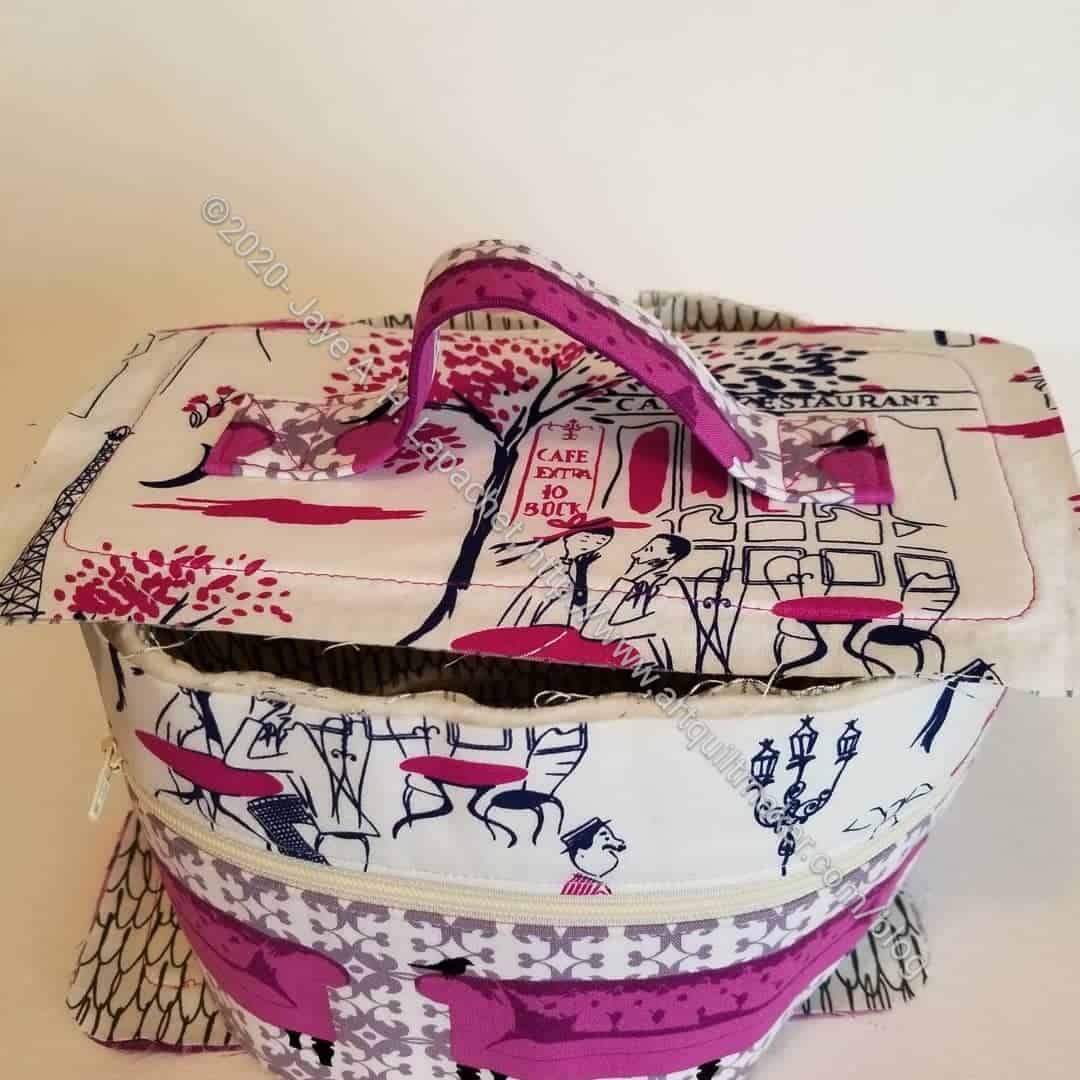
Mini Maker Case – Saturday Progress
On Saturday morning I went to work, having all the flat parts done. The assembly of the body was pretty confusing for me. You know how I am with pattern directions. Again, some ripping went on, but I eventually got the body together.
My next step is to assemble the entire thing. I know I should wait for the SAL, but I may want to keep the momentum going.
**I use affiliate links and may be paid for your purchase of an item when you click on an item link in my post. There is no additional cost to you for clicking or purchasing items I recommend. I appreciate your clicks and purchases as it helps support this blog.
Since it hard for me to access my design wall in the way I like, due to my foot, I decided that I would work on small projects this week. This included the lillyella Mini Maker Case Sew-a-Long. Yes, I am also still doing the Journey2Nebula. I really just want to win the prizes they are offering. Not really, though a little bit. I like the push to keep up and get these projects done.
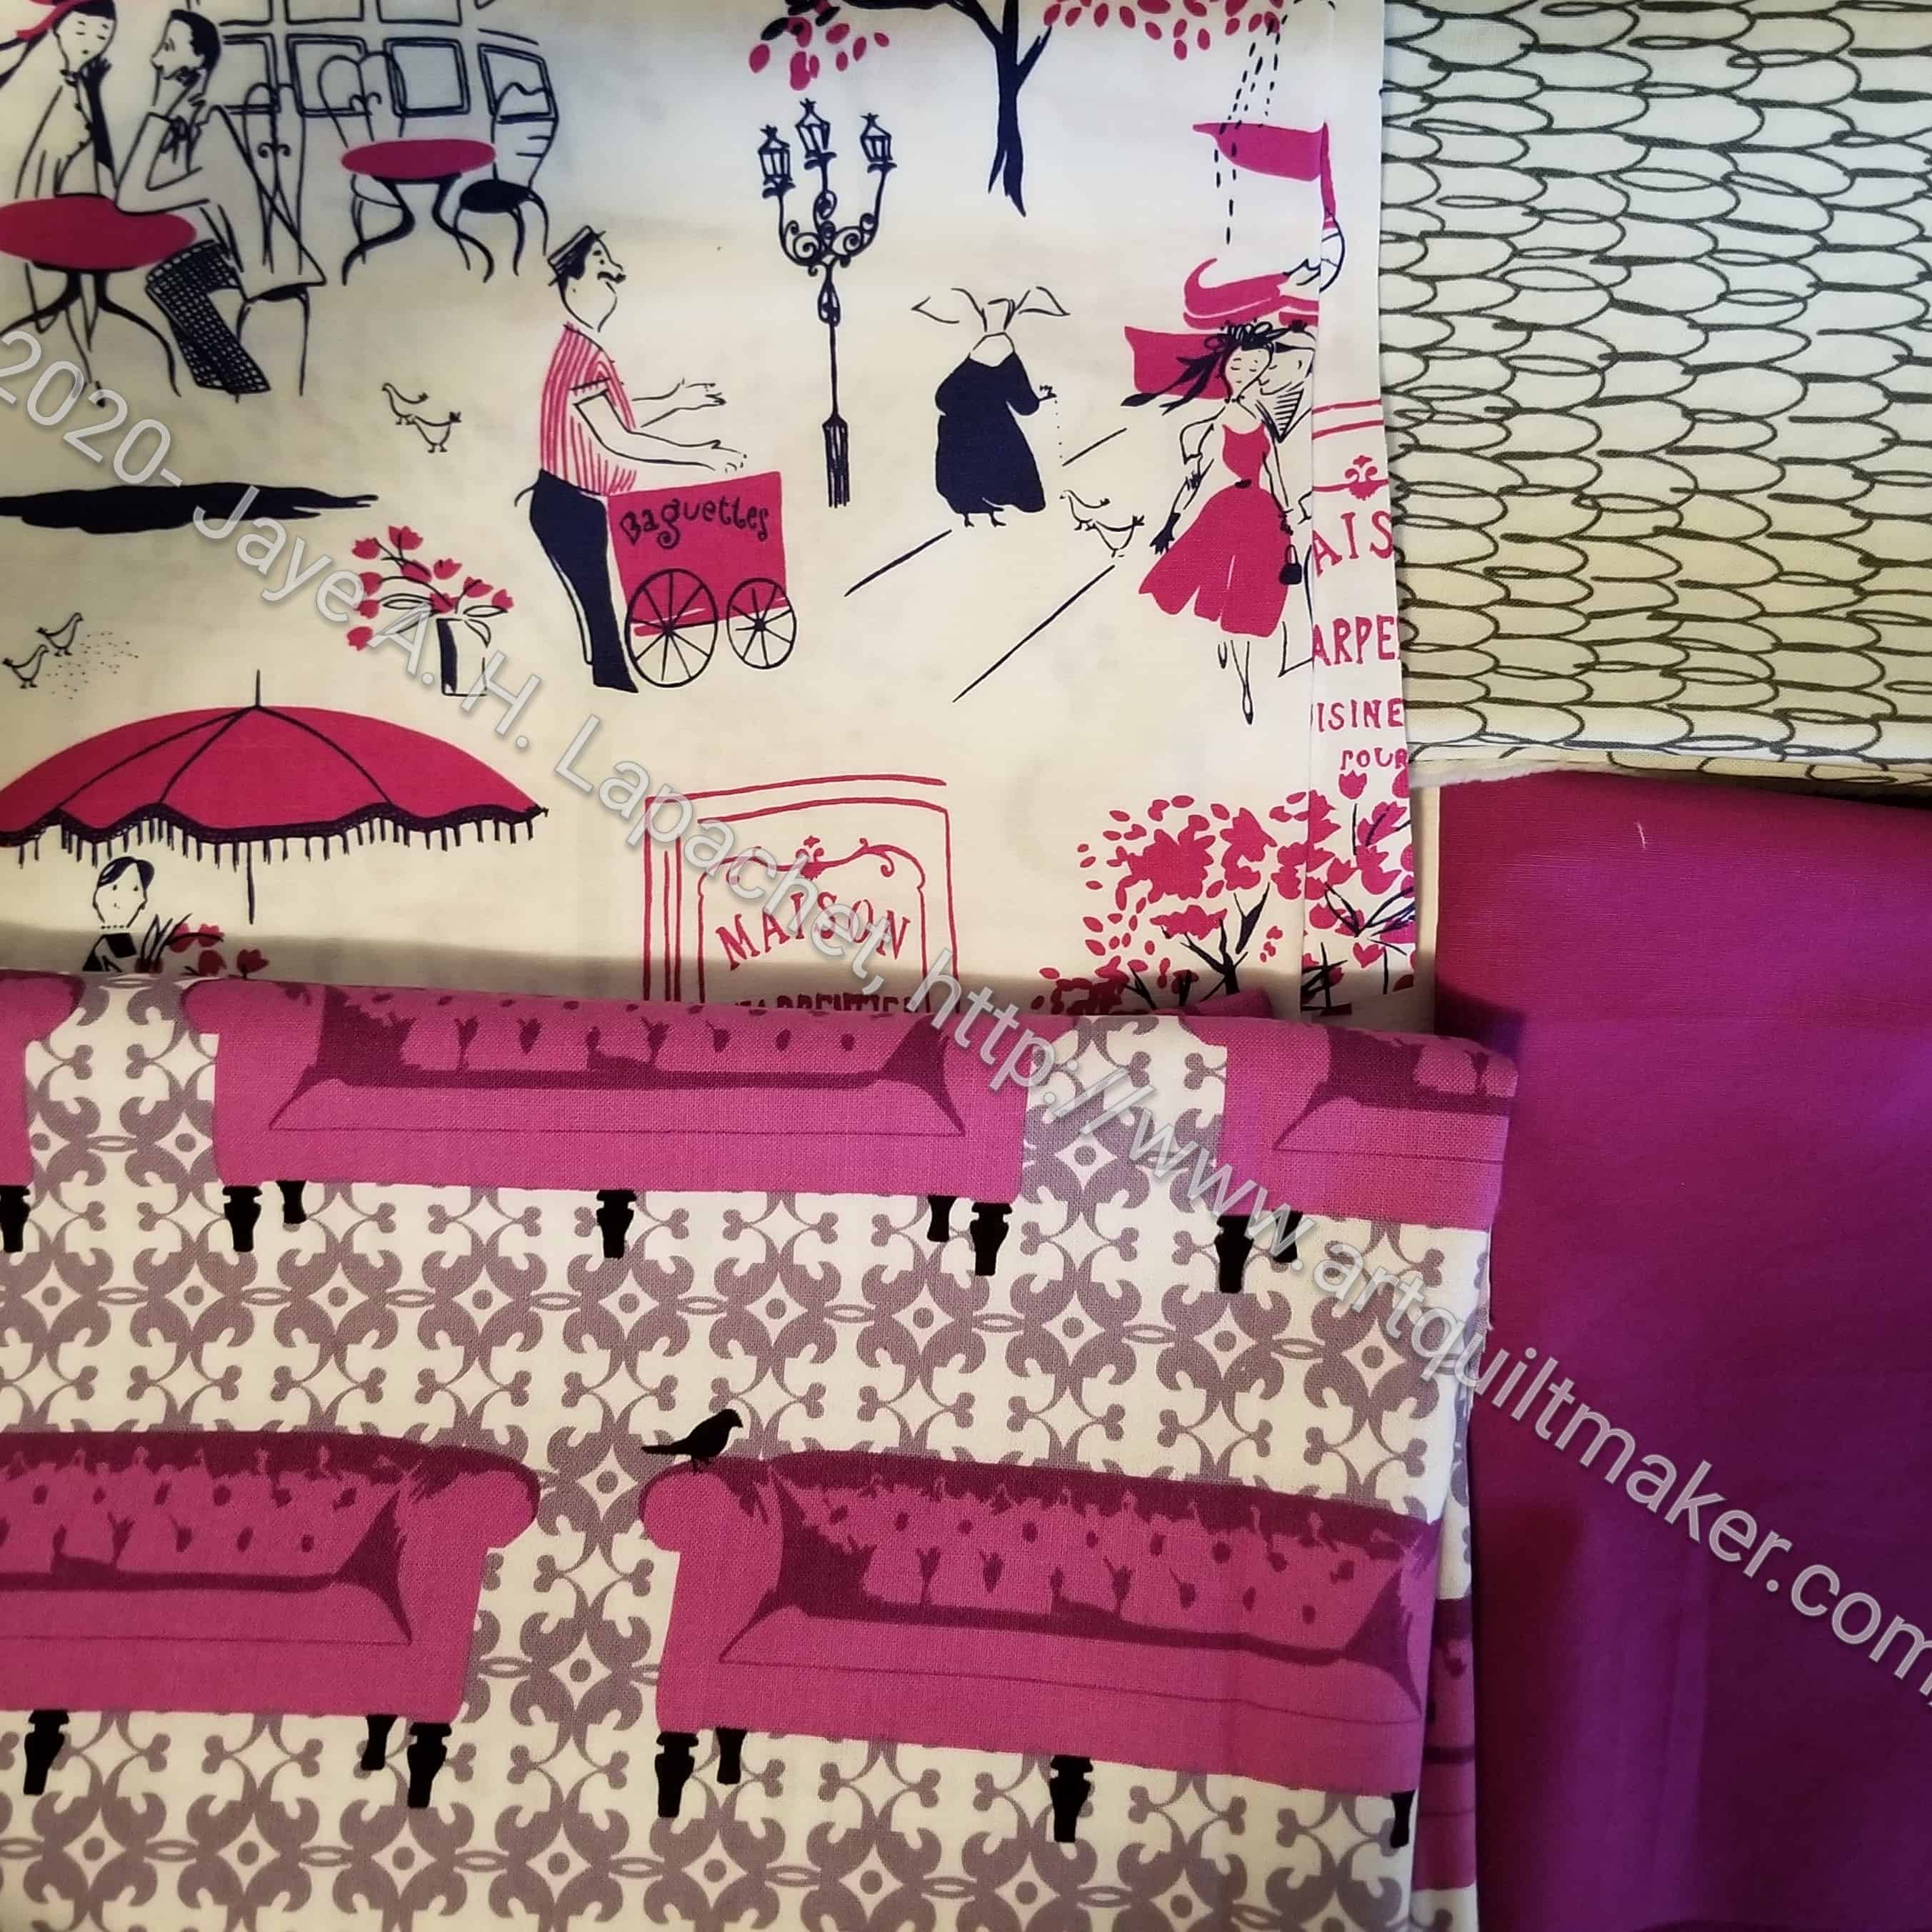
Mini Mkaer Case SAL fabric
This is a cute little train case looking tote. It is designed for the Oliso mini iron, but you can use it for other things as well. I chose the fabric for the project this week.
I started out with the couches fabric and wanted more purples, but the couches fabric is more red-violet, so I found other fabrics to match. I might also make one in the same fabrics as my All Rolled Up Tote.
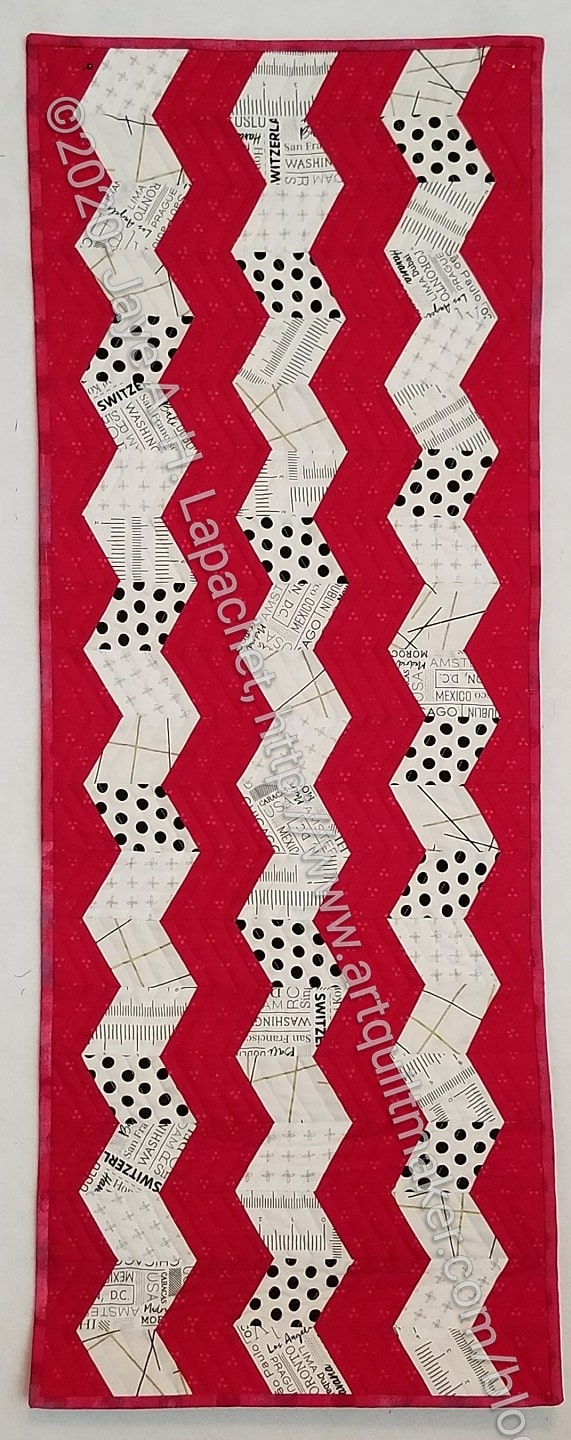
The Red Text table runner is finished. I finished sewing on the binding on Monday during Craft Night. I had already machine sewed and the hand stitching went surprisingly fast.
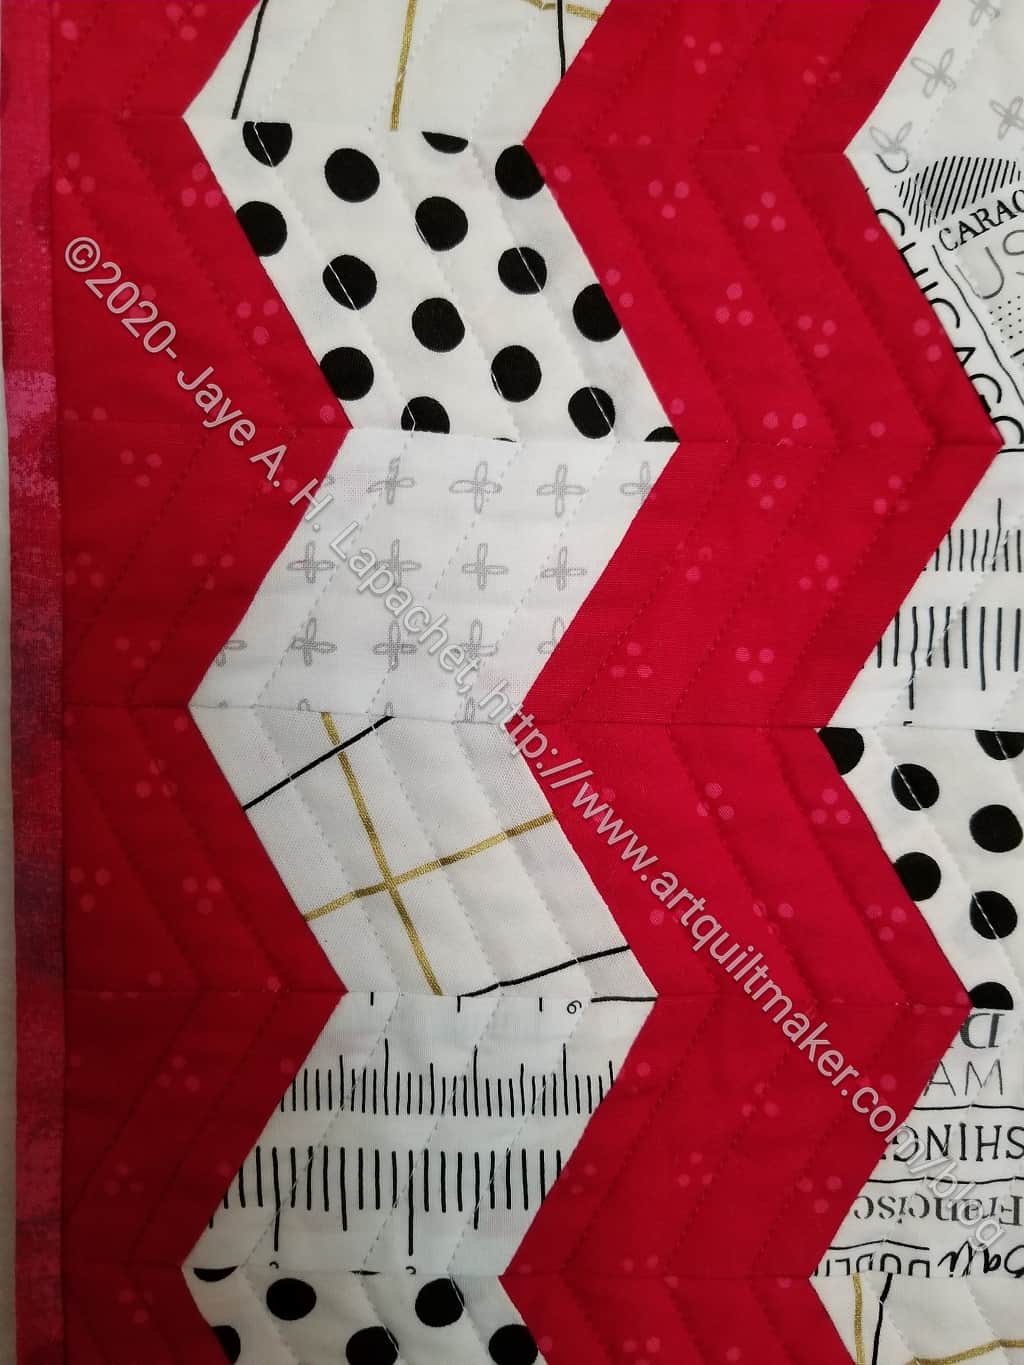
As I mentioned, I machine quilted it over last weekend. I am pleased, even after several days of looking at it, about how it came out. I am also really pleased that it is done since the new project came out on Tuesday, the Lucky Charm pillow.
Red Text Table Runner quilting detail
I am more than a little thrilled that I finished the two table runners in time for the new project.
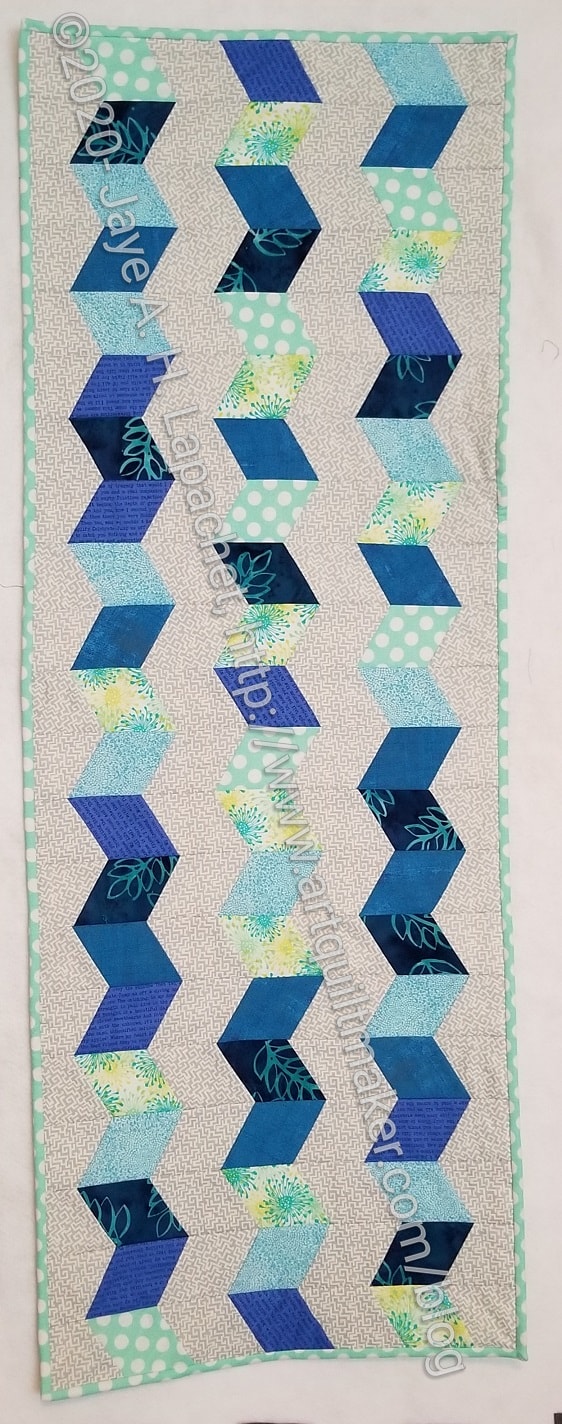
I finished the binding of the first Seaside Table Runner on Friday. I am pleased with the way it came out and pleased that it is finished.
I have wrapped it with a piece of fabric and a note, so it is ready whenever I feel like going out again.
This is the first project in the Journey2Nebula and I am on pace. I haven’t finished the second table runner yet, but stay tuned for that. I don’t want any of these small project languishing.
I am teaching a Sampler Quilt Class/Skillbuilder via Zoom. One of the things I asked my students to do was check their quarter inch seam, then practice sewing and getting the seams to match.
SueG’s Donation Quilt September 2020
SueG did a GREAT job and made a donation quilt for the guild as practice.
She picked great colors (we had an earlier lesson on color and choosing fabrics) and her seams match up very well. As a bonus, some child will get a wonderful looking quilt!