I finished the Running with Scissors tote the weekend after I returned from Portland in October.

The time I spent in Portland working on the Running with Scissors tote was well worth the time. I am pleased with how it came out.
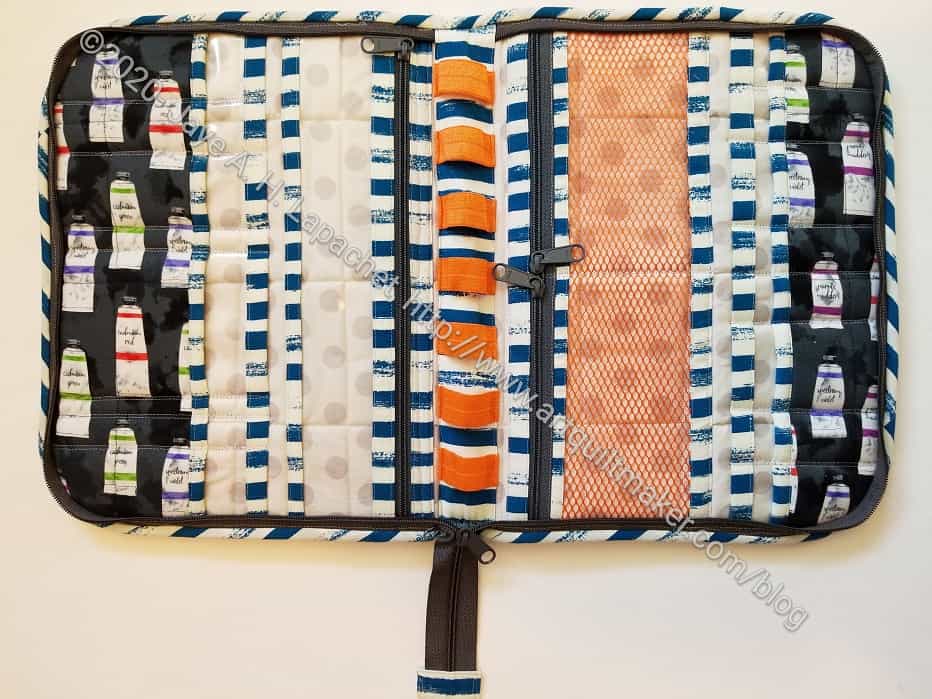
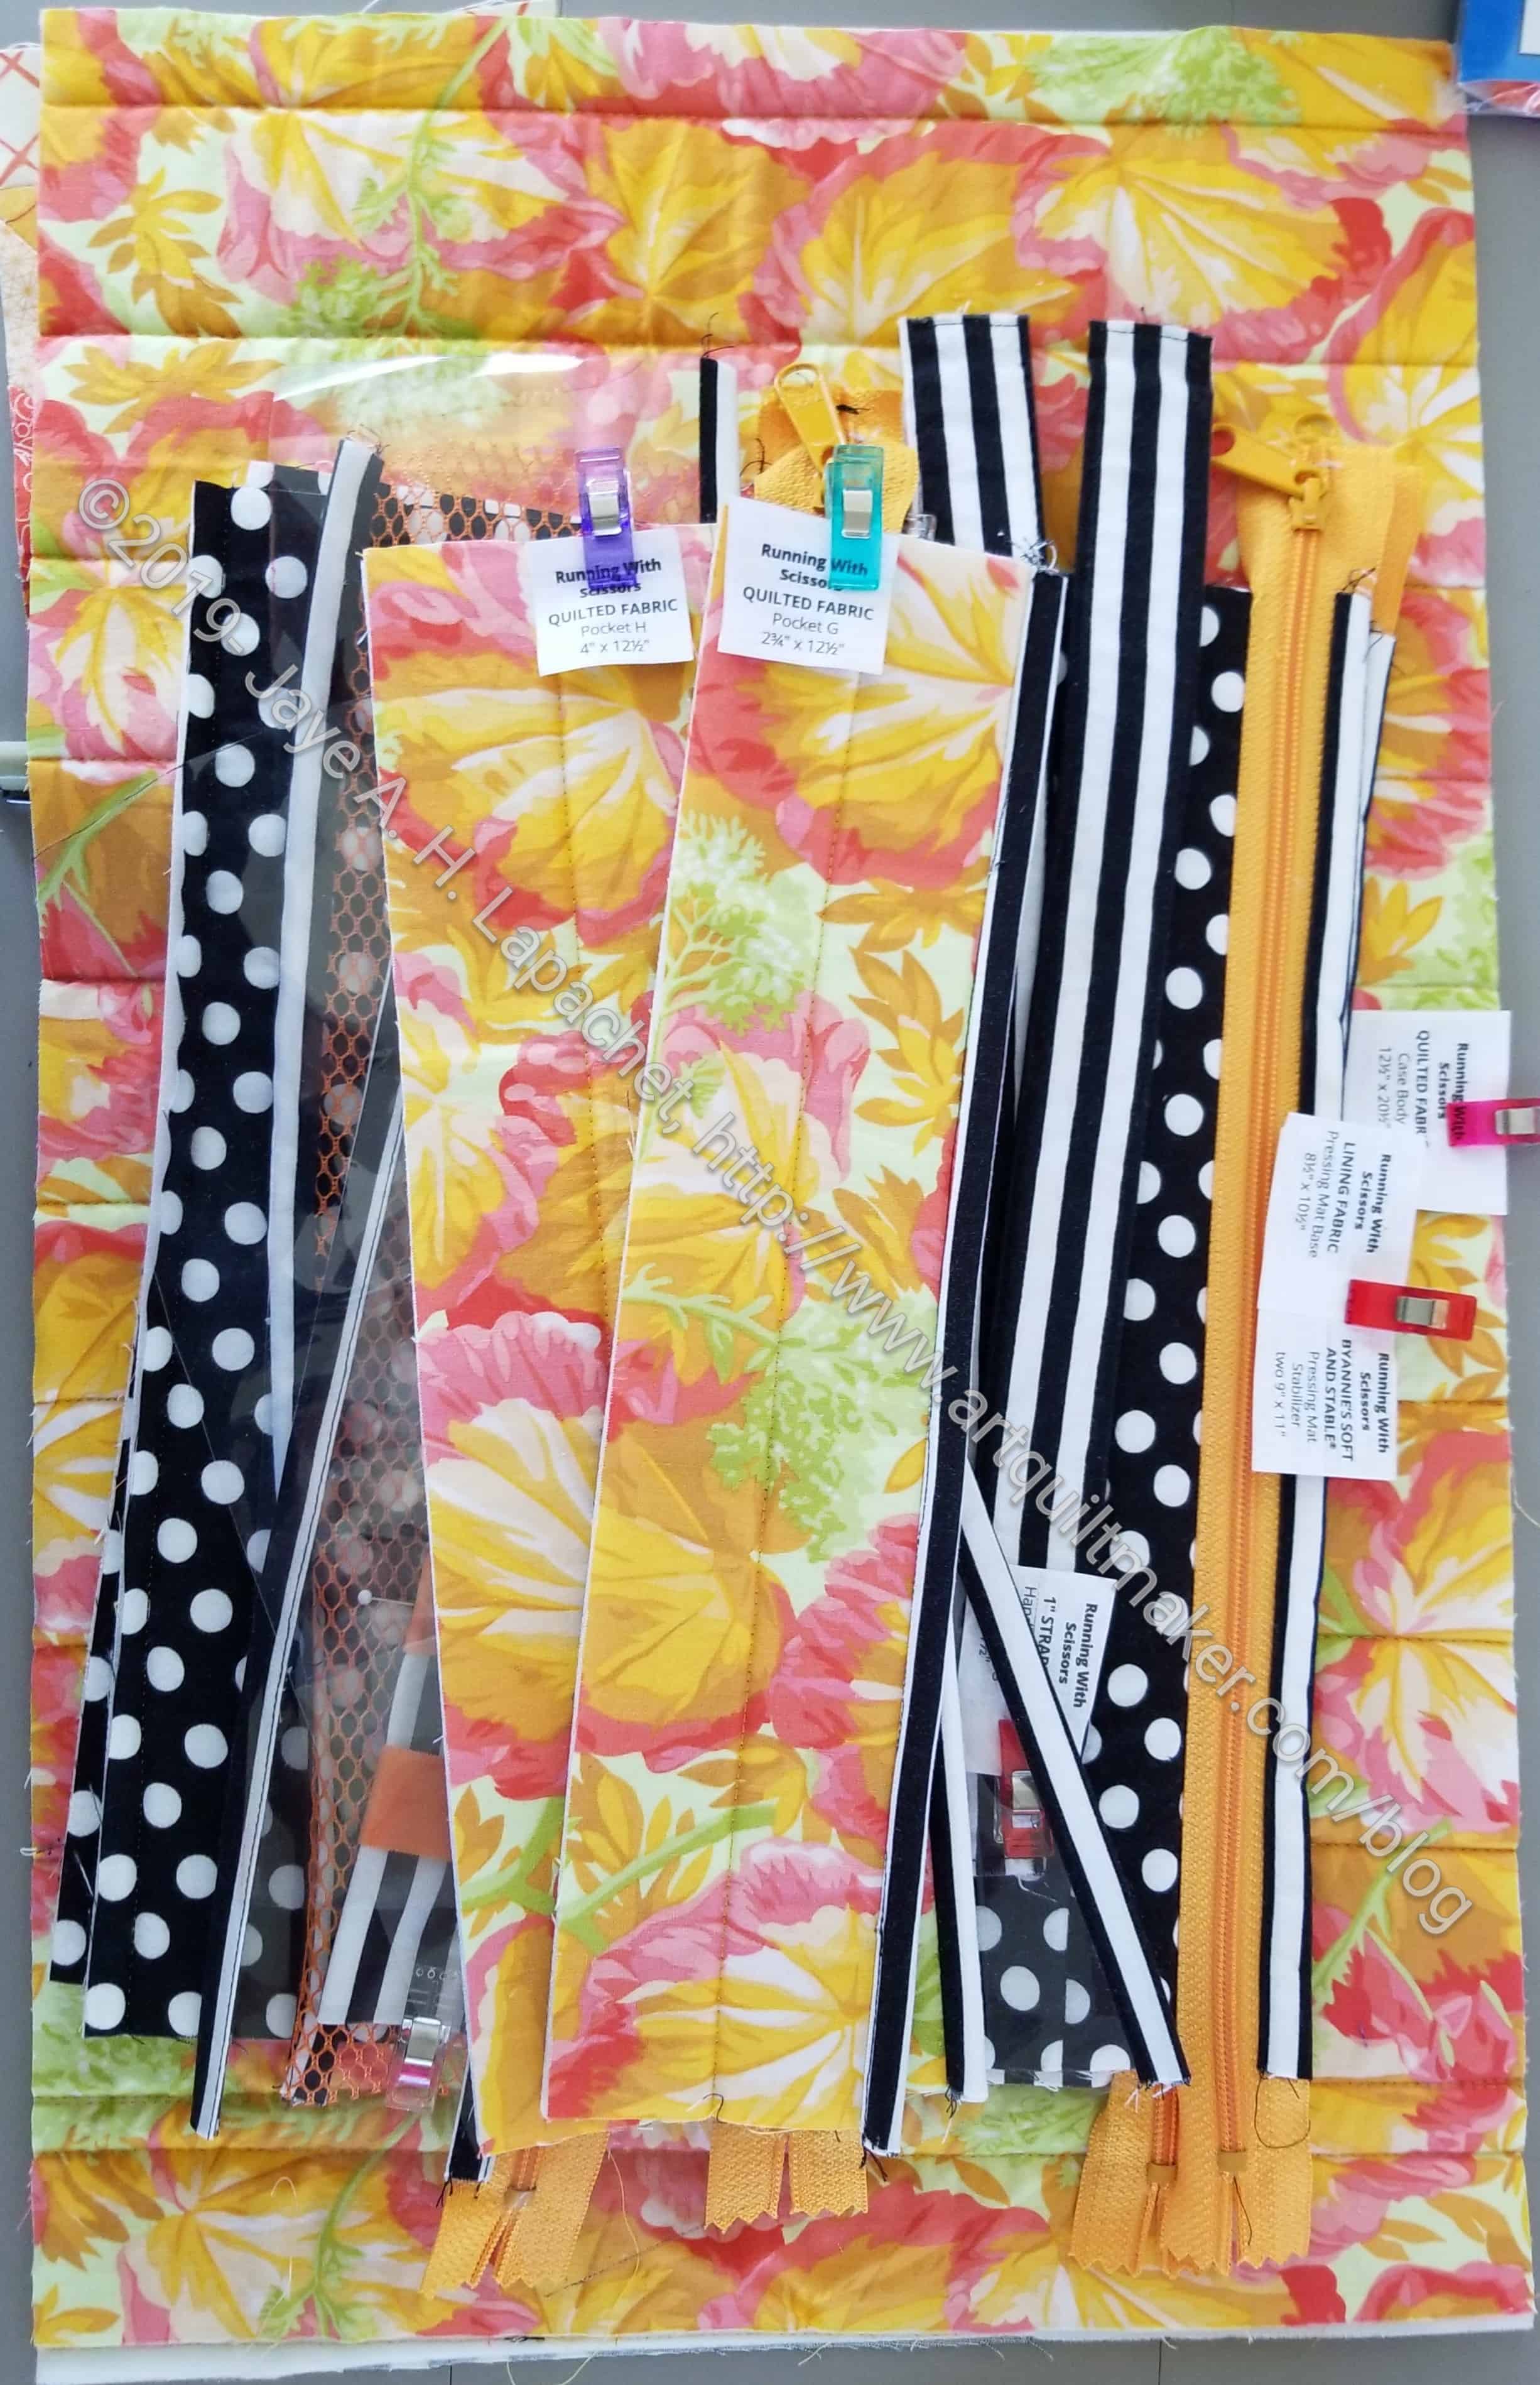
I used the foam that Colleen quilted for me and that made the whole project go a lot quicker.
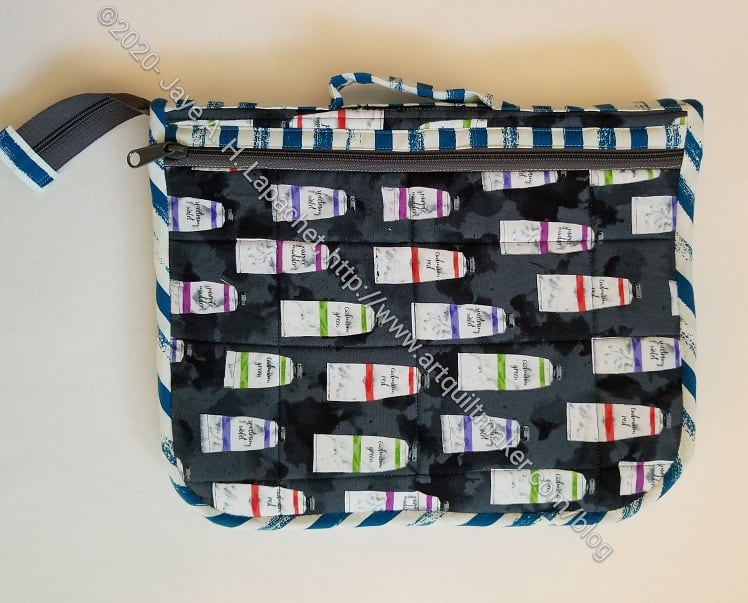
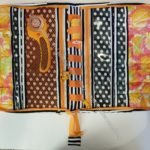
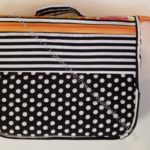
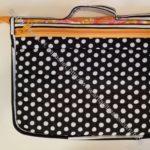
The pattern calls for a border on the front, but I like the large flowers of this Philip Jacobs print so much that I didn’t put it on. Both the front and the back look similar, but I don’t mind.

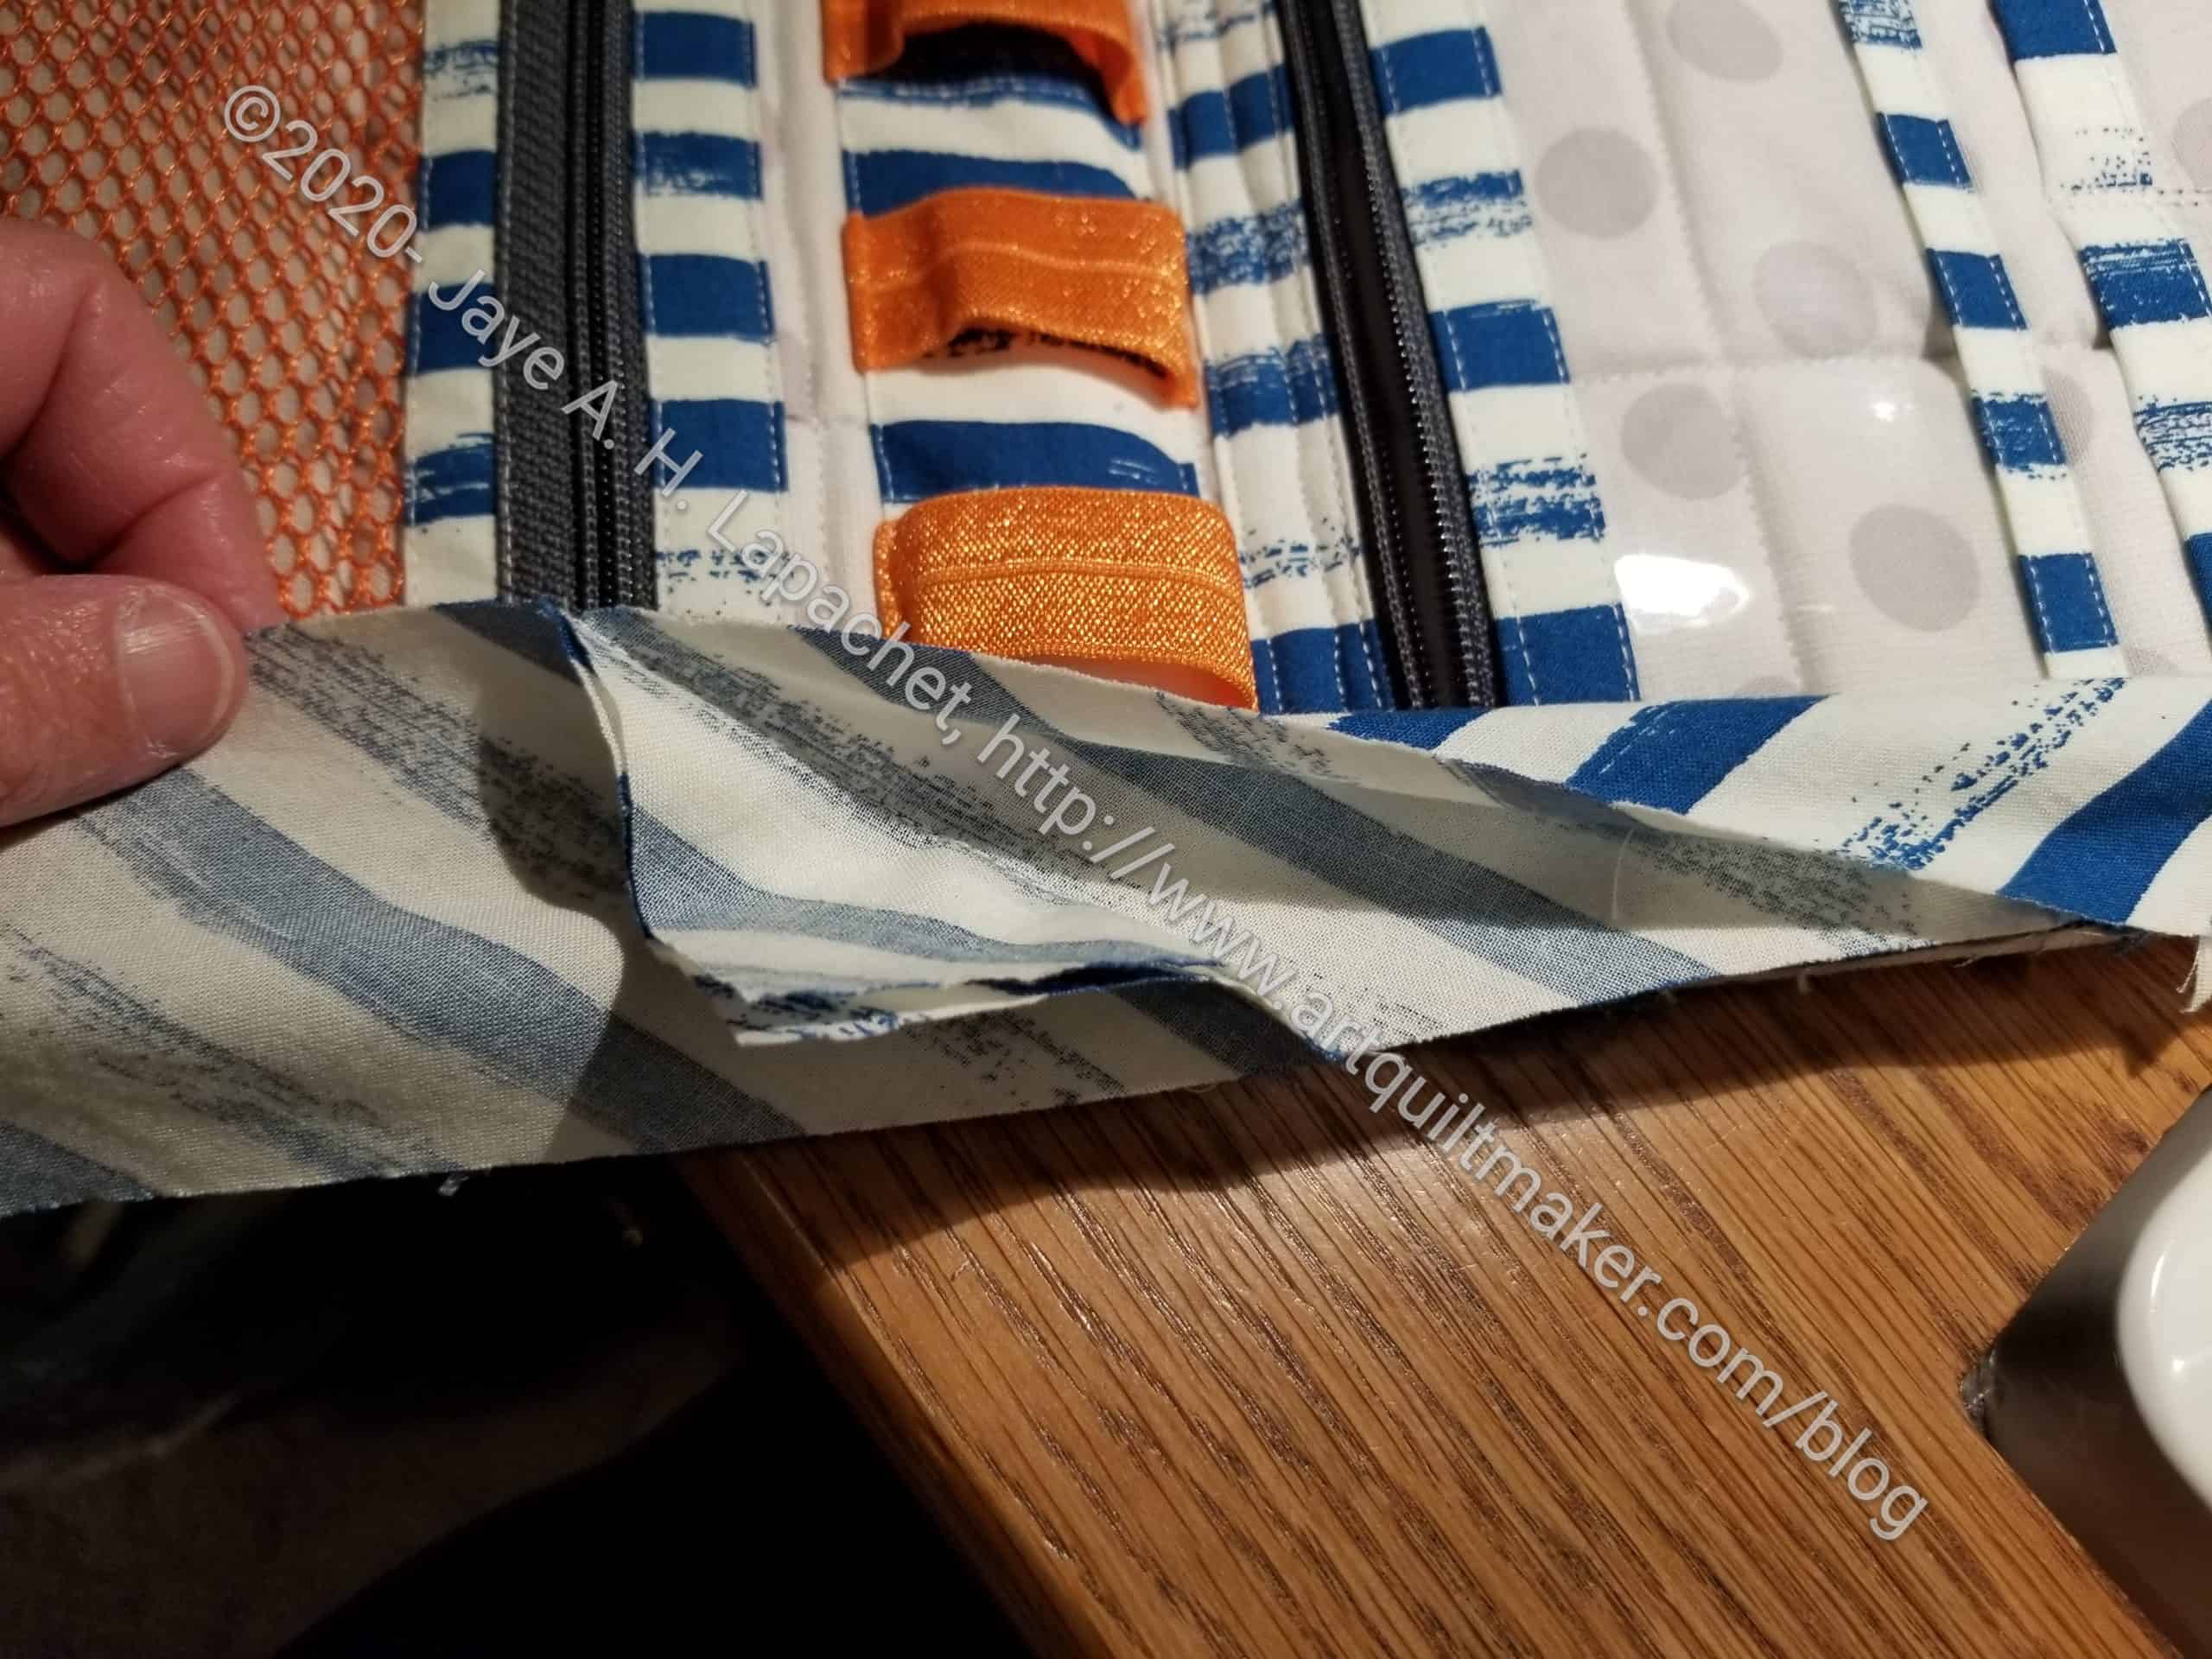
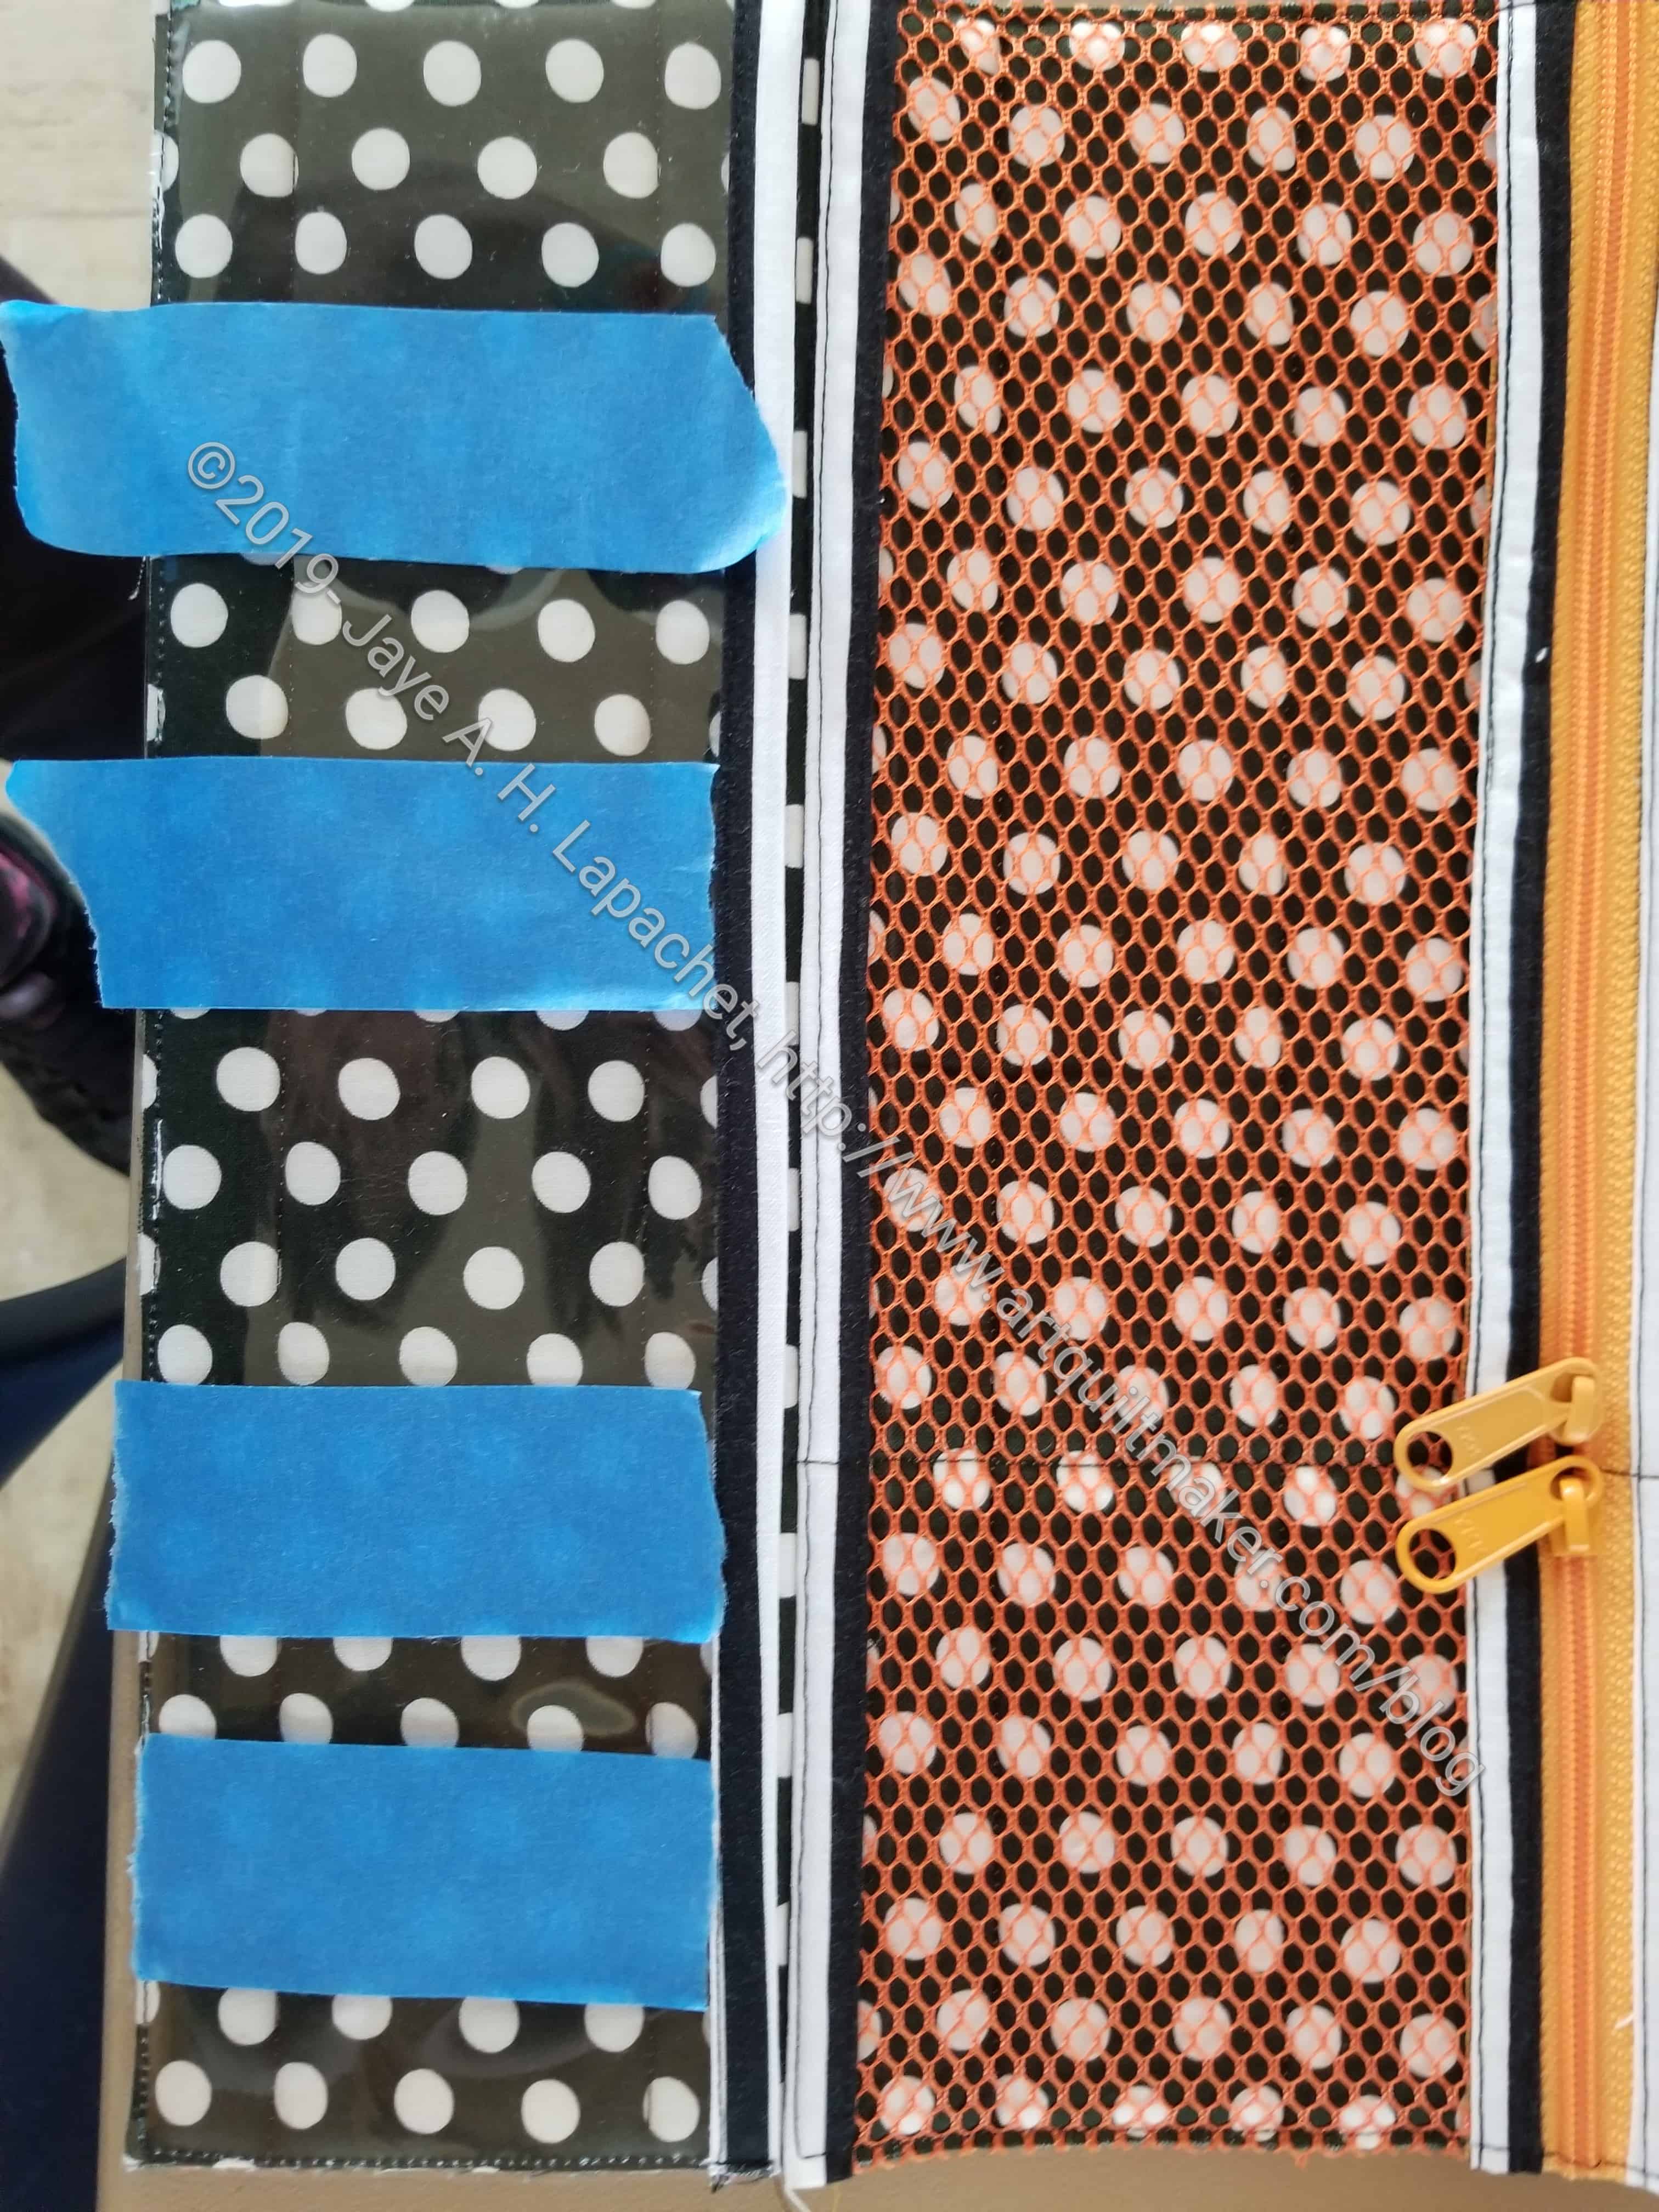
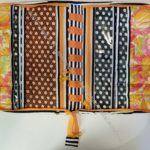
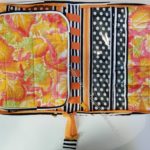
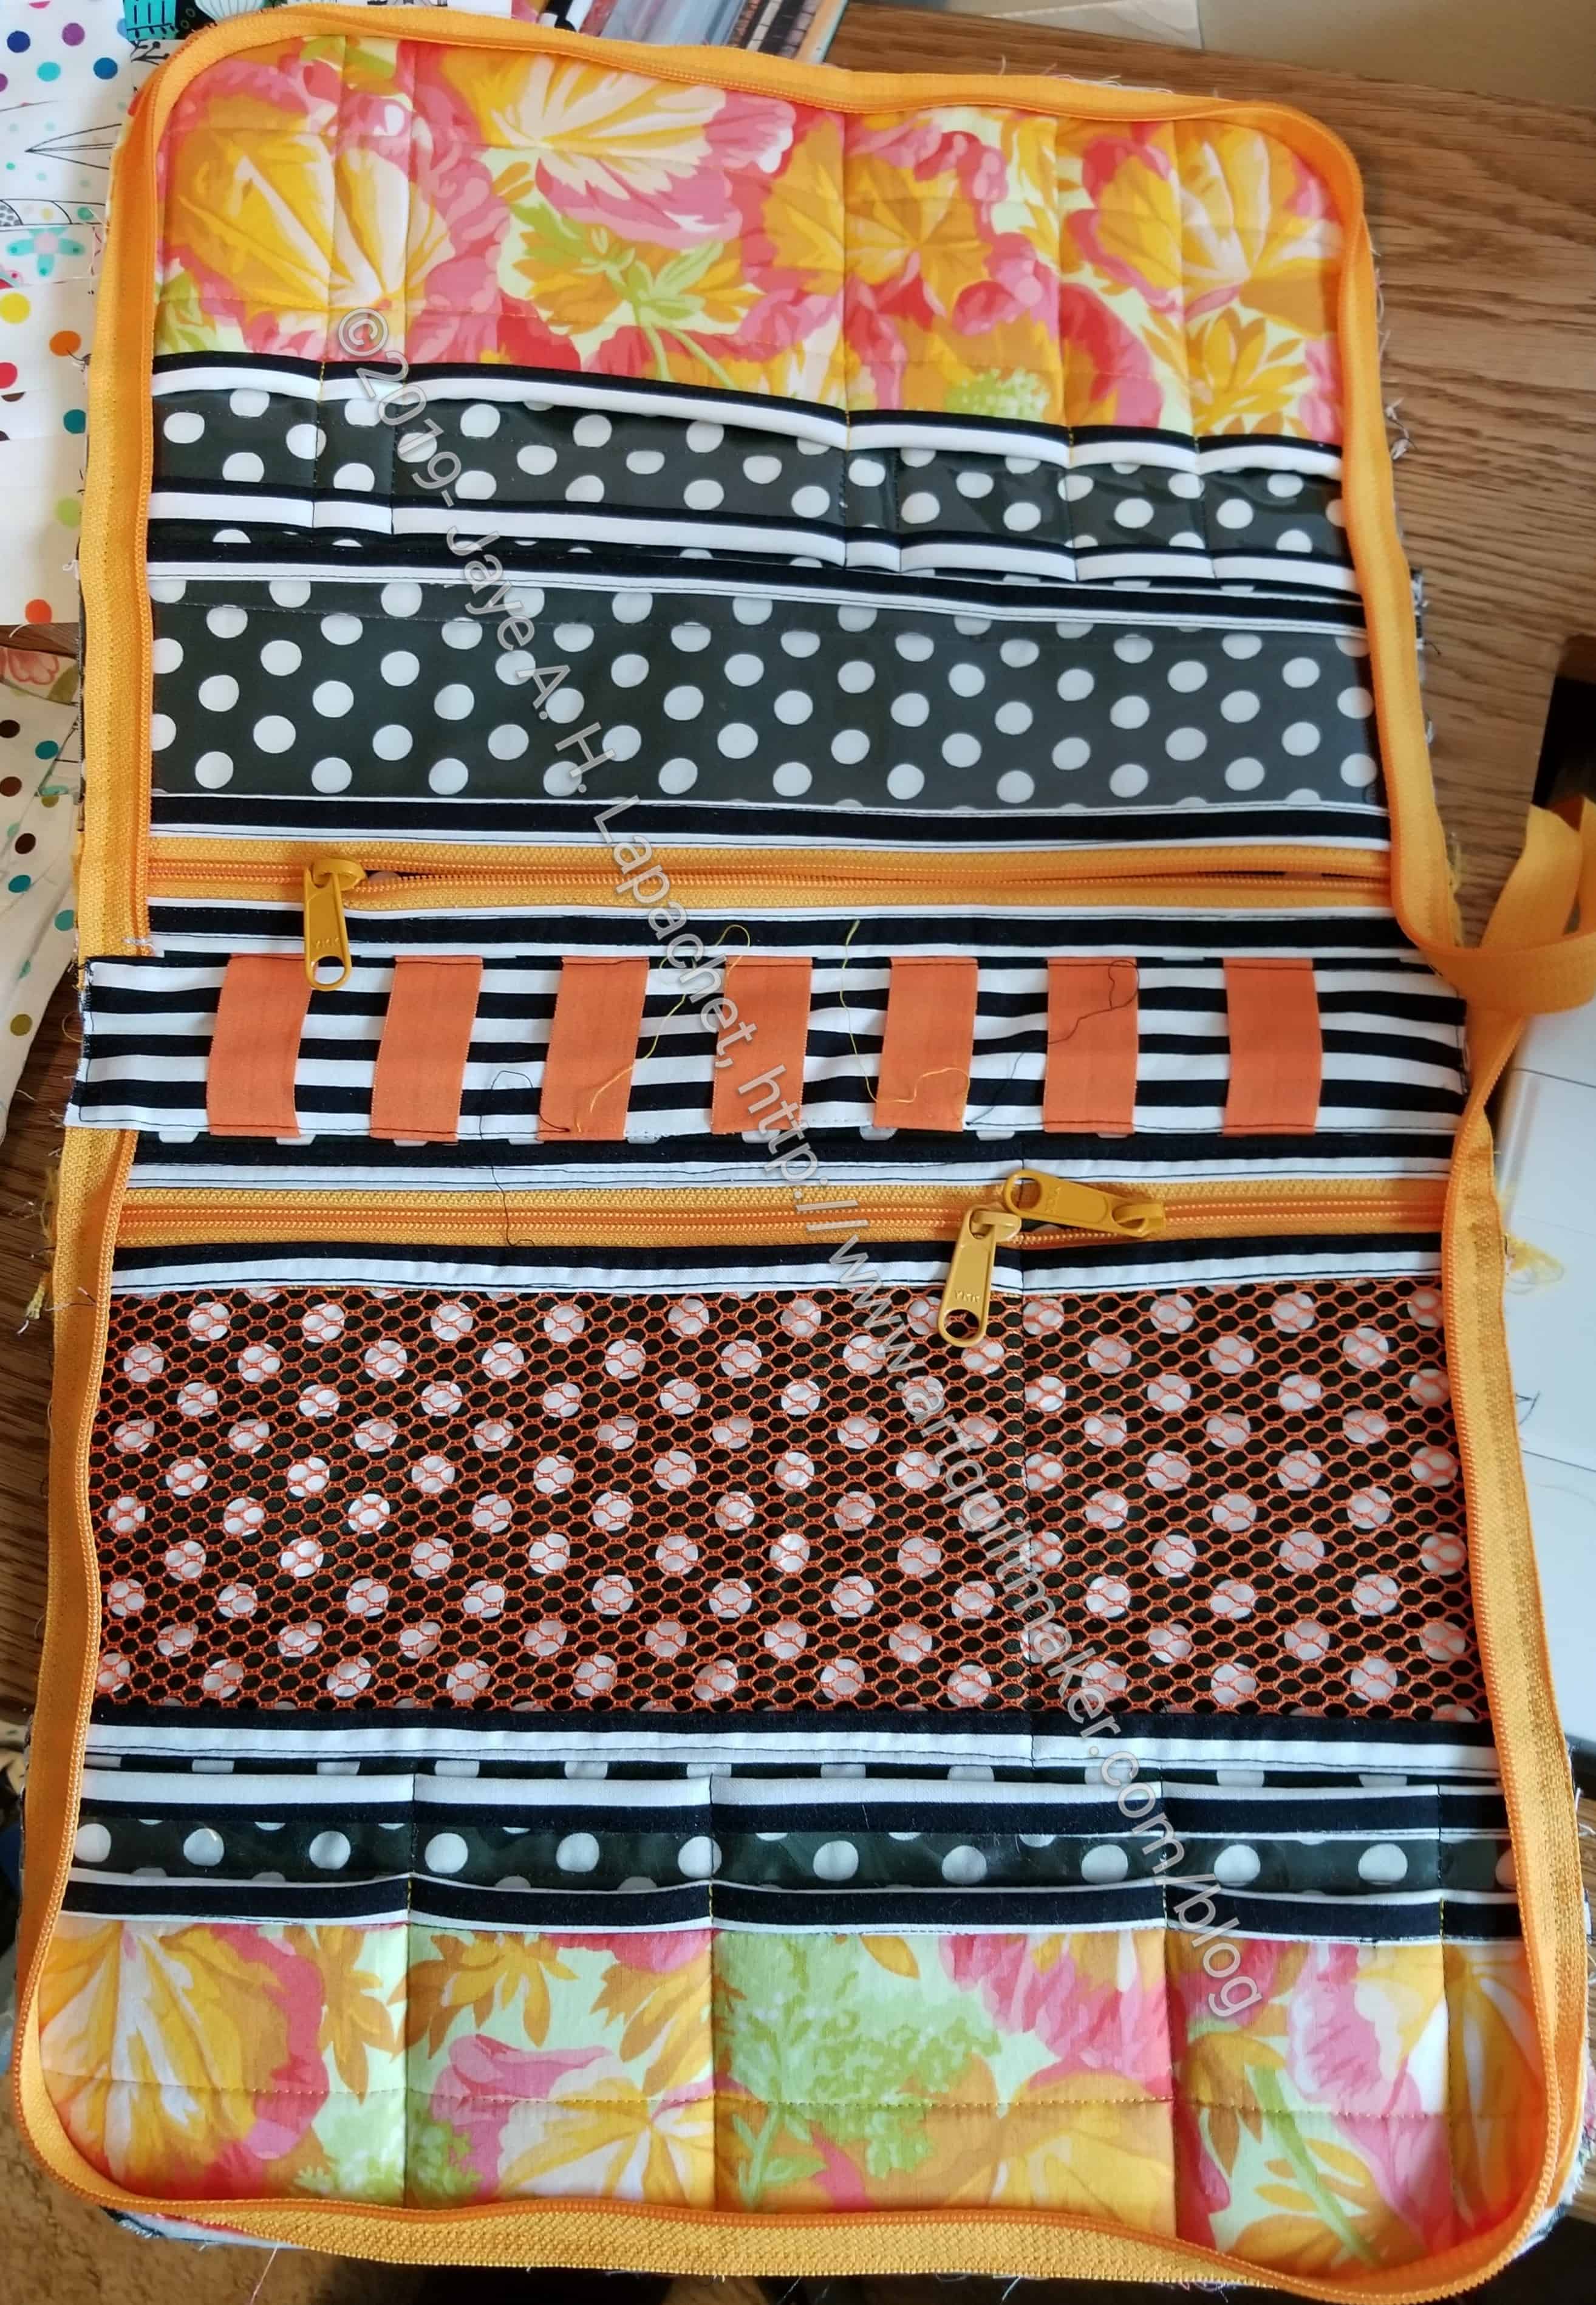
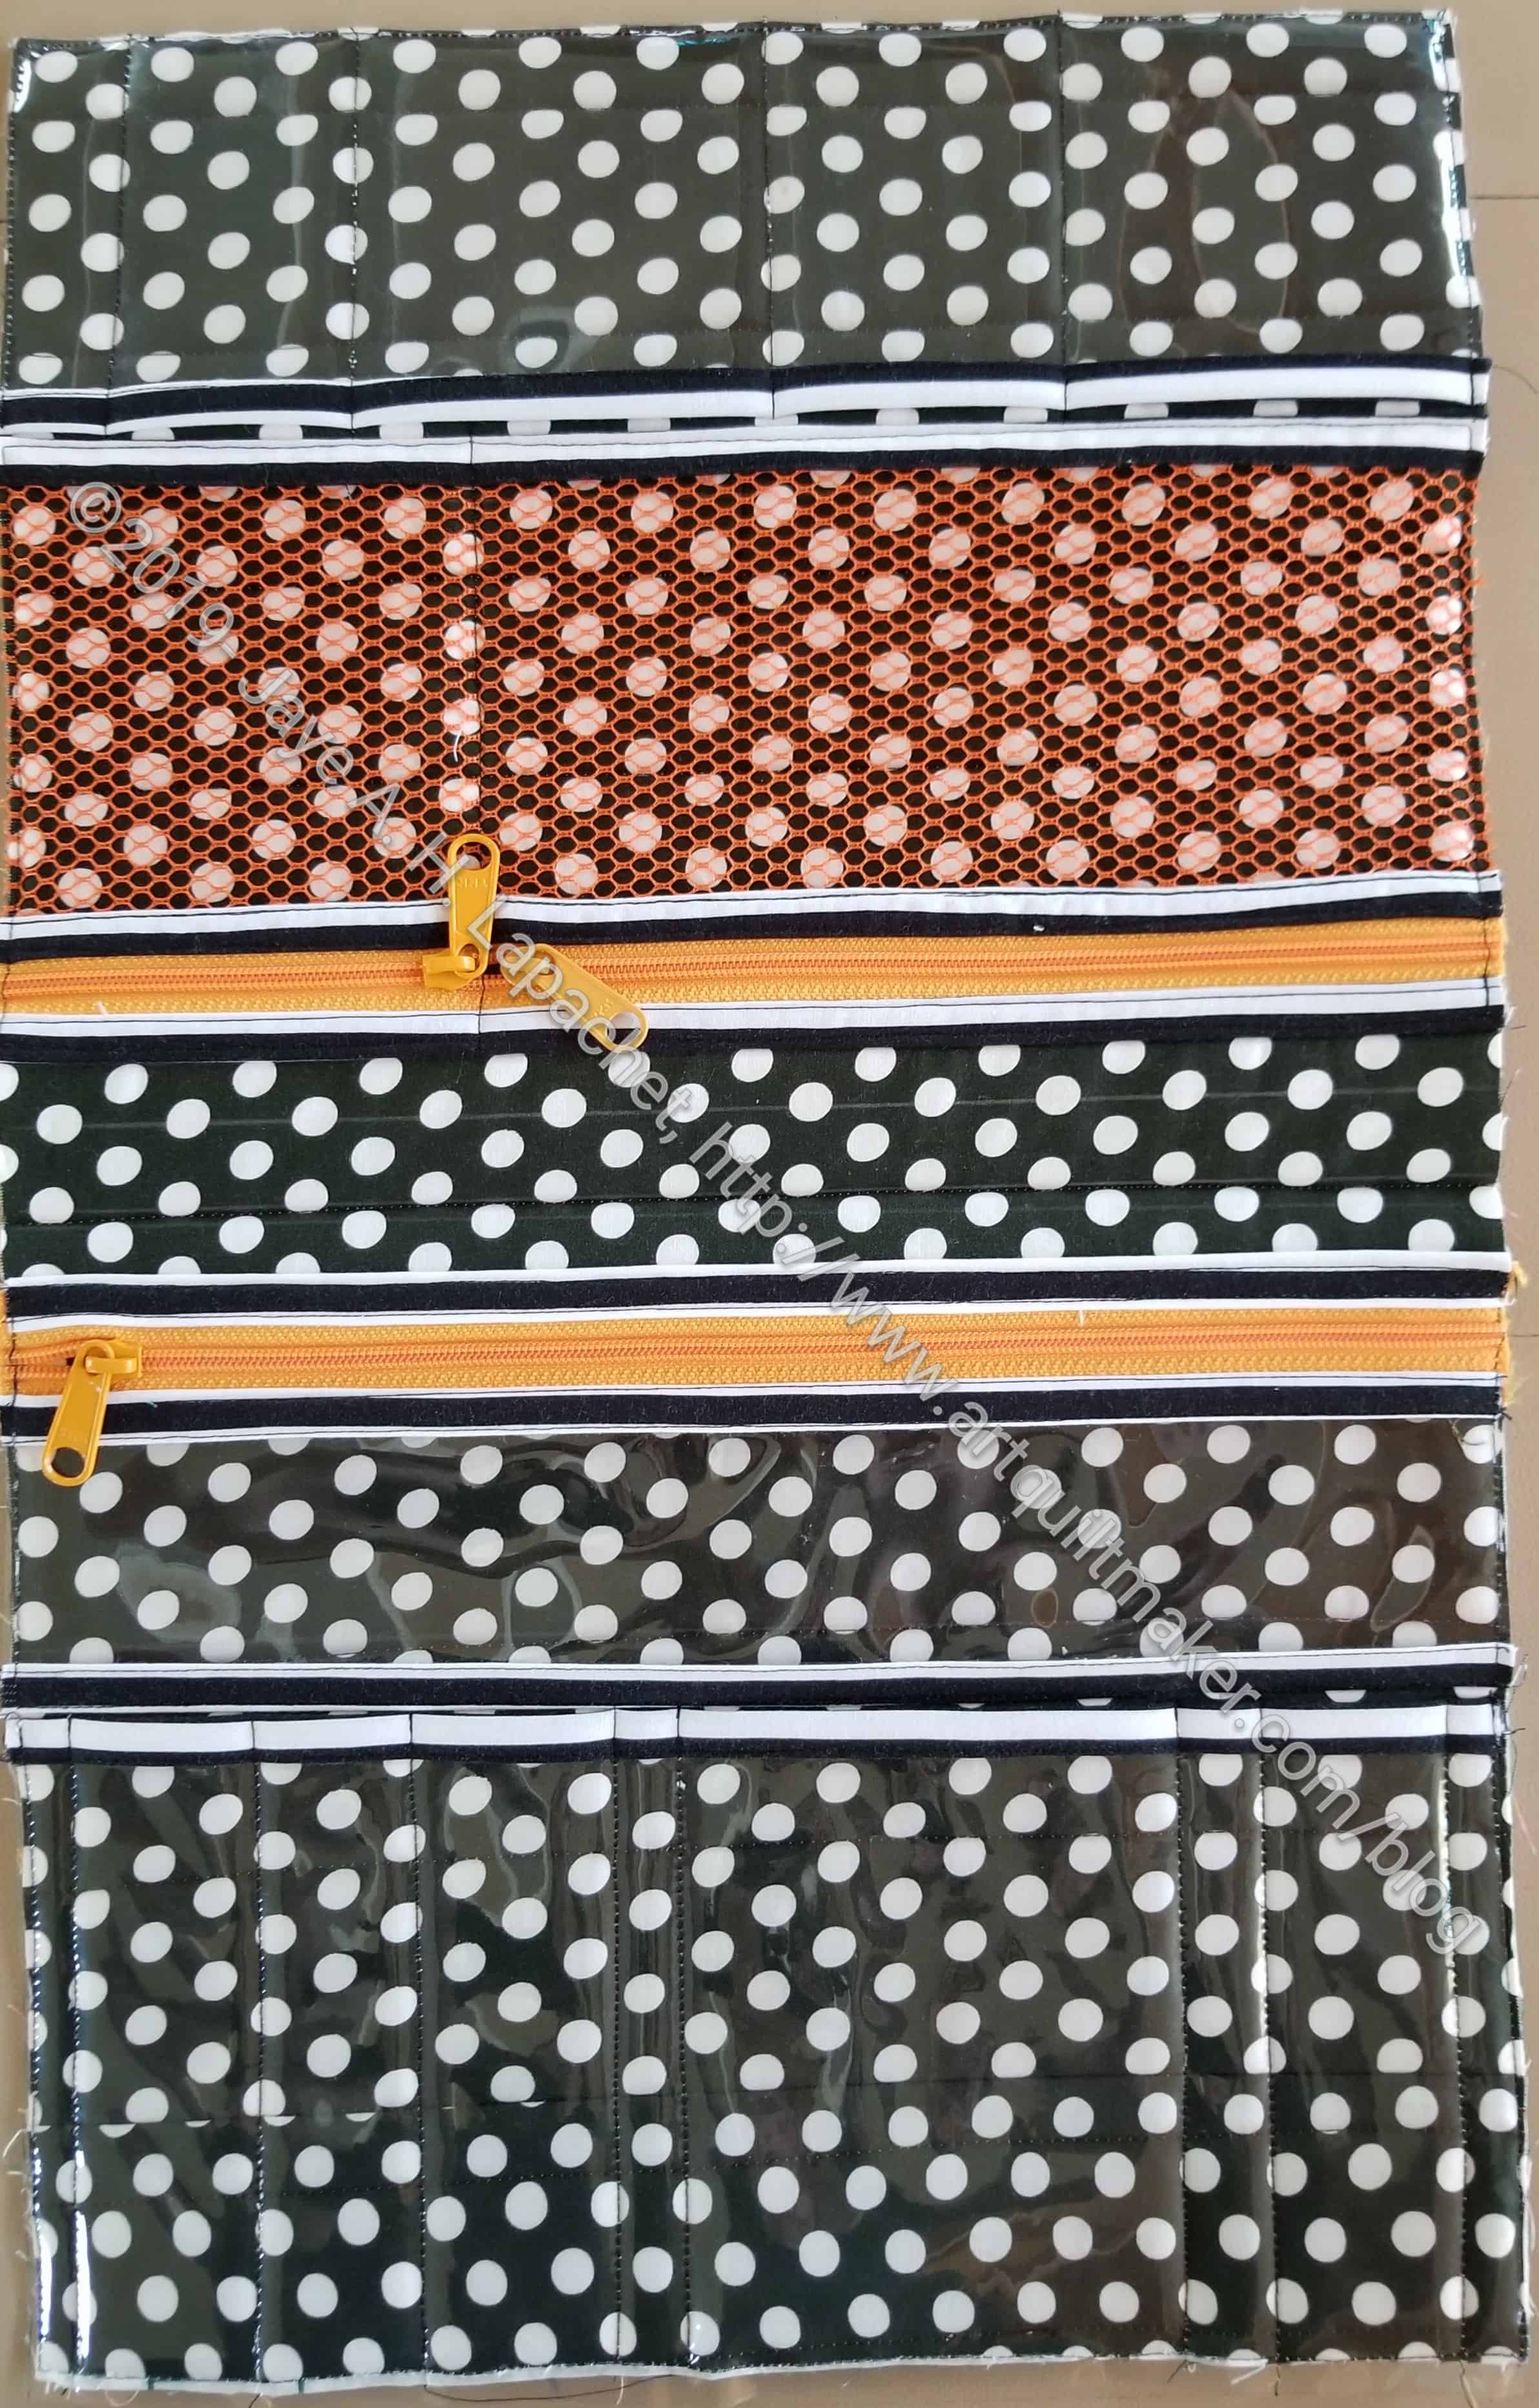
The inside looks really great IMO. I forgot to cut all of the zipper and pocket bindings. Fortunately, I had the turquoise stripe with me and it went well with the zippers and the general overall look of the bag.
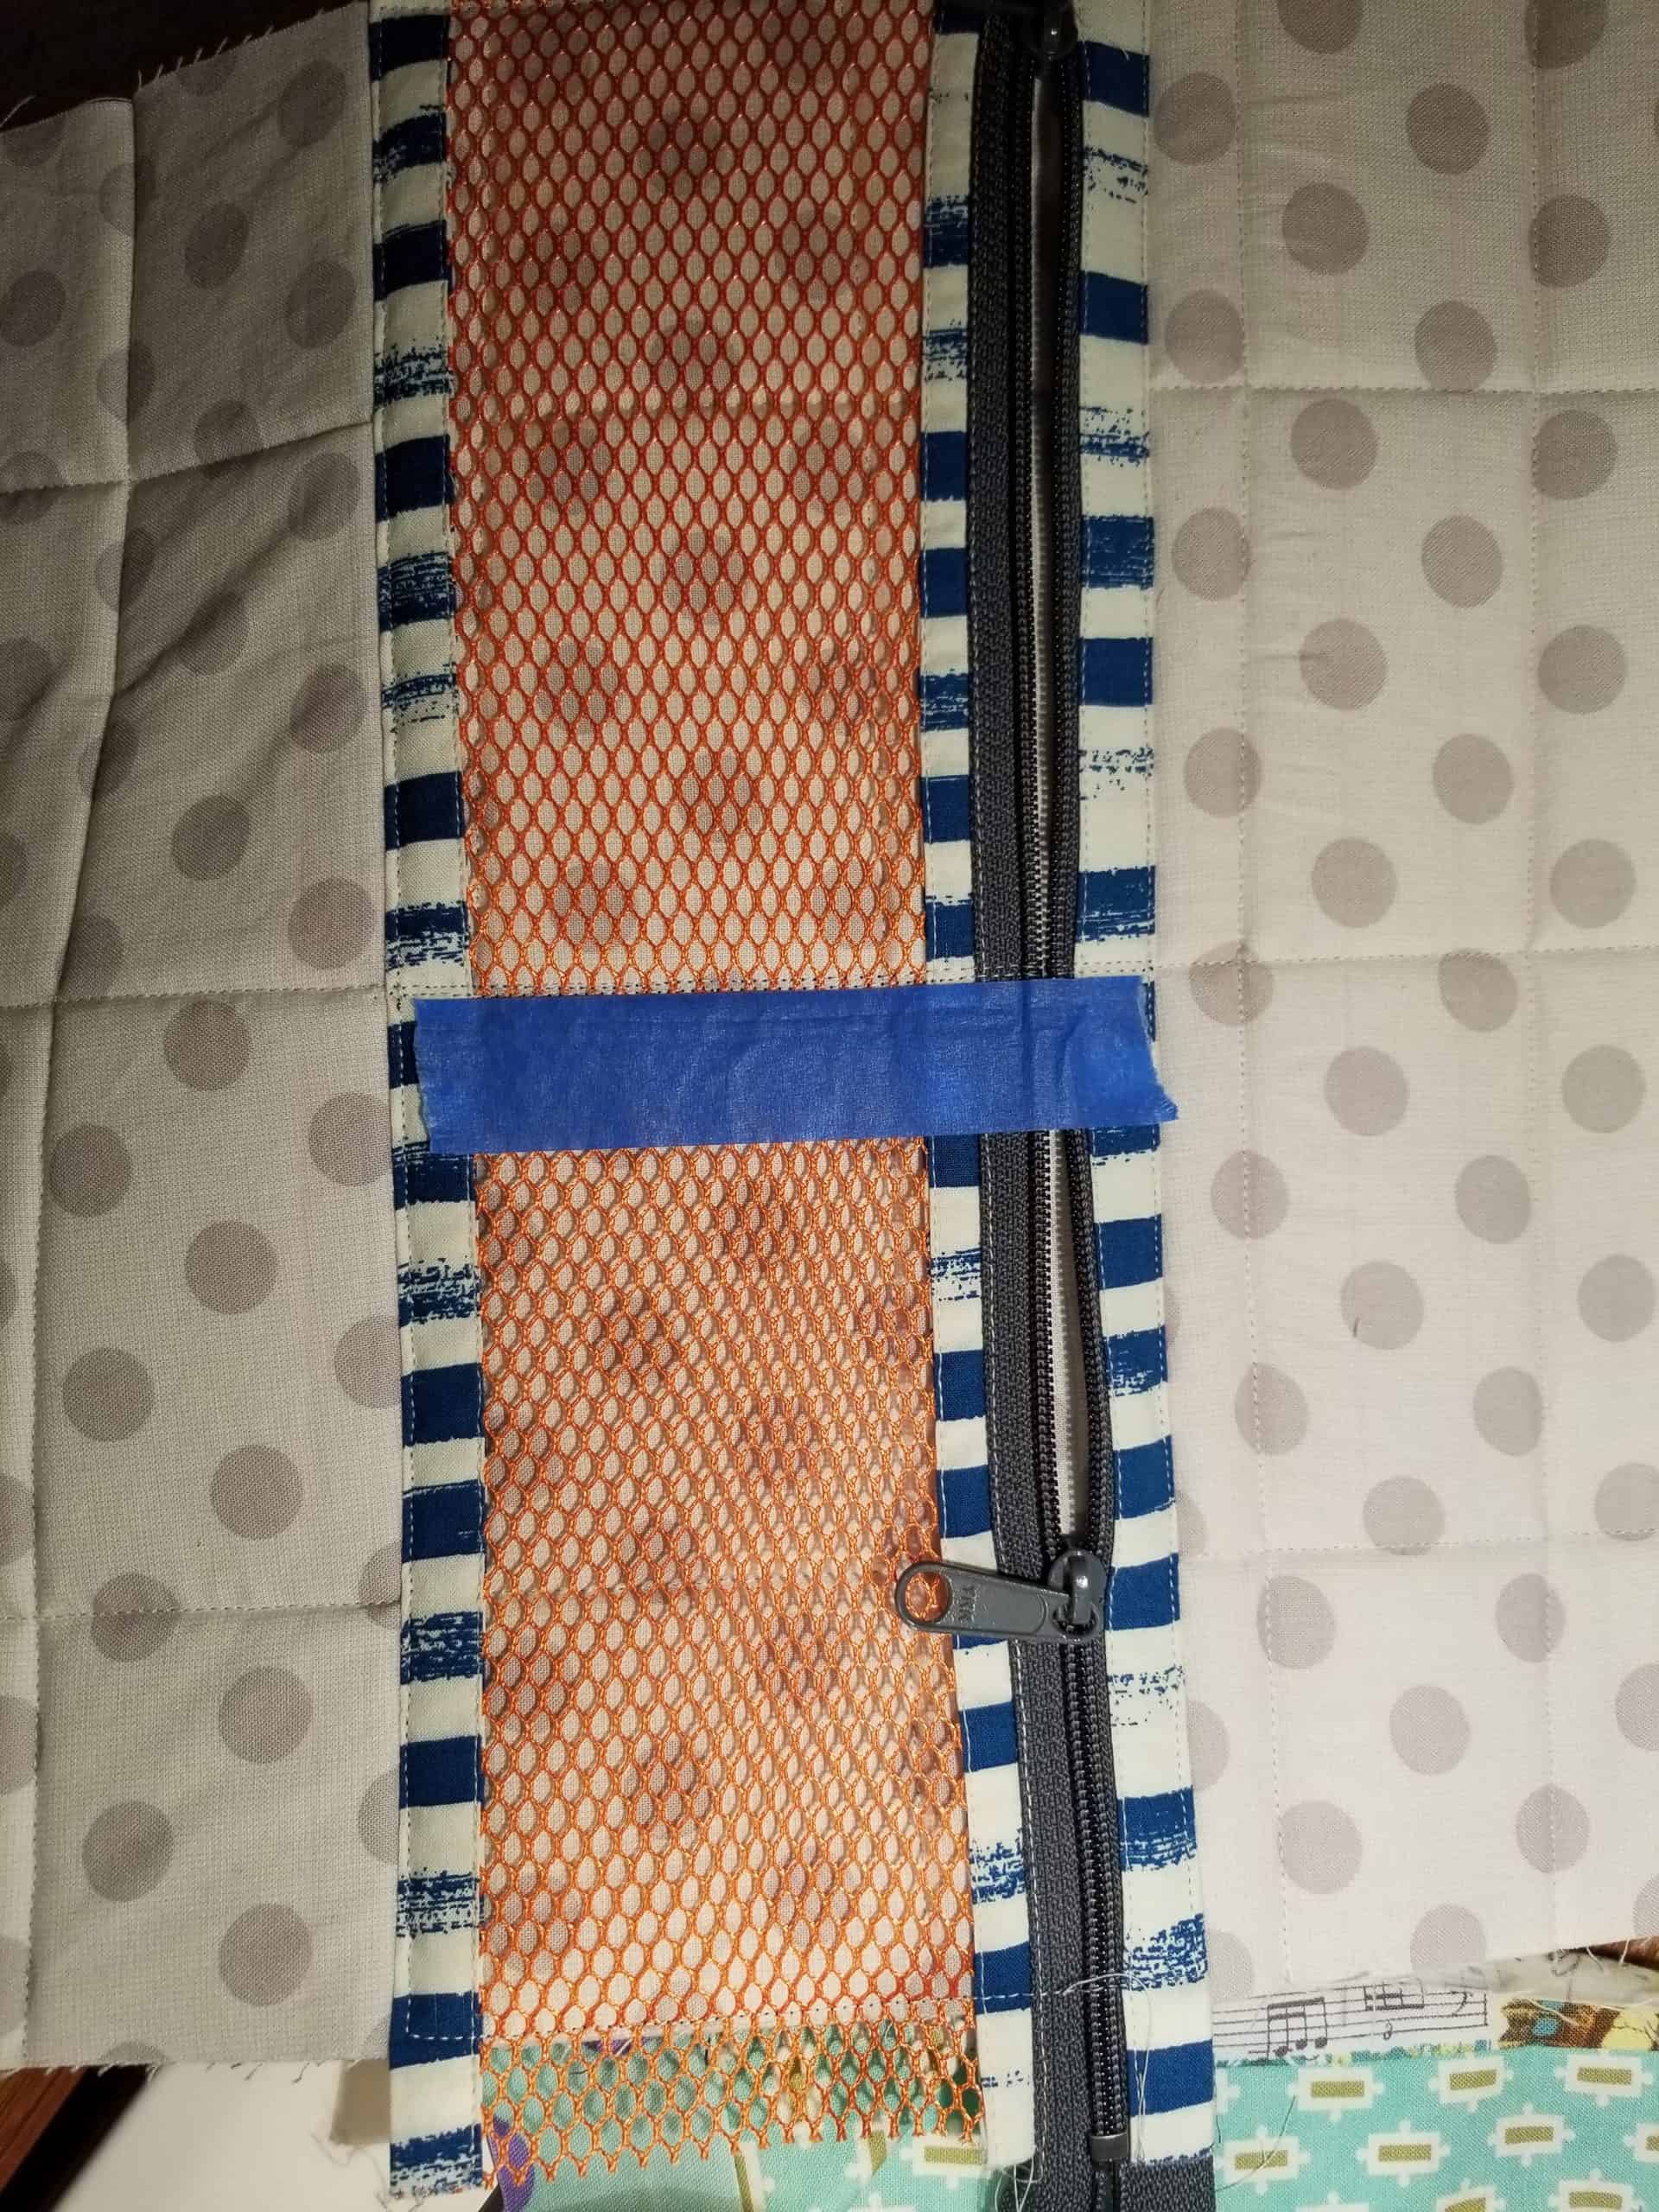
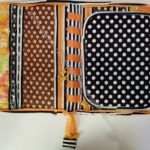
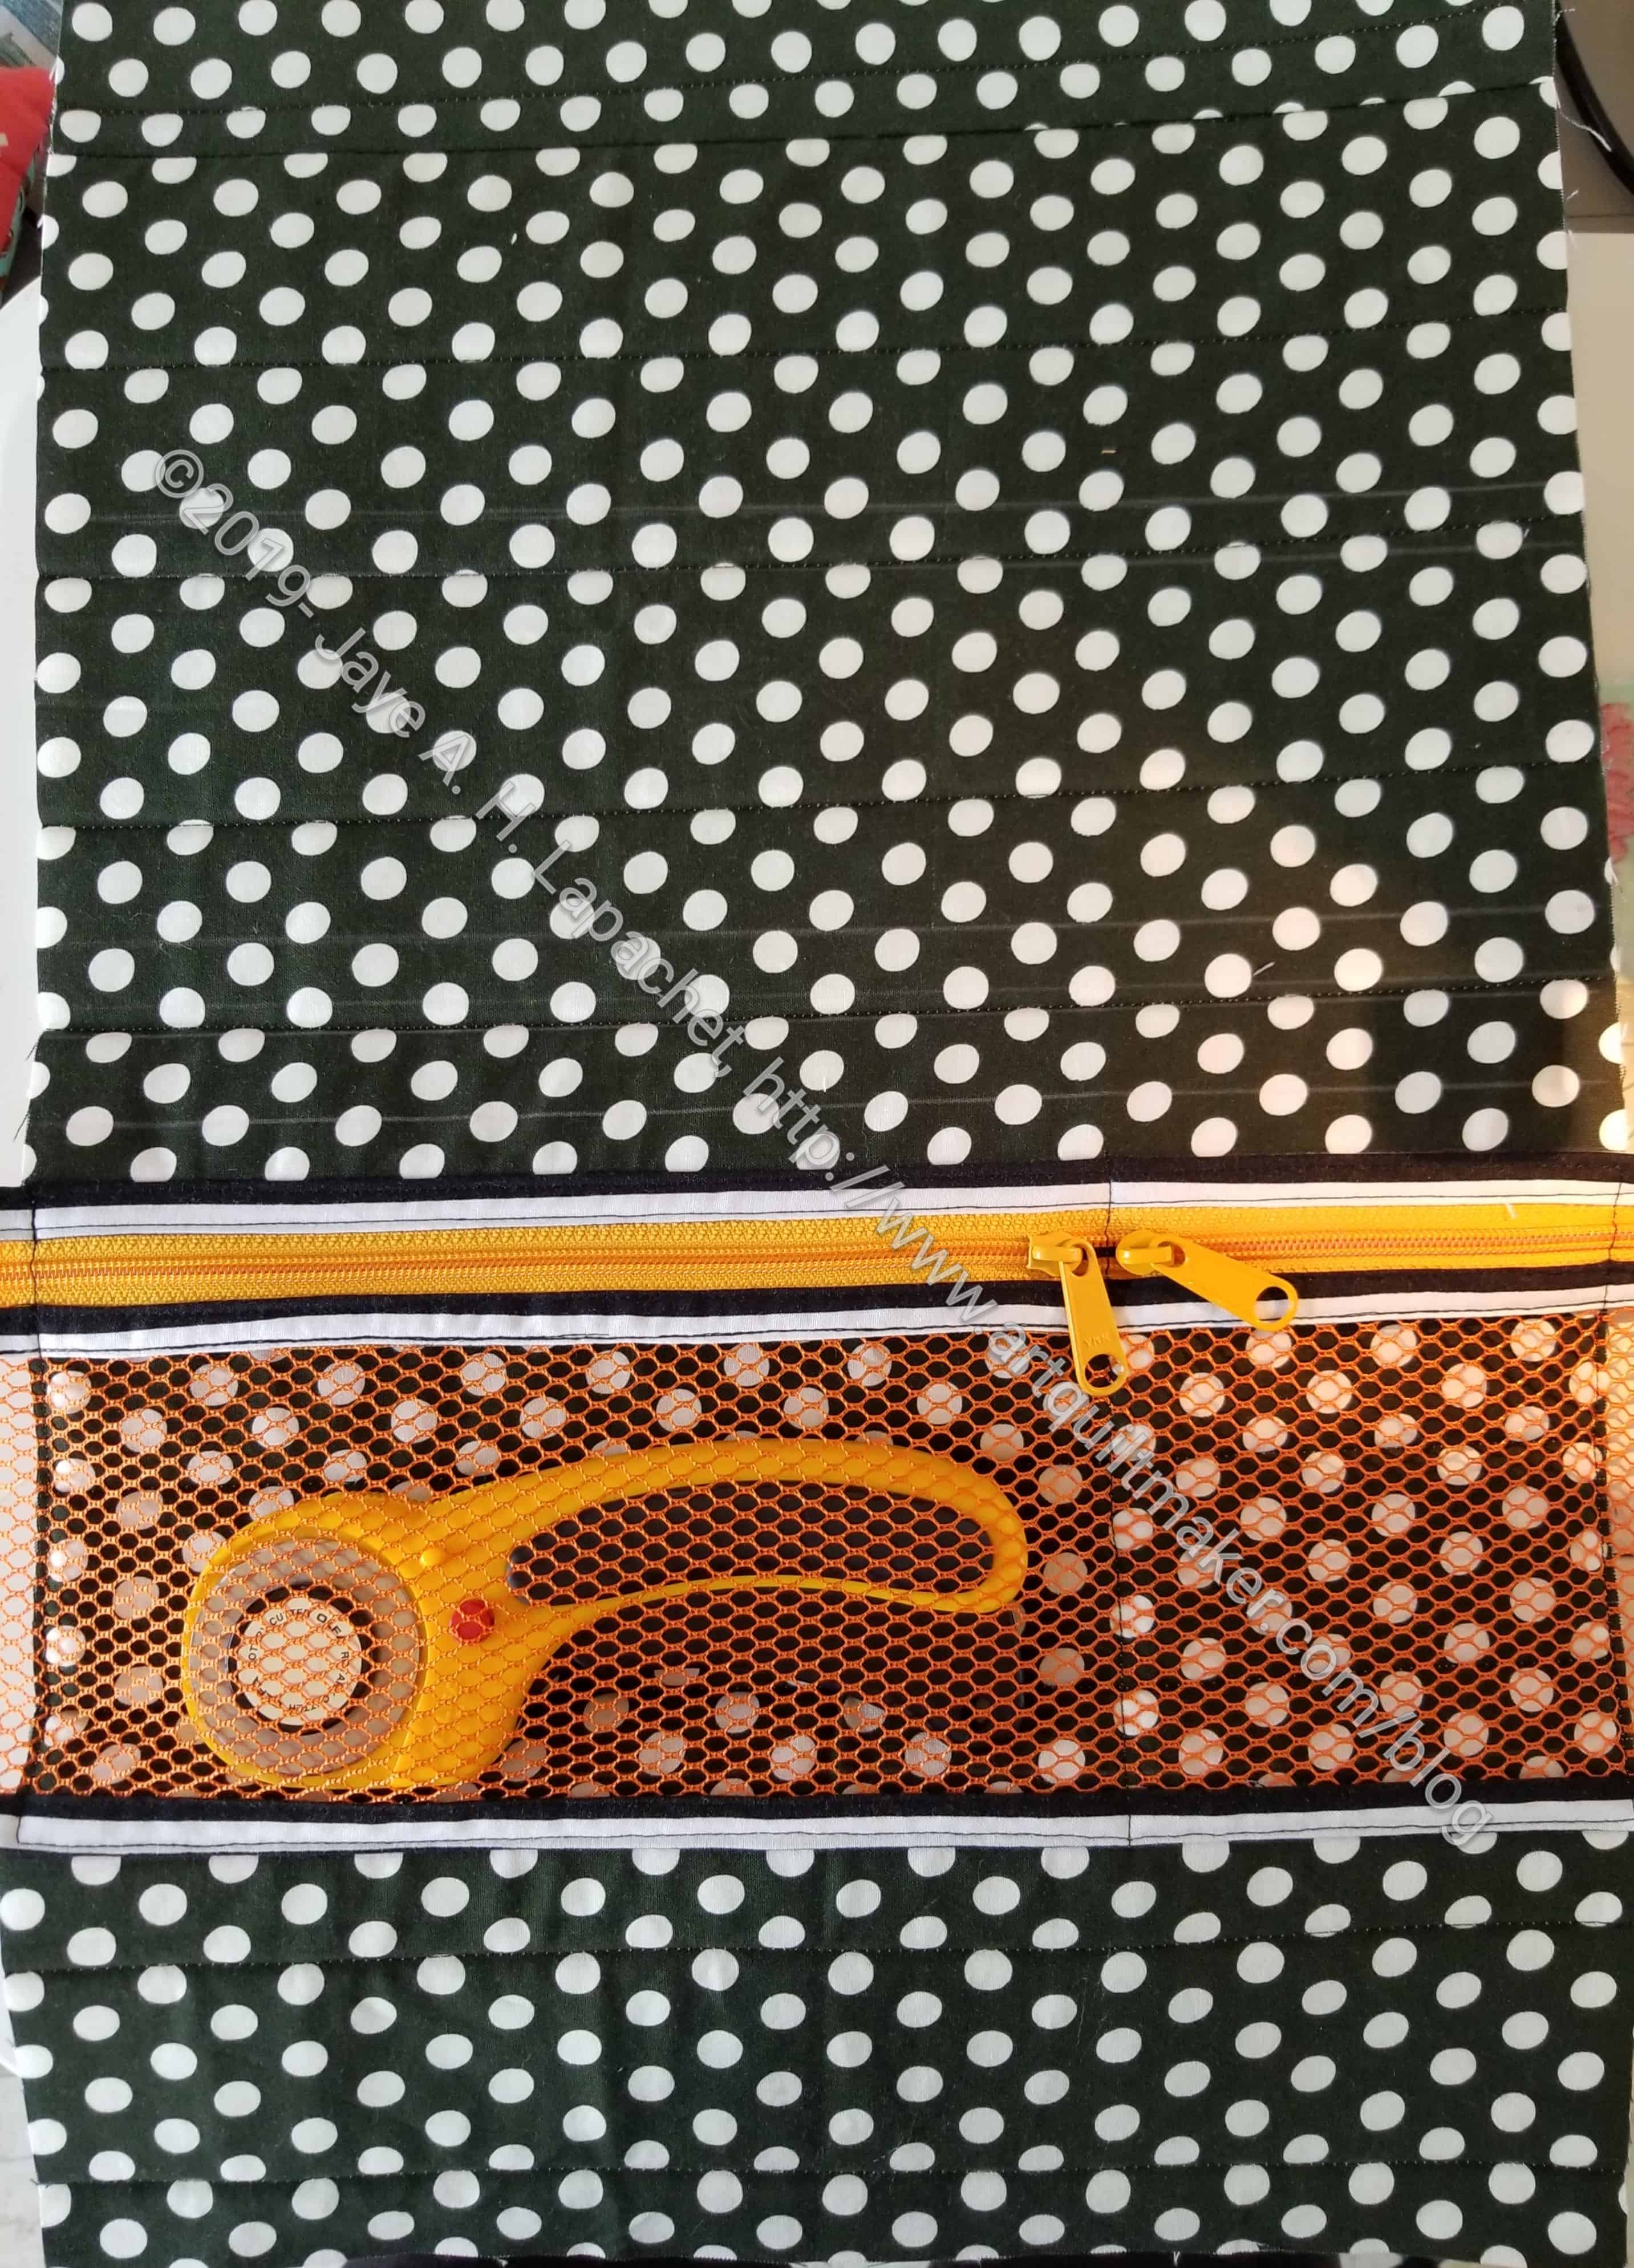
I customized some of the pockets for my tools. For the mesh pocket, I divided it into a very large section and a small section. The large section will be used for a rotary cutter and the small section will be for Sewline pencil refills.

I thought the webbing I used for the handle would hurt my hand, but I think the bag won’t get heavy enough to be a problem. I do like the glitter of the webbing. Perhaps having a little sparkle in my life is a good thing.
I was surprised at how small this bag is. I think of it as being much larger. I wonder if I could enlarge the pattern. The pattern is so complicated that I think it would be difficult.

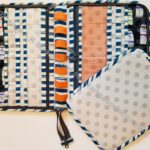
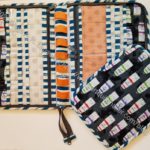
This bag is designed to be used with the Take a Stand bag**. I made a Take a Stand bag for myself awhile ago. As soon as I was finished with this RwS tote, I tried it with the Take a Stand bag and I was so pleased with how it looked.
Now I need to fill this bag up and take it to Sew Day.
**N. B. : Obviously, you should shop at local quilt shops and support small businesses. However, if you are too busy or can’t find what you need there, I use Amazon affiliate links and may be paid for your purchase of an item when you click on an item’s link in my post. There is no additional cost to you for clicking or purchasing items I recommend. I appreciate your clicks and purchases as it helps support this blog.