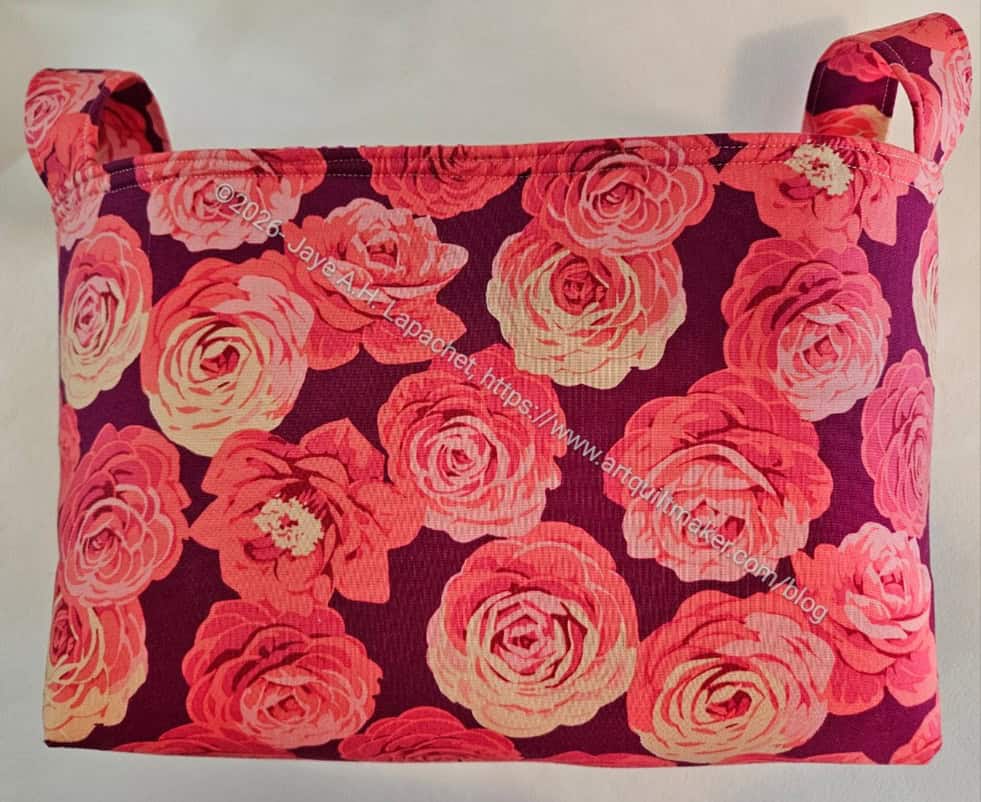
Mary and I talked about this pattern when I visited her. She had the pattern it was on her list to make. I saw it at Picking Daisies, as mentioned, and decided to buy it. Noodlehead patterns are pretty good and I was interested to see how the divided lining was created.
Continuing with the Picking Daisies theme, I used the roses fabric I bought during my visit. The front pocket fabric is an Alison Glass, I think. It was in my fabric closet.
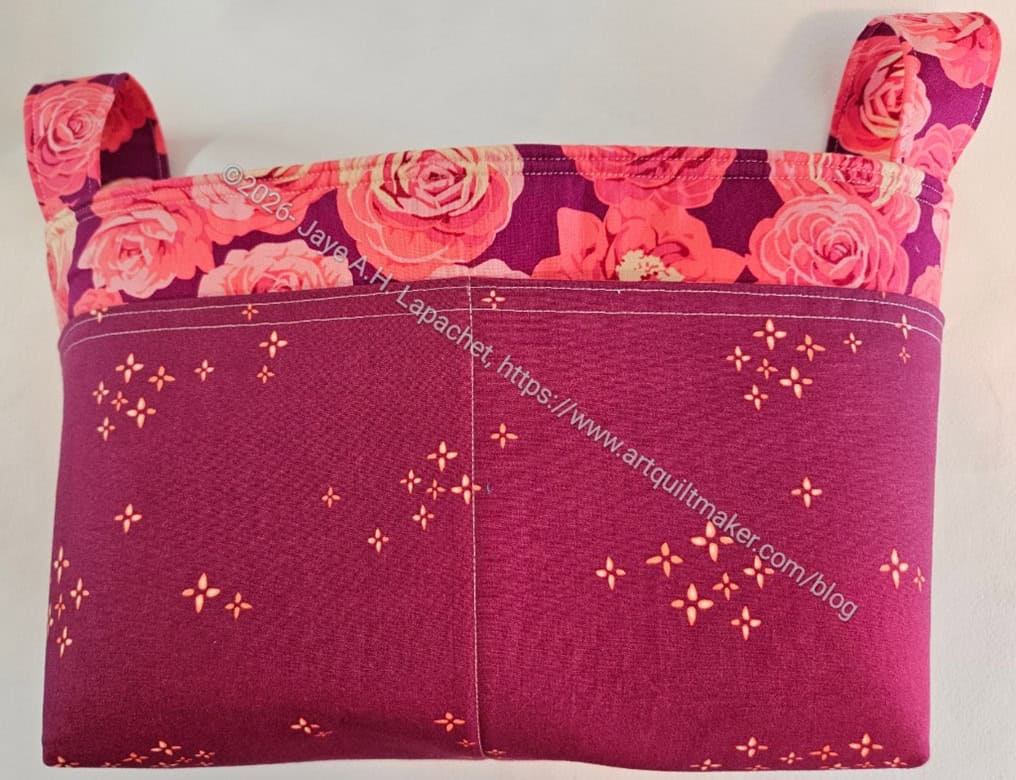
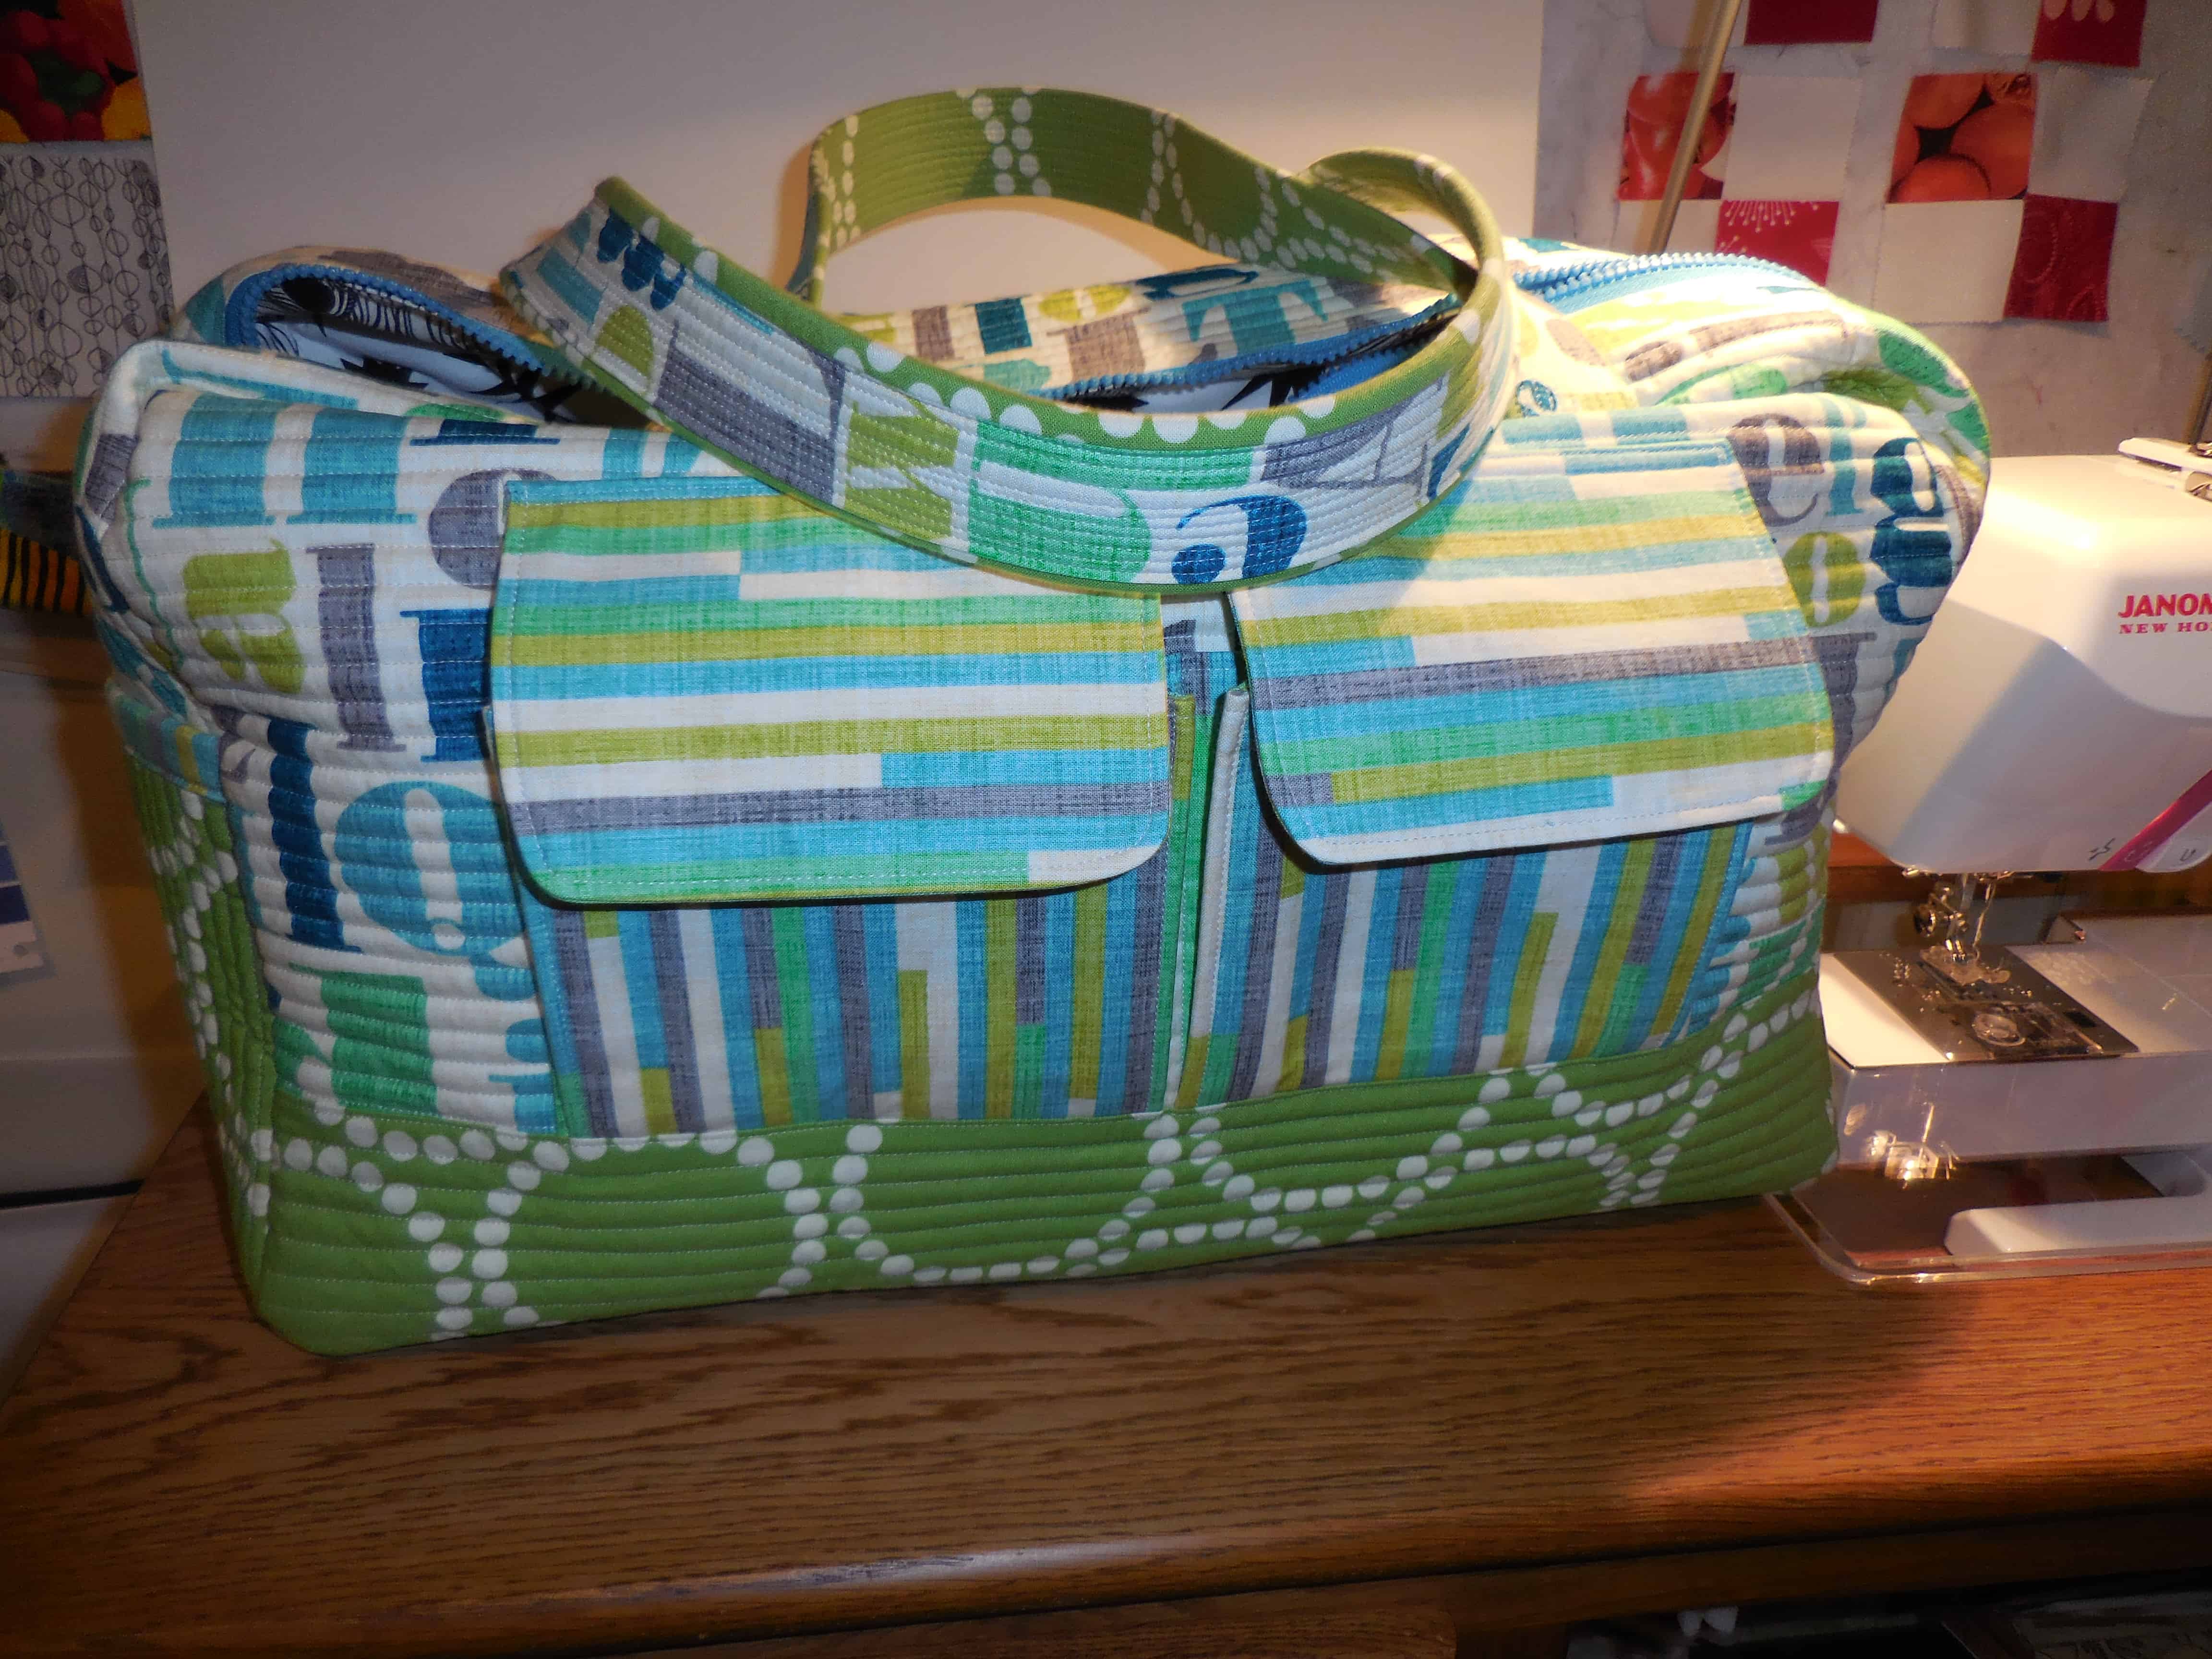
Divided Basket – back
I was surprised at how large this basket is. I did look at the dimensions, but I can never visualize them until I see the actual bag made. It would be good temporary storage for a bag project.
I thought, after I made it that I could place a pocket on the back as well for even more storage.
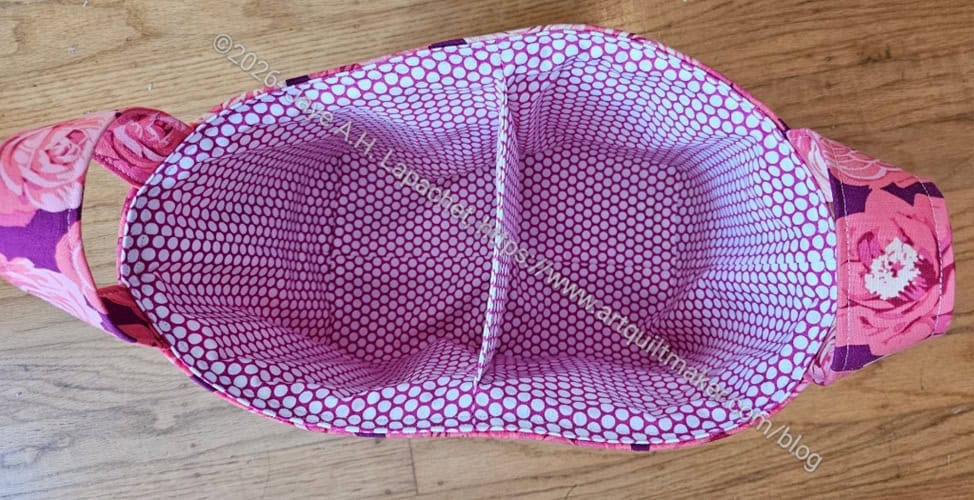
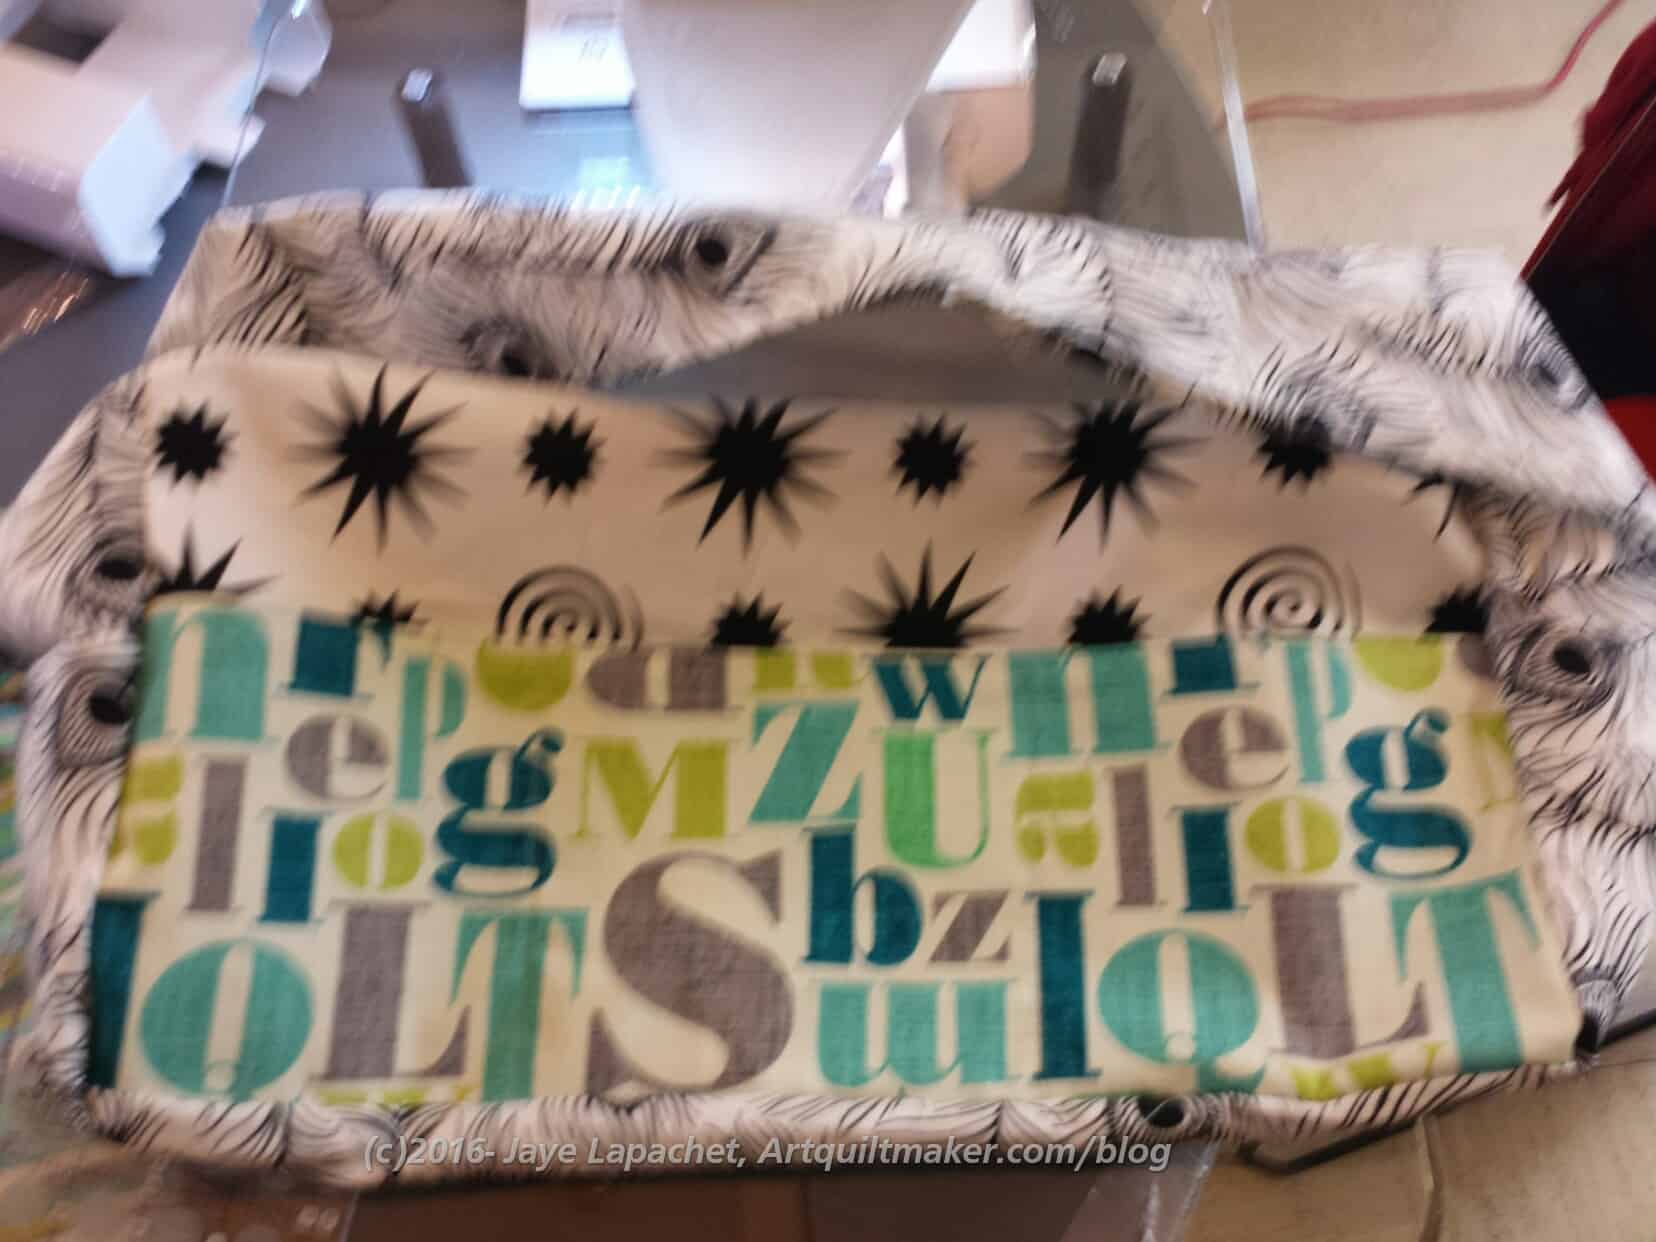
Divided Basket – interior
I was pleased to learn the technique for a divider.
I sewed the whole thing together, then realized I really should have anchored the lining, so I took the basket apart and anchored the lining. I was much happier after I did that.
I sent the basket off to its new home and hope the recipient likes it.
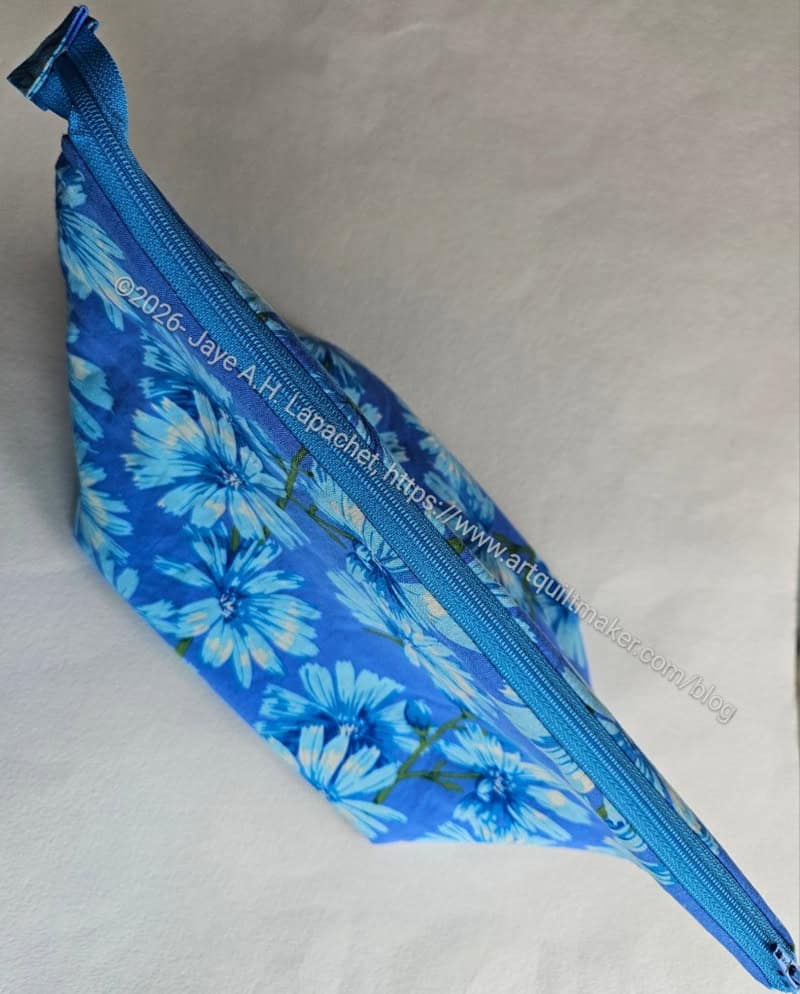
I spent some time making some Open Wide pouches for the wife of a friend of my Mom’s. He drove Mom and stepdad to an appointment on his wife’s birthday. I thought a couple of pouches would show appreciation.
I used the new Martha Negley fabric I bought at Picking Daisies a few weeks ago.
Large Open Wide for Mom’s friend
The one thing I did was delve into math again. The pattern tells you to line up the corners, sew and then cut off the excess. I get better results by cutting out a box and then lining up the edges. DH reminded me of the Pythagorean theorem (!!!!). It is one of those with a lot of letters that made me crazy as an eighth grader. More detail on that later.
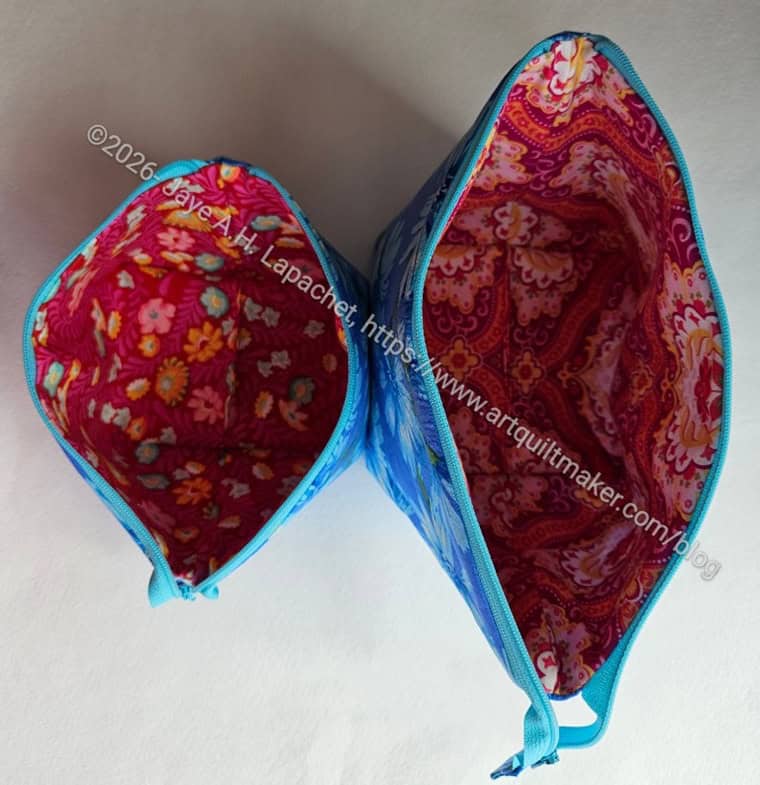
Small, medium Open Wide pouches-open
Needless to say, I used this theorem and my calculator to figure out a box size for these pouches. Closed they look a little weird, but open they look ok. The open wide aspect is so useful.
I’ll have to work on figuring out the best size to make these look ok.
Large Open Wide- open
I have to say that exercise was interesting. I showed DH how a pouch goes together every step during the process and he was really interested. I think he thought the practical use of the Pythagorean theorem was fascinating. I have to say that learning the practical use of one of those stupid math concepts was a revelation.
The other thing I noticed was a lot of similarities in the construction of this pouch and the Retreat Pouch, also free, from Emmaline.
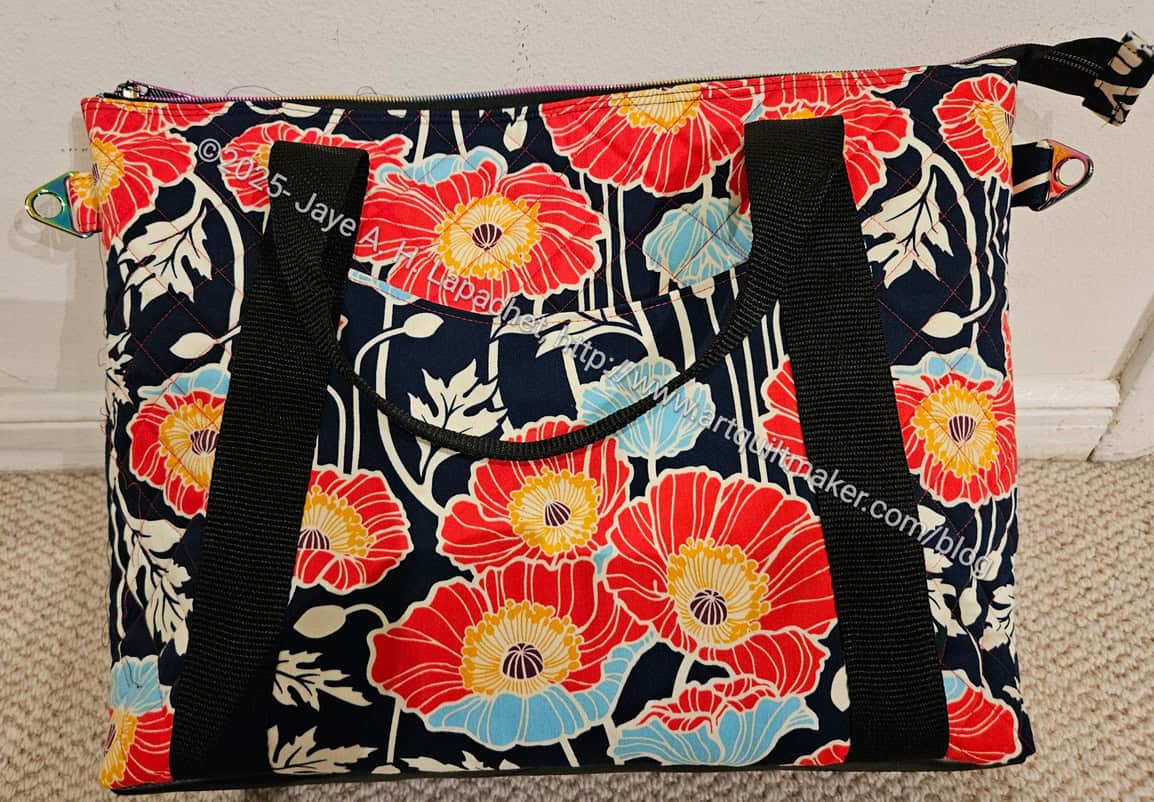
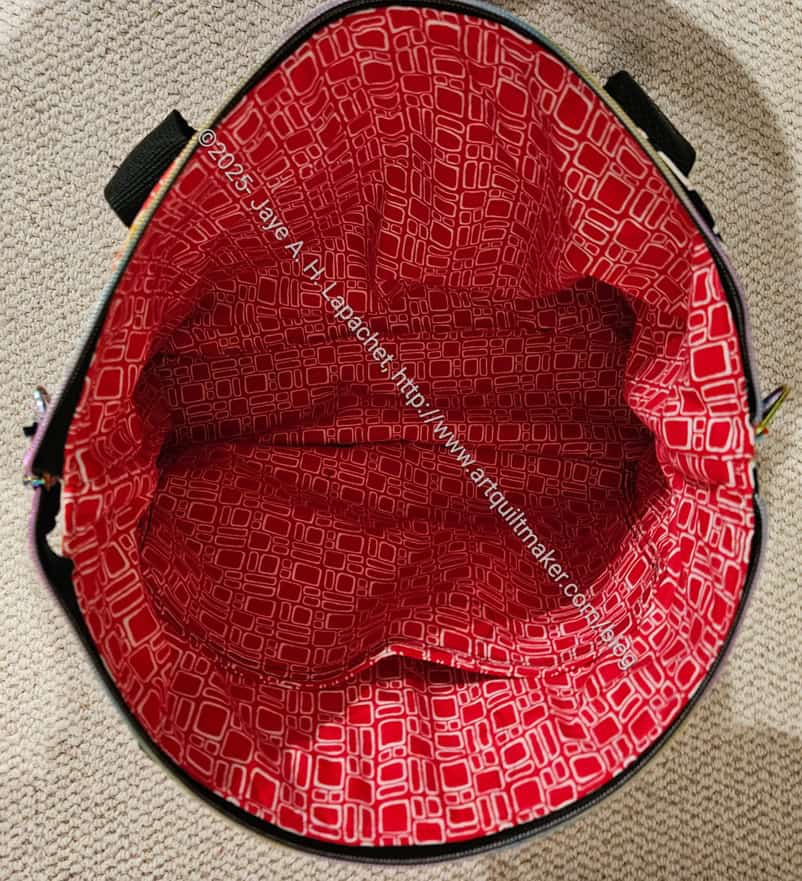
I went to SueS’ house last week for an Oxbow work day and finally finished this bag! It wasn’t as terrible a monster as my mind had made it into. I am pleased with the results.
Finished: Oxbow Tote – interior
A bunch of us got together to provide support for each other in getting this bag done. SueS was kind enough to host us as her house and that event got me over whatever the hump was that I was fighting. It was really good to be able to ask questions and get clarification. I found a part or two to be confusing and Lynette was a great help. SueS also had her finished Oxbow available so we could look at it and that was also great.
I don’t know why the project became a terrible monster in my head. It wasn’t SueS. It wasn’t the pattern designer, especially since I have made a few Poolside totes in the past. It wasn’t the fact that it was a bag. I think I just got stuck and made it into a monster. I don’t know.
It turned out to have a lot of steps, but nothing I couldn’t handle. There wasn’t anything I hadn’t done before and I was even able to help some of the others.
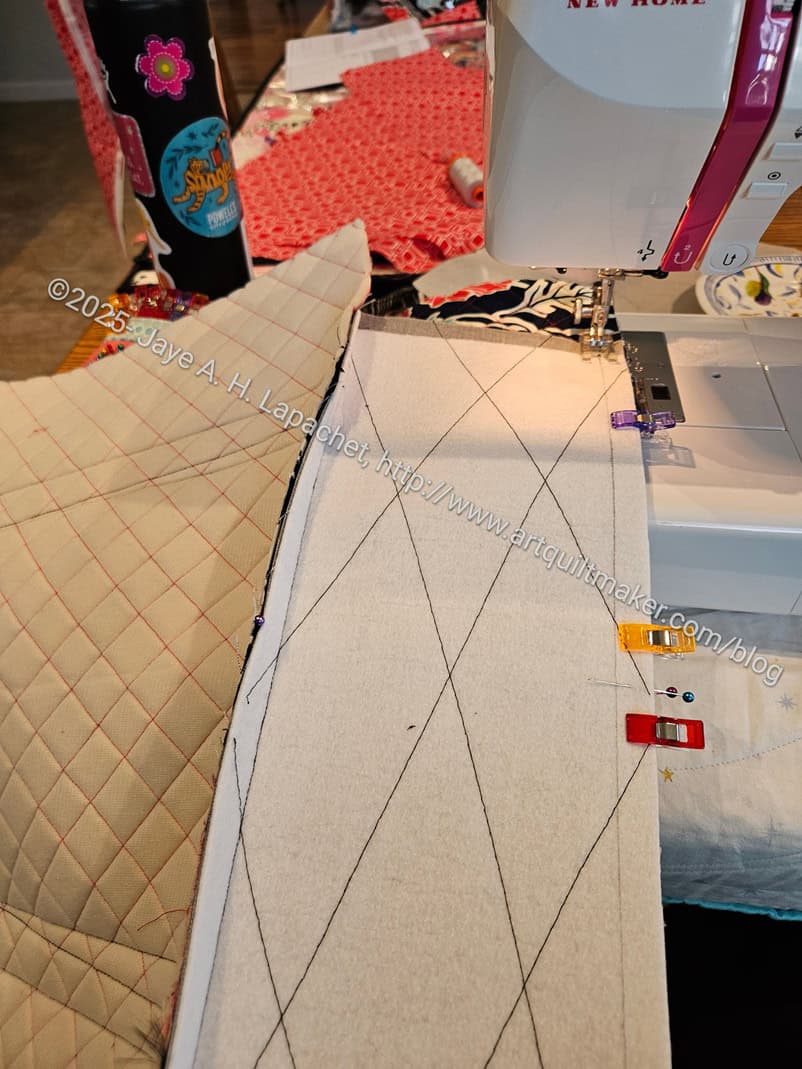
Oxbow: pleather bottom (reverse)
One of the things I did differently was put some pleather on the bottom of this bag. I don’t remember why I decided to do it, though I am always thinking about keeping bag bottoms clean. I also had the pleather on hand. The construction made it easier because the bottom was a separate piece. In the picture, you can see me adding the bottom to the exterior panels.
Anyway, it turned out really well. I am pleased and am thinking I might make the pattern again.
This pouch serves several purposes. First, I have wanted to try the Noodlehead Open Wide Pouch pattern for awhile. This is a very popular and free pattern. It is nice to have a go-to, simple yet straightforward pouch pattern that I can make up quickly. I still haven’t found one, which is why this was on my list to try. The instructions are basic, but complete. I found it useful to have some experience with other pouch pattterns. Don’t you think it looks like a stingray?
Second, I told my Mom I would make her some pouches that she could give out as thank yous. This is an easy pattern to follow and I know that I will be able to make a few of them relatively quickly. It also doesn’t require any hardware, such as a frame, which makes the pouch more cost effective.
Finally, I want to learn how to anchor the lining of bags to the exterior. Yes, Lynette showed me once and I did it on the Hildegarde Trunk after Lynette gave a mini-workshop at Bag Club. Then, I didn’t use the technique again and forgot how to do it. I think if I can cut out two or three of the Open Wide pouches and get them to the boxing corners point, I will be able to practice anchoring the lining a few times. That should get the process stuck in my head.
Open Wide- ready to box
The pouch is now at the point where I need to box the corners. I arranged with Lynette to do the boxing of the corners at Sew Day. I hope I can, again, learn to anchor the lining to the exterior.
I was surprised to find that the directions are similar (a shortened version?) of the Emmaline Retreat bag. Then I realized that both are very simple zipper pouch patterns and they are all made the same way. I referred to the Retreat Bag directions, because I wasn’t sure what to do when I was sewing around the edge of the pouch and got to the top of the zipper.
For the next pouch, I plan to use a technique from Sweet Cinnamon Roses (IG) for creating zipper tabs on the top end of the zipper. I have wanted to try it as it looks like it will reduce bulk a bit and make the corner of the zipper pouch actually close.
I have been cleaning out my workroom – not throwing stuff away, but re-organizing, a little recycling and a few donations. I am doing a lot of filing. In the course of this, I found the Noodlehead Maker’s Tote pattern in a pile.
I remember seeing a cool version at Stitch in Ferndale a few years ago?? I can’t find the photo, though I am sure I took one.
The fabric, which I am thinking about using for the exterior, is from my last trip to Bolt. I thought about using it for a different project, but it might also be a good fabric for this bag. I am struggling with a choice for the outside pocket, binding and handles. Perhaps something bright like pink?
This project is far down the list at the moment, so I have time.
I spent the Sew Days over the weekend working on the Oxbow Tote, which is the sort of group project instigated by Sue S. This project is not going well for me. I have to ask if all of my bag projects start out this way and then I get over the drama or if this is particularly annoying this time?
First, I didn’t have enough fabric in the correct orientation to make the large size. I needed more width to make two main exterior panels. That was irritating, but I decided that the regular size would be fine. It wasn’t what I was planning so I had to do a mind shift.
Then, I had to do the worst part of this bag, after cutting, which was quilting. It took me a whole day to quilt the main panels. Fortunately, I was entertained by Tim and Julie and the rest of the quilt gang. I was only in a moderately bad mood when I finished instead of completely miserable and submerging my head in a vat of chocolate.
Once I was done with that I was able to fine cut the pattern pieces. They are not square, so I rough cut the pieces to allow for shrinkage and, then, quilted them. After that step, I felt like I had some success. I put the cross body strap together as well as the side loops that will hold that strap.
I have more to do, but feel I am over the hump for now.
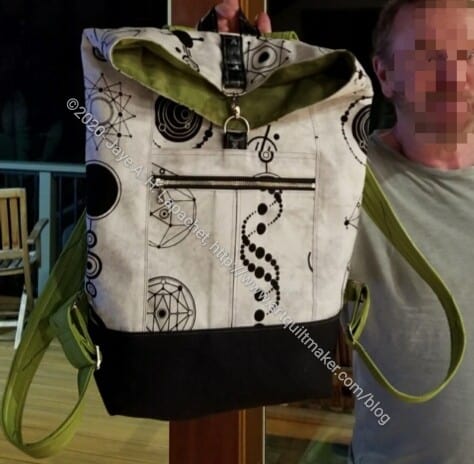
Tim has done great work again. He was inspired by Cyndi, another guildmate, so they are making Range Backpacks in tandem. Tim has made three so far and I am very impressed with his work.
The Range Backpack is a Noodlehead pattern. Tim likes it very much and says it is concisely and clearly written. He made some changes after making the first one such as using only SF101 as the interfacing and using a lobster clip instead of a buckle for the closure.
This is the pattern that spurred our discussion of the Hump Jumper.
I am behind in posting, but I also don’t want to bore you by posting on one project or topic day after day.
You know that I have been prepping for the Cargo Duffle. It seemed interminable, but paid off. On the first Saturday in August I went to the BAMQG workshop and worked on assembling the Cargo Duffle. I arrived in good time after only getting a little lost*. 😉
Gerre arrived right after I did and we quickly decided to sit together in the back of the room. That way we could have a whole table to ourselves. There was a bit of table shortage because their day camp program was using the long rectangular tables we like. We ended up with two tables, mostly because I decided we needed a separate table on which to layout all the pieces we had prepped. It is always great to work with Gerre. On the day of the workshop, I was on edge (not sure why – a lot going on, maybe) and she kept talking me down off the ledge. I reciprocated the favor by keeping her calm when parts of the bags weren’t going as planned.
It was also good to see that some people had done less of their homework than I did, not to be mean to them; it just reduced my stress a bit.
We started out with the slip pockets and my first problem was with what pieces needed to be used. Jaime helped and once I got that problem sorted, the “which piece was which” problem sorted itself out. Even though I had all the pieces labeled, with this bit of help, I had a frame of reference.
Seeing what other people were doing and having access to a teacher also made me calm down quite a bit.
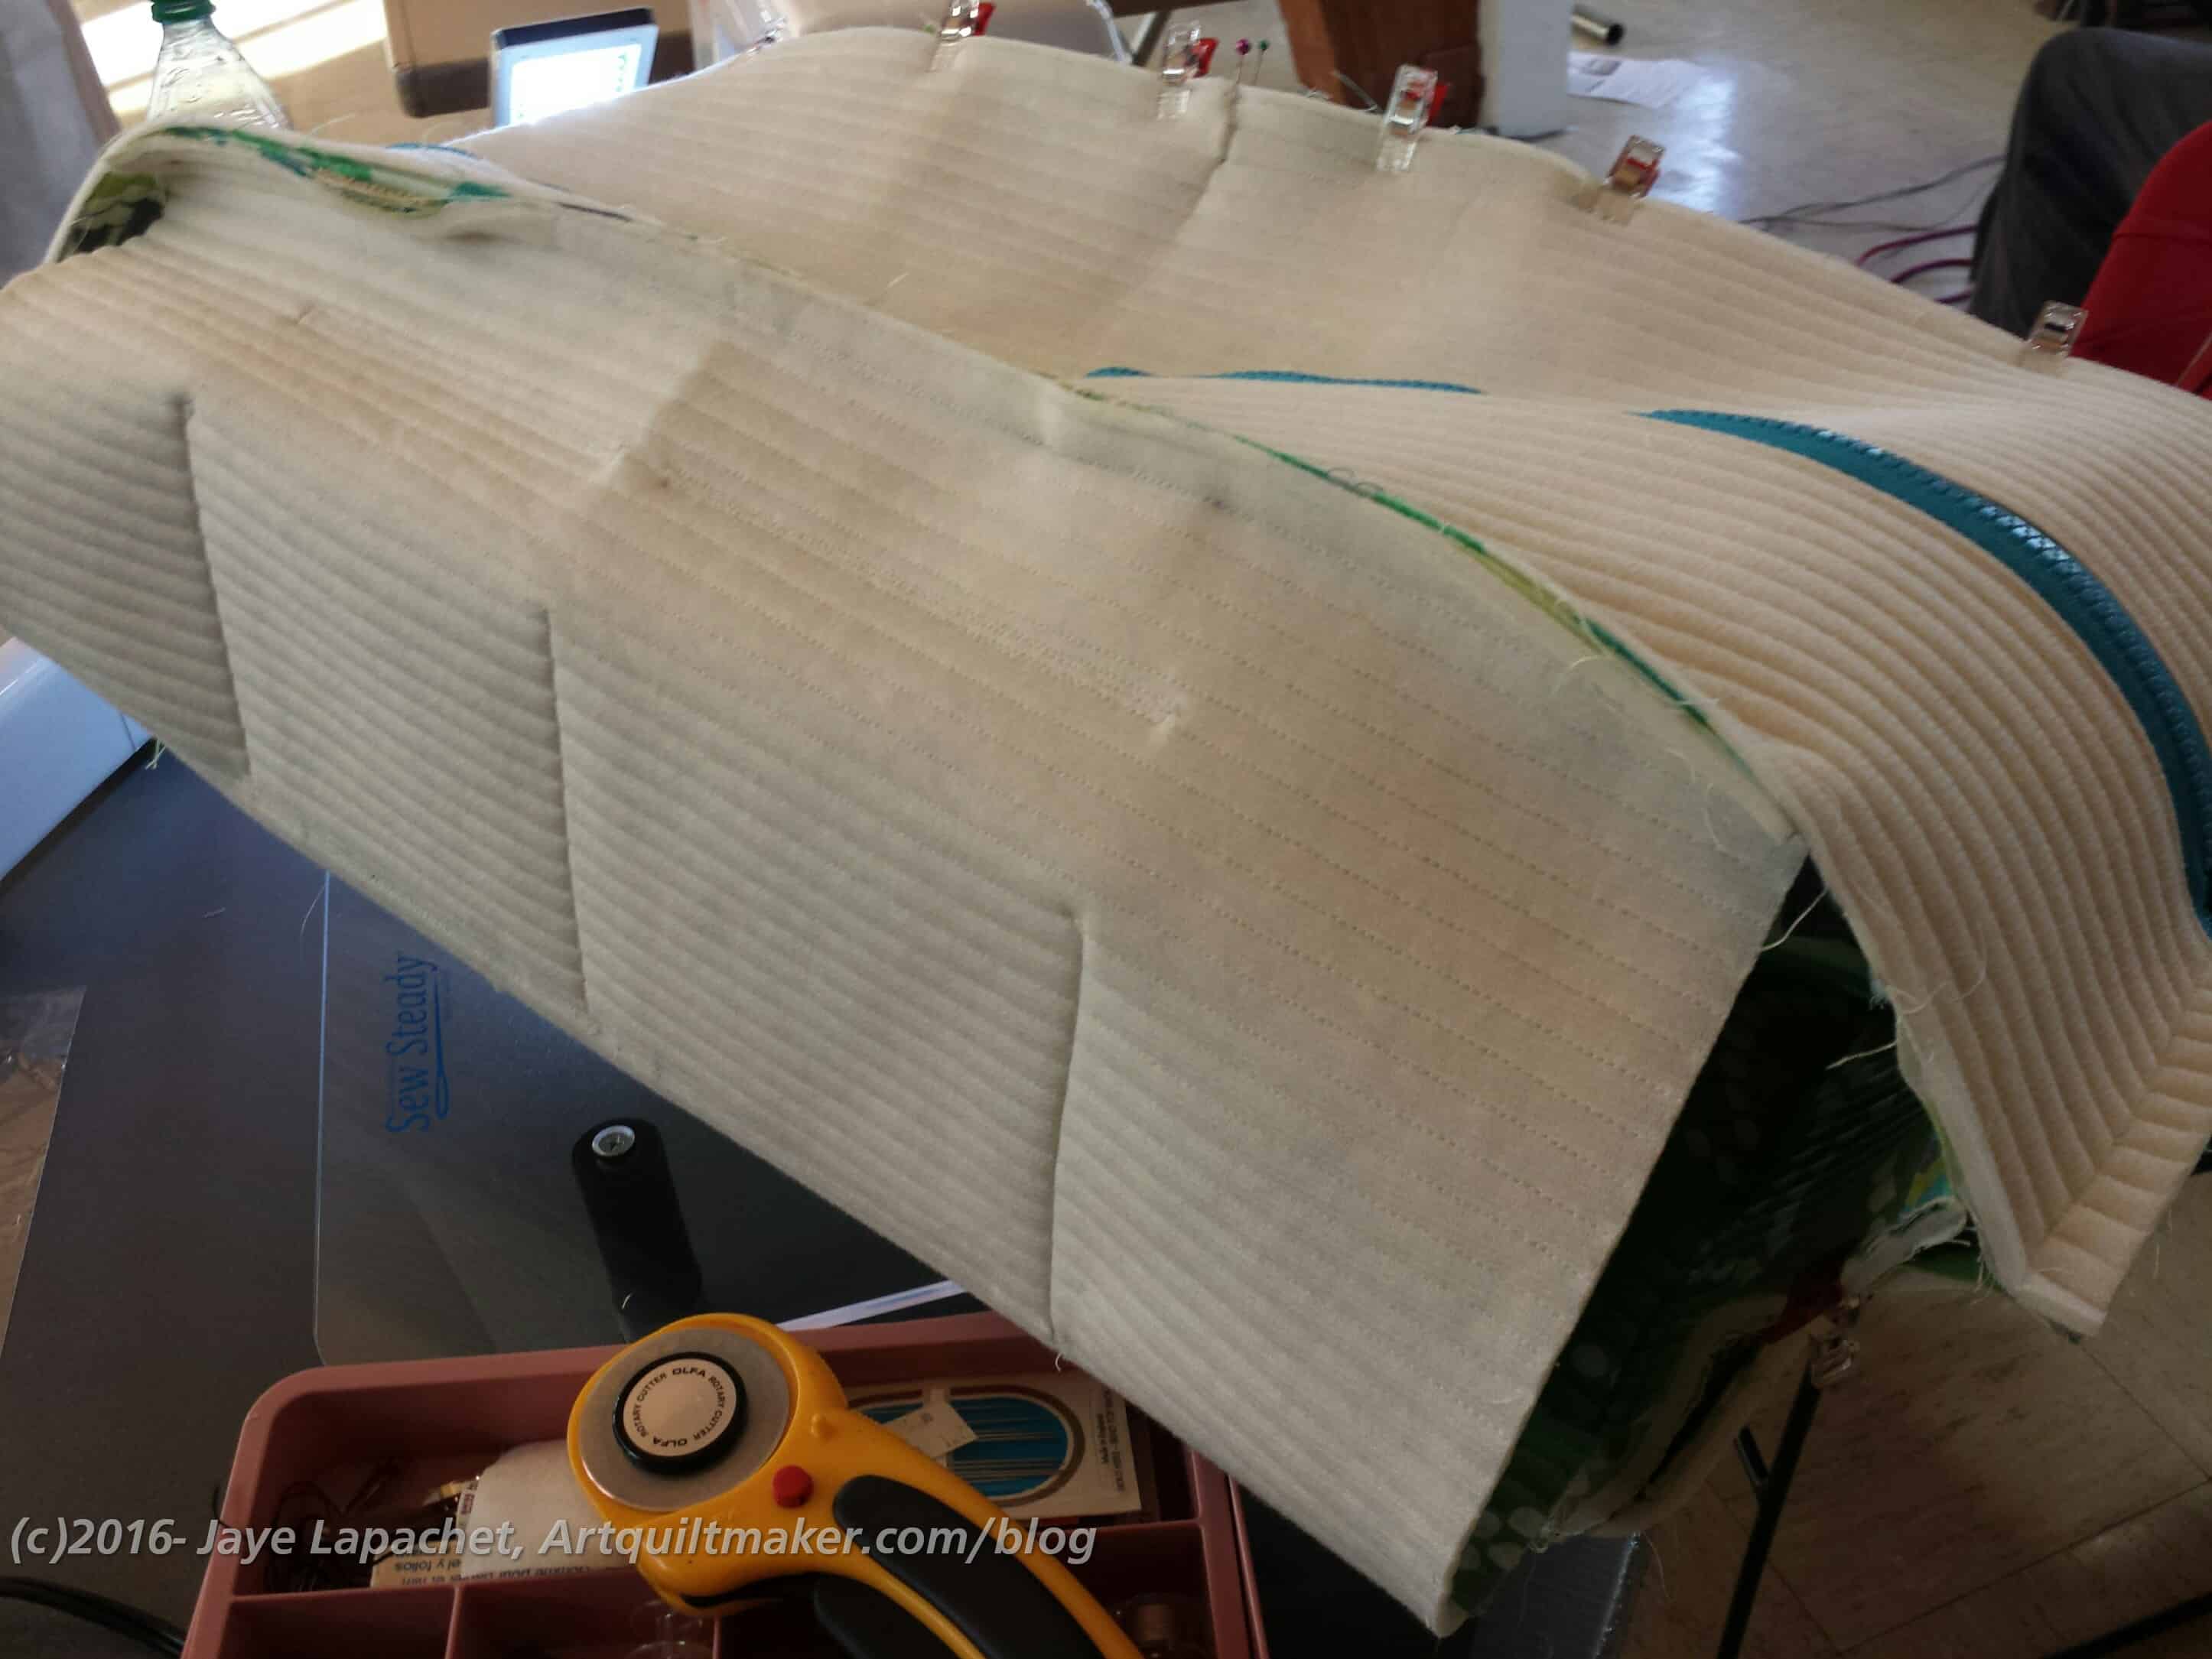
Cargo Duffle lining with interior slip pockets
My first huge accomplishment was finishing the lining. Yes, I finished the interior slip pocket and the interior zipper pocket, which help to make up the lining, but seeing a real 3D item made from all that prep work me very happy.
I made mistakes and had to rip, which I am sure others were doing as well, even though I didn’t see them. I also had to change the way the main zipper worked, which Gerre talked me through. I may post the steps for you later. Not sure, but stay tuned.
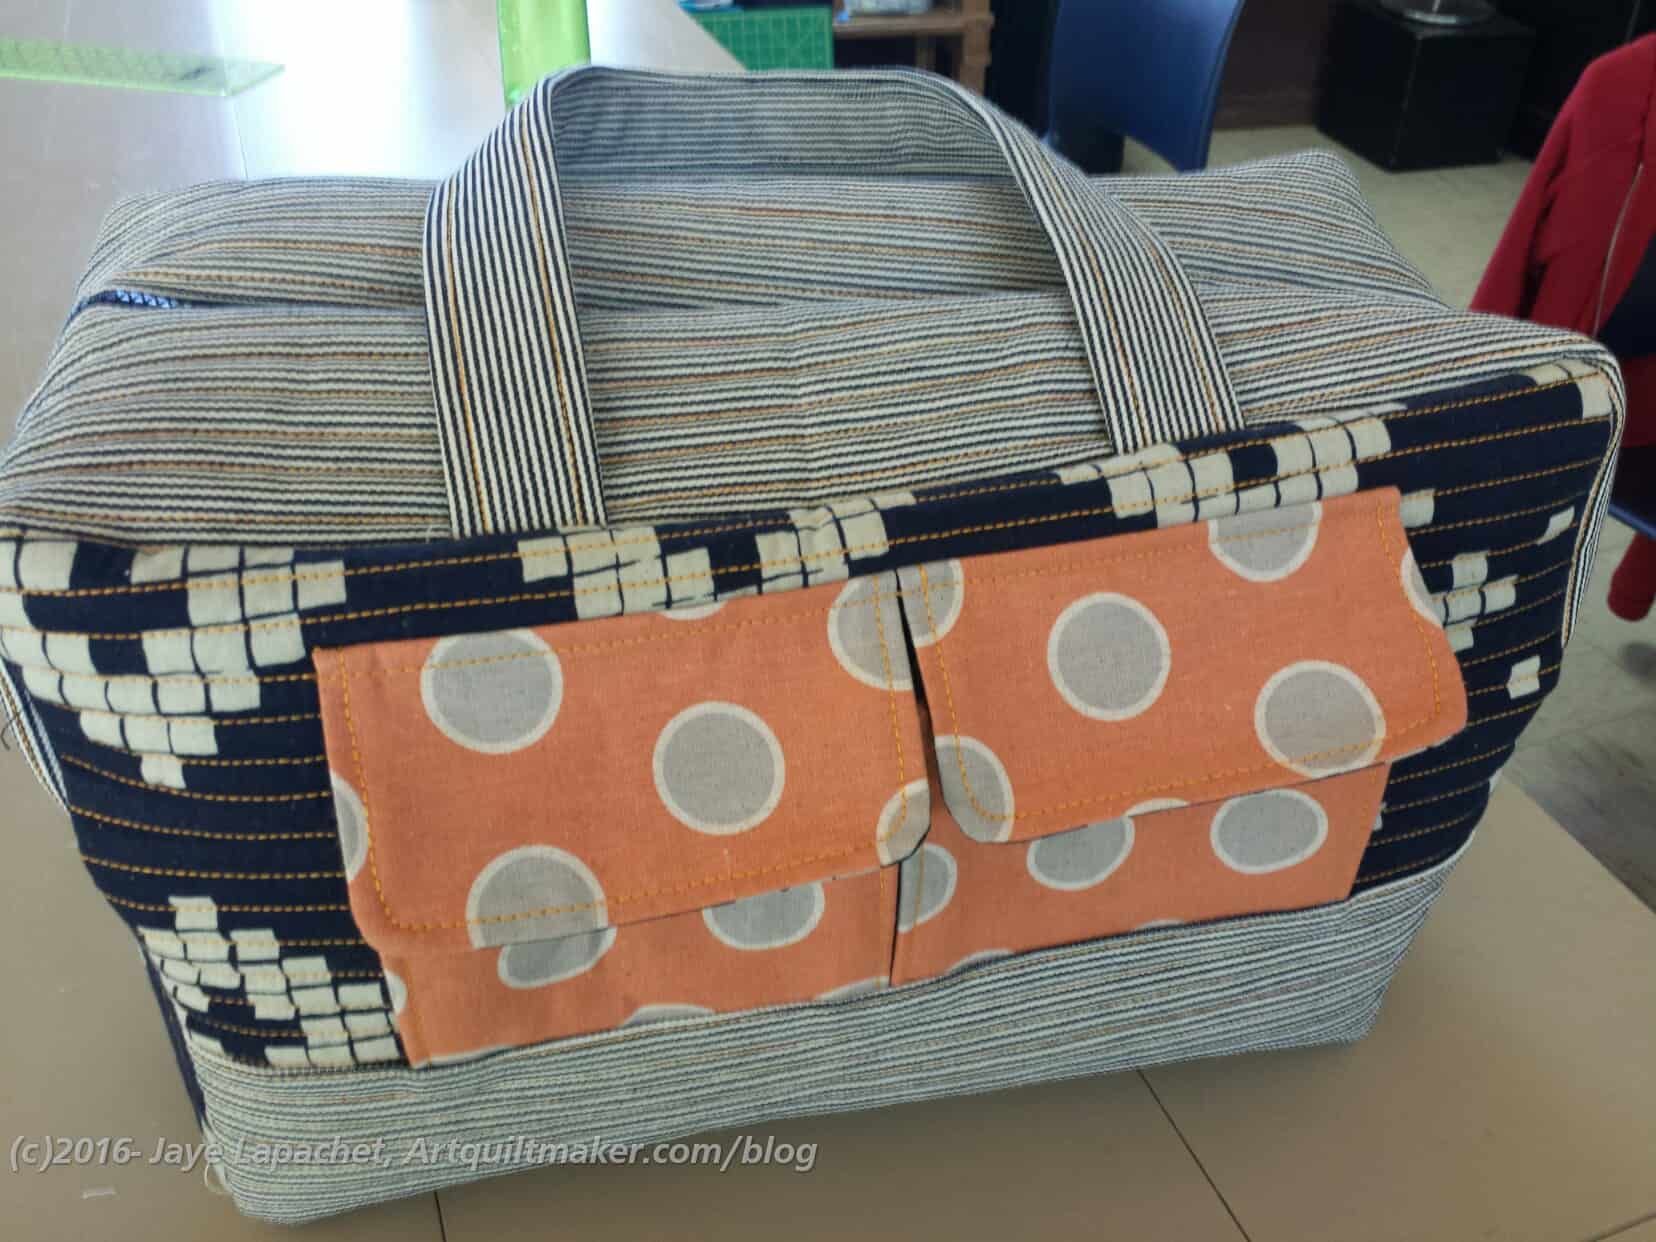
Sewing Cargo Duffle Exterior Together
Still, it was a super long day and I didn’t finish completely, but made really good progress. By the end of the day I only had to sew the rest of the exterior together and then insert the lining. I really don’t have a lot to complete and feel like I accomplished quite a bit by the time the day was over. Do I wish I had finished? Yes, of course, but I have to be happy with what I was able to do.
Gerre’s Finished Cargo Duffle
Gerre’s Finished Cargo Duffle
Gerre’s Finished Cargo Duffle
Gerre’s Finished Cargo Duffle
Gerre finished her bag and it looks great! Cheryl, Amanda and Karen all finished their bags as well.
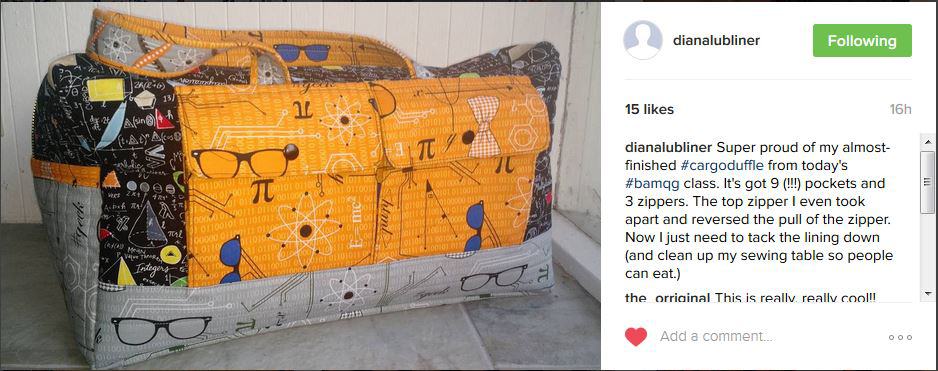
Diana is so close to finishing hers. I love her fabrics.
*I don’t normally get lost a lot, but I seem to always get lost on the mid-Peninsula and in the South Bay. I go there quite a lot and still don’t have a visual map in my mind. Someday, maybe.
As you know I have been working on the homework for the Noodlehead Cargo Duffle*. This is one of the most difficult bags I have ever made, including the Liesl Backpack, though I think the directions are the problem and not the actual bag. Also, there is a lot of prep and, as you know, I like to get straight to the sewing. As I have said, the directions are too brief for me.
In this case, I couldn’t understand the directions for making the handles. I looked at them several times until I decided just to try what they said and see if that worked. I did what the directions said, though they didn’t make sense, and the directions actually worked! Me or the directions? You decide.
Since I think the pattern instructions just need a bit of explanation for those of us who need to know more why in their patterns, I wrote up a tutorial.
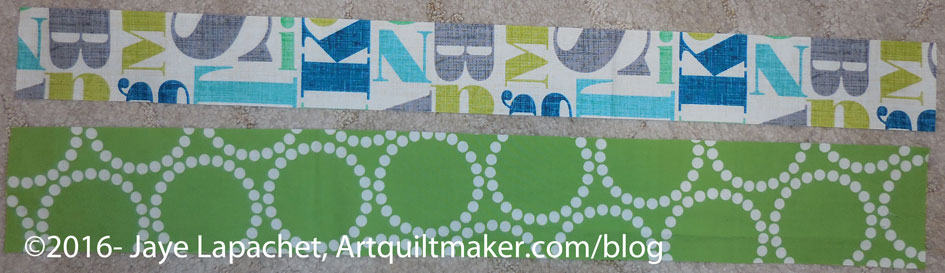
Cut strips according to the directions or according to your needs. I made mine a little longer as I wanted to have more carrying options.
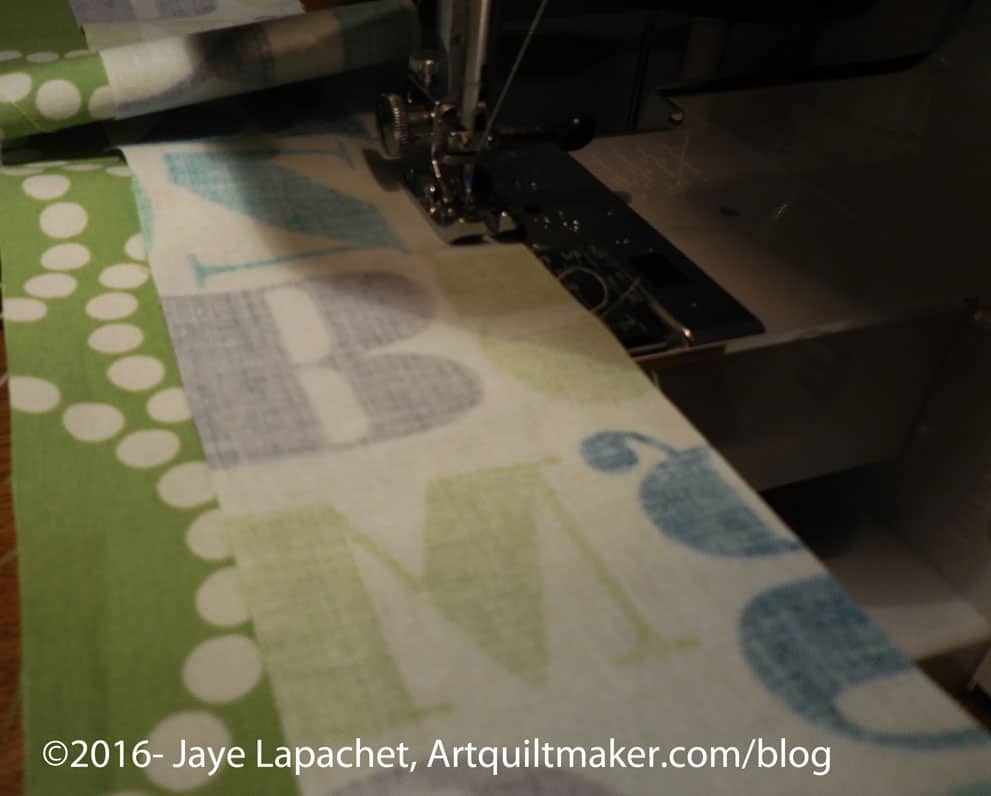
Sew strips together
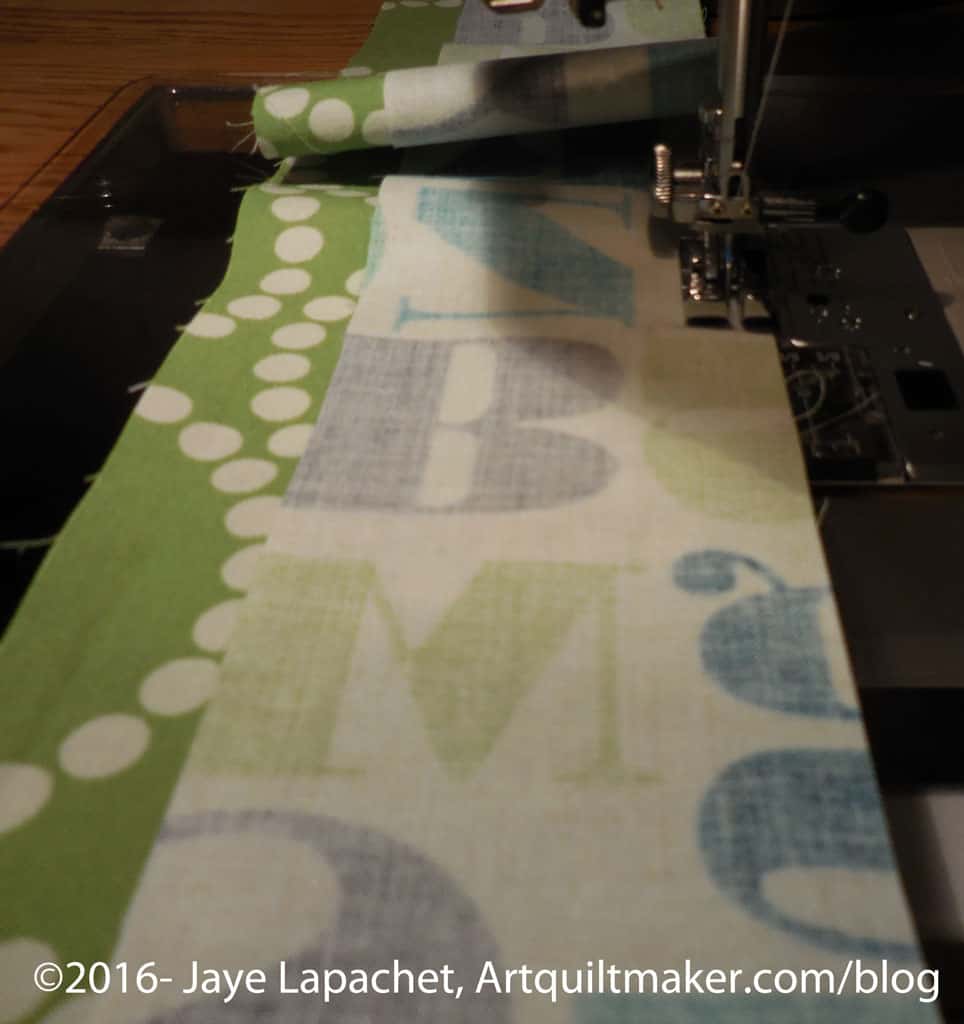
Sew strips together
2. Sew strips together. They are not the same width so they will not line up, width-wise, exactly.
Handles – press seams open
3. Press seams open. This is not critical and if you don’t want to, press how you like. I press seams open on handles, because I want to reduce bulk. You get a lot of bulk in handles, especially if you add some kind of filler like cotton webbing, which I used in these straps, or Soft & Stable or any other kind of interfacing. Pressing the seams reduces bulk.
Optional: At this point you can add some ShapeFlex to the handles to add strength. If you add ShapeFlex, cut a piece that covers both strips and covers the seam. It will add strength to the seam.
Handles tutorial – Fold raw edge towards the center
4. Fold the long side of the raw edges towards the center seam. I folded the Pearl Bracelets green piece first, but where you start doesn’t really matter, I don’t think.
5. Press fabric so there is a crease in the fold.
Handles – fold towards center
6. Next, fold the second long side, raw edge towards the center seam (yes, it is slightly off center, which is part of what confused me). This is the fabric (text fabric) with the smaller width.
7. Make sure to line both raw edges up with seam you just pressed open. Each different fabric will be a different folded width.
7. Press just folded fabric so there is a crease in the fold.
Handles tutorial – fold narrower fabric up
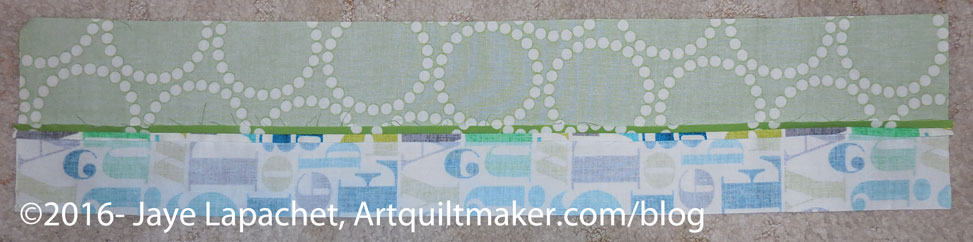
8. Fold the fabric with the smaller width (mine is the alphabet fabric) up towards the wider fabric (green Pearl Bracelets). There will be some green showing, which is what you want.
9. Press so you have crisp folds. Some of the wider fabric (green Pearl Bracelets, in my case) will show. This detail makes an accent.
10. Now unfold and add your cotton webbing or other stiffener. I used 1/5″ cotton webbing. I had never used this and was pleased at how well my machine sewed through it.
11. Refold so the cotton webbing does not show.
Handles tutorial – densely sew long way
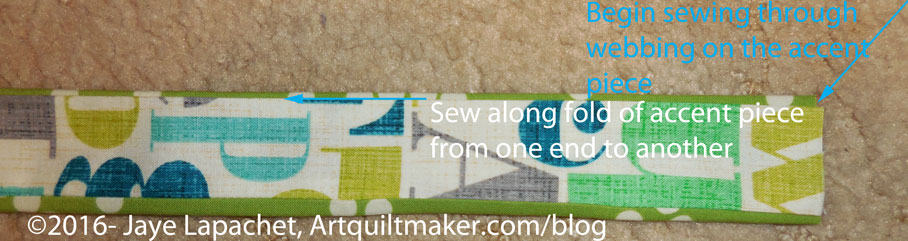
12. Quilt lines lengthwise, approximately 3/8″ apart, starting with the open seam. This will make the handle is very dense with quilting and add to the strength.
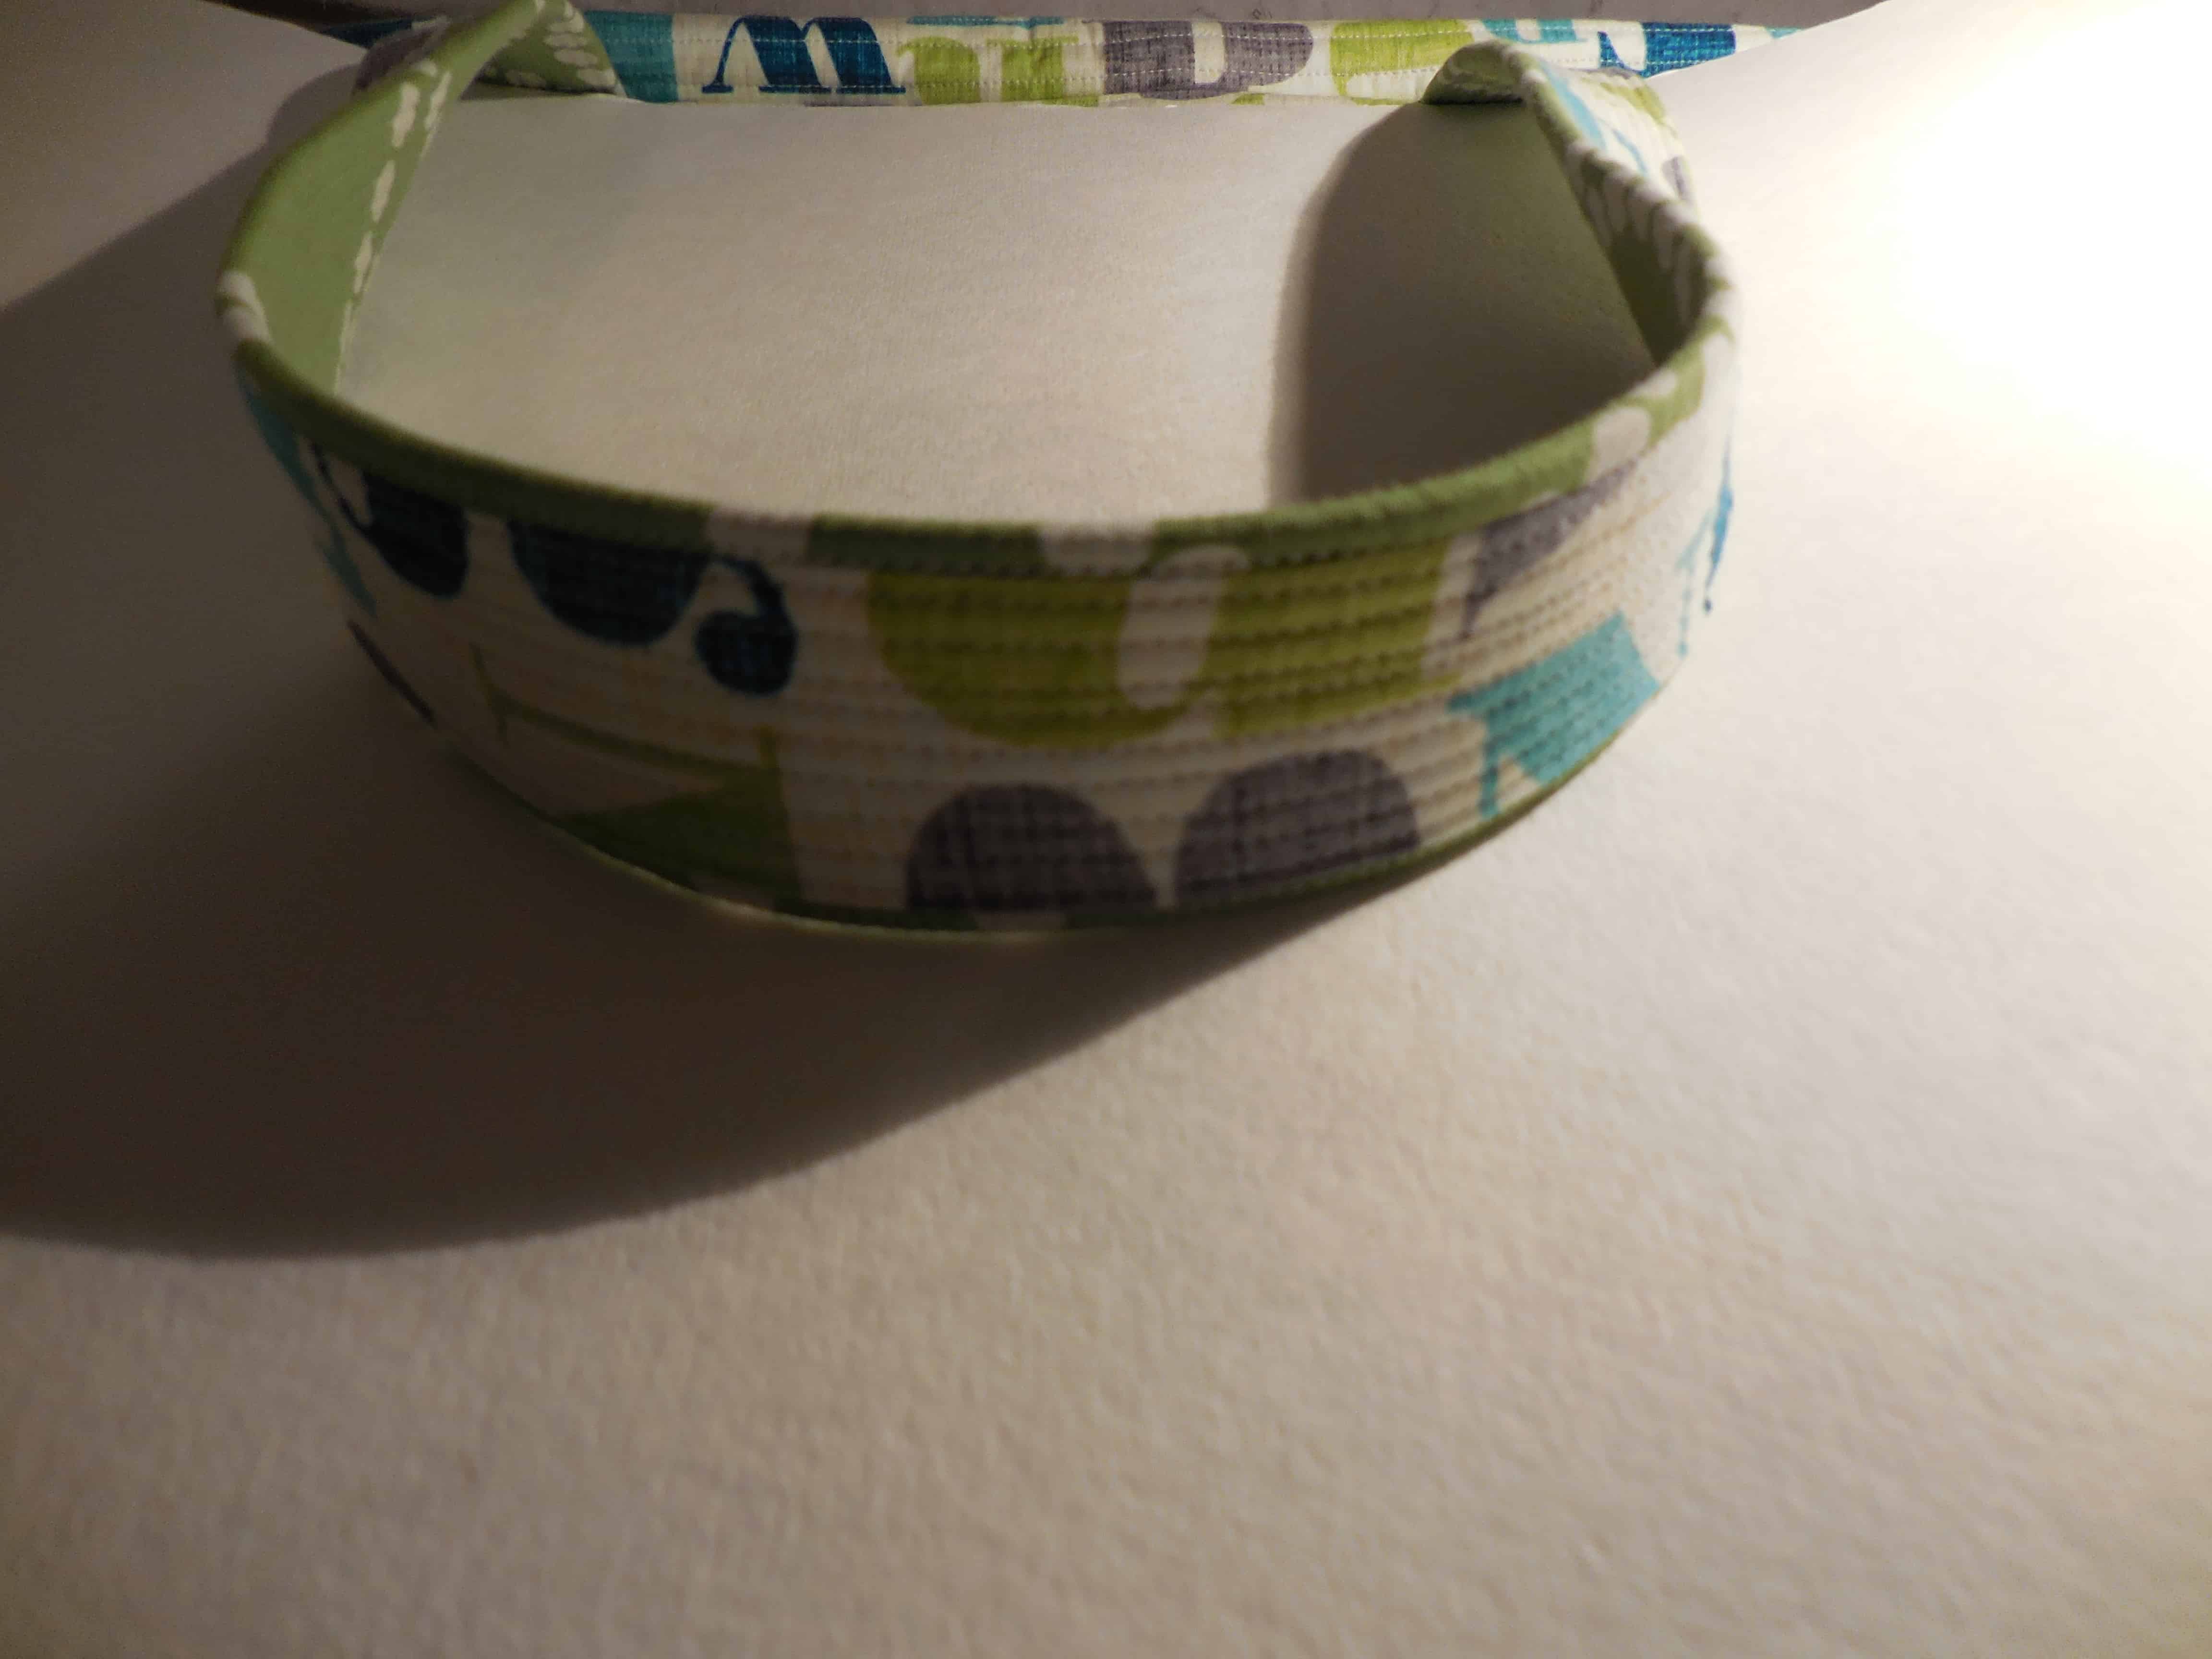
Ta da! You have very nice handles that will be sturdy enough to carry a heavy bag.
Ruth, being the super intelligent woman she is provided a link after I had figured out how to make these handles. I did search, but didn’t come up with the tutorial. I hope you like my instructions for the Cargo Duffle handles, which will, with any luck, come up in search results for others who try to make the Cargo Duffle.
*I really don’t know if the project includes the spelling ‘duffel’ or ‘duffle’. I am going with ‘duffle’ as that is what the dictionary says. You may want to search both, if you do any Google searching in order to get all the results.
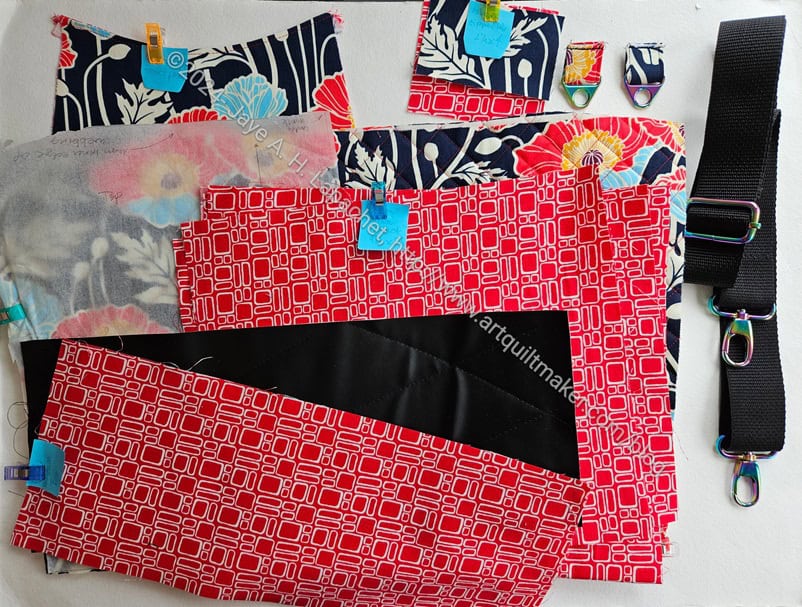
I am taking a workshop to make the Noodlehead Cargo Duffel in a few weeks. The class isn’t just making the duffel, but we are making it with some hacks that Jaime figured out.
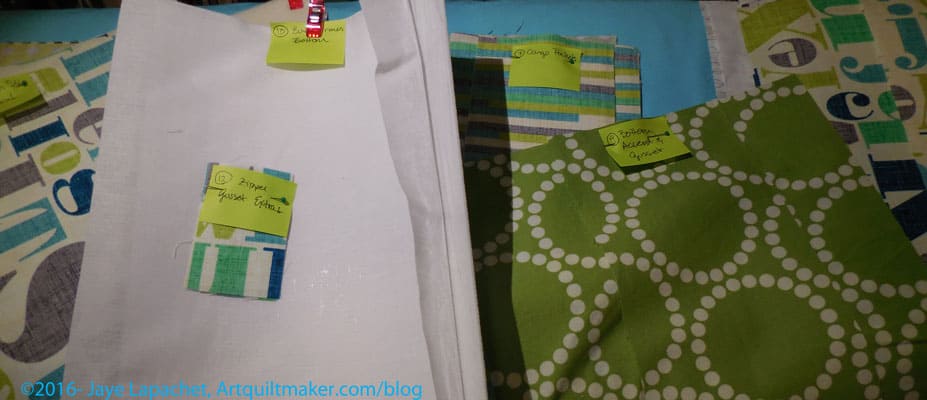
I spent a few hours the day after the BAMQG meeting familiarizing myself with the pattern and beginning to cut the pieces. There are A LOT of pieces in this pattern. Last Saturday and Sunday, I spent time cutting the rest of the pieces.
I now have to do the rest of the prep. This involves buying a couple of zipper and sewing bits and pieces together. There is homework because this is a serious bag and it can’t all be done in one day.
I am happy to do the prep even thought I was confused at the beginning. I think it makes for a better start for me once I am in the class.
I actually contemplated cutting out another whole bag so I could make two at once. I am trying to restrain myself. 😉