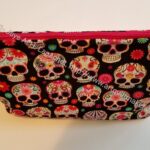
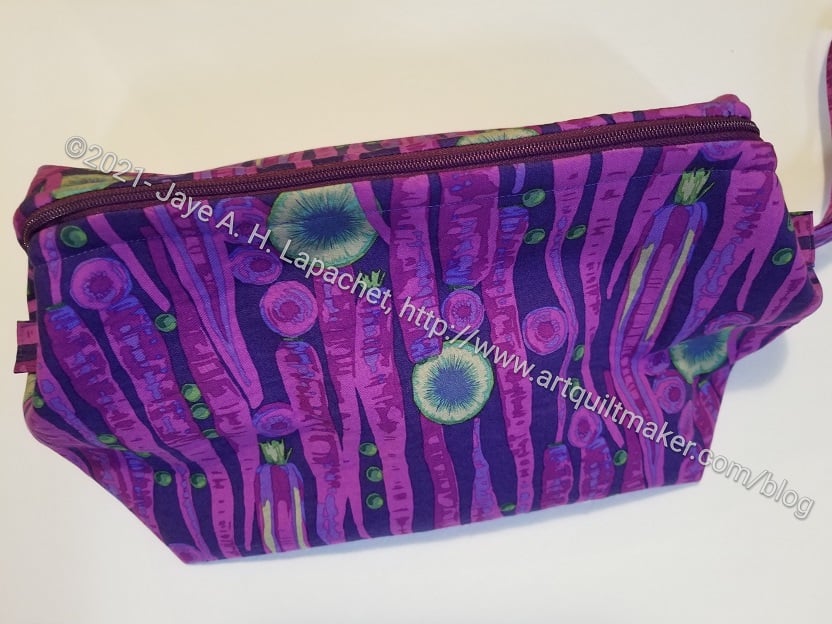
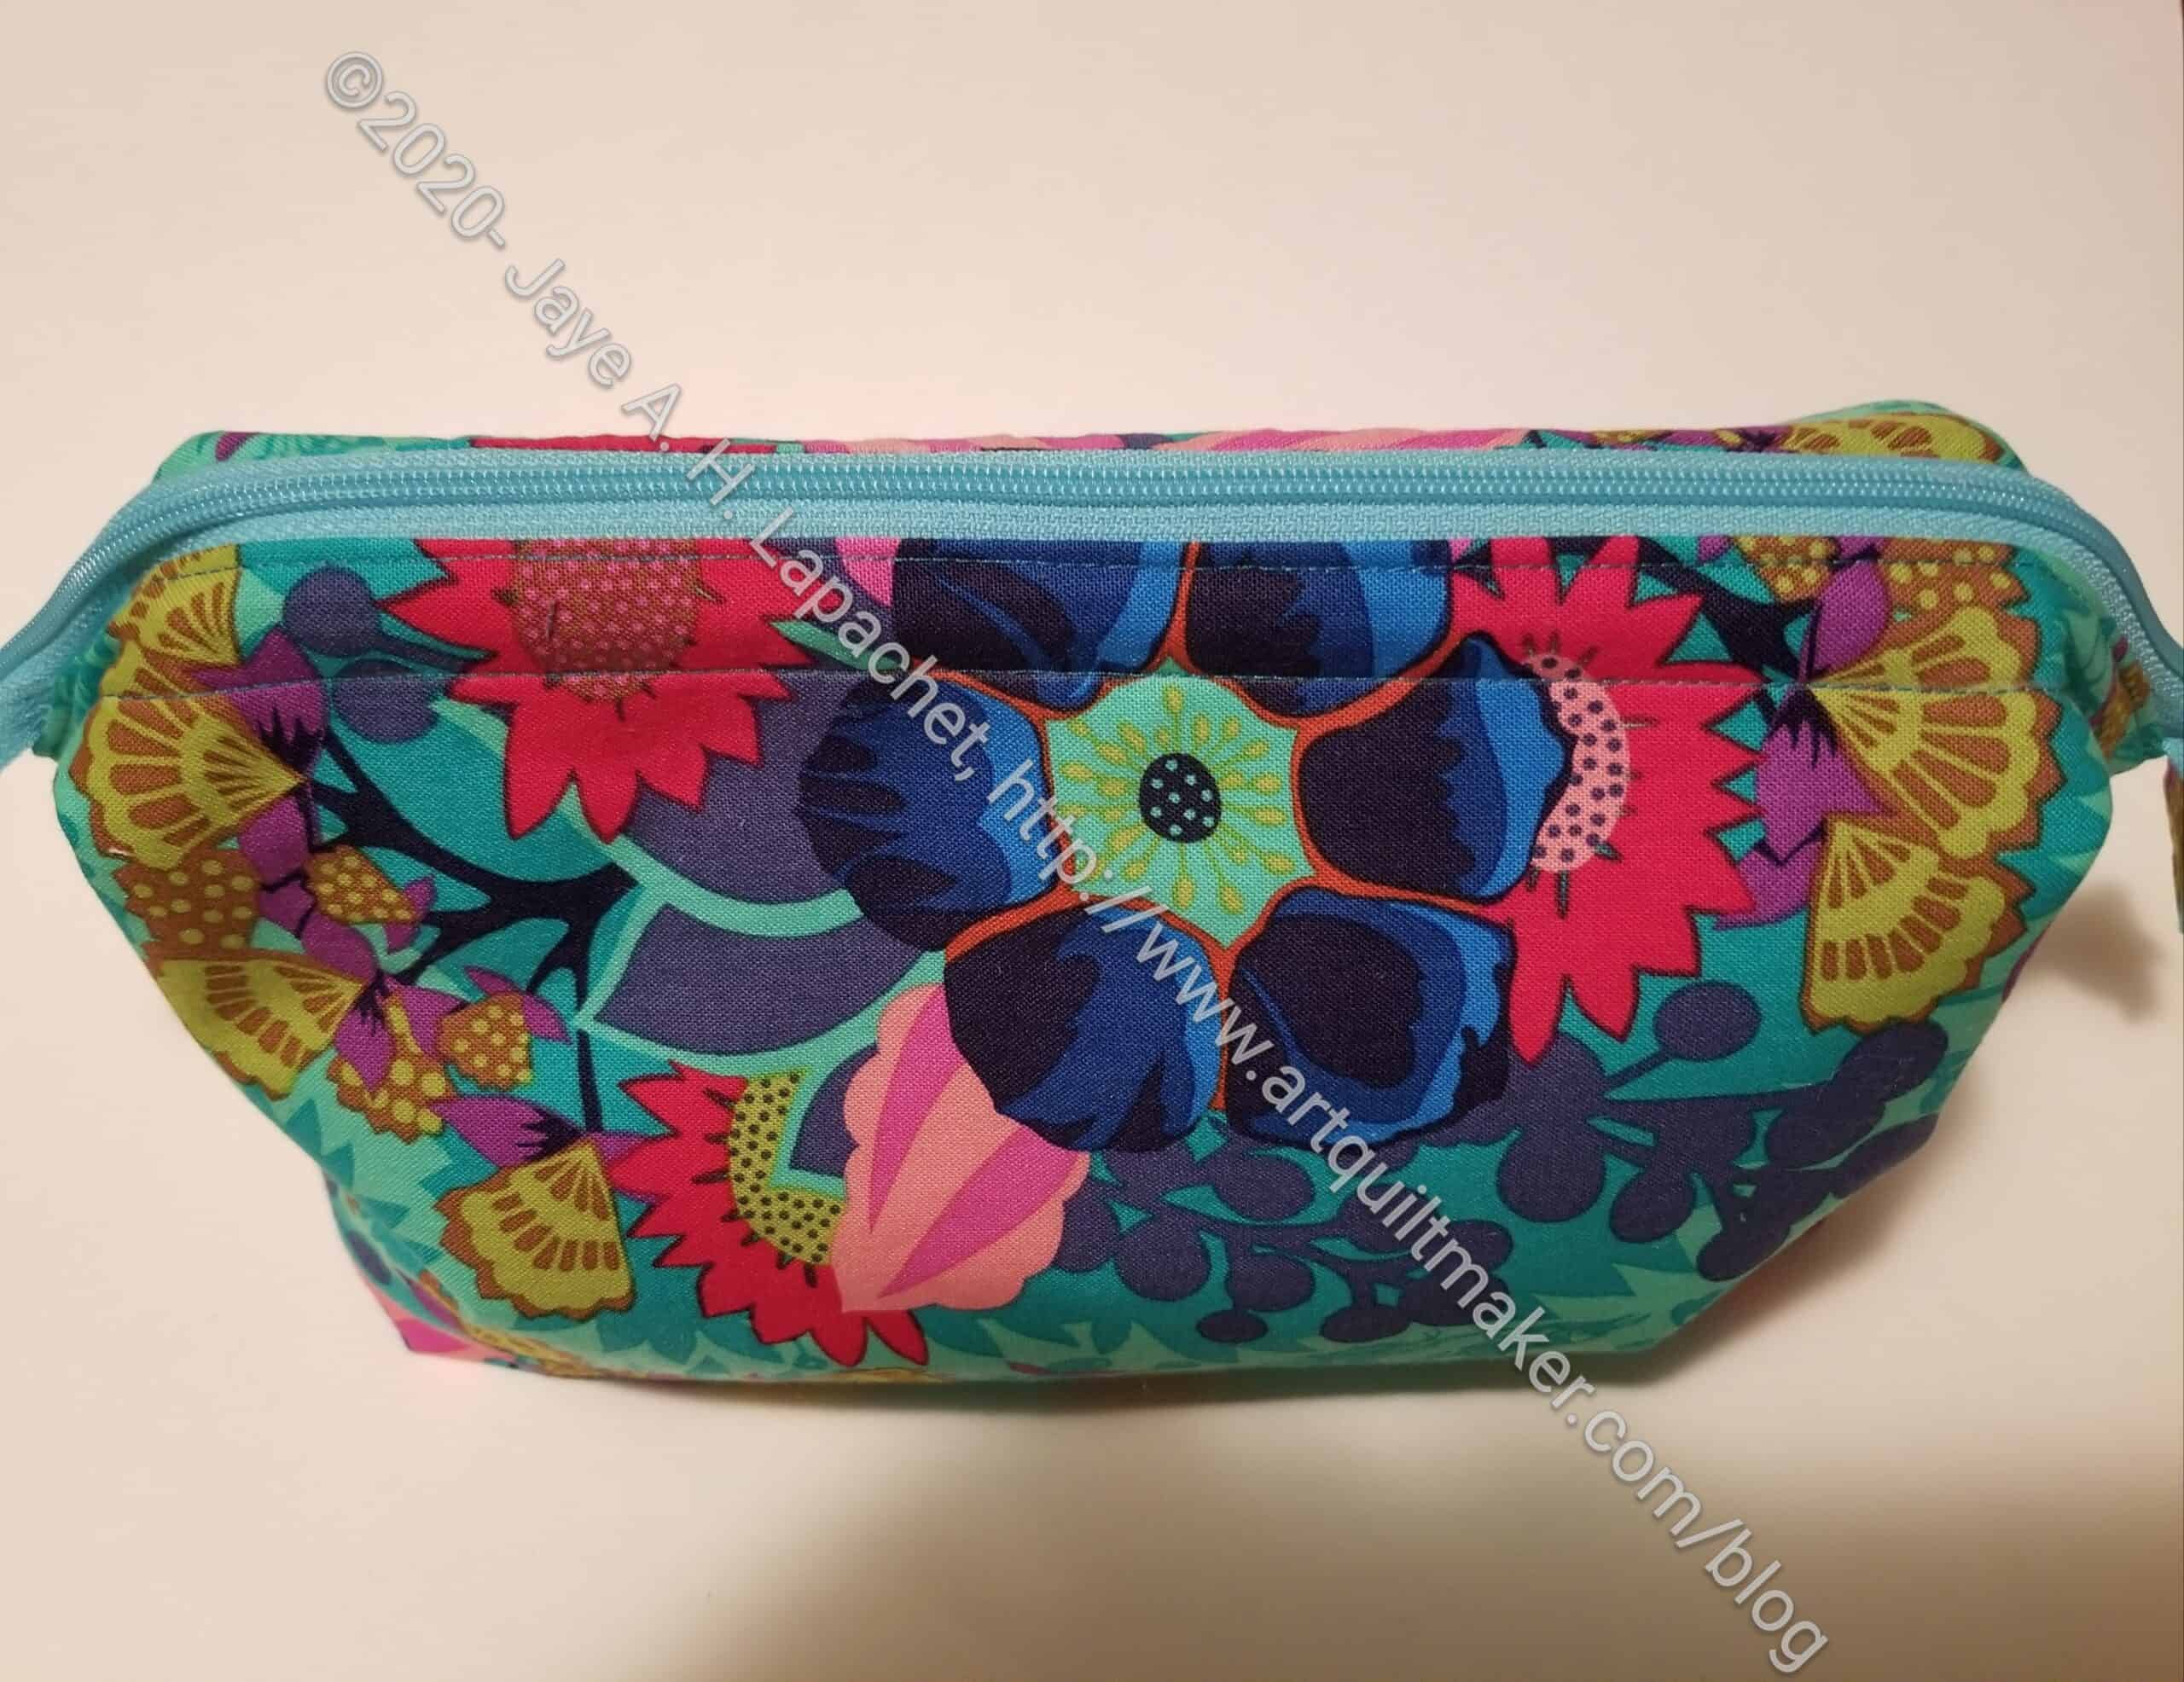
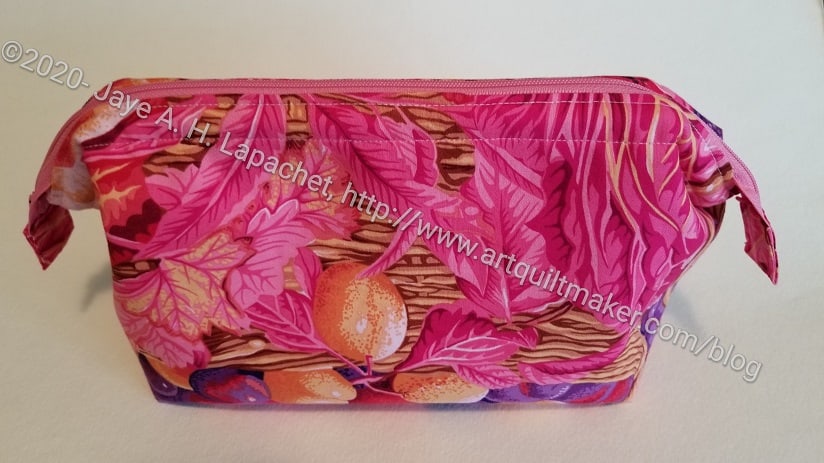
I was pleased that I was able to start and finish this pouch very quickly. This was destined for Tim’s birthday and I wanted to take over to him before he left on his trip.
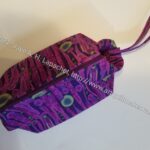
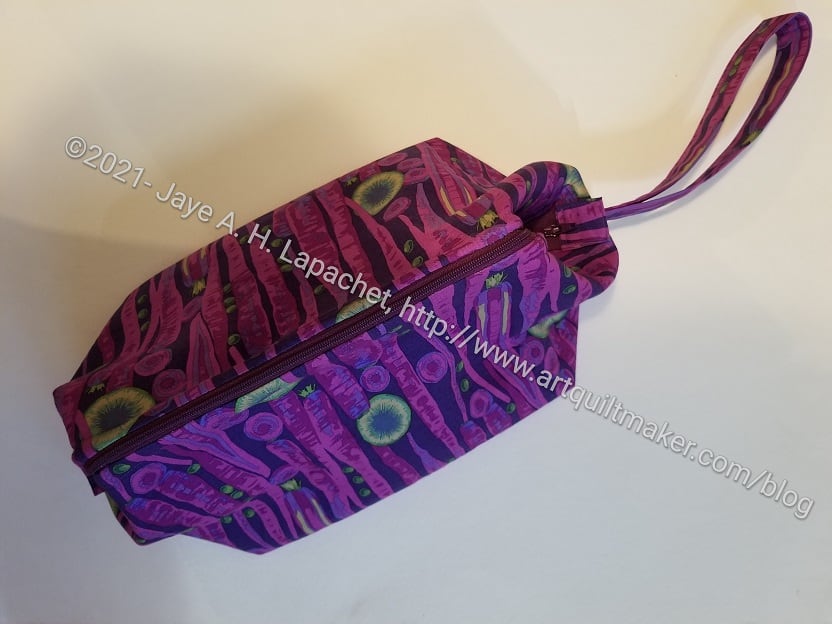
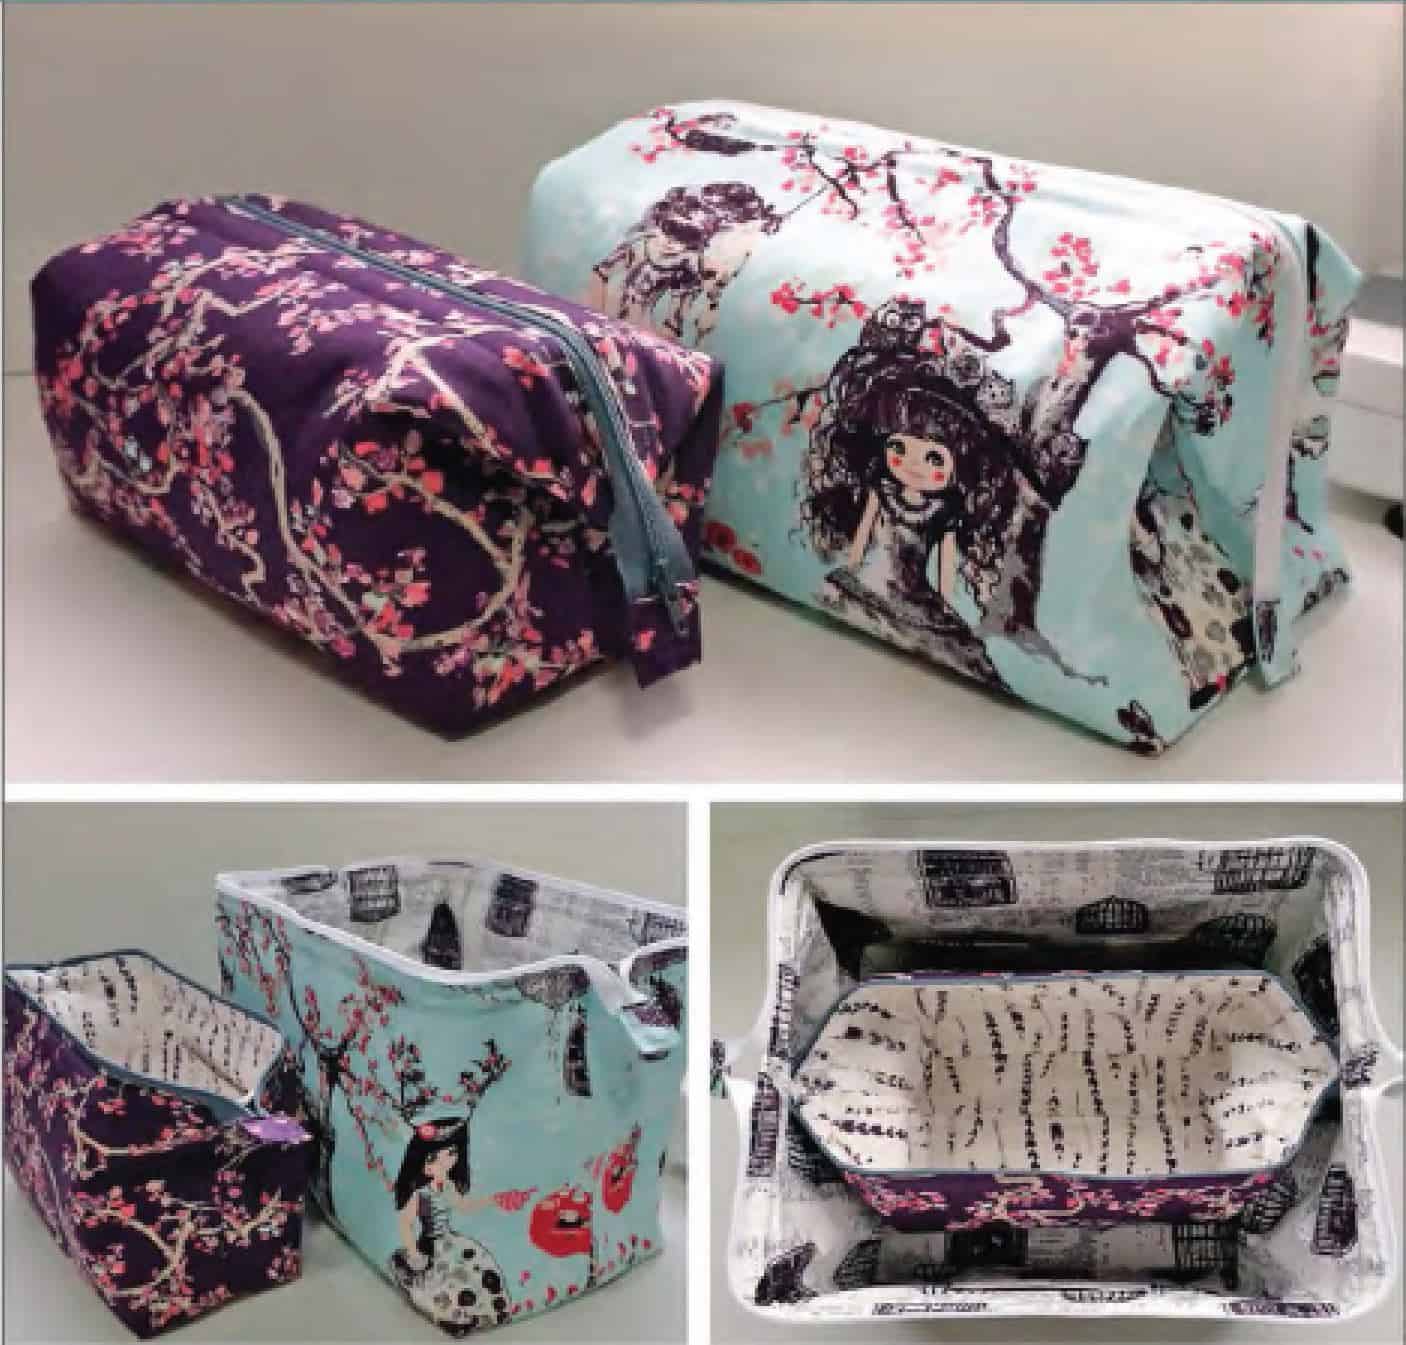
This is another Retreat Pouch, which is pretty easy to make and comes out very well. I have made both sizes, which come in the pattern. I still want to make the handbag version I talked about last summer, mostly to use the border print. In general, I prefer the small size. The large size is hard to carry.
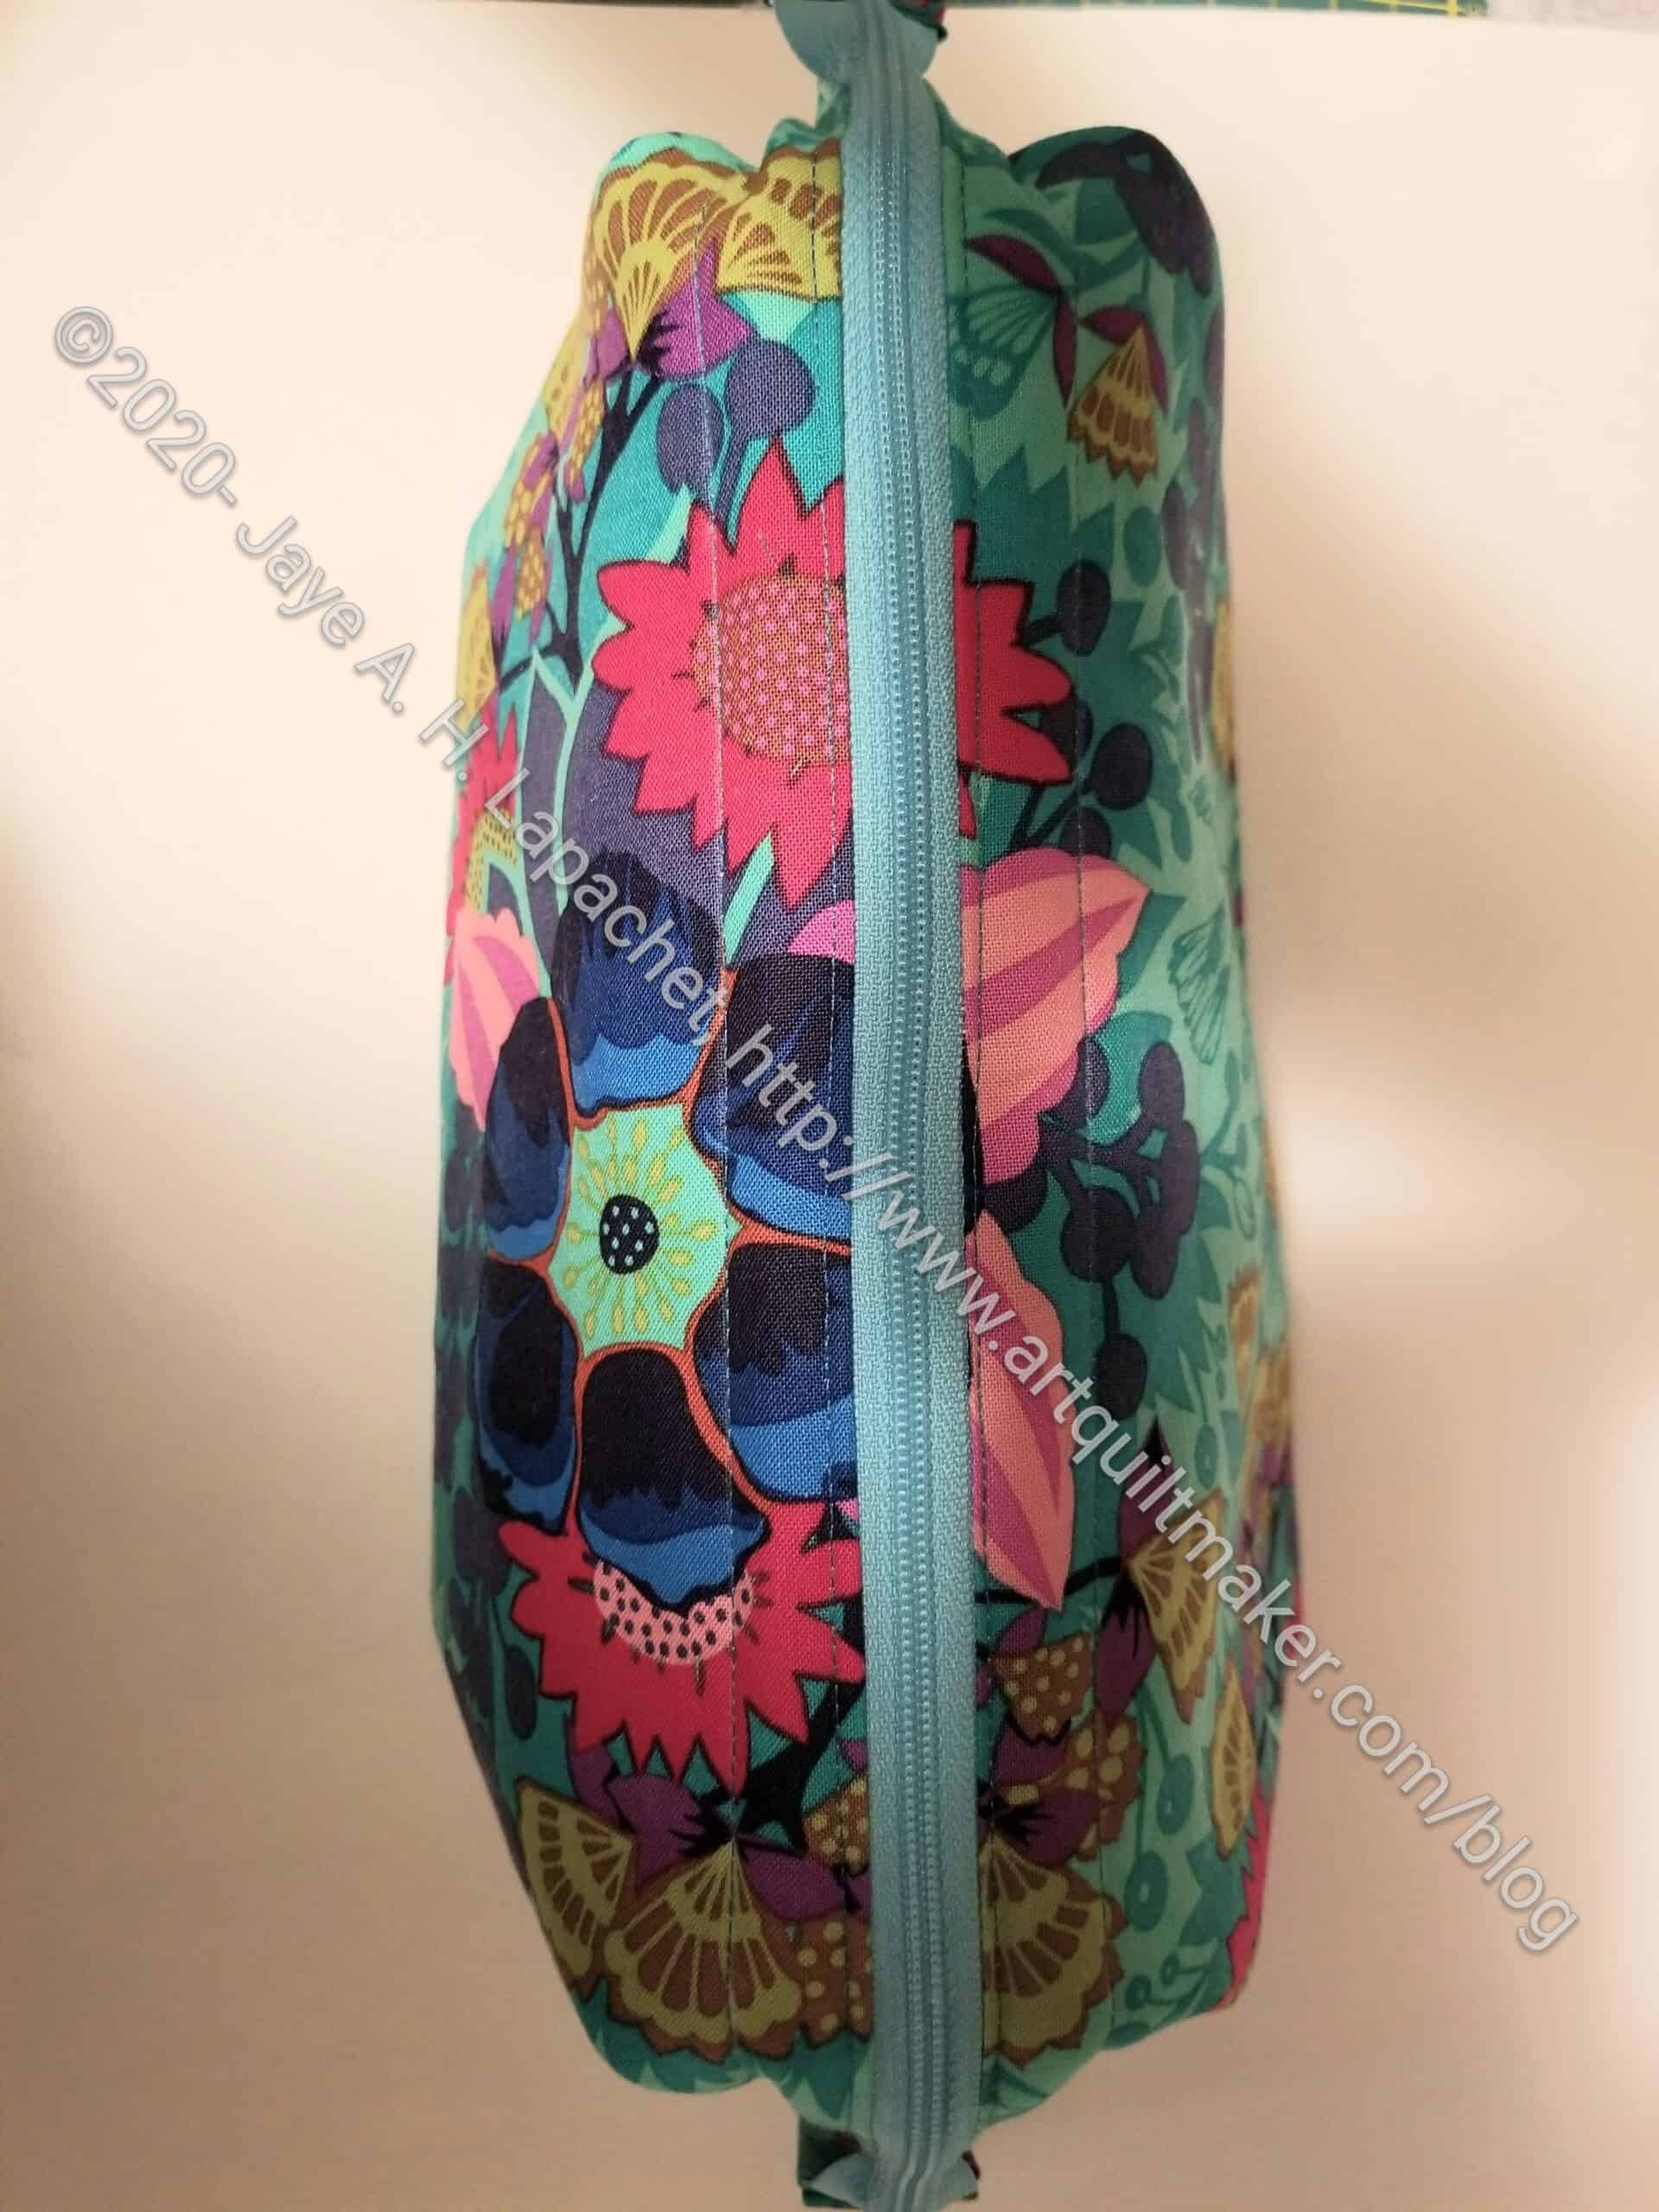
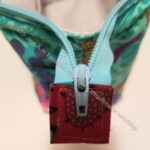
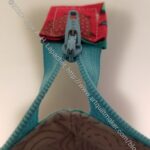
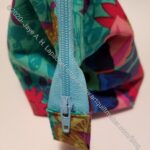
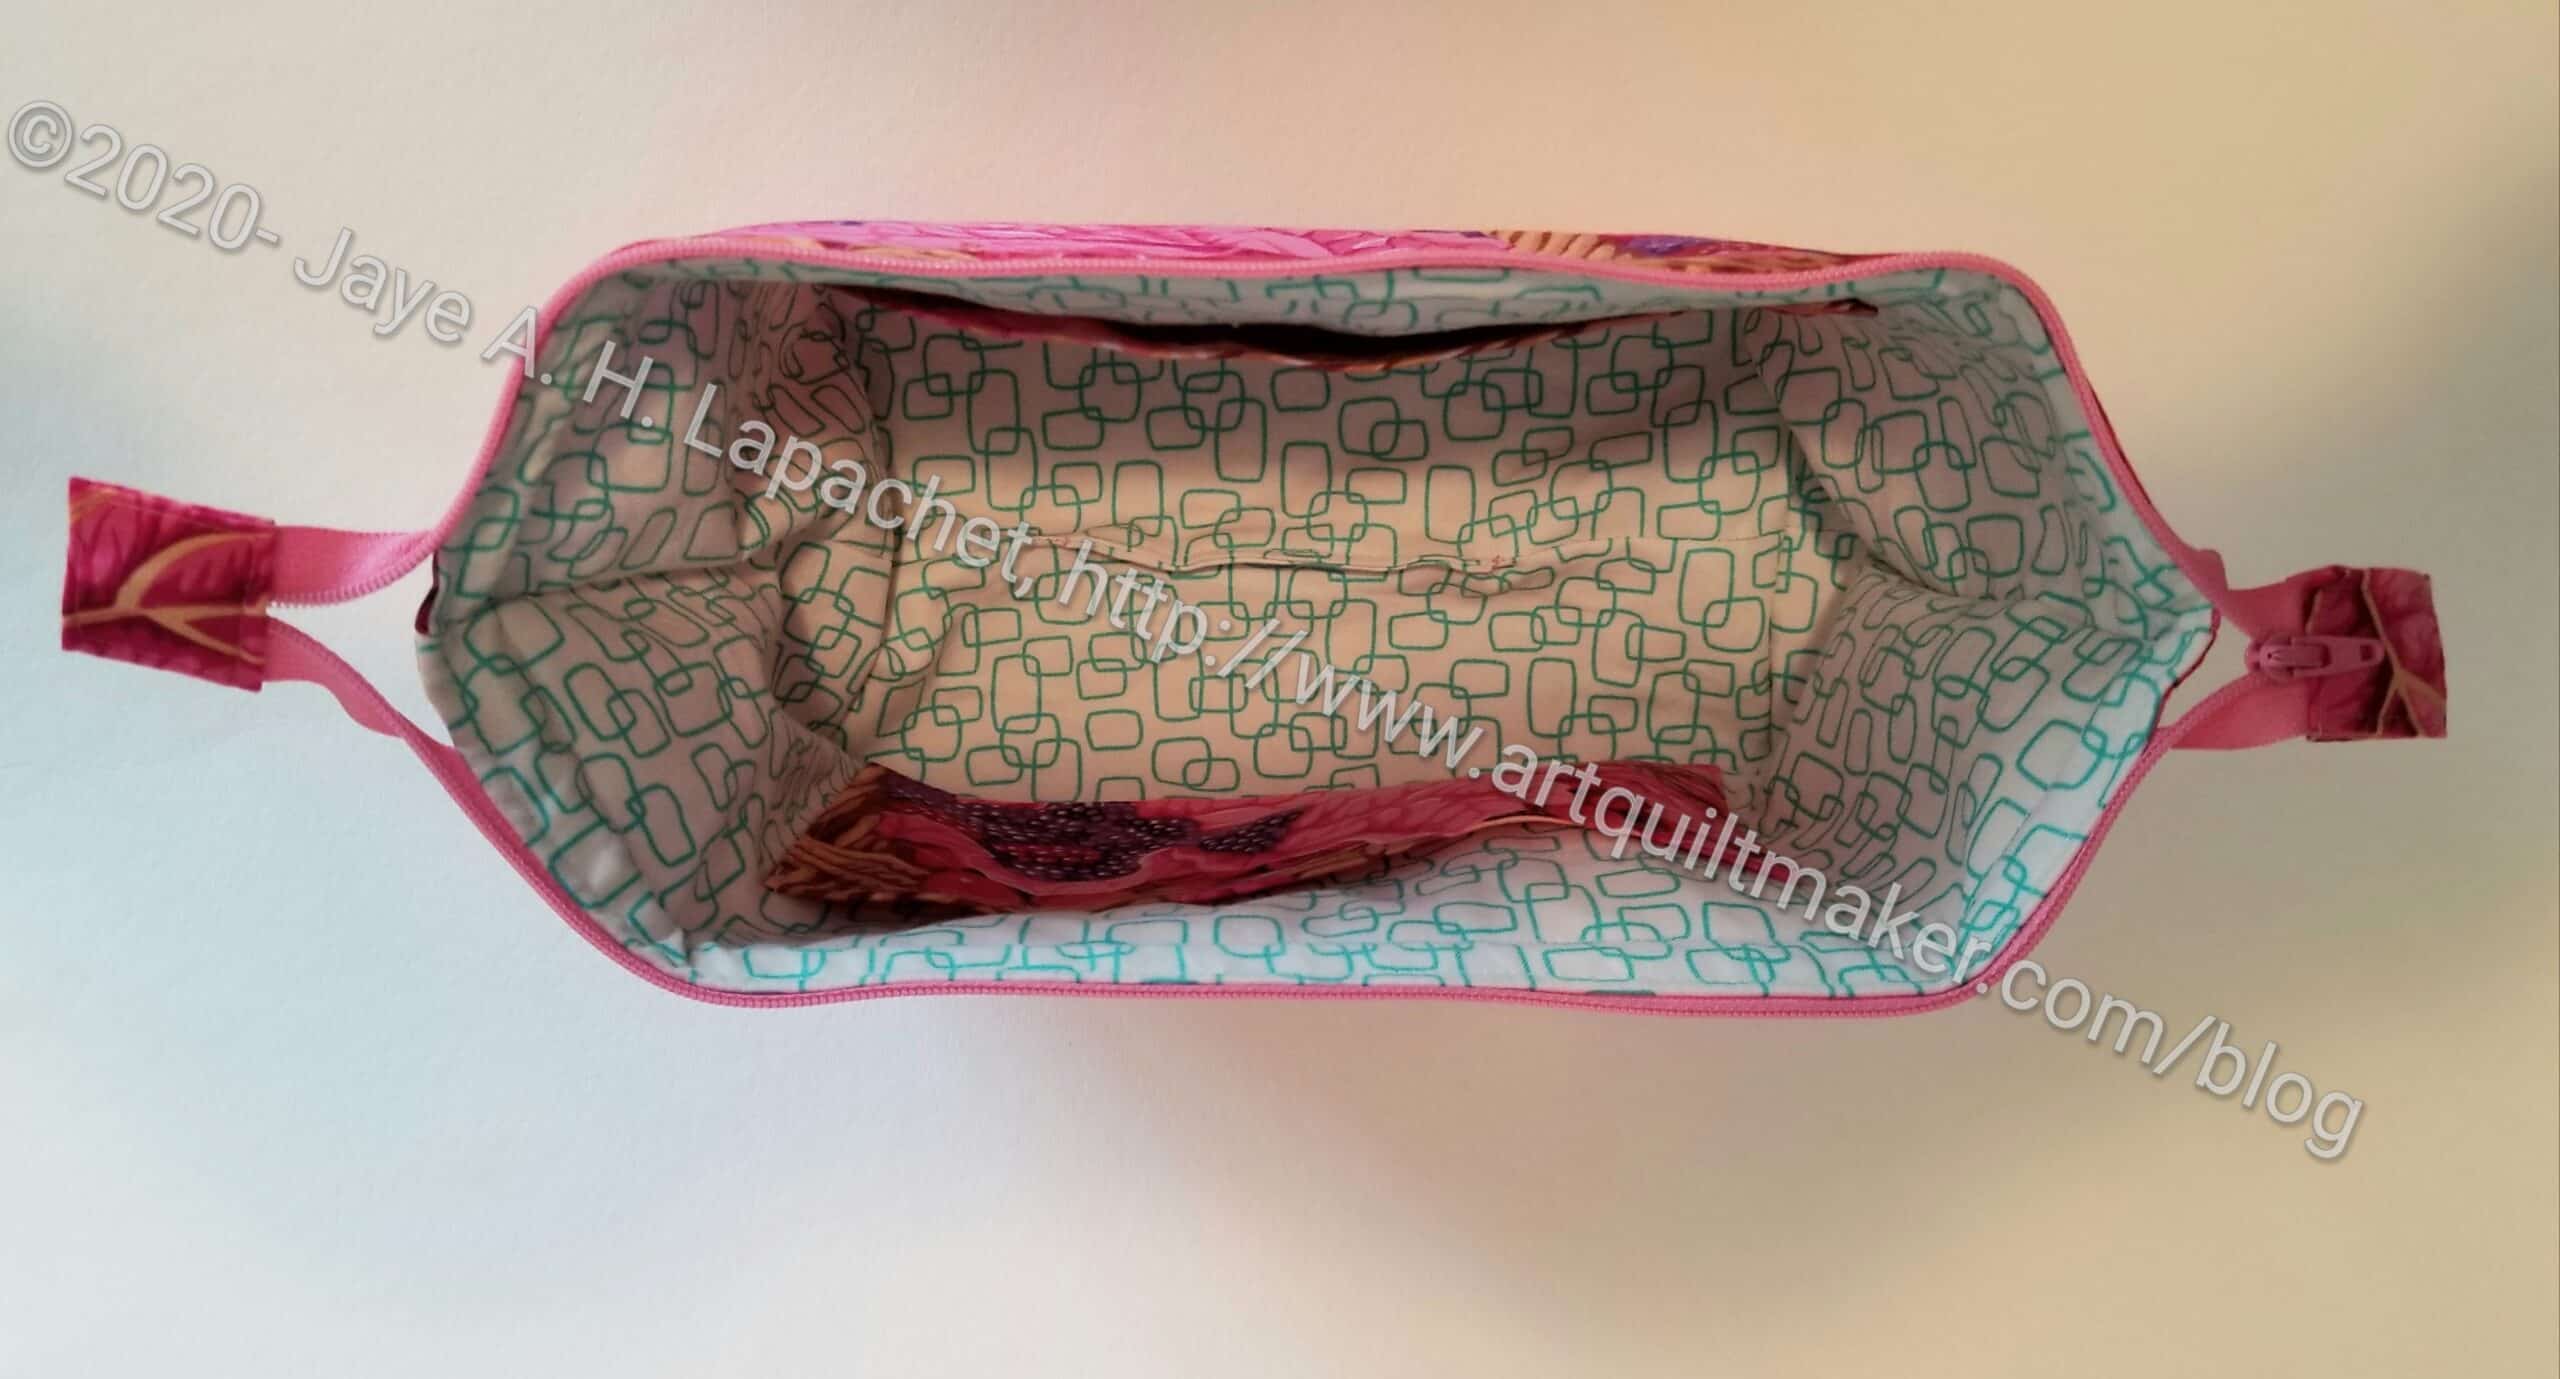
I also like it that it has a frame (not free). I like the open wide aspect that frames create. They sometimes have the required type of frame on Amazon, but I don’t see it today.

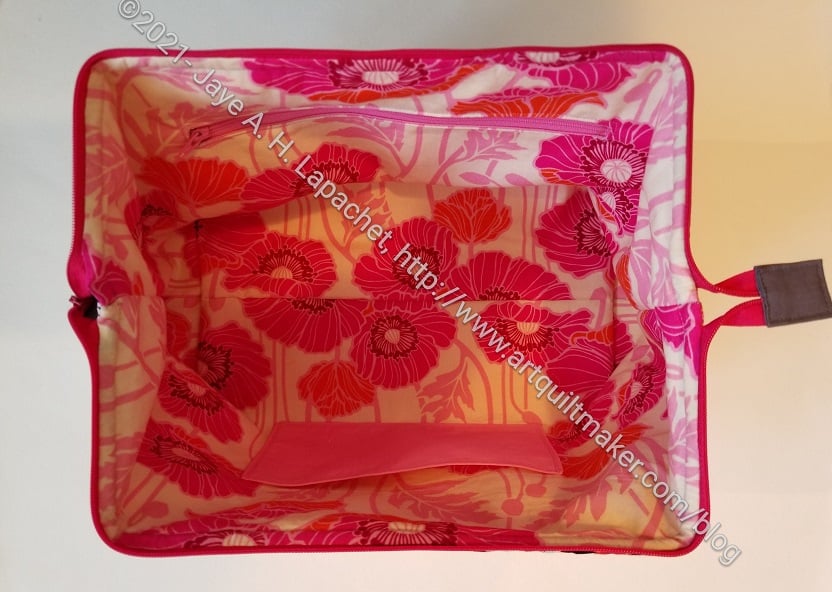
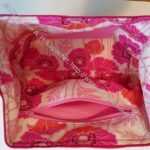
The interior fabric was printed by Sonja about a million years ago and gifted to me. I thought Tim would really appreciate her artistry and he did.
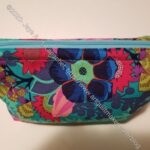
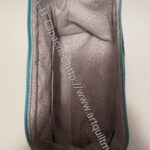
The high quality of the greige goods she used is another pleasure.

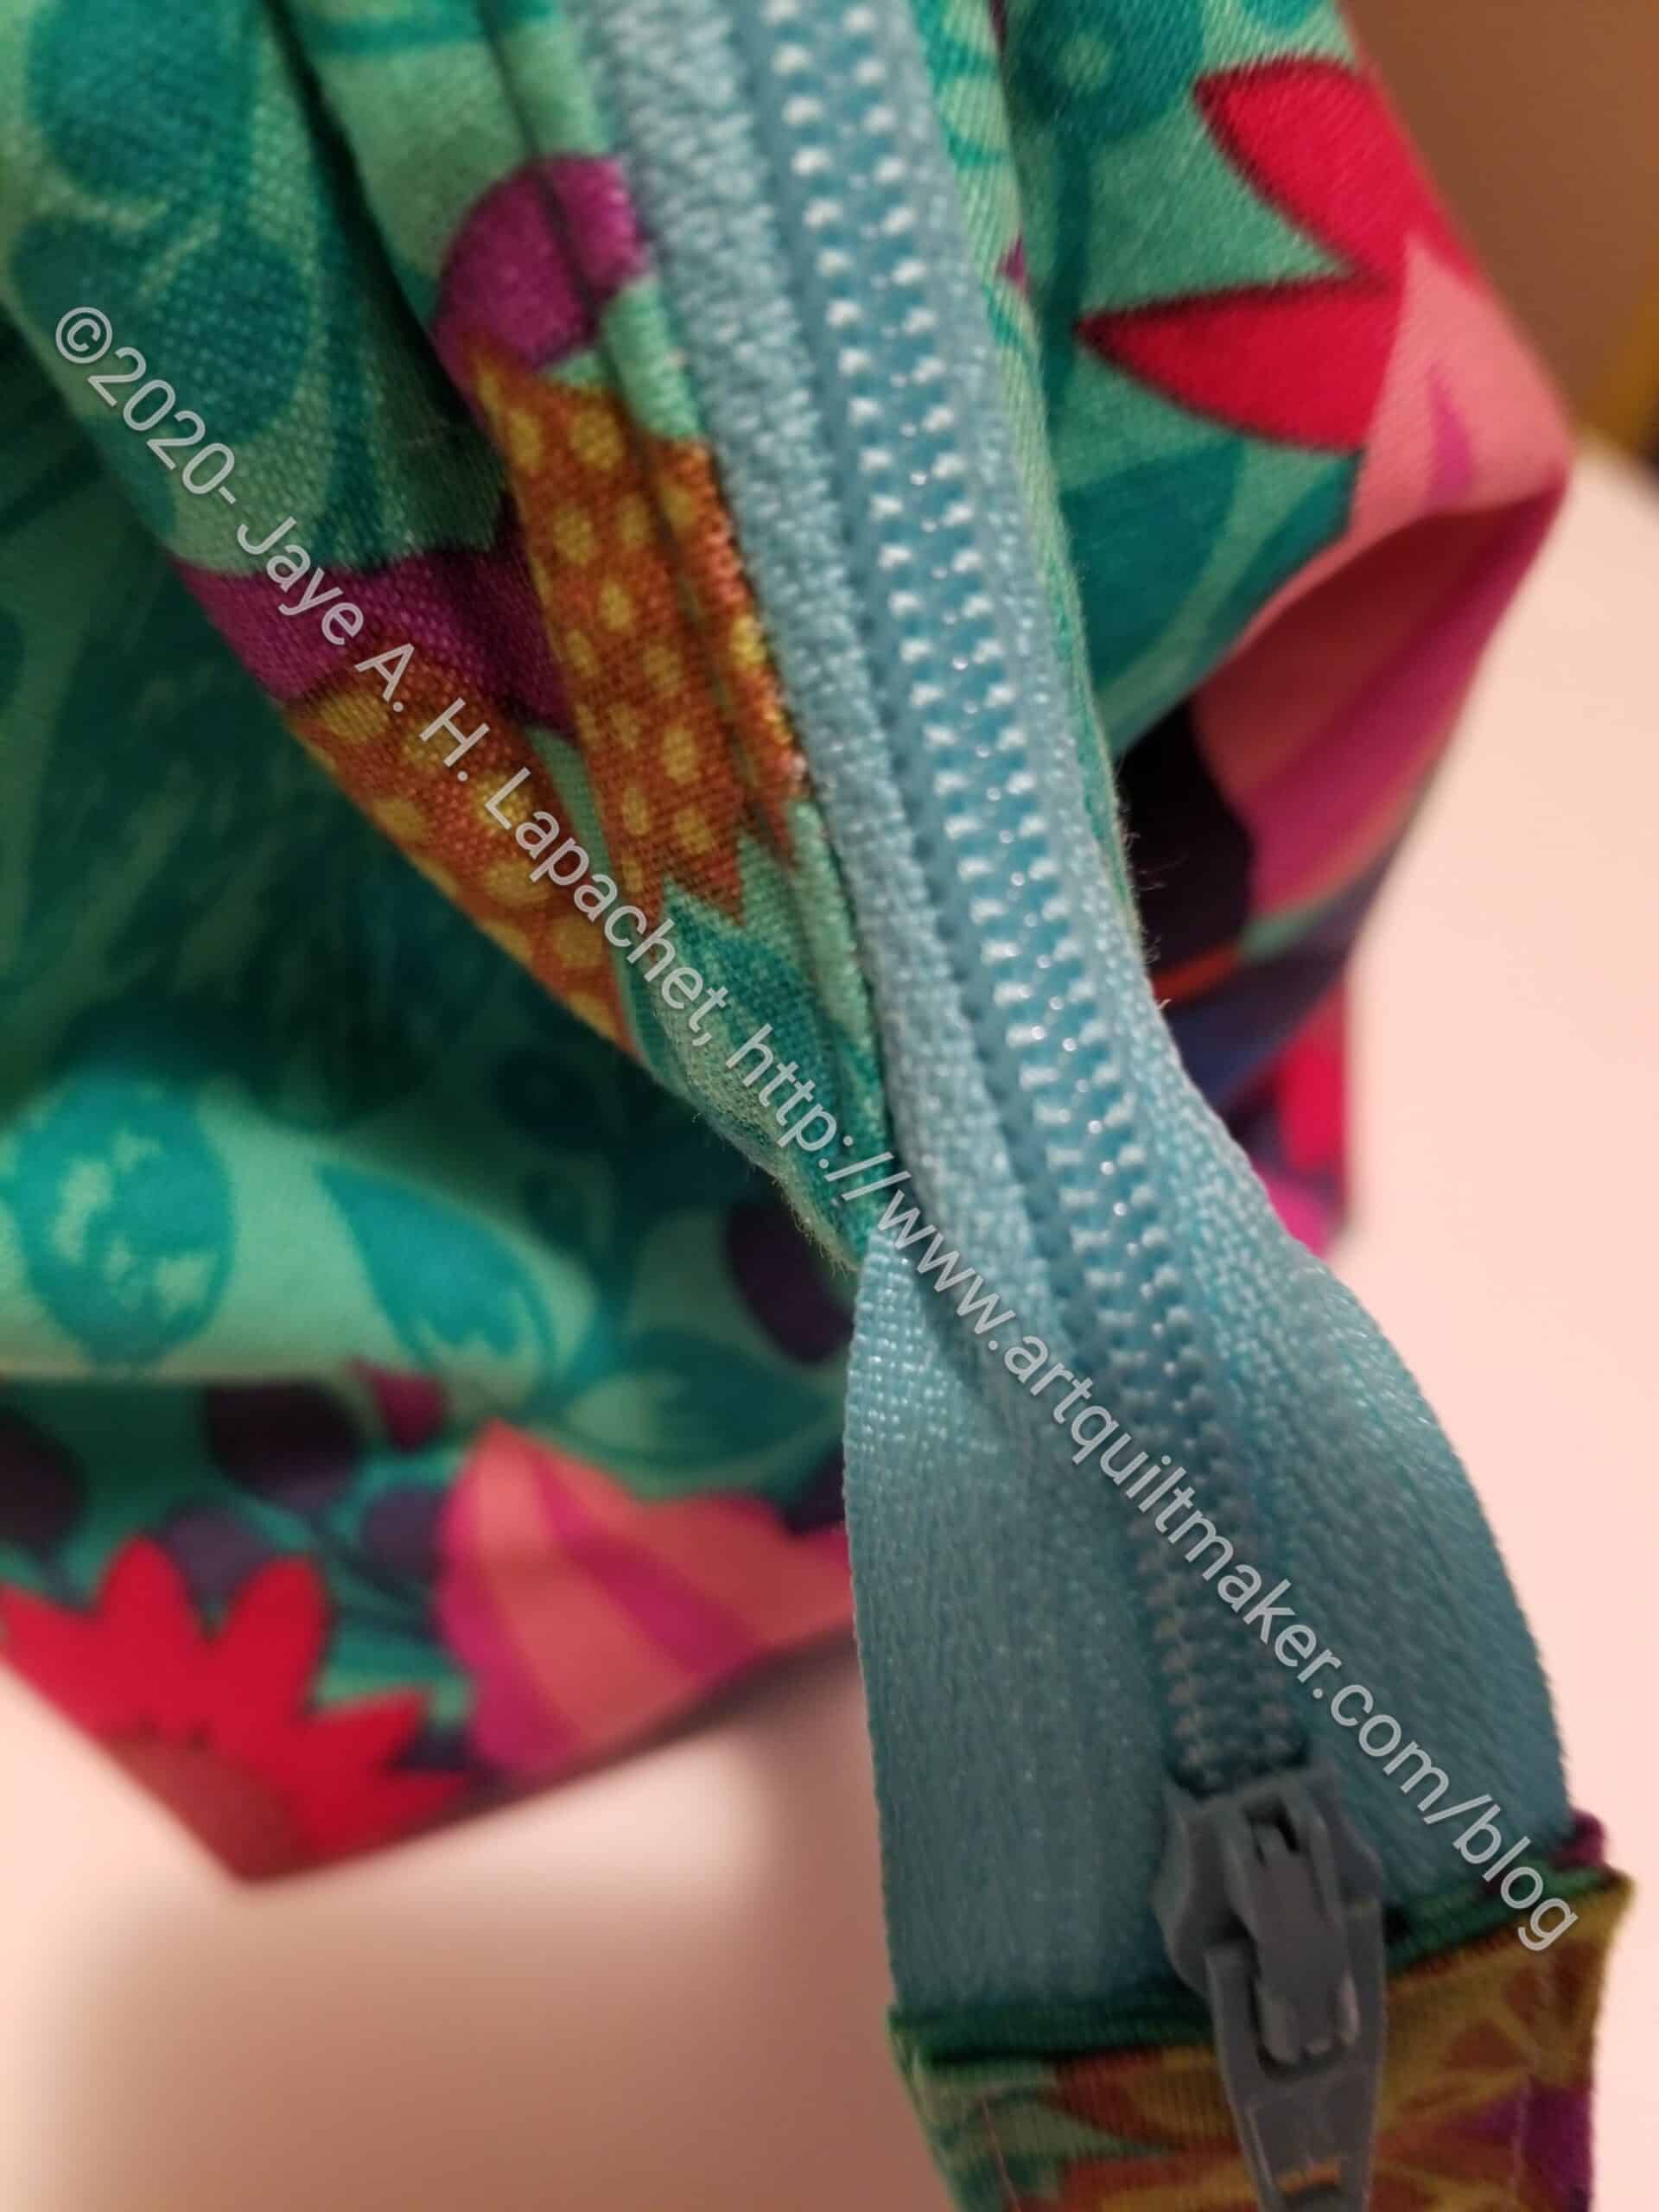
I consulted with Lynette to confirm my anchoring of the lining to the exterior. I am working on that technique and trying to do it with every bag. It worked well with this one using the same technique as I used on the Open Wide pouches. It is a difficult technique to explain in a pattern, which I why I want to do it over and over with different pouches and bags so it becomes second nature. You can see a little bit that the seams are tight against the bottom of the pouch.

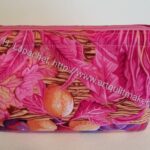
Tim said he would probably use it for travel. I thought he might and would have added Odicoat** to the pouch if I had planned ahead. He is going on a trip so I said I would do it after, if he wanted. He wasn’t sure how he would use it for traveling, but pouches are super useful for organizing stuff in your suitcase, so I am sure he will find a use.
Anyway, the pouch was a success!
**N. B. : Obviously, you should shop at local quilt shops and small businesses. However, if you are too busy or can’t find what you need there, I use Amazon affiliate links and may be paid for your purchase of an item when you click on an item’s link in my post. There is no additional cost to you for clicking or purchasing items I recommend. I appreciate your clicks and purchases as it helps support this website.