I have continued to make potato chip blocks in between other projects. I have a few that will be another quilt.
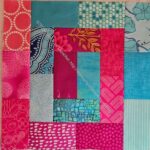
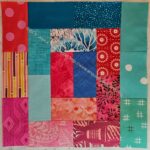
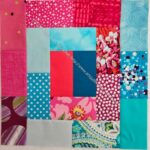
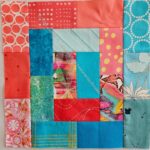
I don’t know who will get the quilt, but I am sure someone will come along who needs a it.
Commentary about works in progress, design & creativity
I have continued to make potato chip blocks in between other projects. I have a few that will be another quilt.
I don’t know who will get the quilt, but I am sure someone will come along who needs a it.
I finished the Pacifica Quilter’s Club Lucky Blocks last week. It took me longer than I thought, but I am pleased to be contributing to another good cause.
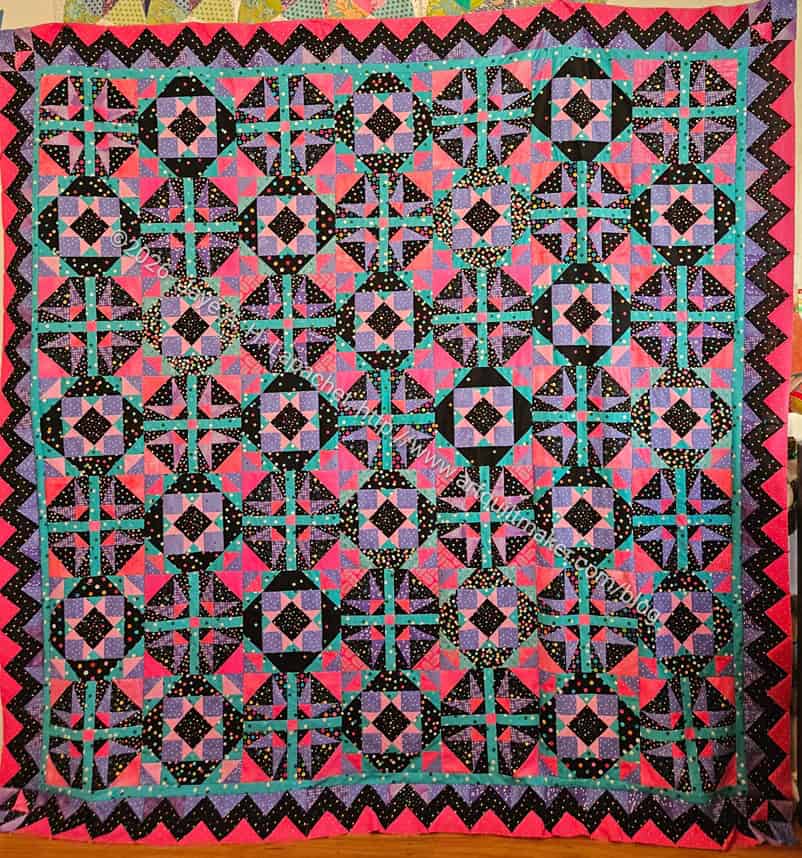
Lupine is ready to go to Colleen for quilting. Not a great photo, but the quilt is large and doesn’t fit well on my design wall.
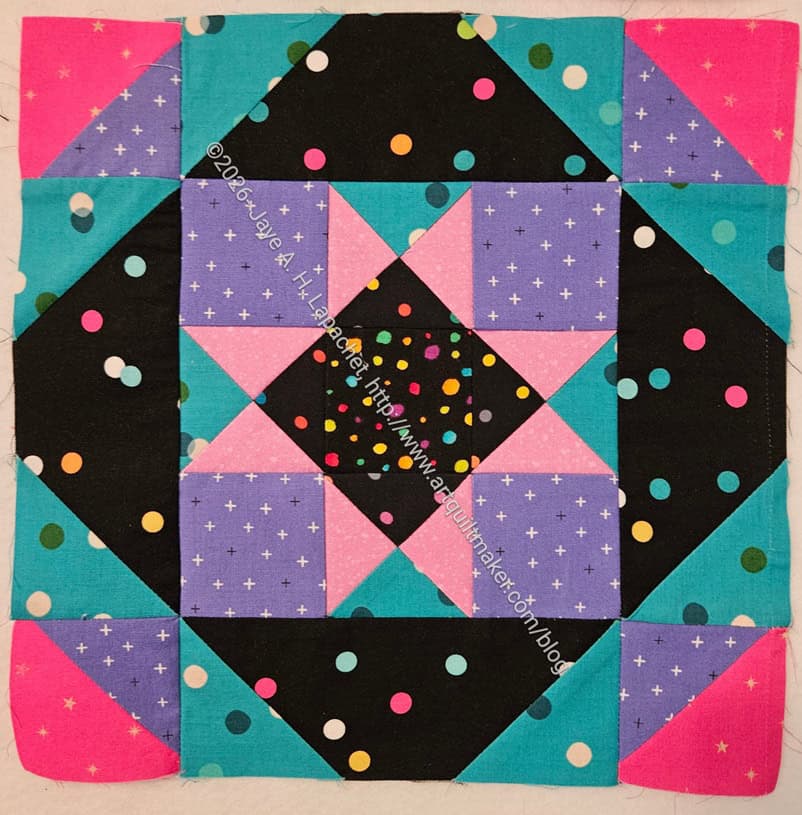
I am really pleased with how it came out. It is a but pink and purple, but doesn’t scream ‘little girl’ to me. I think the black really helps give it a good over all feel.
In addition, black can be depressing. It did make my workroom a little dark, but overall the pink, purple and Carousel blue keep the black from creating a look that is too depressing.
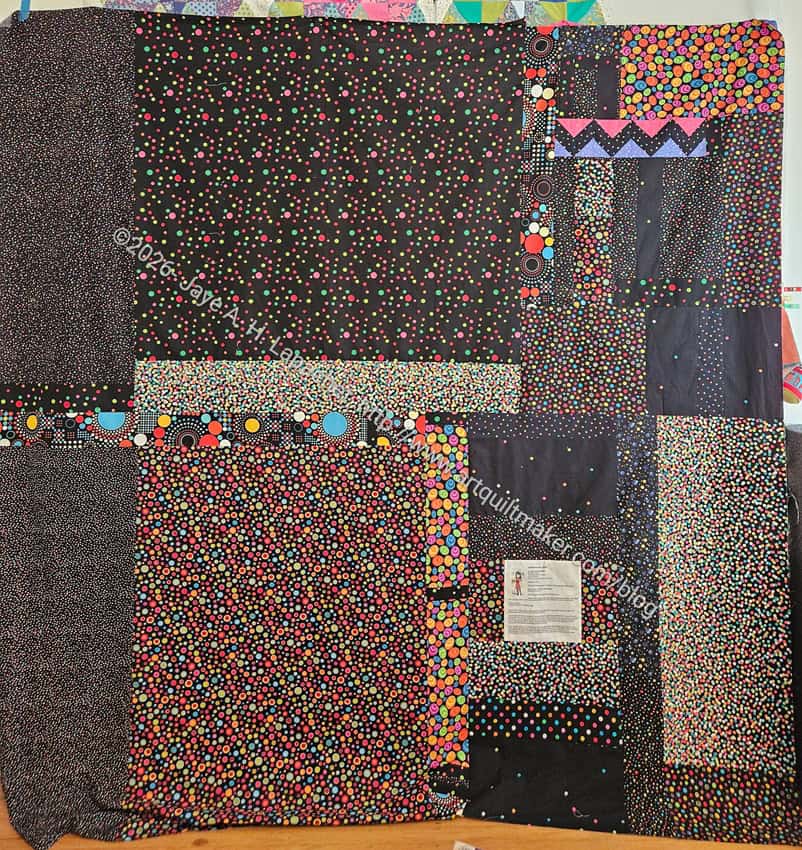
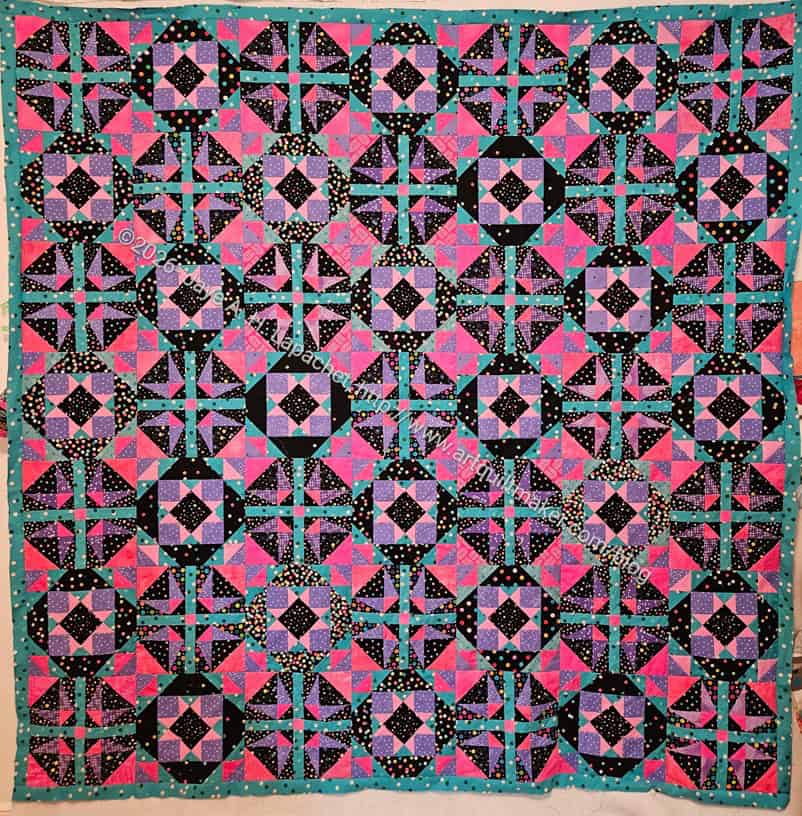
I also finished the back. Mom said it looked a little brown, but I definitely used colored dots on black for the most part. One of the prints, a large-ish piece, middle bottom, does have dots that have more brown in them than I would normally use.
This project used up most of my dots on black fabrics.
I am waiting for a black solid in order to make the binding. I was going to use a pink that matched the border (AGF Cherry Lipgloss), but Lil Sissy pointed out that a black (AGF Caviar) would contain the piece. I think she is right.

This block (for Month 3) took me a long time and I had some detours along the way. Finally, I finished it.
I am not 100% happy with it. I would have liked to use the grey Pearl Bracelets, but I didn’t have enough.
Using the white Pearl Bracelets as the background introduces another color of background into the piece and I had hoped to avoid using white for the blocks. Since I have not used white in any of the other blocks I have to figure out how to make it work.
First step: go see if I can find more grey Pearl Bracelets. Doubtful, but you never know.
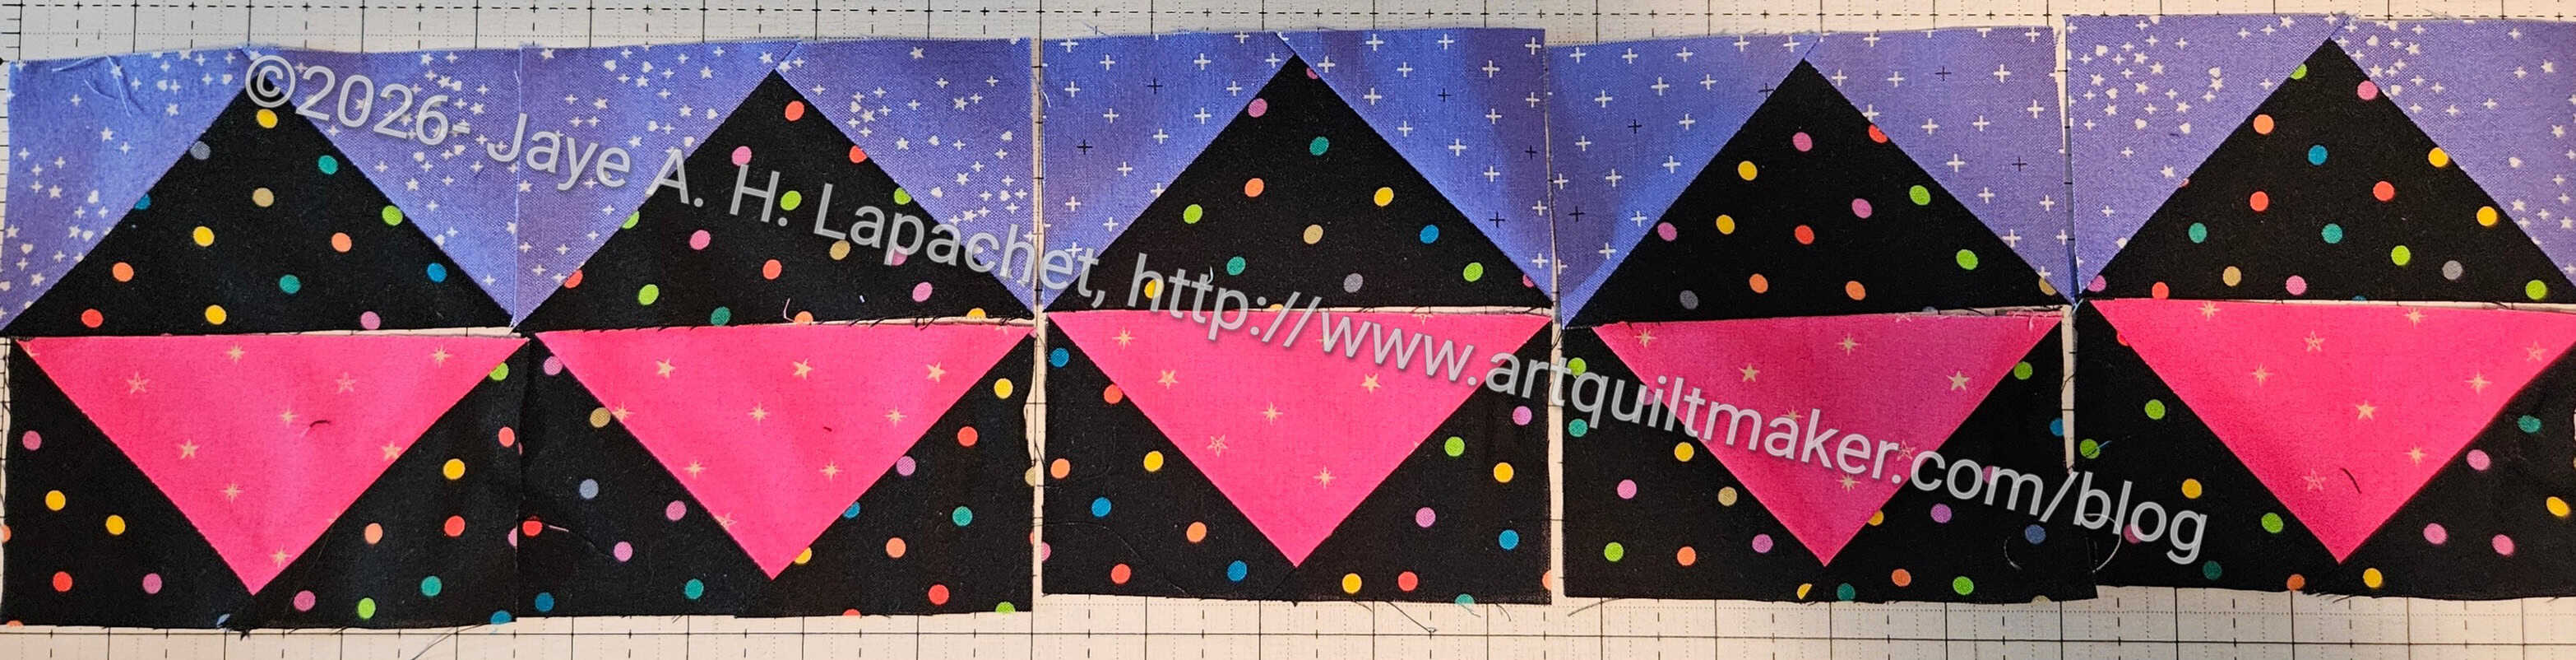
I chunked the Lupine quilt top, then sewed the spacer border on. The next step was the Flying Geese border.
Option 1:
The directions were to assemble two Flying Geese so it looks like the above. The look was ok, but didn’t grab my attention.
Option 2:
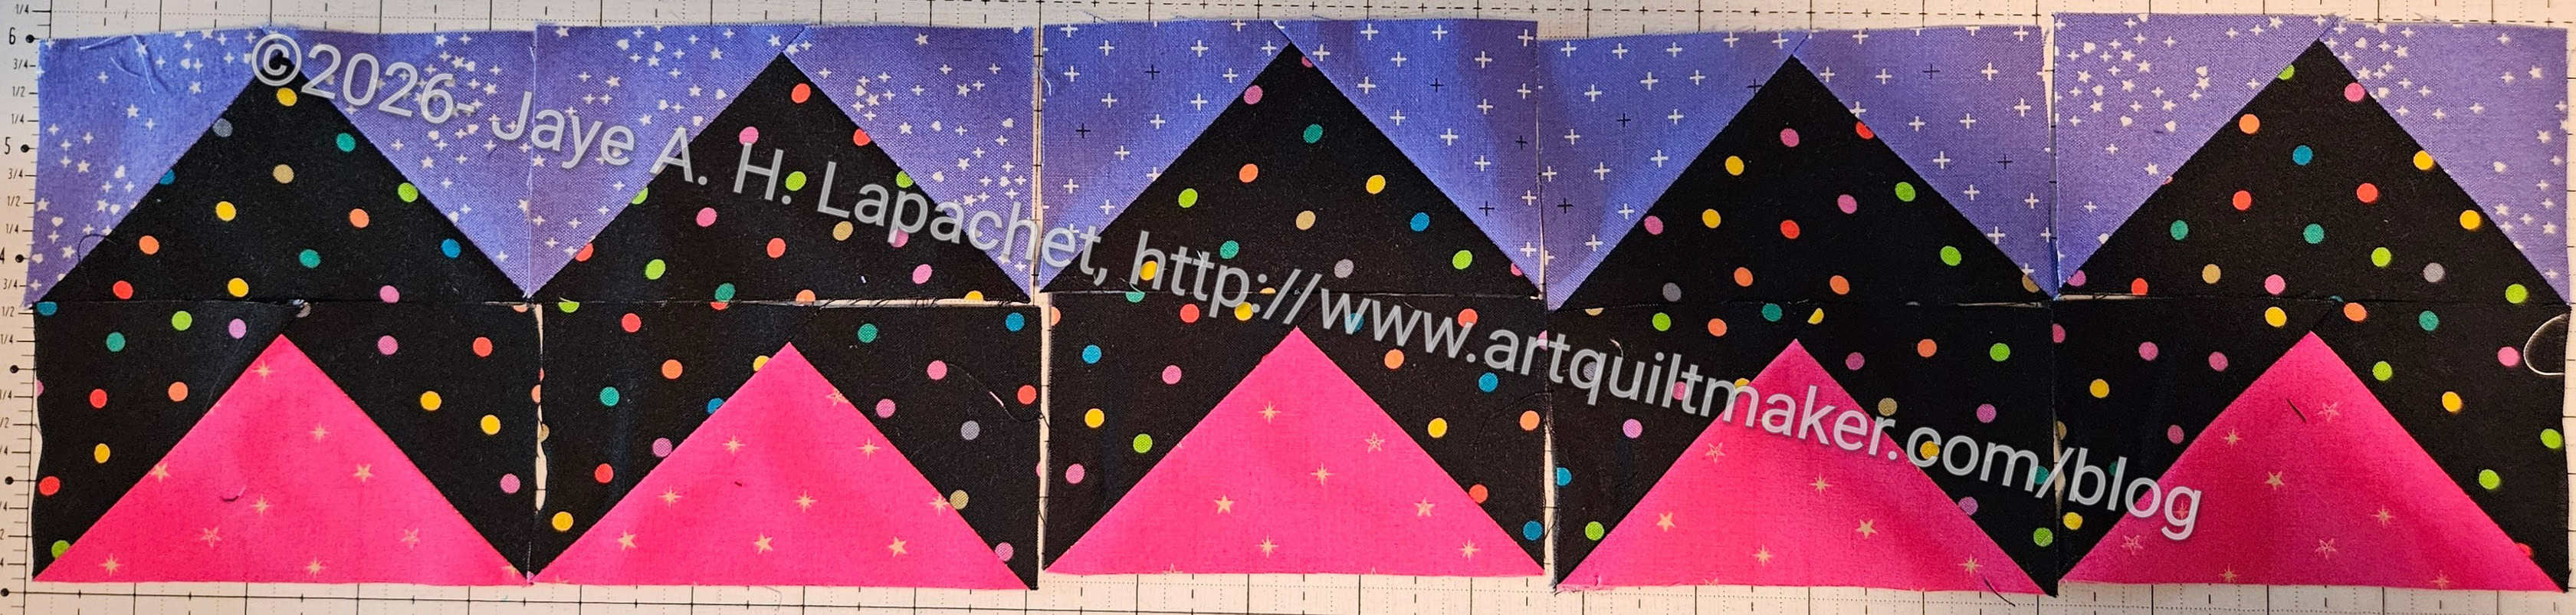
I saw a zigzag border that someone made and tried that with my fabrics. This option looked more cohesive to me.
Option 3:
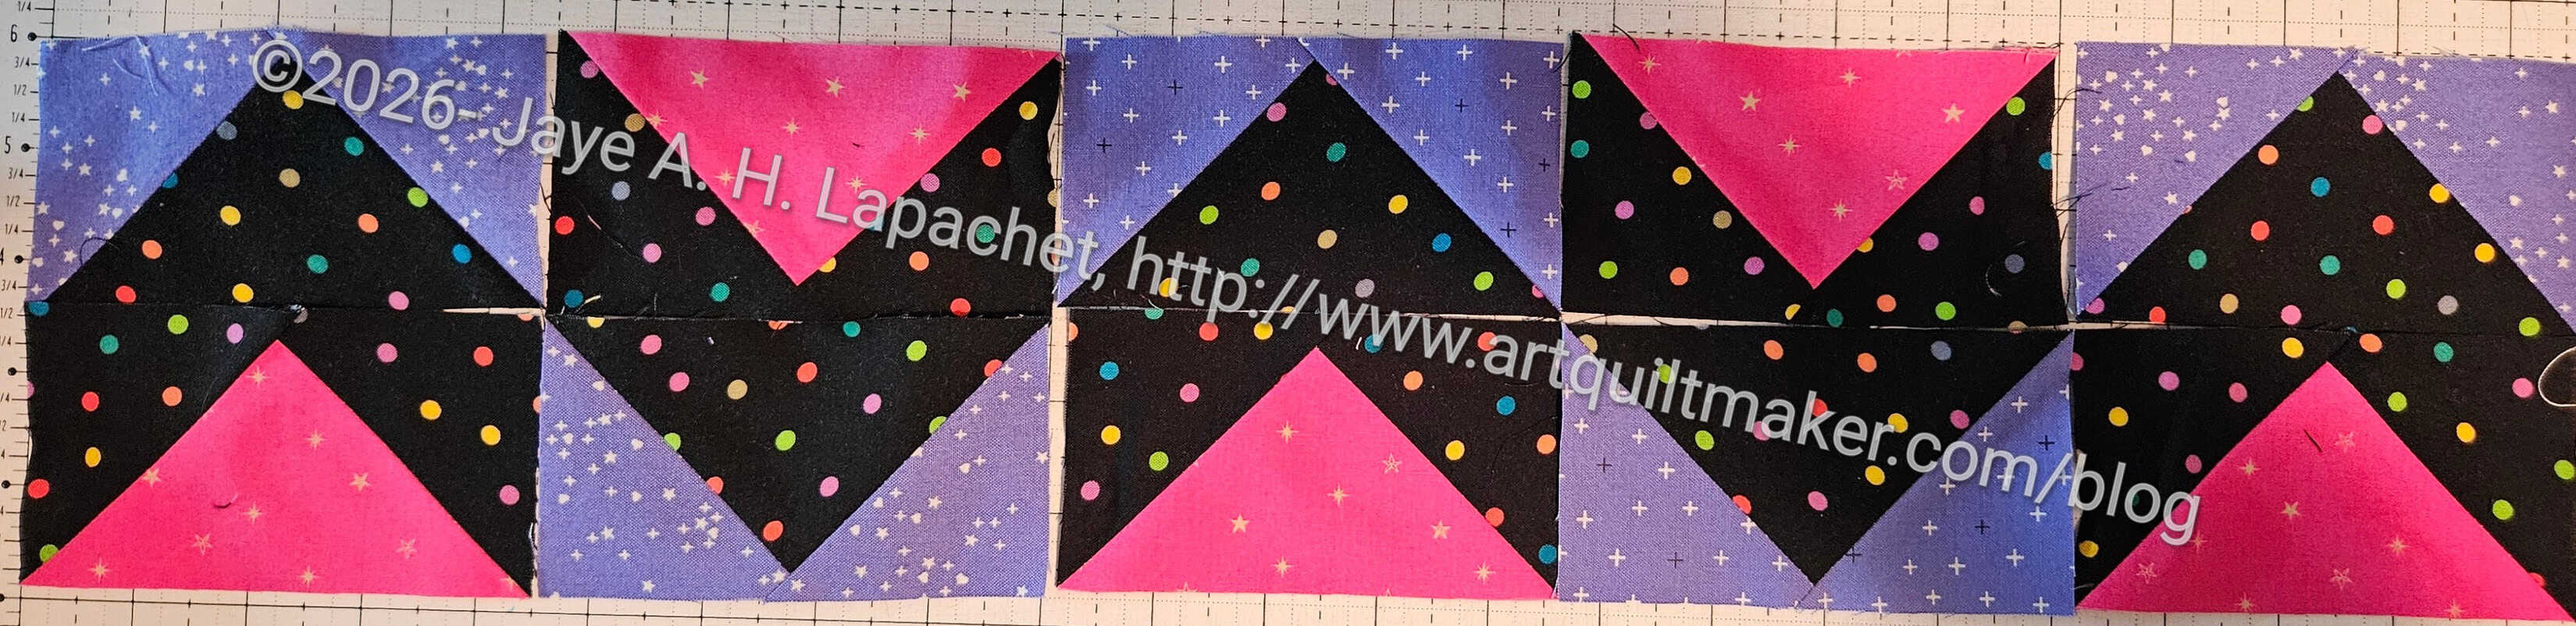
Just to see if another configuration would be better, I tried alternating chevrons. This wasn’t terrible and created a lot of movement, but I thought it was a little confusing for the viewer.
I went for option 2 and started sewing long rows of Flying Geese together.
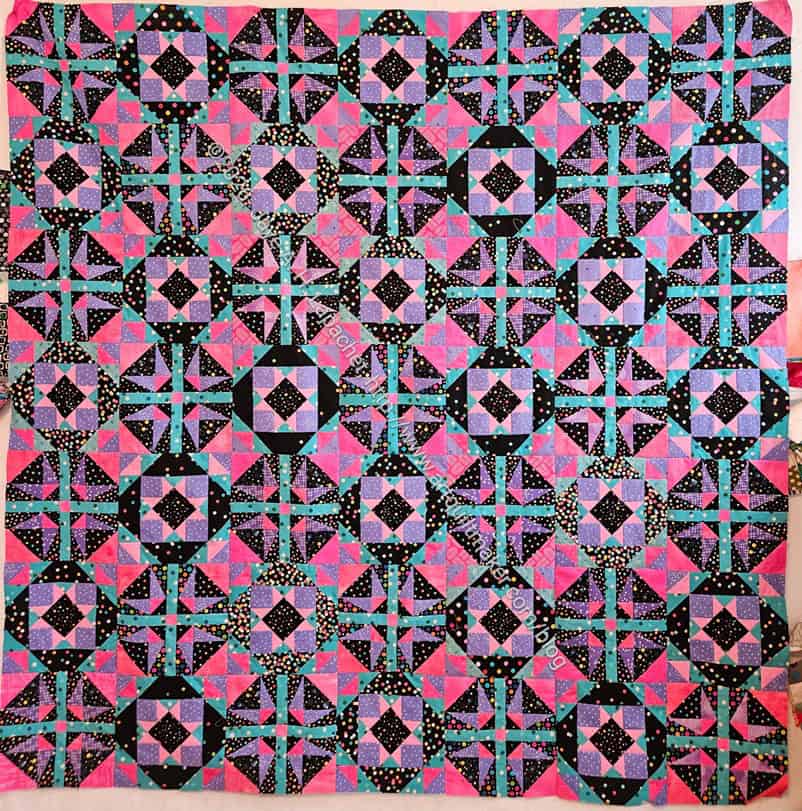
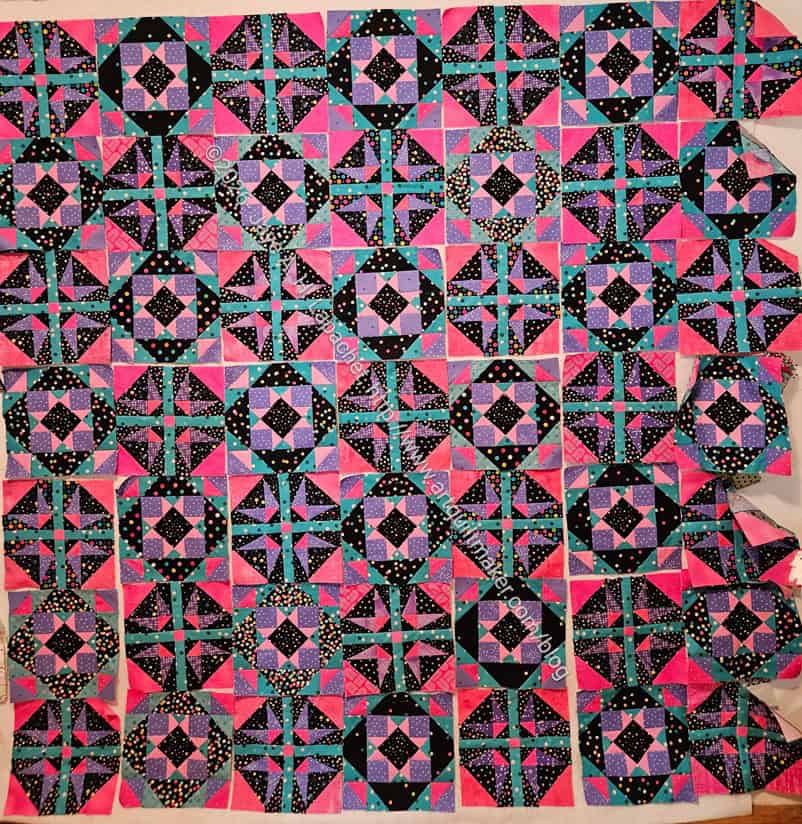
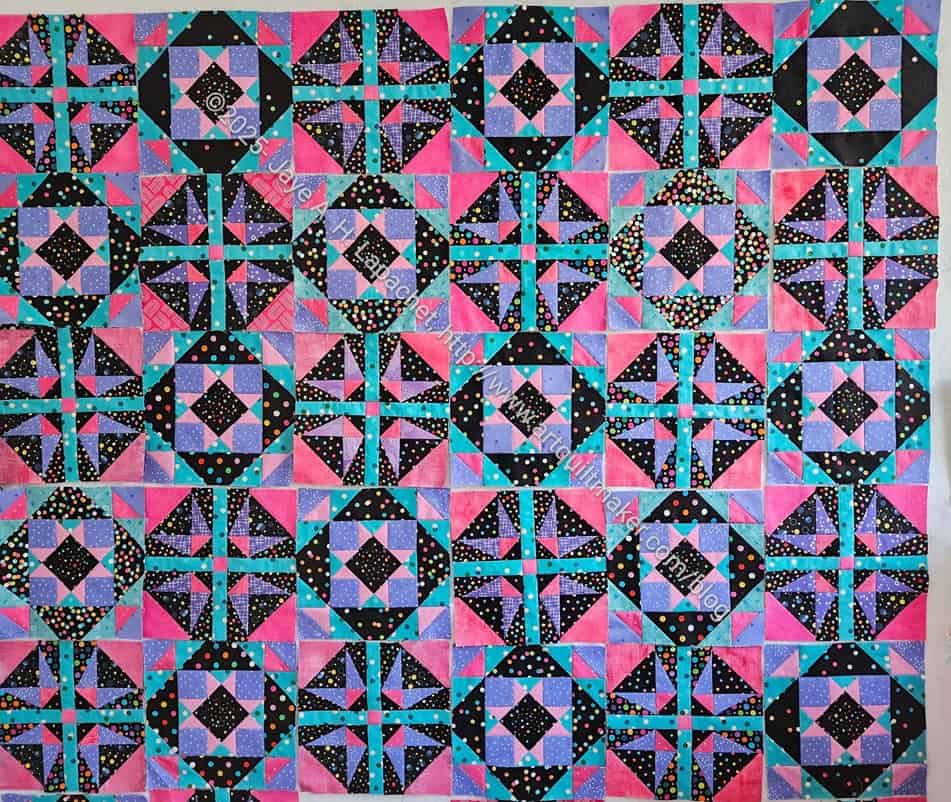
I had to stop chunking when I realized I had to fix a couple of block mistakes in Lupine. I fixed those quickly and got back to chunking, which is easier than putting a quilt together in rows, but still tedious. It seemed to take me forever. Finally, I got all of the blocks together! Yay!
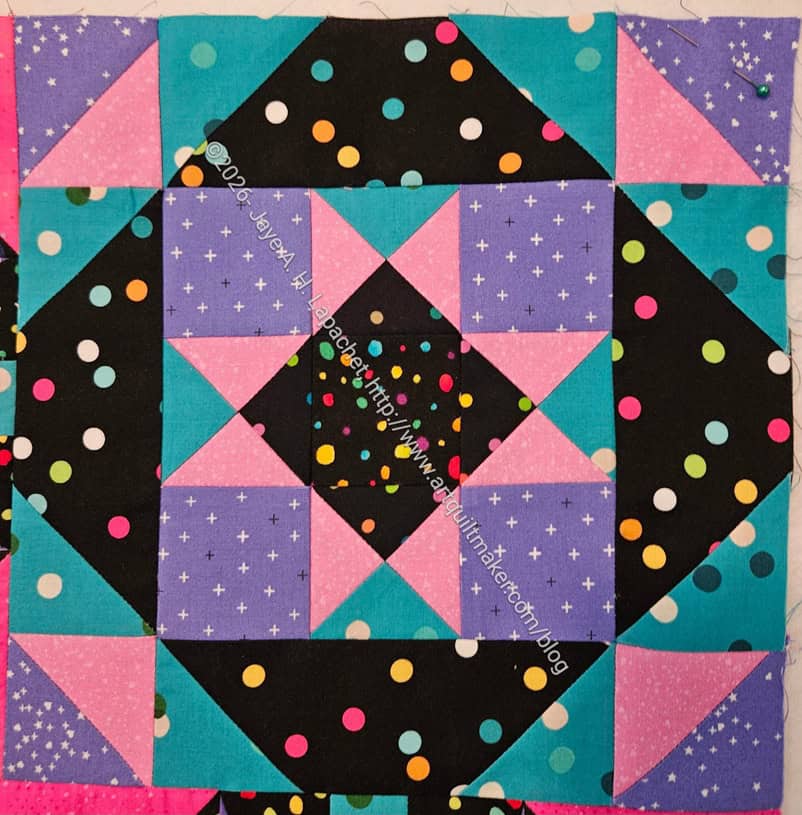
I was worried about the density of the dots in some of the black background, but looking at the quilt in the photo, I think it looks ok. I can see a couple of places where the dots are really dense, but the background pieces don’t make the blocks look wrong.
After the blocks were together I put the spacer border on. Also, tedious, but necessary.
I really like that Melody Miller Carousel blue. I am glad I bought more of it so I have enough for the borders.
Now I am on to the Flying Geese border.
I noticed that Bonnie has taken down the directions on her blog for this quilt. I almost had a heart attack when I clicked on the link to look at the border directions and it was broken. Fortunately, I had saved the PDFs.
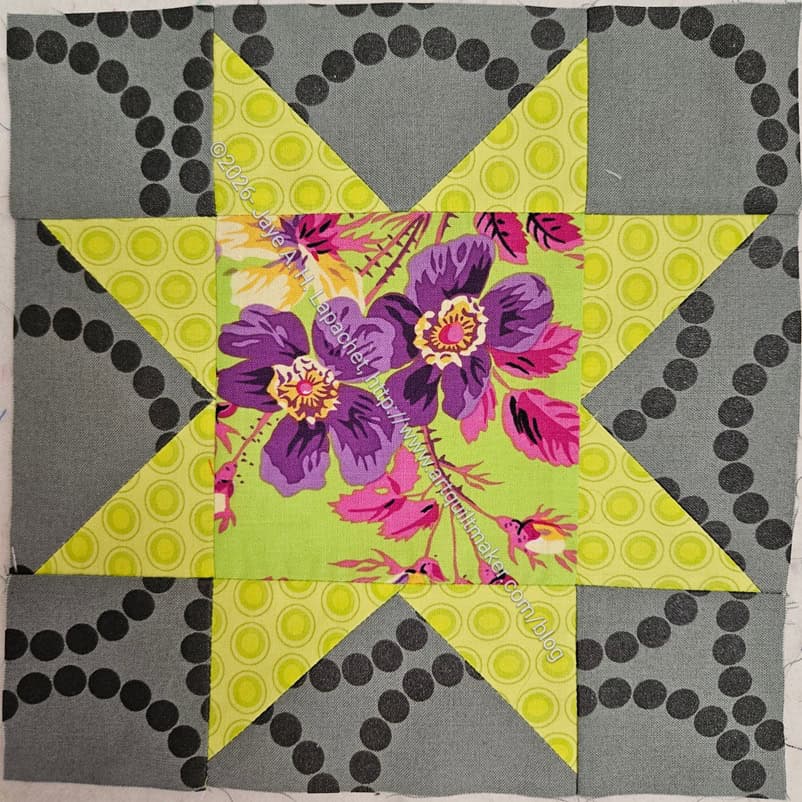
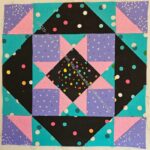
The next block in the series, which was announced yesterday is the Sawtooth Star. It is one of my favorite blocks, because it is incredibly versatile.
I am kind of just going with the flow when I make these blocks. I am using fabrics as the mood strikes. I’d love to use that grey Pearl Bracelets as my background, but I don’t have enough of it. I’ll have to do something about that as that is an old fabric and there is little chance I will find more. I’ll look in my fabric closet and see if I can find some. The yardage I have with my project materials came from Rhonda’s stash.
It’s a dreary day here as I write this. We are waiting for rain which seems poised to pour down any minute, but hasn’t gotten around to it yet. This means that my workroom is a little dark and grey. It makes me really happy that the life-sucking beige is gone.
I ripped them out while I watched TV one night and then re-sewed at them at a Sew Day I had with SueS, Lee Ann and SueG. I spent a bit of time over a couple of days doing random quilt tasks and this was one of them.
Now I am ready to continue chunking the center of the quilt.
I slowly worked on chunking the Lupine top together. I had to do it before putting on the border, because Bonnie has us put on spacer border, which prevents me from chunking the border. C’est la vie.
As I was working away I saw one block where I put the corners on wrong. The purple needs to be on the outside.
🙁
I looked at the blocks on the design wall for awhile to decide if I could stand the mistake and decided it had to come out. I ripped out the corners, flipped them and re-sewed them.
Yay! No problem. Stuff happens. I was done and could move on.
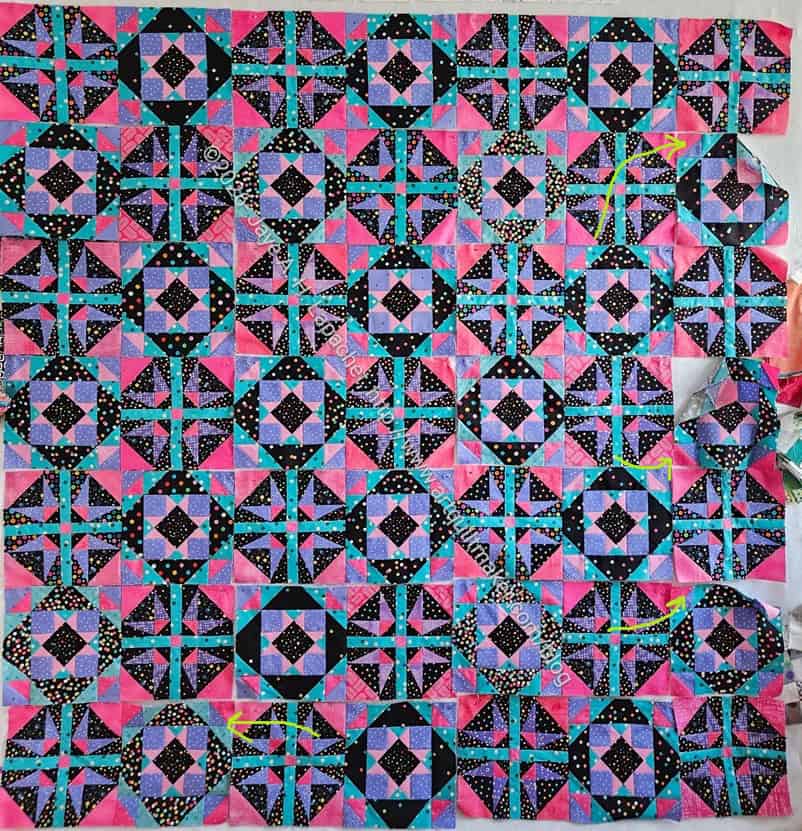
Then I noticed another one. And another. 🙁 I have indicated the wrong blocks with arrows, but you’ll have to make the image (right) larger to see the arrows.
Now I have all the blocks that are wrong unsewn from the chunks. Next step: rip out the corners and re-sew them.

I fixed one block and it looks fine.
It’s a process, right?
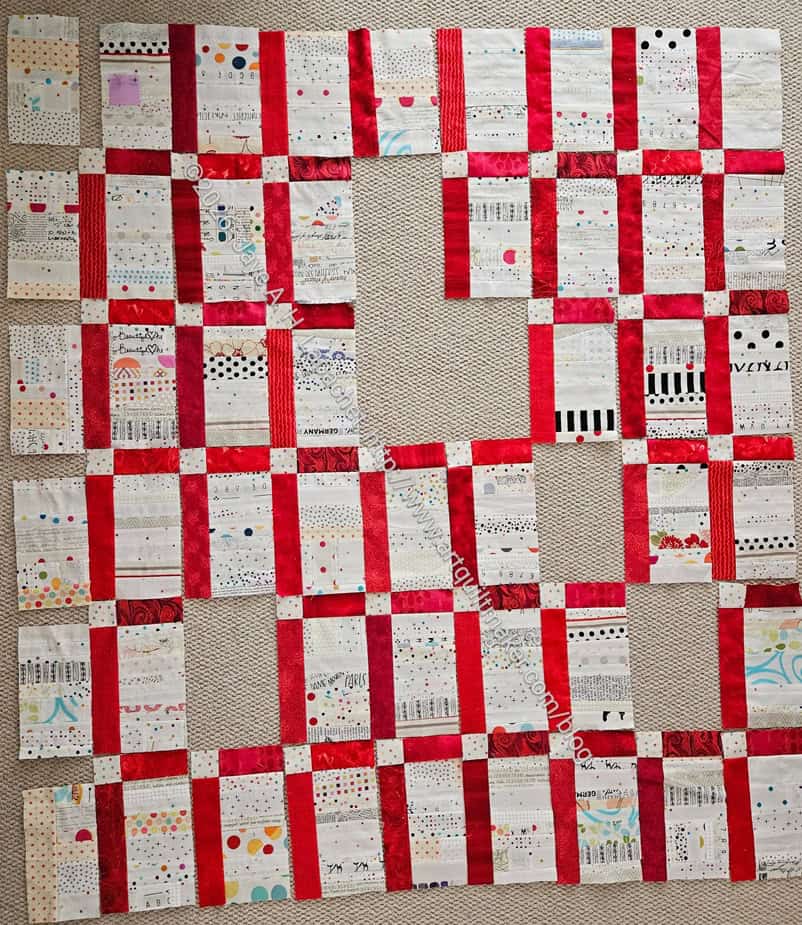
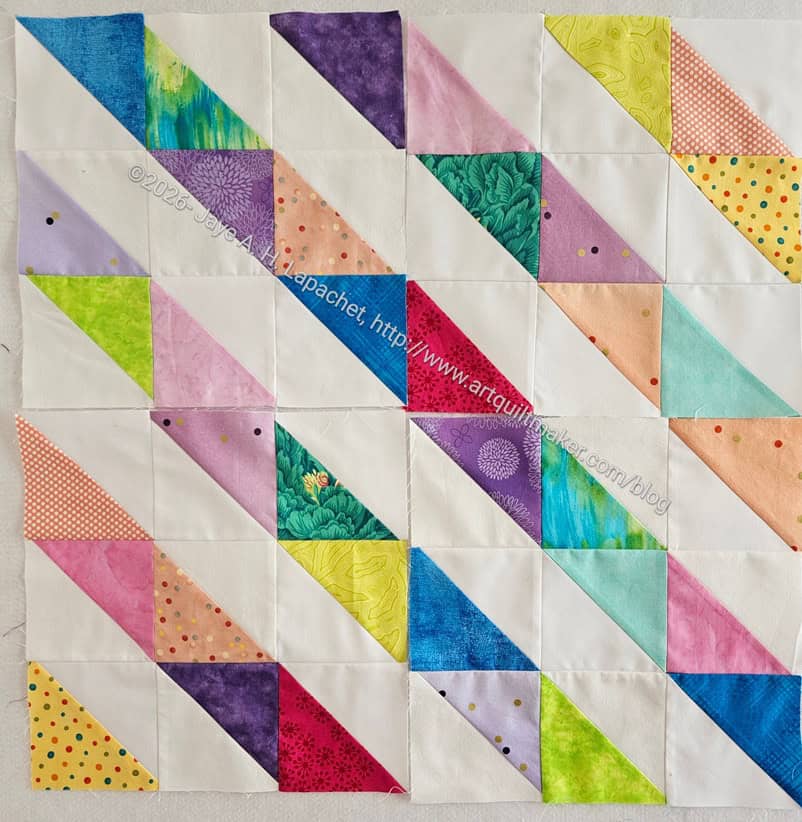
Without putting the blocks on the wall, I added sashing to my white strips blocks. I don’t have any design wall space and just had to go for it. I have a few donation quilts I need to make and this one will help me free up some design wall space.
As you can see, not having the design hampers my process. Somehow I missed adding top sashing to 6 blocks.
Yes, I used red. Dangerous, I know, but all my fabric is washed.
This is a good quilt for Valentine’s ‘month’.
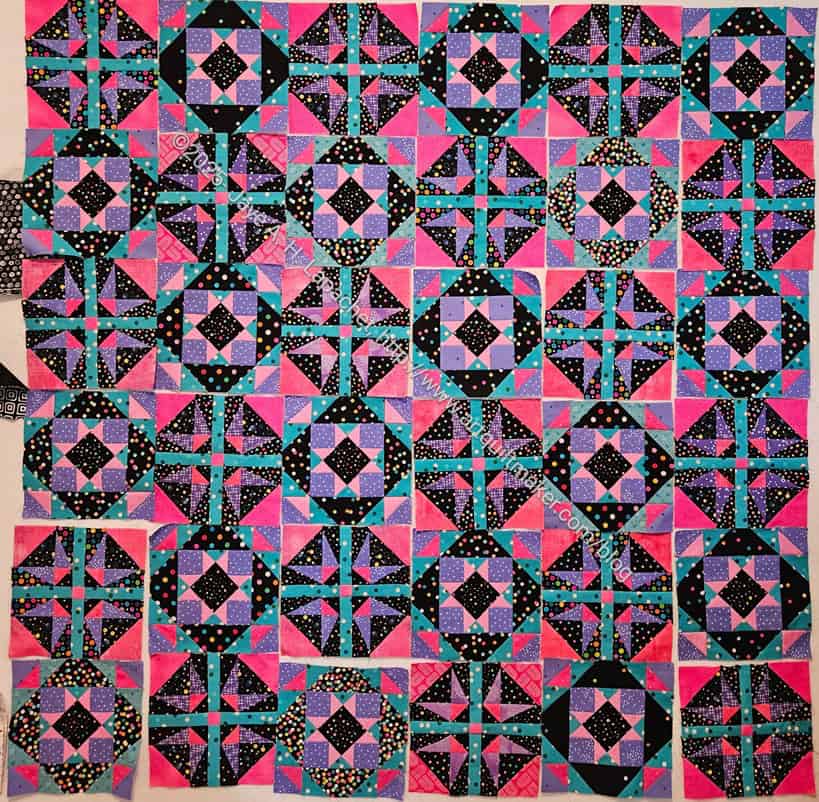
Finishing the Pandora Charisma was great! It freed me up to work on other projects. I made my BAM BOM units, worked on the last Four Patch Fun blocks, made a donation block, got back to my normal leaders and enders system and FINISHED the last of Lupine blocks. YAY!
The quilt isn’t done by any stretch, but this is a huge achievement IMO. I am really pleased about it. Now I get to sew all of these blocks together and then start work on the border.
Happy Valentine’s Day, BTW!
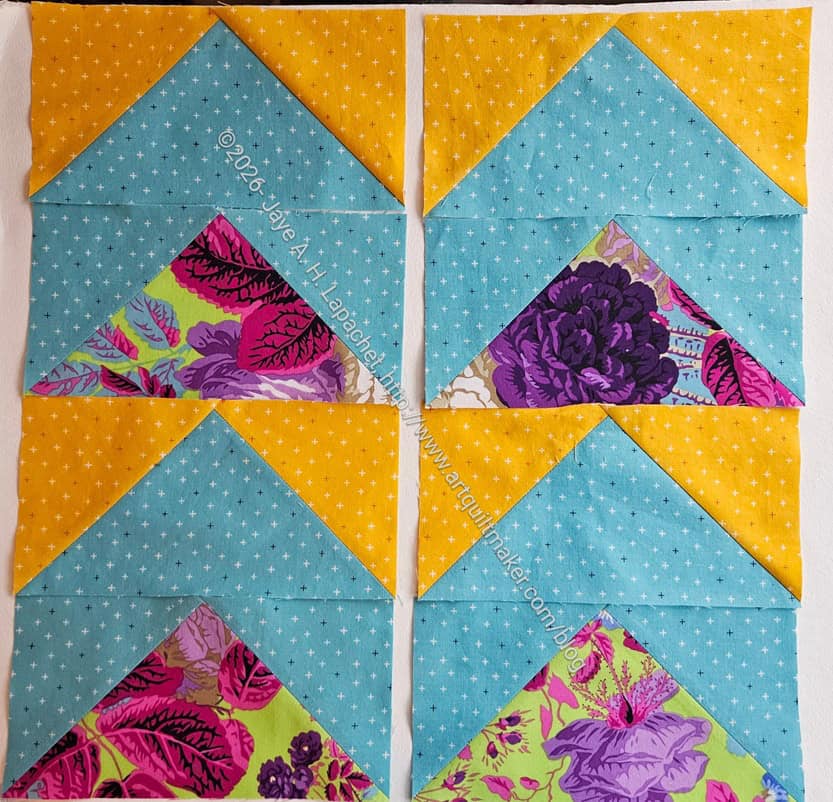
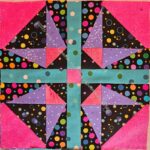
I made my Flying Geese the other day. I am not ahead of the crowd this time, but in time for the meeting next week.
I made 4 using the blue and yellow fabrics. I wanted the blue to be on the outside, so decided I needed to make a few more. Once I made the second set with my wonderful flowered fabric I realized I could make chevrons! Voila!
Slowly, but surely Lupine is growing.
In between trying to finish the Pandora Charisma and working on other bits and bobs, I am sewing blocks together as well. I have about 5 more of each of the blocks to make before I can start on the border.
This is a really dramatic color scheme and I LOVE it.
I spent most of the day on Sunday making blocks for the Lupine quilt instead of working on the Pandora Charisma. The white strips blocks have been on my mind and I wanted to sew some sashing on to them, so I worked on the Lupine blocks and made the white strip blocks my leaders and enders.
I am quite ready to sew this quilt together. Though I am nearing the end of block making I still have some to sew.
I used piecing the Lupine blocks veg a bit. Now that I know what the two blocks look like I am able to piece them pretty quickly. I mindlessly pieced about nine of them one day when I needed a rest, but also needed to sew.

I know I keep bouncing between the Pandora Charisma project and this project. These are the two that are front and center at the moment.