En Provence Progress

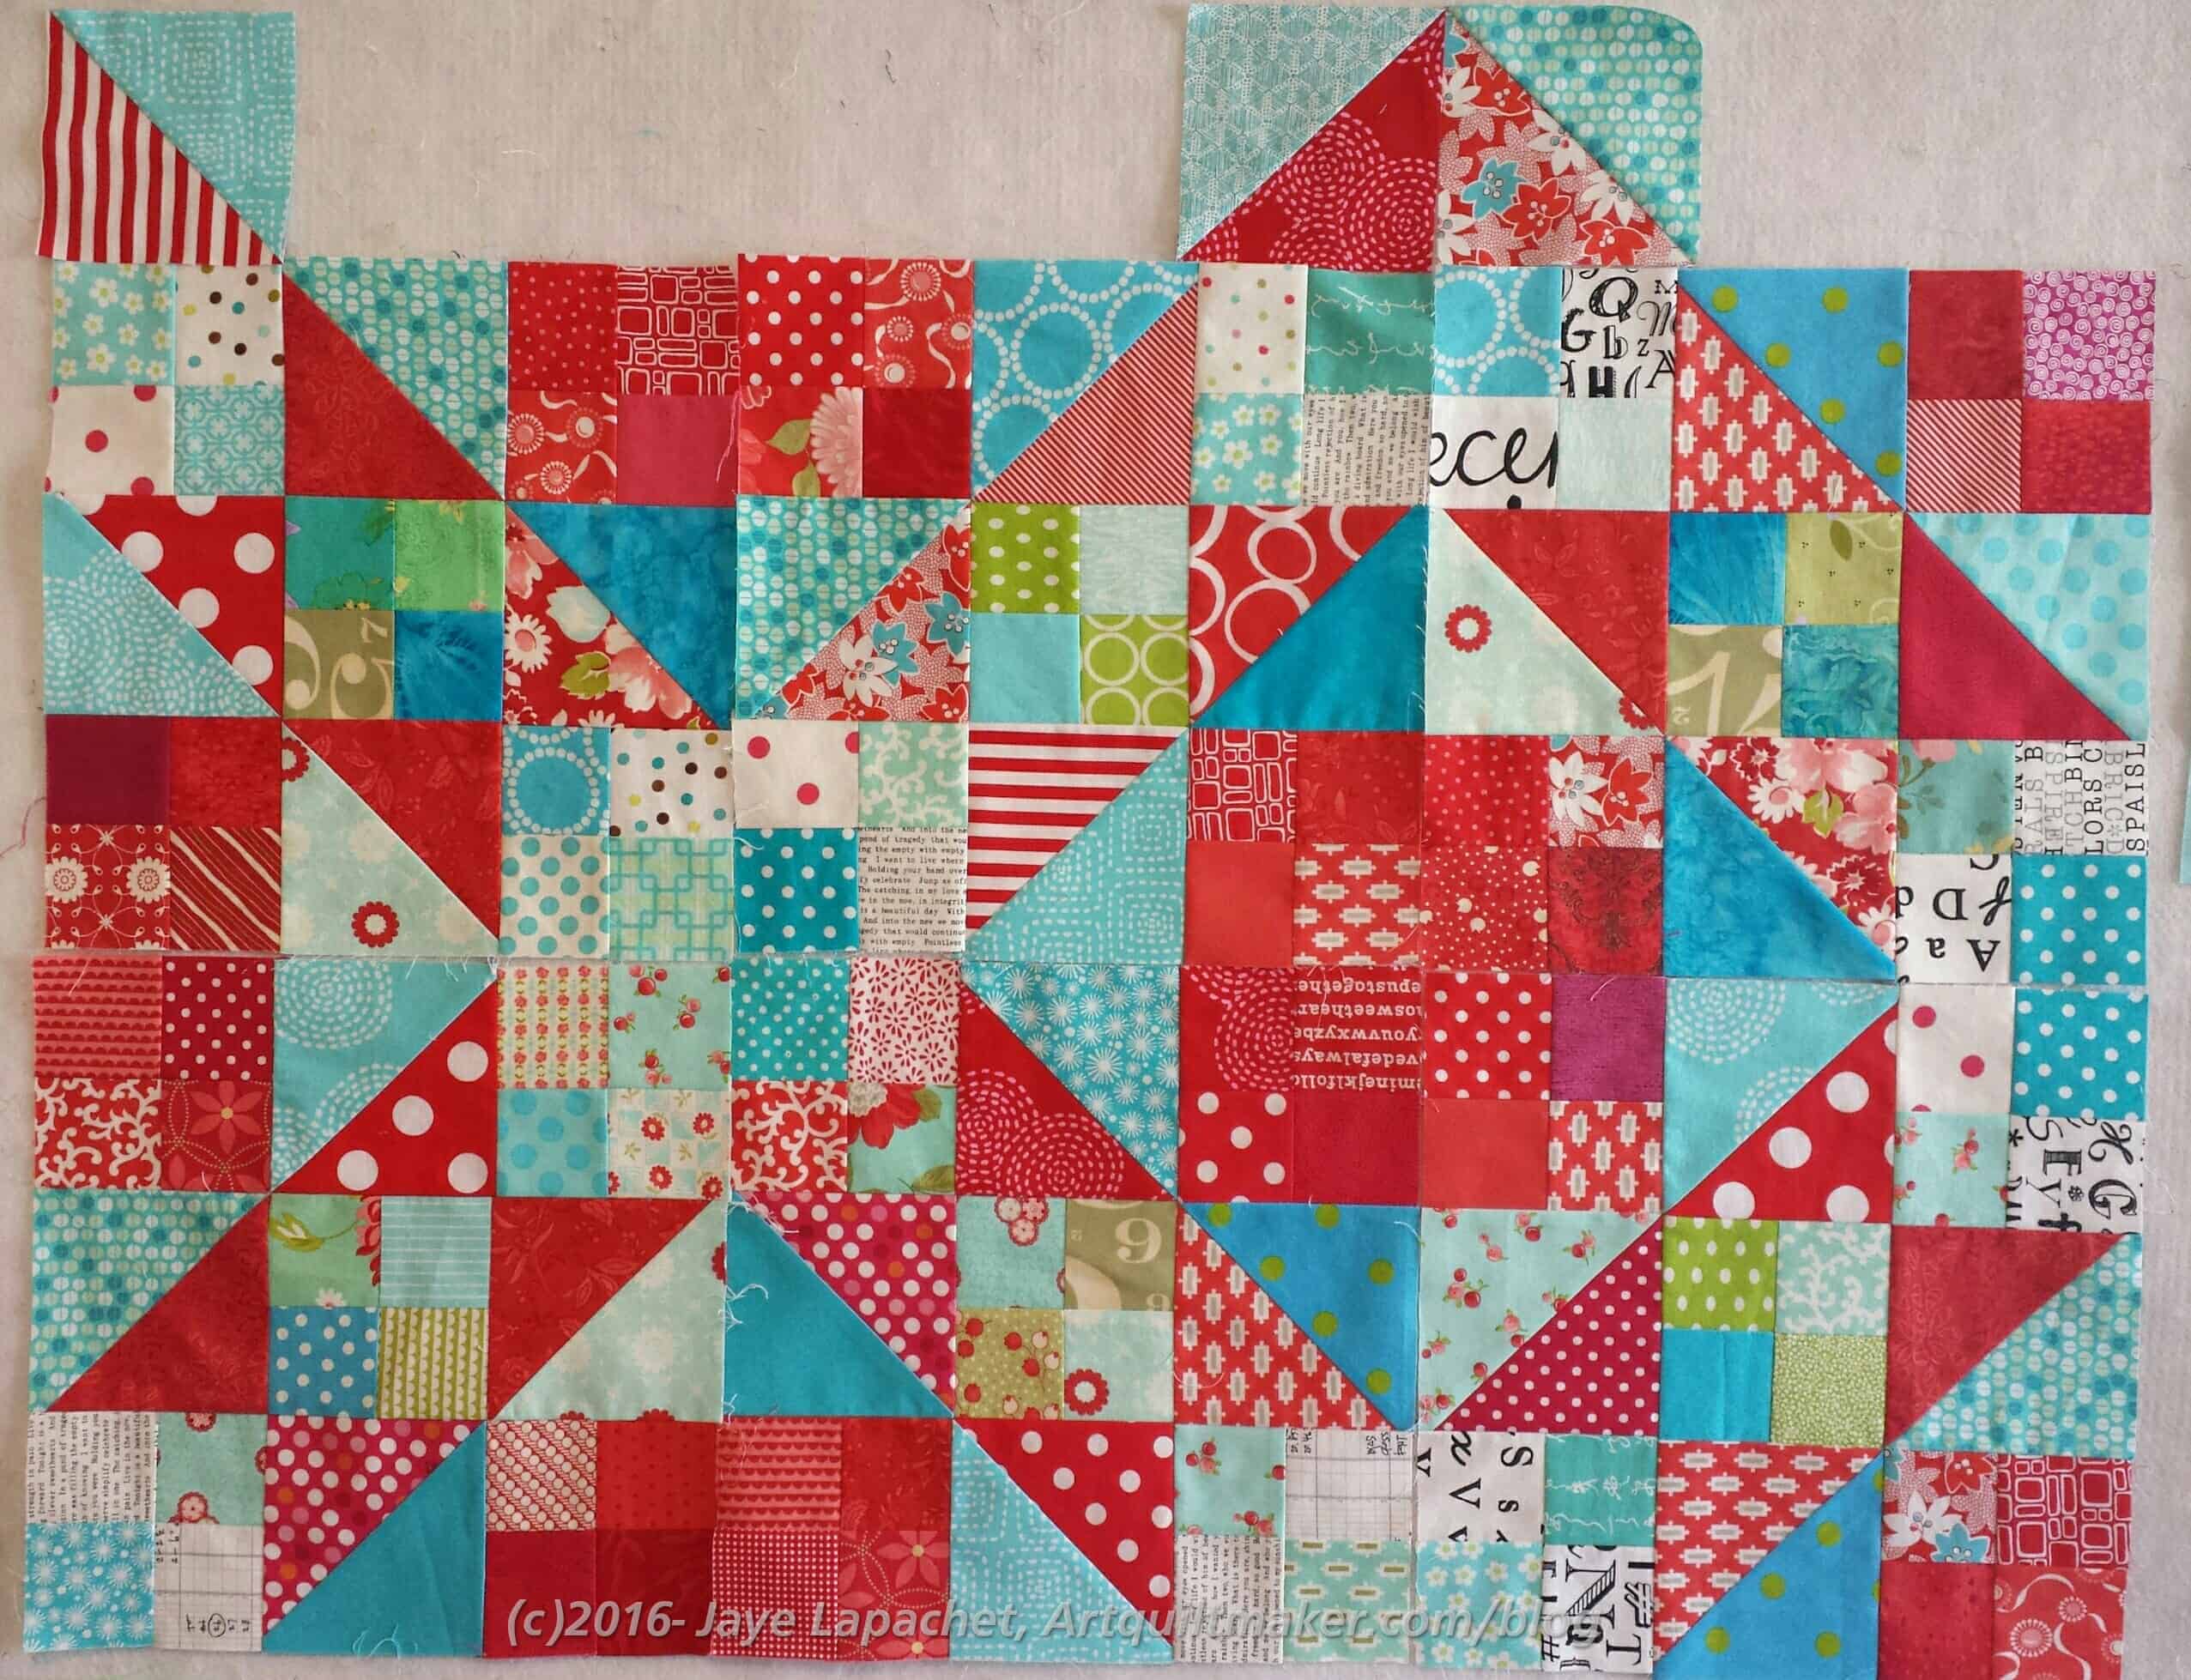
Four patches for En Provence

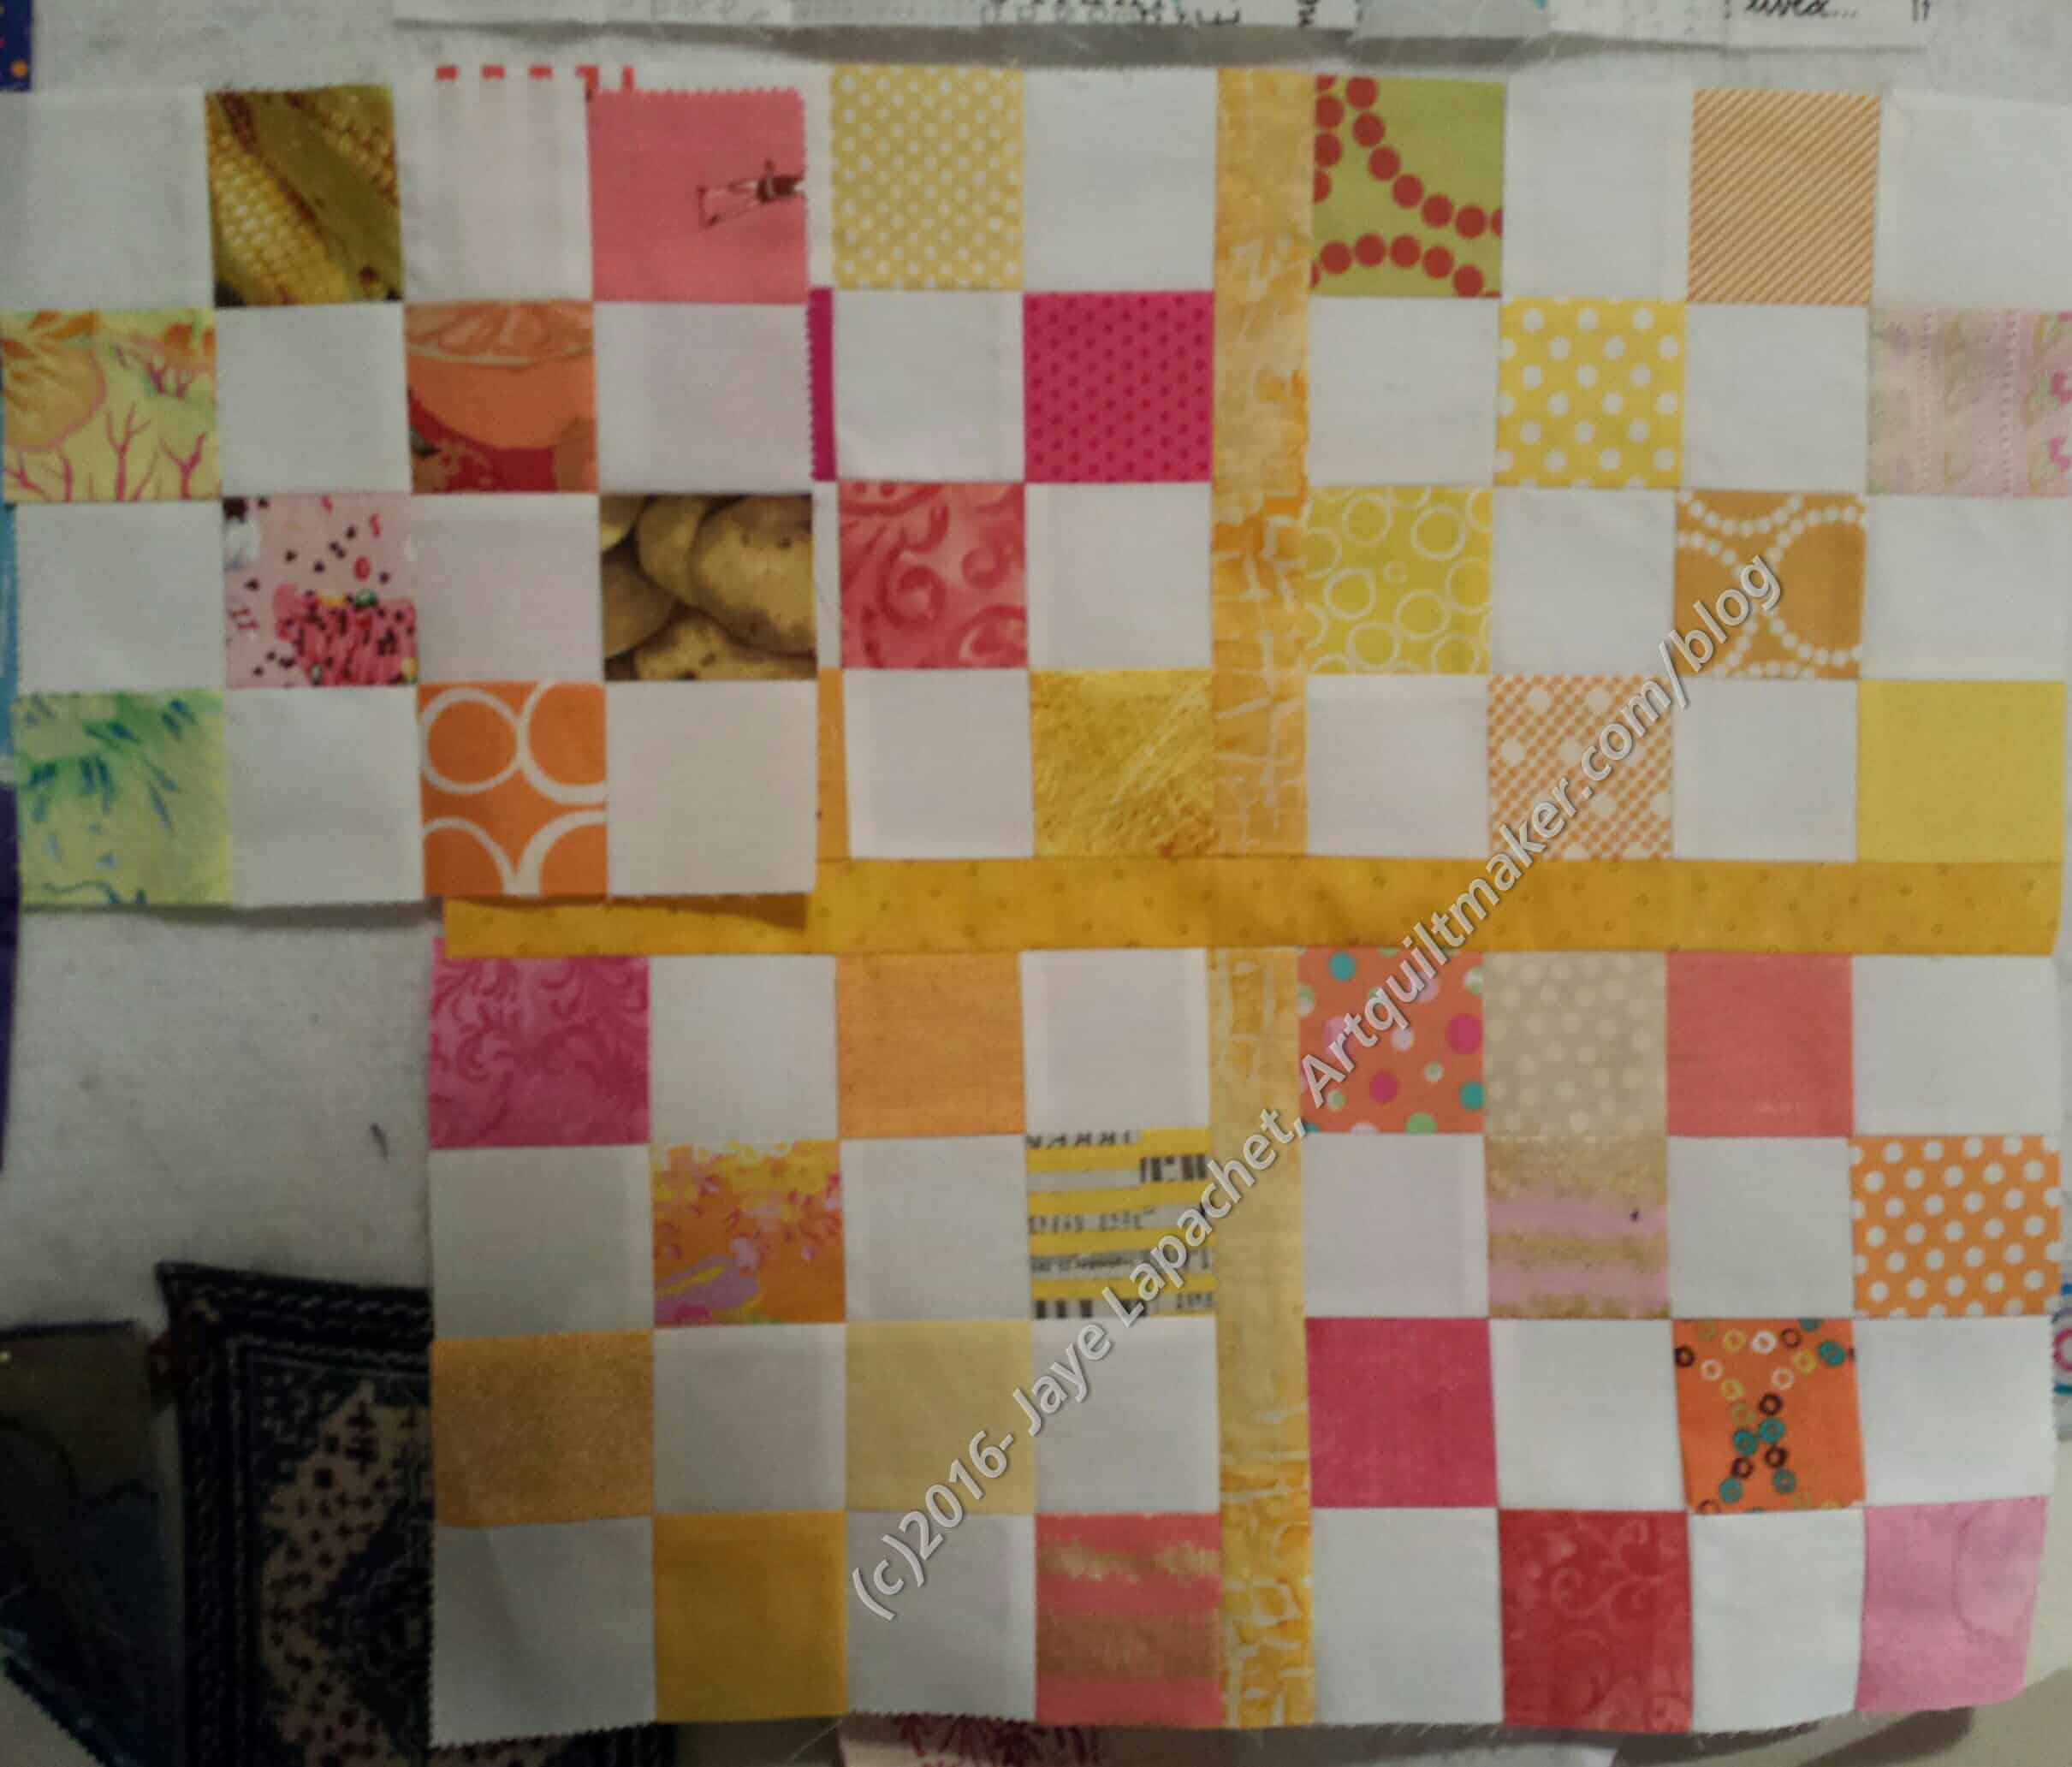
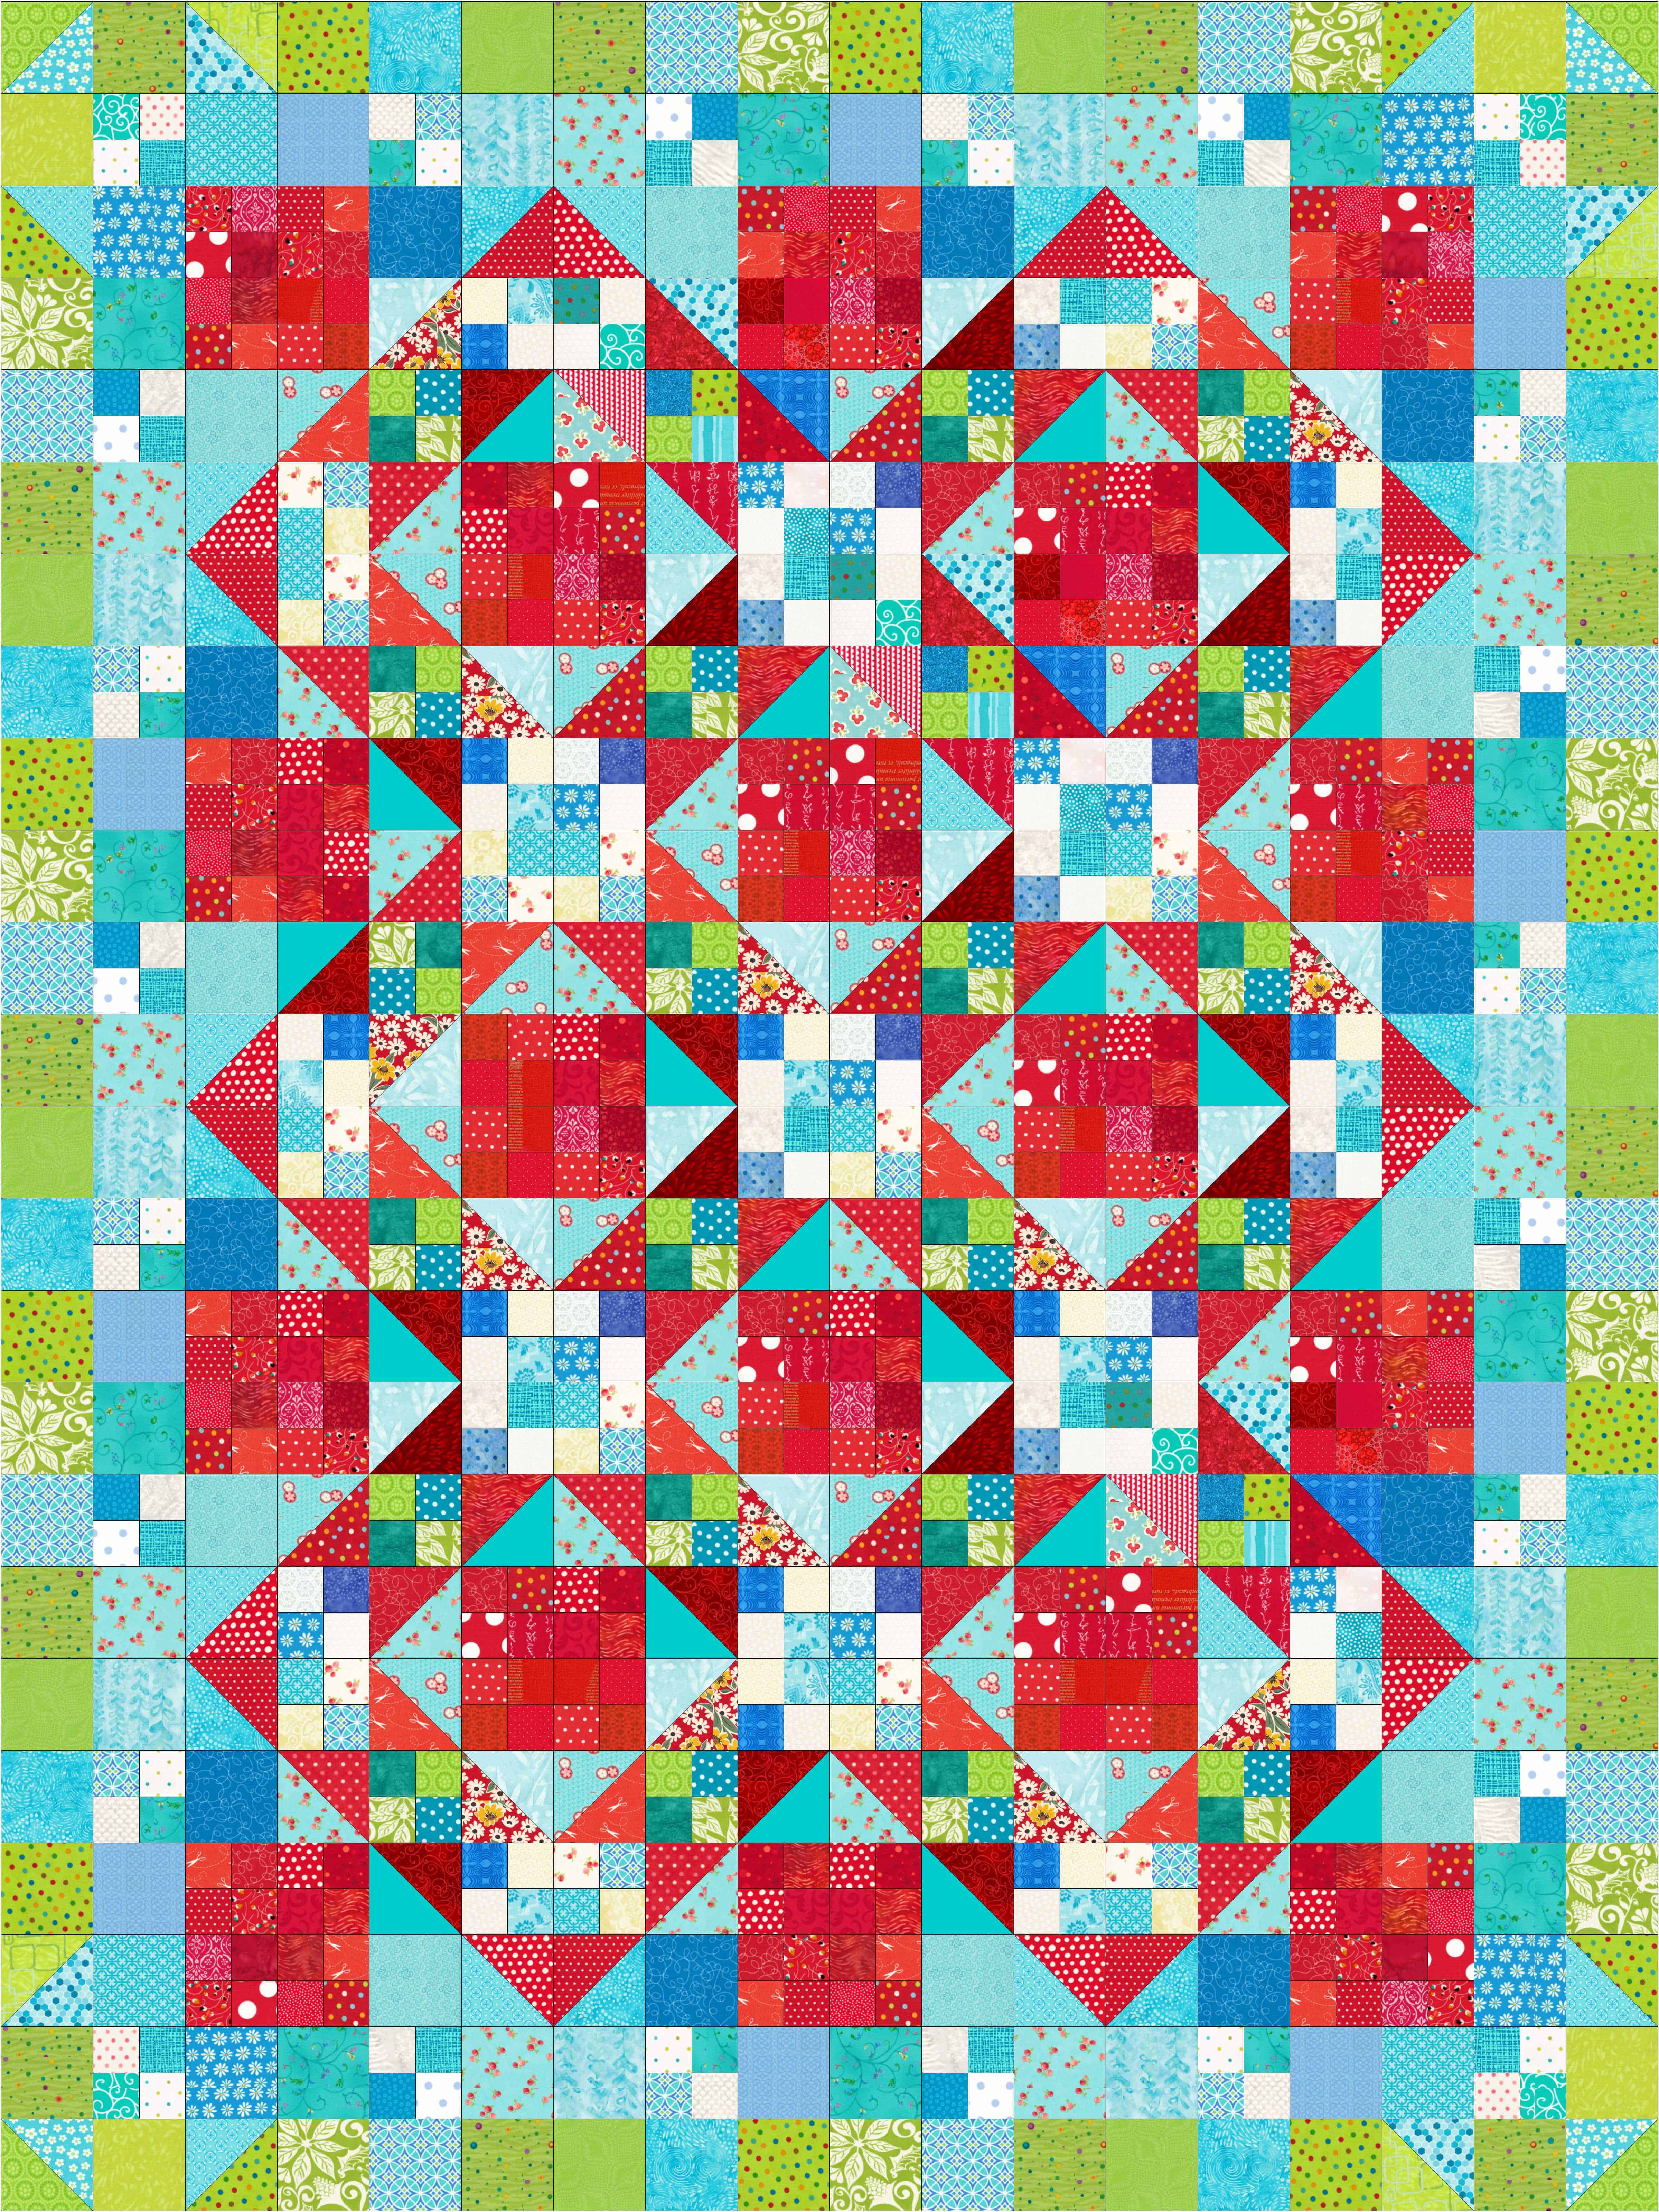
I am doing the En Provence Mystery Quilt. I have just finished step 1. I am very pleased with the four patches I have made. I have part of step 2 finished, and have some Spikes to cut. I am dreadfully behind, but I don’t care. I saw the reveal on January 1 and am pleased to say that I like the quilt design. It is always kind of a crapshoot when you don’t know what the quilt will look like. Not that there is any shortage of fabric.  Some people have already finished theirs and have shown their versions, which is great for me, so I can compare different color schemes. I am happy to pick out colors as I start each step. So far, I have sort of stuck to Bonnie’s suggestions, but I am not going with the purple she includes. Just not my thing. I don’t hate purple, but I think this quilt will stay here so I want something that will work in my house.

This project is part of the reason why I feel like I am treading quilt water. Many steps forward and no finishes.

Progress Finally – The Peacock

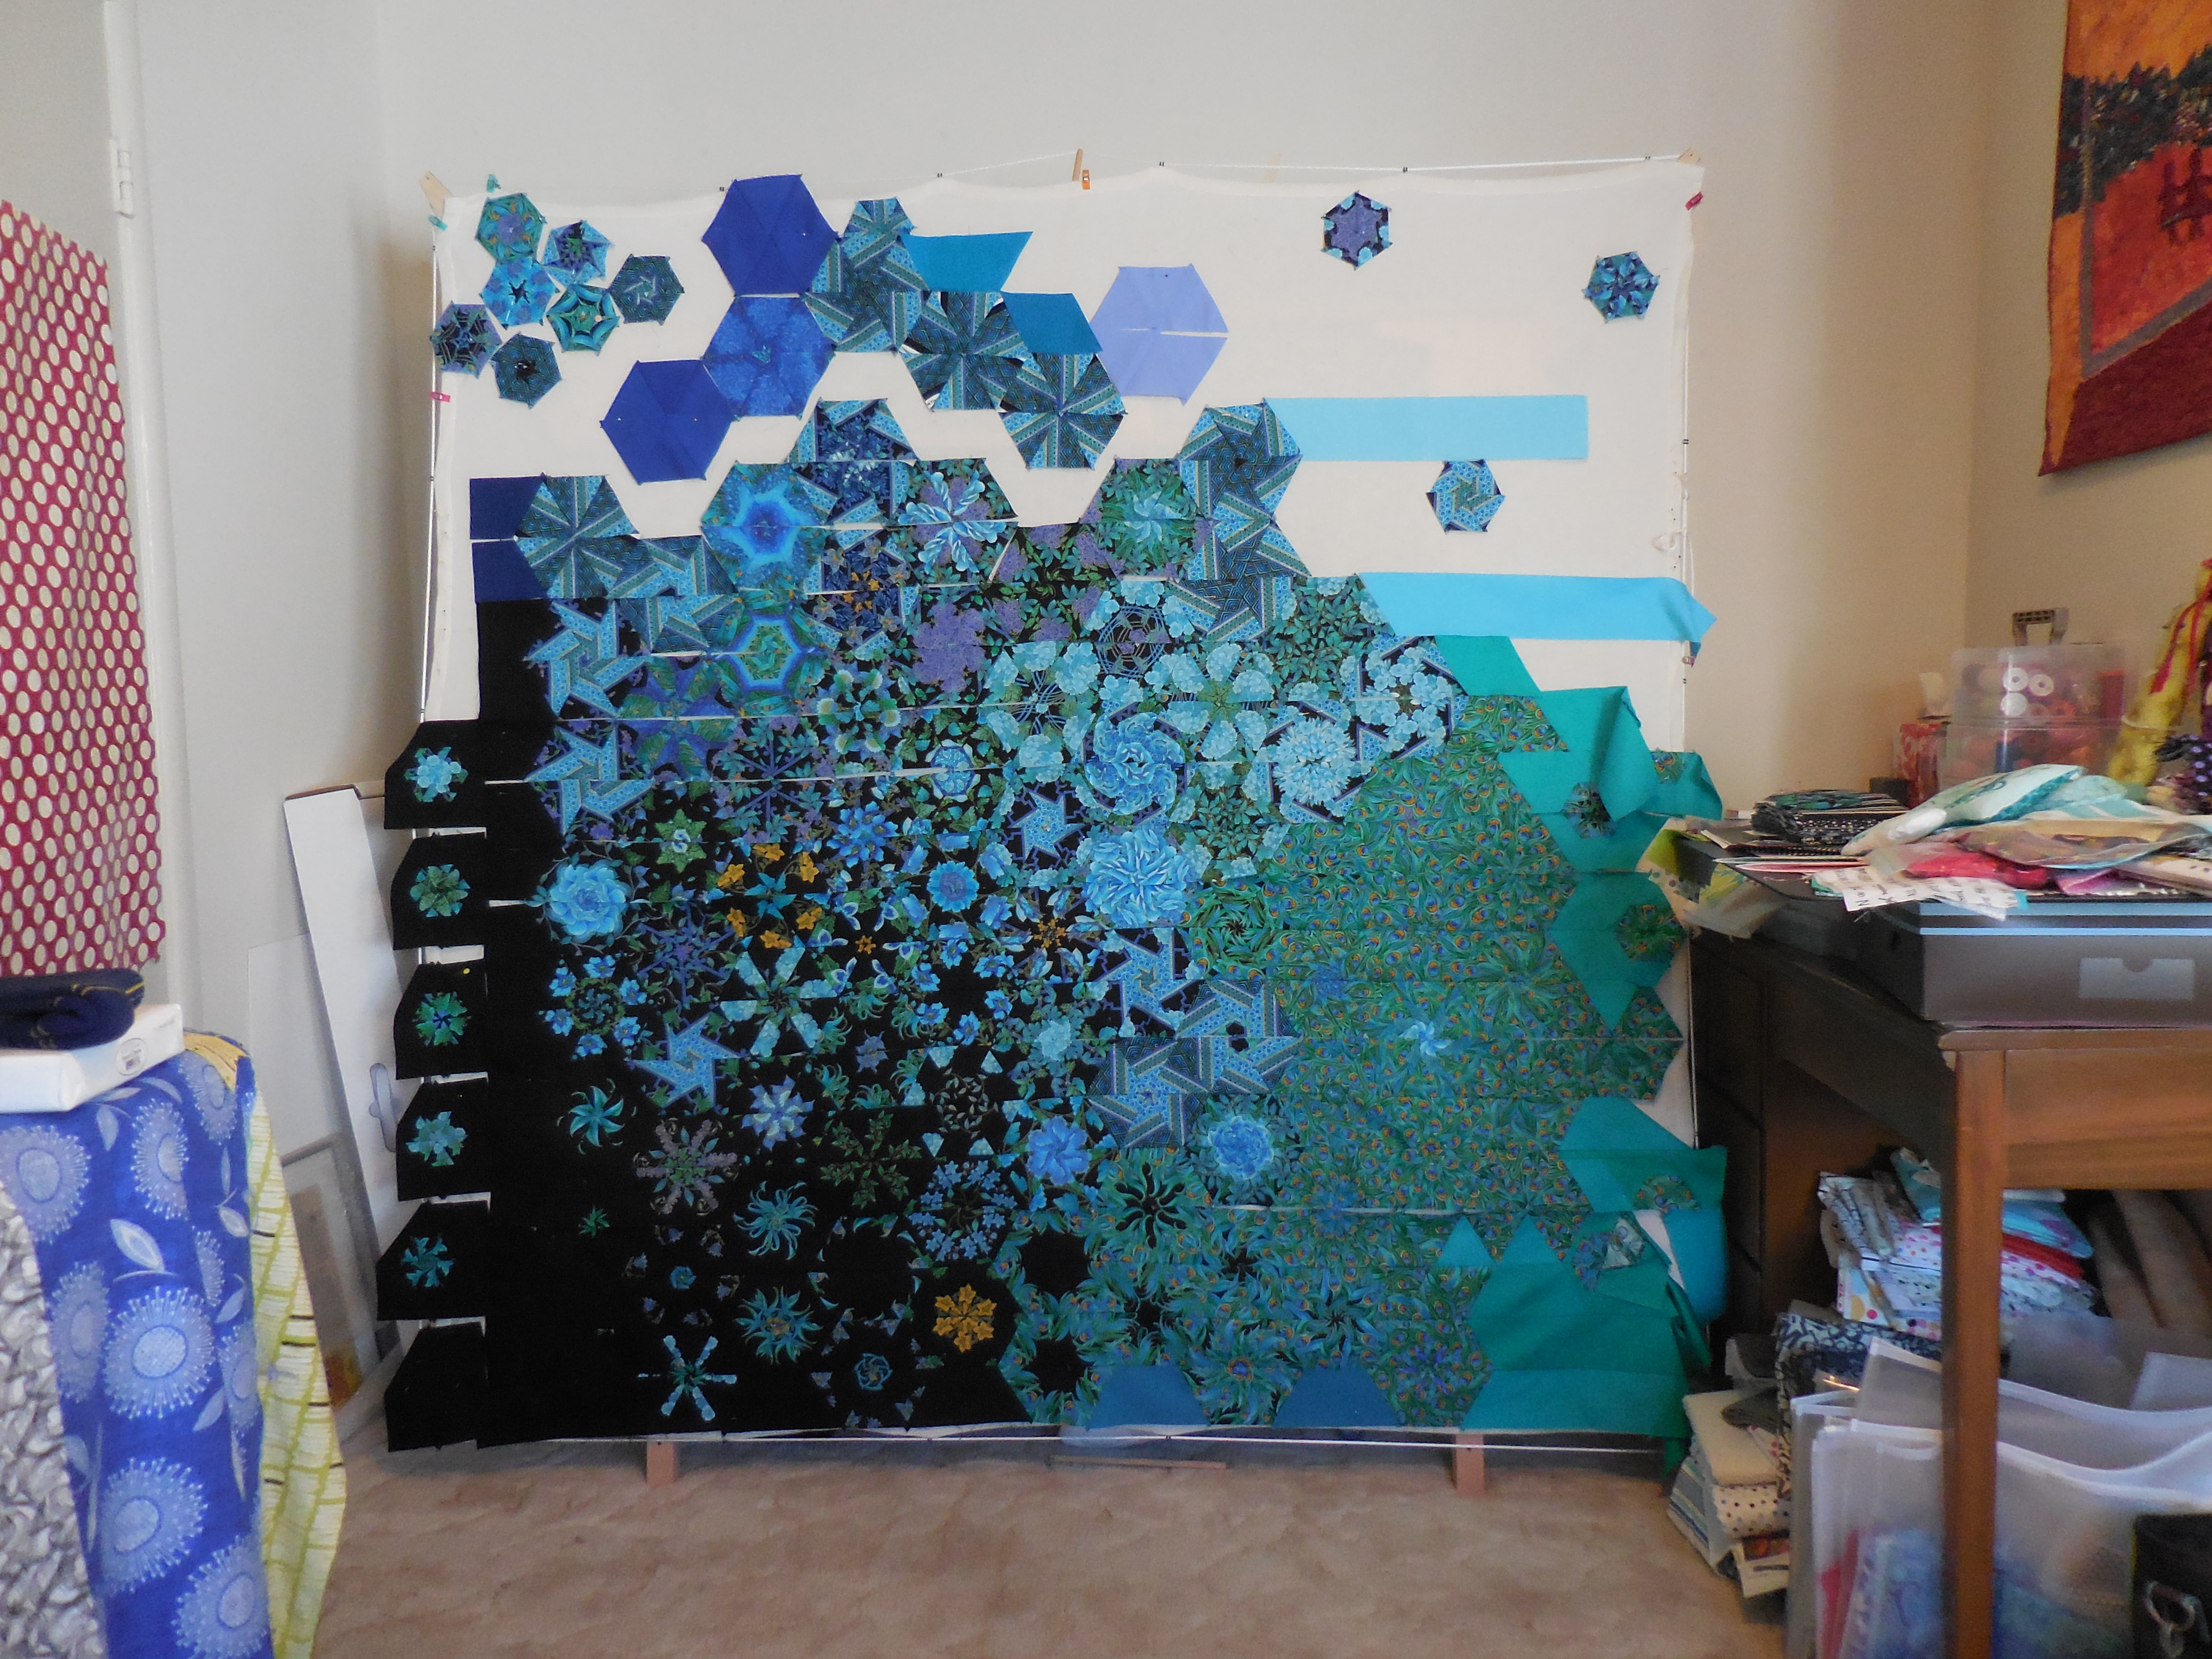
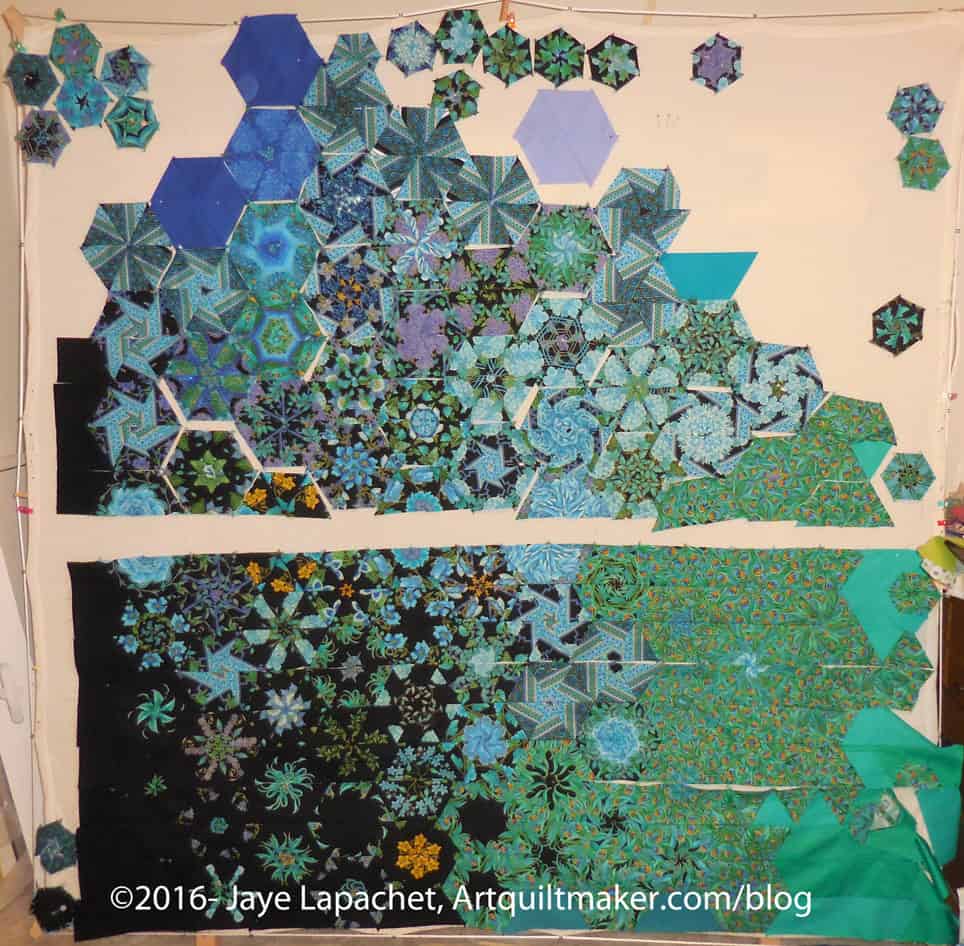
Peacock - 12/31/2016
Peacock – 12/31/2016

It has been hard to get going again on the Peacock. I don’t know why. I think it required contemplation and I really have just had snatches of time here and there over the past few weeks. Some projects require concentration and no progress is made without the time and mindspace for concentration.

The problem is that this piece is taking up space on my design wall and until I finish, I can’t make any other progress. Yes, I could take this piece off the design wall, but that would be a huge mess and I am pretty sure I would never get back to it. Not worth the trouble.

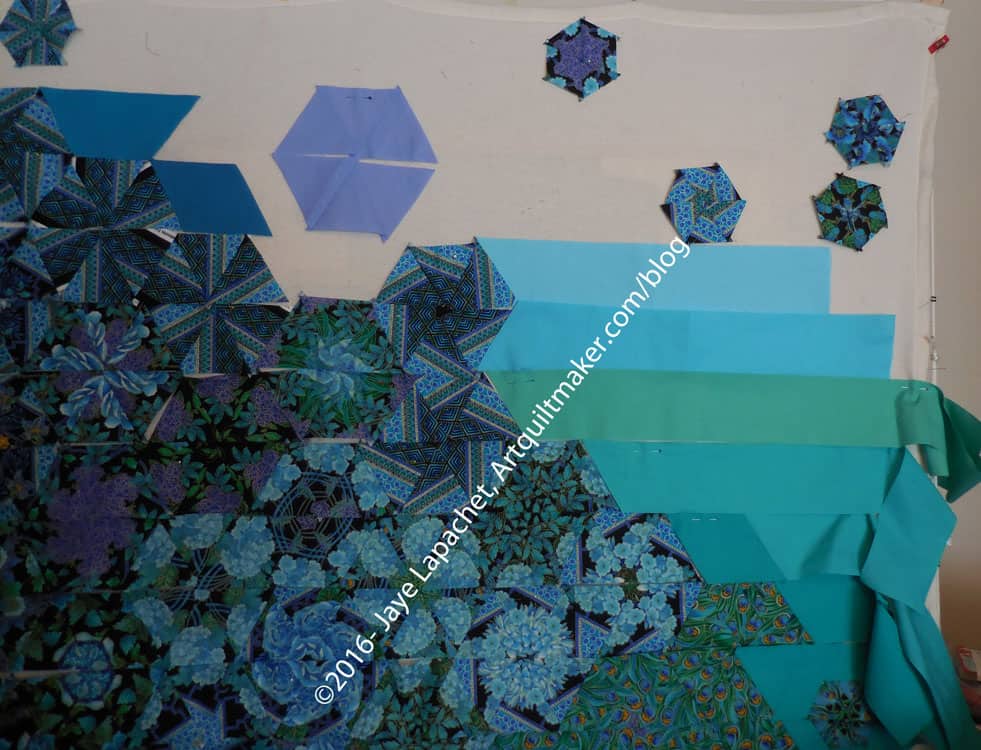
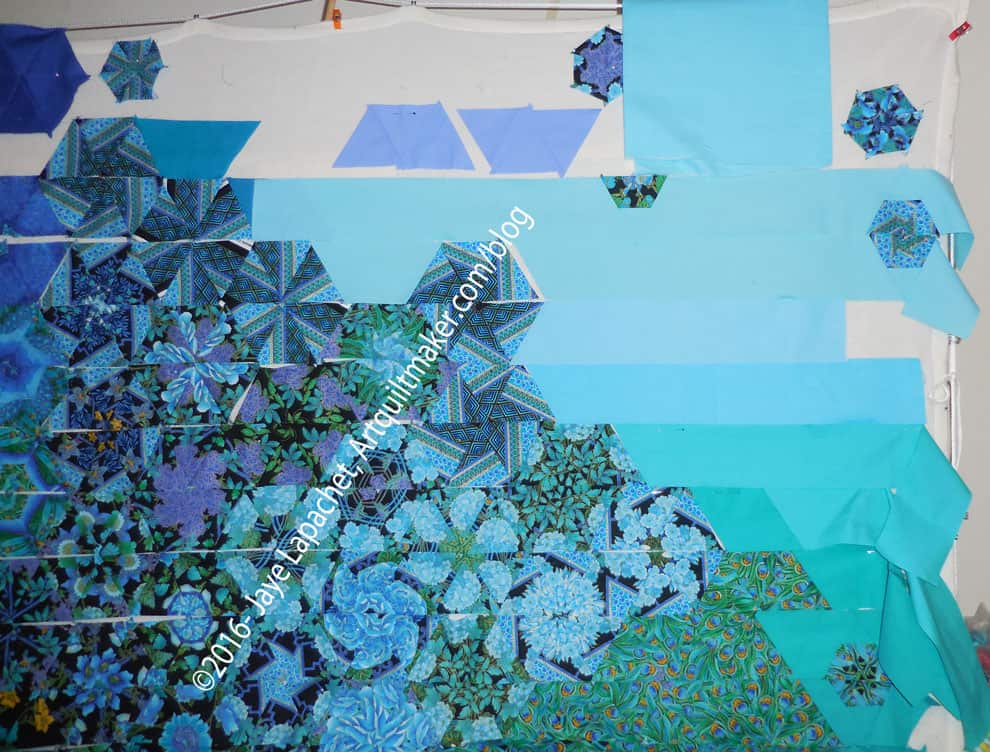
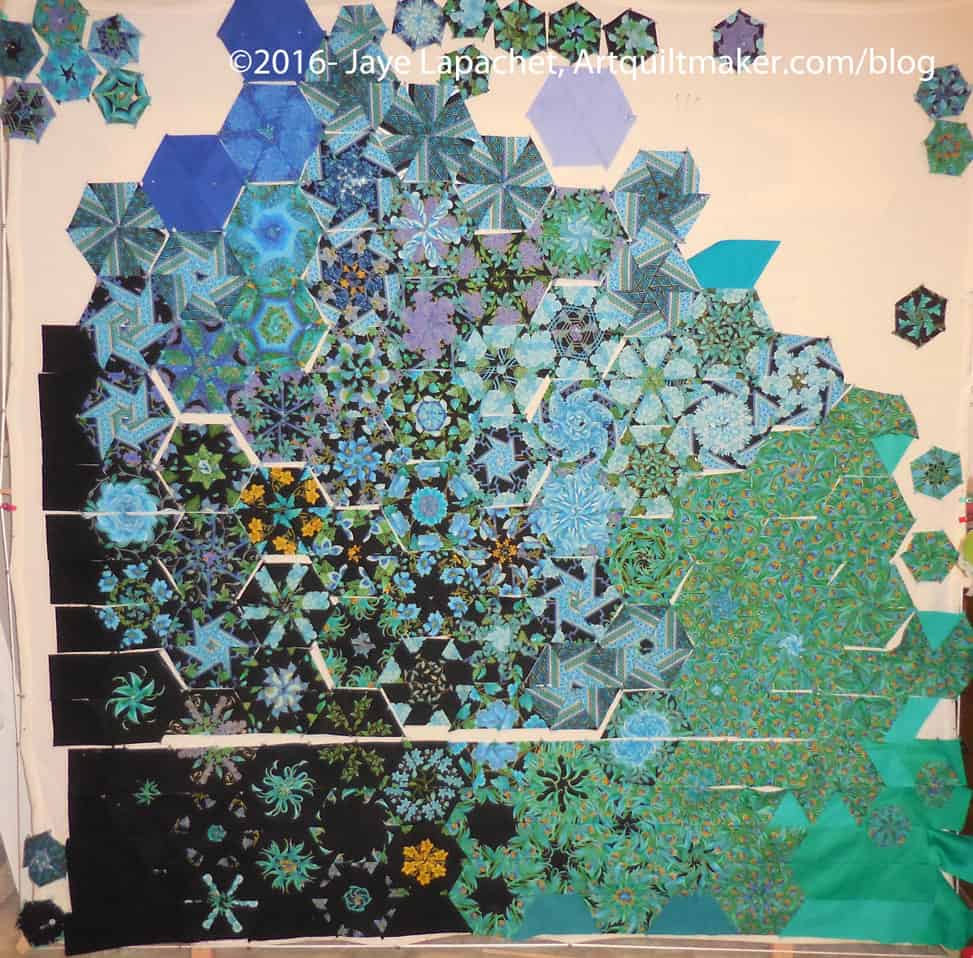
Peacock - 1/1/2017
Peacock – 1/1/2017

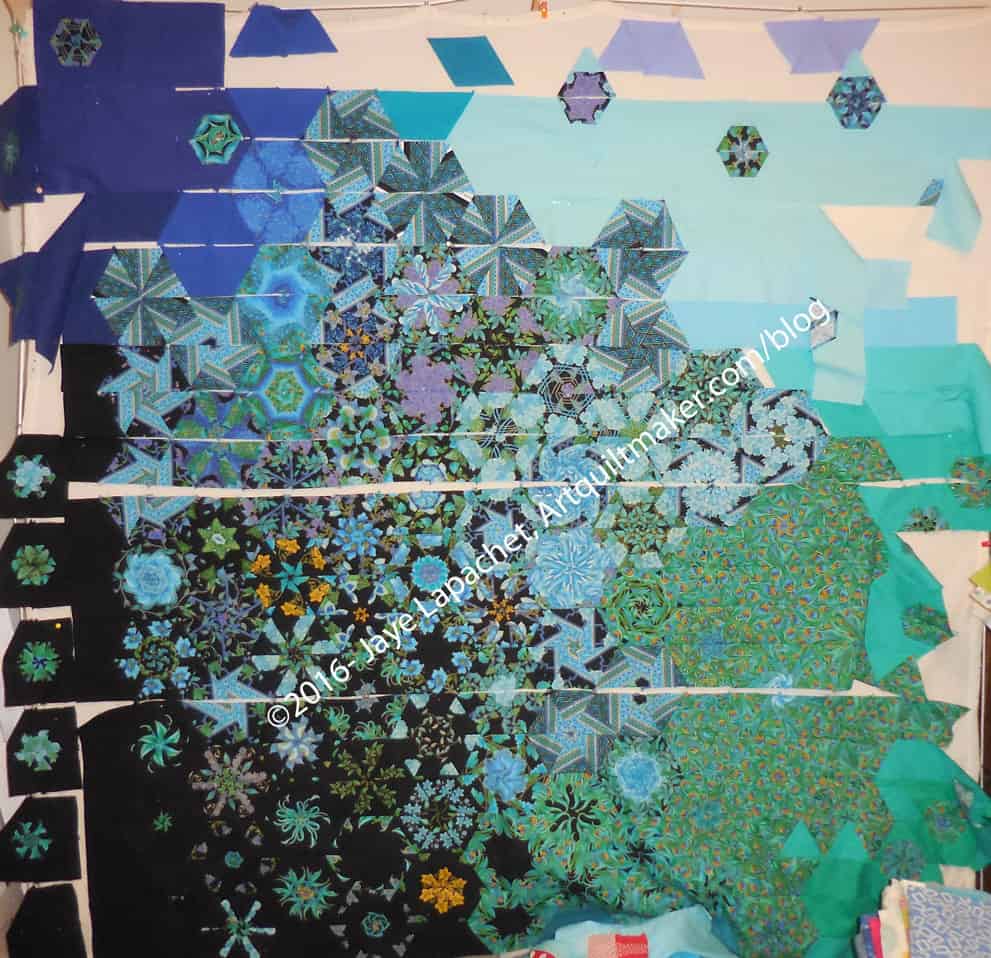
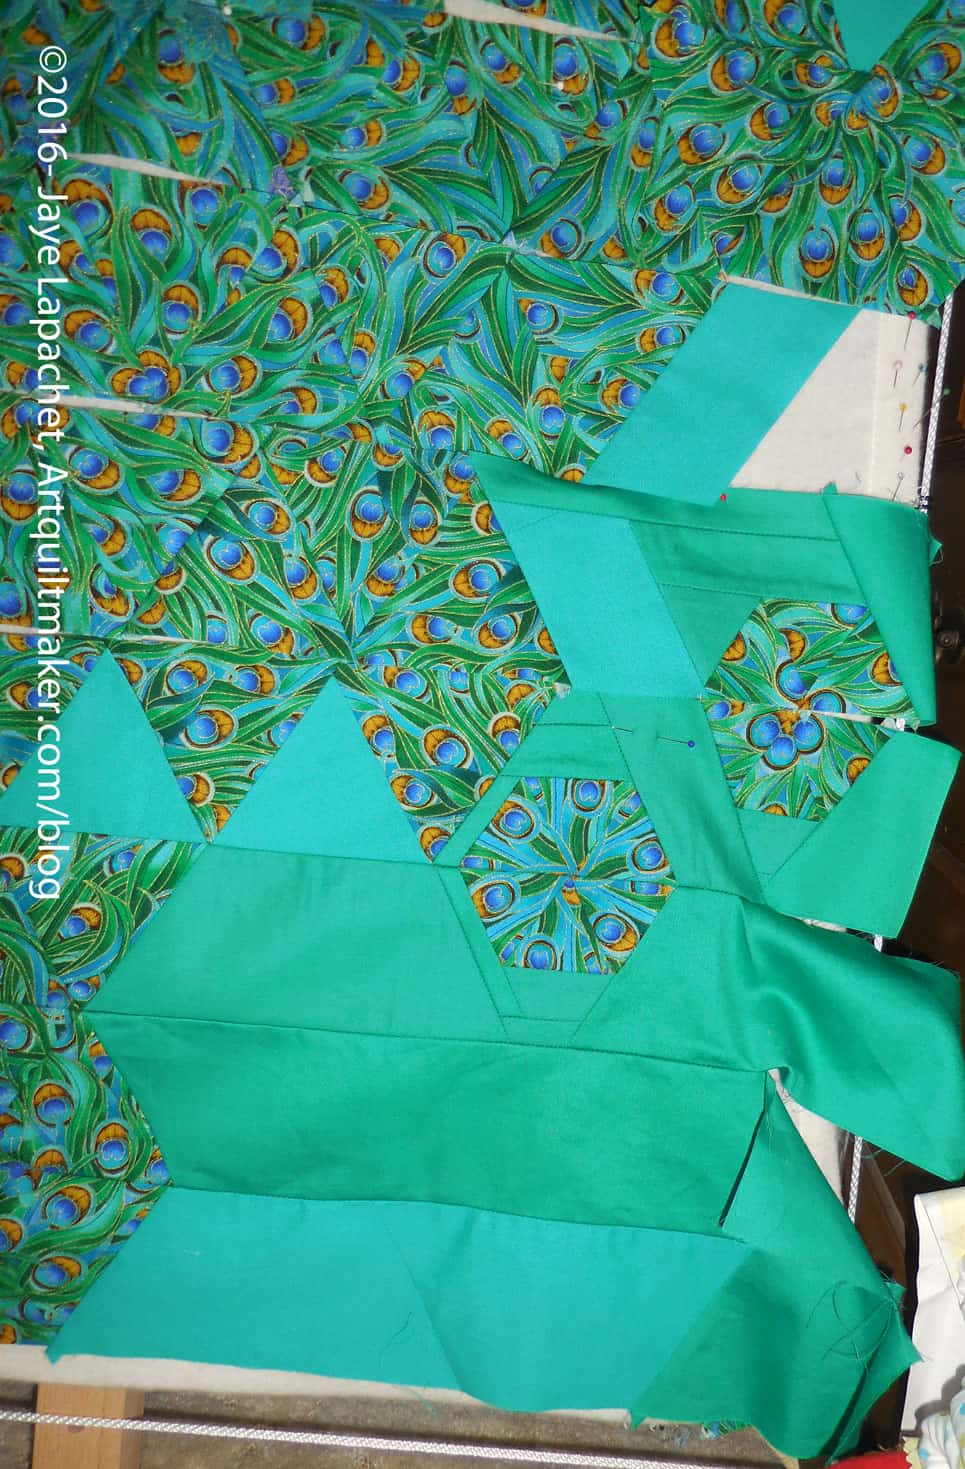
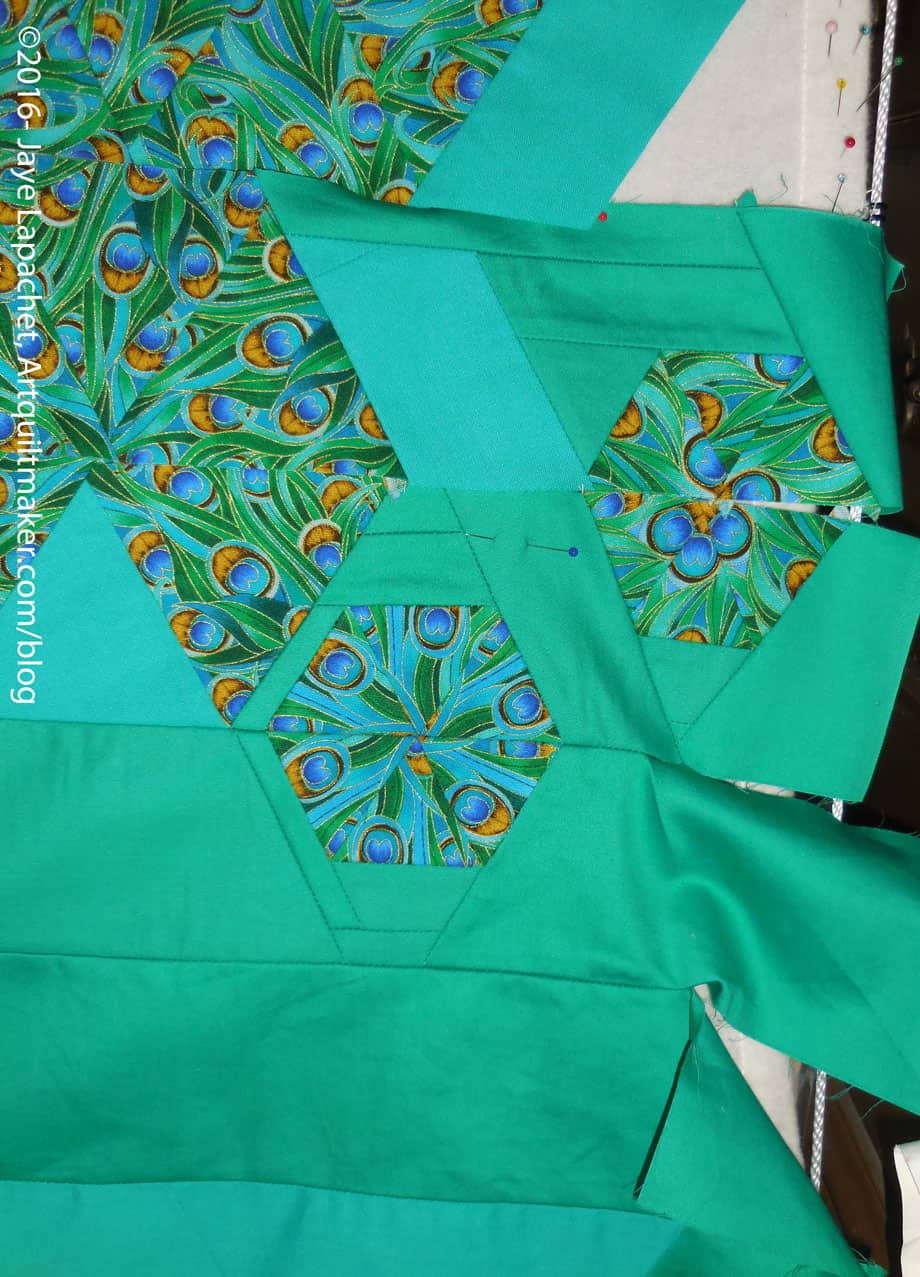
As you may remember, I gathered some solids and they have been laying around waiting for my attention. Sunday, after #politicalwifery was the day. I cut and placed some strips of solids as background onto the design wall and I am pretty pleased with the results so far. I have some very light blues, but I don’t know that I will get to them as at some point in the not to distant sewing, the very darks I am using on the left will meet the lights on the right and I have to figure out that transition. There will be an angle involved for sure. Perhaps the lavender as well?

Last Carpenter’s Wheel? 

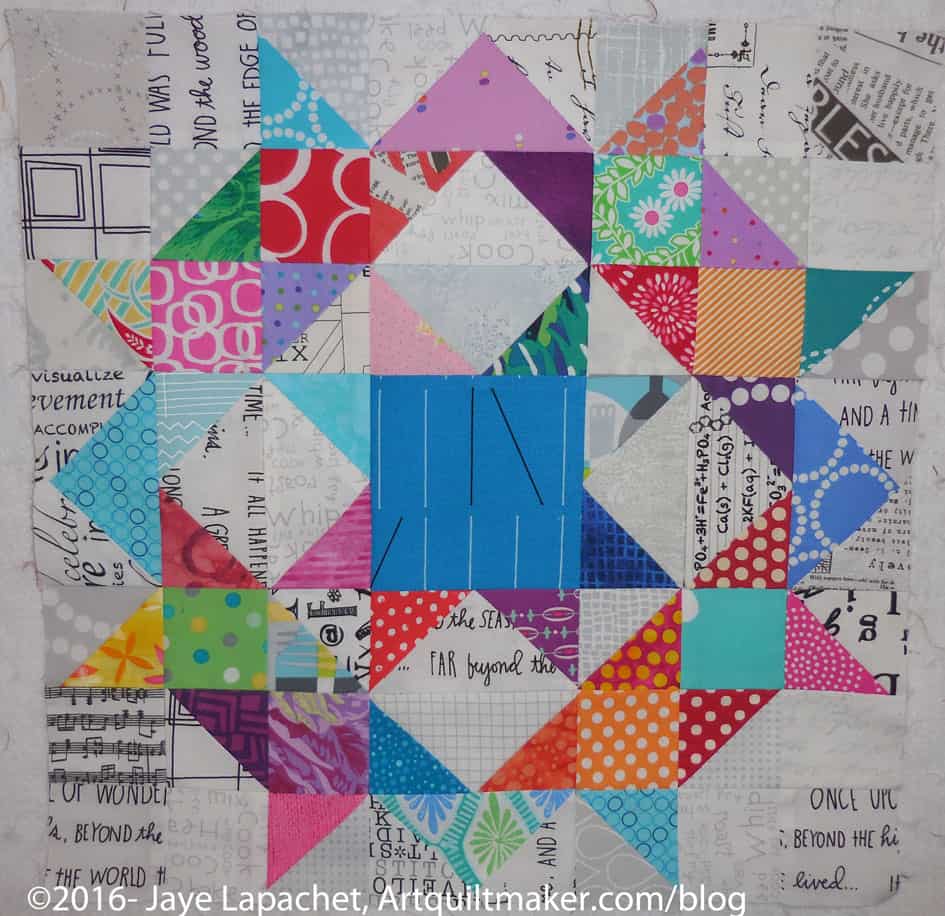
I am hoping that this is the last Carpenter’s Wheel block. My fingers are crossed because it would be nice to finish something AND I want to turn this in for the BAMQG challenge.
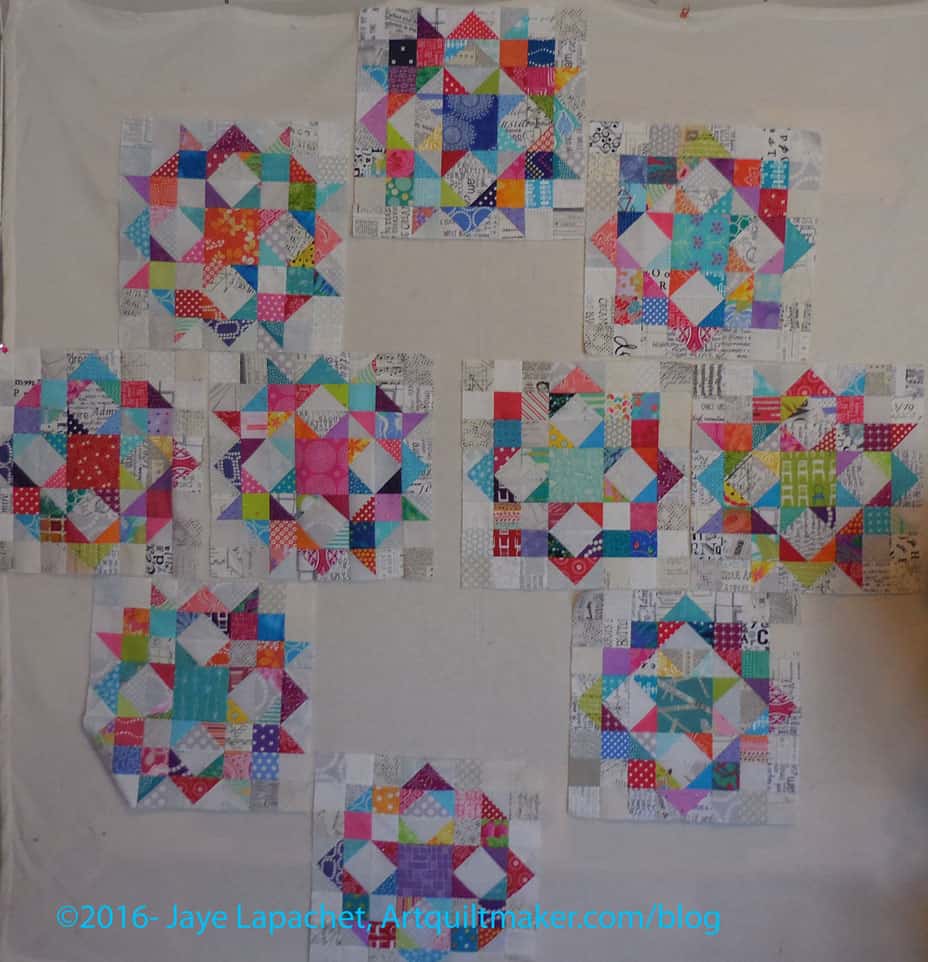
As I may have mentioned, I have an idea for the layout and I’d like to get to it. Of course, I have to get the Peacock off the design wall.

Everything Old is New Again

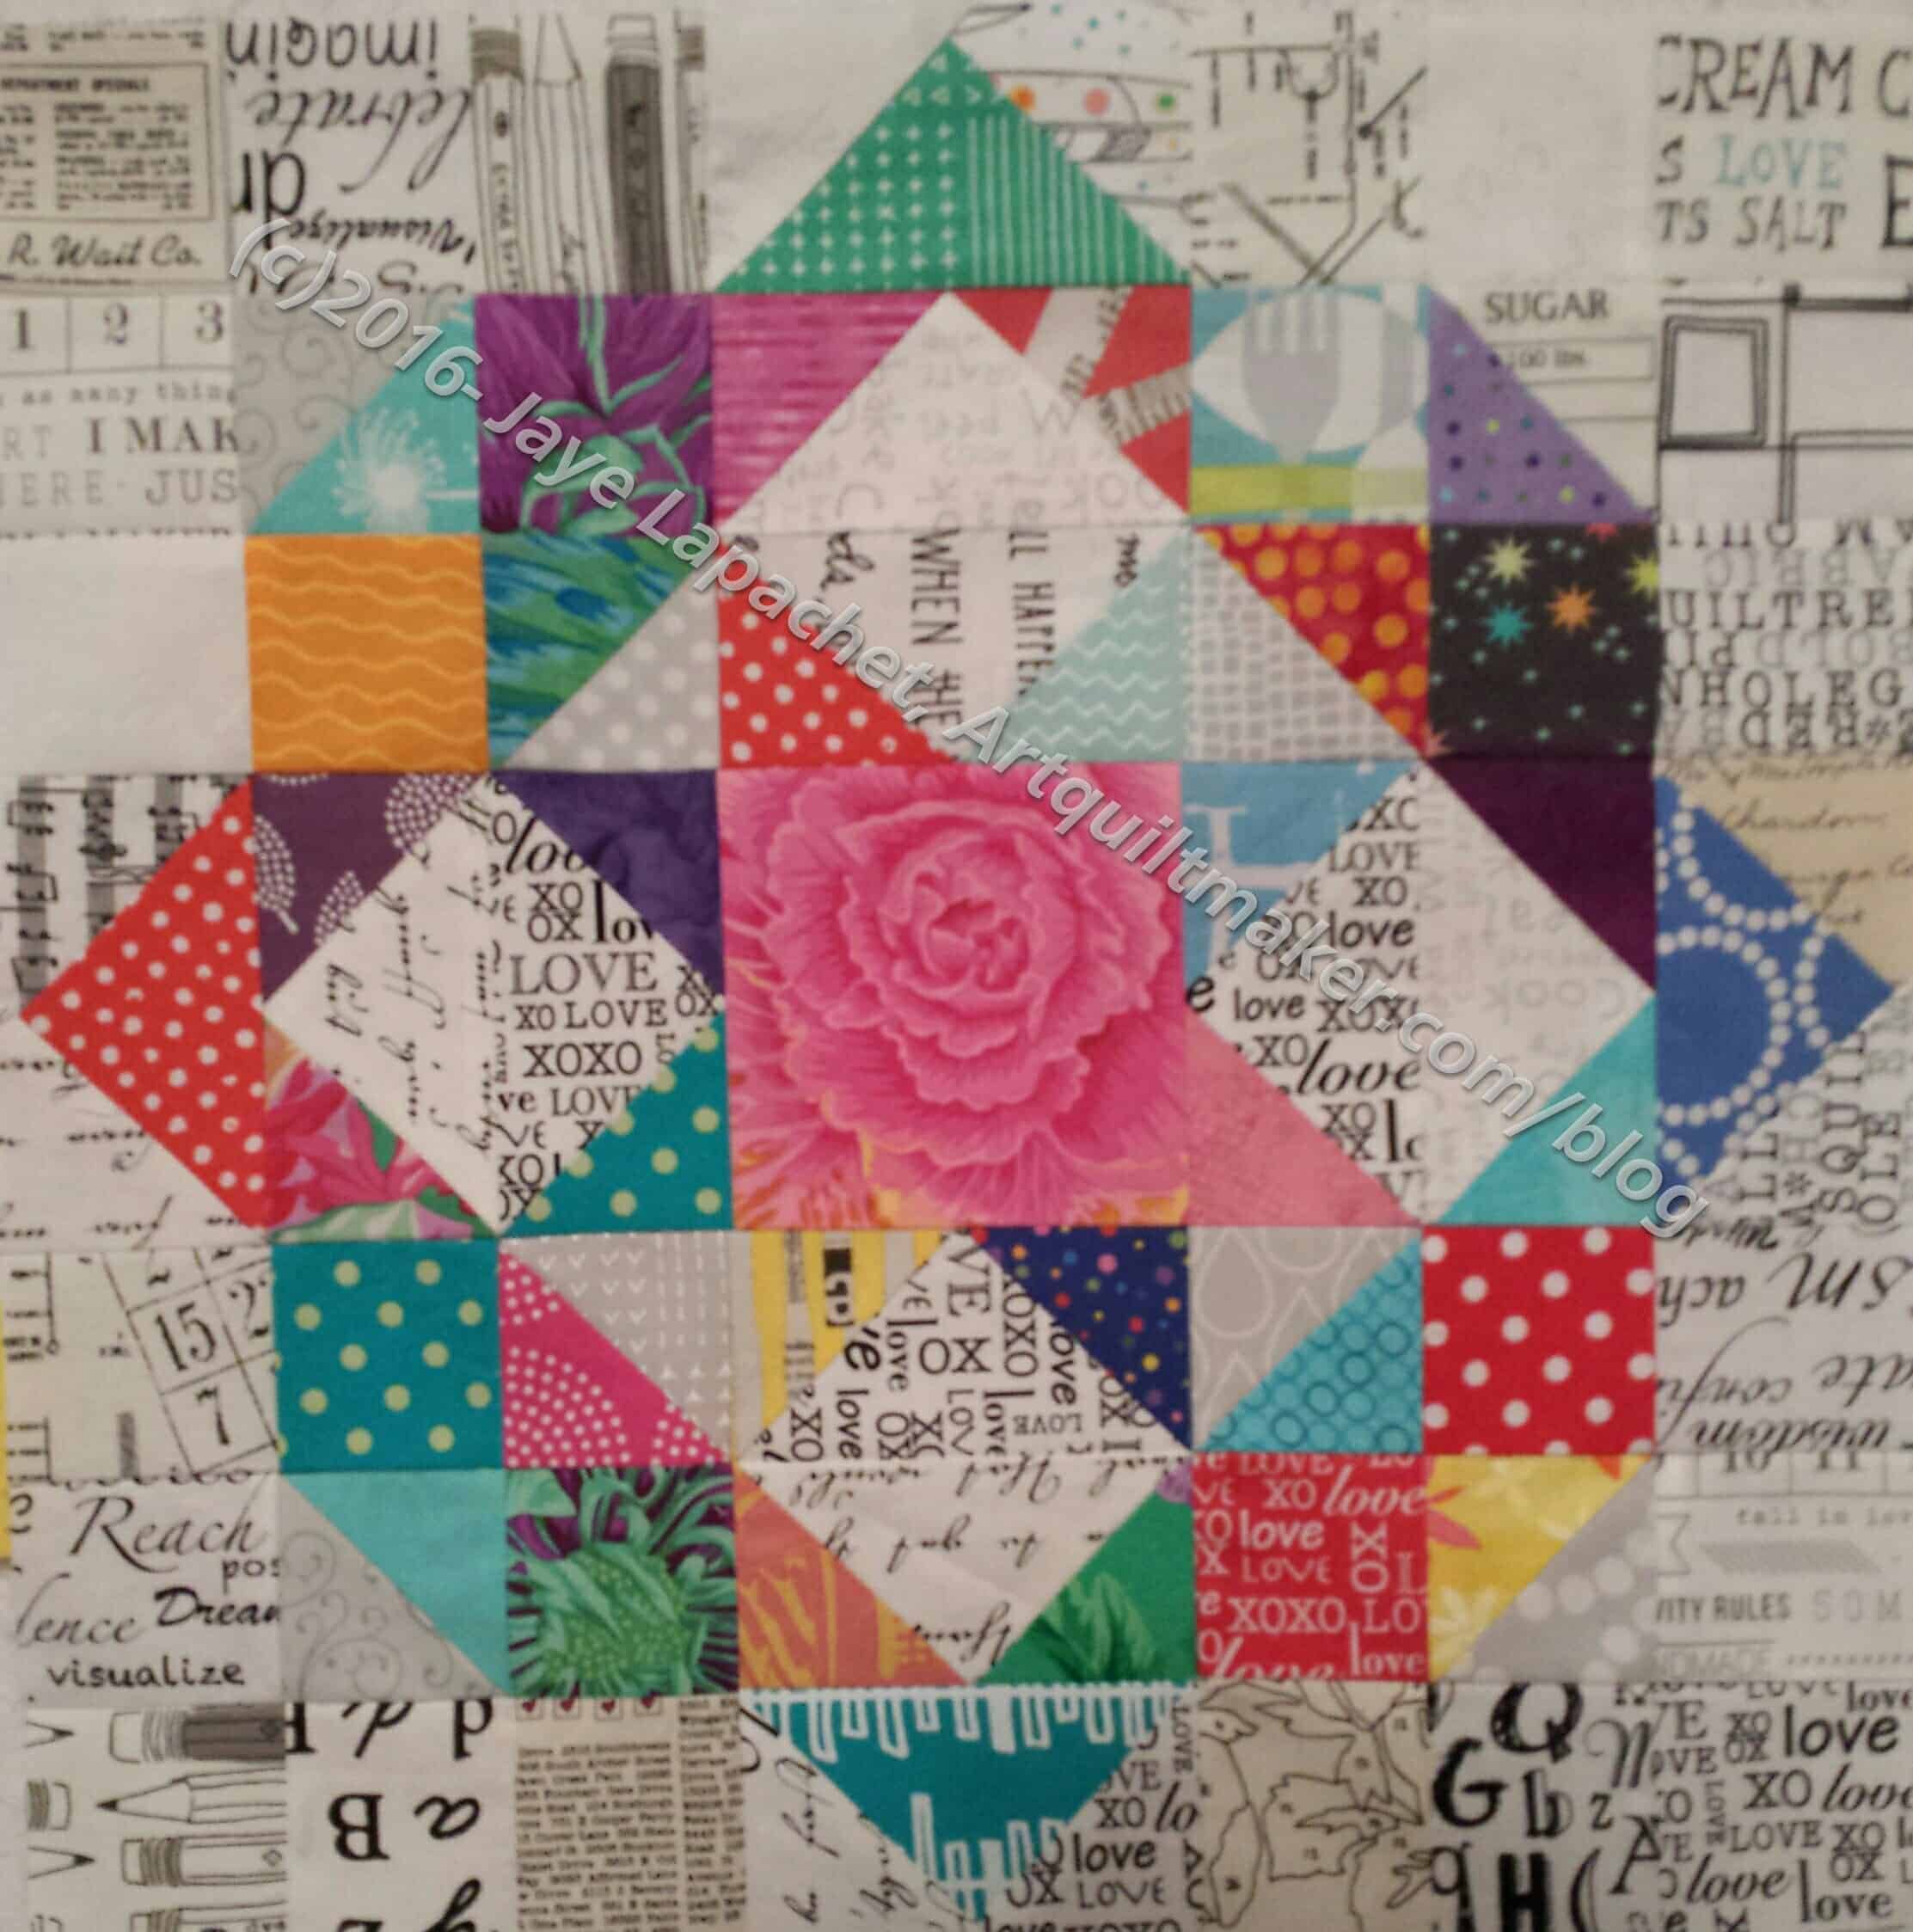
Carpenter's Wheel n.13
Carpenter’s Wheel n.13

I started in on Carpenter’s Wheels again. I finished n.13 over the weekend in the frenzy of sewing I did to heal myself from the shopping marathon we did on Sunday*.

I was able to finish this one without much extra making of parts, but n.14 needed a few new Flying Geese and some low volume fabrics.

I was inspired to do so by Karen, the Challenges chair at BAMQG. Her last challenge as chair has to do with putting words on a quilt. The Carpenter’s Wheel blocks have text fabric included, so I am going to try to get the top done before February. I know I started this out as an experiment in low volume fabrics and it will still be that.

Carpenter's Wheel Layout #8
Carpenter’s Wheel Layout #8

I want to do the round layout. I don’t want those two blocks in the middle, thus I needed two more blocks, which I am in the process of making. The new blocks won’t be unique layout like the others, but I think the layout of the entire quilt will be somewhat unique and I am excited about it.


* Shopping is terrible, but this trip wasn’t completely terrible. DH made me pancakes for breakfast. He and I were able to spend the day together. We also accomplished a lot of niggling little tasks that comprise the holiday season. It feels good to cross things off the list. As soon as I said I had had enough, we finished up and packed it in. No arguments from DH. Finally, I ended up with 18k steps. That is almost a Disneyland day. Who would have thought?

The Peacock – a Bit of Progress

Peacock - early December 2016
Peacock – early December 2016

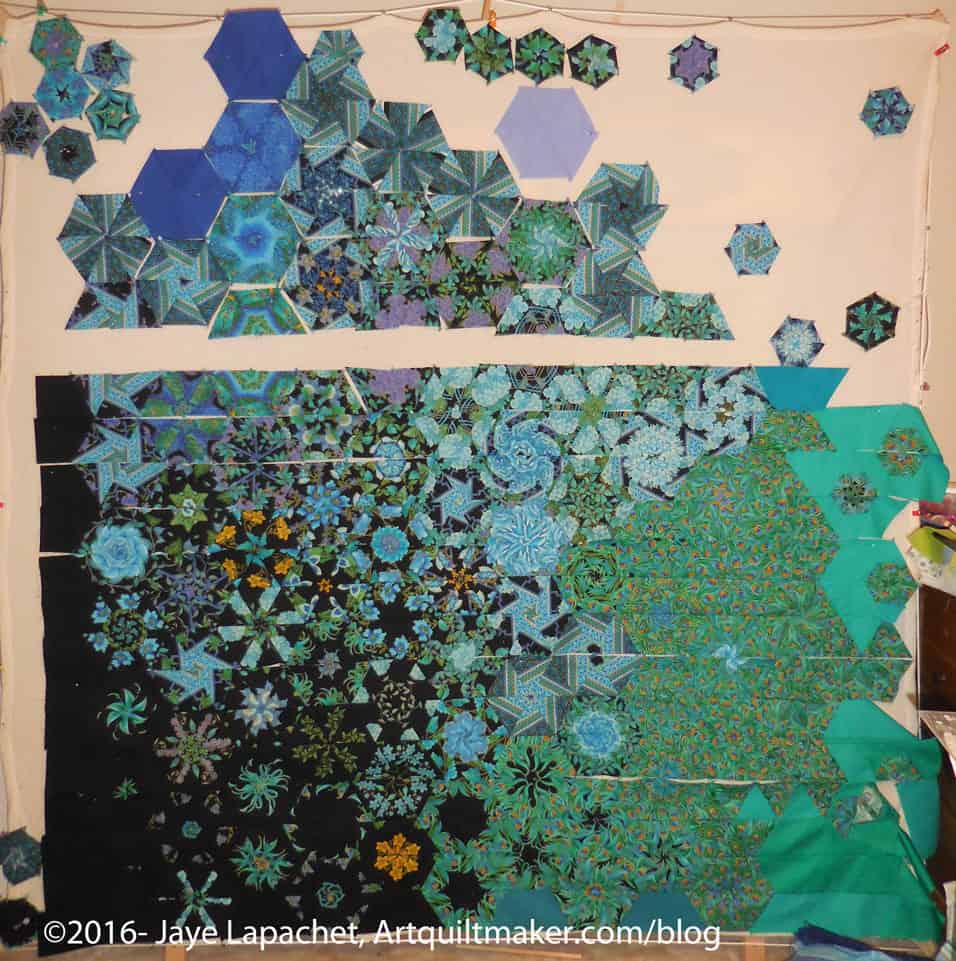
Push has really come to shove on this project. I have to decide how to arrange the solids in the upper right hand corner. I have some strips cut and some ideas percolating, but this is where my design and construction style can run into problems.

I think the blues I have on the right will have to move up and I will have to use one that is darker to blend the dark-medium green more to the blues higher up.

There is a very strong diagonal line made from the greens on the middle right. I may need to figure out a way to smudge it as it is quite prominent.

As you can see, on the left, I also made the dark small hexies. They are not placed in their final location, but they will be towards the bottom left when all is said and done. As I have said 500 times, I need a larger design wall. Although, I fear if I have a larger design wall, my quilts will become larger.

Lozenge Quilt

I have thought about the lozenge shape for awhile. The most recent instance of writing about it that I could find was last year when I wrote about seeing the shape crop up everywhere. I thought I had put it on my dream projects or future projects list, but I don’t see it there.

Anyway, I took the Mostly Manor Layer Cake that I bought with Julie and one of the Northcott white charm packs and got to work sewing the charm squares on to the Layer cake squares.

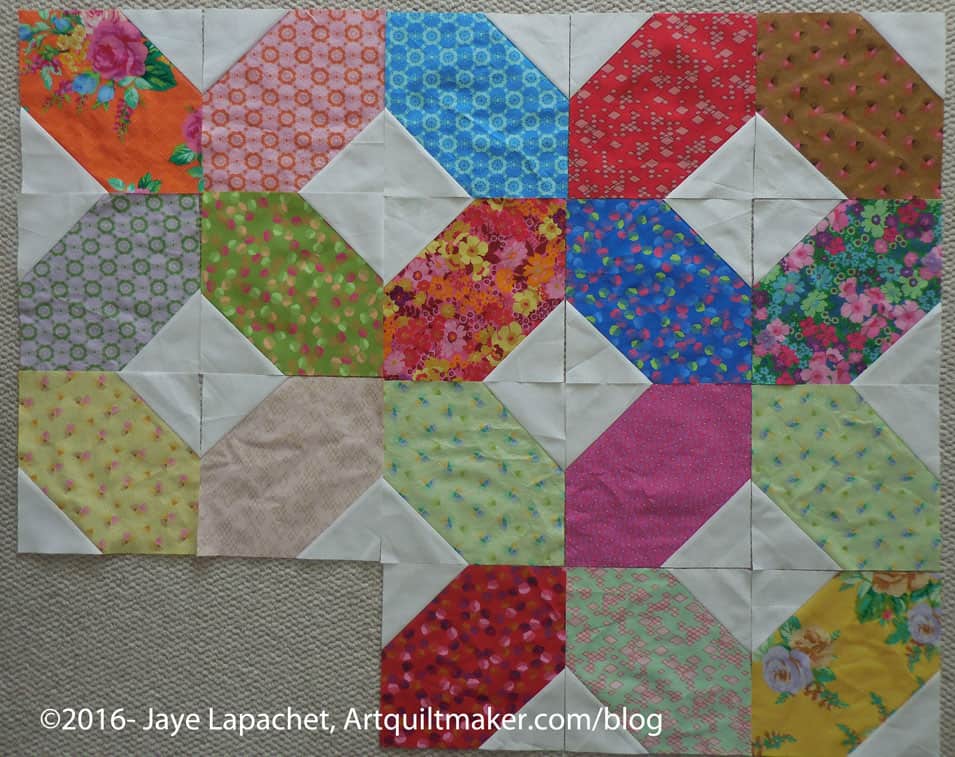
Lozenge quilt, first look

The work is easy and this is a leaders and enders project, but it is coming out ok. I hope I notice when it is finished.

I decided to split the lozenges in half on the diagonal and sew them back together with other fabric halves. I think it will be more interesting.

I am not a huge fan of the fabric. I think I mostly liked the large roses prints. Still, it should be a fun experiment. I’ll have to figure out what to do with it as I don’t need it laying around. I have a possible idea, but we will have to see.

More Bias Rectangles (HRTs) Resources

Last week, I wrote a post on HRTs. After writing it and concentrating, mostly, on tutorials, I thought of rulers. Yes, I mentioned the Tri-Recs ruler, but I thought there might be others. I am not sure why I didn’t think of it myself.

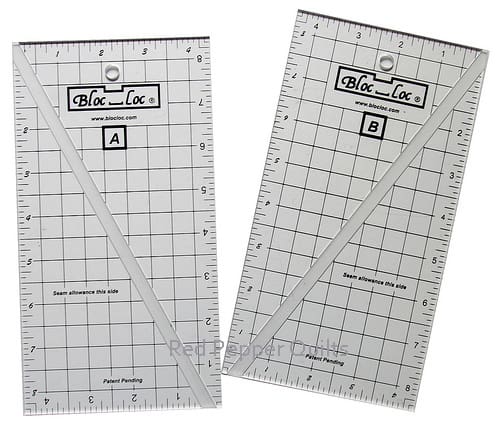
BlocLoc HRT ruler
BlocLoc HRT ruler

This idea got legs when one reader (Thanks, Libby!) told me that the BlocLoc ruler system has an HRT ruler. I saw them in an online shop and they look similar to the BiRangle, though different as well.

I am not familiar with this system of rulers, not because there is anything wrong with them. I haven’t used them, mostly because I don’t want to get sucked in to another type of ruler! I do want to support small quiltmaking businesses and I feel the urge to just try them all the time. It is hard since I am such a ruler lover.

Creative Grids HRT
Creative Grids HRT

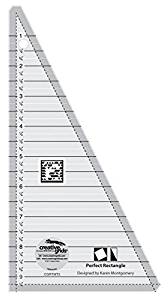
After finding the BlocLoc rulers I went searching for others. I found a Creative Grids triangle ruler** that will help you make HRTs in a variety of different sizes. It is similar in shape to the Tri Recs, but looks like you can make more sizes using it.

I think you could also make blocks with super skinny triangles like Storm at Sea or 54-40 or Fight.

This CG ruler is a little pricey – $18.95. Think of how many quilts you could make! 😉

Accuquilt-HRT die
Accuquilt-HRT die

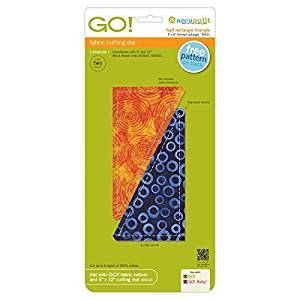
It also occurred to me that Accuquilt may have a die. They do. The die (#55411) cuts two skinny triangles in a 3 x 6 inch** size. You must have a Go! machine to use this die. It is compatible with the Studio, Big and Go! Baby, though you might have to use an adapter. This die is also included in the Accuquilt GO! Qube Mix & Match 12″ Block set**. The obvious drawback is that you get only one size.

I went to the Cotton Patch a few weeks ago and they had a whole Accuquilt Center in their store now! It made me want to swoon. If I only had unlimited funds and space! I suppose more time would be useful as well. 😉

Other Resources

  • Tutorial on using the Split Recs Ruler
  • Deb Tucker tutorial on using the Split Rects ruler
  • Bonnie Hunter’s list of HRT videos

Happy HRT making!


**I use affiliate links and may be paid for your purchase of an item when you click on an item link in my post. There is no additional cost to you for clicking or purchasing items I recommend. I appreciate your clicks and purchases as it helps support this blog.

Peacock Work Continues

I know I just wrote about my progress on The Peacock a few days ago, but I have made more progress and I am pretty excited. The progress feels kind of like a baby. The first few months of a baby’s life sees a lot of change in their looks. In this piece, each row seems to provide more personality.

The Peacock - Nov 2016
The Peacock – Nov 2016

I spent most of the day Sunday out, but since it is Standard Time and the day started early, I arrived home on the early side. The timing allowed me to spend a few hours sewing. I wasn’t expecting any sewing time and was very pleased. As I am getting towards the top, the piece really looks more and more like something.

I am not sure I am a huge fan of the green (feather) diagonal line, on the right towards the middle, that was formed when I pieced those rows. I am not, however, unpicking. I do like the trails the green solid has made and I am eager to get those sections on the design wall so I can finish working on the final width and layout.

I know I was pretty ambivalent after making the blocks for this piece. I am really interested in how the quilt top is turning out. It is taking a lot of time and work. However, the challenge is really working my brain.

More Peacock

Time does funny things to my head when I am sewing. I know I sewed A LOT over the weekend. Still, I felt like it wasn’t enough. Will there ever be enough time to sew? I don’t know.

The Peacock, end of October 2016

During all that time, I worked, mostly, on the Peacock. I now have 10 rows sewn together in some fashion or another. I have them mostly sewn together in groups of four rows. They will all be sewn together eventually, but I am just doing this much for now.

I also started to sew some bits of the upper rows together, but nothing major is done up there. I have to get serious about the solids and see what I can make for the background in the upper right hand corner.

Peacock Details

The Peacock "border" details
The Peacock “border” details

As I mentioned the other day, I was able to piece in some of the small blocks.

It isn’t a very linear or straightforward process and there is a lot of fiddling that goes on.

One issue I am having is with measurements. I know each row is 3.5″ wide, so I have cut solids + seam allowance to make up that size with the small blocks. I still run short and have to add other pieces of fabric. I do like the texture the added seams give the piece. However, it is still annoying. I can’t figure out what I am doing wrong.

The Peacock "border" detail
The Peacock “border” detail

I didn’t put a small block on the end of the bottom (first) row and am kind of regretting that. I have a lot of small blocks I want to use and may need to go back and add one. However, the top right hand corner background area is pretty blank and may need some mall blocks there to lighten it up.

You can see the not all of the row ends are sewn on the right side. I am leaving the design open to add more small blocks. I didn’t do that on the left and may need to add some additional yardage to the ends. We’ll see. It may be that I concentrate the small blocks on the top and right.

I am adding different colored solids that kind of match the colors of the print fabrics on the edges and to fill in the background. I bought some solids from the line of fabric, but I have others that go with the fabrics as well. the shiny green solid you see above is one of the first fabrics I bought when I made my first quilt. I have been keeping it all this time and I think it is the right color for this piece.

I bought a lot of black with the intention of using black for the entire background. While I need to drape a piece of black up on the right-top, I decided that it will probably make the quilt too depressing. I am also thinking of using a variety of solids.

The dark blues at the top are ok, but the lavender might be too light.

The Peacock - in process, October 2016
The Peacock – in process, October 2016

More on the Peacock

The Peacock in process - October 2016
The Peacock in process – October 2016

I spent some time on Saturday night and most of the day Sunday trying to make progress on The Peacock. I now have four rows sewn together in a chunk. A fifth is the start of a new chunk.

The piecing is very labor intensive, though not as labor intensive as Y seams. The good part is that I have to put a leader/ender piece between each Peacock seam under the machine. This will equal a lot of additional blocks or, perhaps, a quilt top.

I started to put the small blocks into the ends of some of the rows. That piecing is fiddly and I haven’t gotten all the measurements figured out. Still, I am pleased that I have been able to incorporate those small blocks into the border as I piece. I have more to piece in and have to figure out how to do that.

Stepping Stones Progress

I spent some time over the weekend working on the Stepping Stones. I am ready to just piece without thinking. It never seems to work out, though. I always have to do some deciding or planning or math.

This past weekend required all three. As you might remember from my last update, I had some HSTs to make and was putting it off. I finally made them when I needed some easy piecing. I made a bunch so I would have some choice when I made a few more blocks to complete the top. After I made the HSTs and completed the leftover partial block, the question of the border came to mind.

Stepping Stones Revised

I sat down to look at the EQ plan I had and found that I hadn’t completed it. I wasn’t 100% happy with the border I designed for the original Stepping Stones quilt. It is in no way terrible, but I wanted to finish off the groups of squares (red 4 patches set in groups of four, above).

Stepping Stones, EQ version

I played around with EQ and came up with a new design. I am not sure it is the final for a couple of reasons:

  1. I don’t know that the groups of red 4 patches in the corners add anything
  2. I am not sure about the blue/green HSTs in the very corner. They add a little something, like breaking up a series of squares, but they don’t have any reference anywhere else in the quilt.
Stepping Stones #2 Border Trial

I am absolutely sure that I am happy with the red points that go into the border to finish off the scrappy lines of red that are made of HSTs throughout the quilt.

I want to get the border settled so I can start putting the whole top together via chunking. For chunking, I need to start in one of the corners.

Last of the Flying Geese

Last Batch of Flying Geese

I took a photo of the last few Flying Geese I made before I went on vacation.

This is a cheerful bunch and I am pleased with them.

My next step is to make a block, per my design, and see if it works. The Round and Round pattern is a genius way to use the Friendship Star and I really like the pattern. Combining it with the Flying Geese will be an interesting challenge.

The Peacock Progresses

During the past little while, I have been flinging curses at the Peacock as it sits on my design wall, taking up space and glaring smugly at me.

No more.

Peacock on Sunday
Peacock on Sunday

I made two cuts on Sunday and was off. With those two rotary cut strips, everything changed. Finishing the piecing actually became possible…. no probable. I only had time for a little work on it, but the piece progresses. I am snatching bits of time where I can and making some progress. It is amazing how something can change so quickly. I do think that, more importantly, my attitude about the project changed.

First, I had along rest with absolutely no sewing. The closest I came was visiting a craft shop that carried quilt fabrics and magazines.

Next, solving the problem of squaring up the piece began to rumble around in the back of my mind until I had a solution I wanted to try. Two cuts and I realized that what I wanted to do would work and it was actually a reasonable idea.

The idea was to cut 3.5″ strips (same width as half one of the blocks), cut a 60 degree angle on one side and sew it to the edge blocks. These short strips work. The black, with which I have started, blends nicely in with the very darkest blocks.

Peacock: More background added

Third, I started to move the blocks around after taking some photos. Some of the blocks looked out of place in the photos. Moving them make the piece come together better.

In the photo, right, I have moved some of the solids around to try and blend the background a little better. I haven’t tried super hard yet and I know I won’t be able to blend as well as I do with the Fabric of the Year quilts, but I want to give the impression of a bit of blending going on. That I immediately started to blend the blocks into an Impressionist look tells me I have much more color blending in my future.

Peacock: Exchanging Black for Green

Most importantly, I have changed out the black on the bottom and used green (see arrows at the bottom). The black was too jarring near some blocks that had no black. The green isn’t a perfect match to those feather blocks, but it is the green I used in the other feather blocks.

I am also trying out some of the blues at the top, but I am thinking they may be too dark and I might try some light blue. I have a stack of solids I can try. I just haven’t tried very hard to find the right one yet.

I plan to have a sort of irregular line of blocks, as the quilt looks now, though the background will make the quilt square. There are still some unknowns. I don’t know what the quilt will look like exactly. I am not sure how I will make the small blocks float around the edges as you see them now. I will let it mull in the back of my mind and see what comes up.