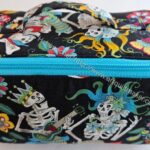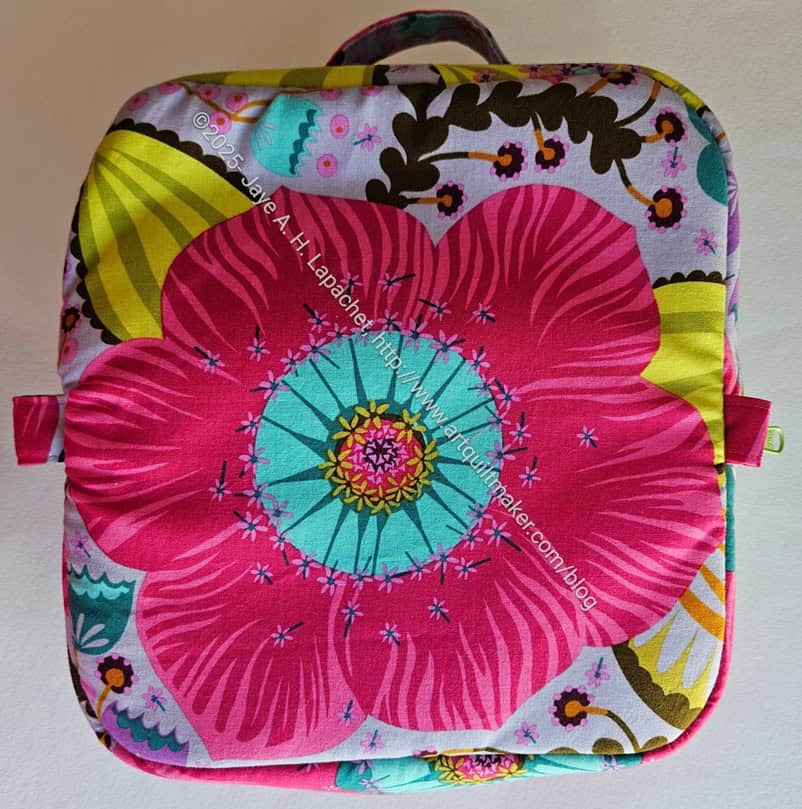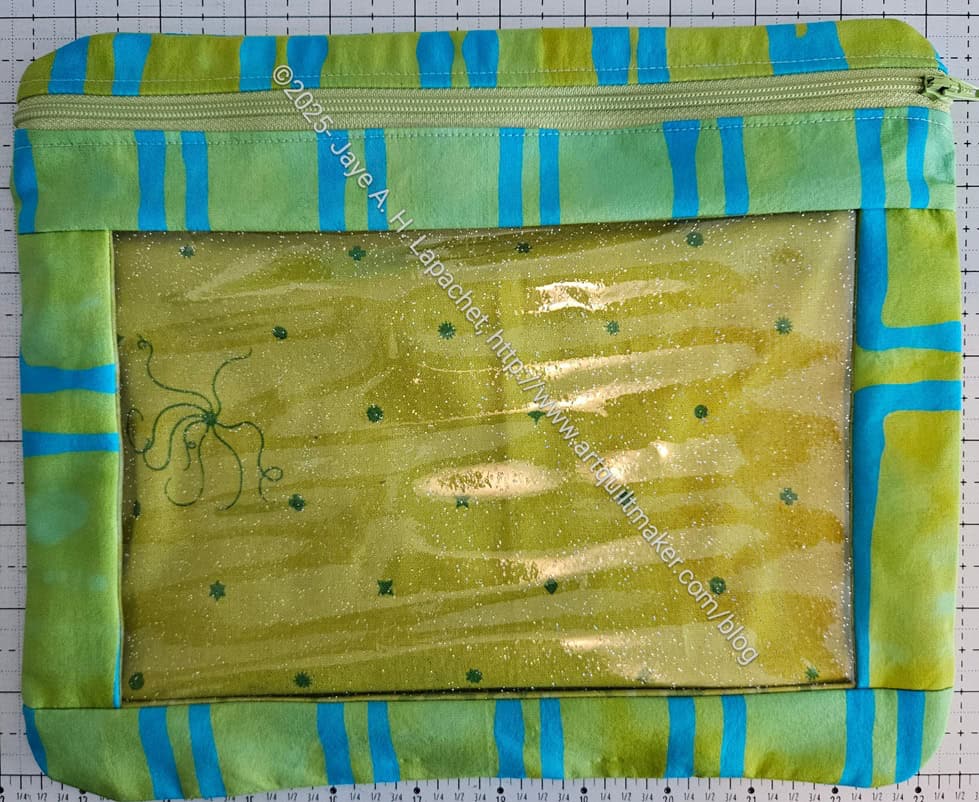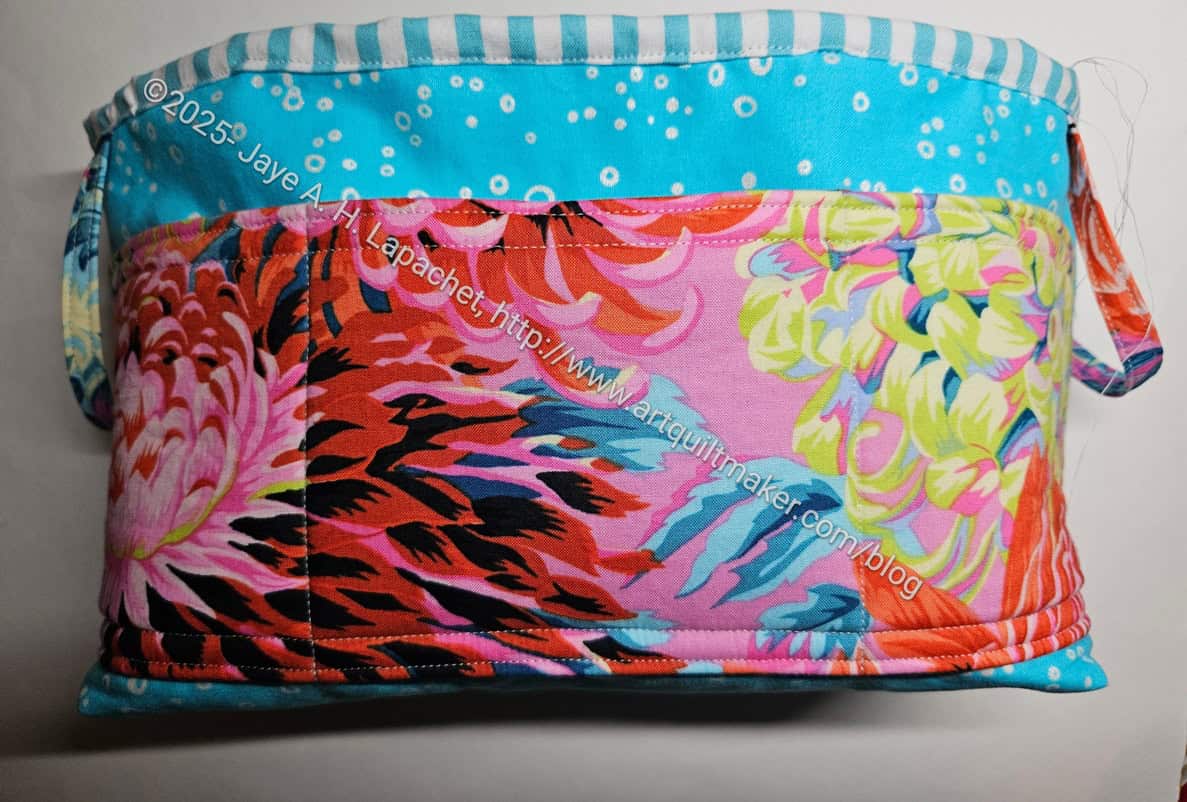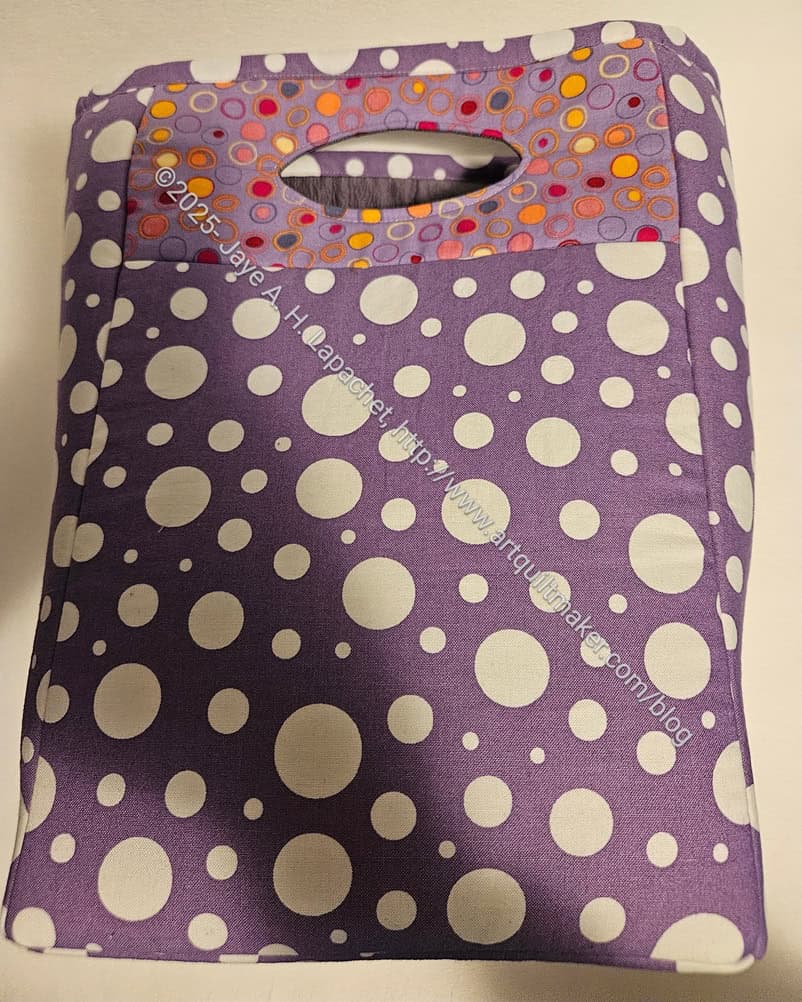
I forgot to post about the lunch bag I made for Friend Julie for Christmas. This was a project from Minikins Season 1. Season 1 includes the I Spy pouch pattern, which is one of my favorites. The Cotton Candy pouch is another of which I have made several. I knew that I had this pattern when I decided to make her a lunch bag.
I noticed that she was carrying her lunch around in a plastic bag. There is nothing wrong with plastic bags, especially with messy food. I thought it was odd. I thought I would try this pattern and hope it was a useful bag.
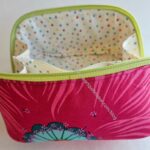
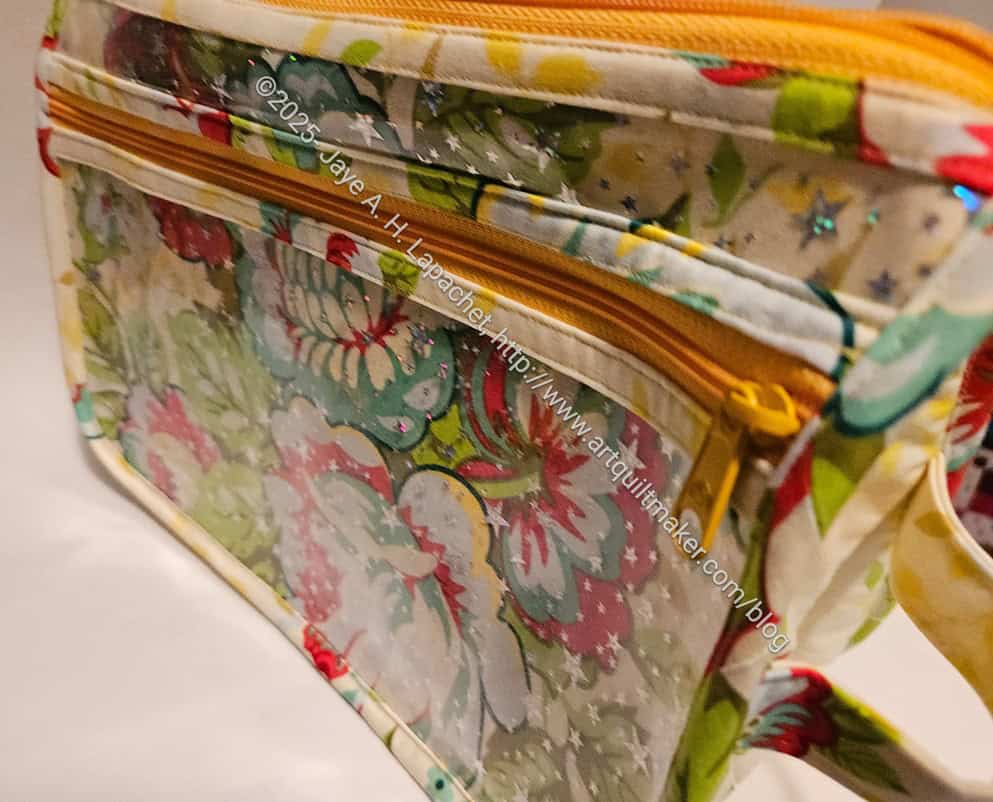
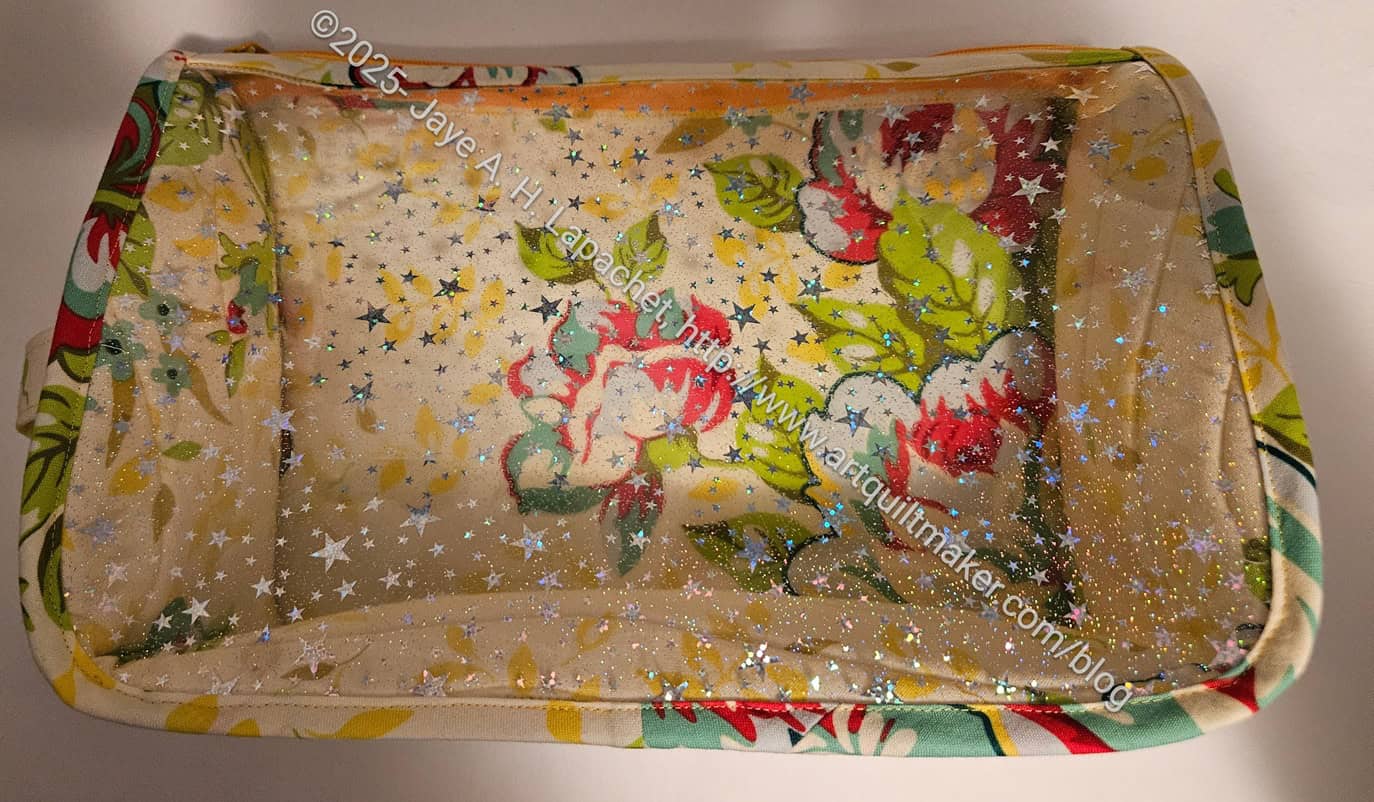
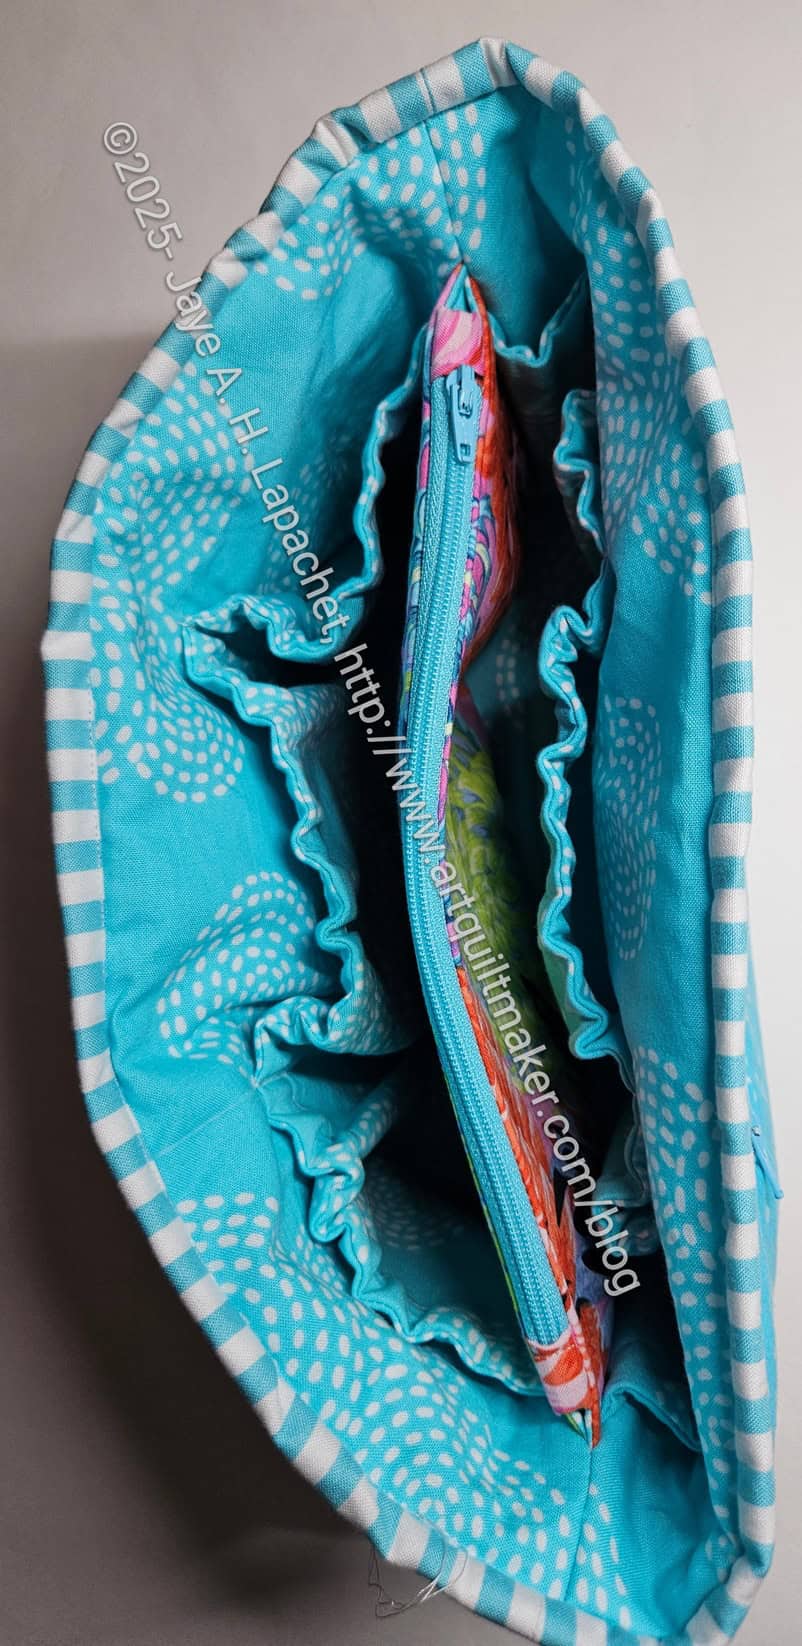
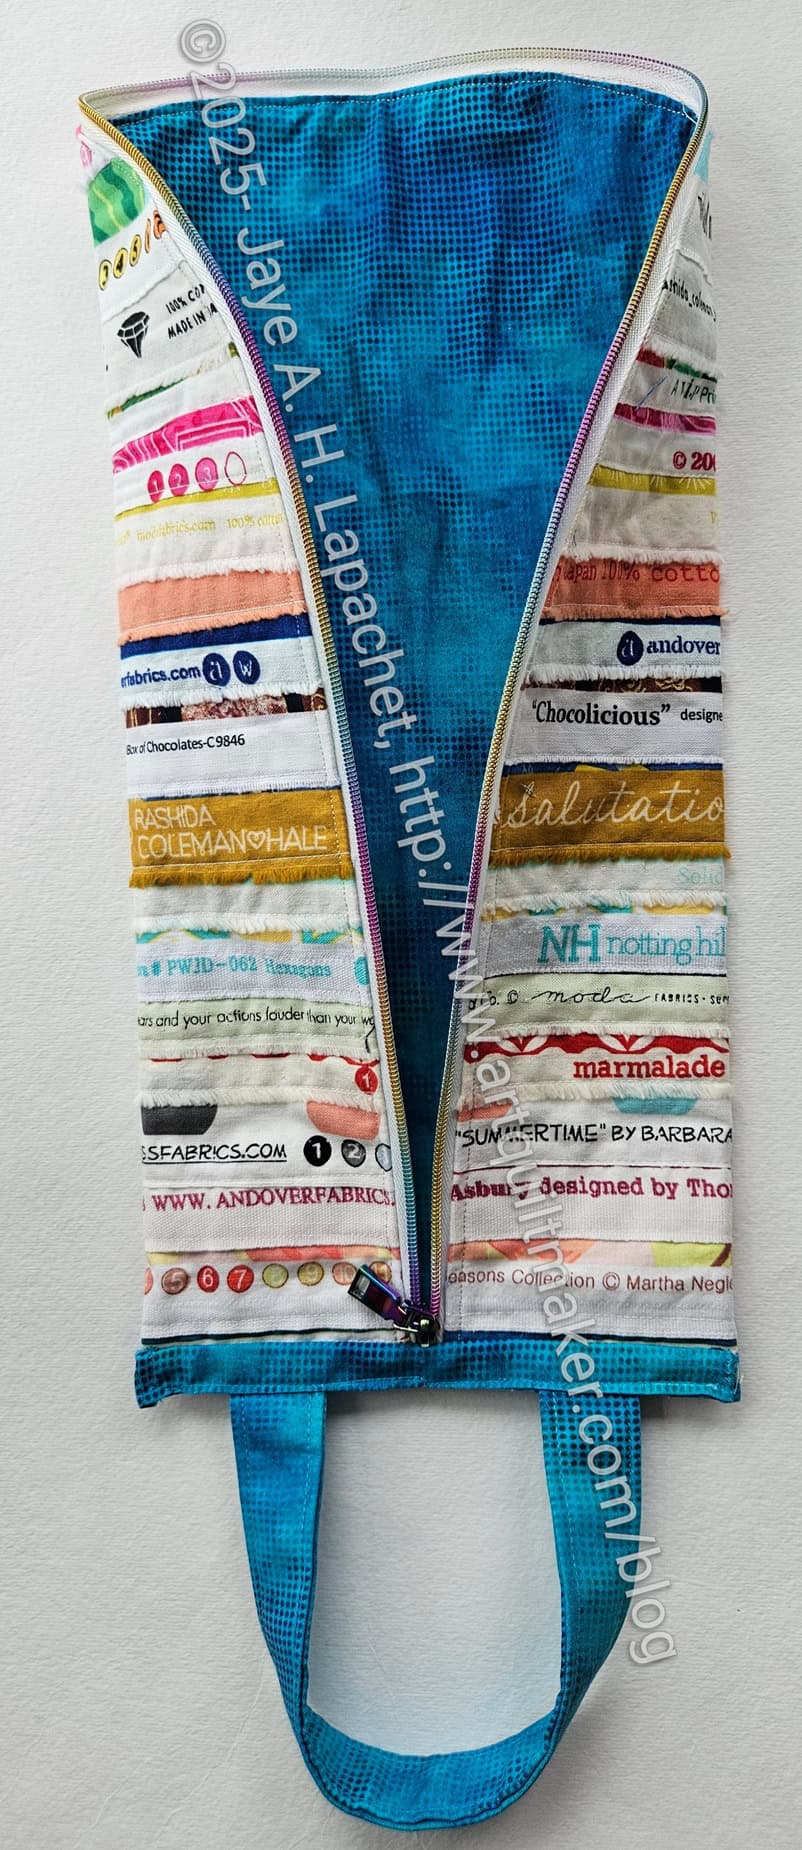
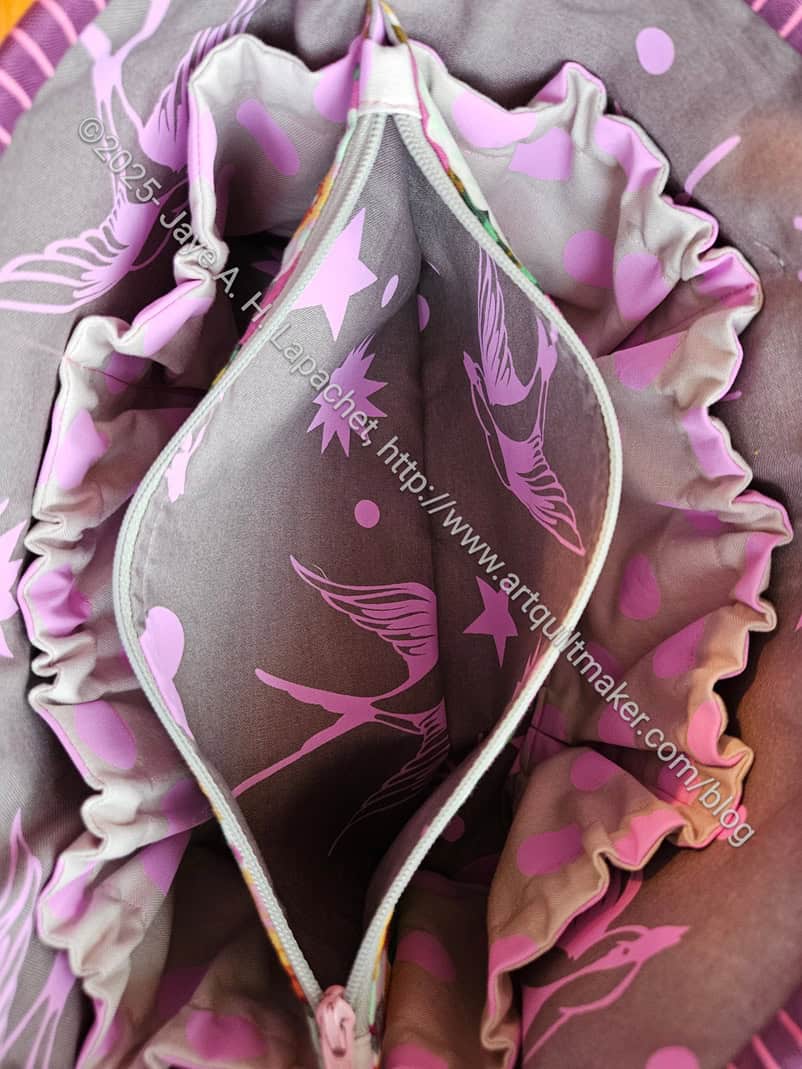
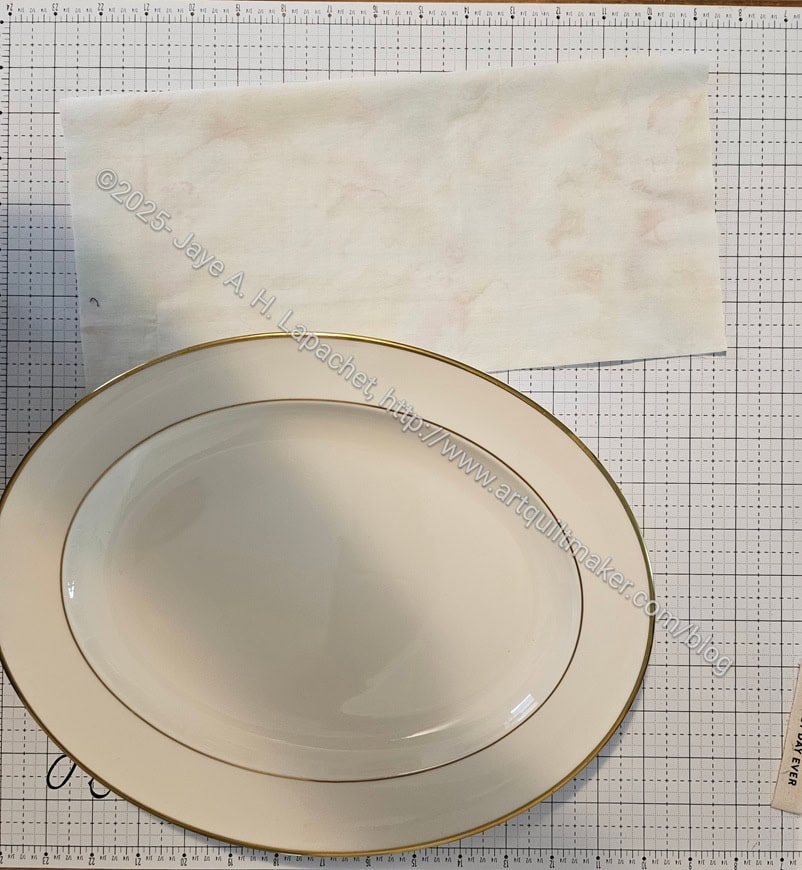
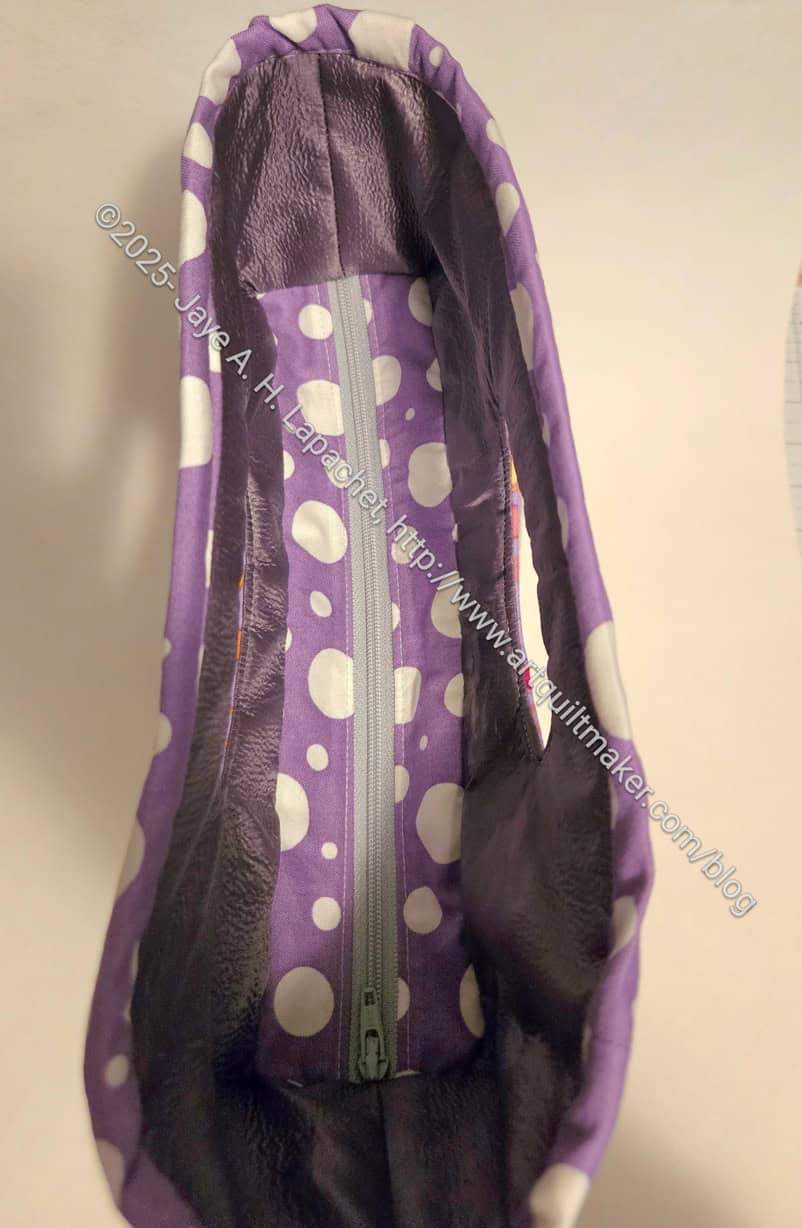
The first thing I did was get some ripstop nylon in order to make the inside sort of water resistant. I was inspired by Lynette using it for her Oxbow. Hers came out flat and beautiful. Mine came out bubbly and lumpy despite using Lynette’s tips. I have a feeling the ripstop I used was lesser quality than what Lynette used.
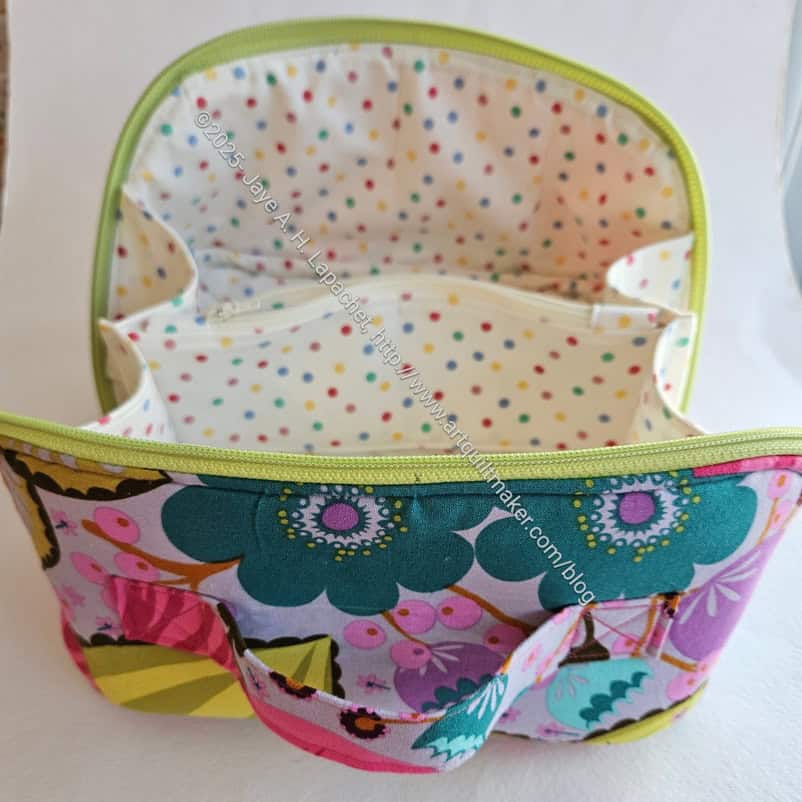
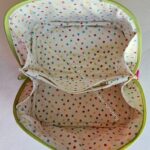
The pattern had no interior pockets. I guess a person just tosses all their lunch items in and pockets aren’t really needed.I keep thinking of regular bags and pockets are always useful.
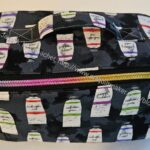
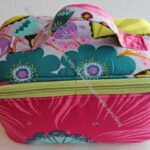
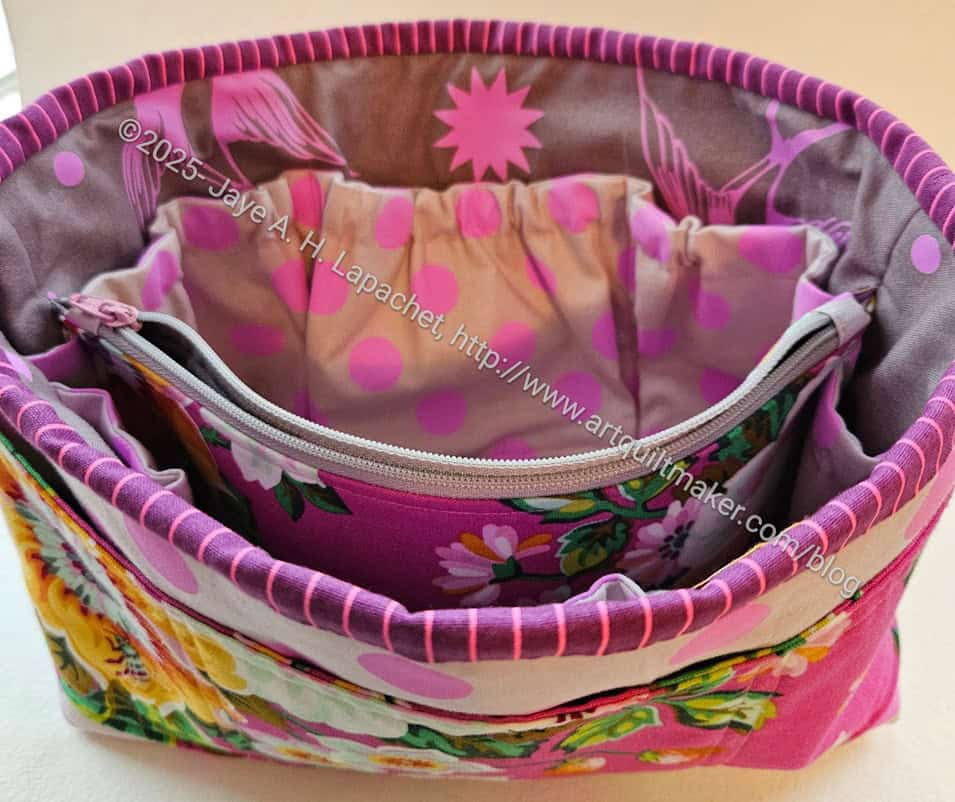
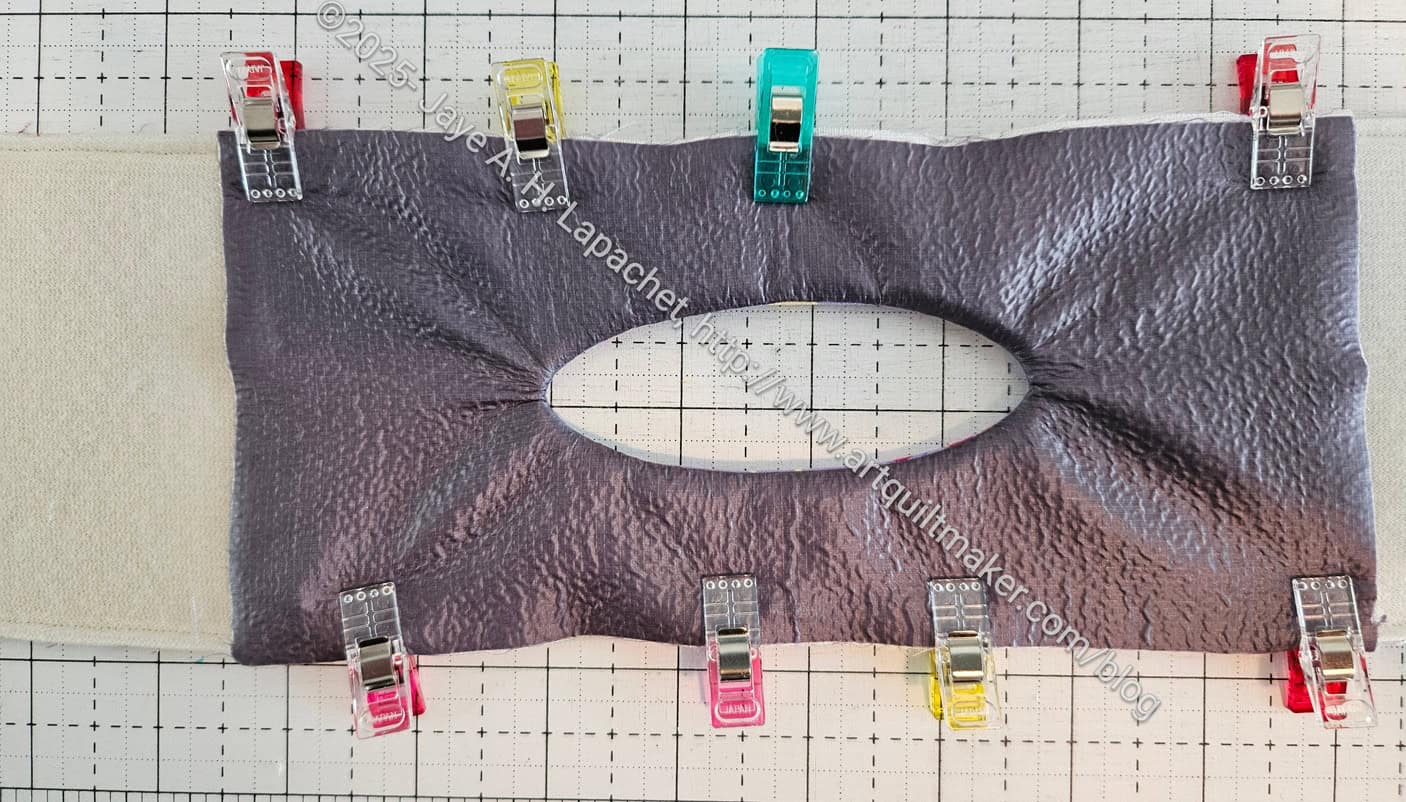
I decided, based on my lunch bag, that I needed to include an ice pack. I added a mesh pocket for an ice pack. I thought a mesh pocket would better for something that might sweat. I included an ice pack (not shown) before I wrapped the gift.
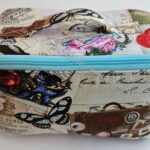
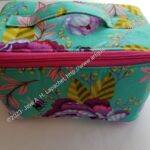
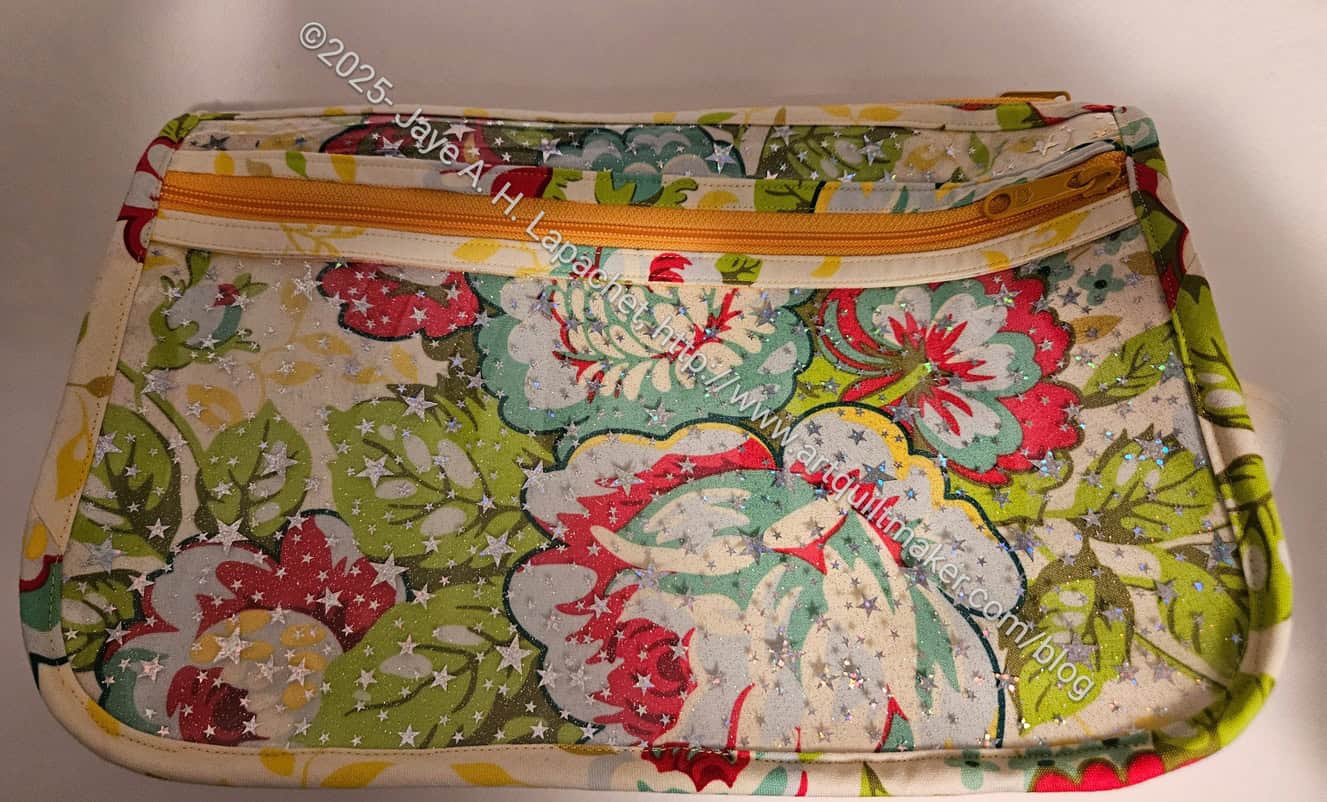
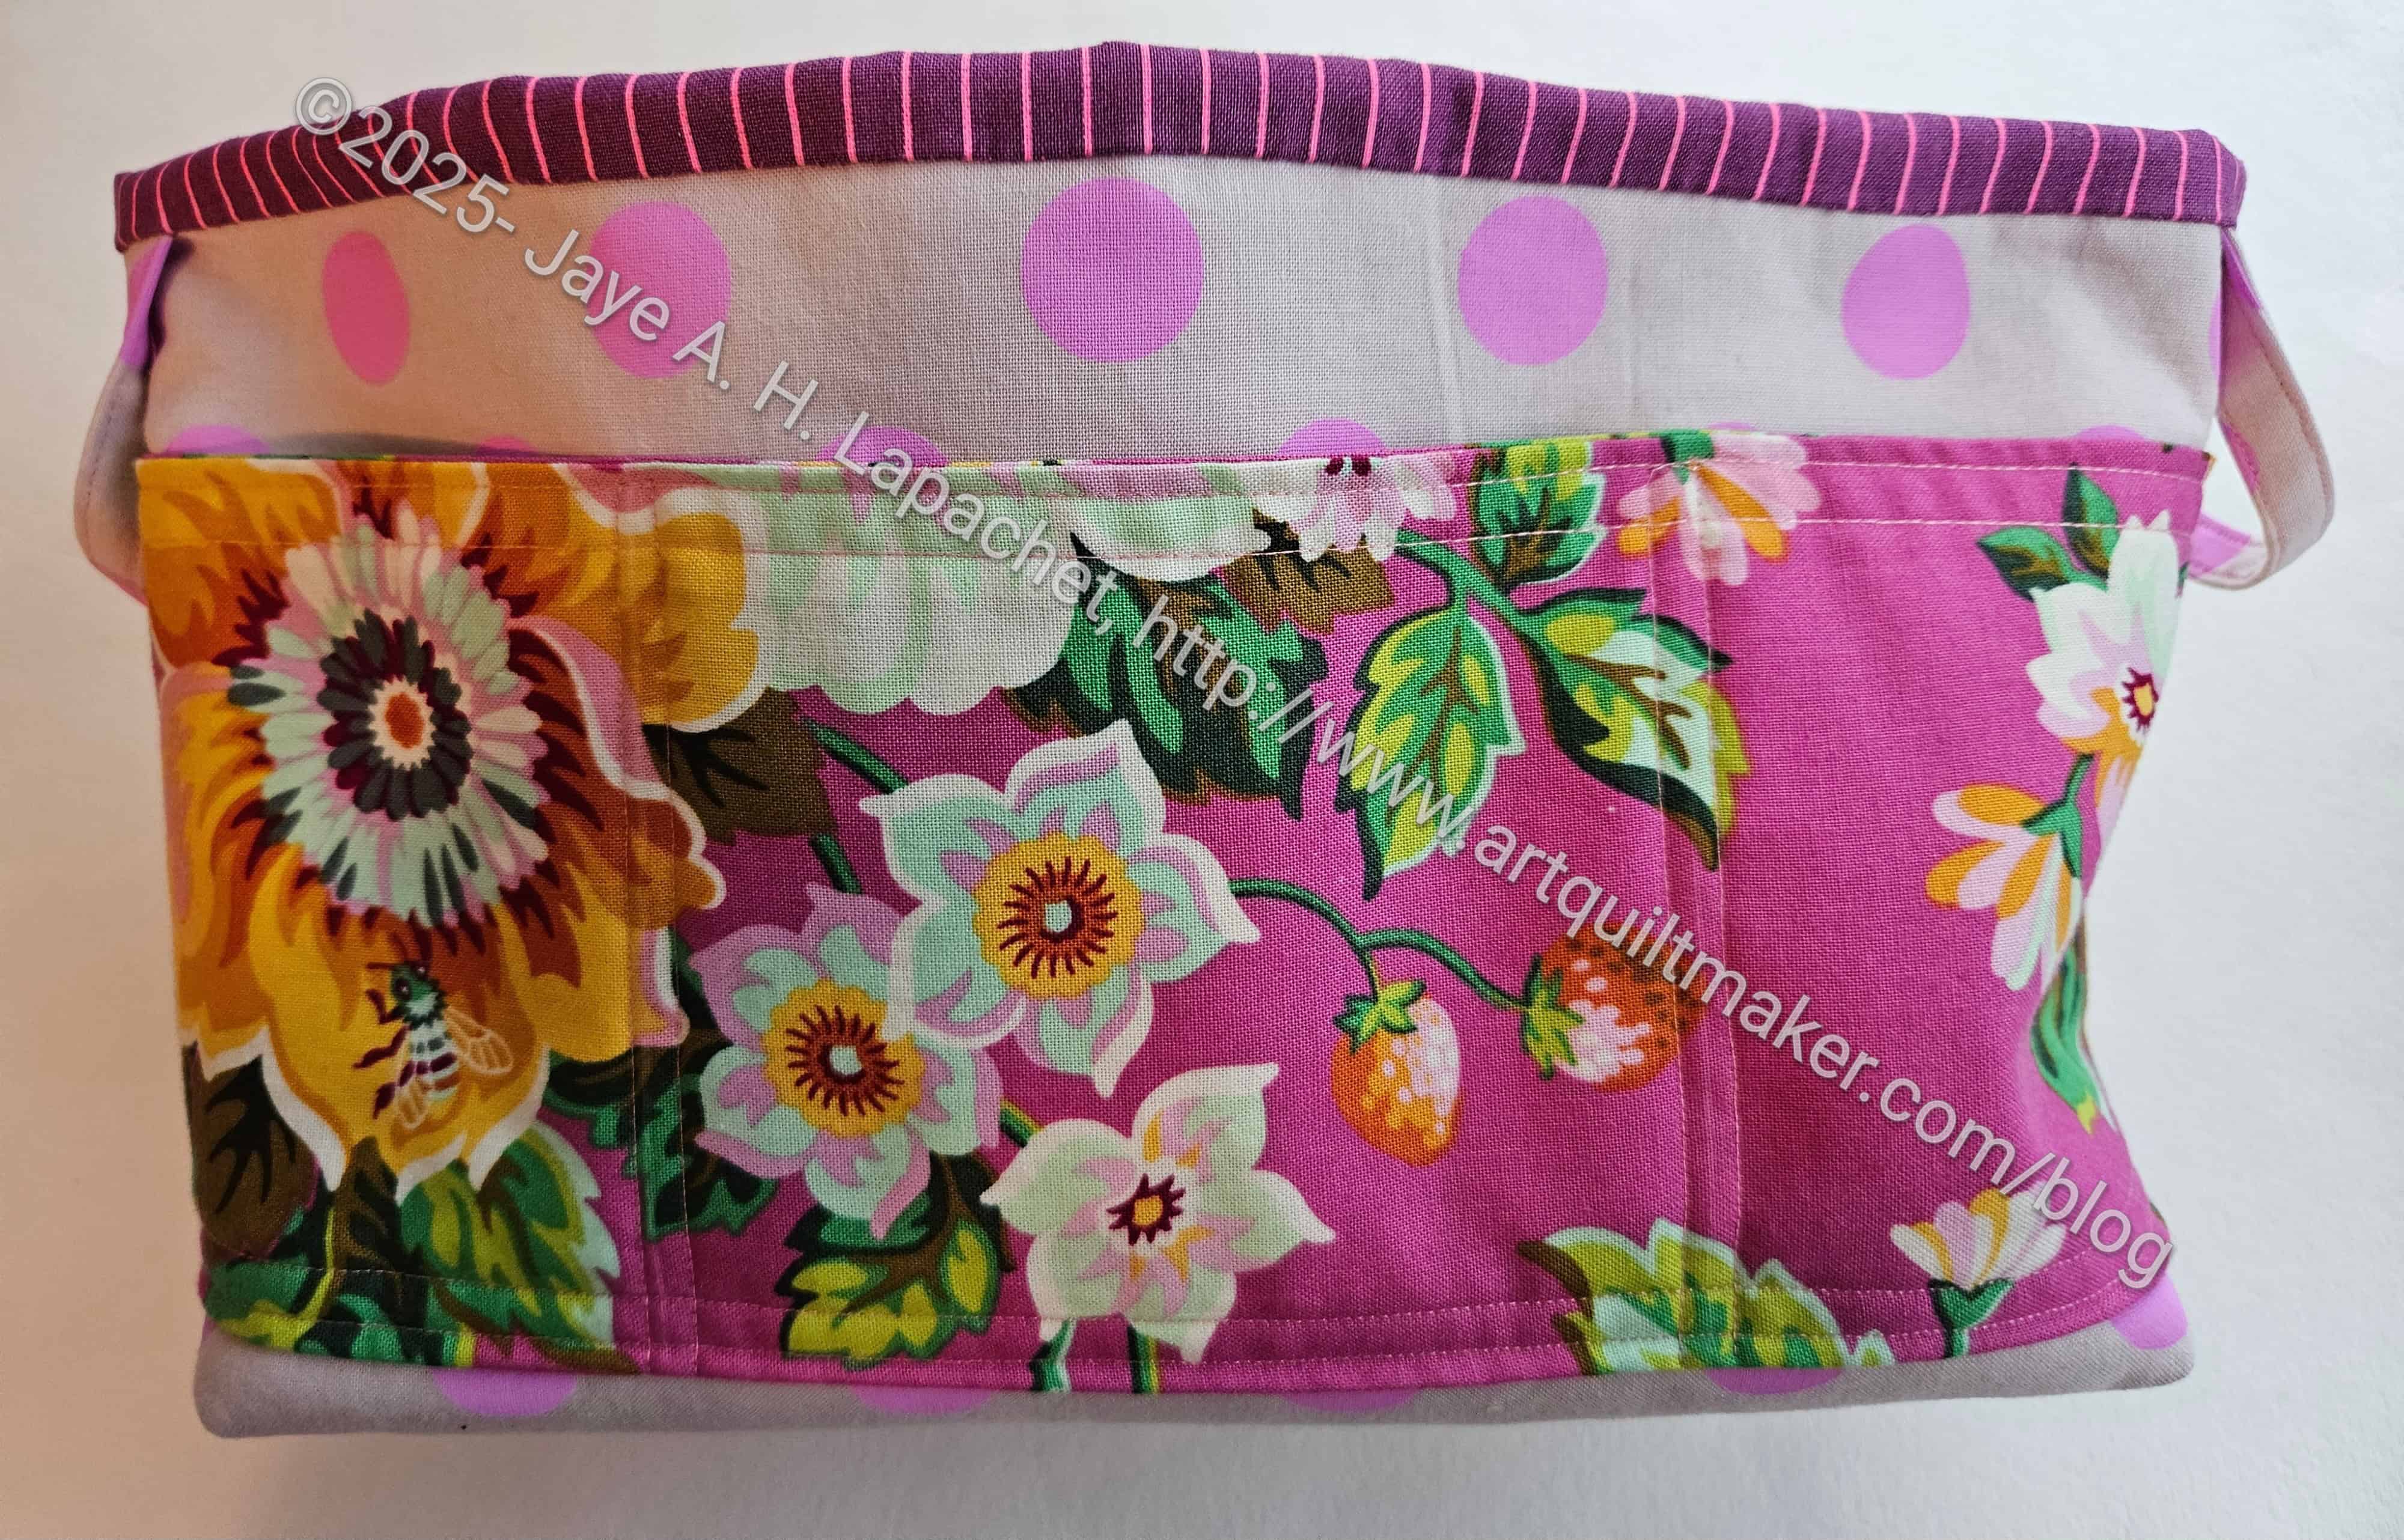
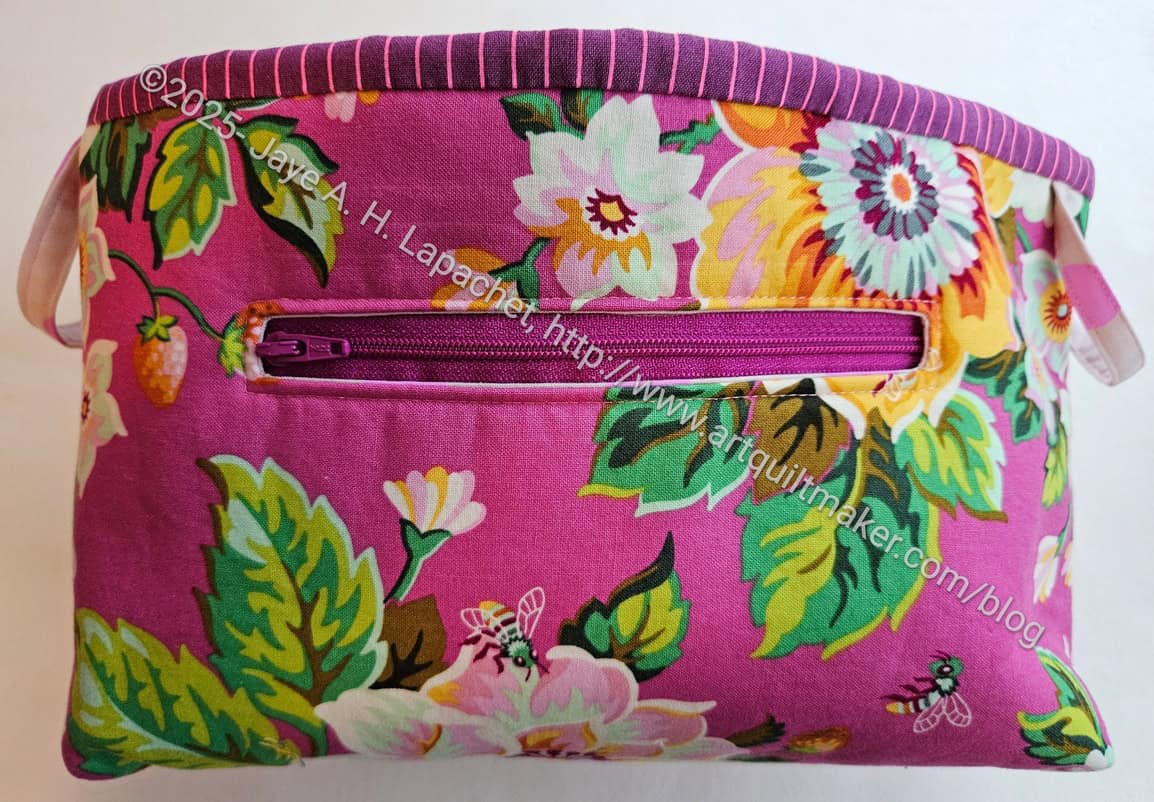
The bag is on the small side, so no 5 person picnics.
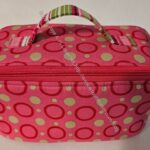
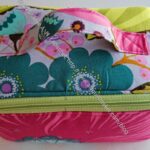
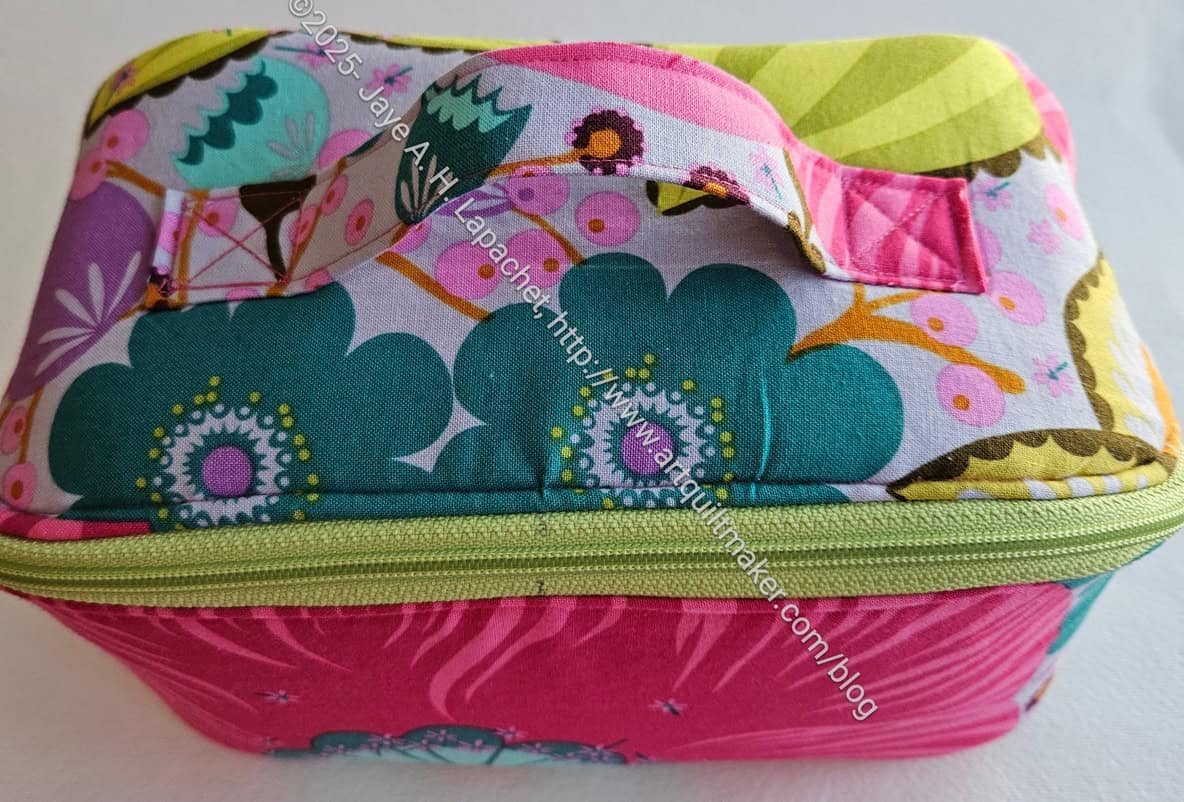
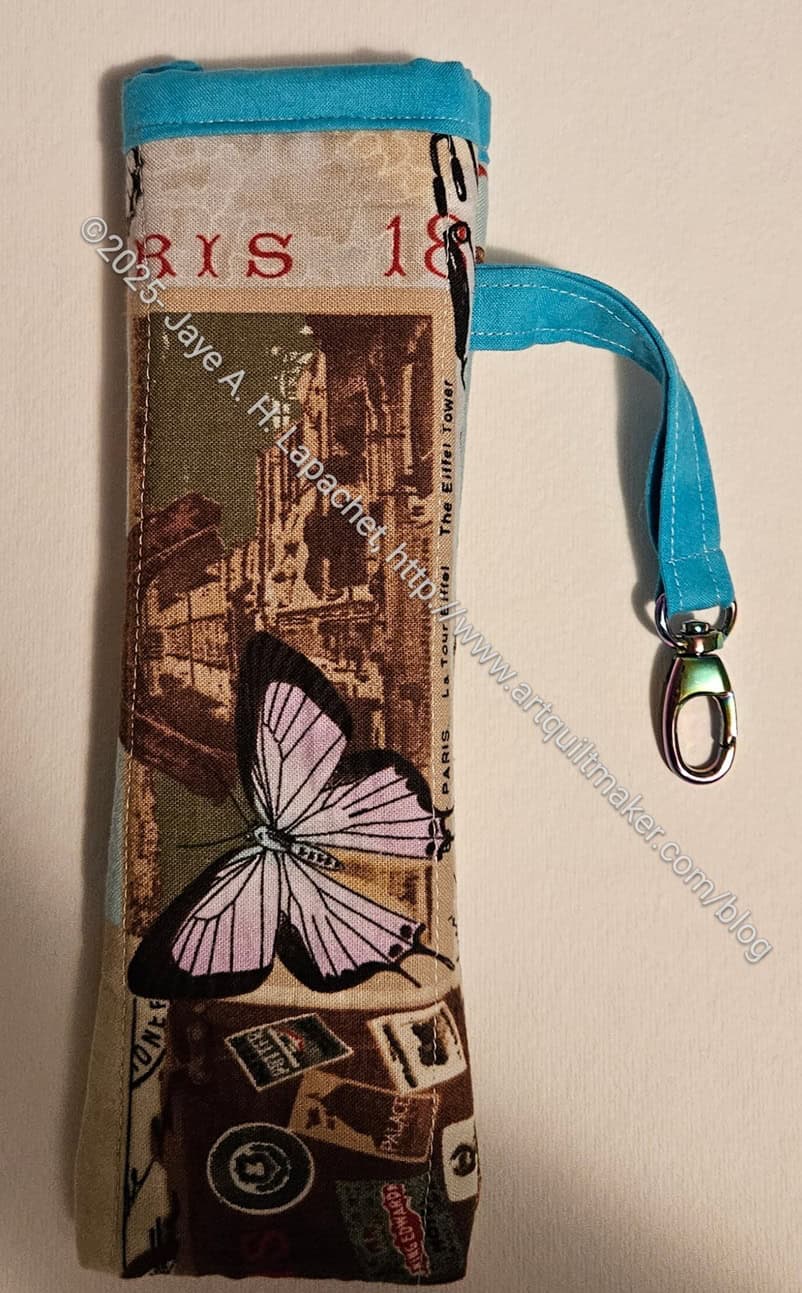
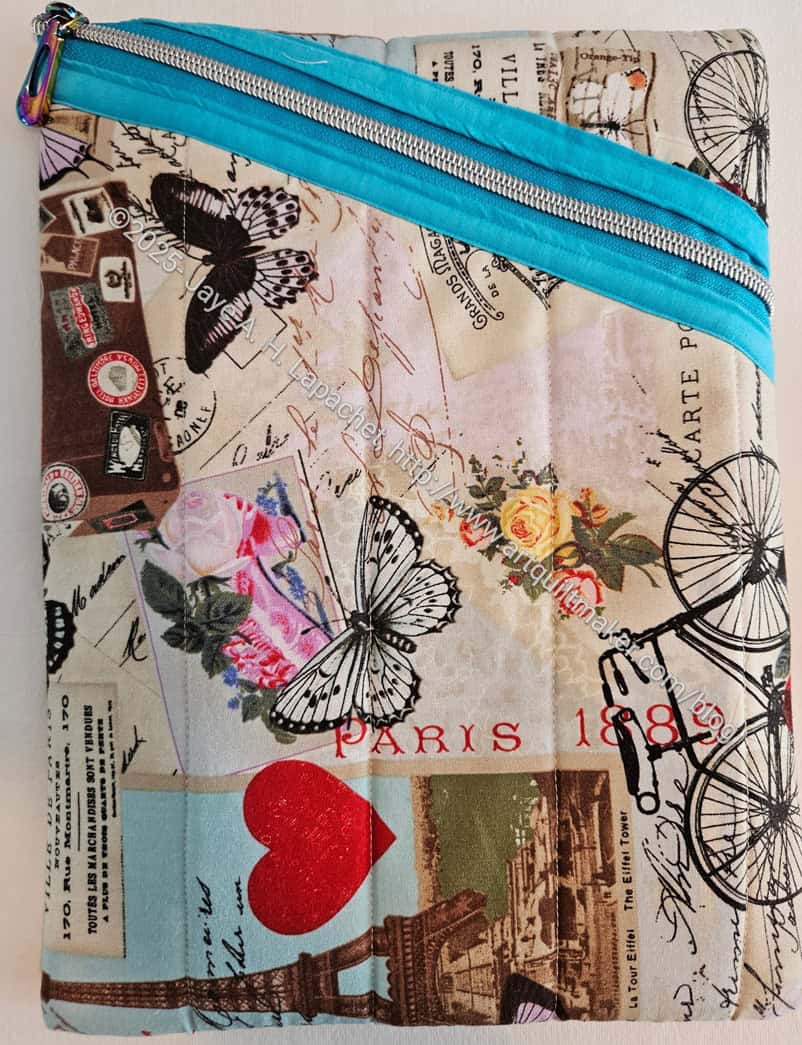
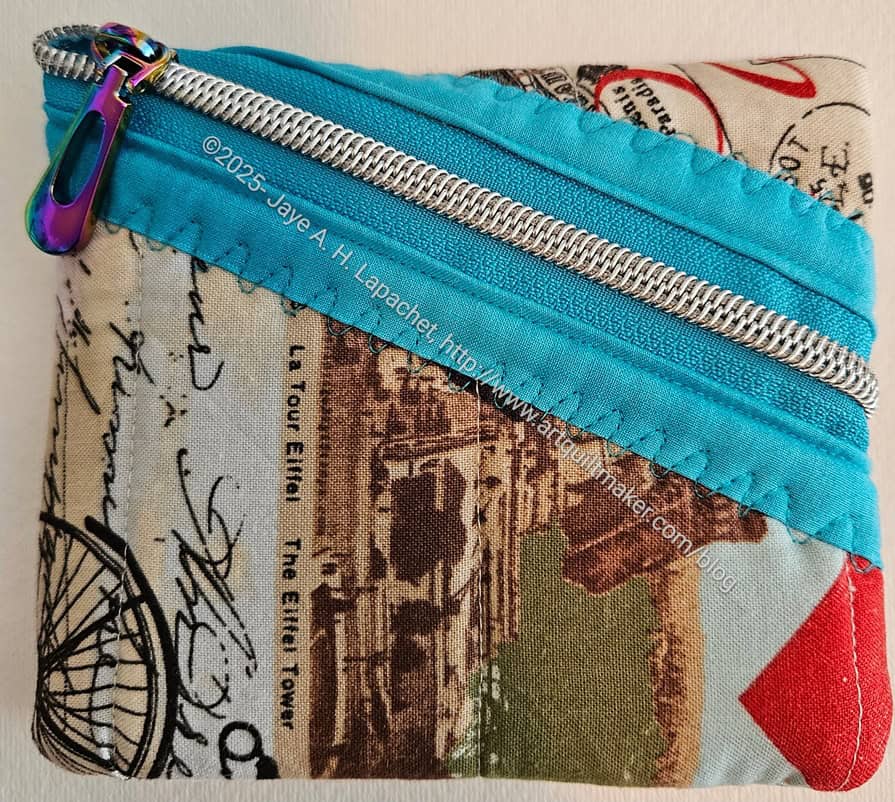
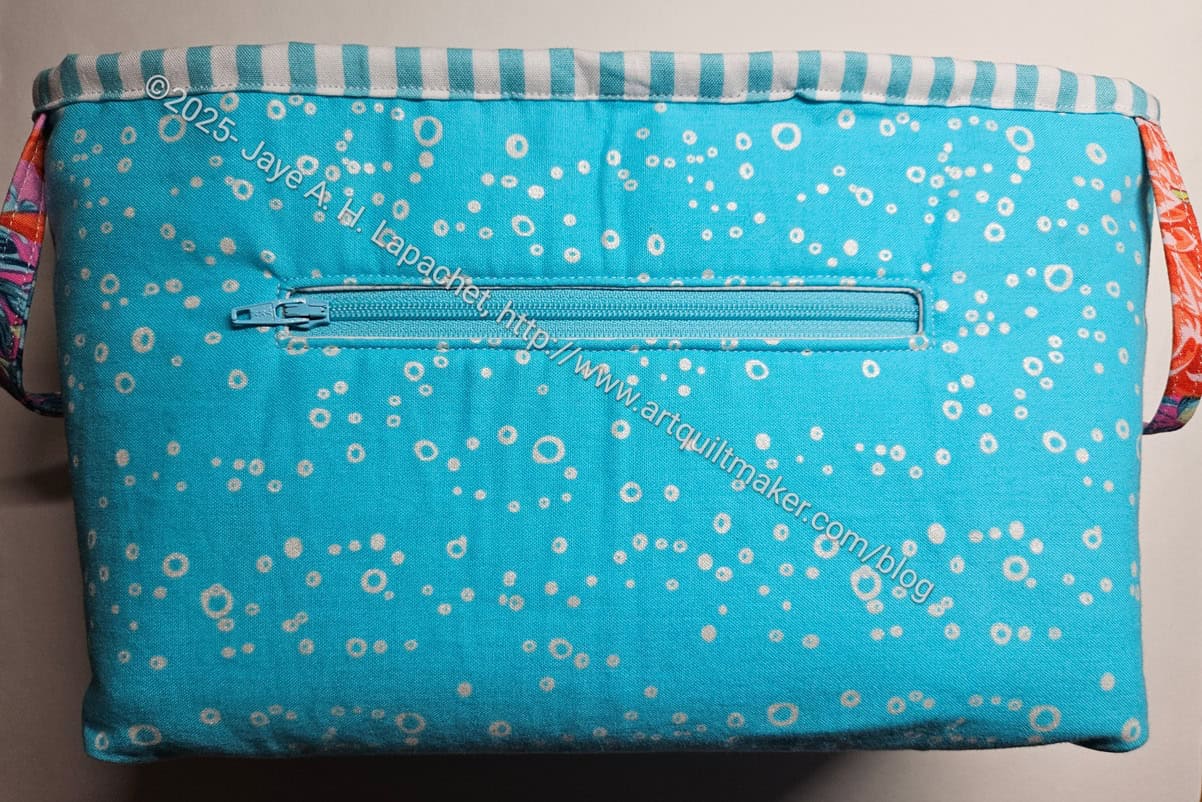
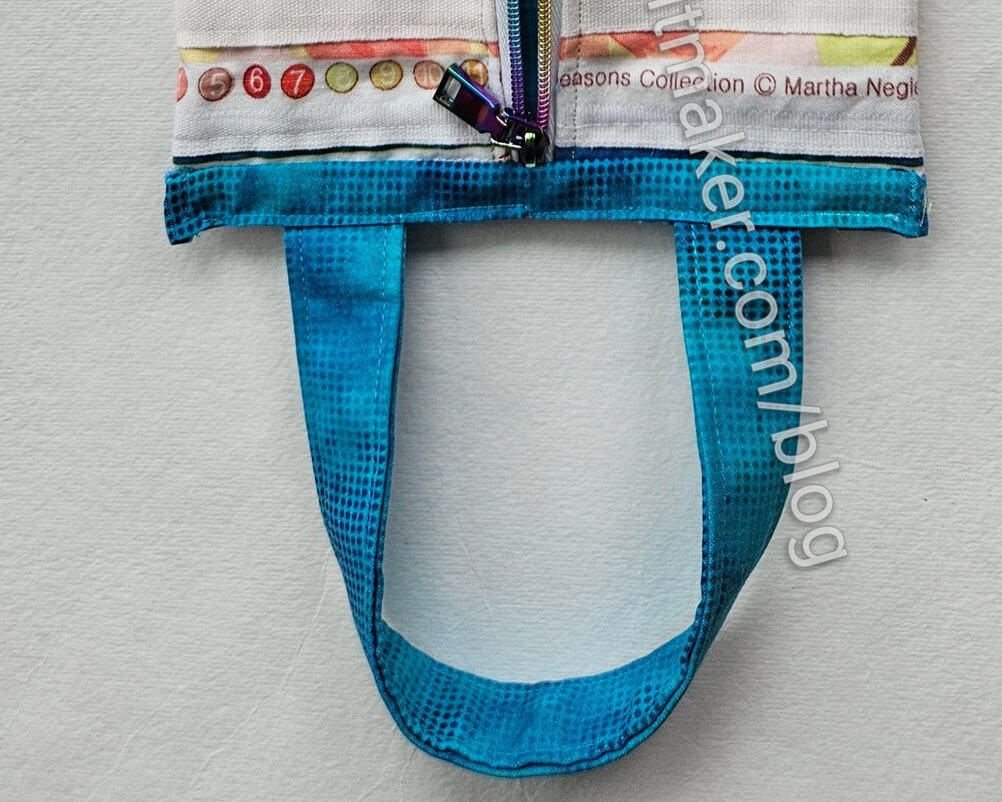
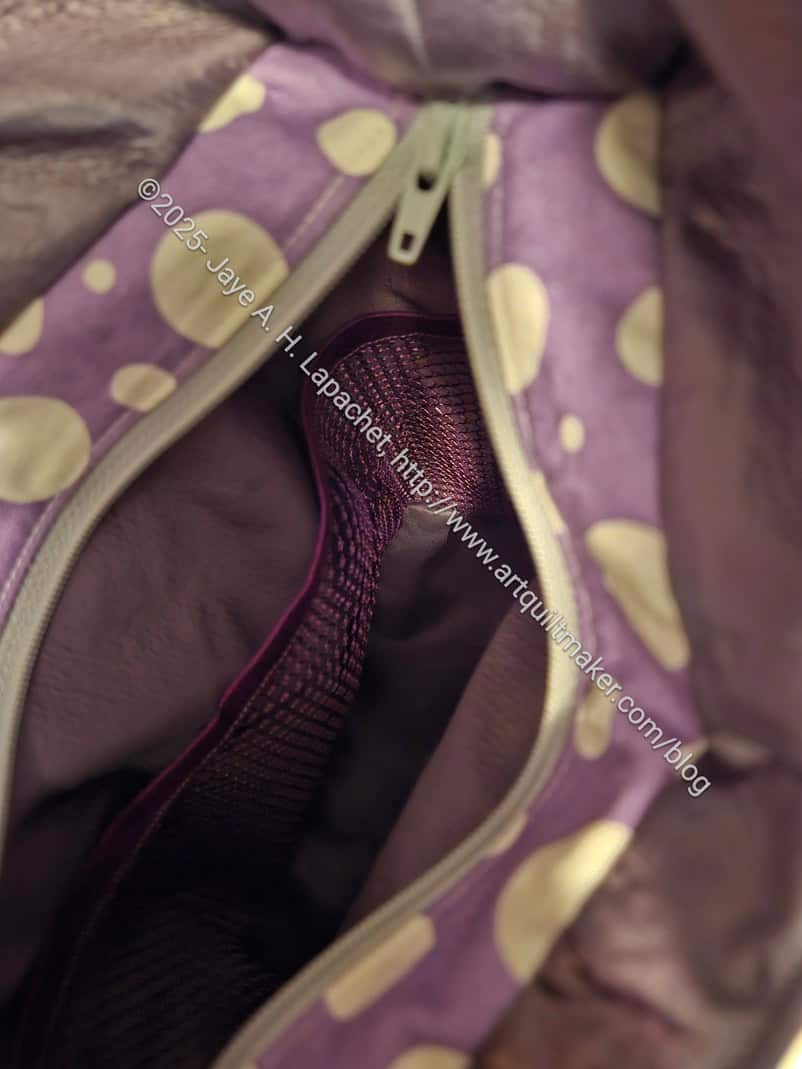
The top has a recessed zipper, so the contents are out of the way of the handles. It might have been useful to include a shoulder strap, but I didn’t think of it.
In general, I am pretty happy with how this bag came out. Julie has brought it to a couple of Sew Days and that is really nice to see. I am definitely happy that I was able to use another Minikins pattern.