I finished the Ultimate Project Bag! After 5 years, I finished it. I am annoyed, because this was not a difficult project. It may have been more difficult 5 years ago, but my skills have improved tremendously since then. I was also swayed by the other members of the club saying that it was such a difficult project.
I am pretty happy, not only to have it finished, but also with how it came out. I have some ideas for changes, (of course!), if I make this again. I should make it again just to remind myself that it isn’t a very difficult project. It could be very useful for toting around bag projects in process!
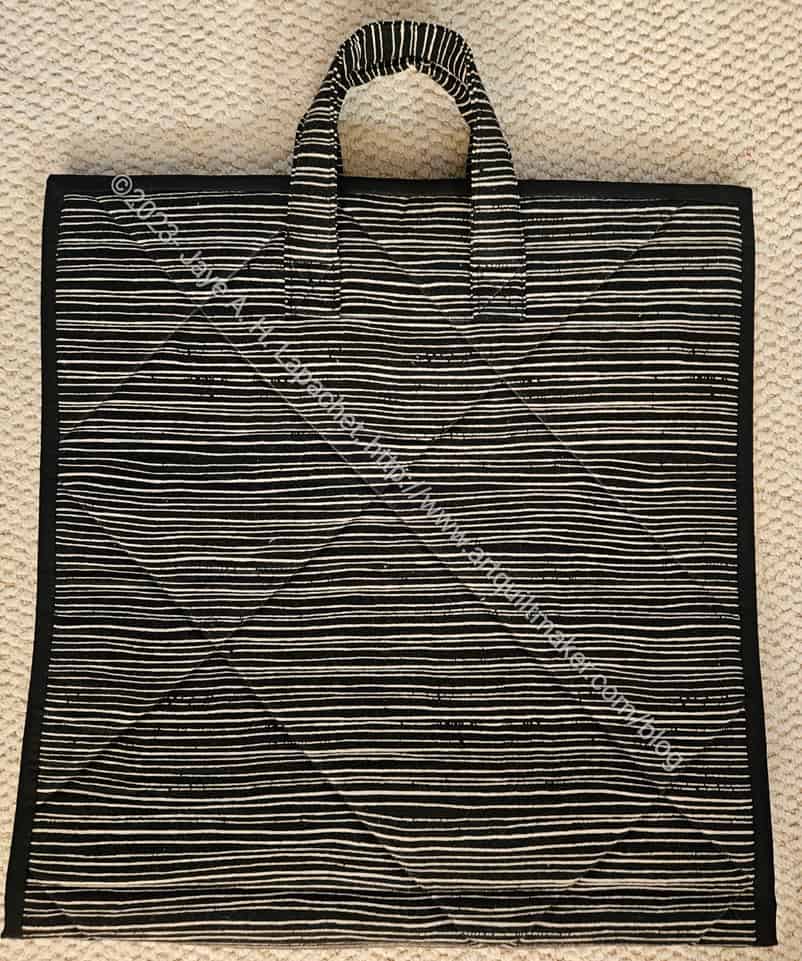
This is the exterior and you can see the quilting pretty well. I talked about it a little in the in process post I wrote a few weeks ago.
The exterior is like an Essex Linen, but by Figo. It feels like a very lightweight canvas, though drapey. It looks like the photo above on both sides when closed.
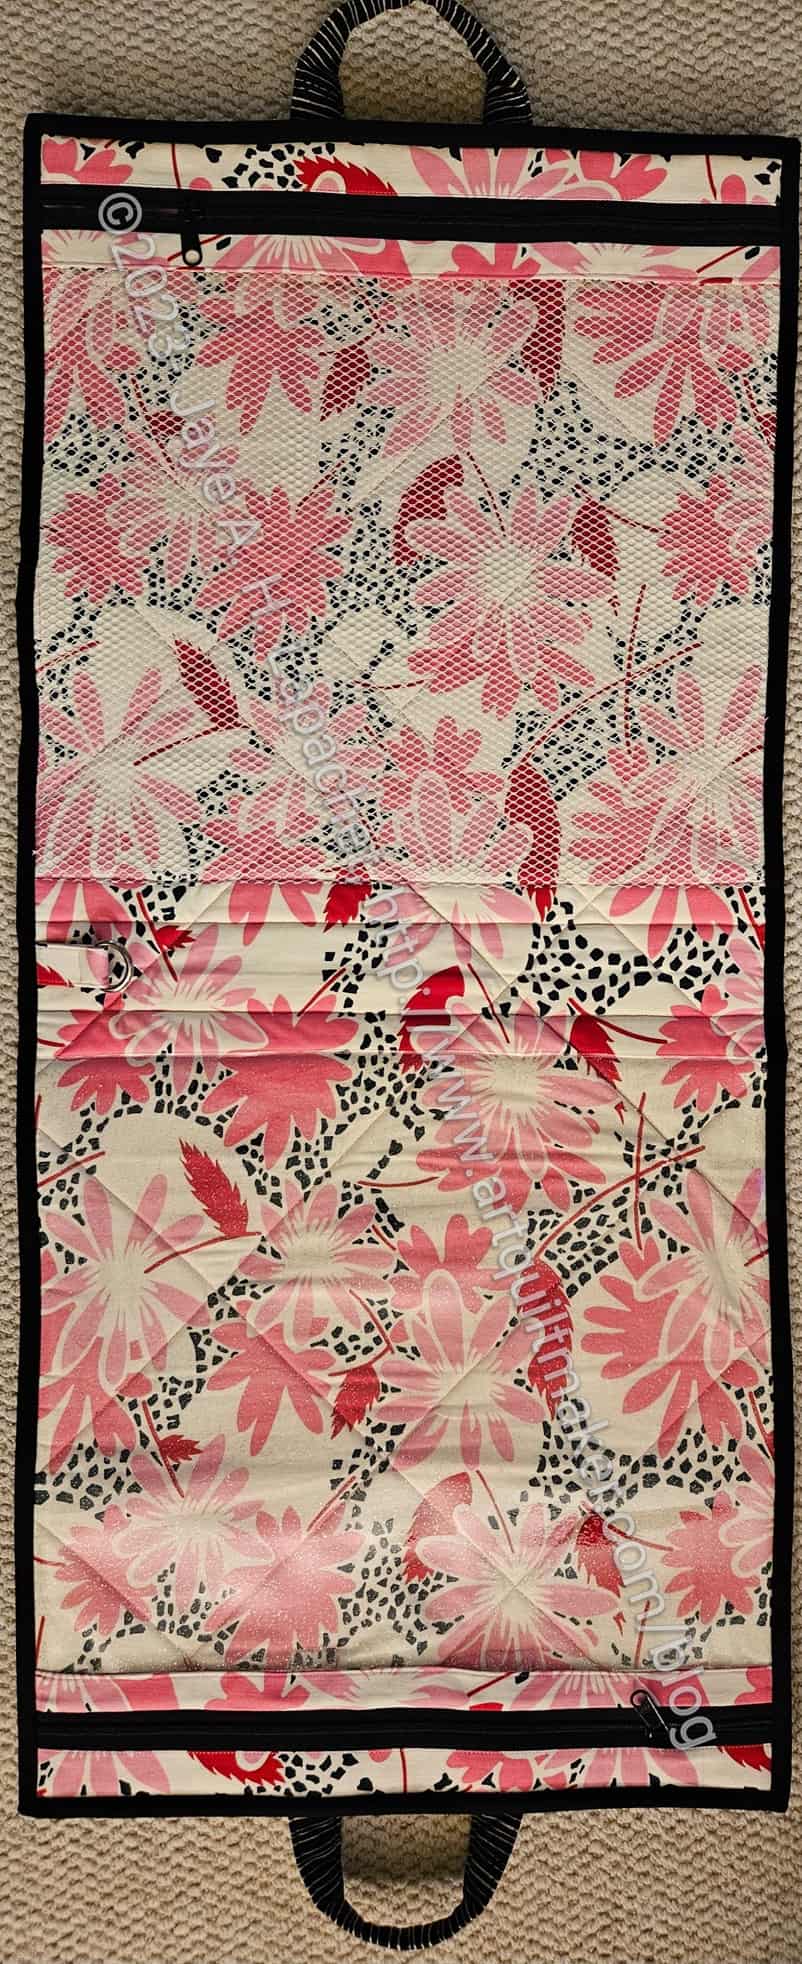
When opened it is about 39 inches long. I don’t know why 39 inches and not 40. ~\/0\/~ On one half of the bag (top in the photo, right) is a zippered mesh pocket.
In the middle is a tab with a D-ring.
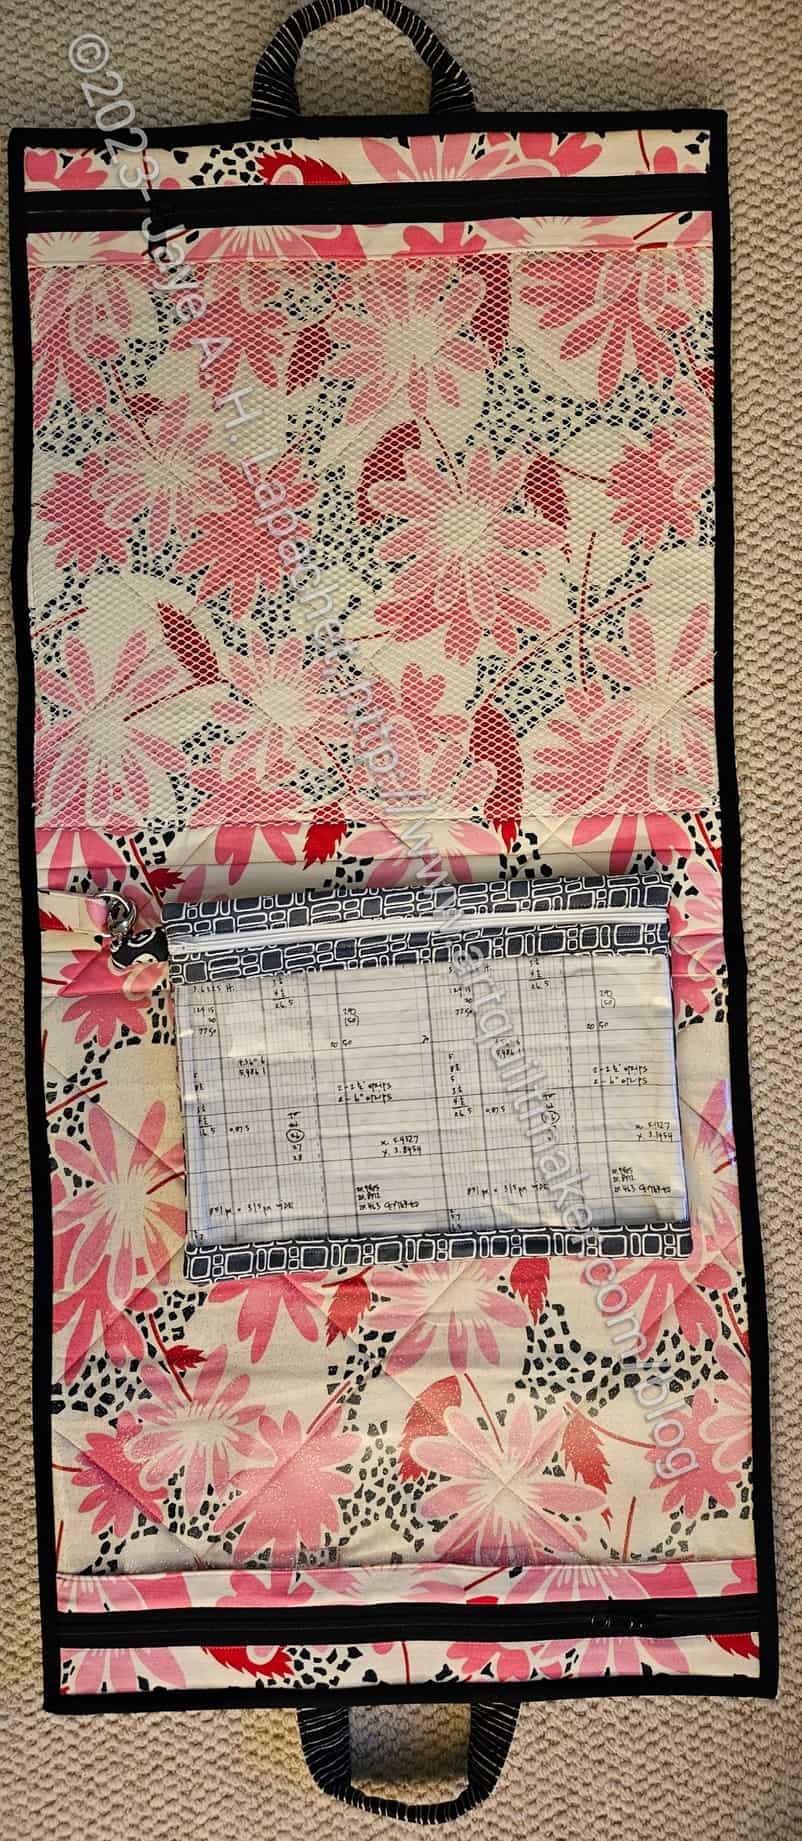
On the other half in a vinyl pocket where I used glitter vinyl (because I love it). The vinyl pocket also has a zipper.
The pockets are quite large – around 16×16 inches, which definitely holds blocks.
As I mentioned, this was part of the Crafty Gemini Organizer Club and one of the first projects we made was the Road Trip bag. The Road Trip bag was designed, from the beginning, to be attached to this Ultimate Project Bag. It is a good idea, because I often need a place to store bag hardware I have collected as I am assembling supplies to make a bag. I put a Lobster Clip on the Road Trip bag and a D-ring in the Ultimate Project Bag, because I prefer to be able to clip the smaller bag to larger bags. Crafty Gemini designed the patterns to have the D-ring on the Road Trip bag and a Lobster Clip on the Ultimate Project Bag. It is really preference. Neither is right or wrong. I try to remember to put a leash/tab and a D-ring on my larger bags just in case I want to clip something to it.
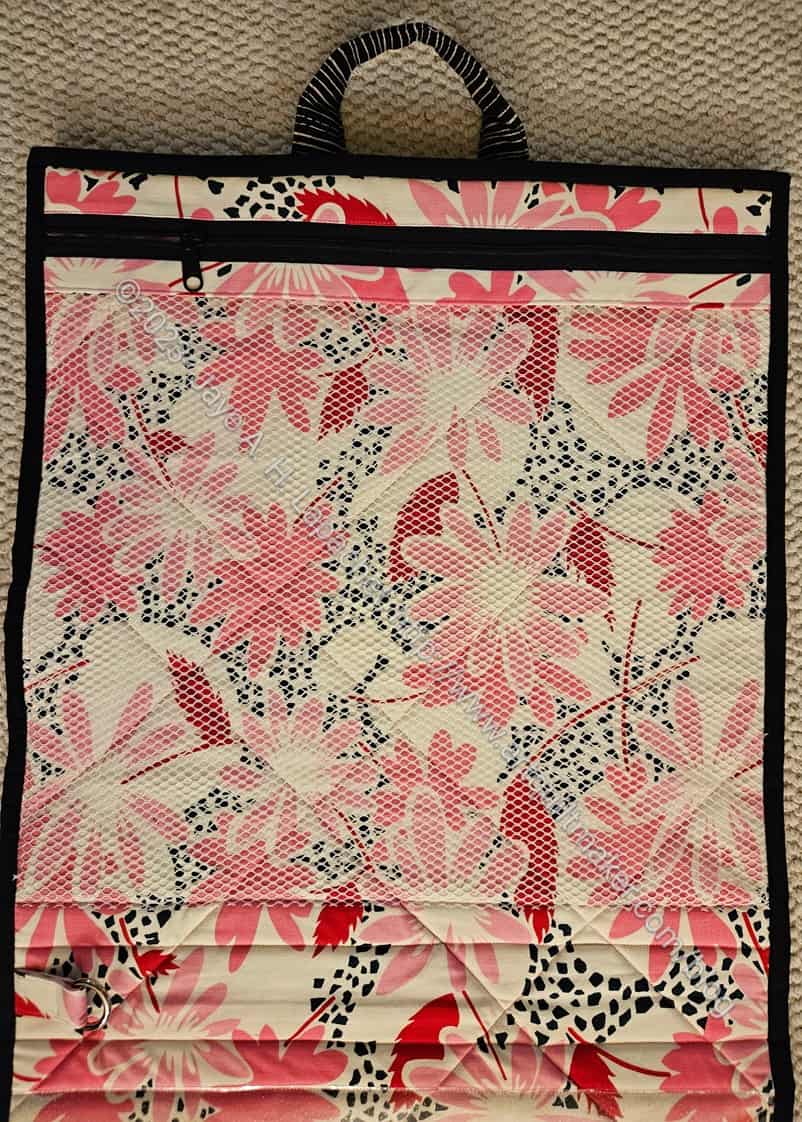
I am not happy with the position of the clip for the Road Trip bag. As I carry the Ultimate Project Bag, the Road Trip Bag falls out and drags on the floor. I am thinking of adding a separate tab and D-ring to the top side, under the zipper, of the mesh pocket. If I do that the Road Trip Bag will still jut out a little bit, but at least it won’t drag on the floor.
Taking the binding off the mesh pocket, will be less destructive than taking it off the vinyl side.
As an aside, you will notice that the Road Trip bag looks very similar to the Sew Sweetness I Spy Pouch from Minikins Season 1. The pattern designs are very similar.
On to the Ultimate Retreat Bag!