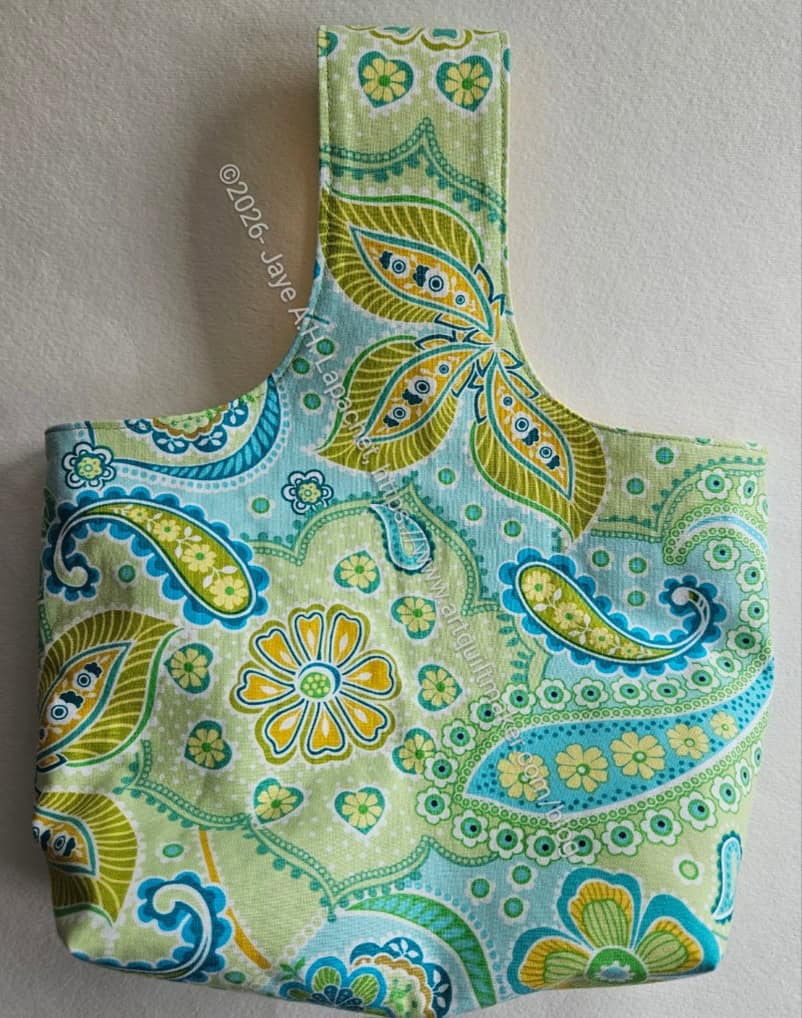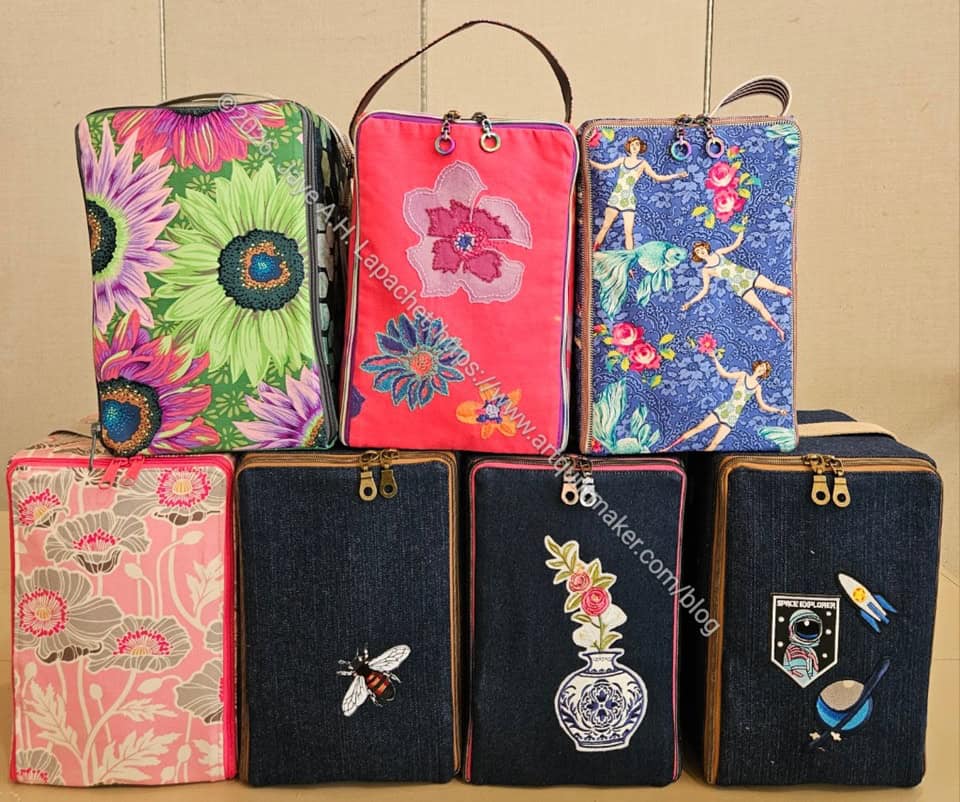
Finished: Everything But the Machine Bag

Sew Day Finishes
Sew Day Finishes

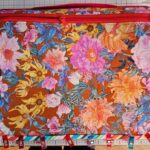
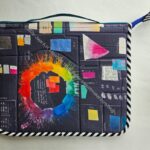
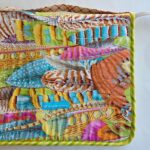
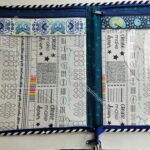
I finished the EBTM bag on Saturday at the special Everything But the Machine Sew Day. Mine was one of the seven that were finished.

As mentioned, I wasn’t sure about this bag, but as I worked on it, it grew on me. I was glad I chose good fabric. 
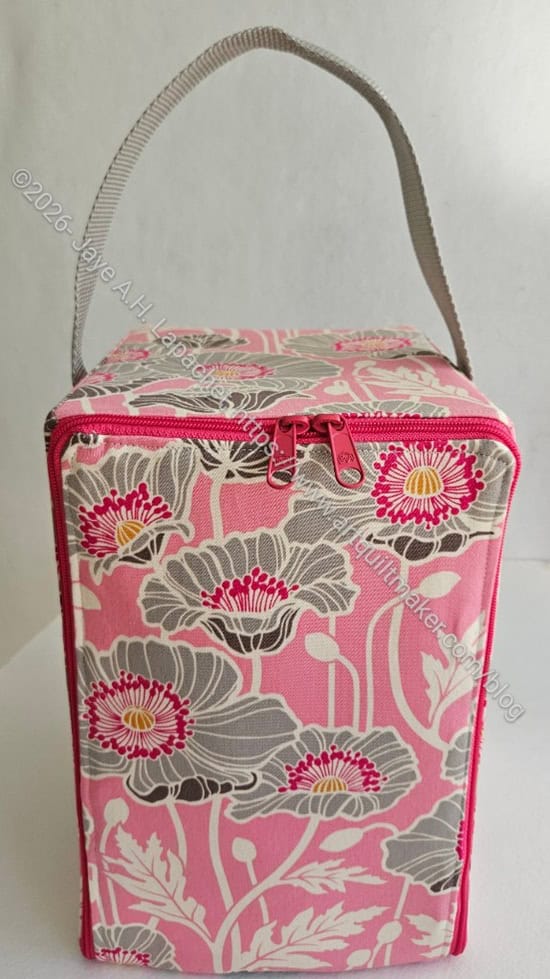
Finished Everything But the Machine box

I think I might replace my fabulous Tupperware boxes, companions since I started quiltmaking, with this bag. We’ll see. Making the switch will be hard. I am used to my various storage containers. 

The bag has a handle as well as a suitcase sleeve — called a Trolley pocket in the pattern. I know a lot of people know what trolleys are, which I do, too.  We don’t use that term in my area. We use wagon, streetcar and cable car for the various versions. 

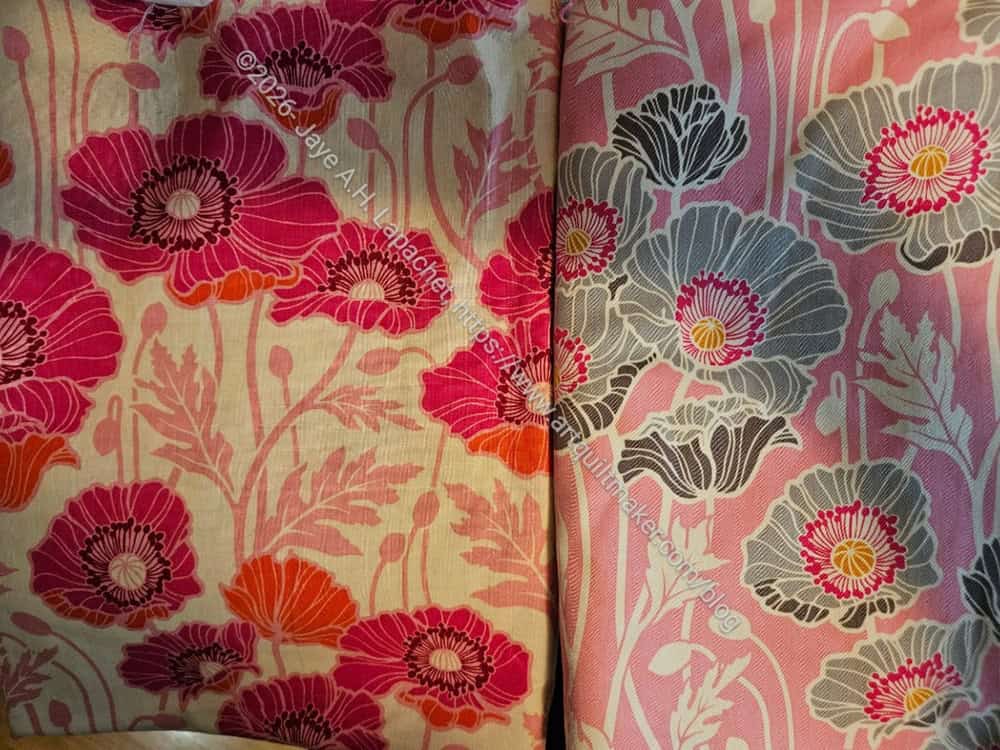
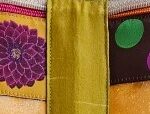
I am pleased with the fabric I chose as well. I wasn’t sure about the grey poppies, but they tone down the pink a bit. 
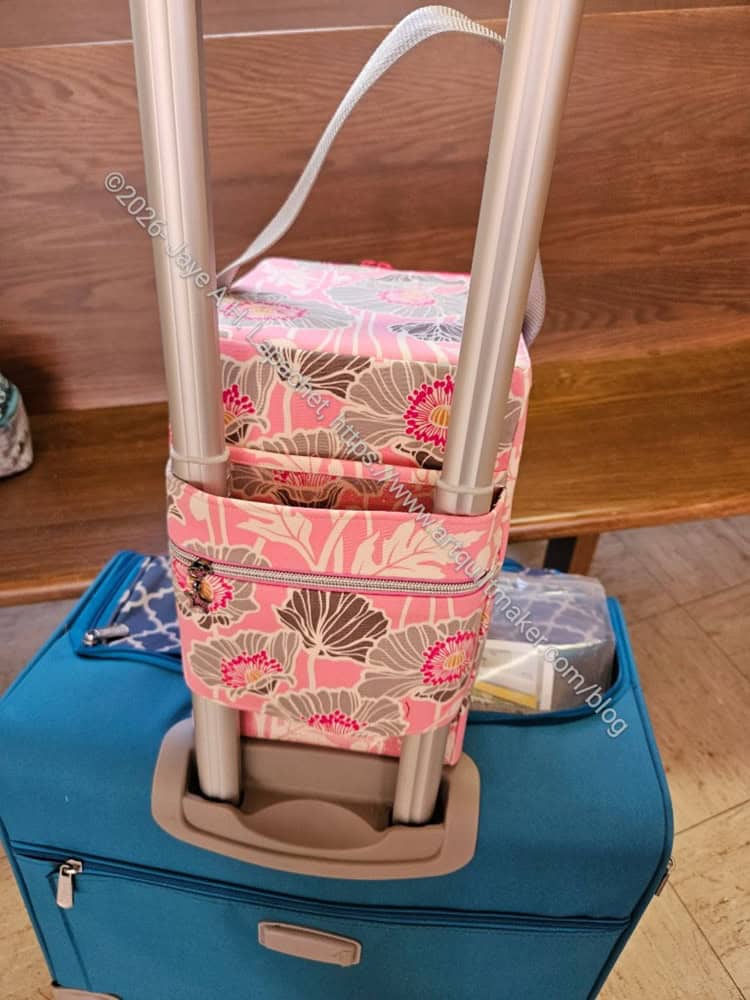
Everything But the Machine bag on rolling case

Several people omitted the suitcase sleeve, but I put it on as there is a chance that I would hook it on my rolling sewing machine case. I made sure to check that the sleeve was big enough. 
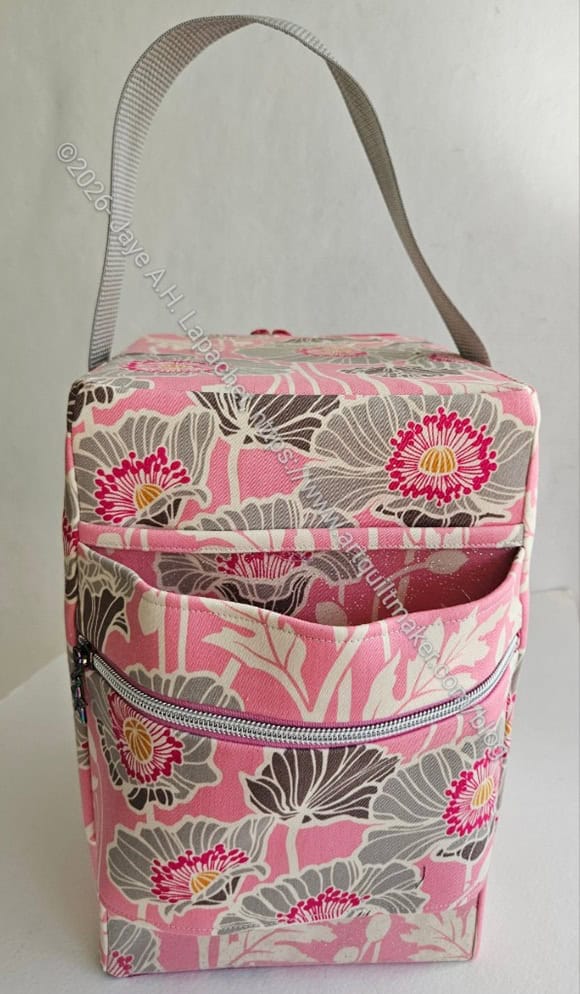
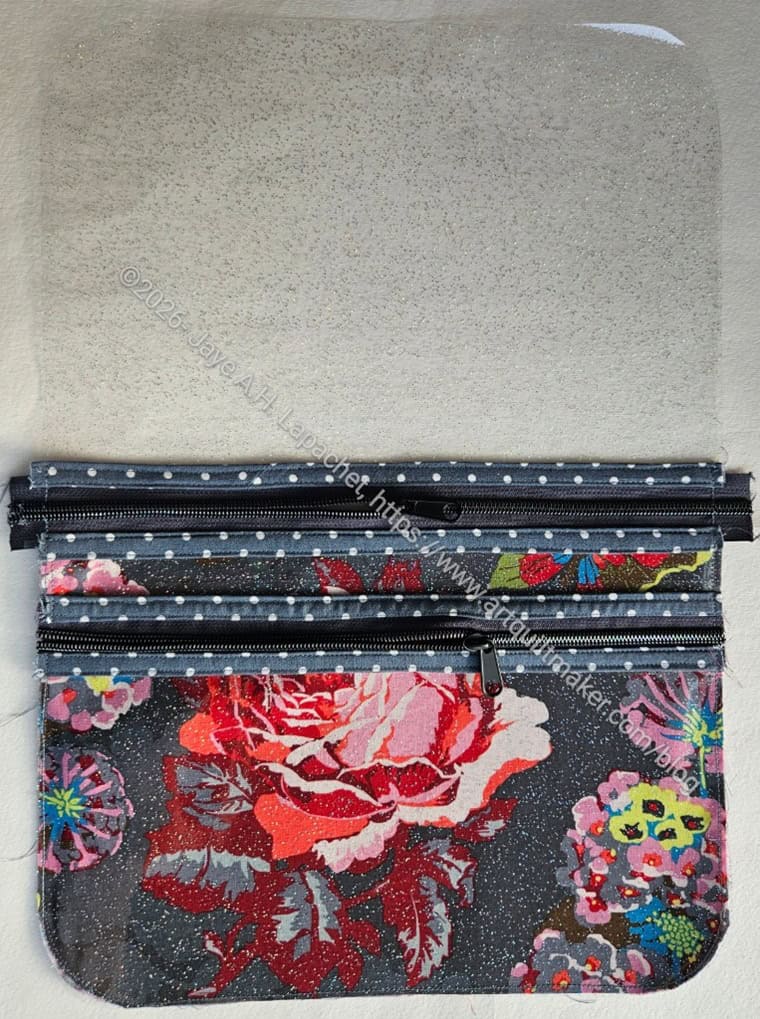
Everything But the Machine bag suitcase sleeve

I kind of like the pocket even if I don’t slide the bag over a suitcase handle.

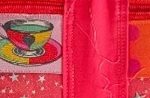
The pocket has an internal zipper pocket, as you can see. The pocket used an interesting double tube construction, which I would love to play with a little more. I also like the internal zipper pocket, though it might be a pocket where items go to hide. 
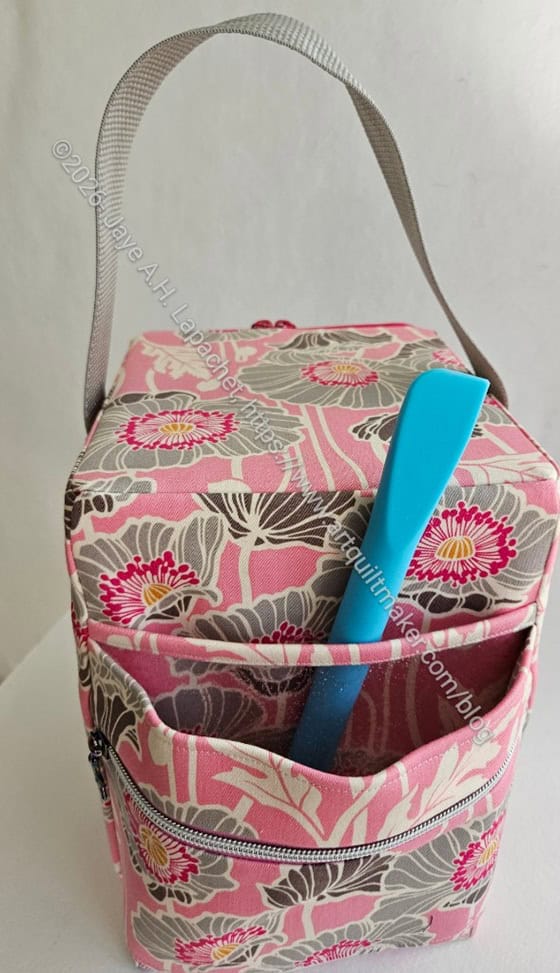
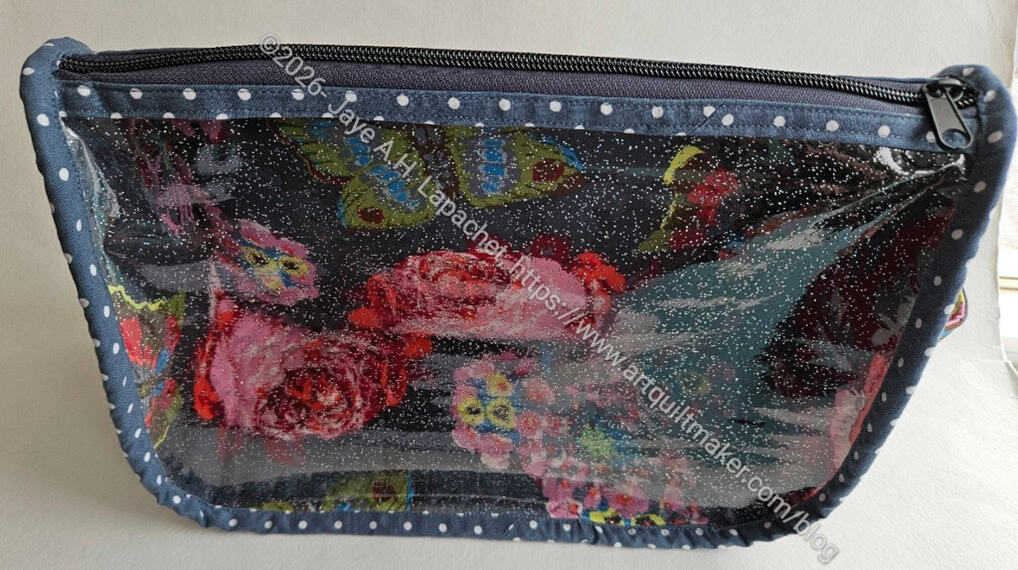
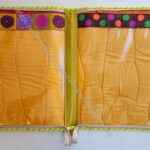
Everything But the Machine bag vinyl slip pocket

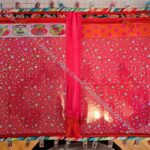
Under the suitcase sleeve is another slip pocket. I used vinyl for the slip pocket. It has a bit of fabric on the top for binding. It was very easy to make. That section, however, was tricky to sew, because of the thickness. I had my travel machine, too, rather than my new machine, which probably could have handled the thickness with no problem.
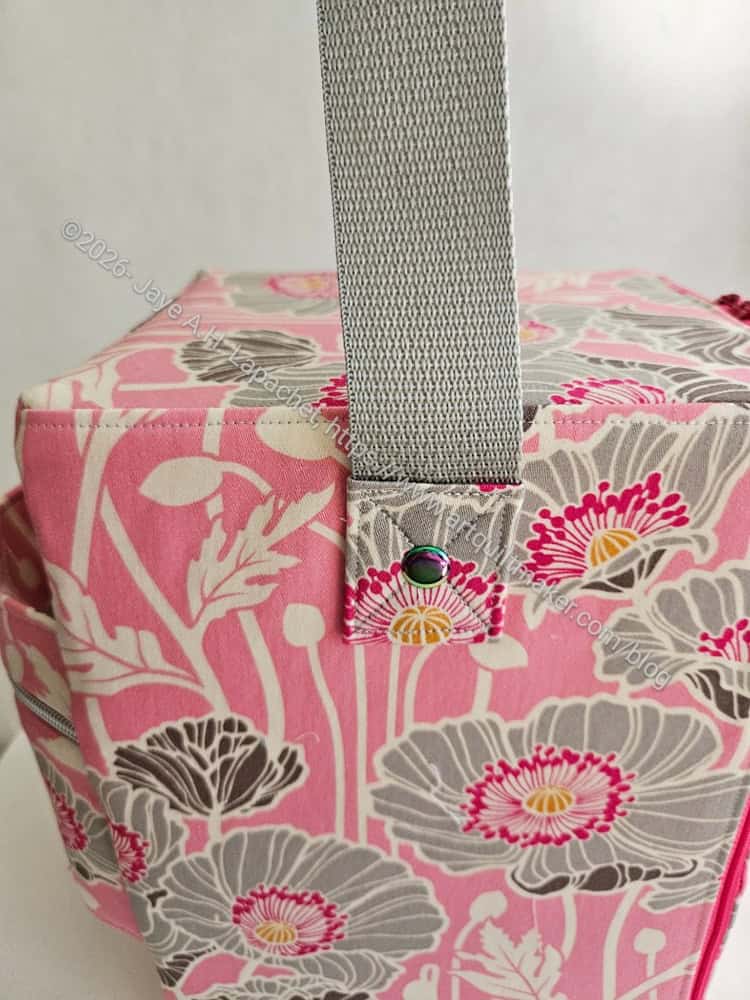
Everything But the Machine bag rivets

I used MaryC’s method for the handles, which is to make a short handle that doesn’t move, can’t be adjusted or unclipped. I did take the opportunity to rivet the handle to the bag. Riveting is still fun!

I realized later that I forgot to sew a label on it. It isn’t too late. I can do it by hand.

I had a lot of various troubles with the pattern, so having Mary lead us in making this was great. 
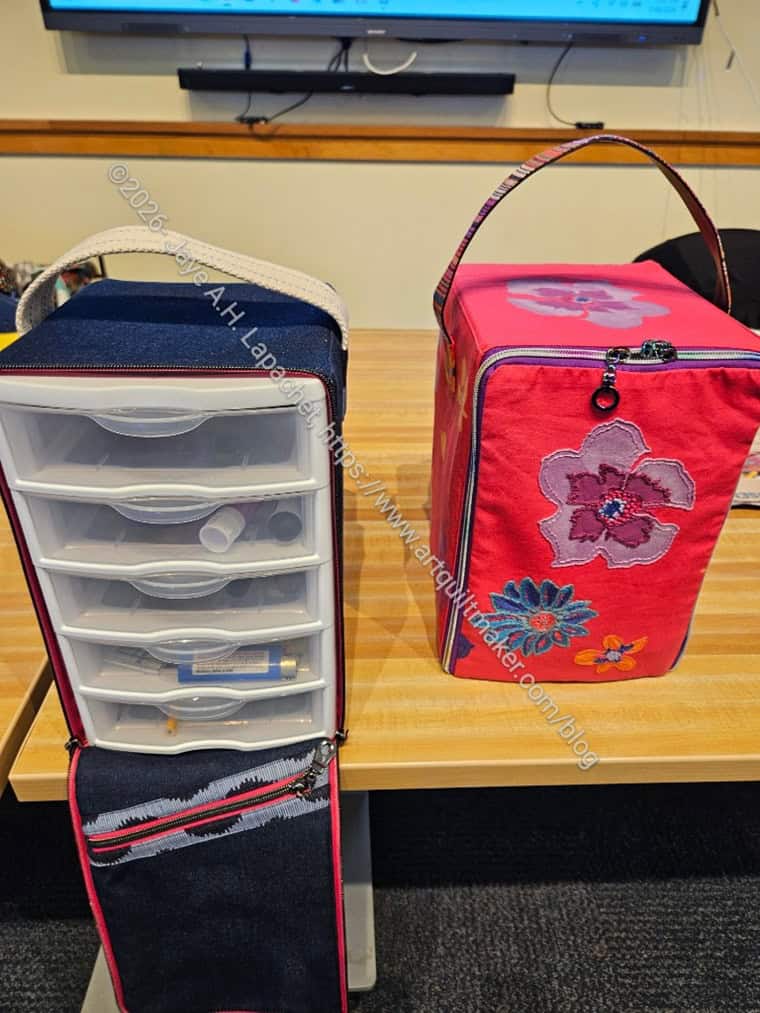
Everything But the Machine Bag

Everything But the Machine bags

MaryC came to the last Sew Day with a new bag, the Everything But the Machine bag.

Those in her sewing gang were also industriously working on their own versions. Many others were interested so the guild is planning a Sew Day where everyone works on their own versions of these. I didn’t really want to make one, but as a good guild citizen (President), I signed up. 

At first I thought I would make one for my mom, but she said very firmly last time I visited that she didn’t need any more bags (this was before the backpack conversation). I thought about others for whom I could make one and came up blank. 

The week before the Sew Day was shaping up to be busy. It was a lot of ‘fun’ busy, but still busy and I was concerned I wouldn’t get the pieces cut out. I couldn’t get them cut out if I hadn’t picked fabric.

As the day got closer, I really needed to decide on fabric. I finally decided I would use some really nice fabric, some fabric I loved or that I had been ‘saving’. I also thought I would use some fun zipper pulls and make it for me. Someone else might like it, but I also thought of ways that I could use the bag. I think I realized that I often don’t make bags for myself, because I don’t know how I will use them. 

I did want to finish cutting out the 1,000 pieces for the Urban Sea backpack, but once I did that, I looked through my fabrics and started cutting. I actually was able to cut everything out very quickly. When you are able to use a rotary cutter and ruler, the cutting goes quickly!

Pristine Poppy by Joel Dewberry

I am using Pristine Poppy from the old, old, old Notting Hill collection by Joel Dewberry. I made the Oxbow Tote out of another colorway from that line. Both lining and exterior are the same print in different colorways. I am using some of the zipper tape I bought by the yard at Sewlarium.

I still have to interface the pieces, but am pretty much ready to go.

New Backpack Challenge

After writing yesterday, I talked to my mom who was on her way to the ER again (she’s fine!) with a plastic bag to carry her stuff!!! I was horrified, but before I could speak, she said she was going to get a backpack for her stuff. Before I could think, I said I would make her a backpack.

I am not sure if I mentioned when writing about the Chickadee that I have never made a backpack before, at least one with real straps and buckles. The closest is the Flagler Backpack and the Scrap Lab Backpack. Neither of these are as structured or as complicated as the Chickadee. 

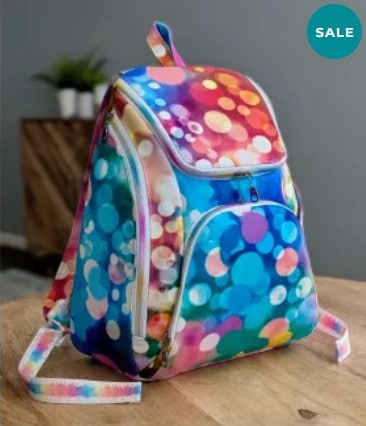
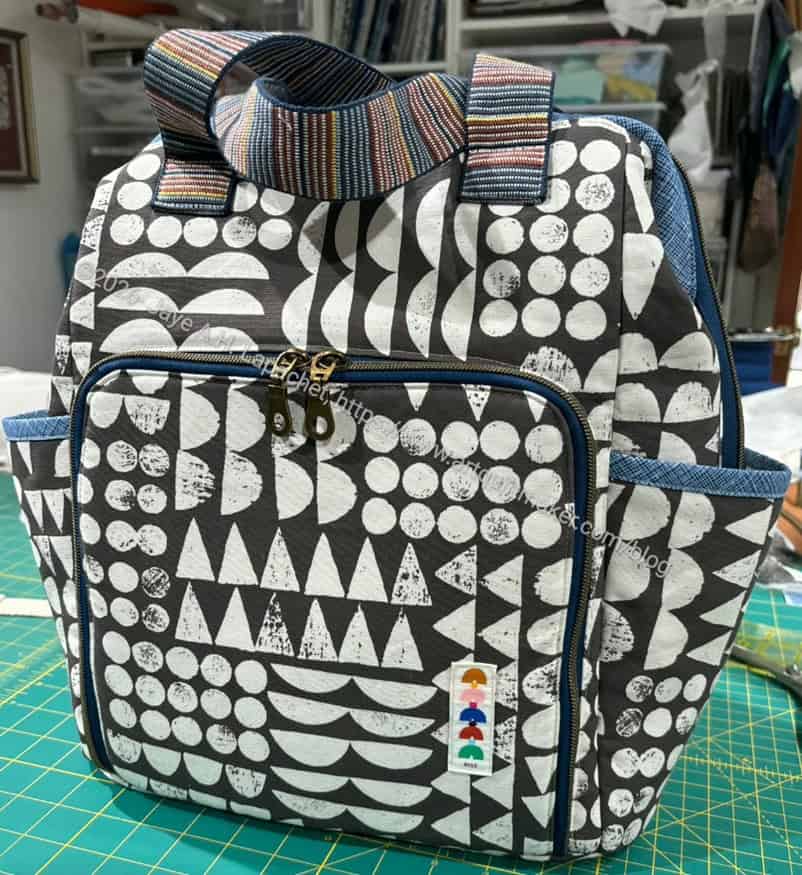
Sew Sweetness Urban Sea backpack

I knew the Chickadee was in progress, obviously. That is for the Pink Project and I don’t know when it will be finished, so I decided to make the new backpack pattern from Sew Sweetness called the Urban Sea Backpack. I showed my mom and told her the size (finished Size: 12 inches long x 15 inches tall x 7 inches deep (30.5cm x 38cm x 18cm)) and she said that the Urban Sea would be perfect. So, now I am making another backpack. 😉

The next surprise was the fabric. I have used paint tube fabric for my mom for a long time. She really admired the bubble fabric in blues and pinks that Sara used on her test version. I showed her a picture of the Philip Jacobs Voluptuous fabric as a joke and she loved it! I might as well use it. I don’t have anything else slated for that fabric. I am going to pair it with the Disco Poms from Tula Pink. Same thing. I might as well use it. 

The first step was to tape all of the pattern pieces together. I haven’t found any that are rectangular!!! I love the look of this backpack, so I don’t mind.

Chickadee template for Urban Sea

I was thrilled to find that the acrylic template for the Chickadee Backpack strap is the same exact piece as the straps in the the Urban Sea Backpack. Sara doesn’t sell acrylic templates any more, so this was awesome! I can use that template to cut out the several pieces (exterior, lining, foam, etc) I need for this backpack.

I spent about 4 hours on Sunday cutting out pieces for this project. I almost finished all the cutting, but that much standing was tiring after also standing a lot on Saturday. Even though I want to get to sewing, I am trying to be very Zen about the cutting as I found that each part of the process has its benefits.

More Chickadee Work

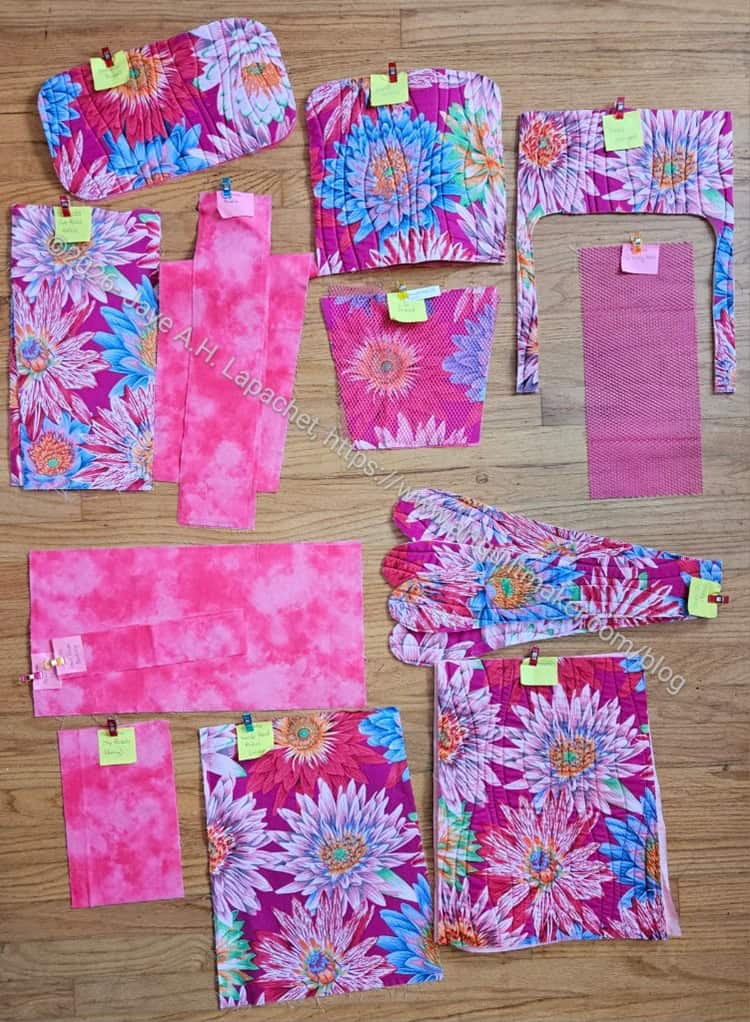
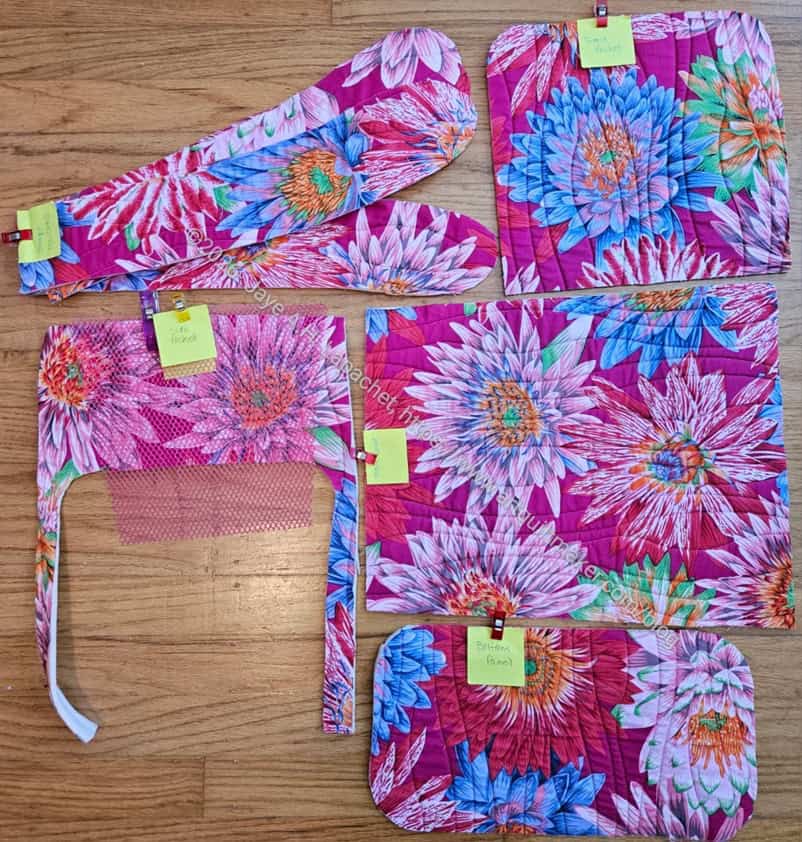
Chickadee Pieces cut out, ready to sew

The Chickadee Backpack still has not been chosen as part of the UFO challenge, but I decided to work on it again. I worked on it a little last month so I could get a head start. I kind of wanted it to be chosen for the UFO challenge for August, but no dice. Maybe next month?

All the pieces are cut out and I ready to sew. I haven’t decided if I will start sewing yet. I would like to stick with the letter  of the ‘law’ in the UFO project. I could cut out some of the other projects or continuing cutting them out as the case may be.


Quickly Sewing Cosquilla #3

Cosquilla Bottom Panel

After I decided on the binding, this piece really started to go together quickly. Sewing the same pattern almost one after another means I can improve. 

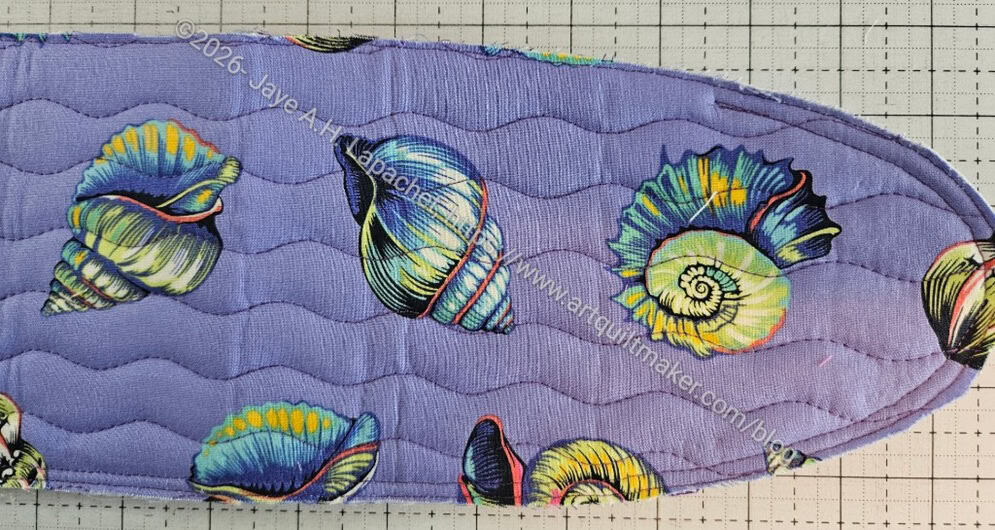
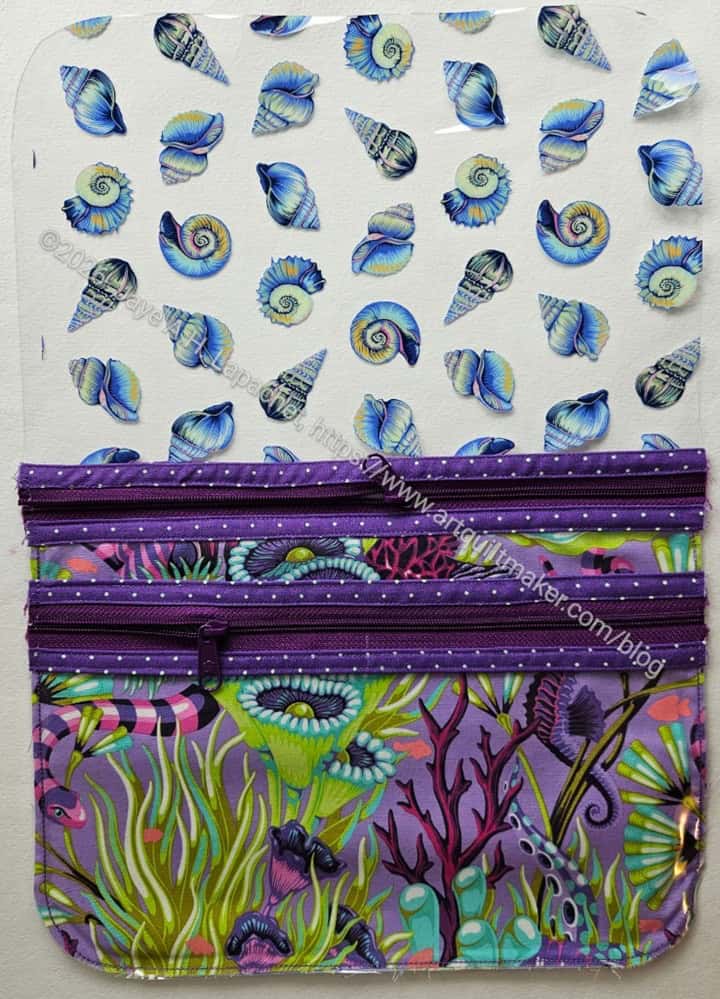
On this Floral Reef Cosquilla, I did something a little different with the quilting. The Bottom Panel needs to be quilted. I basted it again using MistyFuse and quilted it with the same stitch. This time, however, I lengthened the stitch even further. I wanted the wave to be longer. I also did more quilting. Last time I quilted only three lines of quilting down the length of the bottom panel. This time I sewed more. I don’t’ think I really needed to, but it was worth a try.

Cosquilla in process - back
Cosquilla in process – back

Then it was on to sewing the whole thing together.

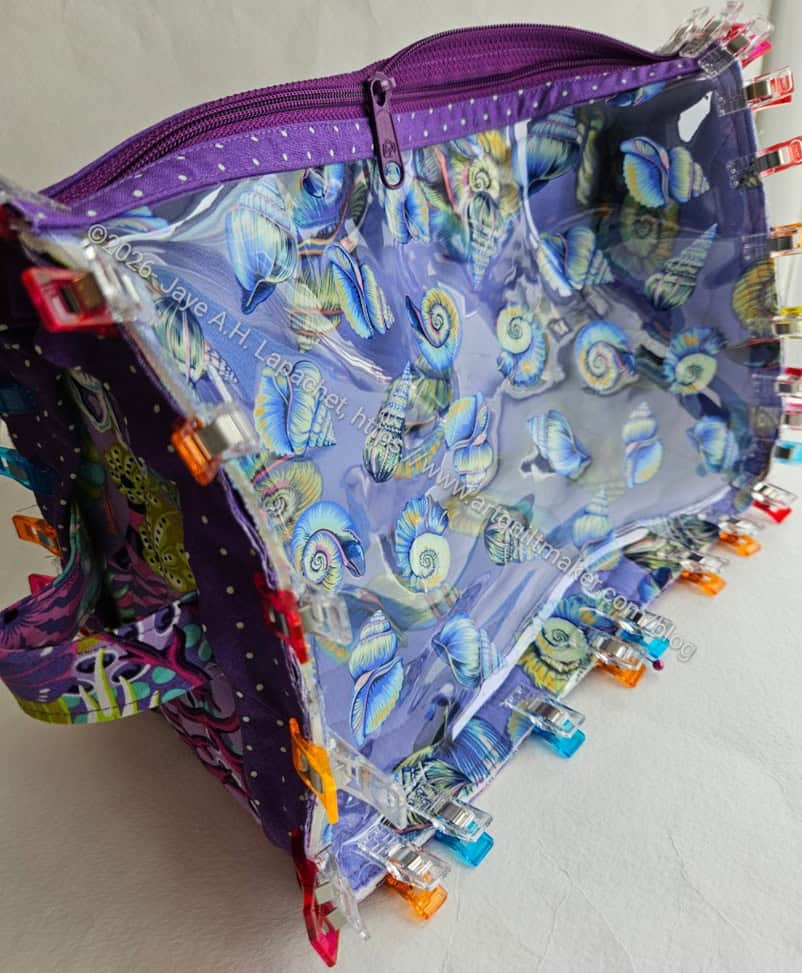
Despite the large expanse of vinyl, I decided to use the HP2 foot again. I LOVE this foot. I am hoping that the machine sewing of the whole binding will look better.

Cosquilla #3- ready to assemble

I was concerned about the color of the binding, but I think it looks good. The pouch is more purple than expected, but not in an unpleasant way.

Next Cosquilla

I was a little disappointed that the Rose Cosquilla was not large enough for all of my handbag zippers. I probably should have been upset that I had so many handbag zippers!

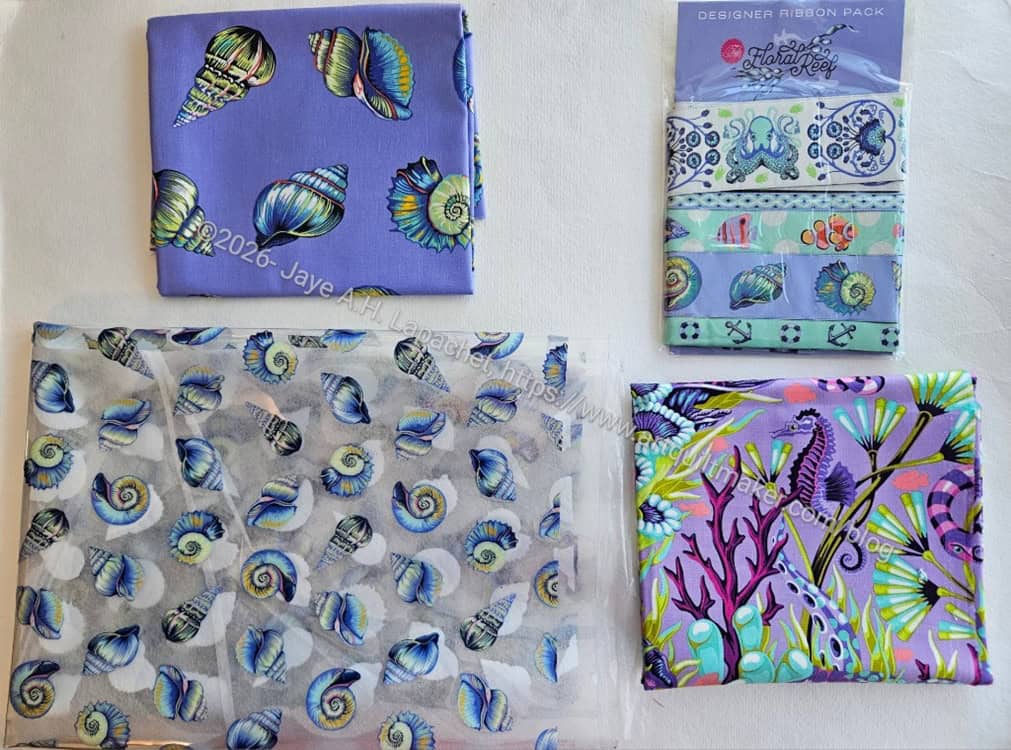
Floral Reef order
Floral Reef order

A month or so ago, my Floral Reef order came in. i wasn’t sure what to do with it, but after finishing the Rose Cosquilla I decided I would use the fabrics to make another Cosquilla for the rest of the handbag zippers.

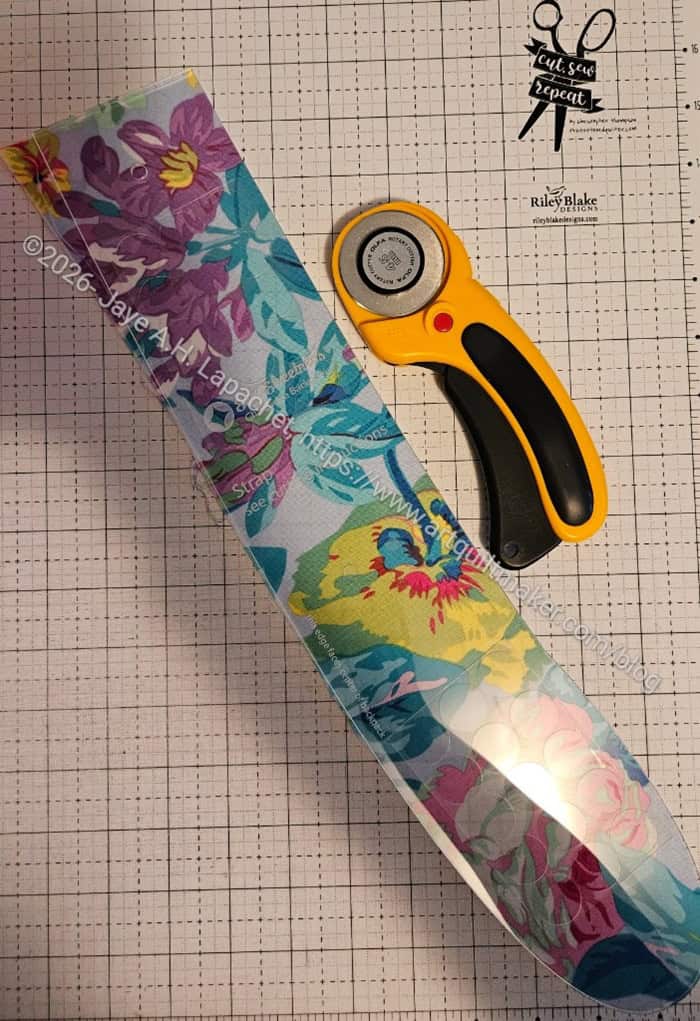
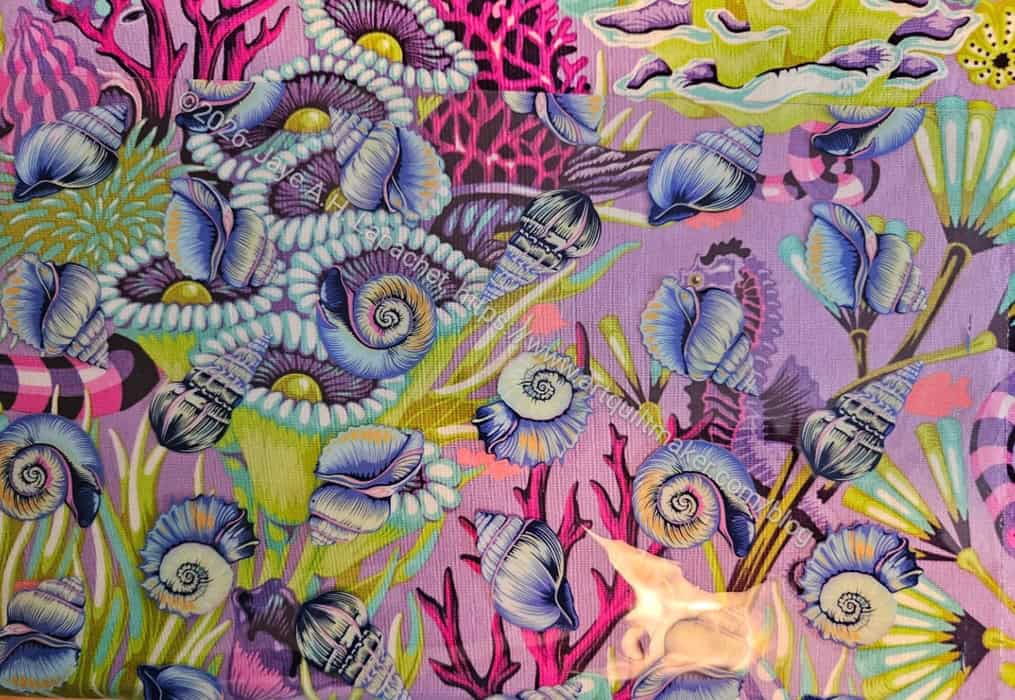
Floral Reef vinyl on Floral Reef fabric

The fabrics and vinyl are really cool, but also hard to use, especially since I didn’t buy a lot of any one of them. I think this will be a good use of them, though I may use a clear vinyl for the front pocket since the lining fabric shows through. The motifs on the vinyl, as you can see from the photo, right, interfere with the motifs on the fabric. I can’t really see either if I chose all Floral Reef. 

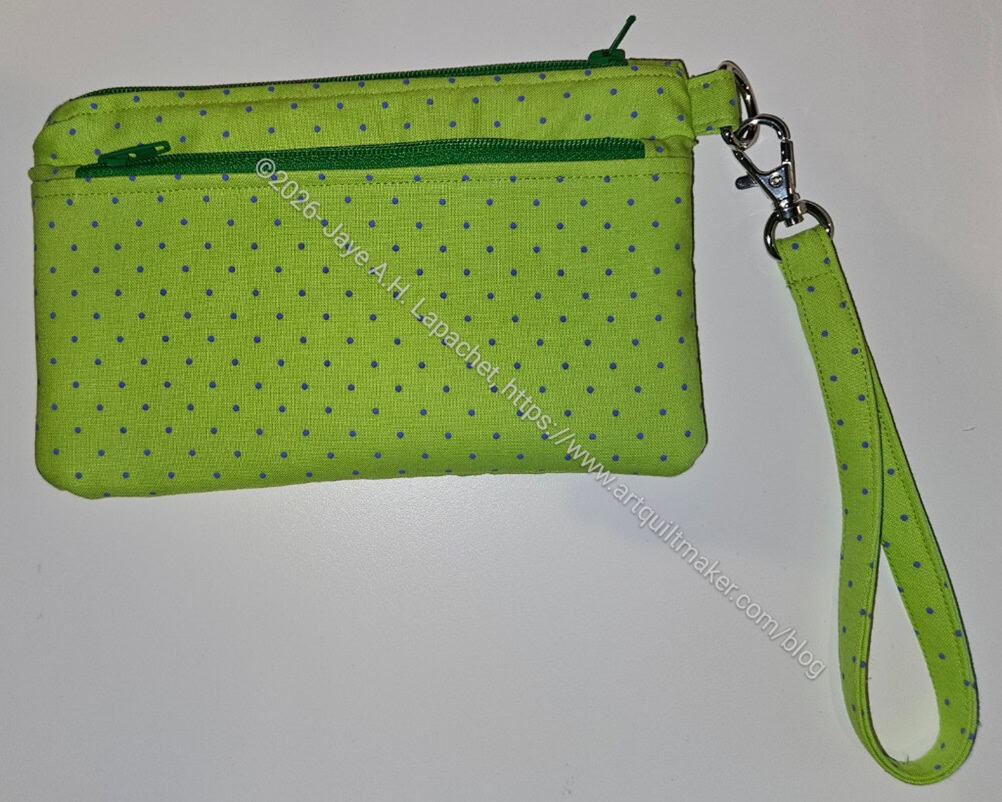
Another Metro Double Zip

Metro Double Zip Pouch #3

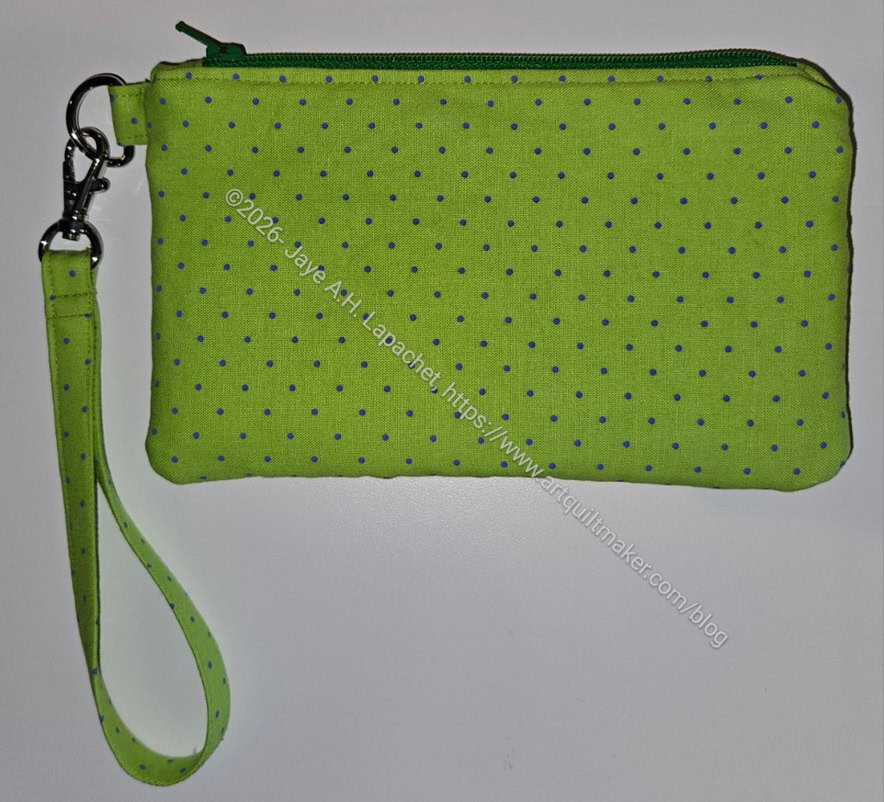
I had it in mind to make another Metro Double Zip as a gift. I did it, but I didn’t give the gift as I wasn’t happy with how it came out. 

It is perfectly serviceable, but I wanted it to look good if I was going to give it as a gift.

Metro Double Zip Pouch #3 - back
Metro Double Zip Pouch #3 – back

I was in a little bit of a rush and did things a little differently than I did on the second Metro Double Zip. That was a mistake, but I didn’t write down the parts that I made larger on the second one. Thus, I didn’t remember I kept some parts the same, which was part of the problem with the first one.

I love the strap technique!!!

As you can see, the back is quite boring  without the waves. I could have fussy cut something, but was at Tim’s and didn’t have a lot of fabric choices. I really want to get this pattern to be more stuck in my brain. I have to make a few more and think of some different embellishments for the front.

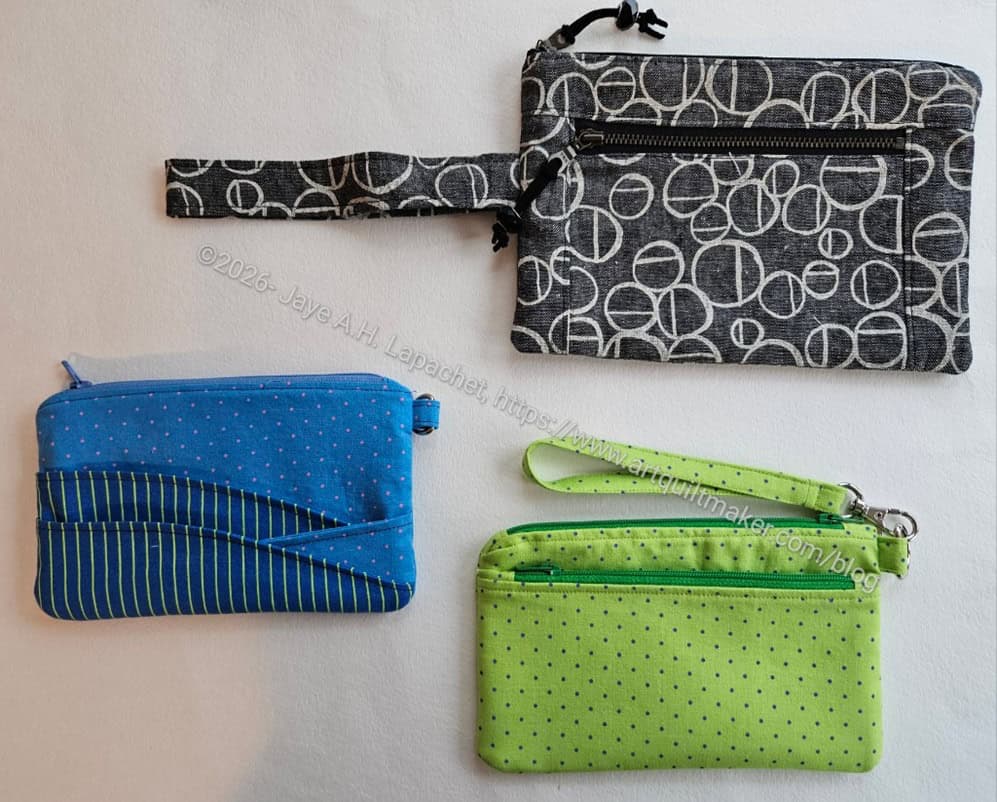
3 pouches ~ Metro Double Zip

While I was looking for something I found a similar pouch I received as a gift from BAM. I thought it might be an Aneela Hoey pattern, but I didn’t see it on her website or in her book. There are a million pouch patterns out there and it could be modified from a completely different pattern or made up.

Rose Cosquilla Finished

Rose Cosquilla finished - front
Rose Cosquilla finished – front

I finished the new Cosquilla last week and it is in use. I made this so I would have something other than disintegrating plastic bags in which to store my handbag zippers.

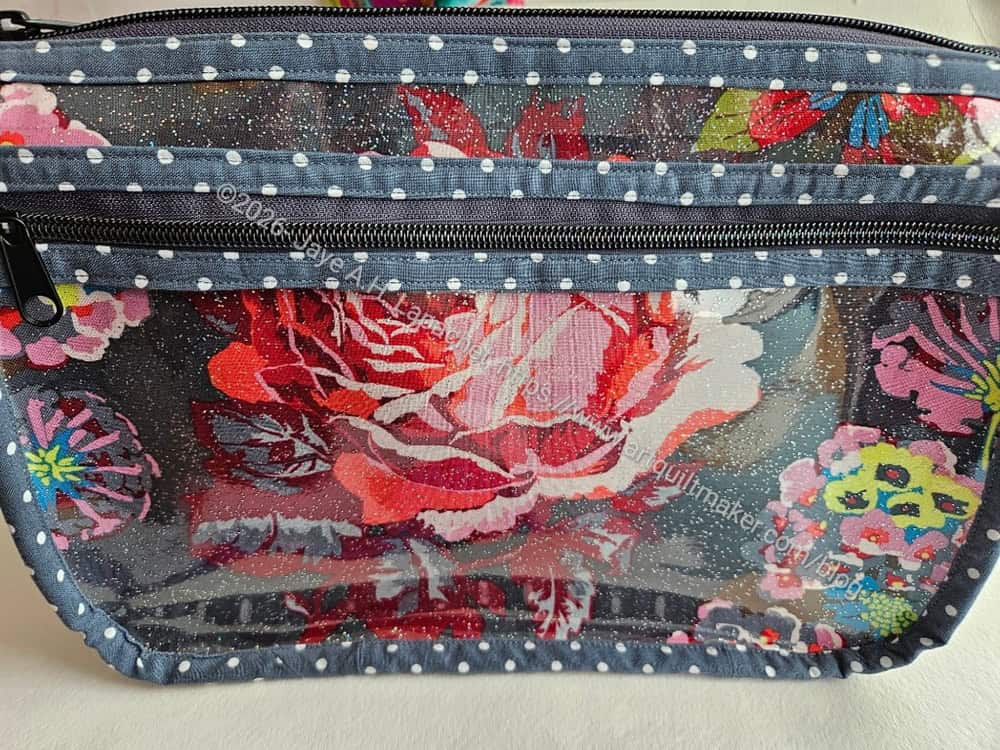
It is kind of weird to call this the Rose Cosquilla, because of the charcoal background.  I fussy cut a big rose to show off the vinyl so the name is appropriate, but still feels strange.

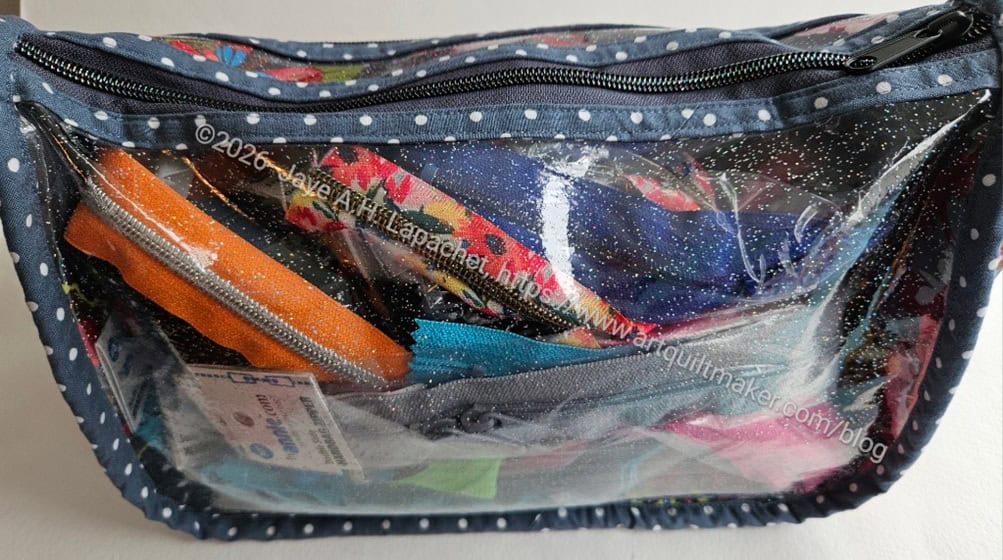
Rose Cosquilla filled

I need to make another one! I have quite a few handbag zippers. 😉

I don’t have any more of the Anna Maria fabric so can’t make a matching set. I bought some Philip Jacobs fabric (Voluptuous, I think)

I am pretty pleased with the binding. It wasn’t easy and isn’t perfect, but I did it slowly by machine using my HP2 foot. This foot totally  TOTALLY makes the purchase of the new machine worth the money. If you have a Janome or an Elna and this foot and needle plate are compatible with your machine, you need this. I didn’t buy the machine because of this combo, but it was a factor. I use this foot and needle plate so much now.

Rose Cosquilla vinyl side

The cool part about this bag the vinyl side. Not only does it allow me to see inside my bag, but it also provides information on how to add this type of side to other bags. 


New Cosquilla

Rose Cosquilla before assembly - pockets
Rose Cosquilla before assembly – pockets

I went for a Sew Day at Tim’s house on Monday (yes, lots of connections this week). I started sewing the Cosquilla that I cut out a week or so ago. For a change, I am making this pouch for myself! I will use it for my handbag zippers, which are currently housed in two disintegrating zipper bags. 🙁 The fabric is an Anna Maria fabric of which I had a small piece.

I had a lot of fun talking with Tim, but I missed my new machine when putting this pouch together. I also need to replenish my supply of DST** in my “Go Bag”, because the zippers would have been a lot easier with it.

Still the bag is coming out ok. The picture above is what I did in a few hours.


**Obviously, you should shop at local quilt shops and small businesses. However, if you are too busy or can’t find what you need there, I use Amazon affiliate links and may be paid for your purchase of an item when you click on an item’s link in my post. There is no additional cost to you for clicking or purchasing items I recommend. I appreciate your clicks and purchases as it helps support this website.

Another Zipper Tab Technique

I am not sure whether this is a tutorial or not, but I will put it on that page later, so we all can find it again.

I have two other zipper tab information pages, which you can find on the Tutorials page. For the moment, this new technique is my favorite because it reduces more bulk int he zipper tab area than the other techniques.

Instagram has been showing me zipper techniques lately. I found one that I decided to try a few months ago. The other day when I was working on an Enigma pouch, I decided to try it again. Then I had to go hunting for the video. 

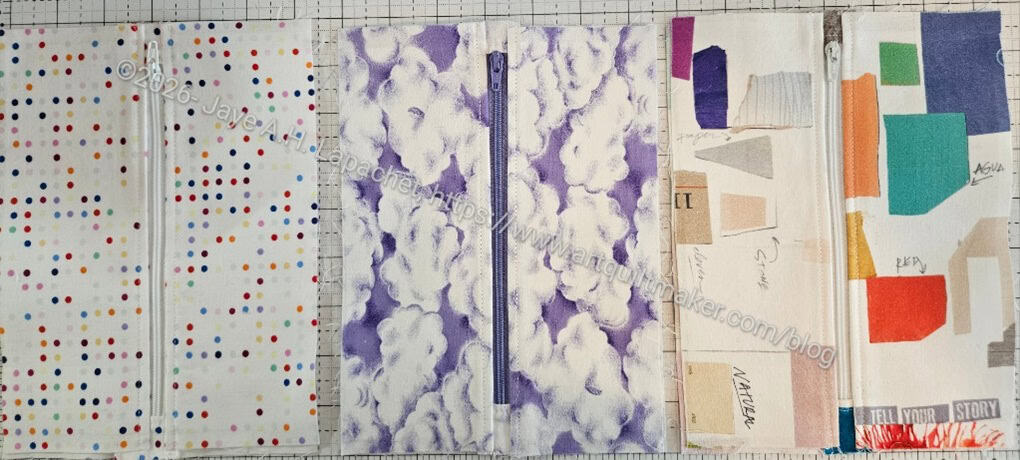
3 finished zipper tabs

In many of the Sew Sweetness and other patterns, I have to fold a strip into a zipper tab, which adds bulk to the edge and is a little hard through which to sew. This technique adds less bulk and there aren’t bits from the folds sticking out and making the project look unprofessional.

Supplies

  • Zipper
  • Zipper tab fabric – the tabs look better if they match your zipper pocket fabric
  • BSK
  • Bag pattern
  • Sewing machine
  • Thread


Directions

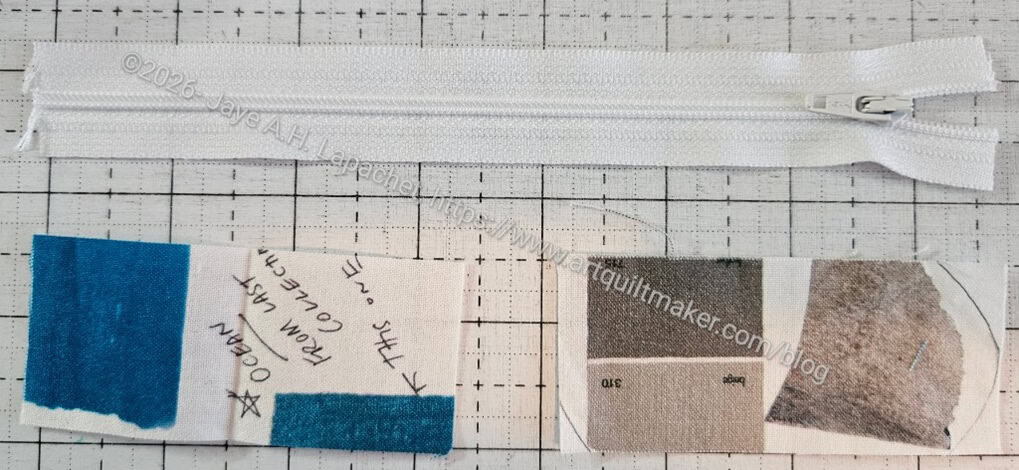
Supplies for creating zipper tabs

First, cut some zipper tabs. I often use the exact size indicated in the pattern, which is why I am not giving you sizes. The zipper tab should be long enough to go past the cut end of the zipper on both sides when folded back and wide enough to match the width of the zipper, at least.

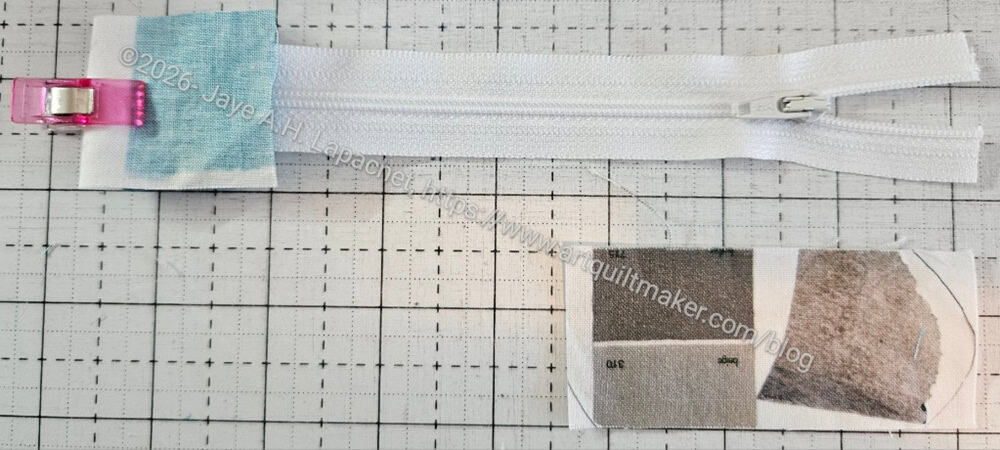
Fold both fabric zipper tabs in half and press them so the crease is firm.

Clip the fabric stripof the zipper
Clip the fabric strip

Clip the fabric strip in half to cover one end of the zipper. You’ll need to do both.

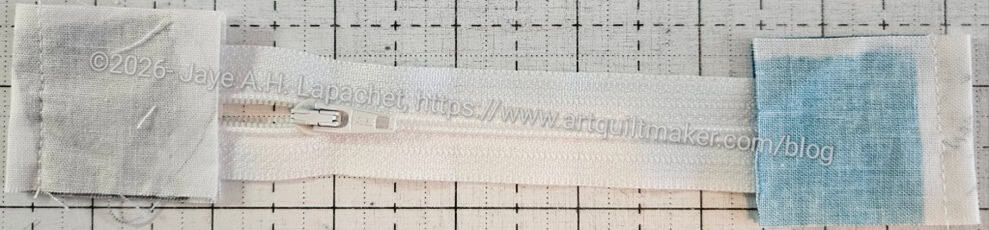
Sew the fabric strip

Using a quarter inch seam allowance, sew across each end of the zipper.

Press tabs WST
Press tabs WST

Press the zipper tabs back wrong sides together.

Topstitch
Topstitch

Topstitch using a eighth inch seam allowance.

Sew the exterior according to the directions on your pattern. In this case, my exterior and lining fabrics are the same.

Sew lining
Sew lining

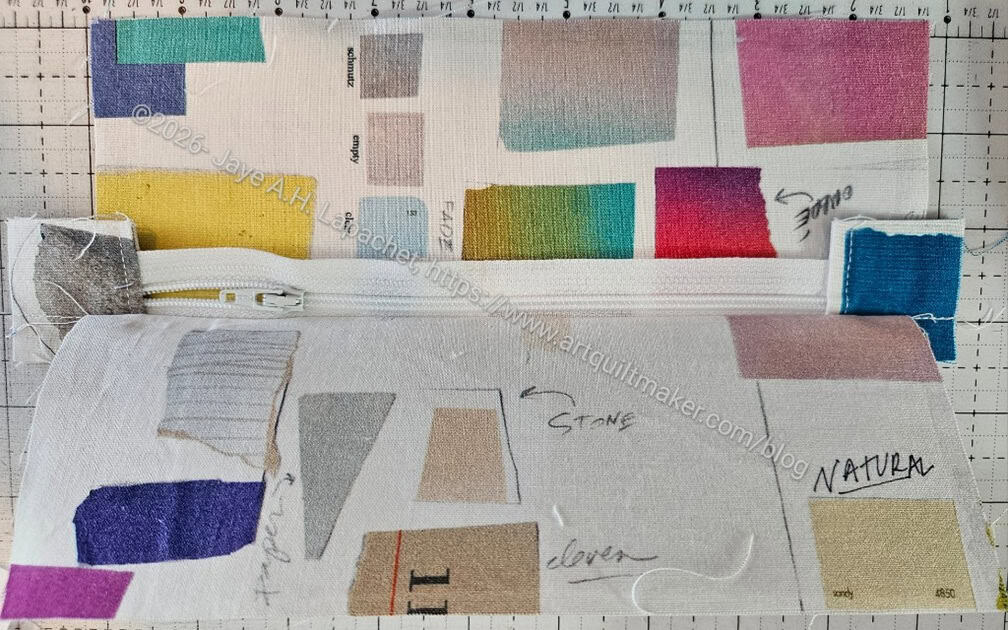
Sew lining with the zipper sandwiched in between.

Sew fabric
Sew fabric
Press all fabric away from zipper WST

Press fabric away from zipper.


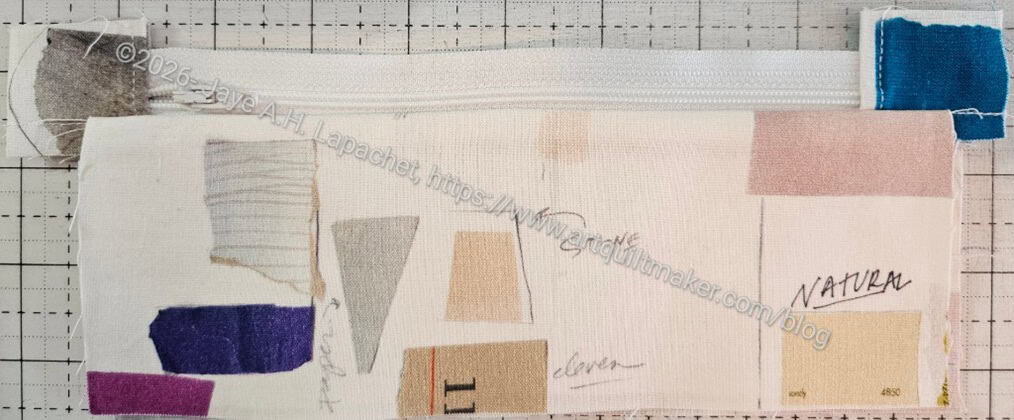
Extra zipper tab fabric

Get ready to trim zipper tabs even with the top of the zipper and the sizes of the fabric.

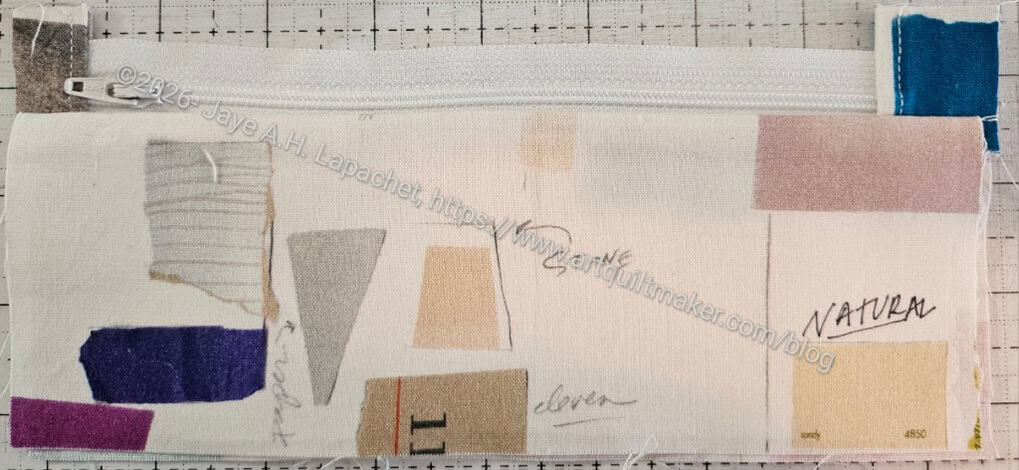
Trimmed
Trimmed

Trimmed zipper tabs.

Now finish your bag or pouch according to the directions.

More Metro Double Zip Fun and Games

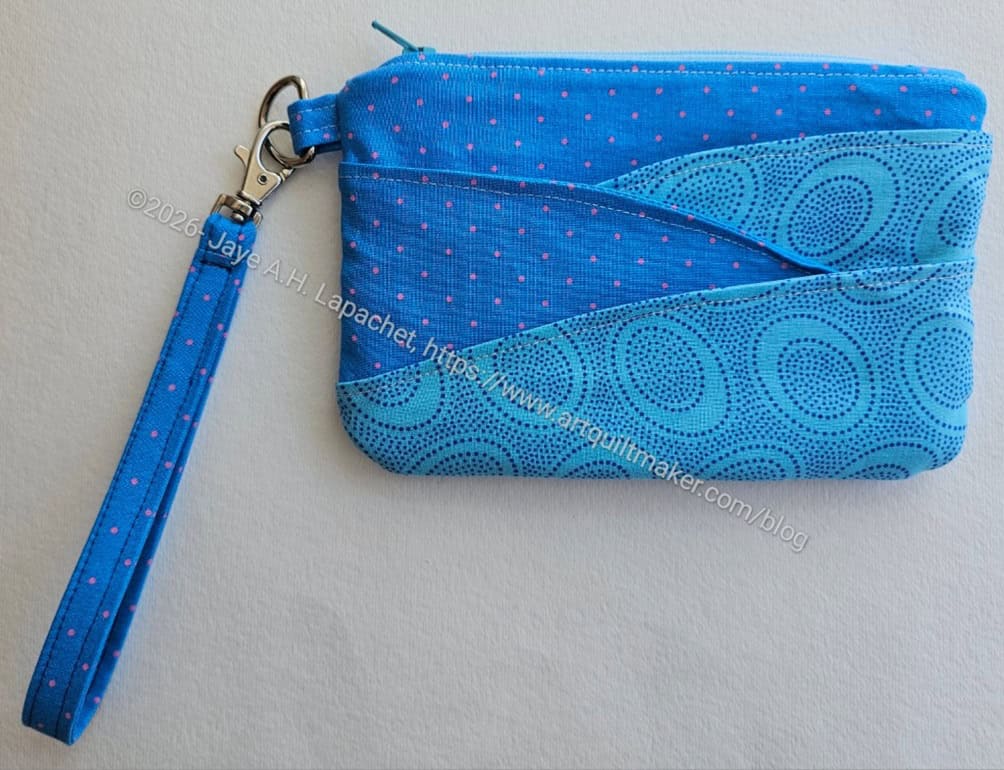
Metro Double Zip #2 with wave pockets

After my adventures with waves the other day, I tried again and this version is great. I still wouldn’t put a driver’s license or credit card in the wave pockets, but some receipts or a photo would be ok.
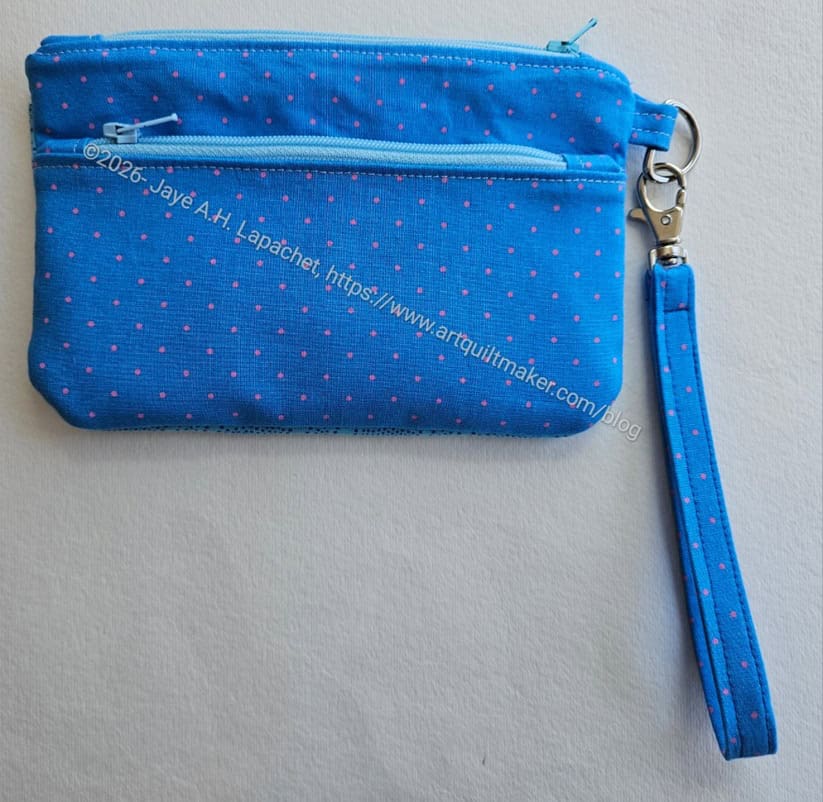
I think the non-pocket side of this pouch is a little boring, though I guess it wouldn’t be if I fussy cut some cool fabric for that side. I think extra pockets is better, though.

Metro Double Zip #2 with wave pockets - back
Metro Double Zip #2 with wave pockets – back

I made the vertical measurement of the pouch a half inch taller as well, because I thought everything at the top was a little squished. I am pleased with the way this version came out. I plan to make a few more of these. I had one special request for it, so I’ll see what I can do.

BTW, the way Sara told me to make the strap is genius! I didn’t understand the directions at first, but when I got it, it was one of those AHA moments I wish I had known years ago.

Chickadee Started

Chickadee cut out
Chickadee cut out

I posted about my progress on the guild UFO challenge. What I forgot to mention is that I started cutting out the Chickadee Backpack as well. I didn’t cut it all out, but I did start cutting from the large piece of quilted foam I had Colleen longarm for me months (years?) ago.

This month’s UFO project hasn’t been chosen yet, but making a little progress will be helpful when the Chickadee is chosen.

MaryC's Chickadee
MaryC’s Chickadee

I was also inspired by MaryC churning one out for a baby gift. She is amazing.

I was also pleased that she tried out a Sew Sweetness pattern! Many of my bag making friends don’t try Sew Sweetness patterns, despite my best efforts. Maybe she will try some of the others.

Finished 3 Zip It Ups

I made these Zip It Ups for the guild board. They are working so hard and I wanted to thank them. I know it wasn’t necessary, but I did it anyway. I consulted with MaryM when I visited her. As mentioned, I told her my plan and after some discussion, I ended up making this pattern instead of my original idea. 

This pattern has been updated to v.2, but I used Mary’s copy of the original. The v.1 ByAnnie patterns are not as detailed, but I was able to make them with no problem.

I thought they could use these portfolios for their guild work, but they are welcome to use them however they like, obviously.

I used ribbon to cover the zipper tape. I decided I was wasting the beautiful Renaissance Ribbon I have purchased by not using it, so I chose some very lush patterns to cover the zipper tape and vinyl edge. I need to use these ribbons more. They are wonderful.

We had our Board meeting at a restaurant in July and I handed them out. It was really fun and we got our work done as well. I am really pleased.


**Obviously, you should shop at local quilt shops and small businesses. However, if you are too busy or can’t find what you need there, I use Amazon affiliate links and may be paid for your purchase of an item when you click on an item’s link in my post. There is no additional cost to you for clicking or purchasing items I recommend. I appreciate your clicks and purchases as it helps support this website.

Finished: Sue’s Tadpole

SueG's Tadpole
SueG’s Tadpole

I made Sue a Tadpole. I think I made it at the same time I made Gerre’s and Carrie’Sus, but I can’t really remember.

The Tadpole is a double pouch that is designed to hold your scissors and rotary cutter. I am not sure how one could prevent the various cutters from cutting the fabric, even with the included scissor sheath pattern, but it is still a cool and interesting pouch.

I just gifted it to her last week. She had to supply photos since, apparently, I forgot to take any.

Sue's Tadpole - top
Sue’s Tadpole – top

I shortchanged Sue by not making the Scissor Sheath, which I didn’t like making and thought wasn’t that useful since making it out of fabric wouldn’t protect anything. I still want to try making a scissor sheath from the Diamond vinyl I bought from Sewfisticated. That is on the “I’ll try that someday list.”

Sue's Tadpole - open compartment
Sue’s Tadpole – open compartment

The pouch has a similar shape to the Hackney pouch, but is a little different as it has independent sections that you open from the top and the bottom.

One of the compartments has an interior zipper pocket. More pockets are better, but I am not sure how I would use this one. It is very compact, which is nice. 

Sue gave me good feedback on this pouch, so I am happy. 

Finished Mini One Handle Tote #3

Finished: Mini One Handle Tote #3

I talked about the Mini One Handle Tote #3, but never showed the finished product. I didn’t end up adding a pocket, but I am still thinking about that.

I like this one a lot. I think it is the fabric, which is one I wouldn’t normally choose for piecing, but is perfect for this bag. The print size shows off the motifs of the fabric very well for this size of bag.

I still want to make more of these, possibly for a guild retreat. I have so many other projects to make, however. We’ll see. They are a good palate cleanser project.