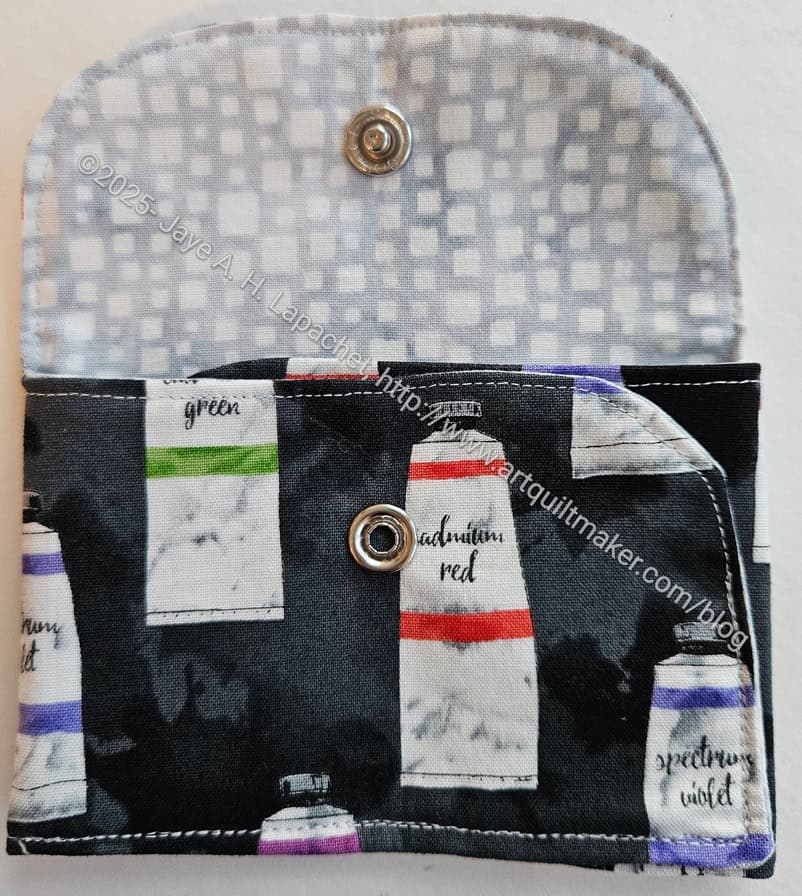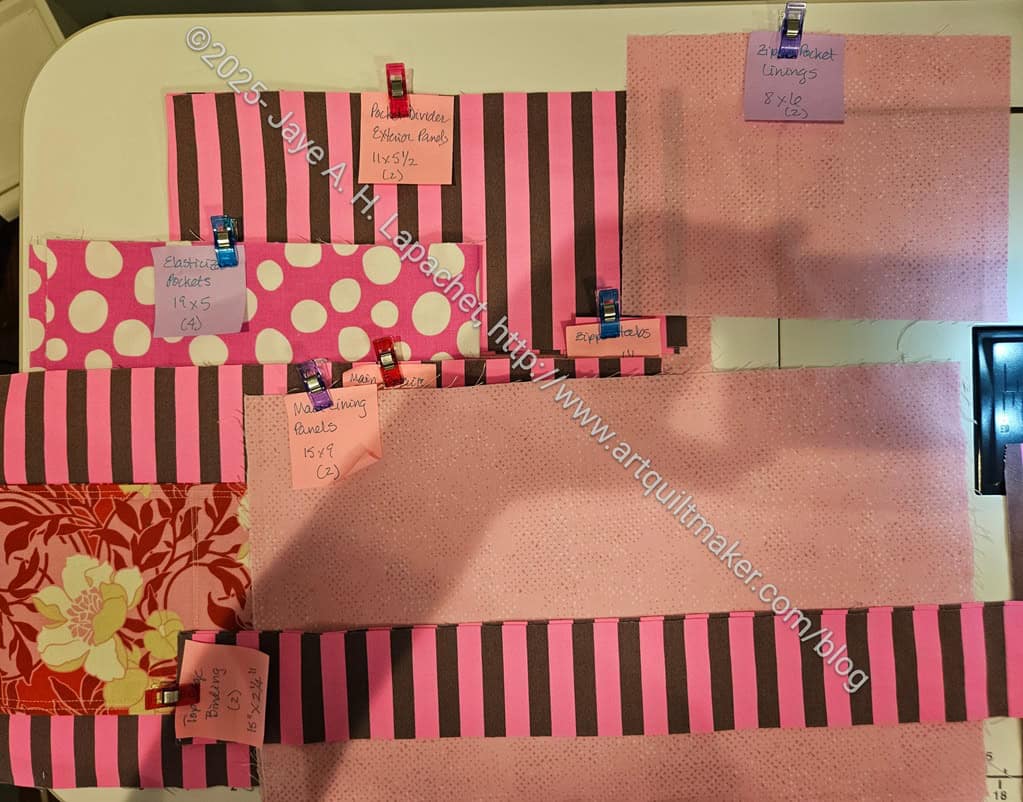
I finished the Cosquilla pretty quickly, considering I only started it a few days ago. In general, this pattern has only a few pieces, so is easy to cut out. The instructions are excellent and there was only one confusing part where I needed to watch the video to complete.
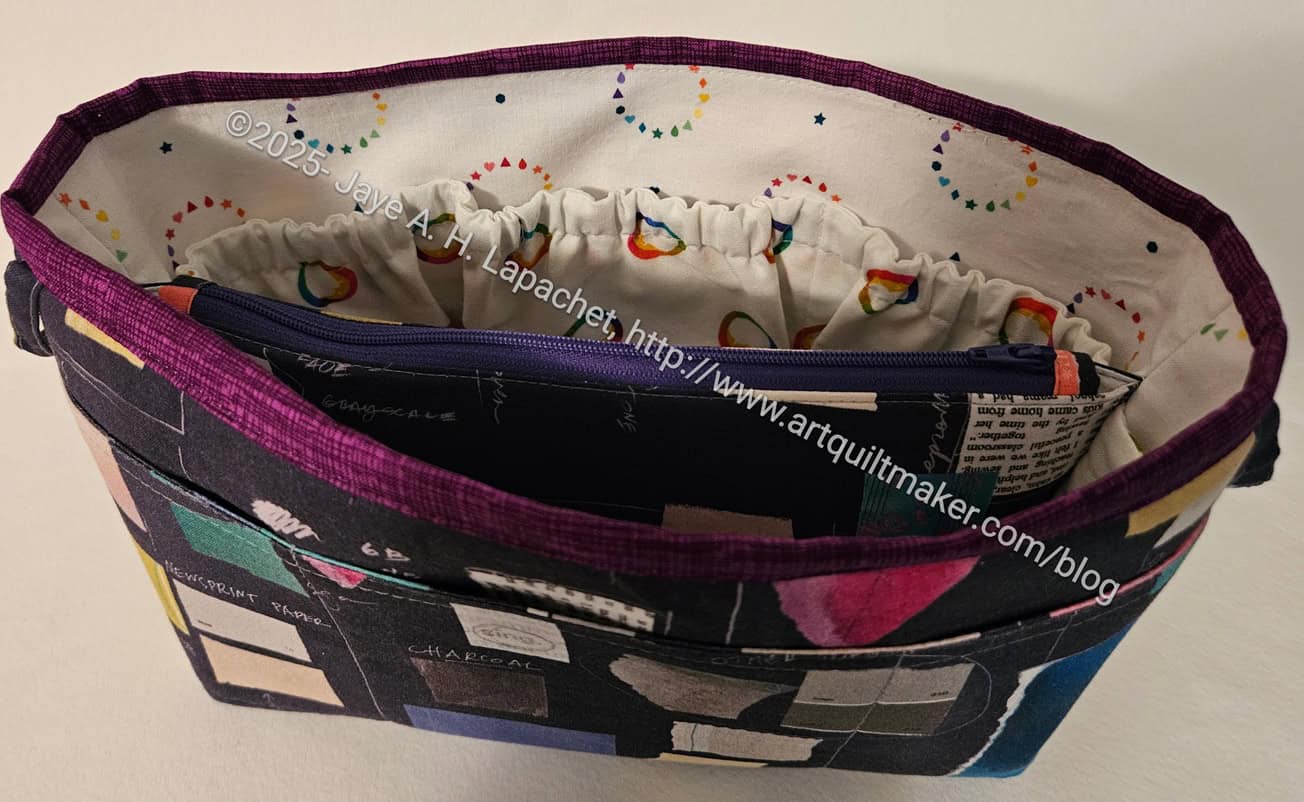
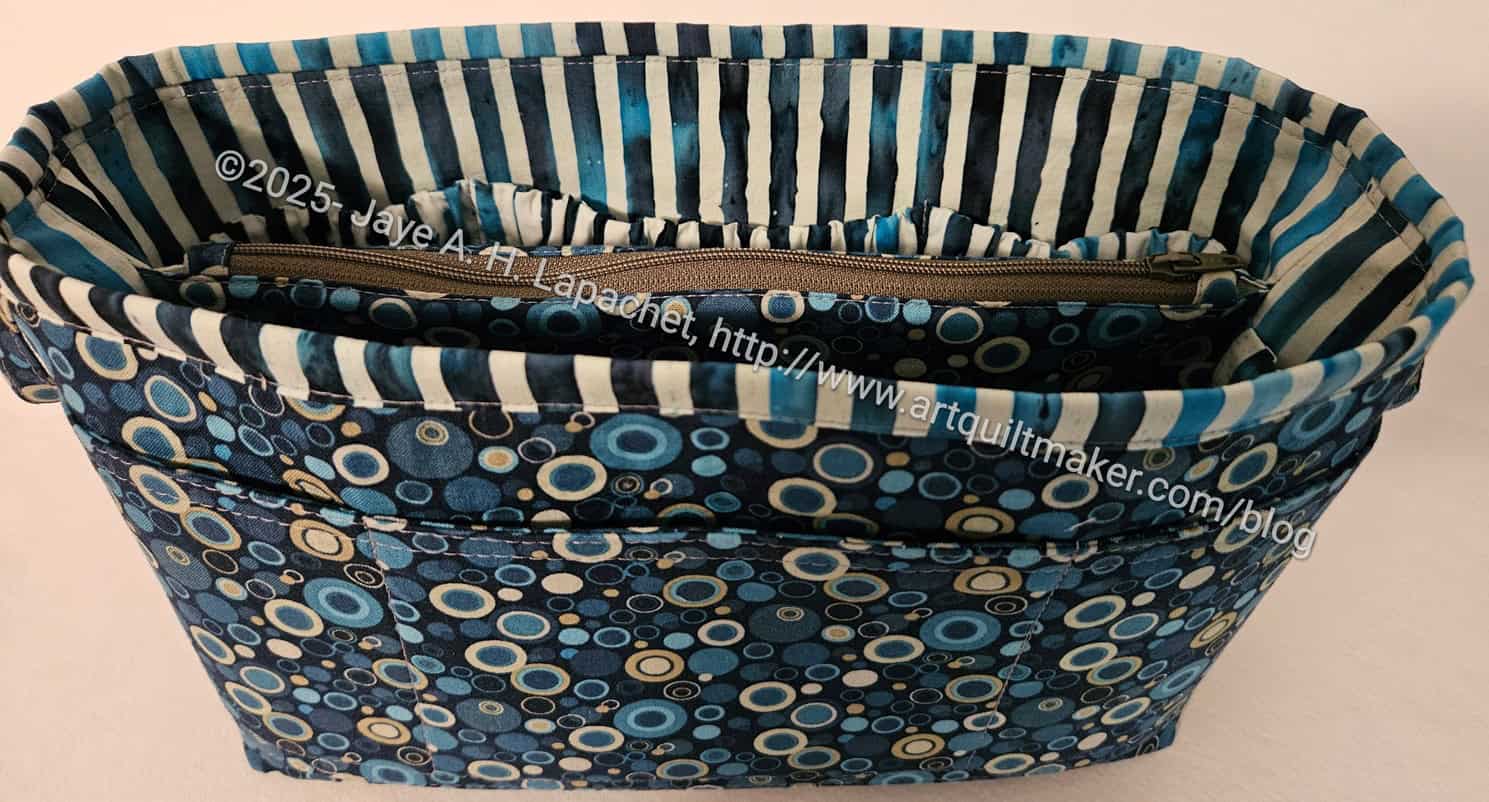
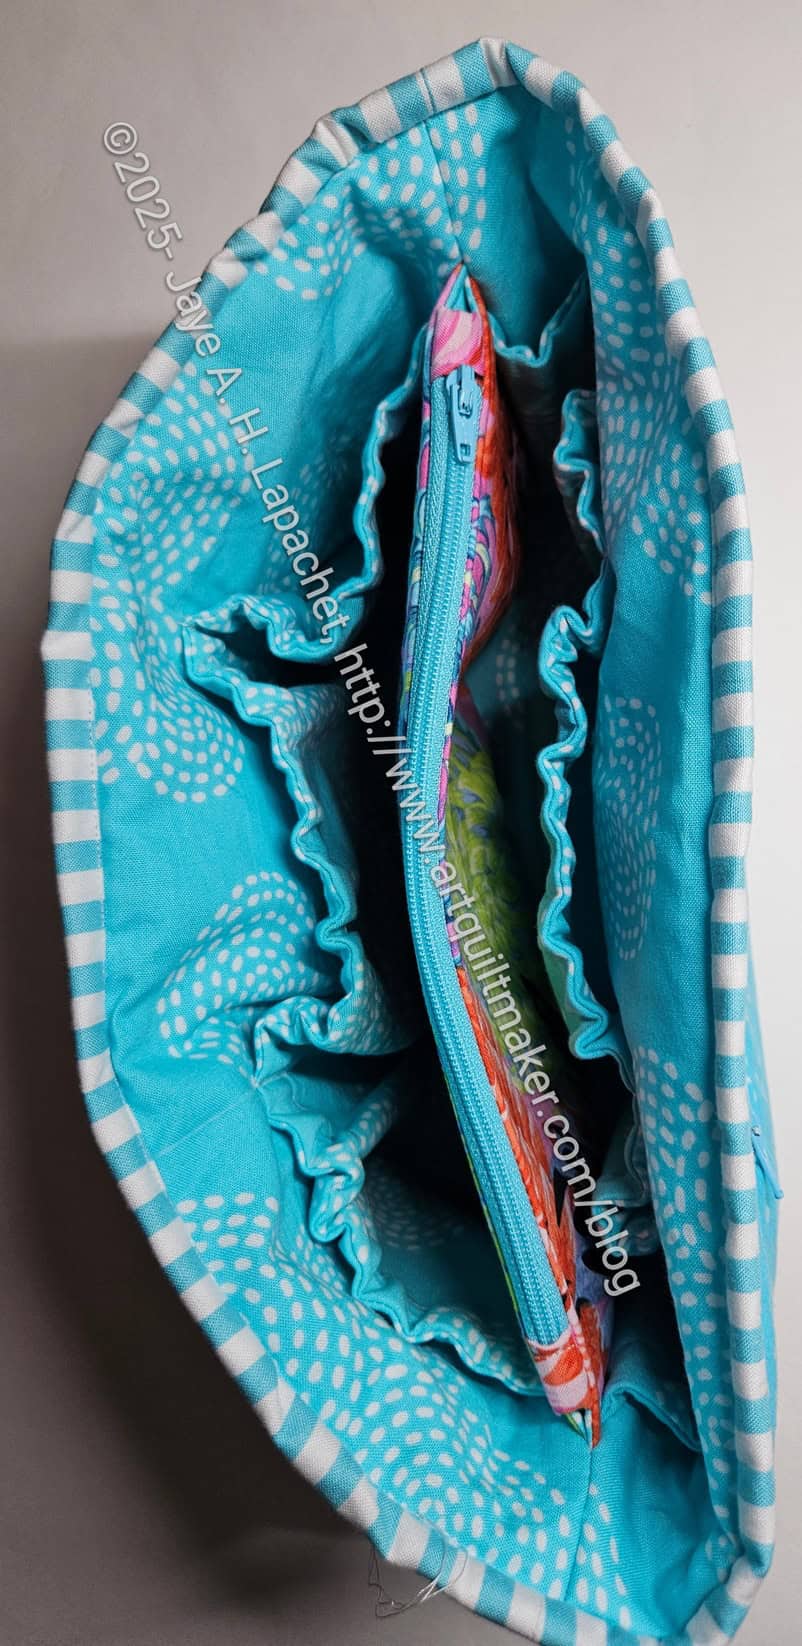
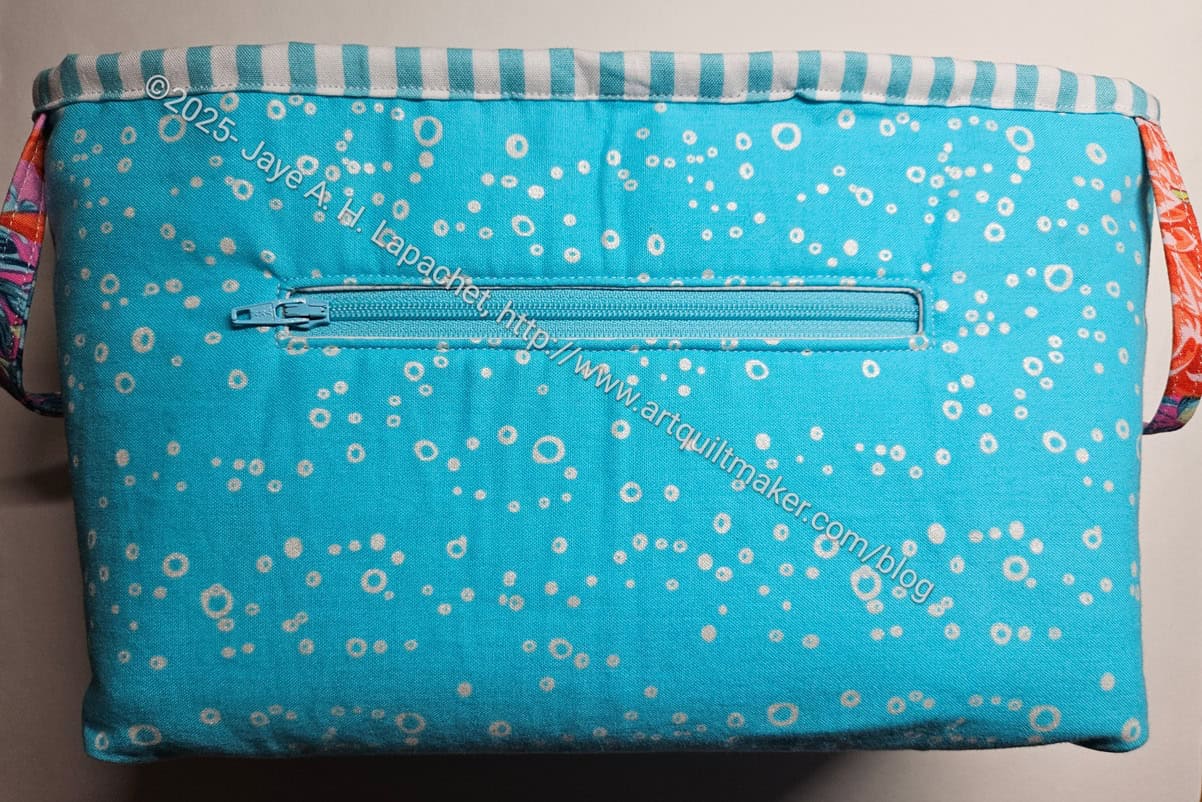
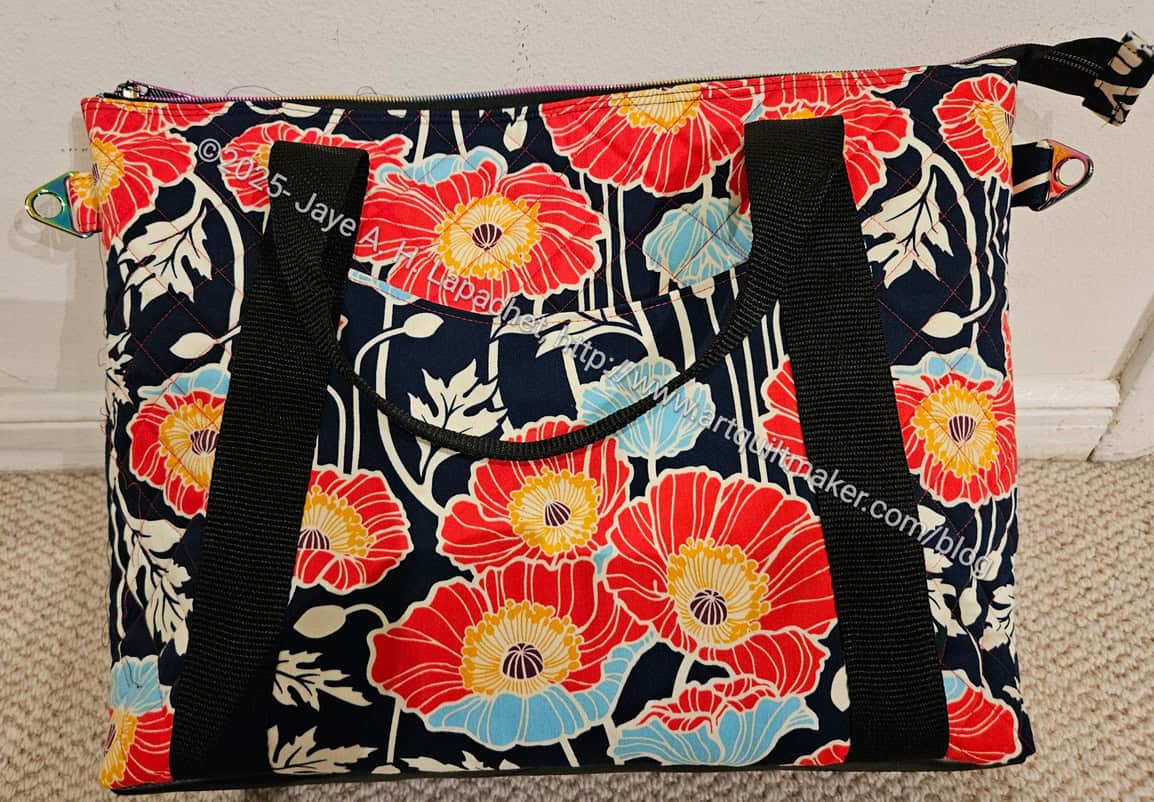
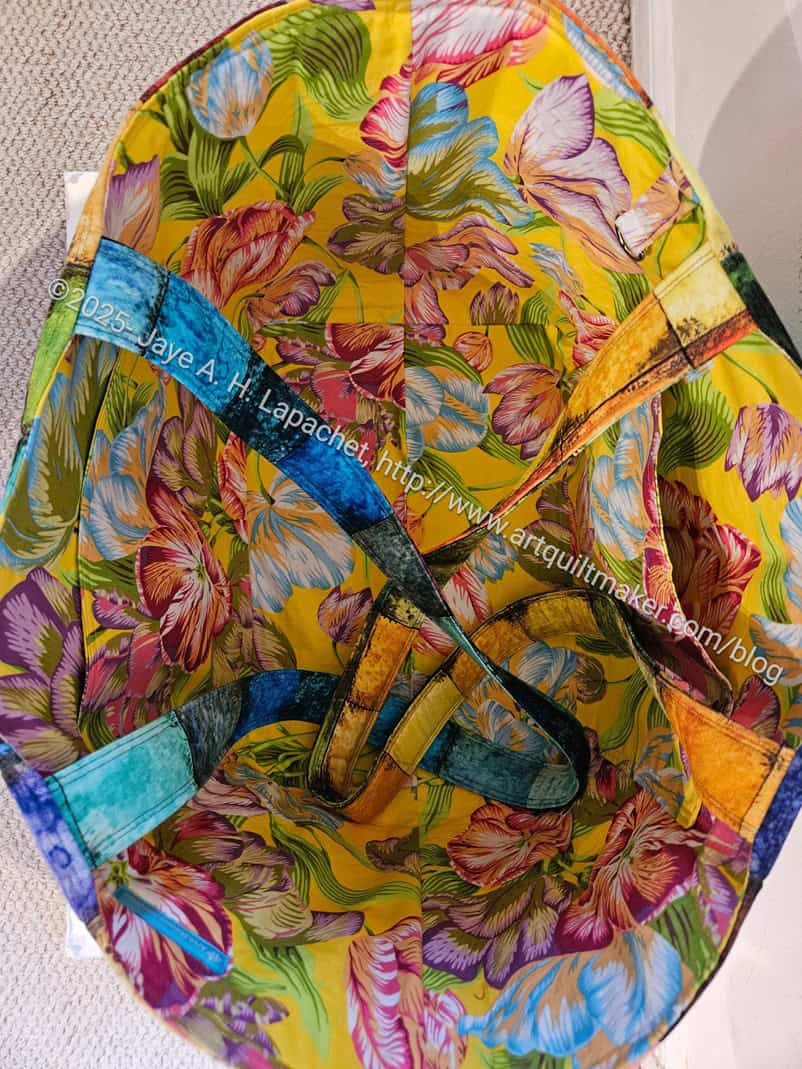
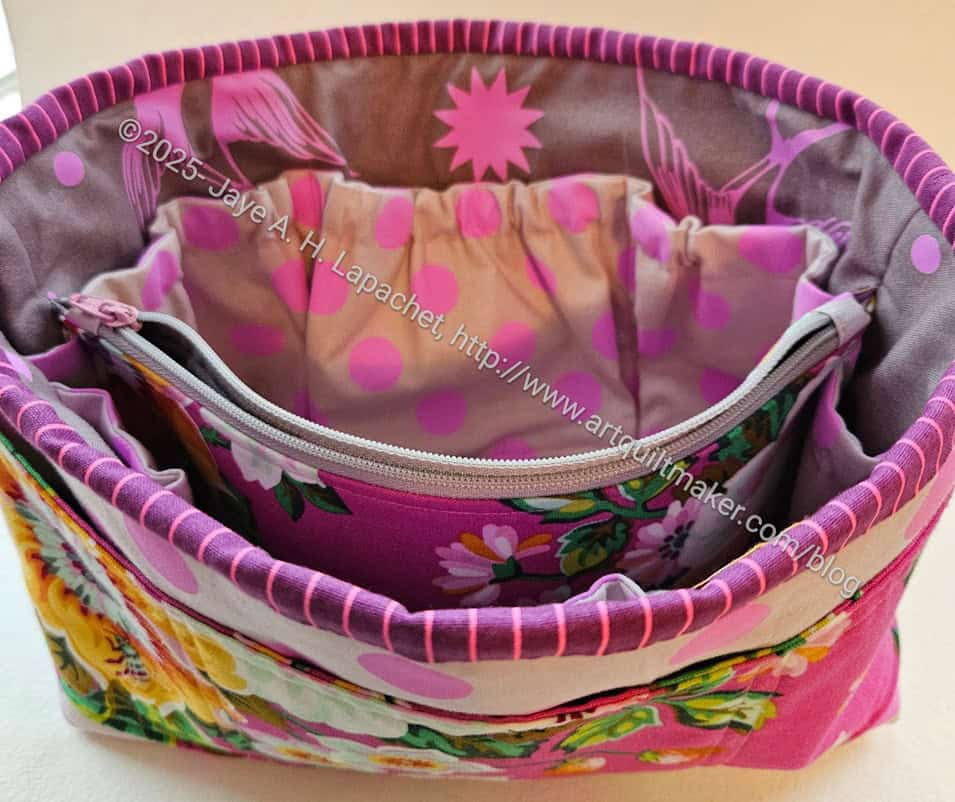
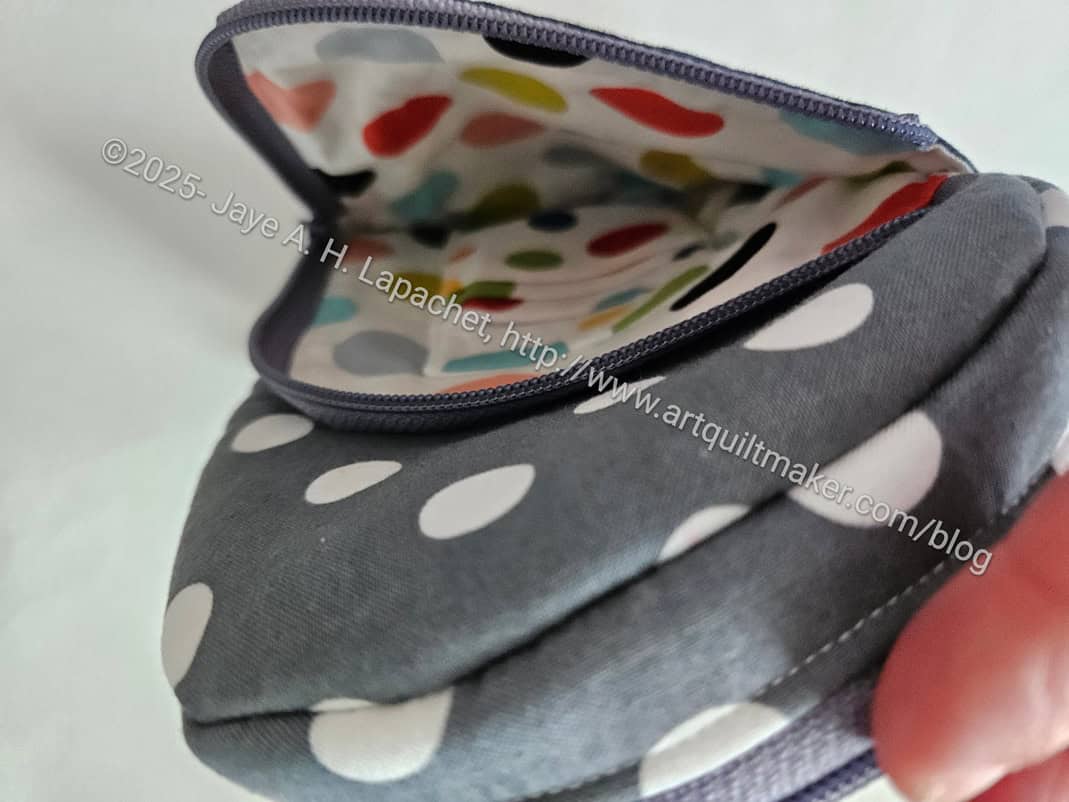
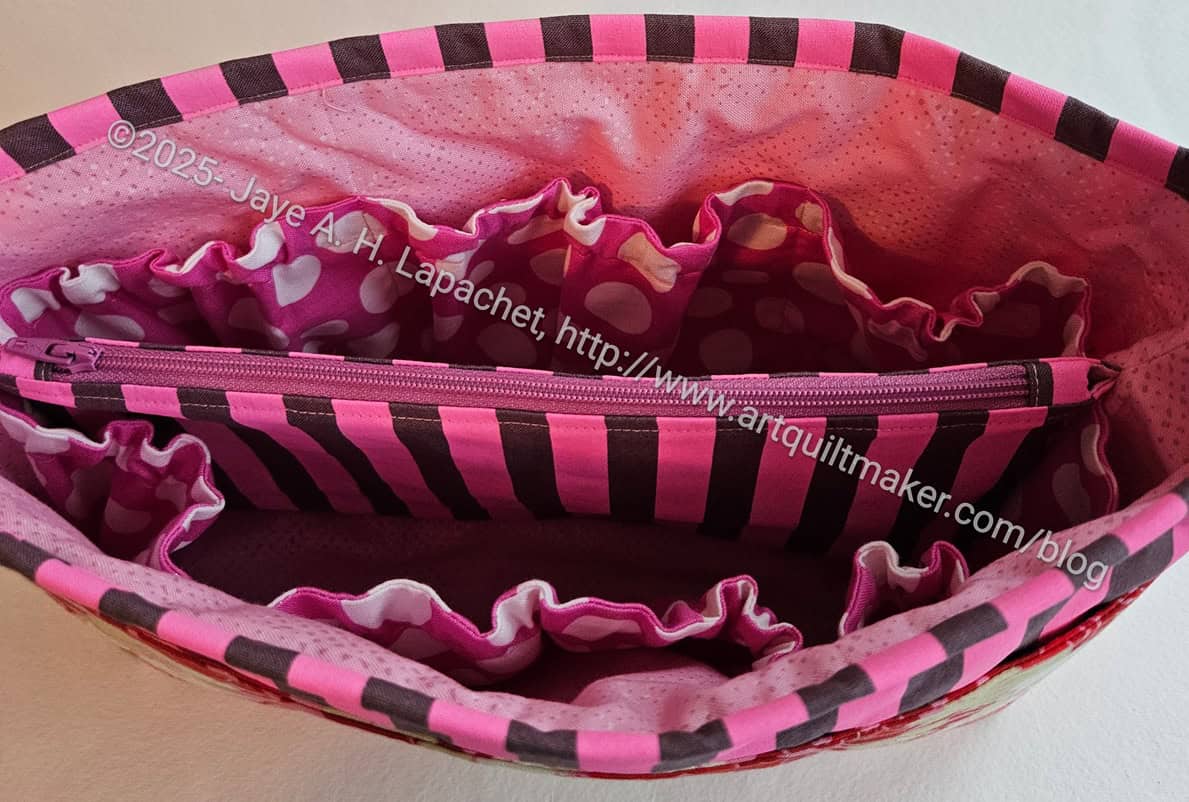
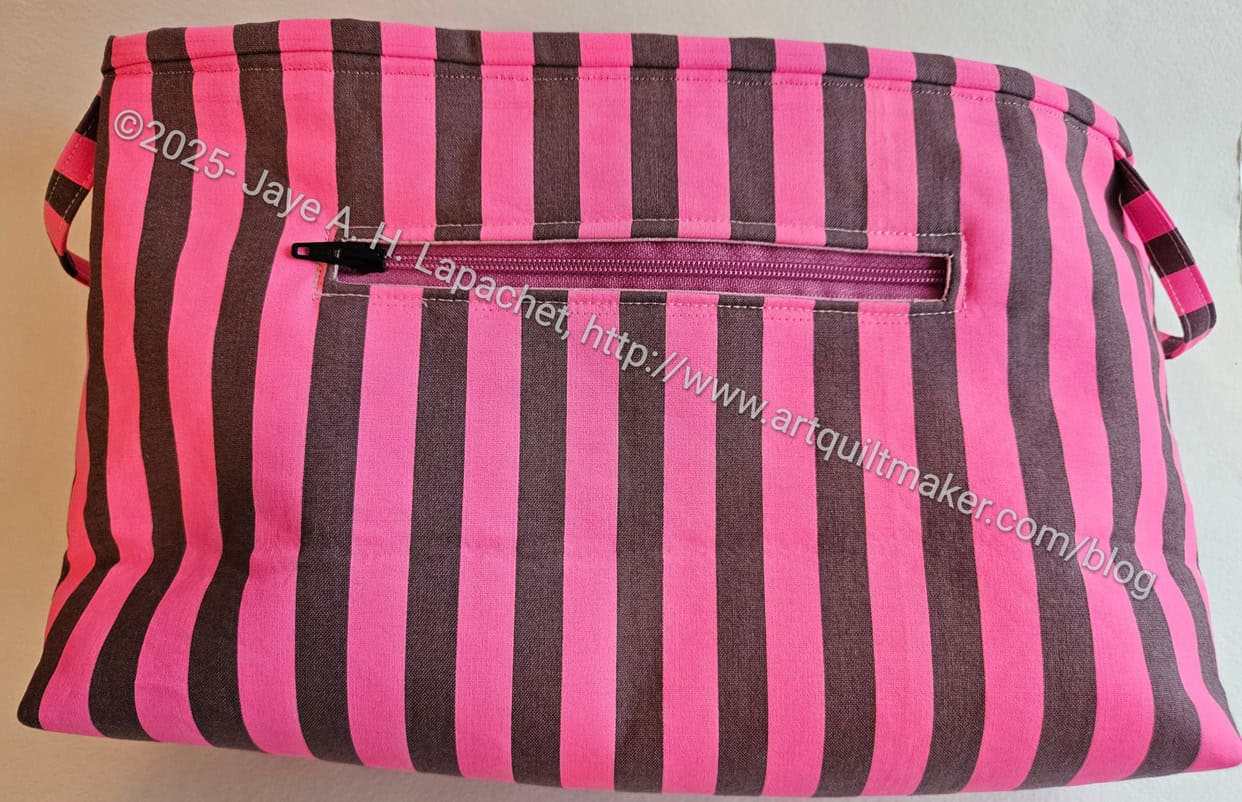
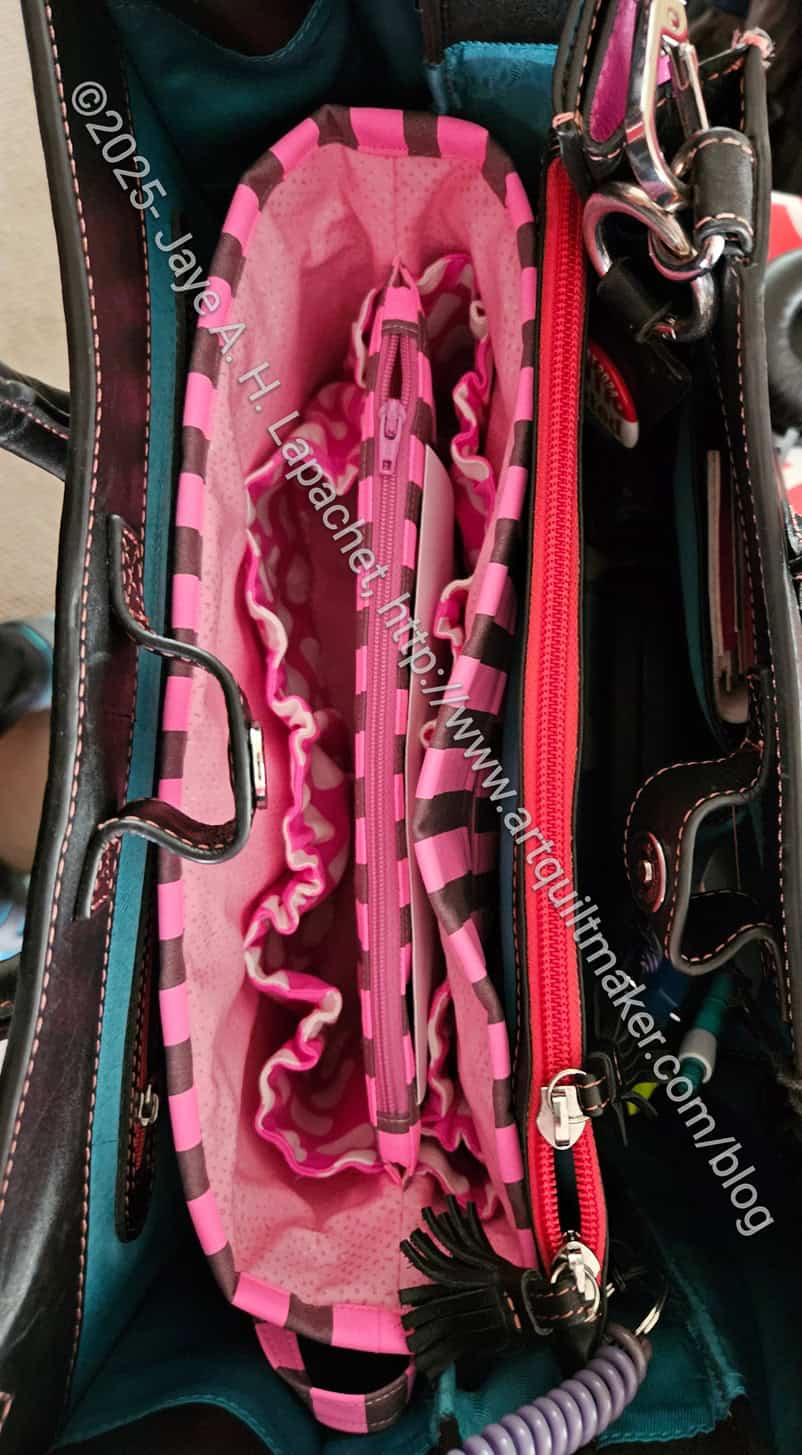
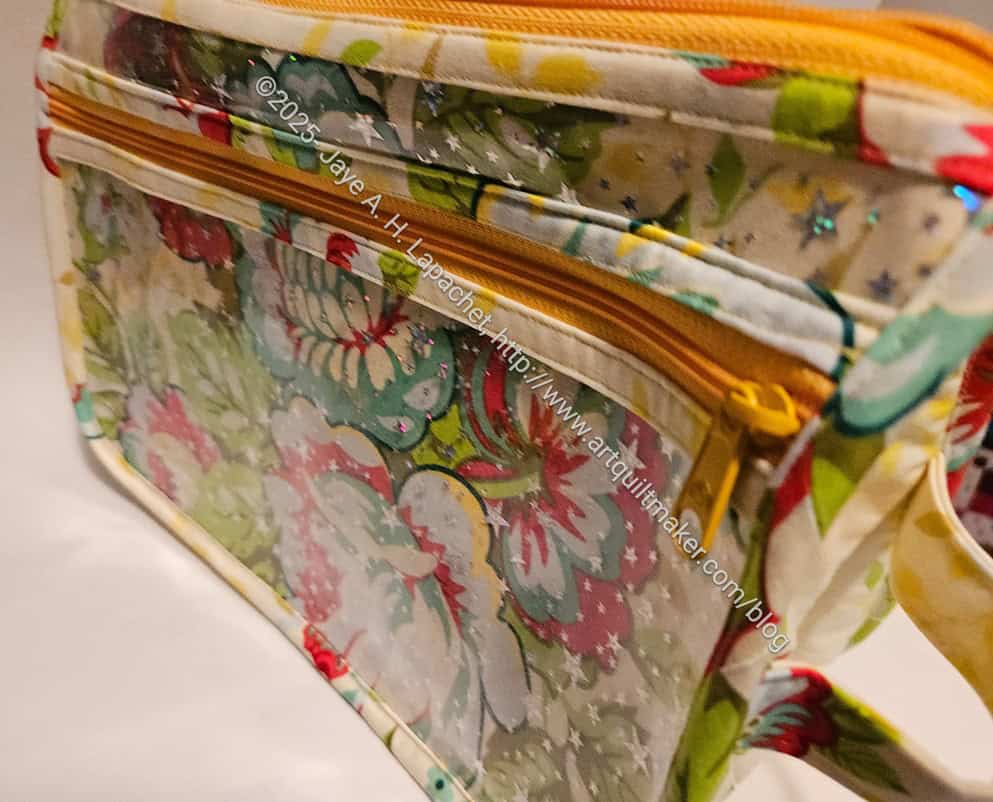
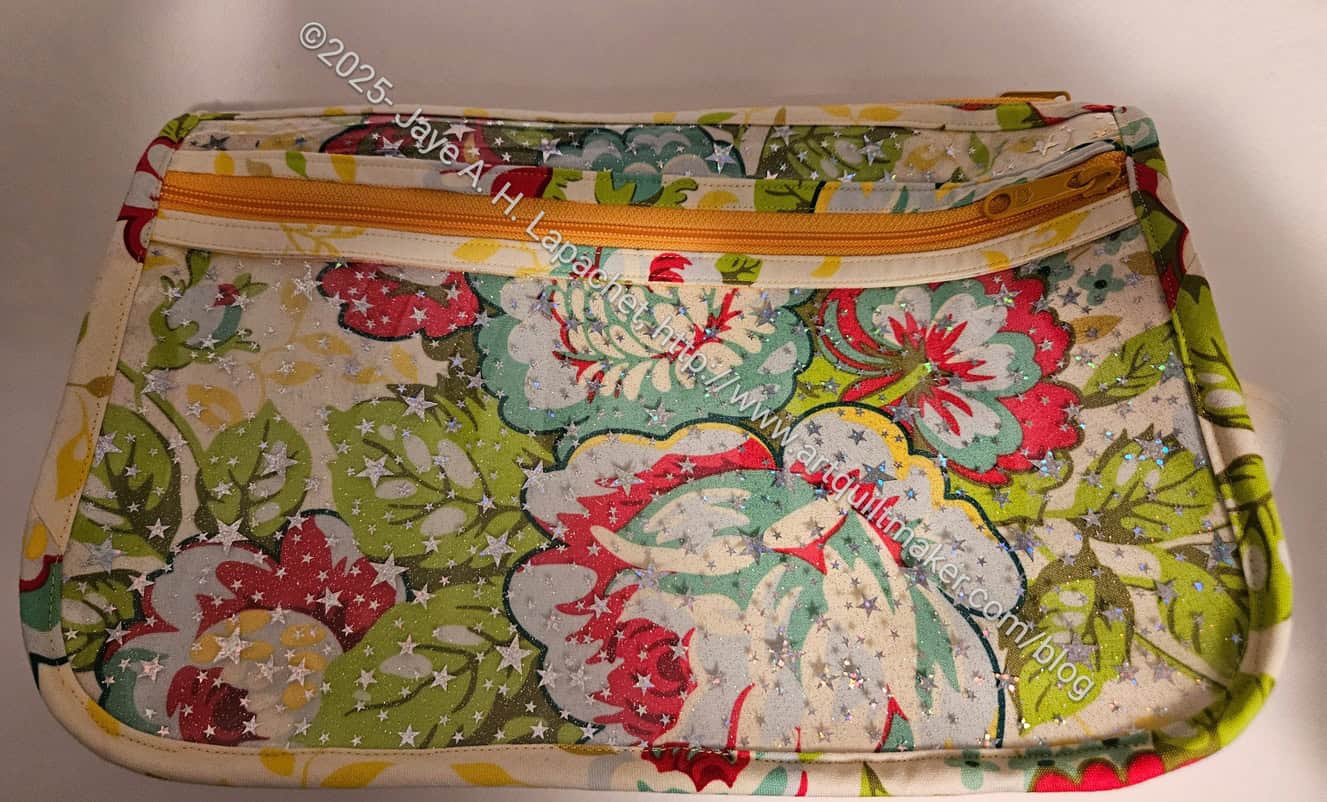
I was able to use one ByAnnie 30 inch double pull handbag zipper for both of the zippers needed in the project. The yellow of the zipper doesn’t go exactly with the fabric I chose, but I think it looks good. There are not as many zipper colors as fabric colors.
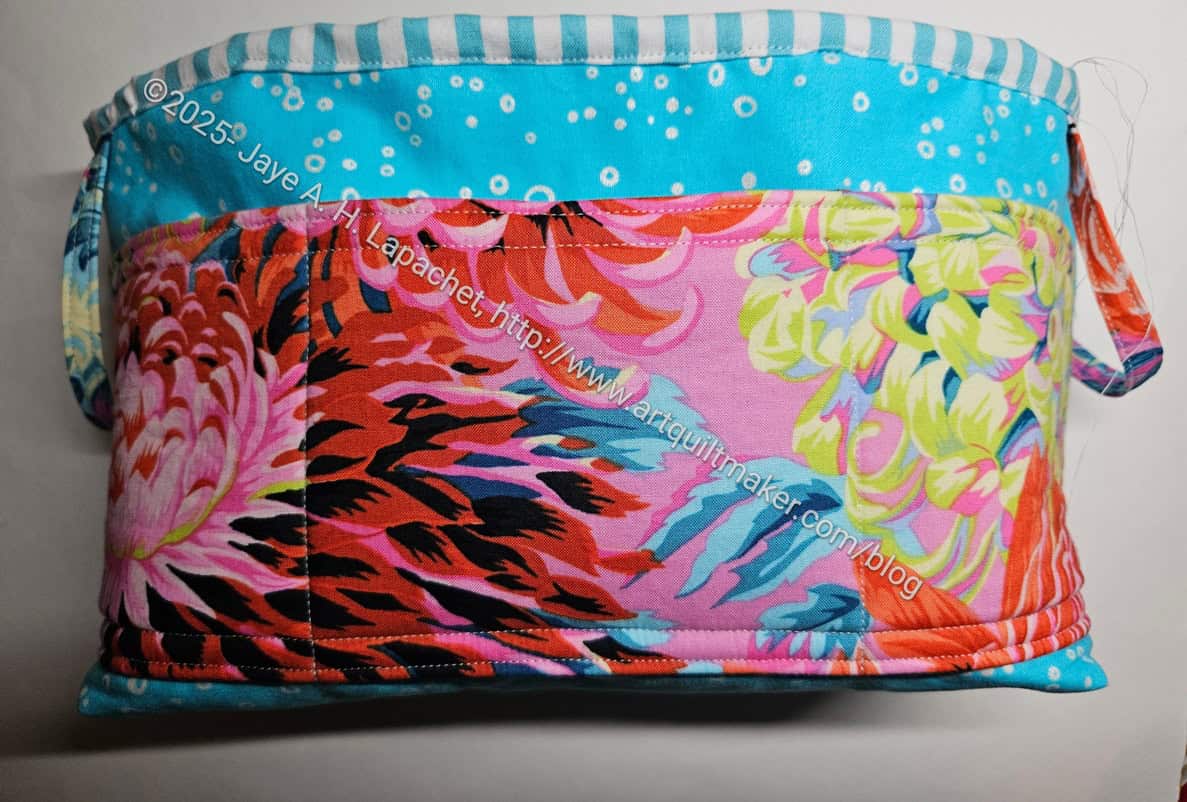
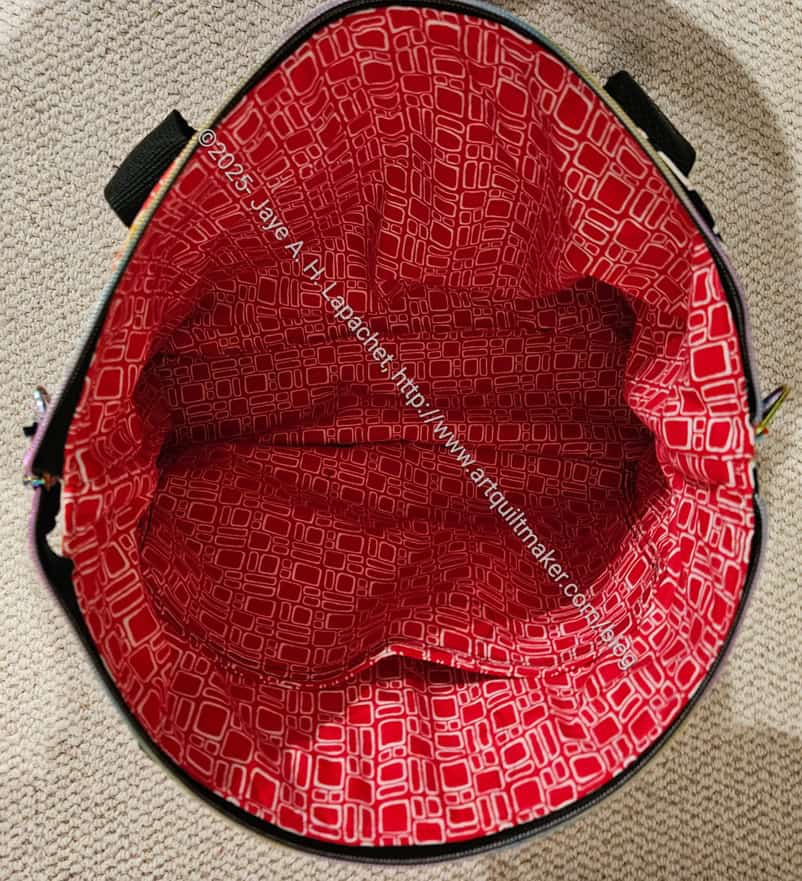
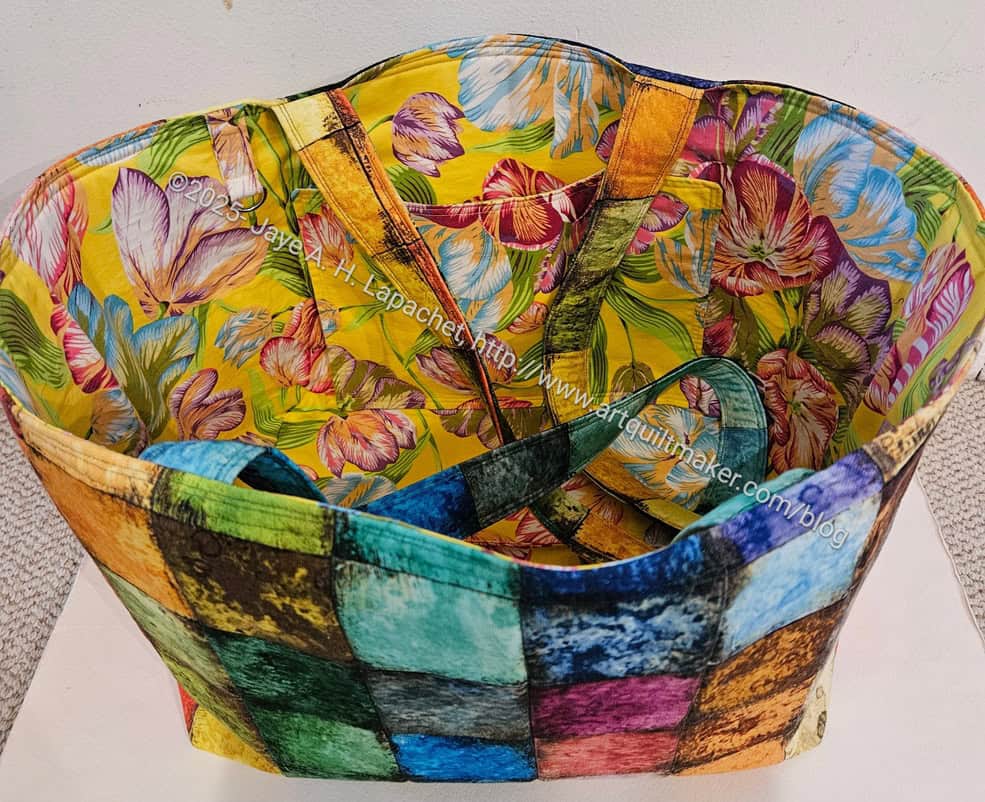
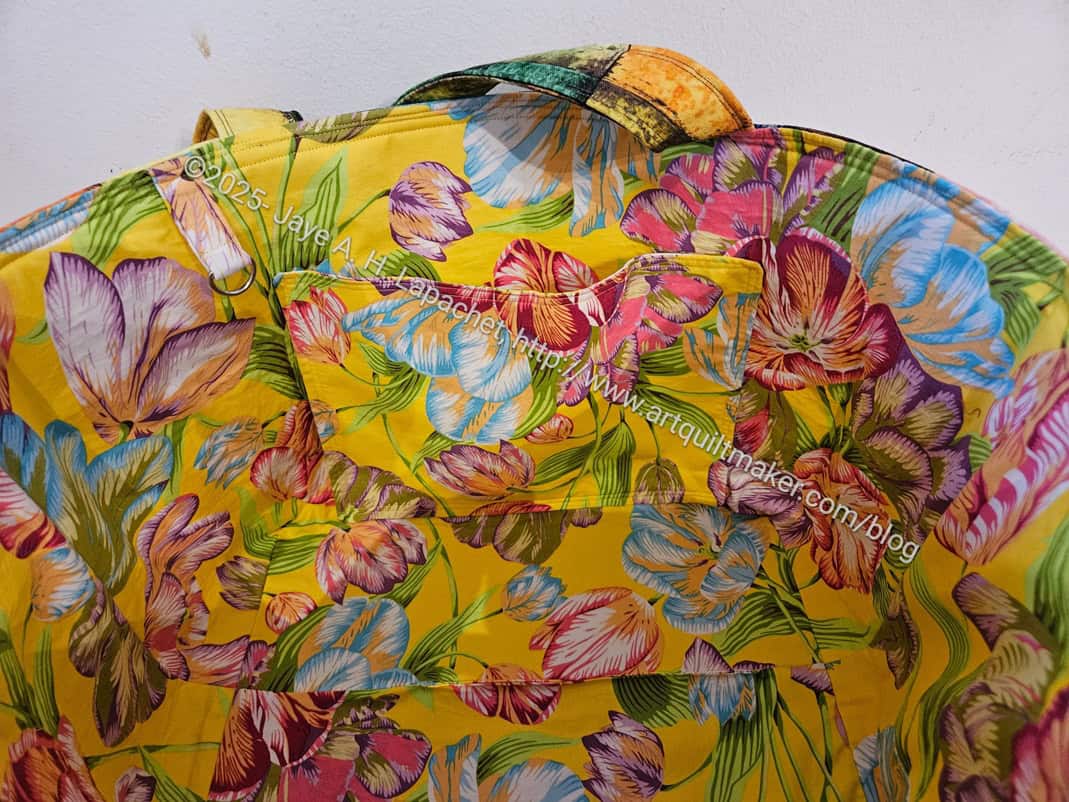
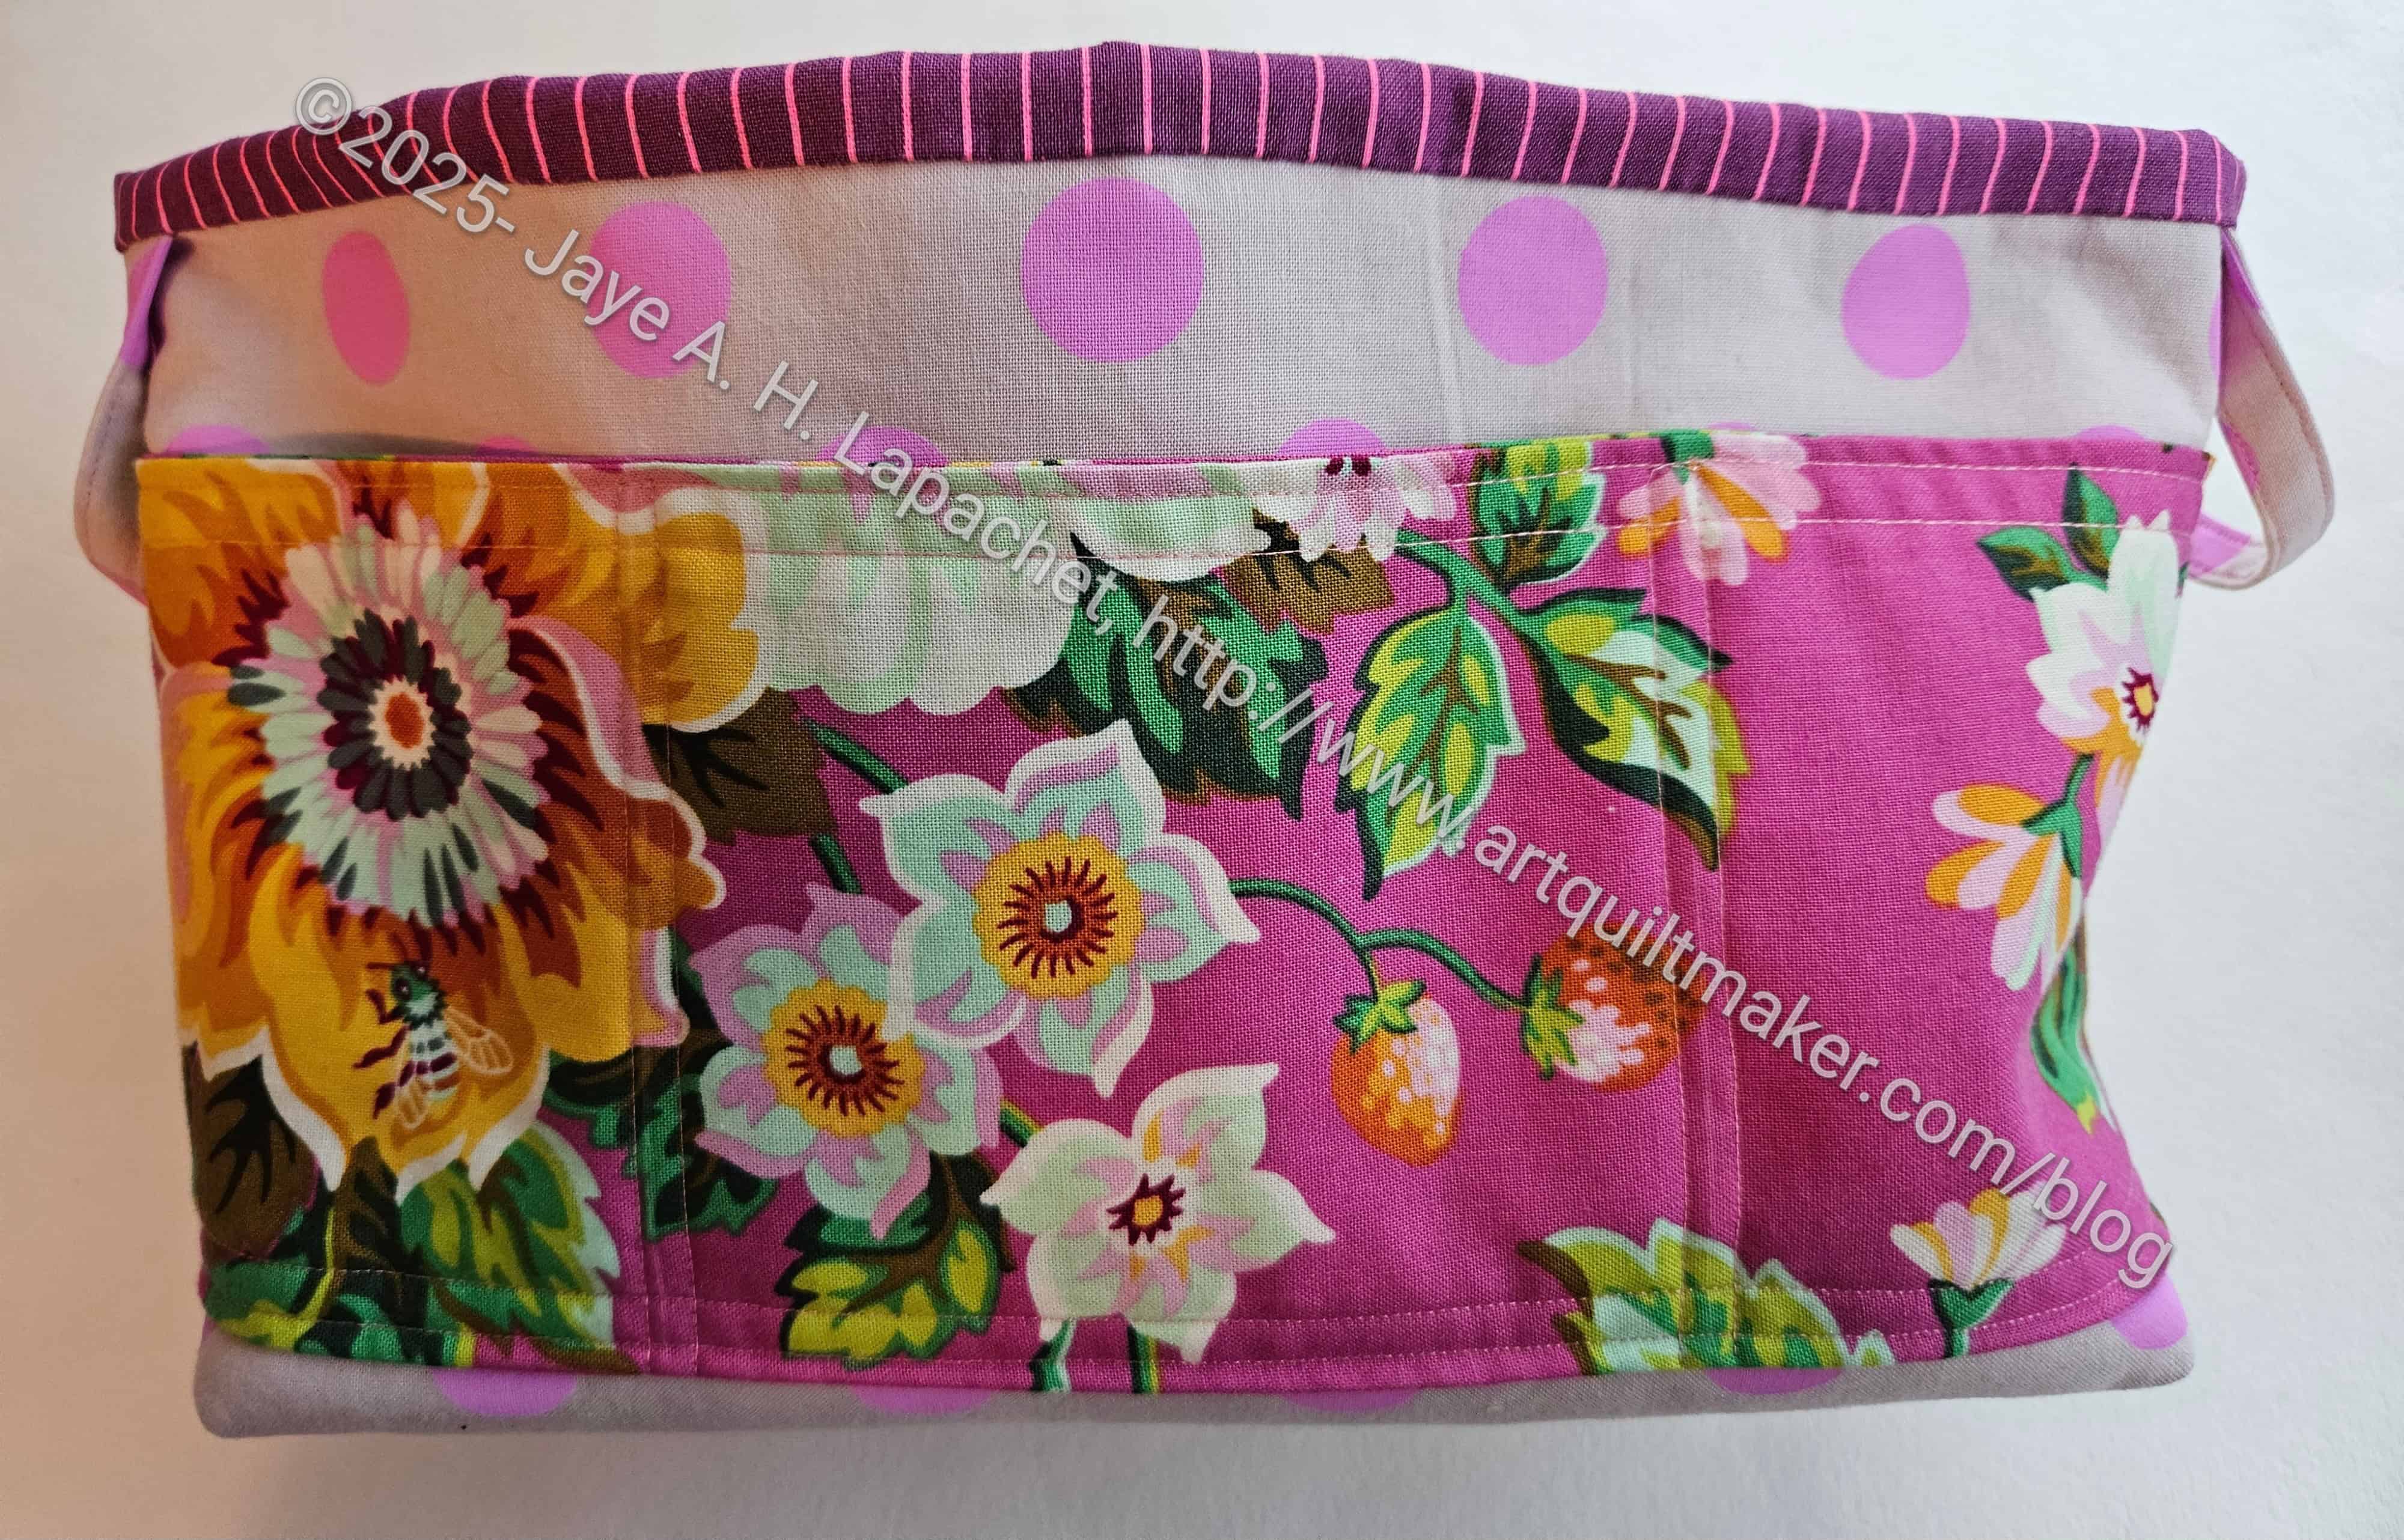
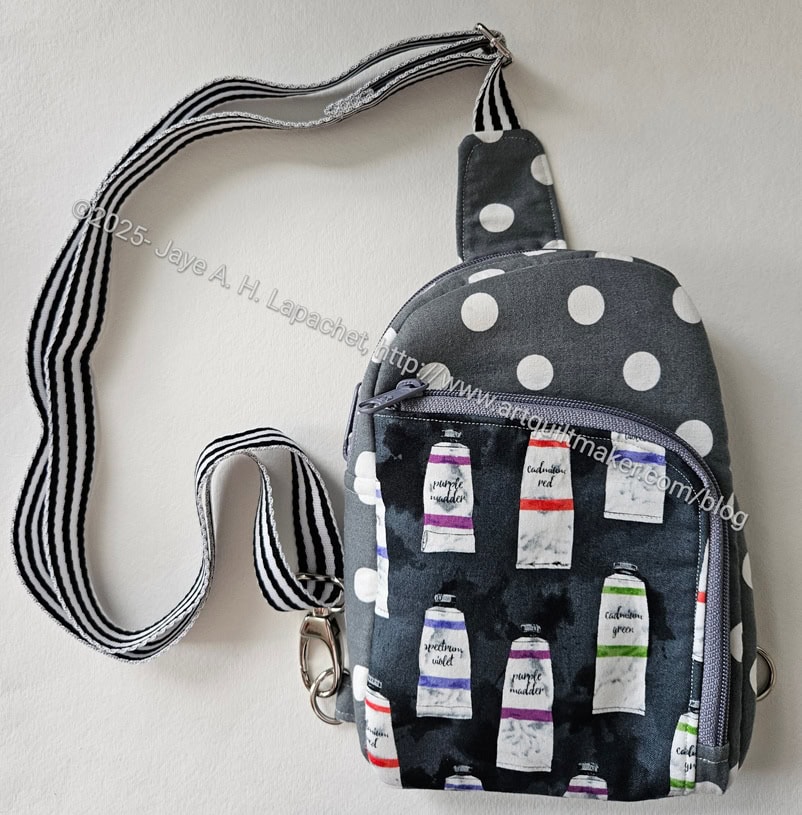
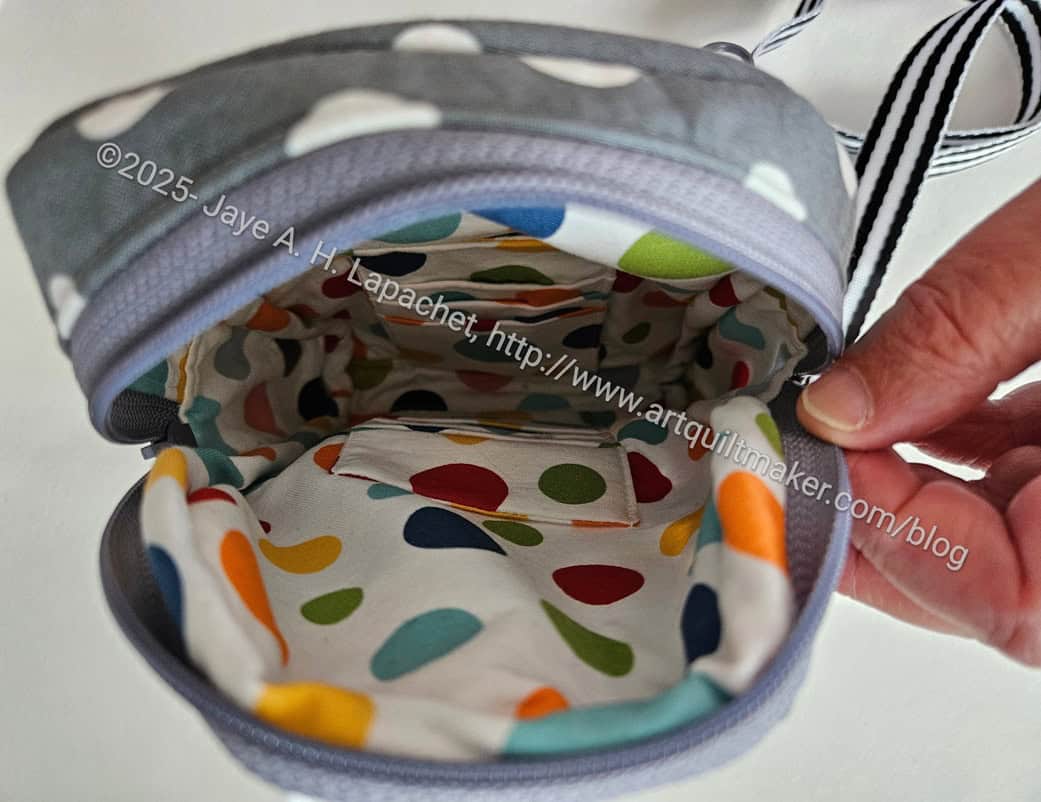
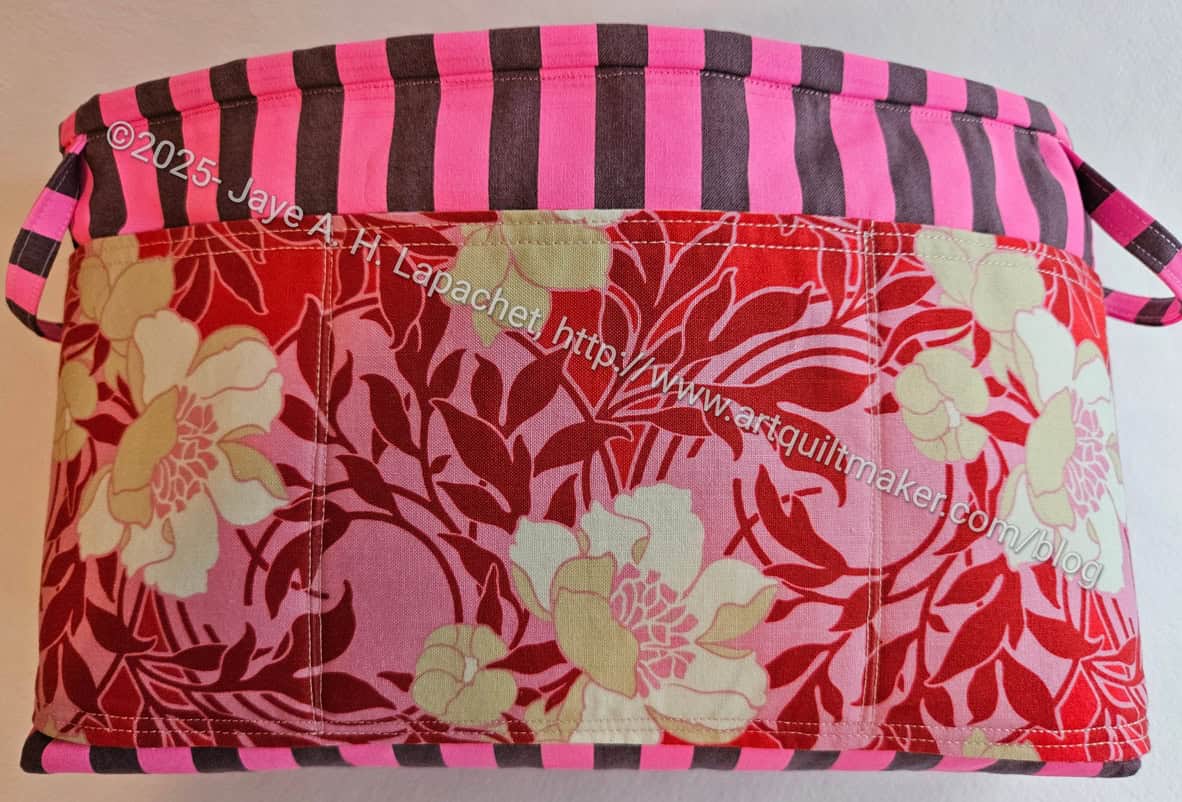
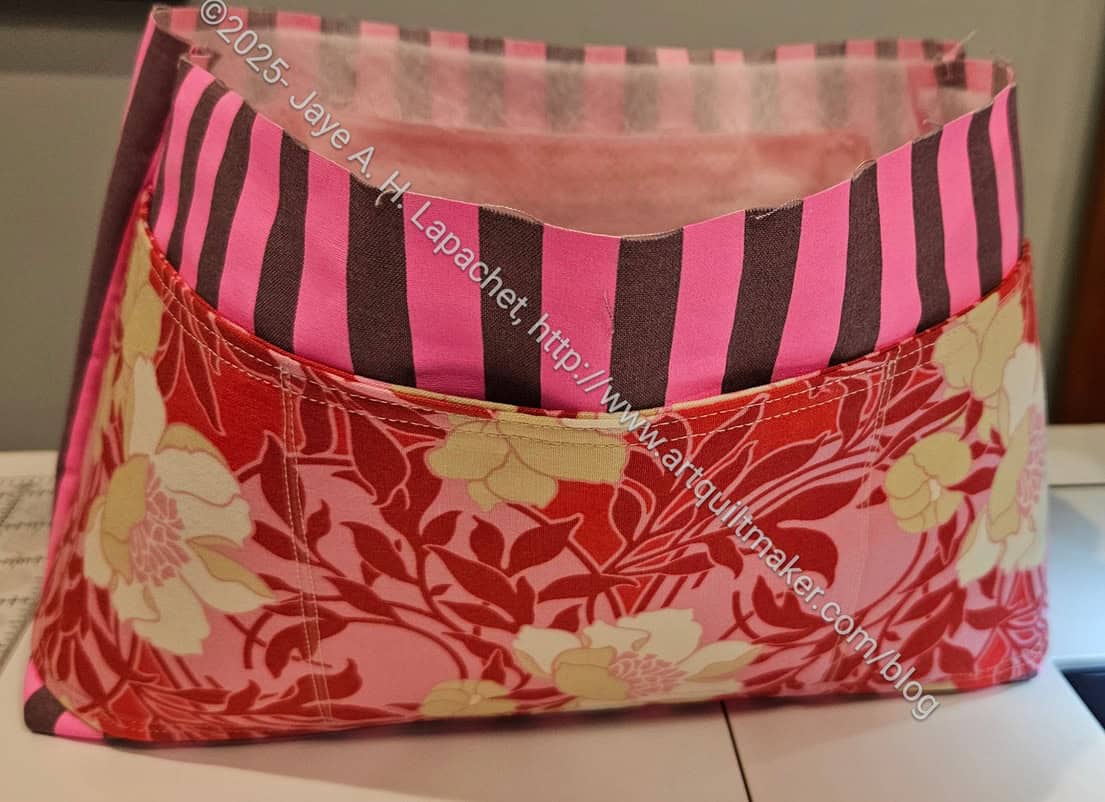
This is the first time I have used the same fabric for both the exterior and interior. I don’t know why I never thought of it before (DUH!), but I think it worked really well. There wasn’t a lot of exterior and there were some focus type motifs that I fussy cut in order to make the parts interesting. I still wanted the whole pouch to read as yellow, so I kept that in mind.
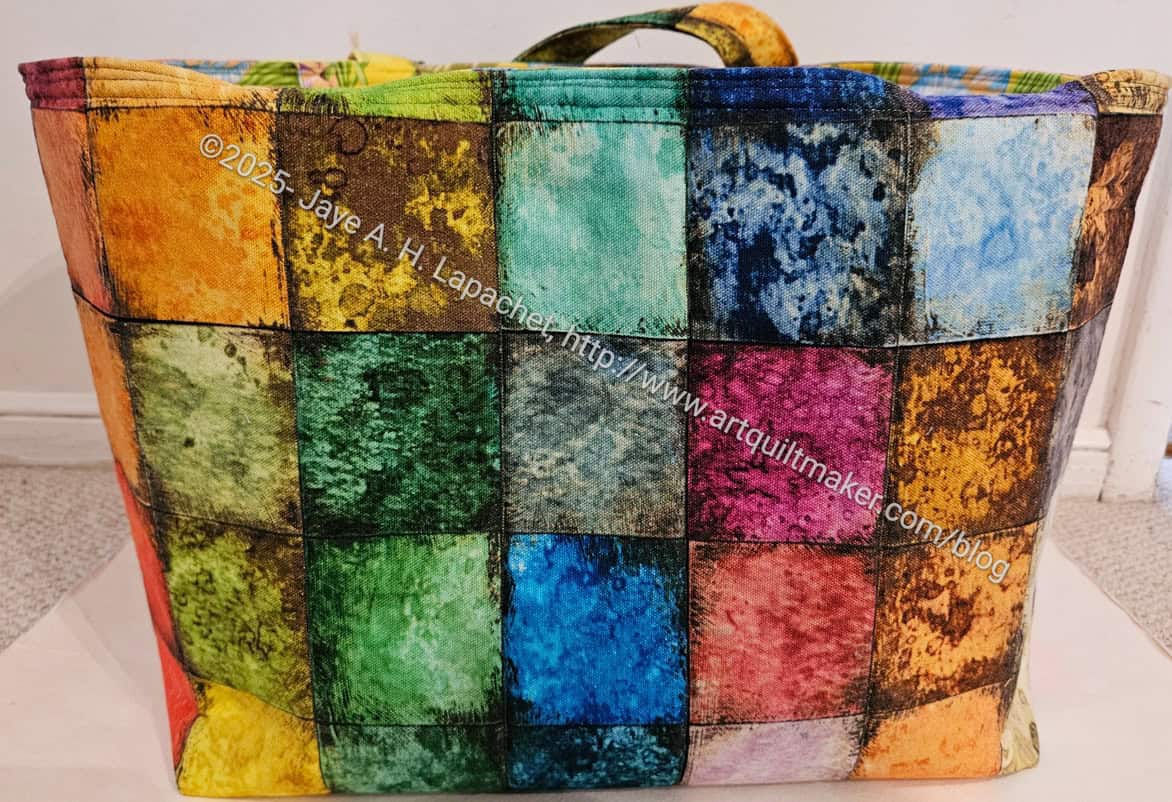
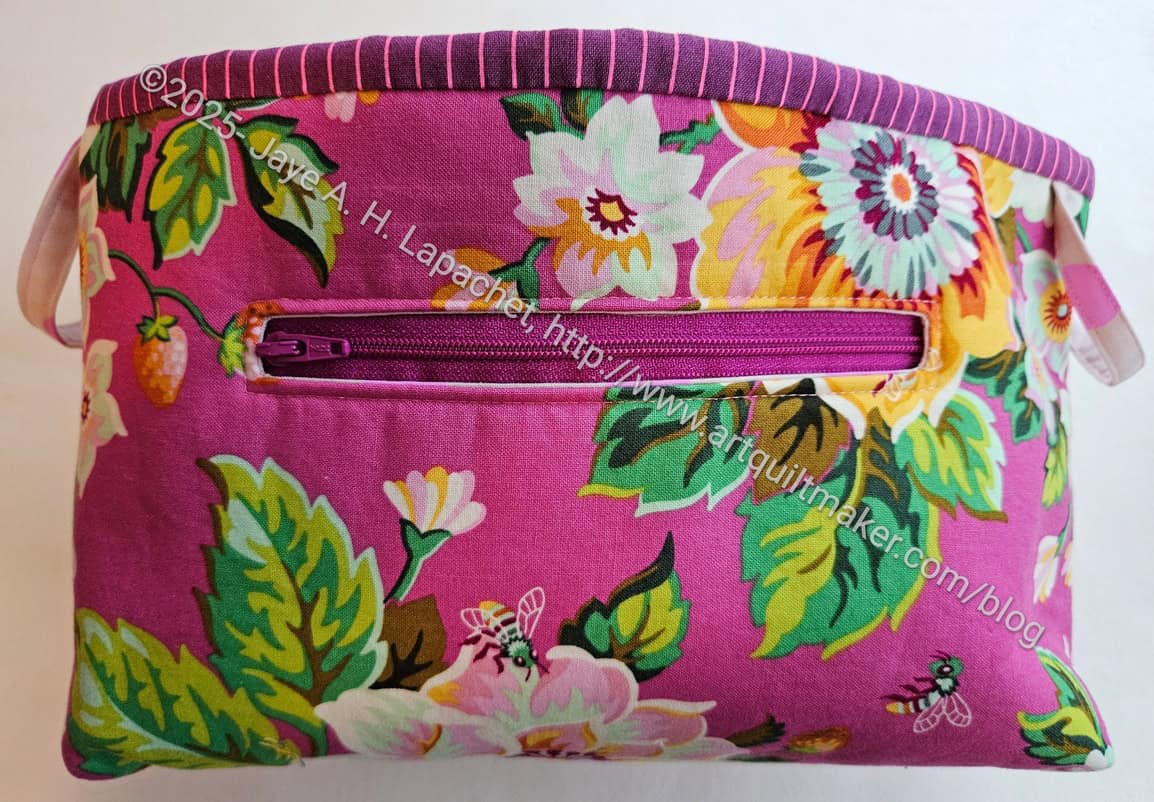
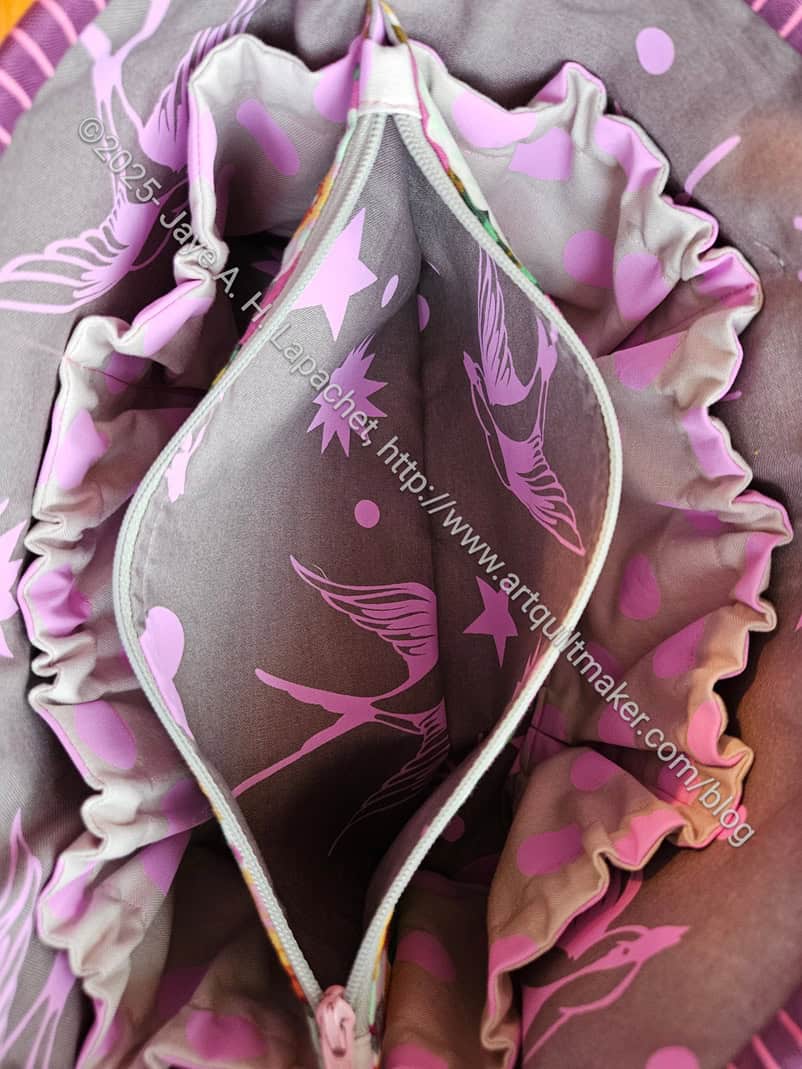
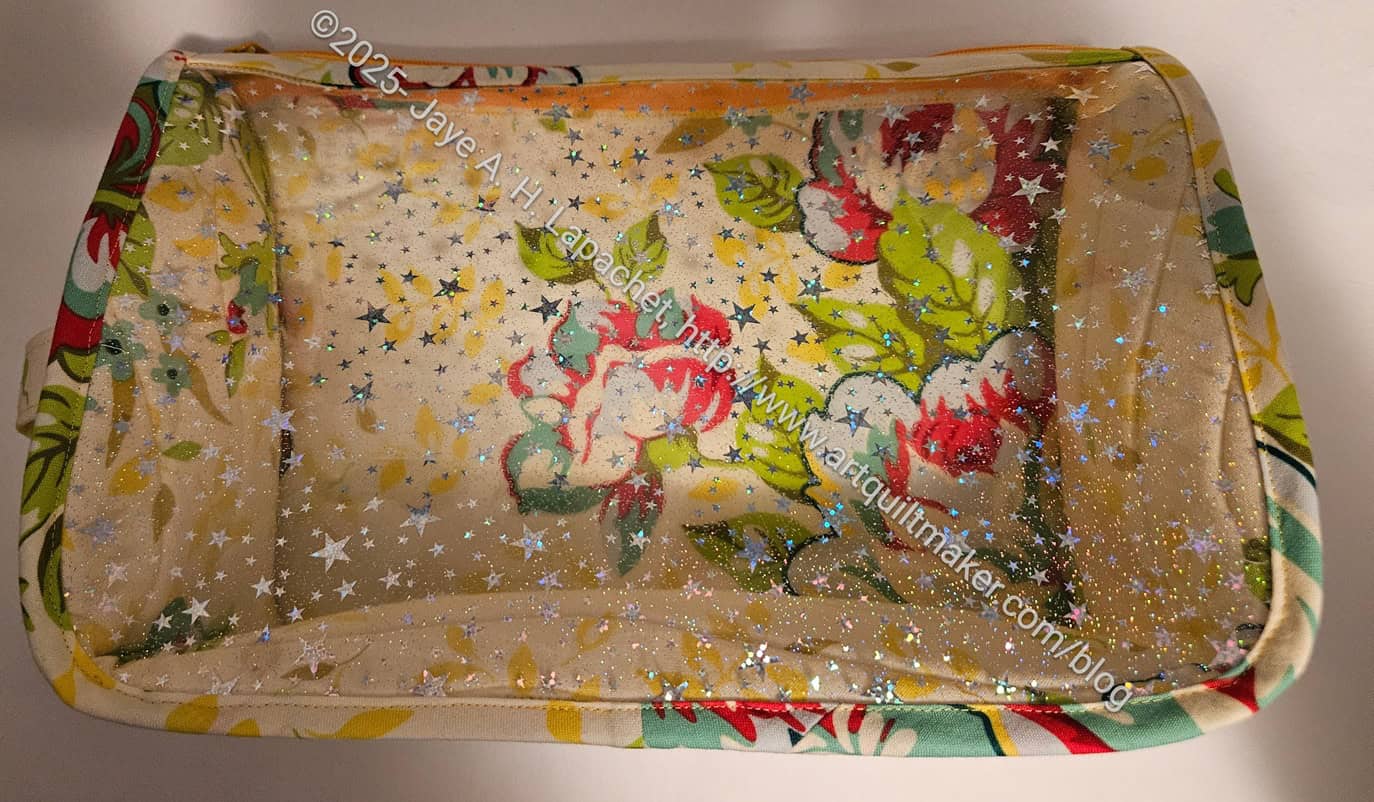
This pouch, as you can see, has a lot of vinyl. I recently replenished by supply of vinyl. Mostly I like the glitter vinyl, but this time I also bought some vinyl with stars printed on it. I like the glitter vinyl, because it doesn’t interfere with the pattern on the fabric. In this case, I used the star vinyl and I think it allows the fabric motifs to shine as well. The other thing I like about these two vinyl patterns is I can use every inch. I don’t have to worry about the motifs on the vinyl being in the wrong direction when the bag is finished.

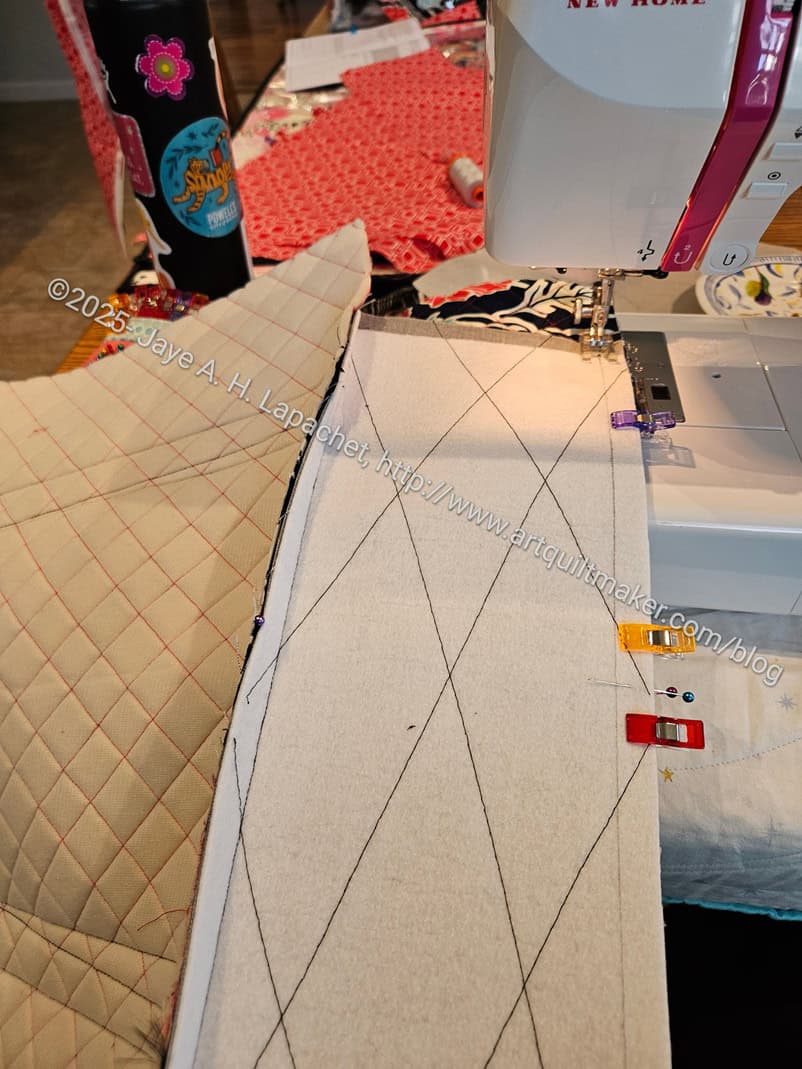
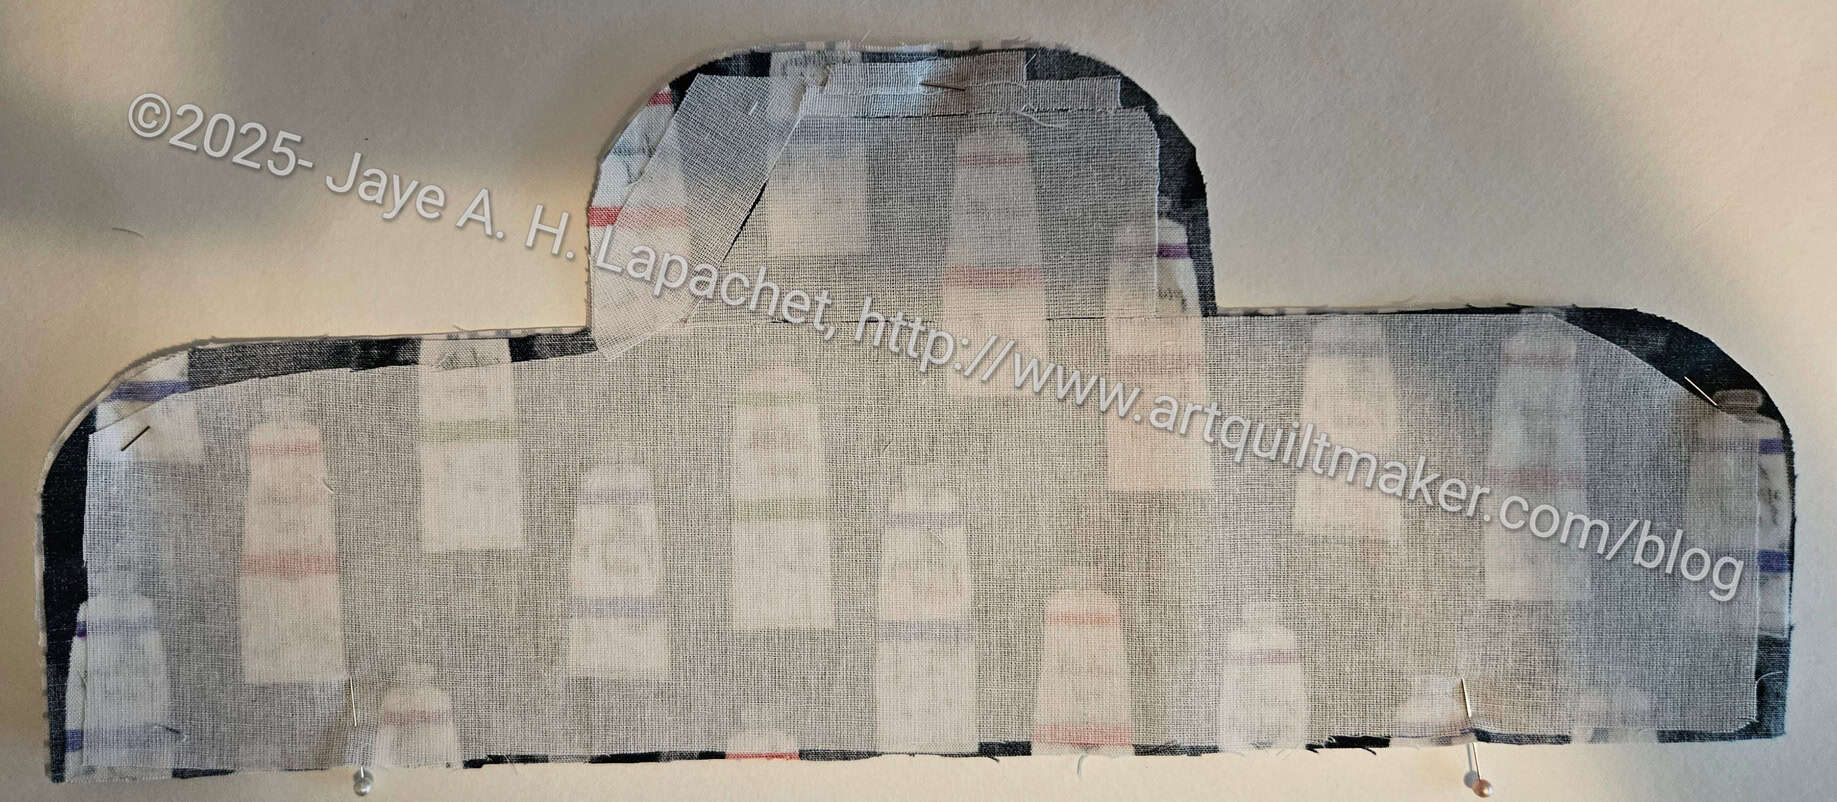
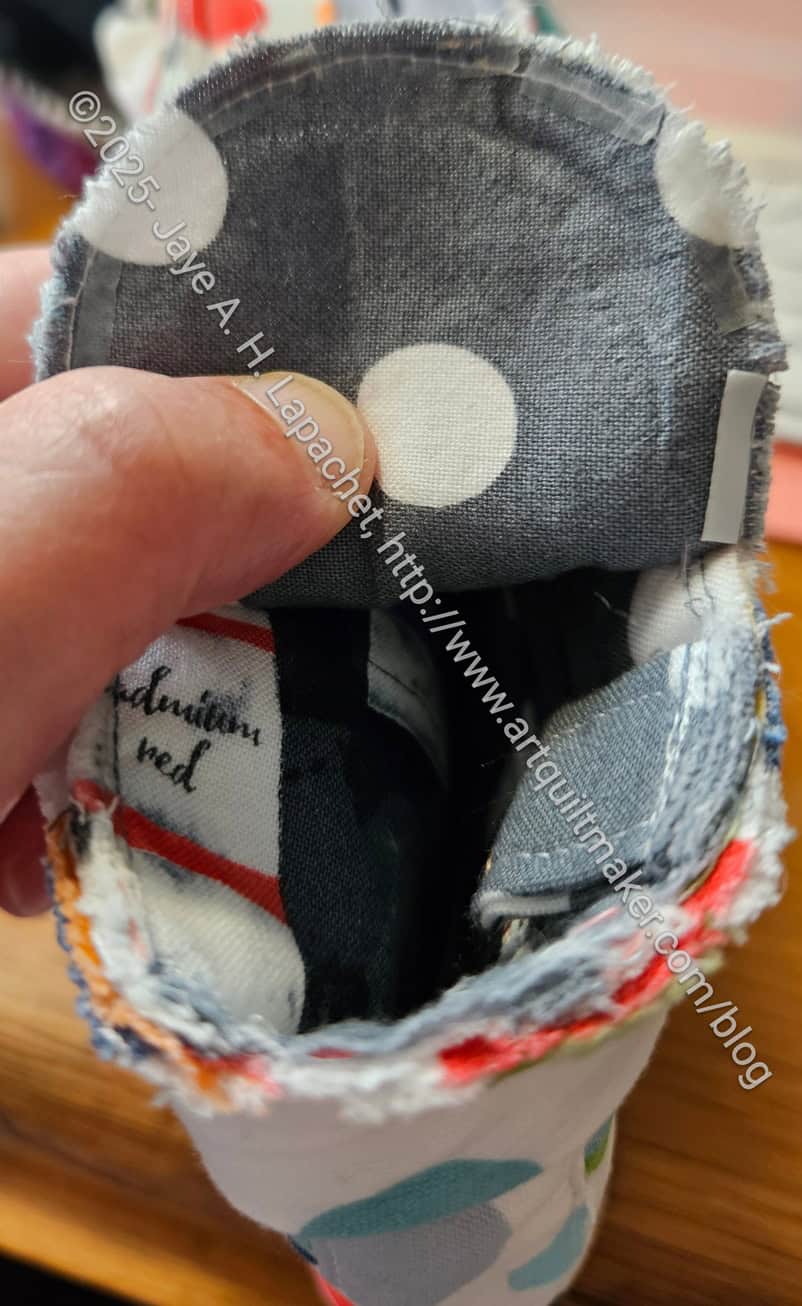
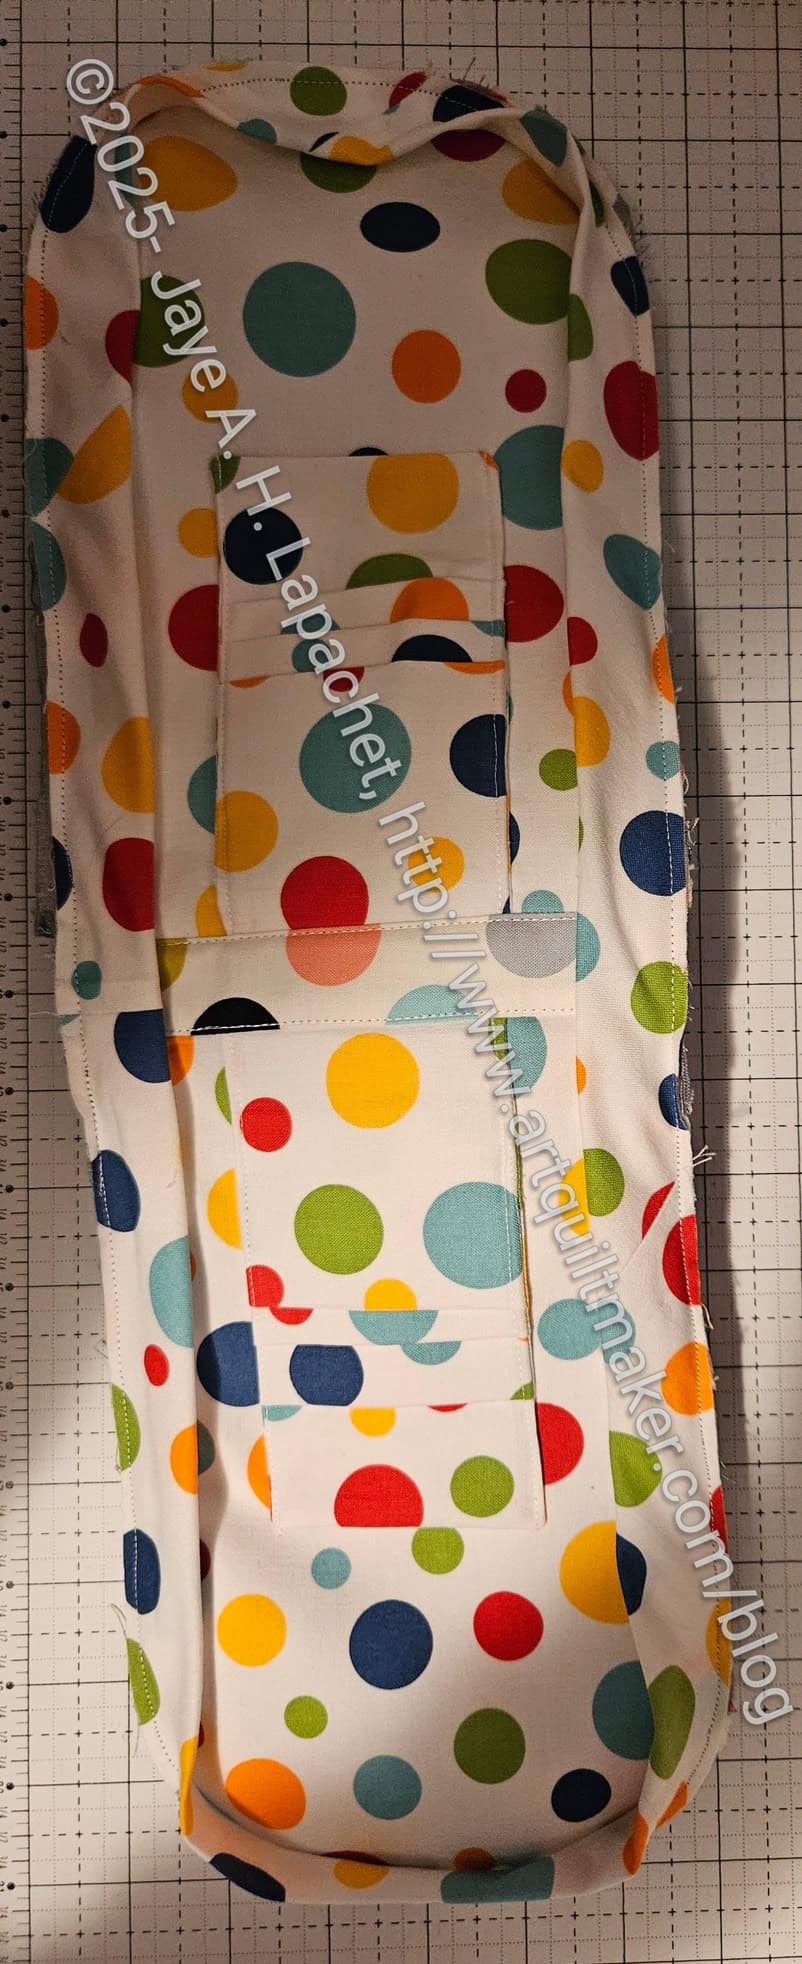
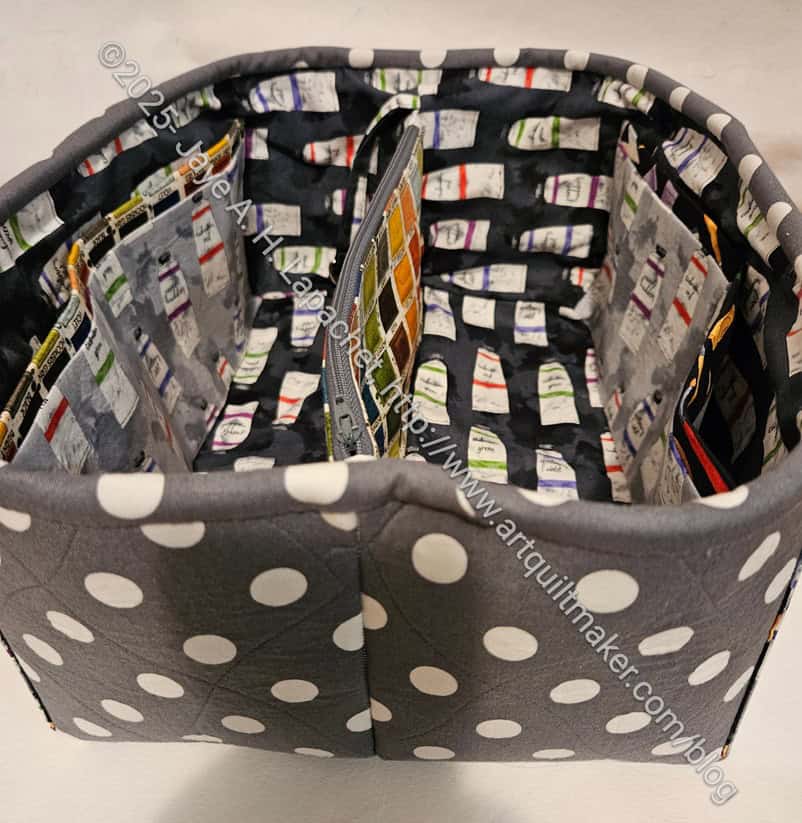
The pattern had a really interesting piece for the bottom and the sides. It was a long oval piece that had to be quilted before cutting it out. There are fewer seams when one piece makes up the sides and bottom.
I really don’t know how Sara thinks of these bag designs, but I am constantly impressed. Having the sides wrap around the bottom/sides piece was really clever. I like the way it went together.
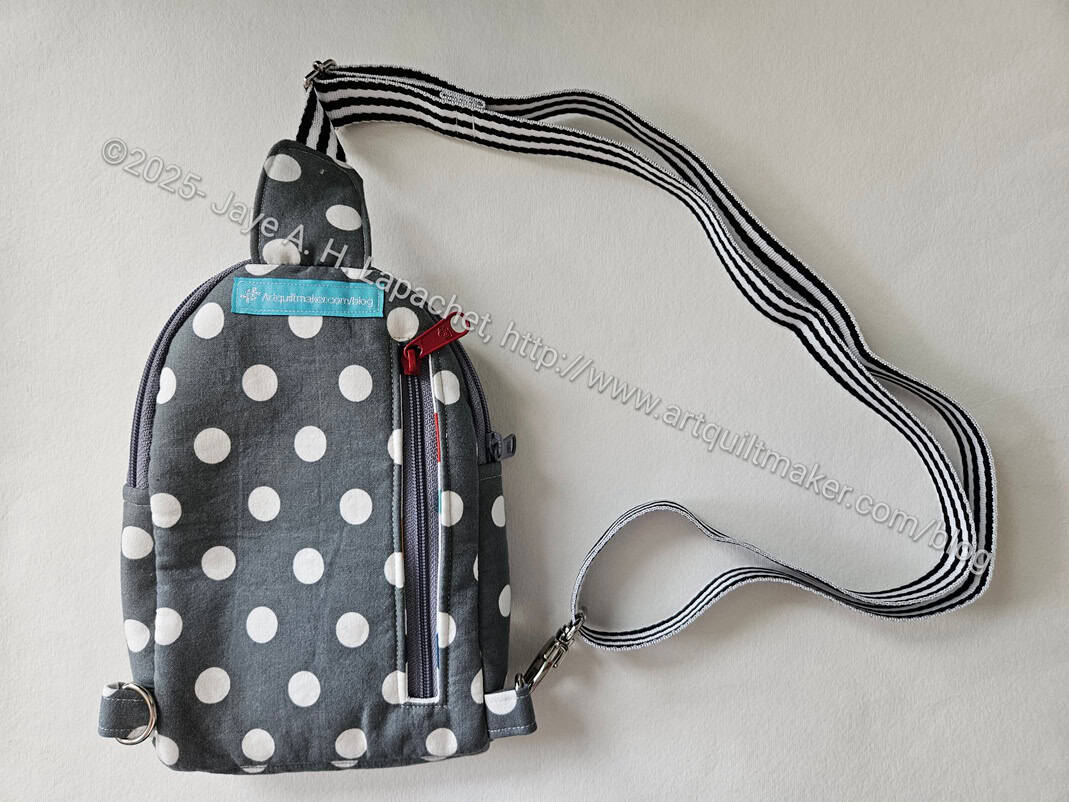
Sewing it together was no picnic, but it wasn’t as difficult as the Pearce Sling I made for Mom. They share that curved shape, but this pouch is much bigger and that curve was easier, though not easy to navigate.
Anyway, I got SIL#4 a couple of gifts off her list, but also made her this as a bonus. I like to receive things I want, so I always make sure I buy someone something off their list even if I make them something.