I had an unexpected day of sewing on Sunday. Mom and I were scheduled to visit her quilt show, but she was called on to act in her Presidential Duties at her church. I was sad not to see her, thought glad to avoid the 2+ hour each way drive. My long commute has prevented us from getting together regularly and that is hard. Mom and were able to catch up for a few minutes on the phone and that was nice.
I sewed instead. I sewed A LOT.
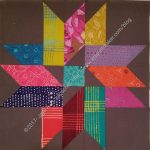
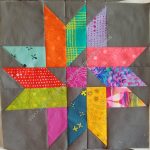
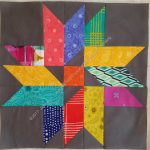
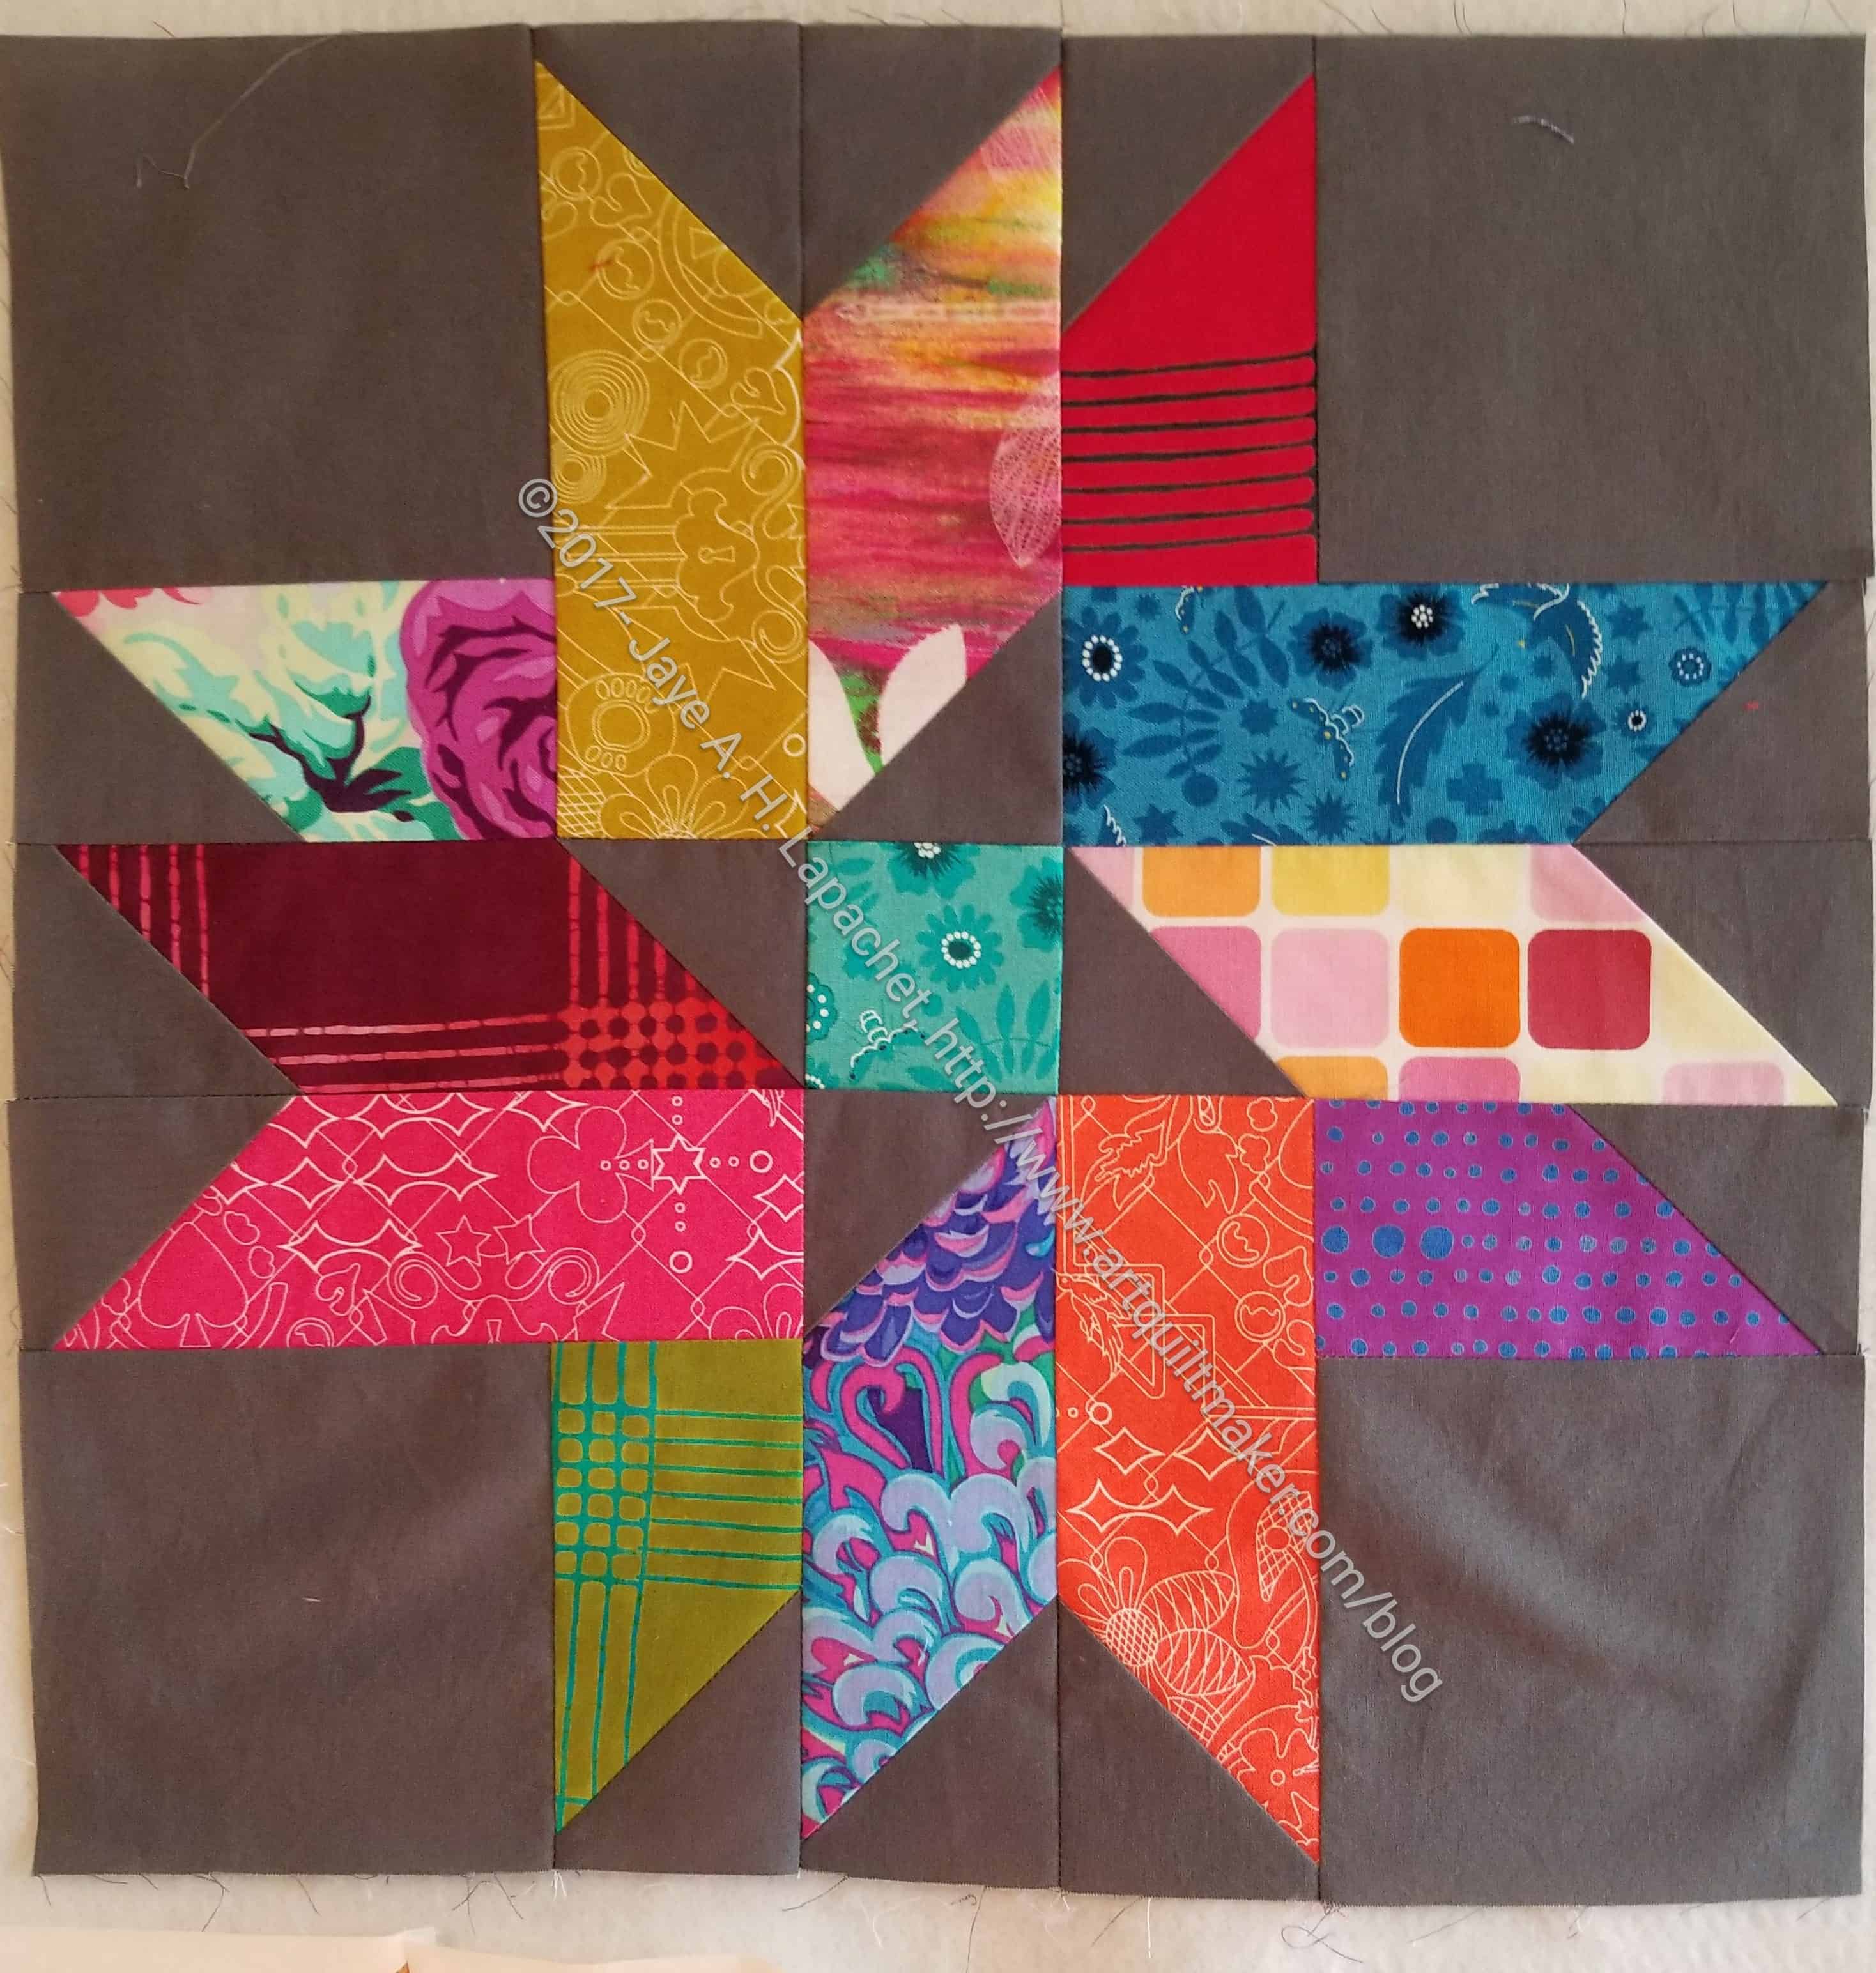
Triple Star n.14
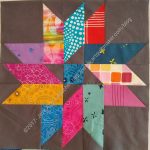
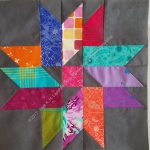
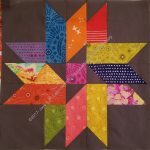
Triple Star n.15
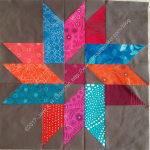
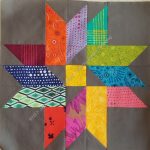
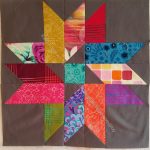
Triple Star n.16
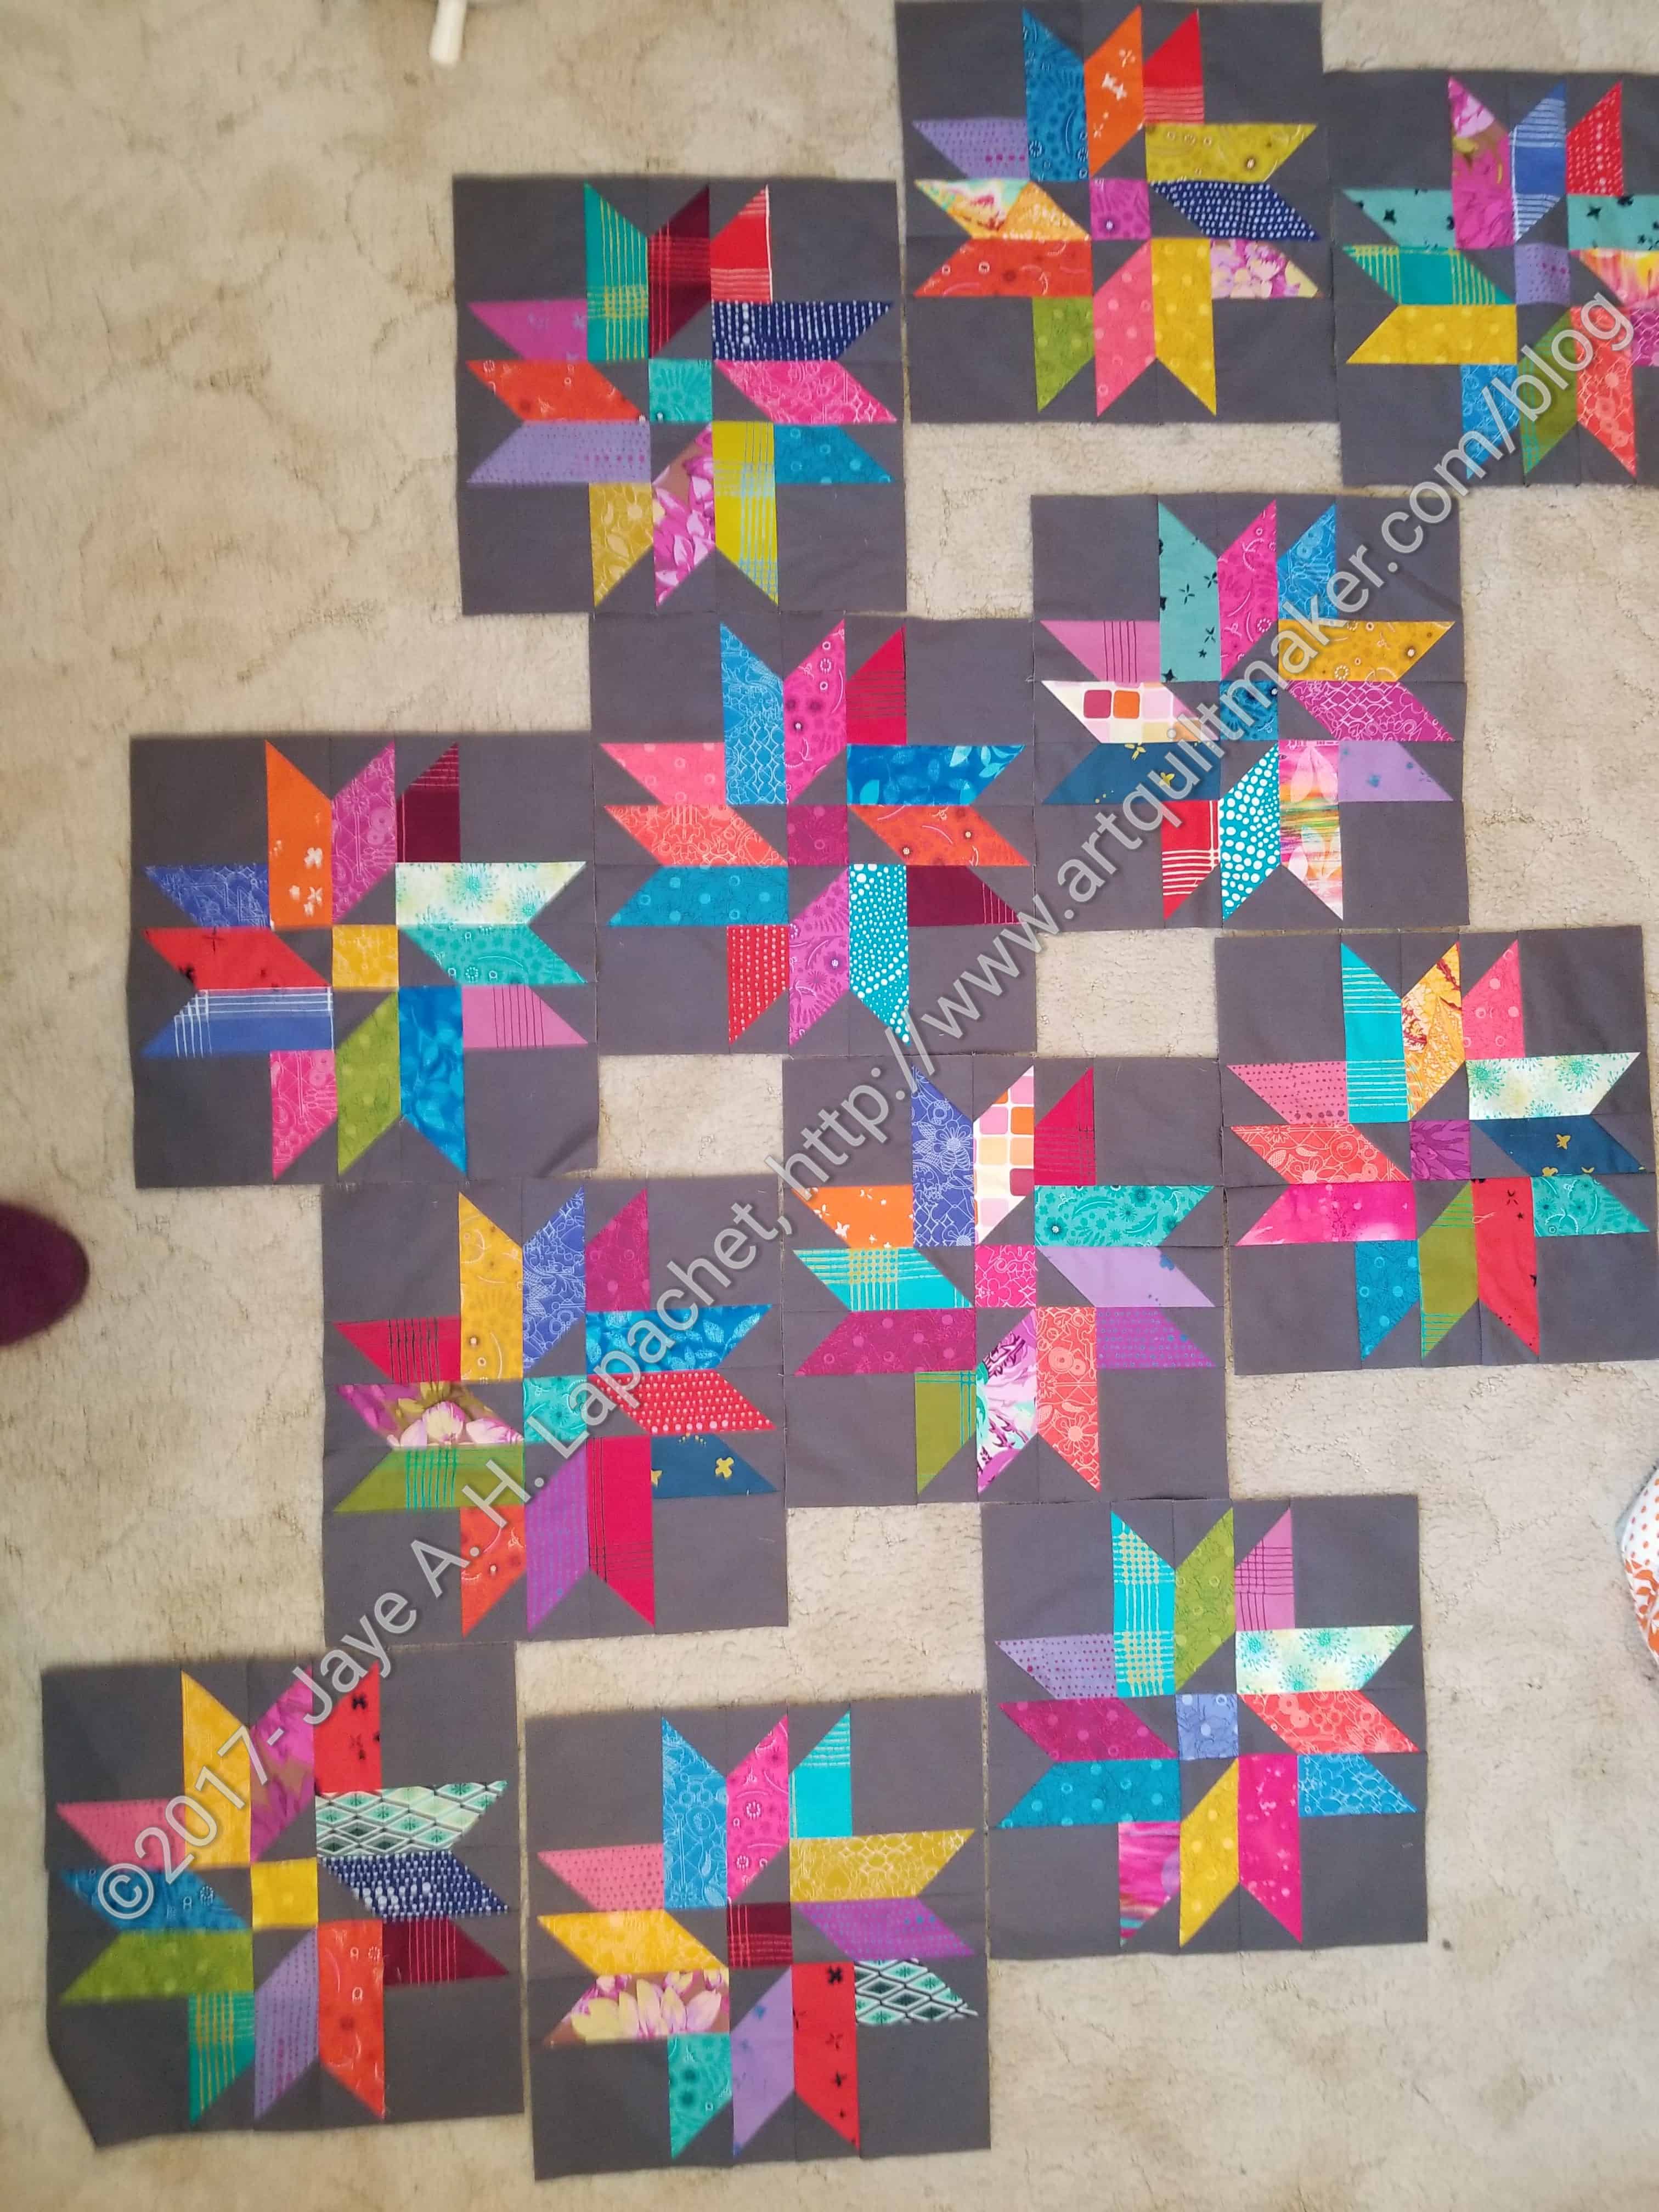
One of the projects on which I made progress was the Triple Star blocks. I have made all the blocks called for in the pattern. After taking Sarah’s class on Saturday, I have a different idea of the layout and may need to make more to get the right balance.
The pattern calls for a straight set – 4 down, 4 across. After Sarah’s class, and after thinking about the layout of the Stars #3 Donation quilt, I want to do something different, more interesting.
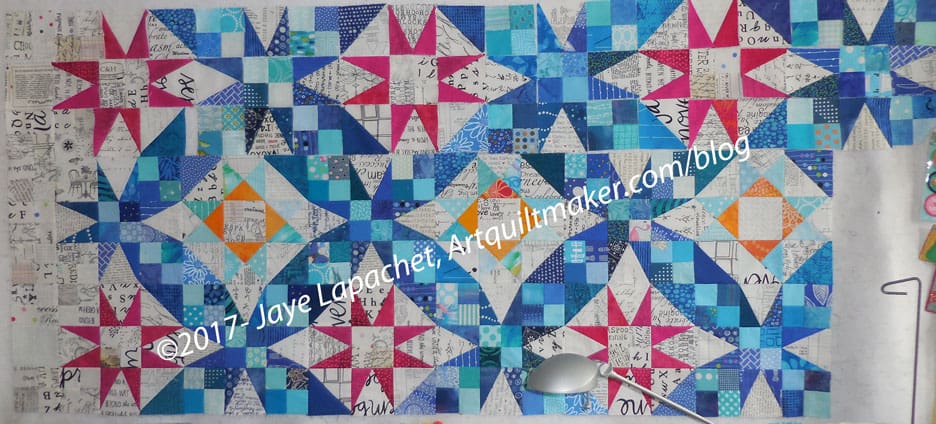
Triple Star Potential Layout
I did a quick layout with three quarters of the blocks, which resolved my uncertainty. I like the asymmetrical idea, though I realize that I may need a few more blocks for the upper left and lower right hand corners.
Even if this particular layout (definitely without the toes) will not be the final layout, I am on the right track. Using Sarah’s technique, I be able to cut exactly what I need to put it together.
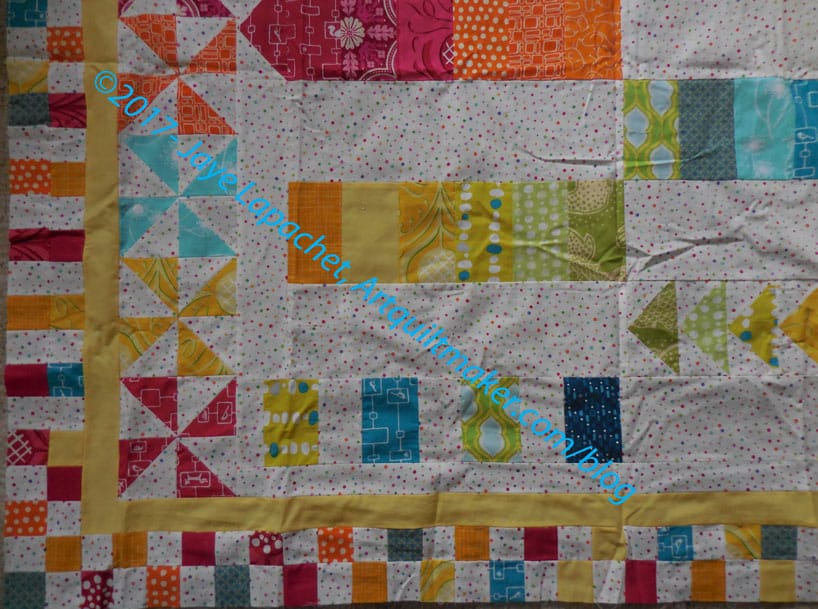
I made a little progress over last weekend, after fixing my Oops. I was able to take down the bottom quarter of the quilt top and put up the pieces for the top left quarter. In addition to the three rows you see in the image, I have two more rows to sew to complete half the quilt.
I know I am getting ahead of myself, but I am excited to see the progress of this quilt. It is really a lot of piecing. The result is fantastic, from what I can see so far, but it is taking a long time to piece.
The half rows I am piecing have 75 units to sew together to get the 6 block half row. I say units because I have already pieced the units together. Each blue star has 32 pieces and each pink star (not the border blocks) has 24 pieces. I am glad the units are all pieced, I have to say.
I was hung up on the Triple Star project because I needed to cut a few more pieces. I couldn’t seem to get to it. It seemed like a good thing to do over the weekend while I was home fighting off a cold. Wielding a rotary cutter isn’t always a good idea when taking cold medication, but in this case, all the cold relief was minor.
I got the pieces cut and was back in business making Triple Stars in between putting En Provence together.
Triple Star n.13
Triple Star n.12
I finished n.12, which had been in process for a few weeks. I was also able to finish a second.
I am finally making progress on this project again. Three more blocks and I can put the quilt together.
I really feel it keenly when I can’t sew, so I think I am posting every little bit of progress so I don’t seem like a slacker in my own mind.
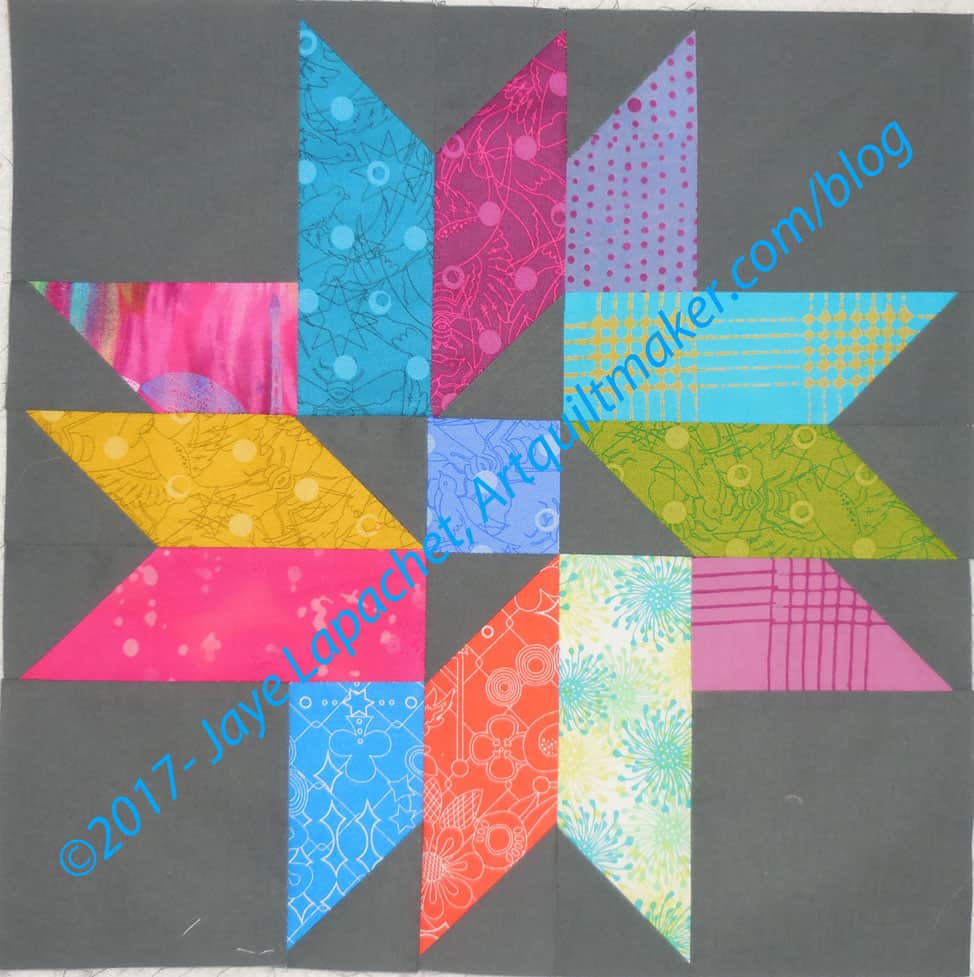
Triple Star #11
This is the most recent star that I have made.
Due to some cutting errors I repurposed some of the pieces to other uses in the Triple Star. This means I have to cut more before I can make much more progress on the rest of the stars. I have one in progress and am sewing as much of it as I can, but I have to cut.
As much as the flippy corners method is a pain, I do like the look of the Friendship Star in the center.
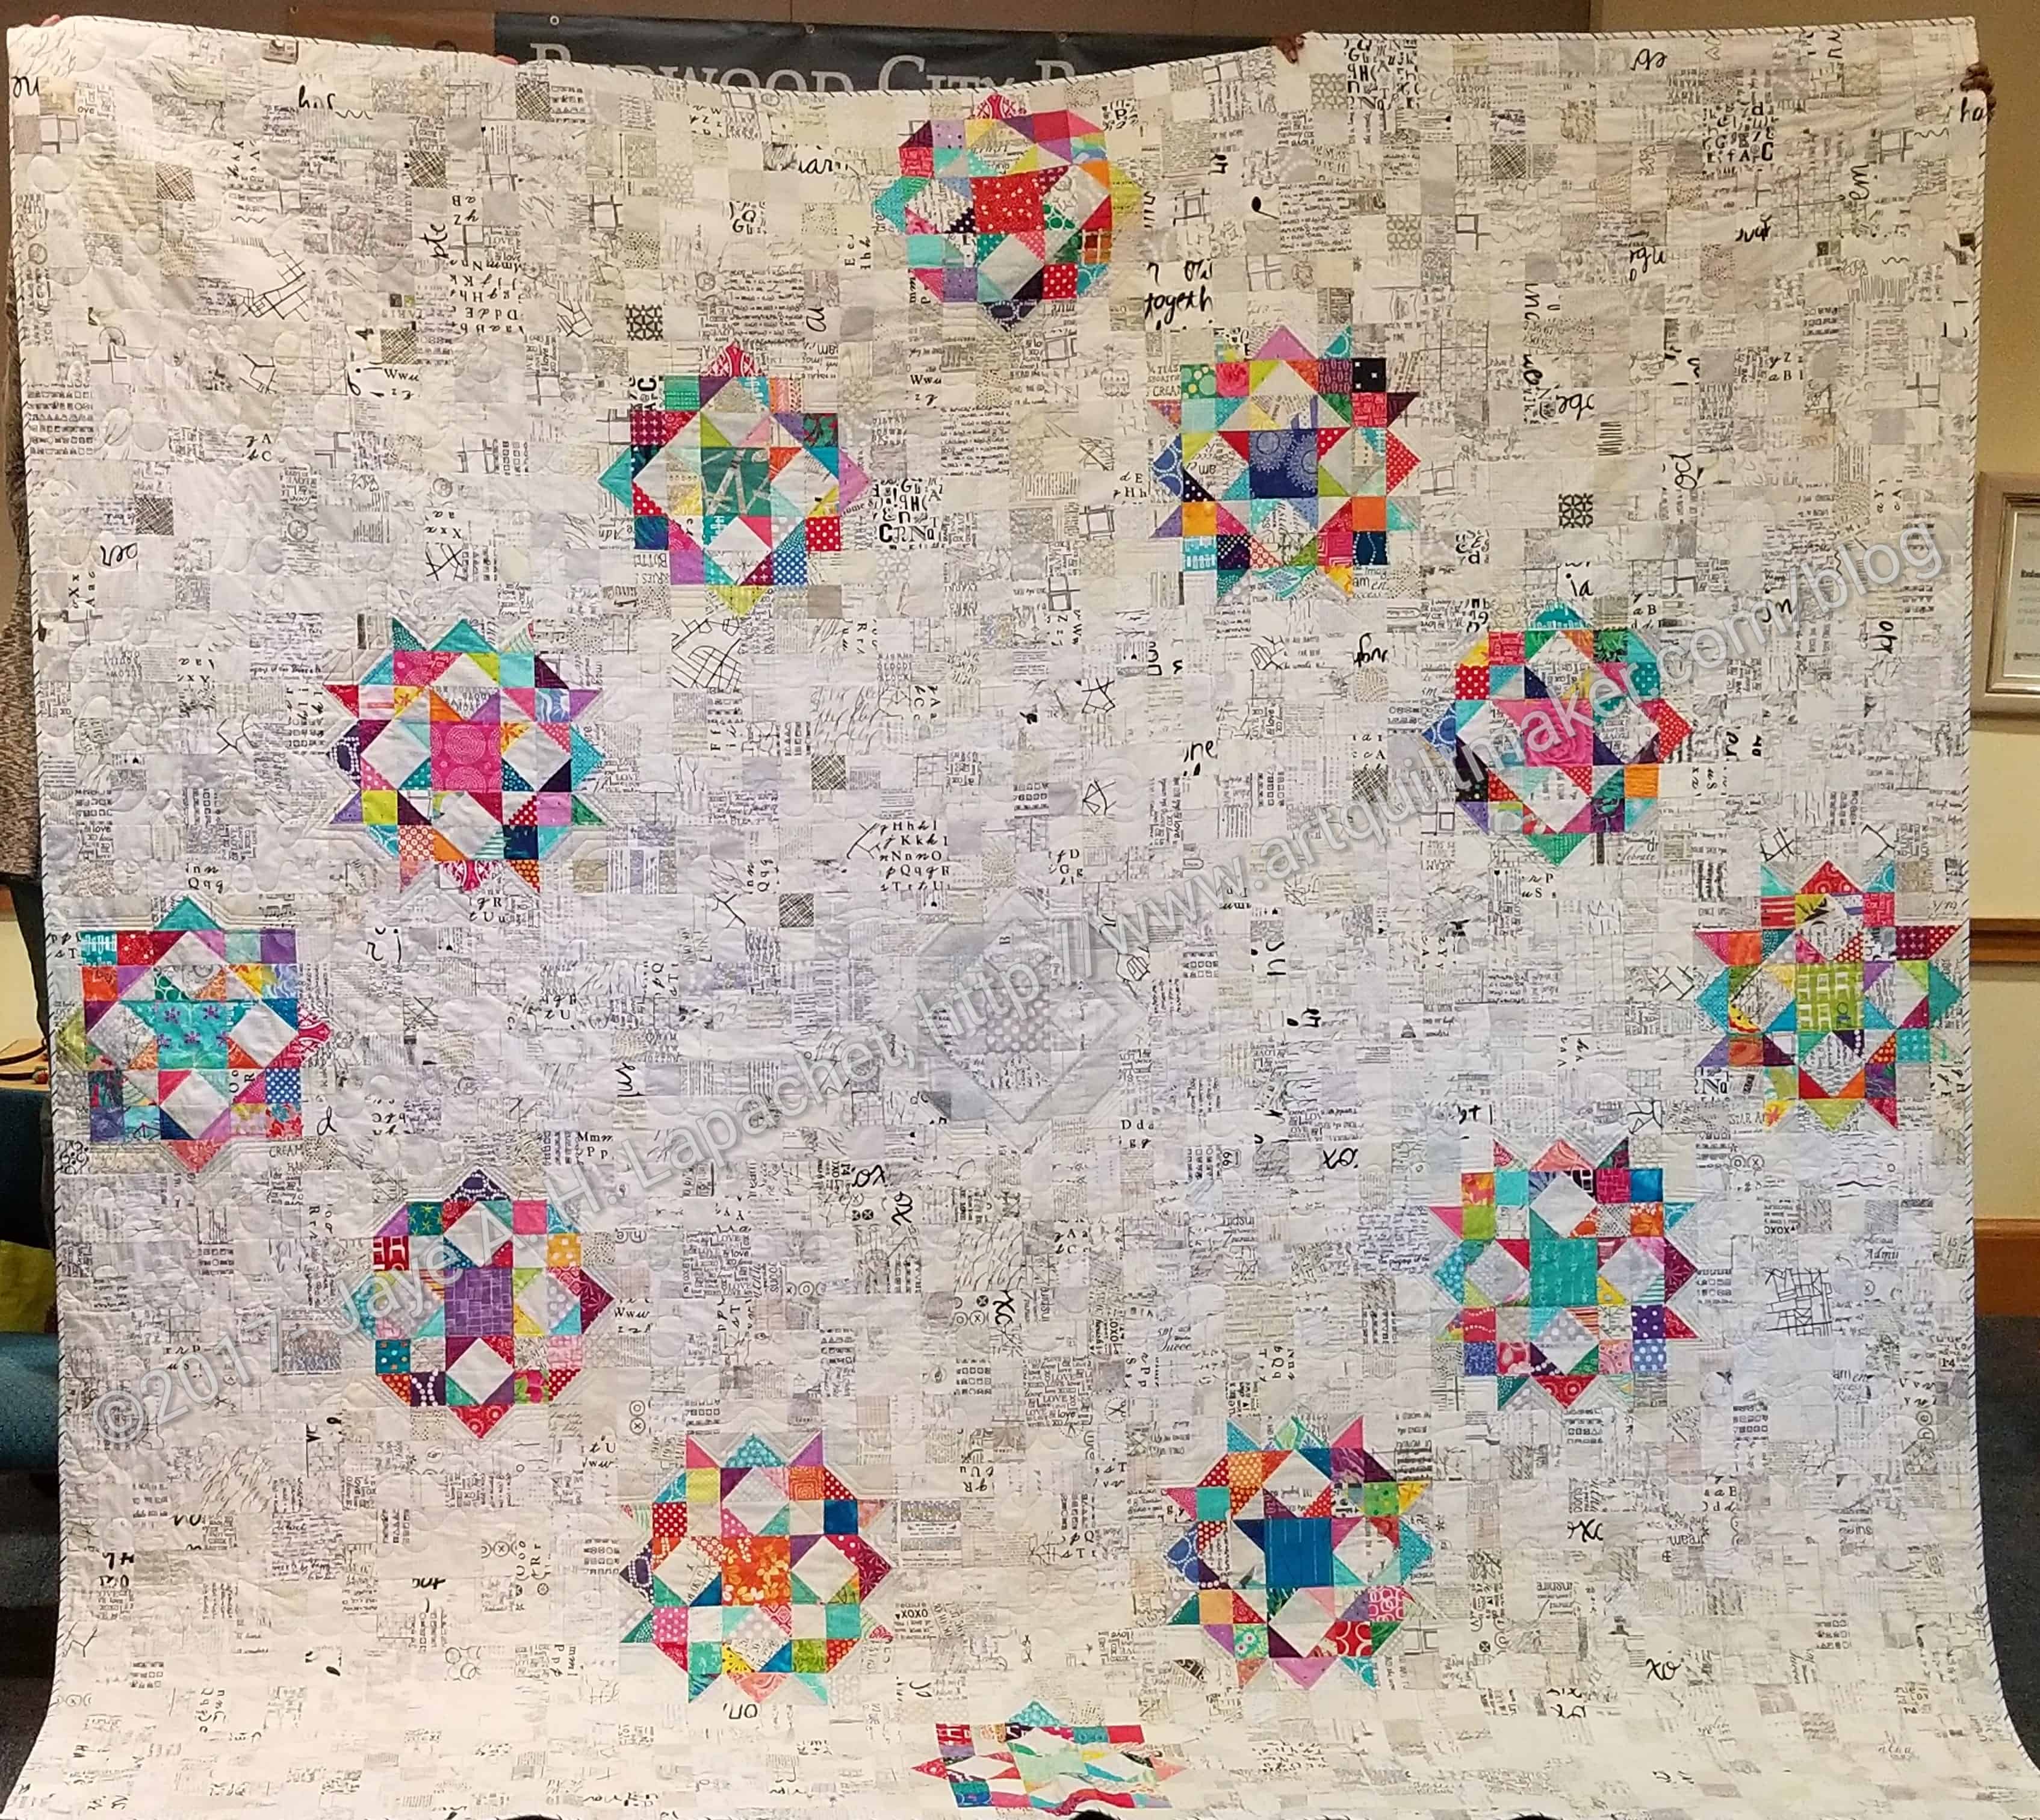
I spent most of the past two weeknight evenings sewing on the binding and the sleeve. I showed it at BAMaQG on Saturday and now I am waiting to enter it into a show.
I had help holding it up. Two members stood up on a table so someone could take a photo with my phone. I thought this might be my only chance.
Did I mention that the thing is a monster? I know what possessed me, but I am still wondering what possesses me to make such huge quilts.
In between working on putting together the En Provence quilt, I have been sewing Triple Star blocks together. I use the blocks as leaders and enders.
While I am concerned that using the blocks as leaders and enders means I am not as engaged with the quilt, I really have to have something in between the En Provence pieces to keep them in order. While I could make make more donation blocks, I want to make progress on other projects as well, so the Triple Star blocks are the leaders and enders.
Unlike Fresh Fruit, I have to pick a lot of colors for the blocks. I also have a lot more seams to sew, so I do pay attention.
I have discussed the Retreat in passing over and over, so finally decided that I should get around to writing about the retreat itself.
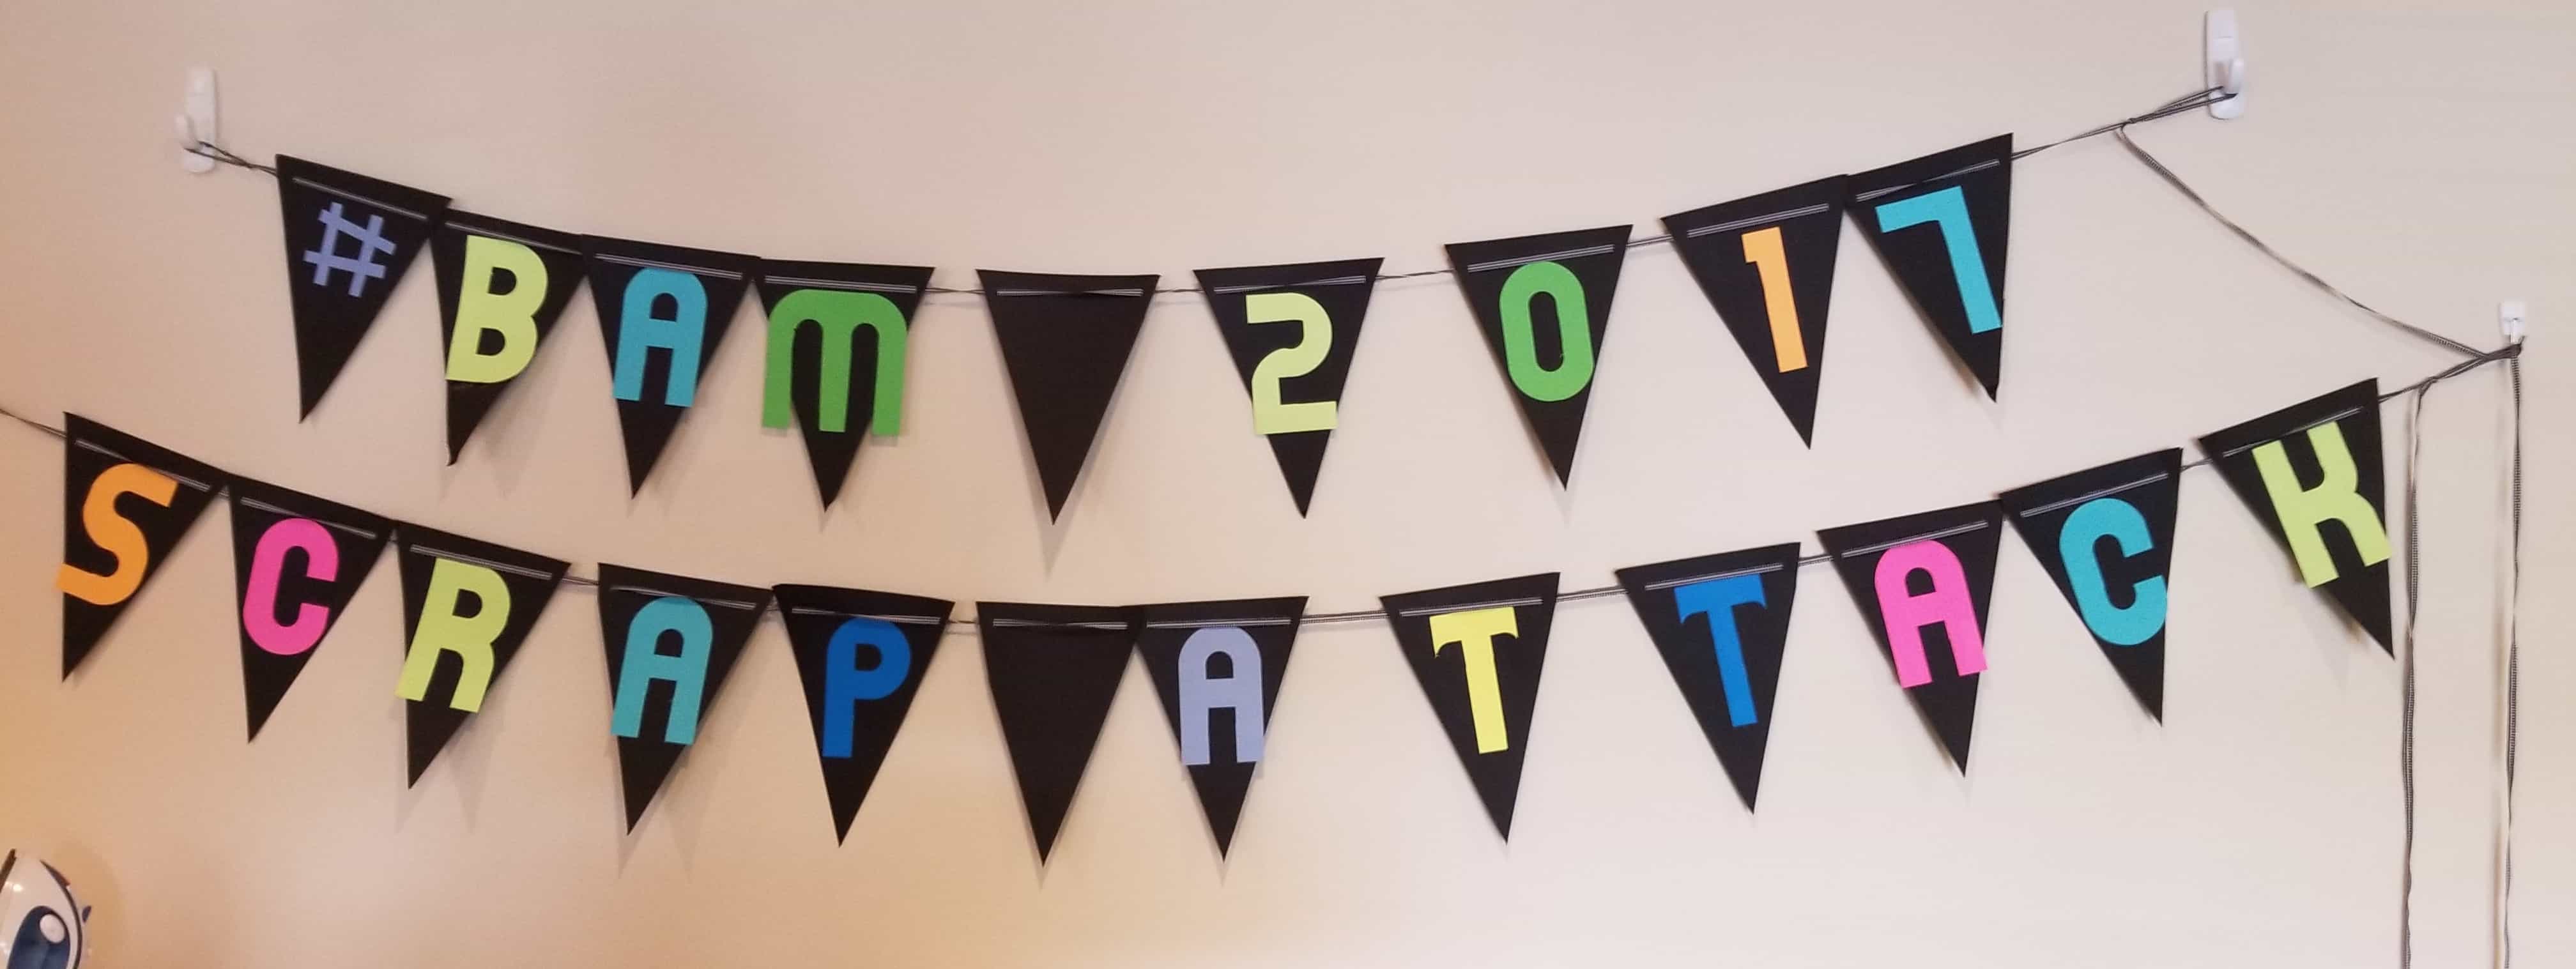
BAM 2017 Scrap Attack
The Retreat started on Friday at 10am. Following along with our year long theme, Scrap Attack, the Retreat followed that them as well.
Before arriving at the Retreat, I went to the gym, ate breakfast and packed the car. I had two days at home alone (YM gone at school, DH on a NSGW trip) in the evenings during which I prepared and packed and organized. After leaving to go to the Retreat, we stopped at Always Quilting and The Granary. I wanted to find an open toe Acufeed foot for my Janome 6600. I planned to quilt the Thanksgiving tablemat and needed to see where I was going. The Acufeed foot that came with the machine is good, but not for seeing exactly where the foot is going or following a line. I didn’t get my hopes up for the foot to be available at Always Quilting and I wasn’t disappointed. I resolved to try to quilt the tablemat anyway.
We went to the Granary, because I like that store and SIL had never been there. I bought a couple of pieces of fabric, thinking I might make an extra Cell Phone Wallet with one of the pinks.
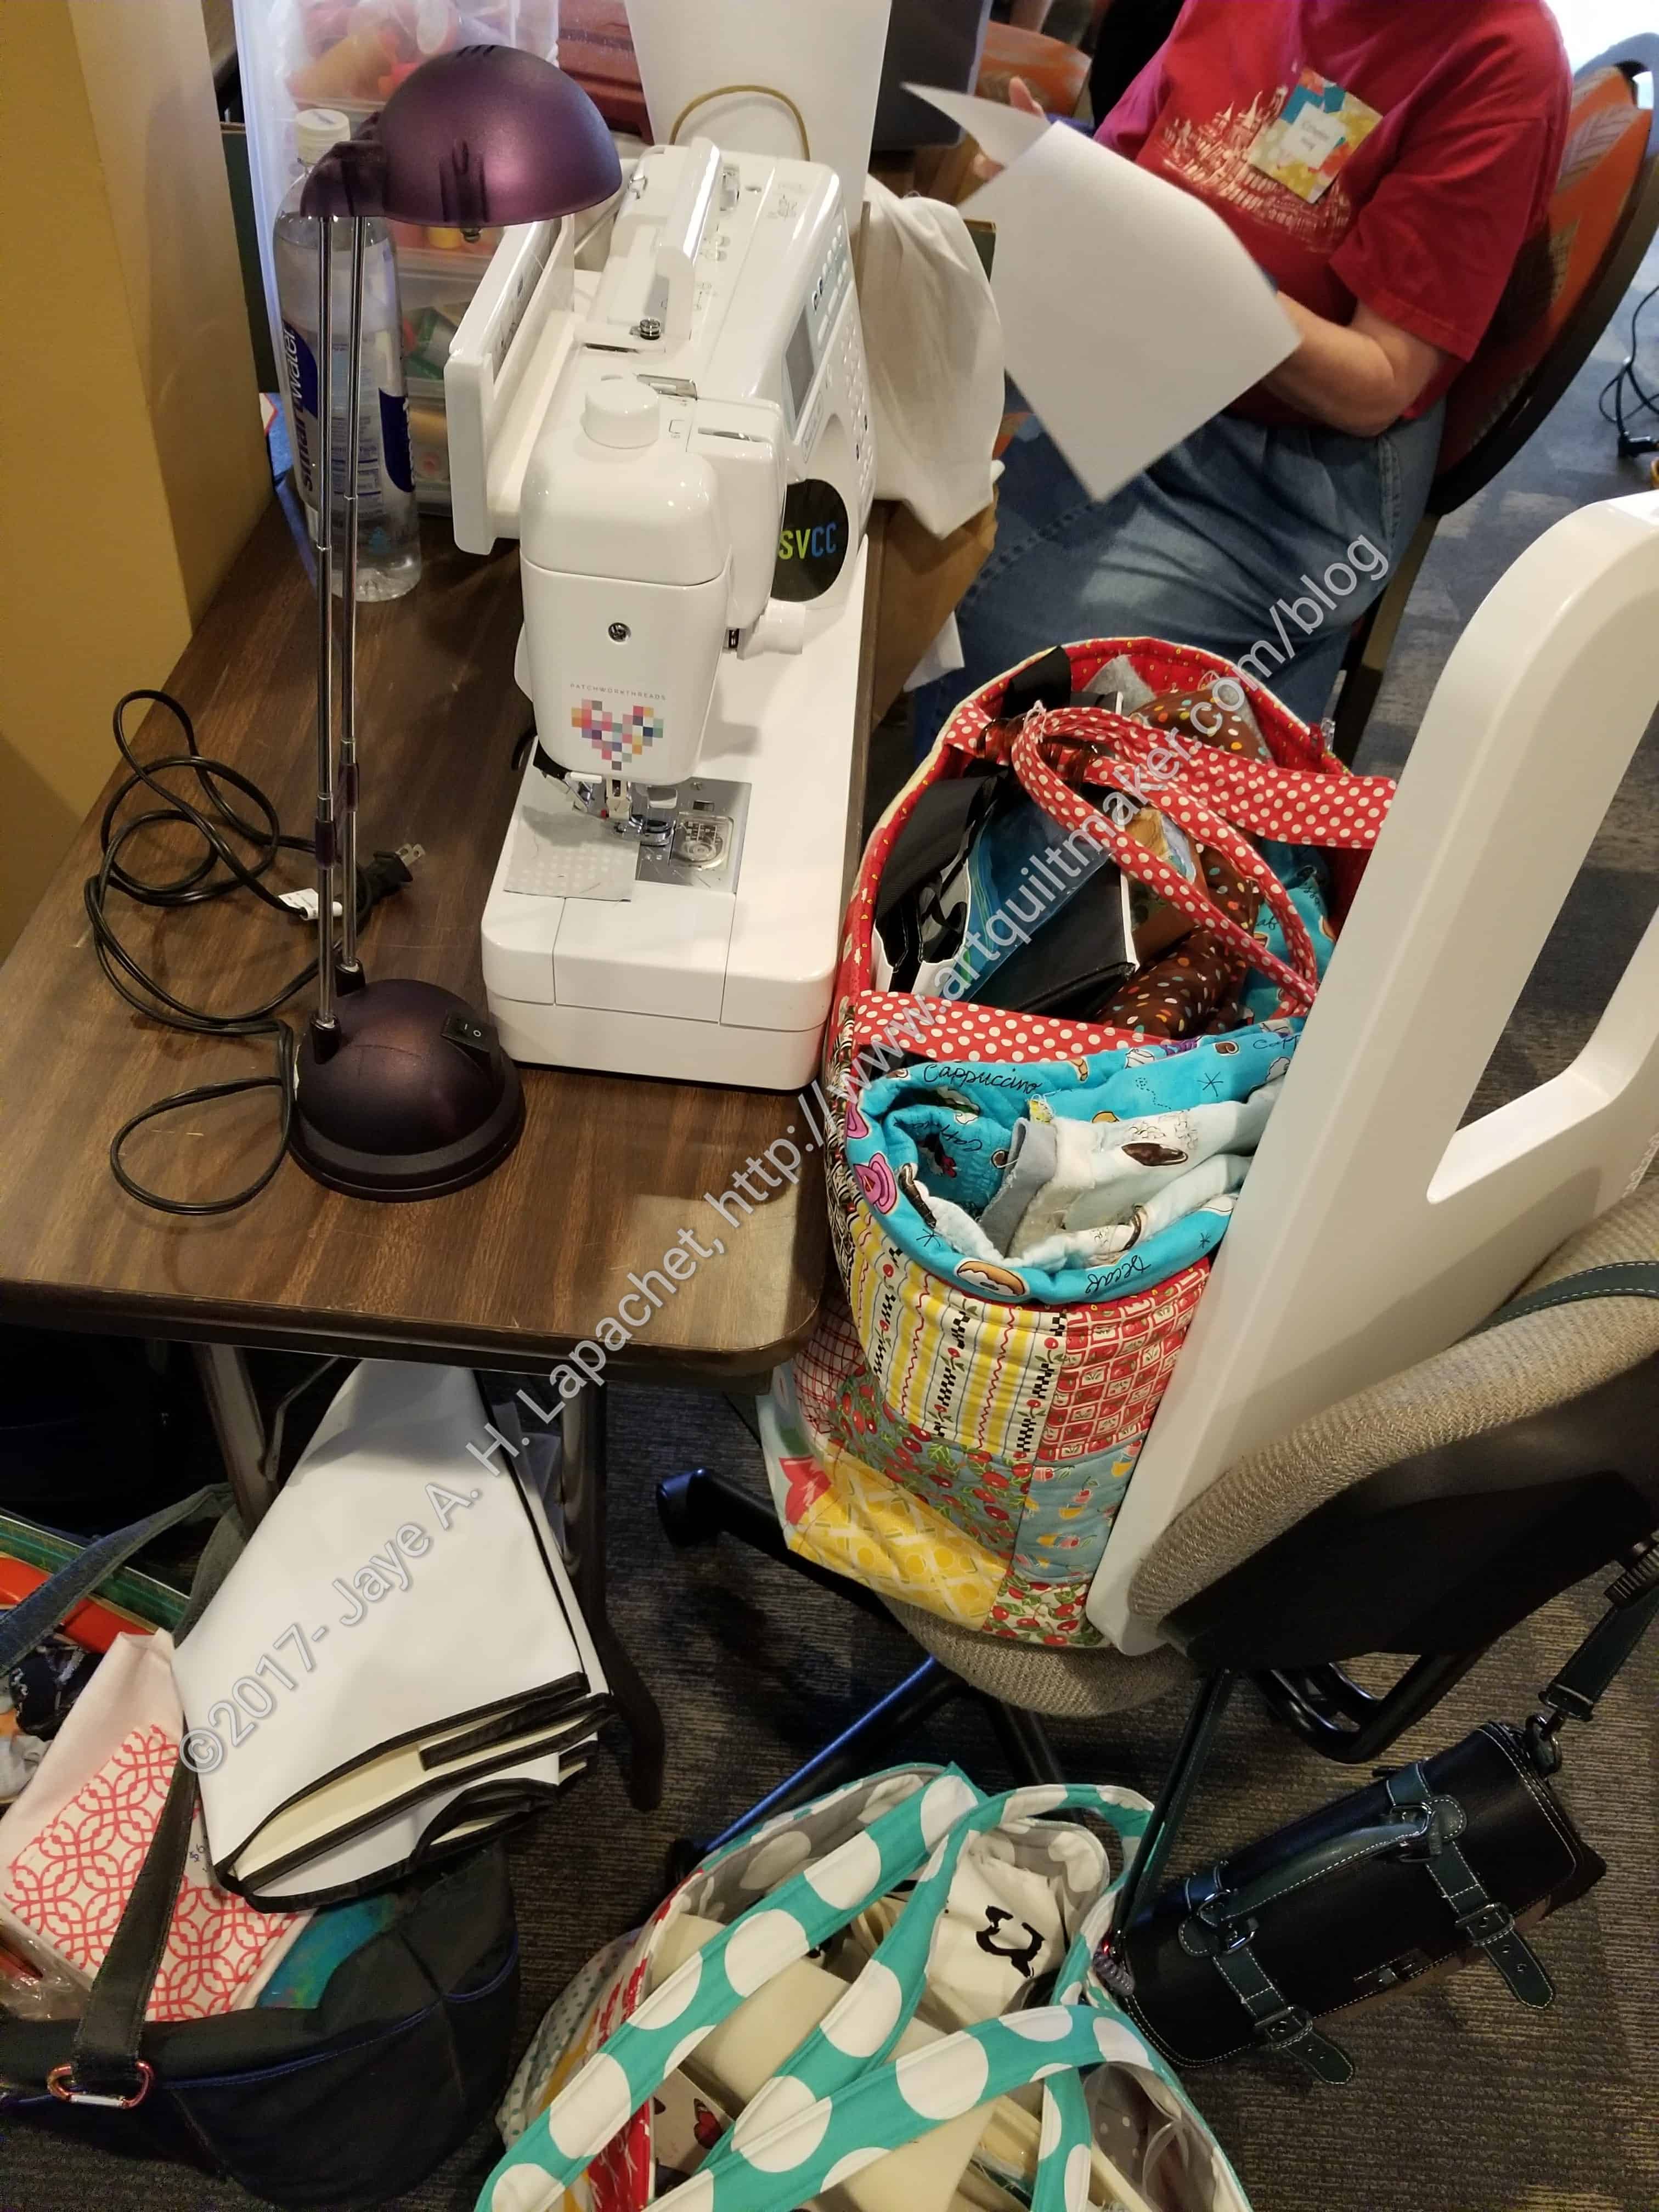
Sewing Nirvana?
Then we headed the 8 or so blocks to the Wild Palms hotel and to sewing nirvana. We didn’t arrive until about noon, but we set up and got to work right away. Nirvana isn’t easy and setting up took some time.
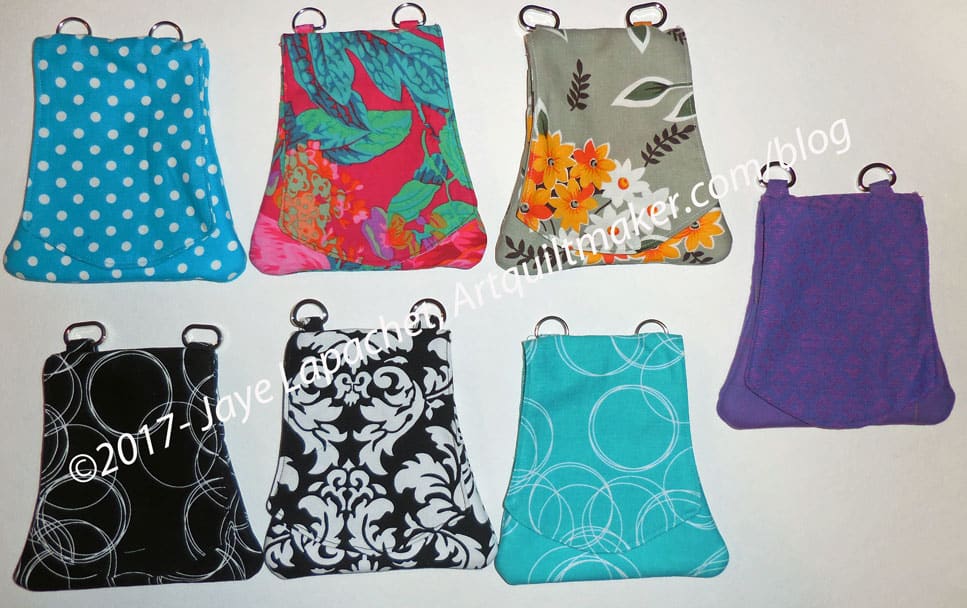
Once I got set up, my first order of business was sewing together all seven Cell Phone Wallets I had cut out.
Lesson one for quilting retreat is prep your projects. Having several projects already cut out made my output much better than expected.
7 Cell Phone Wallets
I had cut out seven Cell Phone Wallets from fabric leftover from dresses and tunics. I spent Friday making them. I didn’t think I would get as far as I did, but I was able to finish all except for weaving in the last two ends from top stitching. I was shocked that I even had time to turn the pieces. Turning these and poking out the ‘corners’ is not for the faint of heart. I rose to the challenge and got the job done. Now I am going to feel a lot more confident when wearing my dresses, skirts and tunics. I made all of these with D rings and will use the same chain for all of them. I also think I can use the black one with other black outfits.
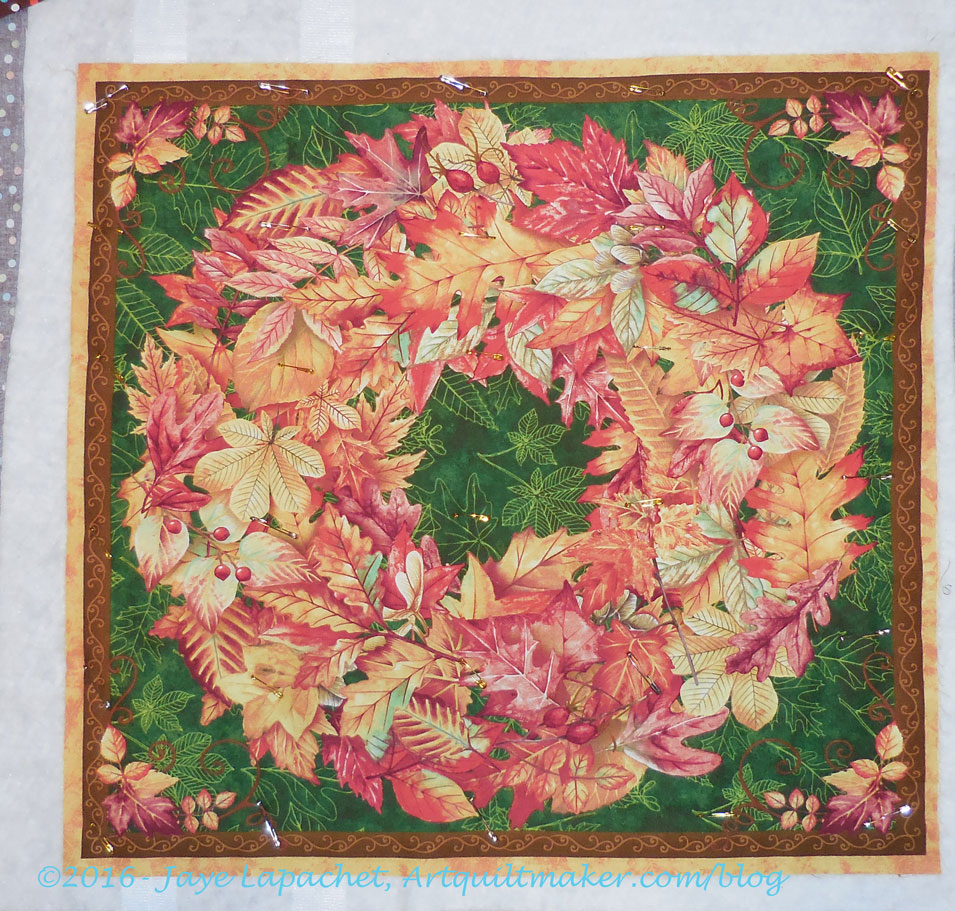
Thanksgiving Table Mat
Next, I started quilting the tablemat. 🙁 It didn’t work. I want to follow the lines of the leaves and other Thanksgiving motifs and I just couldn’t see where I was going. I ripped stitching out three times before I gave up. I would really like to get it done before Thanksgiving. Not only to I want to count the yardage as fabric used, I also want to have one less item on my to do list. I have ordered new feet from Sew Vac Direct, a suggestion from Gerre, so we will see.
Poolside Tote
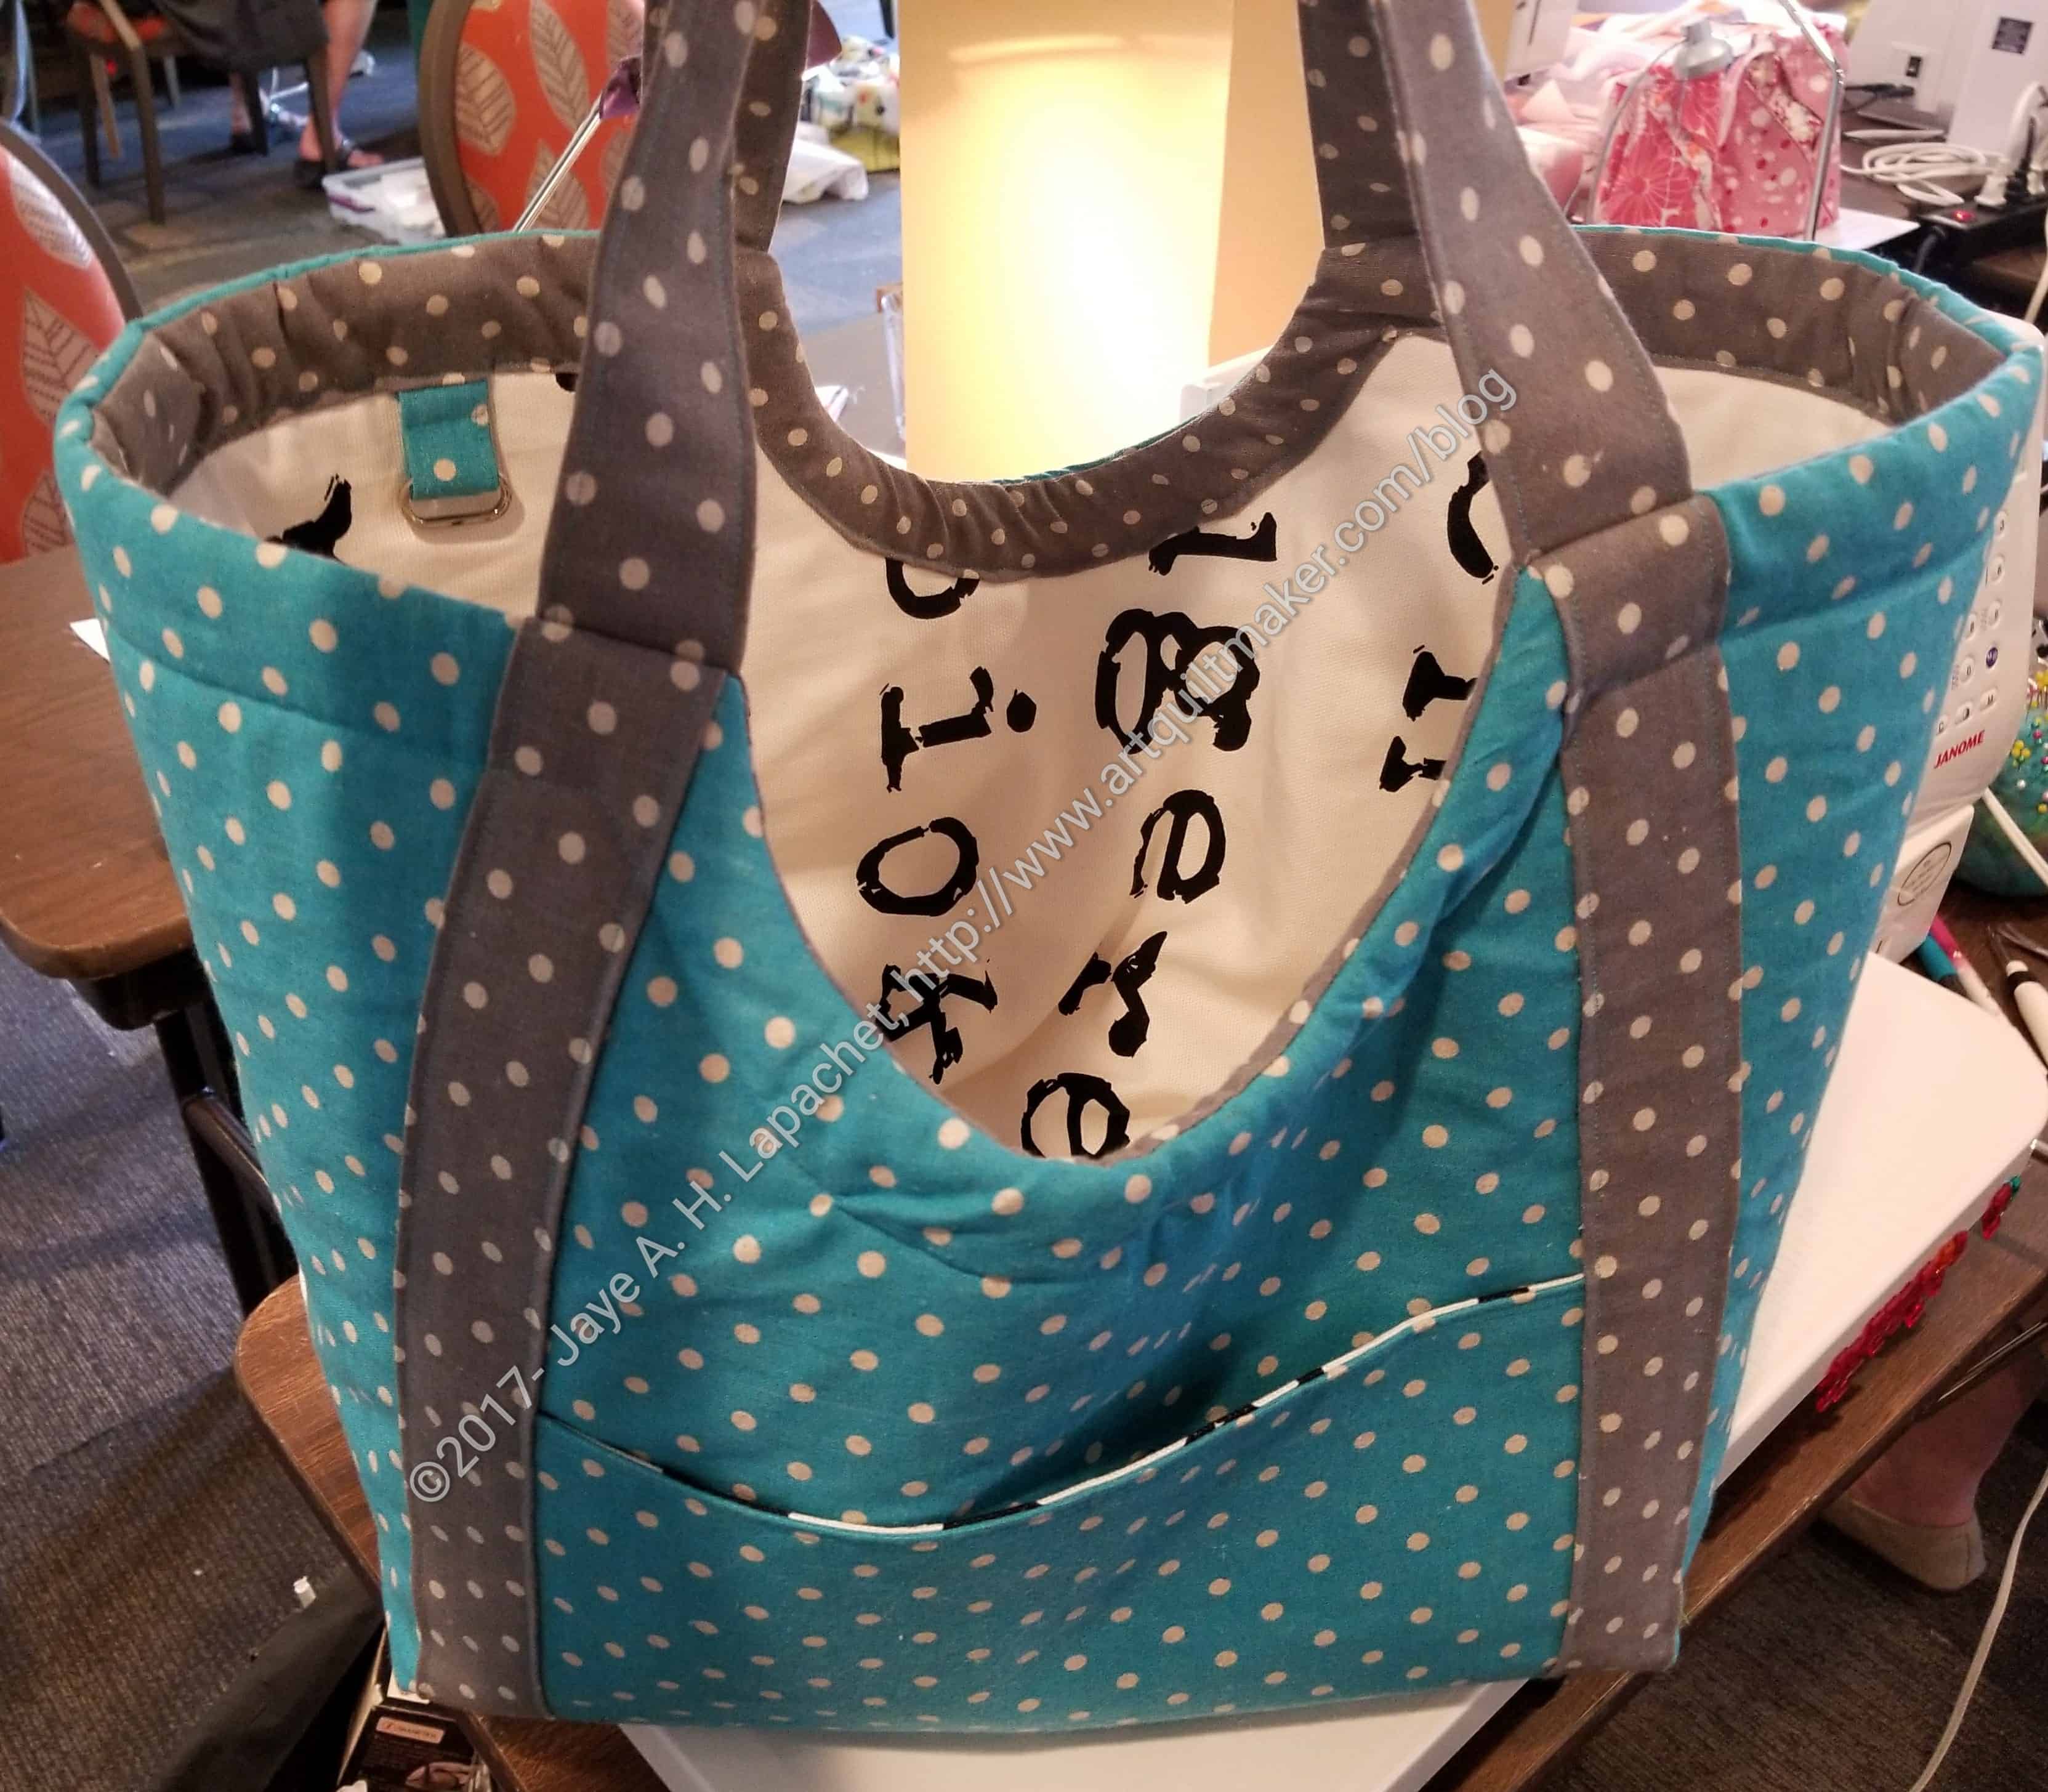
No rest for the sad or wicked. I was determined to get as much done as possible. So, next up was the Poolside Tote. Not only had it been taking up horizontal surface space for a long time – ever since I cut it out at Scruffy Quilts back in May, but Tim and I had decided to work on ours together. Julie said she would make one as well, but she wasn’t at the retreat and I have only seen quilts coming out of her studio. You can read about the sewing, etc of this tote in the post from earlier in the week. I am not sure if I will make this tote again. I may need to as it is large and popular.
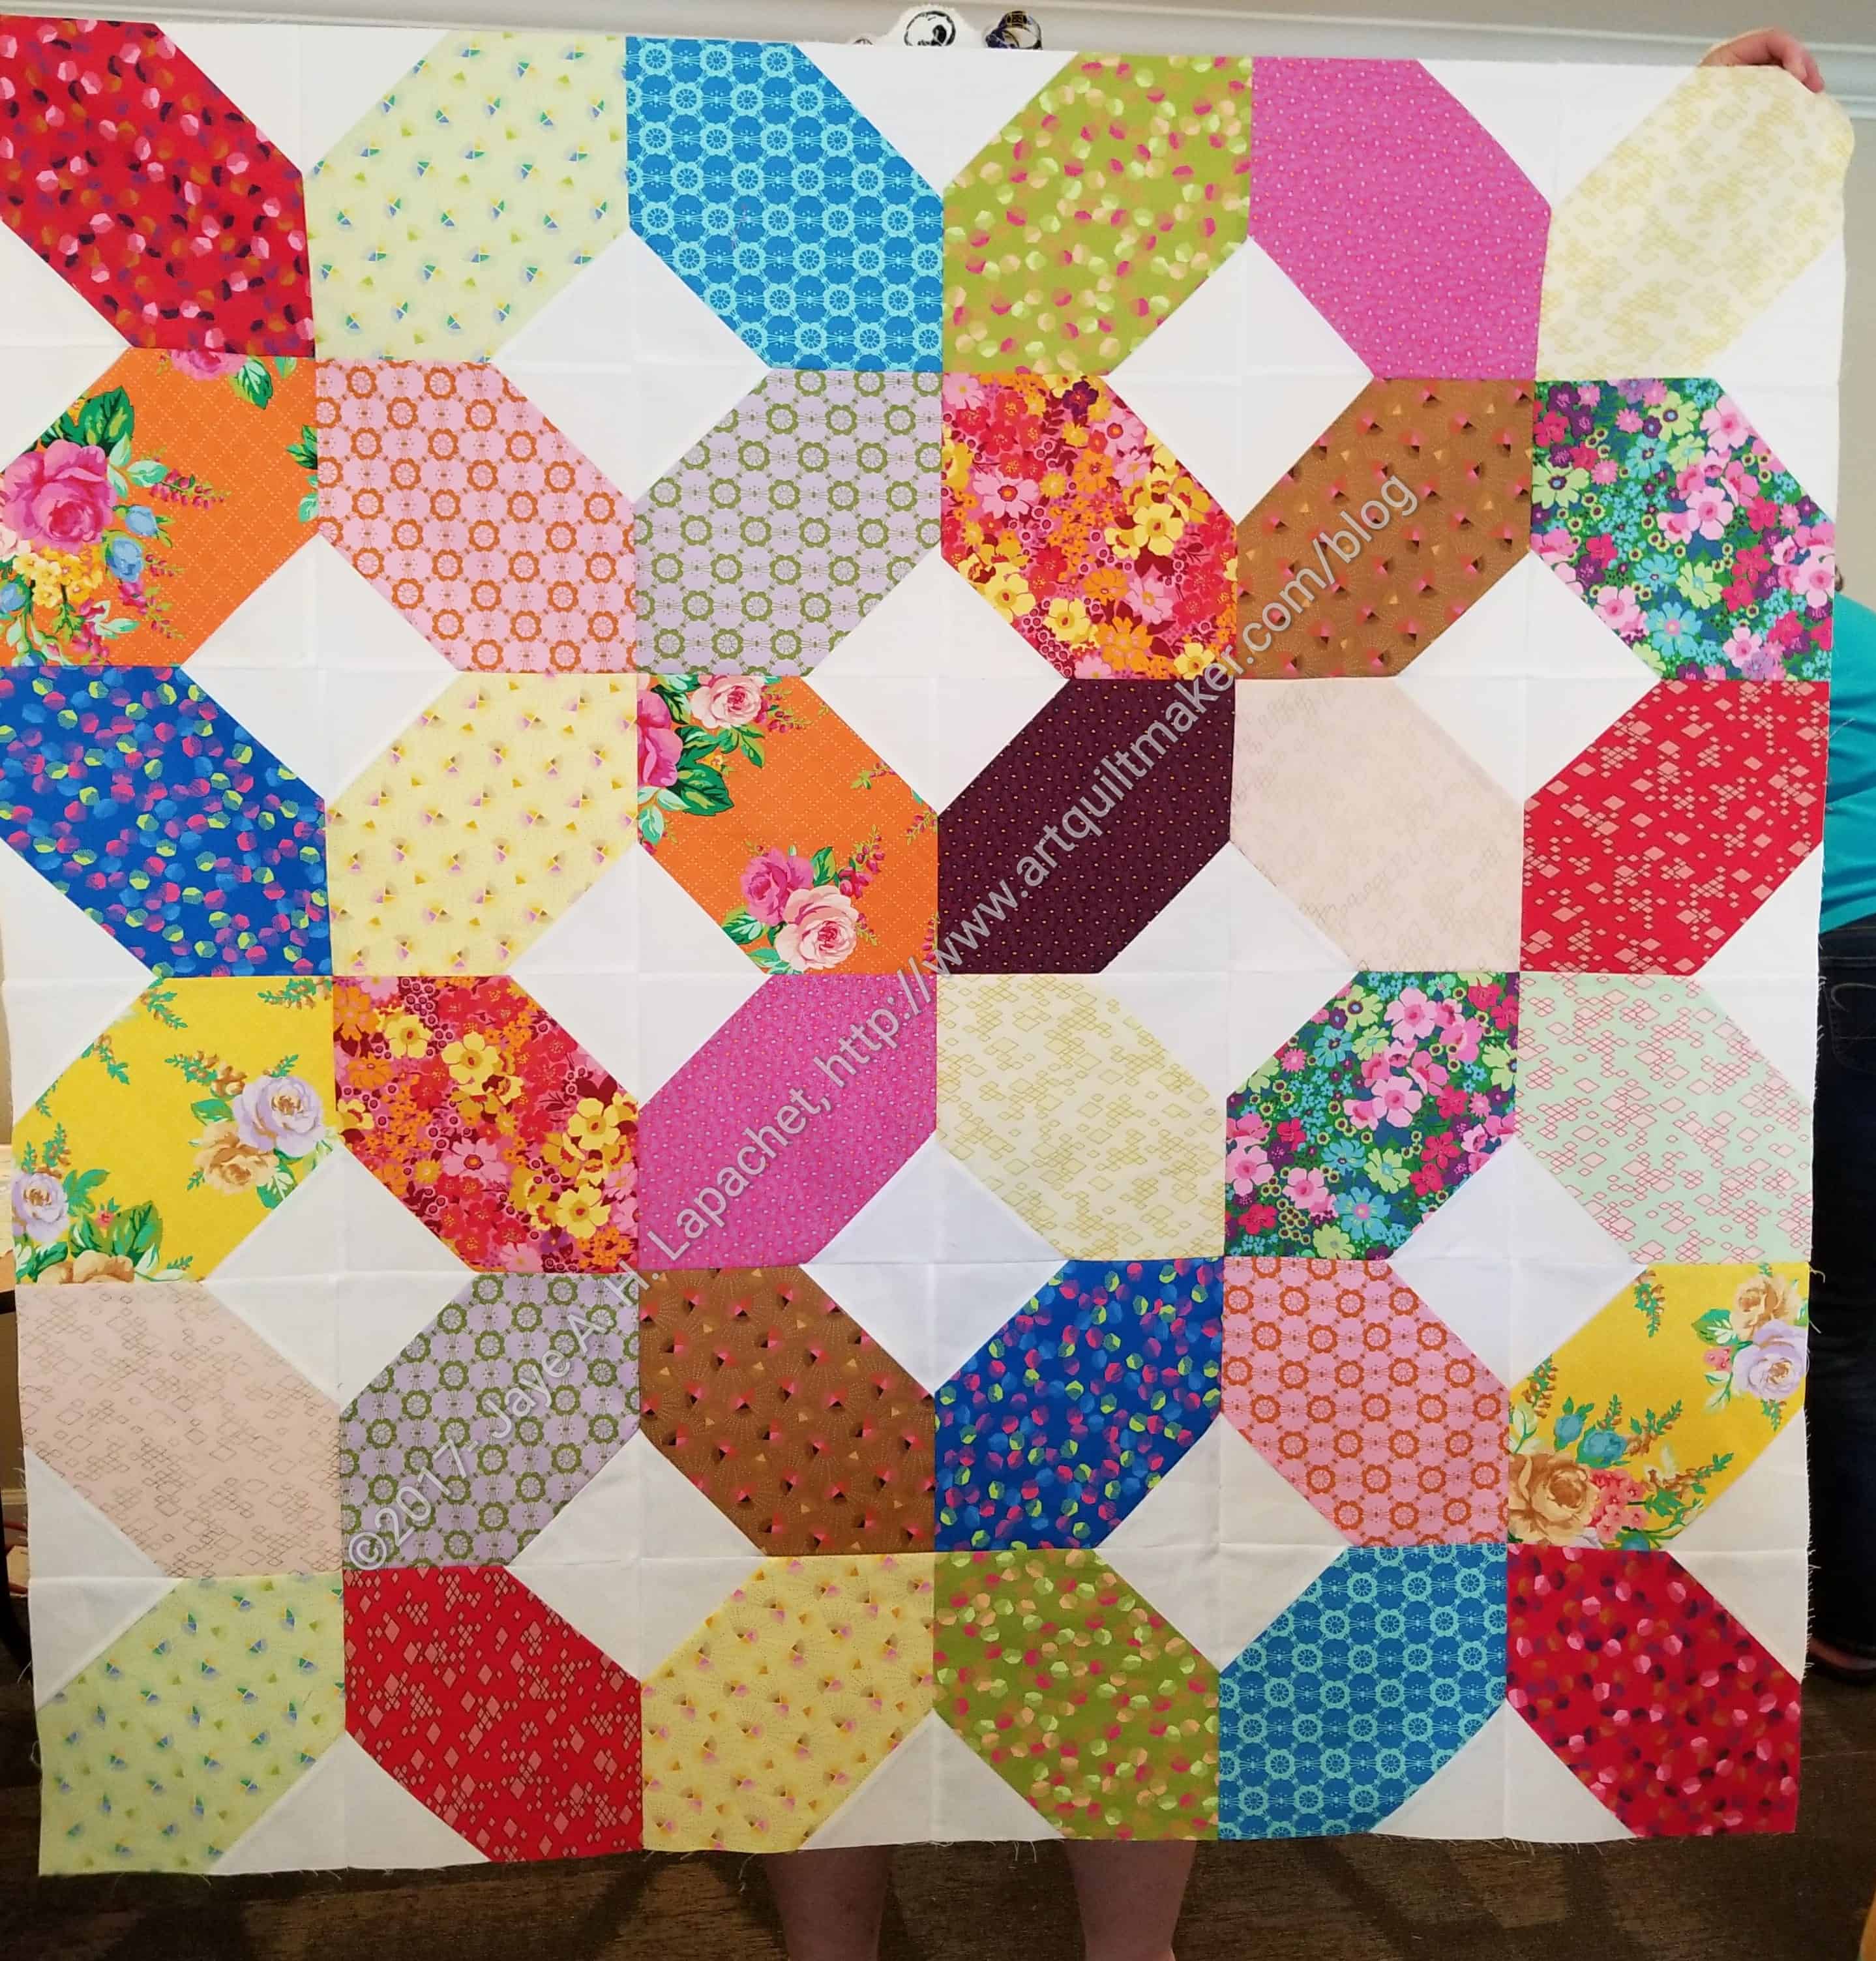
Mostly Manor Lozenge Quilt
I worked on this all day Saturday and a little bit on Sunday morning. Next on the list was the Mostly Manor Lozenge quilt. I had the blocks made so all I had to do was sew them together. Lucky for me, the raffle prizes had all been given away (I won a charm pack of grey Northcott solids-YAY), so I had a table right behind me to use as design surface space.
I sewed fast and got this top done in a couple of hours. I used the Terrain donation blocks as leaders and enders.
Retreat Donation Block n.1
Retreat Donation Block n.2
Retreat Donation Block n.3
In between everything I made three donation blocks. We received kits for 3 donation blocks in our goody bags. I didn’t have a lot of leaders and enders opportunities, so I rushed at the end to get these done. The Committee gave extra raffle tickets for handing in donation blocks and charity quilts and tops.
I really didn’t want to leave and stayed until the bitter end. The Retreat Committee did a great job organizing everything and I was thrilled to get so much done.
In between putting together En Provence, I made some more Triple Star blocks. I have about six done and have to cut some more pieces to make more. I have ten more to make. They are sewn together pretty quickly with all the pieces cut.
This pattern is from Scrap-Basket Beauties by Kim Brackett. Frances turned me on to this author. There is at least one other scrap quilt in this book I would consider making.
Well, best laid plans. Life, I guess, got in the way of me posting old quilts every Thursday for awhile. I really did intend to do it and here I am again.
She Had to Have Her Latte – 1999
She Had to Have Her Latte was my favorite quilt for awhile. It looks a little dated now, but I still like it.
She Had to Have Her Latte was one of the first Improv quilts, but done in a different way than people commonly understand Improv quiltmaking today. In this quilt, I cut novelty fabrics into shapes with the primary focus being to showcase the motifs. Other pieces were put in between those focus pieces so the quilt fit together. There was no free cutting or rulerless cutting.
I made this with a friend and we had a whole story around the quilt about a woman who had to have a latte every morning. We discussed why and what it meant. I intended this to be the first in a series of quilts, but they were never made.
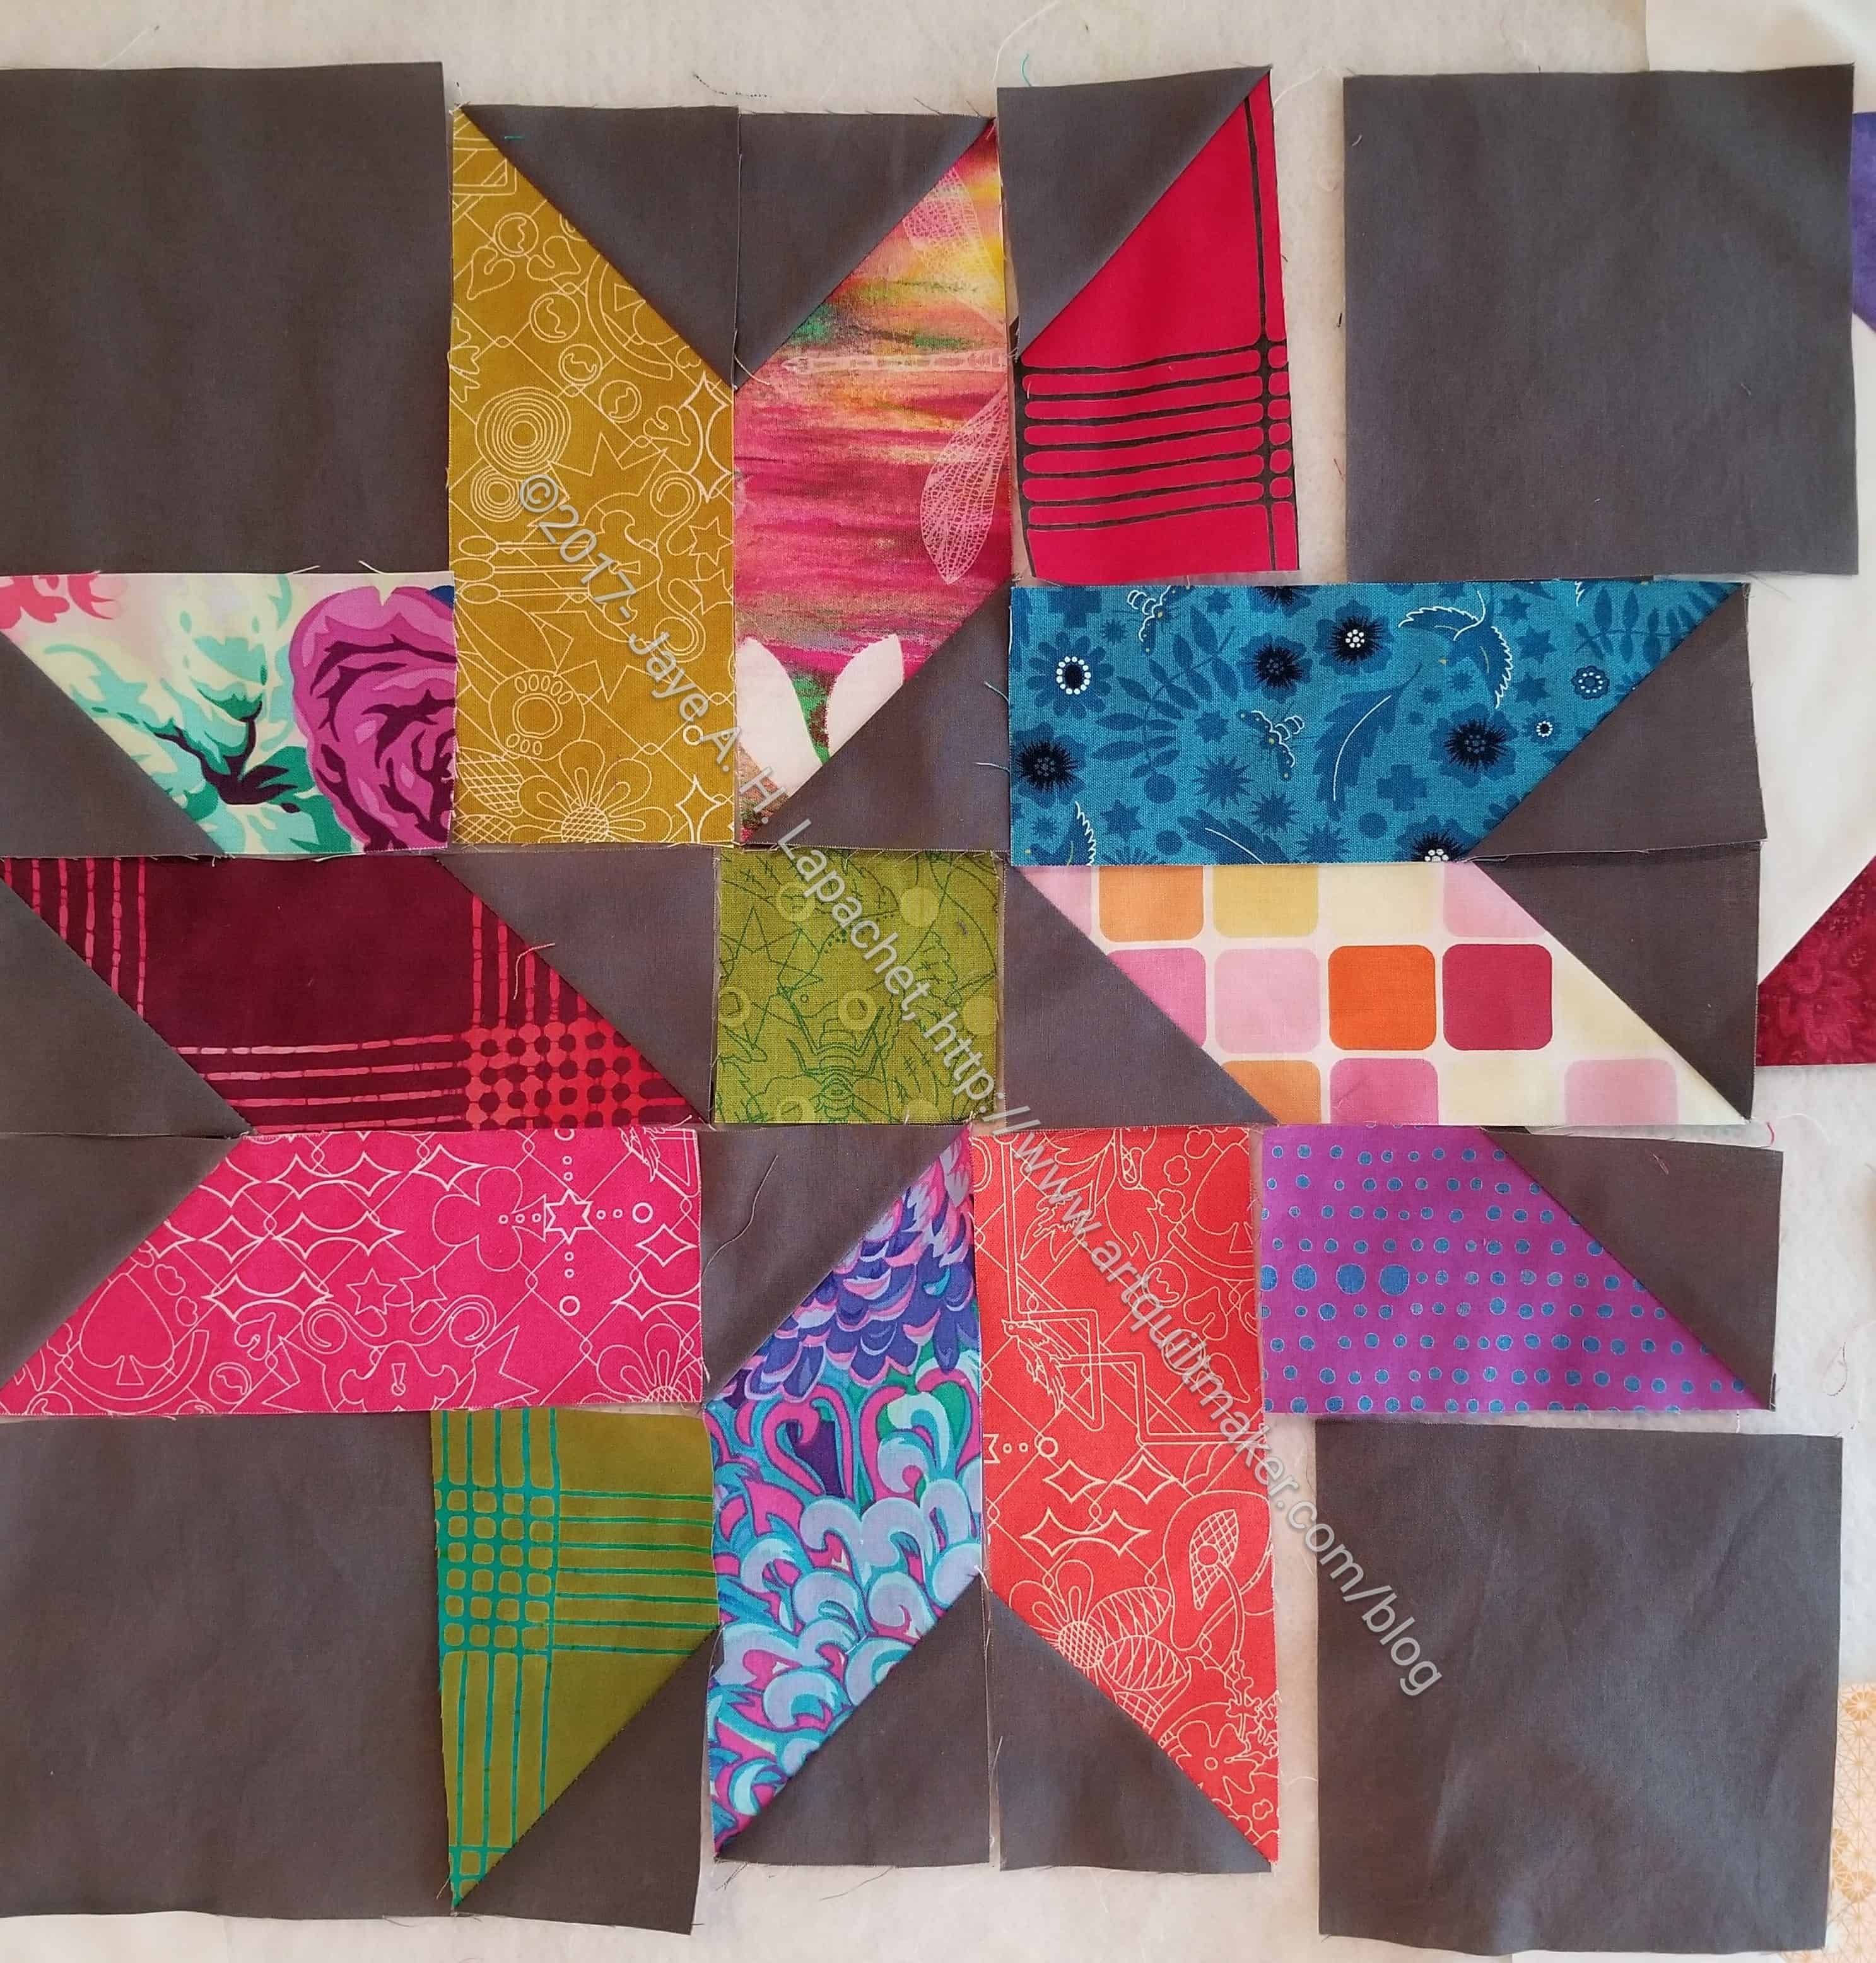
I made another cutting mistake on the Triple Star and decided it was time to make a test block. I laid out two blocks so I could see what I was working on and came up with some great blocks.
I fooled around with the colors until I was happy and began sewing.
I am really happy I made the test block. Even laying it out on the design wall would have been helpful. This block is not difficult, but it is confusing. Still, the effect is really great.
Triple Star – first block sewn
The block came out really well. I am not sure about that mustardy color and may limit it. I am hoping that it will enhance the other colors. Not sure sure yet.
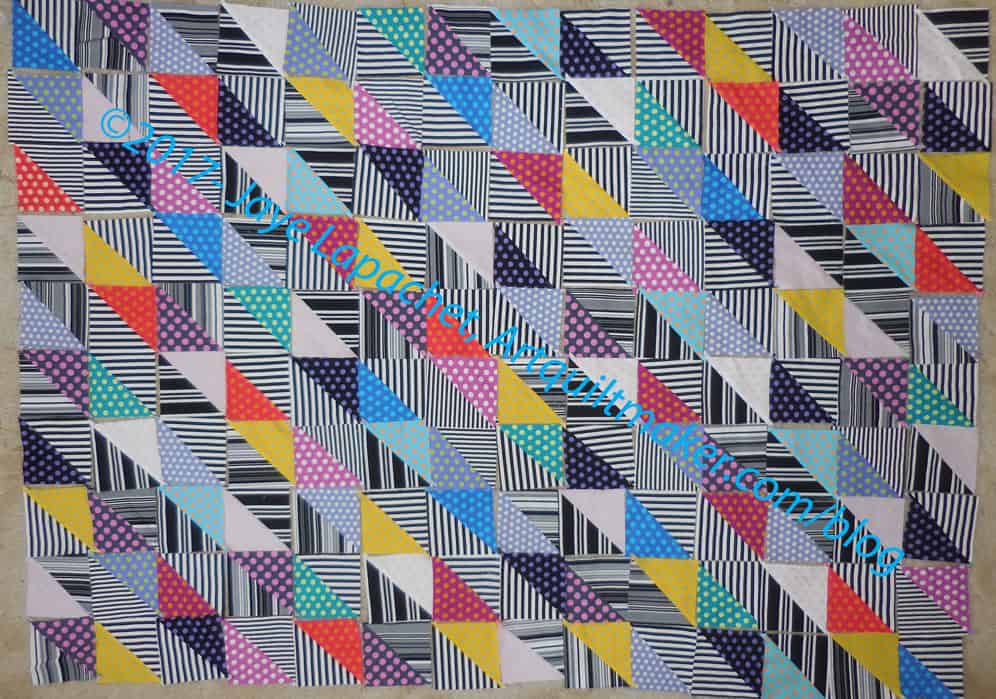
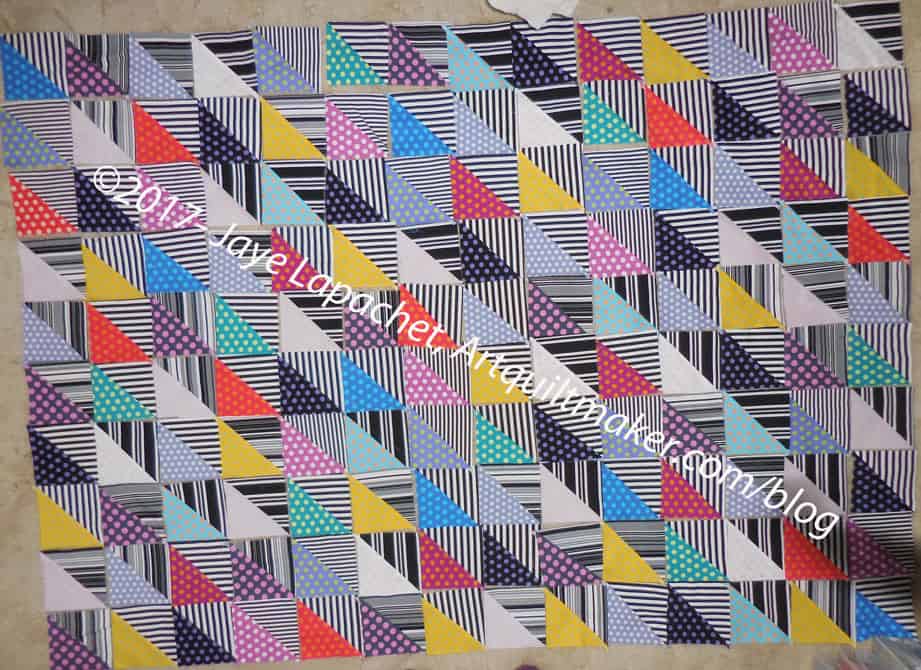
I seem to have a lot of HSTs around. The other day I talked about the Mostly Manor HST quilt. I found the bag of Ta Dots & Stripes HSTs recently and laid them out to see what I could do with them.
First, they didn’t turn out as expected. The stripes are a lot darker than I anticipated and kind of dominate the quilt.
Second, there aren’t as many as I thought, so this will most probably be a lap quilt.
Third there aren’t enough colors of dots to make this really interesting. I don’t remember if Ta Dots come in more colors. If not, they should, but these are all the colors I have.
Ta Dots & Stripes HST Quilt Layout
I laid them out anyway in order see what I could do with them. I laid them out in lines and straight HSTs.
This layout is similar to the one that my SIL did with the Mostly Manor HSTs. It concentrates the colored triangles together and makes them stand out a bit more. The stripes still fairly dominate the whole piece.
Ta Dots & Stripes HST Quilt Layout n.2
The other layout was inspired by a quilt on the Quilts and More Summer 2017 issue. It is straight HSTs in kind of a color order all pointing in the same direction. I thought it would be a possibility for this quilt.
I had a few minutes to sew on Friday night after work and I blew through about 30 pieces for the Triple Star quilt. Not tons, but some progress, which felt good.
Triple Star – August 2017
I have to admit I was avoiding quilting on the art quilt. I had taken off the walking foot in order to finish the star donation quilt and just drifted over to piecing rather than be disciplined about quilting. I have to give myself a break. This is supposed to be fun and I have been driving myself.
I was pleased to do some piecing. I received the Chroma finally, so I could cut the rest of the large rectangles. Now I am in the process of sewing (using the flippy corners method) 2.5″ squares onto two sides of the rectangles to make a parallelogram. I need a lot of them so it is taking forever. I might sew a sample block just to ease the mindlessness. I have no excuse to be bored 1) because I can switch to other projects and 2) I just started!
Rhonda brought my BAMQG Round Robin back to me when we met at the CQFA meeting. I had to hunt around the blog for which challenge it came as I couldn’t remember. I also wanted to see the changes. I remembered that Kathleen worked on it and Kelly had it, but I couldn’t remember anything else about it. 🙁 Kelly had it for a long time and since she is much more into quilting than piecing, I wasn’t surprised to see no changes.
BAMaQG Round Robin
I remember Kathleen and I talking about ways to make the piece more horizontal as it started out very vertical. As it is now, it is very traditional in layout. It is turning into a medallion quilt, which I don’t find that interesting.
Round Robin detail
The piecing is really good. I have asked for some other volunteers to work on the piece. We’ll see if anyone volunteers. If not, I will finish it and give it to a kid I know, I think. I don’t think I am really interested in working on it anymore.
I suppose that is what has to happen at some point. I know I mitigate massive bouts of cutting by breaking it up, but occasionally, I can’t get away from it.
Triple Star background fabric
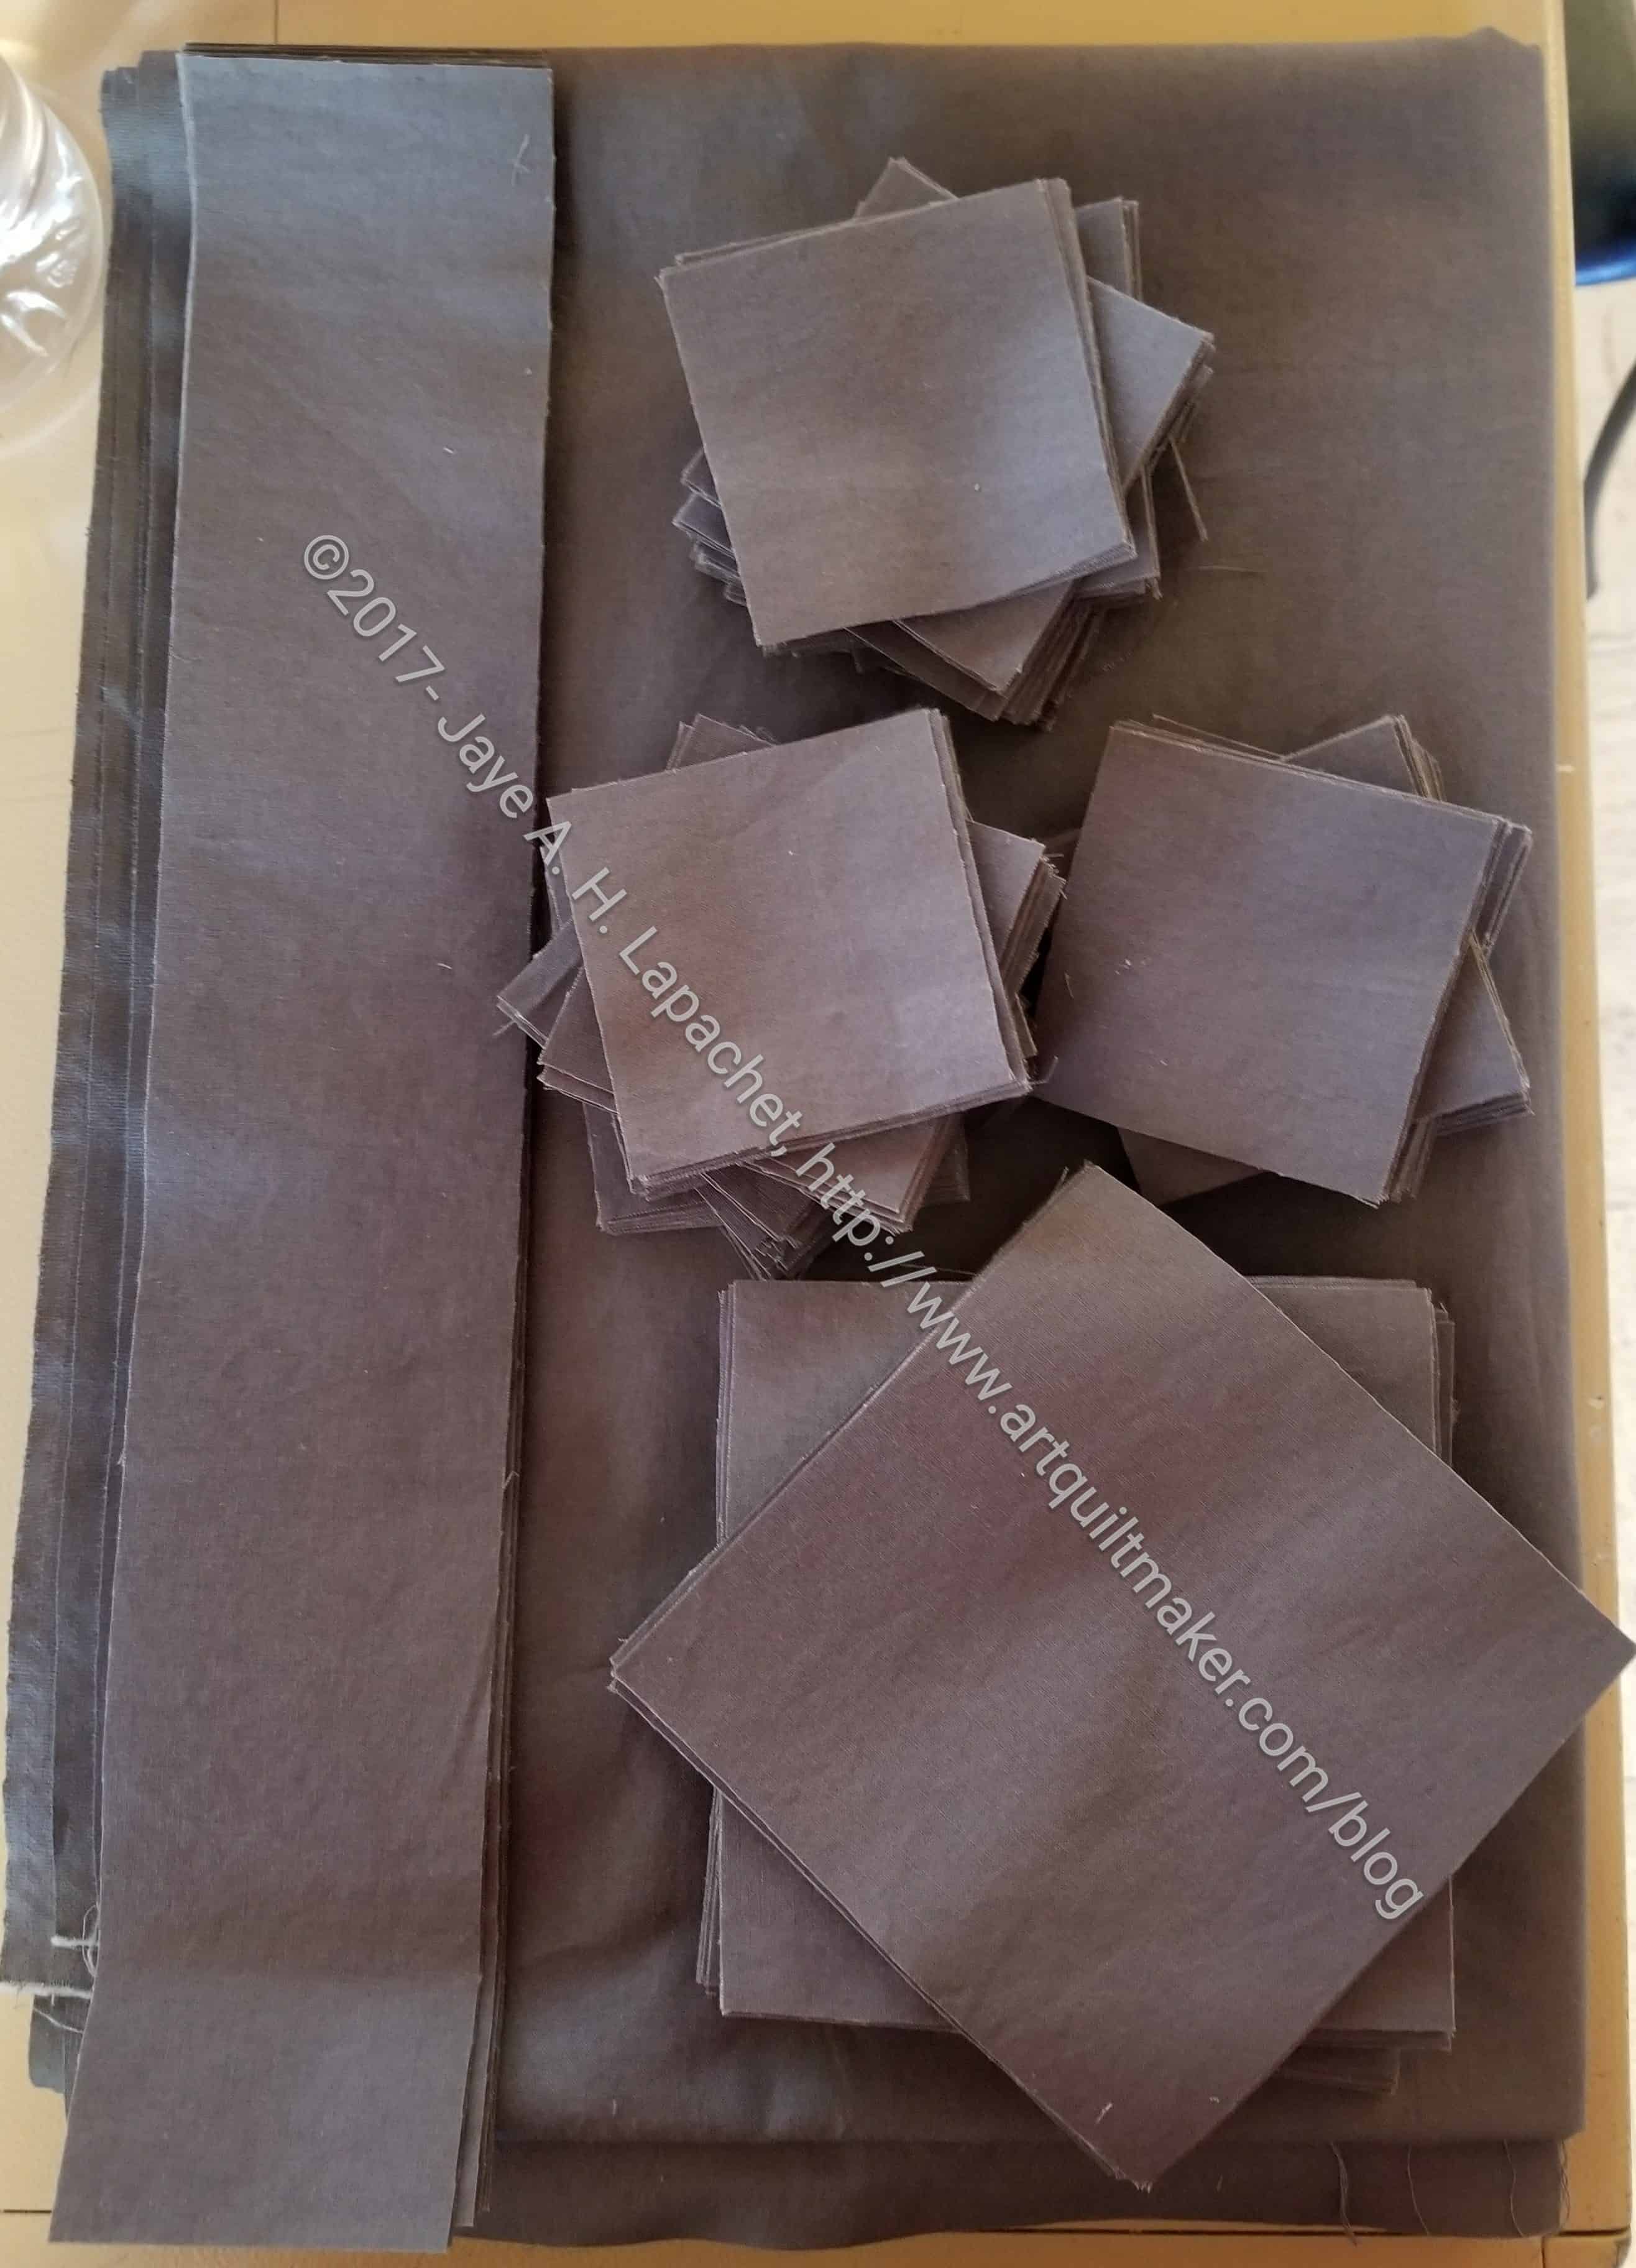
In addition to everything else I did at Sew Day, I also cut background squares for the Triple Star.
This was a task I really needed to do to make anymore progress on the piece, but was also reluctant to do due to space considerations. At Sew Day, I commandeered a large mat and table. I was able to lay out the book, the finished pieces, my rulers and still have space to cut. It was great and I got the job done quickly.
I still have foreground fabric to cut as I have been focusing my cutting on the 2.5″ x 6.5″ rectangles and using the Alison Glass Sun Prints layer cake. Before I can do much more I need to cut some of the smaller foreground pieces from other pieces. I don’t want to make a one fabric line quilt. I want it to be more controlled scrappy like the version I saw at Back Porch.
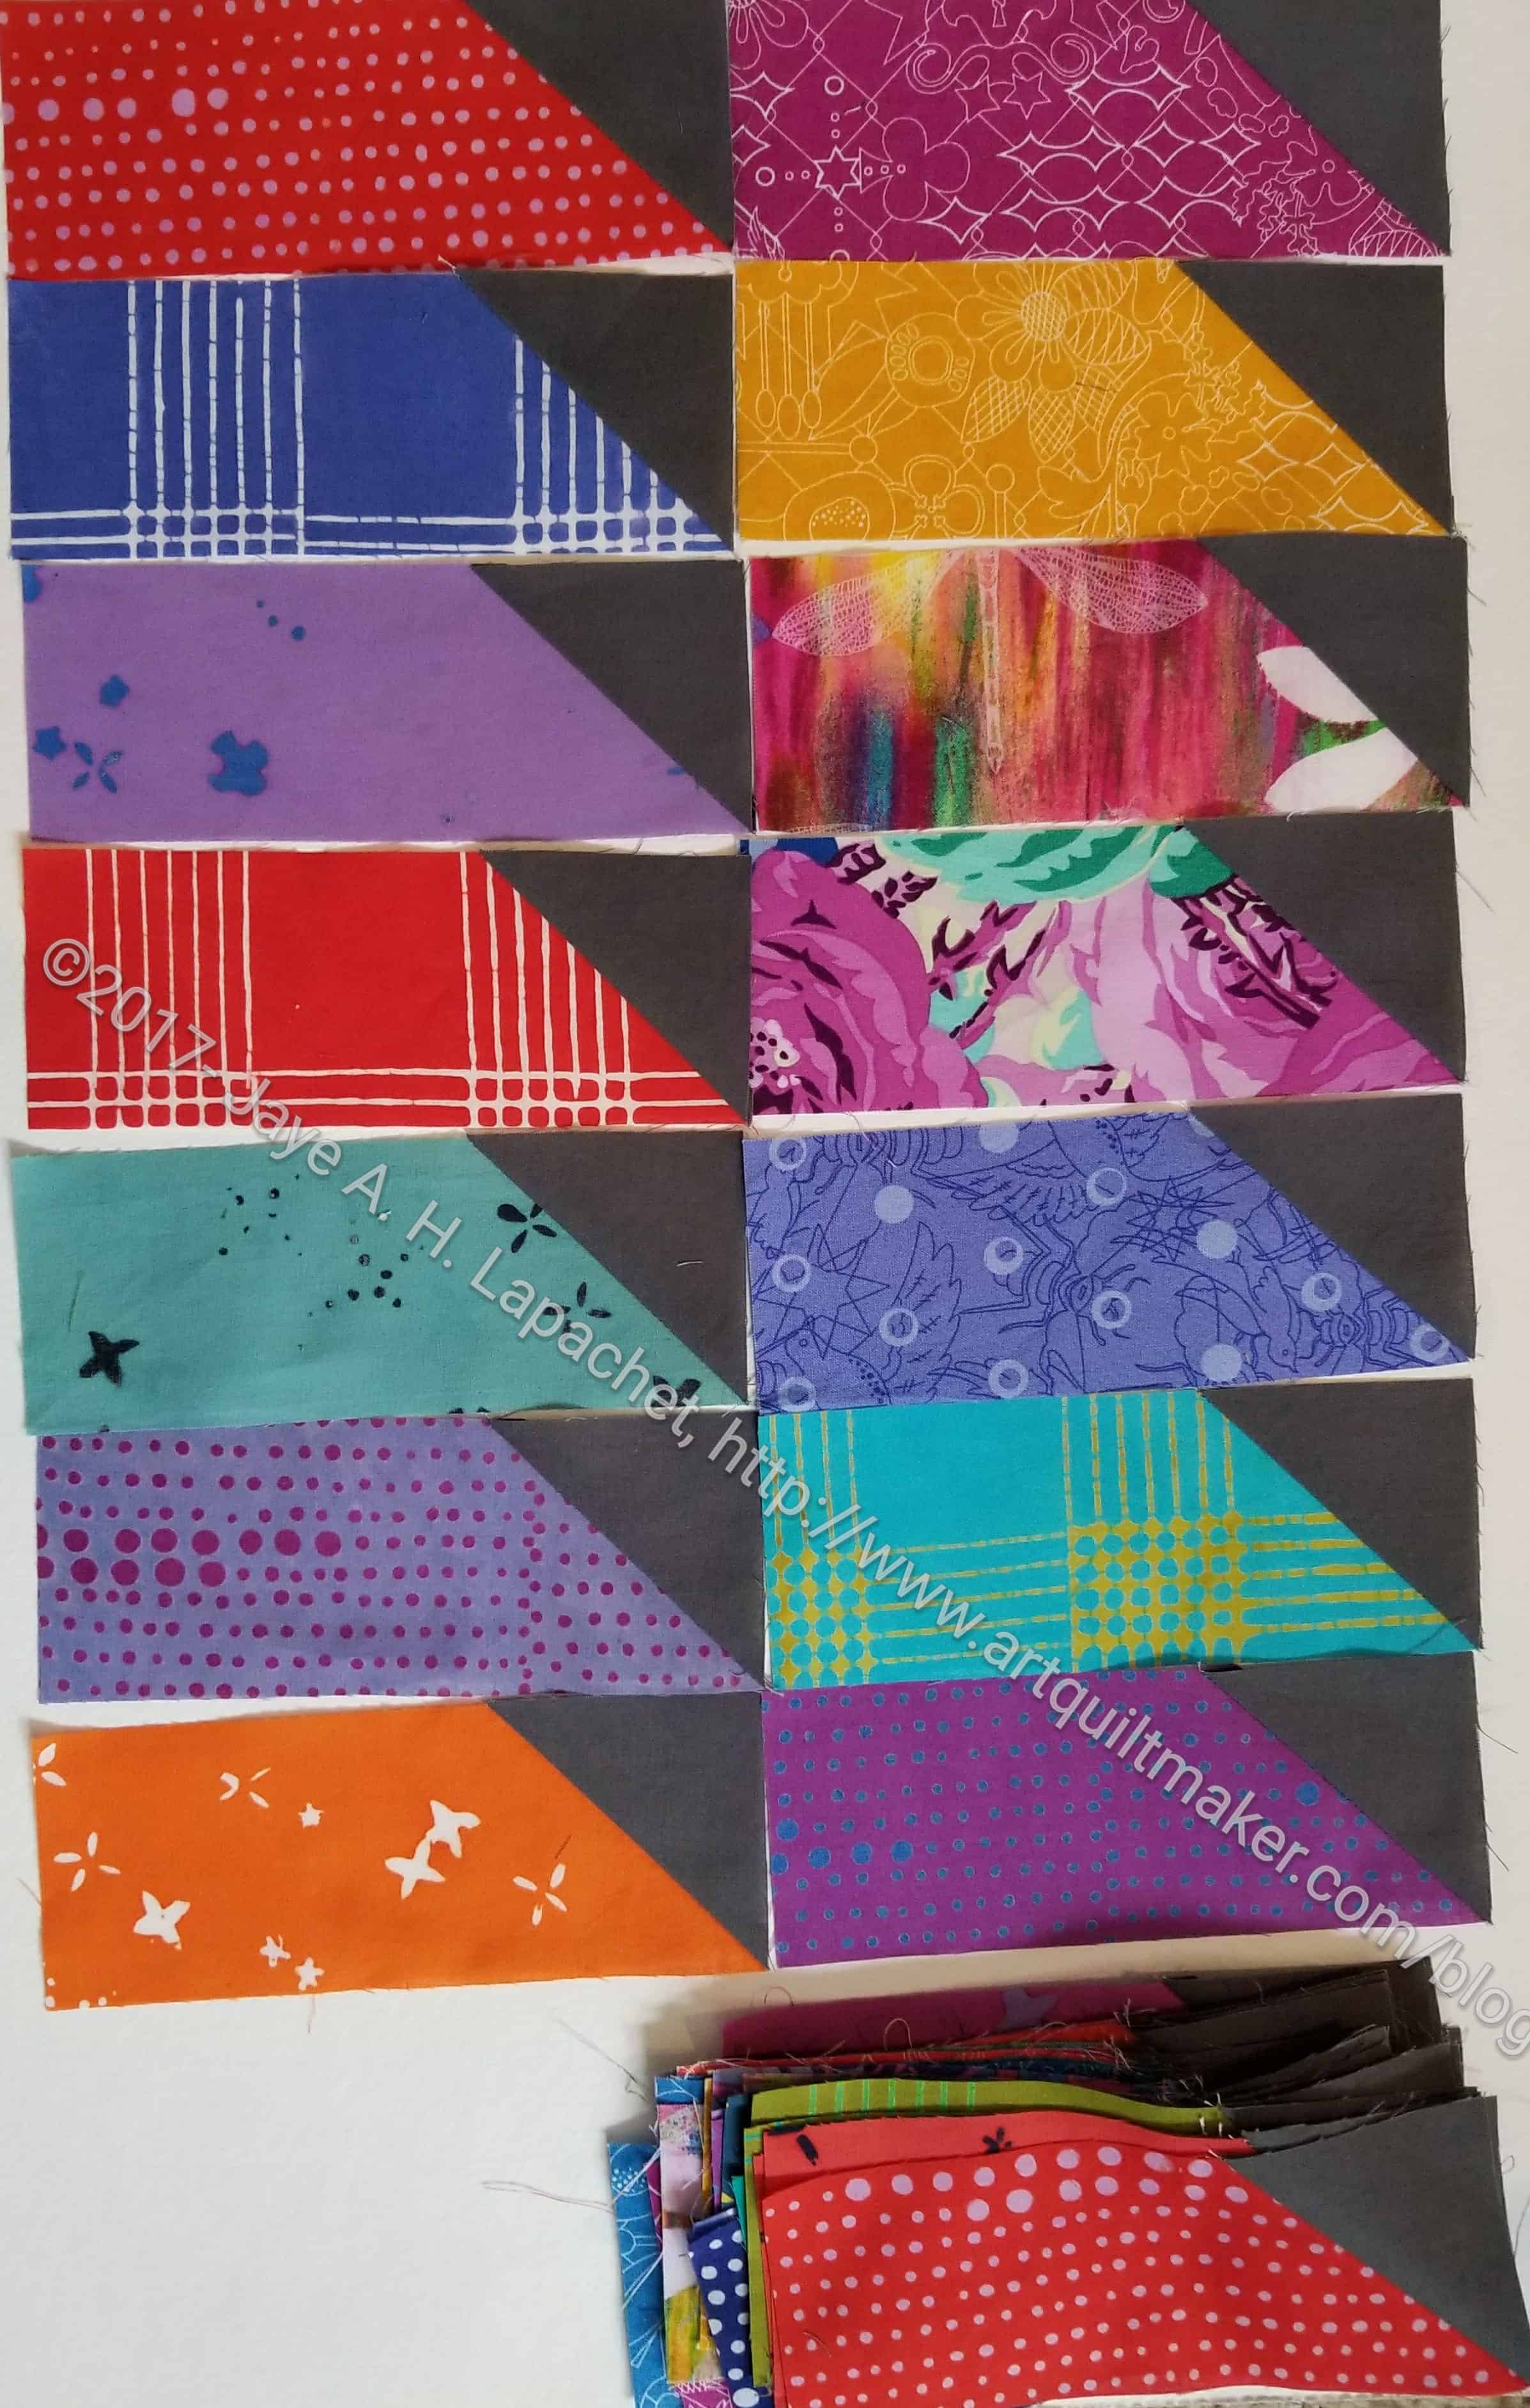
Triple Star Rectangle-Spikes
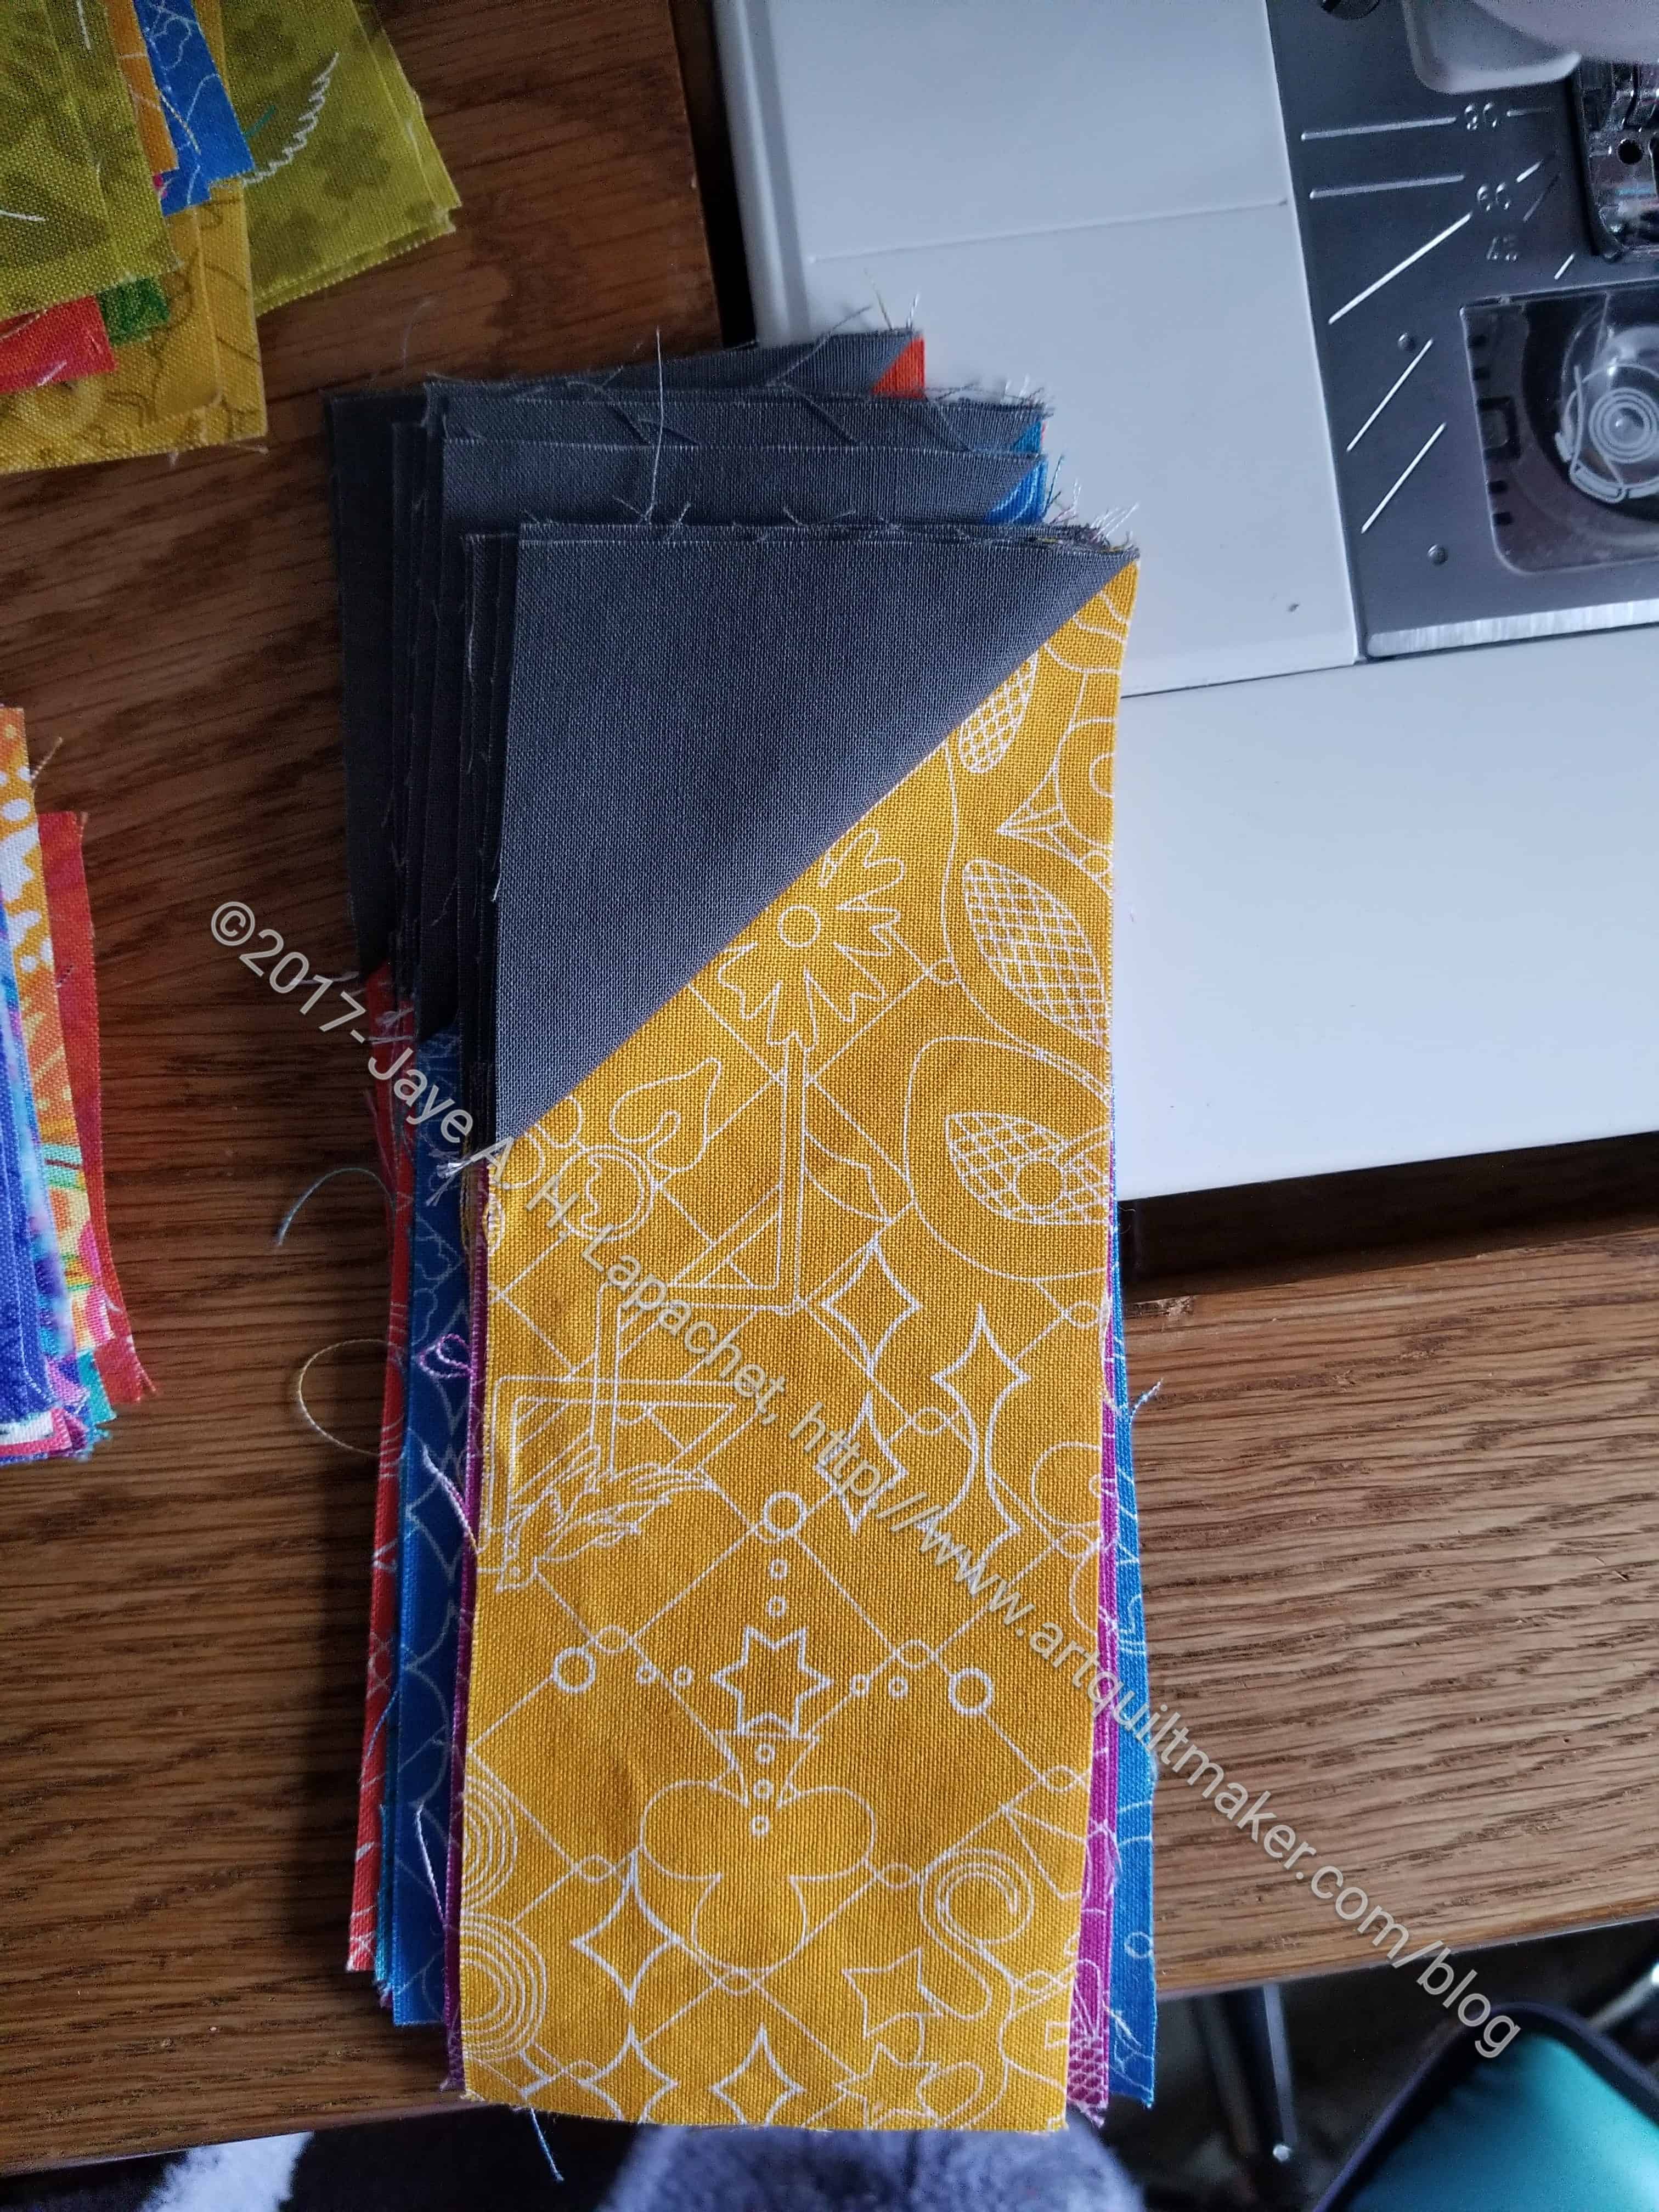
I did a little piecing using the pieces I cut and they are looking good so far. I am using the Janome 6600, which I talked about yesterday. They came out perfectly. There was no fighting with the machine. I used the “flippy corners” method and the machine did not eat the corners. It was a relatively painless experience.
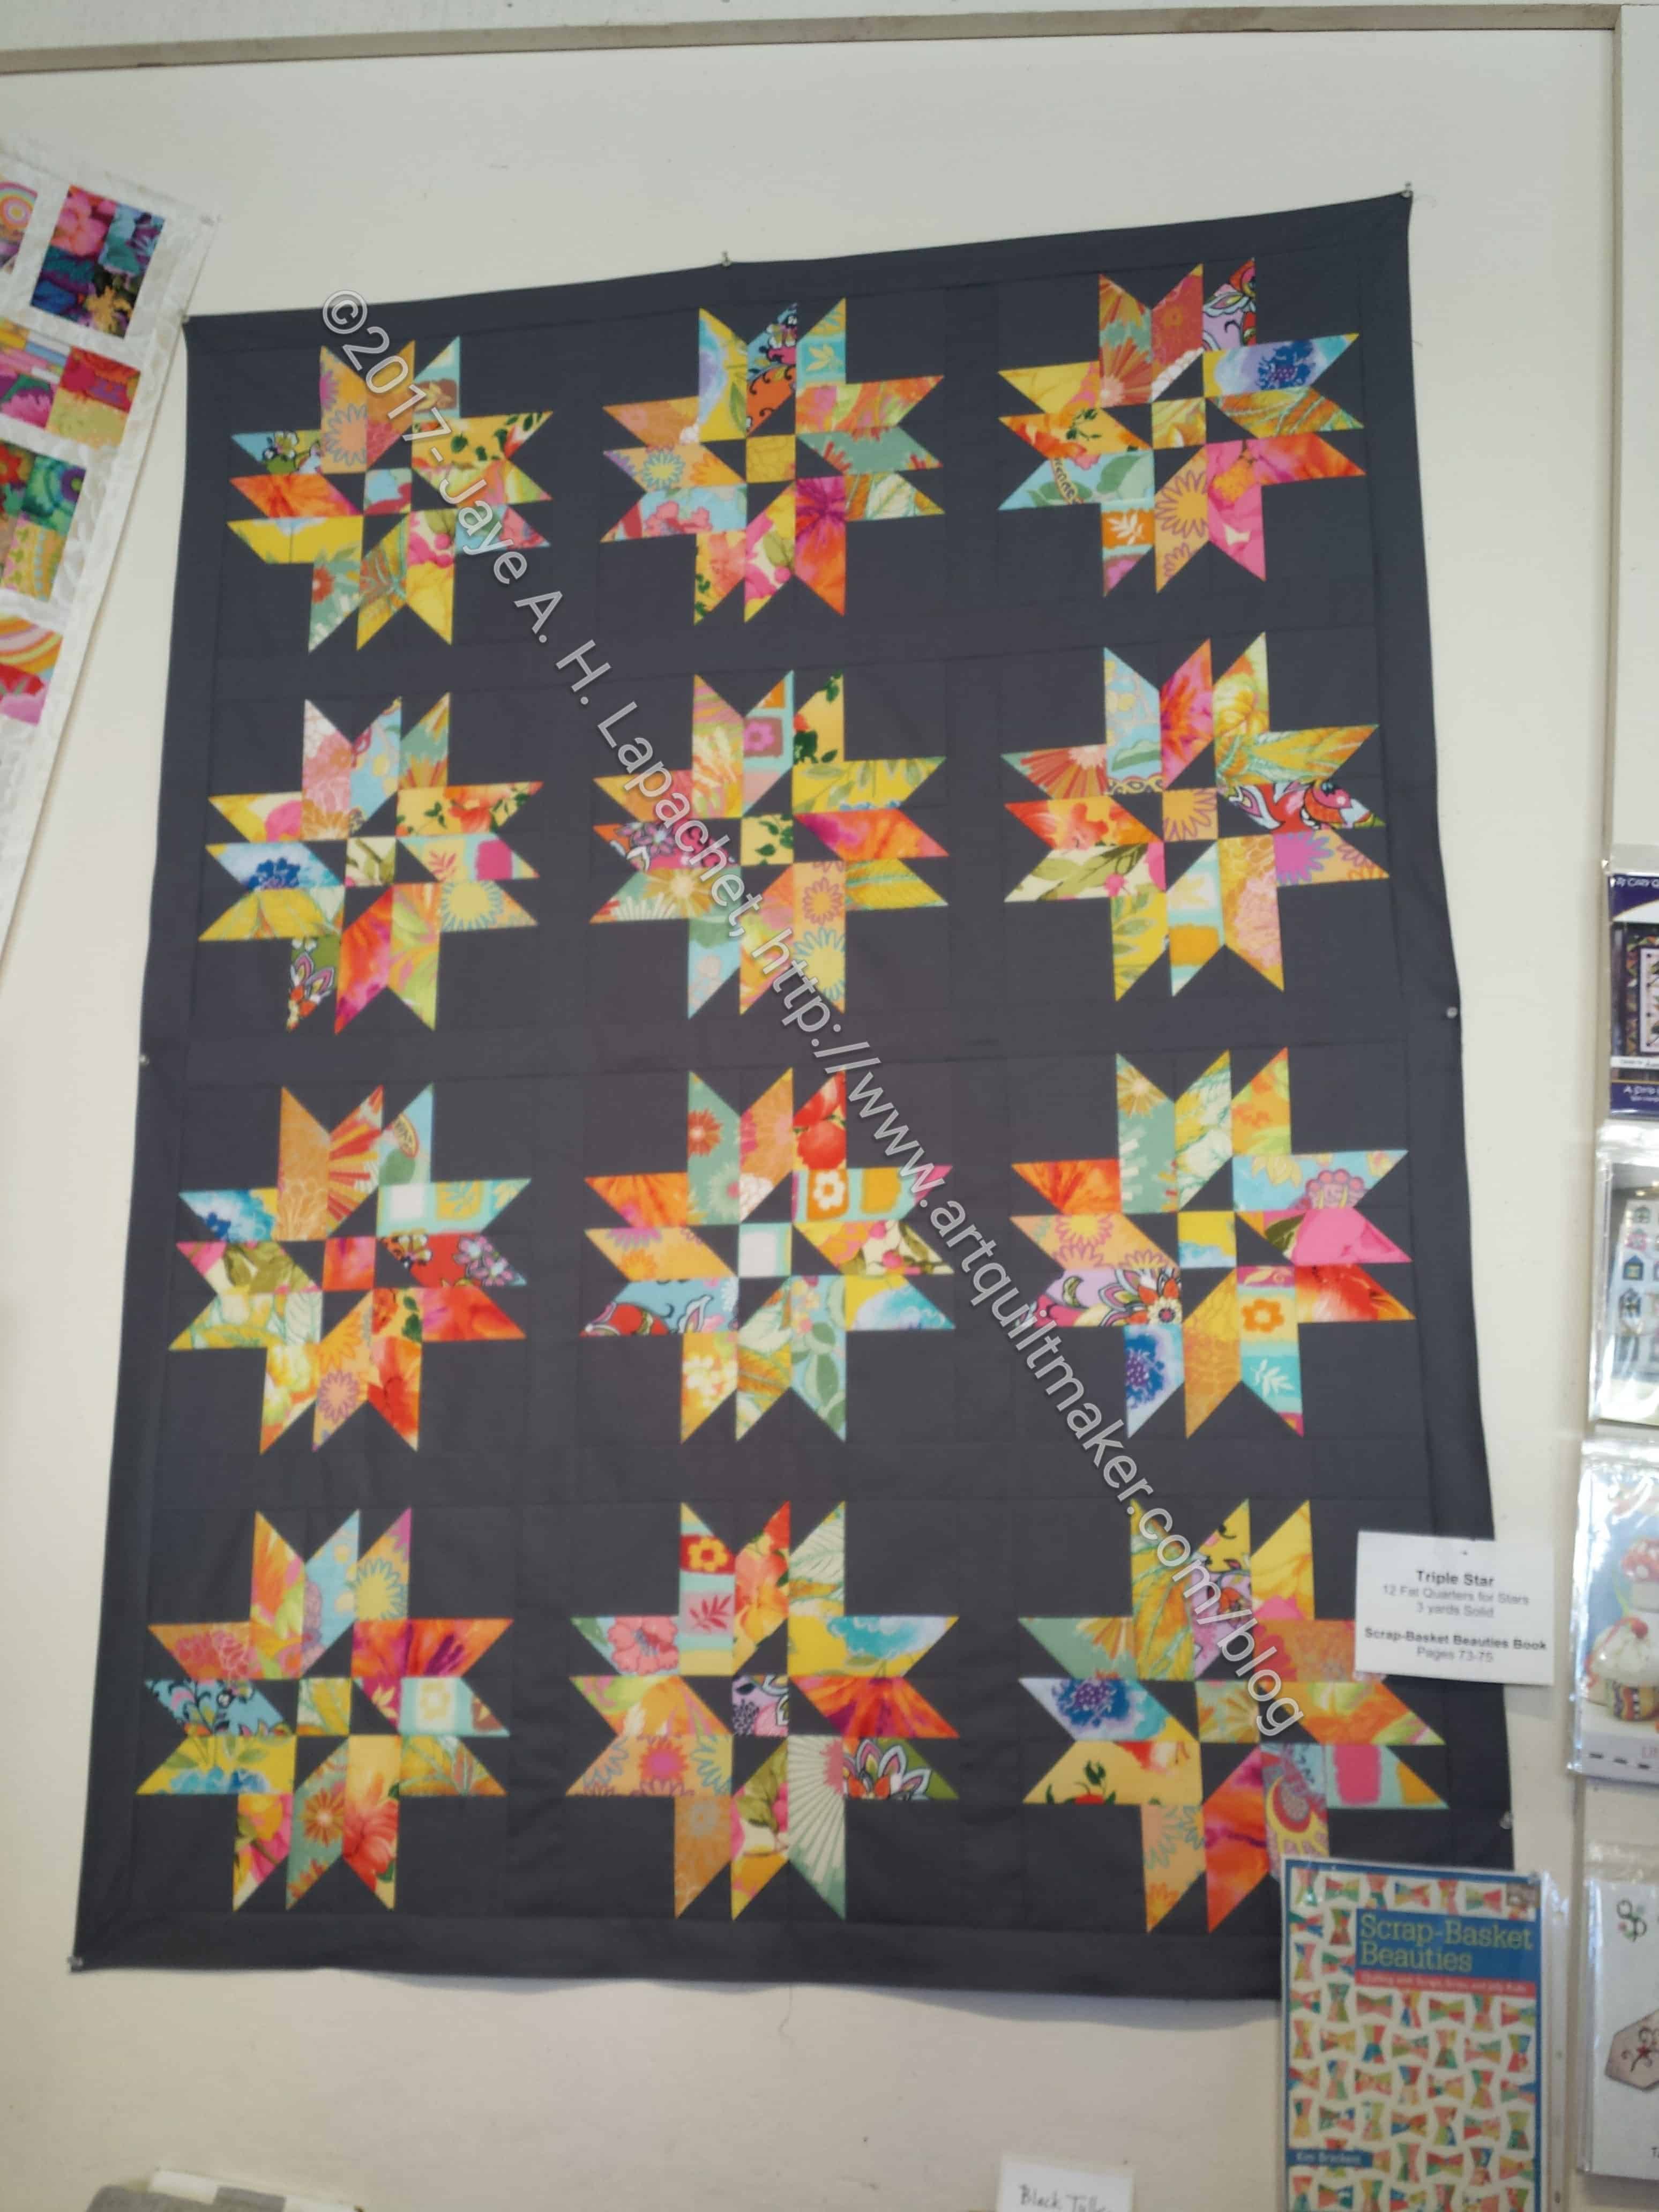
I have liked this quilt for a long time. The photo shows a version that I have admired multiple times at Back Porch Fabrics.
This version uses primarily Kaffe Fassett and Philip Jacobs fabrics with a charcoal (description not actual color name) solid background. I really like it.
I am using the Alison Glass’ Sun Prints layer cake I bought for the Layer Cake Explosion QAL. There aren’t enough bright clear colors so I am throwing in some Kaffe and Philip Jacobs fabrics as well. I also have some Alison Glass Chroma coming soon and may add some of that into the mix.I want it to be as scrappy as possible while using supplies I already purchased. I can always adjust as I begin assembly.
I have the charcoal background I bought for the QAL, but I also have white, so we will see what I end up using. I want this quilt to be appealing and cheerful.
This quilt design is from Kim Brackett’s book, Scrap Basket Beauties. You should buy it. There are a number of quilts I have marked in this book to make. I need to get through this time of “must dos” before I can make any others.
Triple Star by Glenda Freiberg, Half Moon Bay
Star Fancy by Marina Kaiser of San Bruno
*
I visited the county fair last week and was surprised to see a number of quilts in this pattern on display. I don’t remember ever seeing them in quilt shows or at the fair before and wonder if there was a class somewhere locally.
I love seeing individual variations on a pattern. The fair was a great place to see variations on the same pattern and it was so fortuitous that I am planning the same quilt.
*-images ONLY are copyrighted NOT pattern or versions, ideas by above makers.