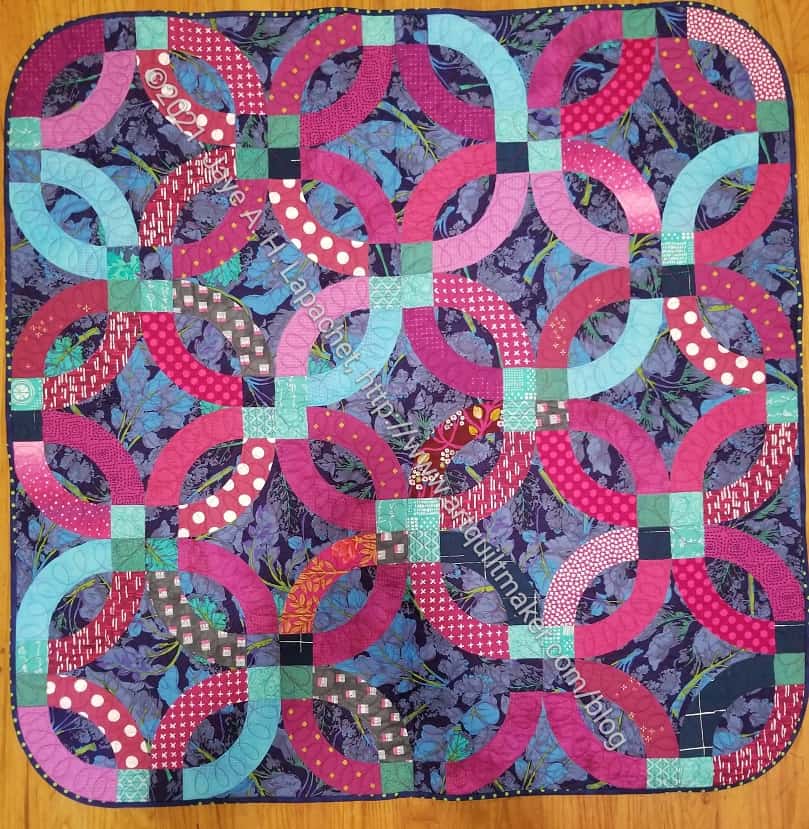
Yes, Put A Ring On It is finished. I have been slowly stitching the binding down. I was able to finish it on July 30, just in time to cross it off my list so I could start La Passacaglia. Hand sewing is about all I can do right now with my workroom still in disarray.
Put a Ring on It corner
This is the first quilt I have made than has round corners…that I can remember. I have a vague memory of using that Katie’s Corner ruler on something, but I don’t remember what. I found it to be great not to have to miter corners. I did have to stretch the binding a bit to get it in the right place, but bias binding works great for that.
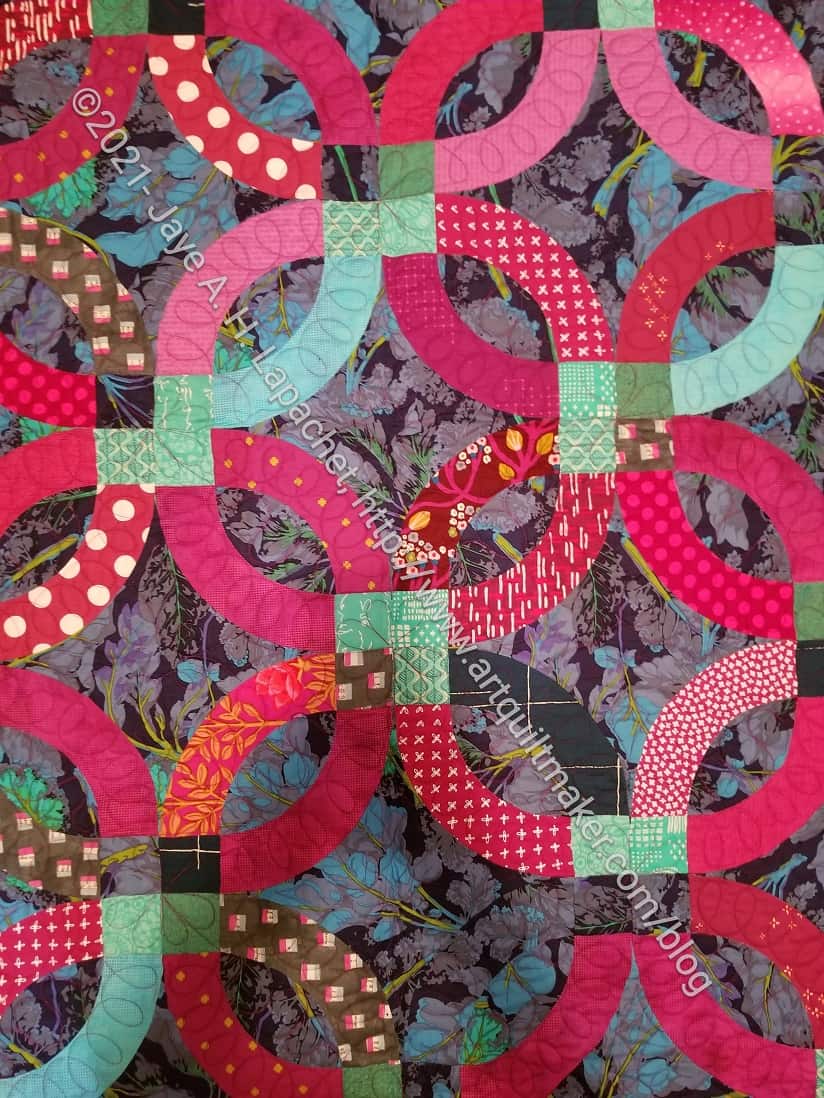
Put a Ring on It detail
Colleen did a great job on the quilting! I like the way she highlighted the arcs.
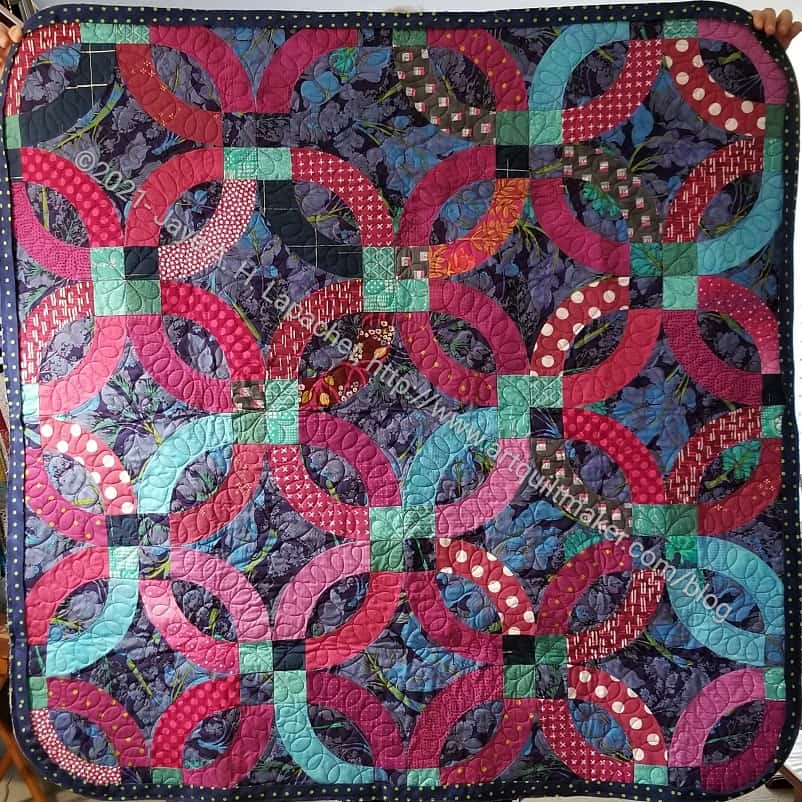
My Put a Ring on It quilt is back from Colleen. It showed up while I was traveling. I haven’t had a chance to put on the binding, but I am closer to being done than I was when we last discussed this quilt.
It is a lot darker than the others in the guild due to the dark blue Martha Negley fabric I used for the background. I like the quilt, but am not sure that I love it. I used similar colors to Frolic!, but the dark blue makes the look totally different. I am really interested in that blue and red-violet combination.
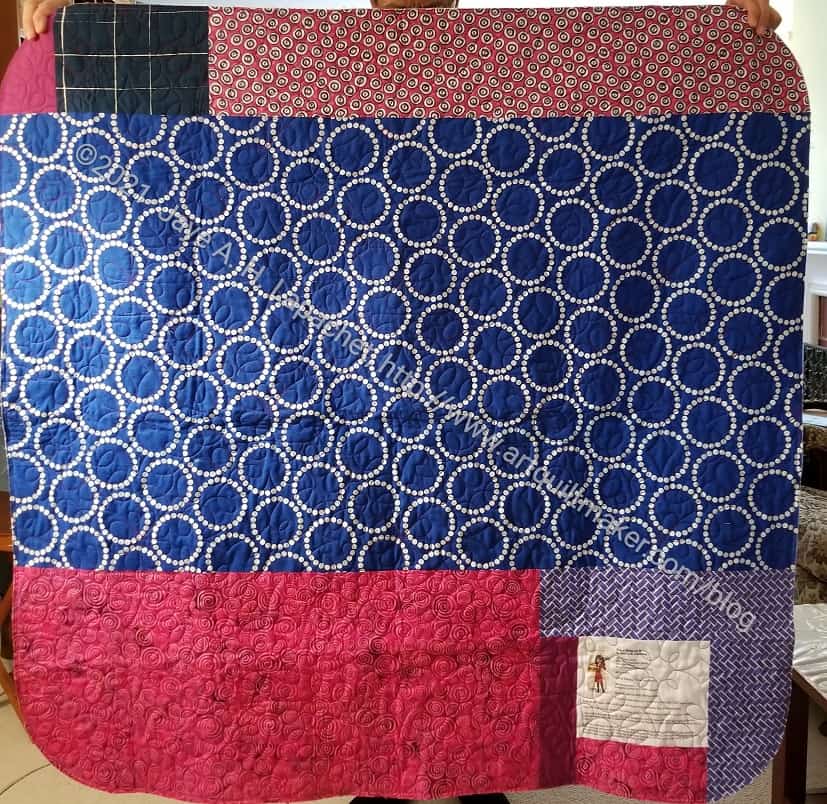
Put a Ring on It back
The back looks good. I may regret using that rings blue, but it goes with the theme and has been sitting around for ages so on it went.
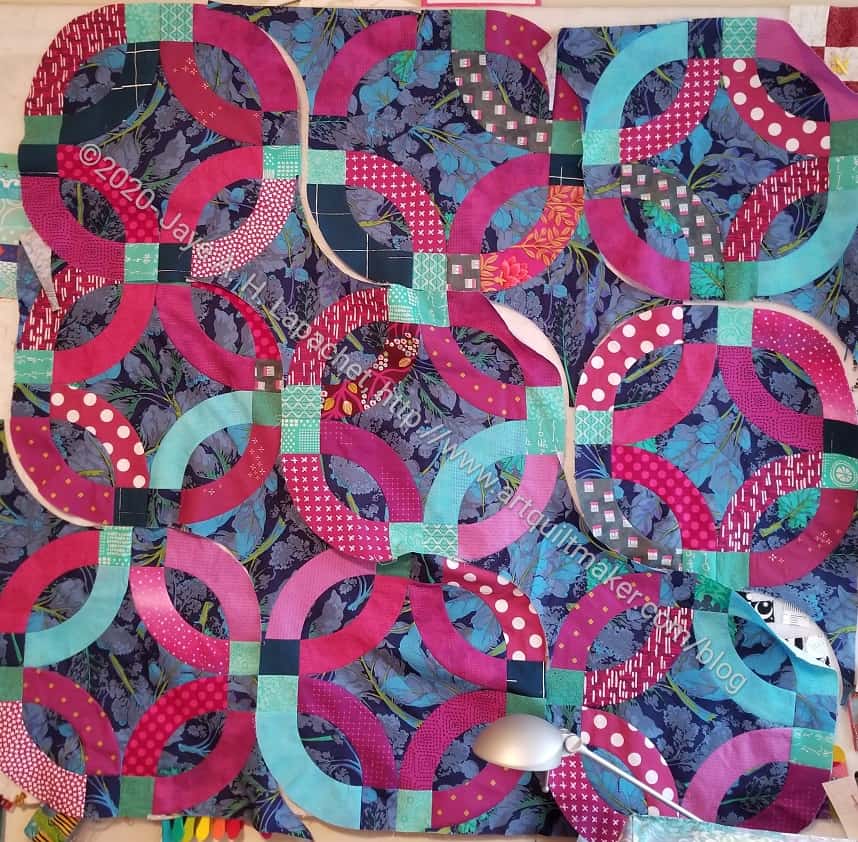
At Sew Day, a number of people were working on their Ring quilts from the Latifah Saafir class. It was great to see how different everyone’s interpretation was from the class.
I like the way Maria is using low volume and the rings are kind of floating. I came over and looked at Maria’s top and suggested the green in the upper right hand corner. I think it balances out some of the other green in the quilt.
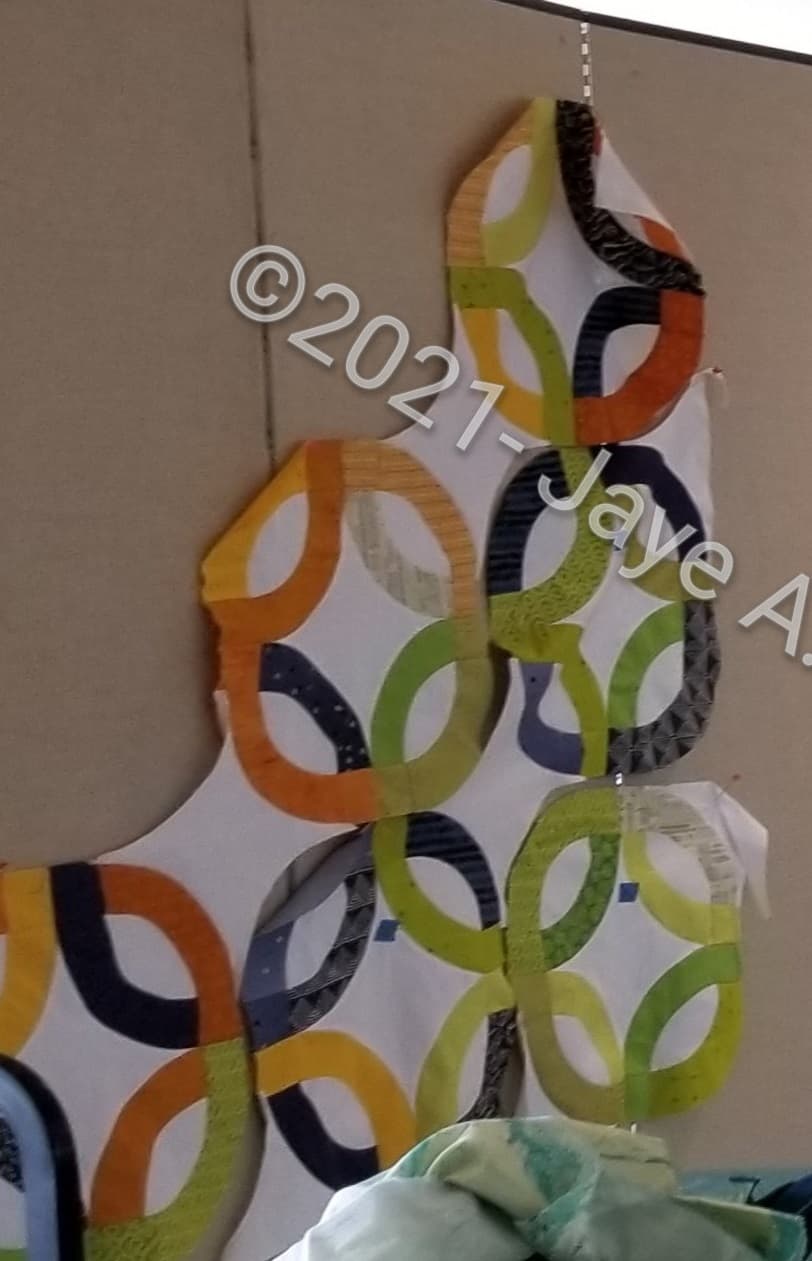
Gerre’s Put a Ring on It
Gerre was also working on hers and making good progress on her version. She was working on putting the rows together at Sew Day. The green is really great with the orange and the white.
She worked on it again when we had our mini Sew Day and was able to finish it, as I think I said.
I am always excited to see people working on quilts from a class at the same time. It is so fun to see the different interpretations.
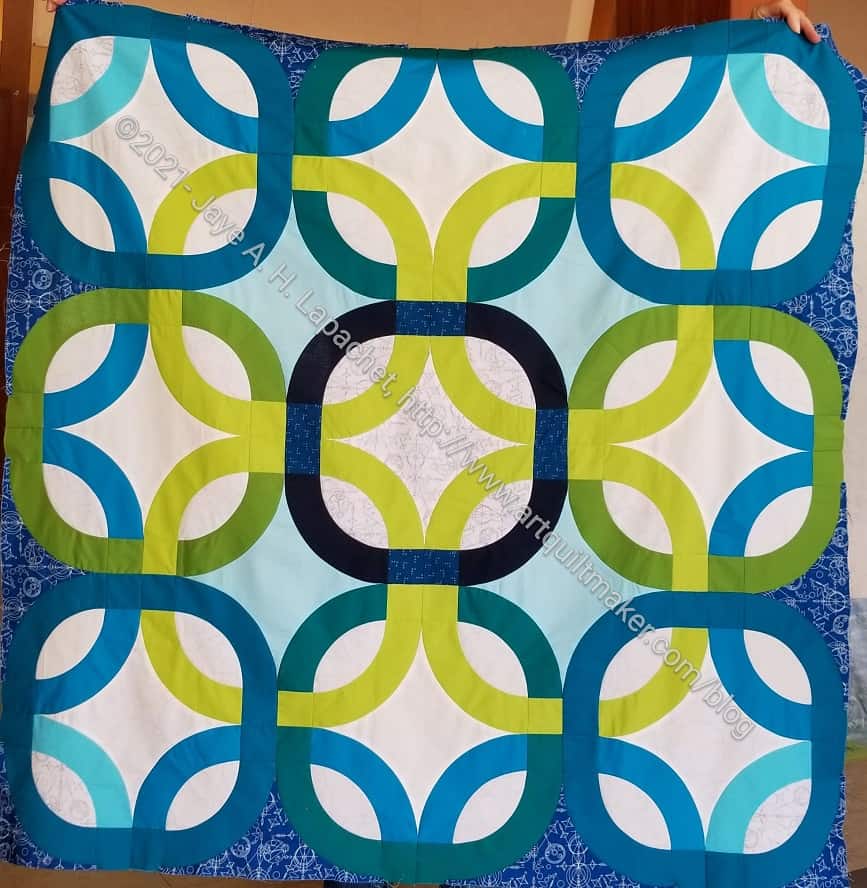
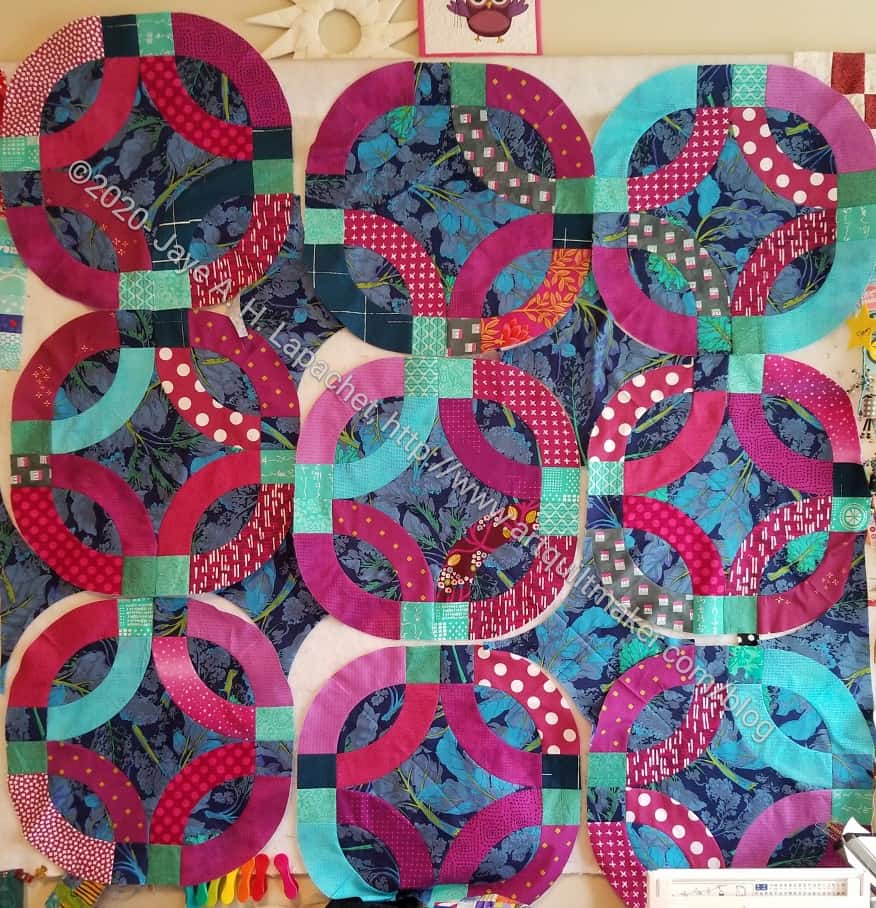
Lee Ann’s Ring Quilt
I really LOVE Lee Ann’s version of the Put a Ring on it pattern. She nailed my colors.
I really like the way it looks like the rings are radiating out from the center. The rings are not radiating out in gradation order, so my eye moves around quite a bit .
Did you notice the light blue in some of the centers and the turquoise arcs in the corners? Brilliant! There is so much to look at in this quilt.
Did you notice how most of the quilts are the baby size? I made mine that size also.
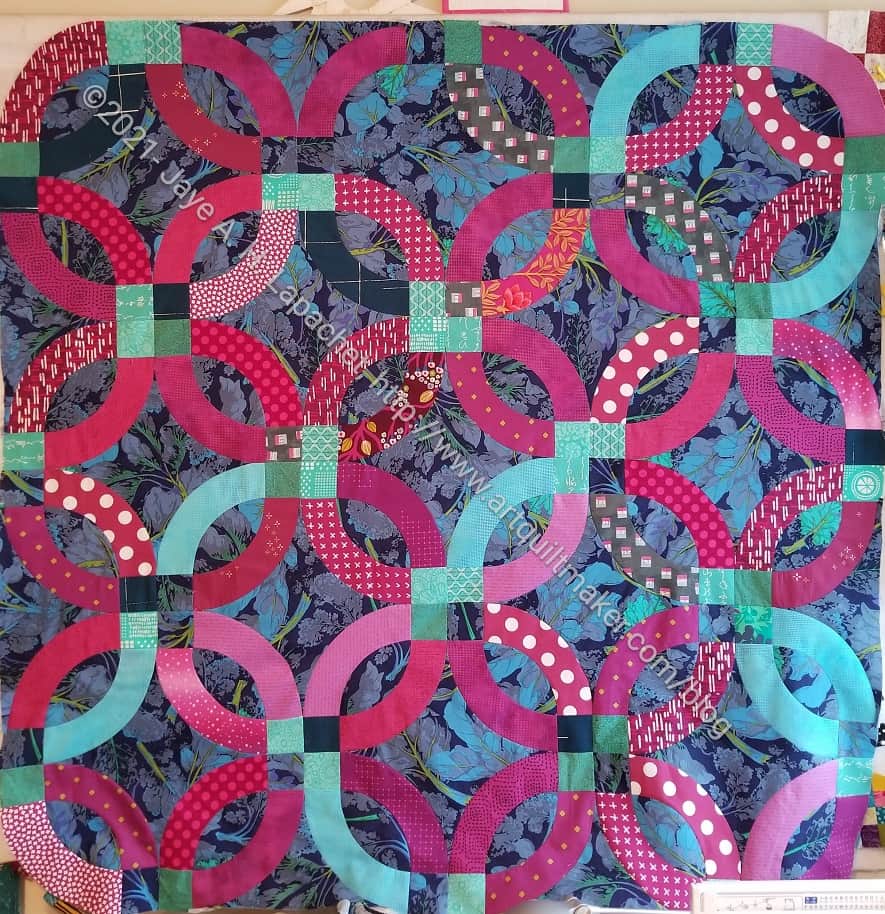
I finished the Rings top over the weekend. Yay! I also started on the back. It is small enough, so it shouldn’t take long and then I can get it ready to be quilted.
I have started to put the quilt together. This one I have to put together in rows despite preferring the chunking method as I am not as familiar with the construction.
I did have a little trouble cutting the edge pieces, but I think it will work out.
I am leaving the corners round. Why not? I think it will look nice. It will also be very easy to bind.
I was able to finish all the Rings blocks over the weekend. I had hoped to put it together also, but, with one thing and another, it didn’t happen. Still, I am pleased and look forward to getting the piece together.
While I didn’t achieve my goal of having all the Put a Ring on It rings done before the weekend, I did make more rings.
One problem was cutting. I didn’t have all the arcs cut, but that was a good thing to do while I listened to the meeting. I made good progress at cutting and have about half a block left to cut to finish 9 blocks.
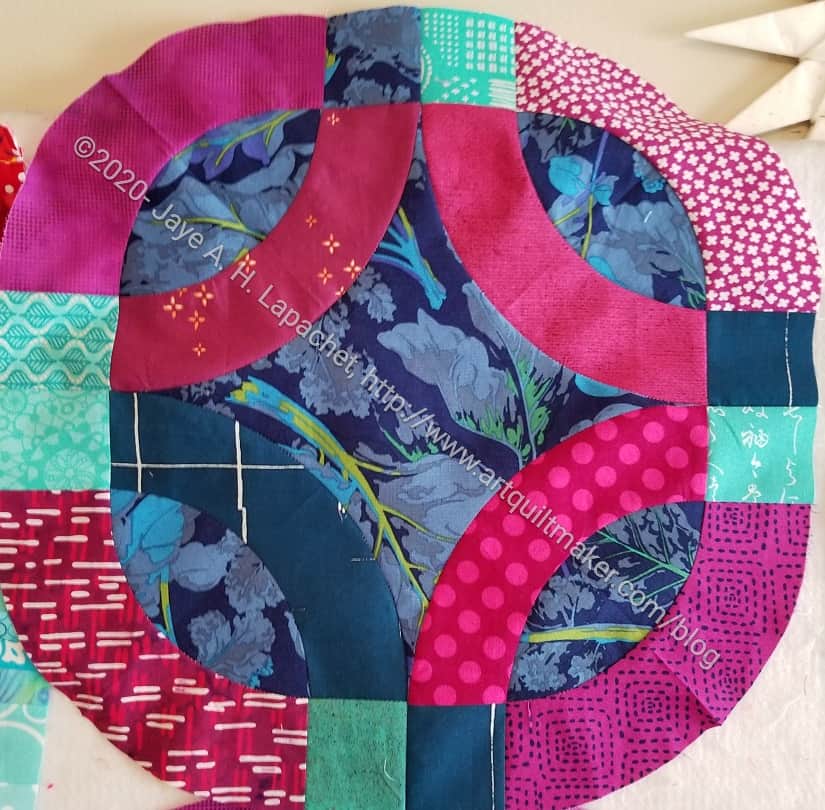
Put a Ring On it Block 8
As a result of cutting during the meeting, I was able to make good progress Saturday after the meeting and Sunday.
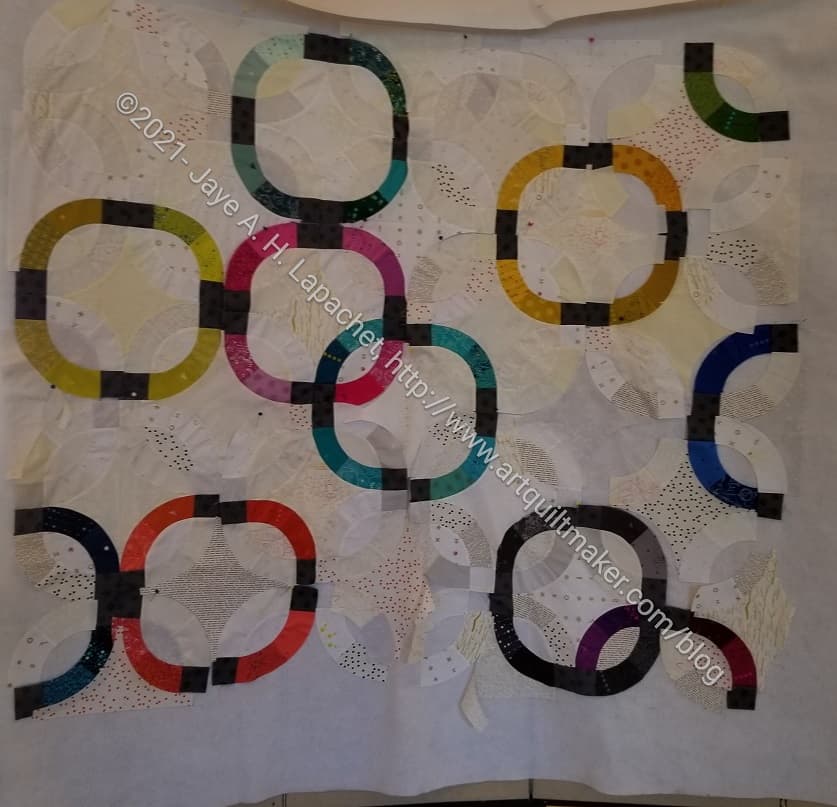
I am, however, running out of design wall space. Scrap Dash is taking up almost every inch of space on my large design wall and my random and various other projects are taking up a lot of space on my small design wall. Now, the leftover significant portion of space is filled with Put a Ring on It rings.
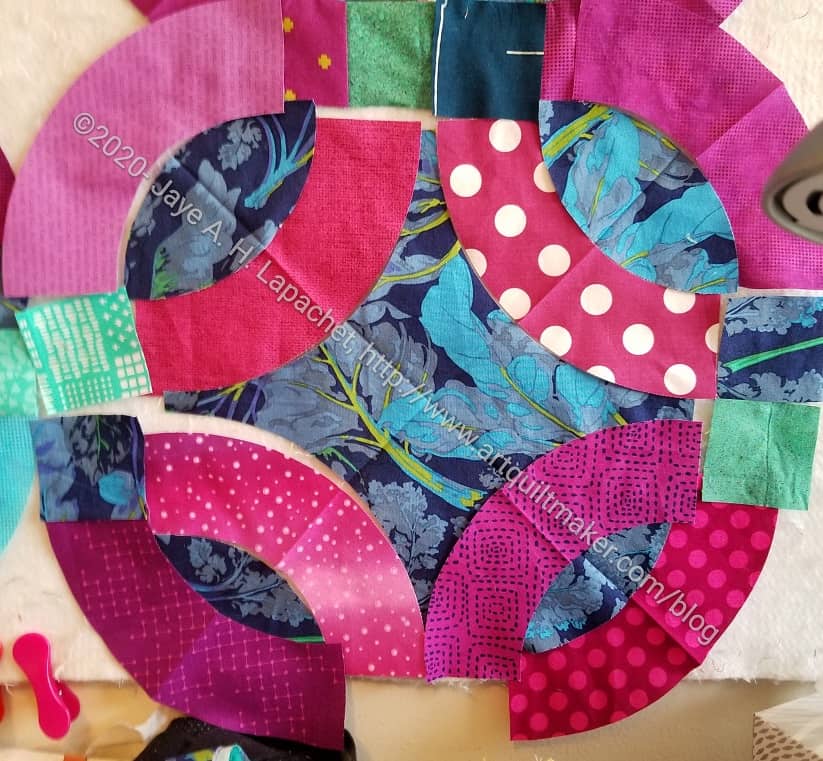
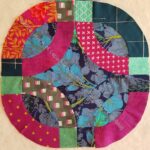
Put a Ring On it Block 6
One issue I am having is that I keep thinking how I want to change this project and what I don’t know about the tools to do it. I think I would like skinnier arcs better. I know that means smaller cornerstones, but what else does it mean? Would I have to change the size of the center? Probably.
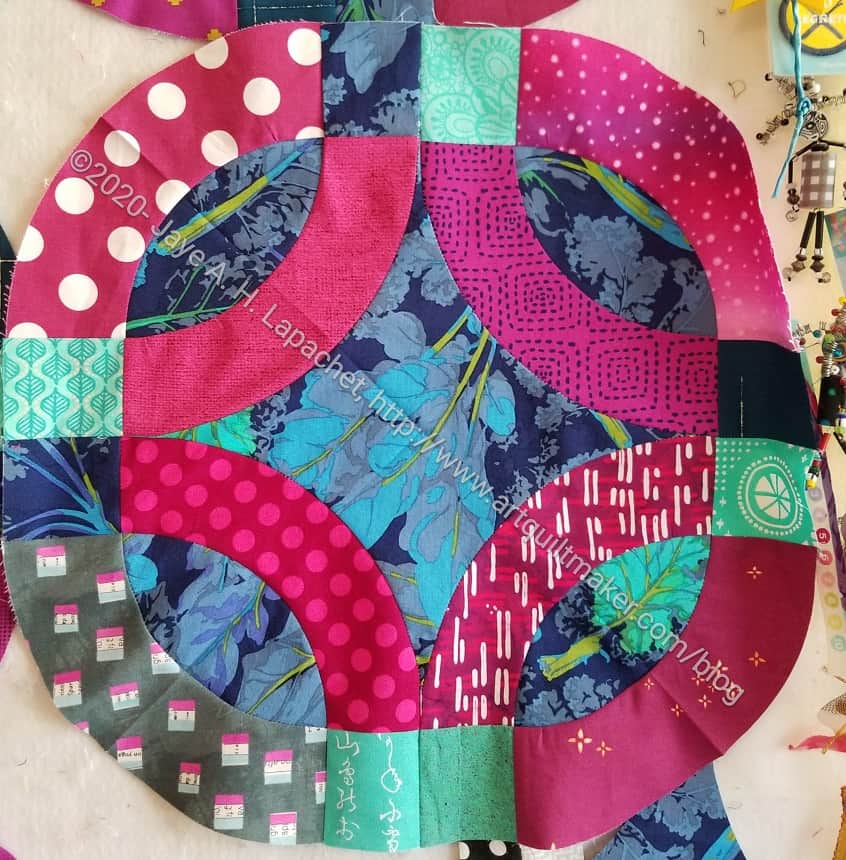
I made some more rings from Saturday’s class and the Put a Ring On It pattern on Sunday and during the week.
New Ring 2
New Ring 1
I was trying some hide and seek type effects with the ring on the left, but I won’t be repeating that. I am not taking it out and it will blend in fine with the other rings.
They don’t look that great (or terrible) on their own, but together they look a lot more interesting. Still, I am making some progress.
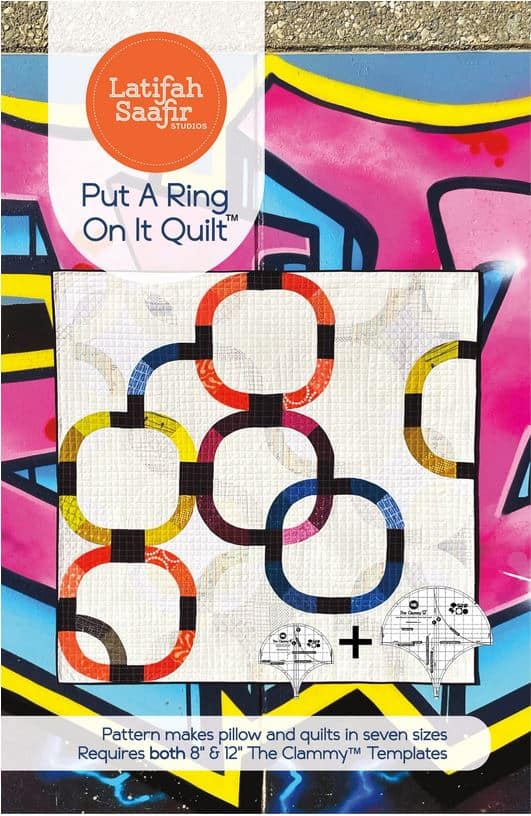
Even though I can teach a vast number of quiltmaking skills, I don’t know everything. The guild hosted Latifah Saafir on Saturday via Zoom to teach us her pattern, Put a Ring on It*.
This pattern uses two of Latifah’s Clammies, the 12 inch** and the 8 inch**. I was super pleased to receive these as gifts between my birthday and Christmas.
The pattern is fairly complete and pretty easy to follow. The class was worthwhile, because Latifah gave us tricks and tips and helped us troubleshoot. The Clammy tool and the pattern really make this, essentially a Double Wedding Ring, pattern accessible to almost anyone. Obviously, I wouldn’t suggest it as a first quilt or if you haven’t tried curves, but otherwise, you can do it.
Martha Negley Vegetables
We had to select fabrics and cut pieces before class. I used an older Martha Negley fabric for the background. The background isn’t very much of the quilt. I wanted something different after looking at all the various versions of this quilt plus other DWR versions online. I didn’t want to make the traditional light background. I also didn’t want to copy the version on the cover. I thought of text prints for the rings, but defaulted back to my Frolic! color scheme with a variety of red-violets and the dark blue.
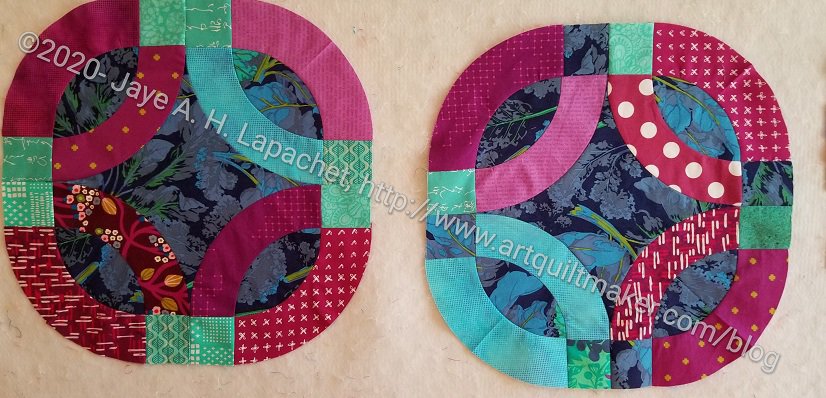
Two Rings Finished
During class I was able to finish two rings. I wasn’t pleased with the green I chose for the squares. That was one good thing about being at home. I was able to grab some other fabrics and switch them out. I’ll mix up the rings so the green doesn’t look like big green blobs in the center of the quilt.
I am making a 9 block (1 ring=1 block) quilt. It will be about 48 inches x 48 inches. I didn’t want to commit to something larger and even this number of blocks is feeling like too much. I am going to power through. If I can get a ring a day done this week, I can finish all the ‘blocks’ by the end of the week and be ready to put the quilt together at the weekend. I don’t want this to become a UFO. I want to get it down and ready for quilting.
What I really wanted out of this class was to learn to use the Clammy rulers. I think I have started on that process, but didn’t get very far. This class was all about the Put a Ring On It pattern and making that. Learning various Clammy techniques was not on the agenda. That was sad. I hope Latifah comes up with a Clammy Sampler class. I get the sense that this tool is an awesome method for making circles in quiltmaking.
*No affiliation. Both a PDF and print pattern are available. I got the printed pattern and really liked the format.
**I use affiliate links and may be paid for your purchase of an item when you click on an item link in my post. There is no additional cost to you for clicking or purchasing items I recommend. I appreciate your clicks and purchases as it helps support this blog.