Cork I Spy #3

Cork I Spy - medium #1
Cork I Spy – medium #1

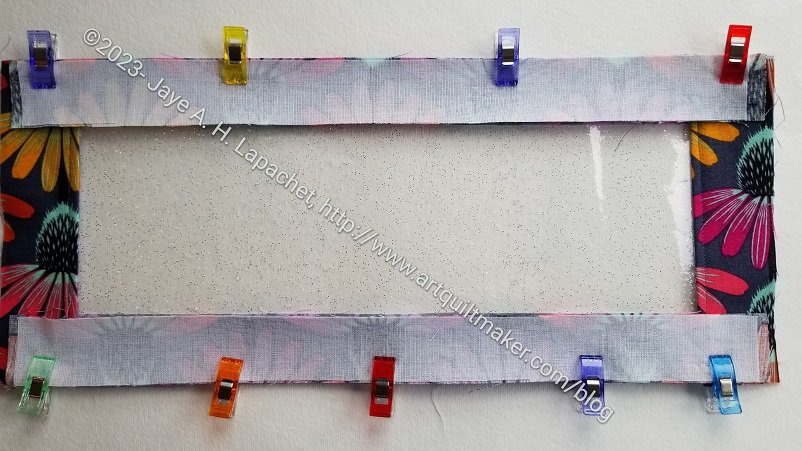
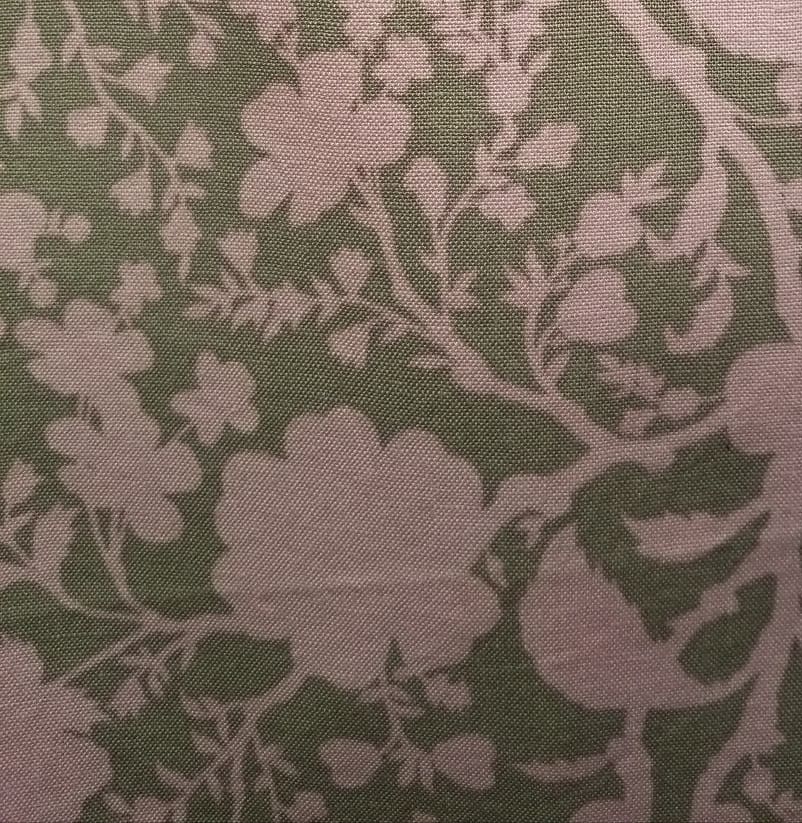
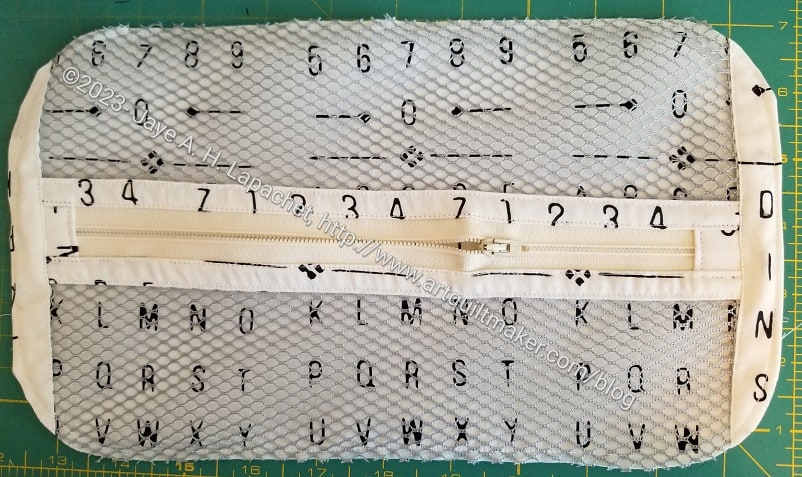
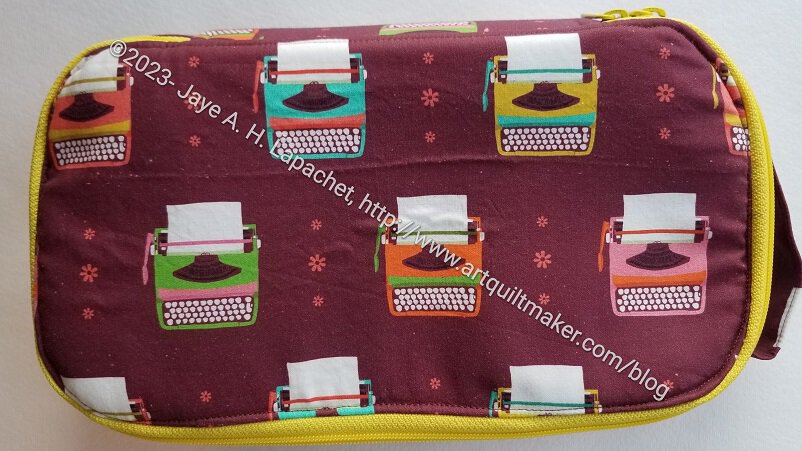
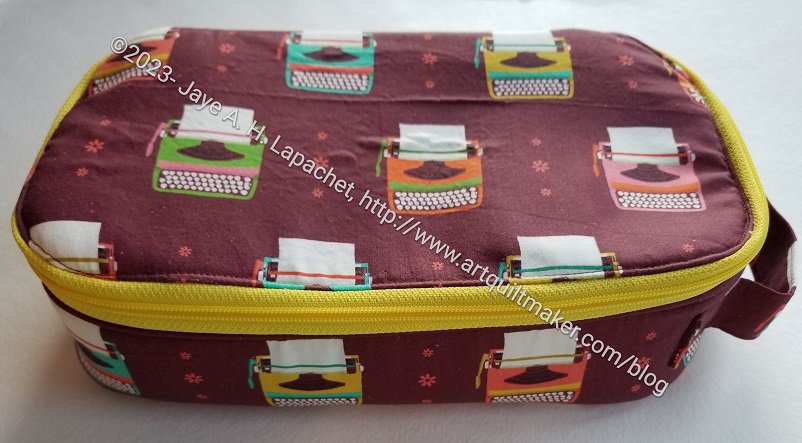
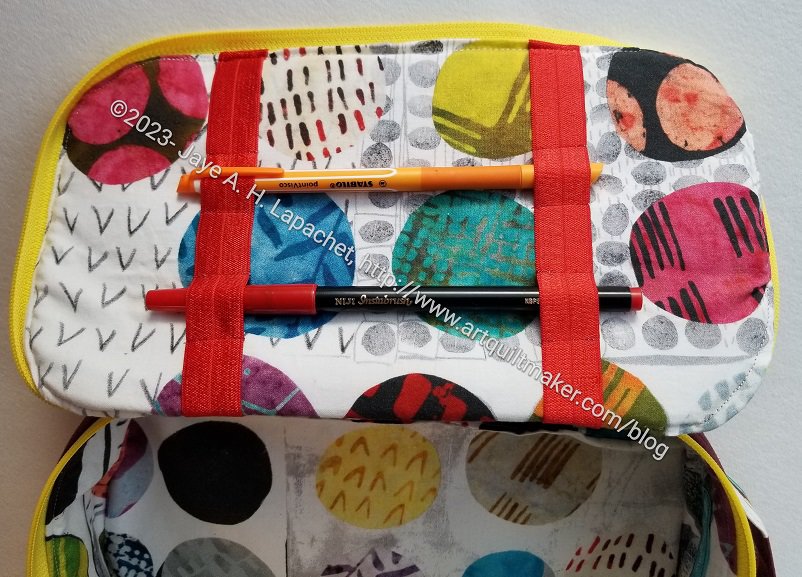
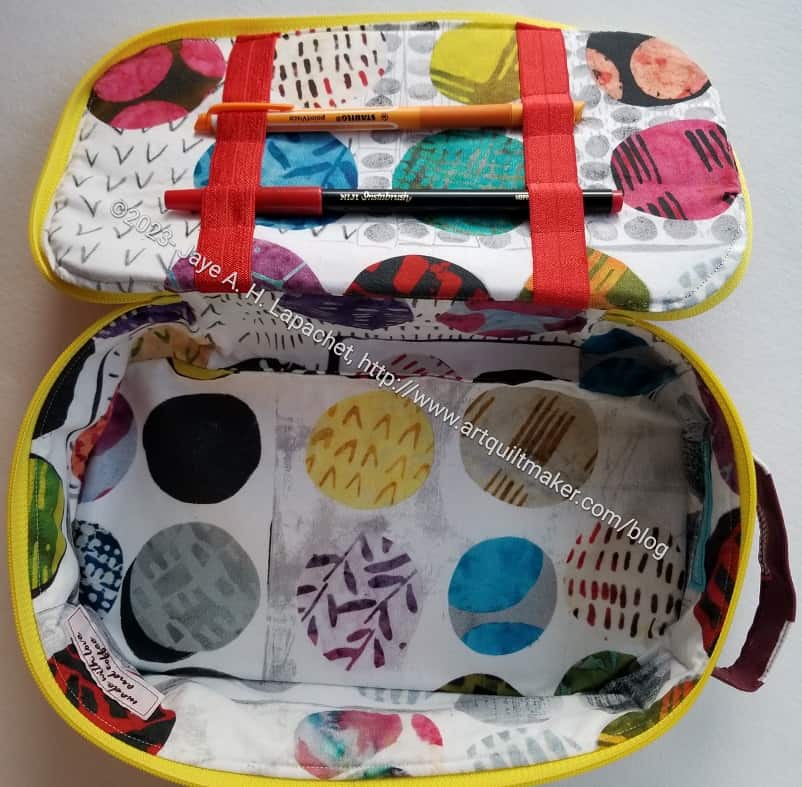
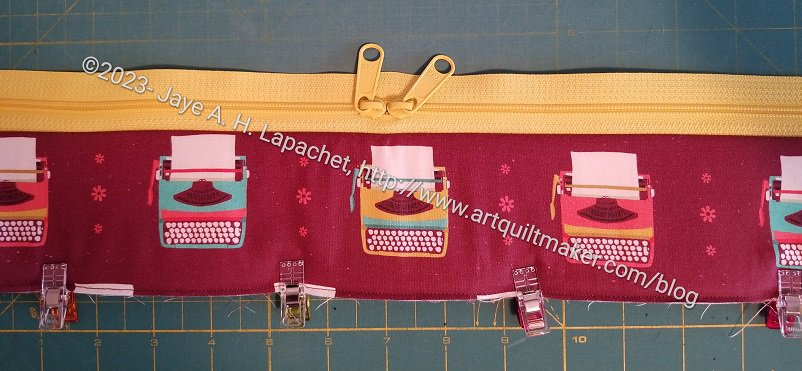
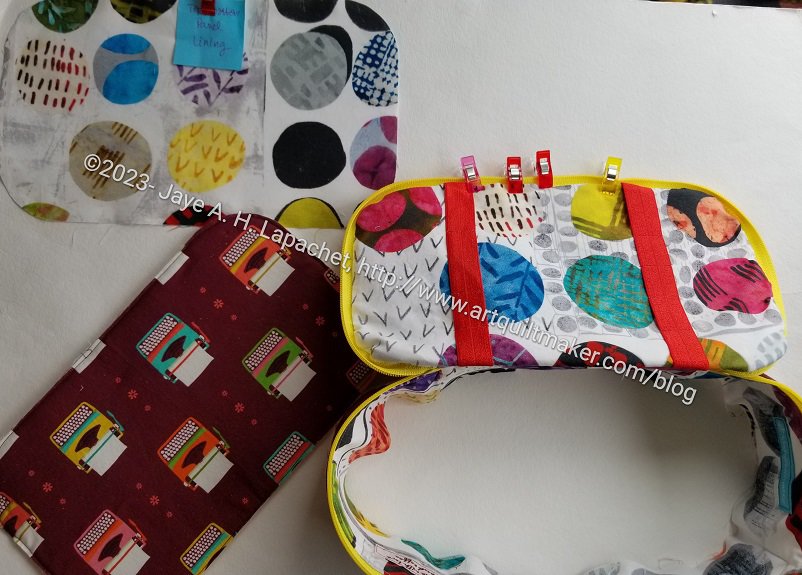
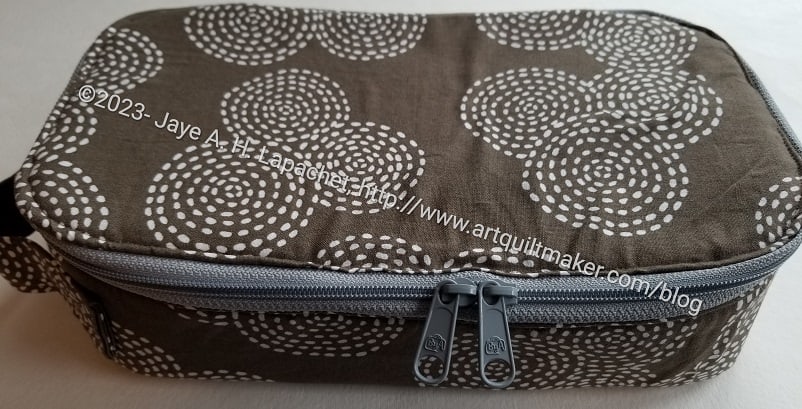
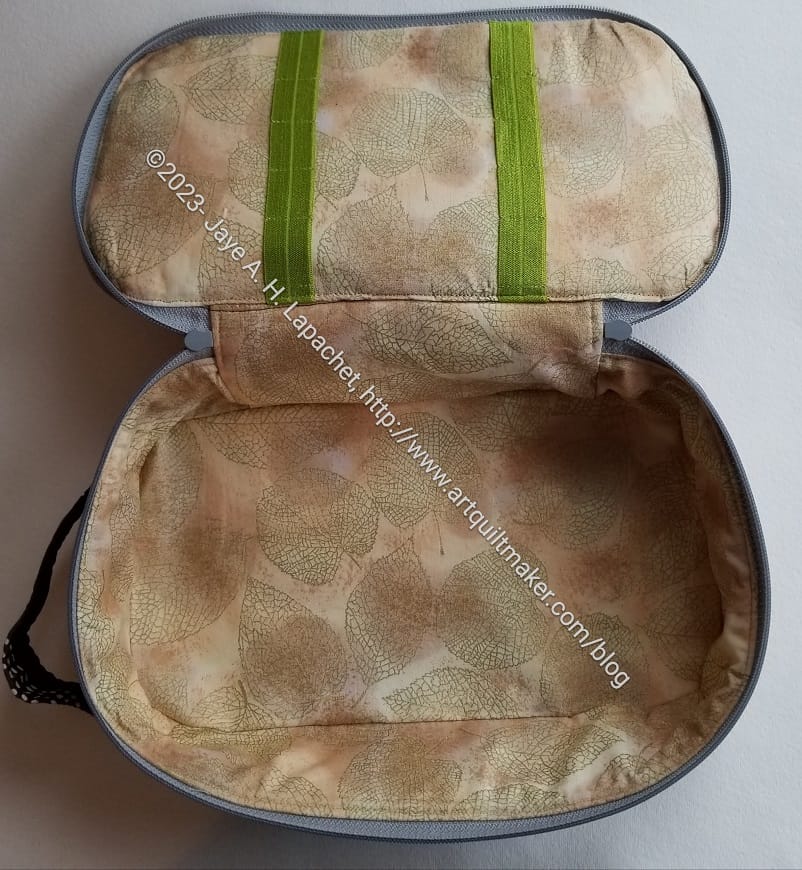
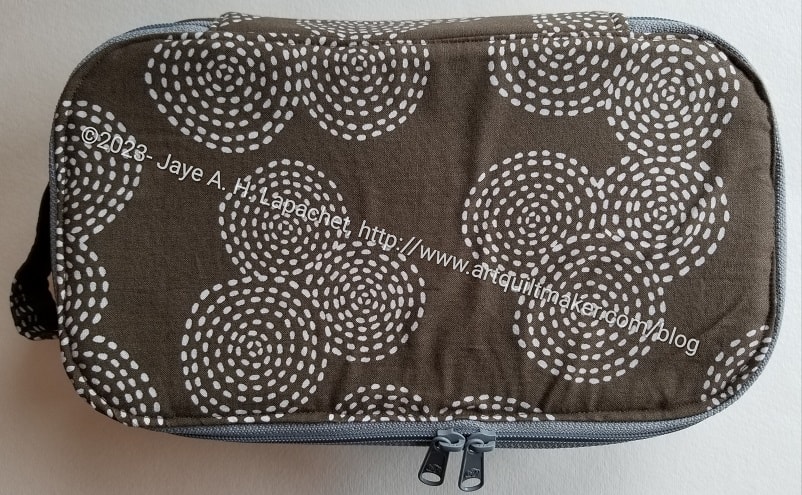
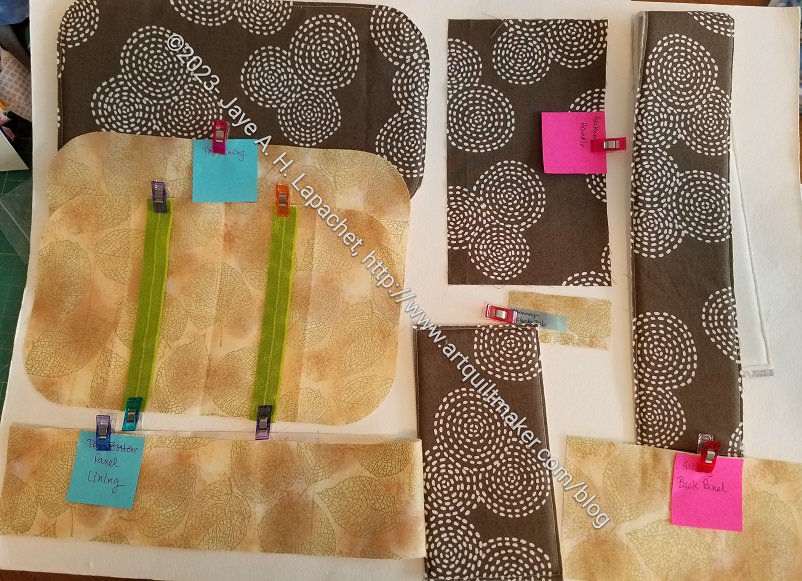
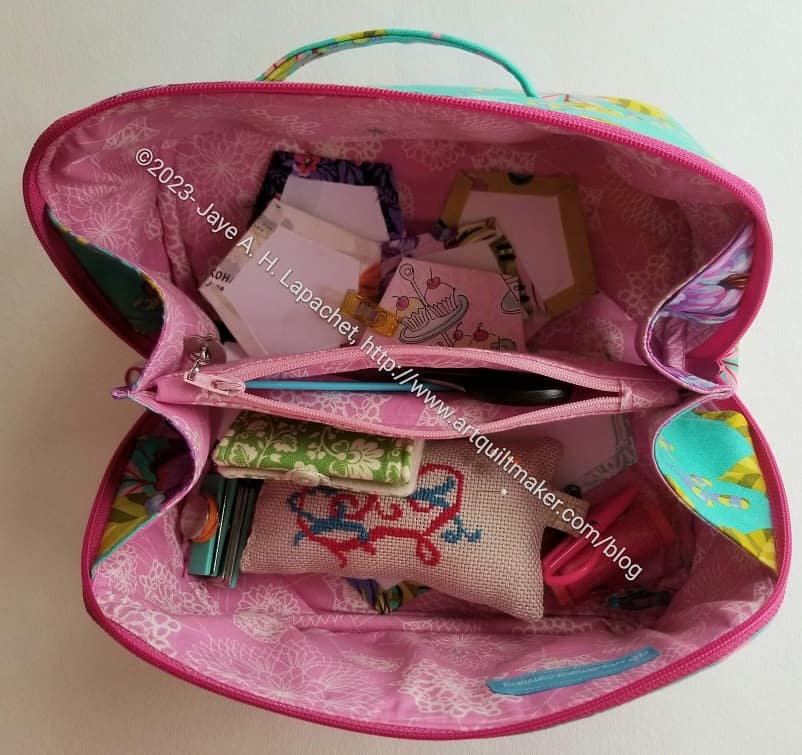
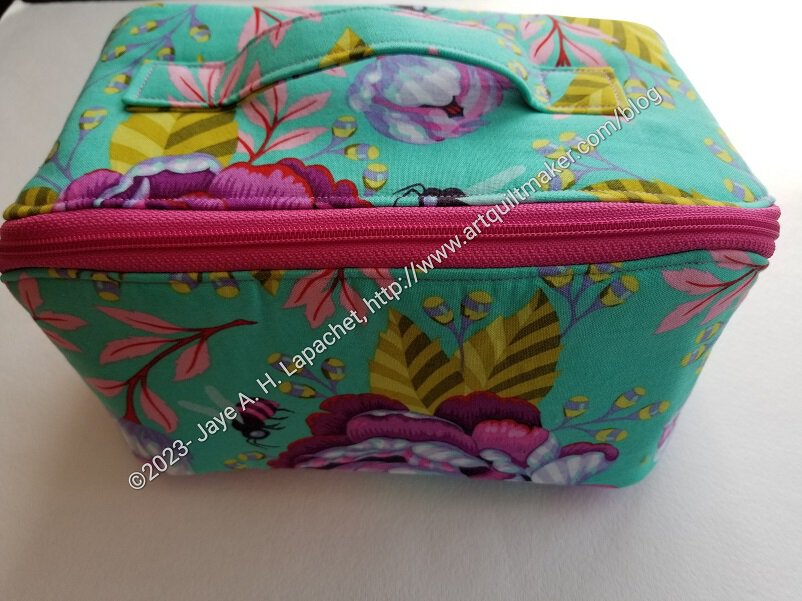
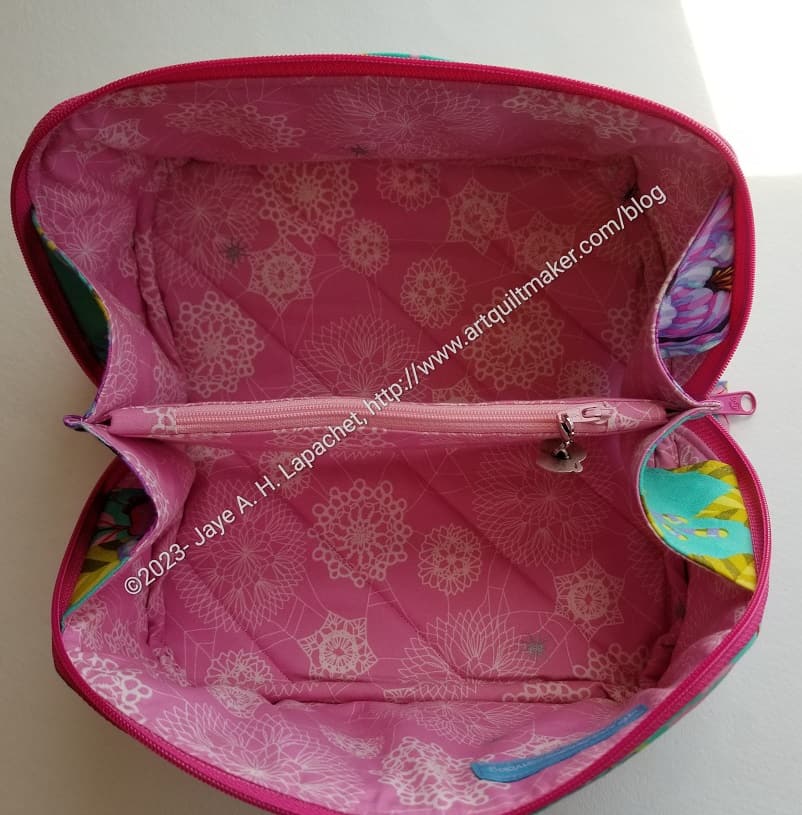
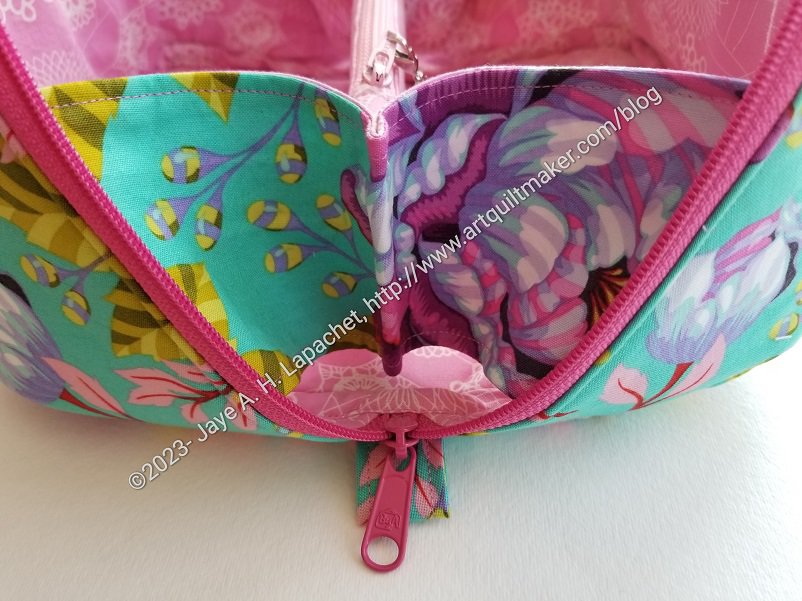
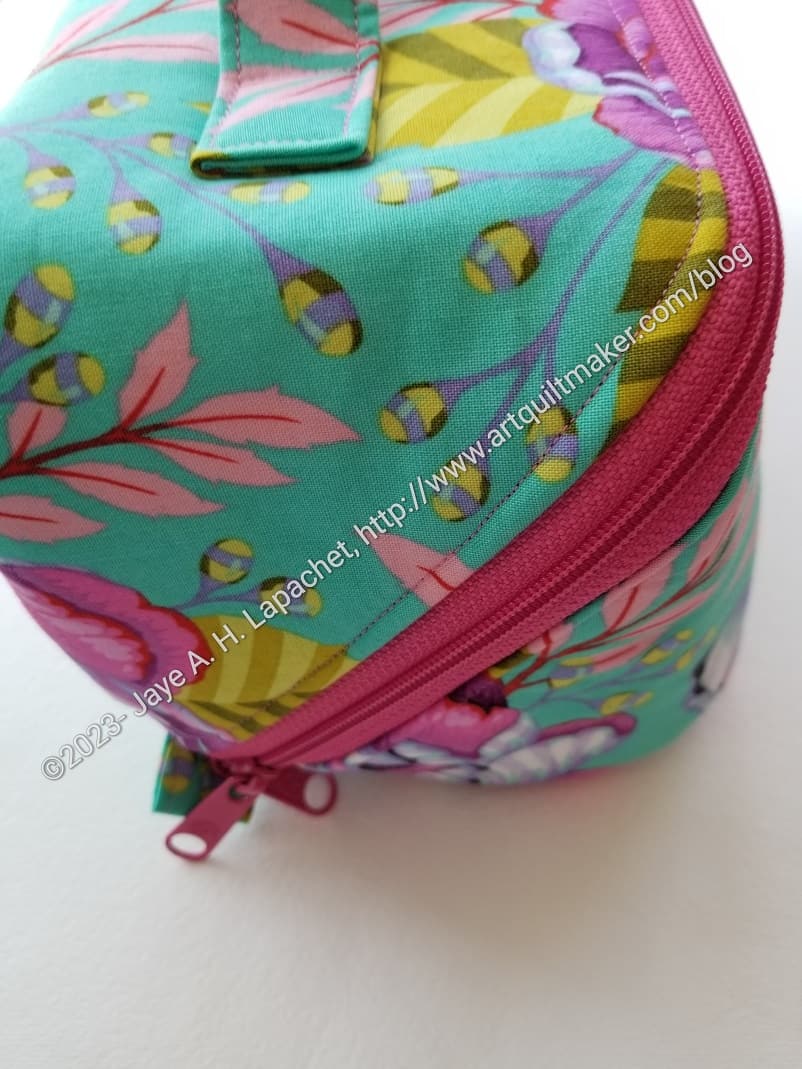
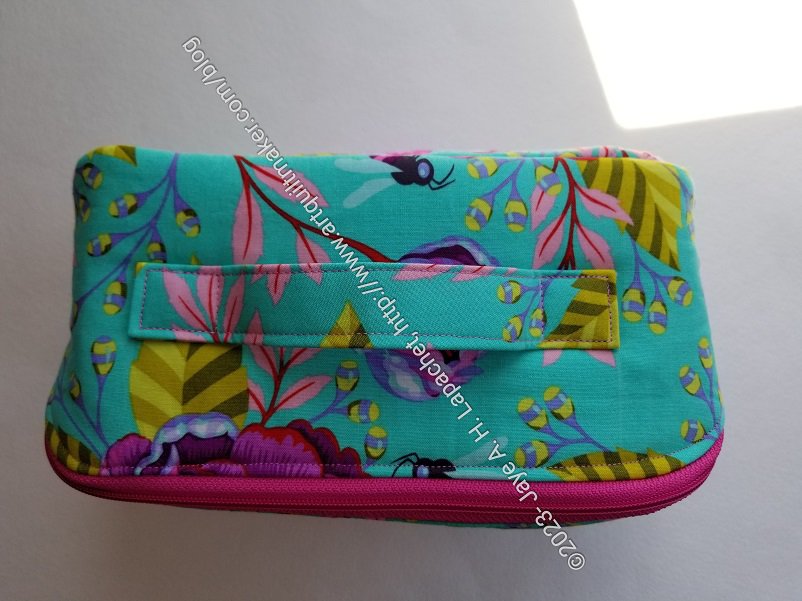
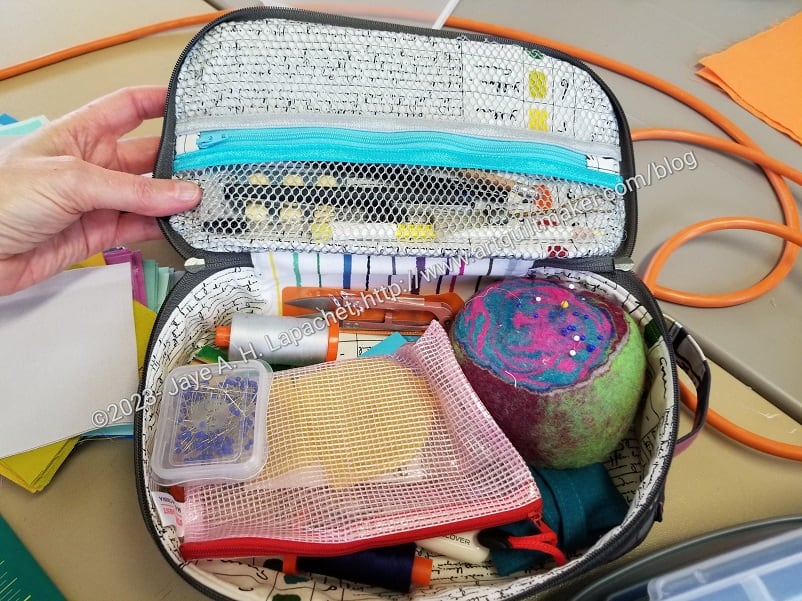
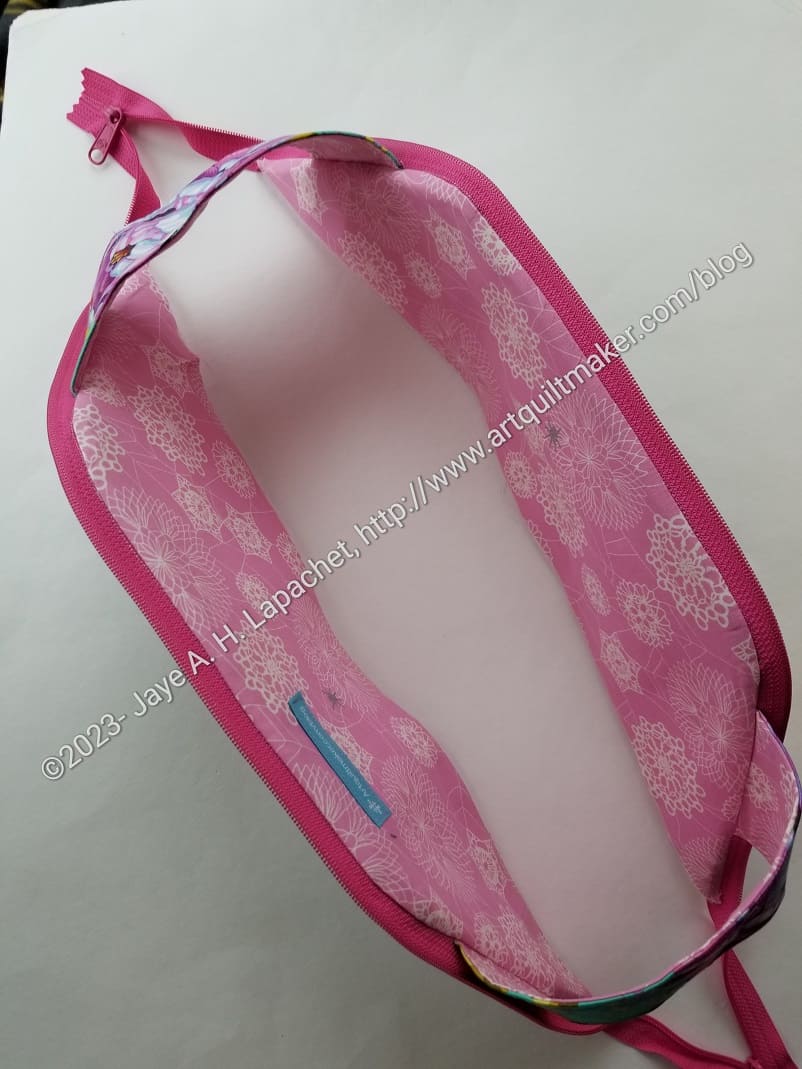
Here is the last Cork I Spy pouch I made at Retreat. The lining fabric is one of my favorites and I just had a bit of it left. I had just enough for the large lining piece.

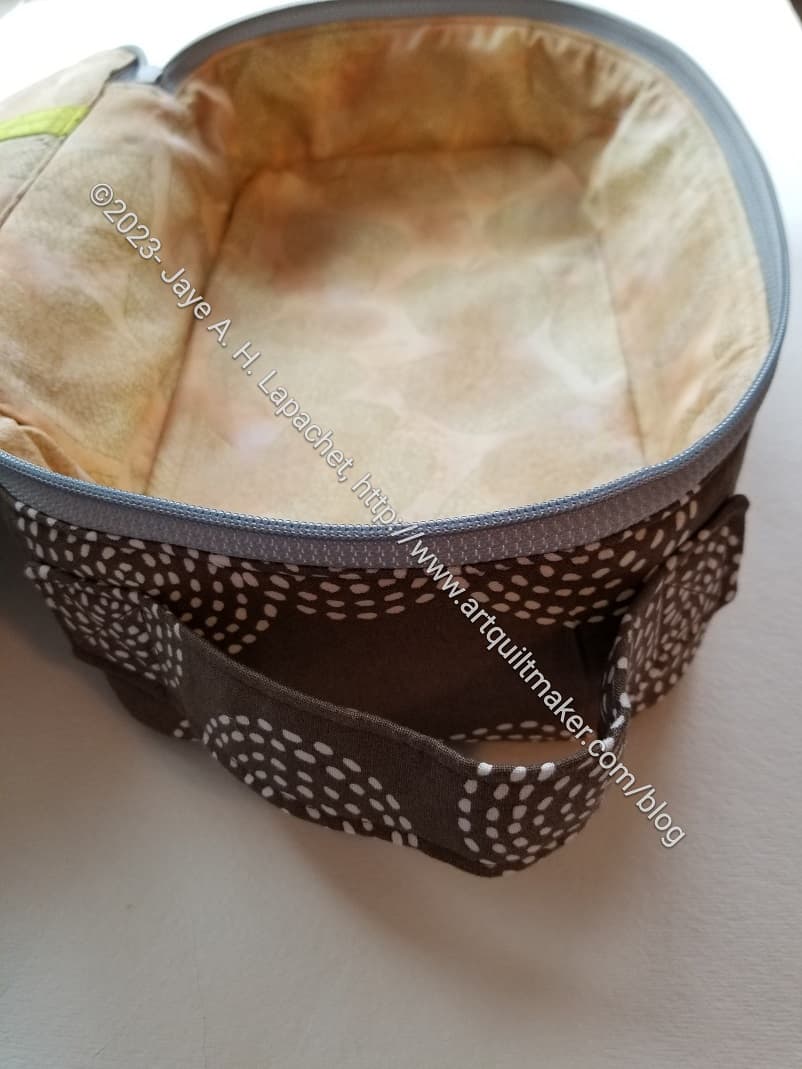
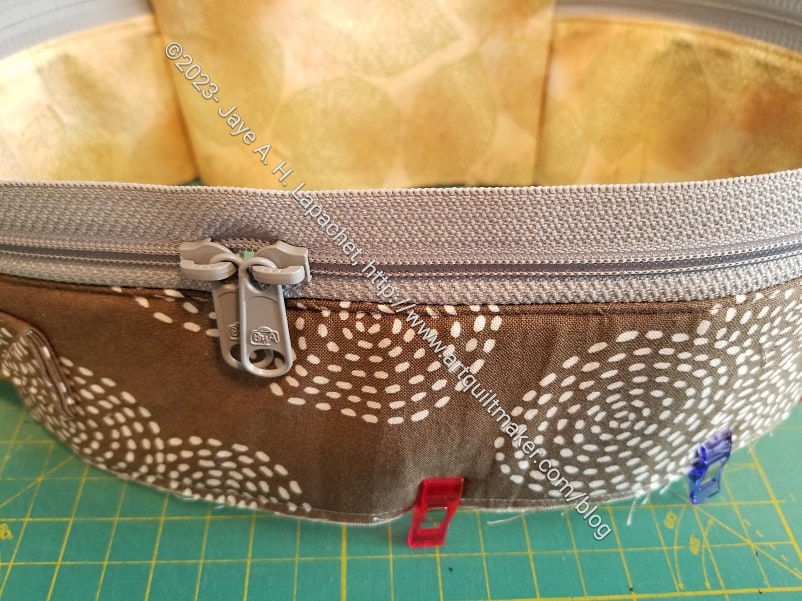
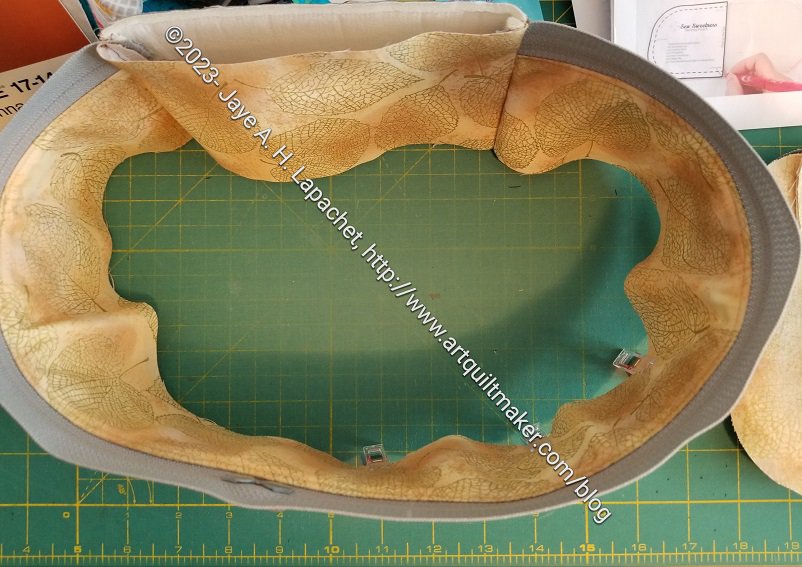
In general for the three pouches, I found the cork to be easy to sew, but not easy to turn. If (when?) I use cork again on an I Spy pouch, I will definitely round the corners. I think it will make the project much easier to turn.

All that being said, I thought the corners looked fine when I finally did get the pouch turned. I gave these to some work colleagues and they loved them.

Cork I Spy #1

I bought some cork from Sew Hungry Hippie to make the YM a pouch. A lot of cork arrived, though I didn’t think I bought that much.

Cork I Spy - large #1
Cork I Spy – large #1

I had to make some gifts so I decided to use the cork. I cut the lining before I left on Retreat, but did everything else at the Retreat. I could have made more complicated pouches, but I needed to get these done. This one has a super cheerful lining.

The YM still has no pouch.

Finished: Amethyst

Ka-Bloom Amethyst Project Bag

I was able to finish the Amethyst Project Bag before the Retreat.

The other day when I wrote about this project, I was concerned that I wouldn’t have time to finish it before the Retreat. Despite some unsewing, I had no problem finishing it.

I realized while making this bag that one reason I enjoy making bags is that I still have a lot to learn. This bag is pretty good work and I am not ashamed to give it to someone at the Retreat, but the work could be better. It isn’t that my workmanship wasn’t good; it was that I wrestled with the 3D-ness of the bag while top stitching. I just need more practice.

Amethyst Project Bag: inside pockets

I think the bag is more useful with the vinyl inside pockets. I talked about using the directions from the A Place for Everything v.2 bag as guidelines in a recent post.

You can see that I added a D-ring, as usual. I wanted to make an I Spy pouch to clip on to it, but didn’t have time. I also am not sure I have any more of the two fabrics. Maybe later.

Amethyst Project Bag: bottom inside

The bottom section is where I installed the elastic. The dimensions of this bag are 14.5 x 13.5 inches, which is large enough for most quilt blocks. The elastic and parachute clip keep them inside. I think this could be used for rulers as well.

Amethyst Project Bag: inside

In general, and overall, the inside is very useful, I think. The lady bug fabric (from the Tula Pink Tiny Beasts line) looks really fun. There is a bit of movement in the fabric as well.

All of the Tula Pink fabrics are designed to coordinate, so I think the outside (Ka-Bloom) and the ladybugs go together. I suppose ladybugs crawl on flowers sometimes….

Amethyst Project Bag labelled

Finally, I used another one of the Advent labels. If I make one of these again, I’ll put it on the side. I am still trying to find the best place to attach labels.

This is not a Sew Sweetness Minikins pattern, but it is one that I have had for awhile. I am glad to finally be trying it out.


All of the Hackneys

This is another roundup post, because I wanted to see all the Hackneys I have made together.

I really like this pouch, as I have said. Those for whom I have made one seem to like it as well.

Amanda’s Hackney

Amanda's Hackney
Amanda’s Hackney

Yes! Another Hackney. I still think I will get sick of this pattern, but I am not sick of it yet and I still want to try to make the finished product better.

This is another version of the large size. I still haven’t tried the small or medium yet, though now that I have cut out a small bag, it is time.

Amanda's Hackney - top
Amanda’s Hackney – top

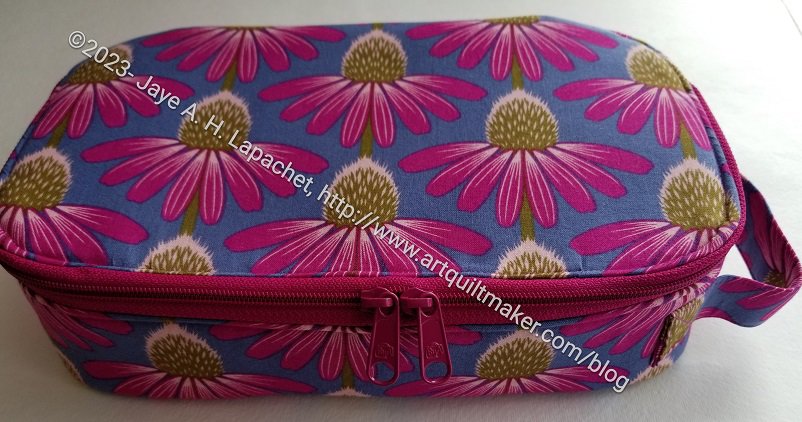
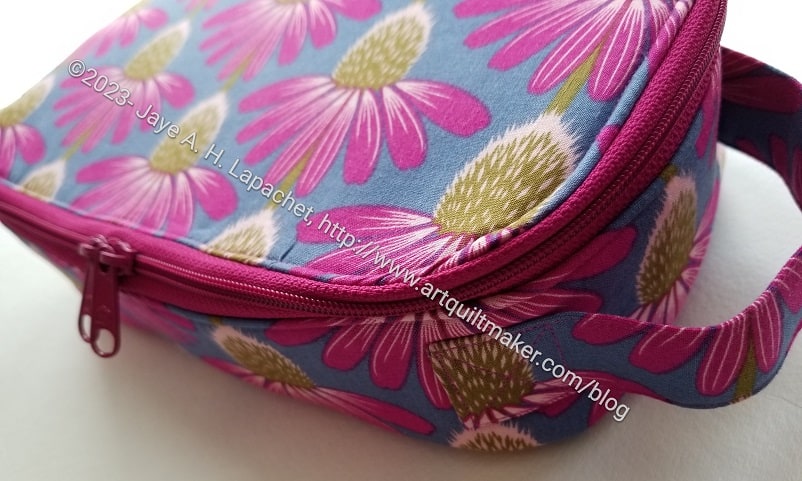
She loves animals, but I didn’t have any animal fabric that I thought would suit, so I used the coneflowers. I wasn’t sure about the yellow zipper, but it makes the bag look really cheerful. The zipper is more of a sunshine, or orangey-yellow than a neon yellow and that helps a lot.

Amanda's Hackney -handle
Amanda’s Hackney -handle

The zipper came out a little better this time. I used the washaway doublestick tape** for putting in the zipper on this one. I think I just have to use that tape each time.

On a note about tape, Sew Sweetness has the new ByAnnie washaway double stick tape. I bought some to try out, so stay tuned for a comment (maybe a review??) about that brand.

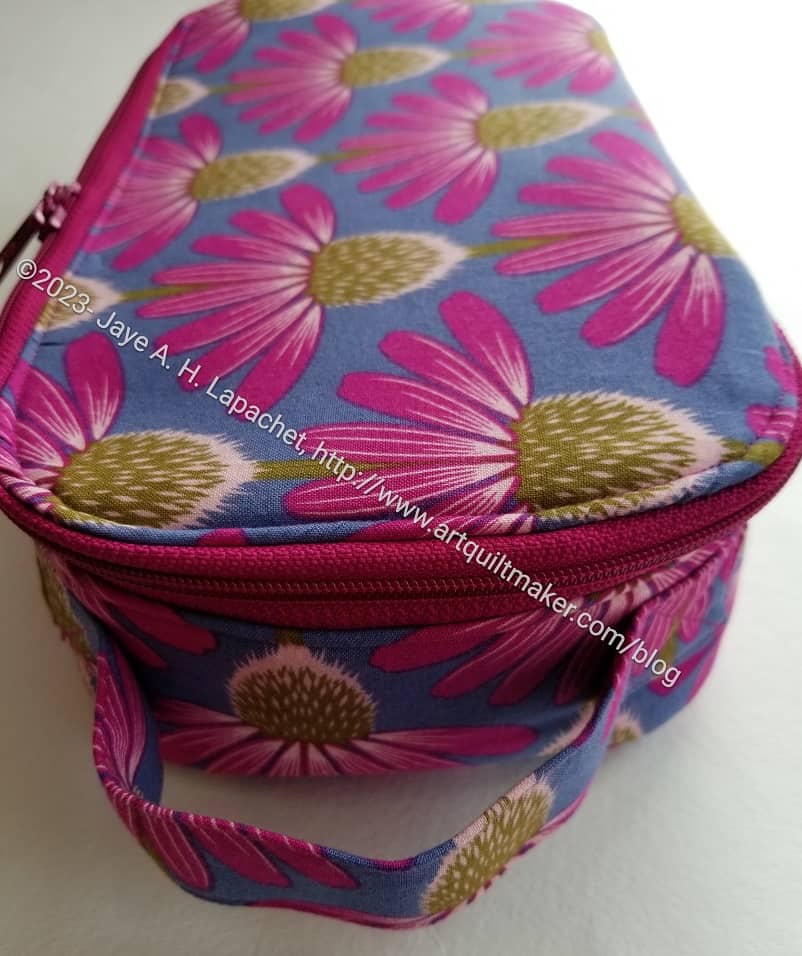
I had to add a handle. I think that is de rigeur now. It makes the bag more useful.

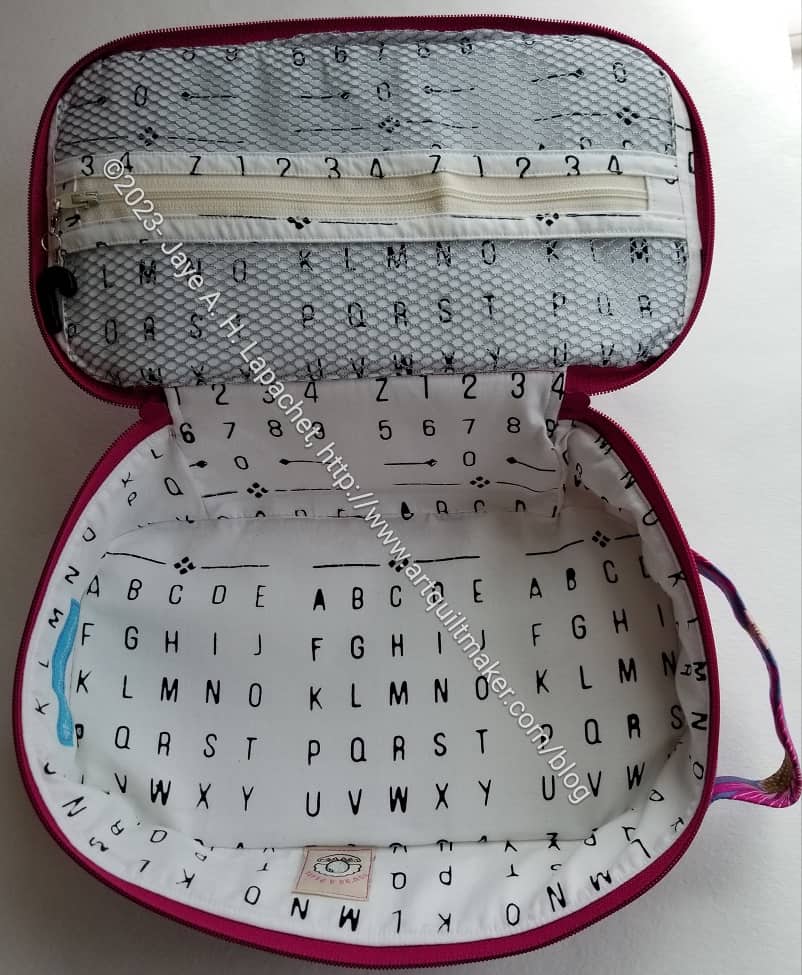
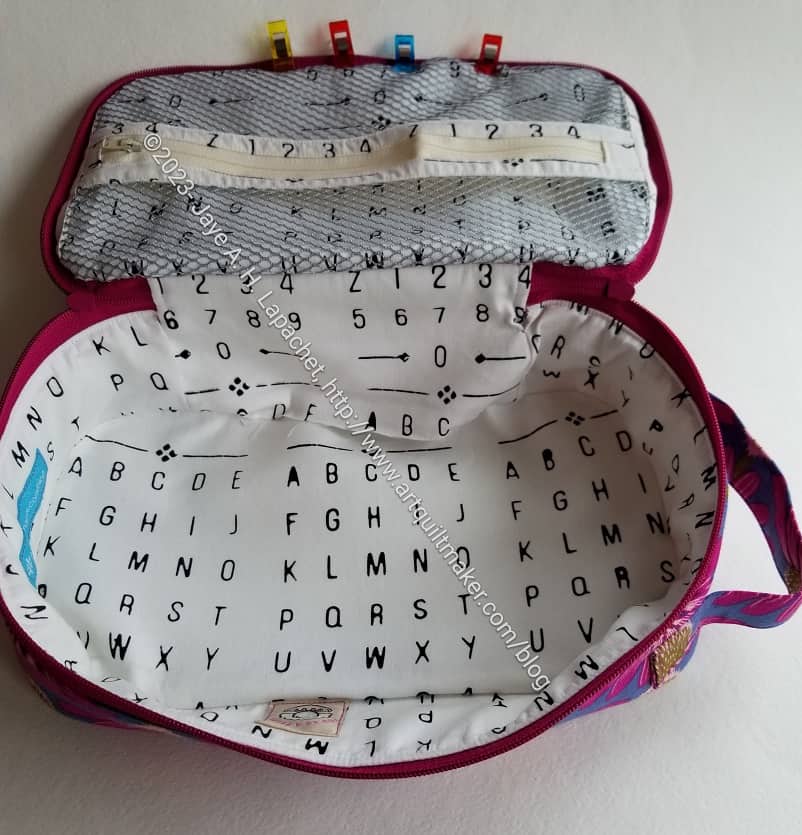
I made the inside cover a little different this time and I think I will like that option best. I used doublefold elastic to make tool or pen holders. I talked a little about how I sewed the tool holders to maximize the space available for storage in a previous post.

All in all, I am pleased with this one and hope Amanda likes it, too.


**Obviously, you should shop at local quilt shops and small businesses. However, if you are too busy or can’t find what you need there, I use Amazon affiliate links and may be paid for your purchase of an item when you click on an item’s link in my post. There is no additional cost to you for clicking or purchasing items I recommend. I appreciate your clicks and purchases as it helps support this blog.

Color Wheel Hackney #2

Color Wheel Hackney - Sue
Color Wheel Hackney – Sue

I tend to make Carrie and Sue the same pouches with slight differences. They are good friends and I think that they were great students.

Color Wheel Hackney - Sue - interior
Color Wheel Hackney – Sue – interior

So, as I made a Hackney for Carrie, so I made a Hackney for Sue. In this case, the exterior fabric is the same, but cut a little different and the interior fabric, zippers and other detail parts are different. I made the interiors different, but still relating to being creative. I am excited about the interior. I also fussy cut it and am pleased with the fussy cutting. It is super fun.

Color Wheel Hackney - end  (Sue)
Color Wheel Hackney – end (Sue)

This one also has a handle. As I said before, they are useful.

I wasn’t sure if I liked the way the handle and front panel interacted – the way the fabric motifs overlapped and interfered with each other, but I think fussy cutting the top draws the viewer’s attention to that space and you don’t see the mashup of motifs where the handle is attached.

The front of the front panel (which is a gusset) looks really good, I think. That little piece of color wheel is appealing.

Color Wheel Hackney - Sue
Color Wheel Hackney – Sue

As I said with Carrie’s Hackney, Sue’s also goes with her Boxy Clear Pouch. You know I love to make sets of bags.

Amethyst Bag in Process

A long time ago, I promised Alison a bag to give away as a prize at the retreat. I thought I would finish the Brocade Peony Ultimate Carry All Bag and give that to her, but I ended up not doing that.

Amethyst Case - process - top
Amethyst Case – process – top

Finally, I decided to make an Amethyst Project Bag. This is a bag you can put pieces of a project into and keep them all together. It isn’t huge, so you can’t put yards and yards of fabric in there, but templates, most rulers and cut pieces would fit very well.

It is not a Minikins project, but it is a Sew Sweetness pattern.

Cutting bags at Sew Day

This is one of the projects I talked about cutting out at Sew Day. It is pretty amazing, to me, at least, that a project can move from a pile of cut pieces to something that is starting to look like a bag in a few hours.

Amethyst Case - in process - bottom
Amethyst Case – in process – bottom

I haven’t finished. In fact, I have only made a start. I hope that I will have enough time to finish it before the retreat. Yes, I waited until the last minute, but I have had deadline after deadline I have been trying to meet. I know they are self imposed deadlines, but they are still deadlines for bags I wanted to give as gifts.

The bag is not exactly square. It is 14.5 x 13.5 x 3.5 (depth). I could only orient those giant peonies in two ways. I chose the other main panel for the top because one of the peonies was close to the center.

Amethyst Case - in process - inside pocket
Amethyst Case – in process – inside pocket

I wanted to make a bag that would be appealing to the guild members. I hope this Tula Pink fabric appeals to many of them. I had planned to put some piping around the edge, but decided I needed to make one first before I started really messing around with the design.

Speaking of messing around with the design, I did make this inside front pocket instead of the short mesh pocket and the two pouches called for in the pattern. I like to see what is in my pockets. I am not sure this came out 100% perfectly, but I think it will work. I used the directions for the pages from the A Place for Everything v.2 bag as guidelines for this pocket.

I normally like to make the bag at least once first, but I don’t have the time.

Color Wheel Hackney

Color Wheel Hackney - Carrie
Color Wheel Hackney – Carrie

I finished my most recent class with my fabulous students, Sue and Carrie. I had planned to make them each a Hackney for Christmas with this great Carrie Bloomston fabric, but moved the gifts up to be ready for our end of class lunch last Sunday.

Color Wheel Hackney - Carrie
Color Wheel Hackney – Carrie

One of the reasons I chose this fabric is that it matches another pouch, the Boxy Clear Pouch, I made for them. the fabric is fun and cheerful despite the dark background. Because I can’t stop teaching, I also wanted a reminder to them to use their color wheel. 😉 Finally, this is great fabric. Doesn’t it look like an explosion of color?


Color Wheel Hackney - end (Carrie)
Color Wheel Hackney – end (Carrie)

This Hackney is like all the others. I have added a handle to this one and think that is a standard addition I will make to all the others I make. Having a handle is useful. I am not sure why Sara didn’t include one in the original directions. Perhaps the pattern is intended to go into a suitcase or something? Regardless, I think a handle is useful.

Color Wheel Hackney - interior (Carrie)
Color Wheel Hackney – interior (Carrie)

I am particularly pleased with the fussy cutting I did on the inside bottom. Don’t those pencils look great? I measured very carefully to get the whole pencil on the bottom and am thrilled with how successful I was.

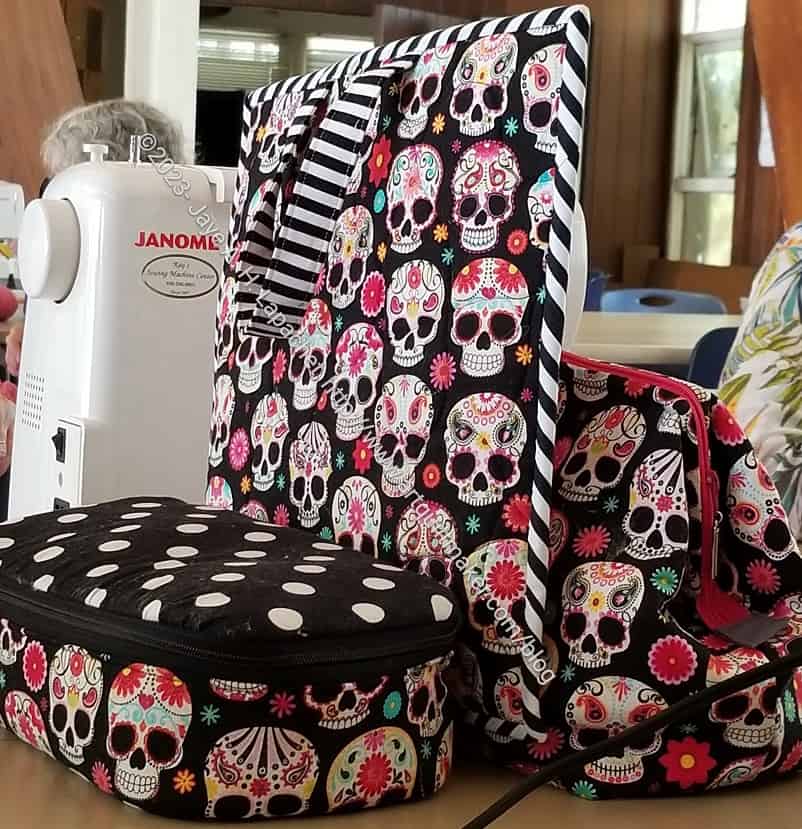
I am still not 100% happy with the mesh pocket. I think it is useful, that is not in dispute, but the construction doesn’t appeal. The zipper tabs end up being too thick. I made a vinyl pocket on the Sugar Skull Hackney. I think it came out ok, but I wasn’t concerned about the final topstitching. My next test will be making pencil loops on the top. I’ll see how those come out.

Color Wheel Hackney - filled interior (Carrie)
Color Wheel Hackney – filled interior (Carrie)

I have put a few things in the bag including some Adagio tea.


New Hackney in Process

Coneflower Hackney in process

As soon as I finished the two Color Wheel Hackneys, I started another. I have decided to make a number of these as gifts. I have to say that this one went a lot quicker than the others. It is a clear indication that practice does make perfect.

I am pretty pleased with how the coneflowers look. I picked the zipper color to go with the yellow coneflower, but also because I wasn’t sure when I would use a yellow handbag zipper otherwise. I think it looks good so far.

Coneflower Hackney interior- in process

I talked about the Hackney lining hack a bit ago. It is for this one. The lining is a little saggy so far, which I have to figure out. Otherwise, I think the piece is looking good.

Selection of I Spys

I Spy pouch selection

After writing the last I Spy post, I decided to take a look at the I Spy pouches I had made. I didn’t pull all of them as some are in project boxes with the supplies for projects I want to make.

I was surprised to find that most of them were made with the same coneflower colorway. I have other colorways. I thought I had used multiple colorways to make these, but I have stuck mostly to the one. Interesting.

New Hackney Hack

Yes, I am making another Hackney pouch. I like the shape of this pouch/bag. It is fun and a bit unusual. The process of assembly is also providing me with a challenge even after making several of them.

Yes, it is another gift. I might make one for myself. We’ll see.

This time I am working on perfecting a version that is most useful and that I like. As I might have mentioned, I don’t like the mesh pocket, because I don’t like the way it comes out. Mostly, I don’t like the zipper tabs and how thick they are. They are hard to sew and thus the seams look wobbly.

I tried a vinyl pocket, which was ok. I haven’t heard how useful it is, but will ask next time I see the recipient.

Hackney lining tool holder

This time I used doublefold elastic to make a tool holder.

I cut the doublefold elastic the same width as the lining, then basted it to the top lining piece.

I marked the places where I wanted the recipient to be able to slide tools in. I used a half inch size for each pencil or pen or whatever. I put an inch between each set of marks. These had to be mirrored on the second strip of elastic. I also made the marks on the second set of elastic off from the first set so the tools (or pens or whatever) wouldn’t interfere with each other.

Surprise! I Spy Again

I Spy with Pink Batik - empty
I Spy with Pink Batik – empty

I quickly cut more pieces for another I Spy and finished it over the weekend. I think I have a sewing routine for this pattern down pat now.

One of the reasons I made this one is that I liked a piece of fabric I pulled for the Pink Strip donation quilt back. I decided to use it for the lining, which shows up nicely through the window. It is a good way to be able to see a fabric I enjoy.

I Spy with Pink Batik

This one will replace the one I gave as a gift. It will hold the Friesan Pouch acrylic templates. I’ll save the Grey Cross I Spy for something else. I kind of like having all of my acrylic templates in pouches that match.

I was pleased to see that I lined up the top strips around the zipper very well.

I Spy with Pink Batik back

I just love making these pouches, as I have said a million times.

Yet Another I Spy

I told you: potato chips.

Grey Cross I Spy
Grey Cross I Spy

Yes, I made another I Spy pouch. I don’t like this one as much. It doesn’t feel as substantial as the last one and I am not sure why. It has to be the fabric. It is an Art Gallery fabric, which I really like, but I don’t think it is right for this project. Since I am storing acrylic templates in them, then need a little heft.

This doesn’t mean it is terrible or anything and I do like highlighting the lining fabric through the window. It is like a fun prize. I’ll probably use this as a gift.

This is the small size. I also use the glitter vinyl. I like that glitter vinyl. Not only is it easier to cut, but it is fun. It does make the peony look a little blurry in the photo. It doesn’t look like that in person.

New I Spy Pouch Start & Finished

I Spy pouch #7
I Spy pouch #7

Remember I said that these pouches were like making candy? I gave one of my I Spy pouches to someone on my team, so I just made another one for my Cotton Candy pouch acrylic templates.

This one follows the theme of the others. I used the Anna Maria Coneflower fabric again along with some of the hexagon Tula Pink fabric for the inside.

It was fun just to sit down and start and finish something relatively easy. I feel ridiculously pleased with this pouch. Actually, every time I make one I feel ridiculously pleased.